Hello everyone, in previous Creator's Classroom Yukine shared how to film Cinematic Shots in Genshin Impact. Today, she will introduce some useful tips for basic editing tools! Let's have a look!
Here's the full video:
Introduction
Hey everyone! Yukine here, also known as Genshashin! In my last video, I talked about how to film pretty shots in Genshin. Today, I will talk about the technicals of the video editing process, which includes the basic workflow and tools used when making a video!
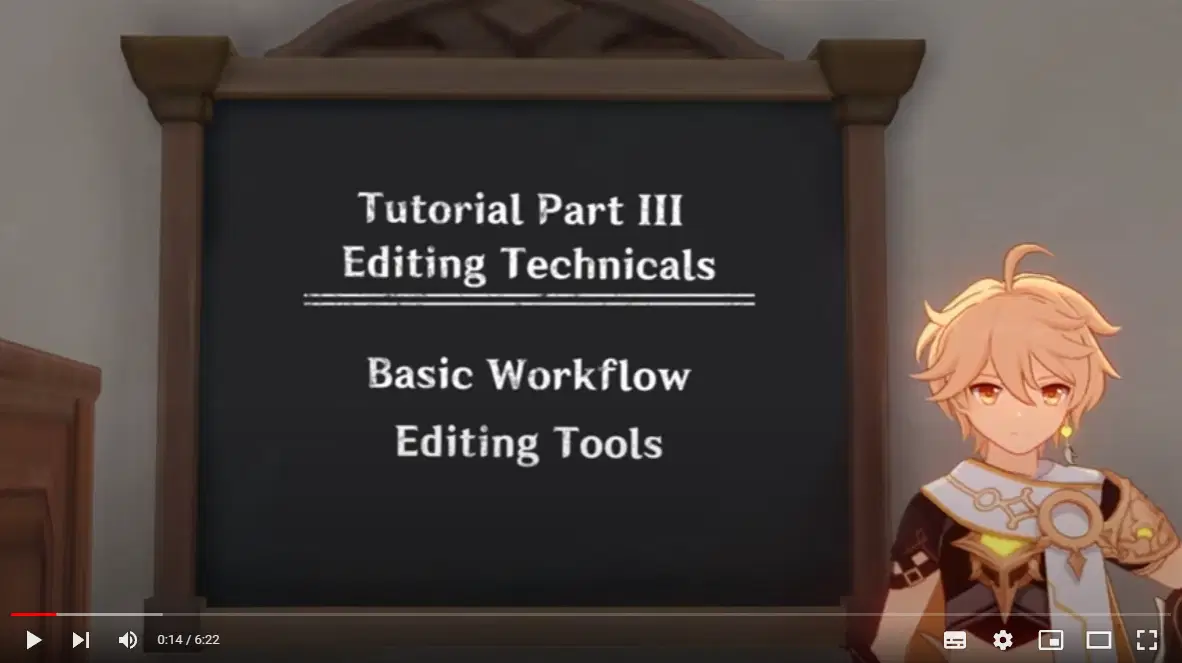
Video Editing Software
I mainly use Adobe Premiere when editing my videos, but if you can’t afford Premiere, don’t fret! There’s actually a lot of free editing software that is available to use!
One editing software I’d recommend for beginners is HitFilm. This is because their user interface is relatively simple, and it has enough tools and effects on hand to create a good quality video.
It also doesn’t put any watermarks on your videos when exporting so that’s pretty neat! You do need to pay for an upgrade if you want to use more advanced tools and effects, but for simple edits, the free version is enough. You can download Hitfilm for free at fxhome.com
If you’re a more experienced editor though and you want to make more complex vids, then you can try out DaVinci Resolve. This software definitely offers more advanced tools and capabilities, but the learning curve is also a bit steeper. Learning it is worth it however if you really want to take your vids to the next level! You can get DaVinci for free at blackmagicdesign.com
Basic Editing Workflow and Tools
Now I’m going to talk about my basic editing workflow. While this workflow can be applied to other editing software, I’ll be demonstrating it using Adobe Premiere, since it's the software I usually use.
When you open up premiere, the first thing you do is create a new project. Give your project a name and choose the location of where you want to keep your premiere files. Then click ok. You will be taken to the premiere workspace.
Premiere has a lot of panels and different layout presets to choose from according to what task you’re doing. For this tutorial, I’ll be using the “Editing” layout. In this layout, you can see 4 major panels: the project panel, the source monitor, the program monitor, and the timeline.
The project panel is where you keep all the footage, music, and graphics needed to make your video. You can import your files by double clicking in the project panel. Choose the files you’d like to import then click open. At this point, I like organizing my files into folders called bins, so that it would be easier for me to look for what I need when I’m editing.
Once that’s done, we can start putting footage into the timeline!
What I usually do is double click on a file to preview it in the source monitor. Then I look for the part that I want to put into my timeline. Once I find it, I set the start and end points of the clip using the mark in and mark out icon. Then, I click on the video and drag and drop it to the timeline.
The video and audio layers will appear, and the program monitor will show whatever’s playing in the timeline.
If you want to zoom in or out of the layers in the timeline, you can do so by clicking the circles on the scroll bars. The vertical scroll bar adjusts the width of the layers, while the horizontal scroll bar adjusts the timeline’s length of view.
If you want to shorten or lengthen clips, click the edge of the clip and drag it along the timeline.
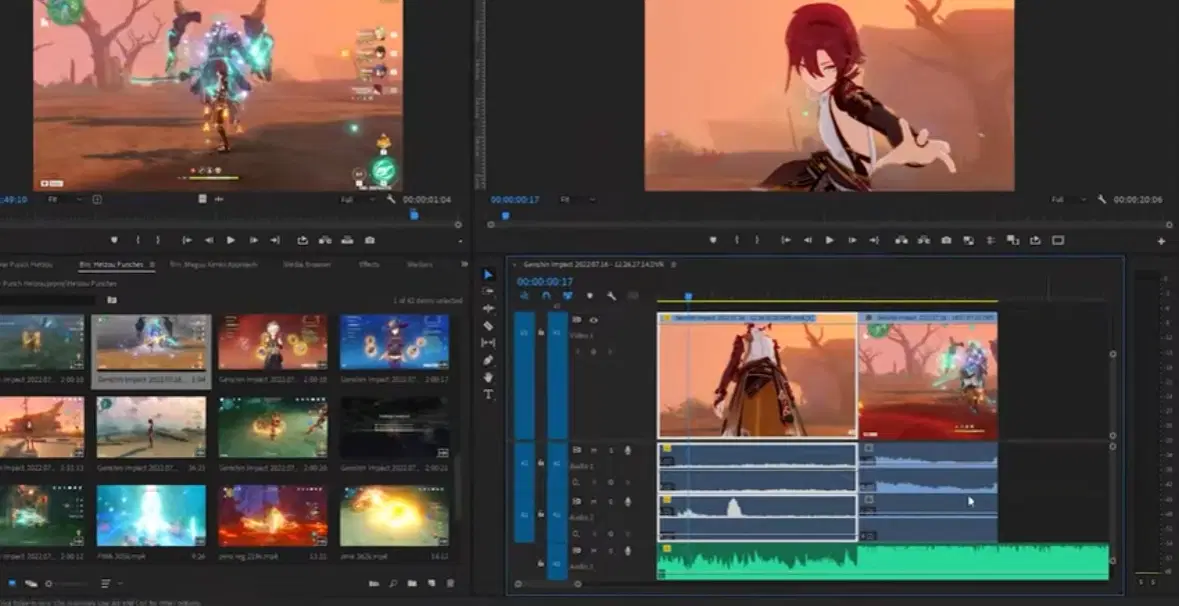
If you need to do further edits like resizing the clip to crop out the UI elements, you can do so by double clicking the clip in the program monitor. If you want to change the position, click and drag the middle portion of the clip. If you want to resize, click and drag the handles on the edges.
On the left side of the timeline are some tools that you can use to edit clips more efficiently.
Most of the time you’d be using the selection tool by default, since this is how you’re able to click around the timeline.
I actually don’t use all the tools here, but the ones I use the most are the Razor tool and the Type tool.
The razor tool allows you to add cuts by clicking on the clips. A good shortcut to know is C to switch to the razor tool, then V to switch to the selection tool, so that you can easily cut then move footage in the timeline using the shortcuts.
To use the type tool, click on the program monitor. A red box will appear where you can type your text. A text layer will also appear in the timeline, which you can trim and move around. If you want to do further edits, such as changing the font and color of the text, highlight the text layer and click the effect controls panel. Then click on the text tab to find more options to adjust the text. For subtitles, I like putting a transparent background behind the text so that it can be easier to read.
If you want to add transitions between clips such as a cross dissolve, go to the Effects panel and look for the Video Transitions folder. Look for the name of the transition that you want, then drag and drop it between the two clips. You can make the transition longer or shorter by clicking and dragging along the edges.
When editing audio, you can adjust the volume by clicking this line on the waveform. Dragging it up increases the volume while dragging it down decreases the volume.
On the right side of the timeline is the audio meter. If your audio is too loud, a red warning box will appear. When that happens, lower the volume of that clip to avoid audio distortion.
Once you’re done editing, you can export the video by going to “File”, “Export”, then click “Media…”
When exporting for youtube, I usually choose the H.264 format, and I use the Match Source - High bitrate.
Change the output name to the title you want for the video.Then click export. Now your video is ready to upload on youtube!
Conclusion
So that’s the basic video editing workflow I use whenever I make Genshin videos. I hope that you found this video informative and useful, especially for those who want to try and start making your own videos!
If you want to see some of the Genshin videos I’ve edited, check out the genshashin channel. Thanks and have a great day, See ya!
And that's all we have for this edition of "Creator's Classroom"! What other creation tutorials do you wish to see? Feel free to leave a comment!
In addition, we welcome experienced creators to share your creative skills under the topic #Creator's Classroom! Maybe you can find like-minded friends!