


Previous:[Guide] Common Chests- Inazuma: Part 9 - miHoYo Player Community (hoyolab.com)
Index:[Index] Common Chests - miHoYo Player Community (hoyolab.com)
Next: [Guide] Common Chests- Inazuma: Part 11 - miHoYo Player Community (hoyolab.com)

-Footage/Location photos are from my 1st account-
If there's anything you're unsure about, feel free to ask!
181. [Locked Chest] On top of the box
Will unlock after defeating 3 Nobushi and 1 Kairagi: Dancing Thunder.
Location:

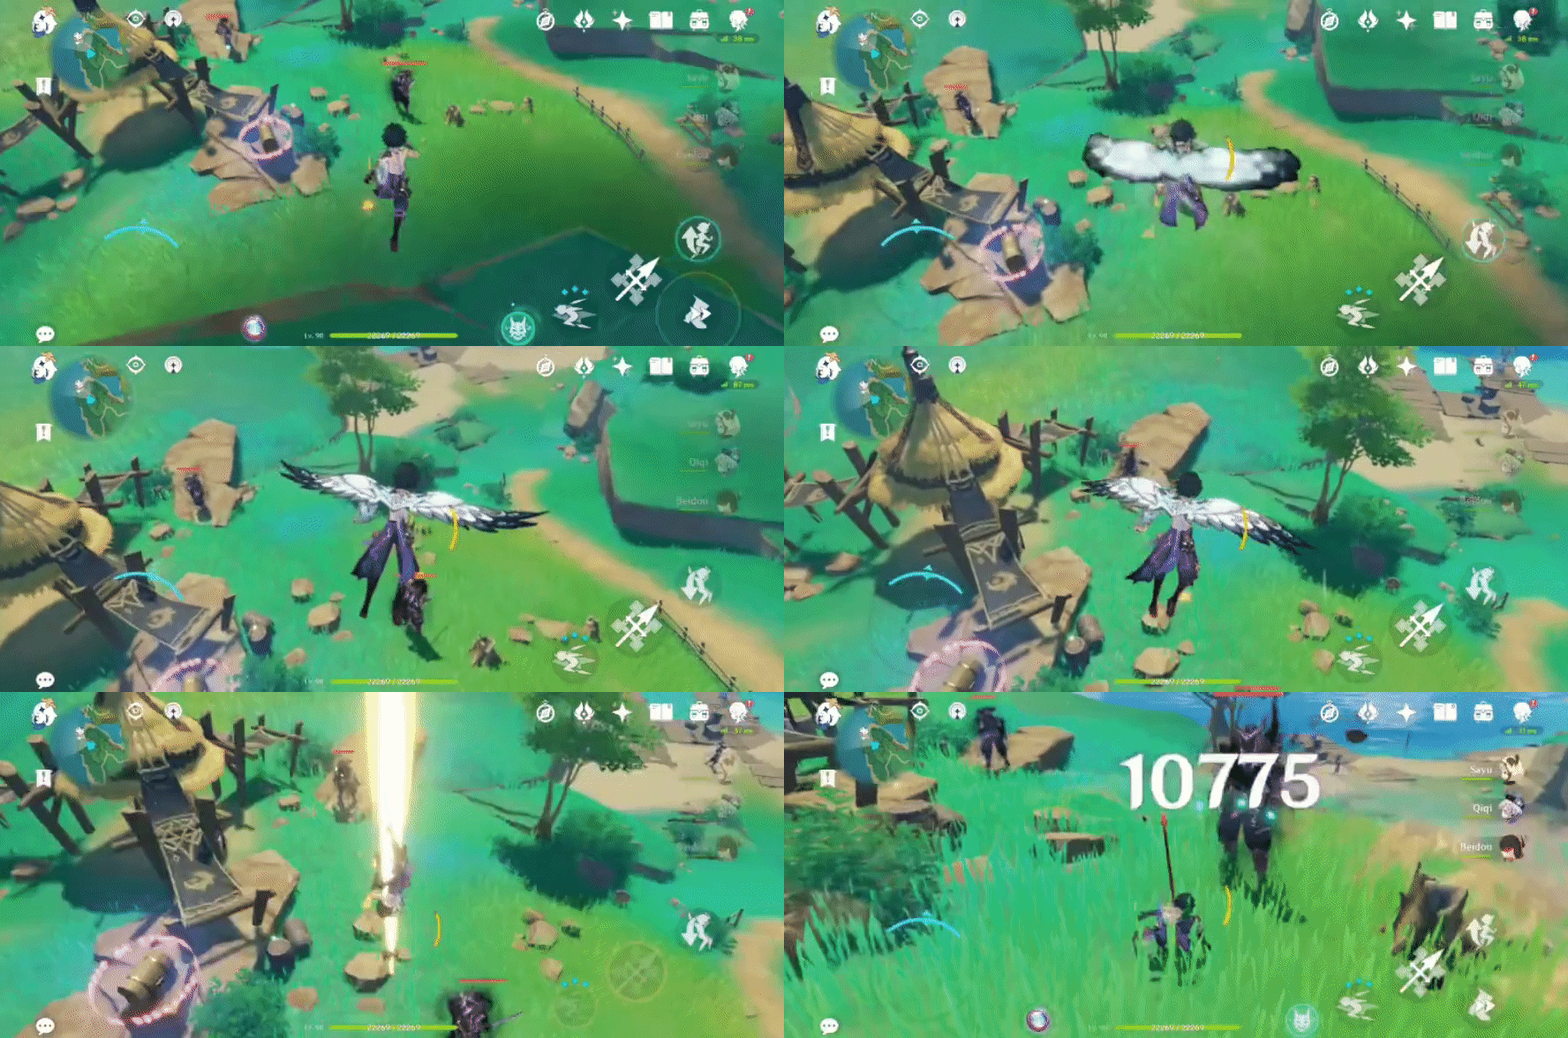
182. [Spawned Chest]
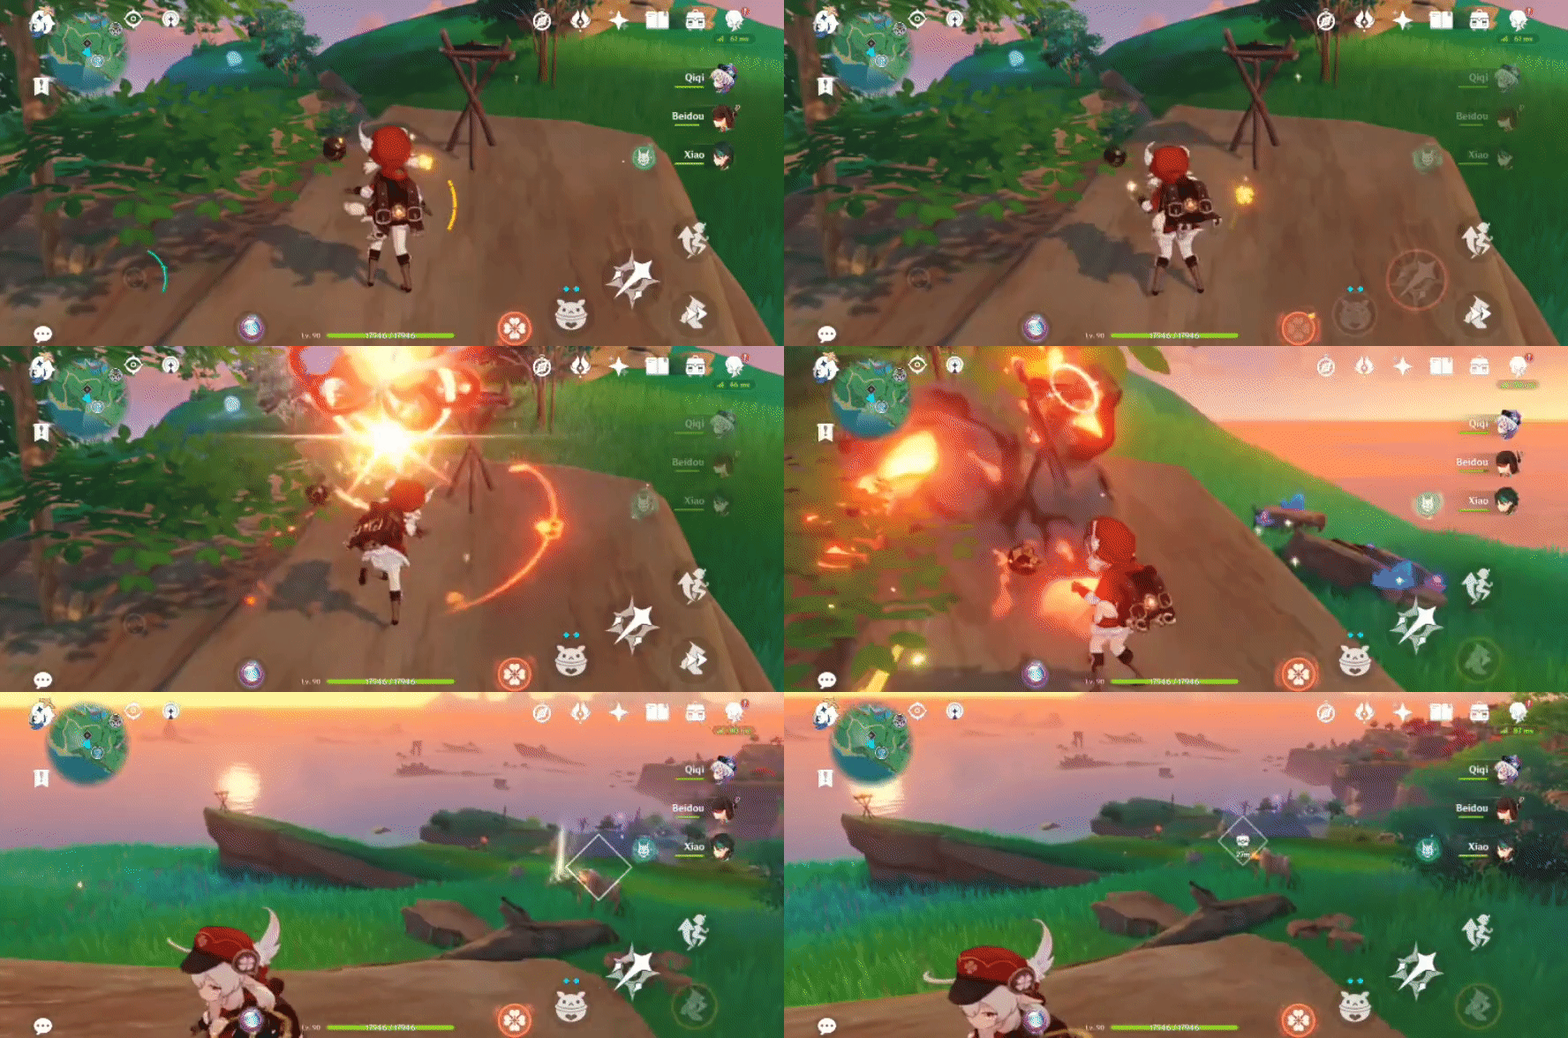
Will spawn after lighting 4 torches with Pyro.
Location:

Torch #1- Next to the mechanism
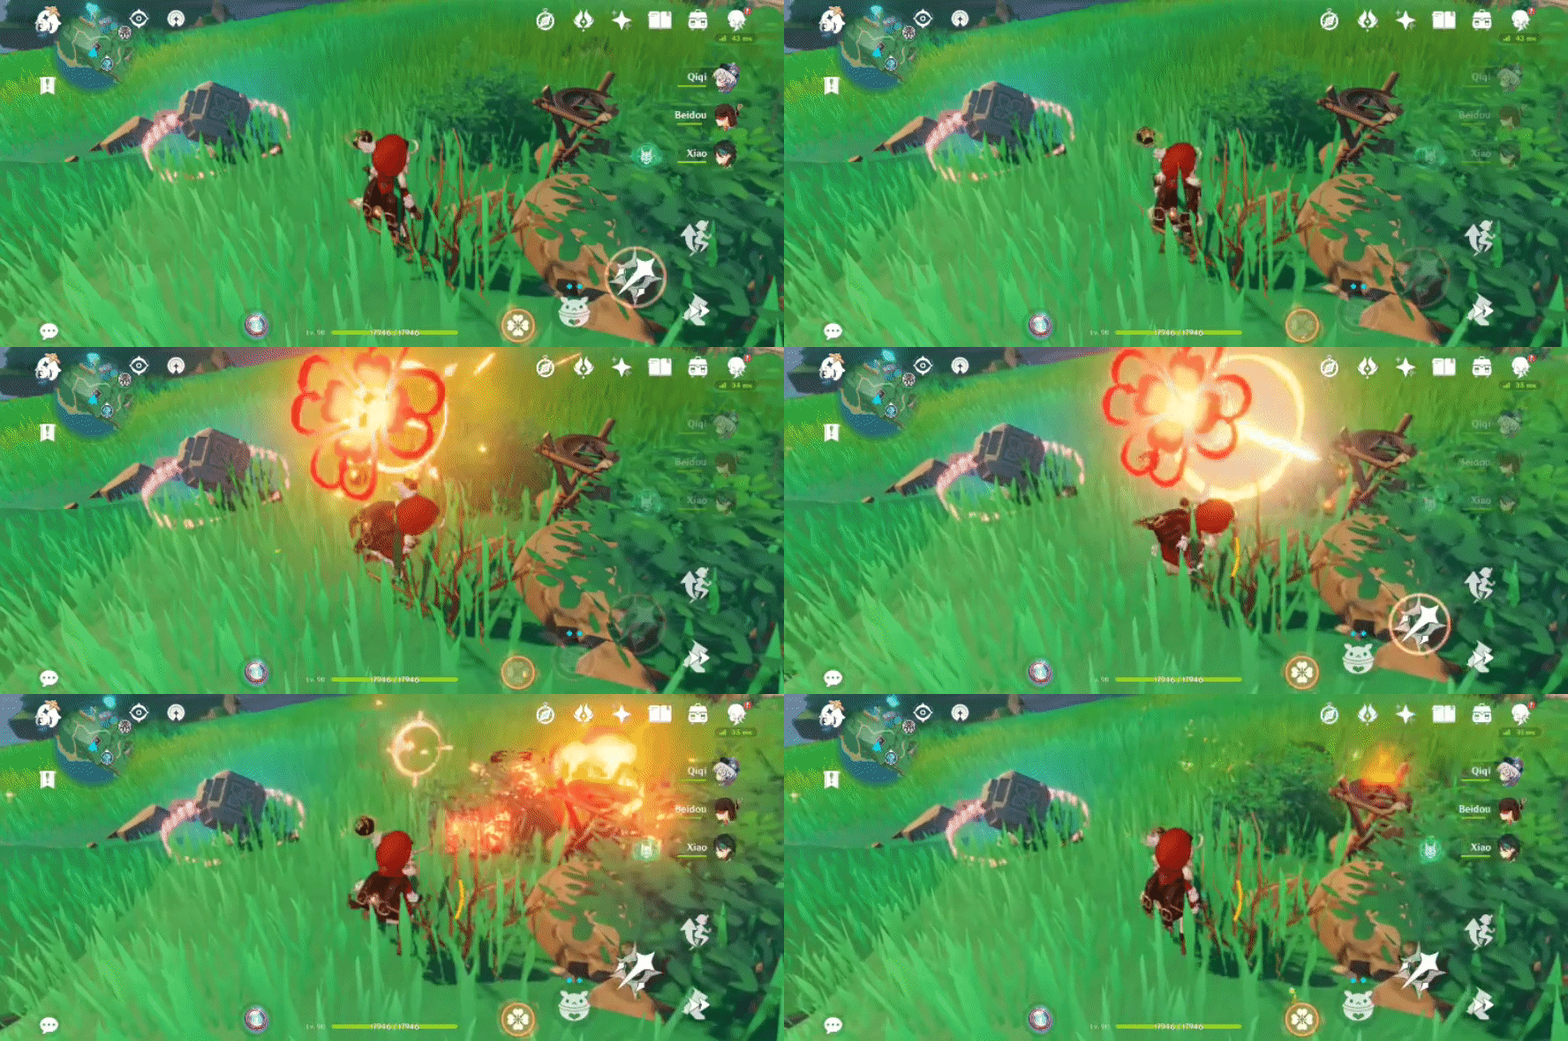
Torch #2- On the tip of the ledge
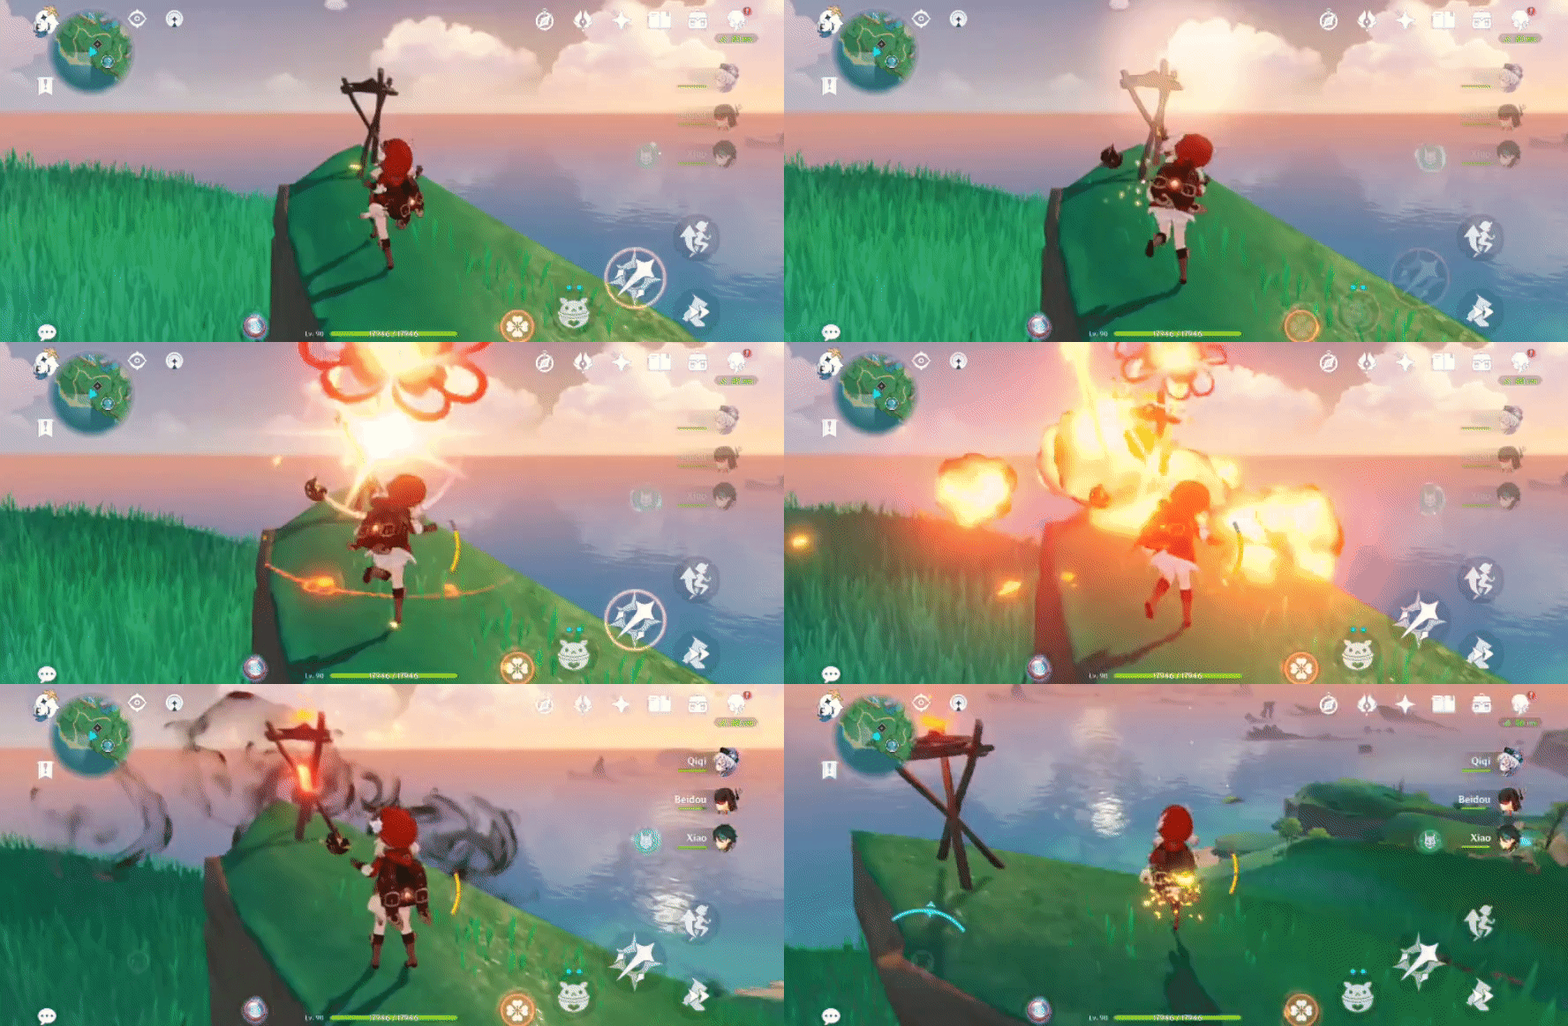
Torch #3- Next to the Seelie
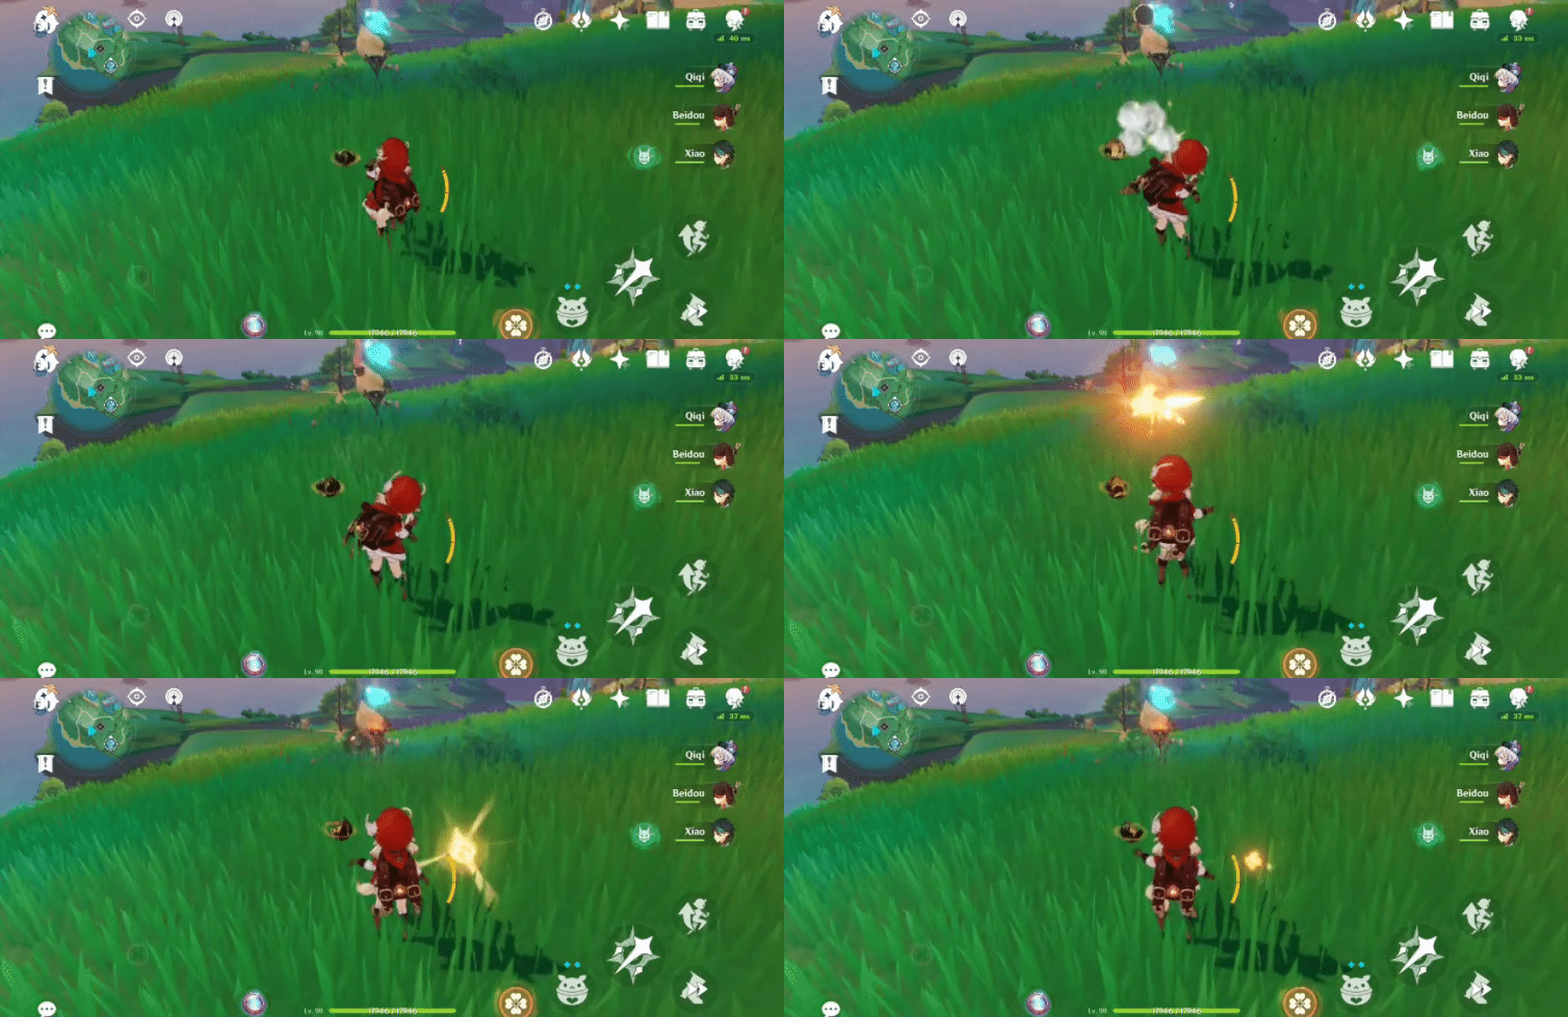
Torch #4- On the rock
183. [Spawned Chest]
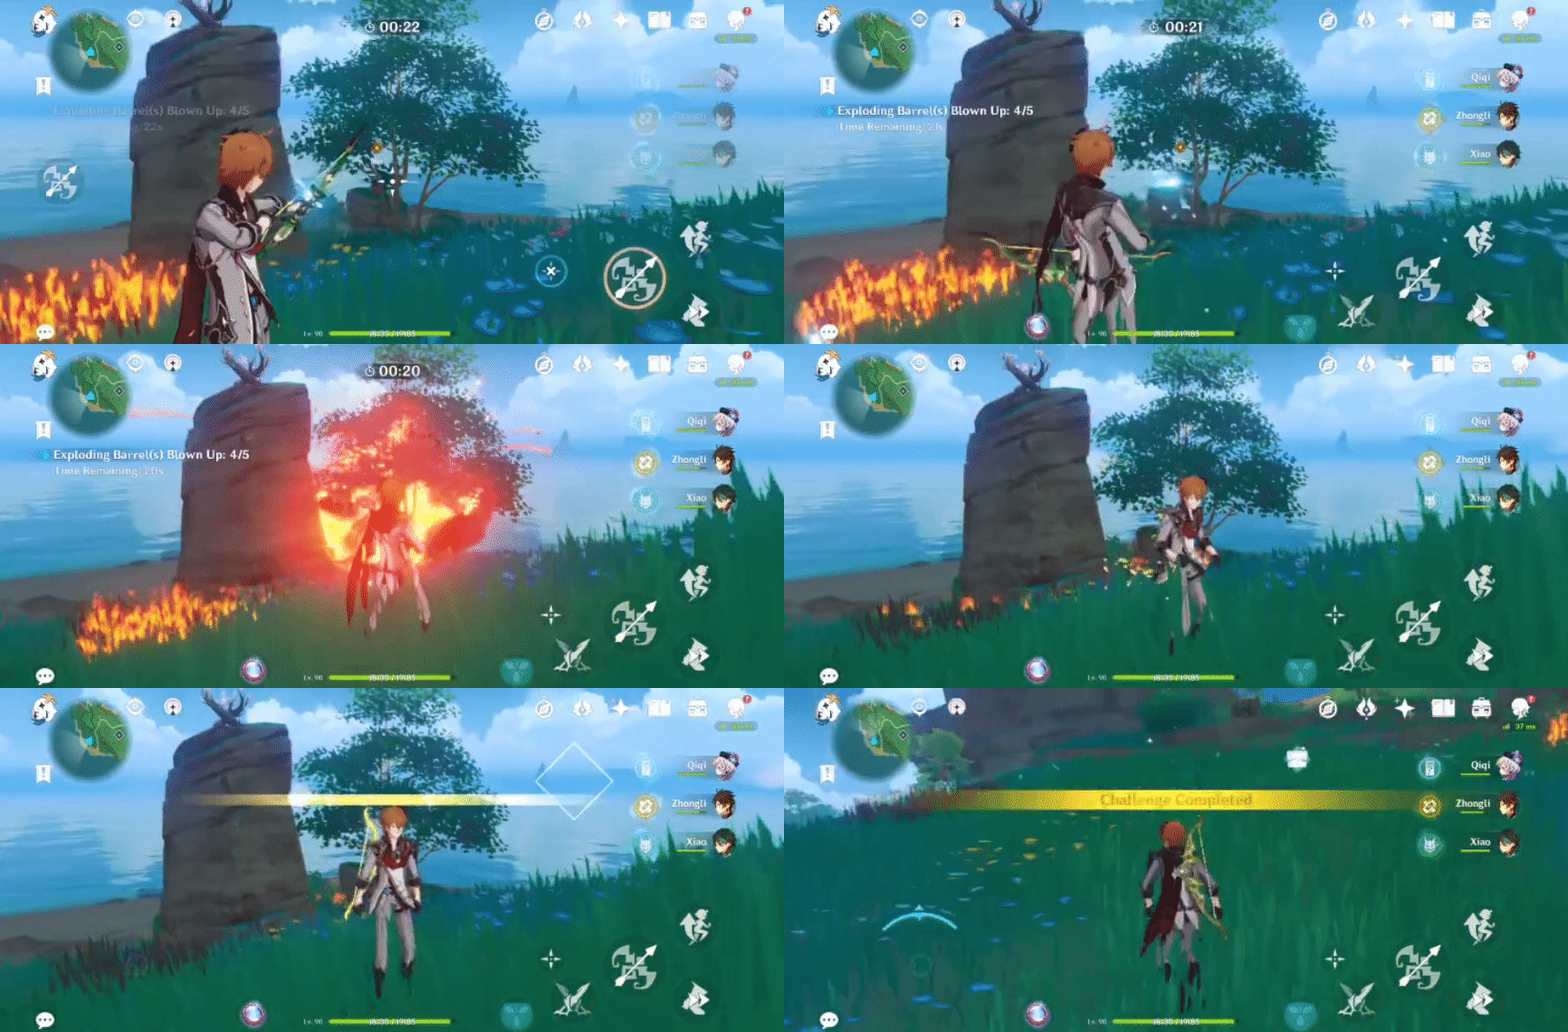
Will spawn after completing the Time Trial Challenge ('Blow up 5 Exploding Barrels within 45s').
Location (Challenge Marker):

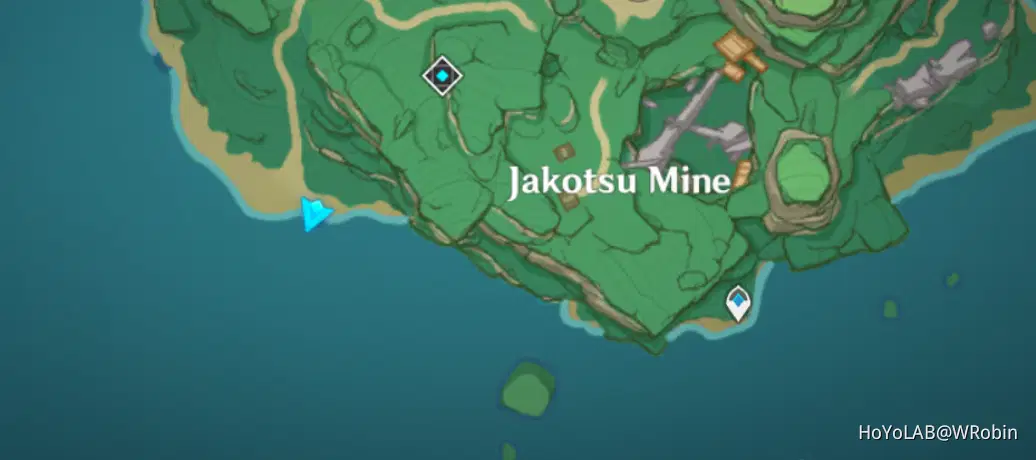
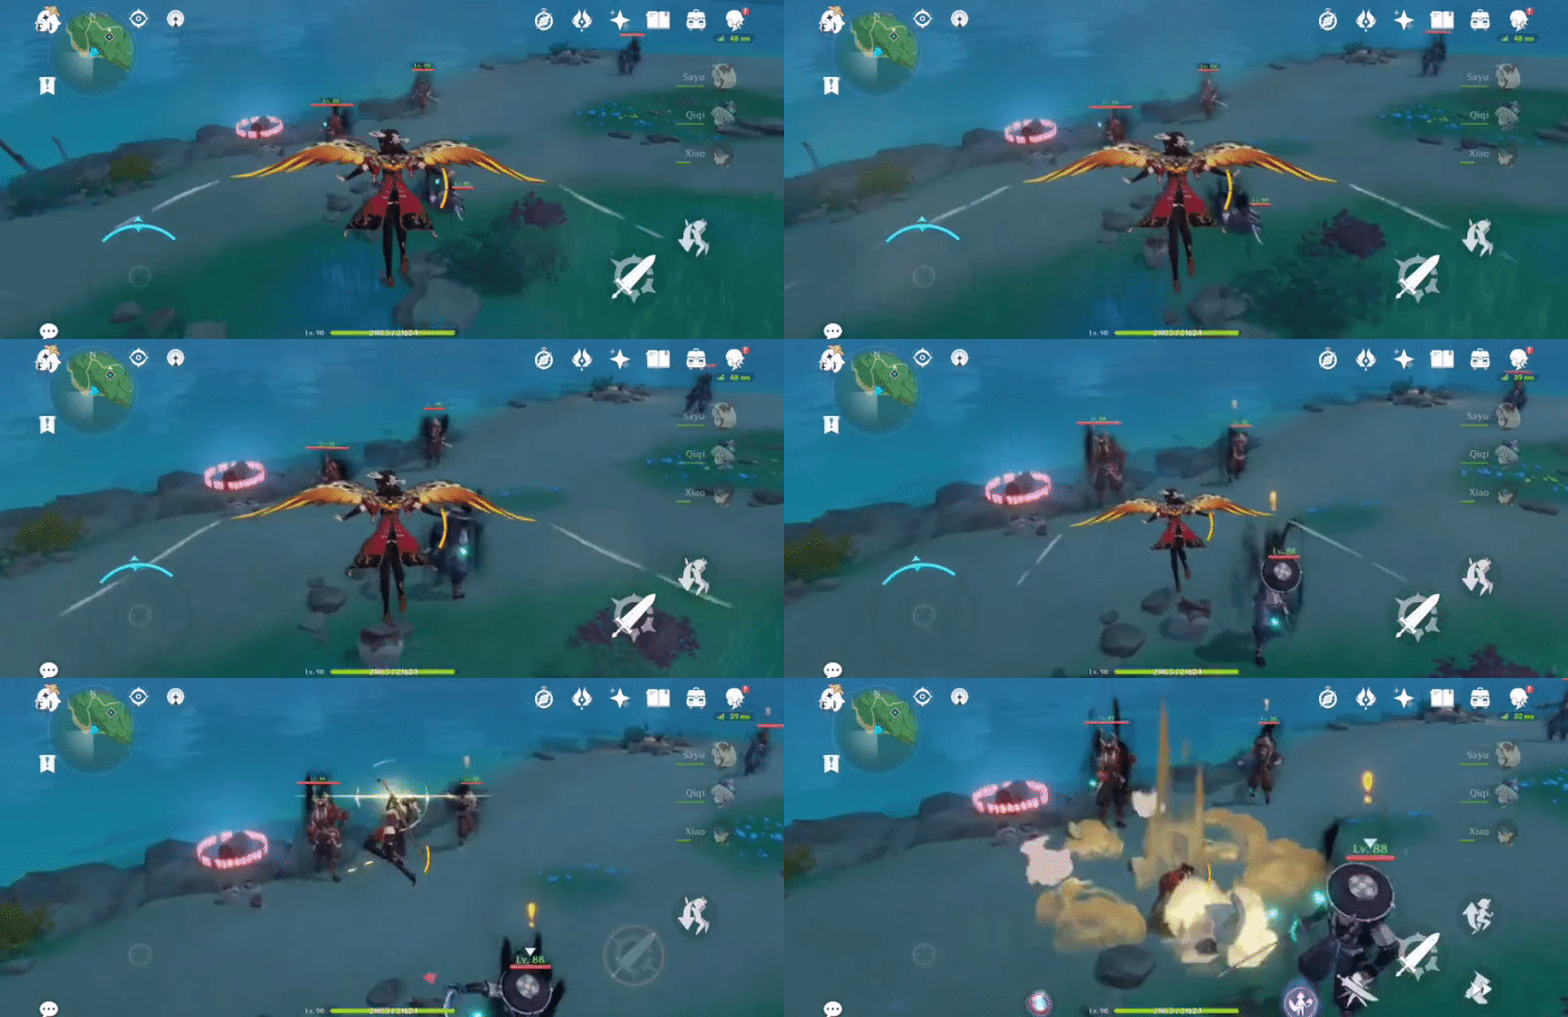
184. [Locked Chest] By the water
Will unlock after defeating 3 Nobushi and 1 Kairagi: Fiery Might.
Location:
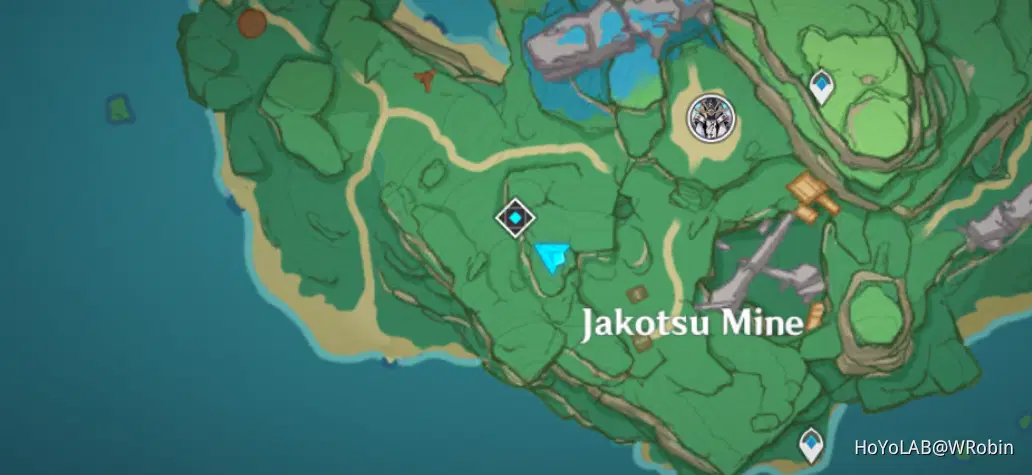
185. [Spawned Chest]
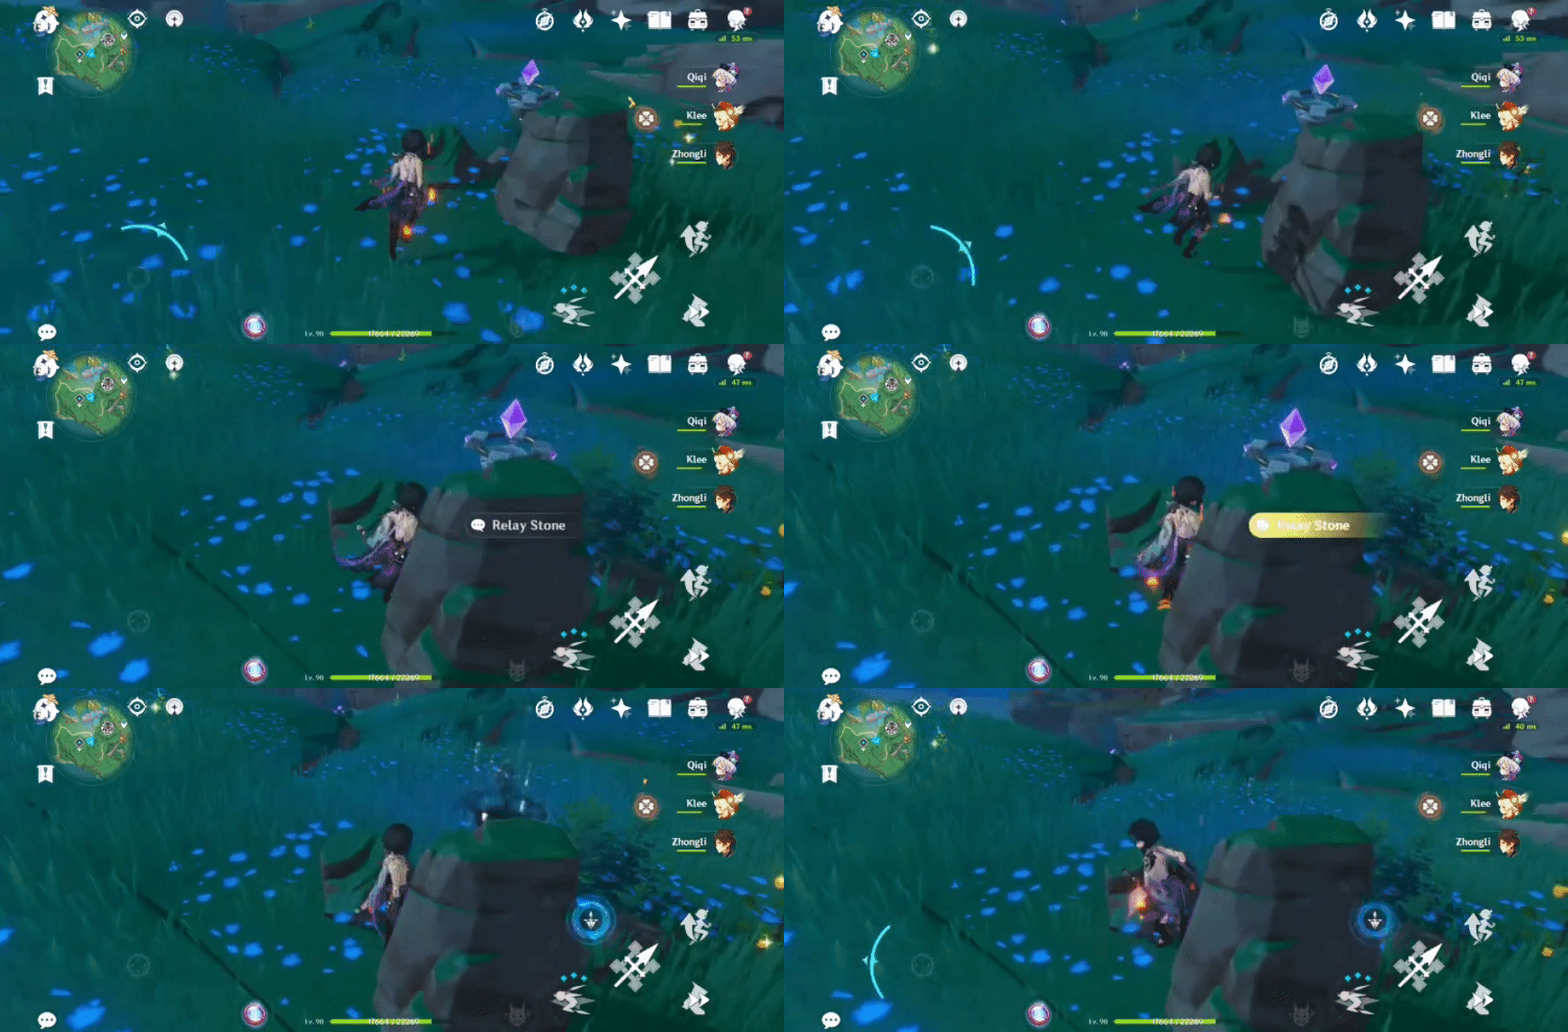
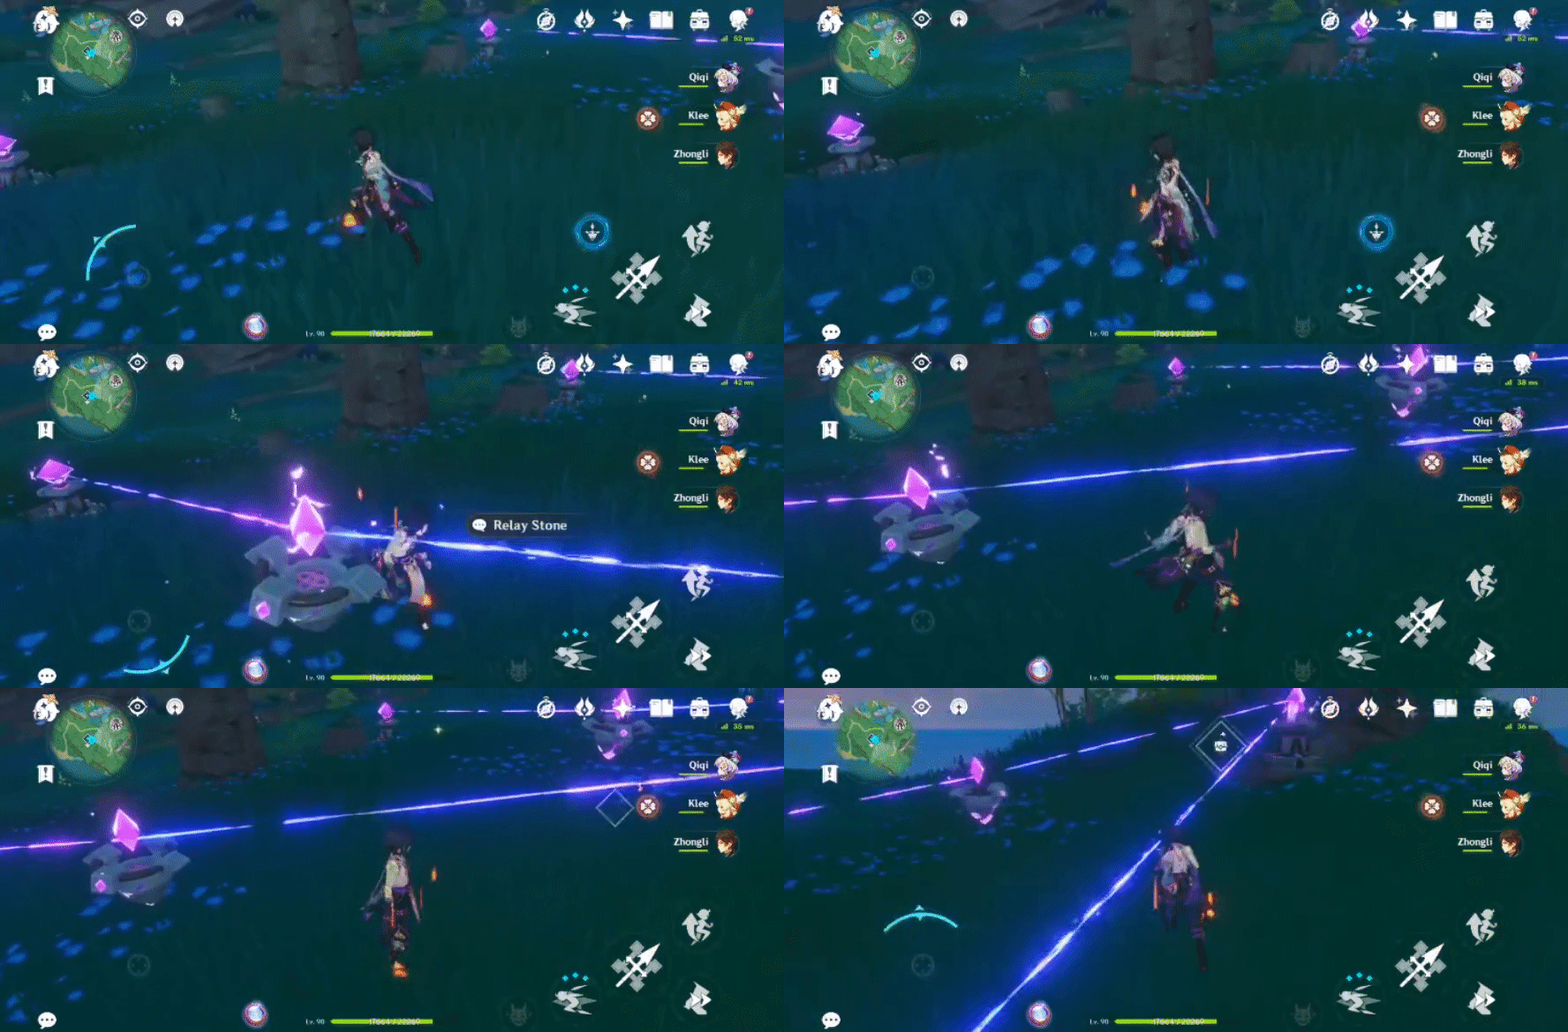
Will spawn after completing the Electro Array Circuit.
Location:
1. Take the Relay Stone on top of the rock and place it in between the middle Stone and the right Stone.
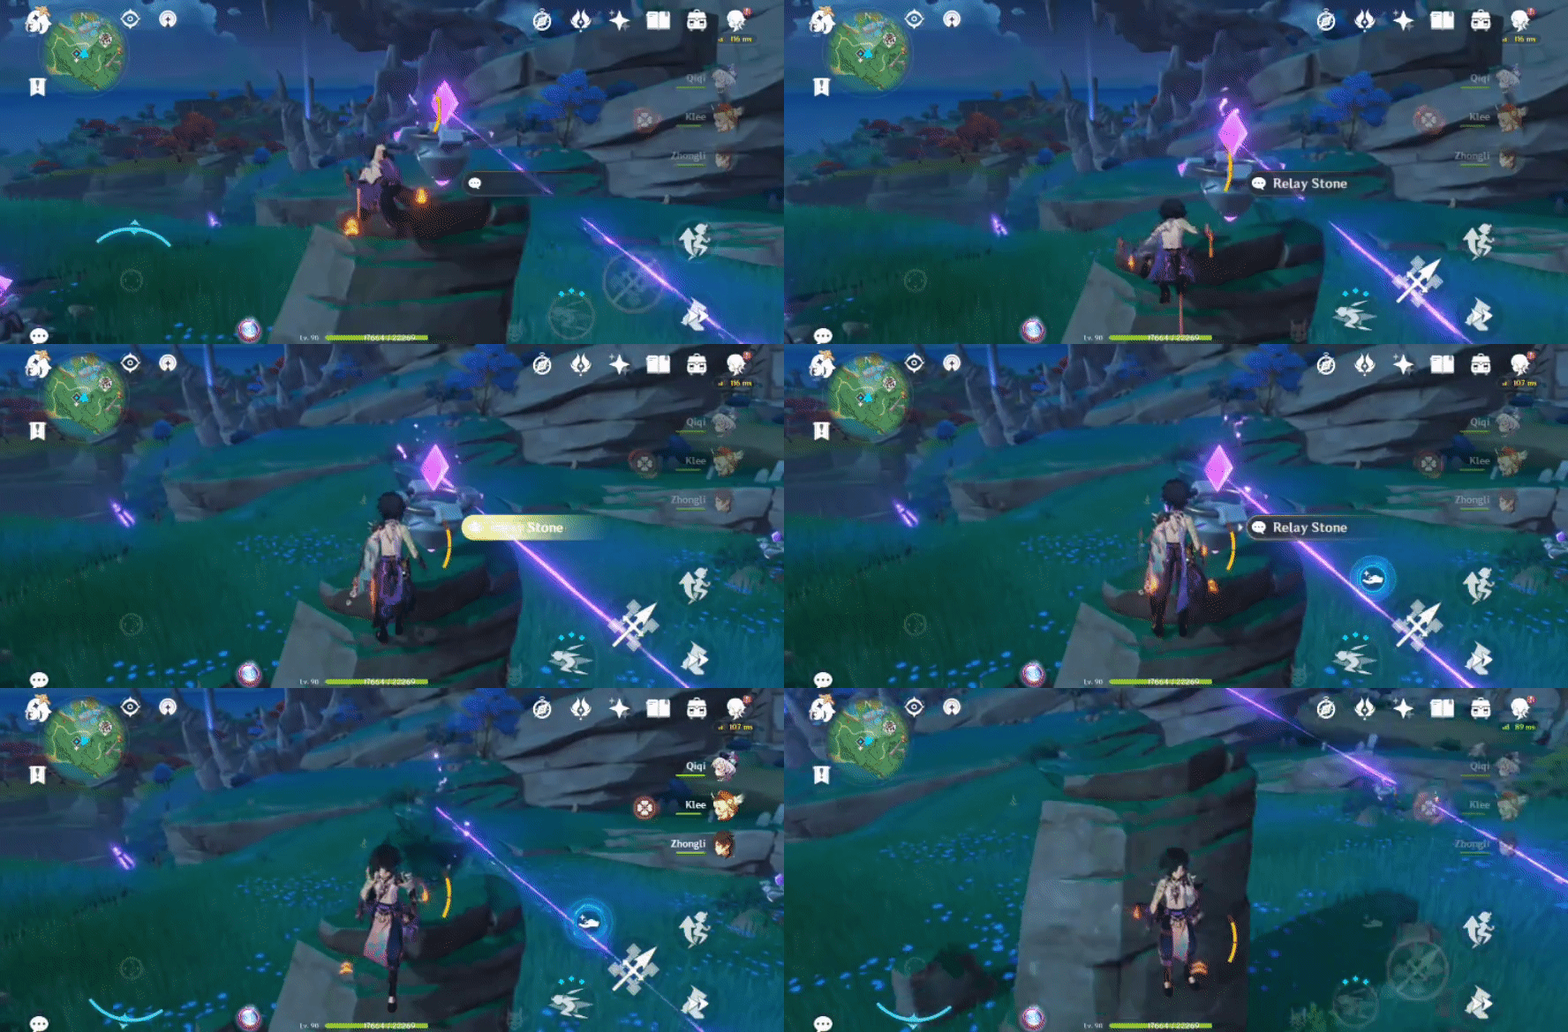
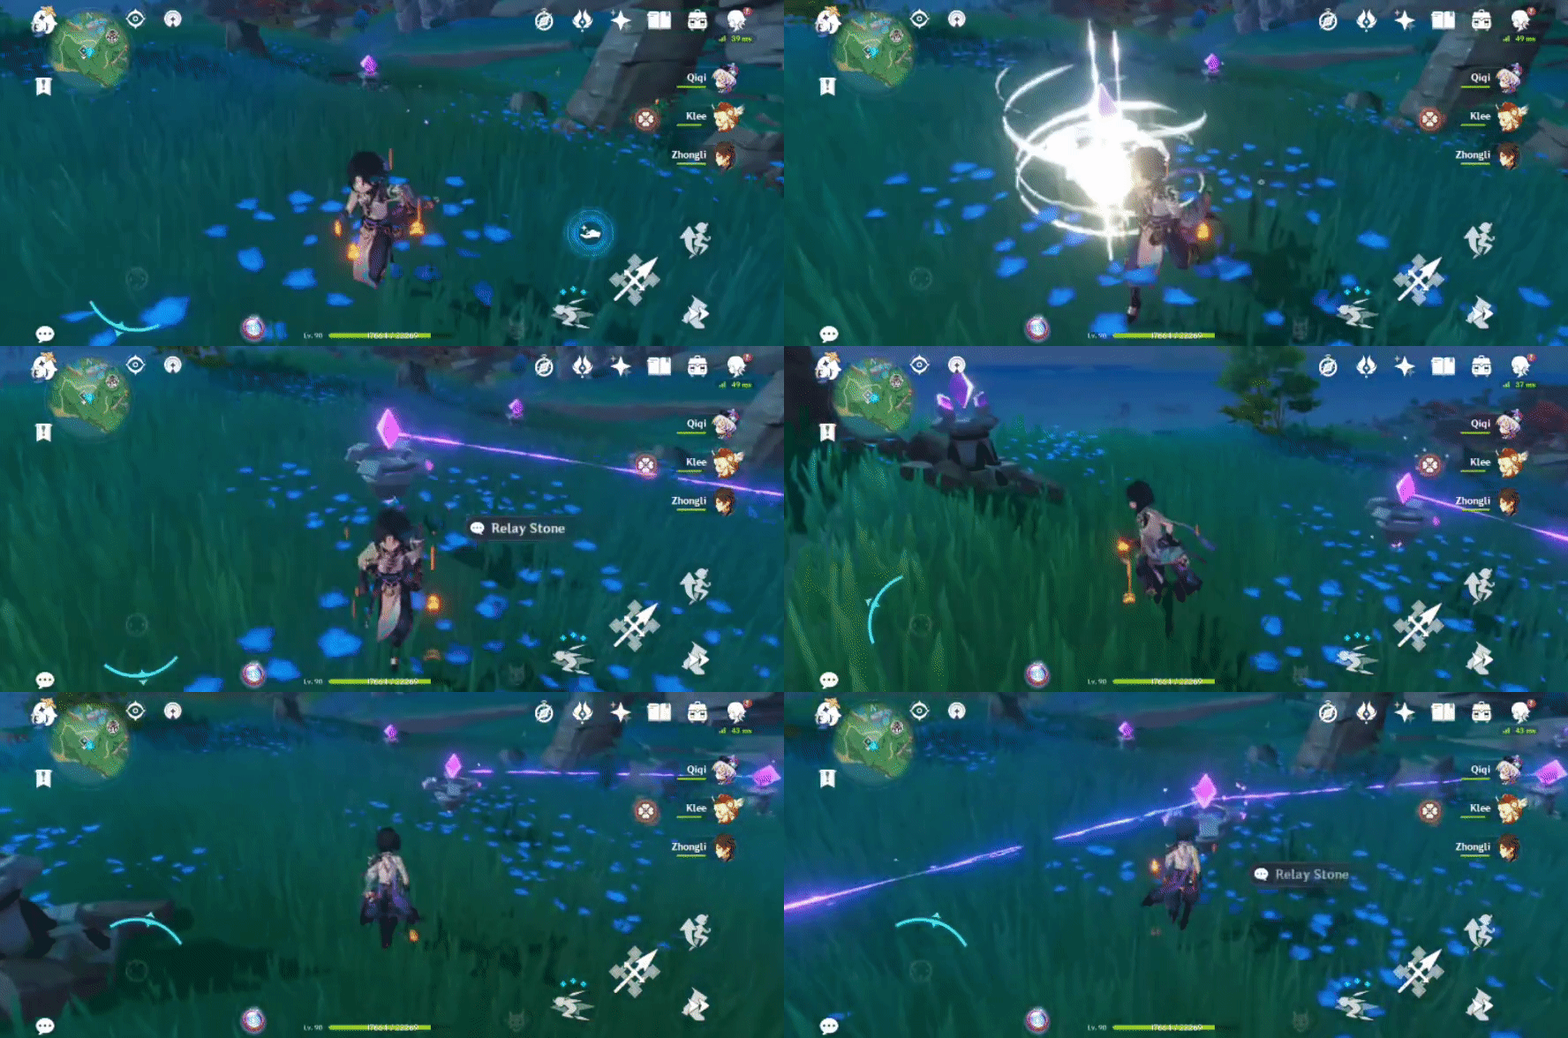
2. Take the other Relay Stone (further away) and place it in between the middle Stone and the left Stone.
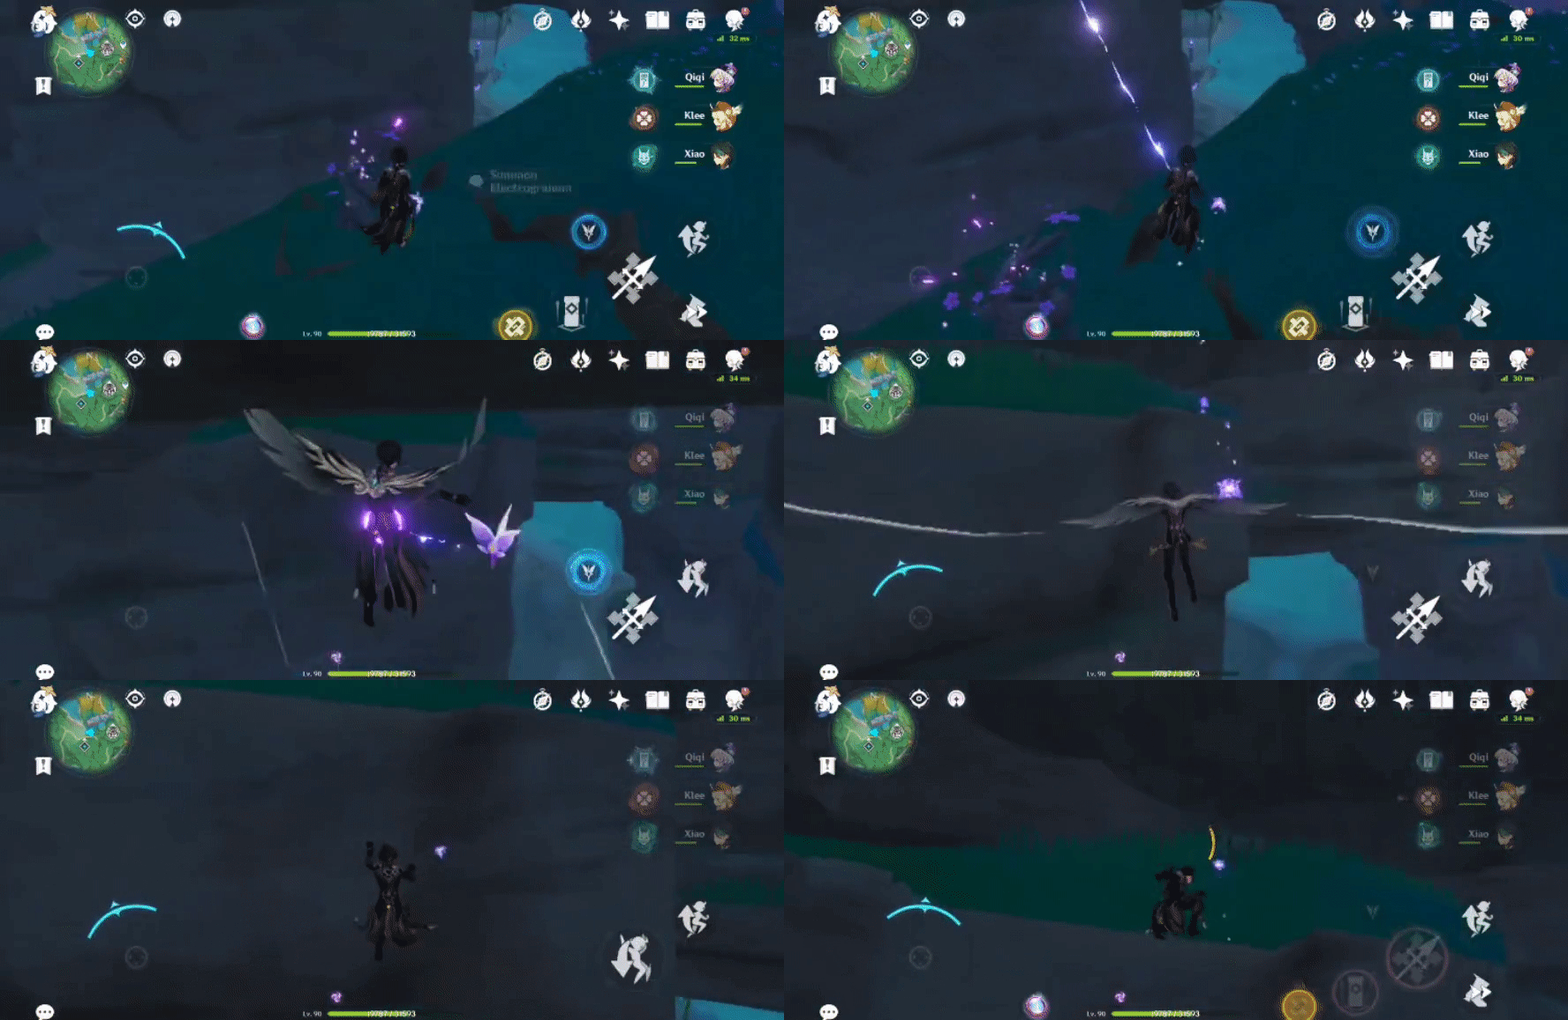
186. [Open Chest] On a high ledge, in the enclosure
Summon an Electrogranum to teleport across to it quickly.
Location (Electrogranum):
Location (Chest):

187. [Locked Chest]
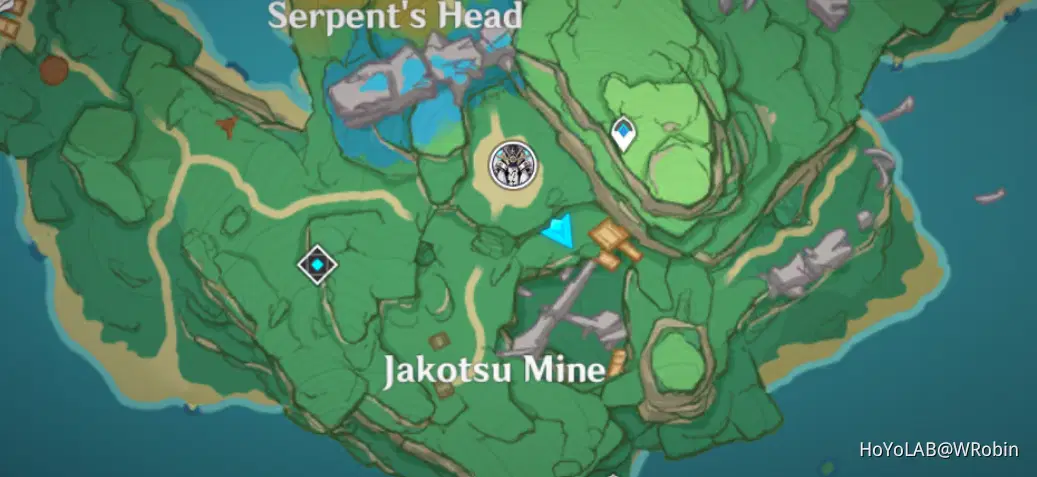
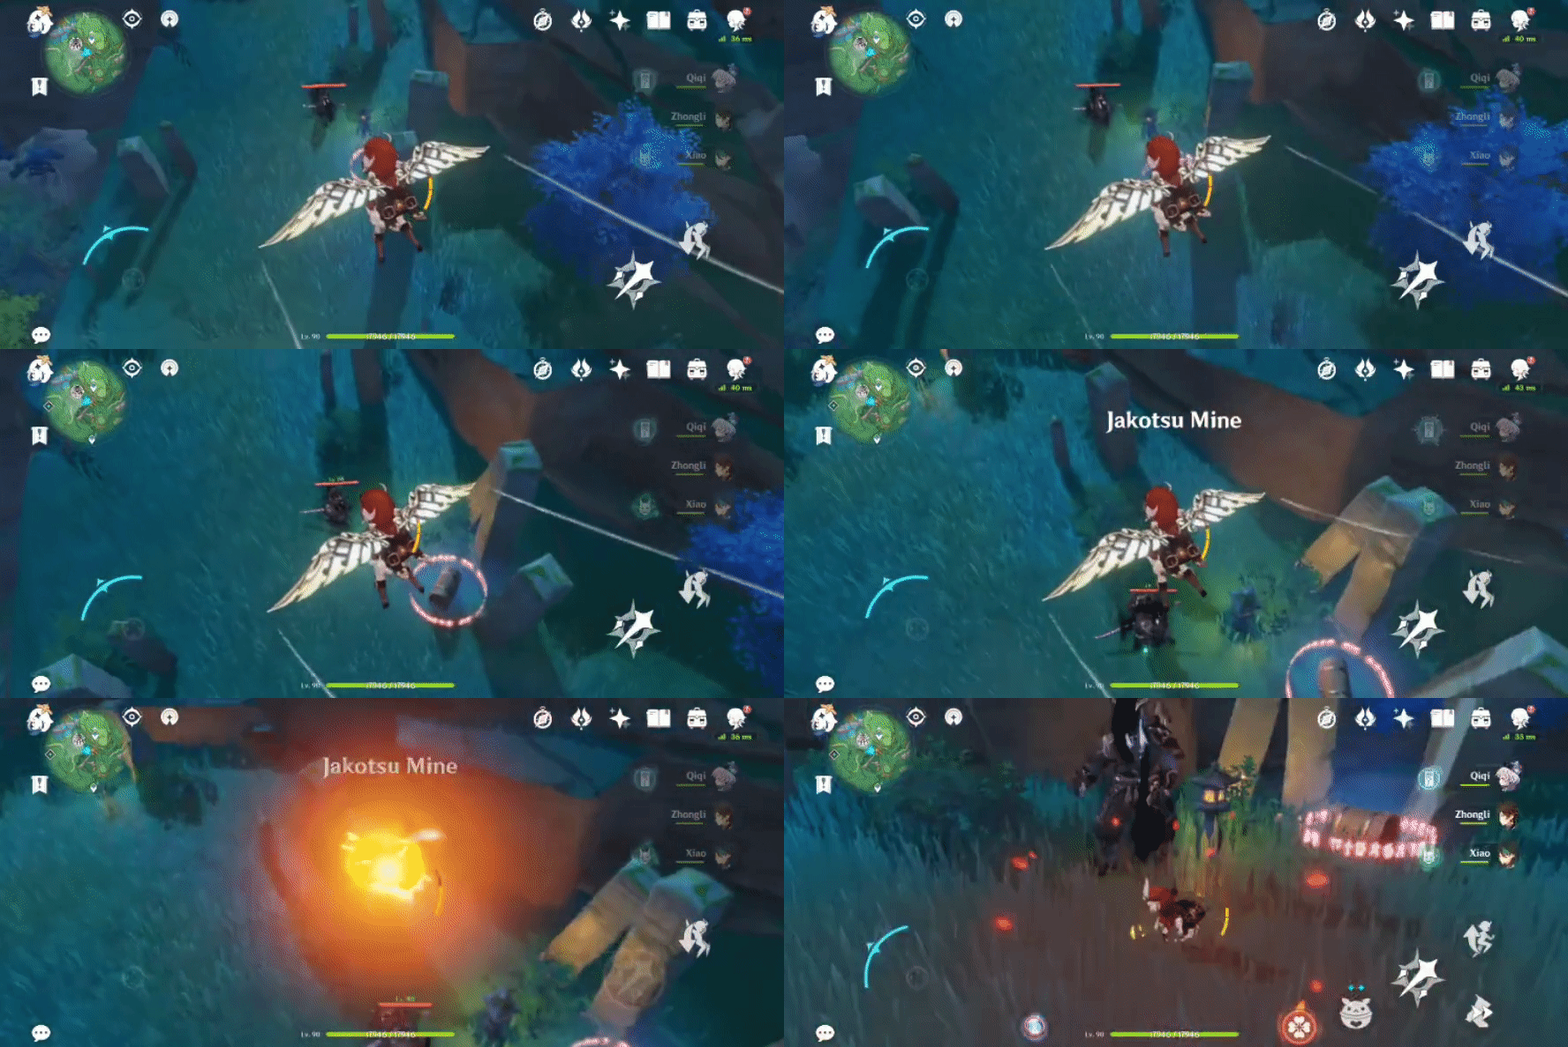
Will unlock after defeating 1 Kairagi: Dancing Thunder.
Location:
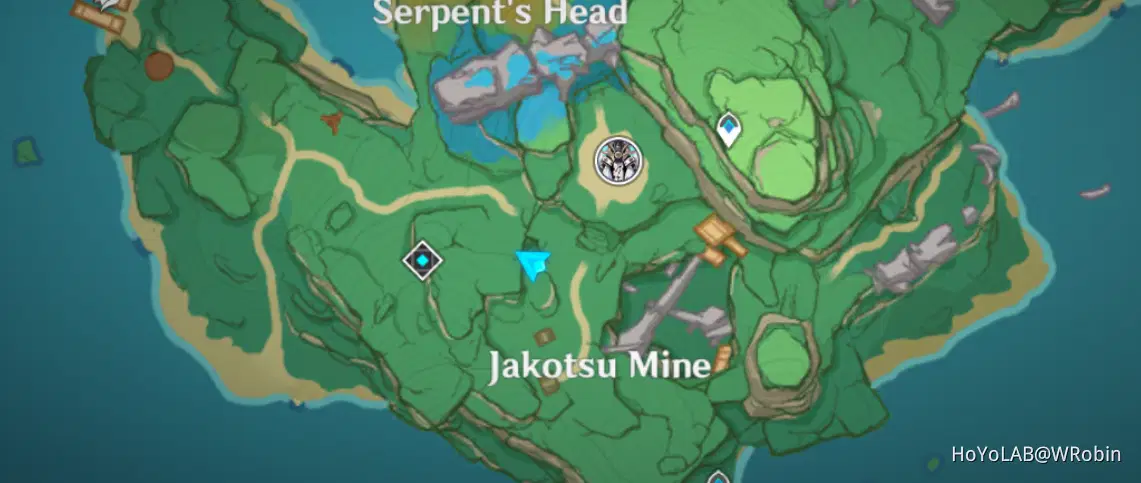
188. [Spawned Chest]
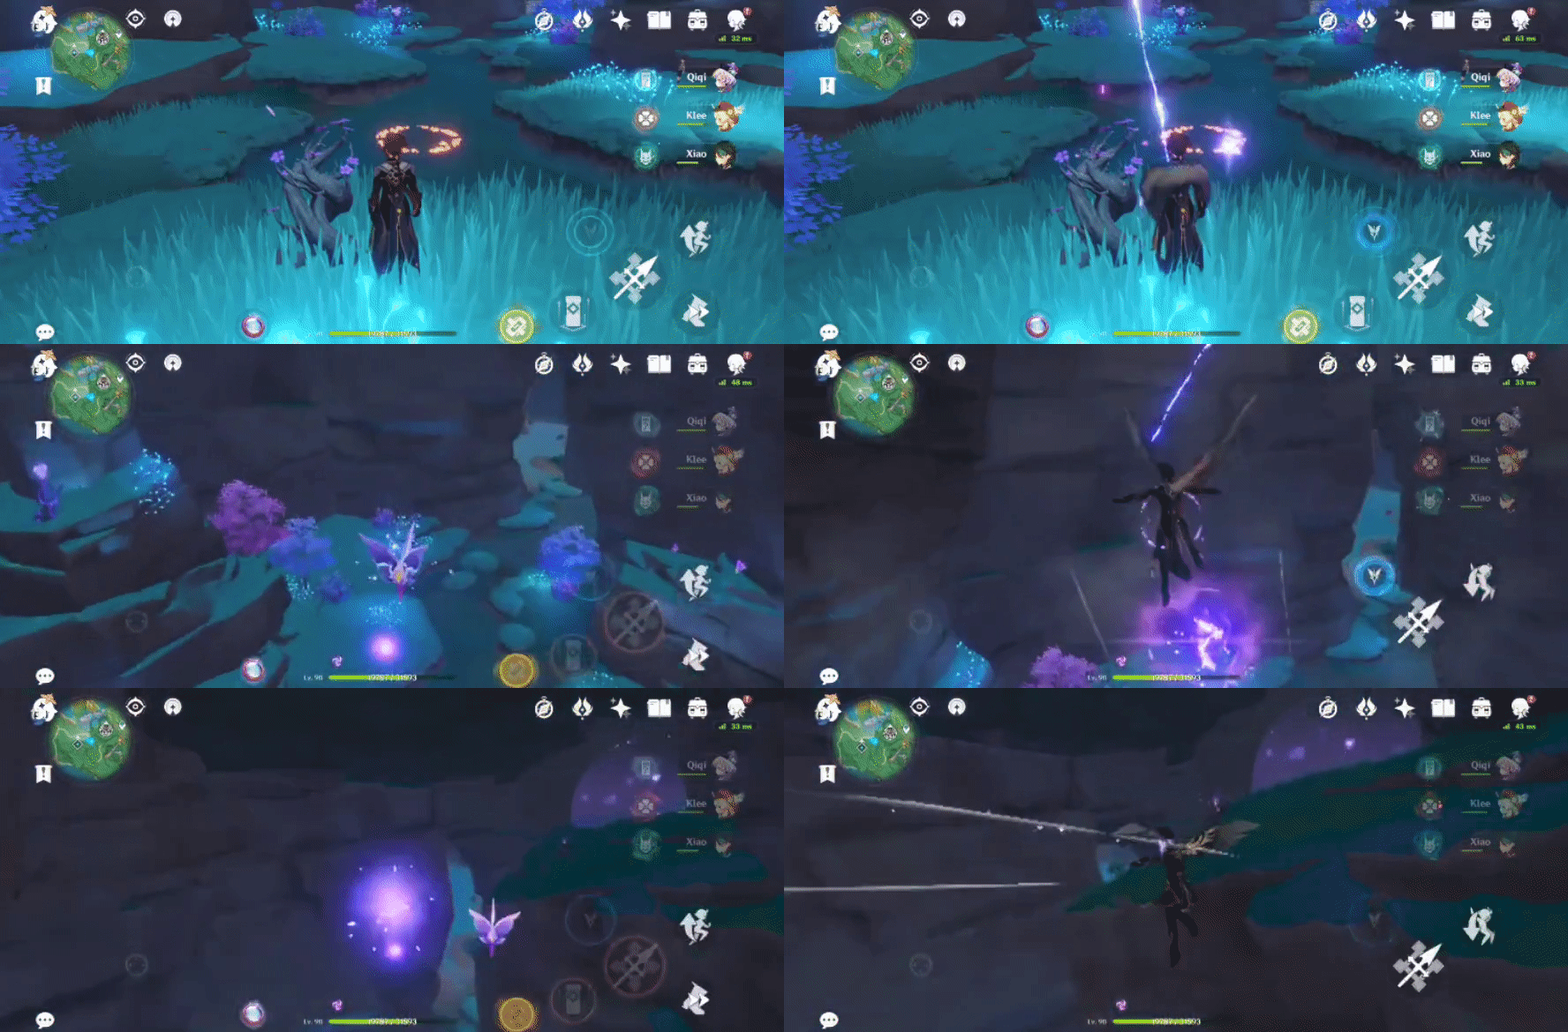
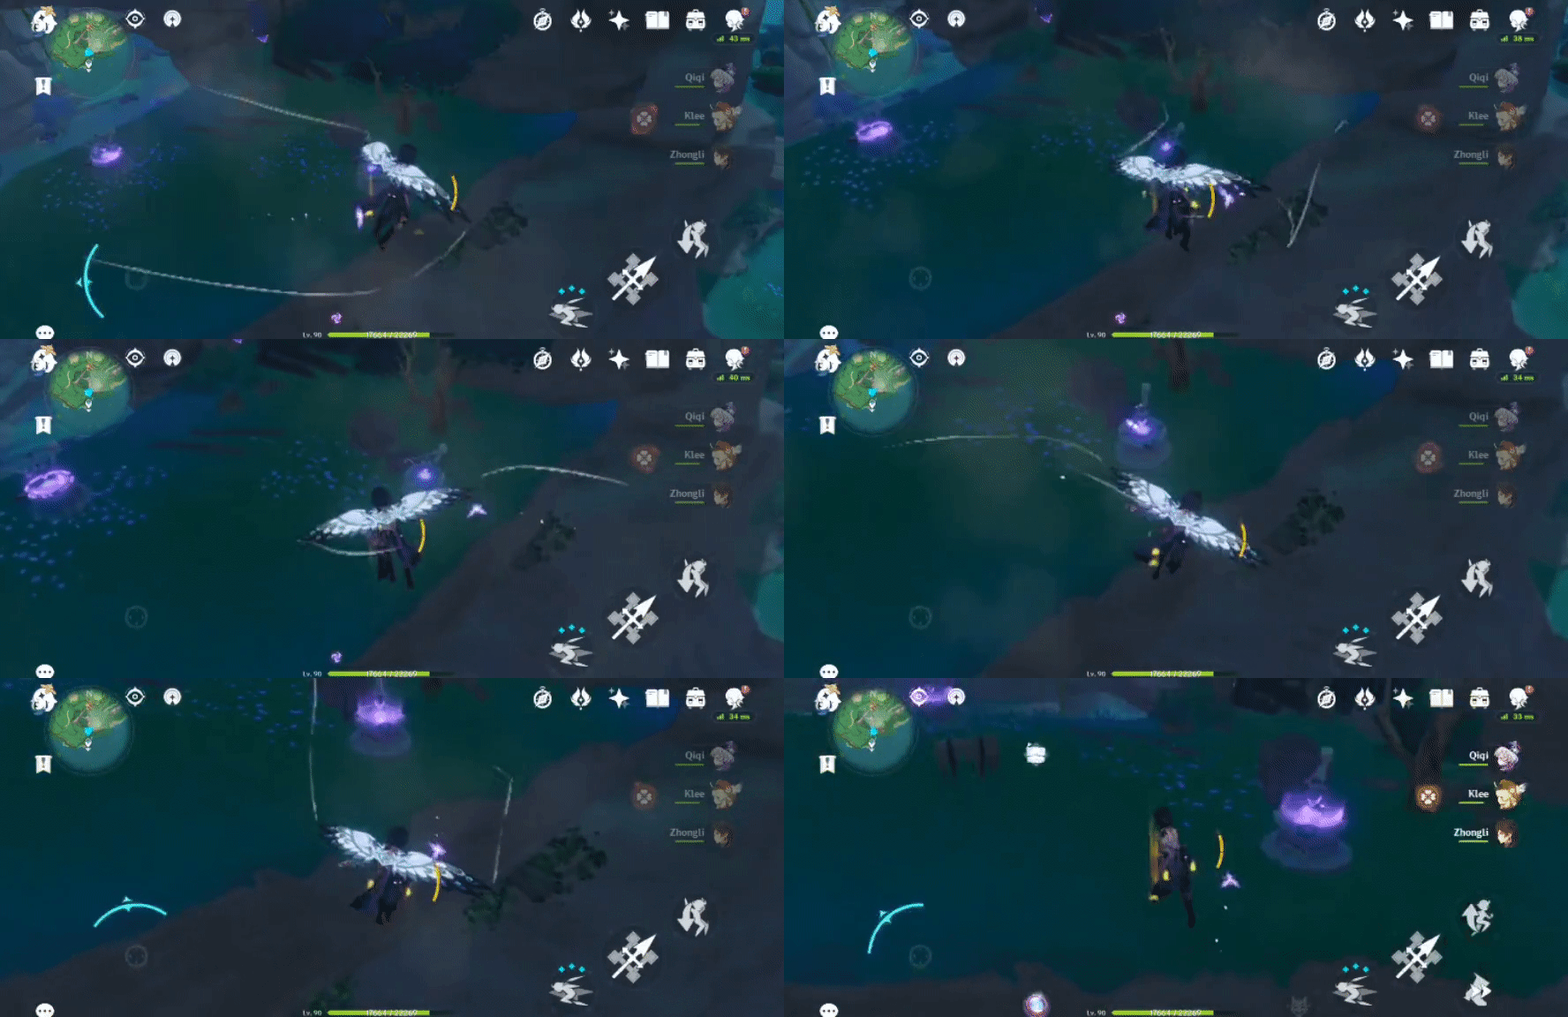
Will spawn after the 2 Lightning Strike Probes point in the right direction.
1. Summon an Electrogranum in the mine below, and teleport upwards.
Location (Electrogranum):
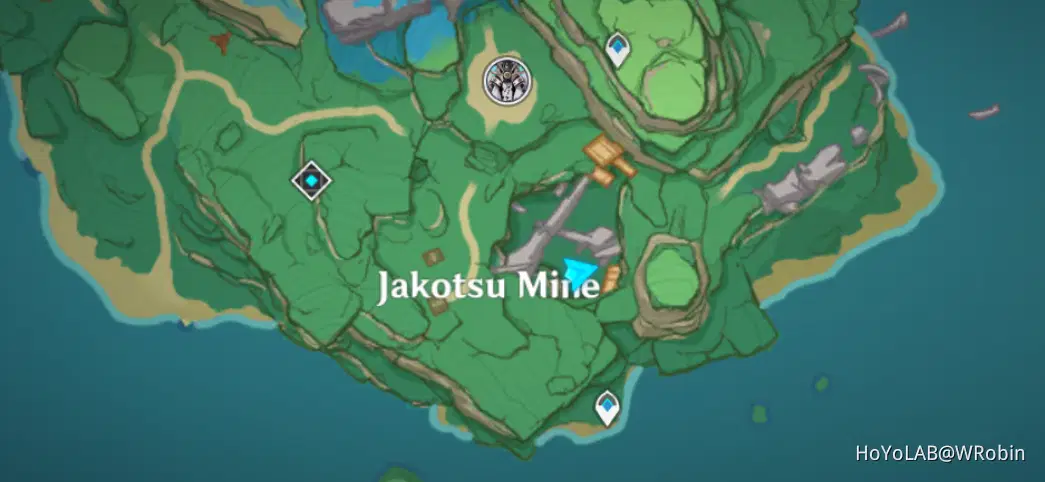
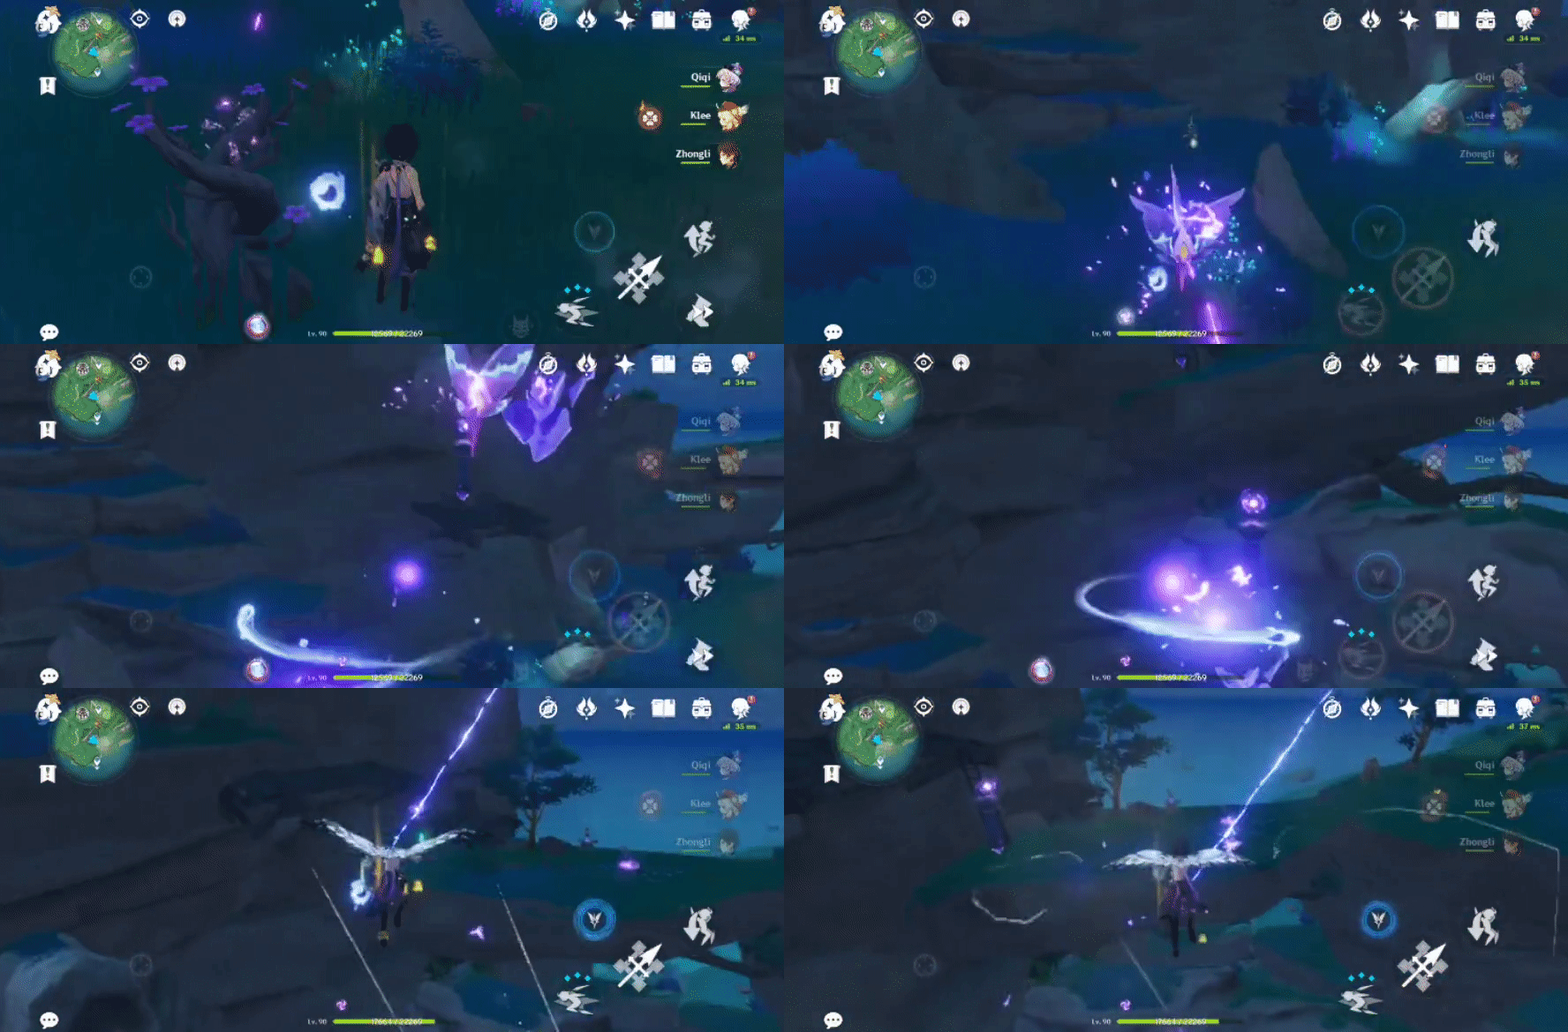
2. Glide to the Probes and don't descend until you're on the right side of the right Probe (to avoid turning the other).
Location (Chest):

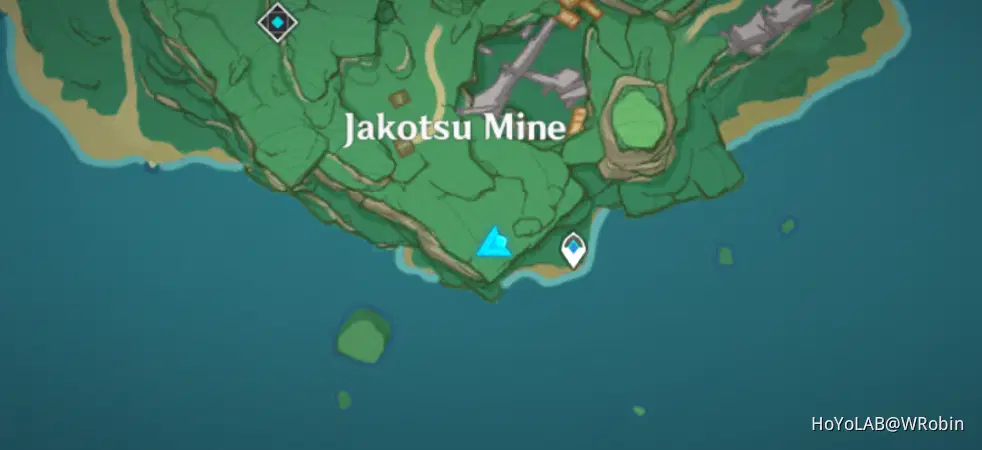
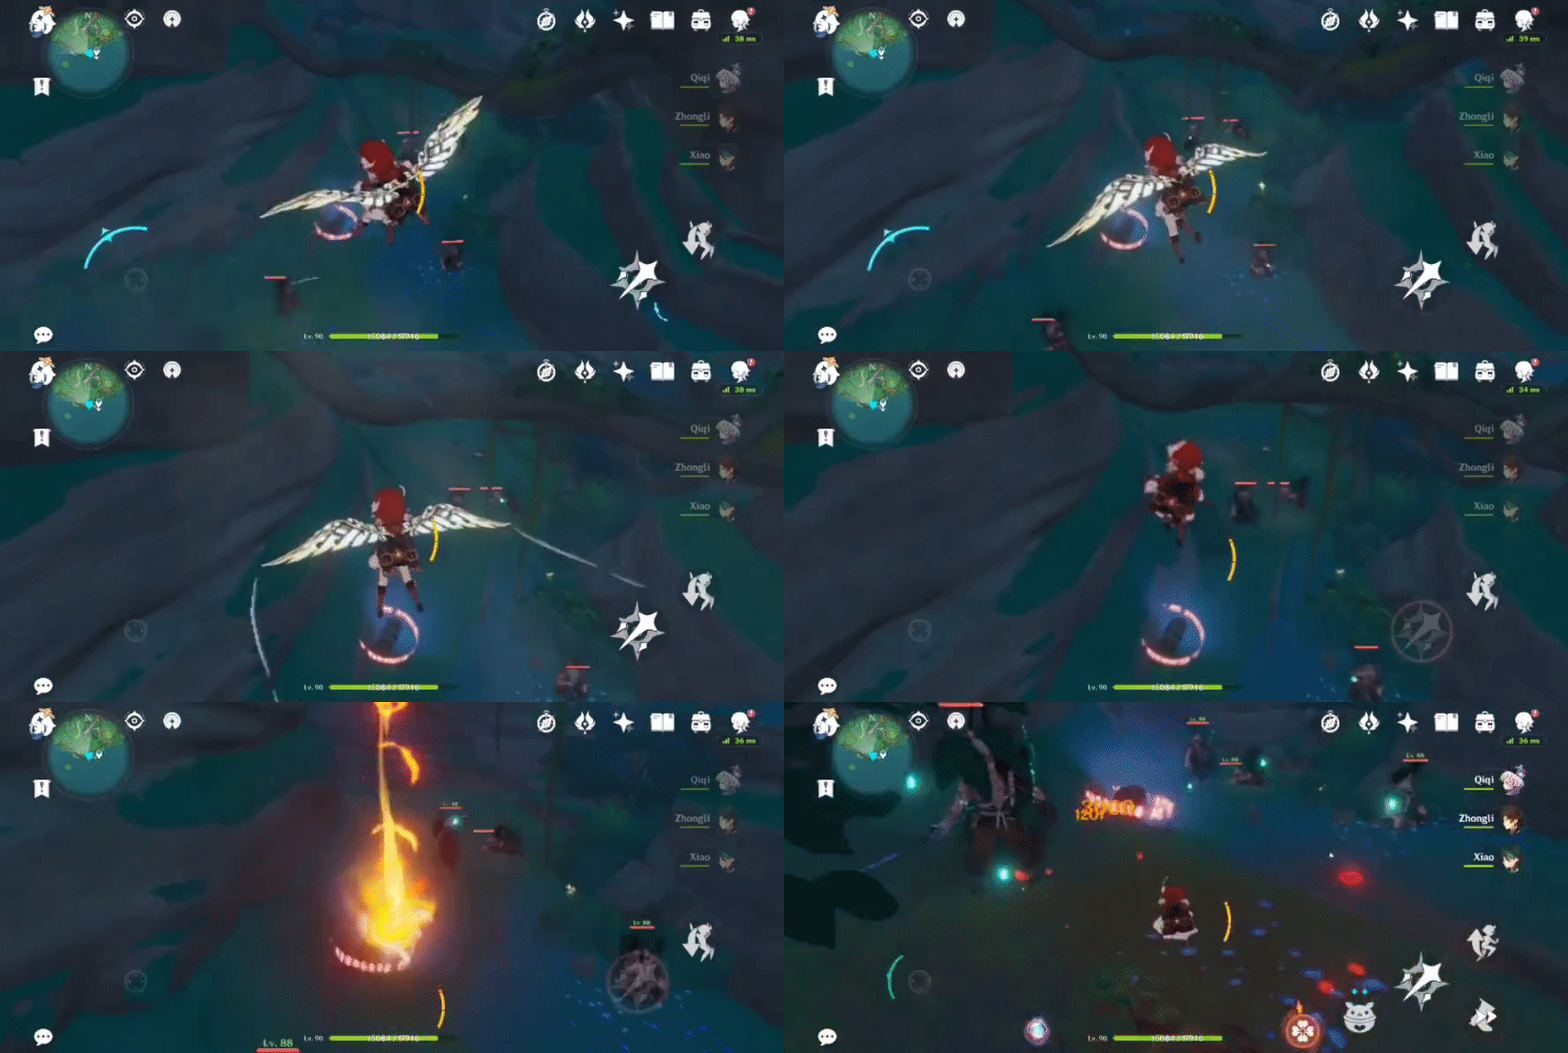
189. [Locked Chest] Ground level
Will unlock after defeating 4 Nobushi.
Location:
190. [Hidden Chest]
Use elements like Pyro to break the rocks to access.
Location:

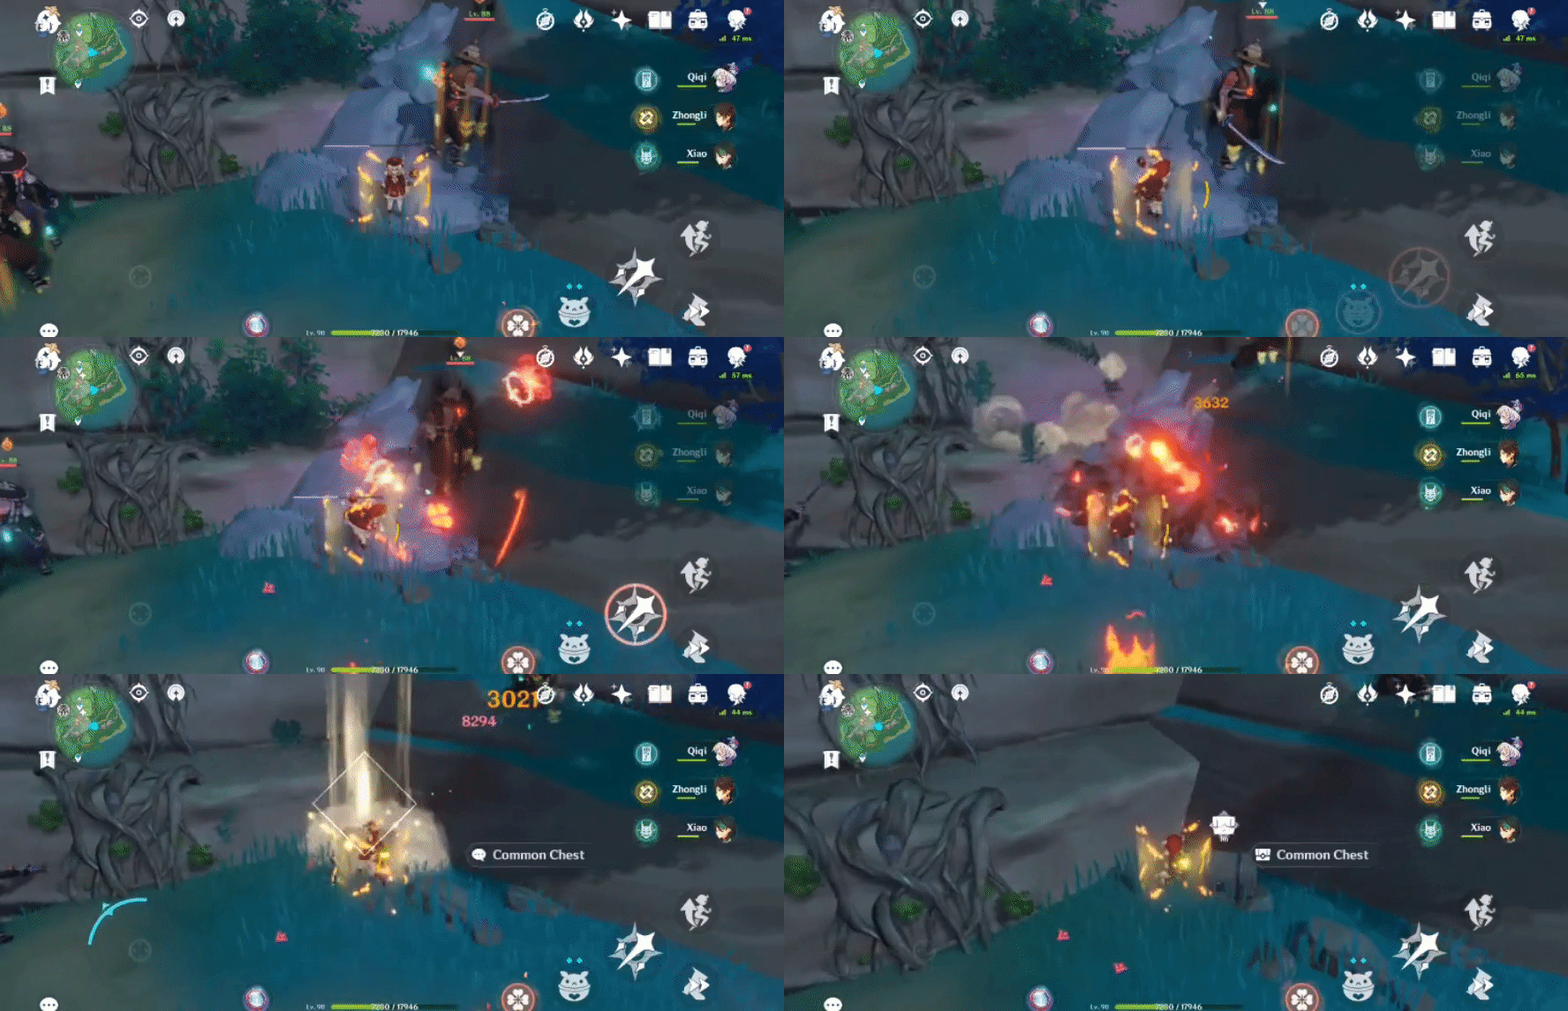
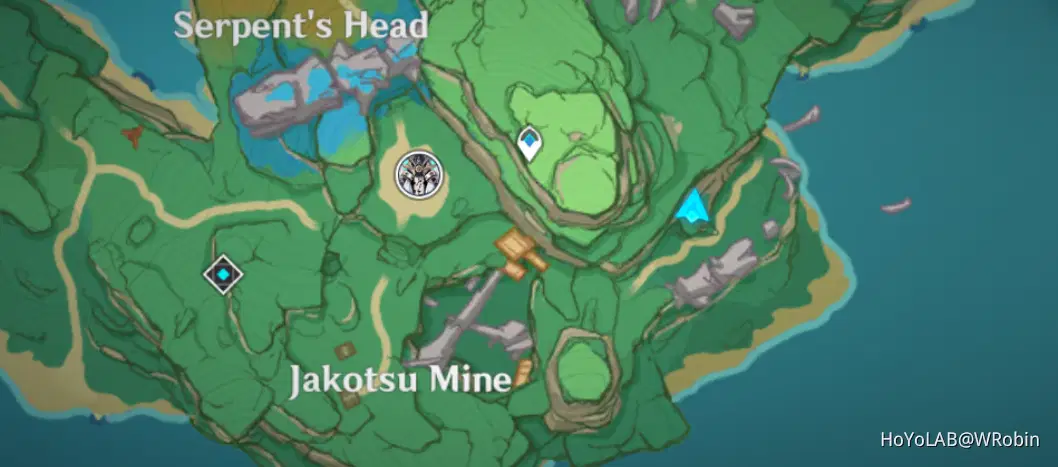
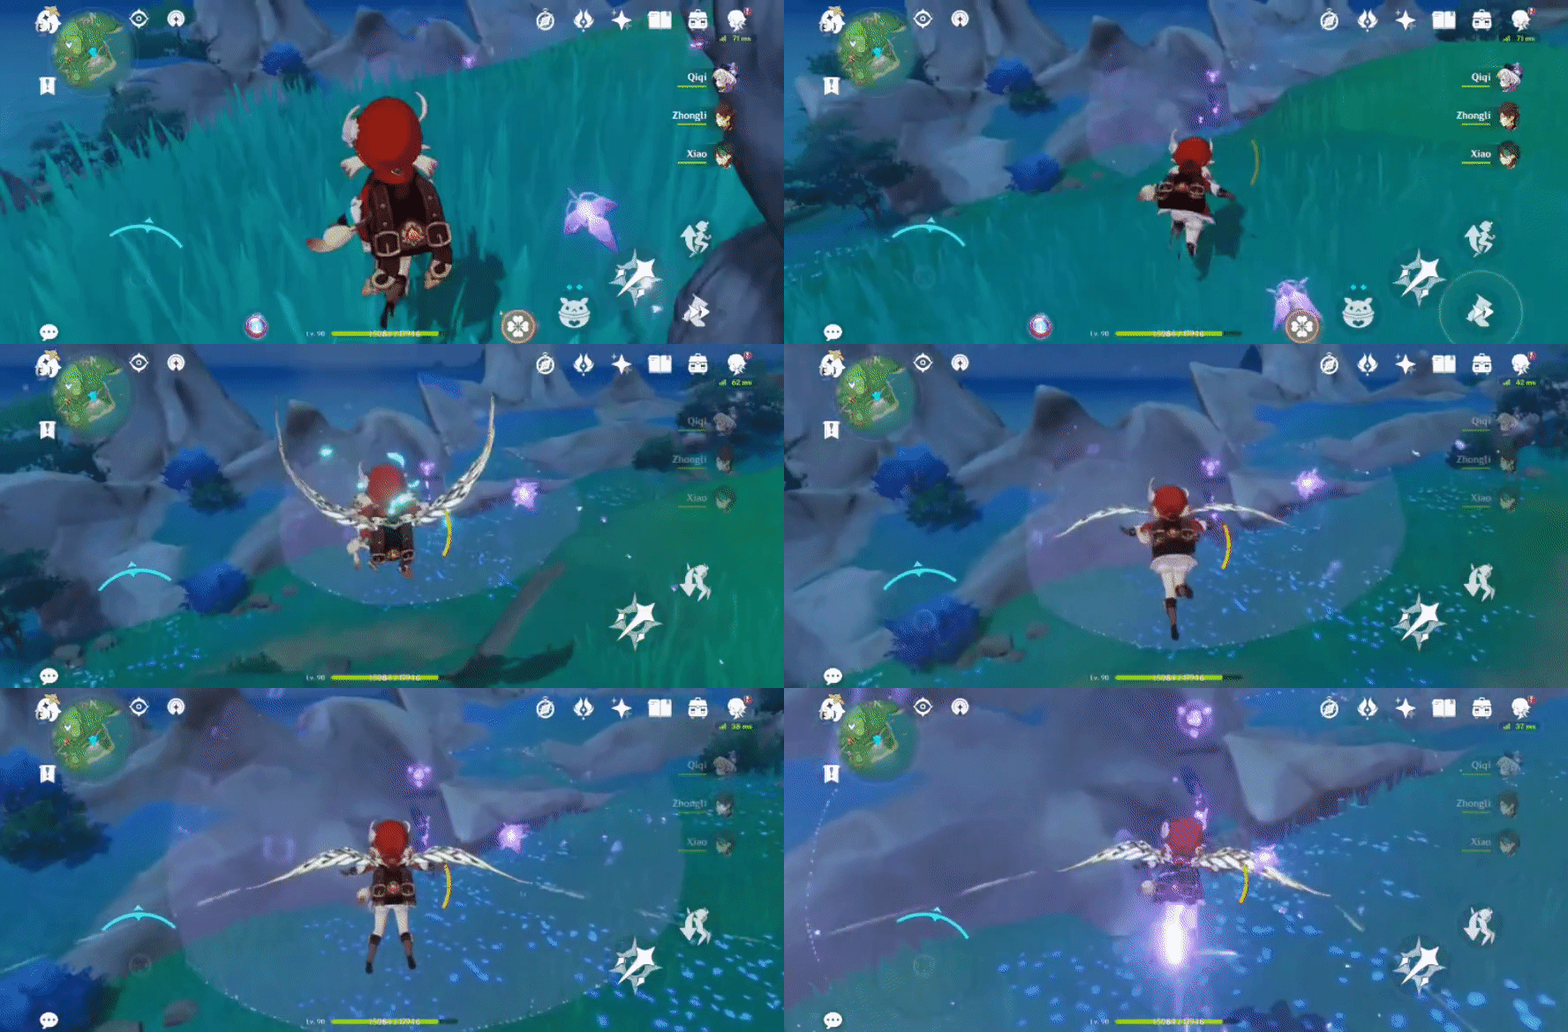
191. [Trapped Chest] Inside the barrier
Summon an Electrogranum from the ledge nearby to pass through the barrier to access.
Location (Electrogranum):
Location (Chest):
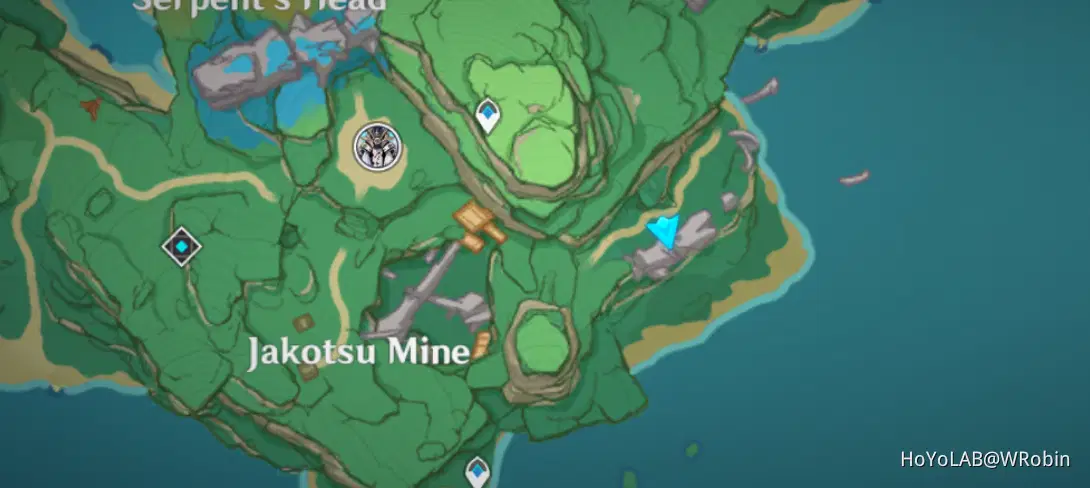
192. [Hidden Chest]
Use elements like Pyro to break the rocks to access.
Location:
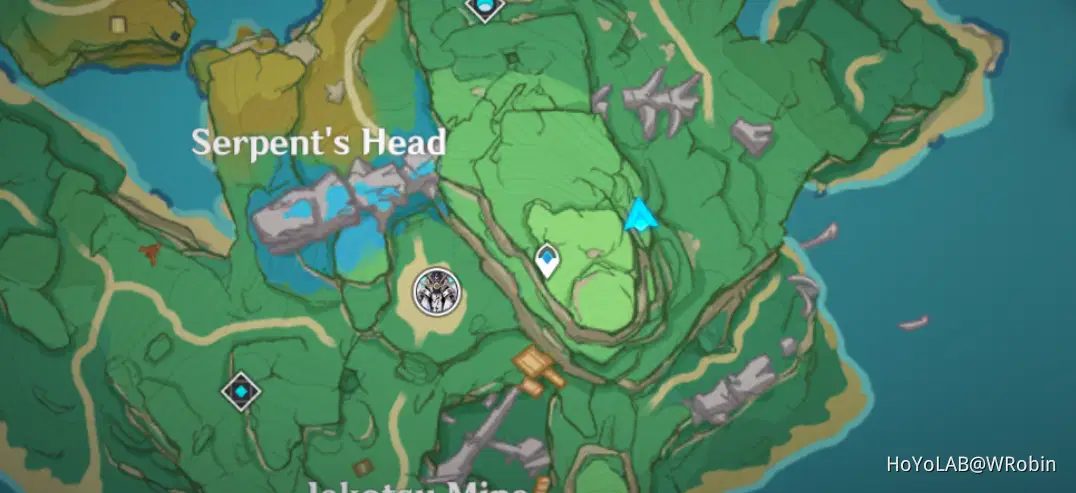
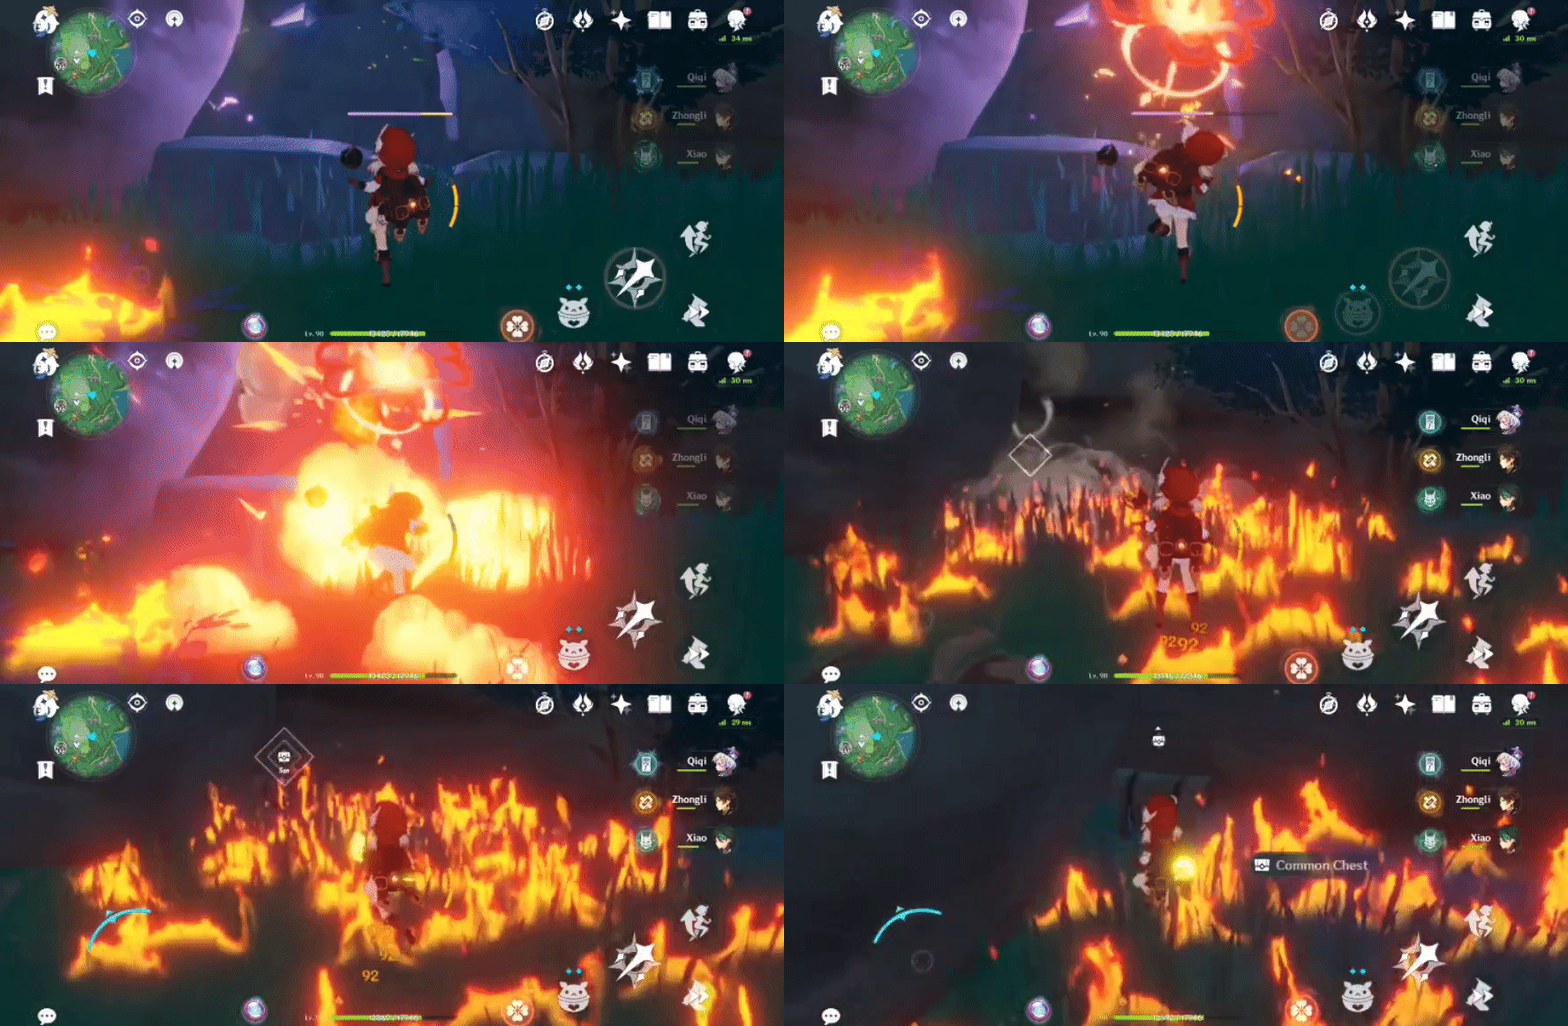
193. [Locked Chest] Next to the tent, on top of the box
Will unlock after defeating 4 Treasure Hoarders.
Location:

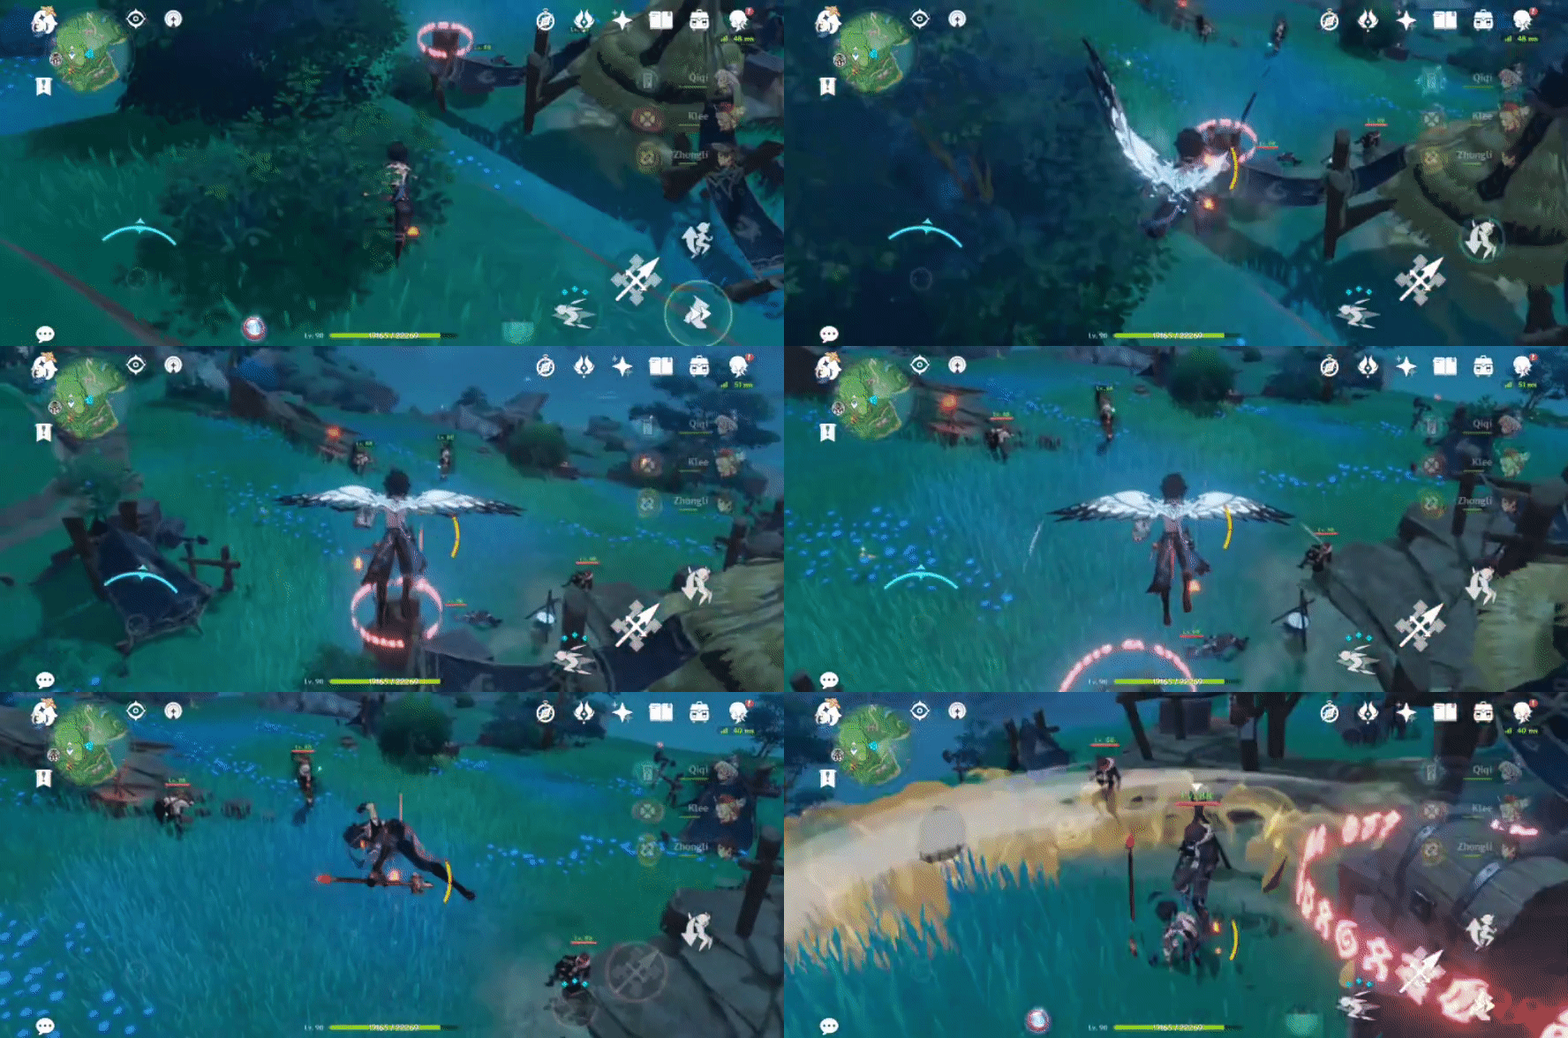
194. [Spawned Chest]
Will spawn after following the Electro Seelie until it no longer moves.
Location (Electro Seelie):

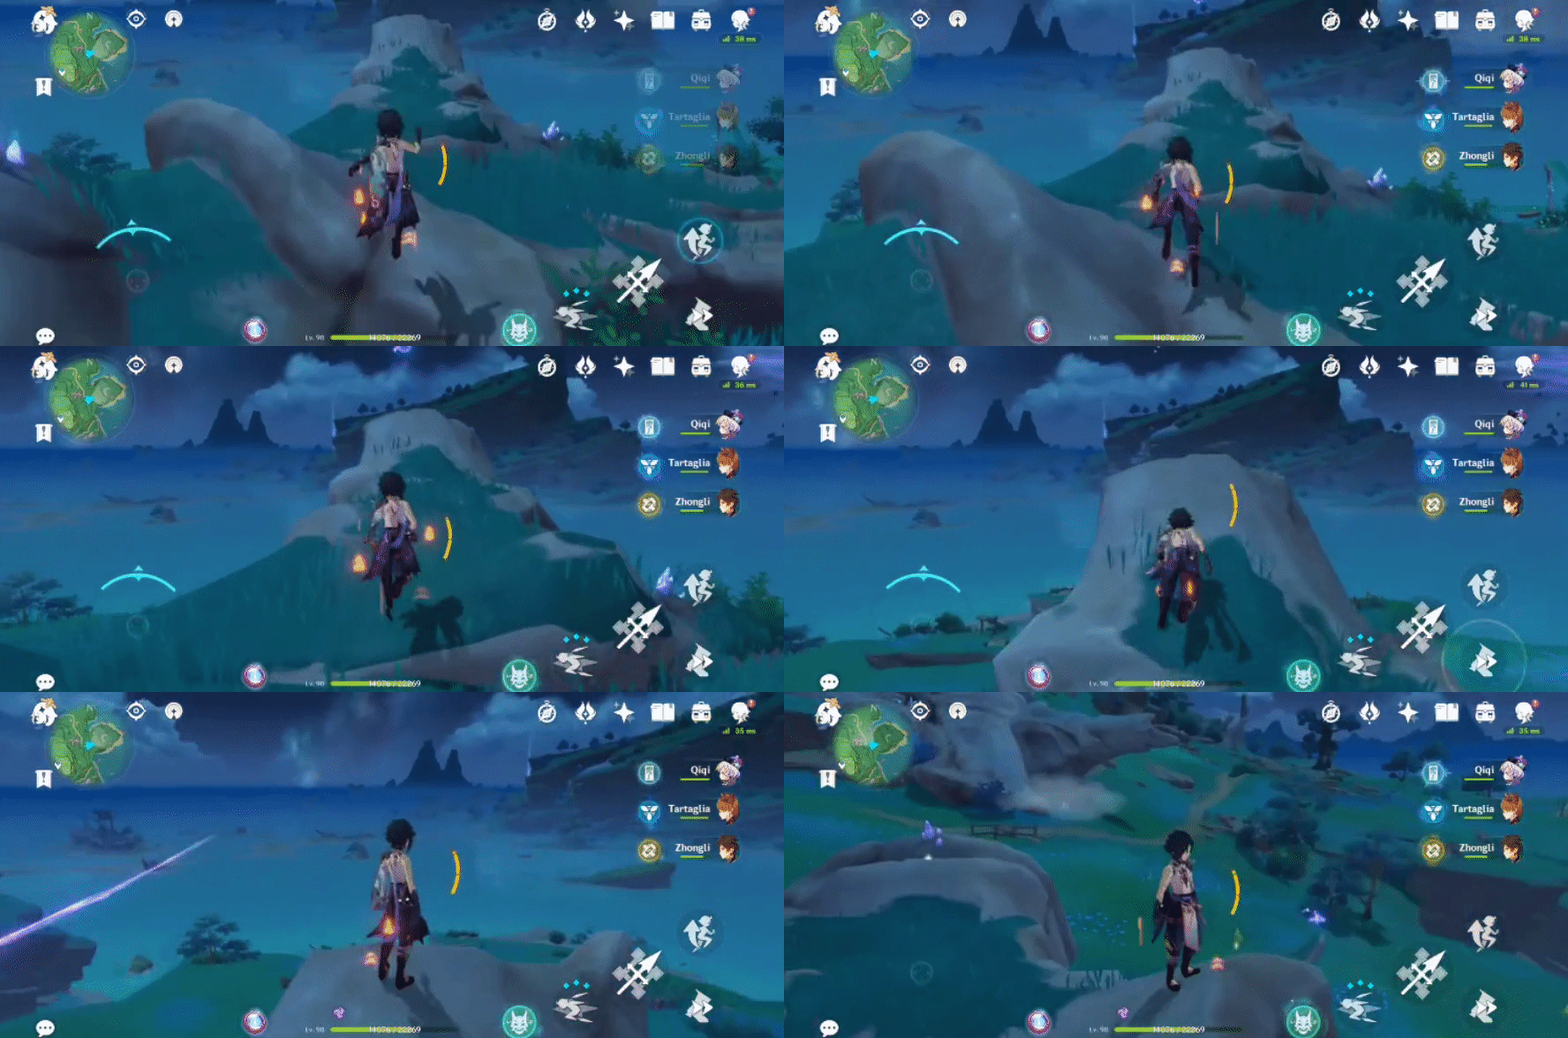
Location (Chest):

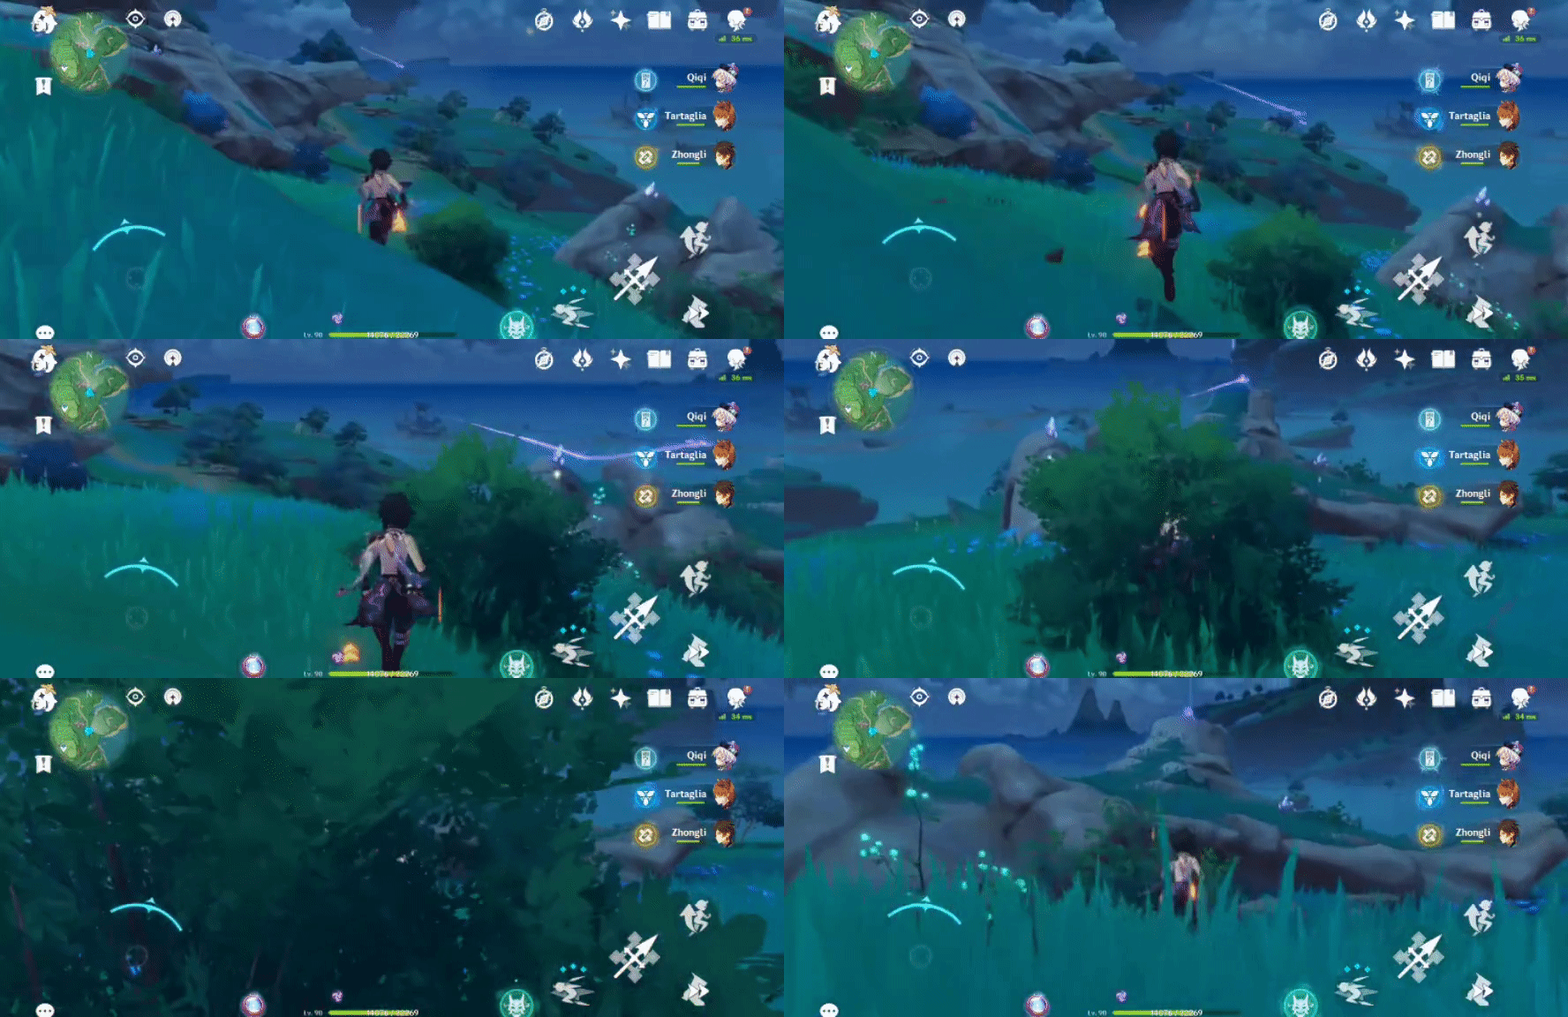
195. [Locked Chest] Next to the small tent
Will unlock after defeating 4 Nobushi and 1 Kairagi: Dancing Thunder.
Location:
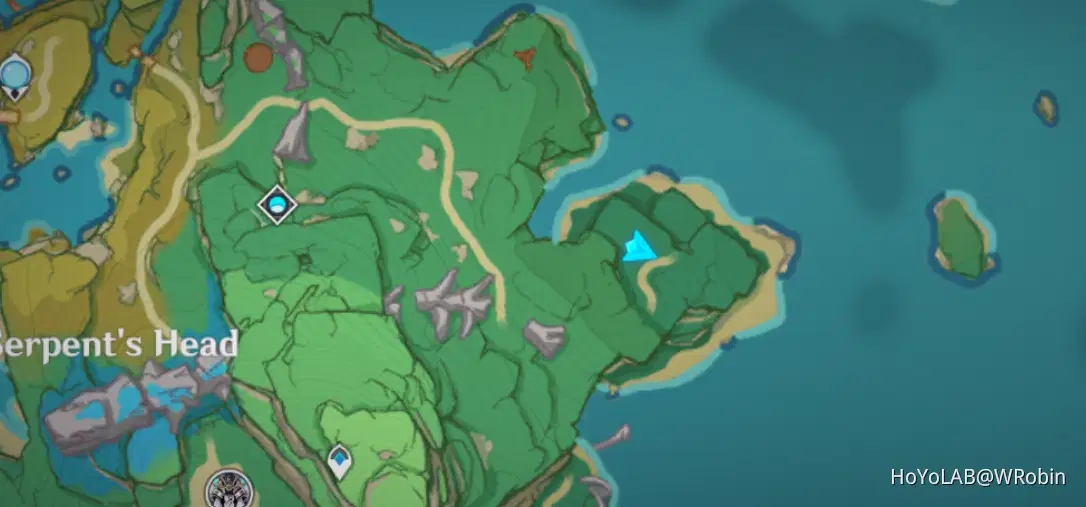
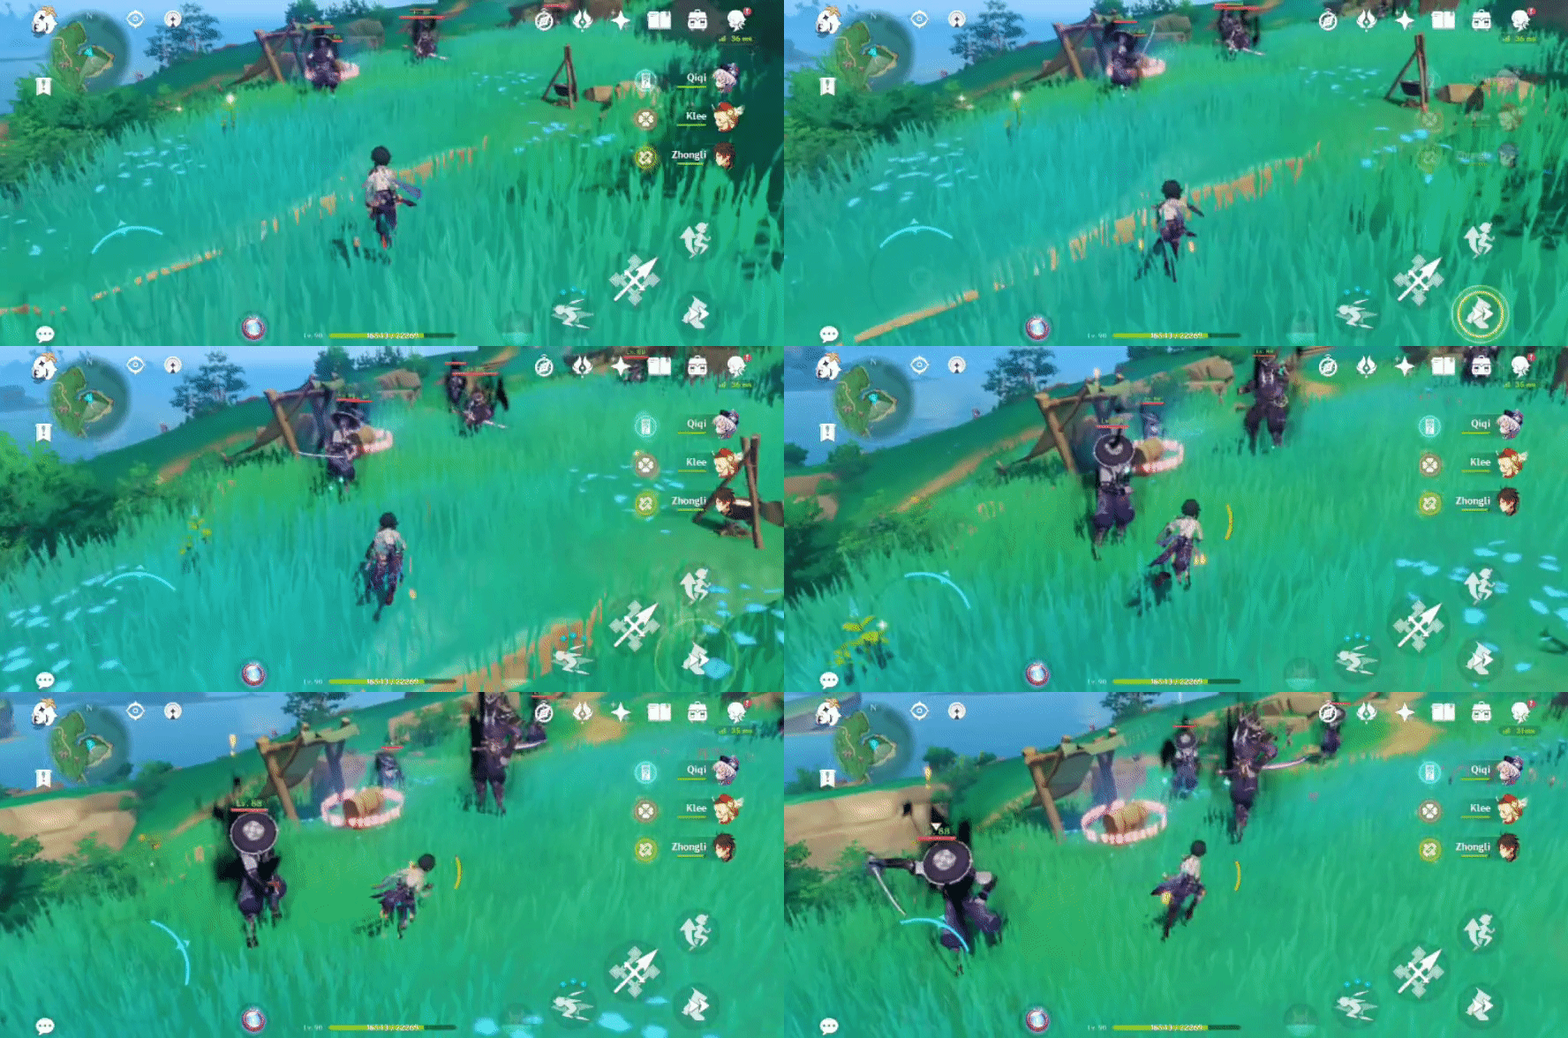
196. [Spawned Chest] By the water
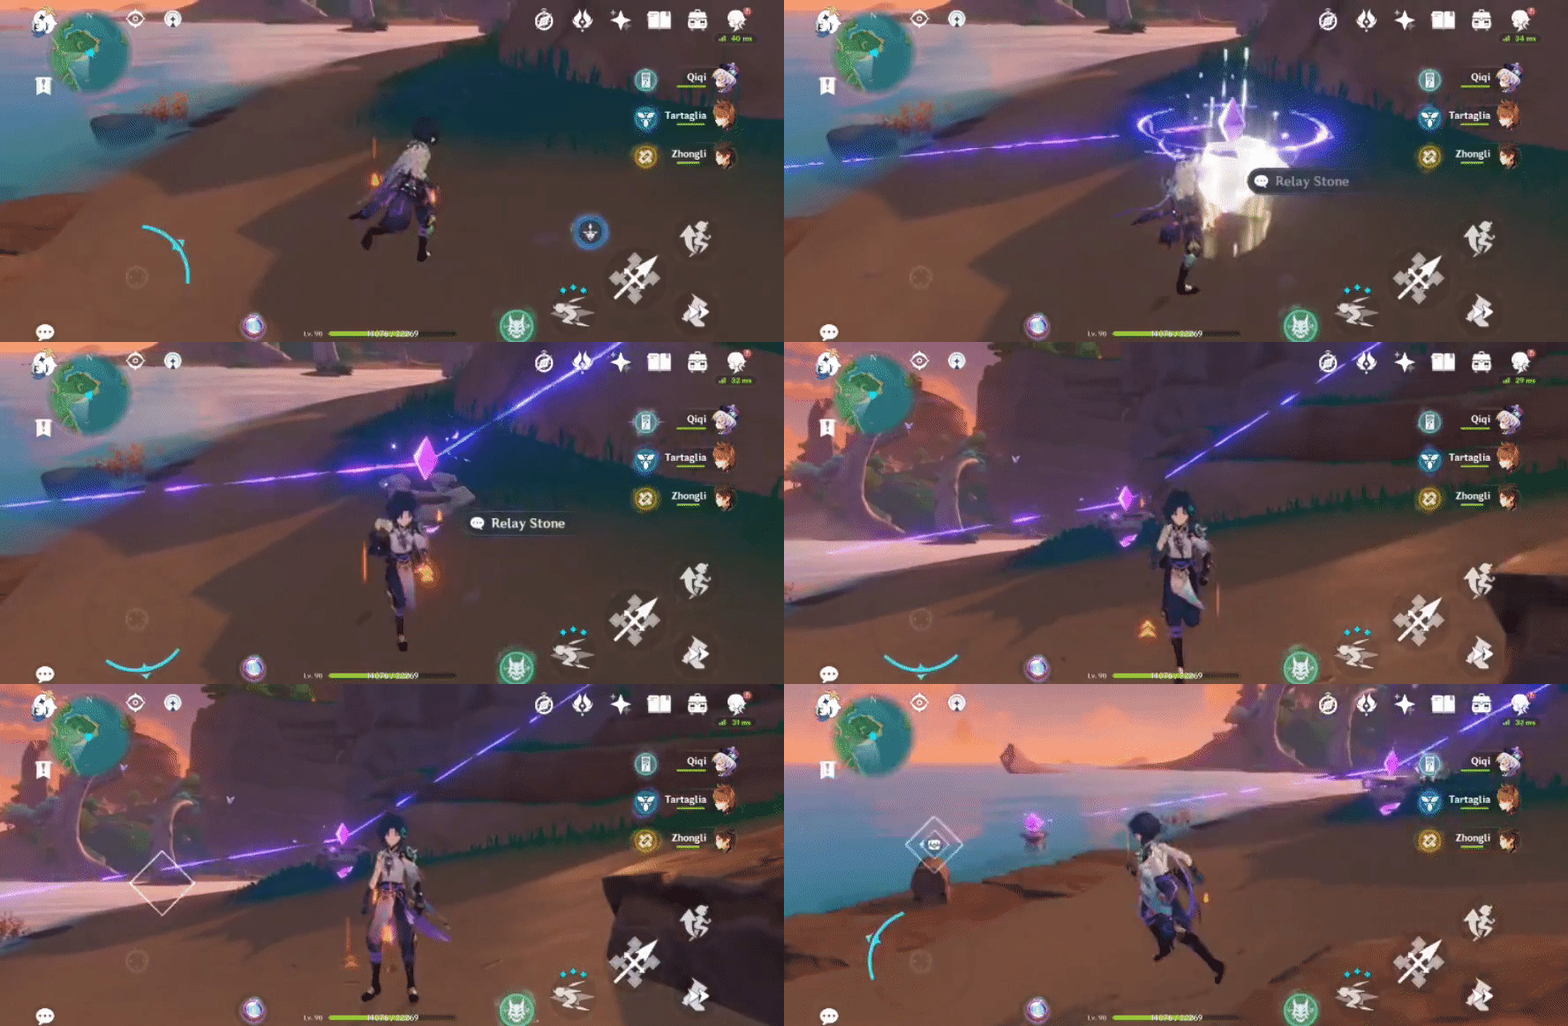
Will spawn after completing the Electro Array Circuit.
Location:

1. Take the Relay Stone and place it in between the 2 Stones.
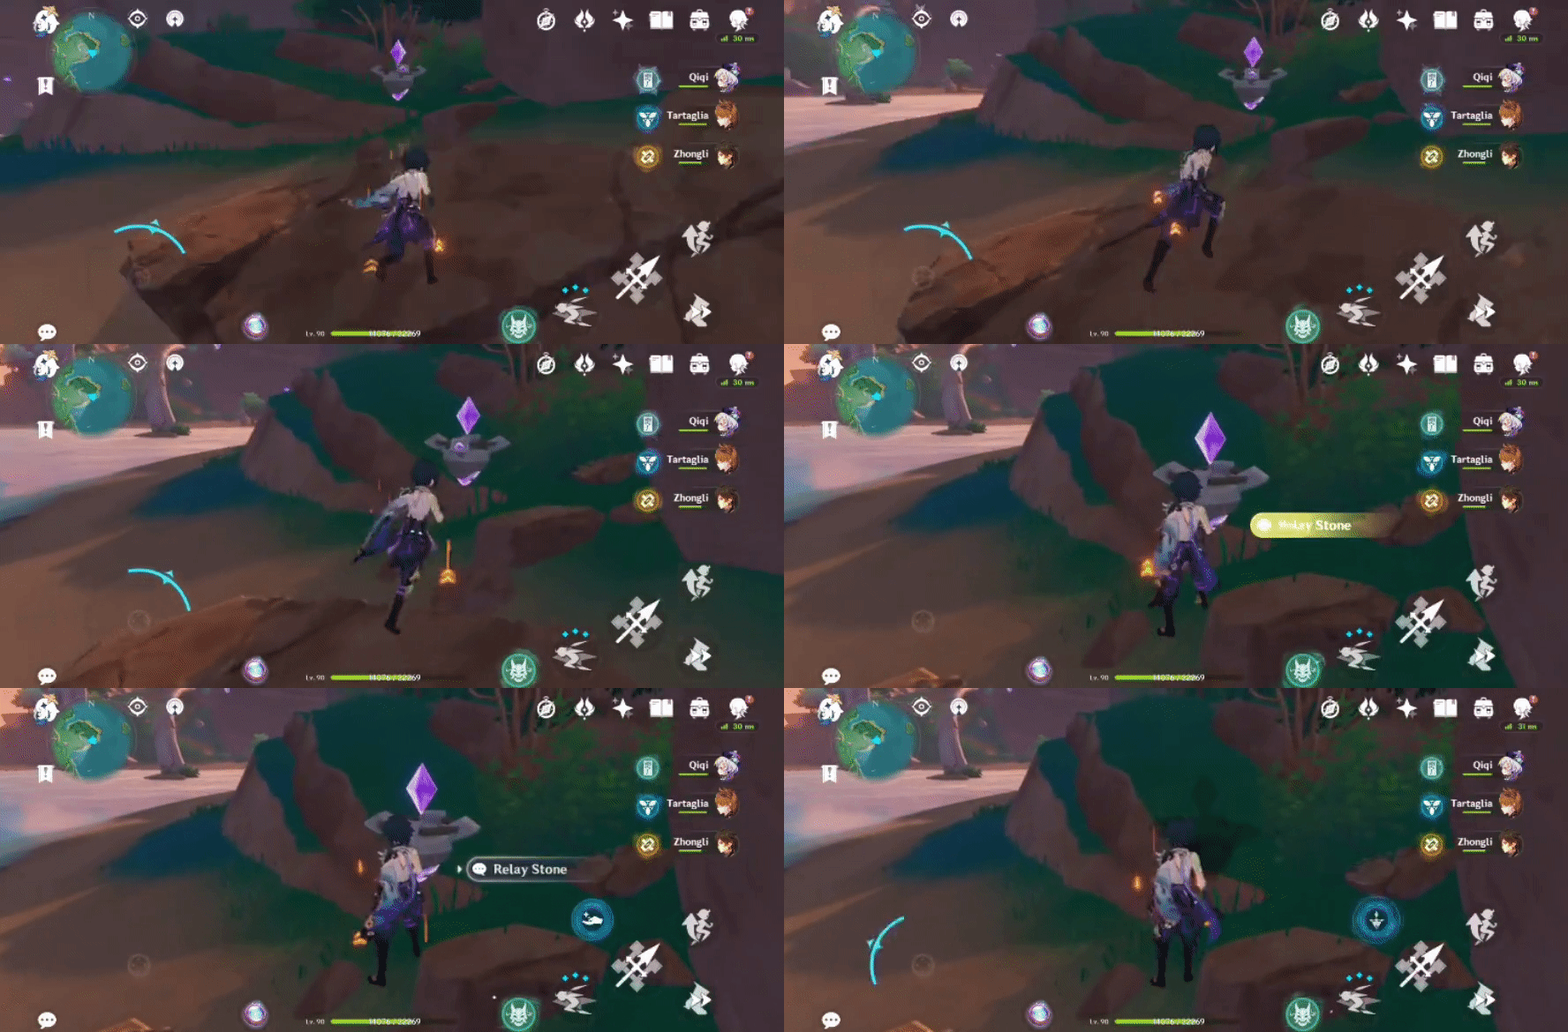
197. [Hidden Chest]
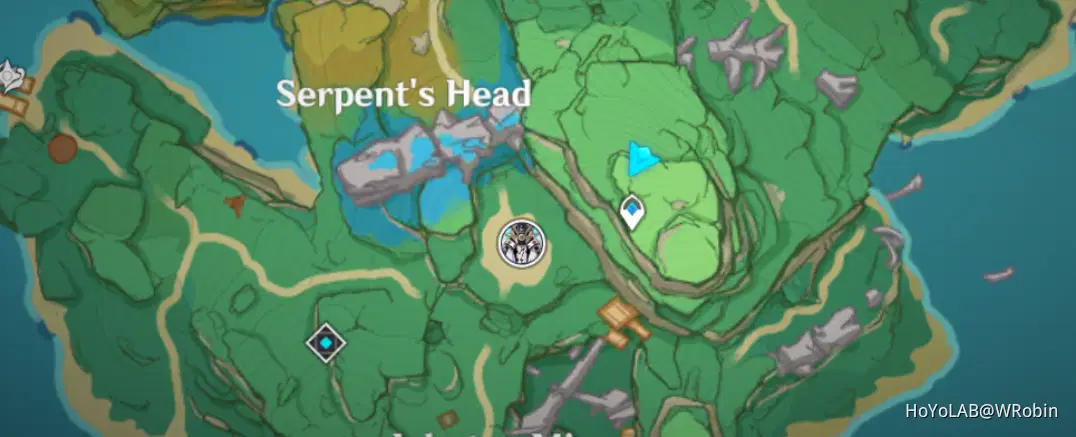
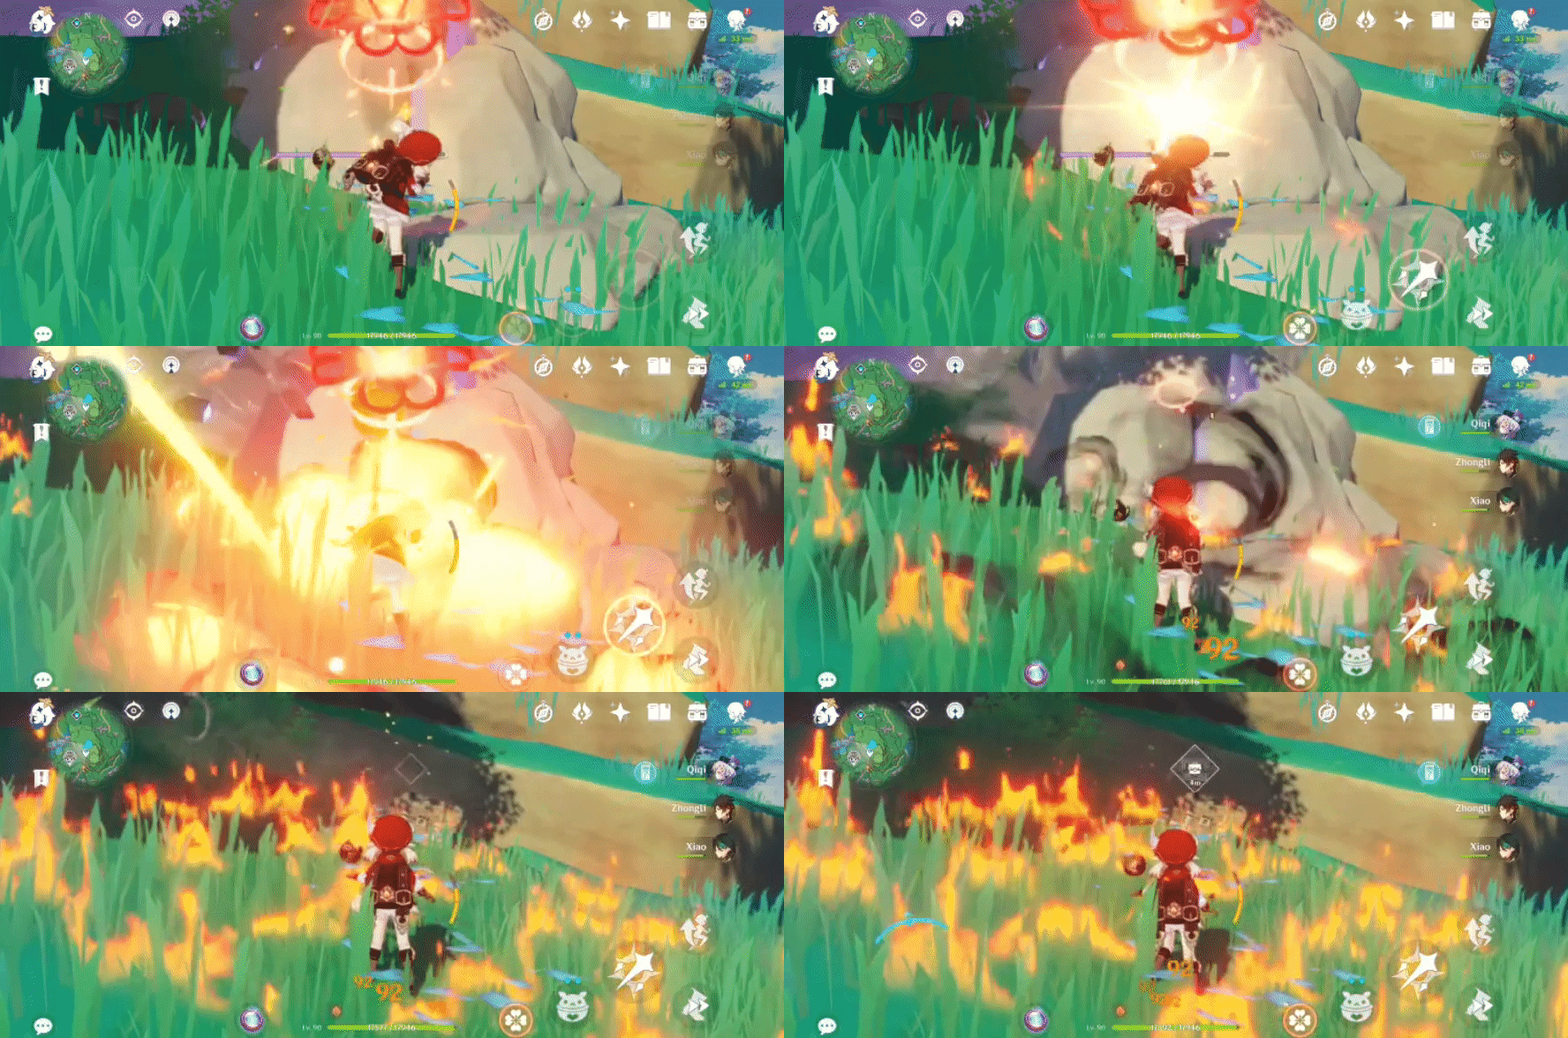
Use elements like Pyro to break the rocks to access.
Location:
198. [Spawned Chest] On the edge of the cliff
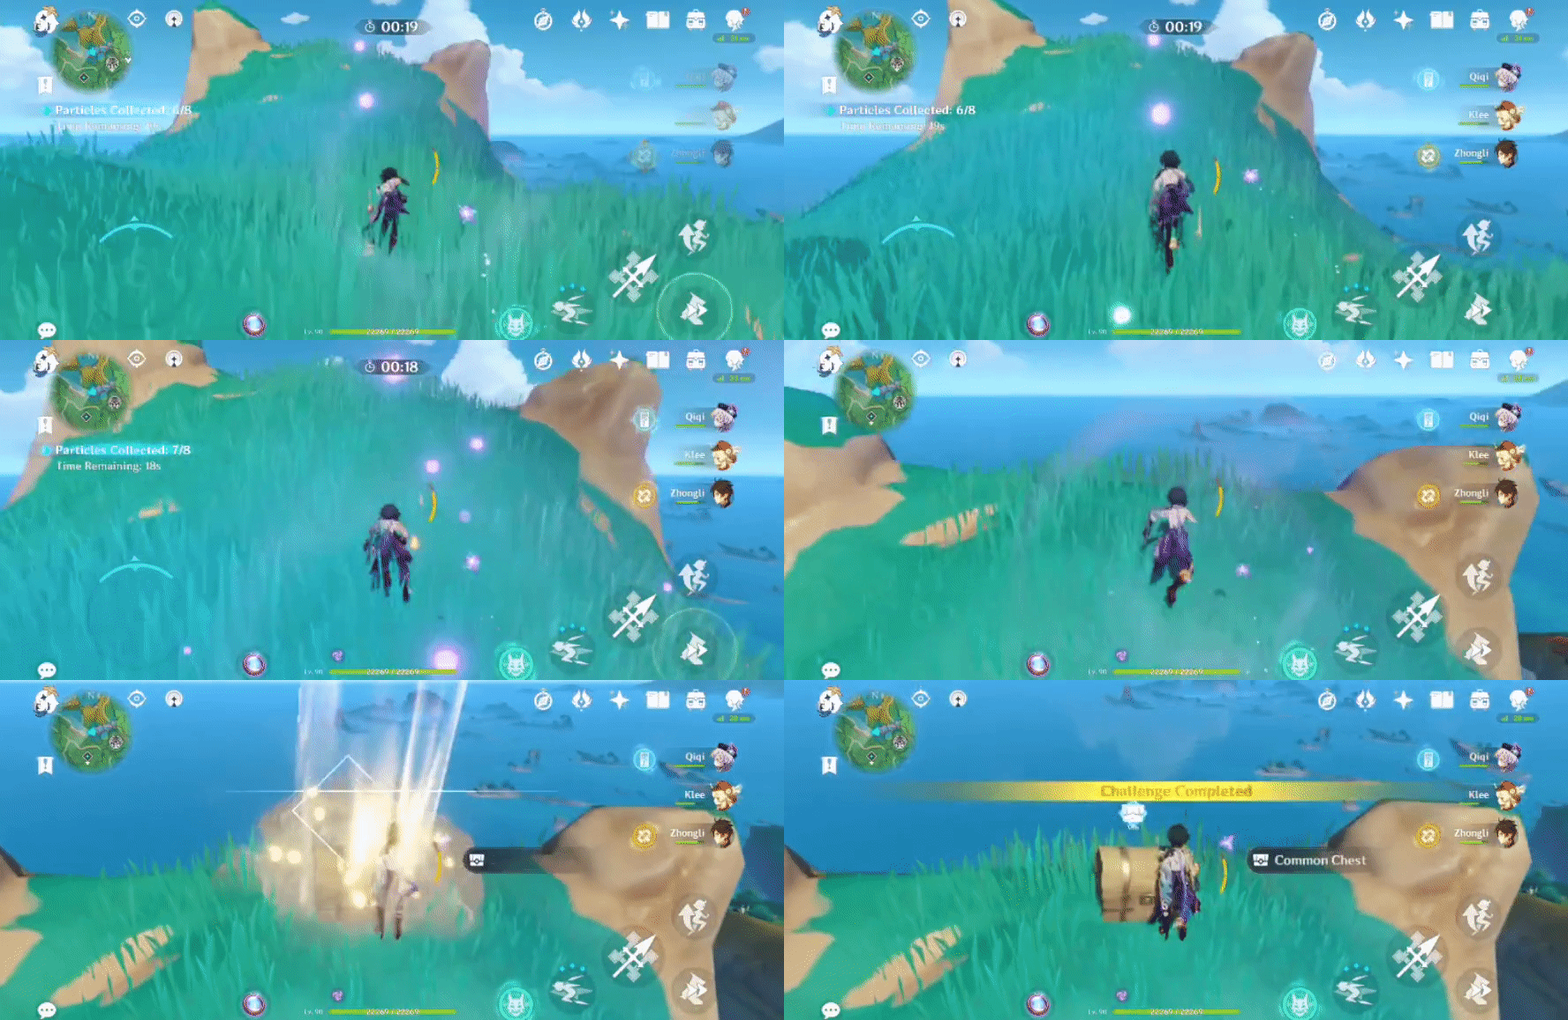
Will spawn after completing the Time Trial Challenge ('Collect 8 Electro Particles within 40s').
Location (Challenge Marker):

199. [Locked Chest]
Will unlock after defeating 4 Hilichurls.
Location:

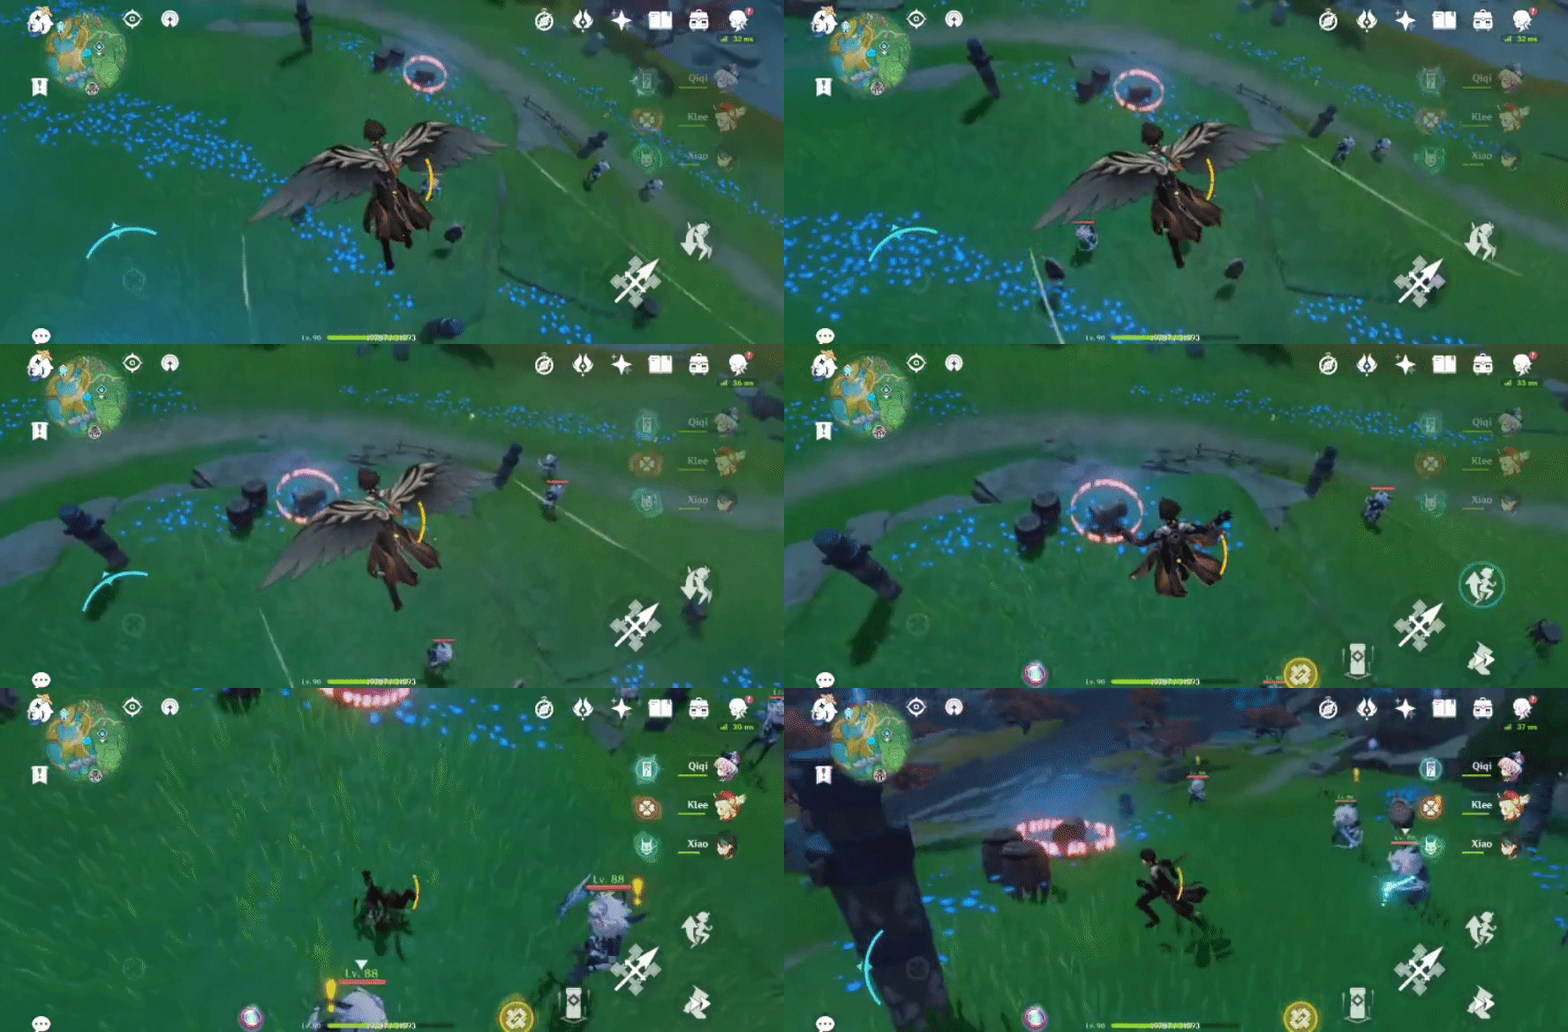
200. [Trapped Chest] Inside the barrier
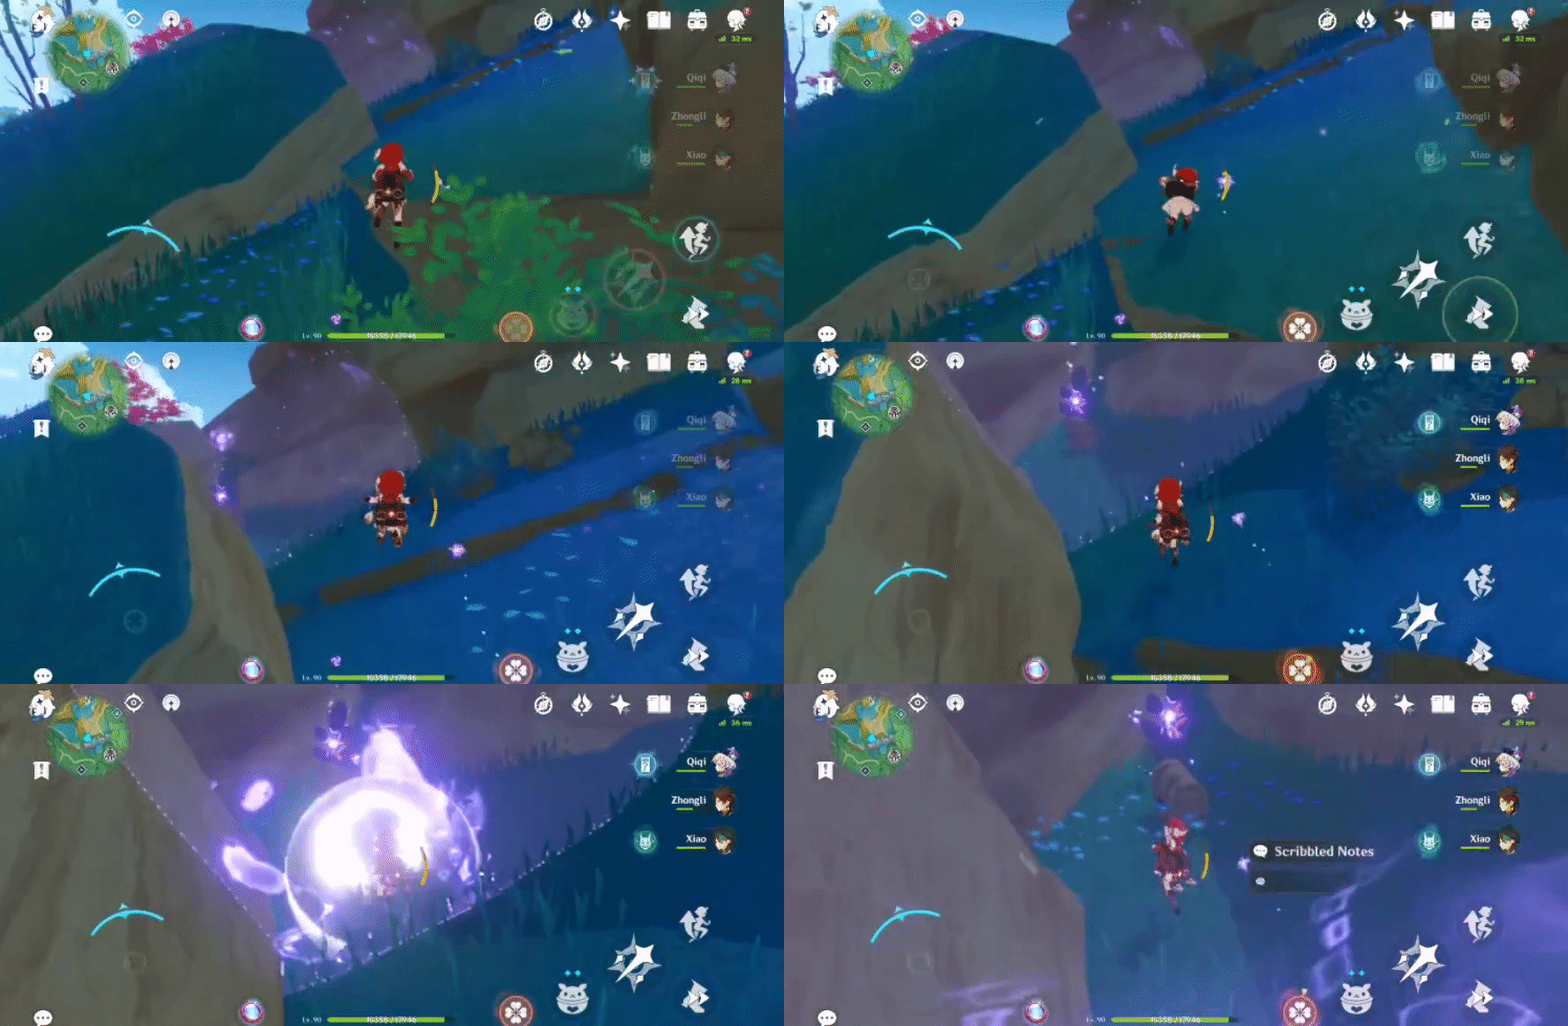
Summon an Electrogranum and teleport across to enter the barrier.
Location (Electrogranum):
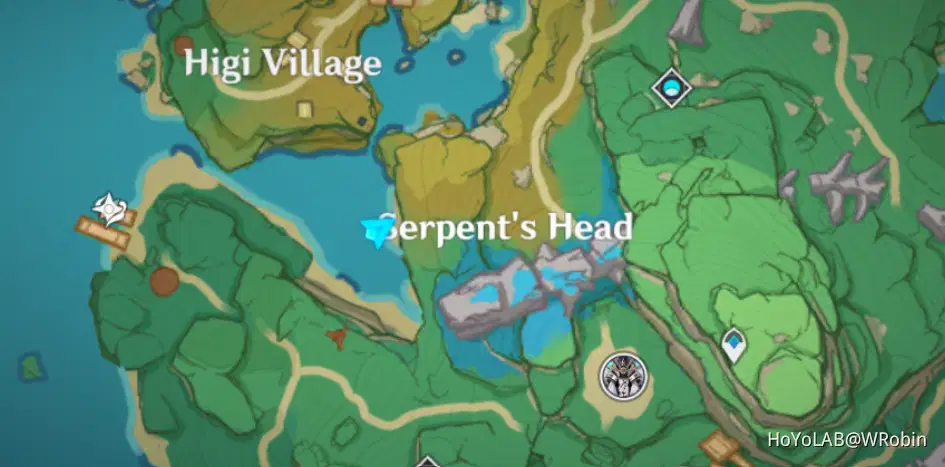
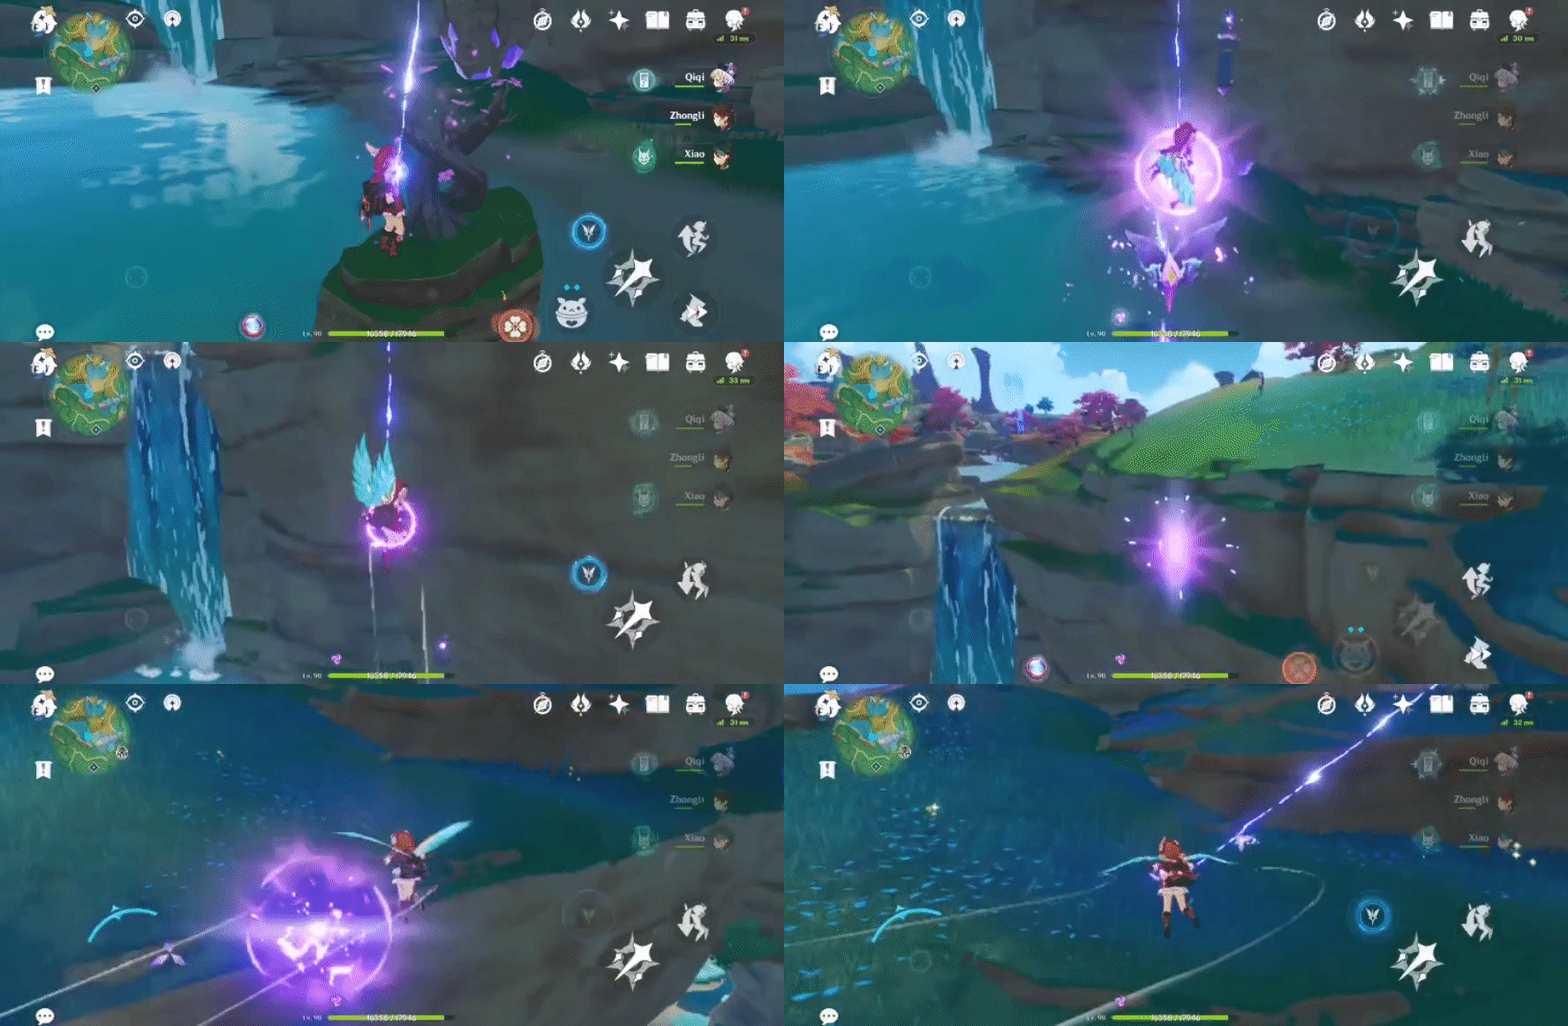
Location (Chest):

Previous:[Guide] Common Chests- Inazuma: Part 9 - miHoYo Player Community (hoyolab.com)
Index:[Index] Common Chests - miHoYo Player Community (hoyolab.com)
Next: [Guide] Common Chests- Inazuma: Part 11 - miHoYo Player Community (hoyolab.com)



