


Previous:[Guide] Common Chests- Inazuma: Part 16 - miHoYo Player Community (hoyolab.com)
Index:[Index] Common Chests - miHoYo Player Community (hoyolab.com)
Next:[Guide] Comon Chests- Inazuma: Part 18 - miHoYo Player Community (hoyolab.com)


-Footage/Location photos are from my 1st account-
If there's anything you're unsure about, feel free to ask!
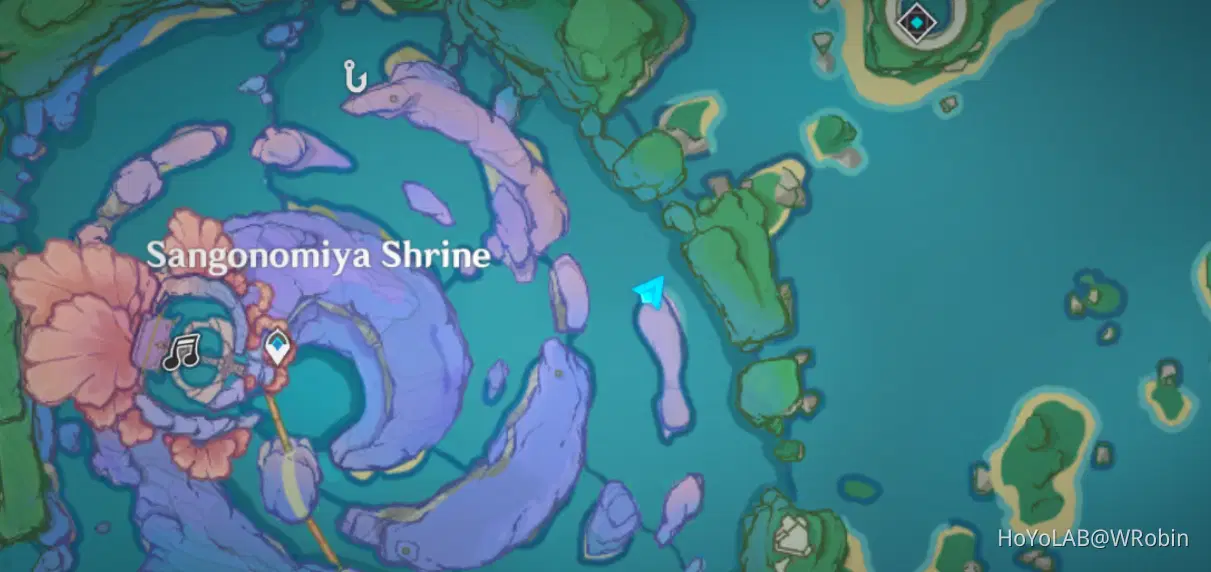
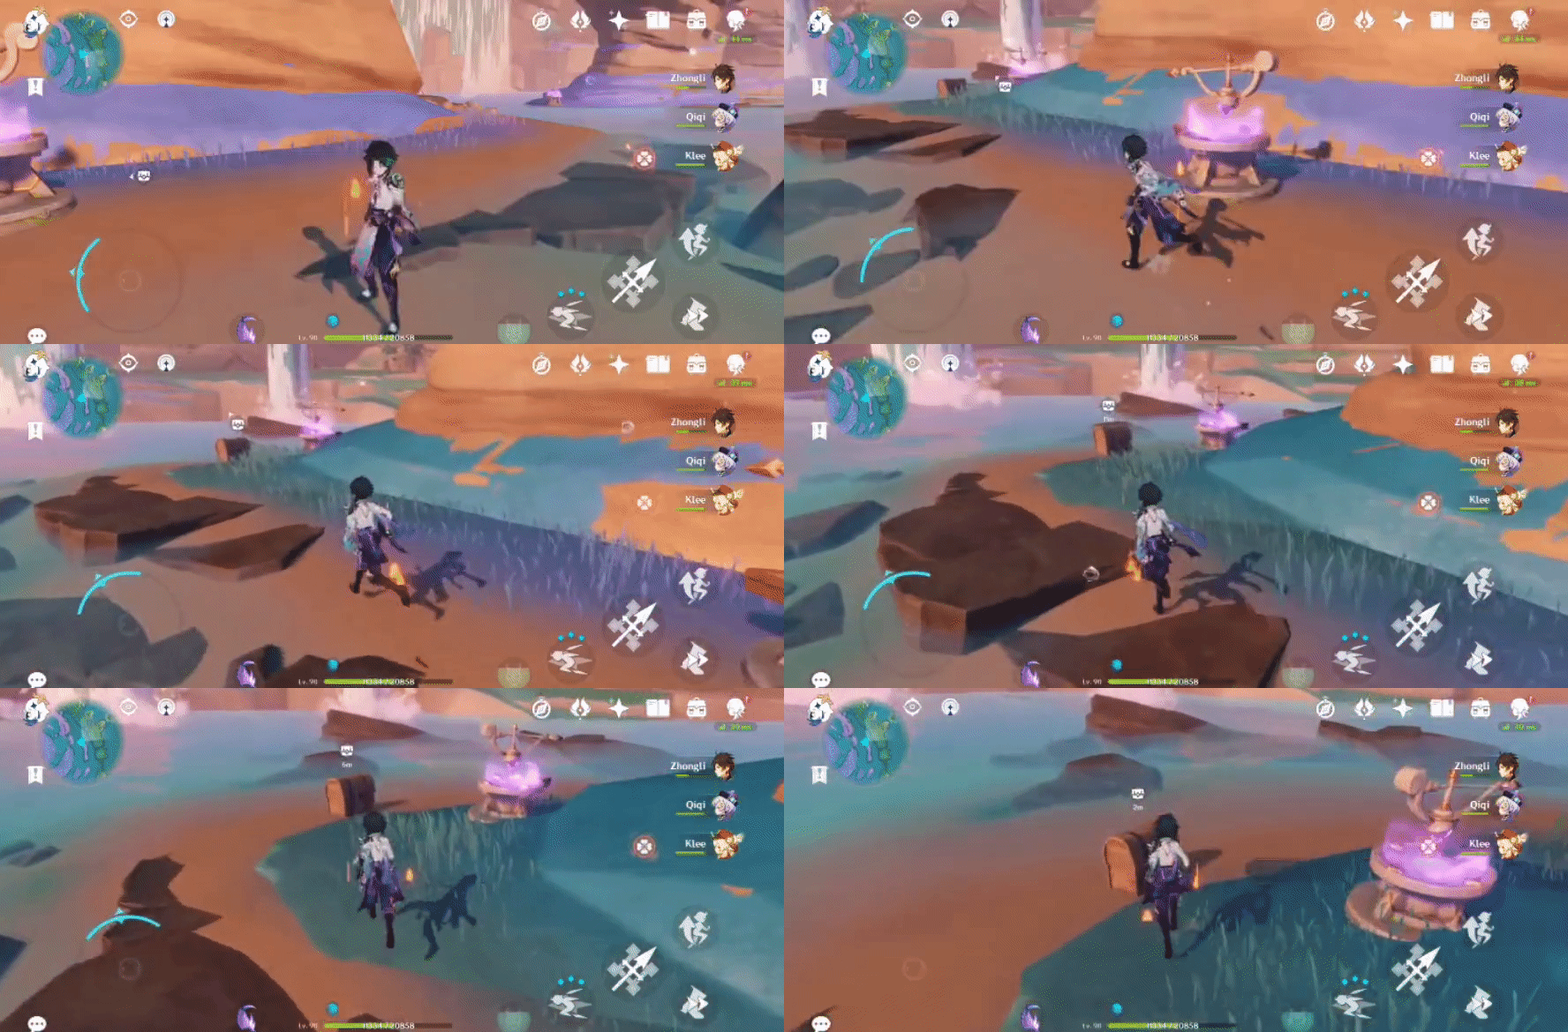
321. [Spawned Chest]
Will spawn after the 3 Lightning Strike Probes turn in the right direction (can use the nearby Electrogranum to turn).
Location:
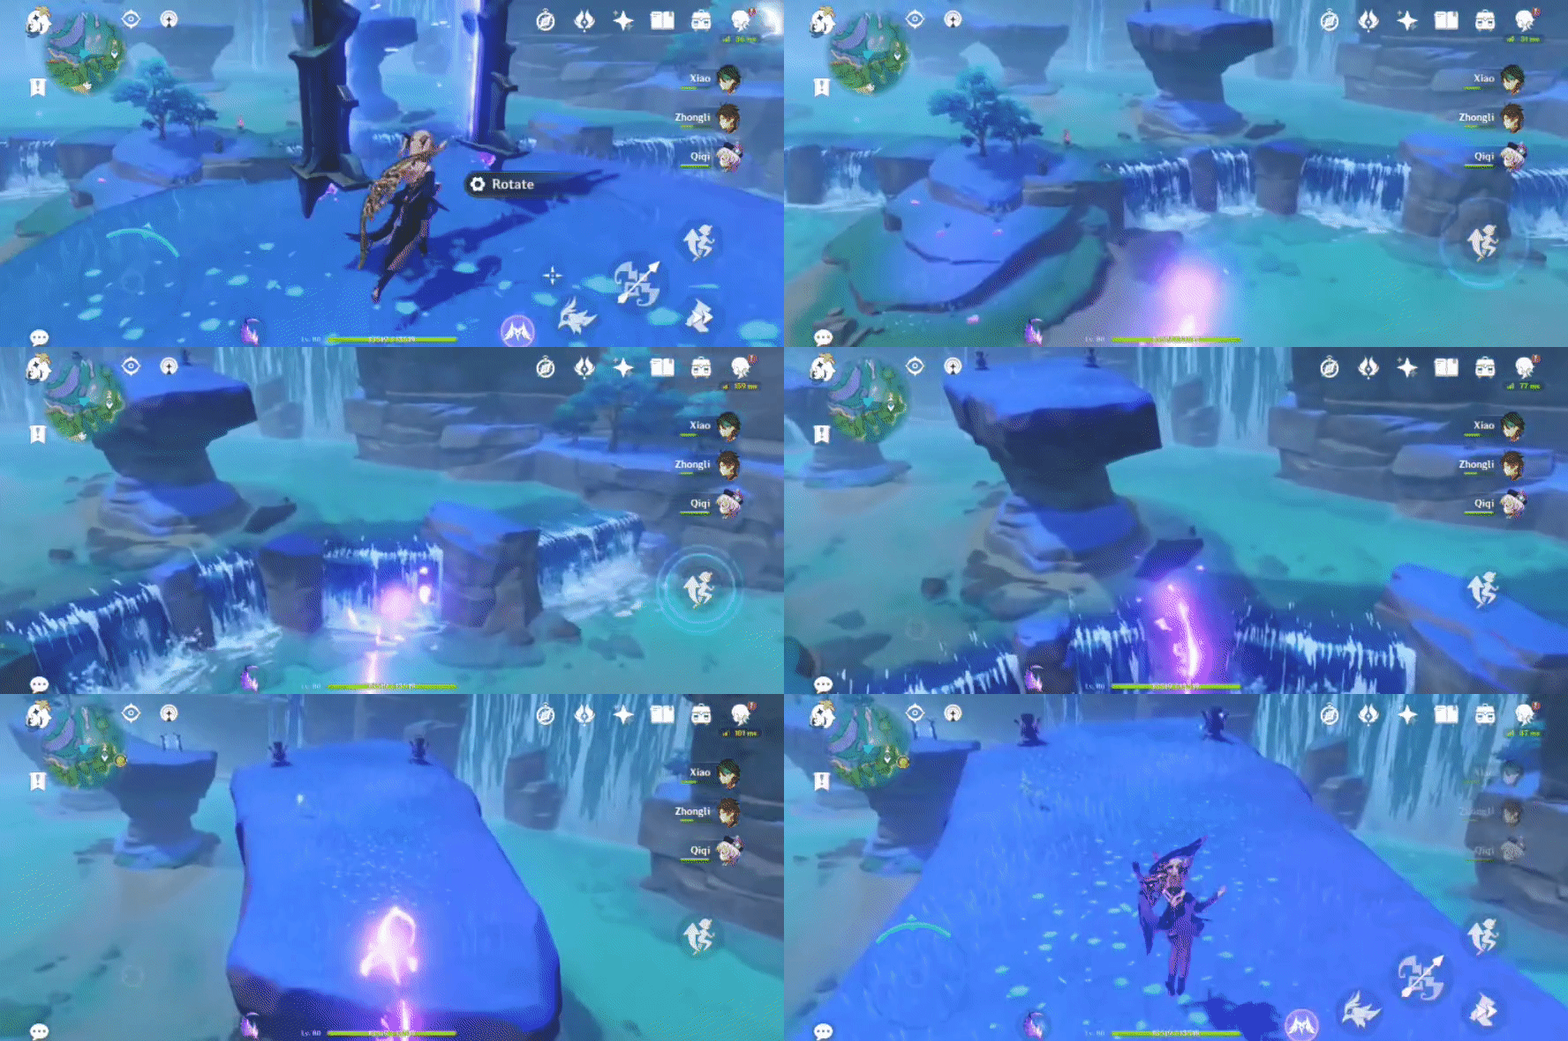
322. [Spawned Chest] On a ledge
Will spawn after activating all 4 Electro totems.
Location (2 Electro totem):

1. Activate the 2 totems with Electro, then use the Phase Gate to travel to the other 2.
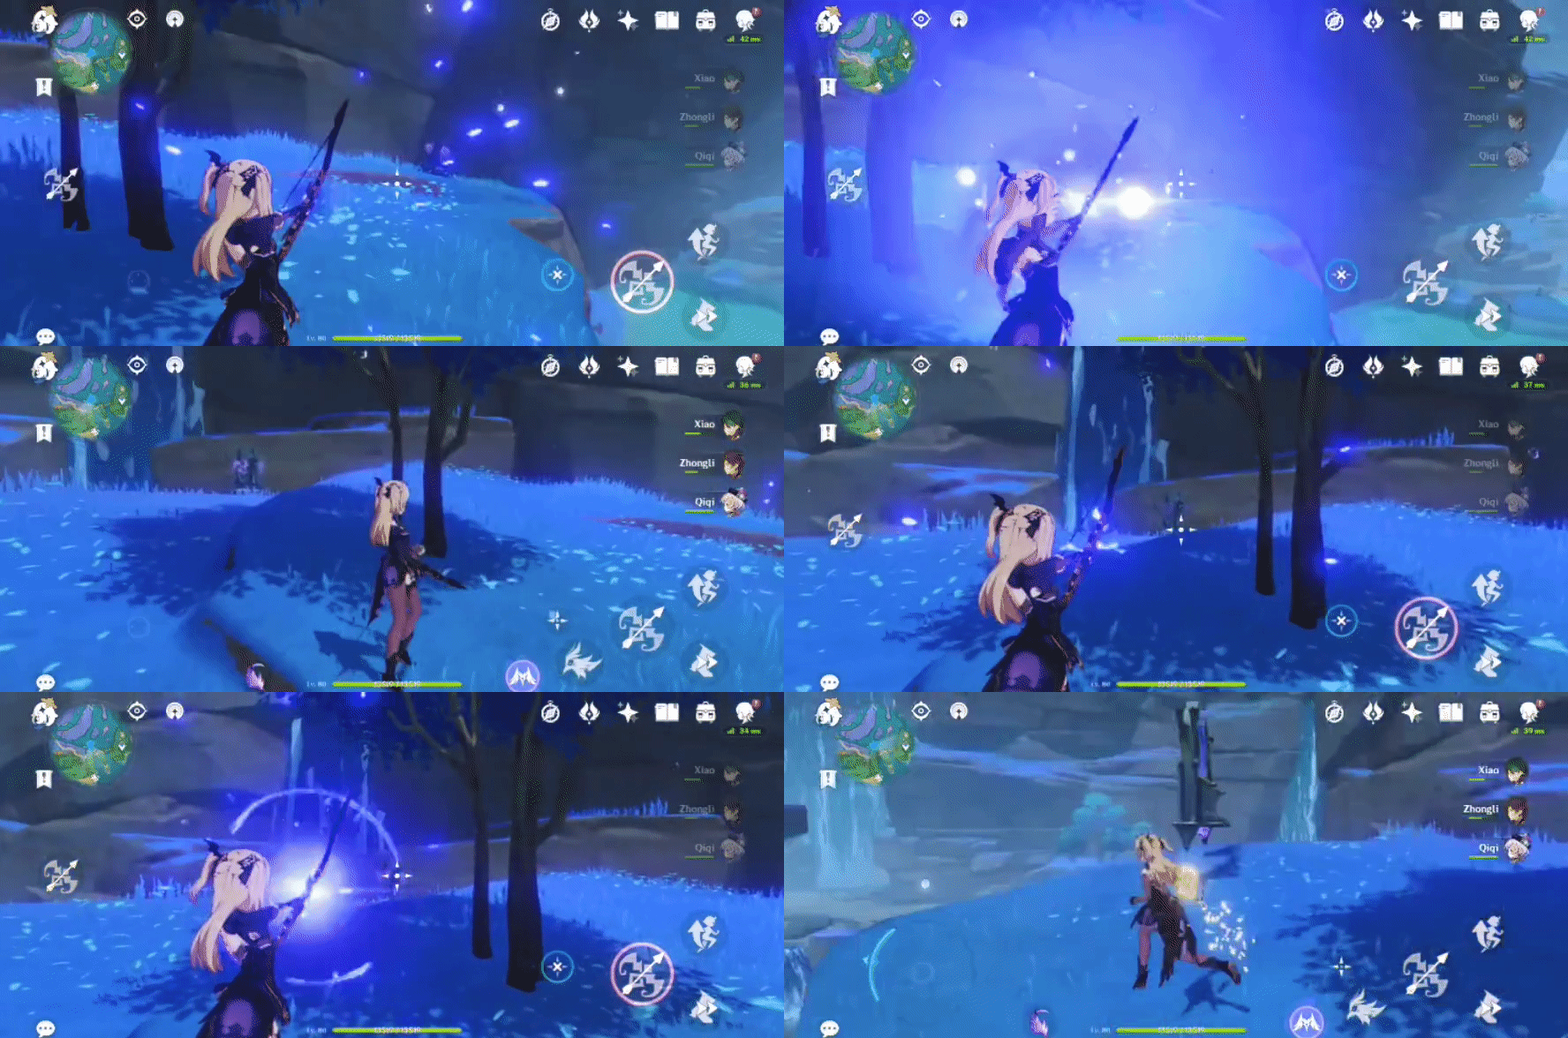
2. Jump out of the Phase Gate as soon as you're on the ledge with the other 2 totems, and activate them quickly to spawn the chest.
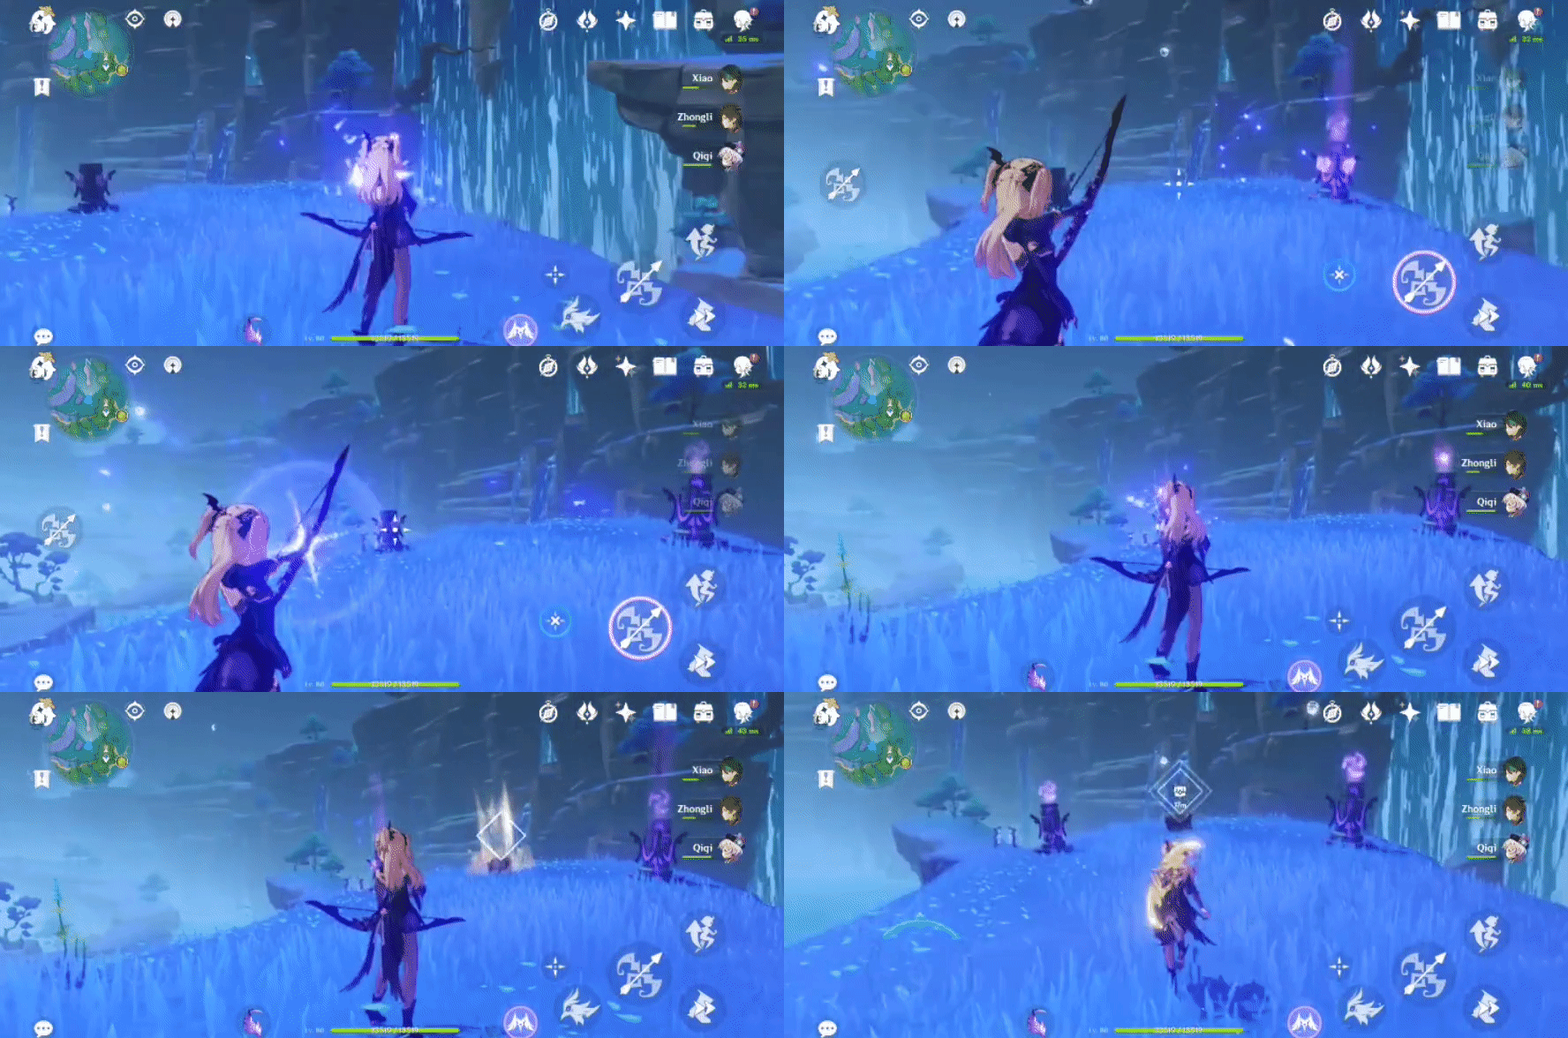
323. [Locked Chest]
Will unlock after defeating 1 Kairagi: Dancing Thunder.
Location:
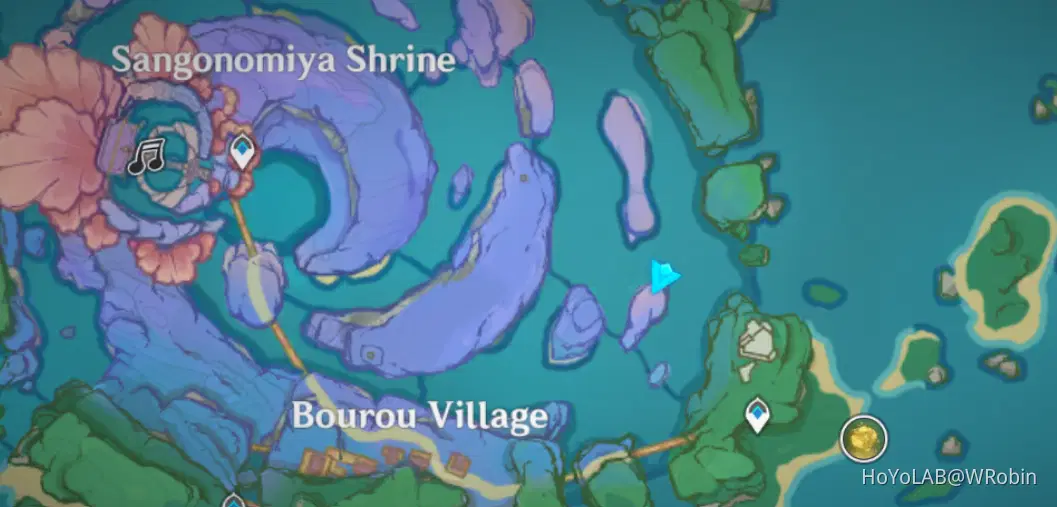
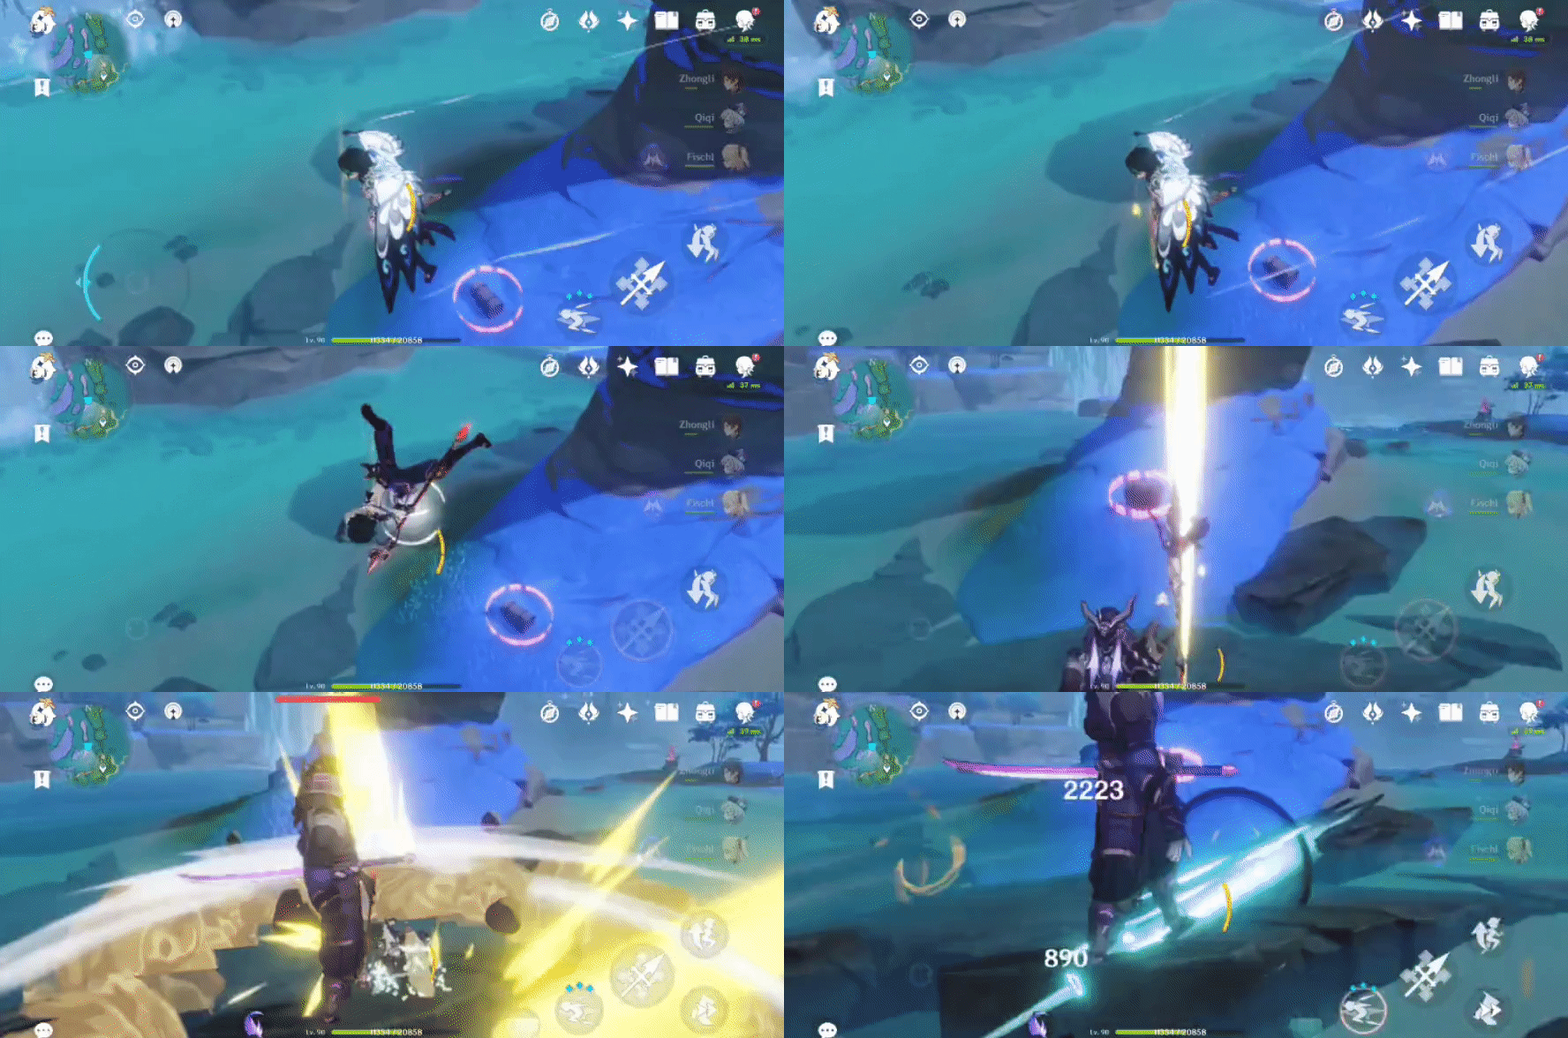
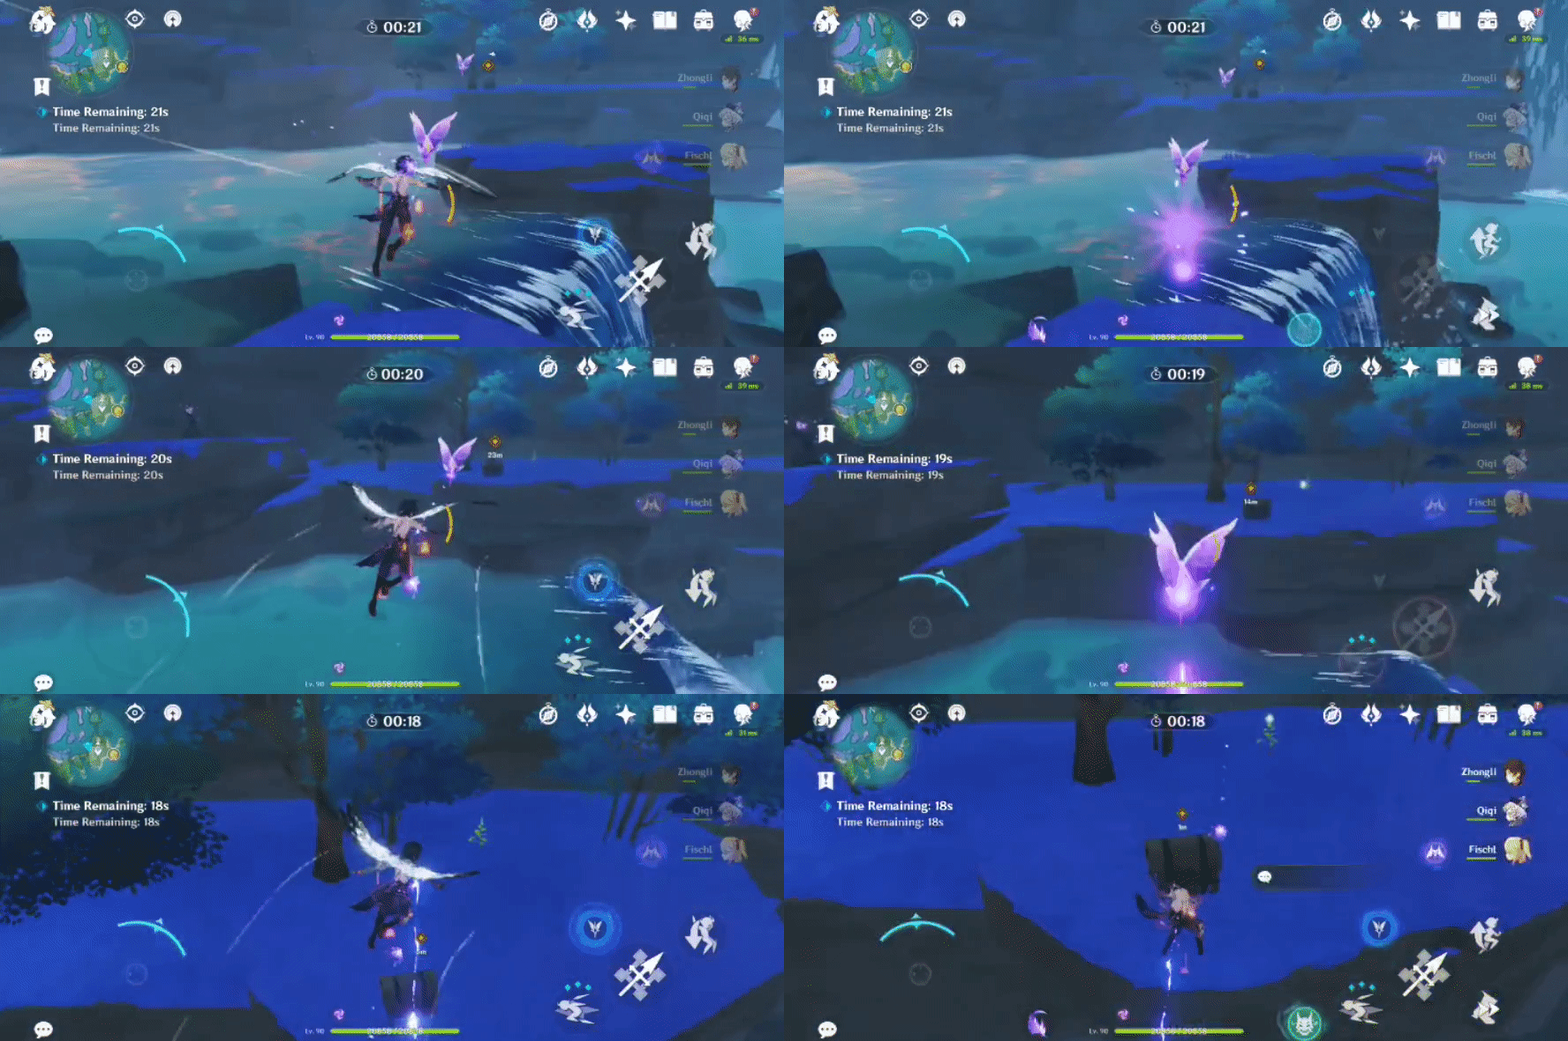
324. [Spawned Chest]
Will spawn to complete the Time Trial Challenge ('Open the chest in 30s').
Location (Challenge Marker):
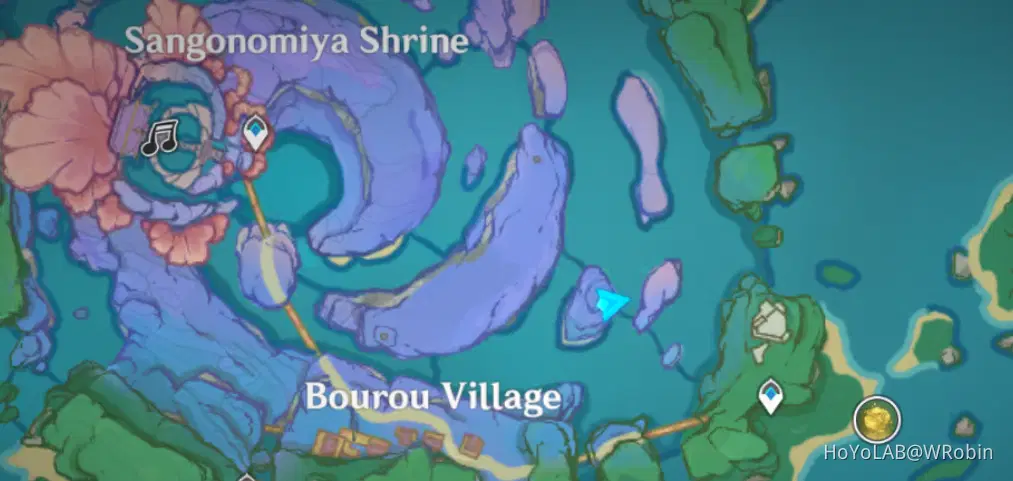
325. [Spawned Chest]
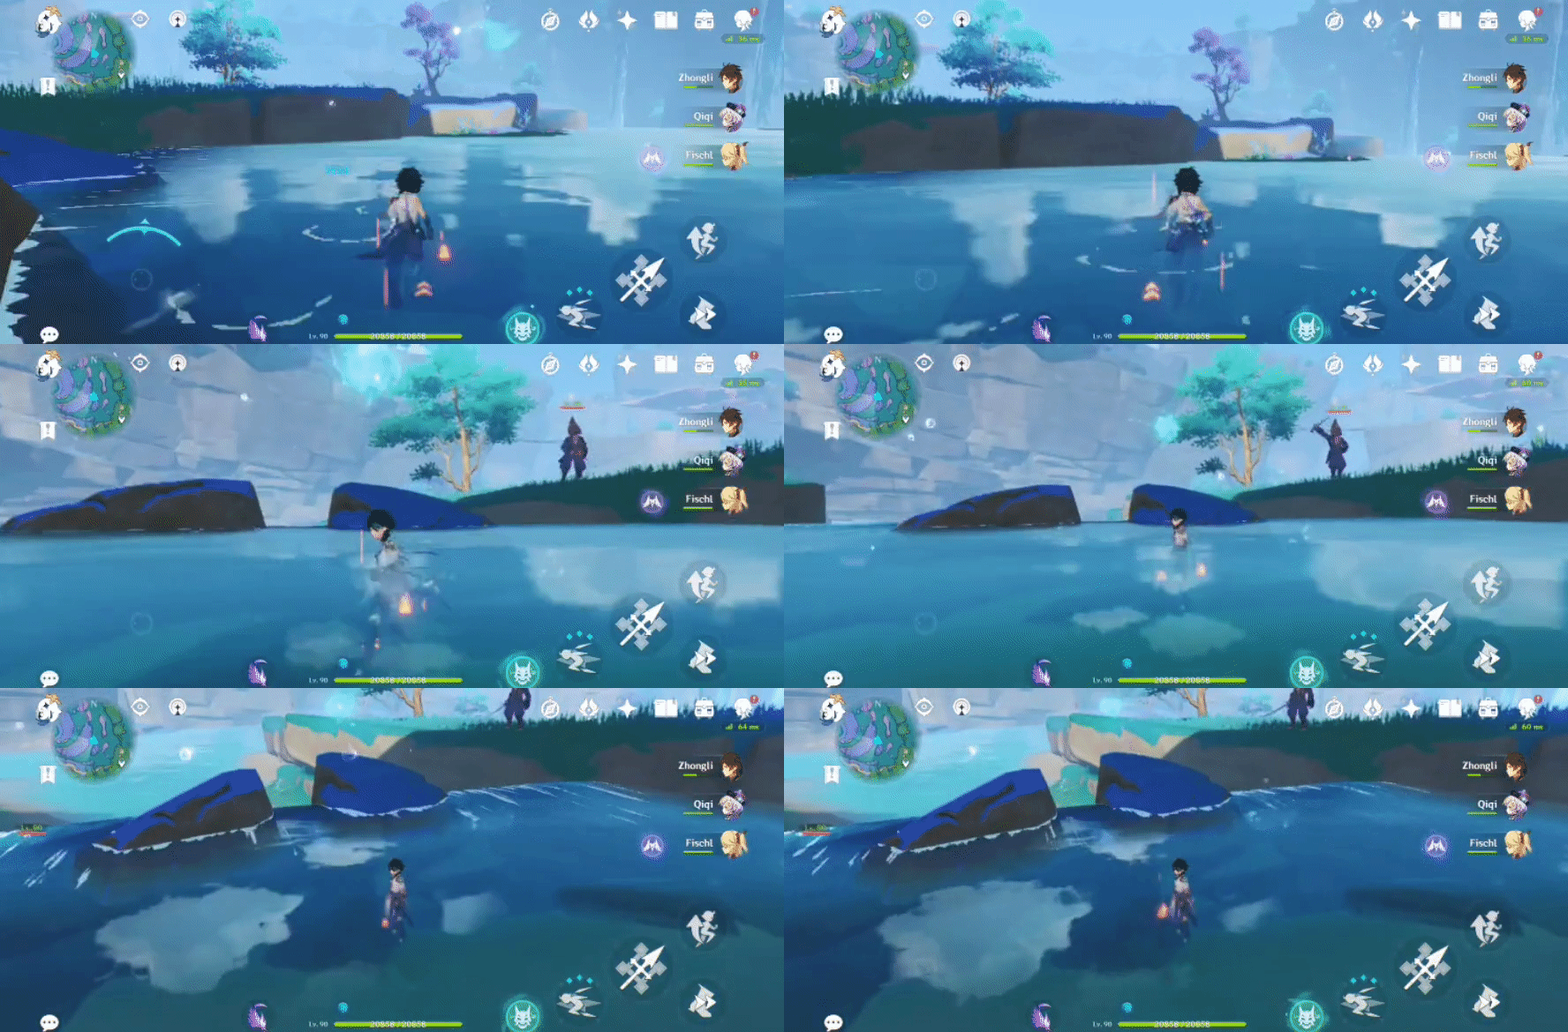
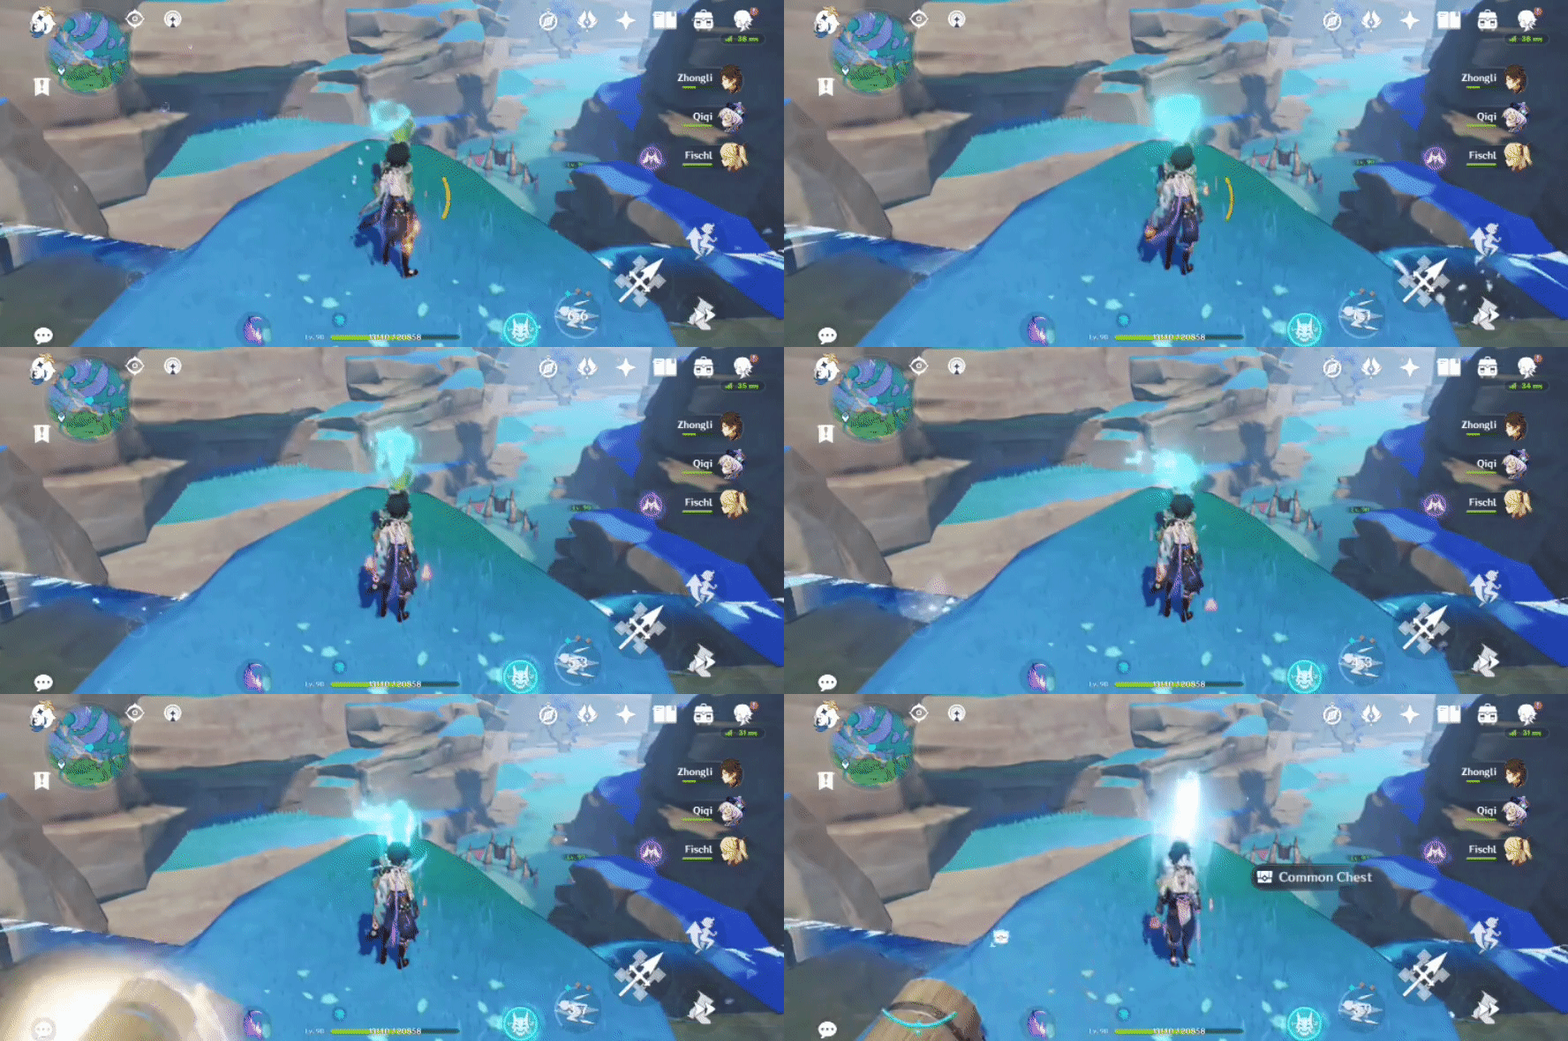
Will spawn after the Seelie returns to its Statue.
Location (Seelie):

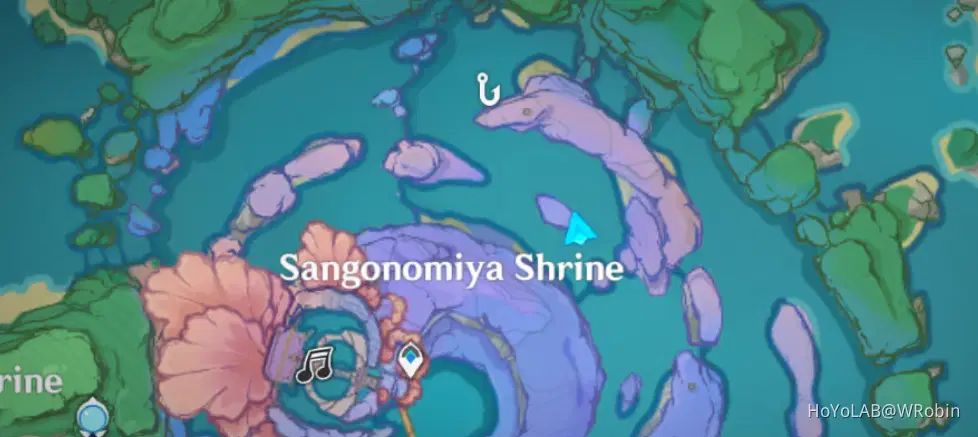
326. [Locked Chest] Under the overhang
Will unlock after defeating 1 Kairagi: Dancing Thunder.
Location:
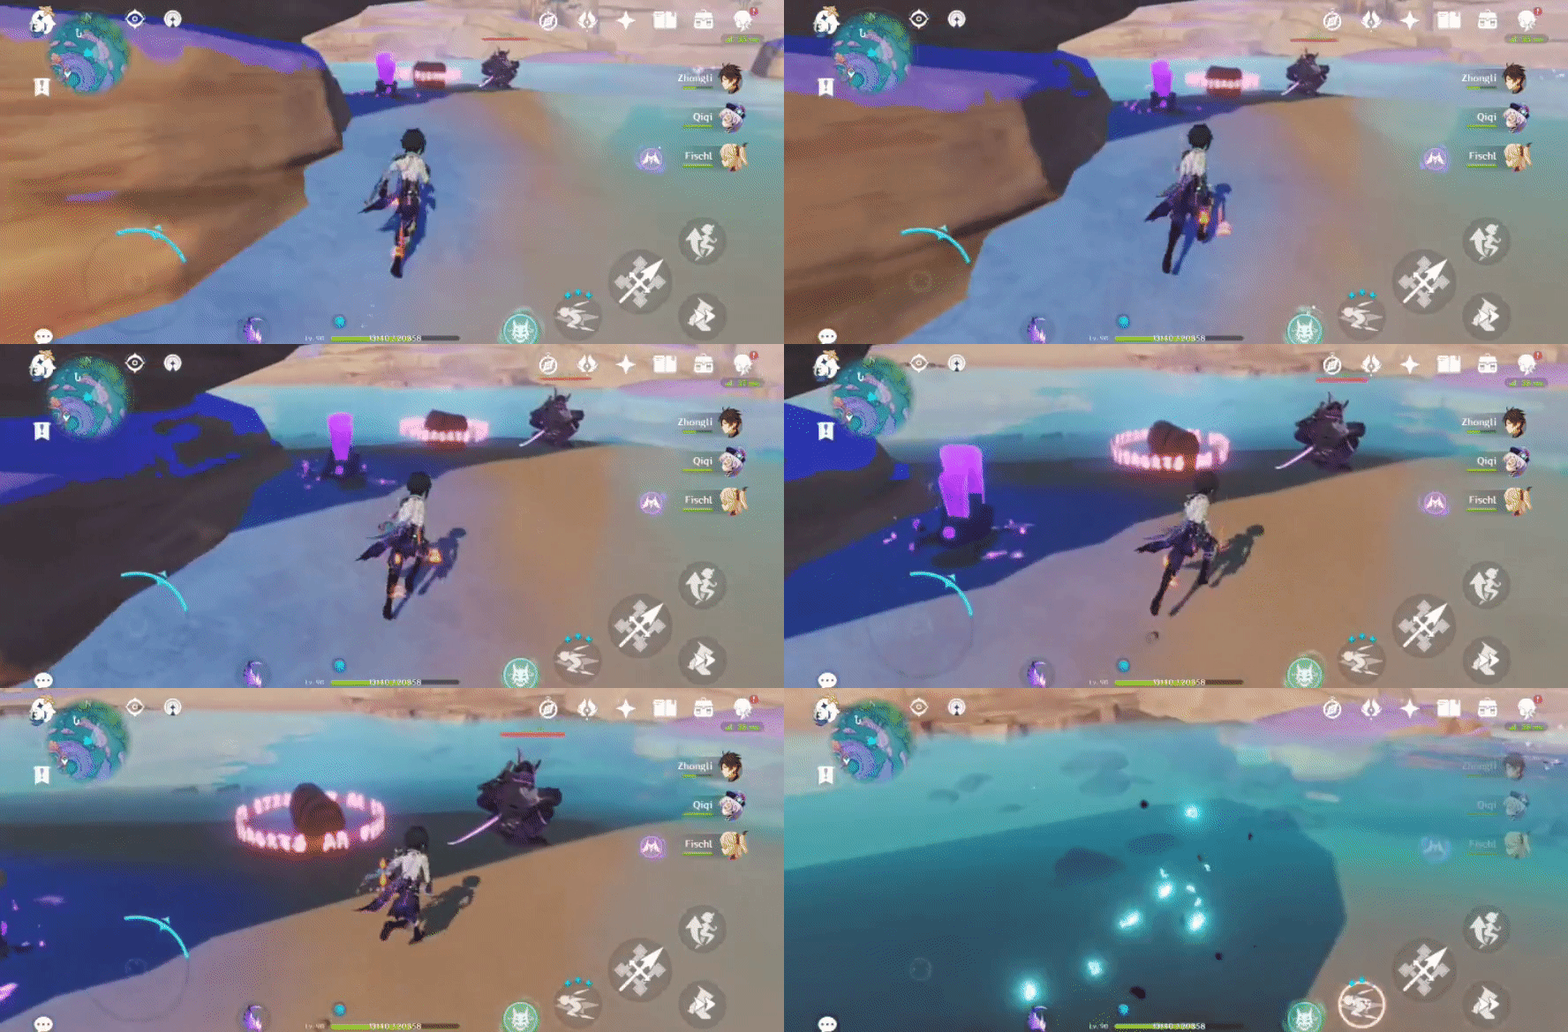
327. [Locked Chest] In between 2 trees
Will unlock after defeating 2 Anemo Specters.
Location:

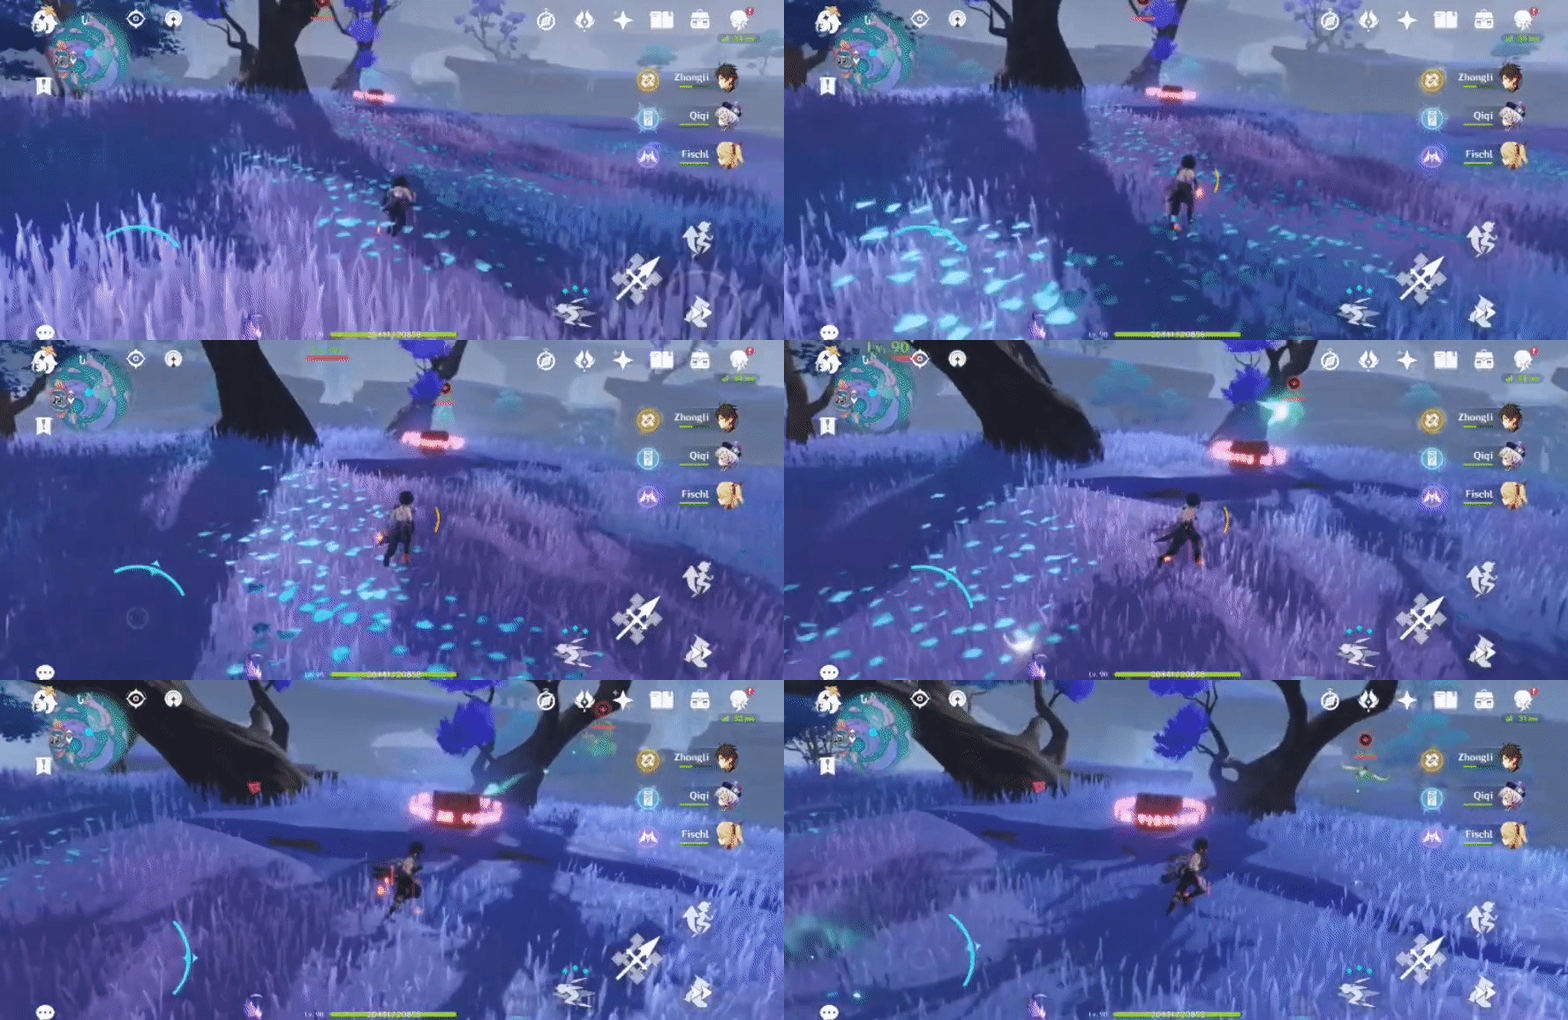
328. [Locked Chest]
Will unlock after defeating 2 Geo Specters.
Location:

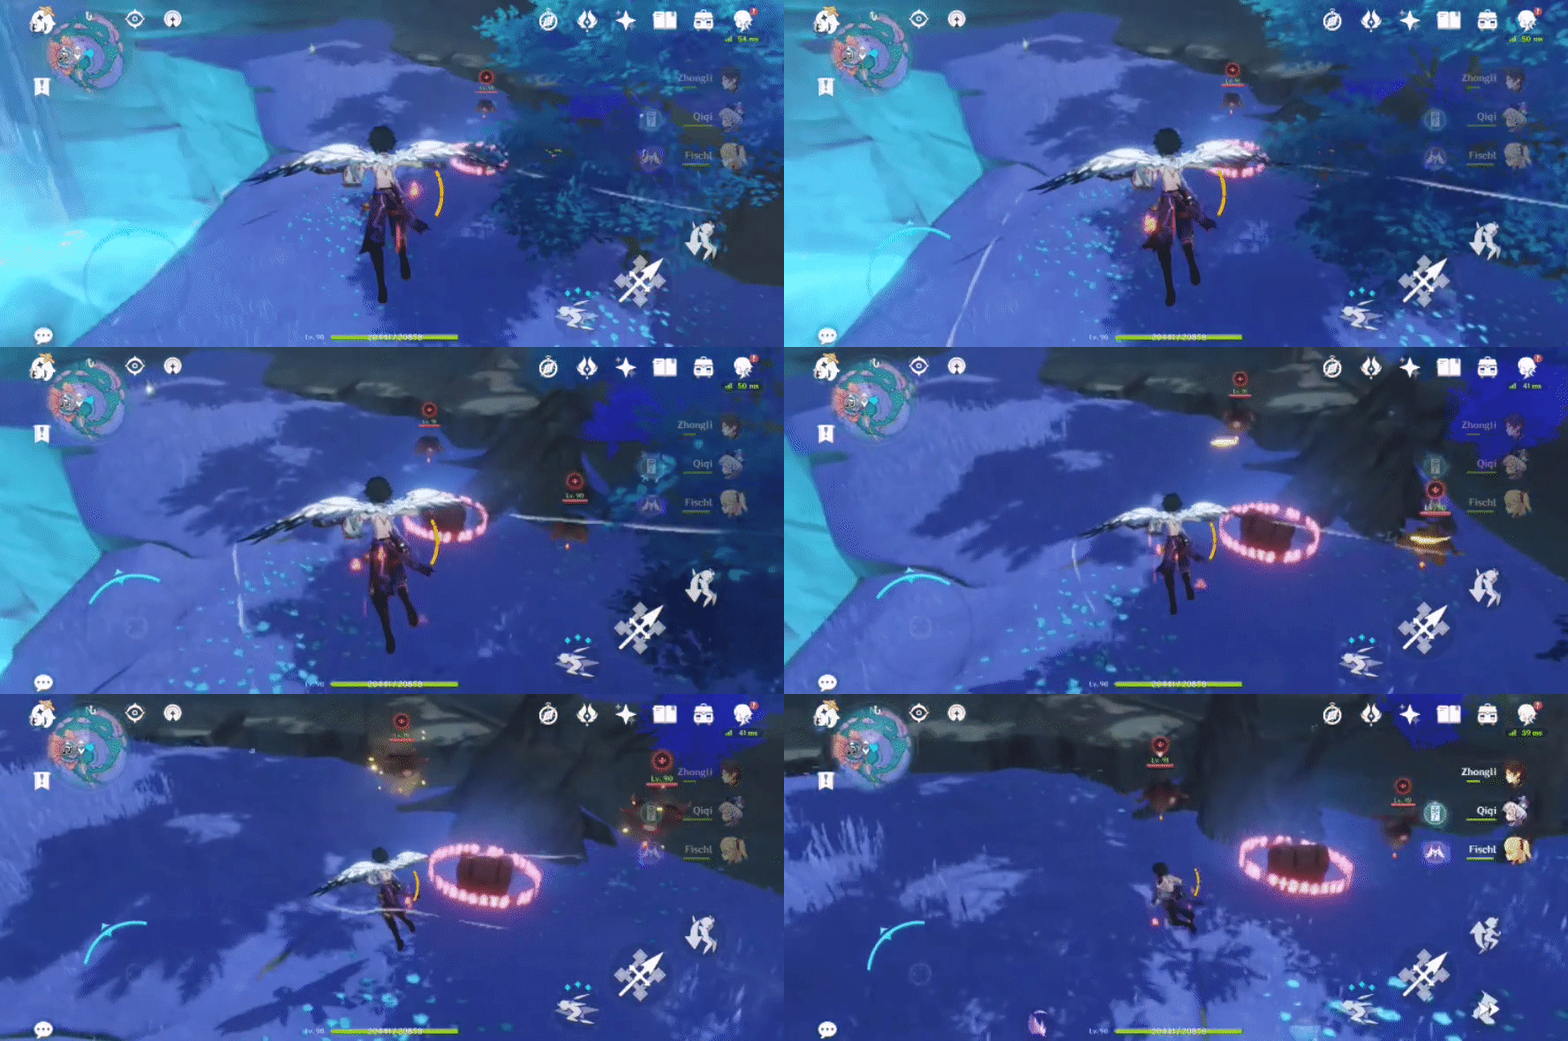
329. [Spawned Chest]
Will spawn after activating all 5 Electro totems with Electro, in the right order (the Electro Seelie will show the order).
Location:


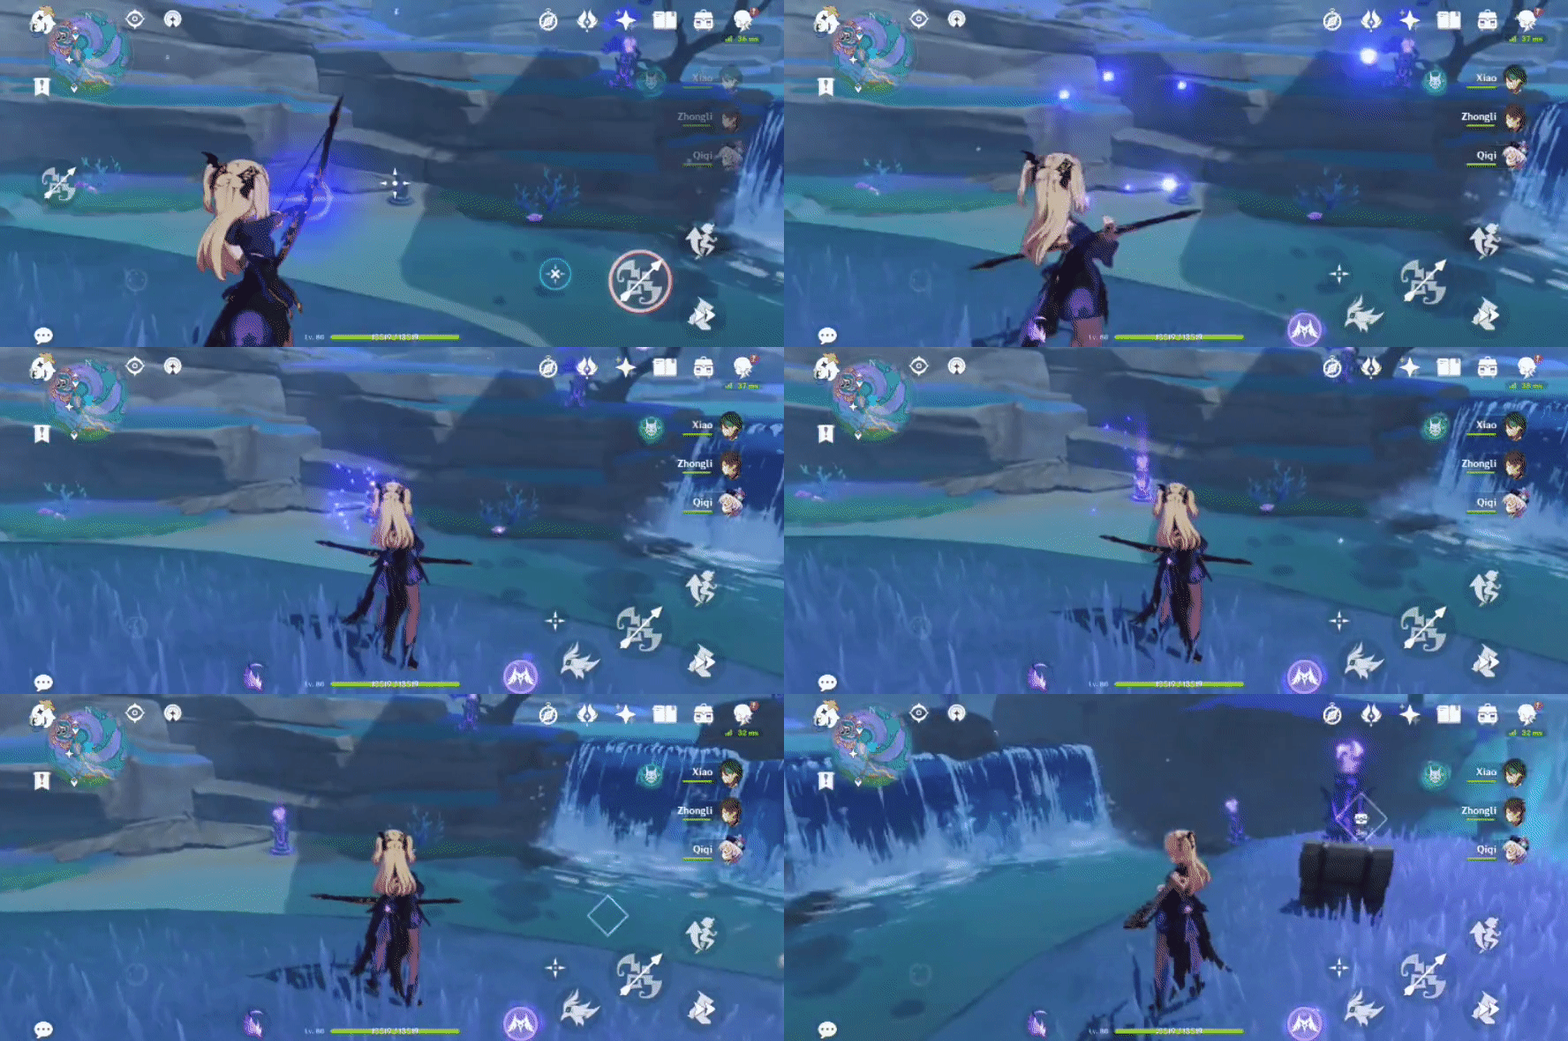
330 onwards will be based on chests accessible on Day 5, a daily reset after completing the World Quest 'The Sun-Wheel and Mt.Kanna' of the 'Through the Mists' Quests, on Tsurumi Island (when all chests are available and are no longer time-gated on Days 1-4).
[A/N: I was focusing on Remarkable Chests so I was unable to note what Days other chests spawned on sorry, but I'll try to make a note of it on my 2nd account and eventually edit the posts for Tsurumi Island.]
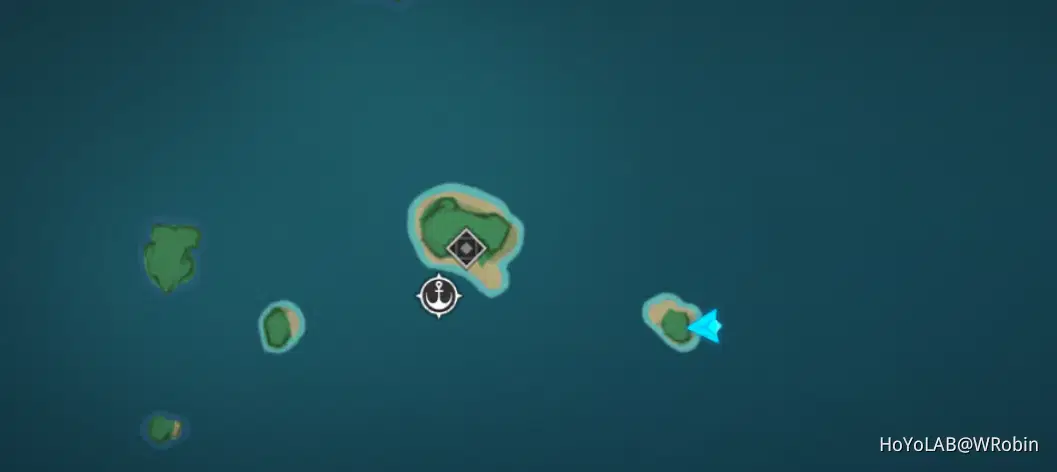
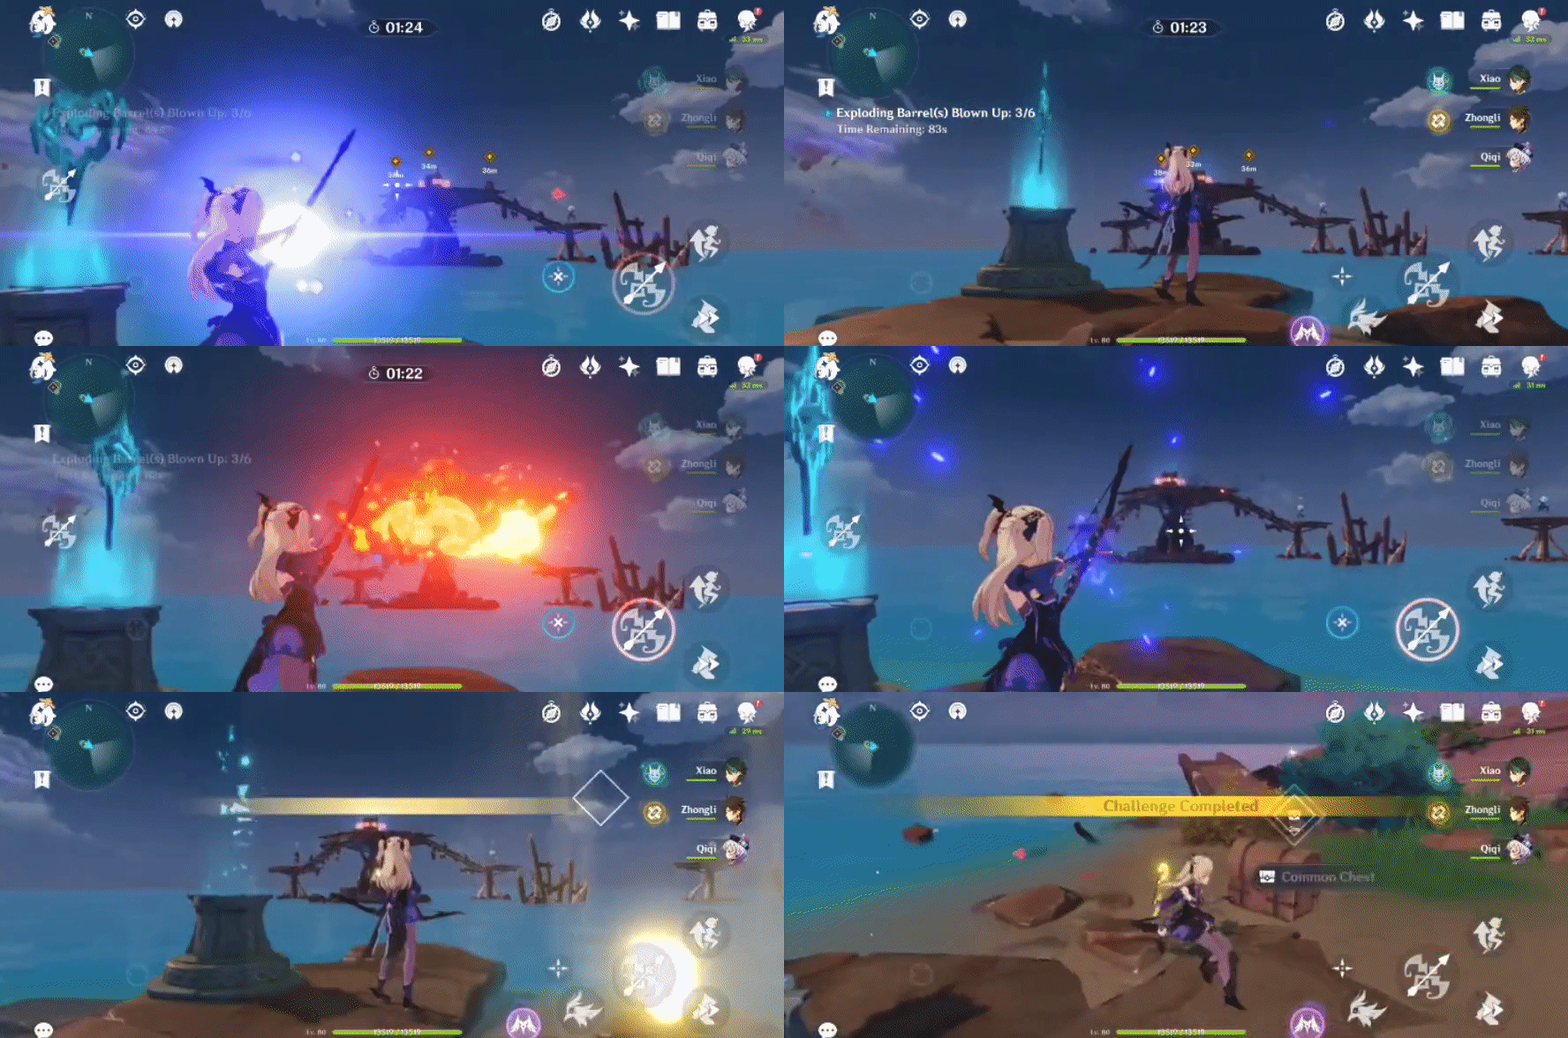
330. [Spawned Chest] On a small island
Will spawn after completing the Time Trial Challenge ('Blow up 6 Exploding Barrels within 120s').
Location (Challenge Marker):
331. [Spawned Chest]
Will spawn after solving the puzzle of 4 blocks (revealed by using the Peculiar Pinion on the Thunderbird Statue).
Location:

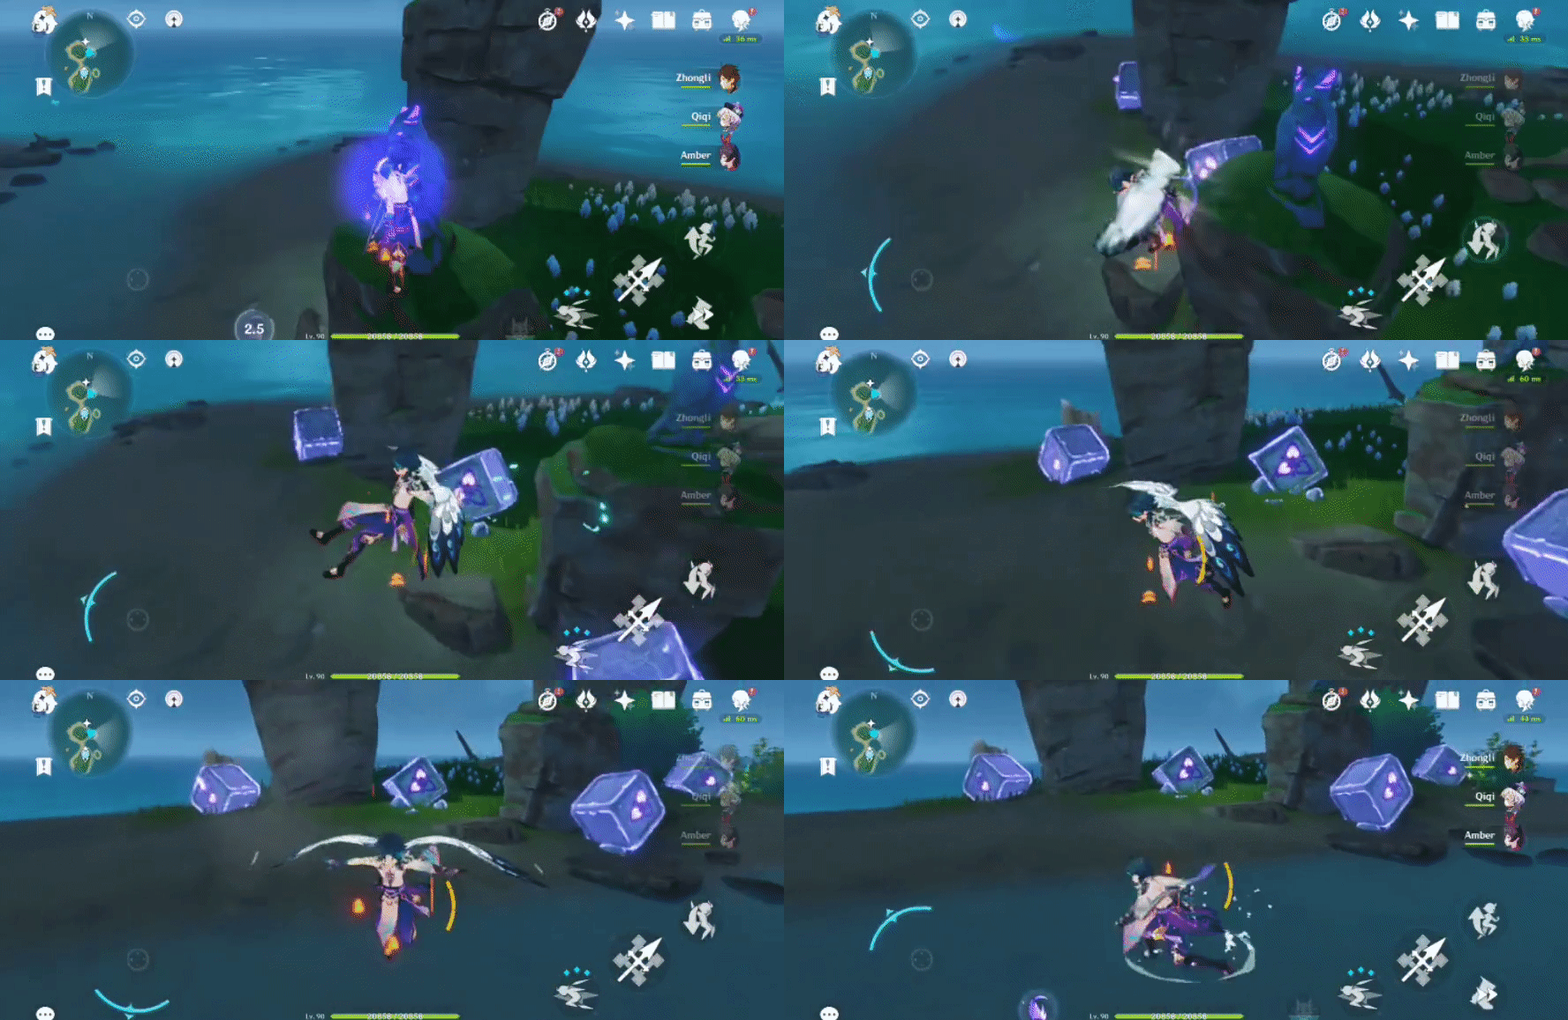
1. Hit left block x1.
2. Hit right block x2.
3. Hit centre-left block x1.
4. Hit left block x1.
5. Hit right block x1.
6. Hit centre-left block x1.
7. Hit centre-right block x2.
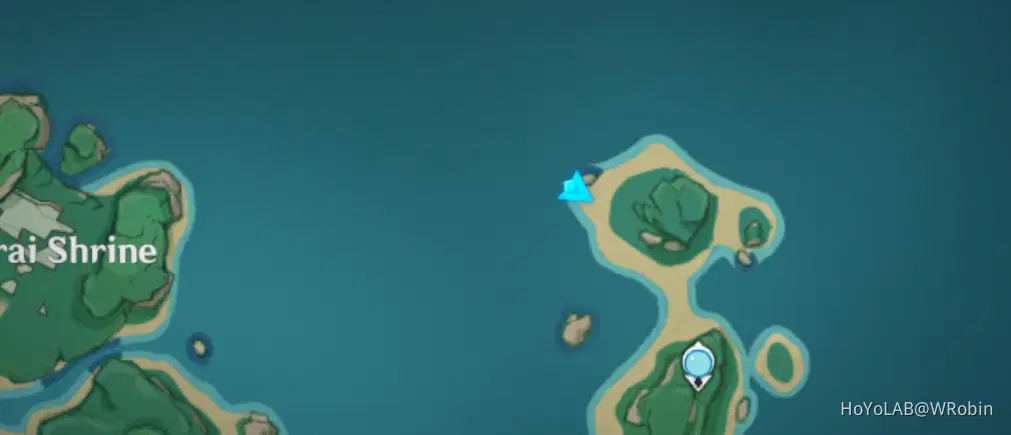
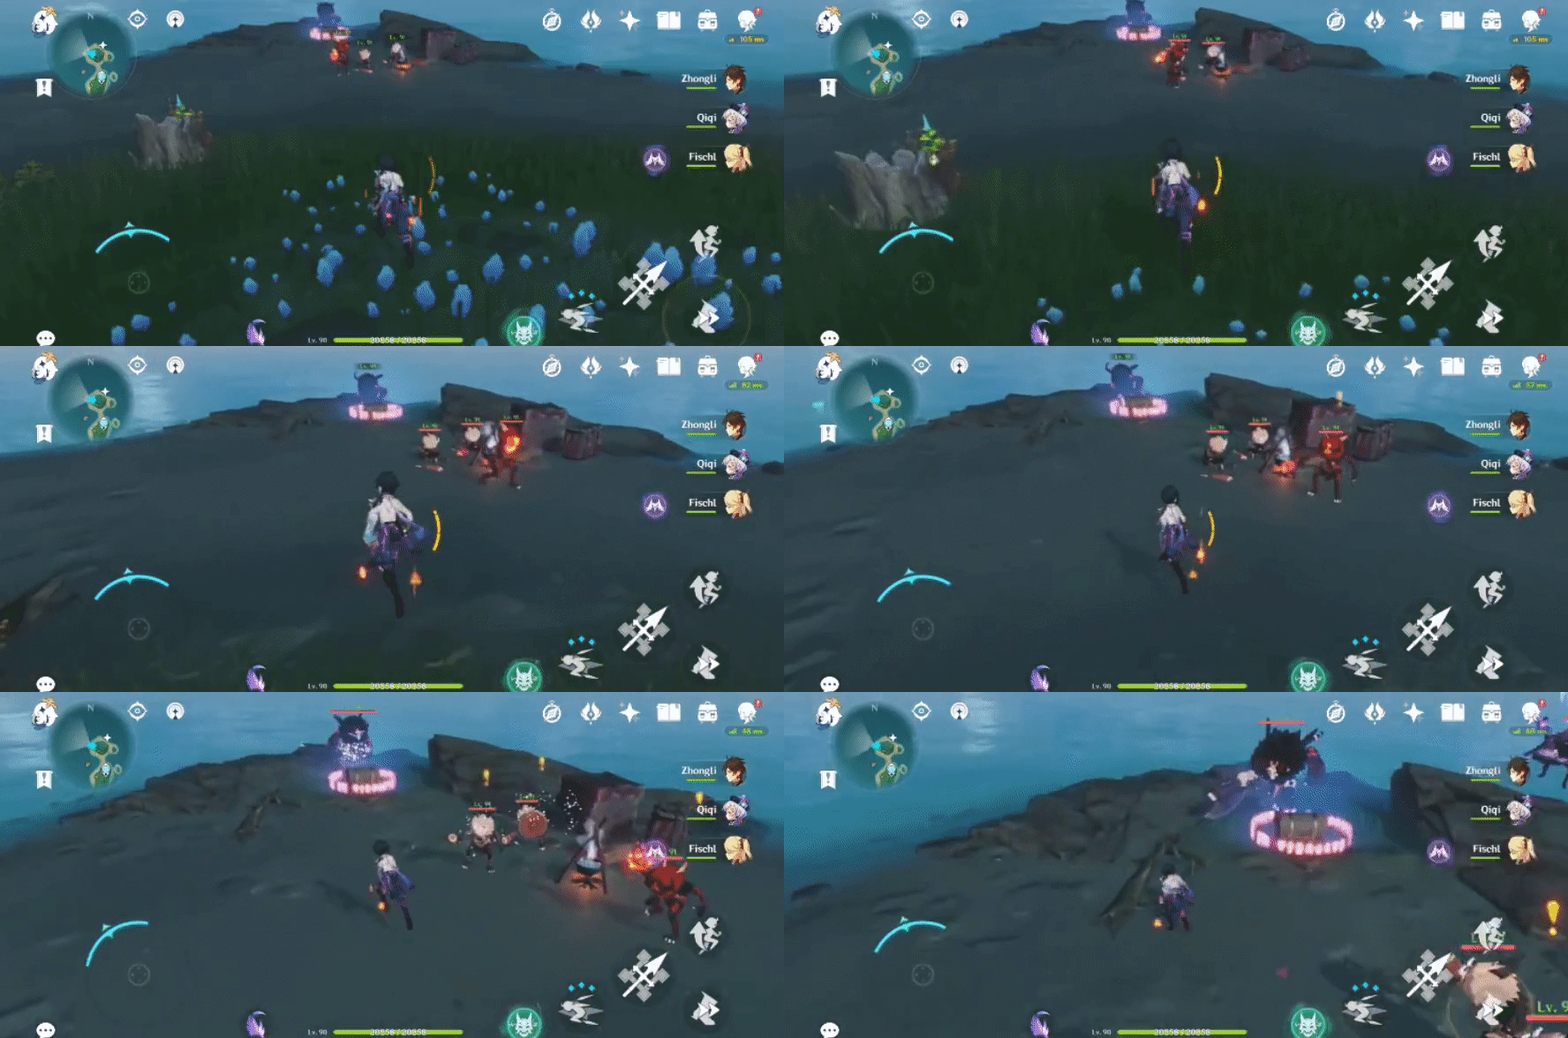
332. [Locked Chest] By the water
Will unlock after defeating 3 Hilichurls, 1 Mitachurl and 1 Electro Abyss Mage.
Location:
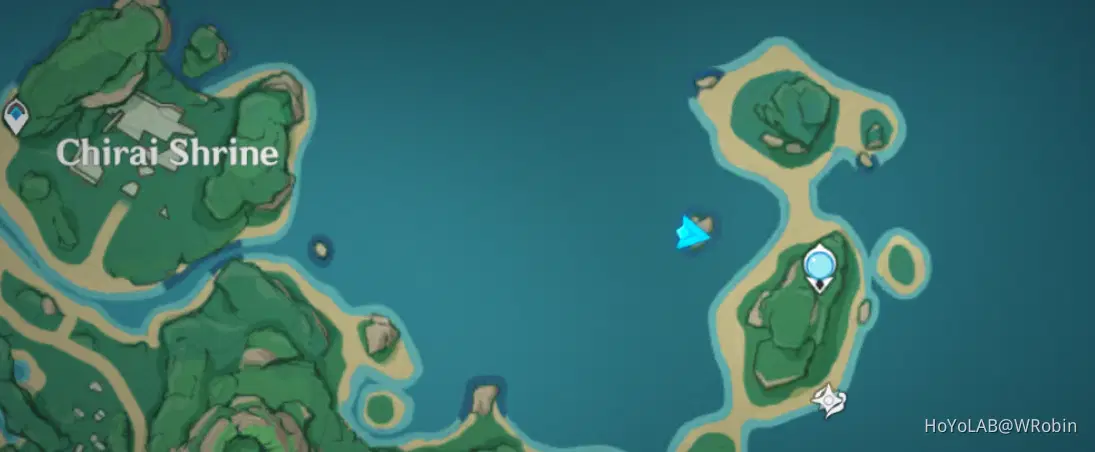
333. [Spawned Chest]
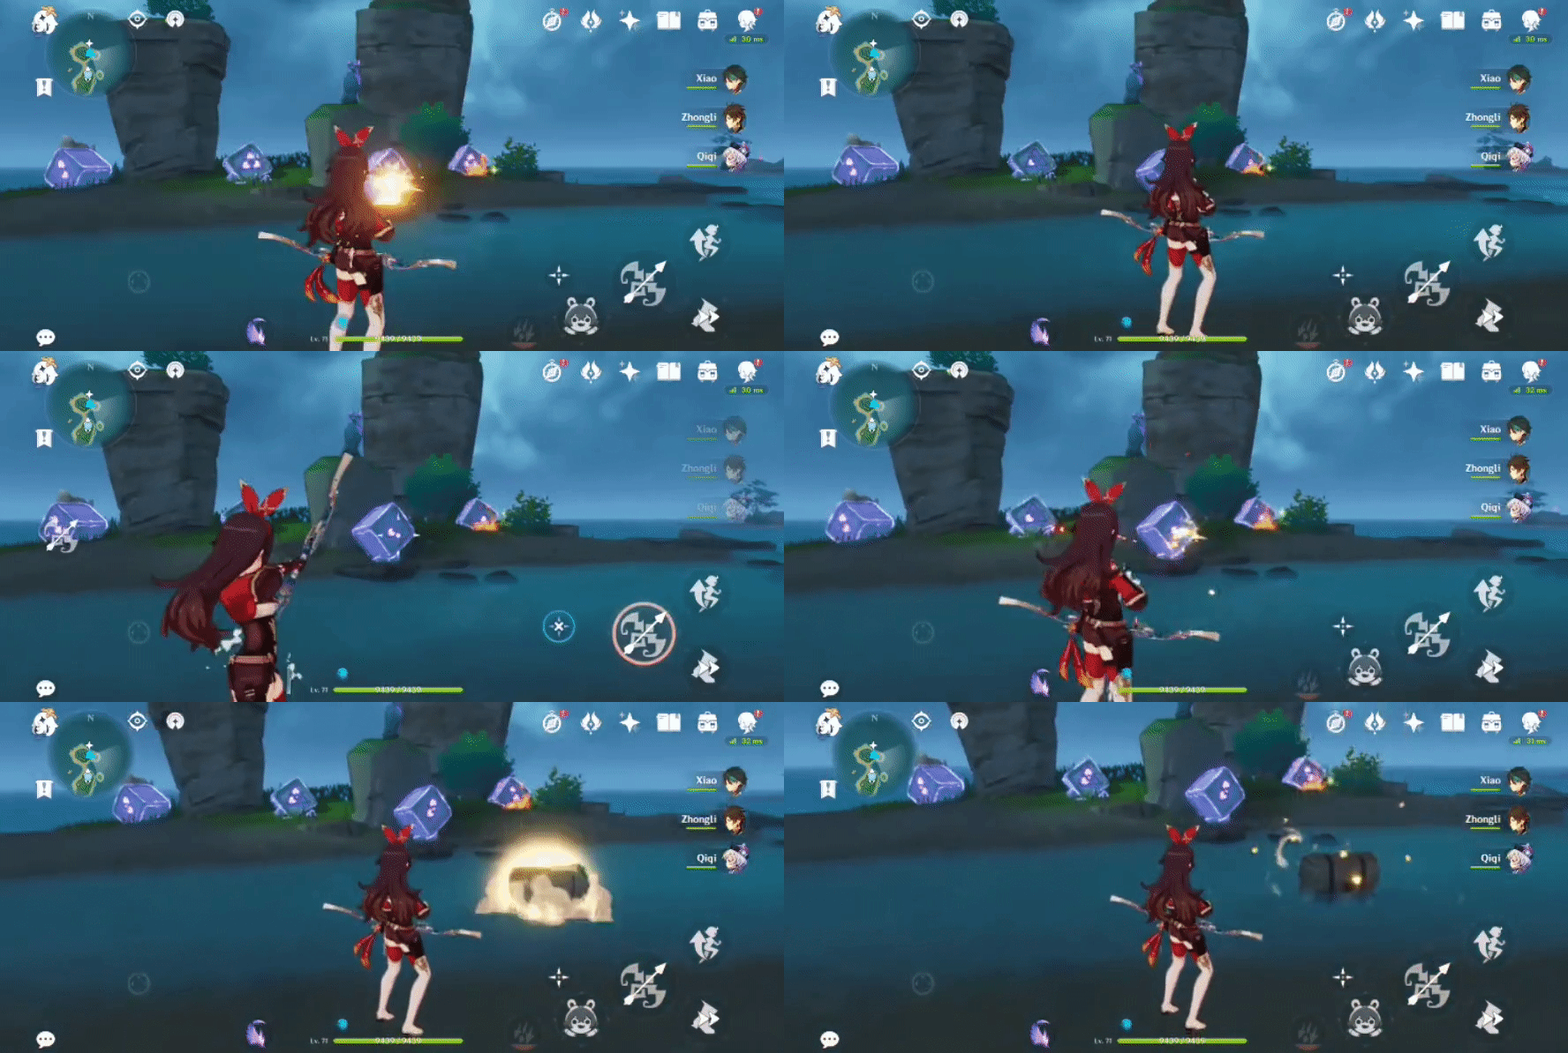
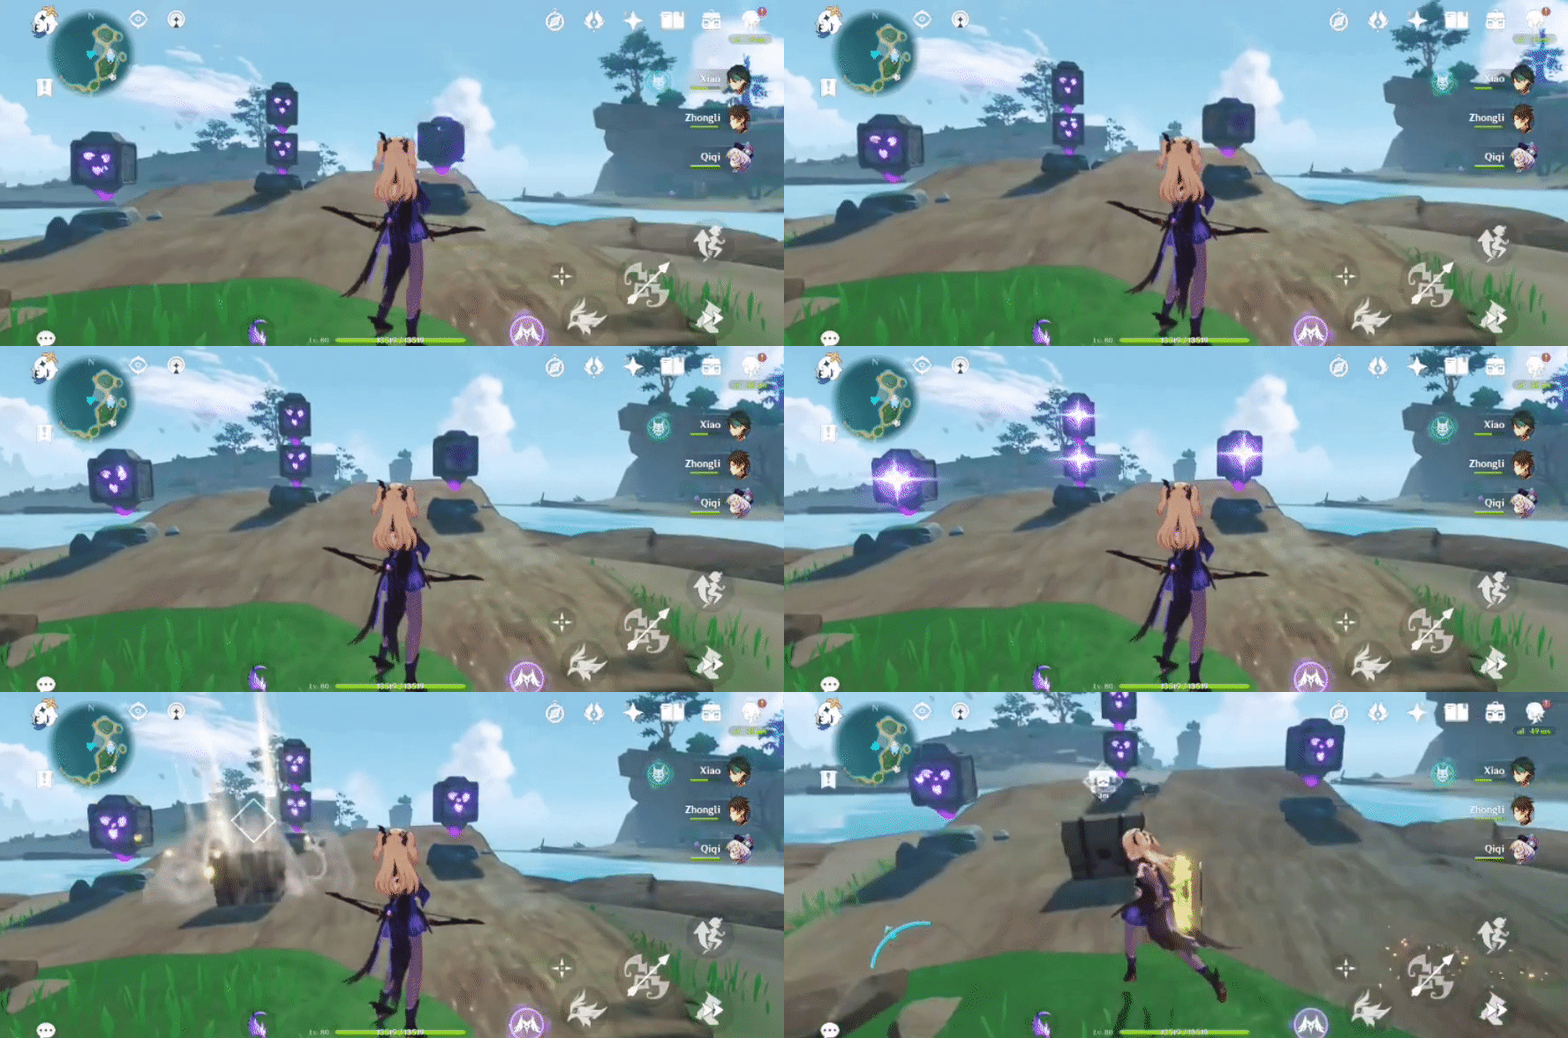
Will spawn after solving the puzzle of 5 blocks.
Location:
Use an attack to rotate the blocks.
1. Rotate upper-centre block x3.
2. Rotate left block x2.
3. Rotate right block x1.
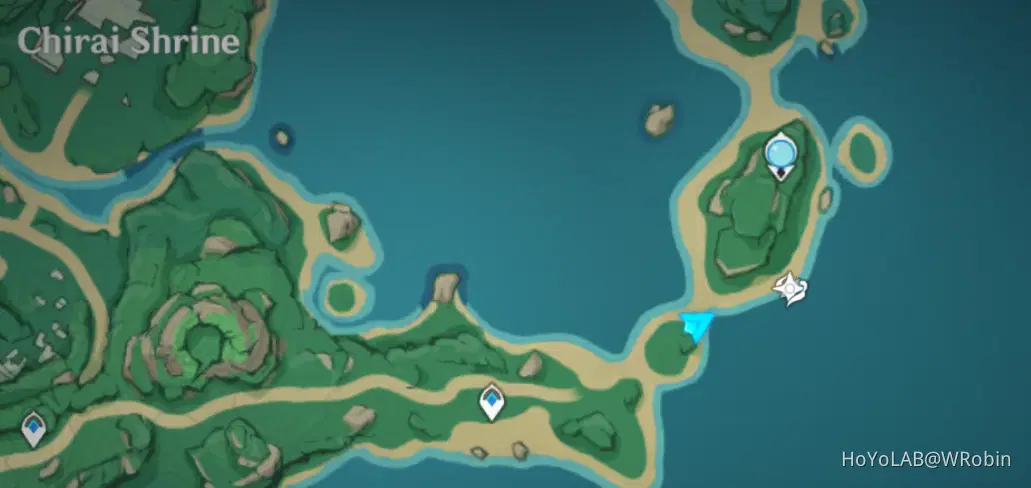
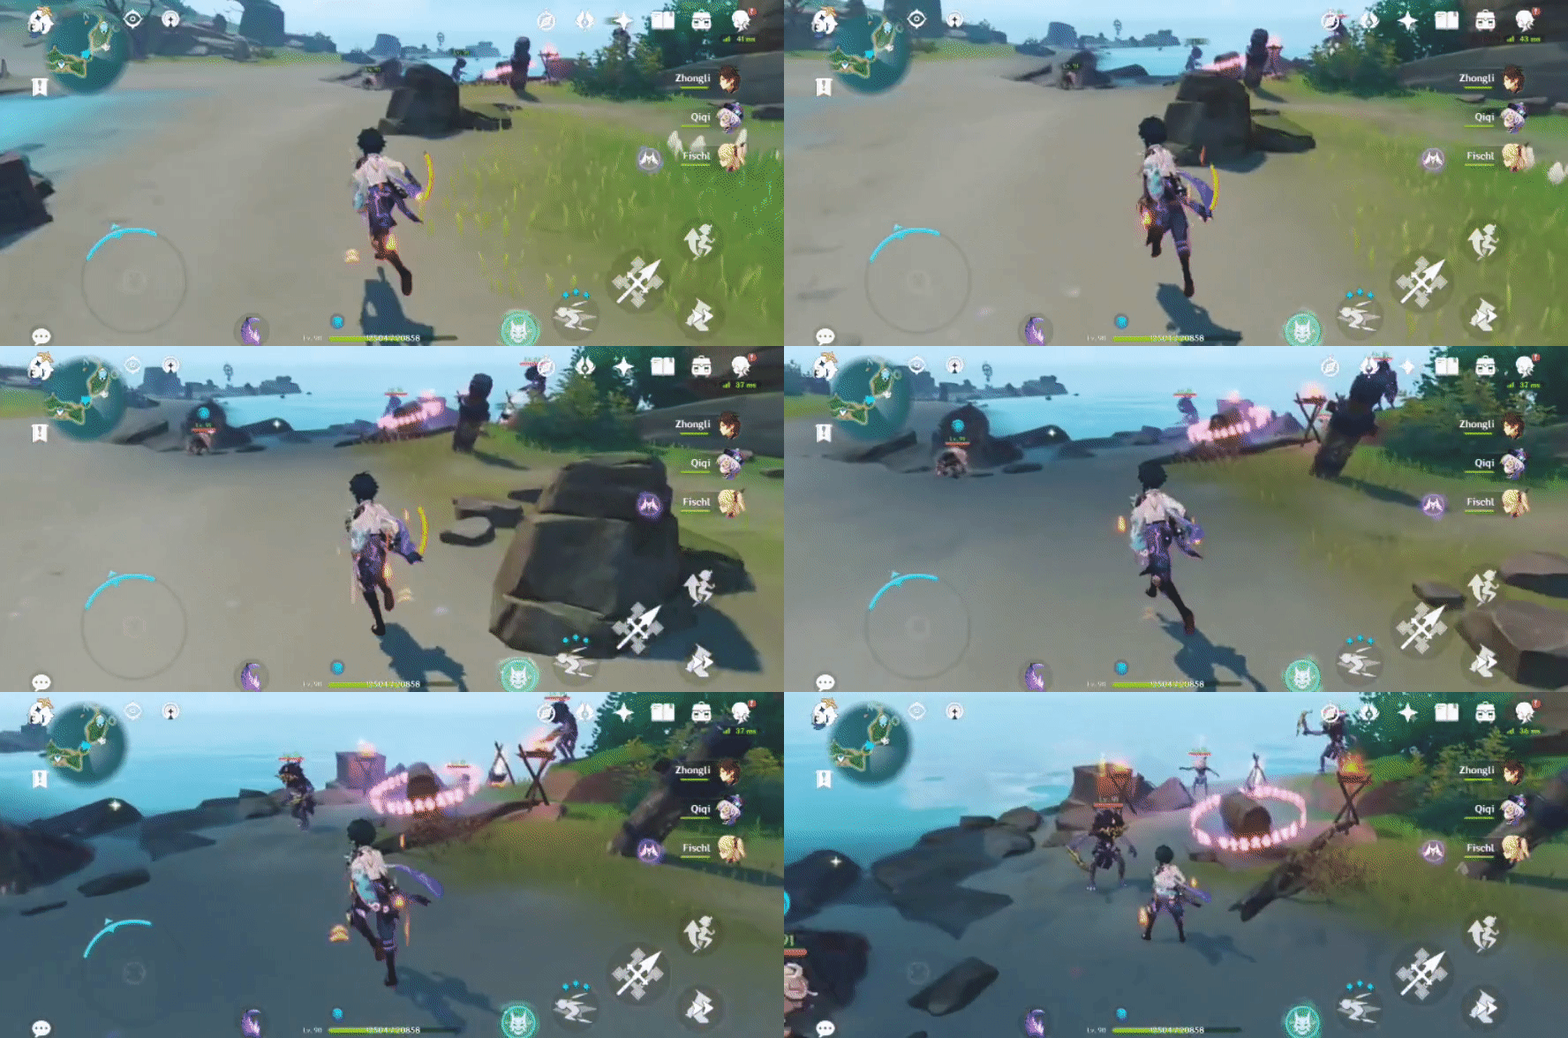
334. [Locked Chest] On a small, flat rock
Will unlock after defeating 4 Hilichurls.
Location:
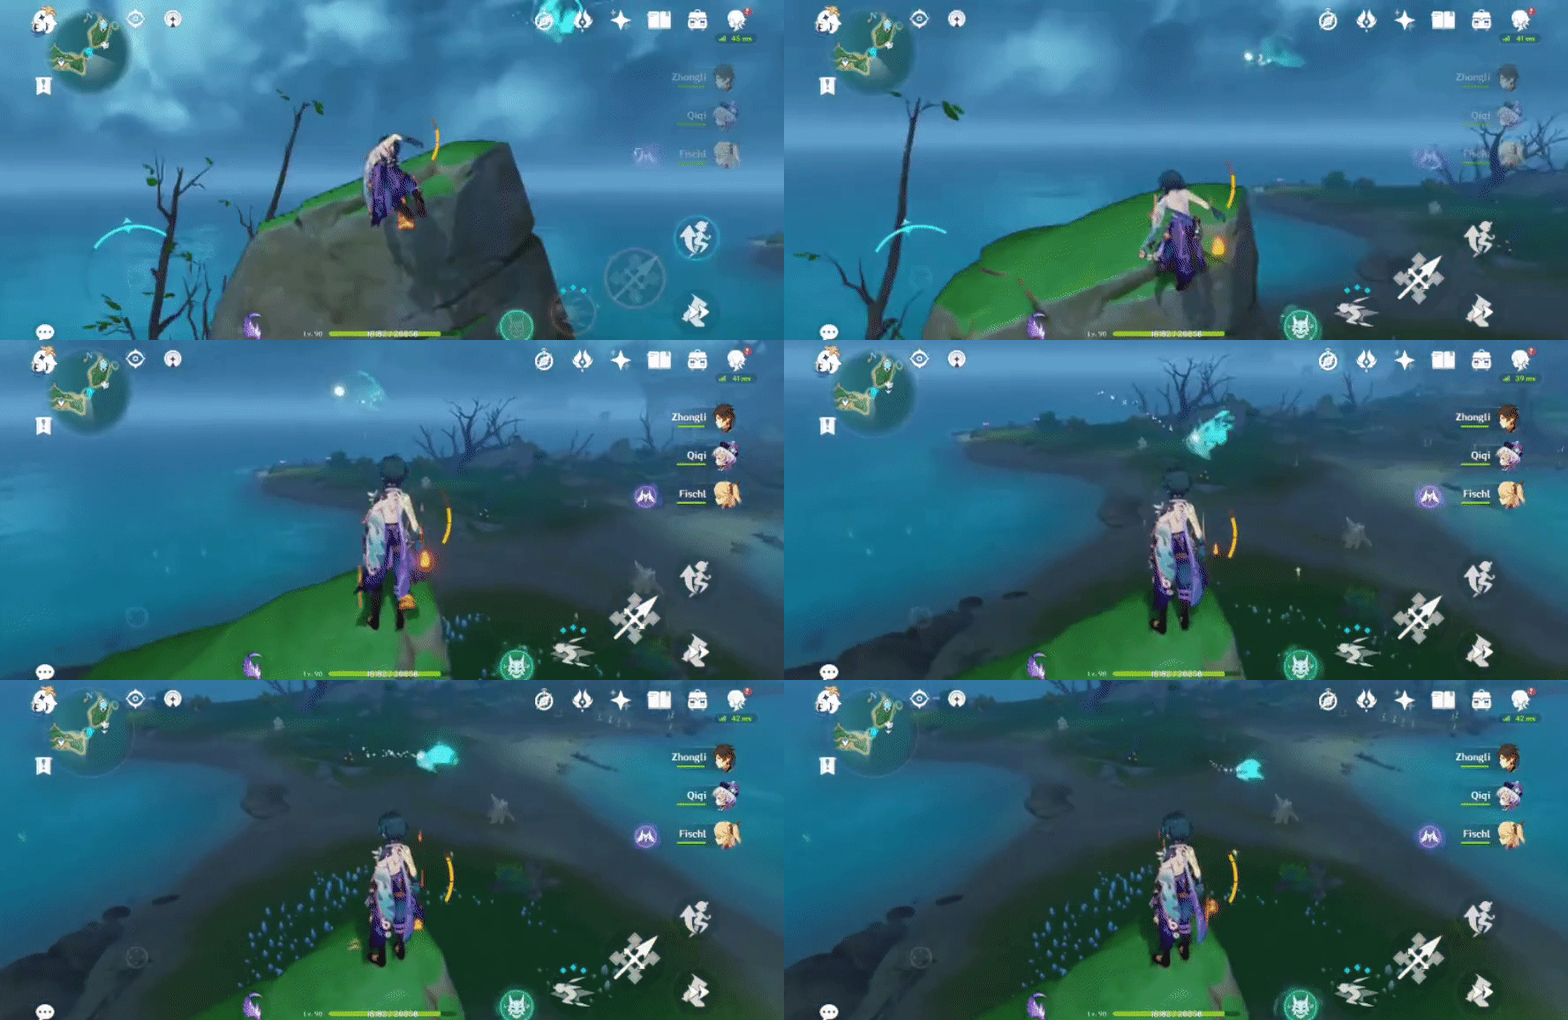
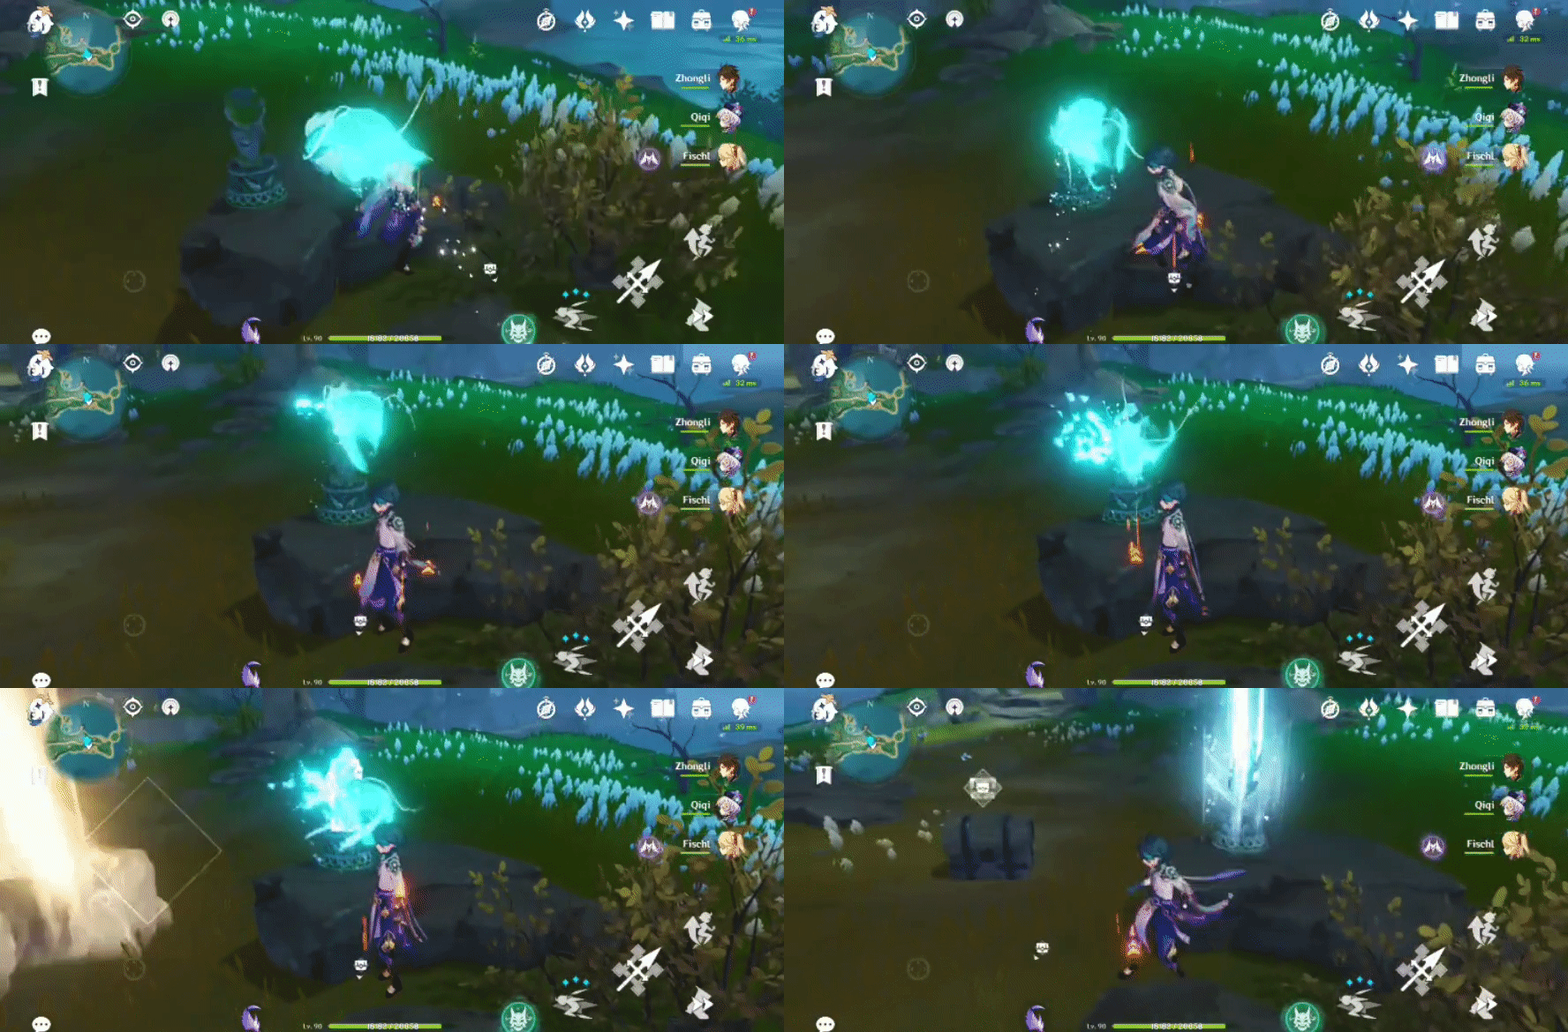
335. [Spawned Chest] On top of the large rock
Will spawn after the Seelie returns to its Statue.
Location (Seelie):

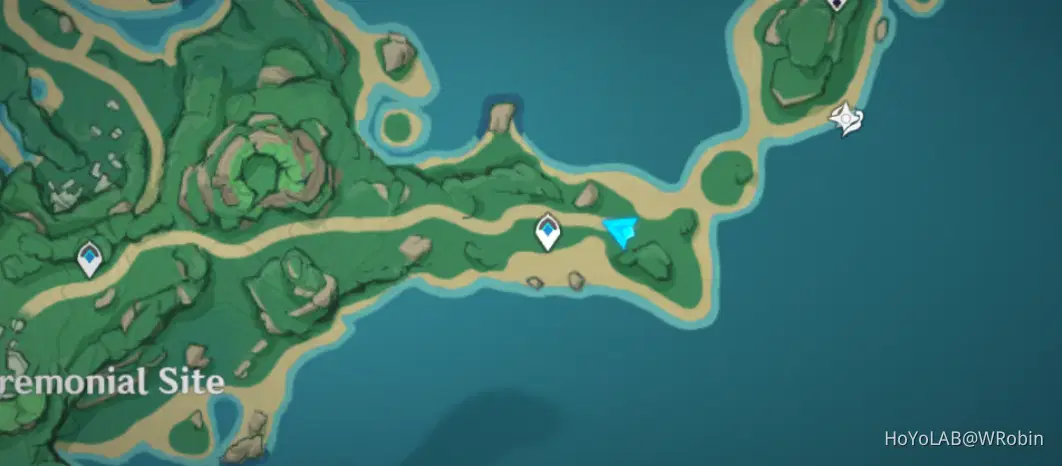
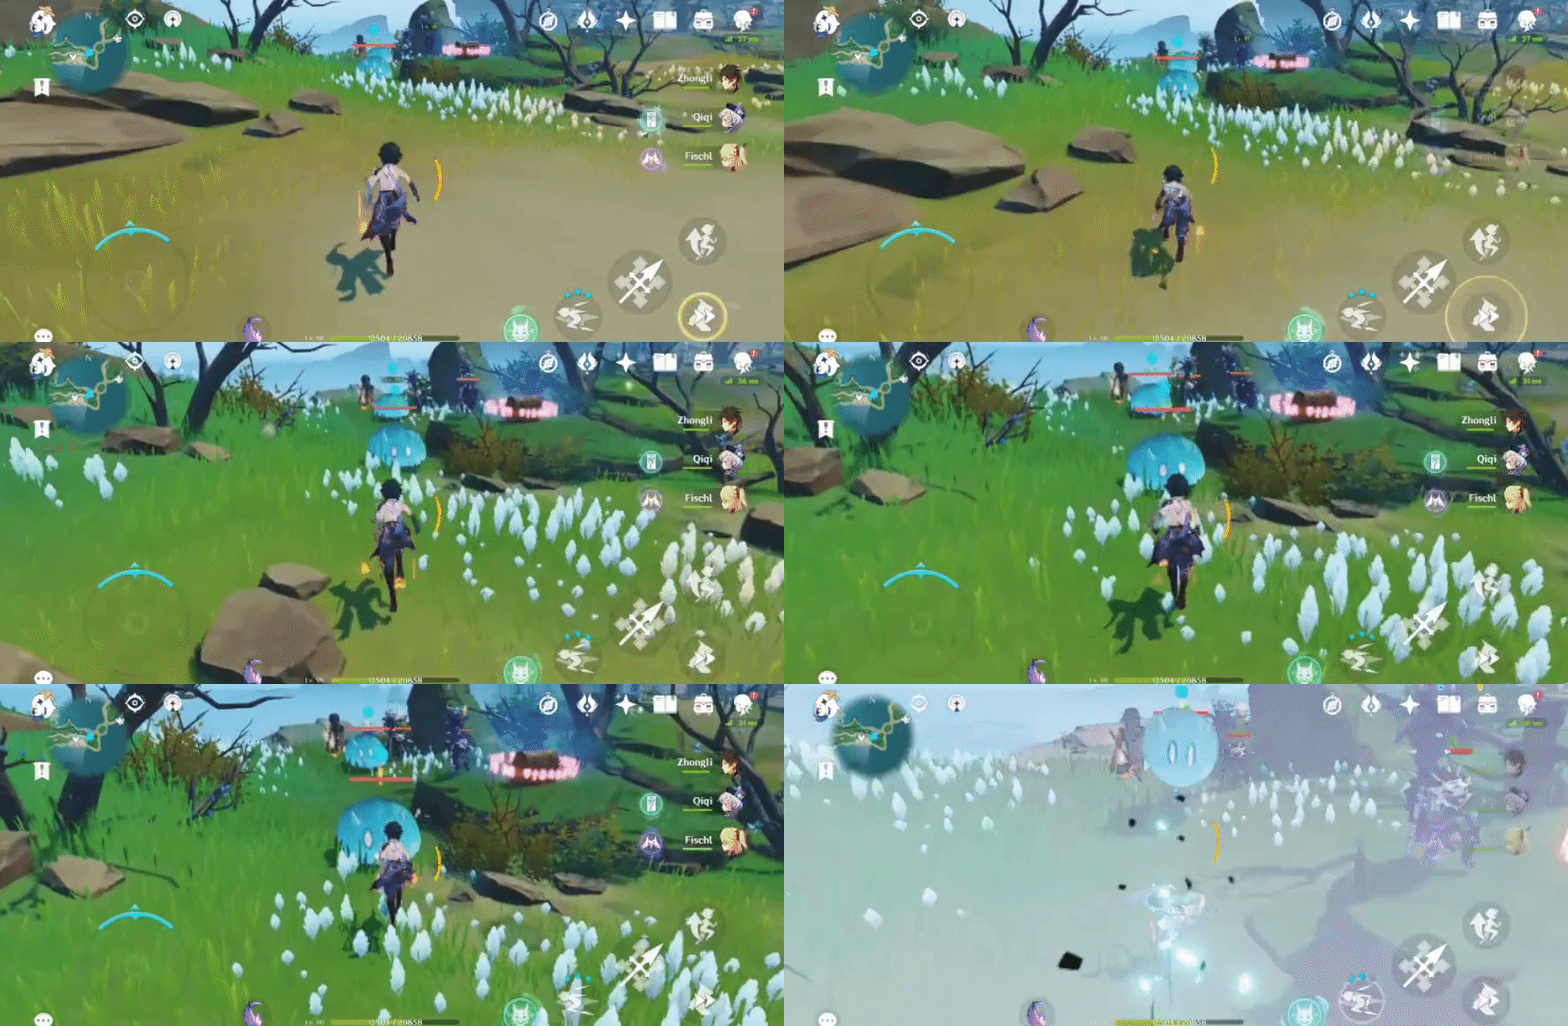
336. [Locked Chest]
Will unlock after defeating 2 large Hydro Slimes and 2 Samachurls.
Location:
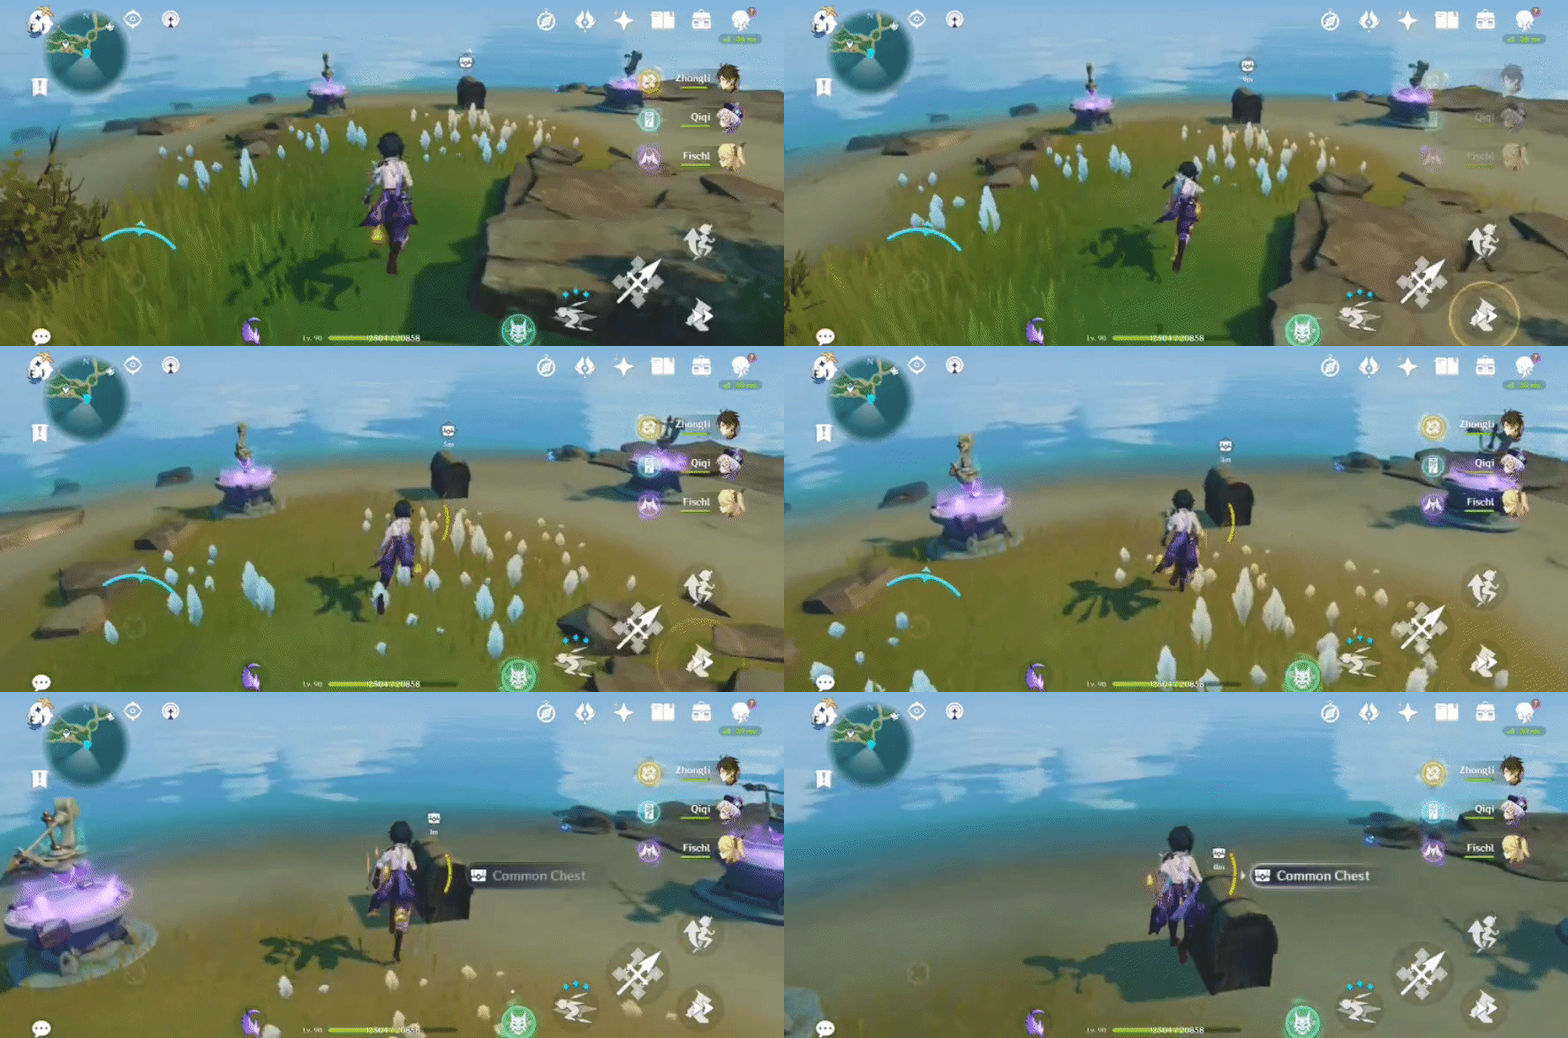
337. [Spawned Chest] By the water
Will spawn after the 2 Lightning Strike Probes turn in the right direction.
Location:
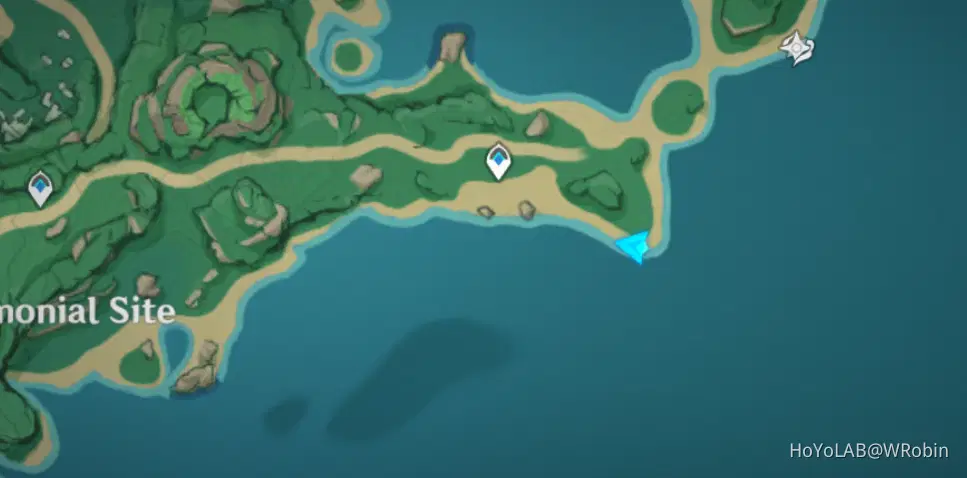
1. Use an Electro character and electrify the water.
2. Go into the water to have Electro applied to turn the Probes.
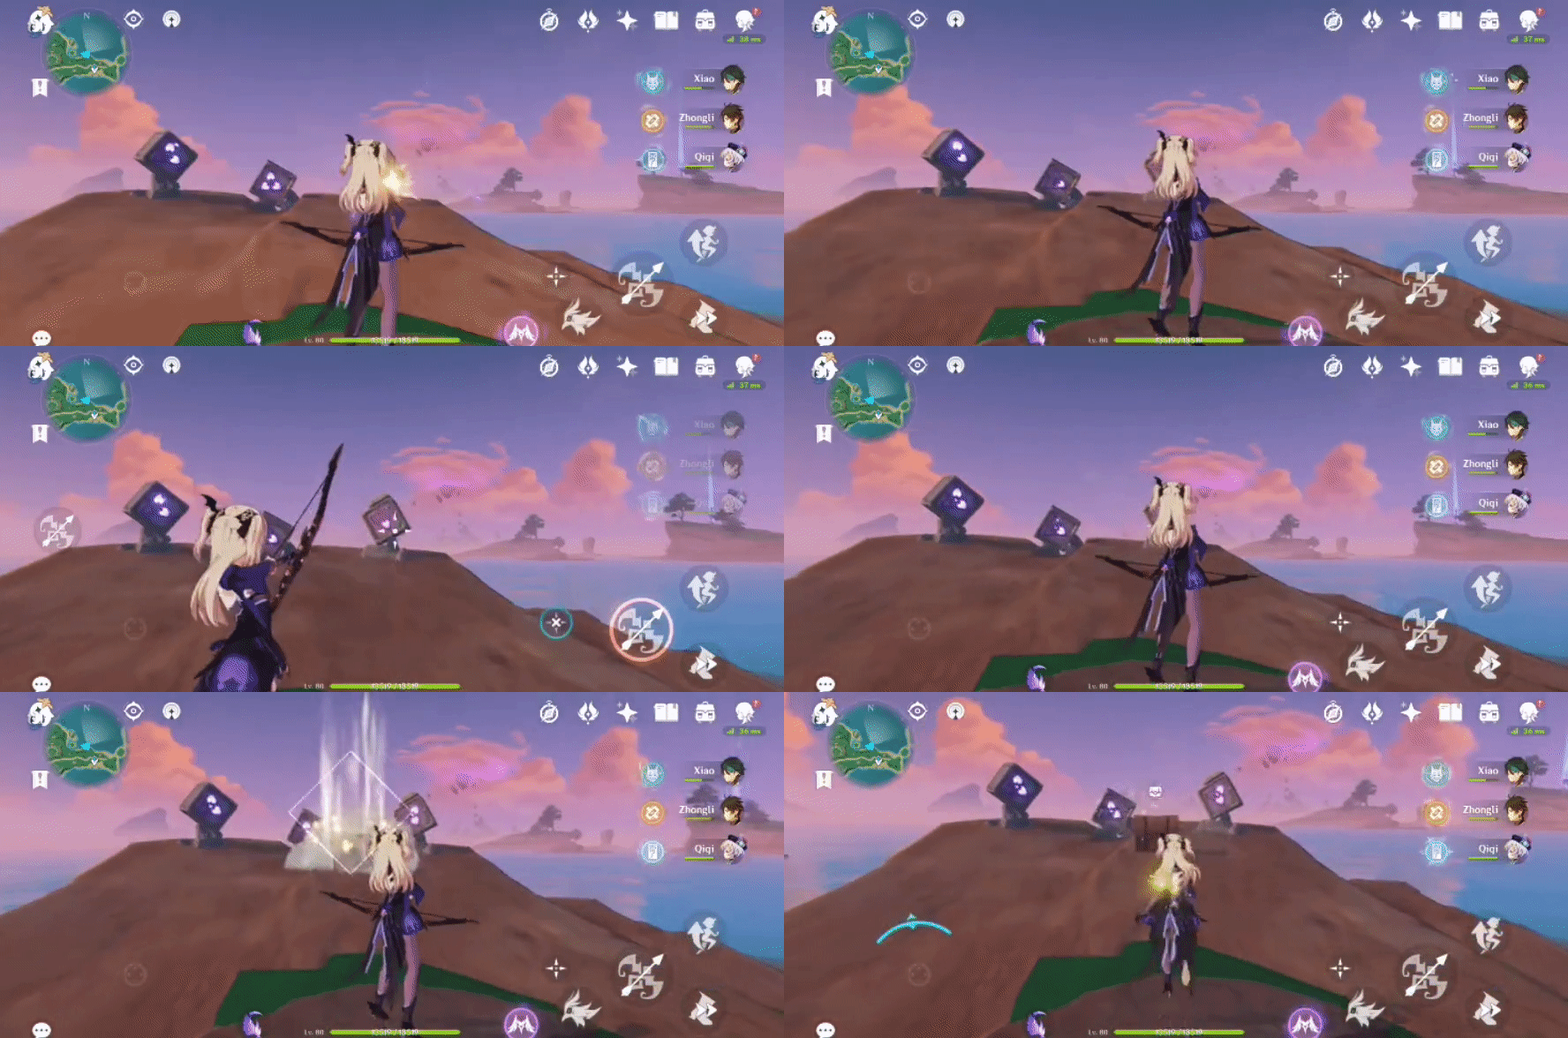
338. [Spawned Chest] On the rock
Will spawn after solving the puzzle of 3 blocks.
Location:

1. Hit left block x1.
2. Hit right block x2.
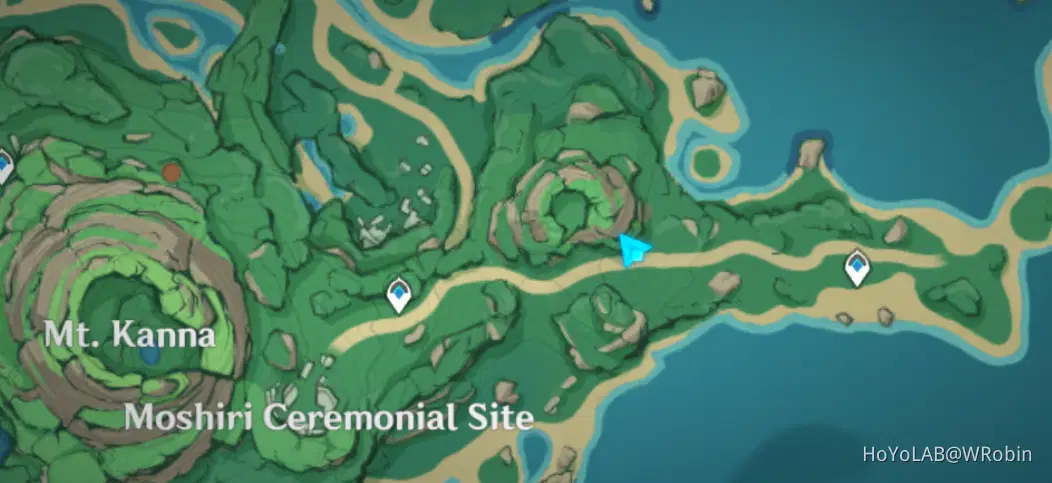
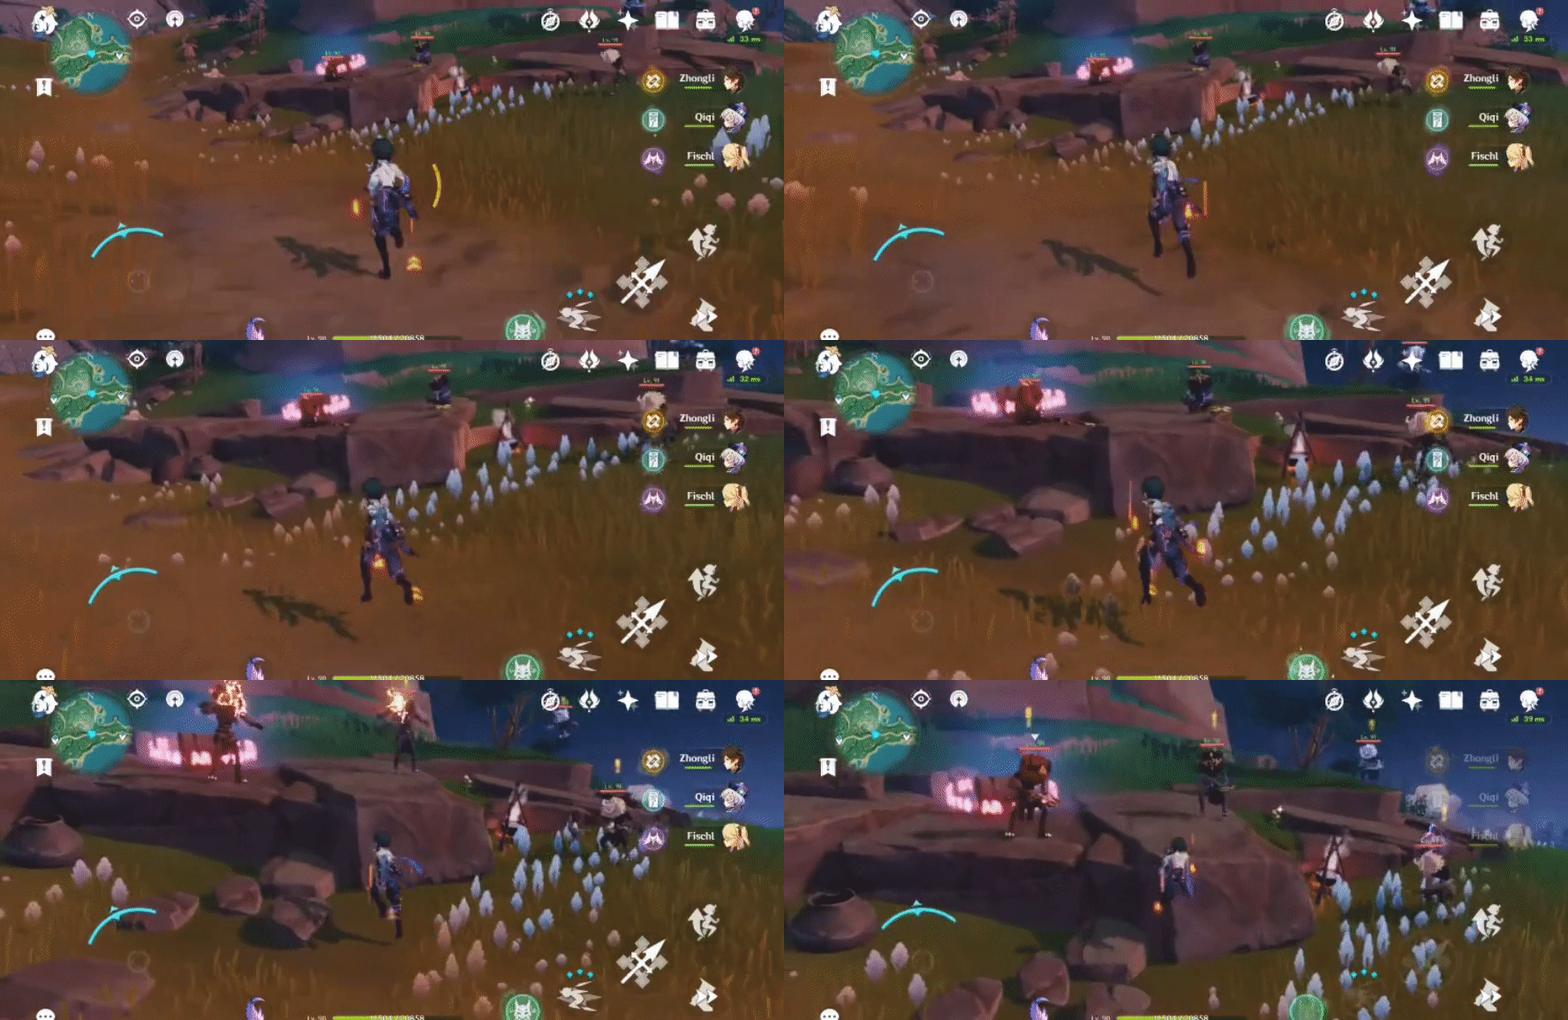
339. [Locked Chest]
Will unlock after defeating 4 Hilichurls.
Location:
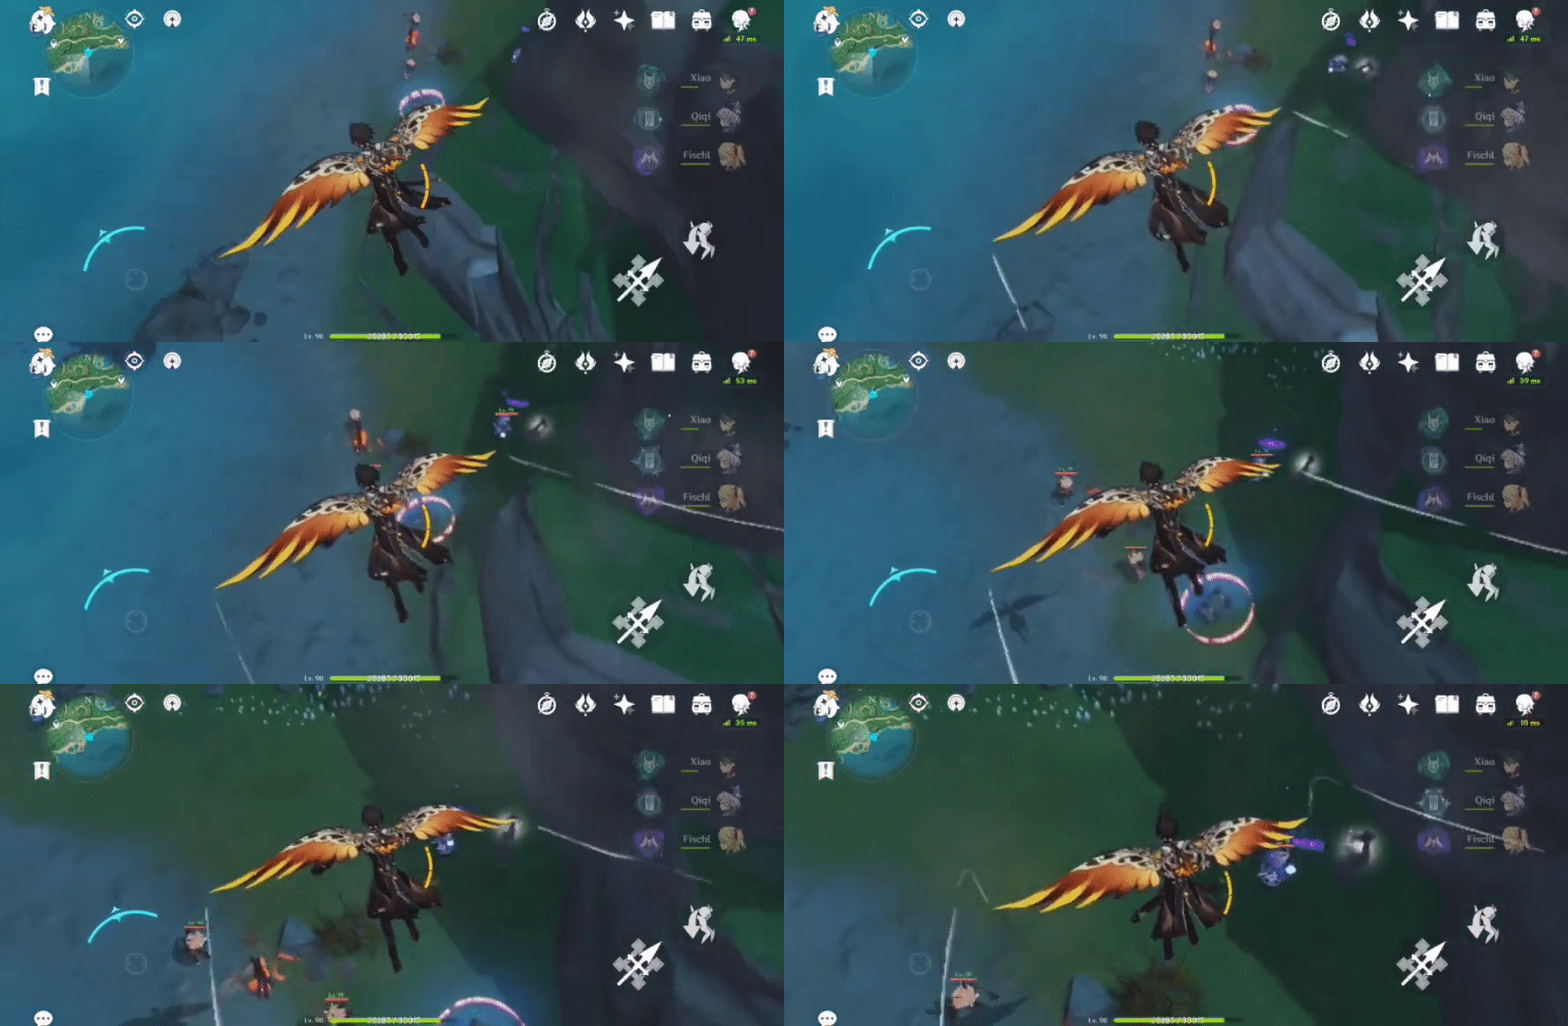
340. [Locked Chest] By the water
Will unlock after defeating 3 Hilichurls, 1 Mitachurl and 1 Cryo Abyss Mage.
Location:

Previous:[Guide] Common Chests- Inazuma: Part 16 - miHoYo Player Community (hoyolab.com)
Index:[Index] Common Chests - miHoYo Player Community (hoyolab.com)
Next:[Guide] Comon Chests- Inazuma: Part 18 - miHoYo Player Community (hoyolab.com)



