Dreams Beneath the Searing Sand is the 4th stage of【Golden Slumber】, which offers rich items. I’ll share with you the tips to complete it!
【Introduction】
Complete Lost in the Sands, An Introduction to Indoor Archaeology and The Secret of Al-Ahmar before taking Dreams Beneath the Searing Sand.
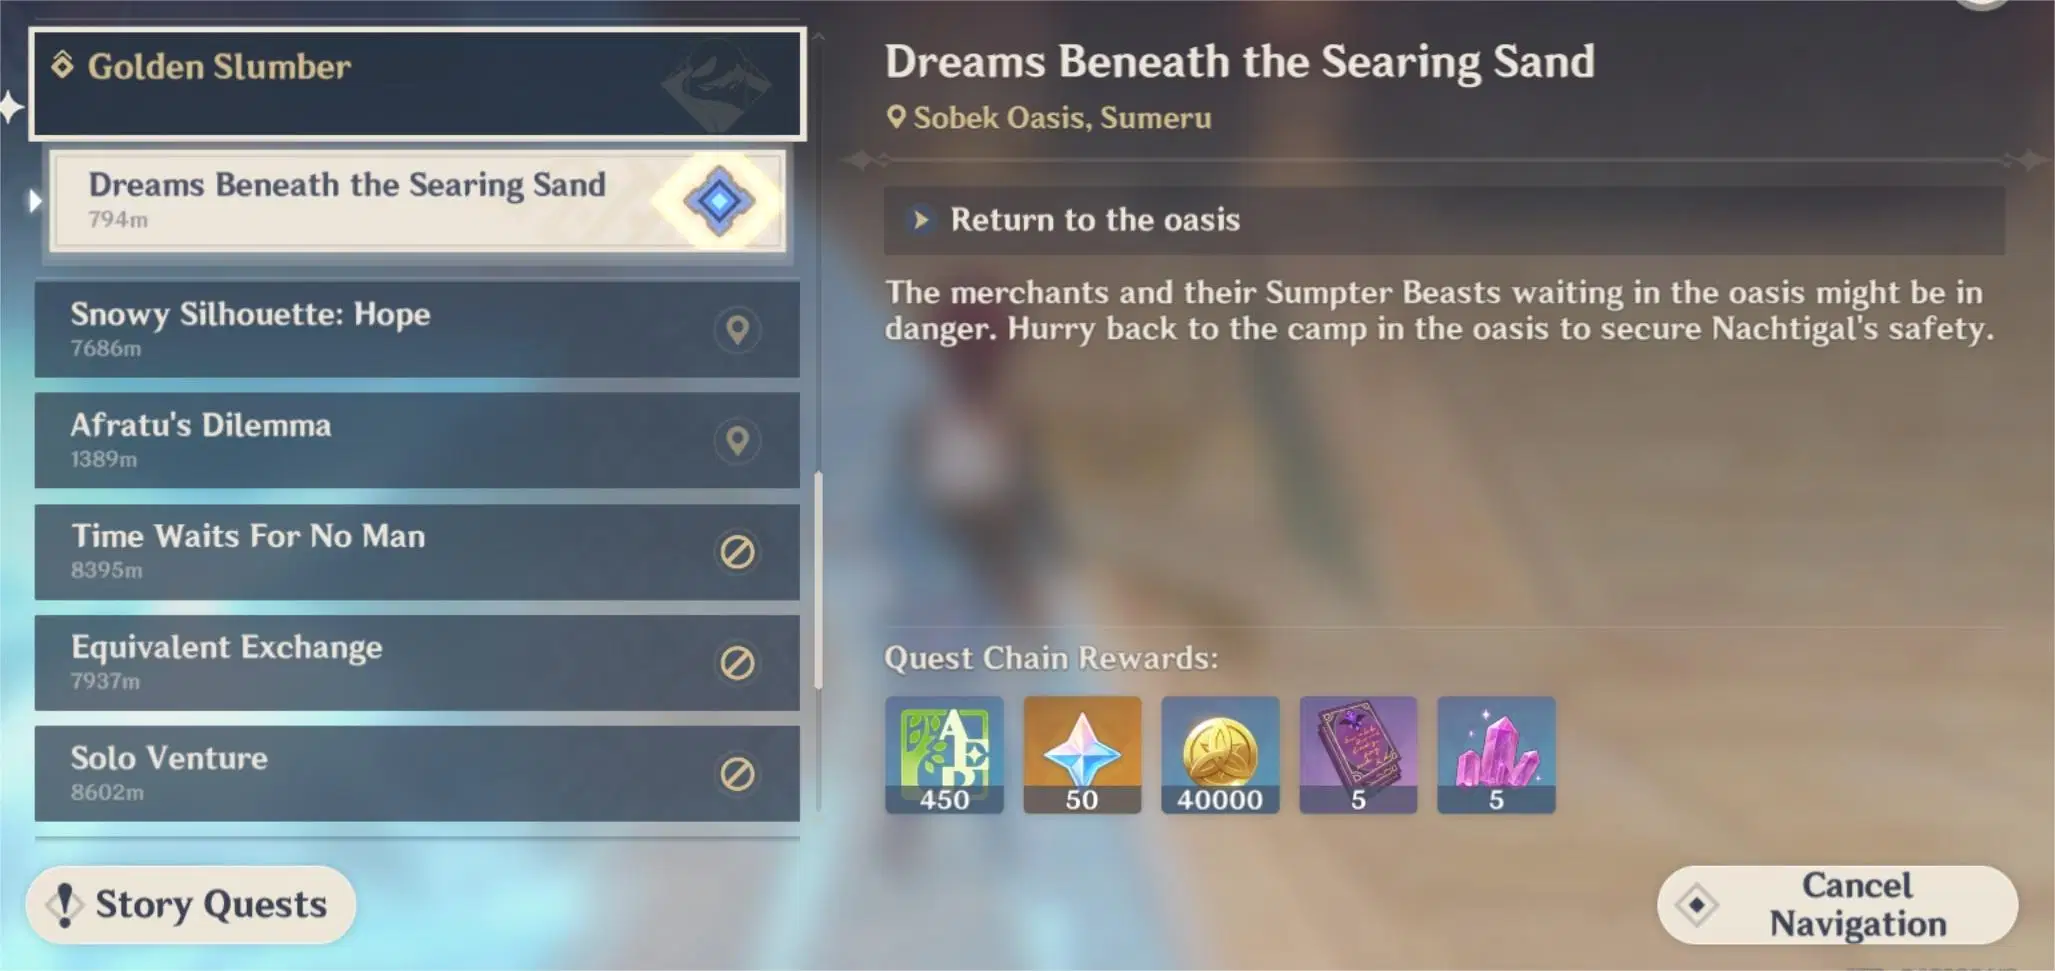
Rewards:
1. Fata Morgana, Slumber, the Brother Of...
2. 6 Dendroculi, Scared Seal: Valley, Sacred Seal: Ceremony, Glinting Component and Torn Page: A Thousand Nights (V)
3. Unlock a hidden waypoint.
【Process】
1. Go to oasis according to the quest guidance. Approach the point to enter cut scene. Defeat opponents to enter the story again.
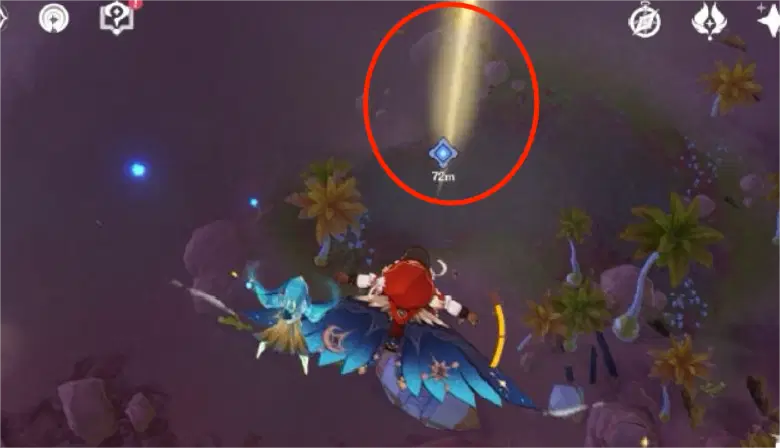
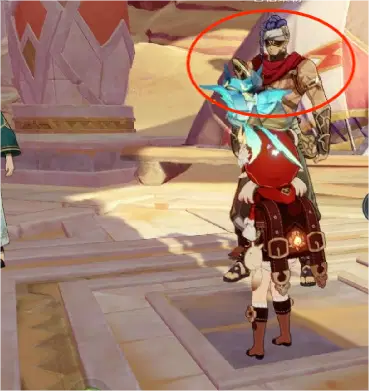
2. Go to Eremite Camp in Khaj-Nisut and defeat the Eremits. Talk with Jebrael to get the clues.
3. Clear 3 required trials, not necessarily in sequence.
Trial 1: Underground Ruin
From the waypoint to the door of the ruins, after operating the mechanism, move to the right and jump down. For the invisible wall, you should go south first, then jump north, and finally go south.
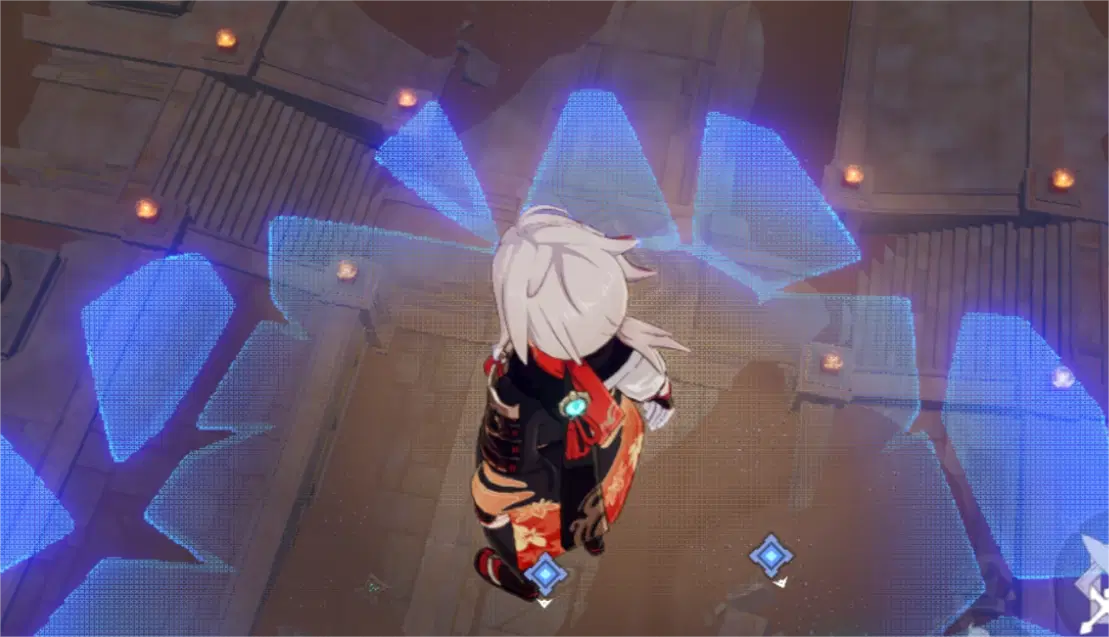
There is still an invisible wall below. You need to walk along the side road, get the Sacred Seal and everything, and go straight to the mechanism. You can operate the mechanism to pass the trial.
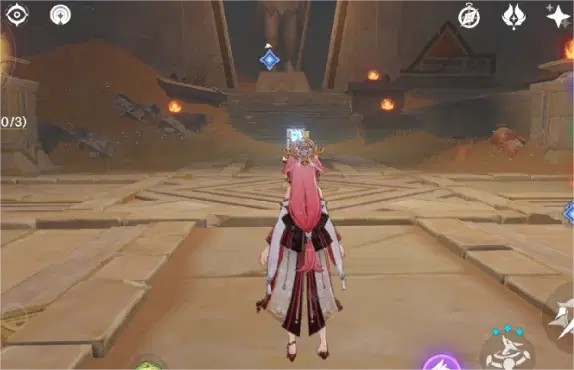
Trial 2: Surface Ruin
There is an hourglass at the quest site. When the hourglass is turned over, the Four-Leaf Sigil will appear. Use it to fly to the opposite ruins. There is also an hourglass above. Go in through the door. There is a Sacred Seal beside the mechanism. After operating it, jump down from the left. The common seal mechanism will be unlocked after clearing the monster. A new route will appear after activating the mechanism. Continue to clear the monster and unlock the second mechanism. After operating the mechanism the trial will be completed.
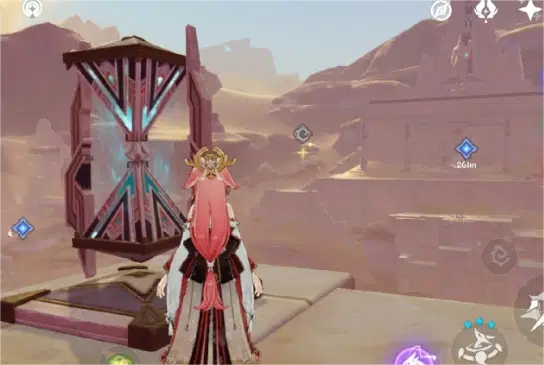
Trial 3: Ruin in the Far Left
Return to the old place from the emerging Wind Current. Turn over the hourglass, and then use the Four-Leaf Sigil to fly over. You can pick up two hourglass** on the road, and enter from the main door of the ruins. It’s okay to ignore monsters on the roadside. After operating the mechanism, walk right and jump down from the Wind Current. After entering, there is a door with Replicator Keystone and a mechanism inside. Activate the mechanism to obtain the Replicator Keystone, and then close it to reveal the component to obtain another Replicator Keystone and repeat the steps. The wall can be made transparent by touching the blue device, and the door can be opened after the element is connected with the device.
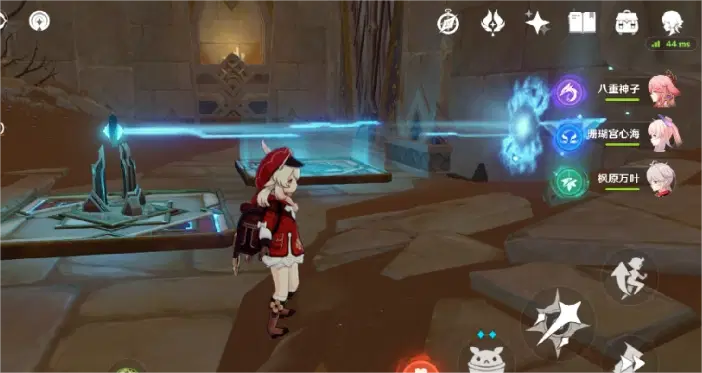
There is a Replicator Keystone in front of the statue. Close it to reveal the device. Touch the yellow component, close to the closed door inside to make the door visible. Block the connection between the component and the device, and the door can be opened. Go back to the front door, activate the mechanism, and jump from the Wind Current. There is a light beam on the left. Go right to clear the monsters and remove the seal. After opening the mechanism, there is Keystone (I).
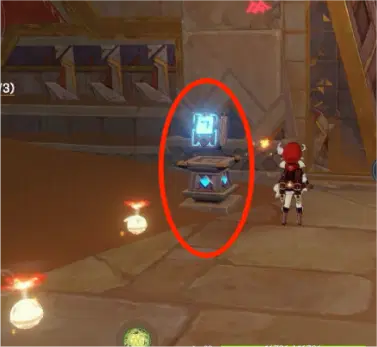
Back to the beam, place the Keystone (I) to open the door to obtain the Replicator Keystone. Close to the device to reveal the component. There is a chest in the middle of the component. After opening, you can obtain Keystone (II). Then touch the blue element to make the wall transparent, and the component is connected with the device.
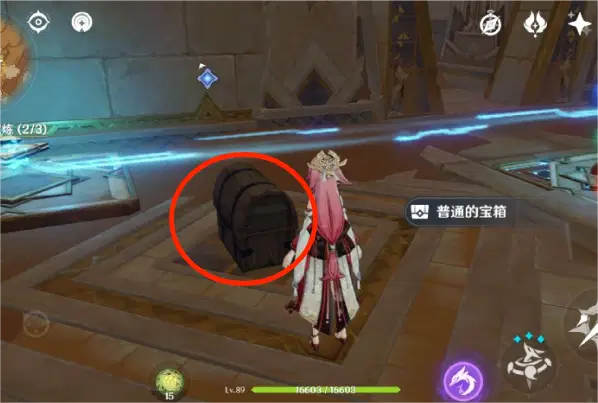
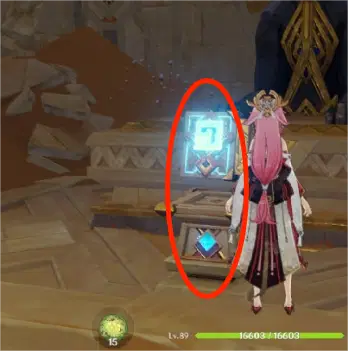
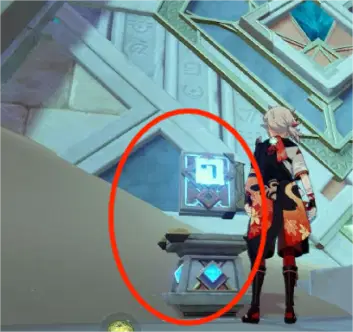
Go to the place where you obtained Keystone (I) and go inside, you can see monsters and beam. After clearing the monsters, place the keystone to open the door. Walk inside to find the Replicator Keystone. After obtaining it, close to the device to make the component appear. Touch the blue component to make the wall transparent, and then the three doors open. Enter through the door beside the component, and you can see a mechanism and a Sacred Seal in front of the statue. After operating the mechanism, you can complete the trial.
4. After completing the 3 trials, you will be directly teleported back to the waypoint of the western ruin. Operating mechanism to enter the story to show the Khaj-Nisut. Then fly by Four-Leaf Sigil to the gate of Khaj-Nisut, opened the mechanism, walked to the left, passed two Wind Current, jumped to the second one to fly back, before the door opened.
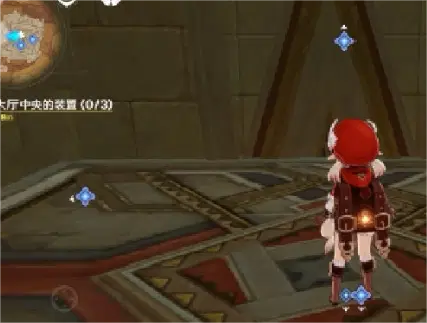
5. Then follow the guidance to operate the middle mechanism. Go a little further, and you will be asked to activate three devices like: release the energy to light the mechanism of the table, and then operate the mechanism to activate the device. The mechanism has no sequence requirements.
Right:
Go to the right side to release the energy body. Take the lift to go down and follow the energy body. There is also an invisible wall. Walk close to the wall and turn in. The energy body enters the platform. After lighting the platform, take the lift back and go up the stairs to operate the mechanism to activate the device.
Middle:
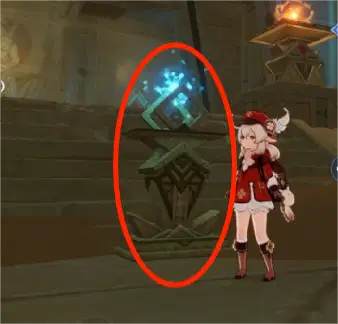
Go to the middle to release the energy body, follow it and jump down and walk right. After defeating the monsters, the energy will hover above a device. After clearing the monsters, release the energy body again. Consider moving the energy body when the Wind Current mechanism stops. If it starts to generate the Wind Current, the energy will return to the device and must be released again. When the Wind Current mechanism is suspended, guide the energy body to light the platform beside the mechanism, and operate the mechanism to activate the second device.
Left:
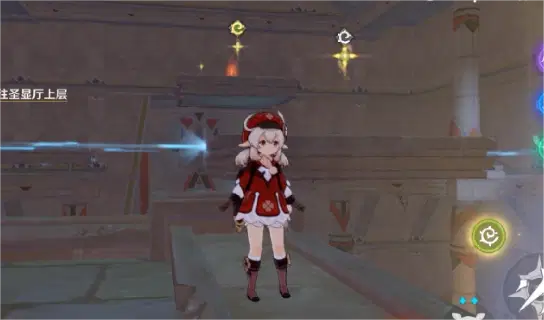
Release the energy body and follow it. After the energy body gets into the device, clear the monster and release the energy body. Continue to follow it to activate the last mechanism. After all are activated, touch the middle device, and then fly up by Wind Current mechanism. Follow the guidance. Many floating platforms can be seen here, and get the red device on them.
6. Operate the red pillar once to switch it to blue. Operate the blue one twice to activate the mechanism with 4 components and the device stay in a line, before you can go up by the lift. Clear opponents and run away. Note that don’t be caught up with by the darkness, otherwise you’ll have to start again.
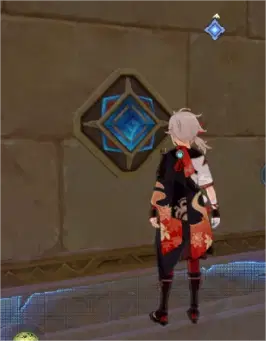
7. After successful escape, talk with the NPC to complete the quest. Fata Morgana and Slumber, the Brother Of... will be obtained.
【Summary】
Okay. That’s all for the tips of Dreams Beneath the Searing Sand, the 4th stage of【Golden Slumber】. The difficulty lies in the 3 trials. Hope you can find it useful!