


Previous:[Guide] Comon Chests- Inazuma: Part 18 - miHoYo Player Community (hoyolab.com)
Index:[Index] Common Chests - miHoYo Player Community (hoyolab.com)
Next:[Guide] Common Chests- Inazuma: Part 20 - miHoYo Player Community (hoyolab.com)


-Footage/Location photos are from my 1st account-
If there's anything you're unsure about, feel free to ask!
361 onwards will be based on chests accessible on Day 5, a daily reset after completing the World Quest 'The Sun-Wheel and Mt.Kanna' of the 'Through the Mists' Quests, on Tsurumi Island (when all chests are available and are no longer time-gated on Days 1-4).
361. [Spawned Chest]
Will spawn after solving the puzzle of 4 blocks.
Location:

1. Hit far right block x1.
2. Hit centre-left block x1.
3. Hit centre-right block x1.
4. Hit far left block x2.
5. Hit centre-right block x2.
6. Hit centre-left block x1.
7. Hit far right block x1.
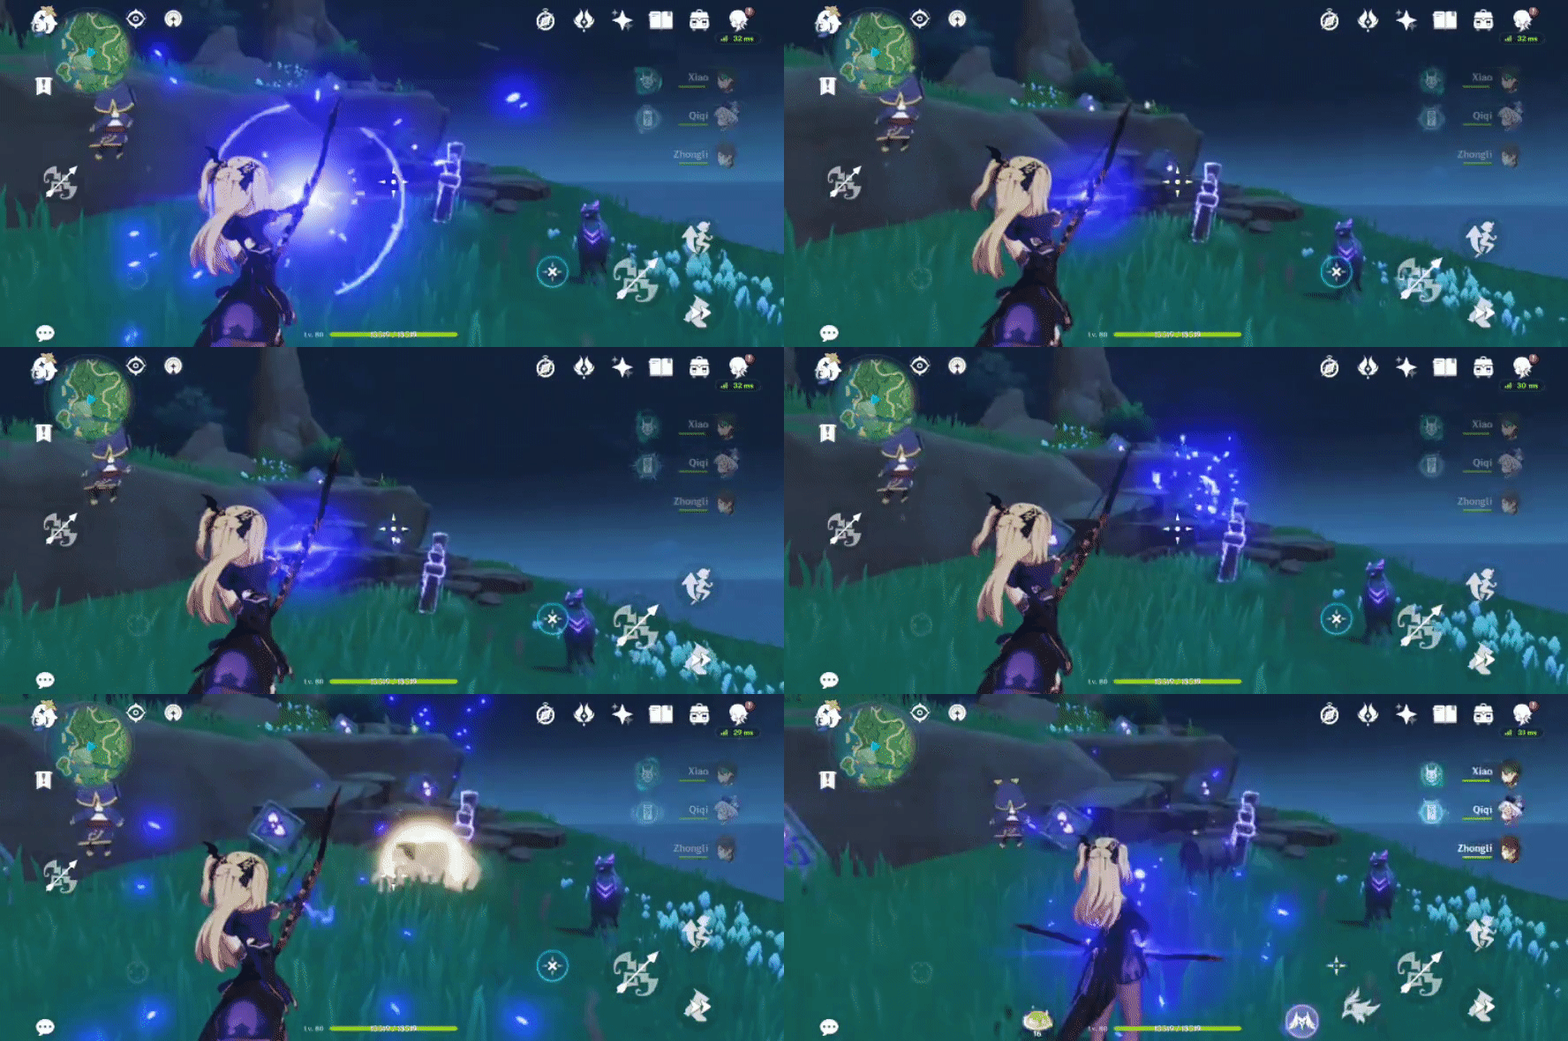
362. [Locked Chest] In front of the rock
Will unlock after defeating 3 Hilichurls and 1 Samachurl.
Location:

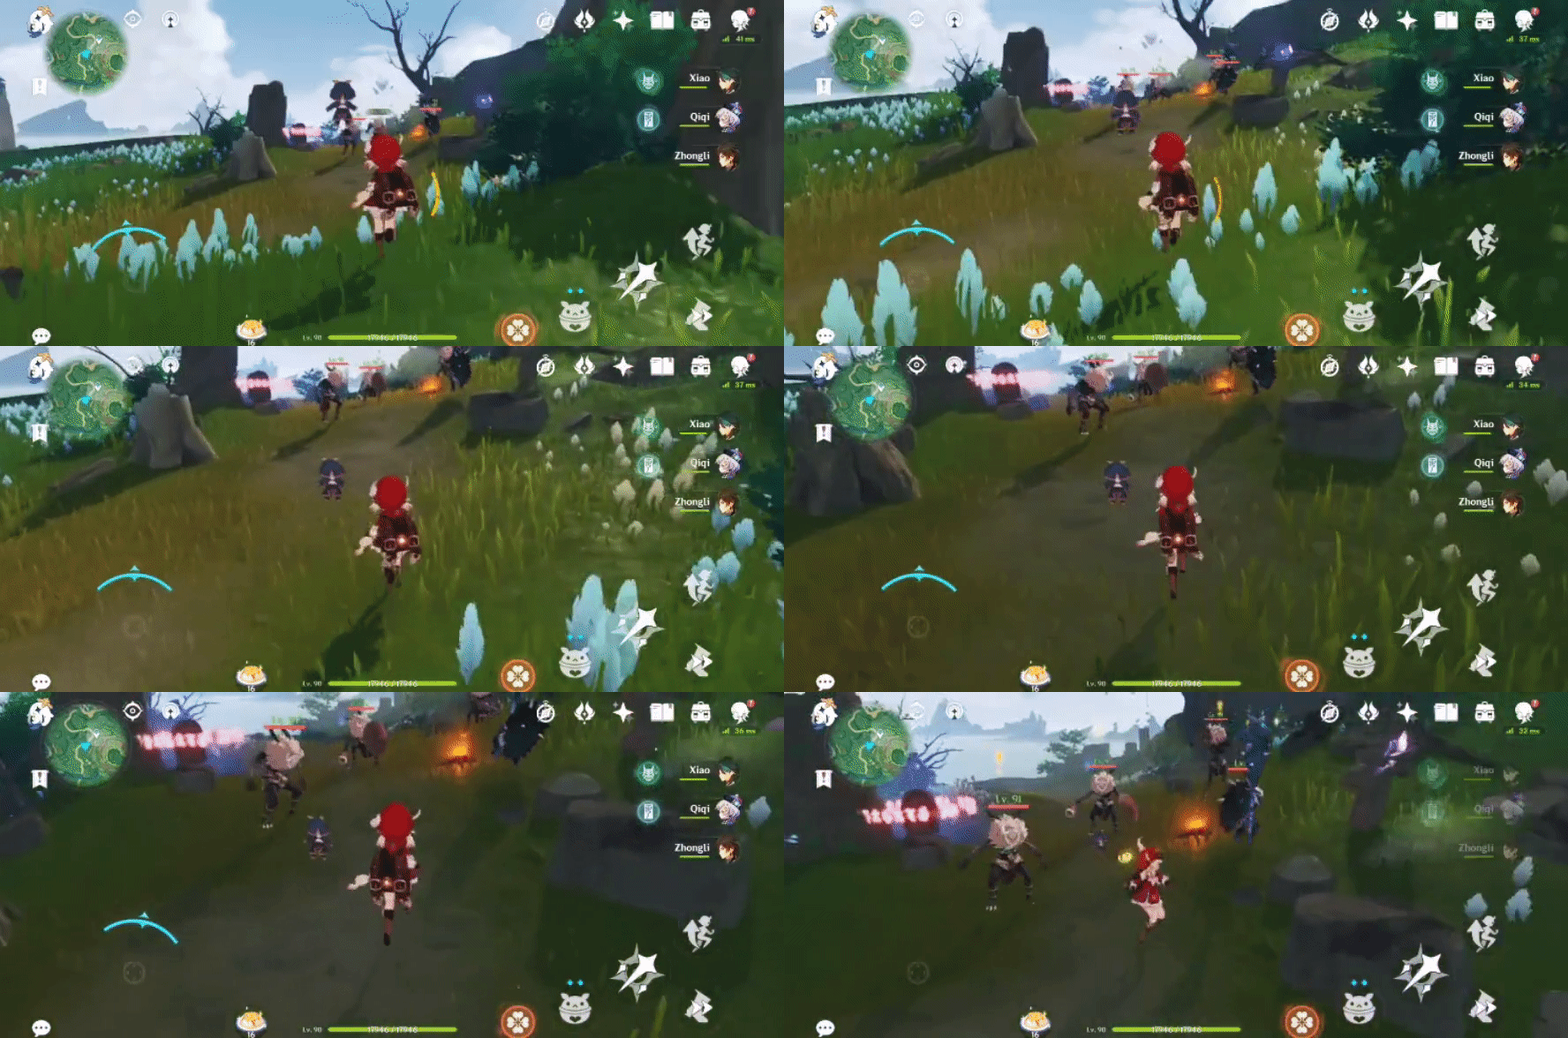
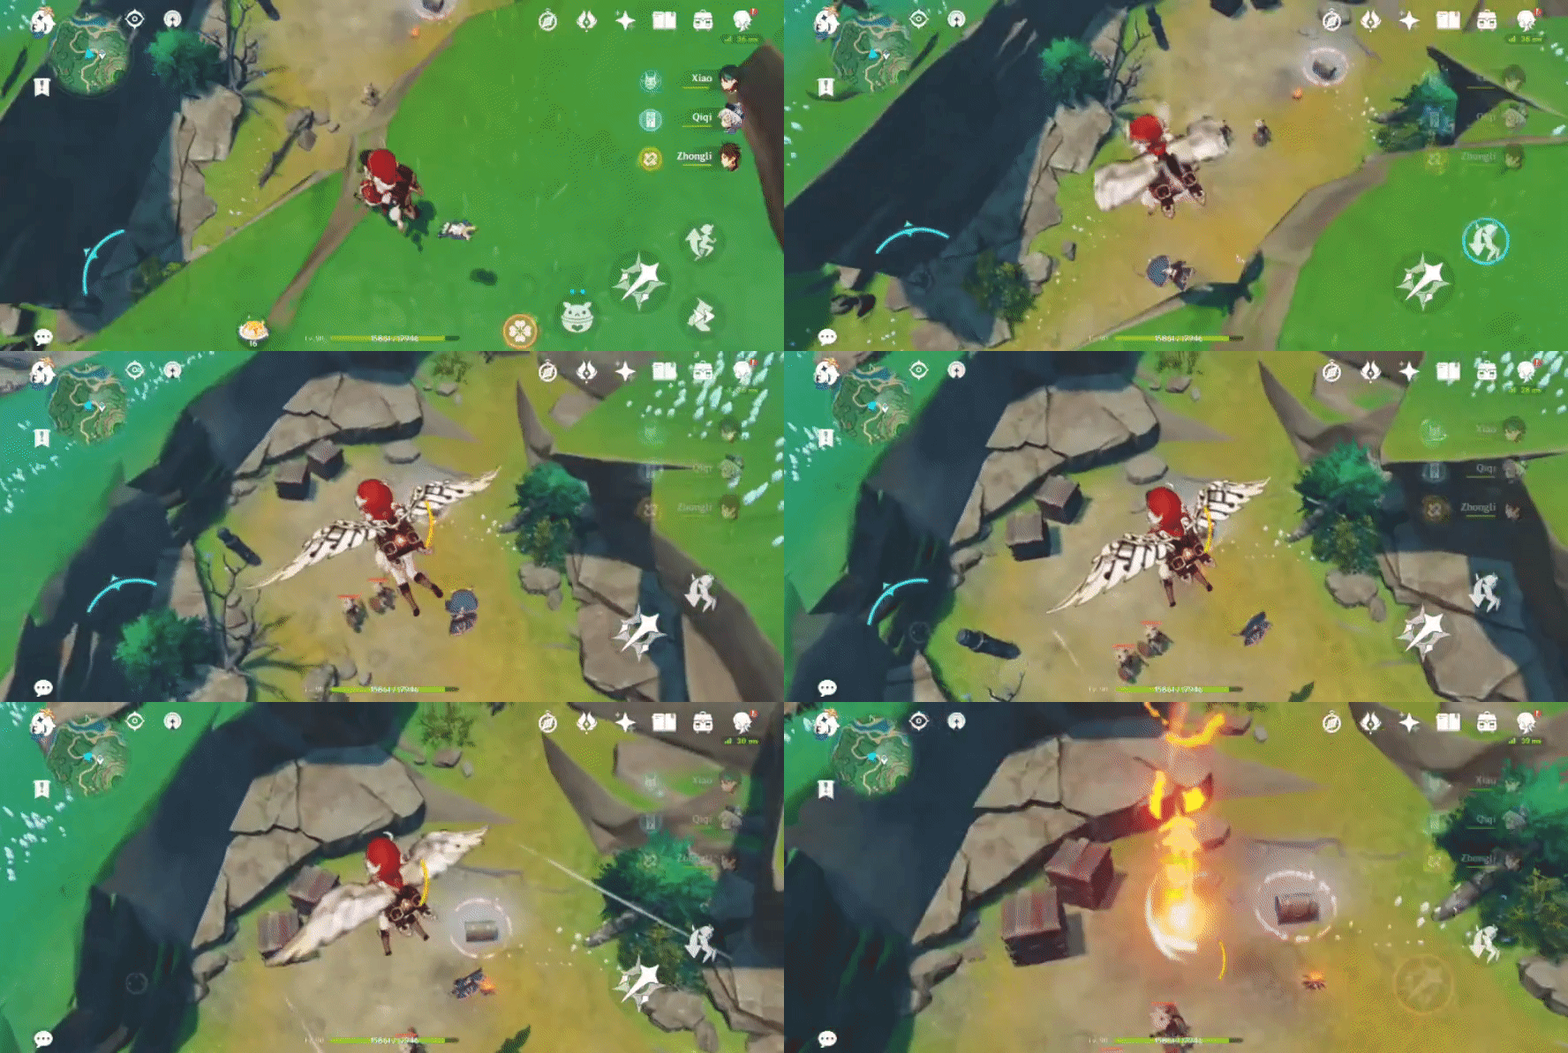
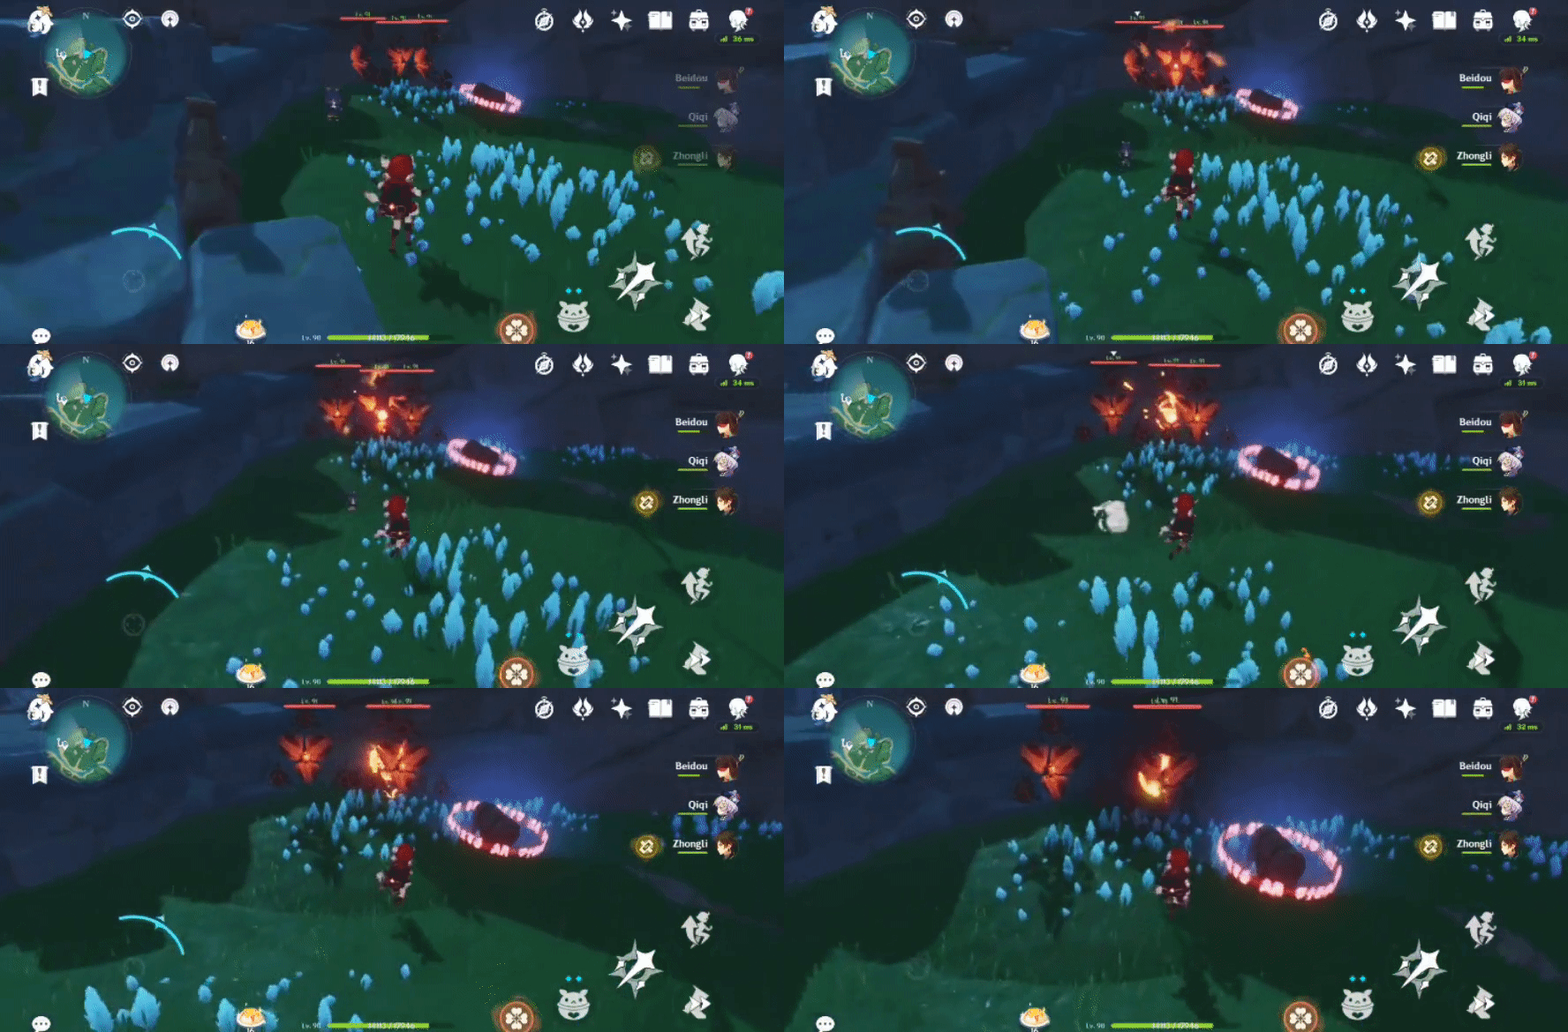
363. [Locked Chest] In the pit
Will unlock after defeating 2 Hilichurls and 1 Pyro Abyss Mage.
Location:

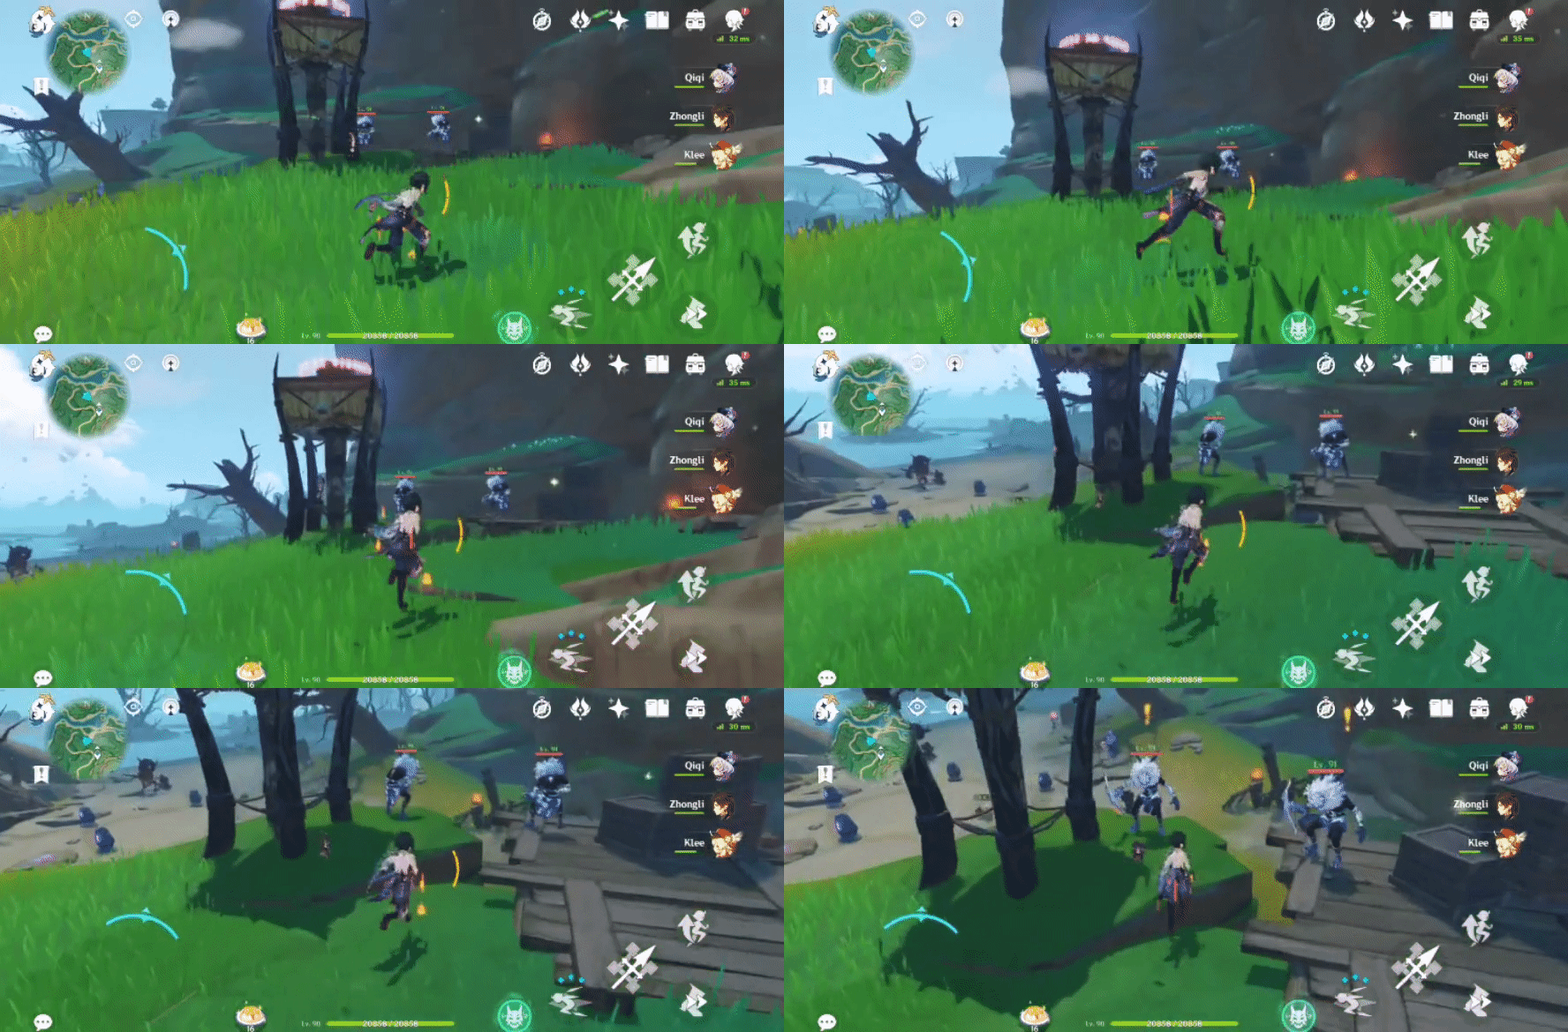
364. [Locked Chest] On the Hilichurl tower
Will unlock after defeating 4 Hilichurls and 1 Mitachurl.
Location:

365. [Trapped Chest] Inside the barrier
Summon an Electrogranum and enter the barrier to open the chest.
Location:

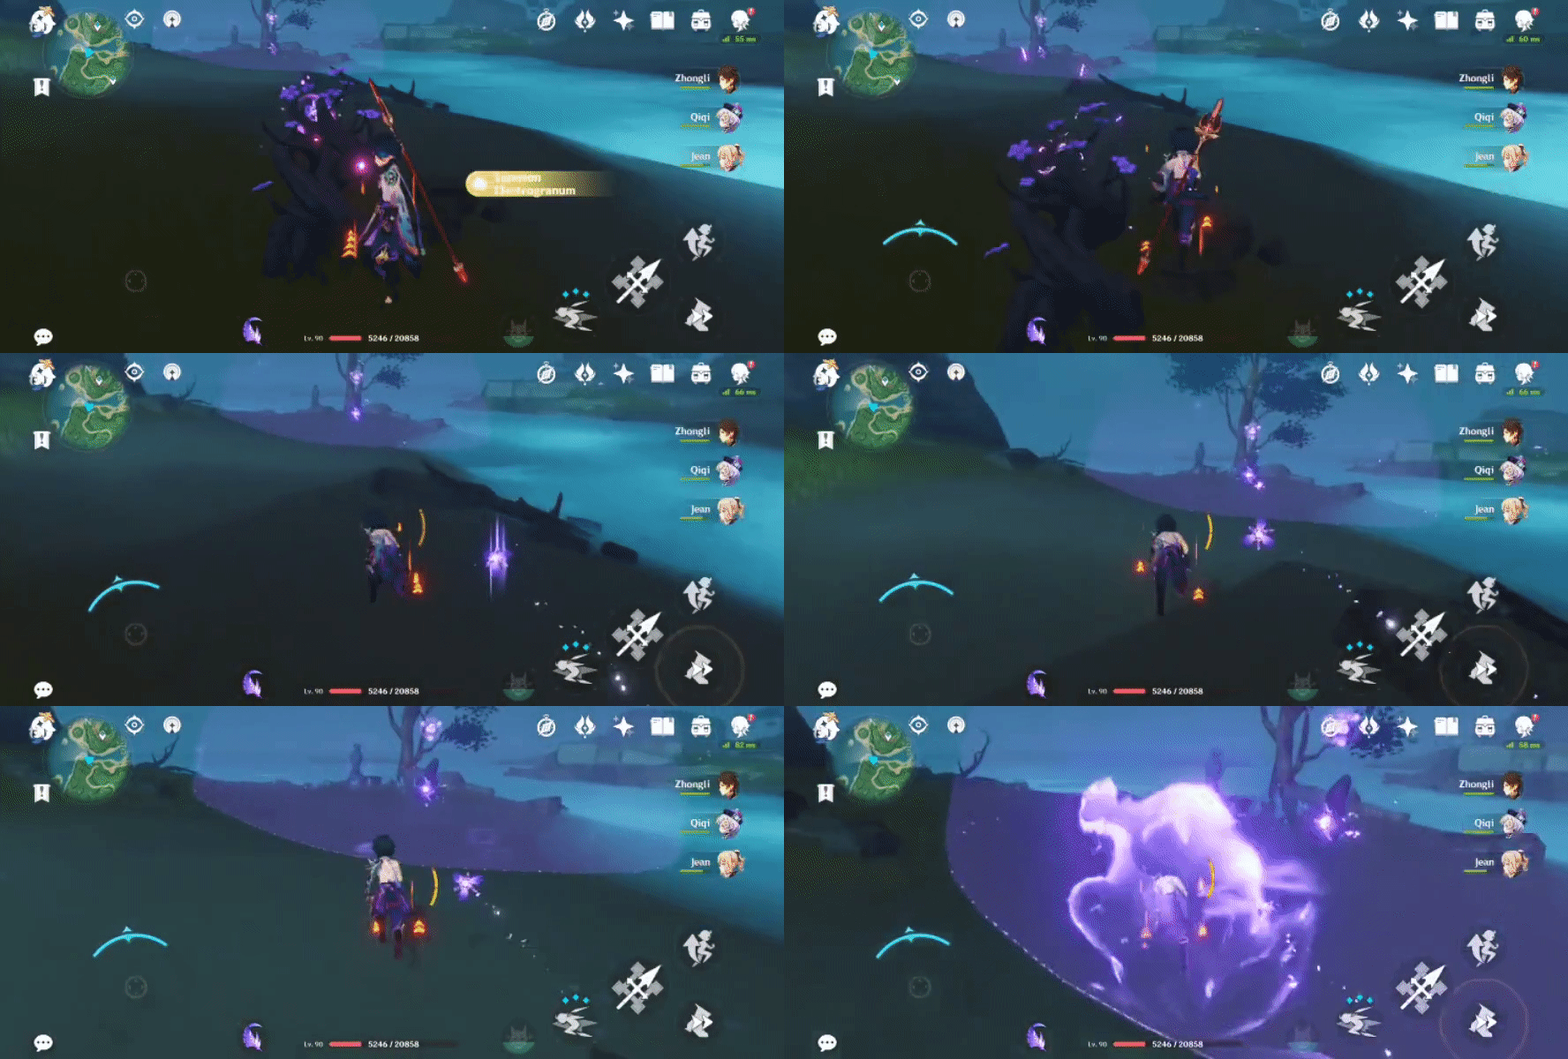
366. [Locked Chest]
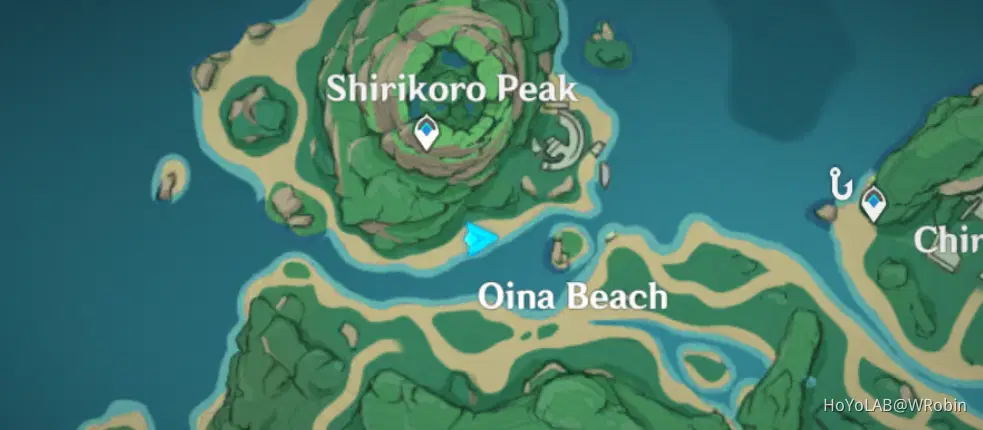
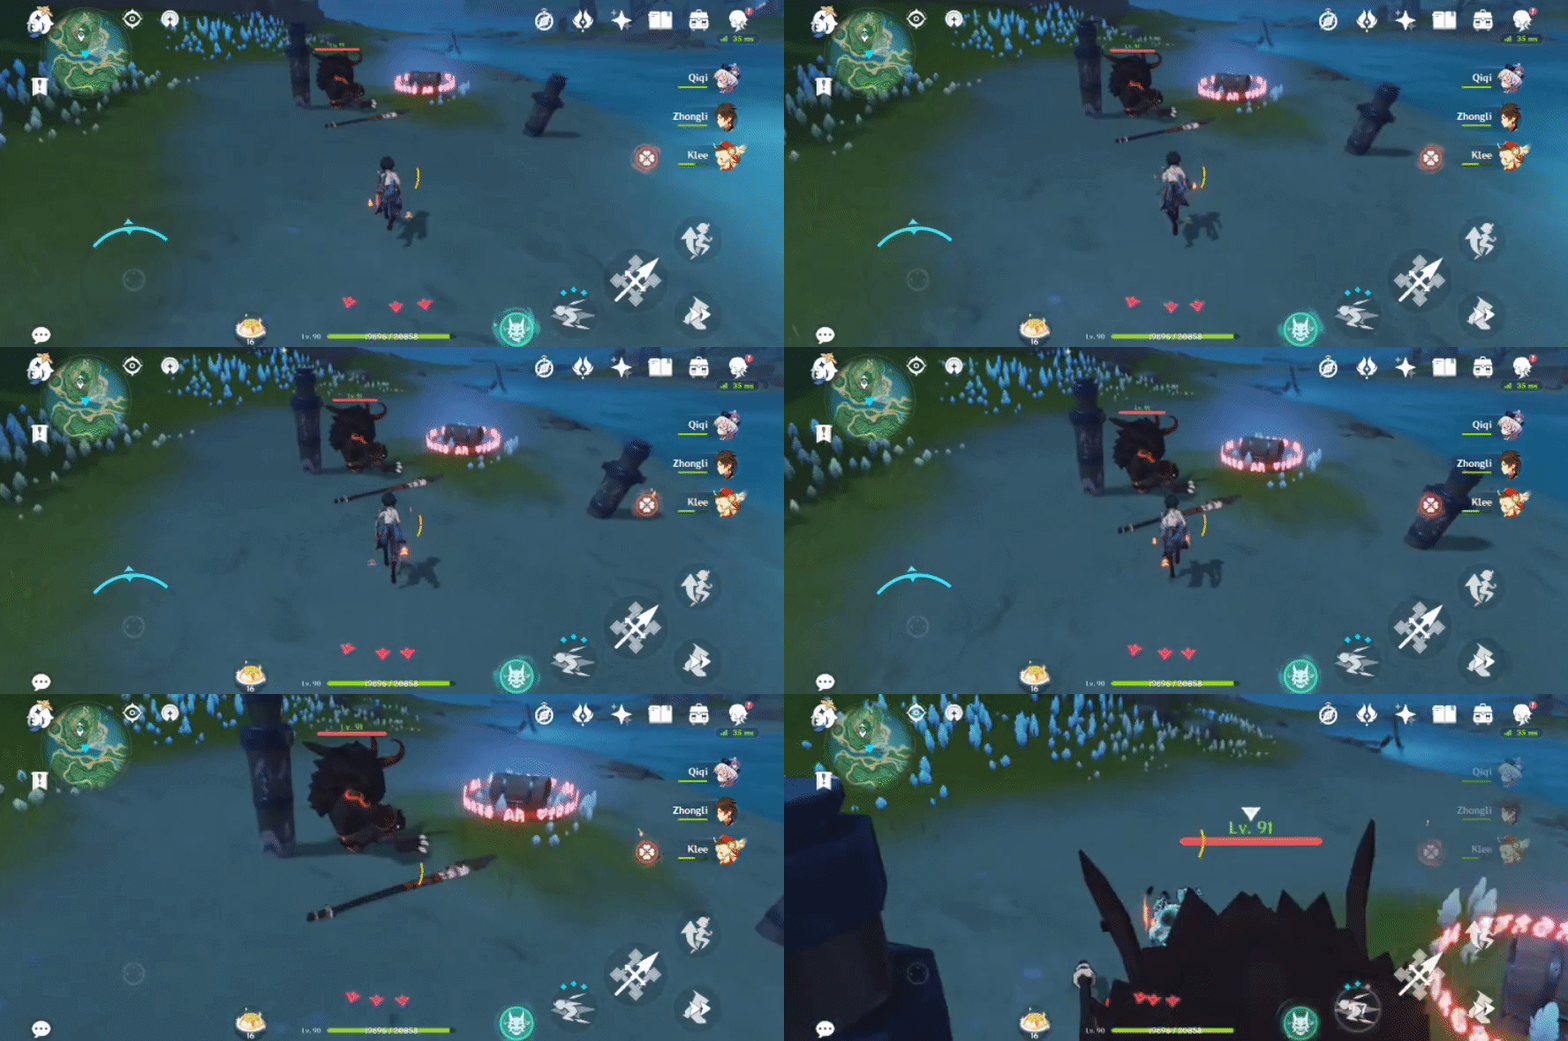
Will unlock after defeating 1 Mitachurl.
Location:
367. [Spawned Chest]
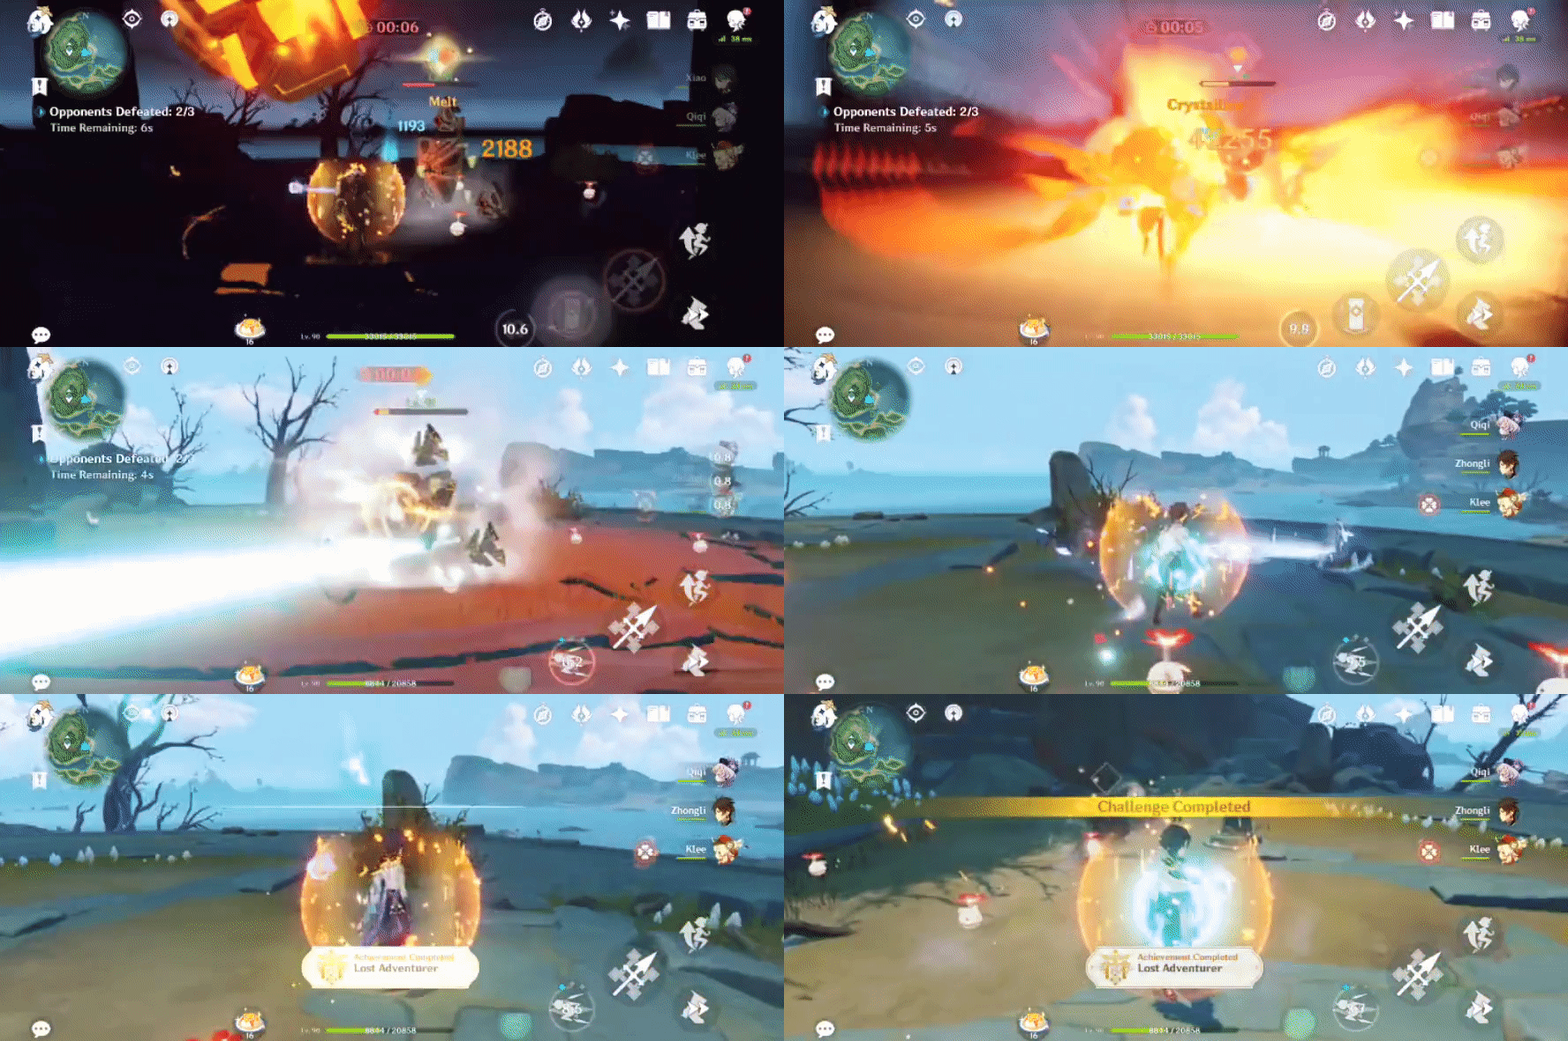
Will spawn after completing the Time Trial Challenge ('Defeat 3 Ruin Sentinels within 50s').
Location (Challenge Marker):

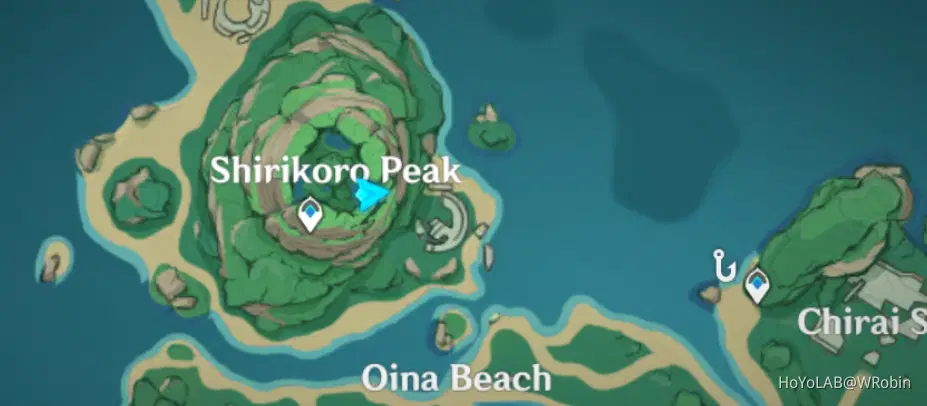
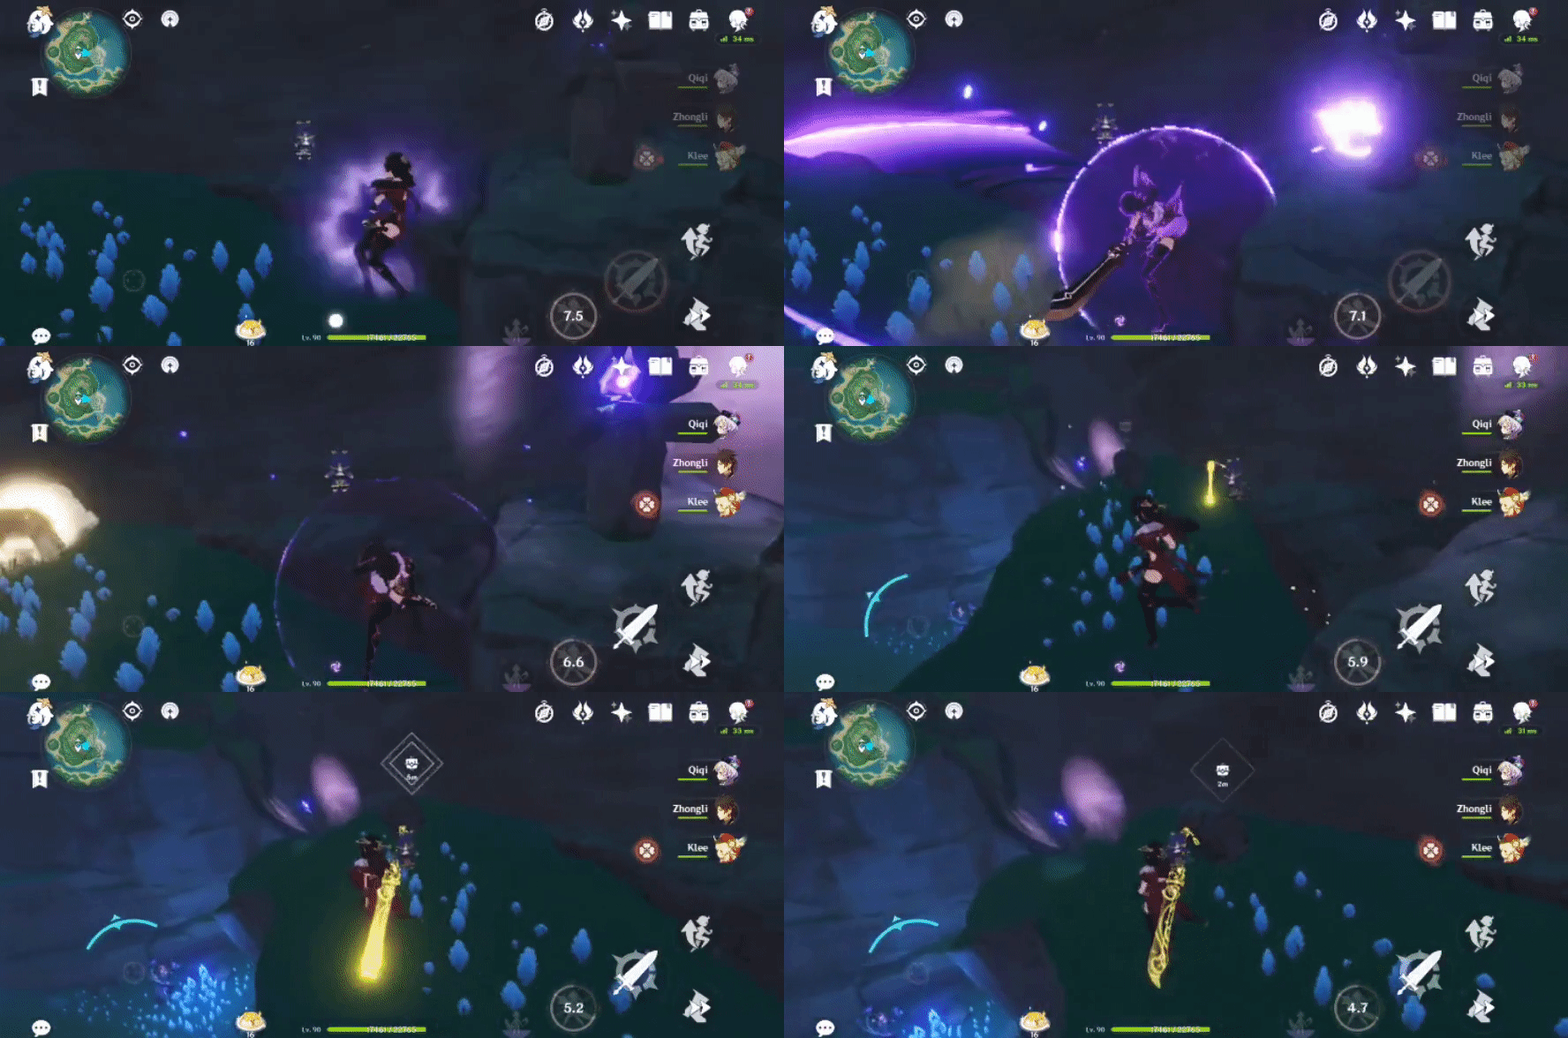
368. [Spawned Chest] On a ledge
Will spawn after lighting 4 Stormstones with Electro.
Location:

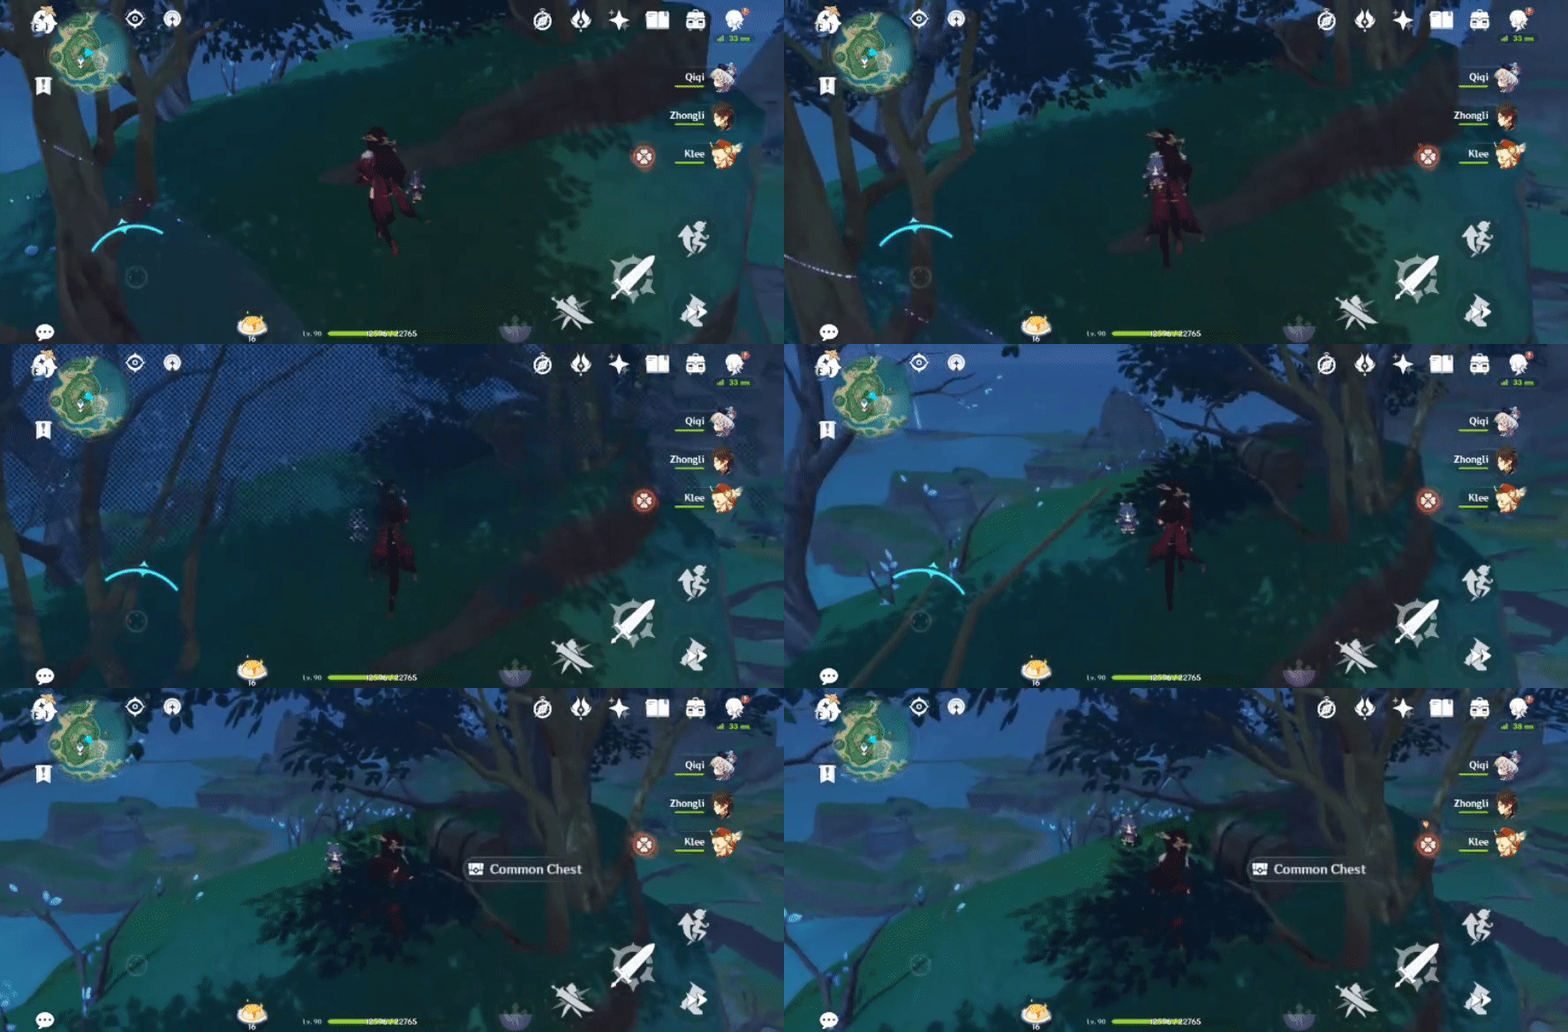
369. [Open Chest] At the peak, next to the barrier
No requirements needed to access.
Location:

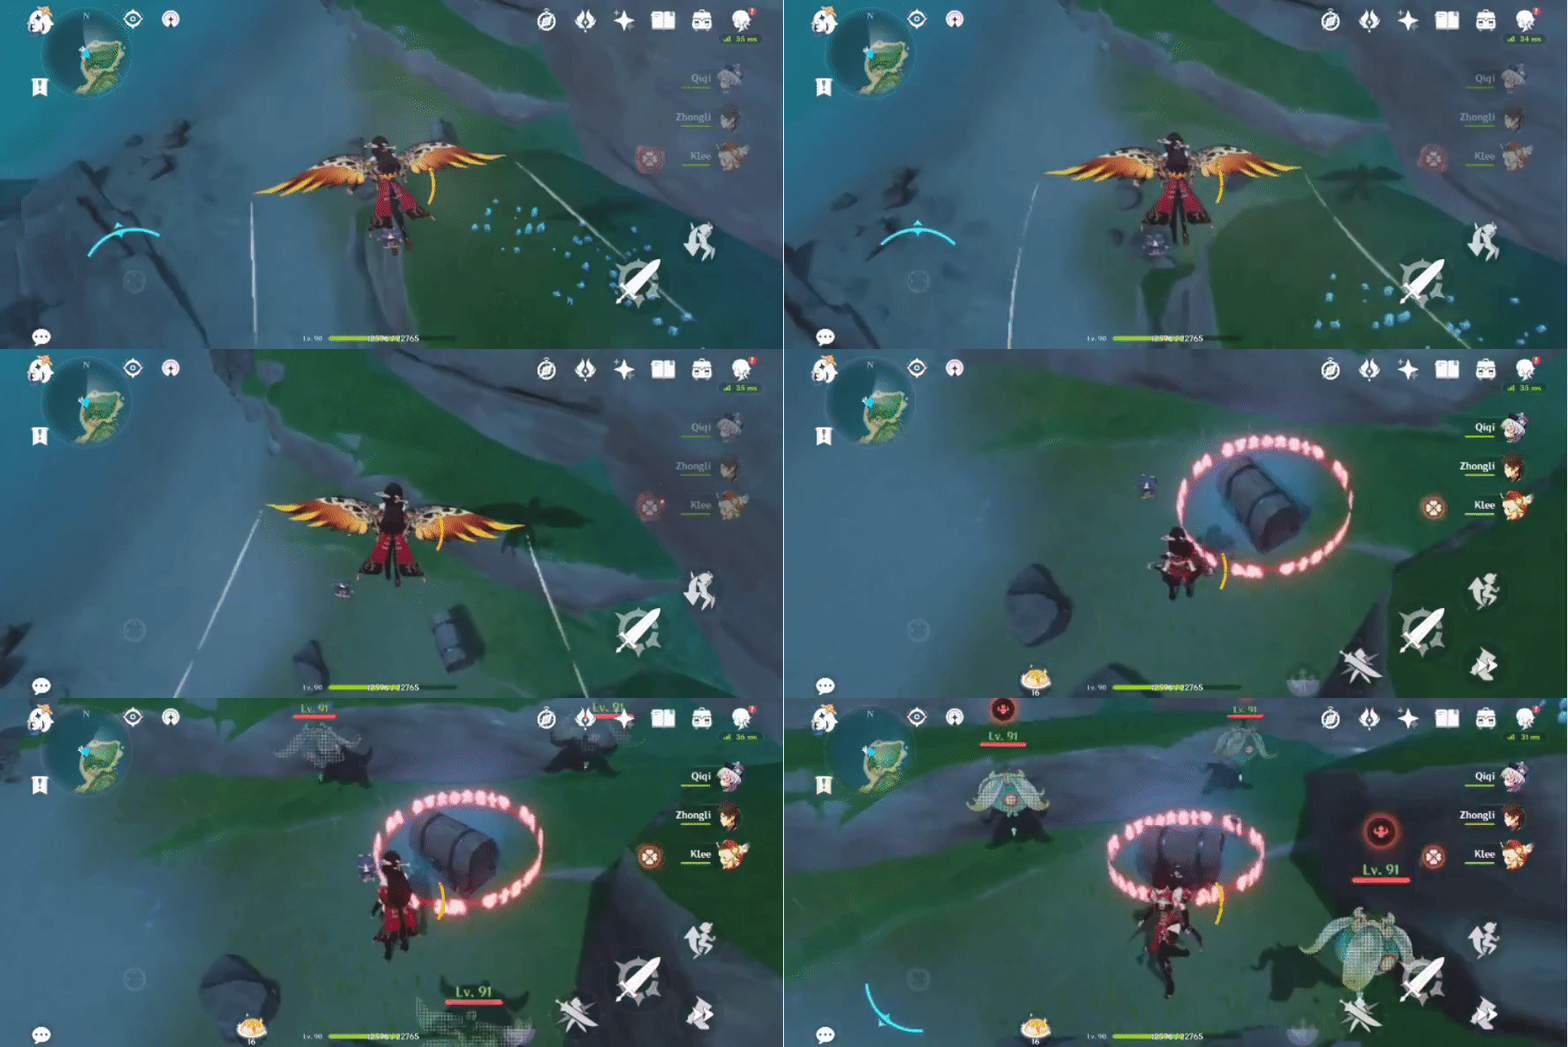
370. [Locked Chest]
Will unlock after defeating 3 Anemo Specters that spawn when close enough.
Location:

371. [Locked Chest]
Will unlock after defeating 3 Hilichurls, 1 Samachurl and 1 Mitachurl.
Location:
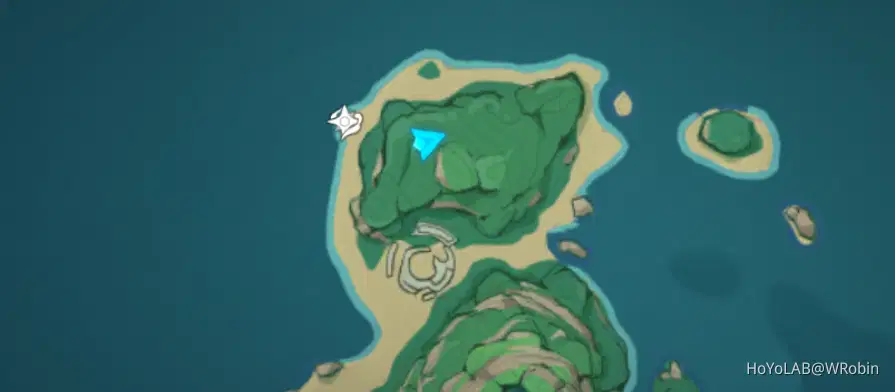
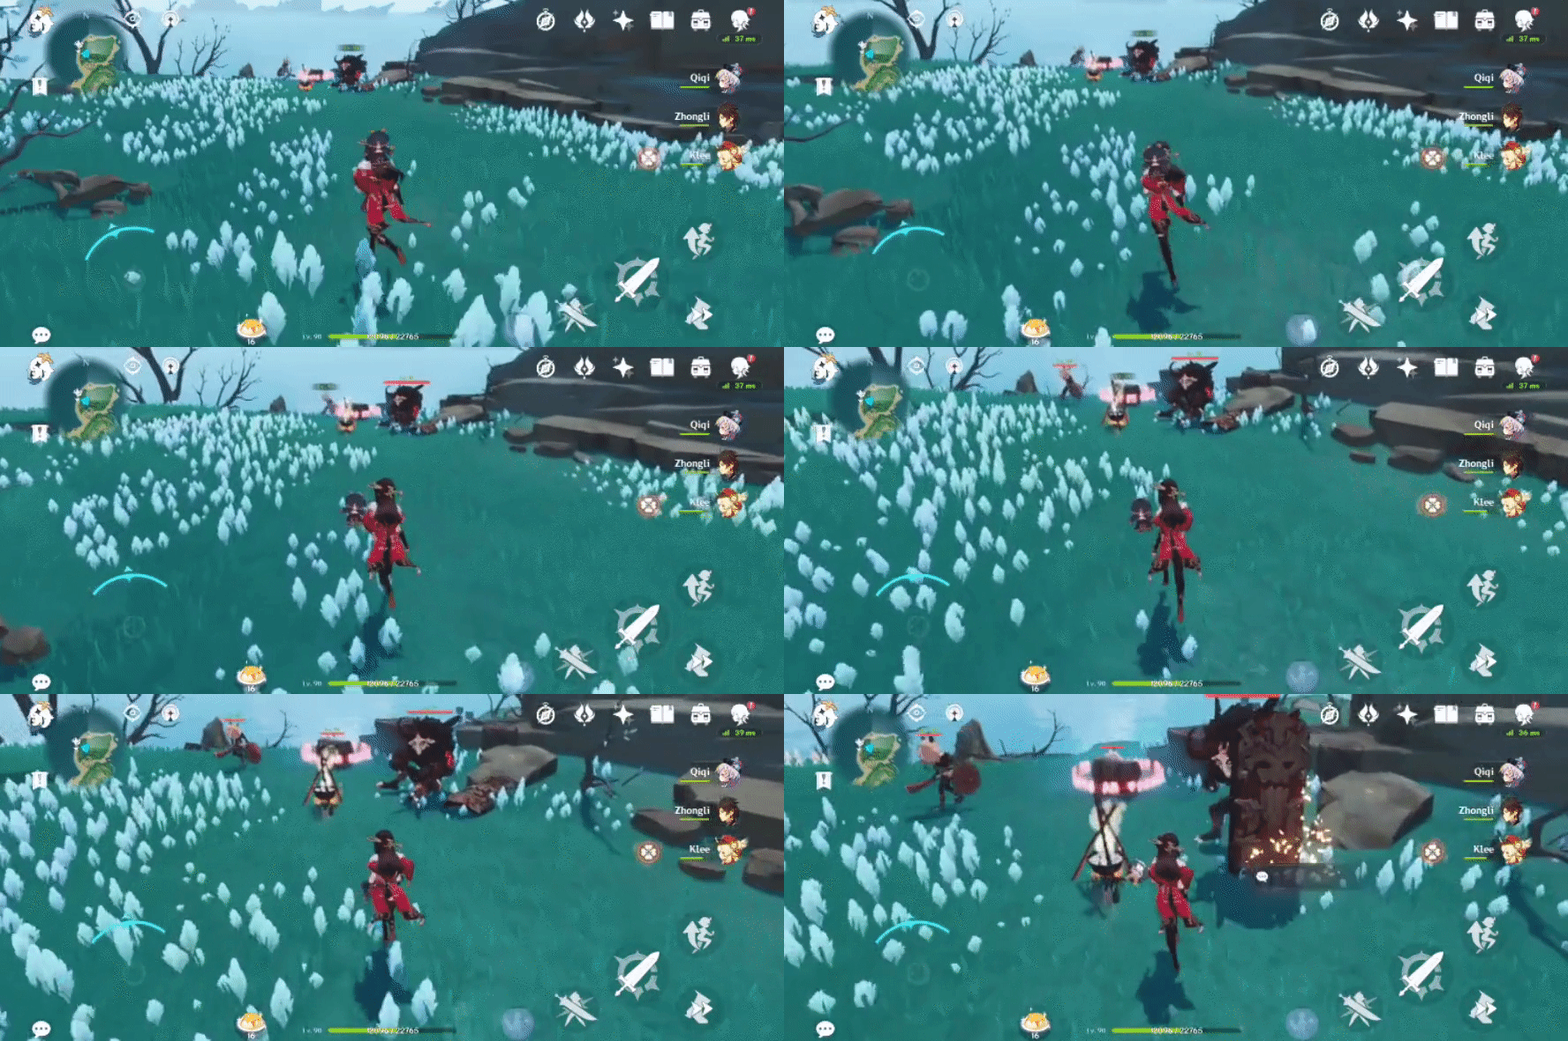
372. [Spawned Chest] Left side
Will spawn after solving the puzzle of 5 blocks.
Location:
Use an attack to rotate the blocks.
1. Rotate the top left block x3.
2. Rotate the bottom right block x3.
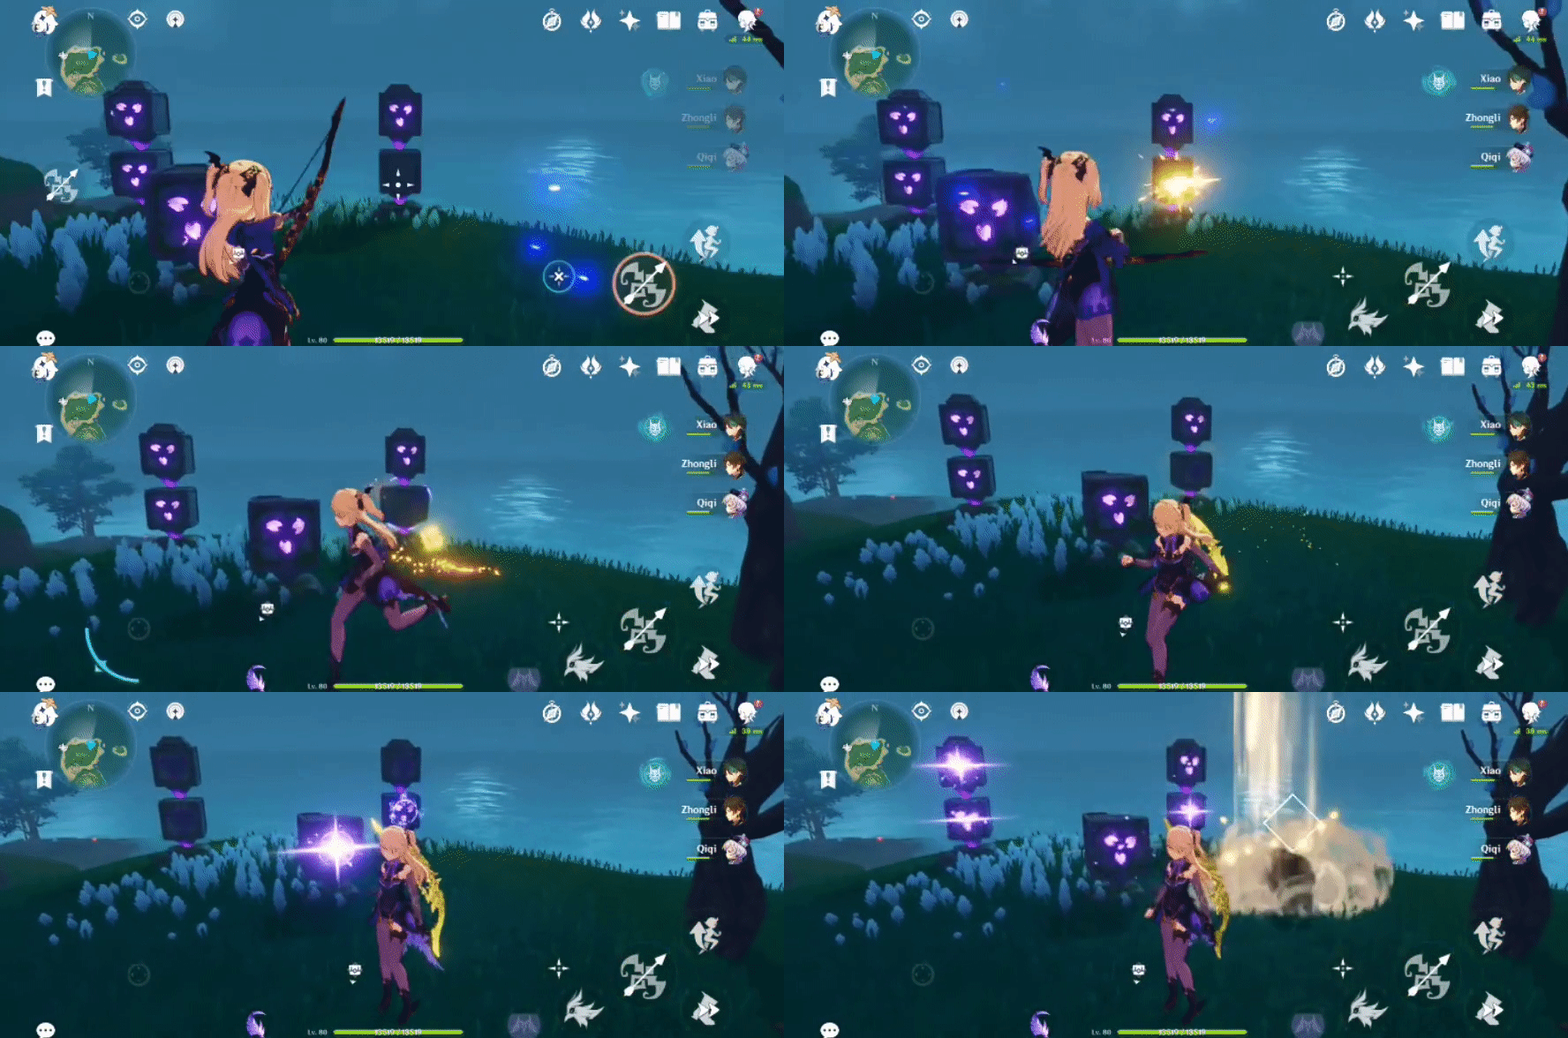
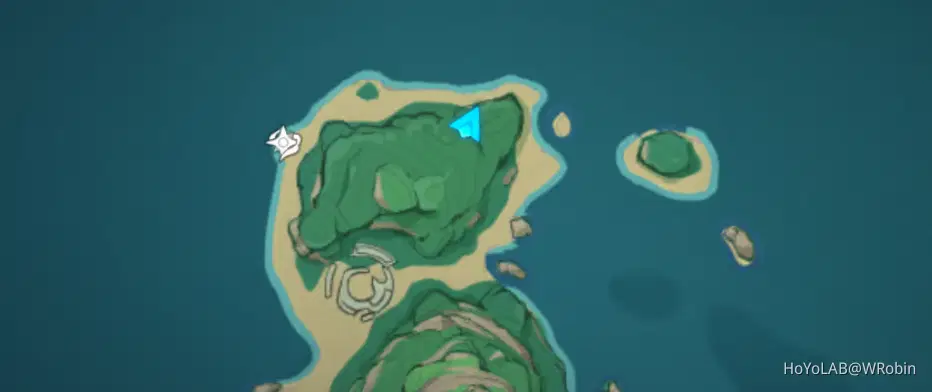
373. [Spawned Chest] Right side
Will spawn after solving the puzzle of 4 blocks.
Location:

Use an attack to rotate the blocks.
1. Rotate the highest block x2.
2. Rotate the centre (vertical) block x3.
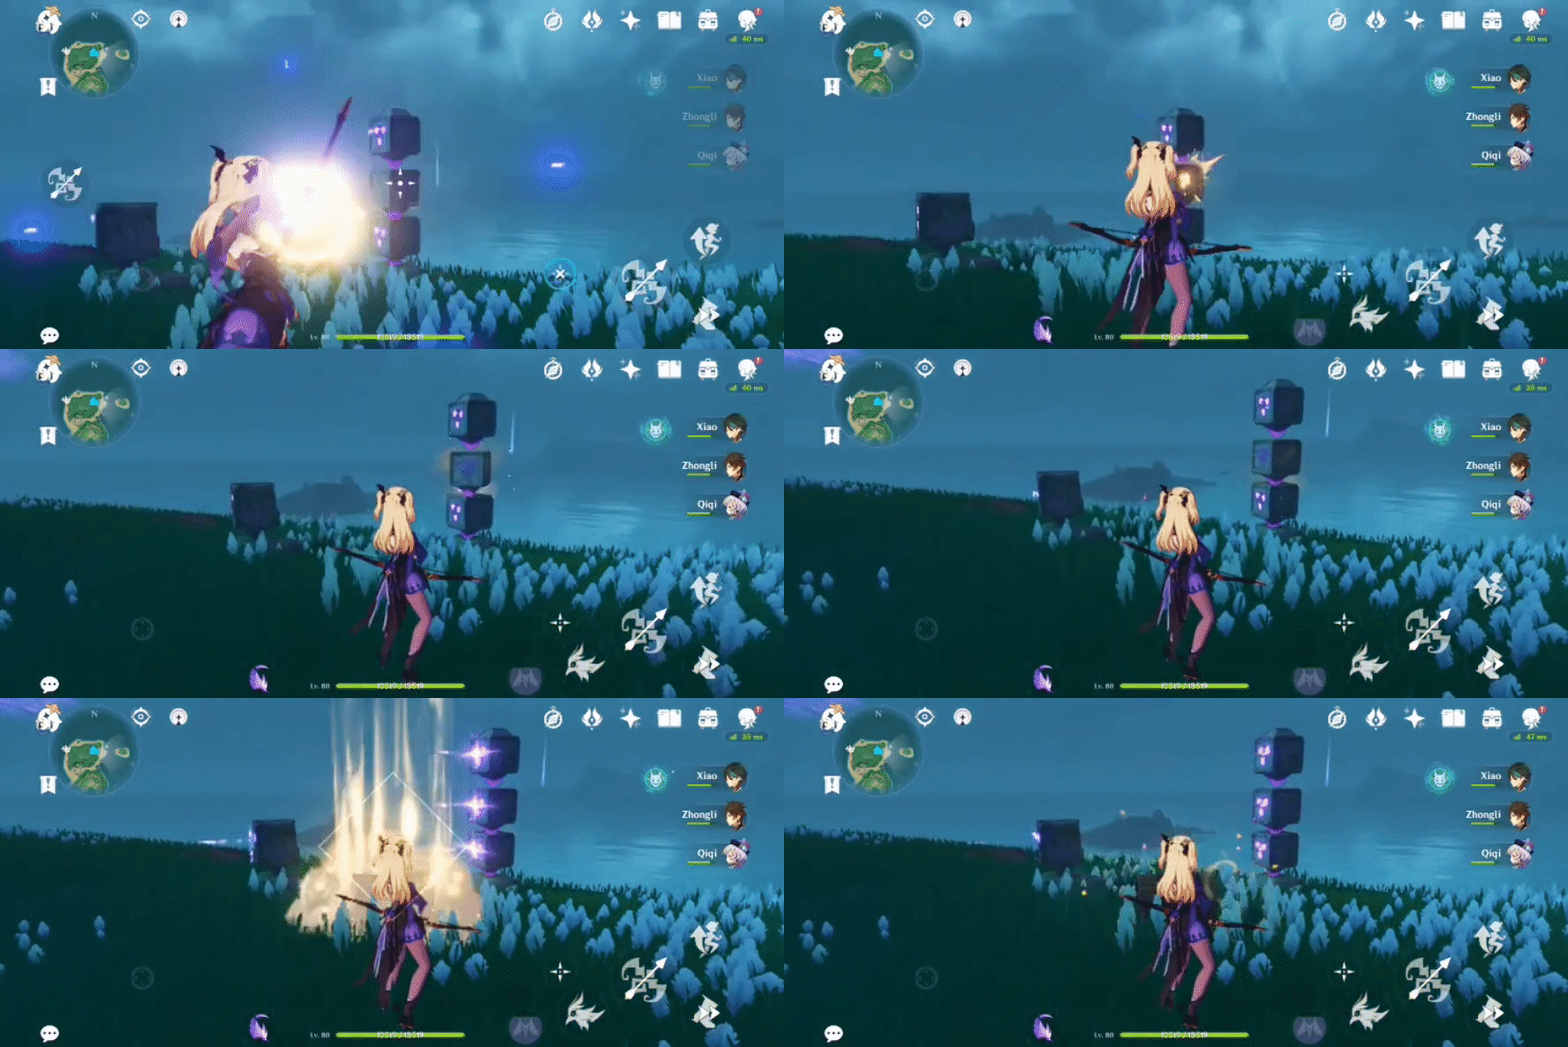
374. [Spawned Chest] On a small island
Will spawn after defeating 1 Thundercraven Rifthound.
Location:

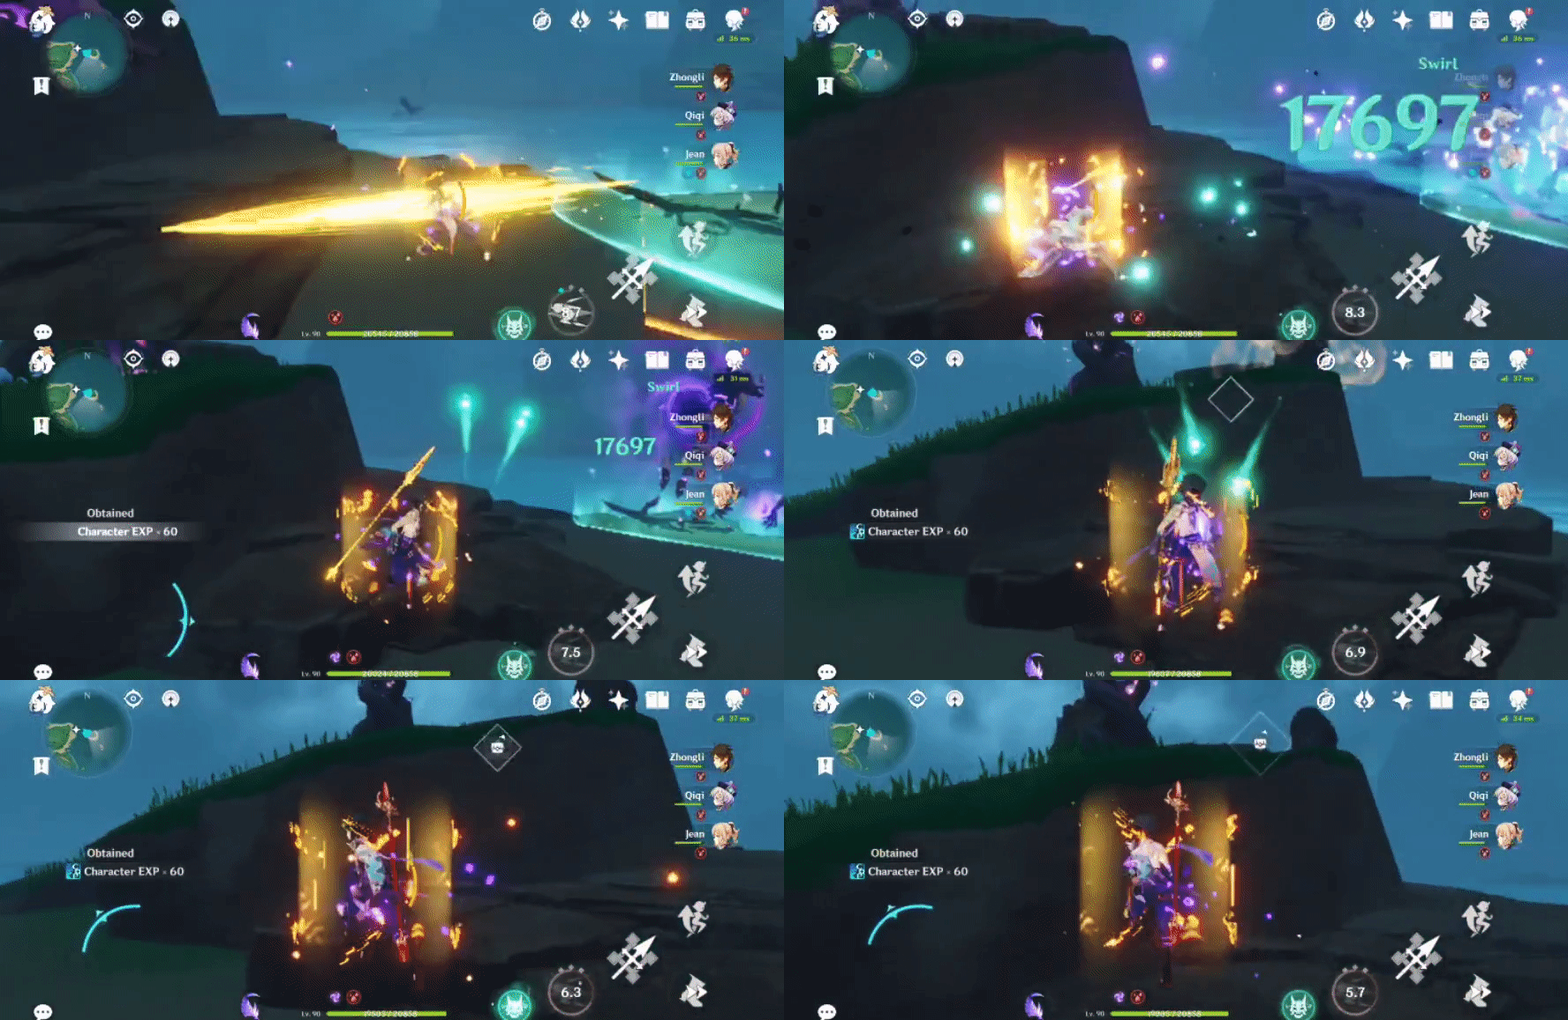
375. [Locked Chest]
Will unlock after defeating 3 Ruin Sentinels.
Location:

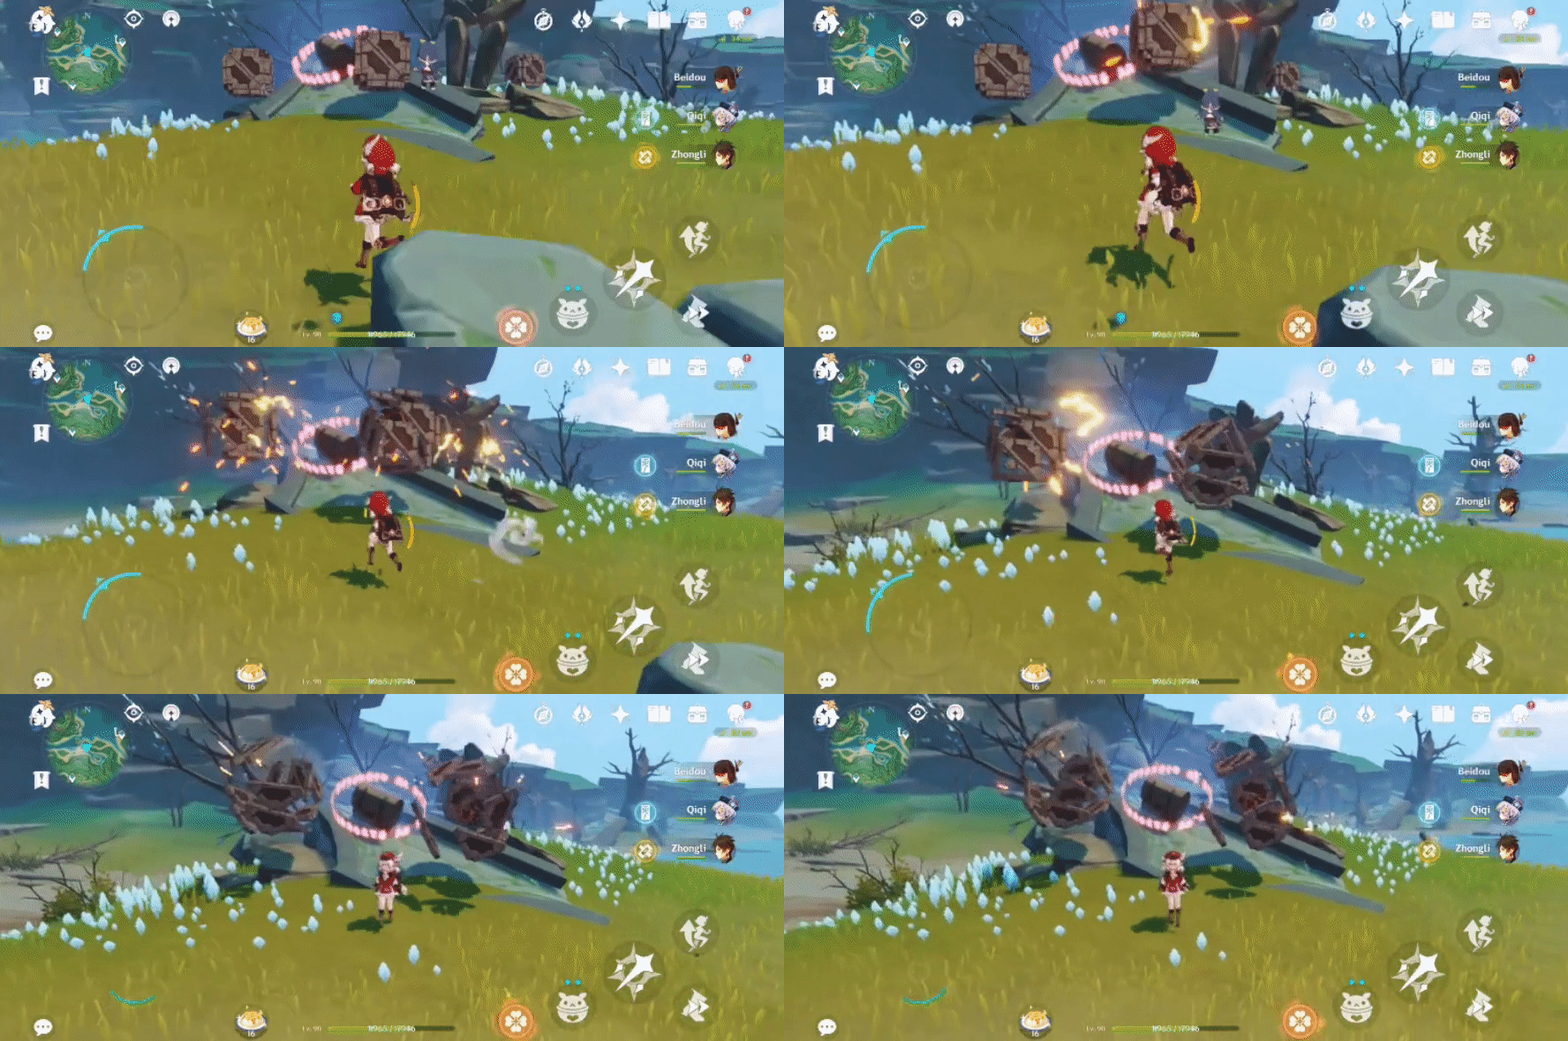
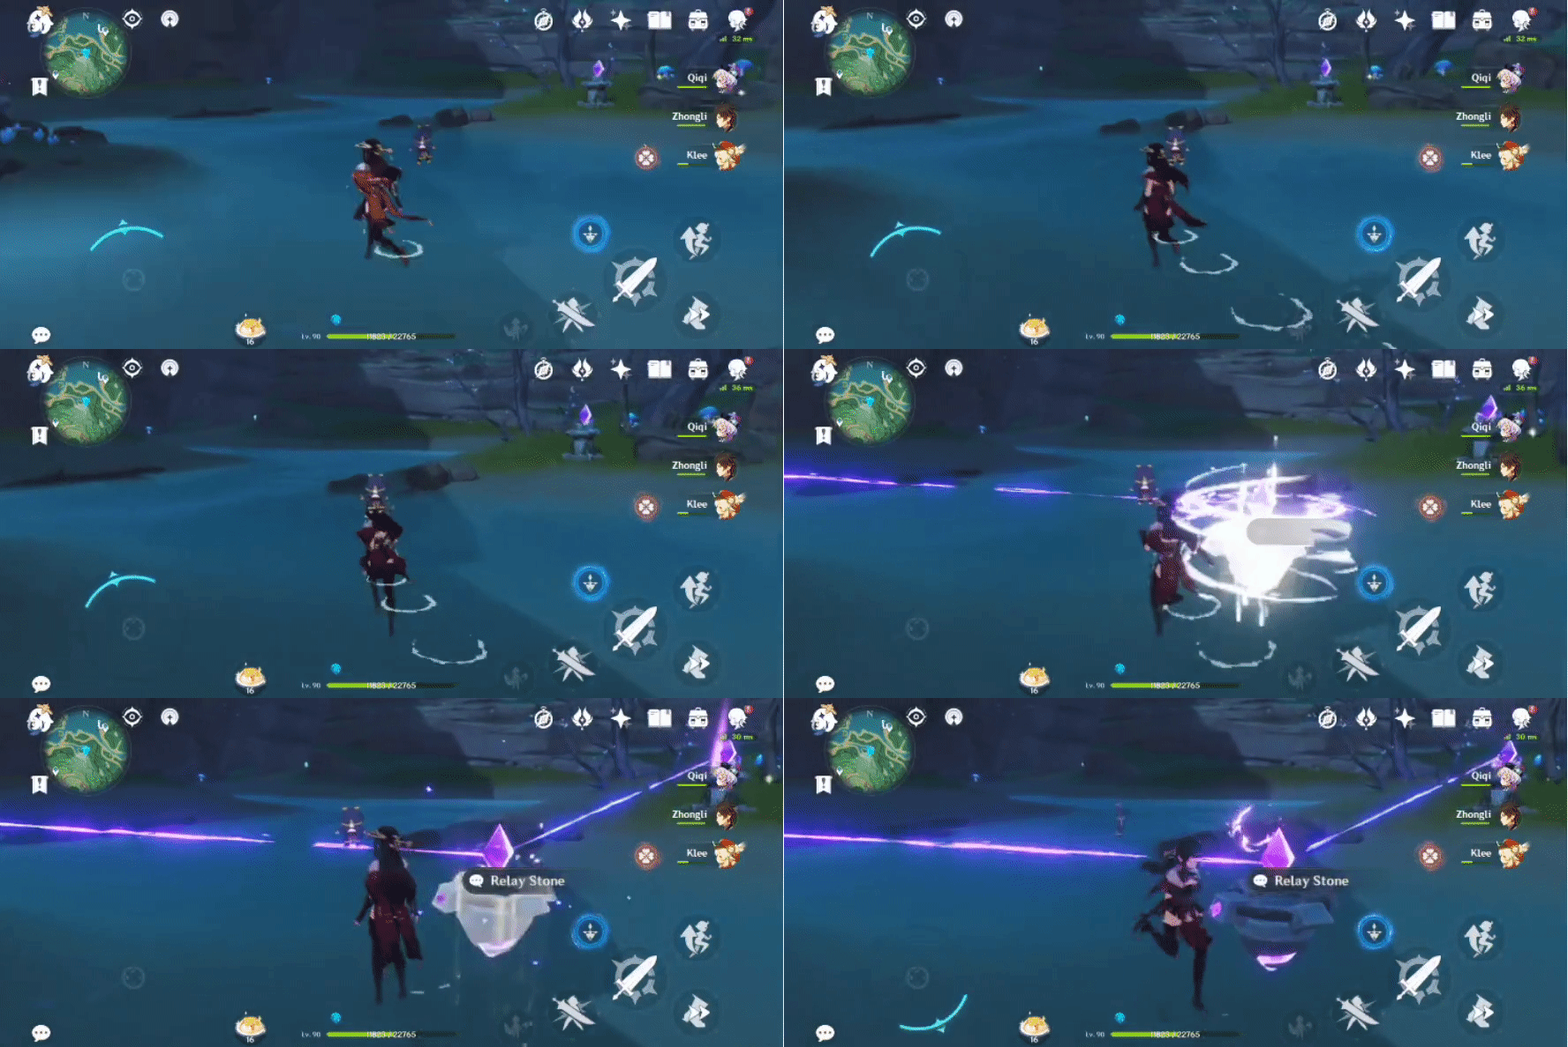
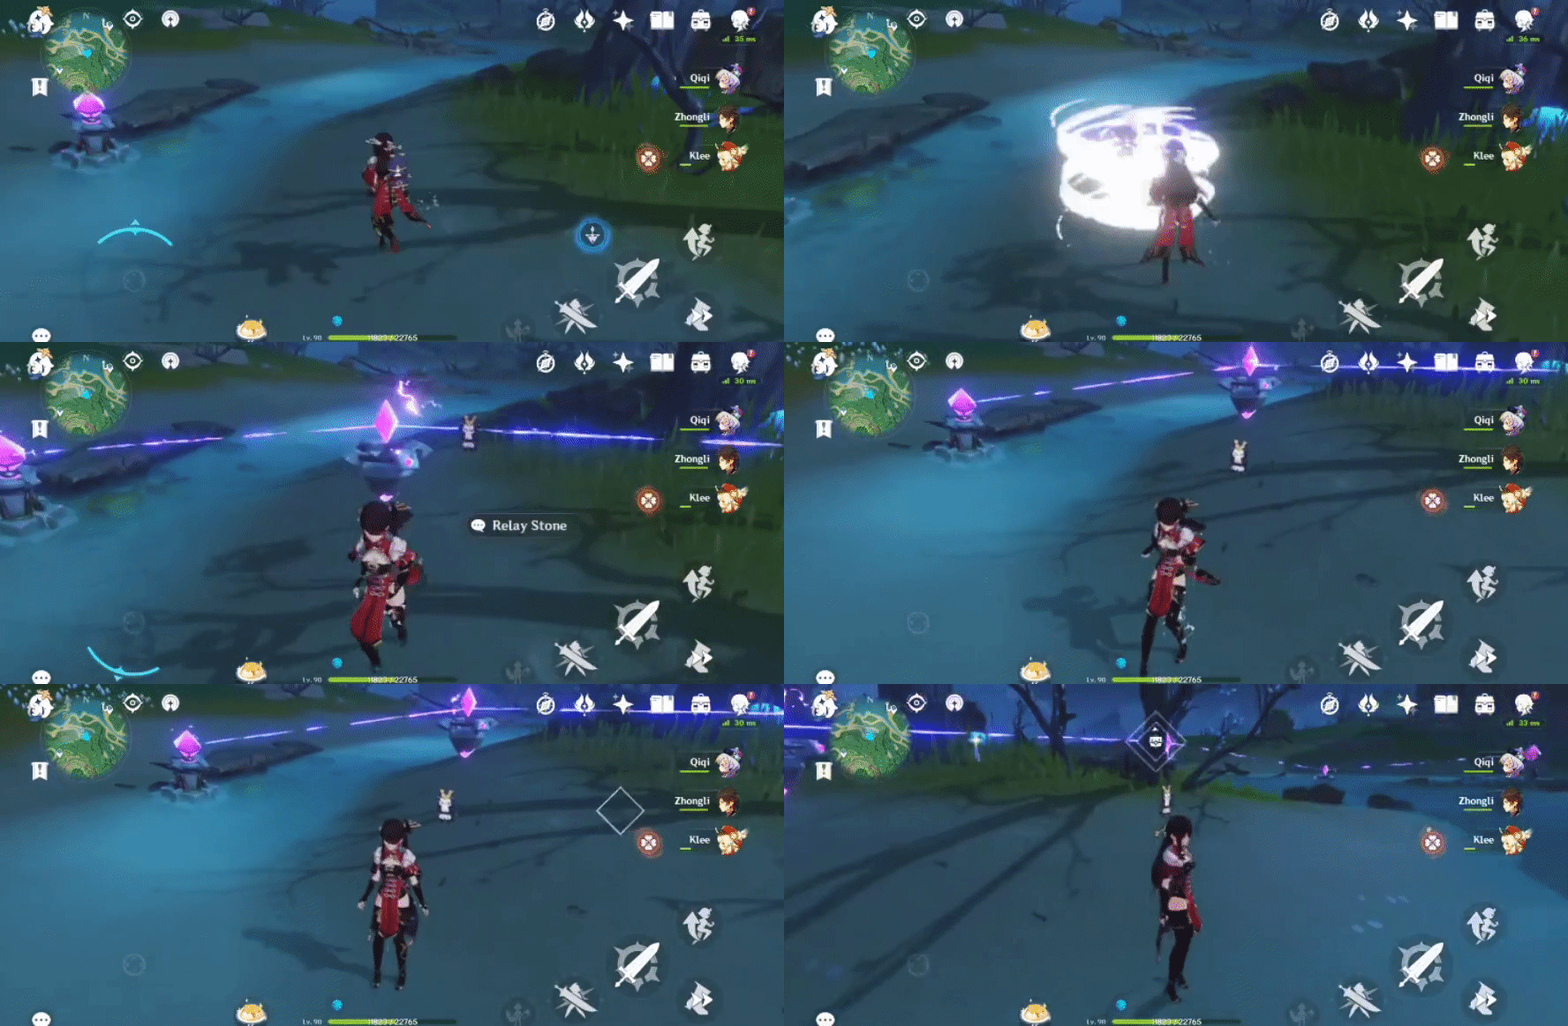
376. [Spawned Chest]
Will spawn after completing the Electro Array Circuit.
Location:

1. Take the 2 Relay Stones by the water.
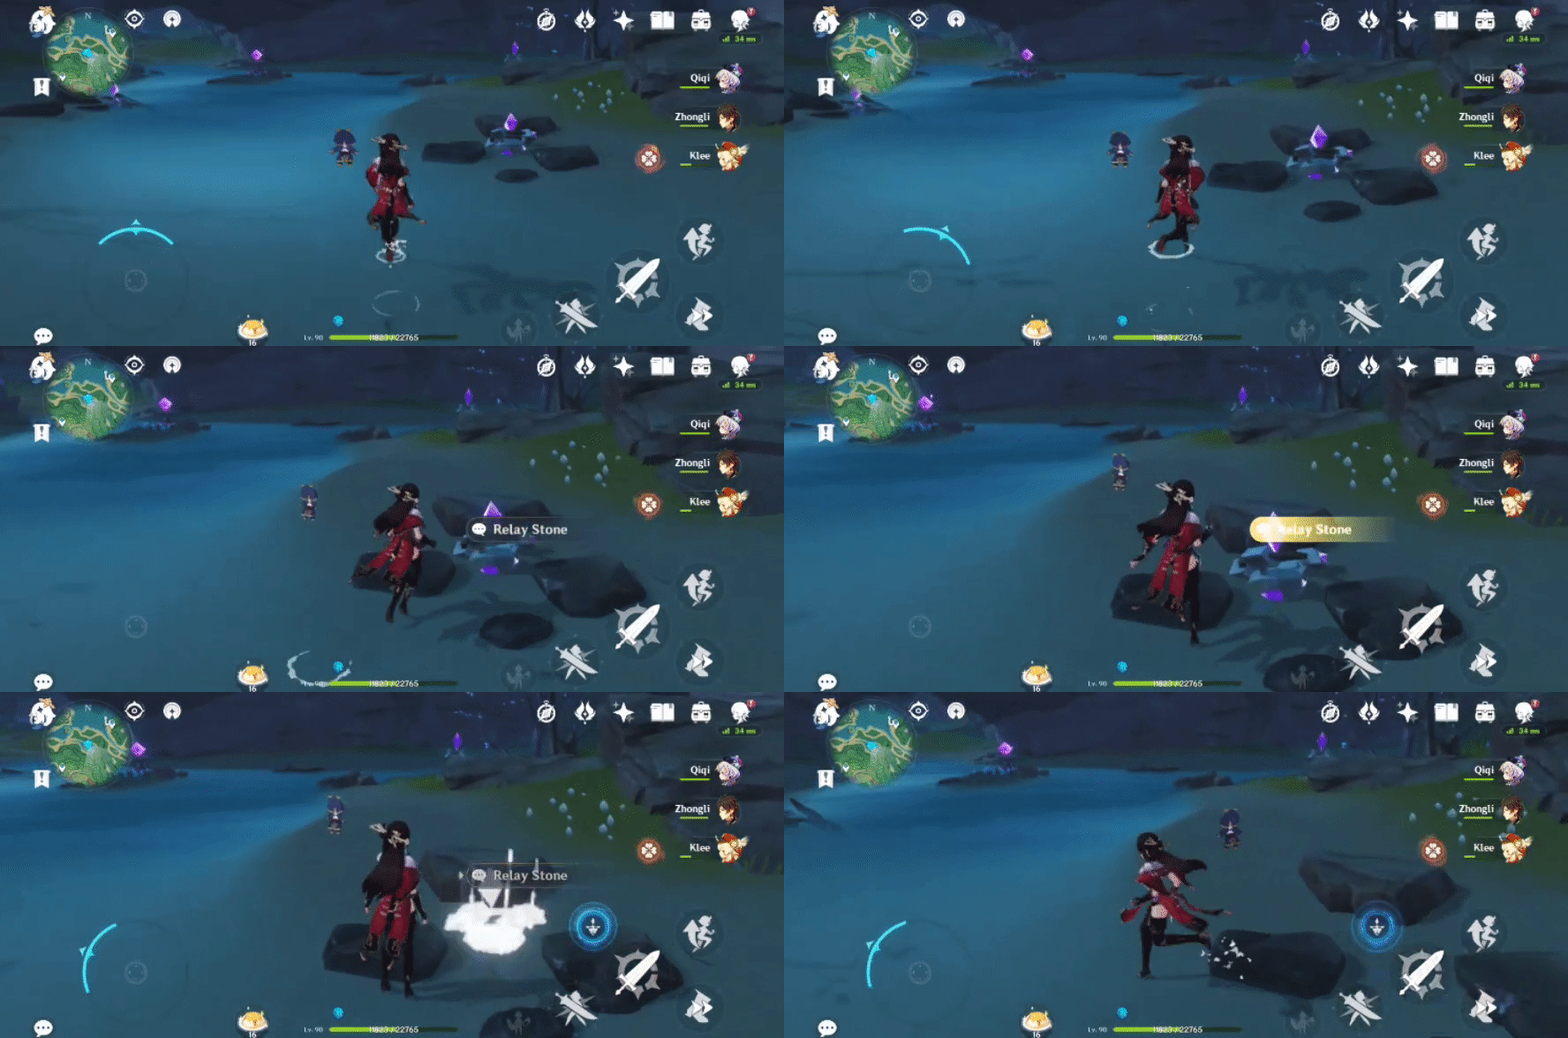
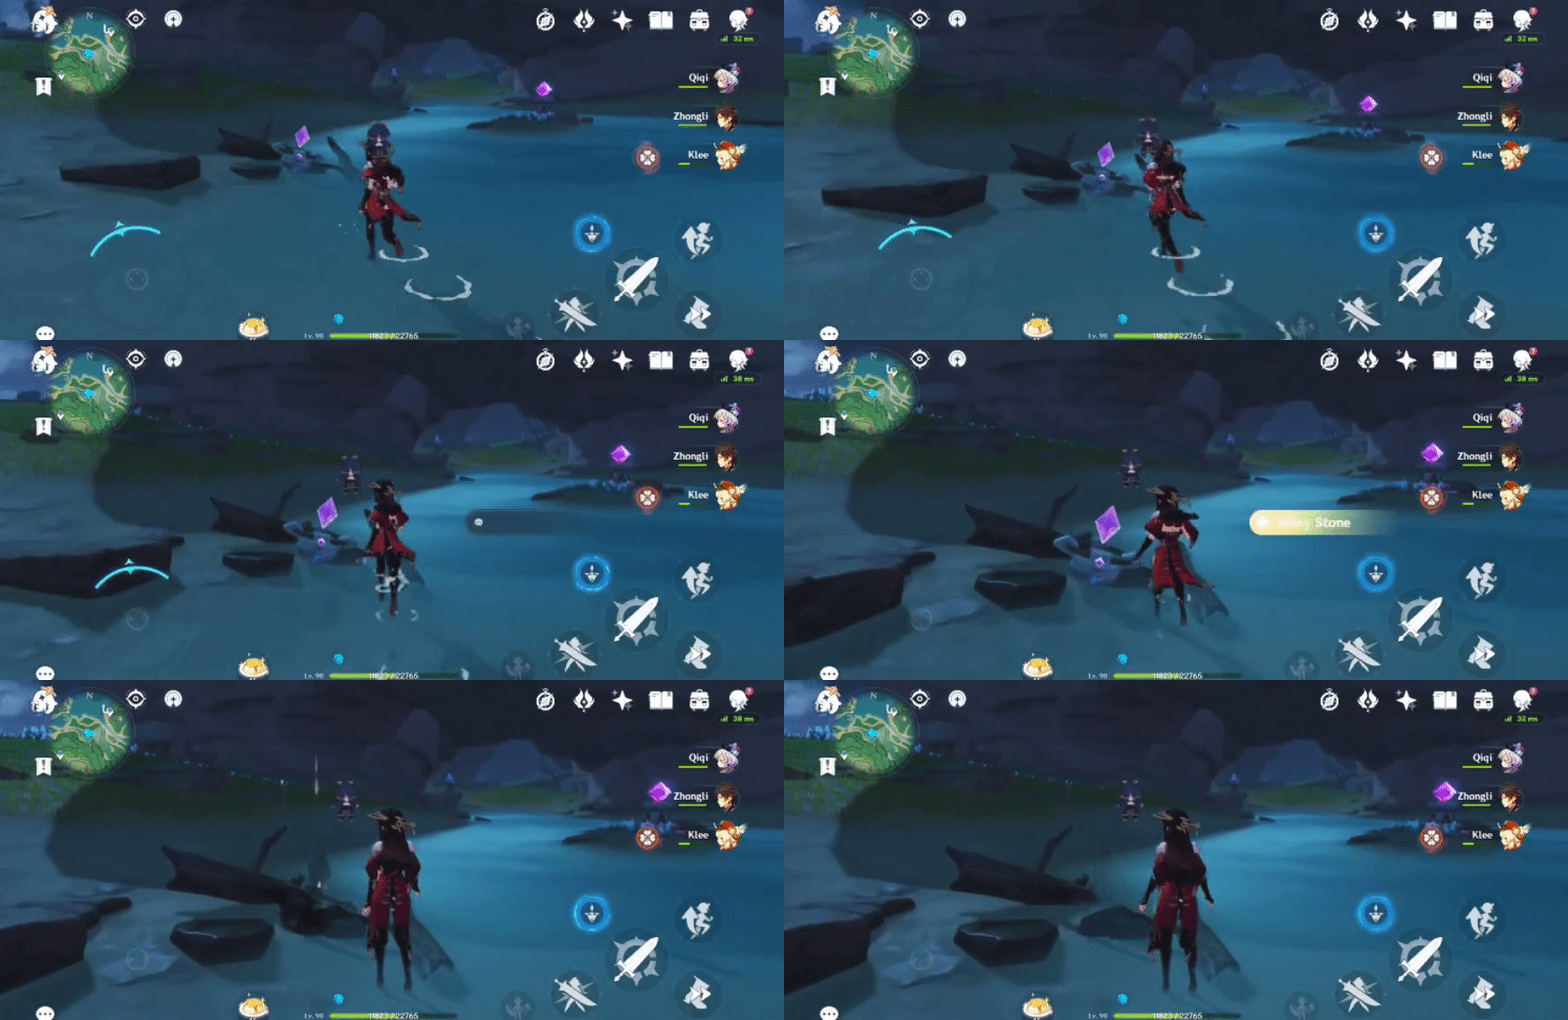
2. Place one in between the middle Stone and another Stone, then place the other Relay Stone on the opposite side.
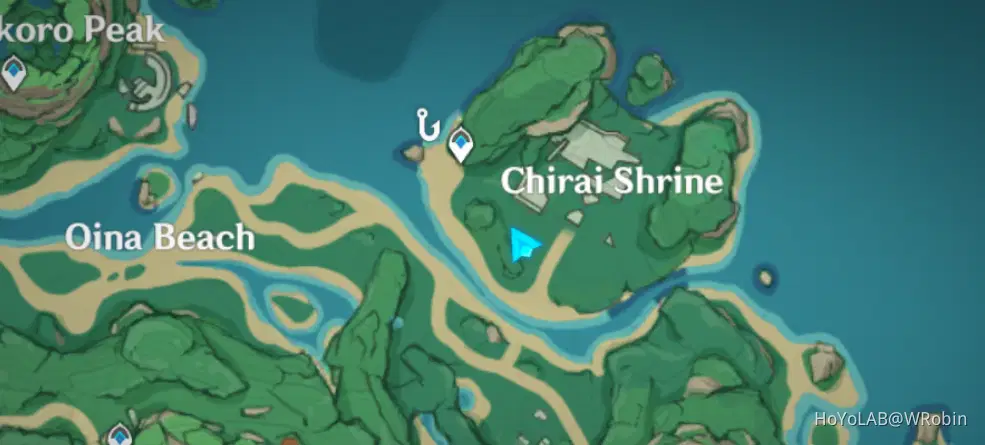
377. [Locked Chest] On top of the broken stone wall
Will unlock after defeating 3 Hilichurls and 1 Samachurl.
Location:
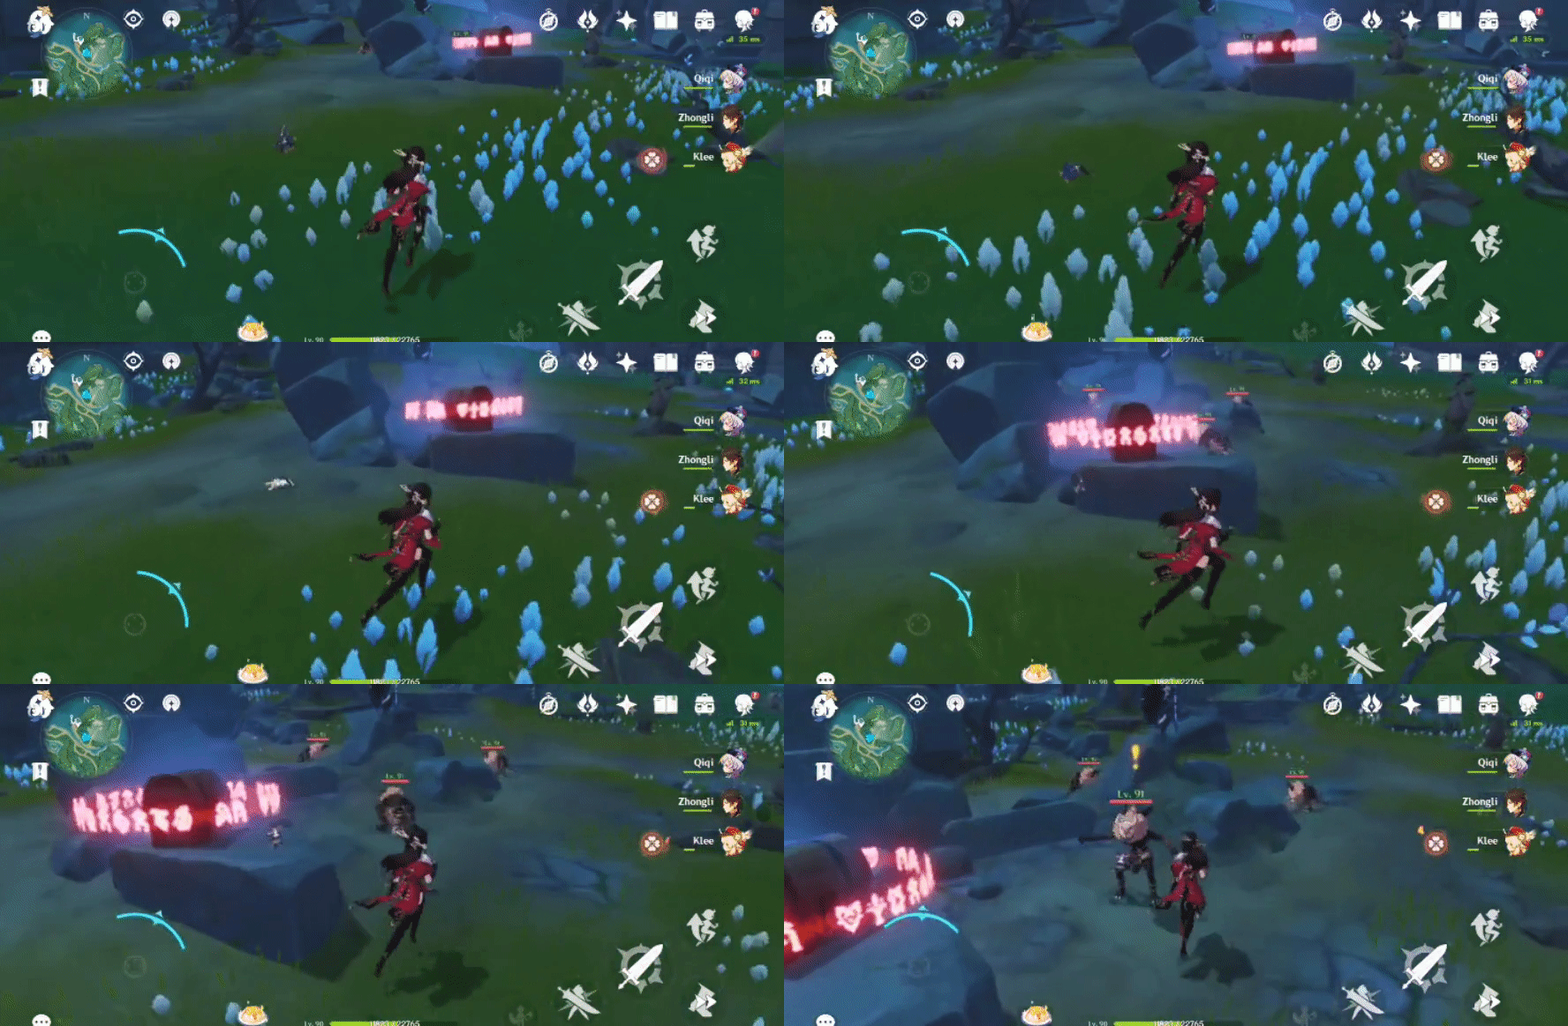
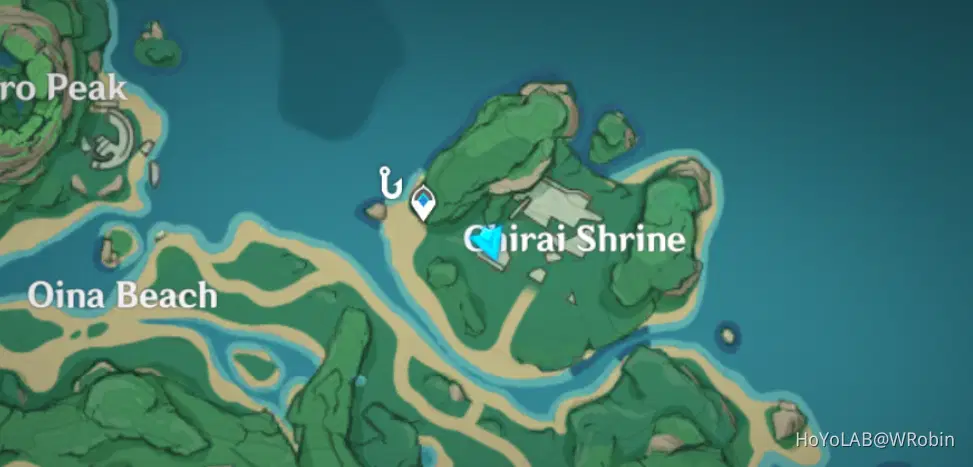
378. [Spawned Chest]
Will spawn after completing the Electro Array Circuit.
[A/N: Had the glitch again where it spawned without me interacting with it. Will edit with specific details when my 2nd account catches up sorry. General advice is to place Relay Stones in between Stones to connect and use Elemental Sight to see if you're missing anything]
Location:
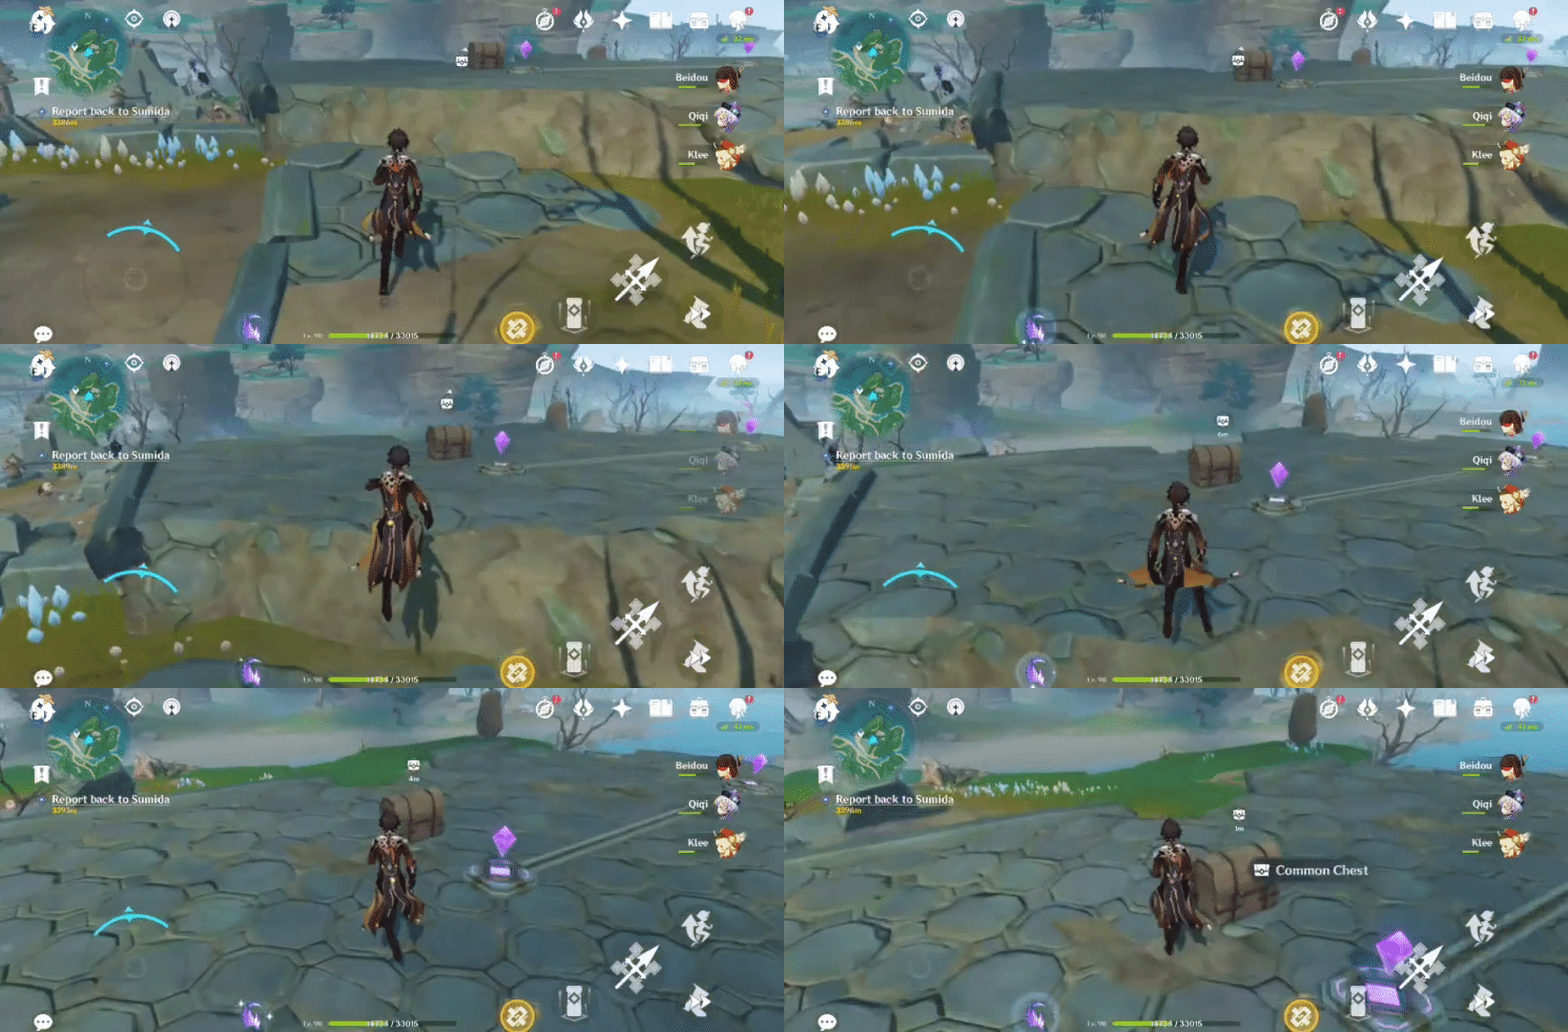
379. [Locked Chest]
Will unlock after defeating 3 Ruin Sentinels.
Location:
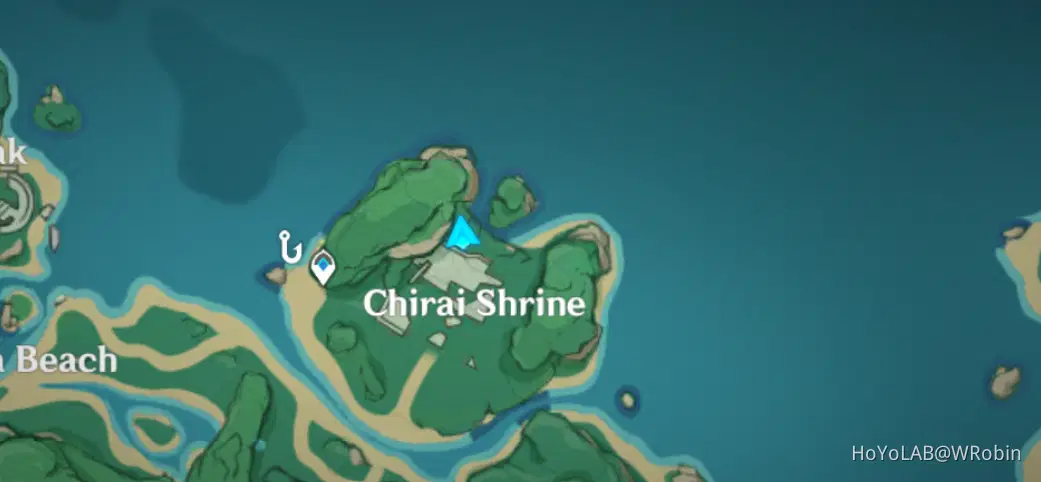
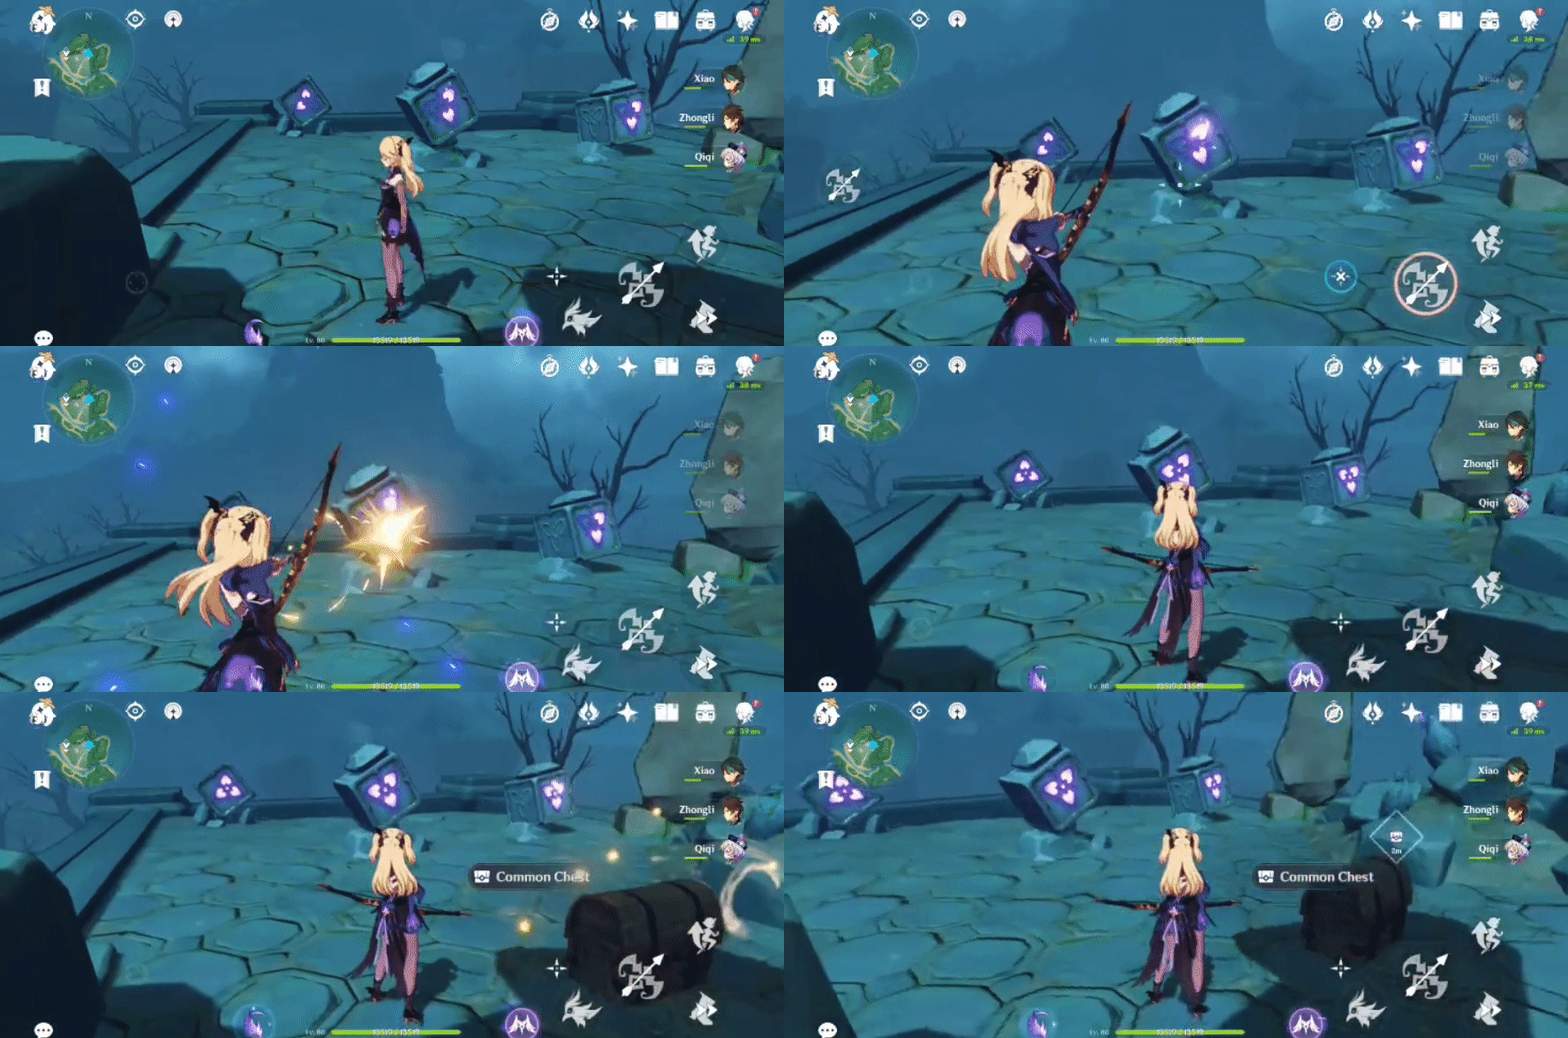
380. [Spawned Chest] On top of the ruins
Will spawn after solving the puzzle of 3 blocks.
Location:

1. Hit left block x1.
2. Hit right block x2.
3. Hit centre block x1.
Previous:[Guide] Comon Chests- Inazuma: Part 18 - miHoYo Player Community (hoyolab.com)
Index:[Index] Common Chests - miHoYo Player Community (hoyolab.com)
Next:[Guide] Common Chests- Inazuma: Part 20 - miHoYo Player Community (hoyolab.com)



