


Previous:[V3.1 Guide] Common Chests- Sumeru Desert: Part 6 | Genshin Impact | HoYoLAB
Index:[Index] Common Chests | Genshin Impact | HoYoLAB
Next:[V3.1 Guide] Common Chests- Sumeru Desert: Part 8 | Genshin Impact | HoYoLAB


-Footage & Location photos are from my 1st account-
If there is anything you're unsure about, feel free to ask!
121-123 are part of the Mysterious Clipboard- Photos #11, 12, 13. Visit the Mailbox on each daily reset to receive the 3 new photos and spawn the chests.
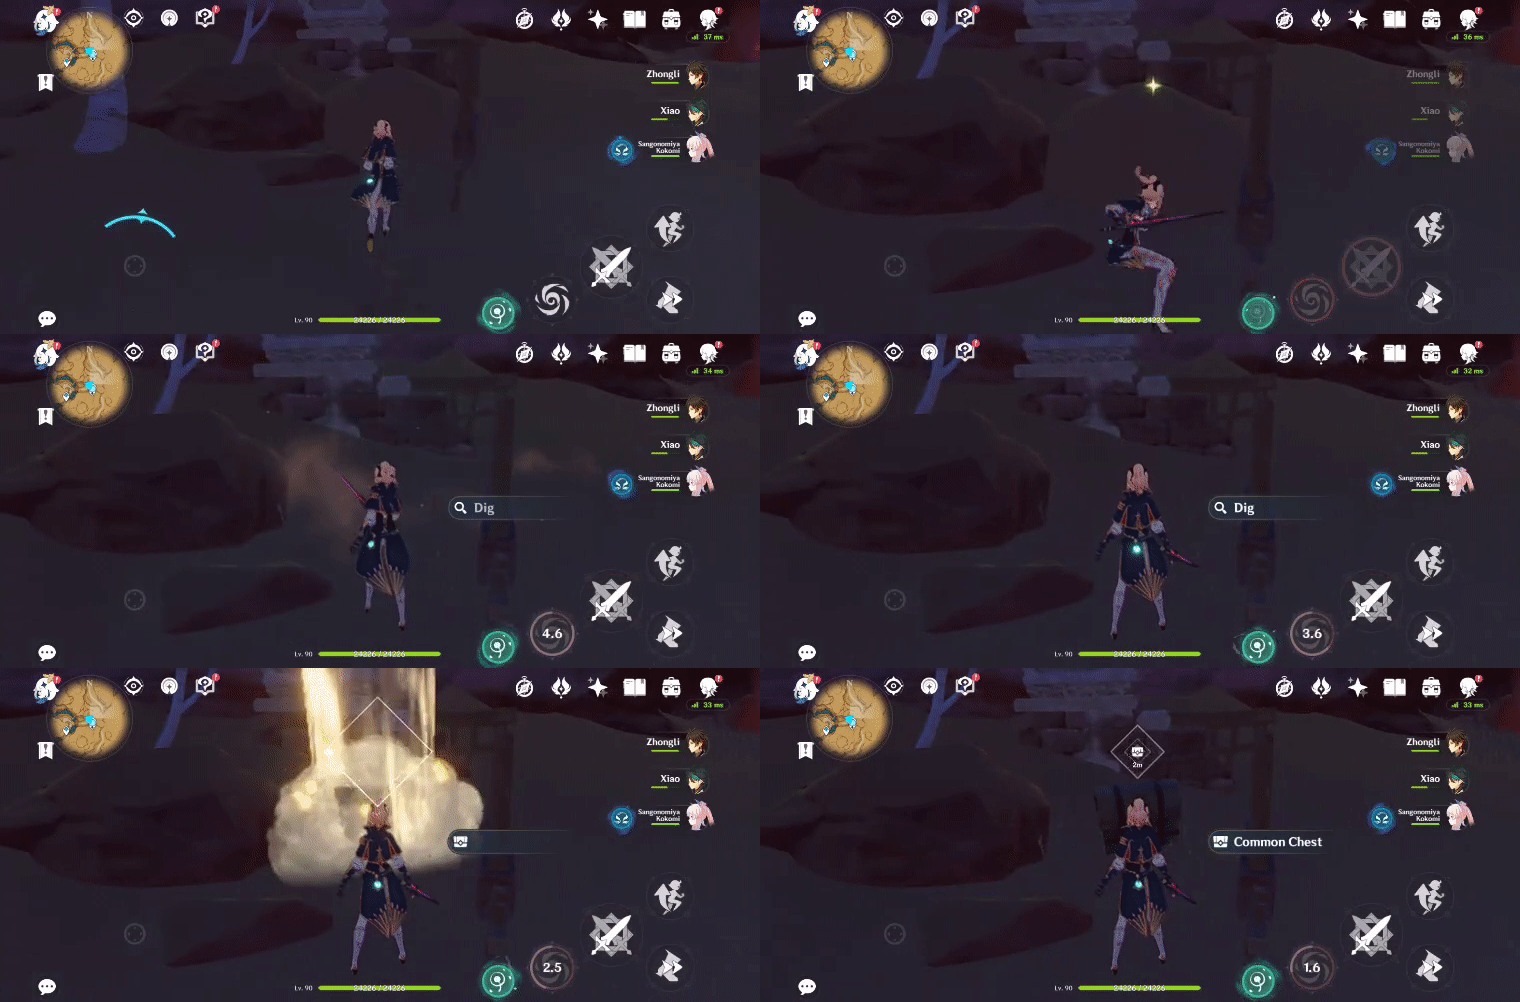
121. [Spawned/Trapped Chest] At the entrance of Aaru Village
Will spawn after blowing the sand pile with Anemo and pressing 'Dig' (Mysterious Clipboard Photo #11).
Location:

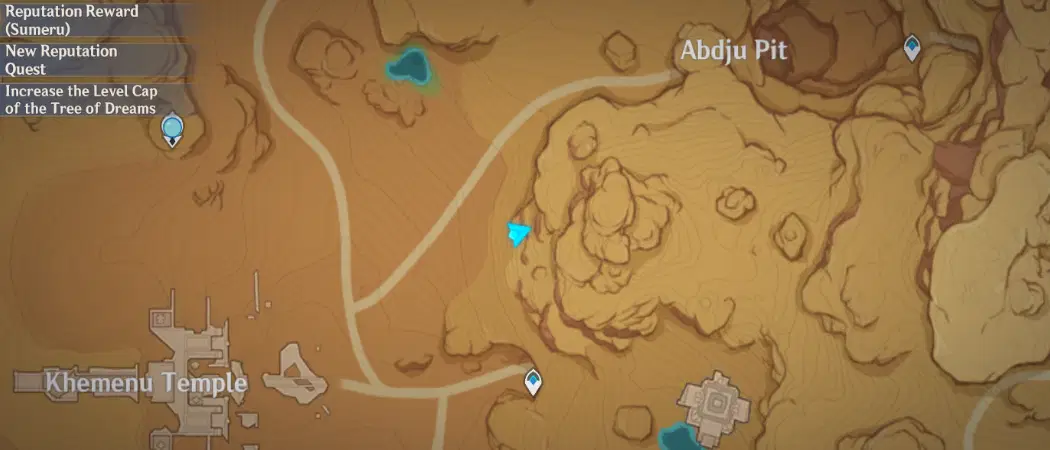
122. [Spawned/Trapped Chest] On the ledge
Blow the sand pile with Anemo to access (Mysterious Clipboard Photo #12).
Location:
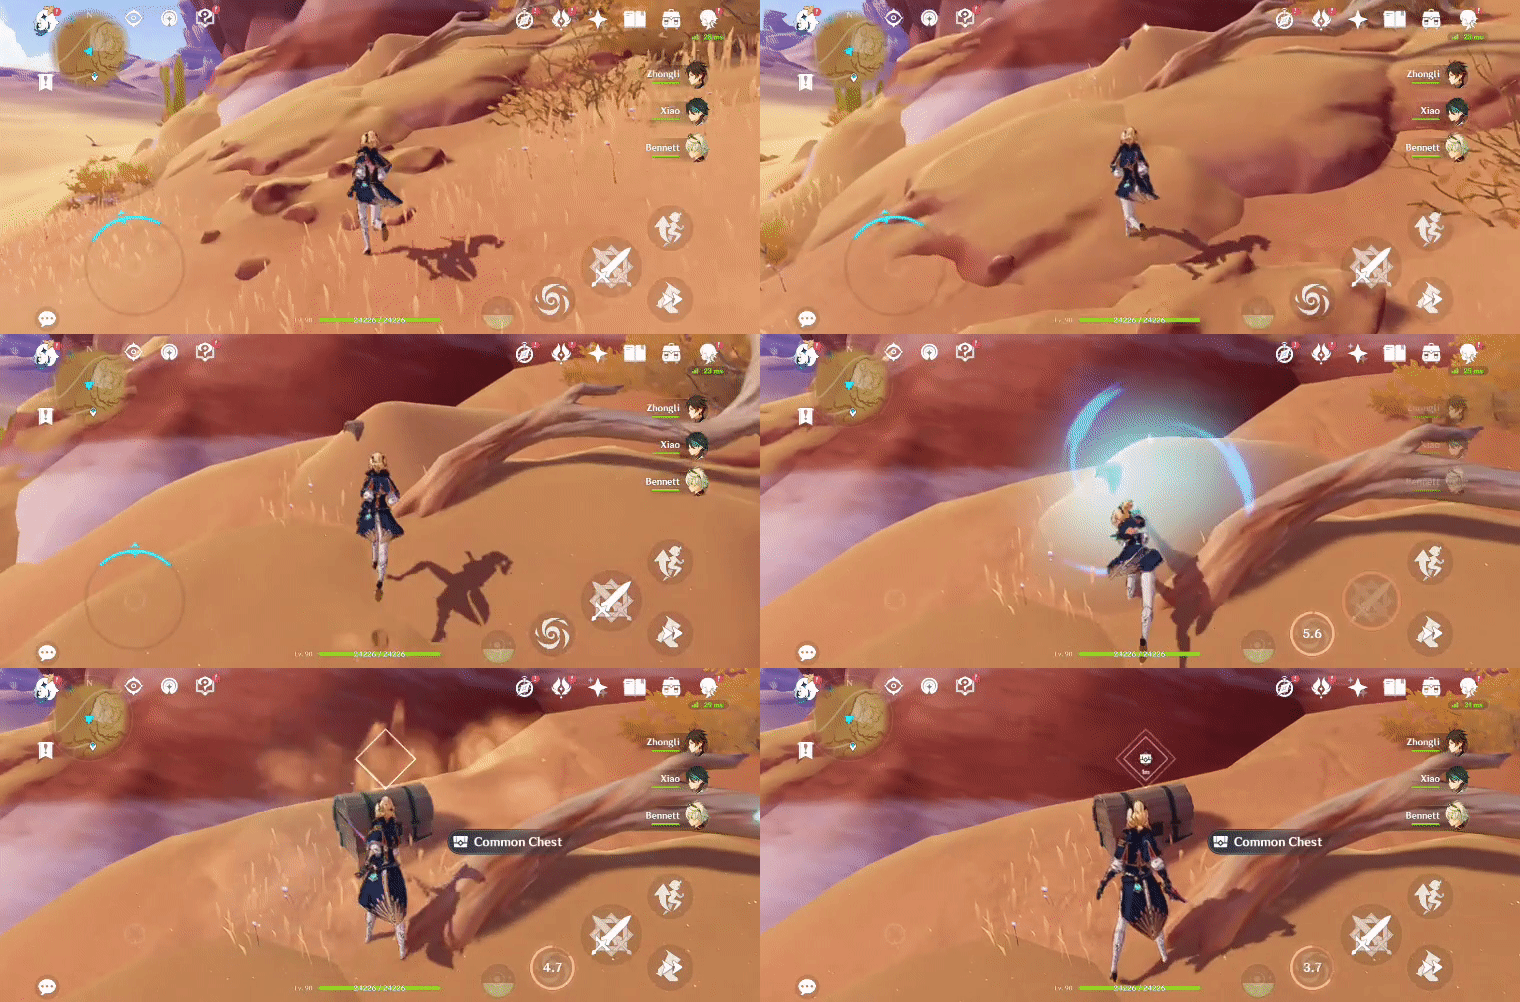
123. [Spawned/Trapped Chest]
Blow the sand pile with Anemo to access (Mysterious Clipboard Photo #13).
Location:

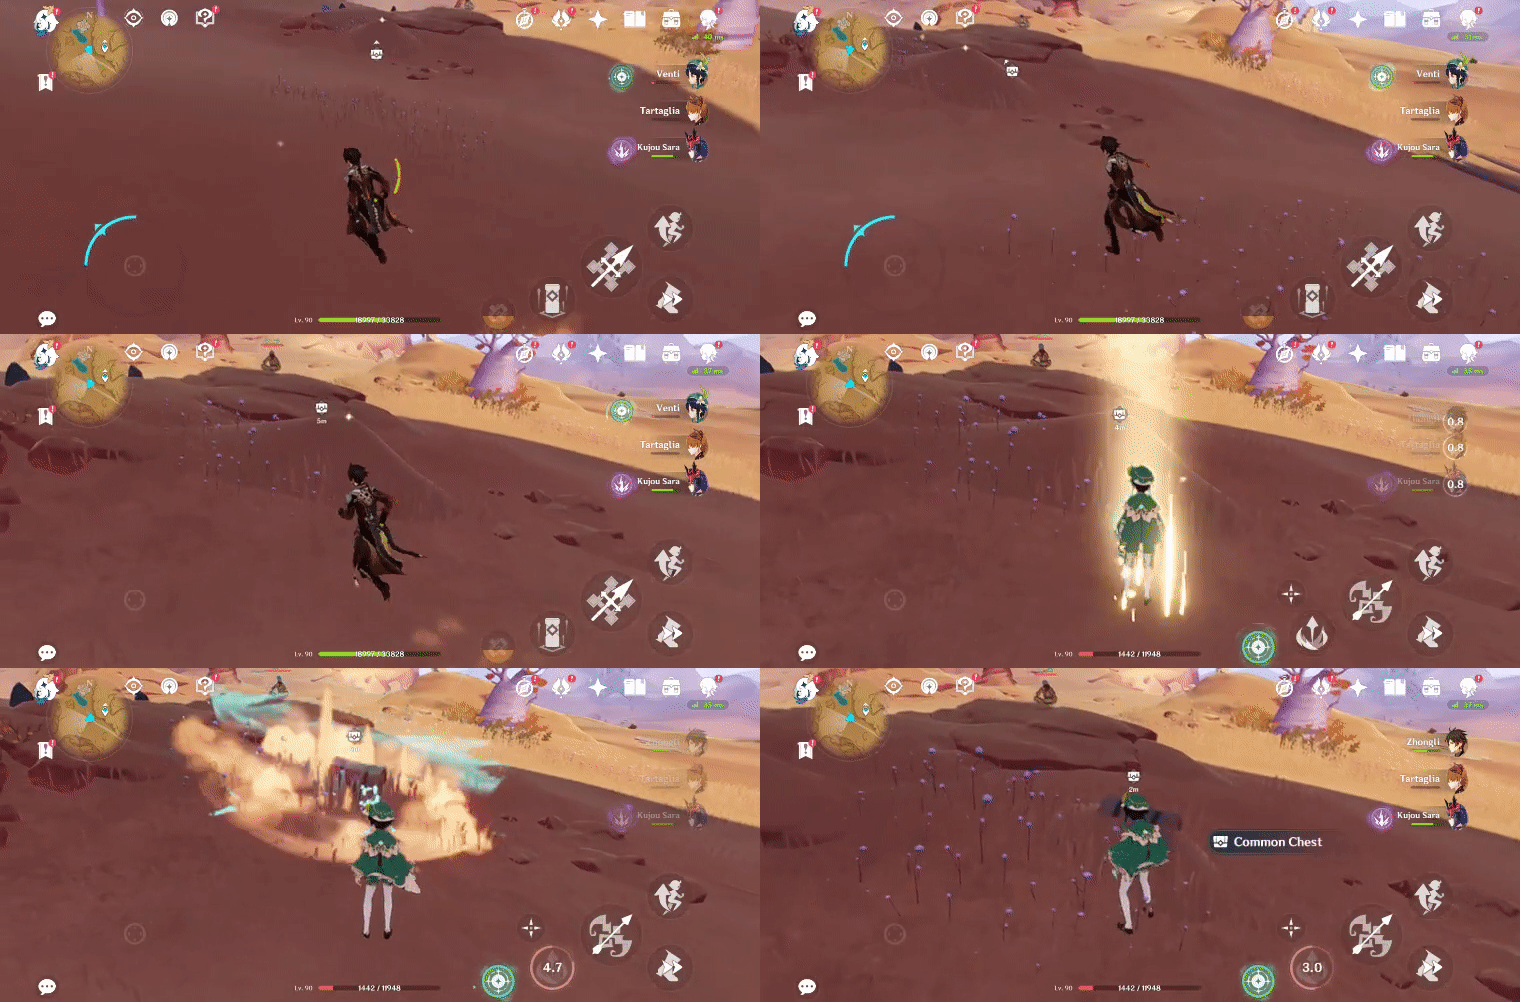
124-126 are accessible after completing the Hidden Achievement 'What's the Password?'.
124. [Spawned Chest] In the cave
Location (Chest):

1. Gather the 3 Forged Primal Lights and bring them to the 3 Replicator Keystones to spawn the Primal Sandglasses.
2. Complete the Primal Sandglass: Time Trial Challenge to spawn the chest ('Flip 3 Primal Sandglasses within 30s').
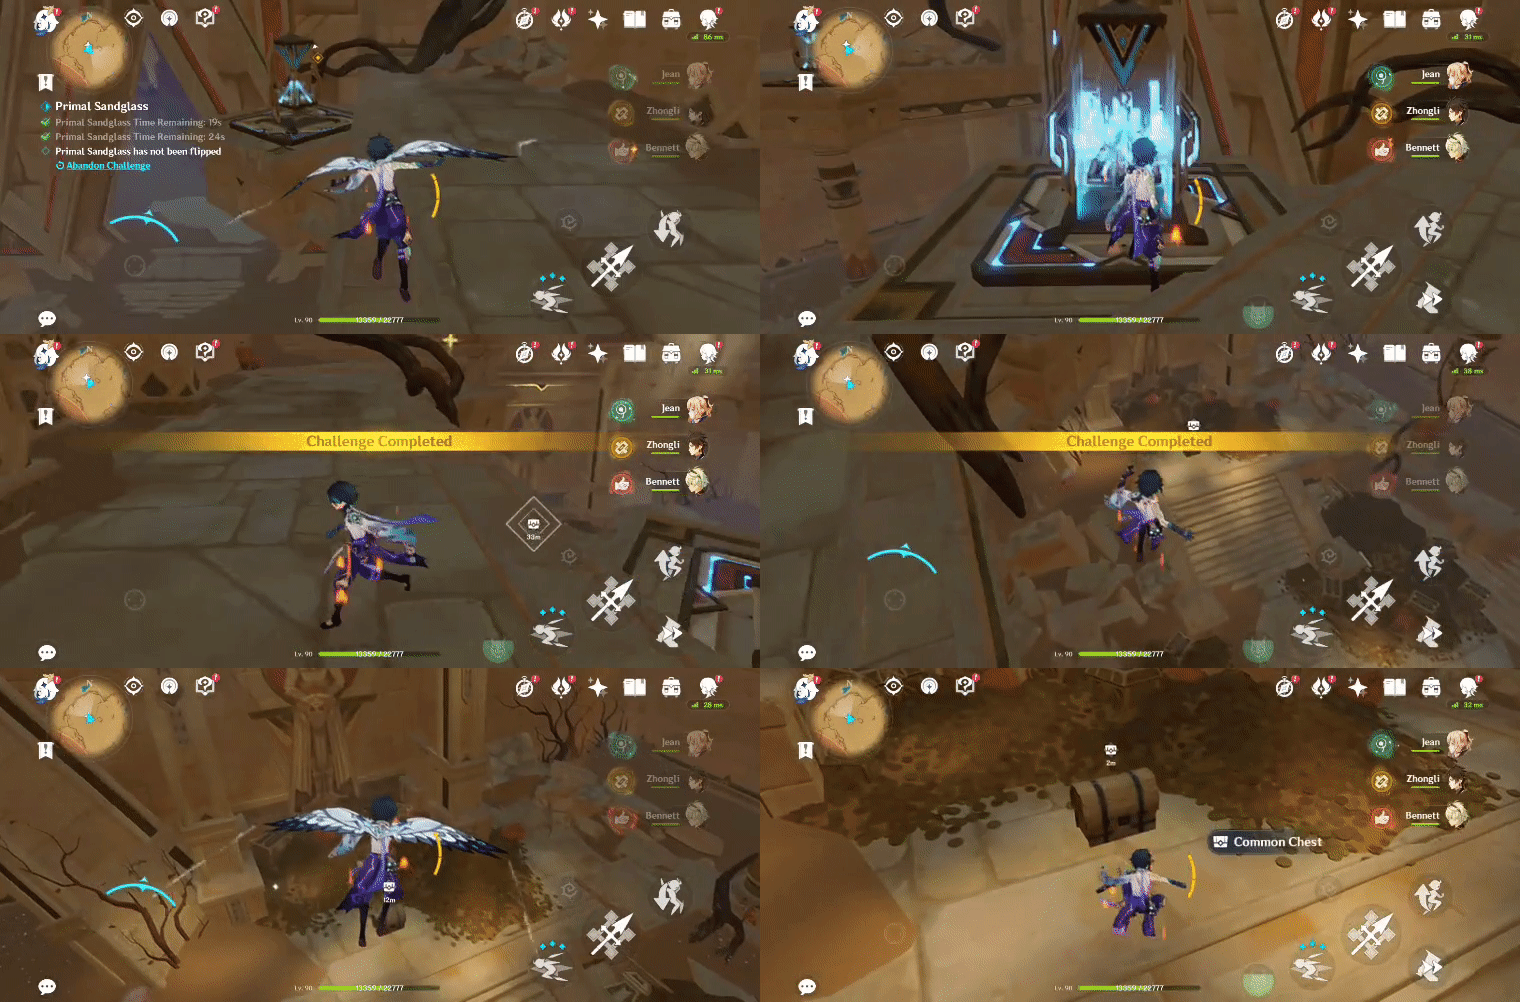
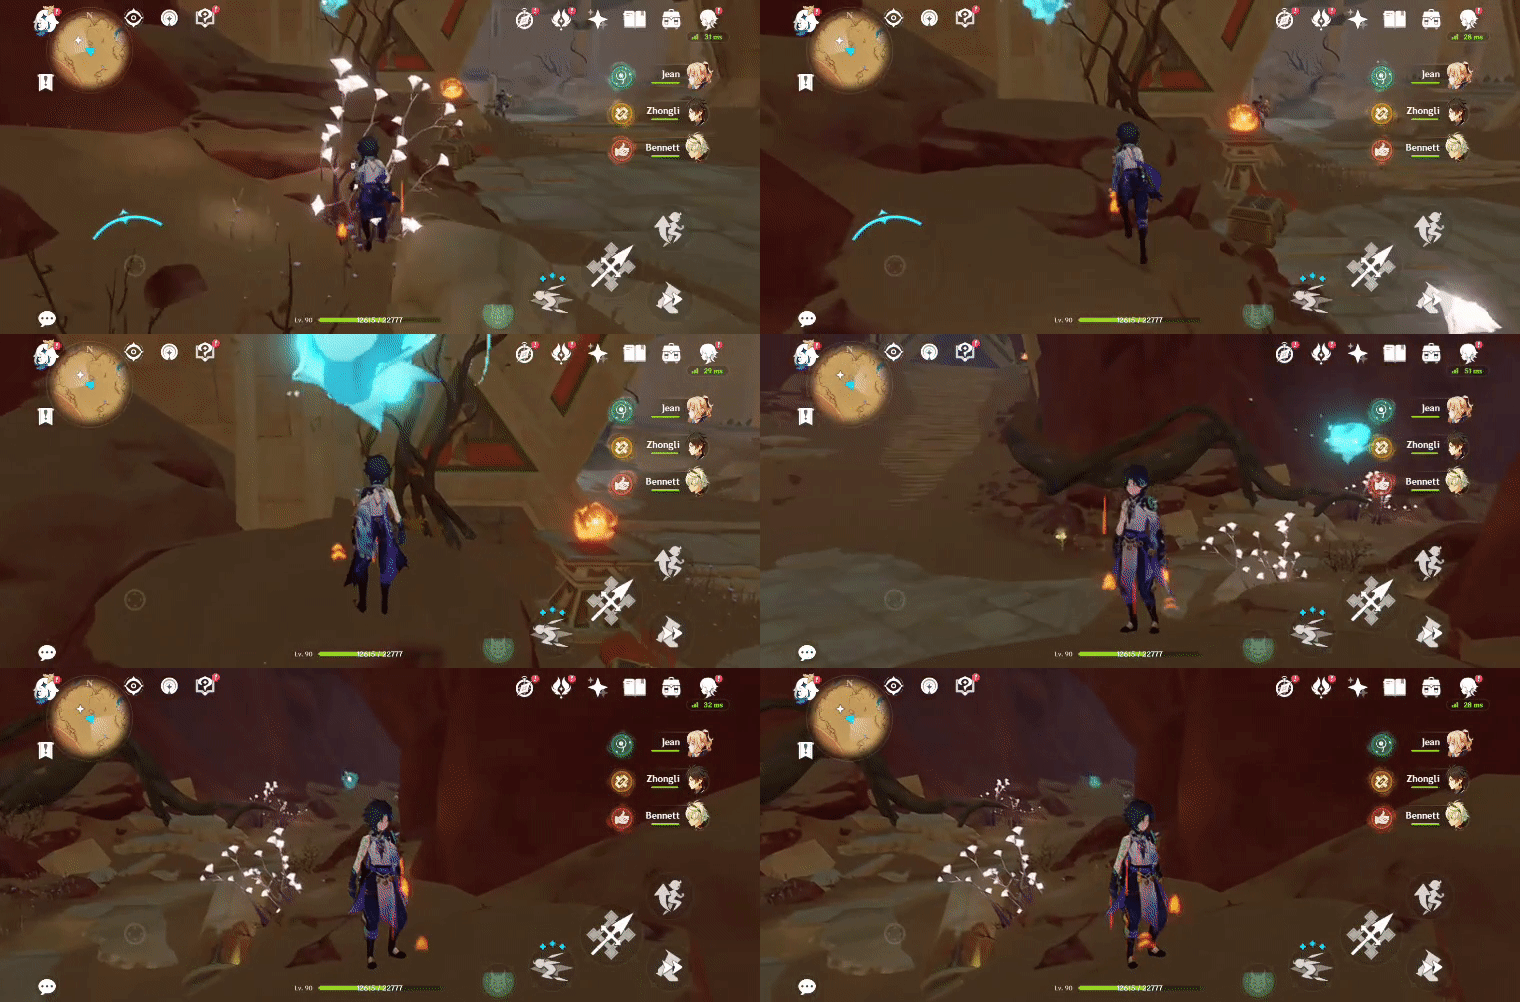
125. [Spawned Chest] Underground
Will spawn after the Seelie returns to its Statue.
Location (Seelie):

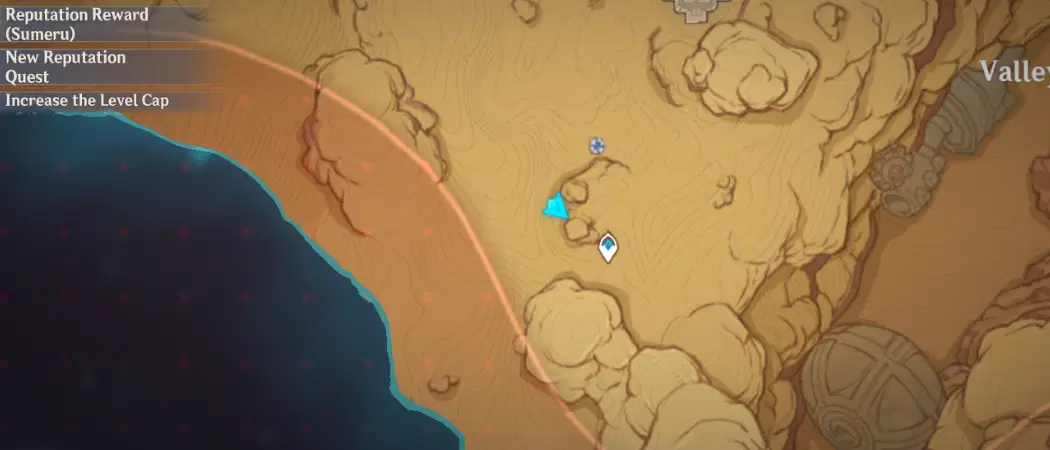
Location (Seelie Statue):
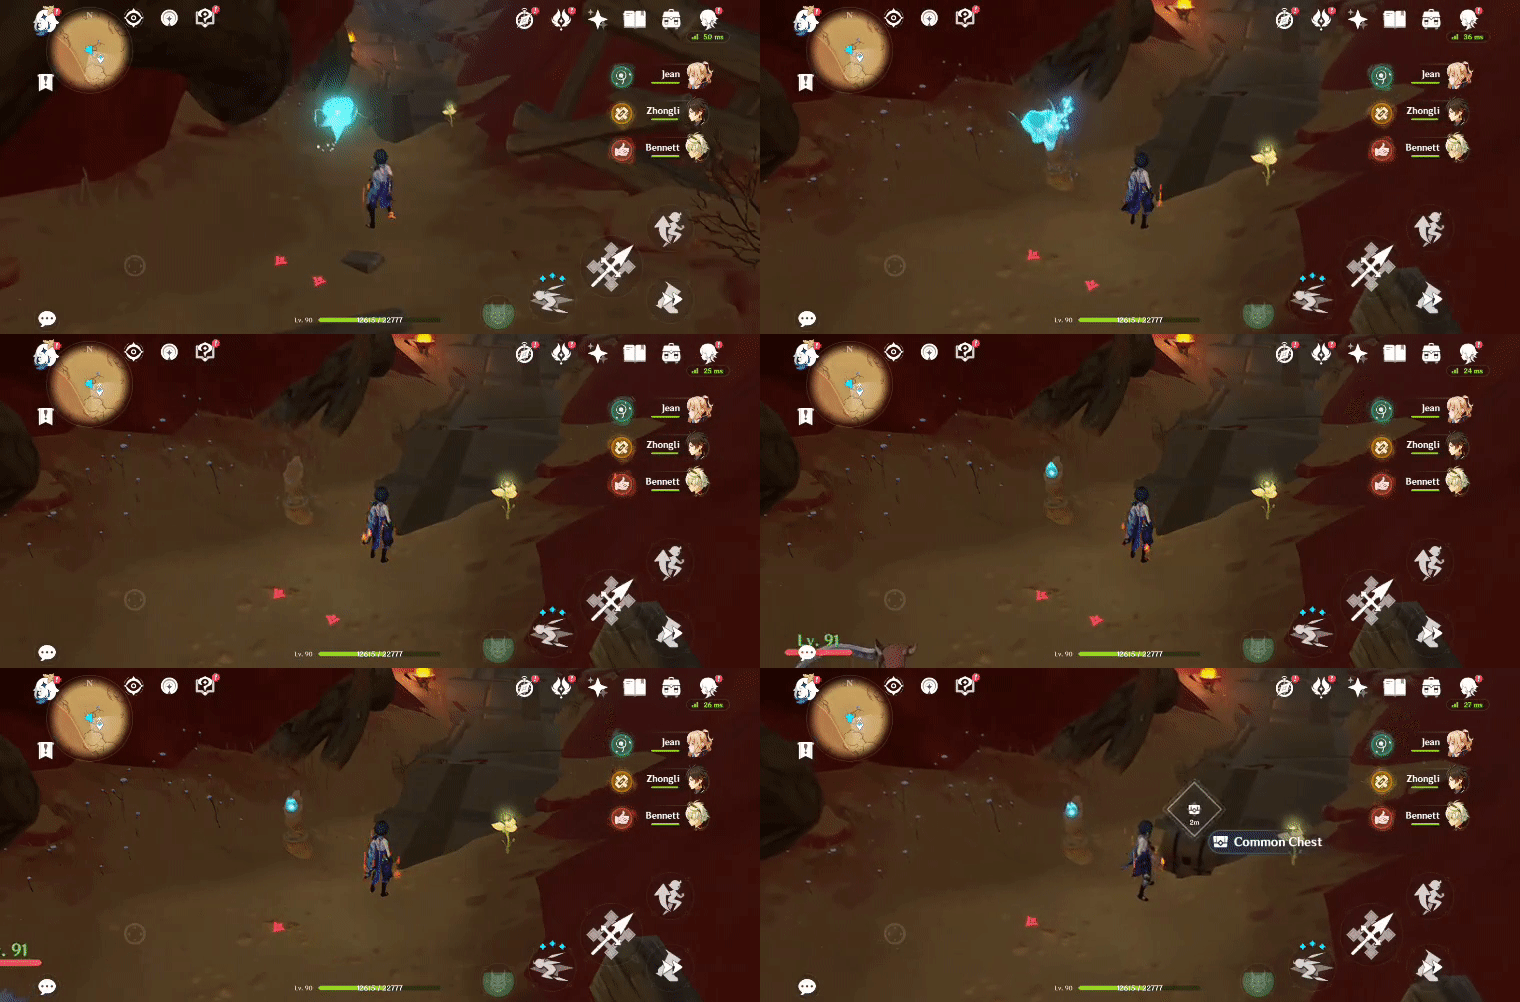
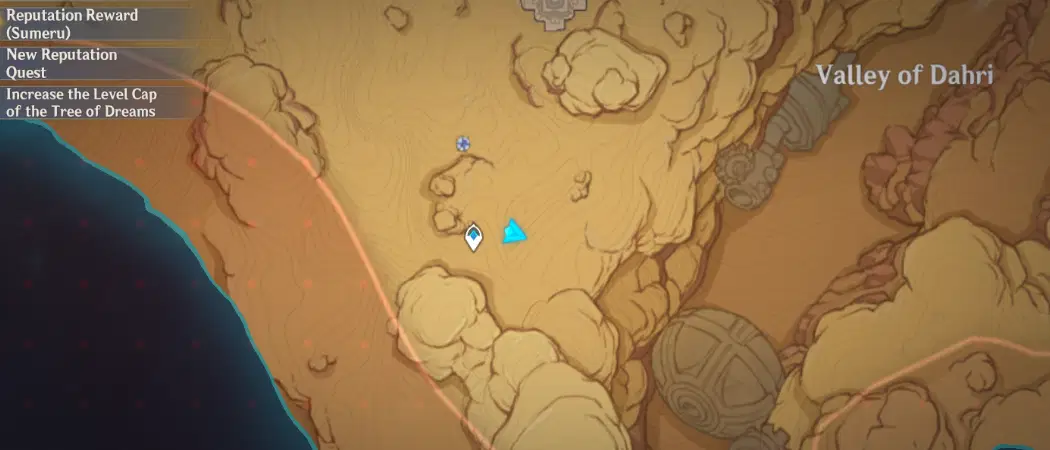
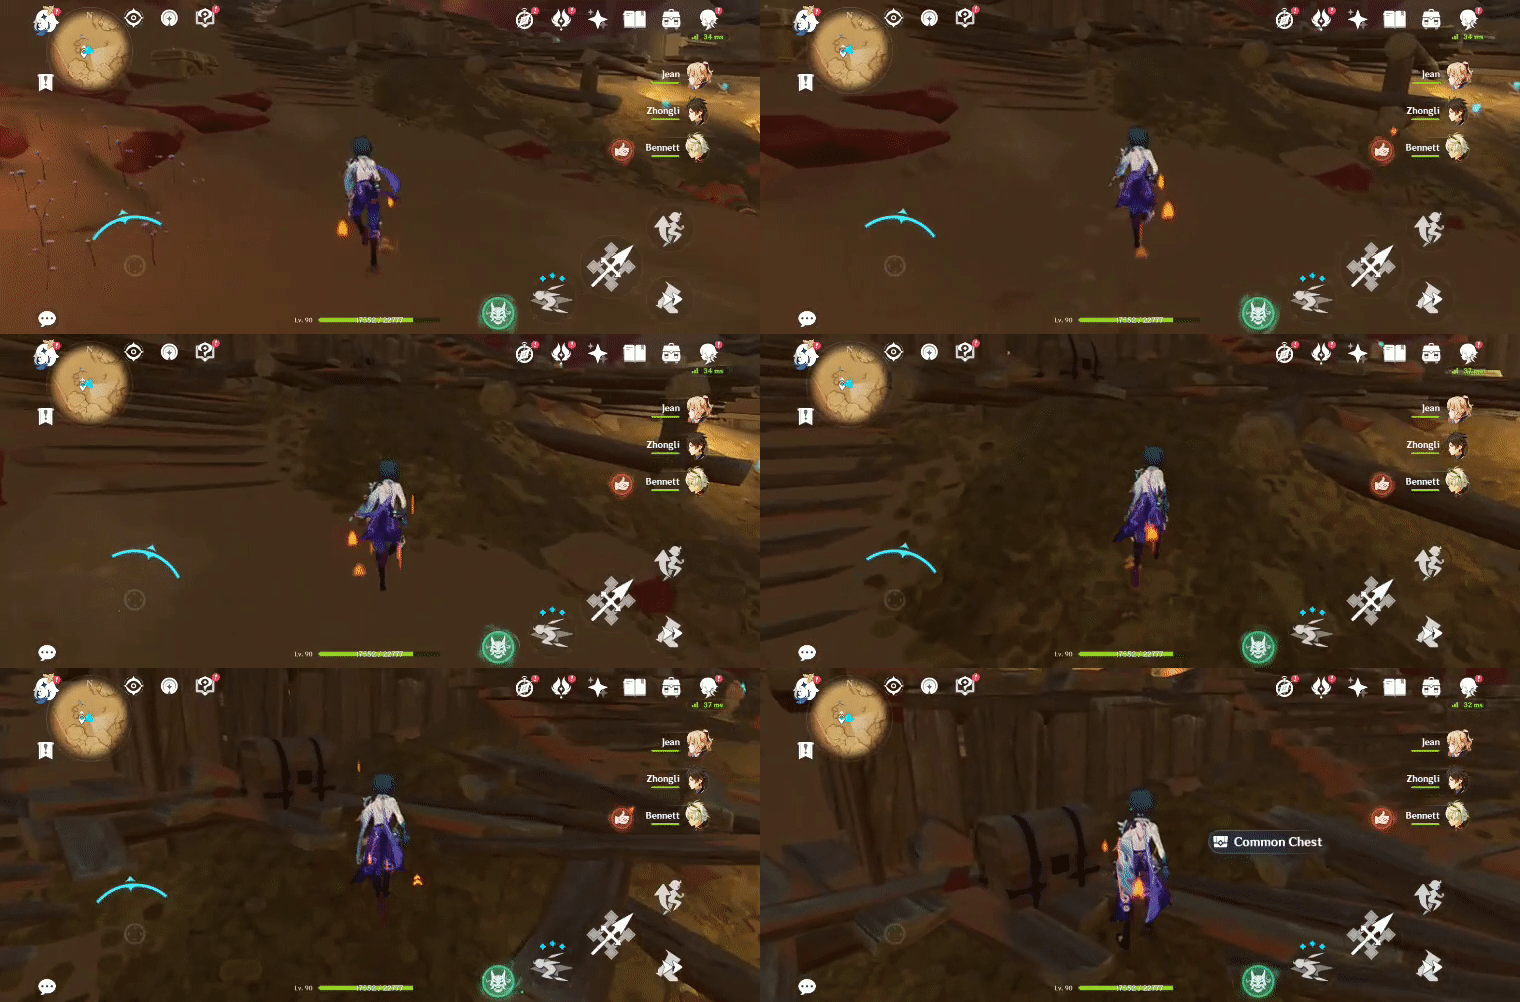
126. [Open Chest] Underground, on the platform
No requirements needed to access.
Location:
127 onwards are accessible during and after the World Quest Series 'Golden Slumber'.
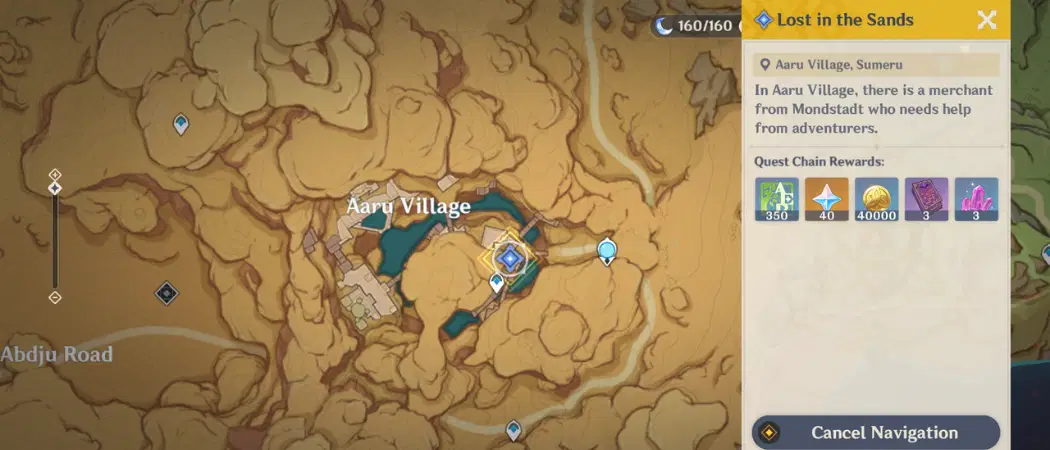
To start the World Quest Series 'Golden Slumber', talk to Katheryne in Sumeru, and then go to the location below and speak to '???' (Bonifaz).
Location (World Quest):
127. [Spawned Chest]
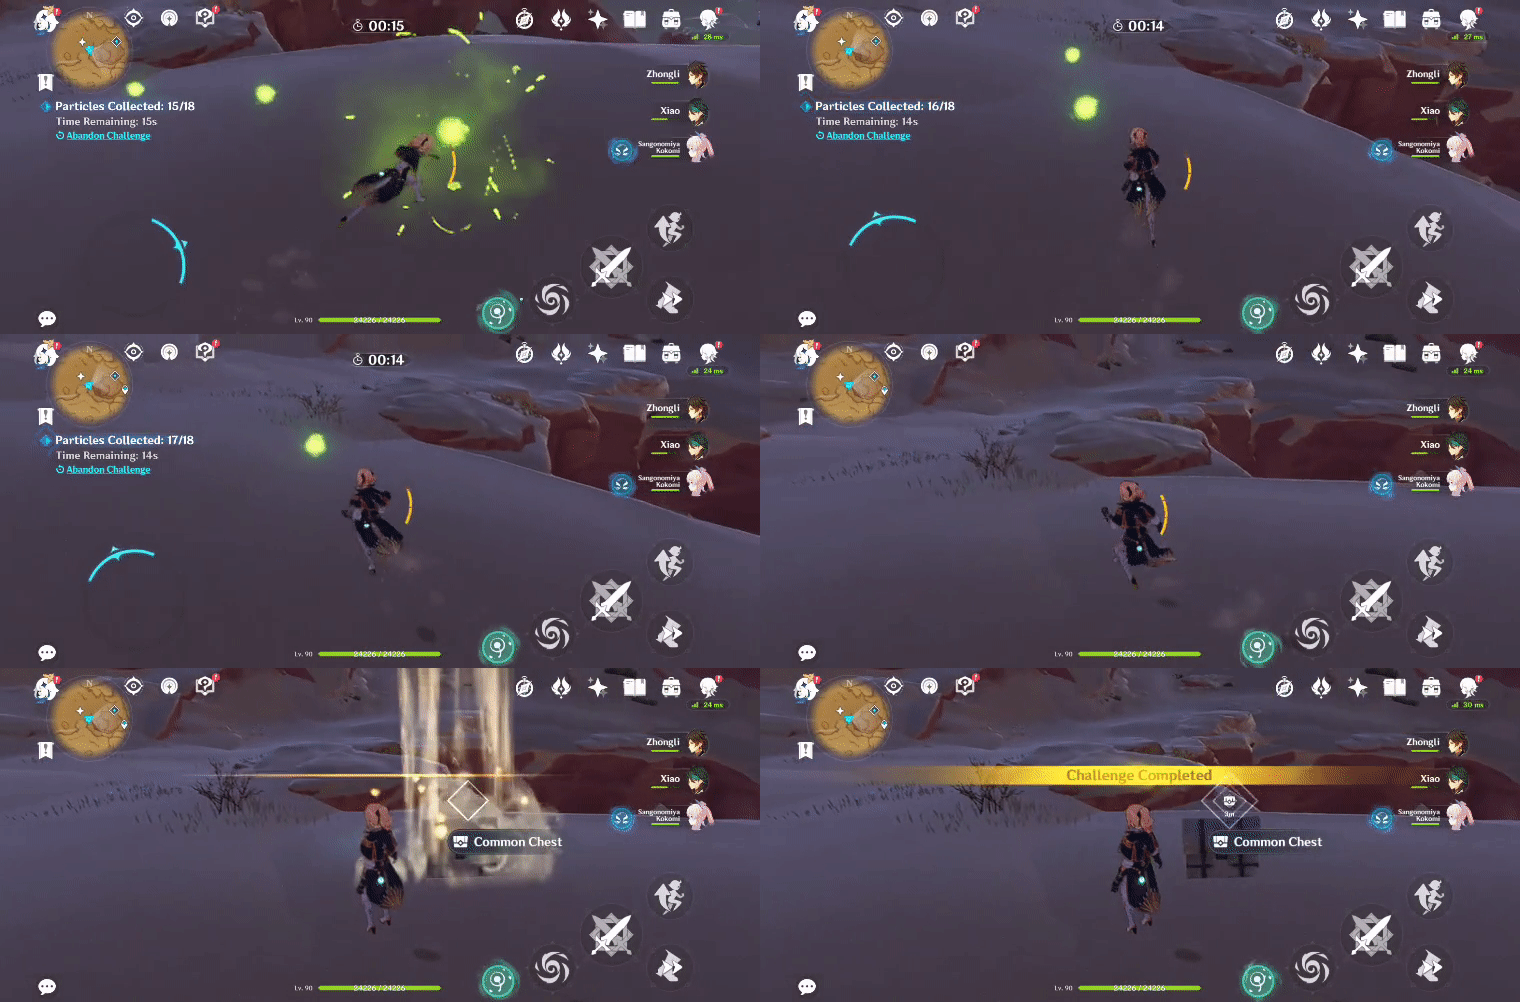
Will spawn after completing the Time Trial Challenge ('Collect 18 Dendro Particles within 32s').
Location (Challenge Marker):

128. [Trapped Chest] Inside the front entrance of the ruins, on the upper right ledge
Blow the sand pile with Anemo to access.
Location:

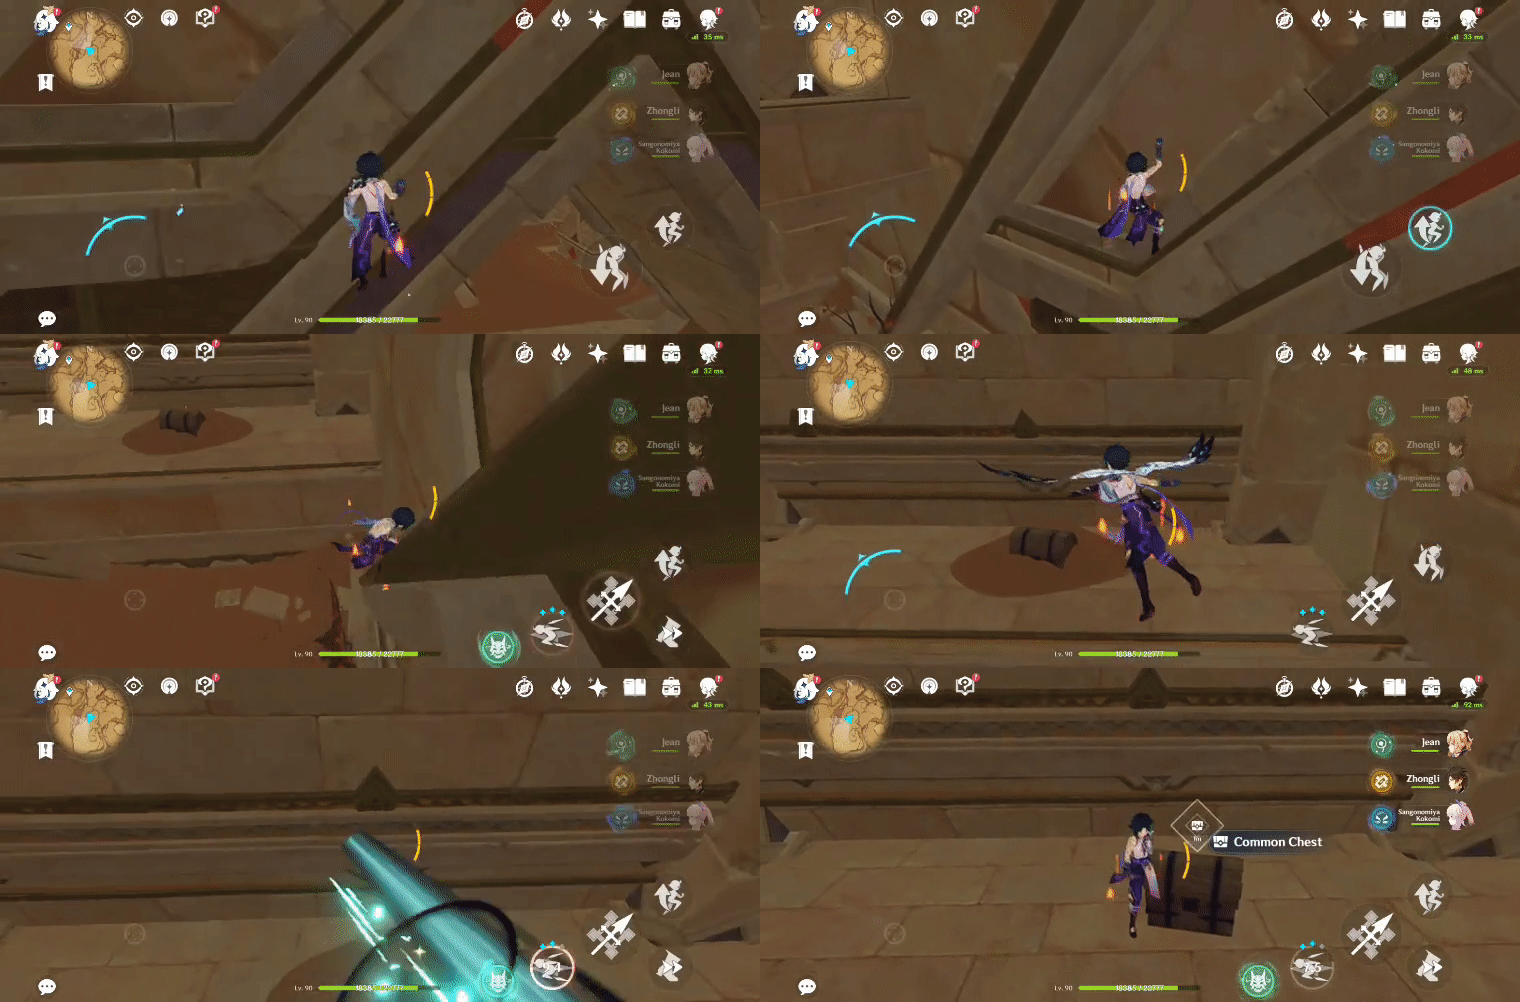
129. [Spawned Chest] Underground, in the doorway
Will spawn after the Seelie returns to its Statue.
Location (Seelie):
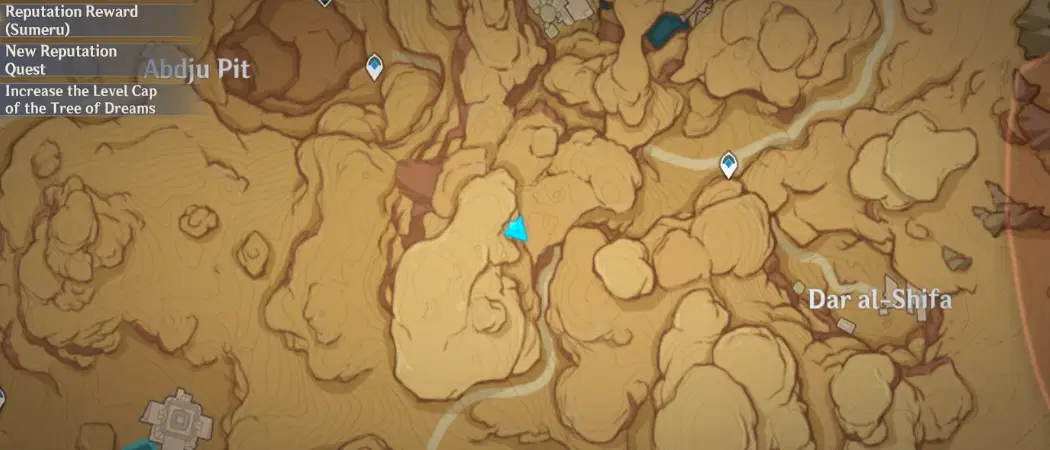
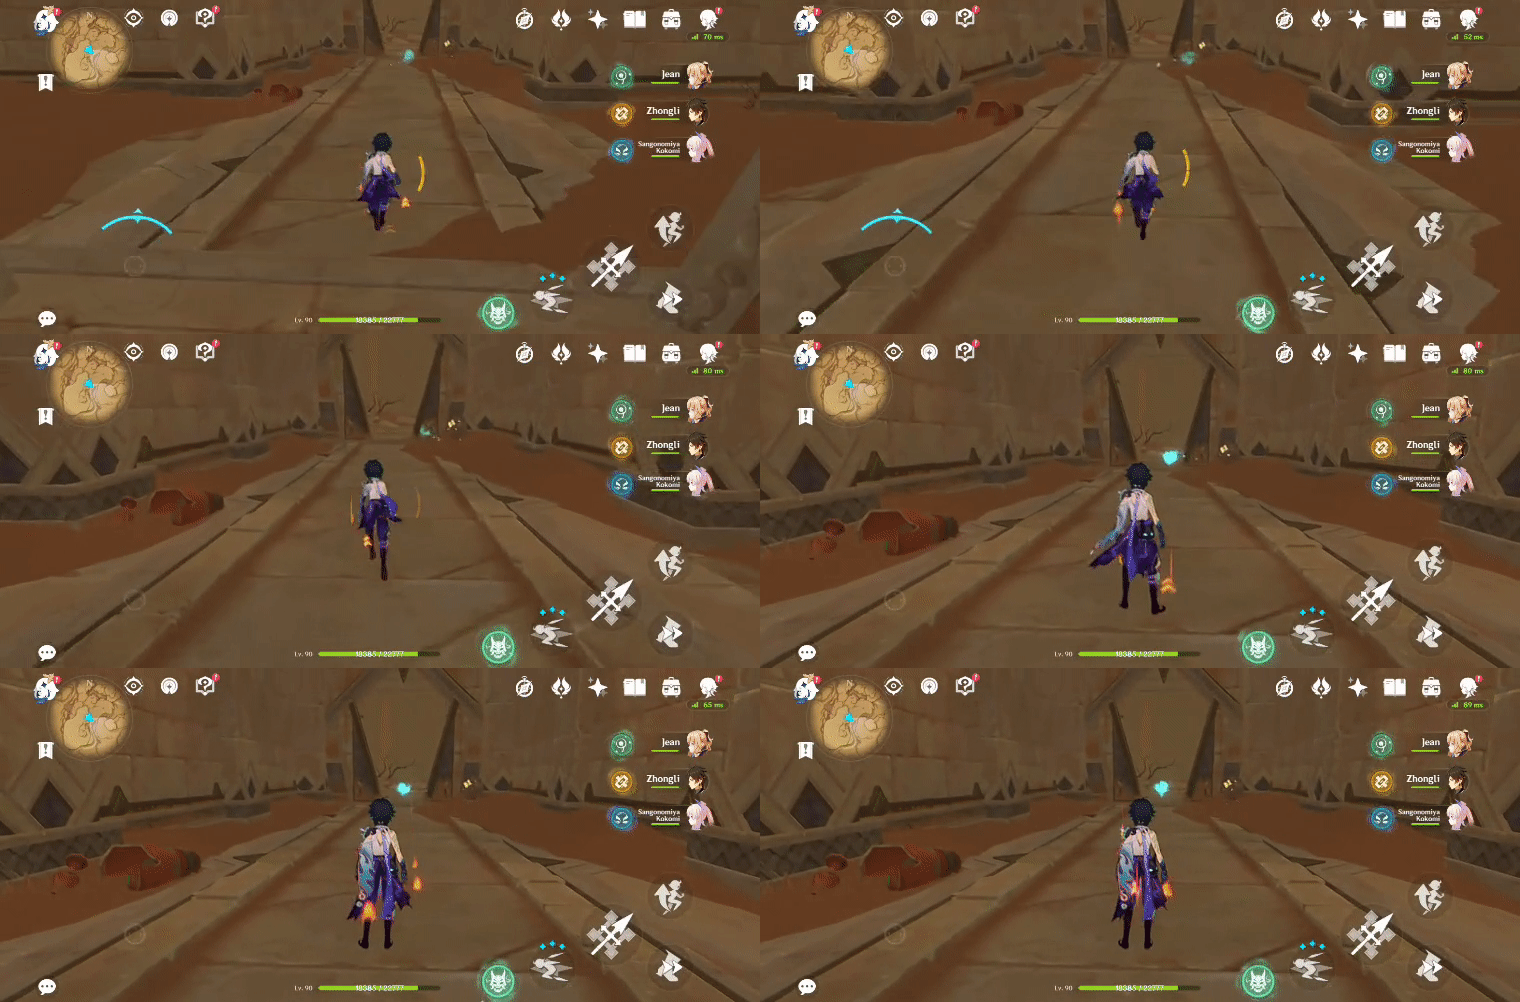
Location (Seelie Statue):
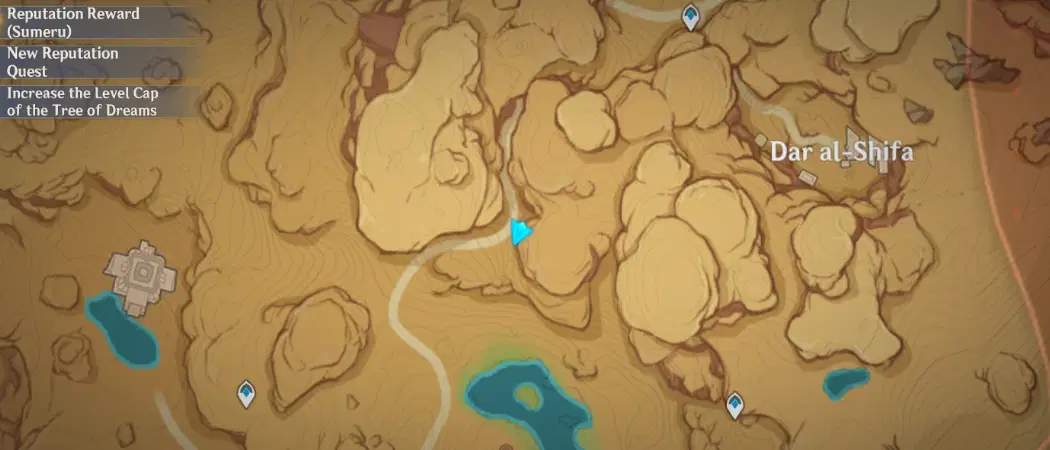
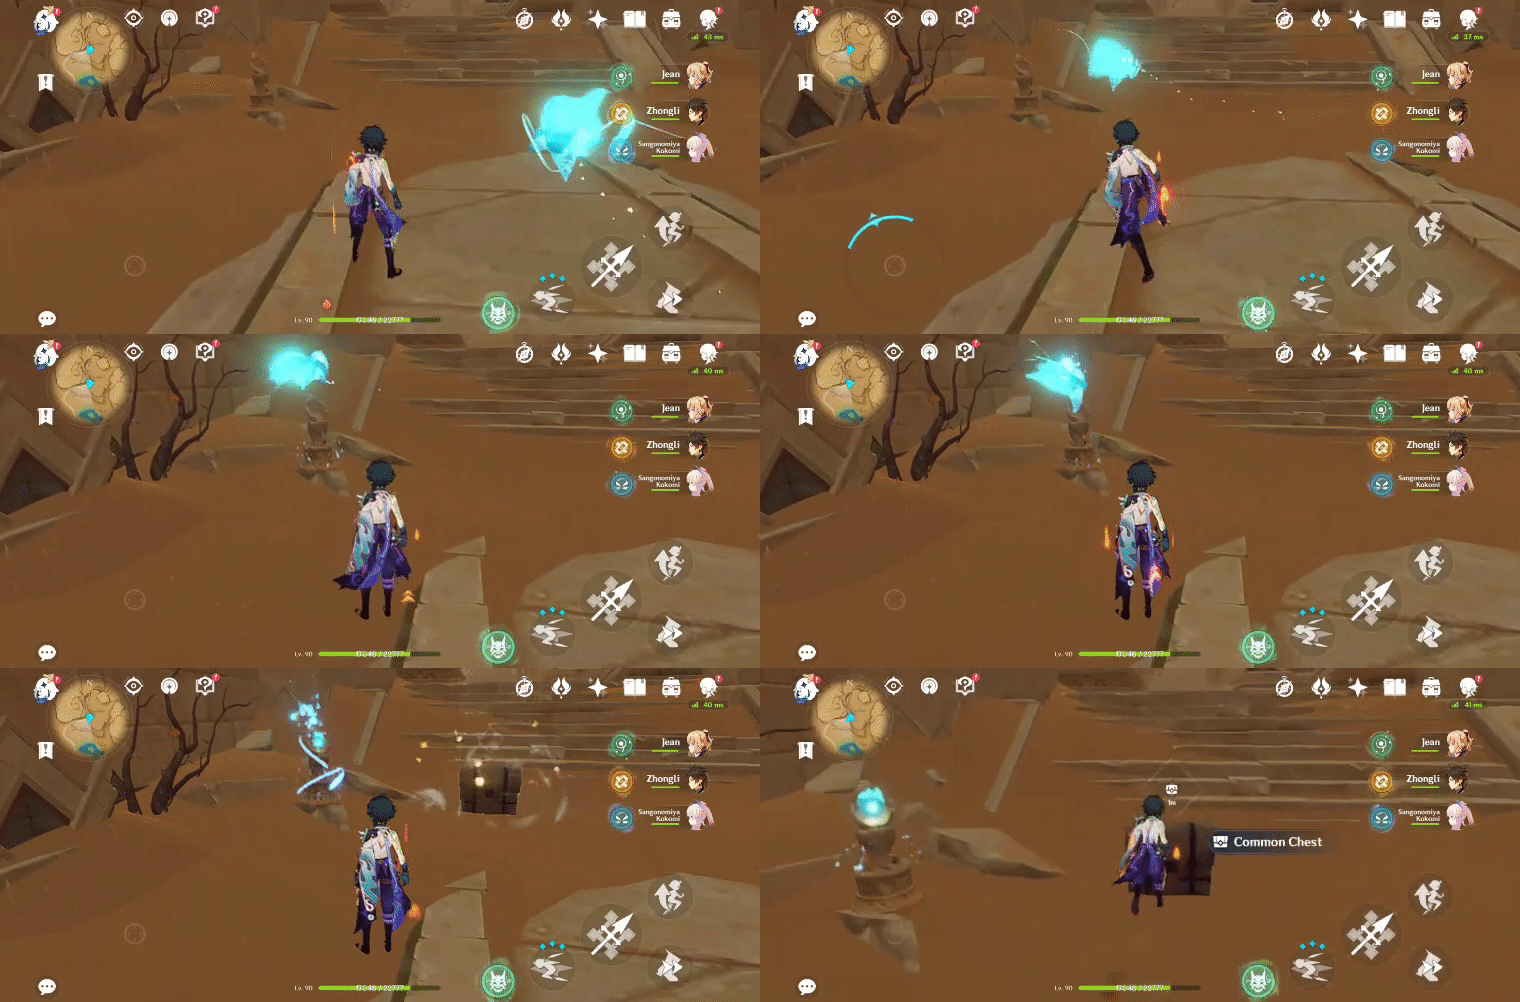
130. [Spawned Chest] Underground, by the torch
Will spawn after the Seelie returns to its Statue.
Location (Seelie):
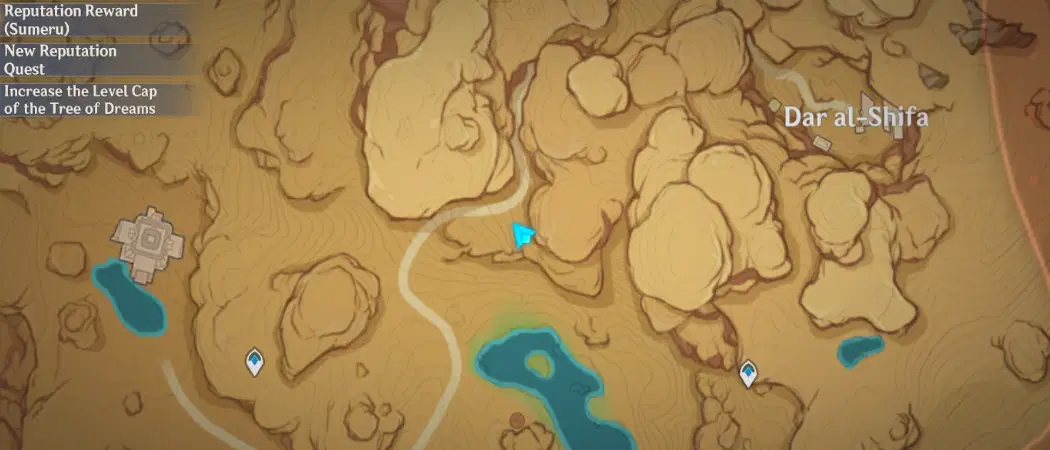
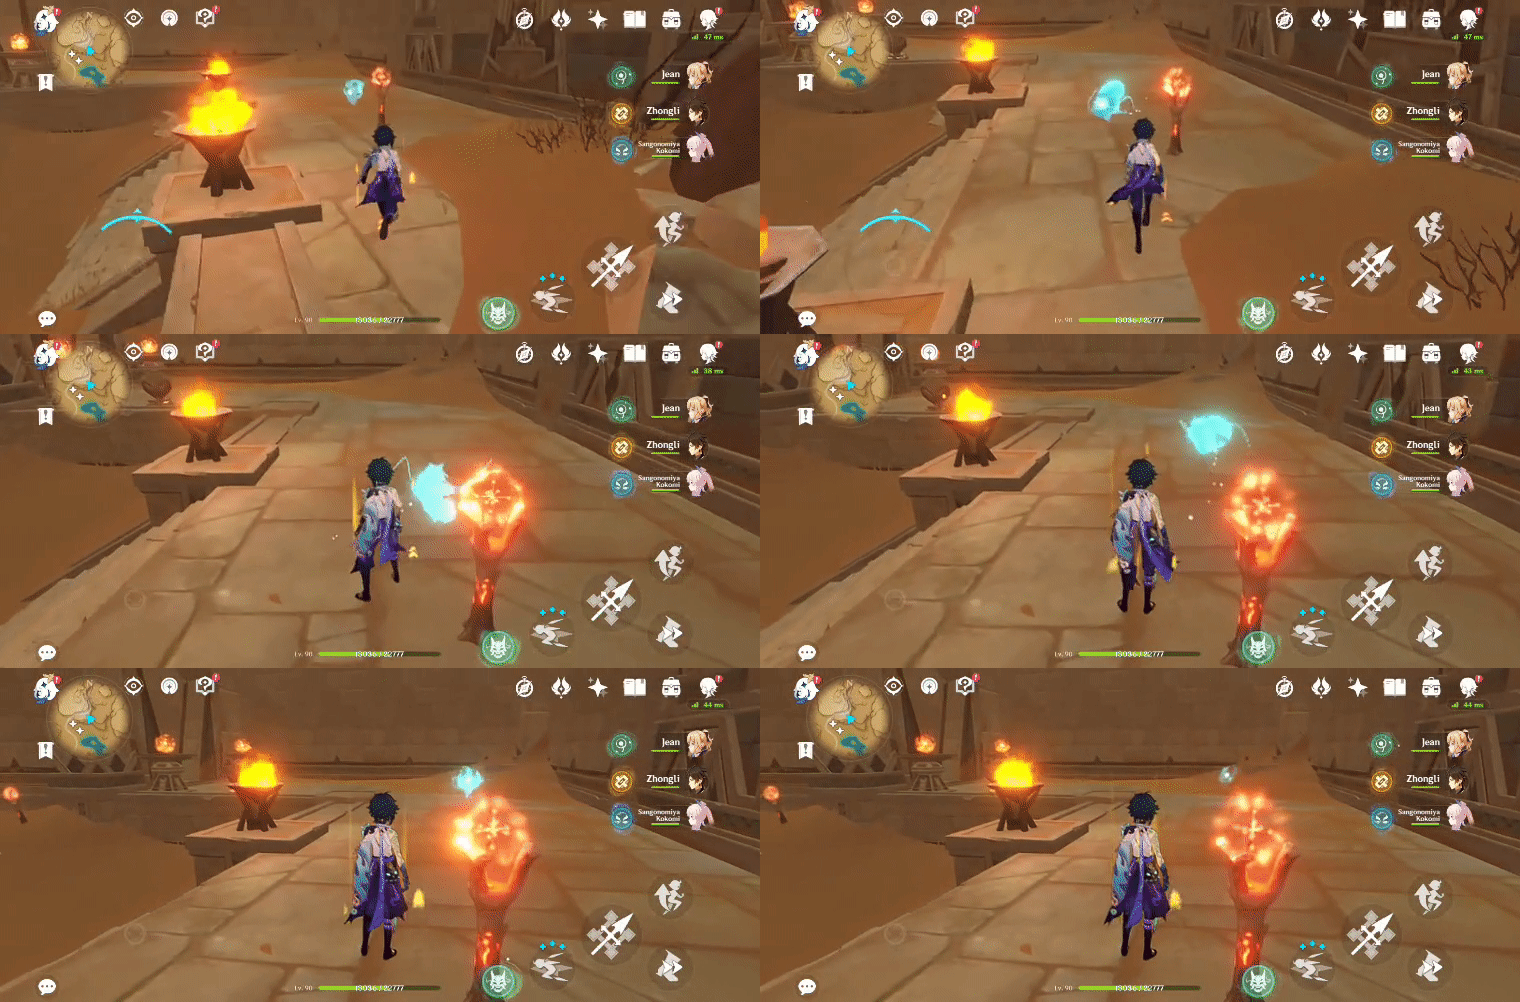
Location (Seelie Statue):

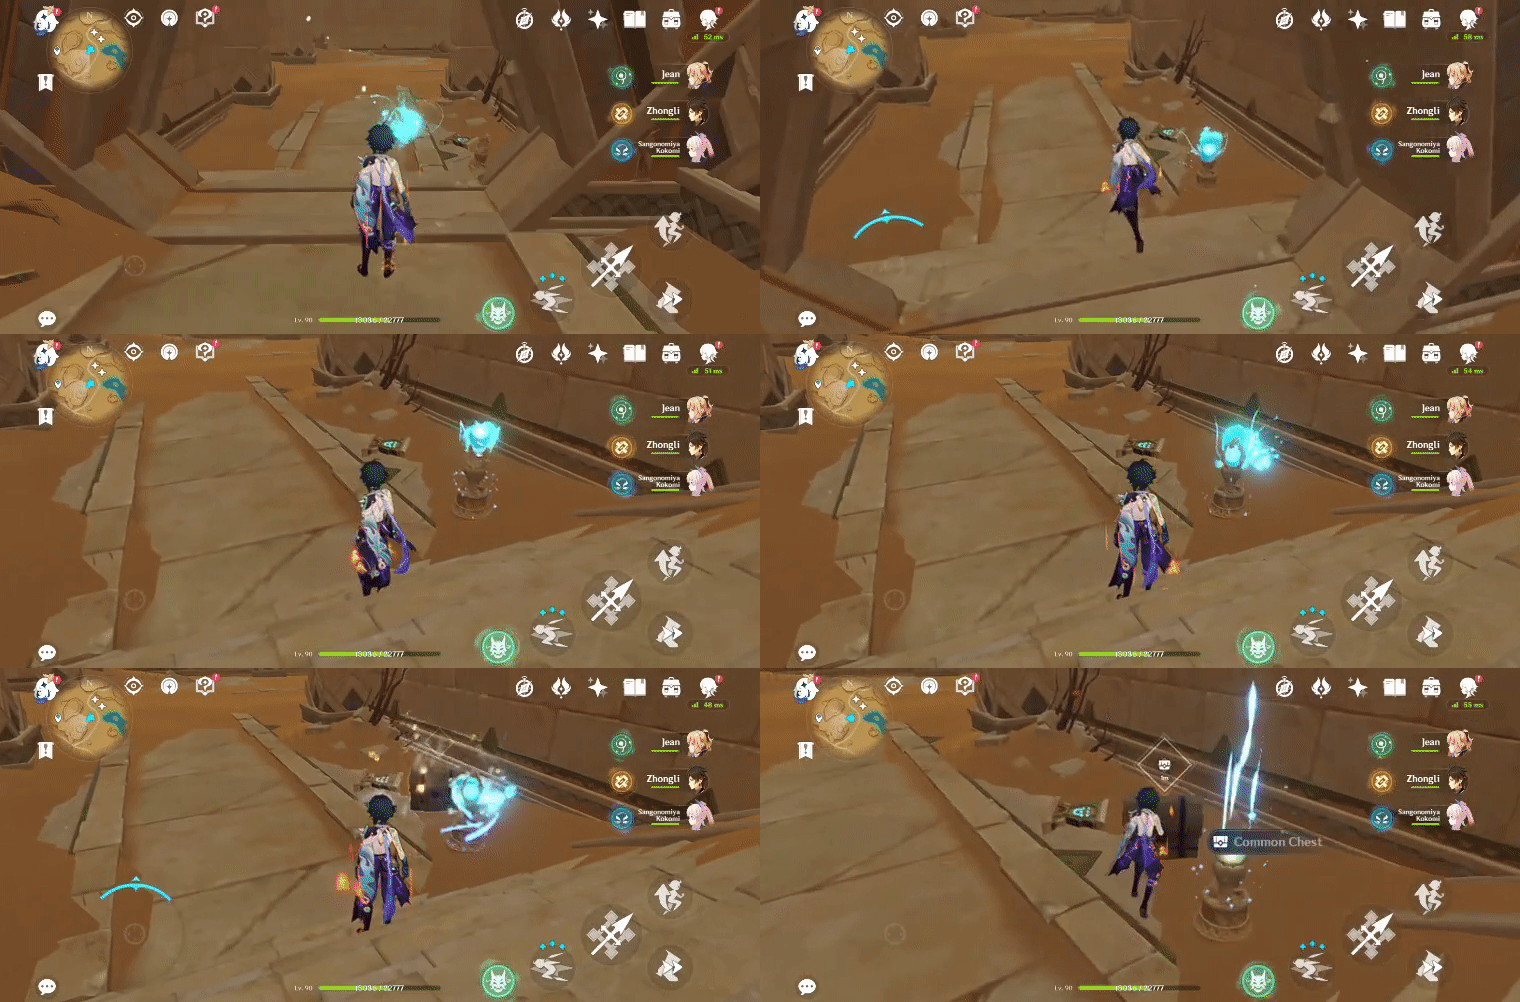
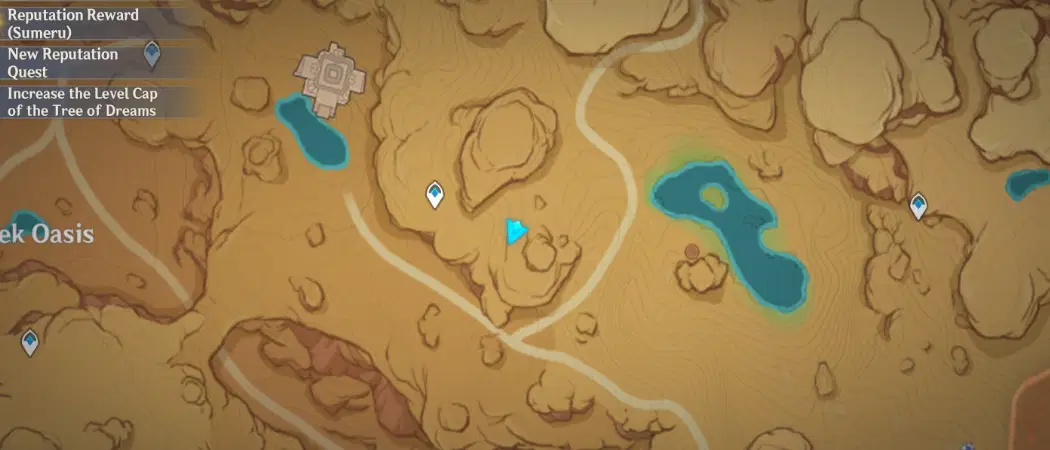
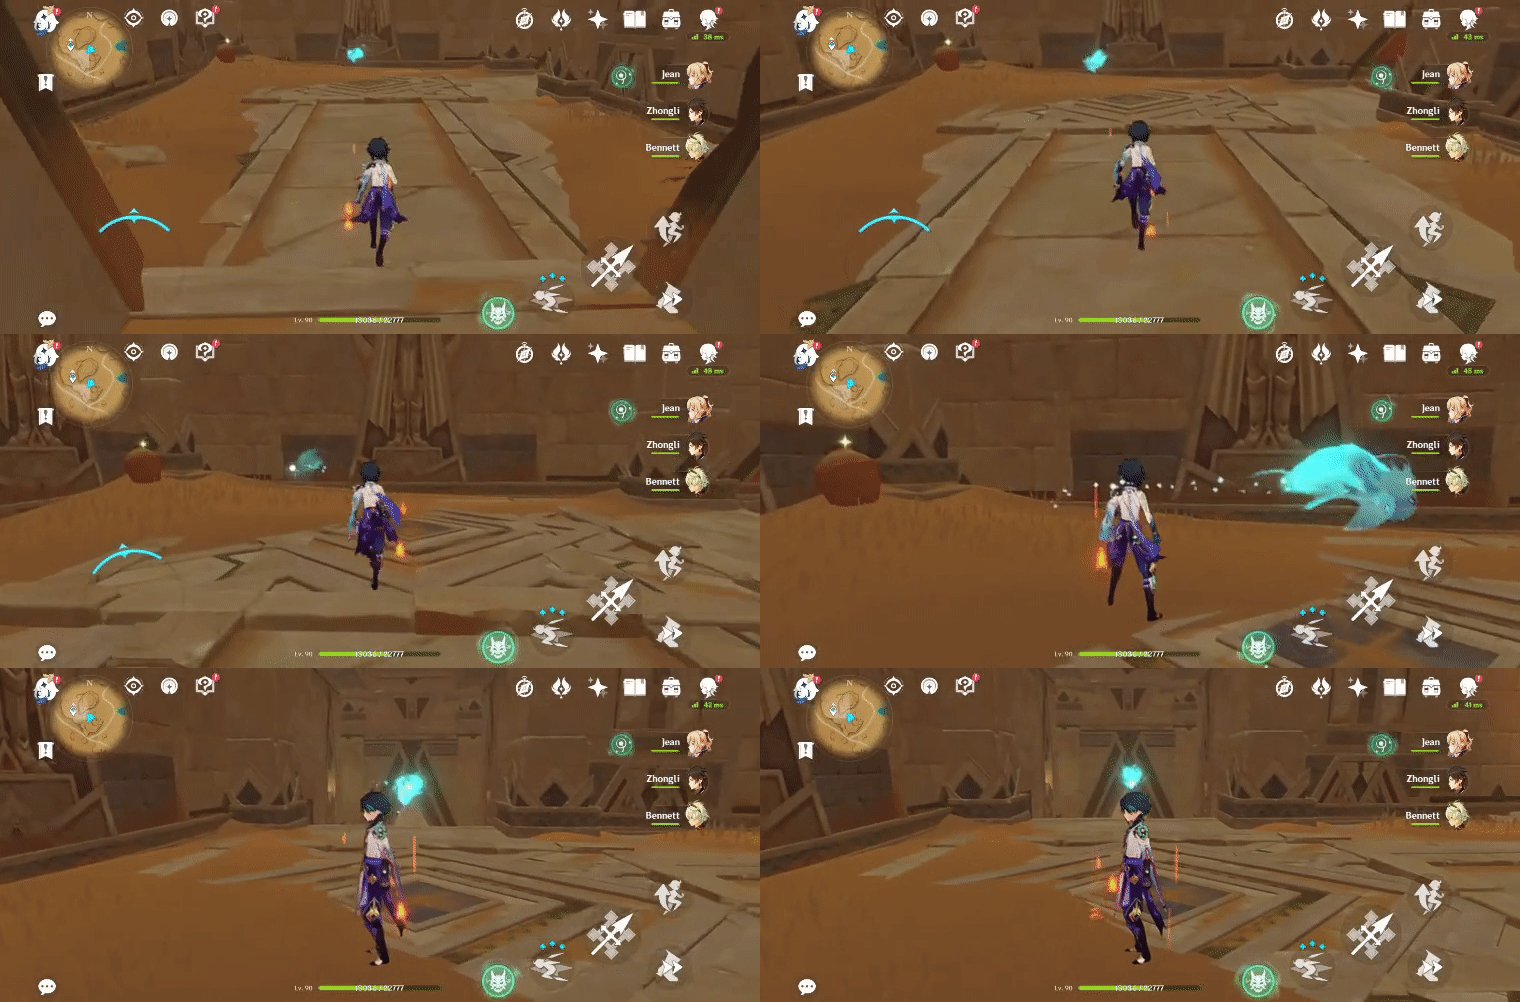
131. [Spawned Chest] Underground
Will spawn after the Seelie returns to its Statue.
Location (Seelie):
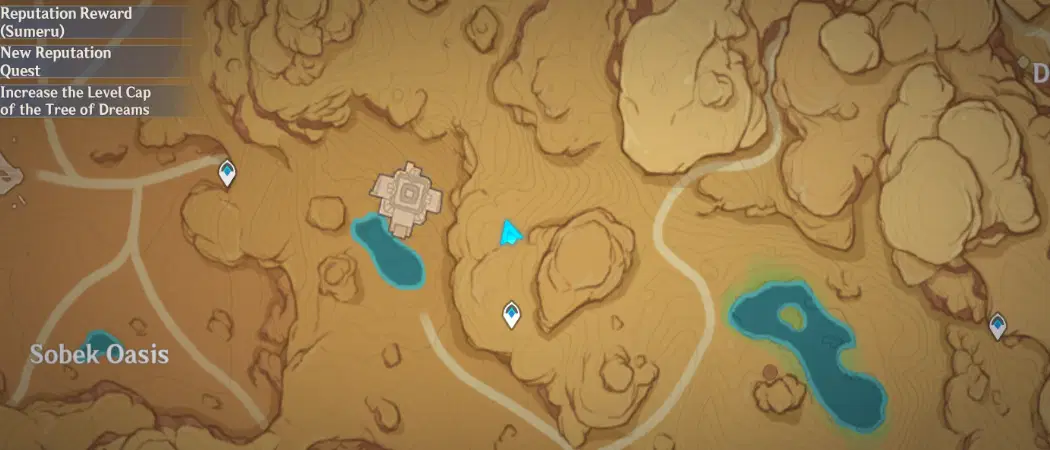
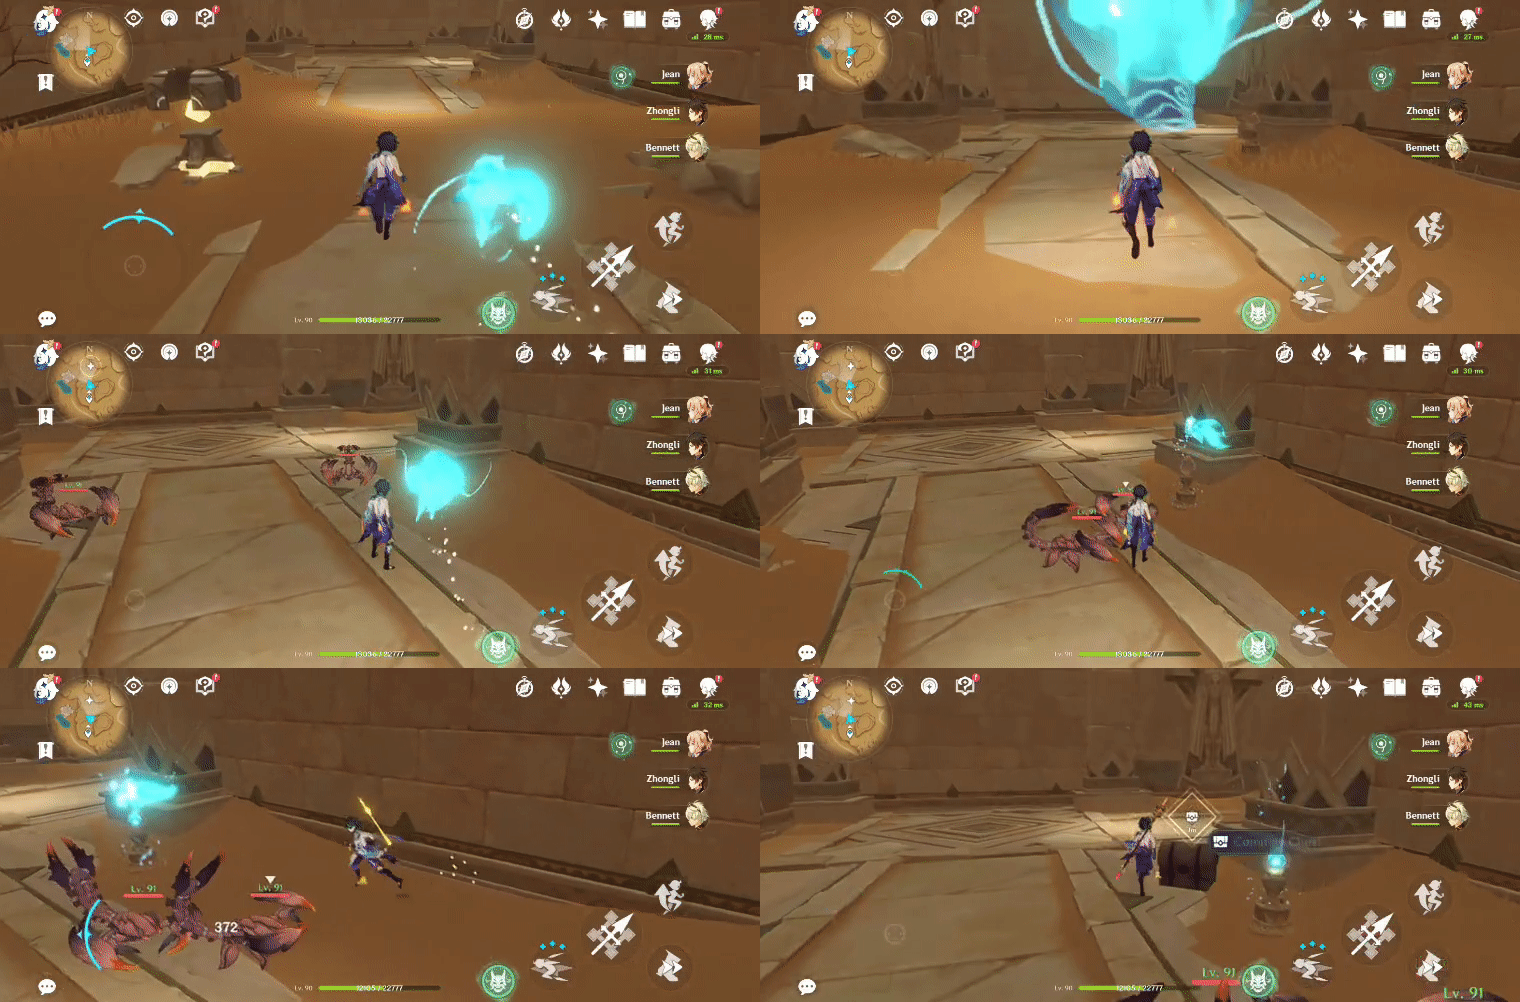
Location (Seelie Statue):
132. [Spawned Chest] Underground, on the lower level
[Requires Scarlet Sand Slate- Level 1 Clearance]
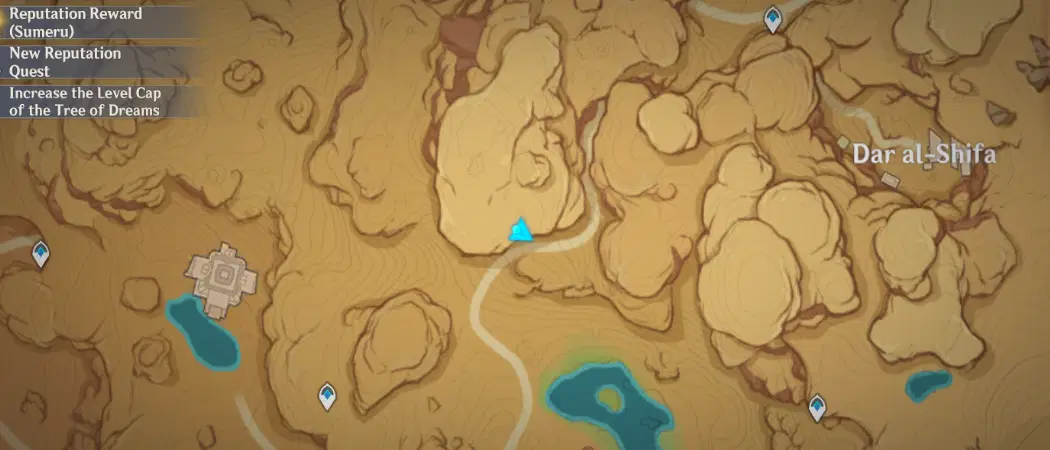
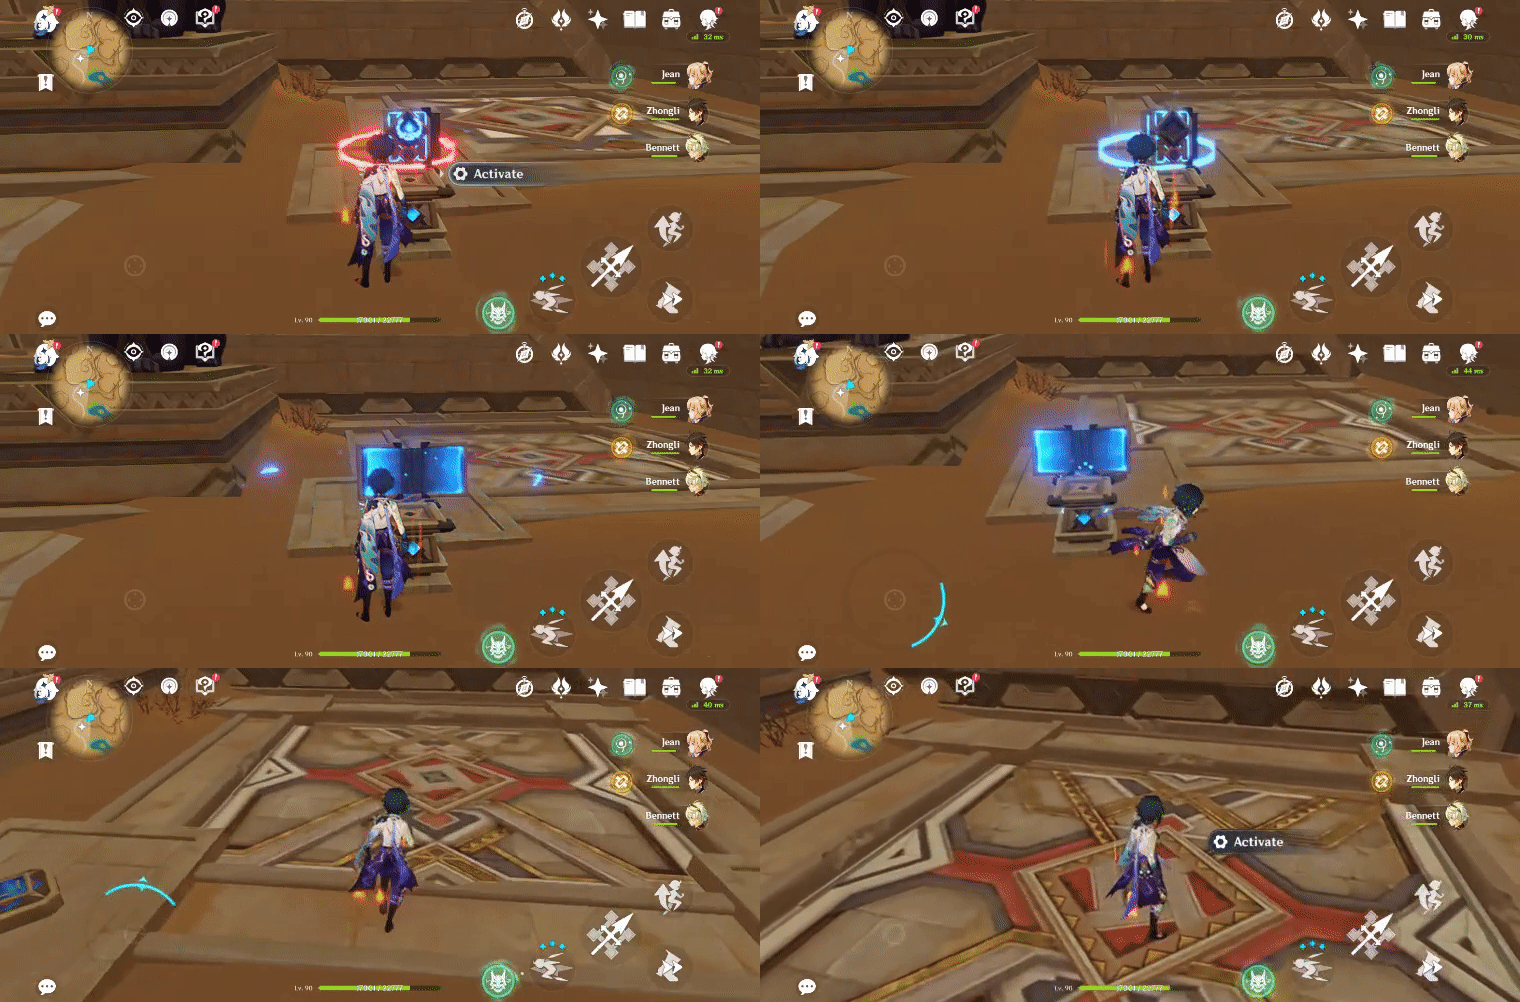
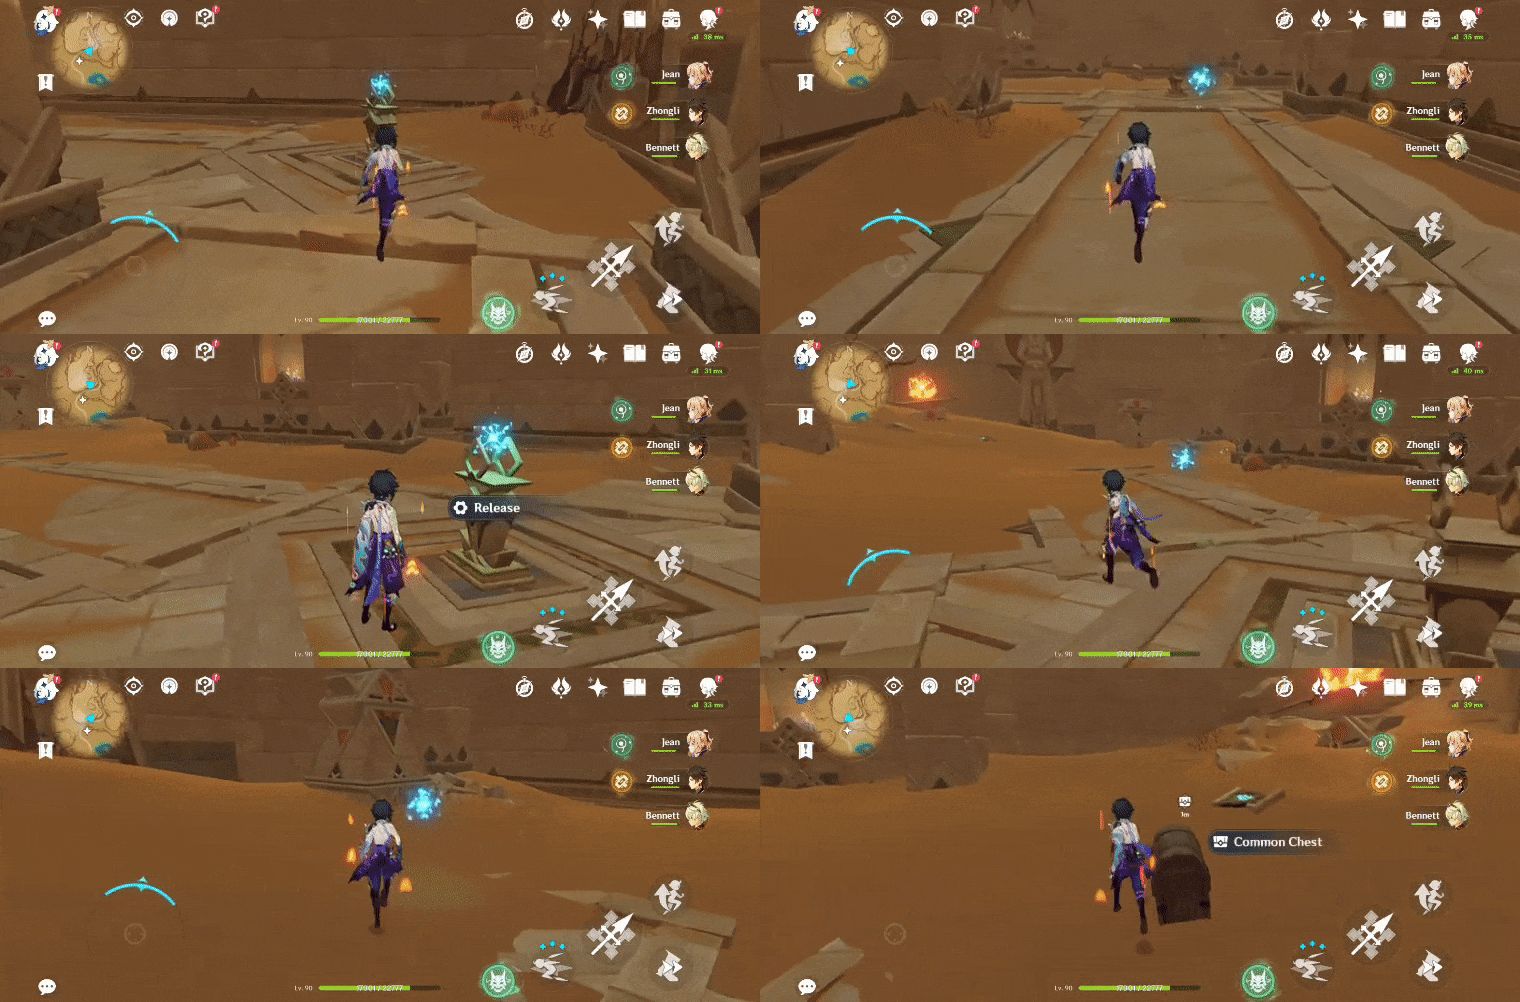
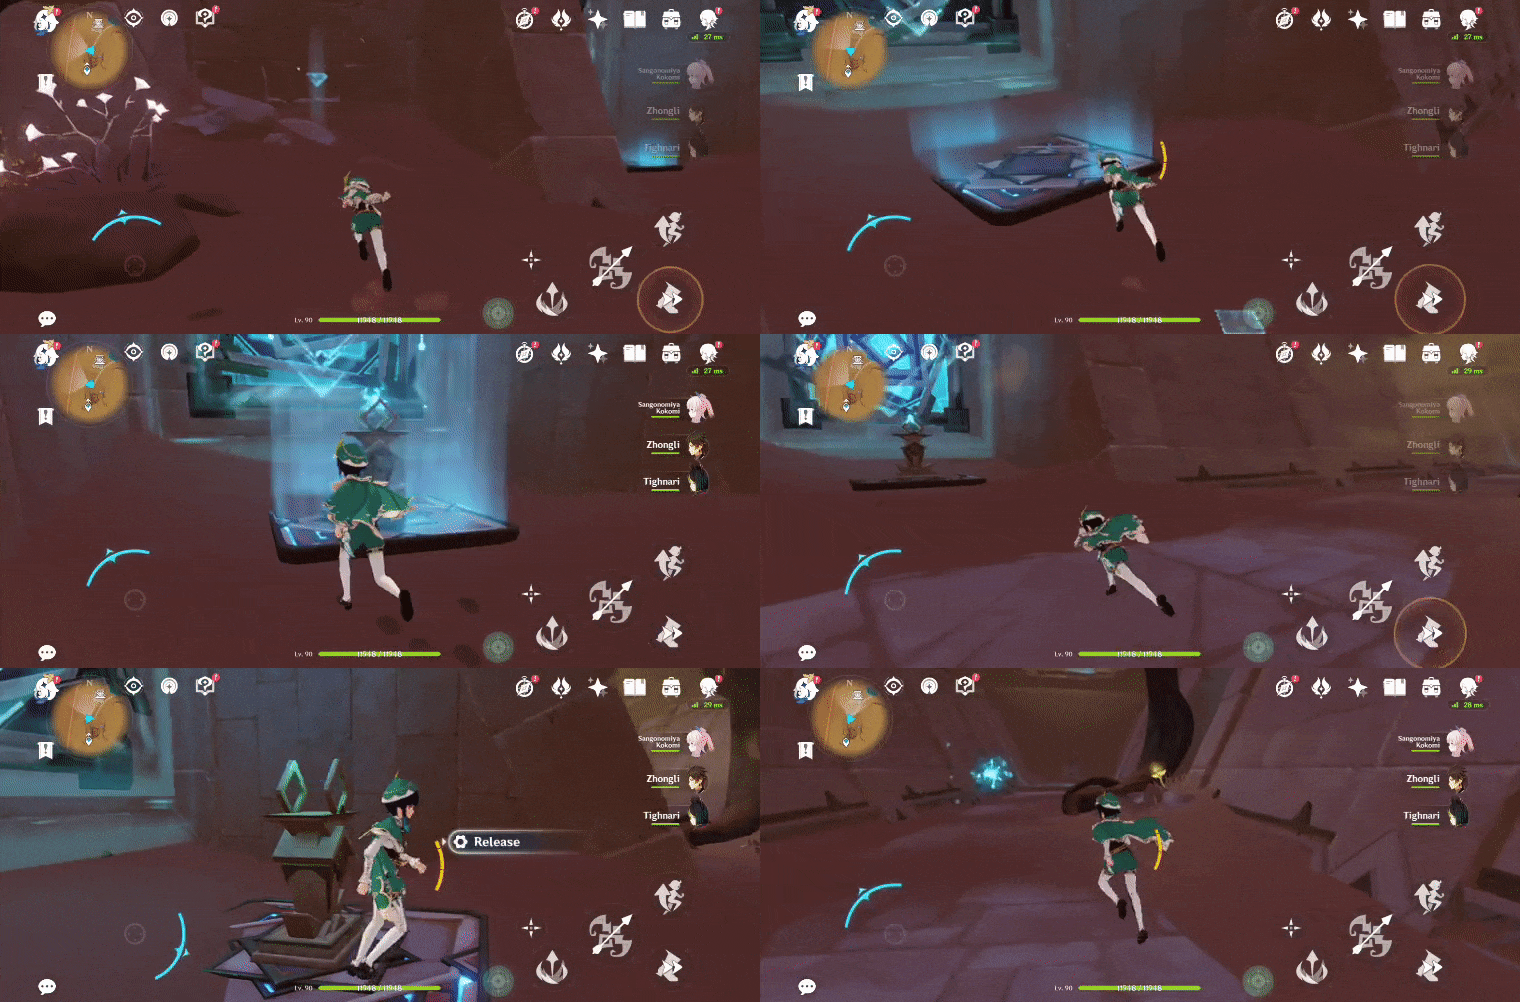
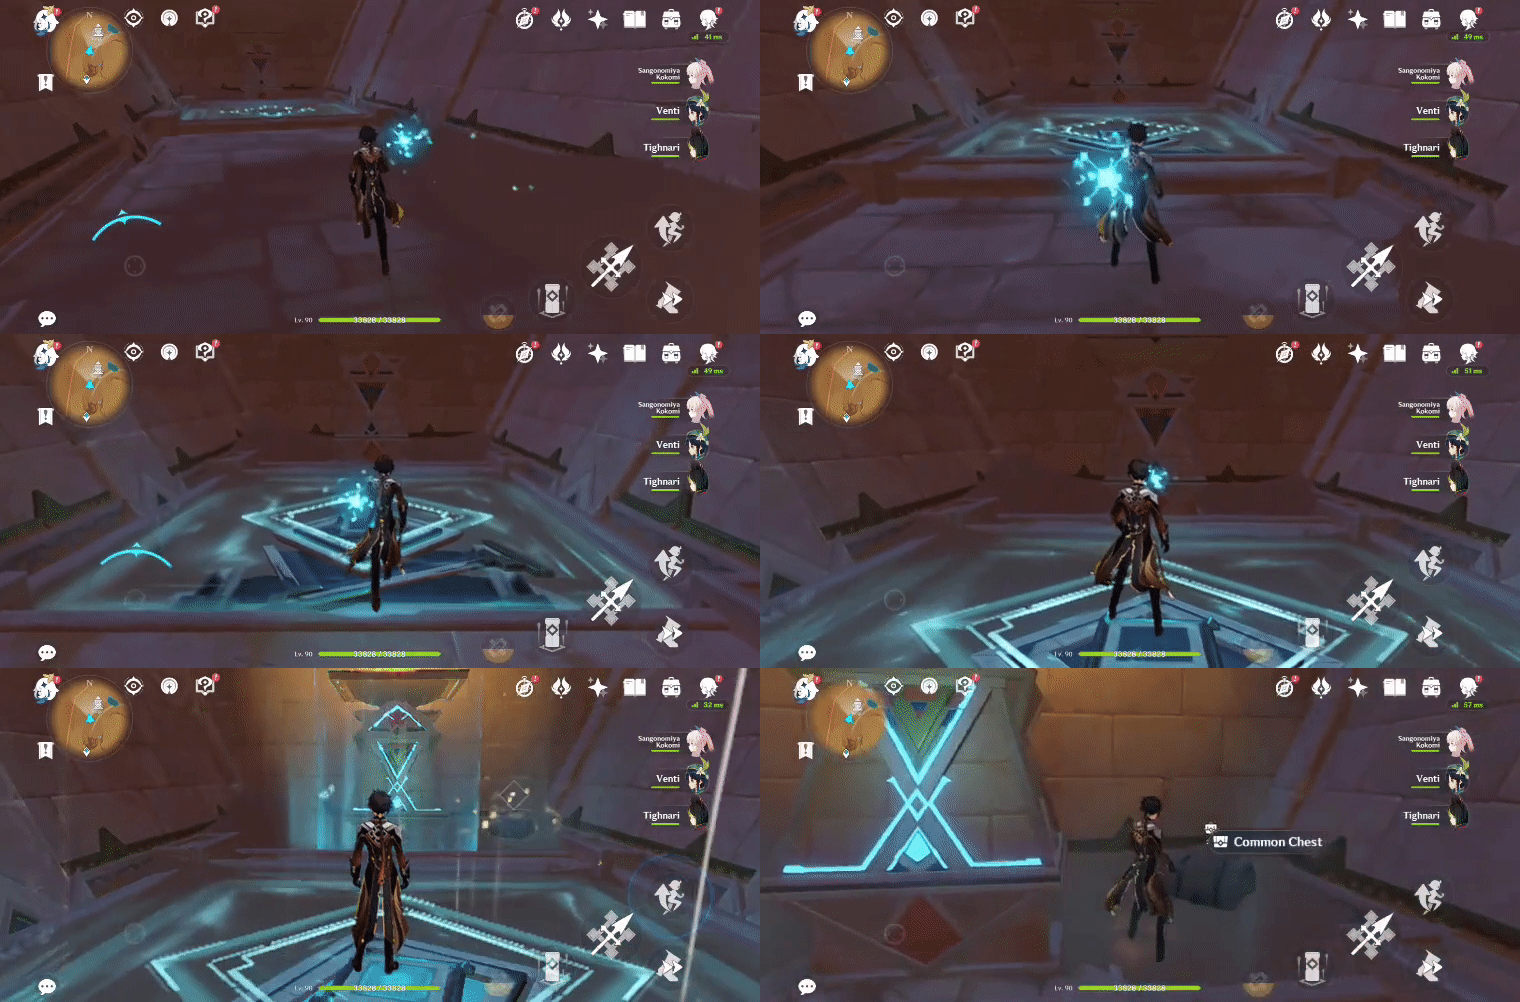
Use the Plinth of Secret Rites to access the elevator and ride it to the lower floor. Press 'Release' x2 on the Primal Sconces and follow the Primal Ember to its Primal Torch to spawn the chest.
Location (Chest):
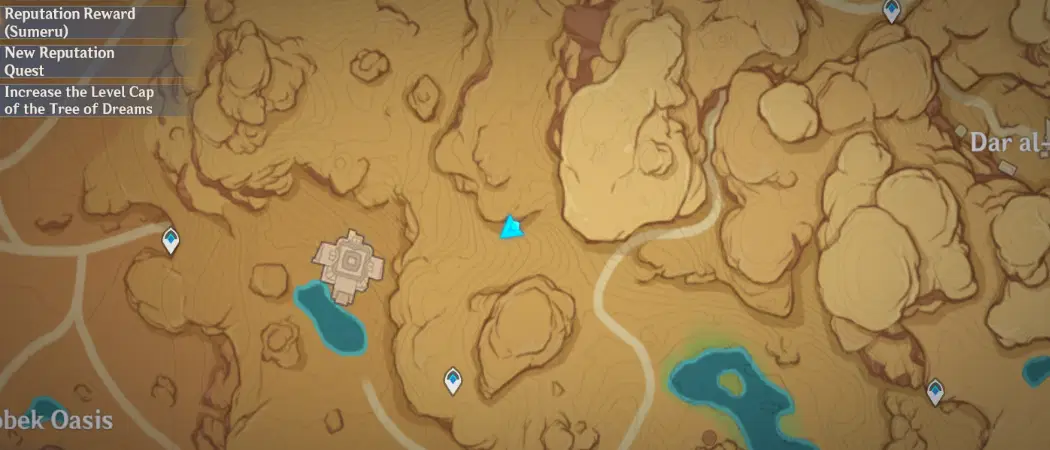
133. [Spawned Chest] Underground
[Requires Scarlet Sand Slate- Level 1 Clearance]
Will spawn after the Seelie returns to its Statue.
Location (Seelie):
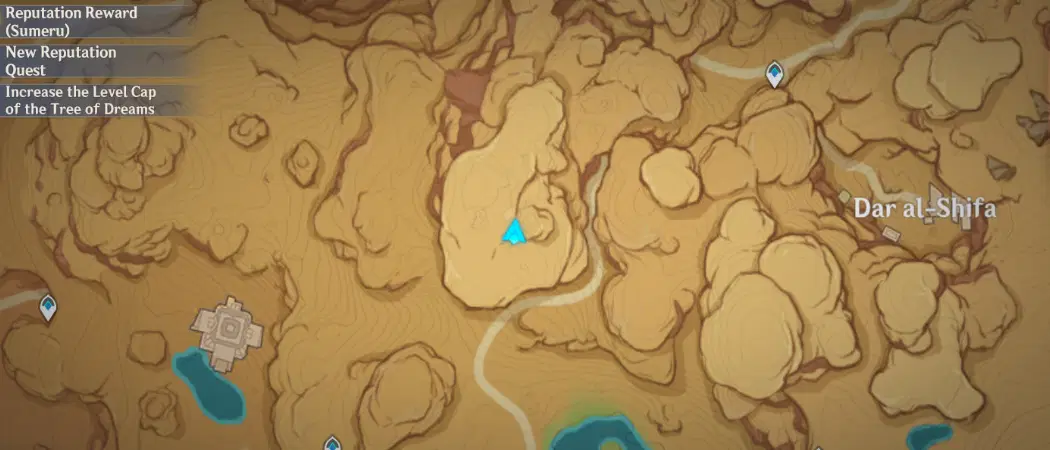
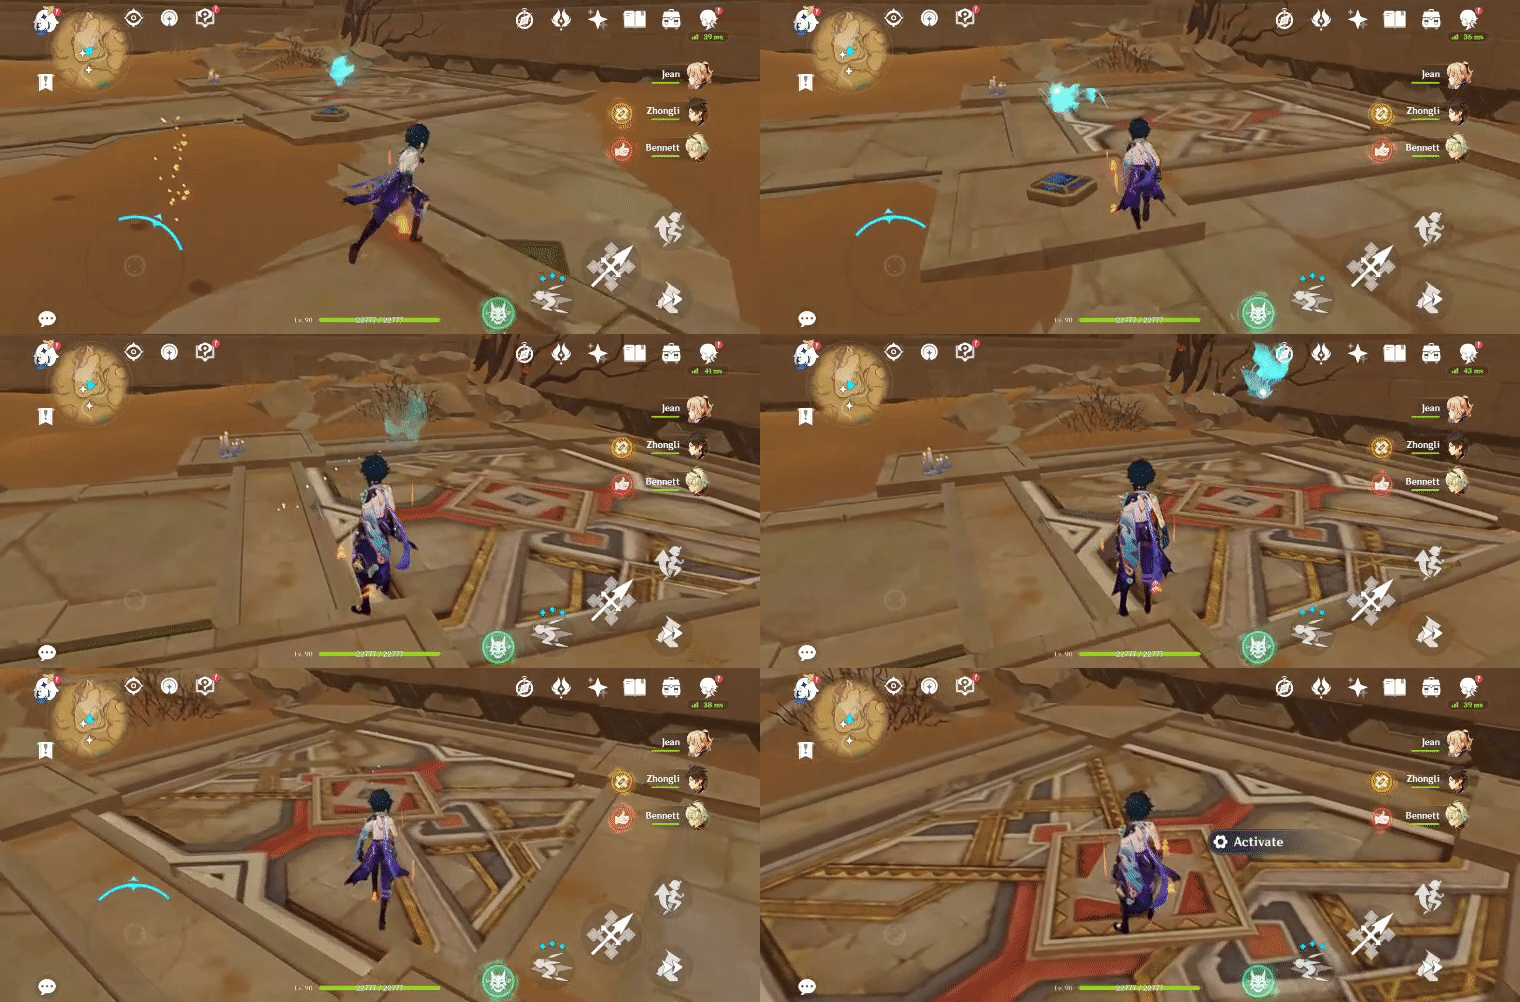
Location (Seelie Statue):
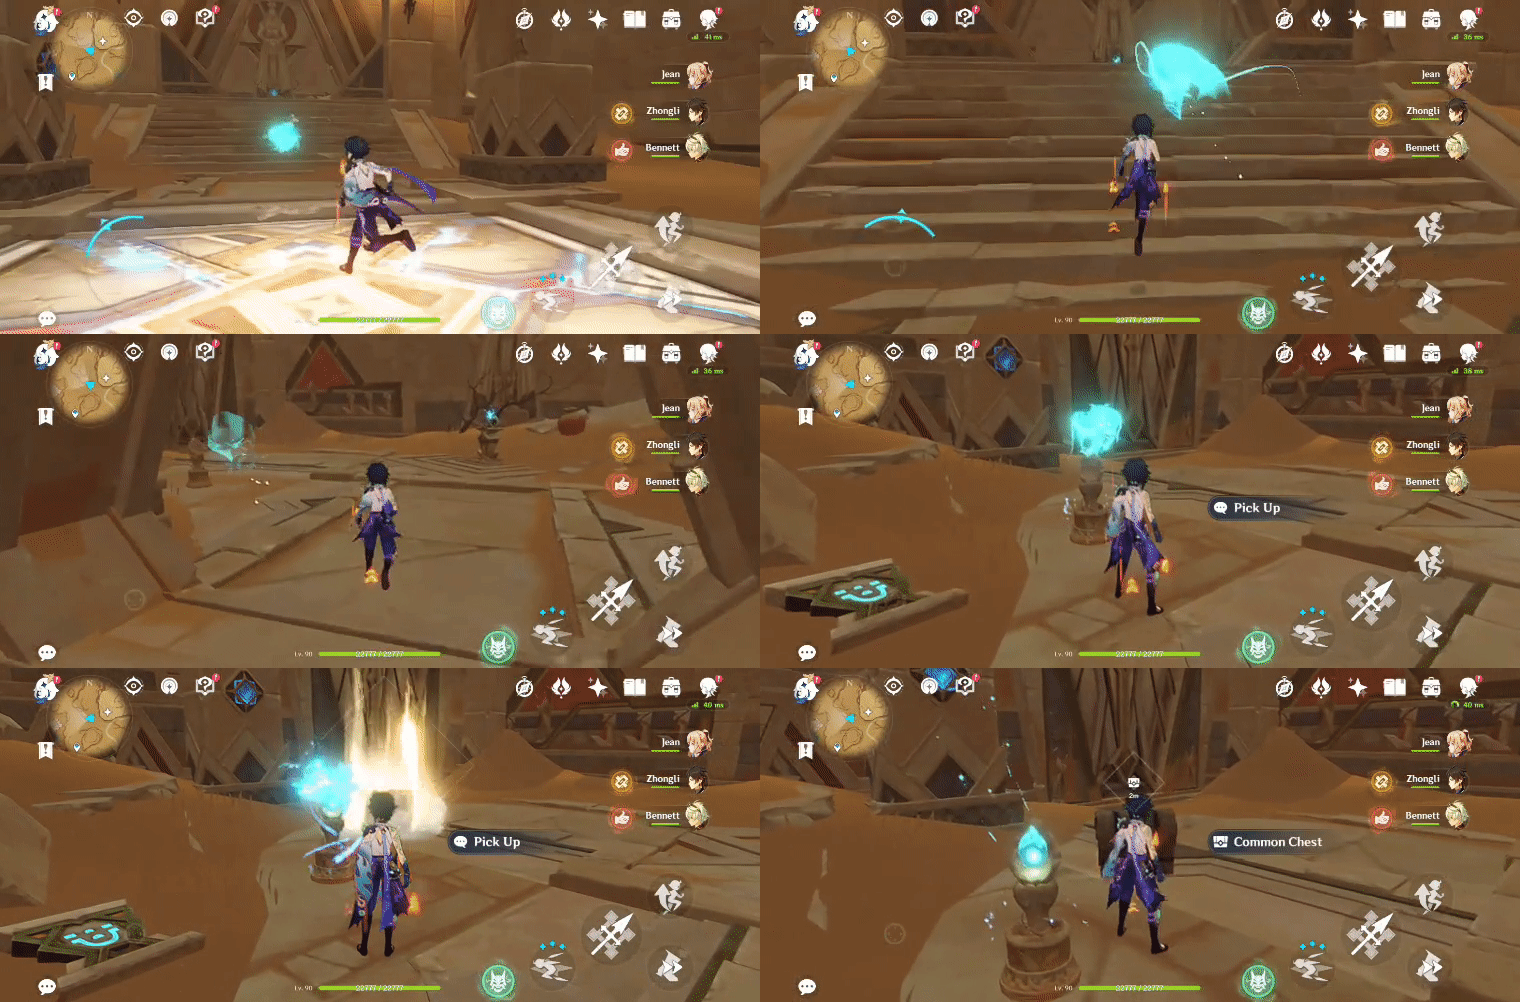
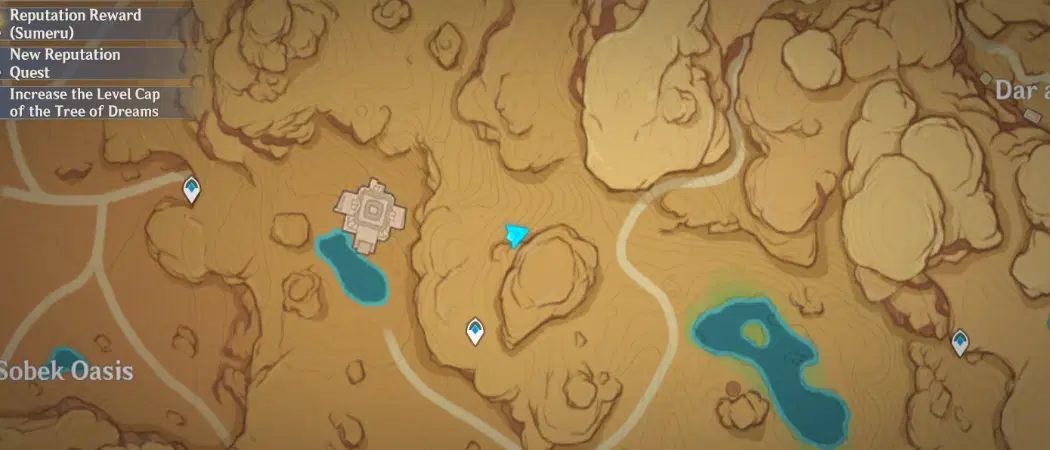
134. [Spawned Chest] Underground
[Requires Scarlet Sand Slate- Level 1 Clearance]
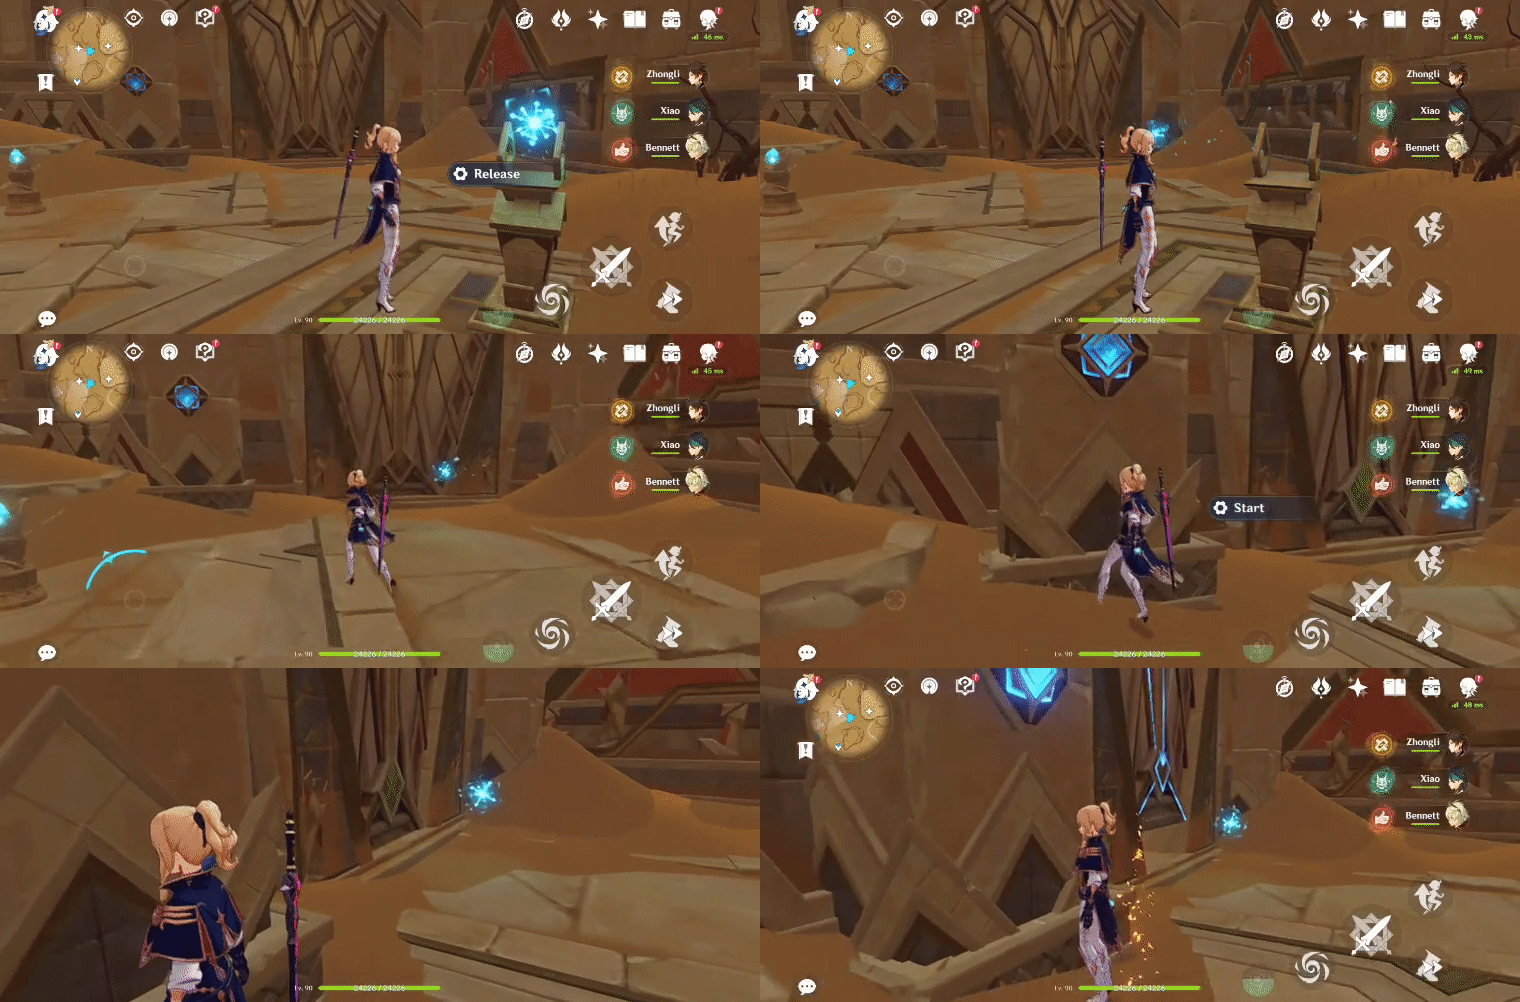
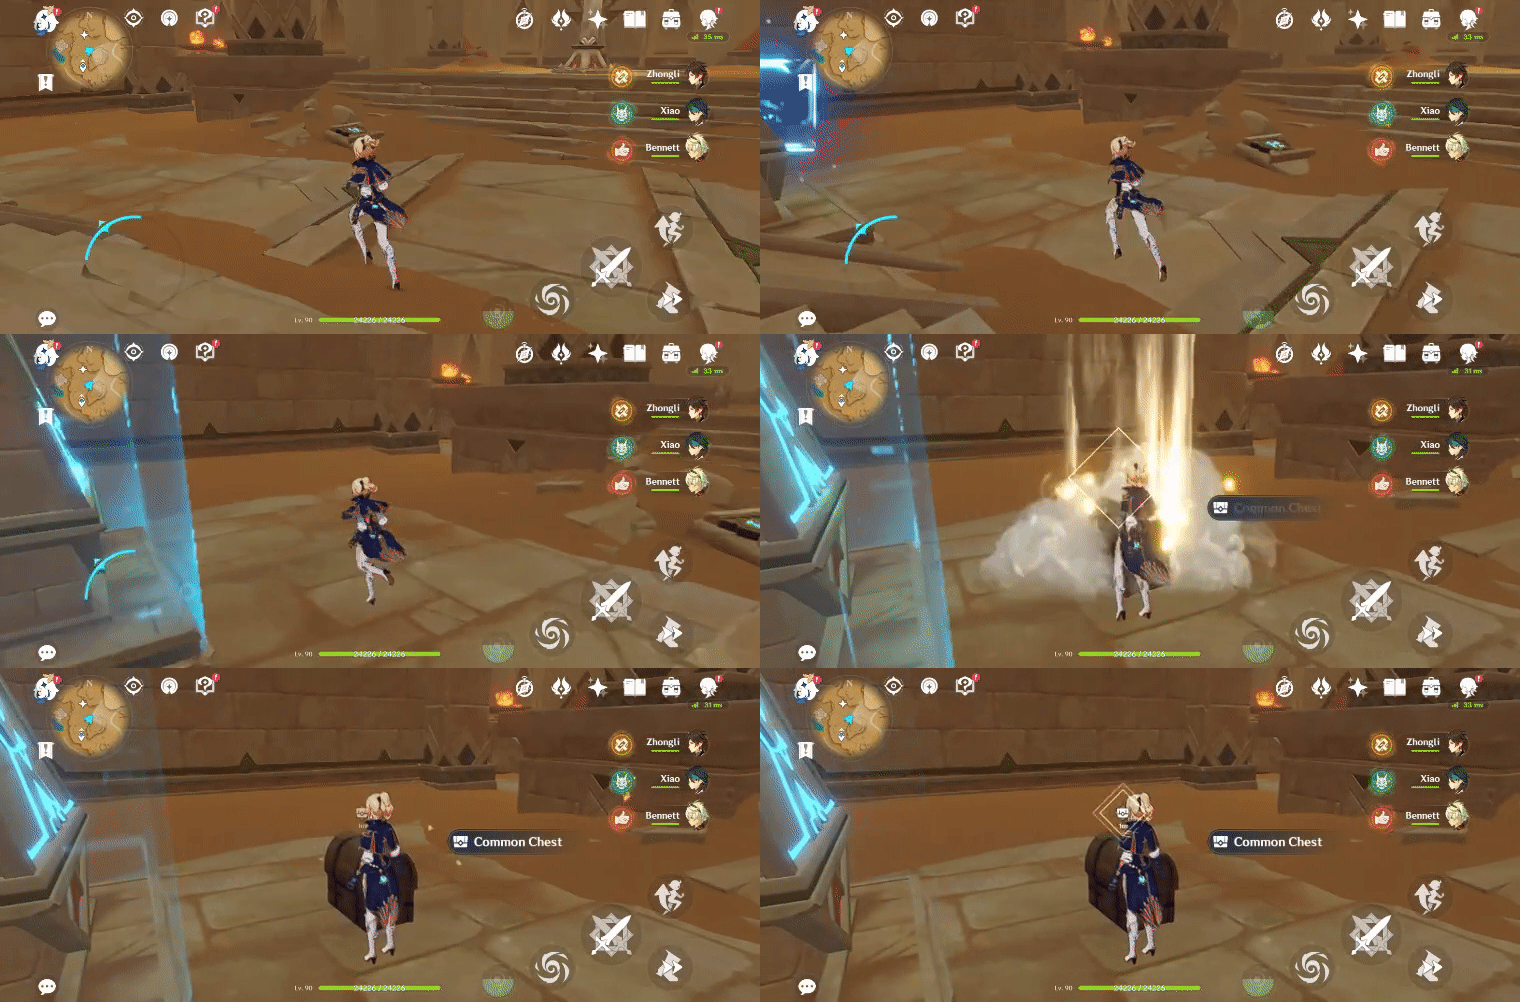
Press 'Release' on the Primal Sconce and follow the Primal Ember to its Primal Torch to spawn the chest.
Location (Chest):
135. [Spawned Chest] Underground
[Requires Scarlet Sand Slate- Level 1 Clearance]
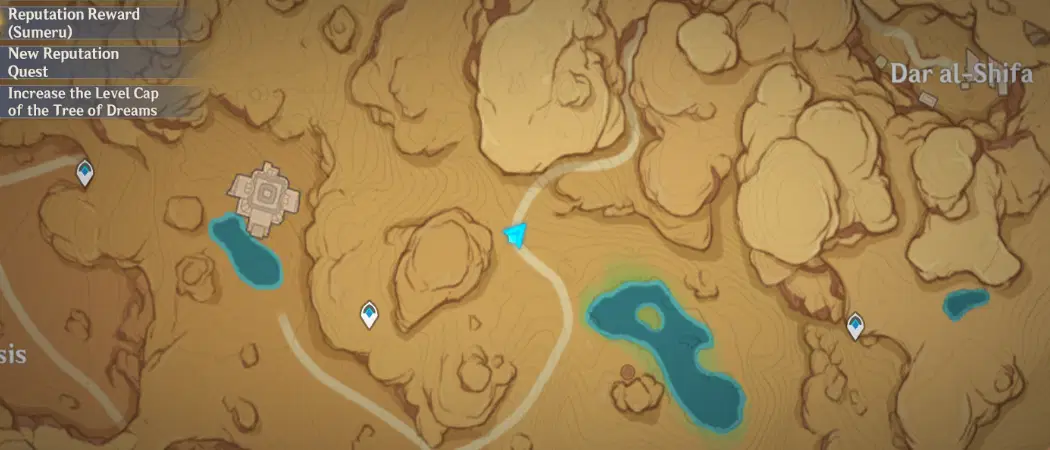
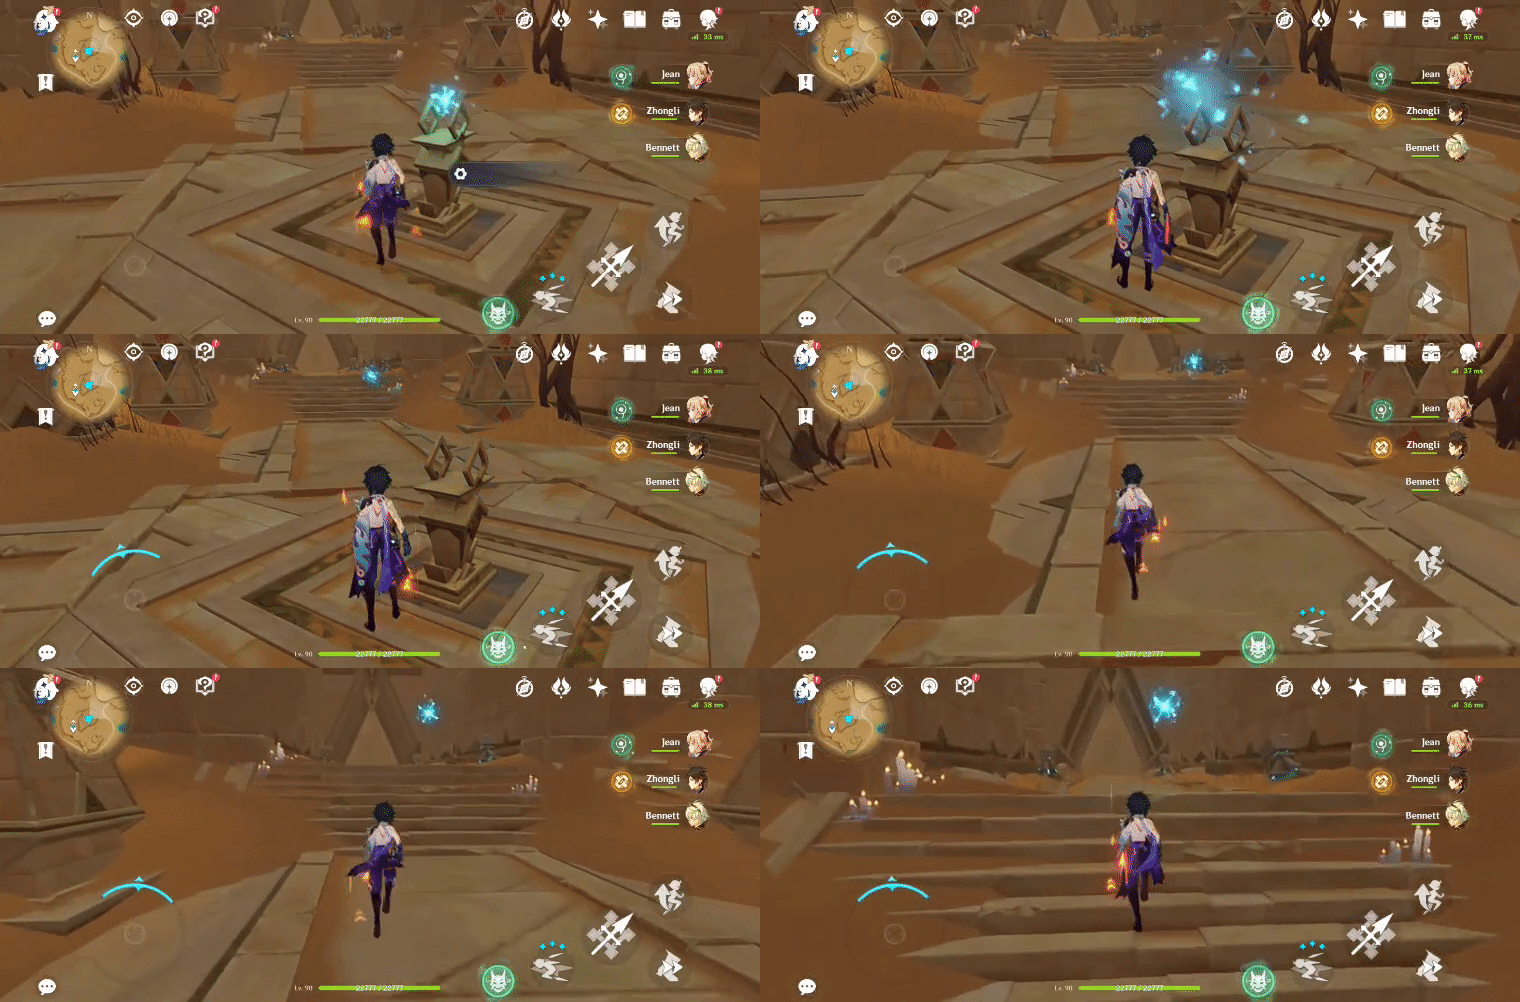
Press 'Release' x2 on the Primal Sconces and follow the Primal Ember to its Primal Torch to spawn the chest.
Location (Chest):
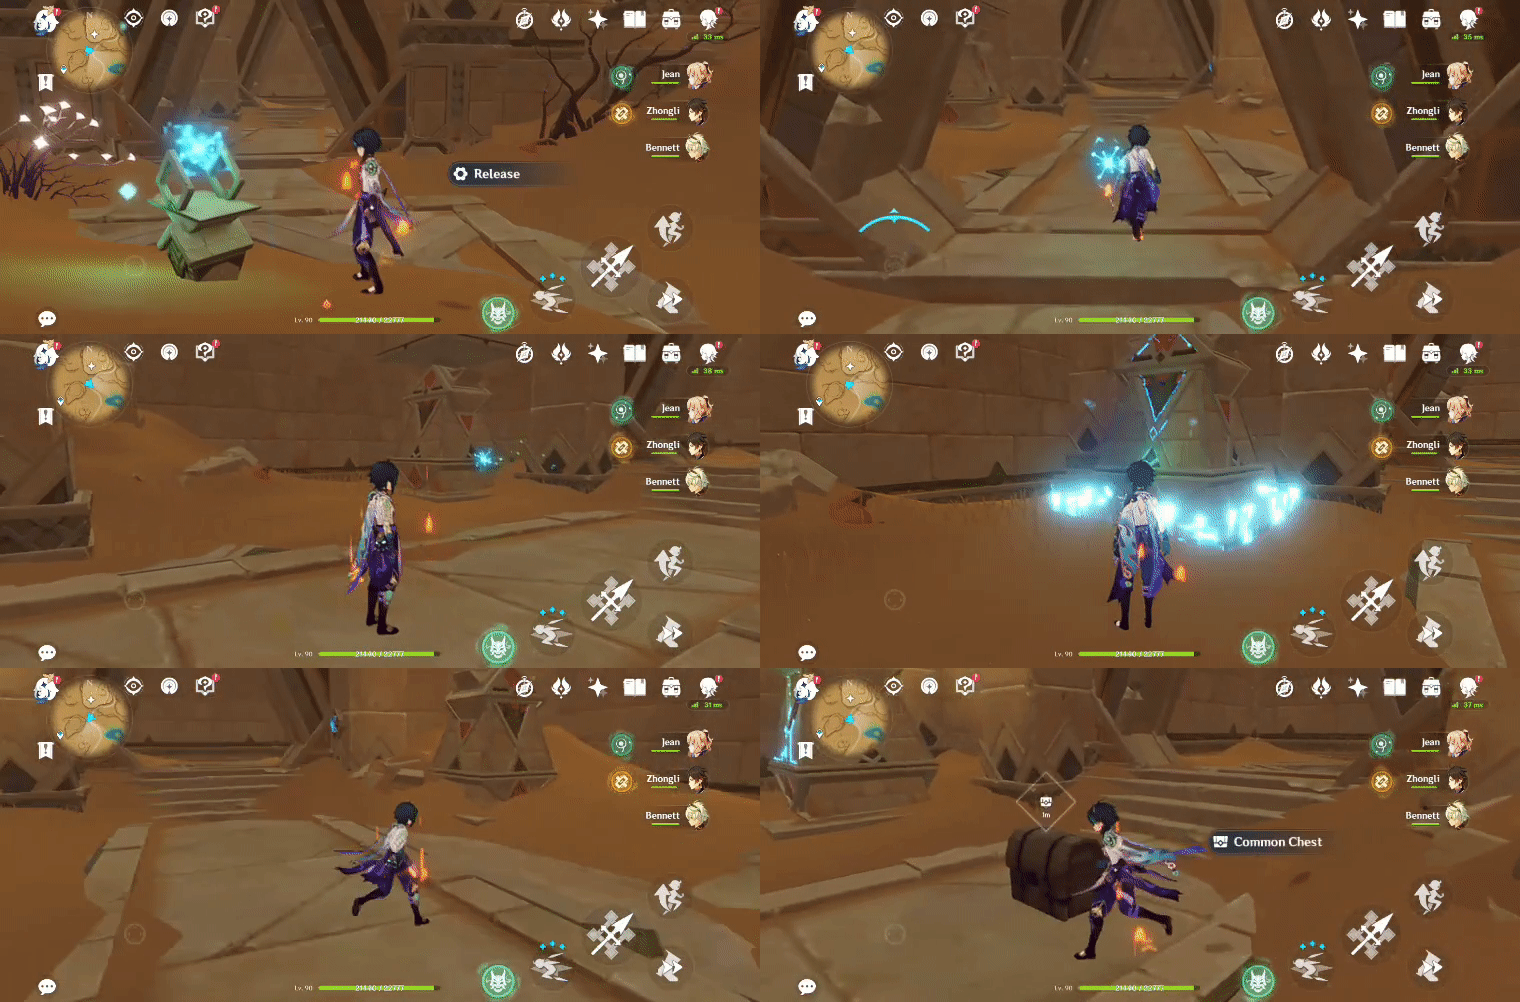
136. [Spawned Chest] In the tunnel
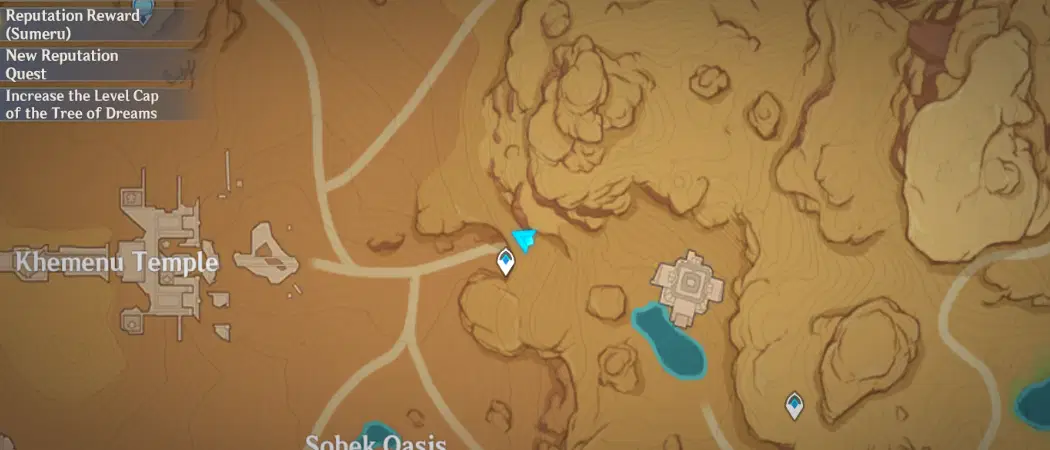
Will spawn after the Seelie returns to its Statue.
Location (Seelie):
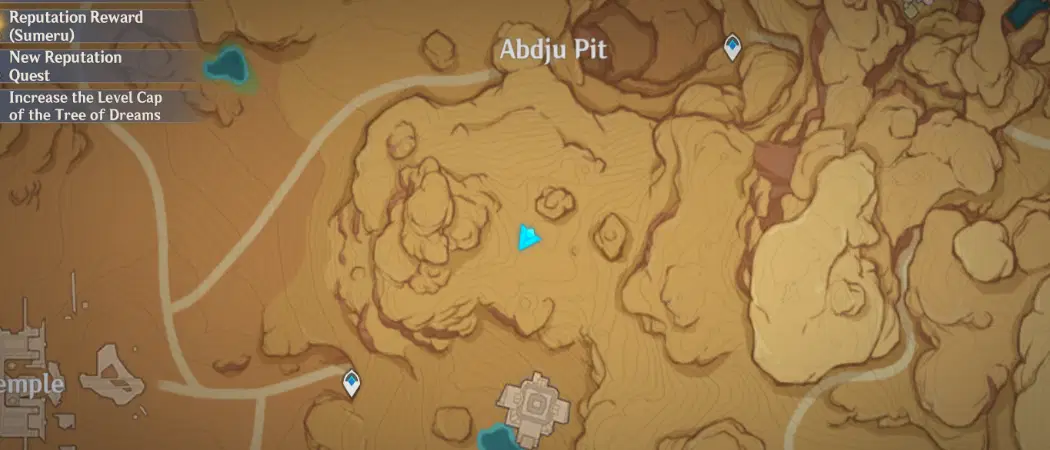
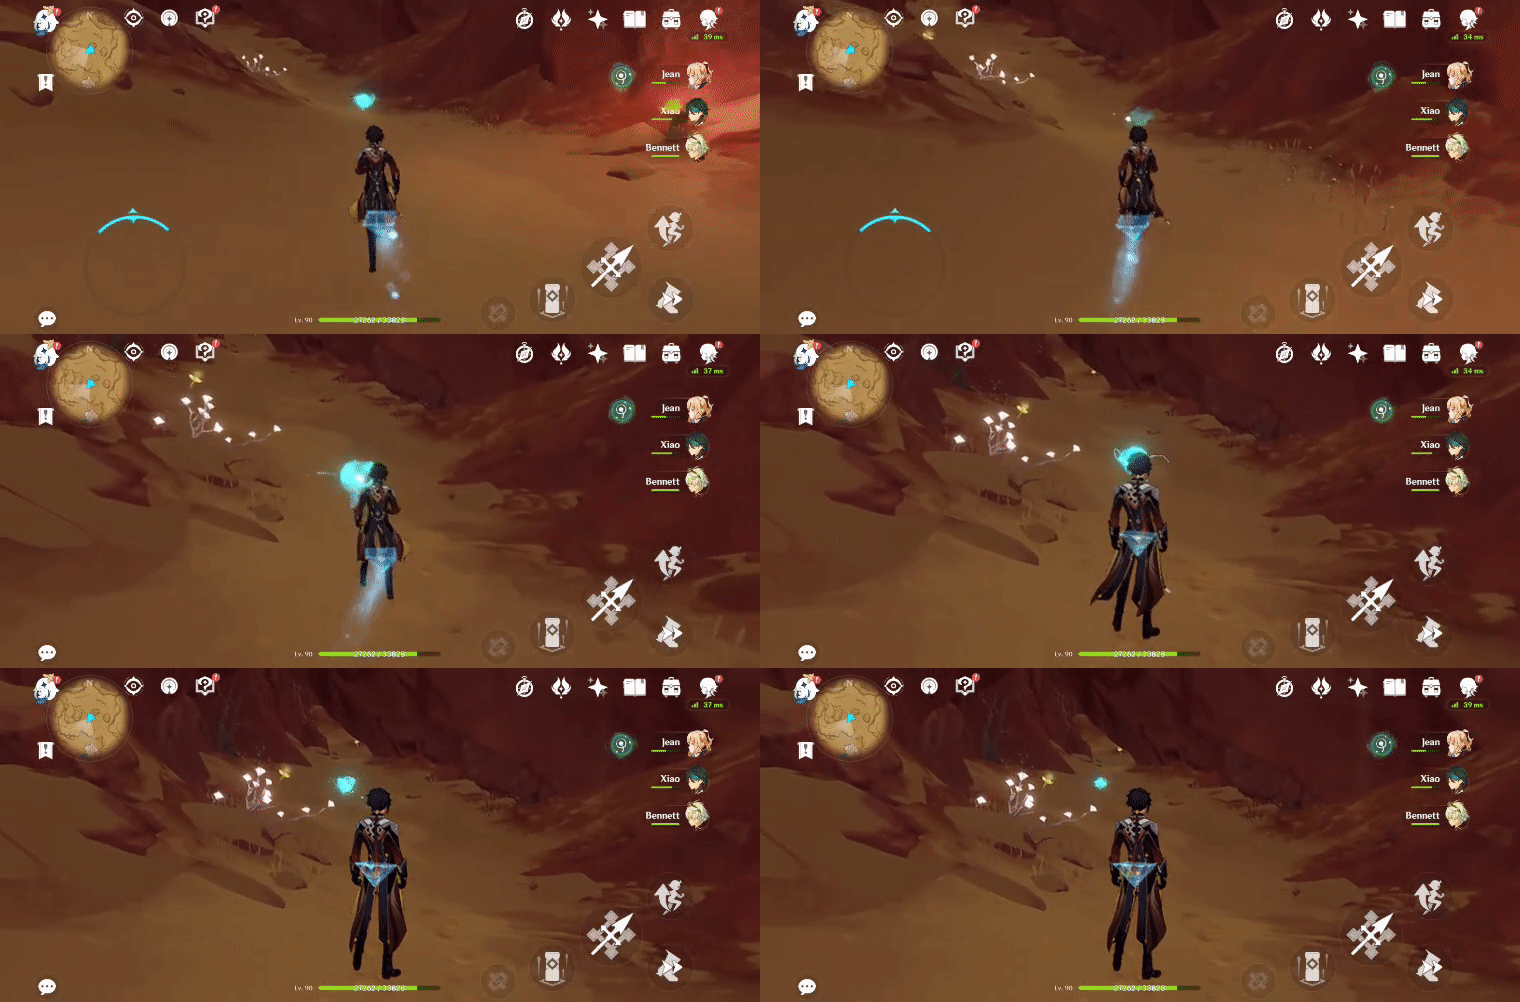
Location (Seelie Statue):
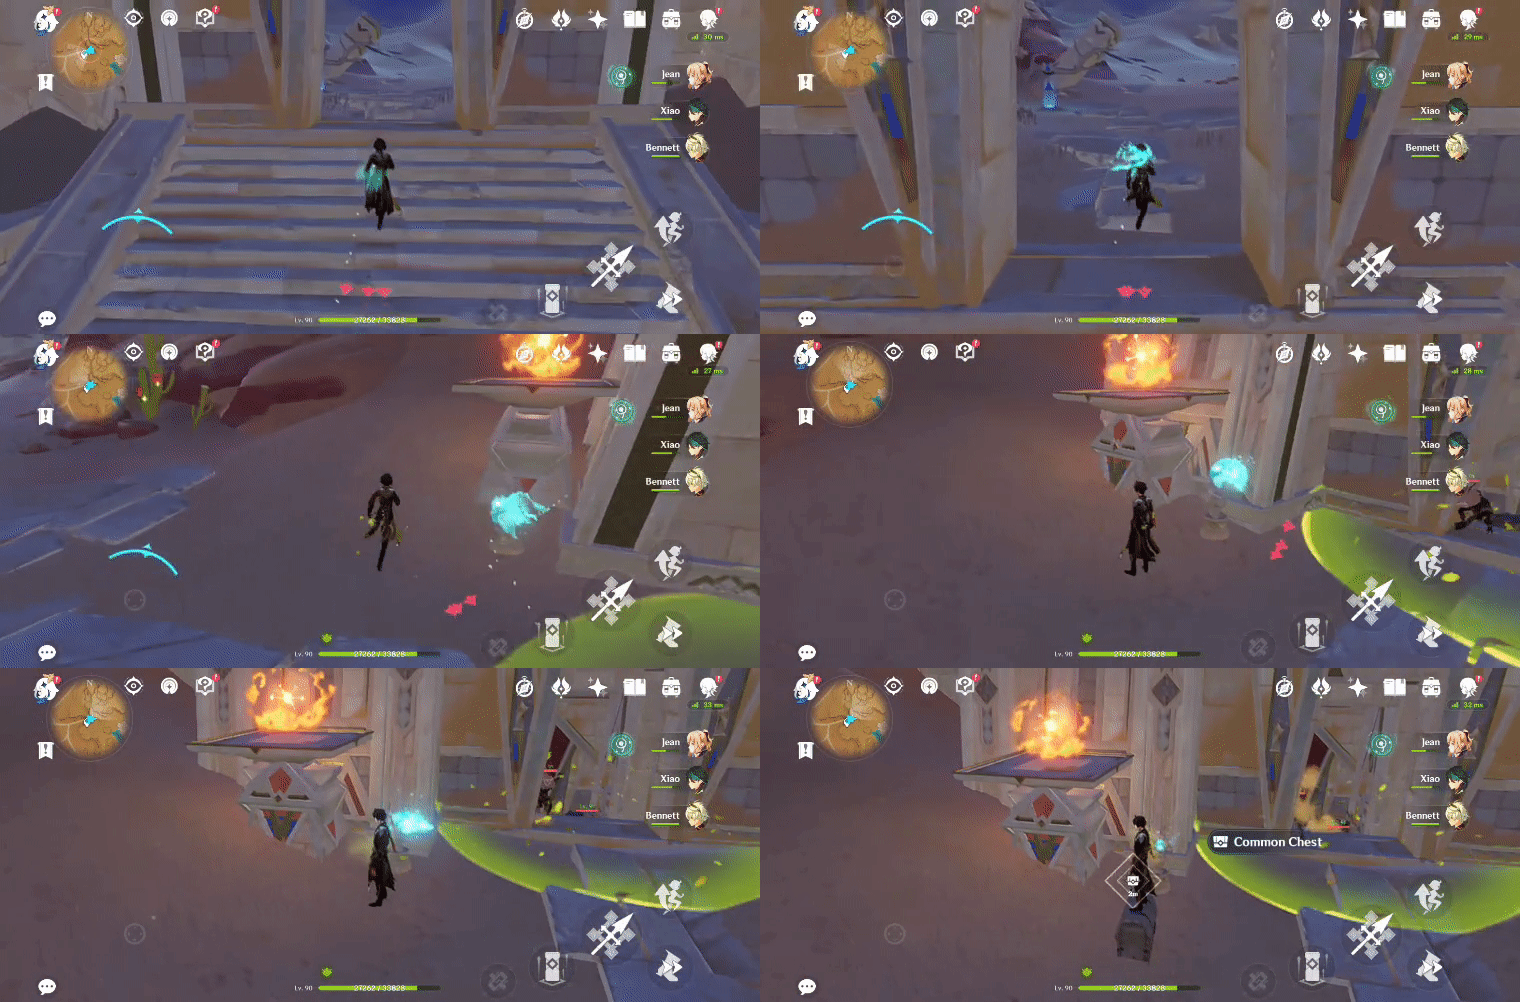
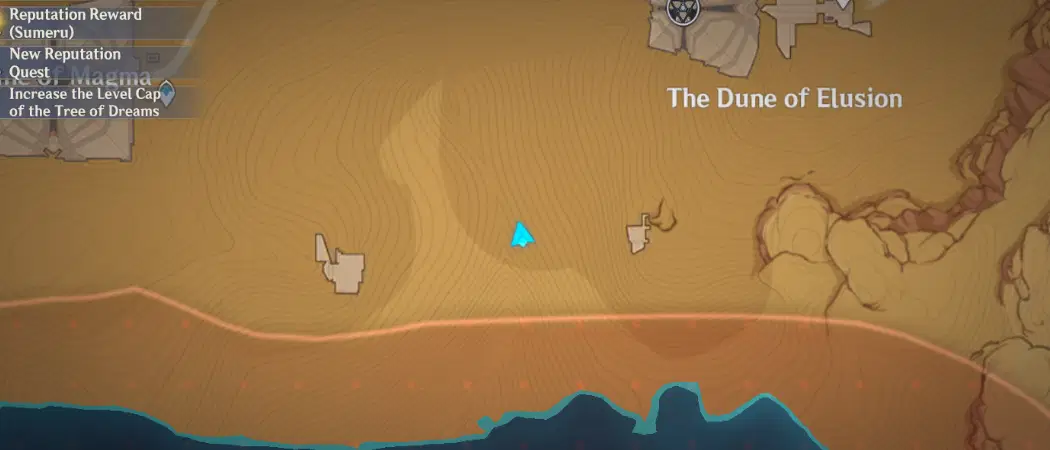
137. [Locked Chest] In the underground ruins
Location (Chest):
1. Press 'Rotate Cell' x2 on the Everlight Cell to raise the door.
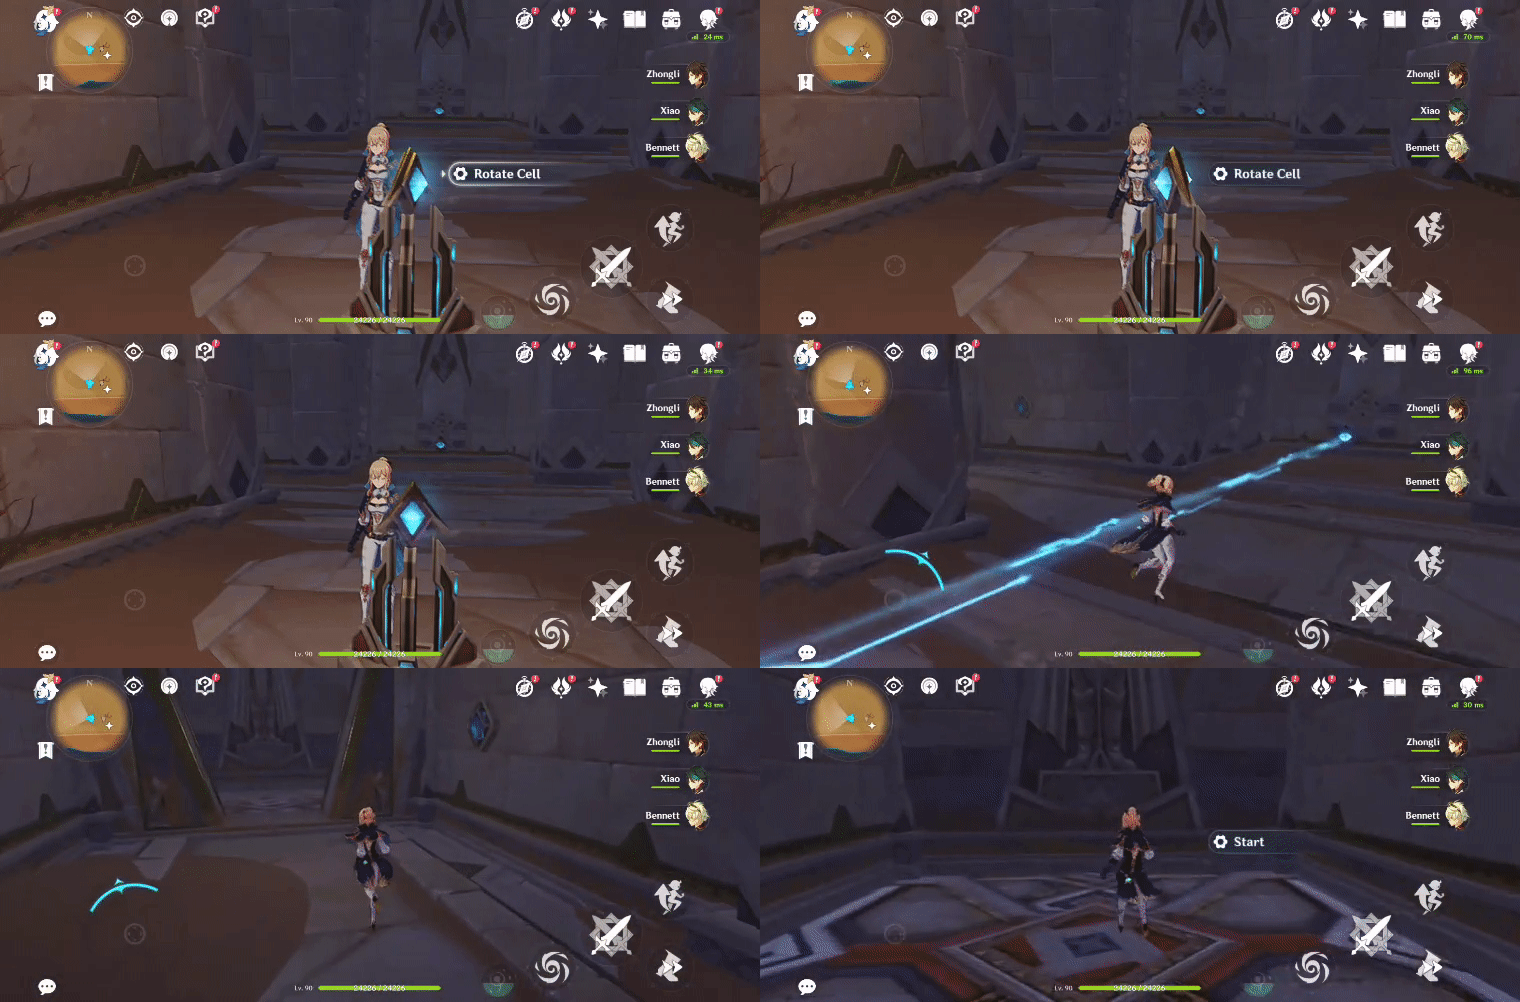
2. Press 'Release' on the Primal Sconce when the large Fan Blades pause and press 'Release' again to follow the Primal Ember to its Primal Torch, spawning a Forged Primal Light.
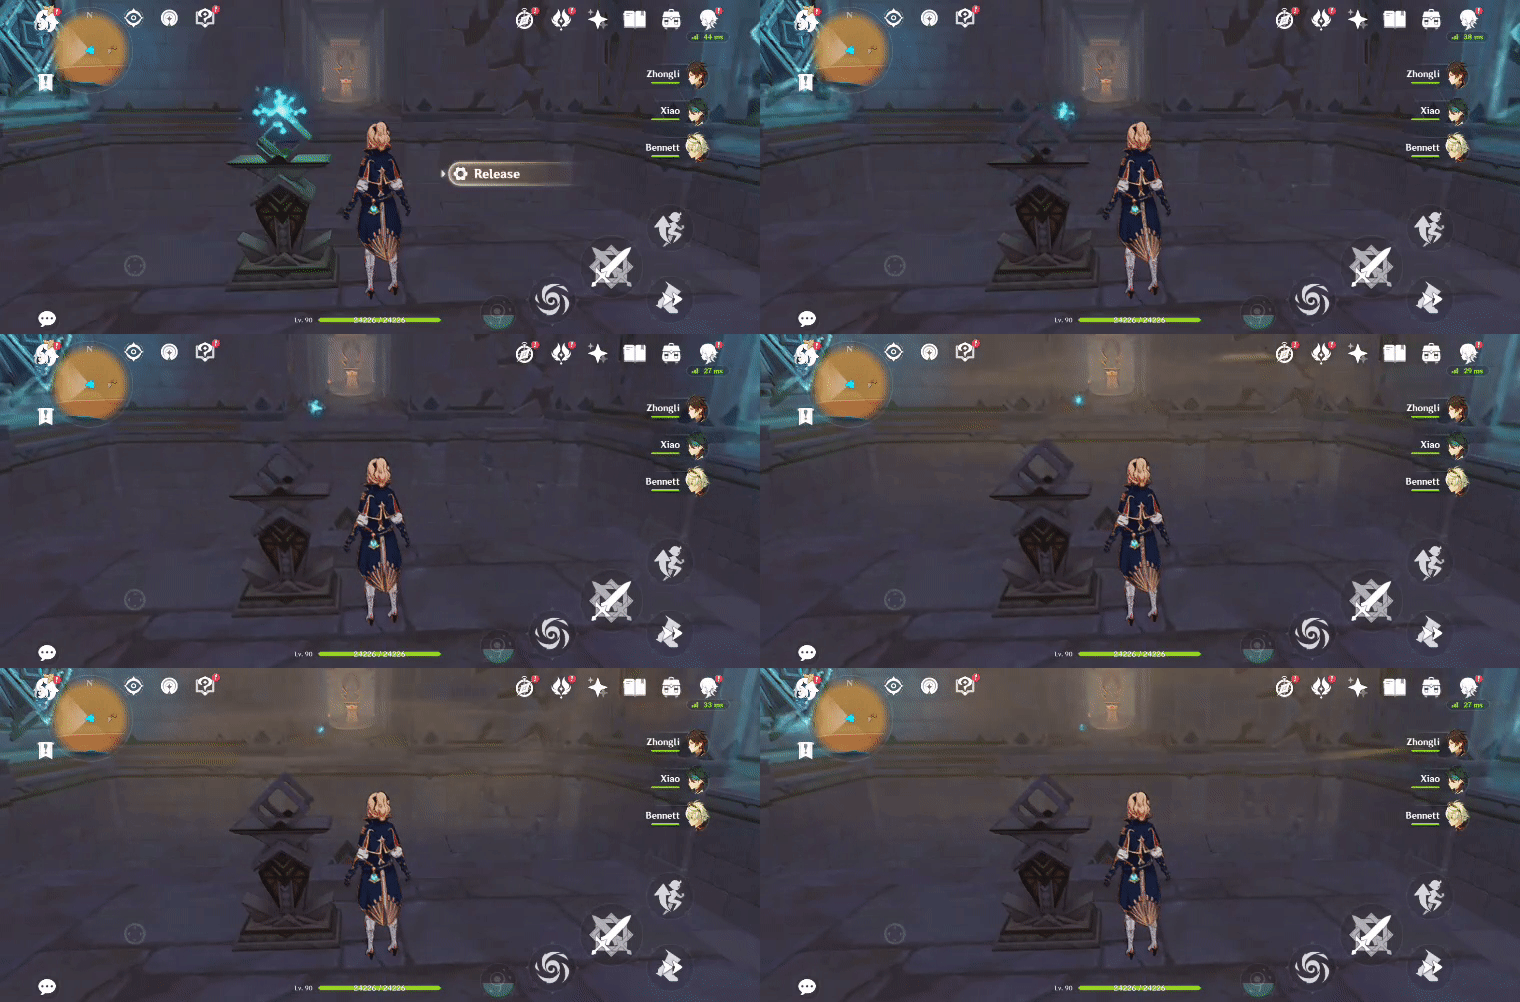
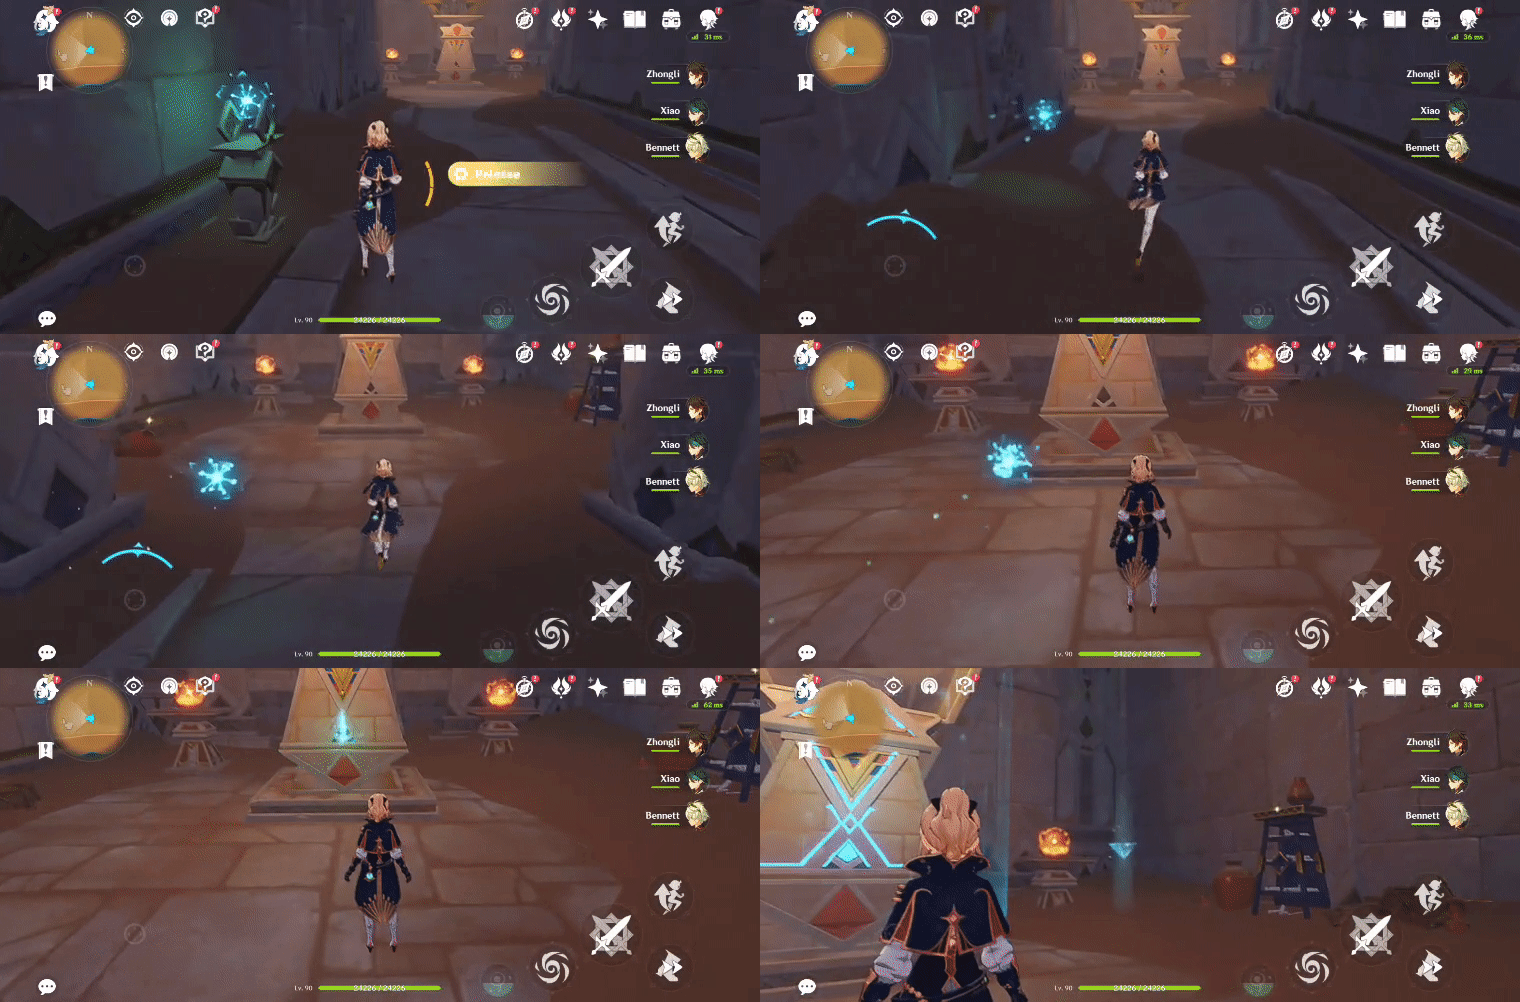
3. Gather the Forged Primal Light, and go back to the Replicator Keystone to spawn an Obscuring Cell. Press 'Touch Cell' to unlock the chest.
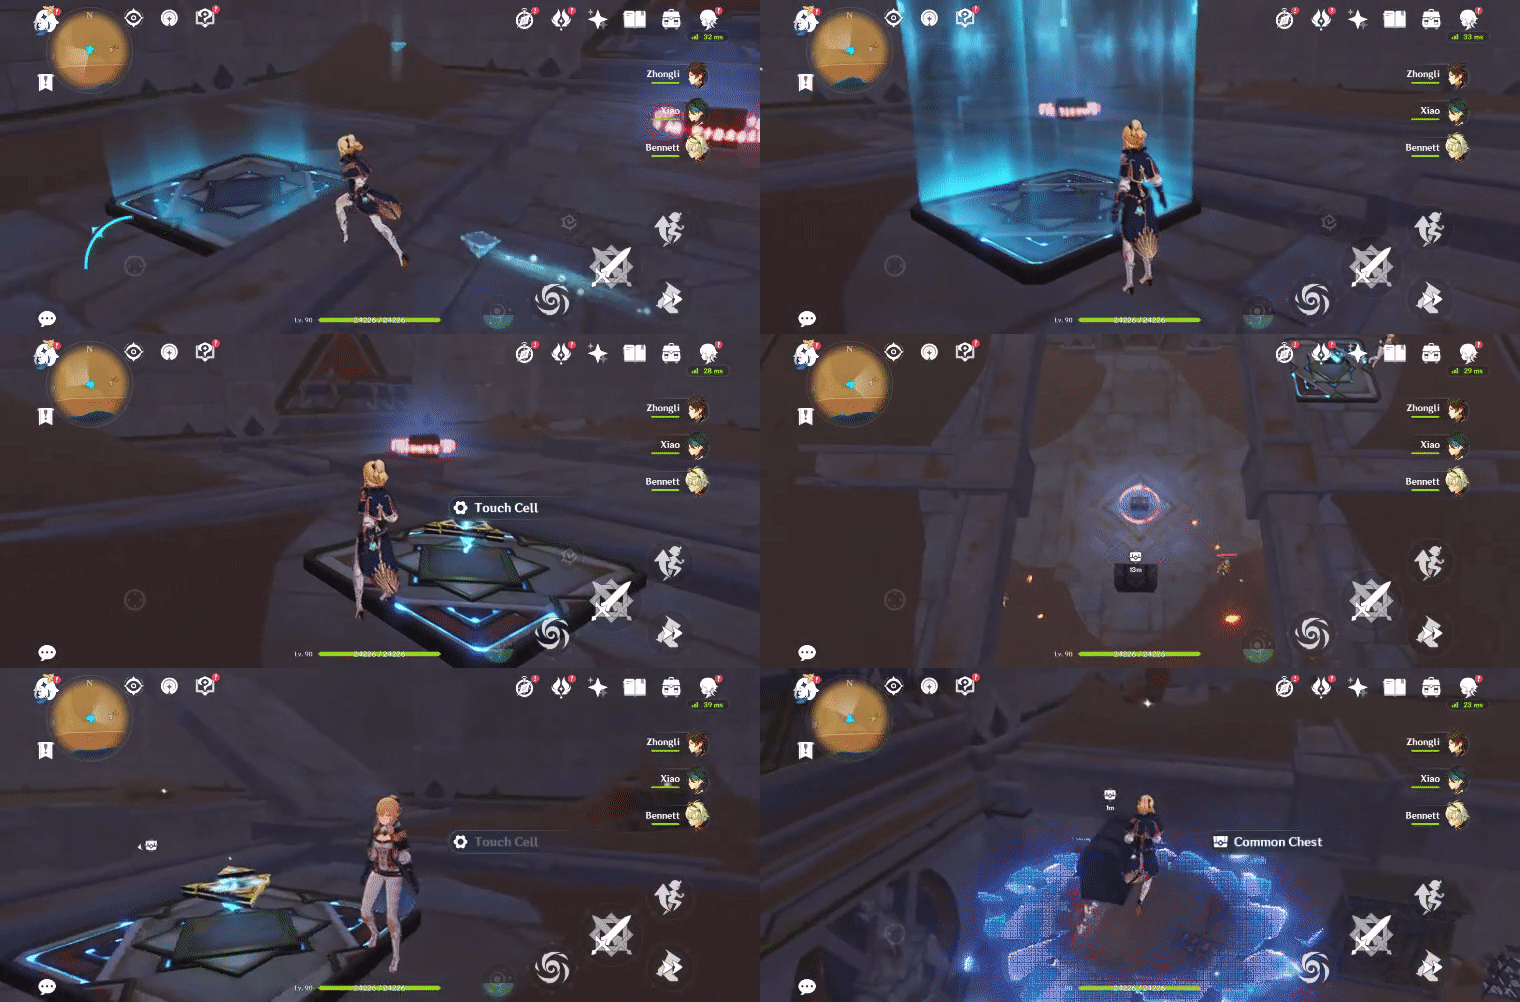
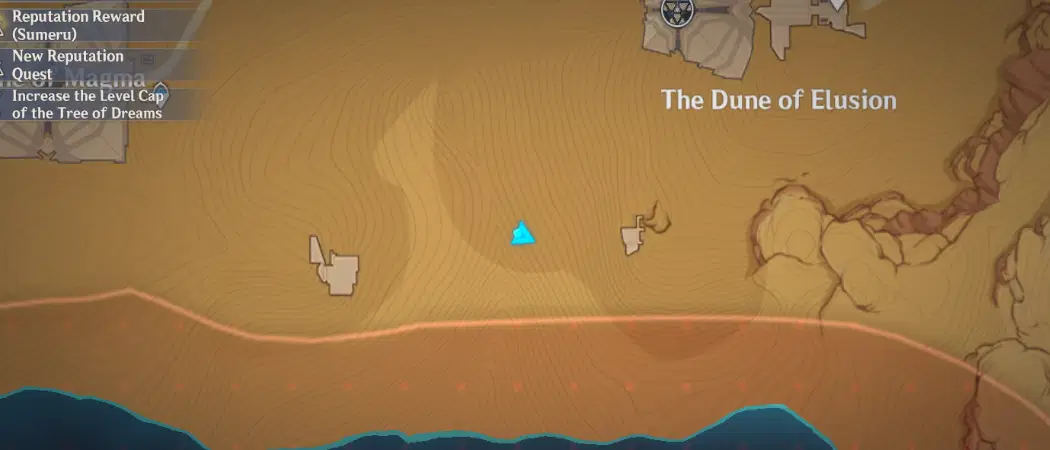
138. [Locked Chest] In the underground ruins, on the lower level
Will unlock after defeating 3 Eremites and 1 Eremite Daythunder.
Location:
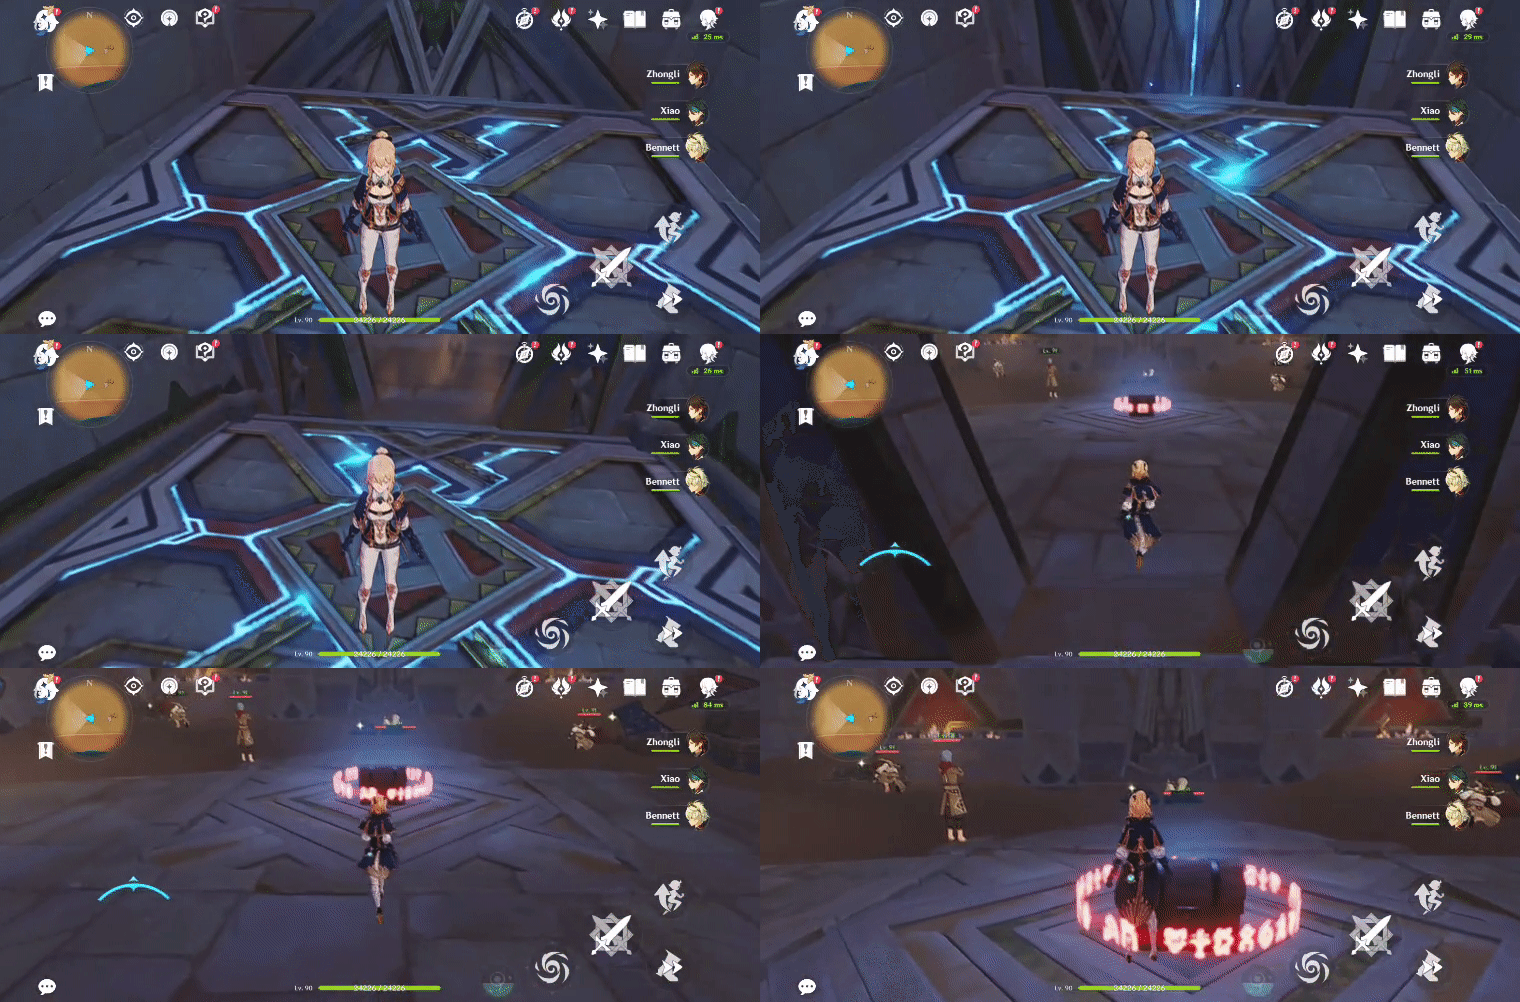
139. [Spawned Chest] In the underground ruins
Location (Chest):

1. Press 'Rotate Cell' on the Everlight Cell to unlock the Primal Sconce, and then press 'Release' to unleash the Primal Ember. Press 'Rotate Cell' again to raise the door.
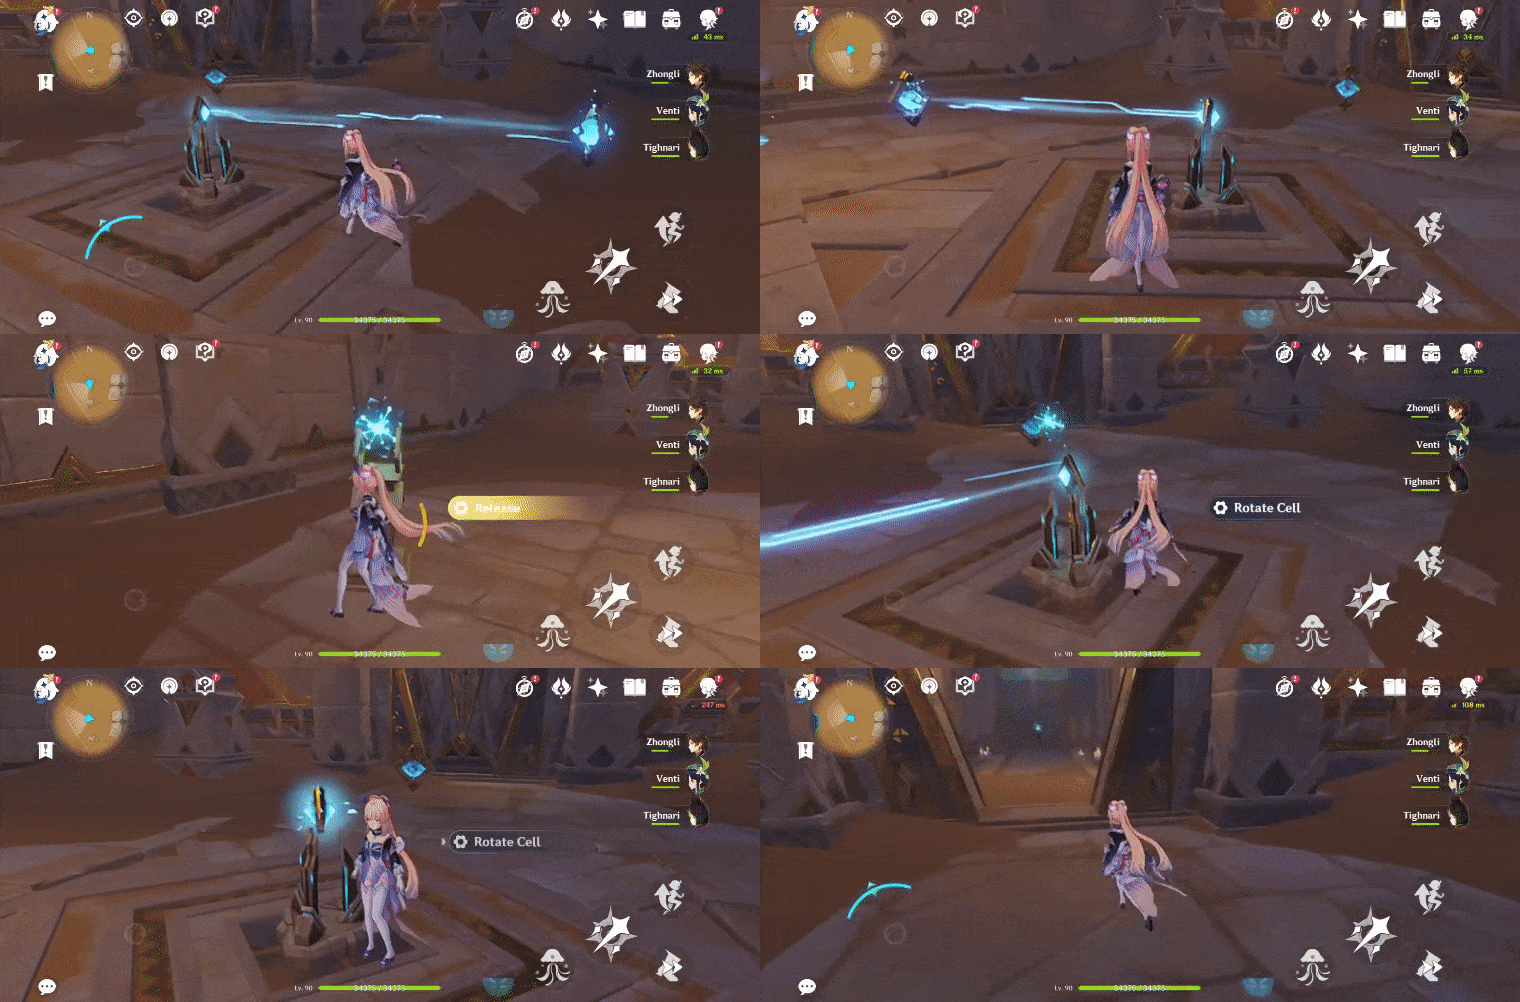
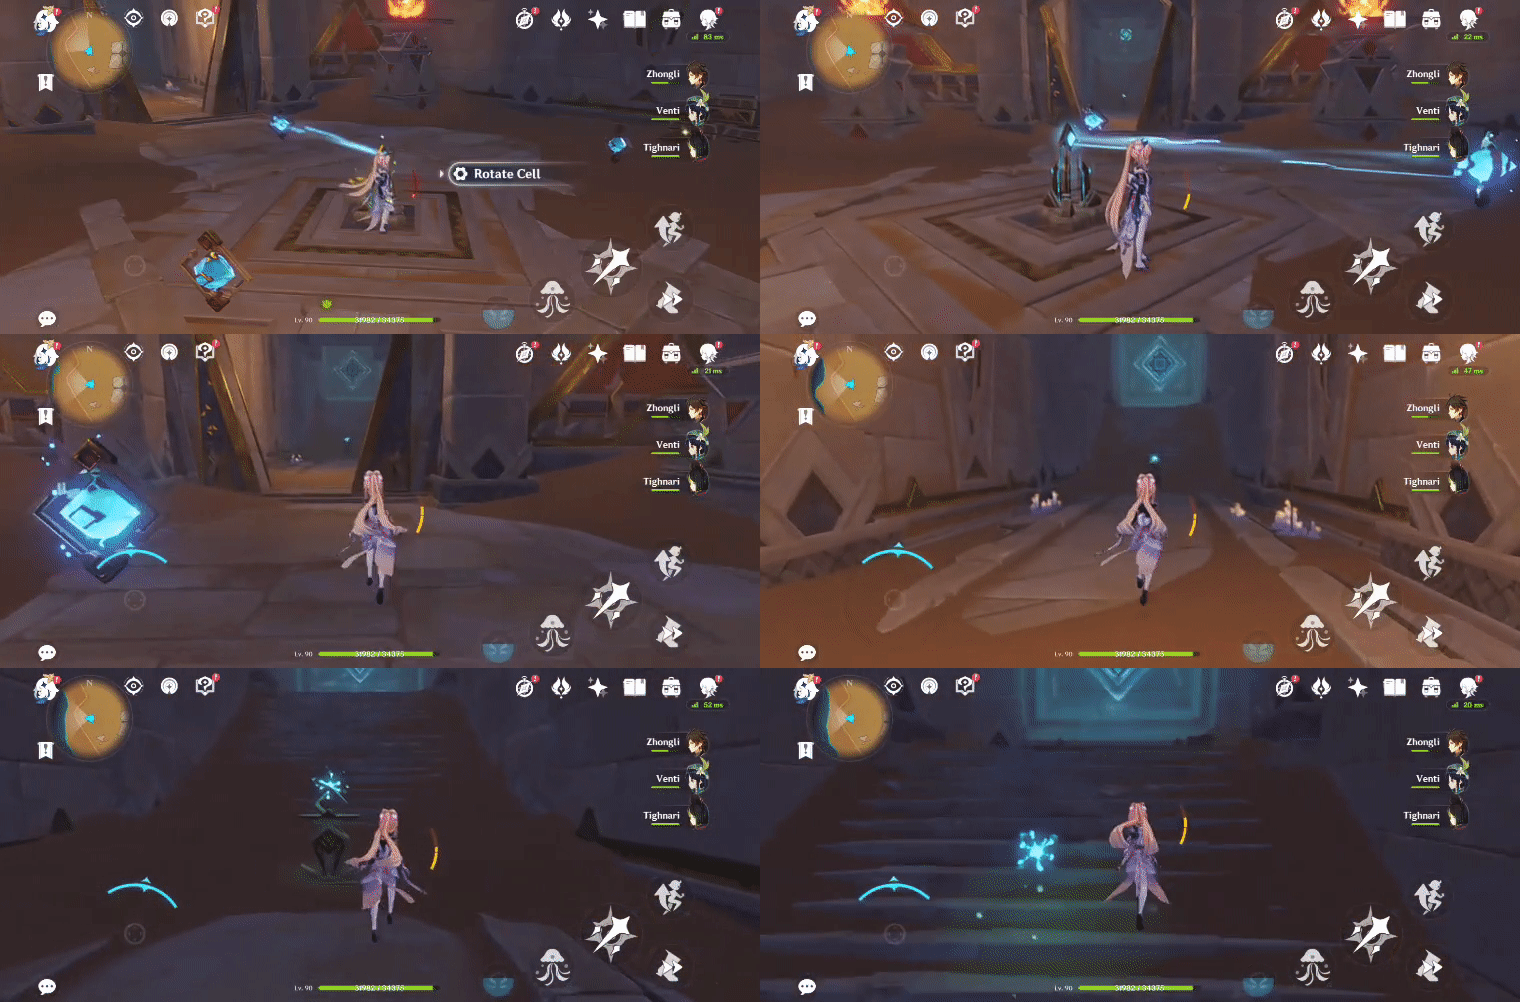
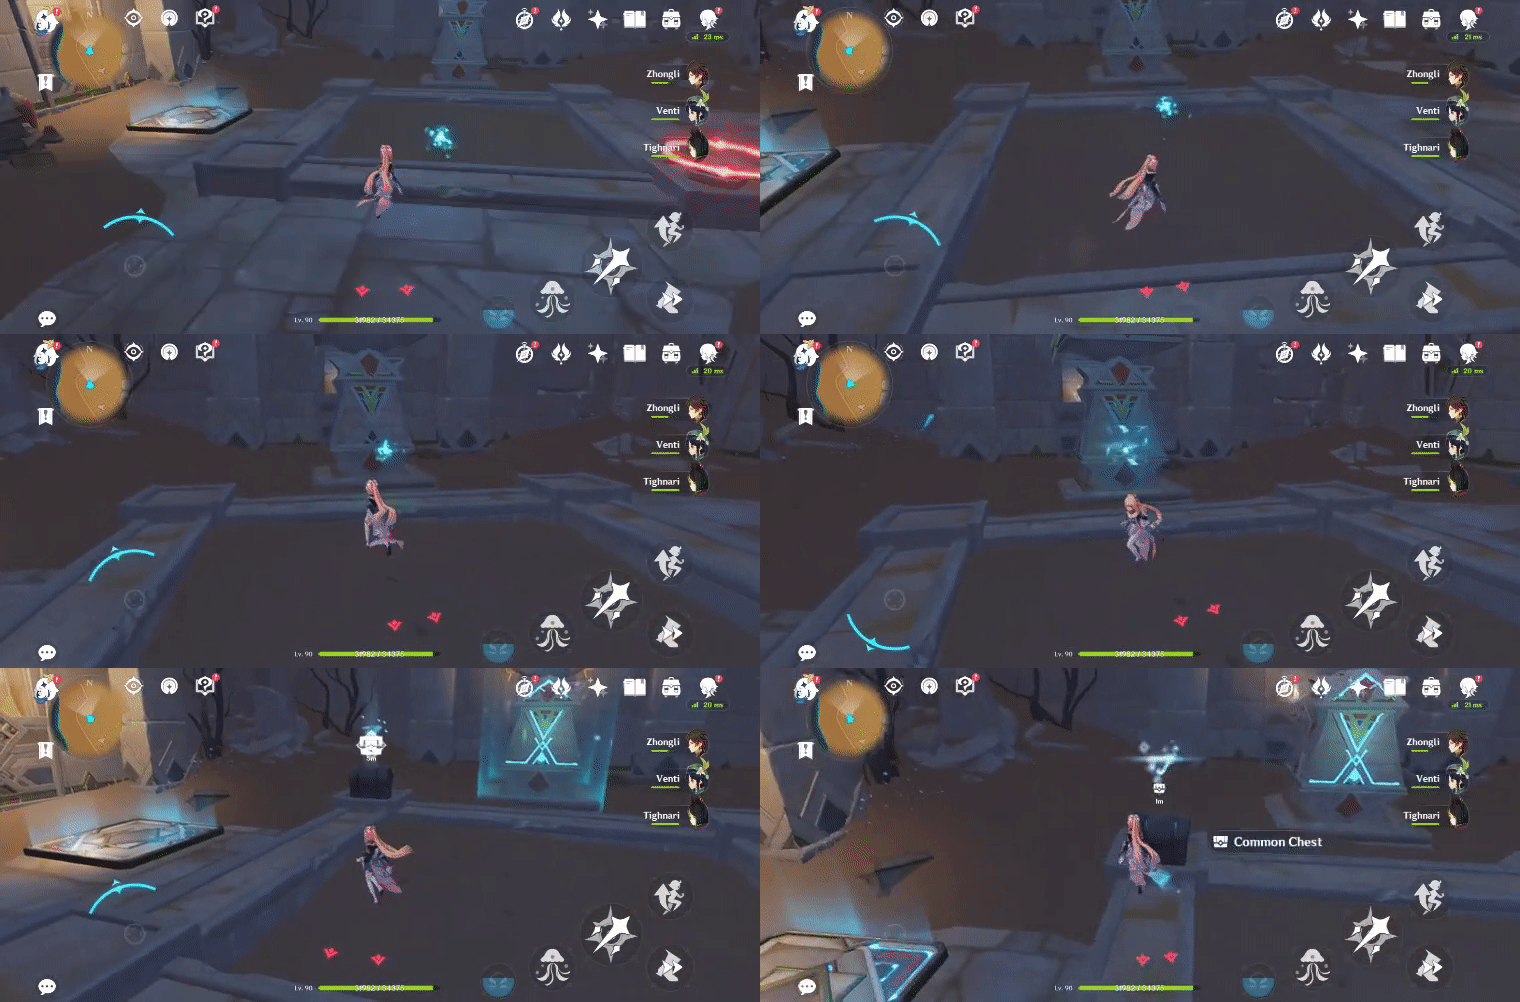
2. Break the vase to reveal the right Neverlight Cell, and press 'Rotate Cell' to stop the large Fan Blade. Press 'Release' on the 2nd Primal Sconce and follow the Primal Ember to its Primal Torch to spawn the chest.
140. [Spawned Chest]
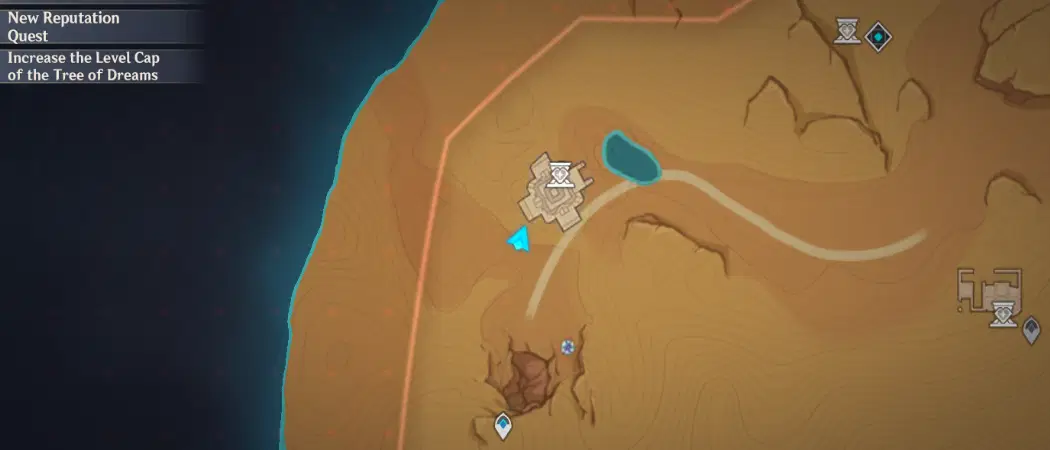
Location (Chest):
1. Gather the Forged Primal Light and bring it to the Replicator Keystone to spawn a Primal Sconce.
2. Press 'Release' and continue following the Primal Ember when the large Fan Blades have paused. Follow the Primal Ember to its Primal Torch to spawn the chest.
Previous:[V3.1 Guide] Common Chests- Sumeru Desert: Part 6 | Genshin Impact | HoYoLAB
Index:[Index] Common Chests | Genshin Impact | HoYoLAB
Next:[V3.1 Guide] Common Chests- Sumeru Desert: Part 8 | Genshin Impact | HoYoLAB



