


Previous:[V3.1 Guide] Common Chests- Sumeru Desert: Part 9 | Genshin Impact | HoYoLAB
Index:[Index] Common Chests | Genshin Impact | HoYoLAB
Next:[V3.1 Guide] Common Chests- Sumeru Desert: Part 11 | Genshin Impact | HoYoLAB

-Footage & Location photos are from my 1st account-
If there is anything you're unsure about, feel free to ask!
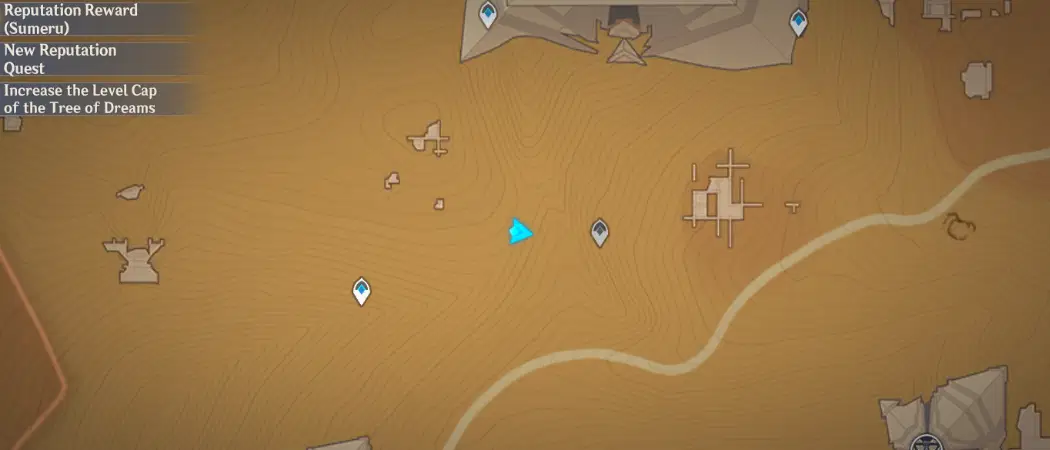
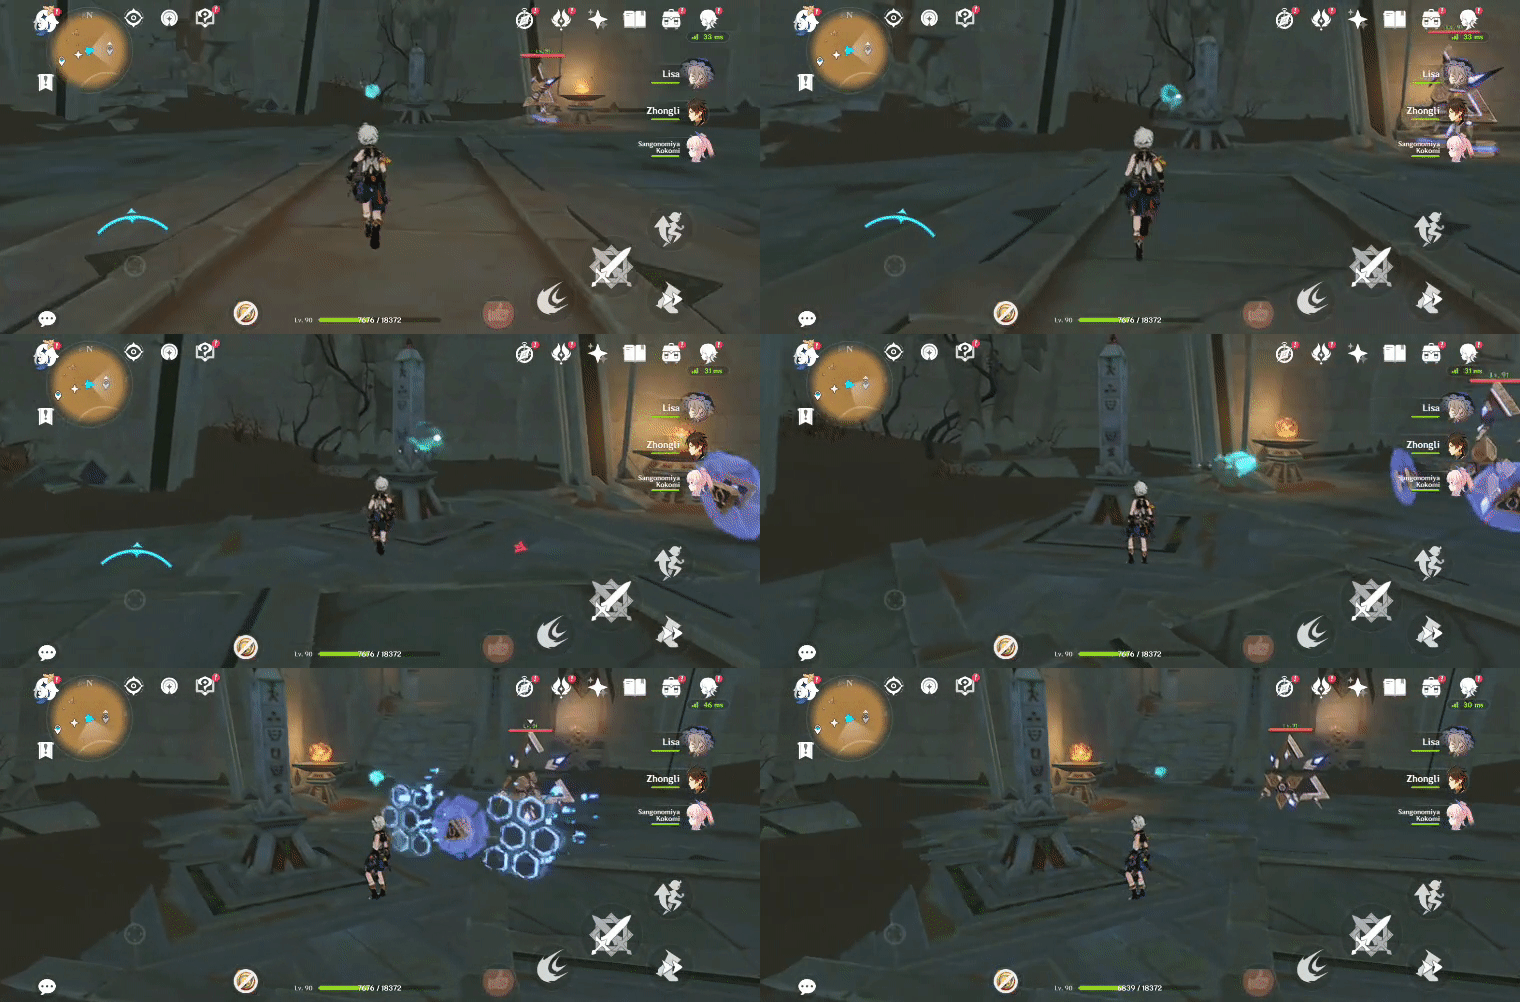
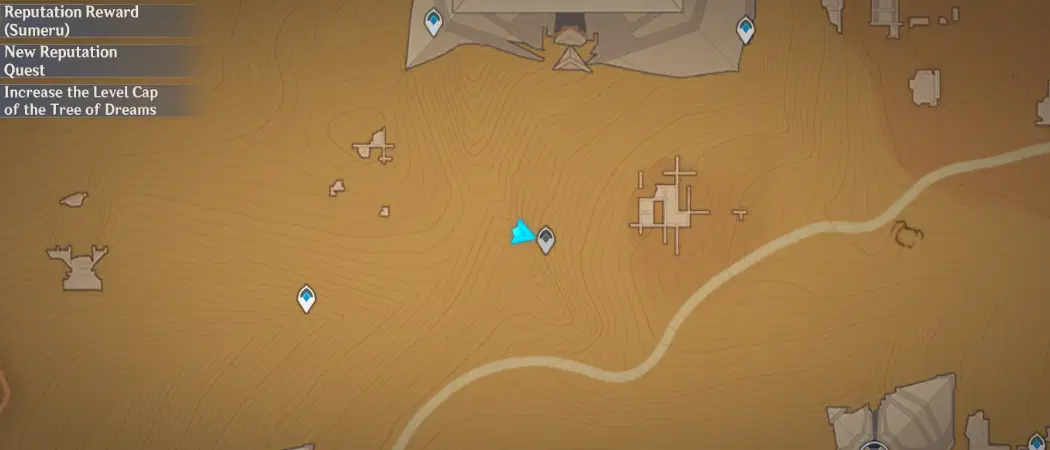
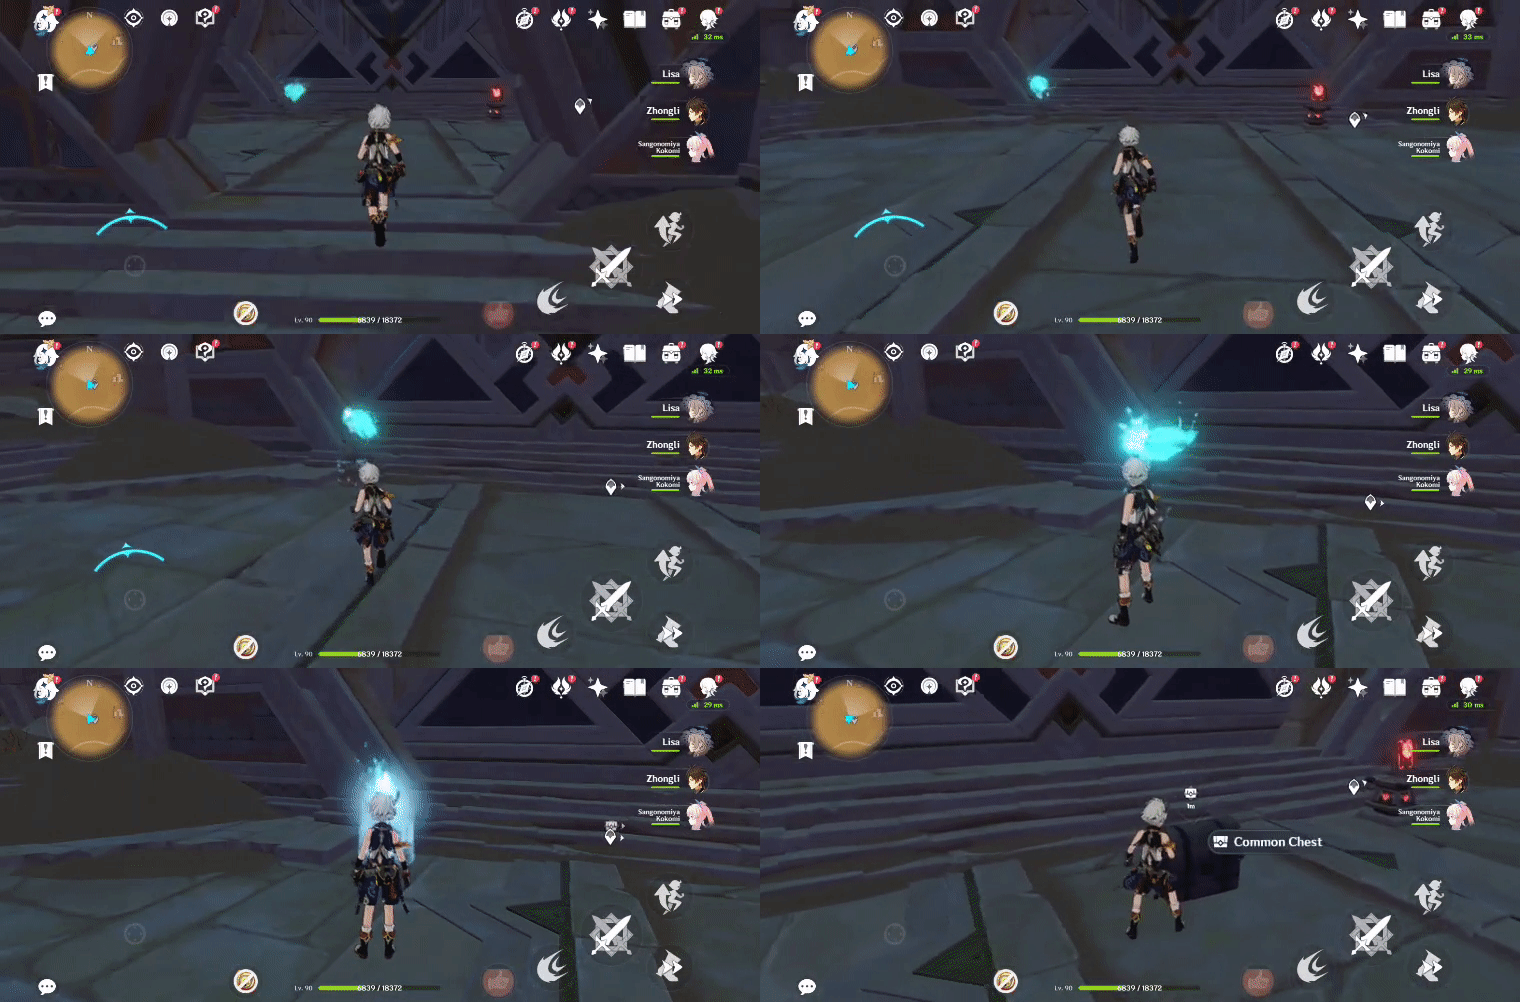
181. [Spawned Chest] Underground, by the Obelisk
Will spawn after the Seelie returns to its Statue.
Location (Seelie):
Location (Seelie Statue):
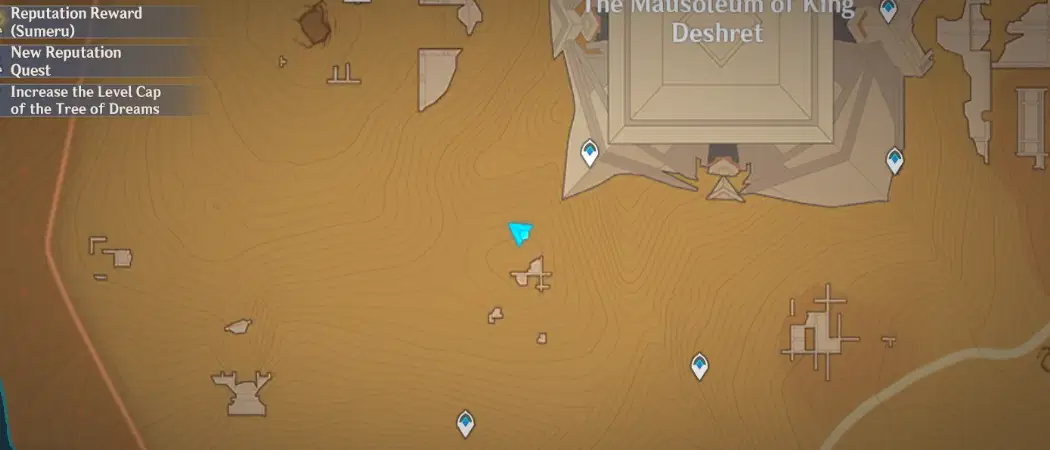
182. [Spawned Chest] Underground
Will spawn after the Seelie returns to its Statue.
Location (Seelie):
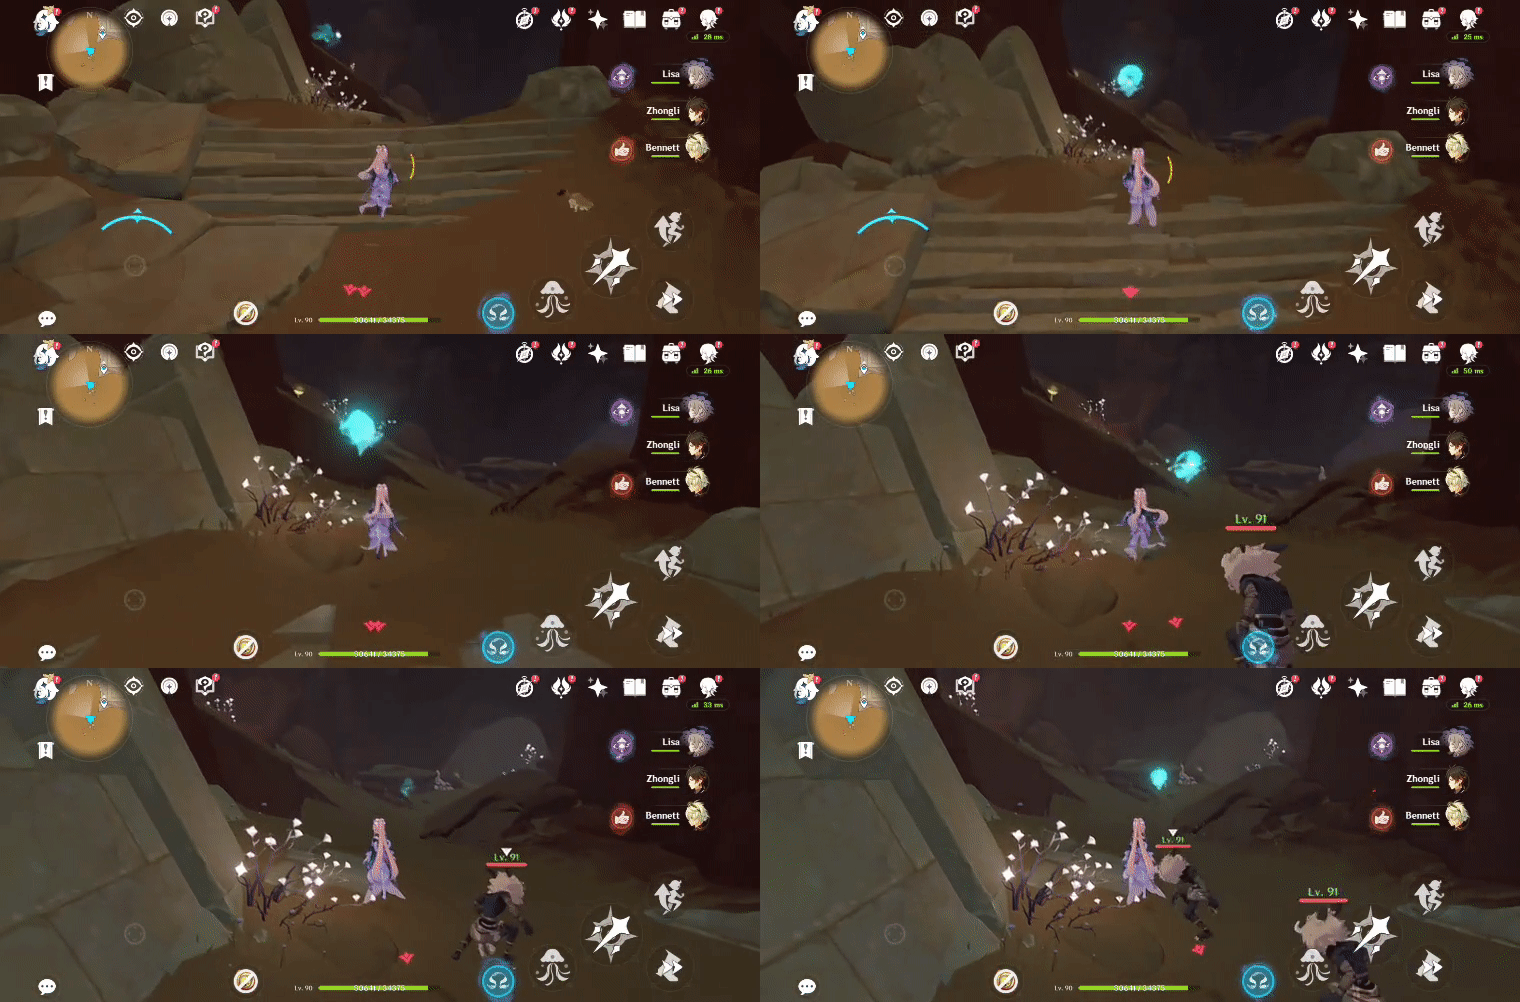
Location (Seelie Statue):

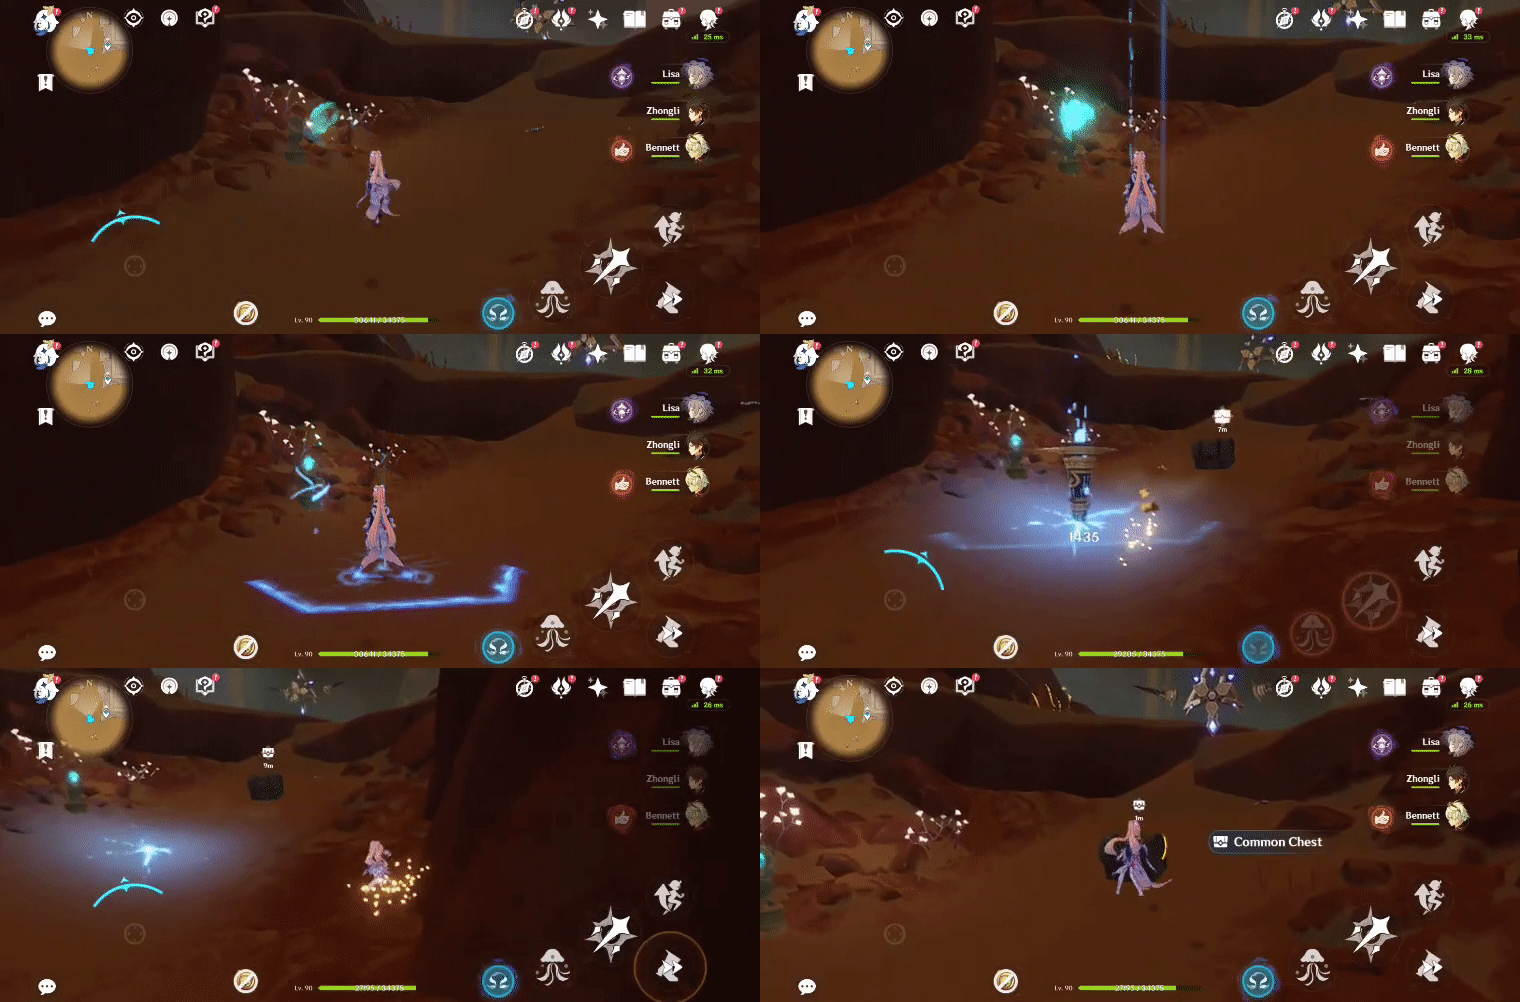
183. [Spawned Chest] In the Mausoleum
Will spawn after the Seelie returns to its Statue.
Location (Seelie):
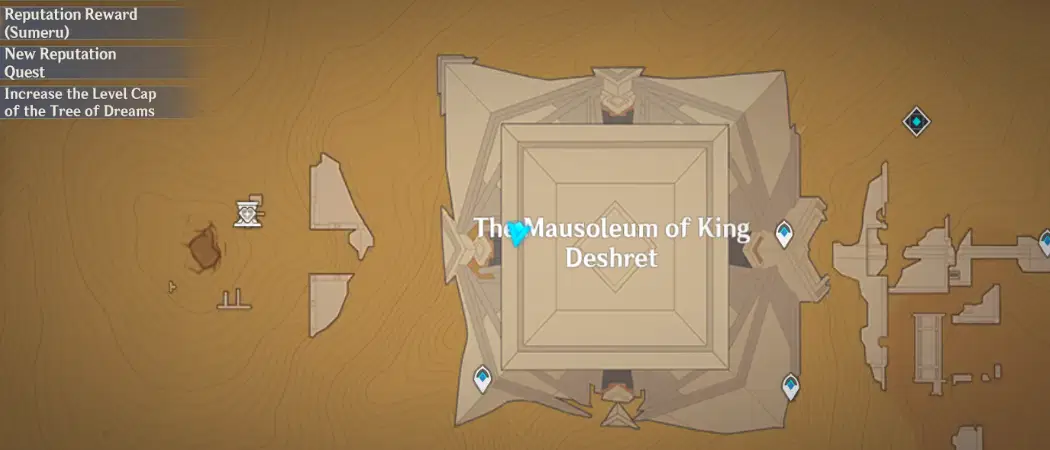
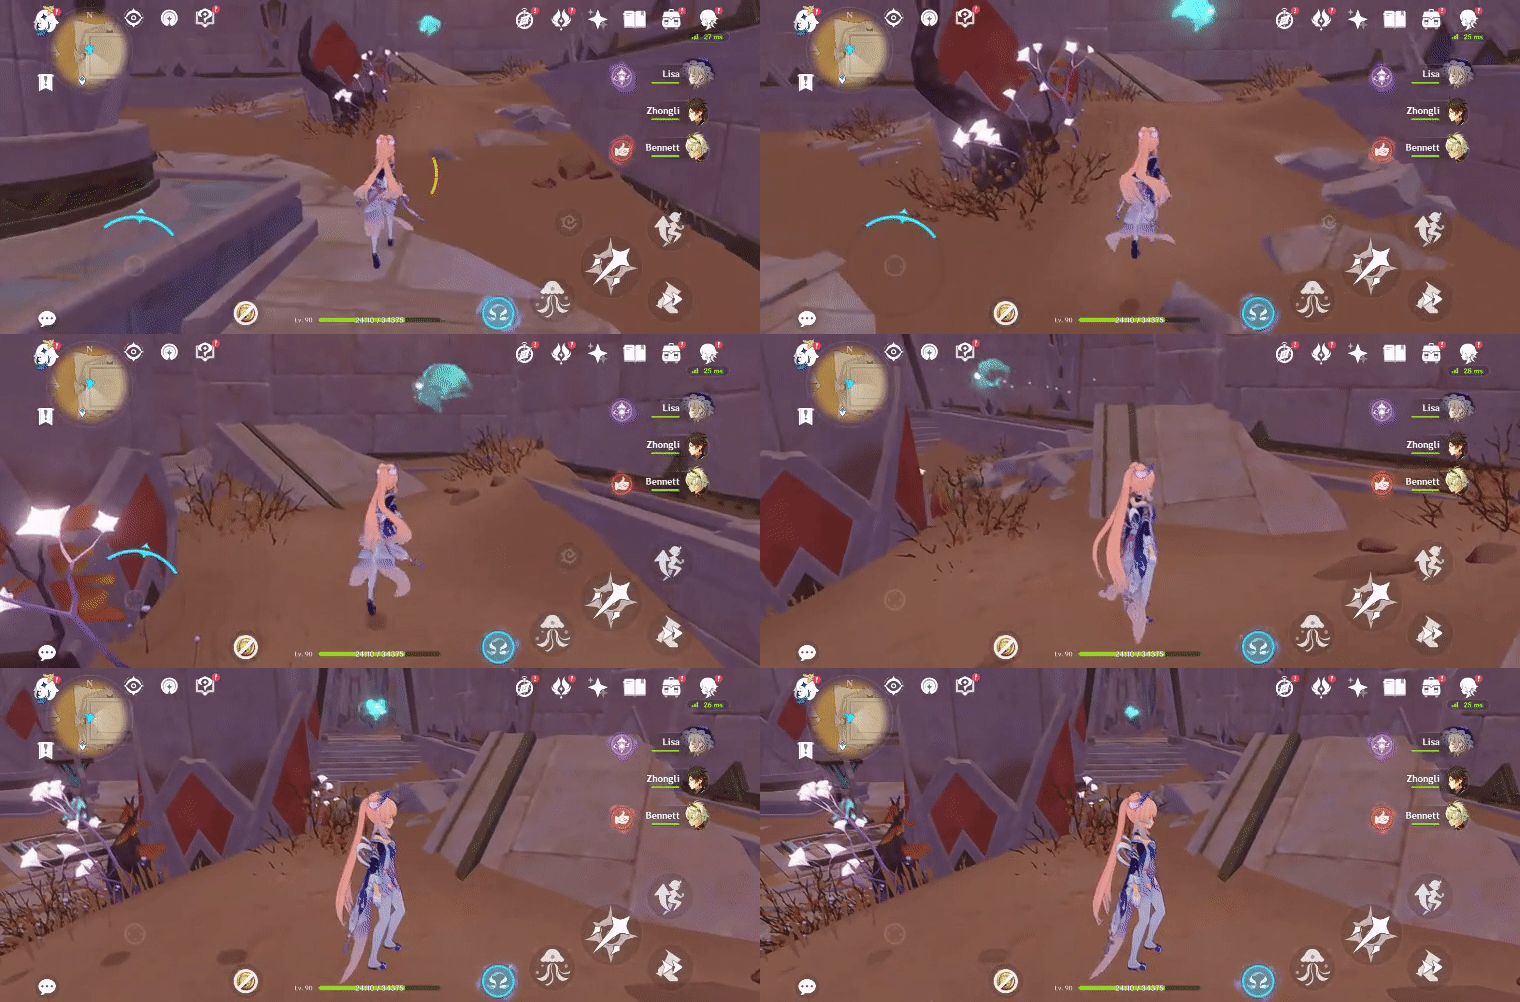
Location (Seelie Statue):
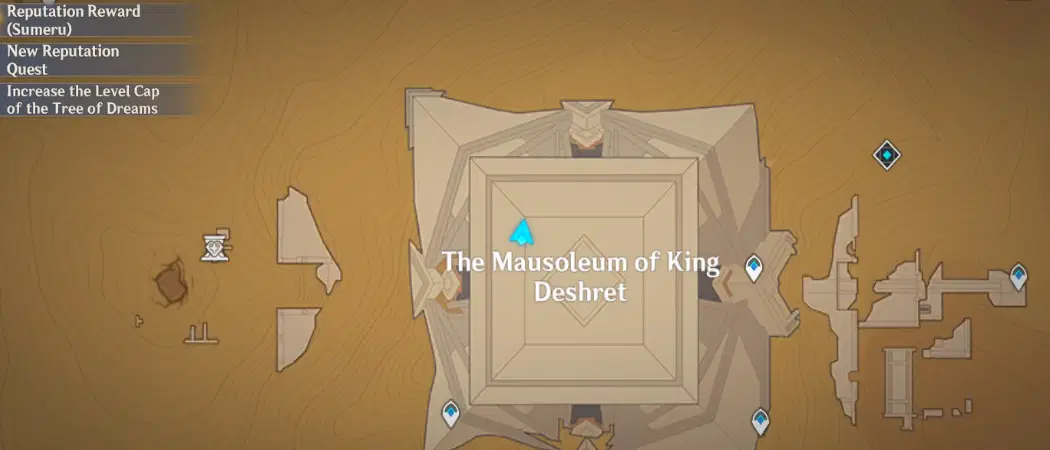
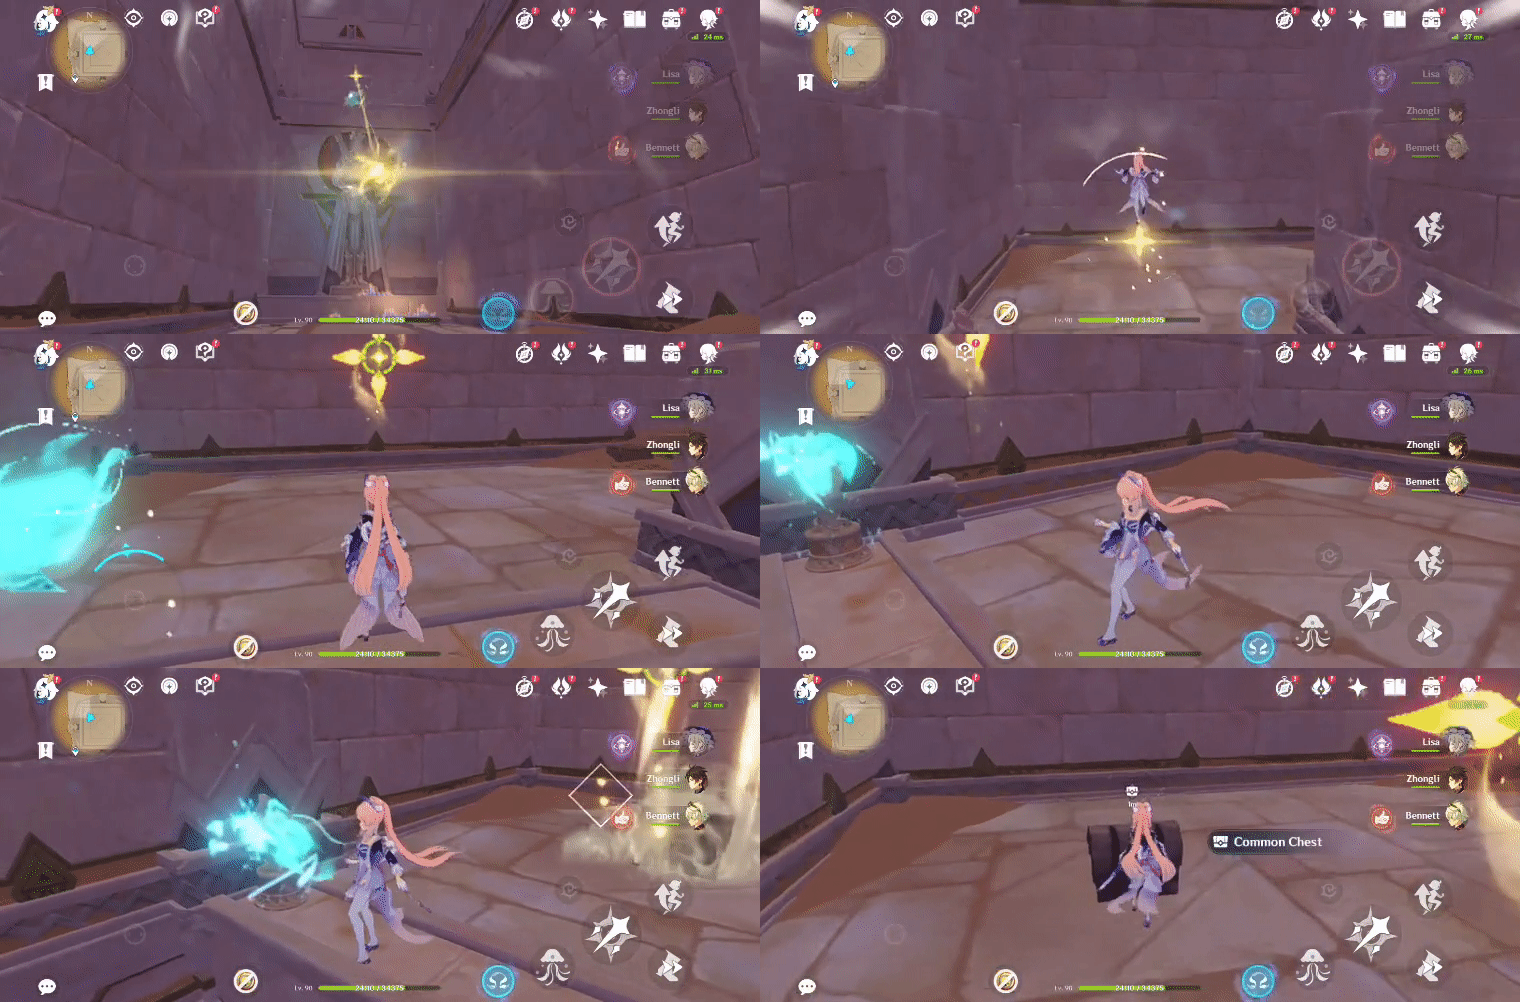
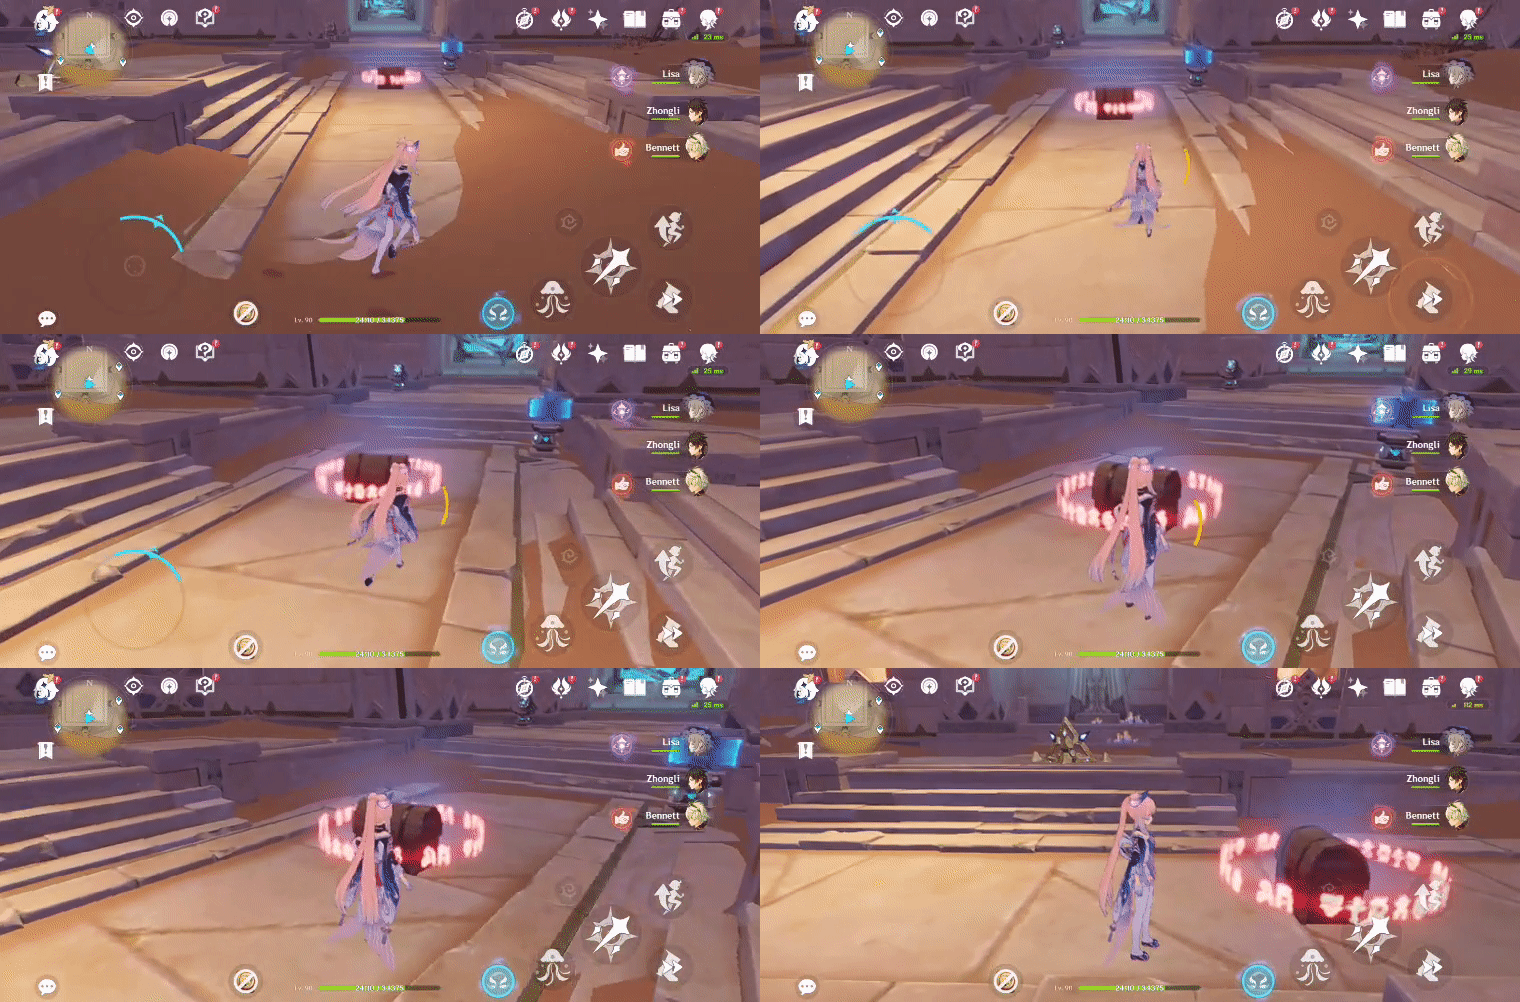
184. [Locked Chest] In the Mausoleum, in front of the large Fan Blade
Will unlock after defeating 1 Primal Construct: Reshaper.
Location:

185. [Spawned Chest] In the Mausoleum
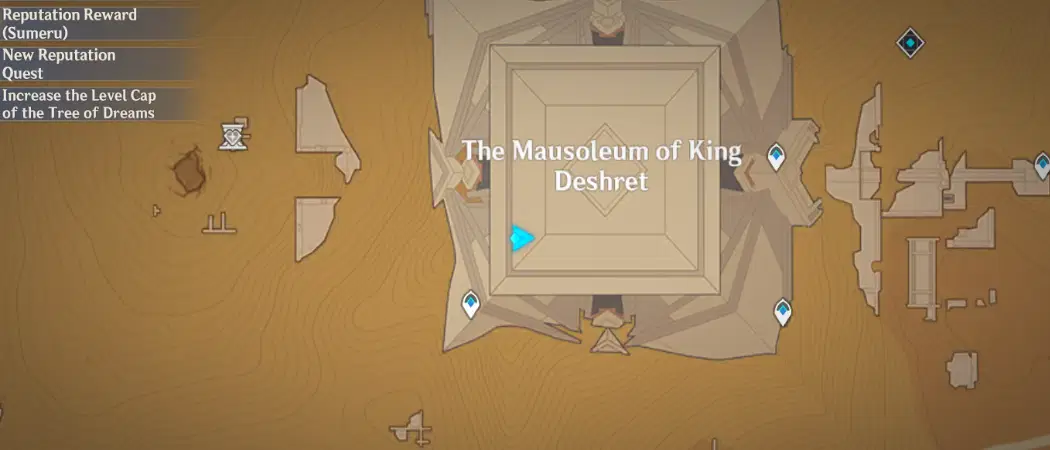
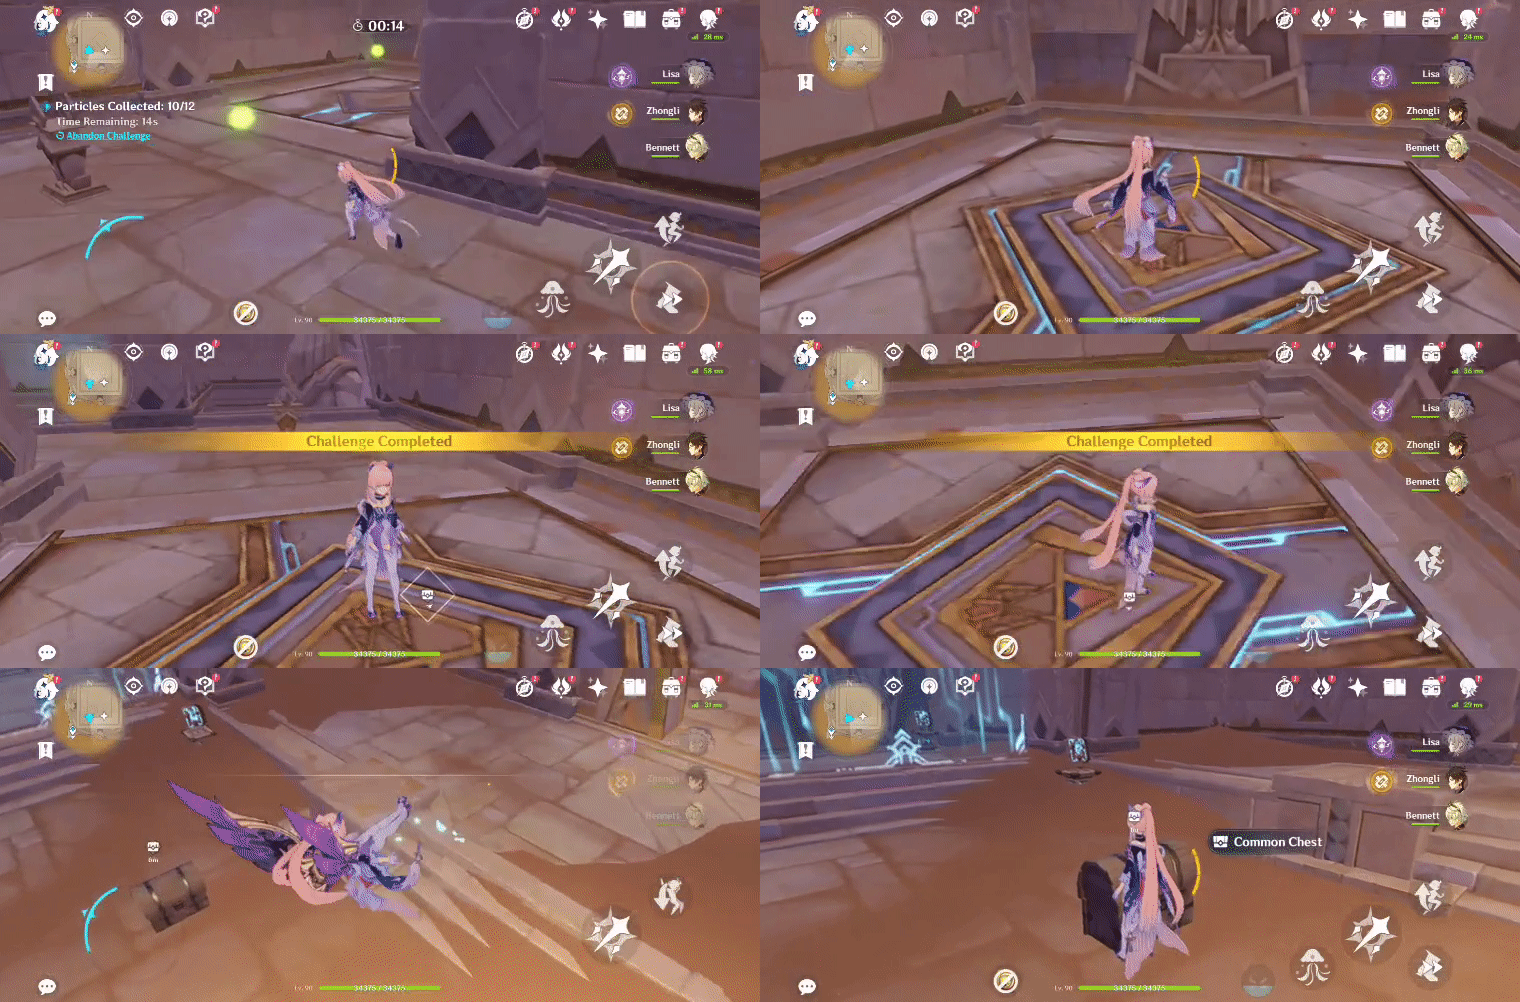
Will spawn after completing the Time Trial Challenge ('Collect 12 Dendro Particles within 60s').
Location (Challenge Marker):
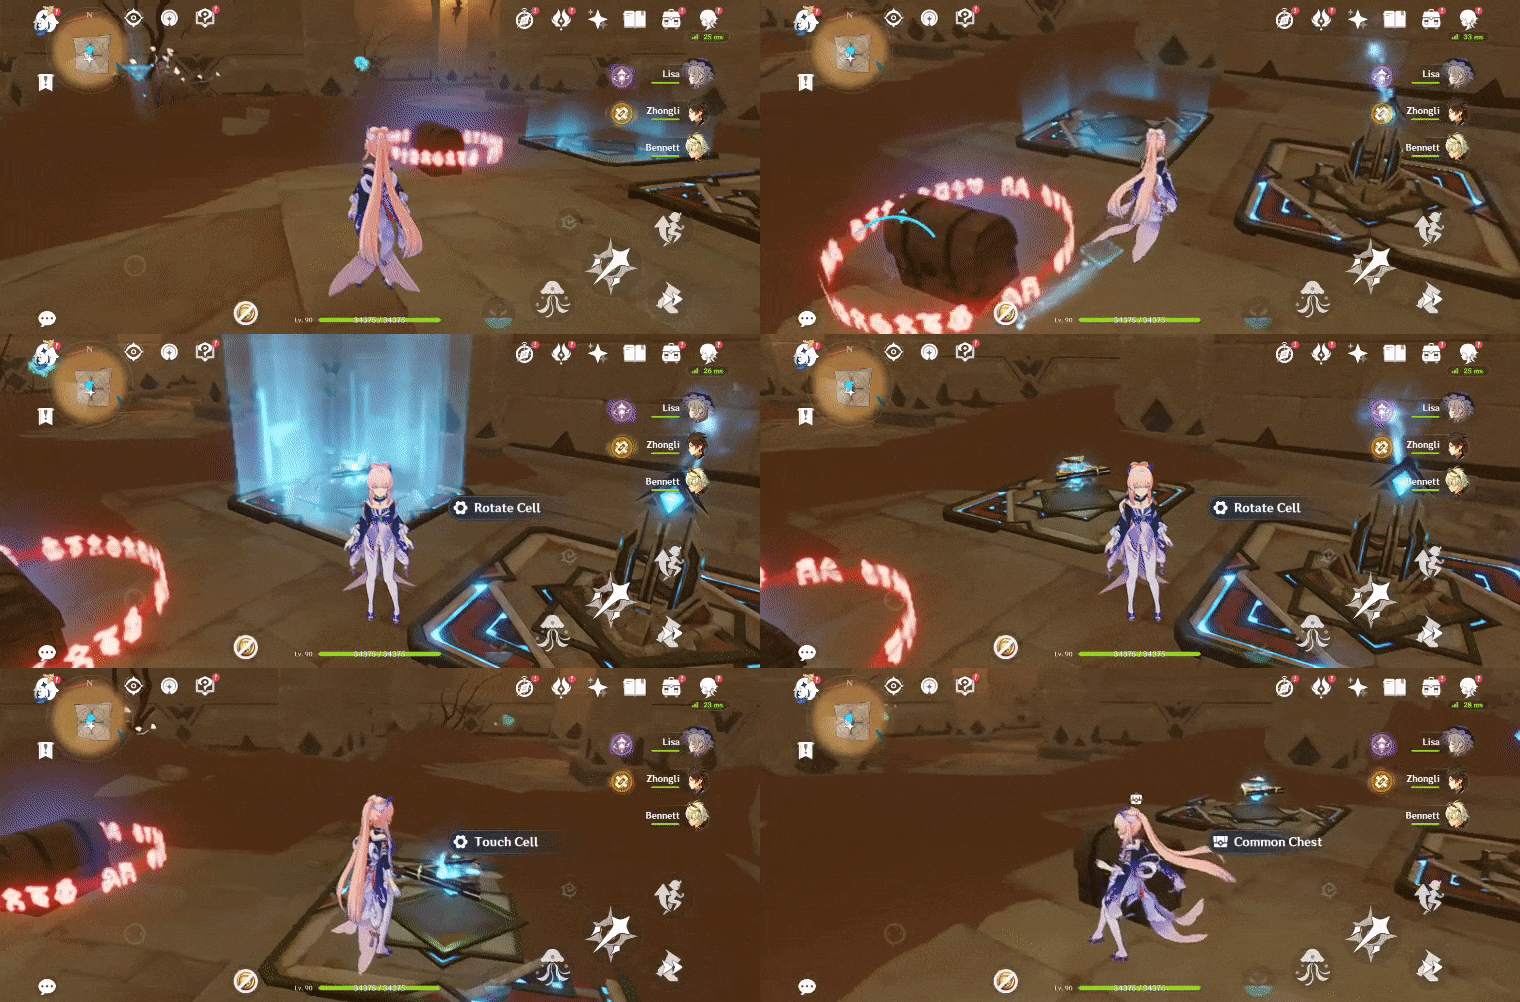
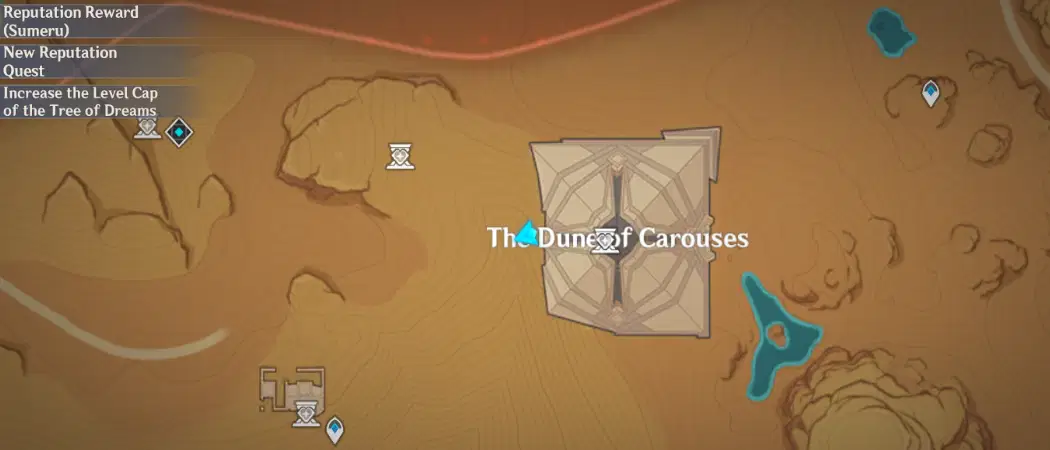
186. [Locked Chest] In the Dune
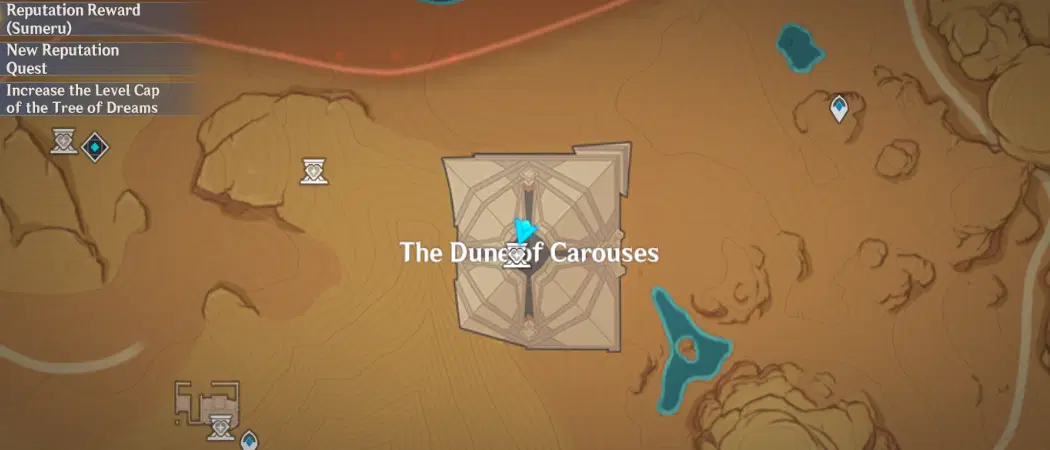
Gather the Forged Primal Light and bring it to the Replicator Keystone to spawn an Obscuring Cell. Press 'Touch Cell' to unlock the chest.
Location (Chest):
187. [Spawned Chest] In the Dune
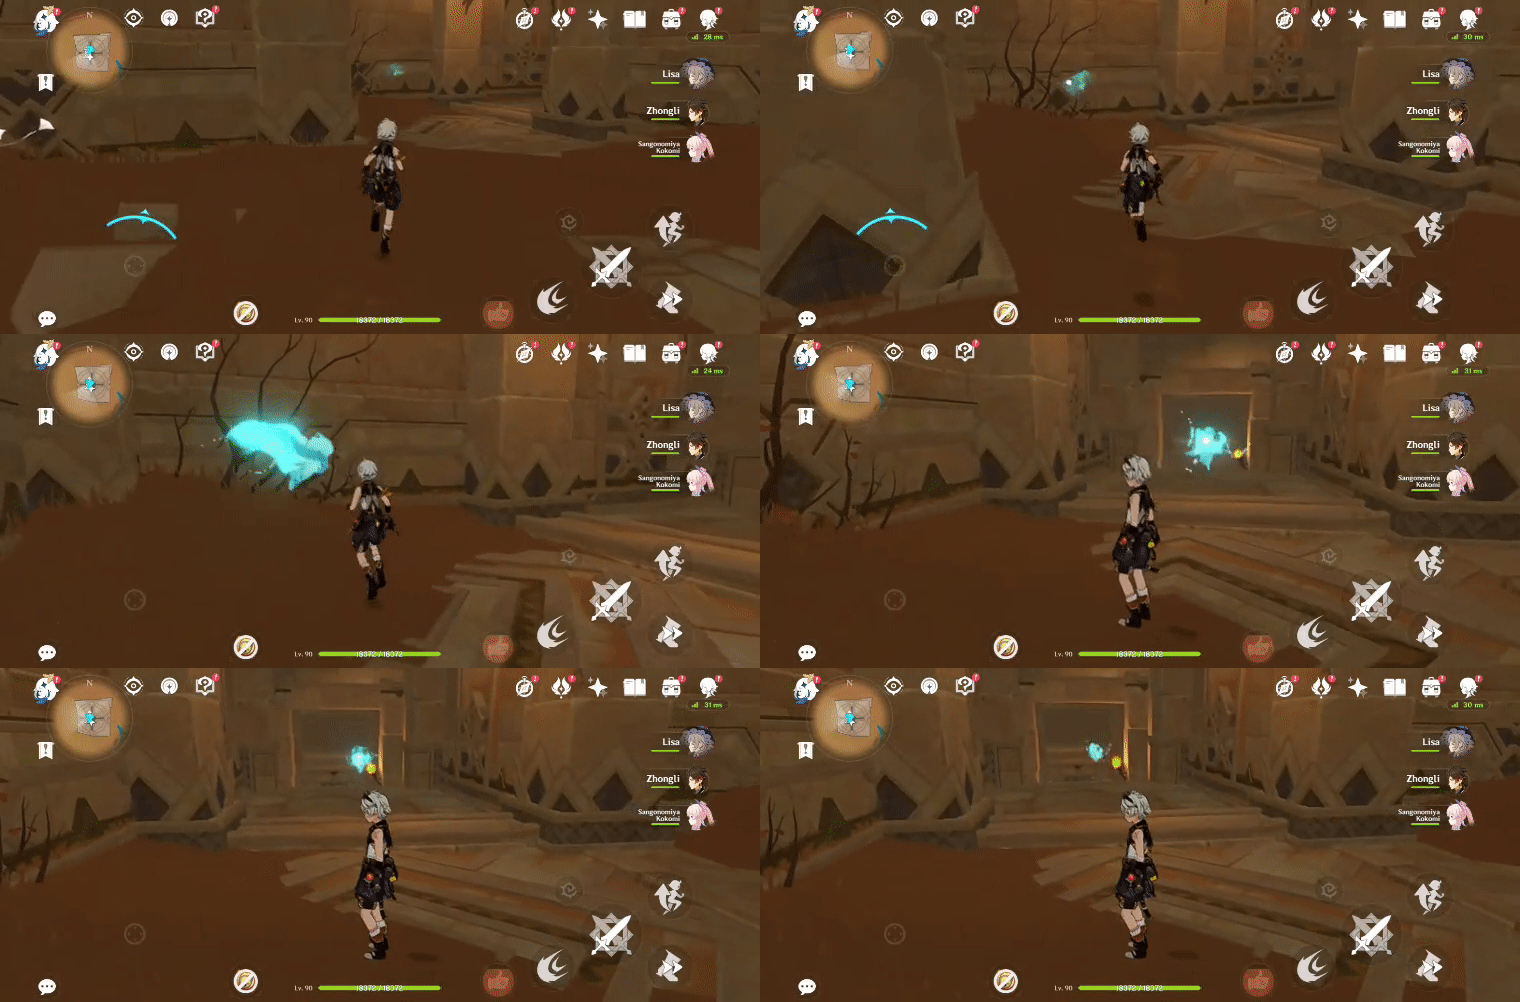
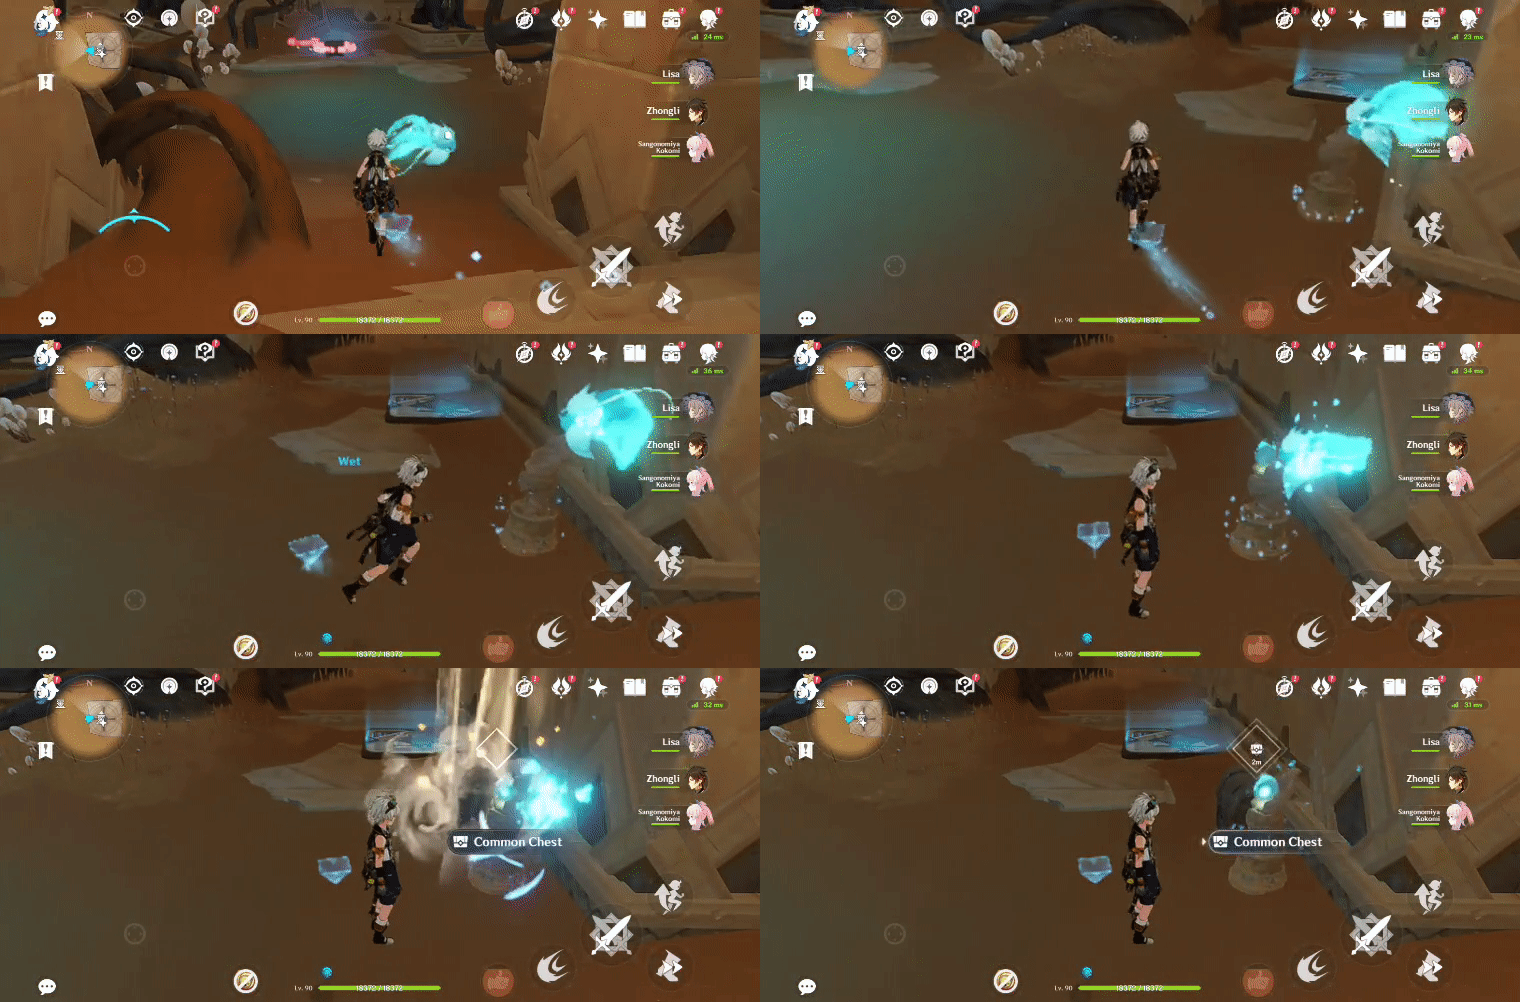
Will spawn after the Seelie returns to its Statue.
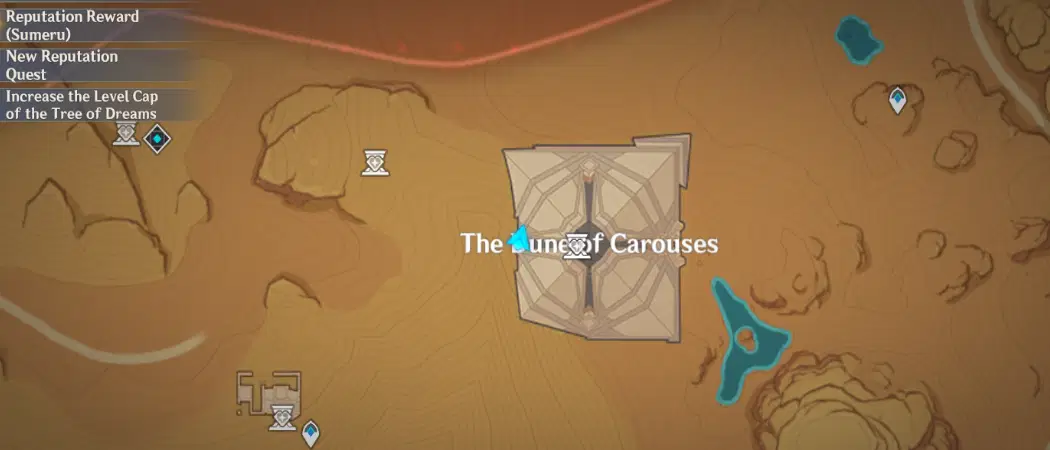
Location (Seelie):

Location (Seelie Statue):
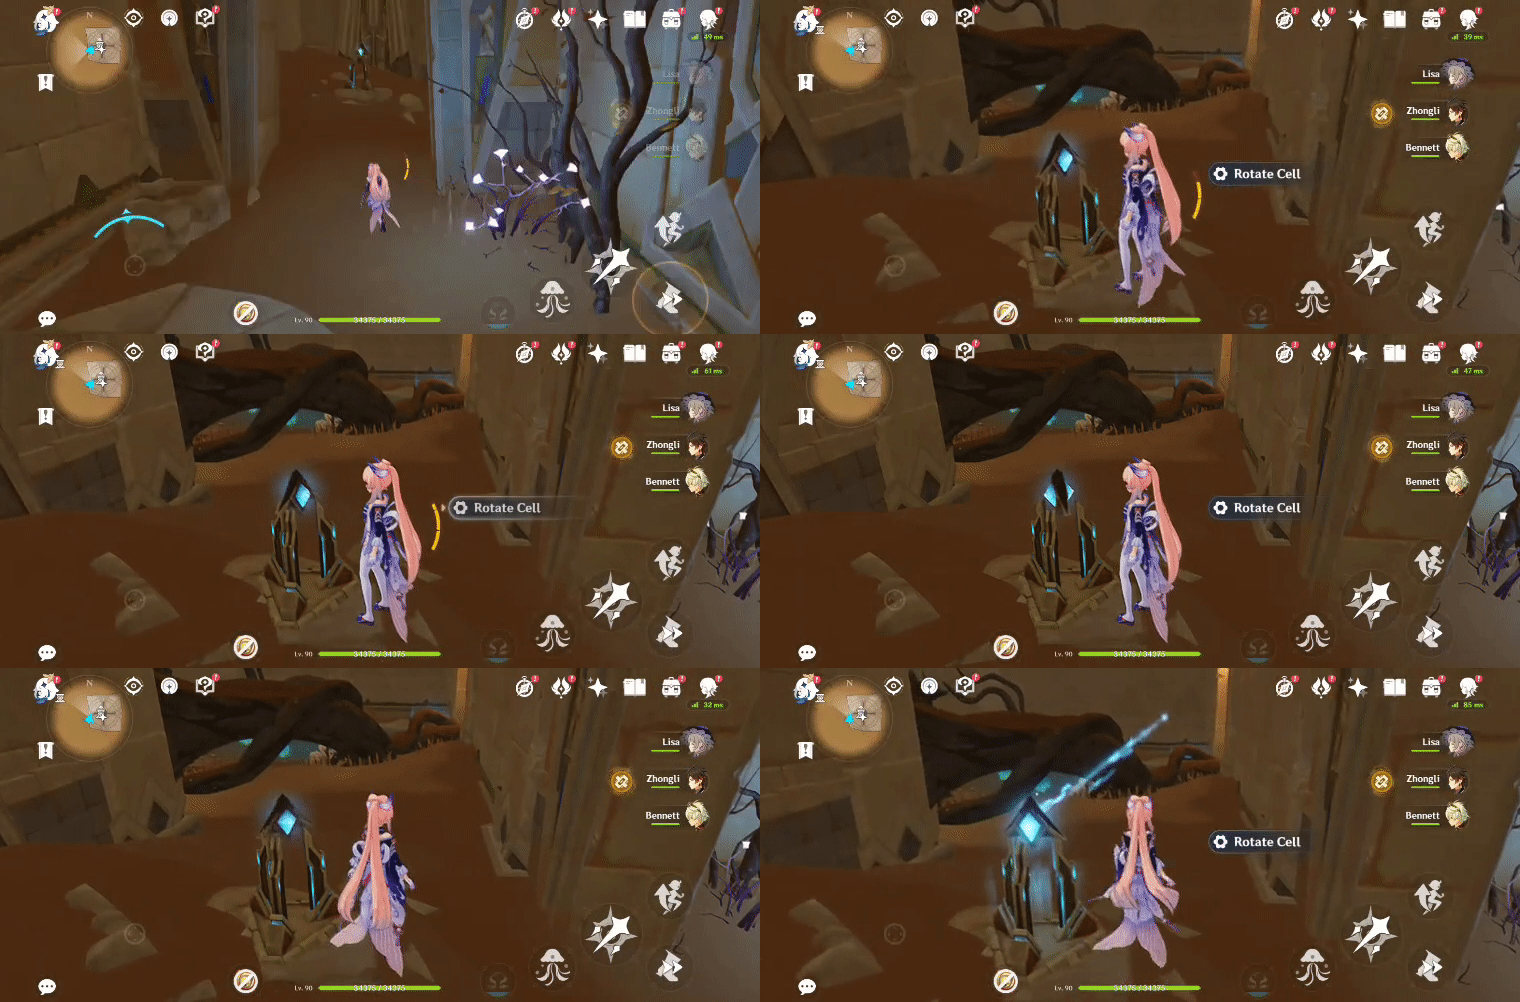
188. [Locked Chest] In the Dune
Location (Chest):
1. Press 'Rotate Cell' x2 on the Everlight Cell.
2. Gather the Forged Primal Light and bring it to the Replicator Keystone to spawn an Obscuring Cell.
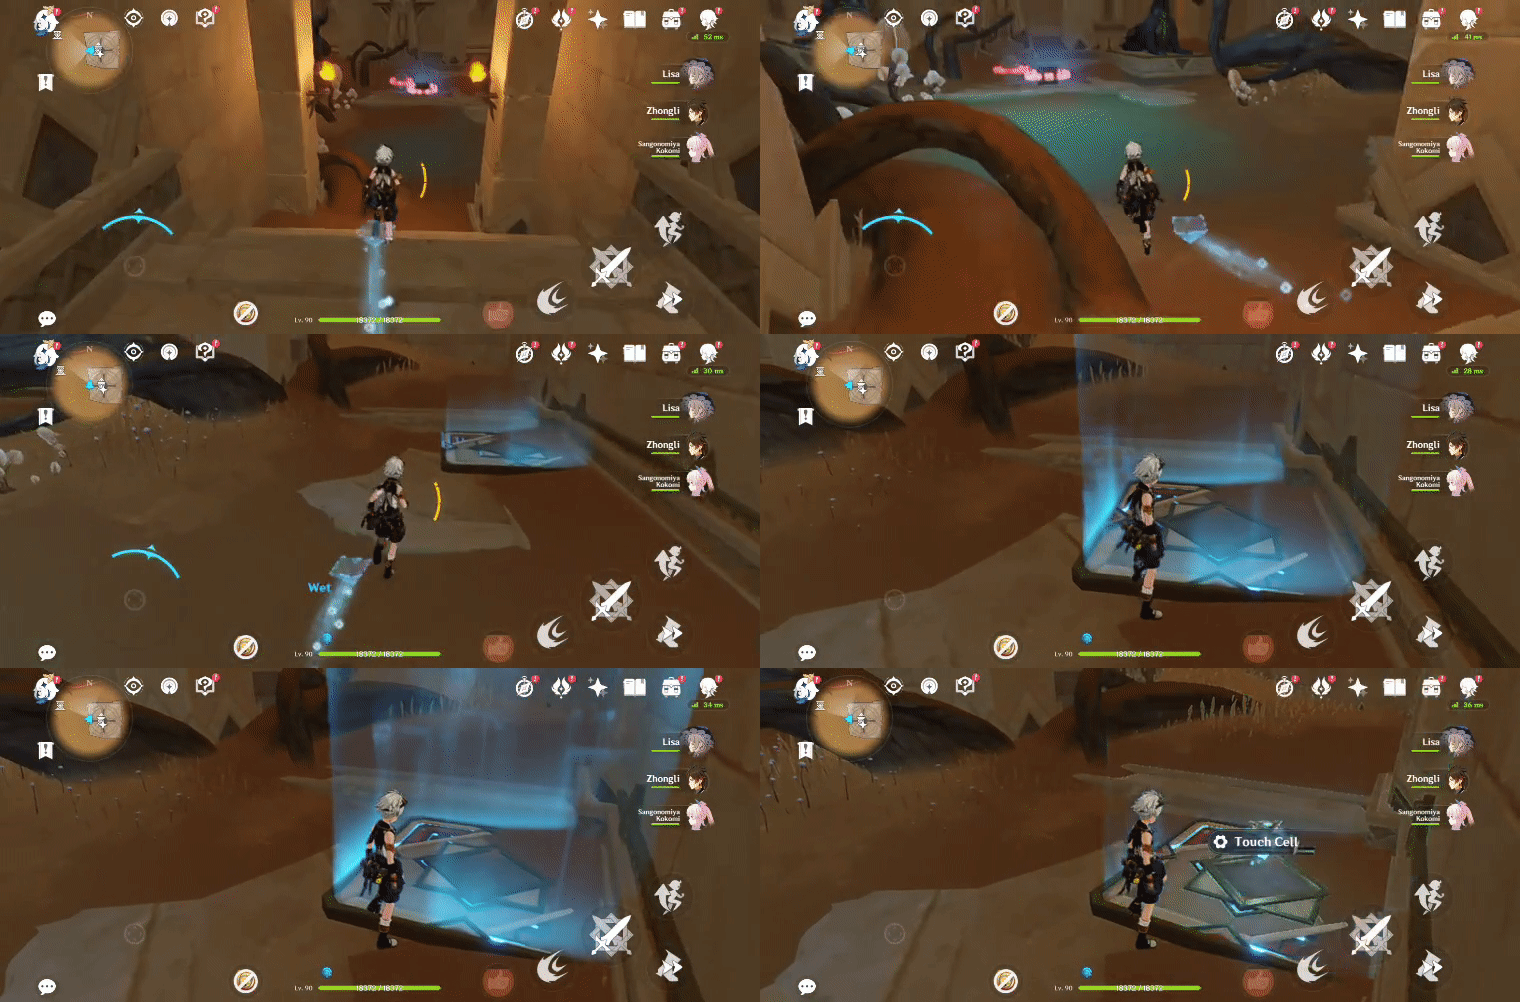
3. Press 'Touch Cell' to unlock the chest.
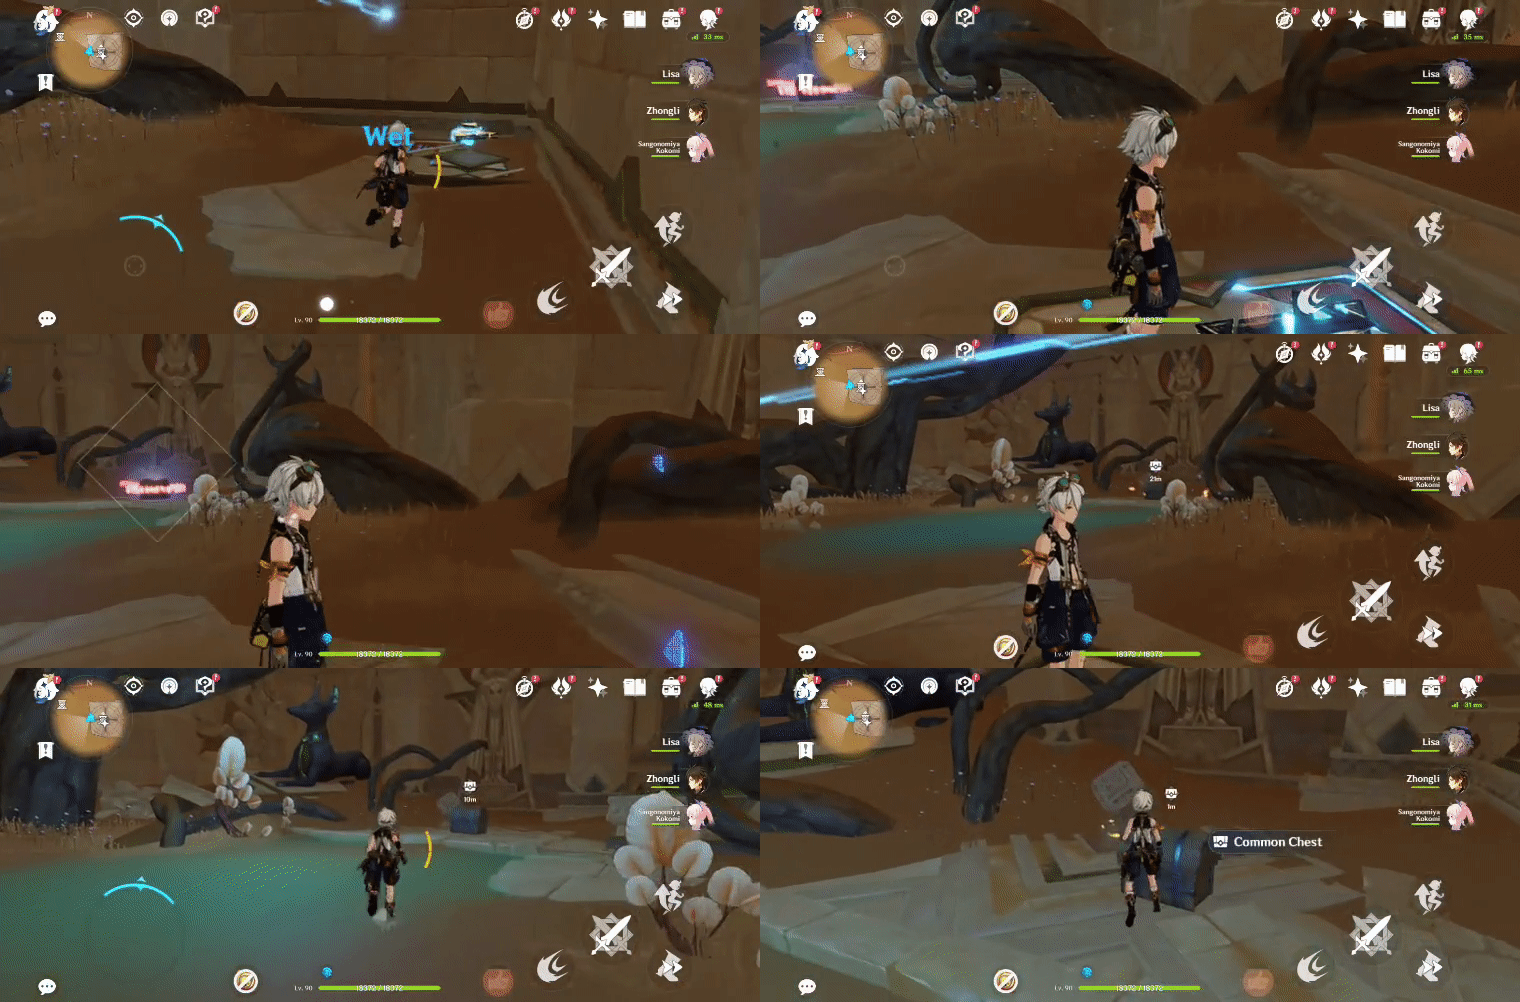
189. [Locked Chest] In the Dune, at the top level
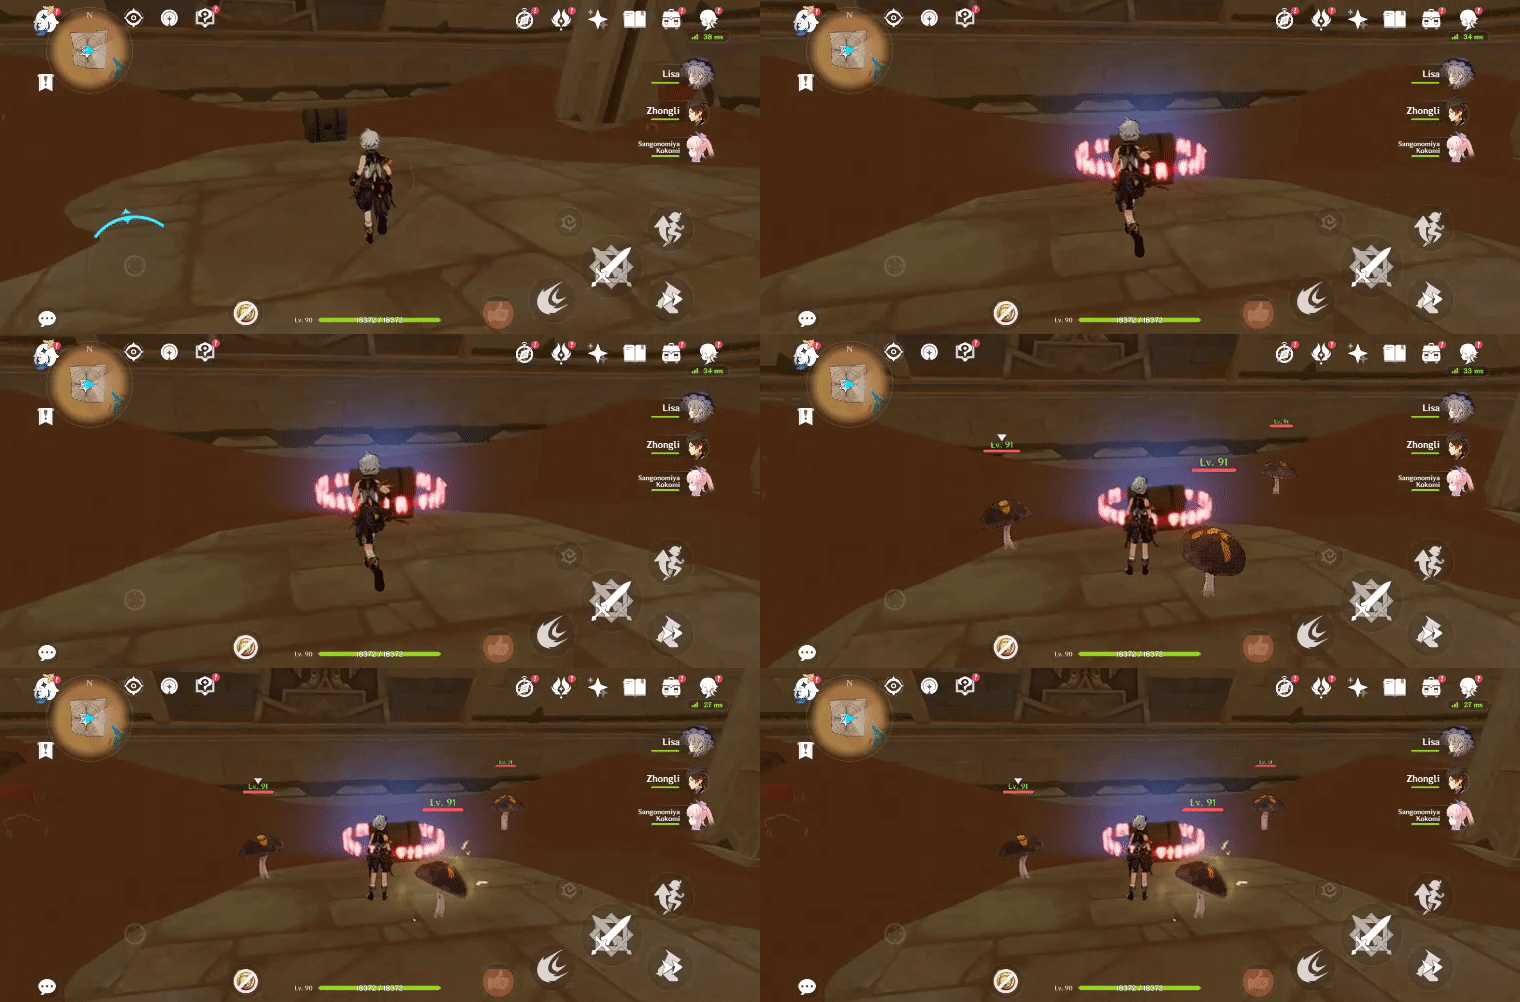
Will unlock after defeating 3 Stretchy Geo Fungi that spawn when close enough.
Location:

190. [Spawned Chest] Underground
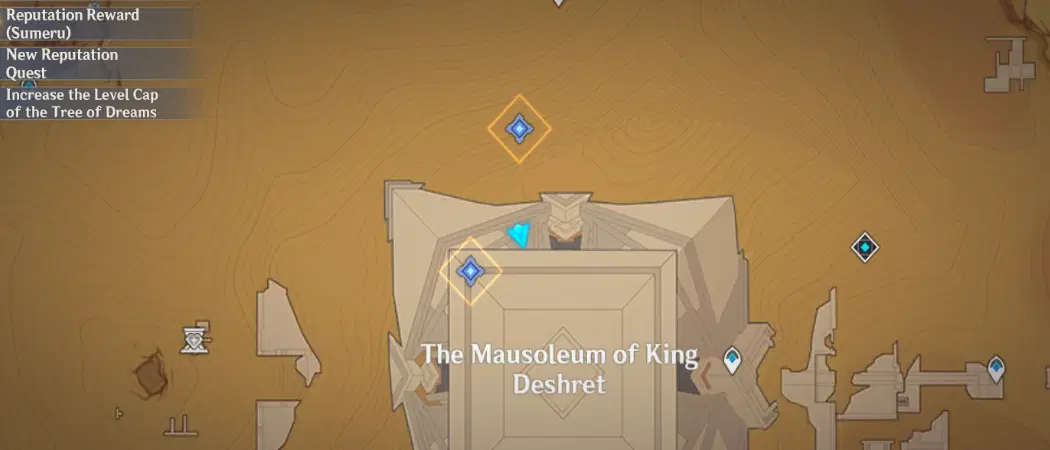
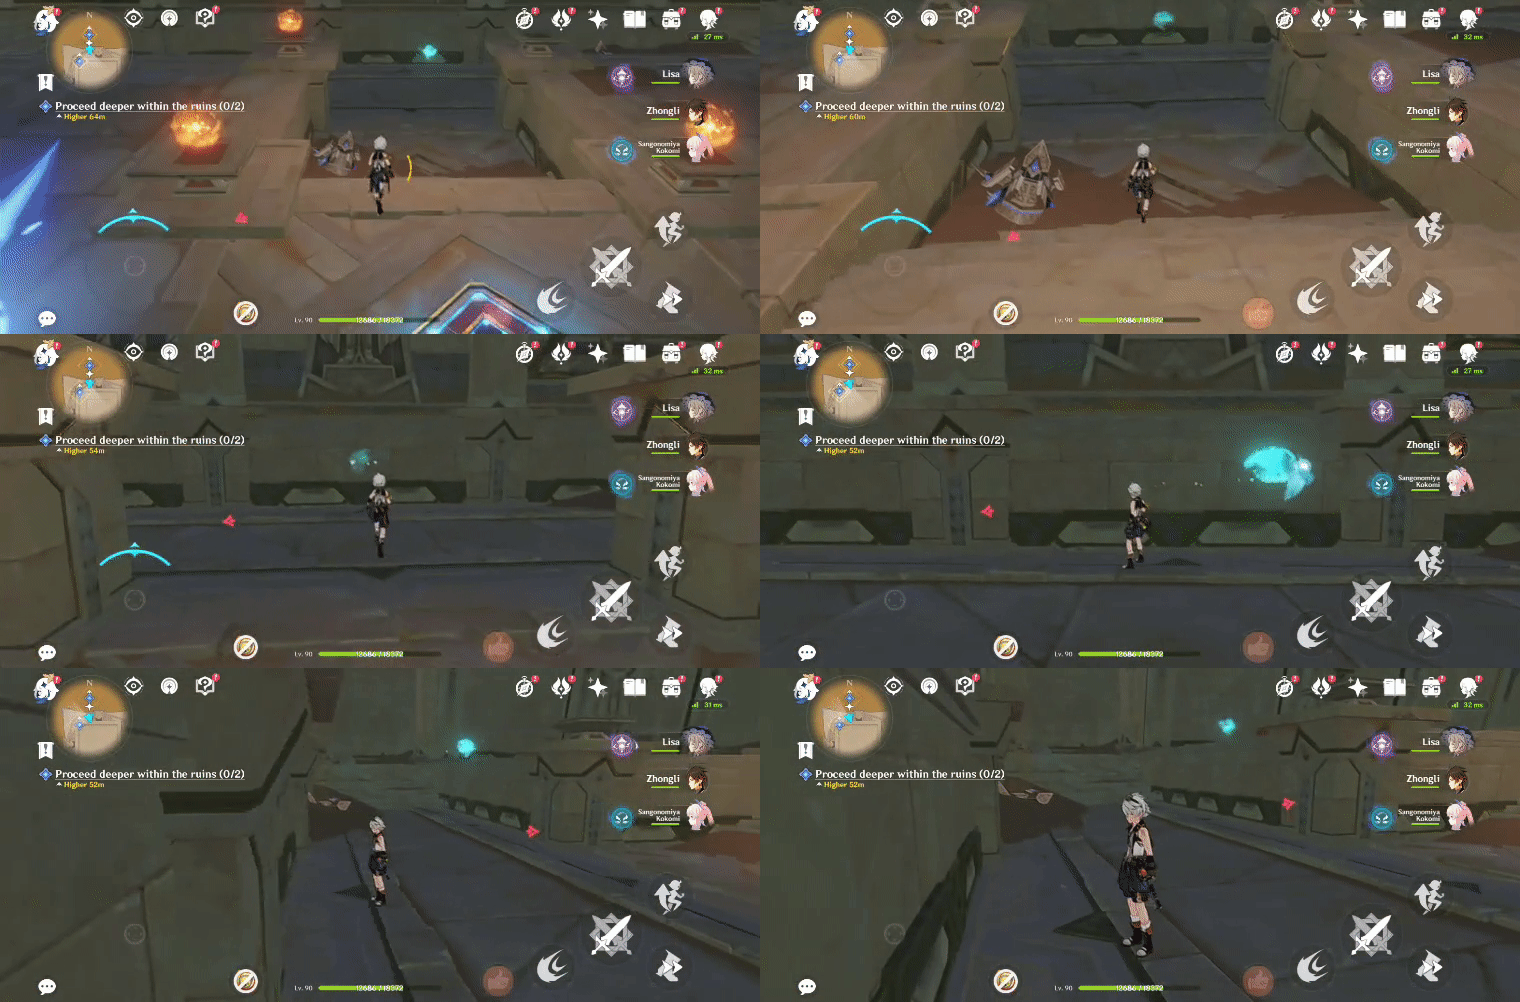
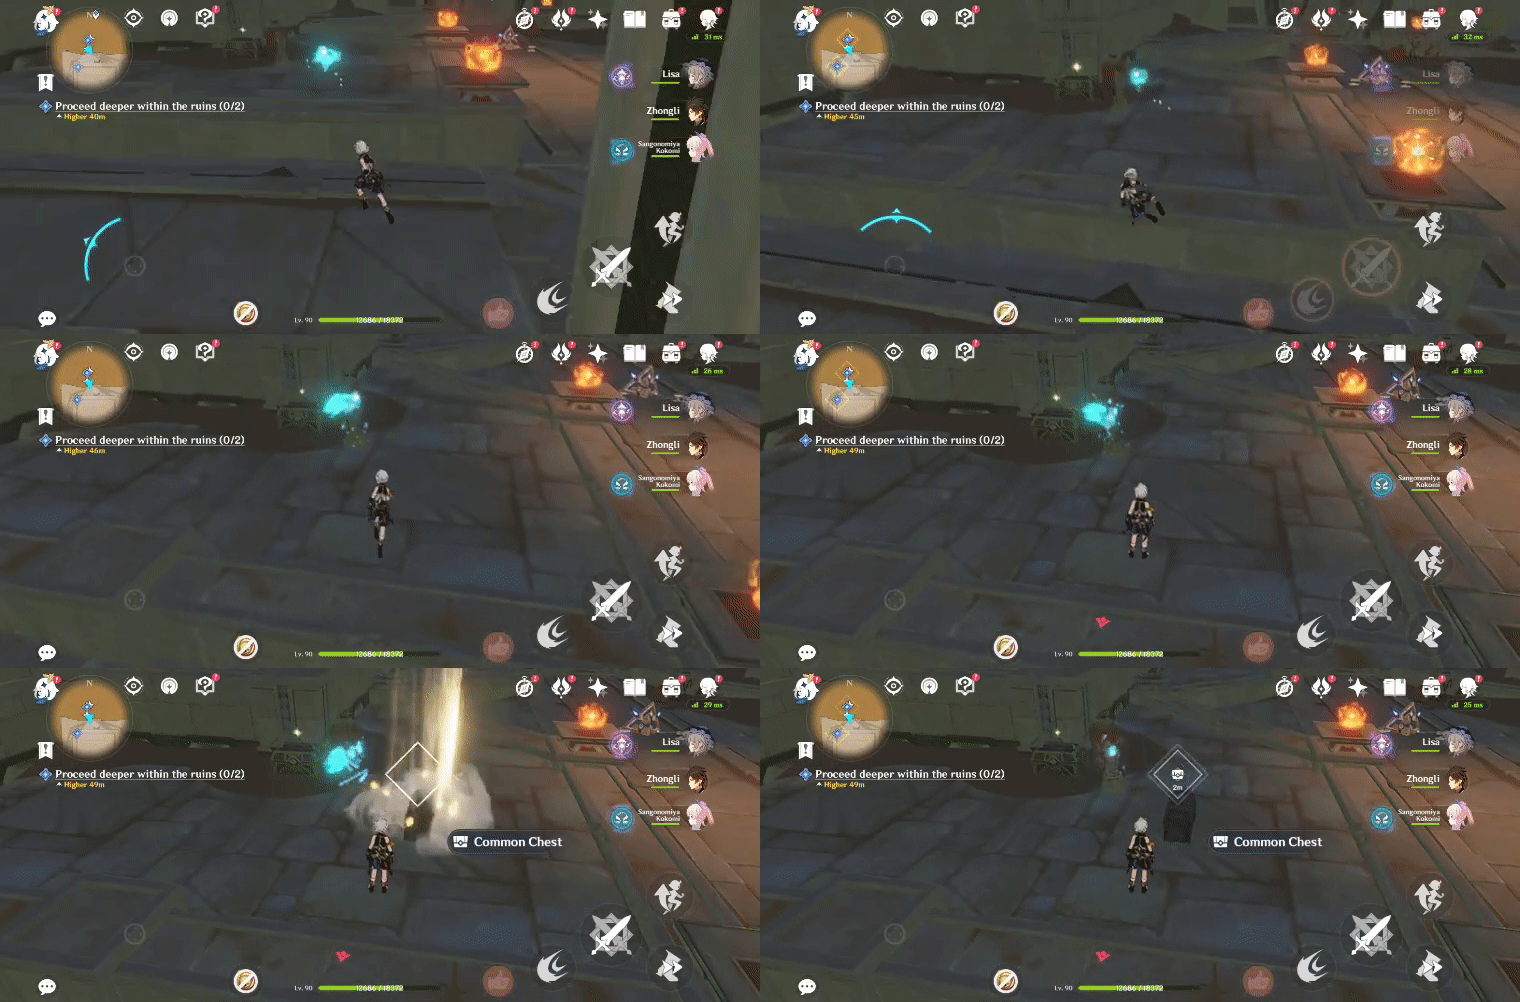
Will spawn after the Seelie returns to its Statue.
Location (Seelie):
Location (Seelie Statue):

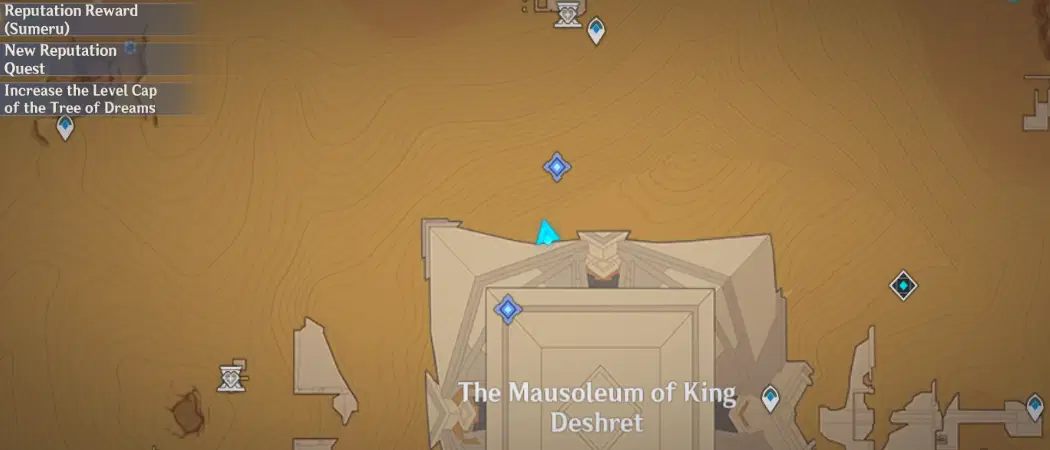
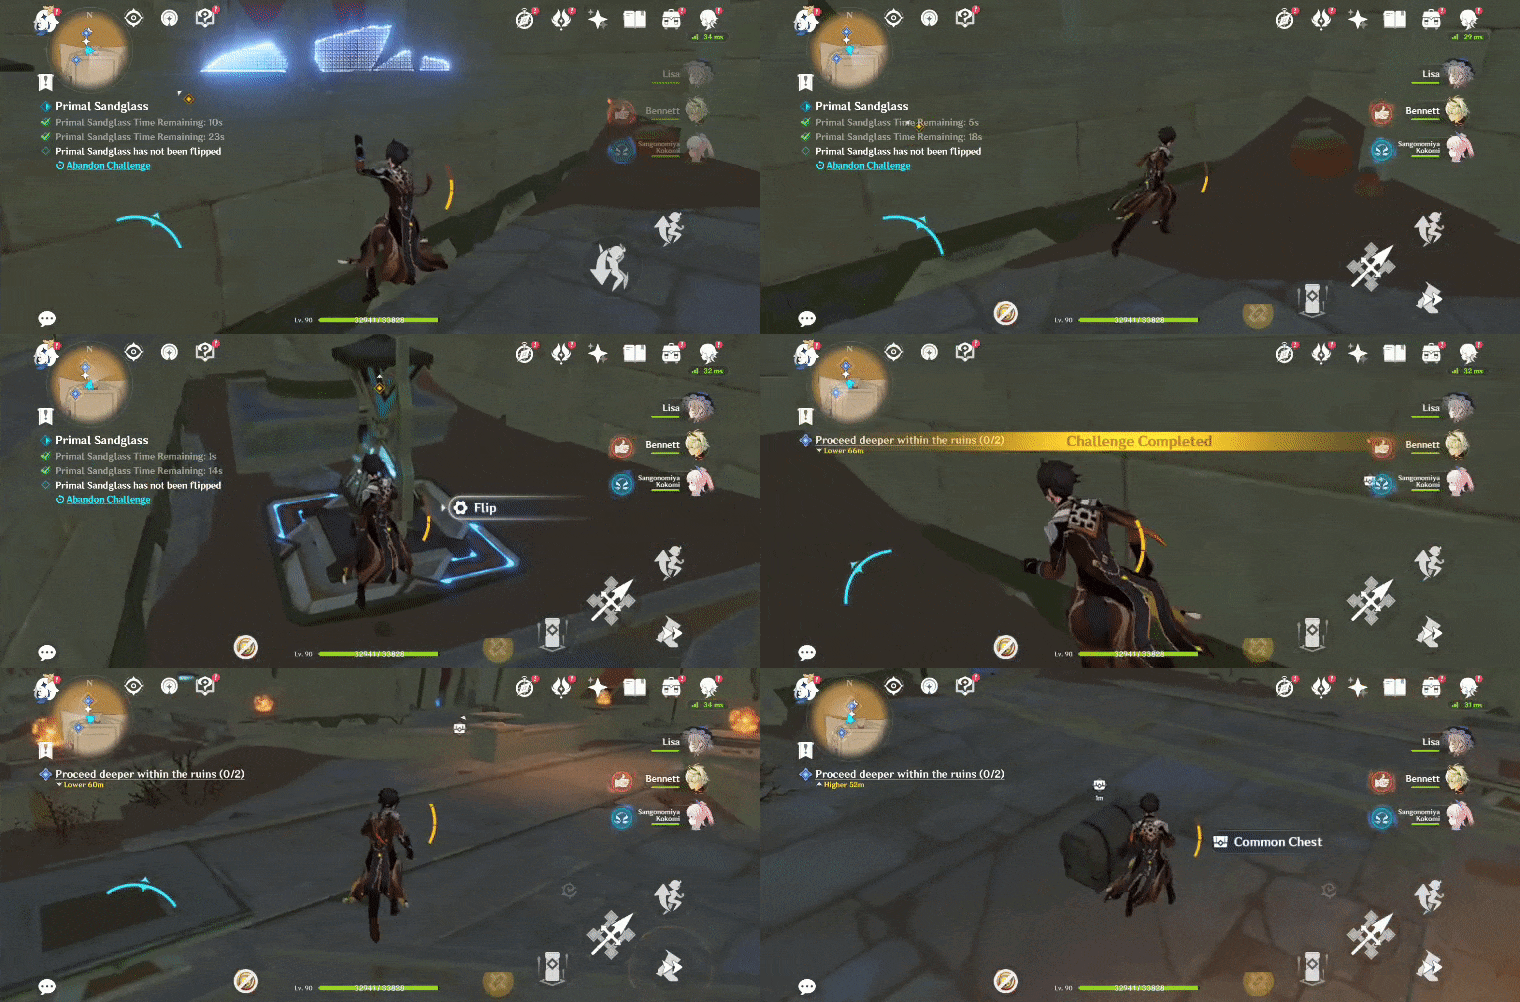
191. [Spawned Chest] Underground
Will spawn after completing the Primal Sandglass: Time Trial Challenge ('Flip 3 Primal Sandglasses within 30s').
Location (Chest):
192-196 are accessible during and after the World Quest 'Dreams Beneath the Searing Sand' (part of the World Quest Series 'Golden Slumber').
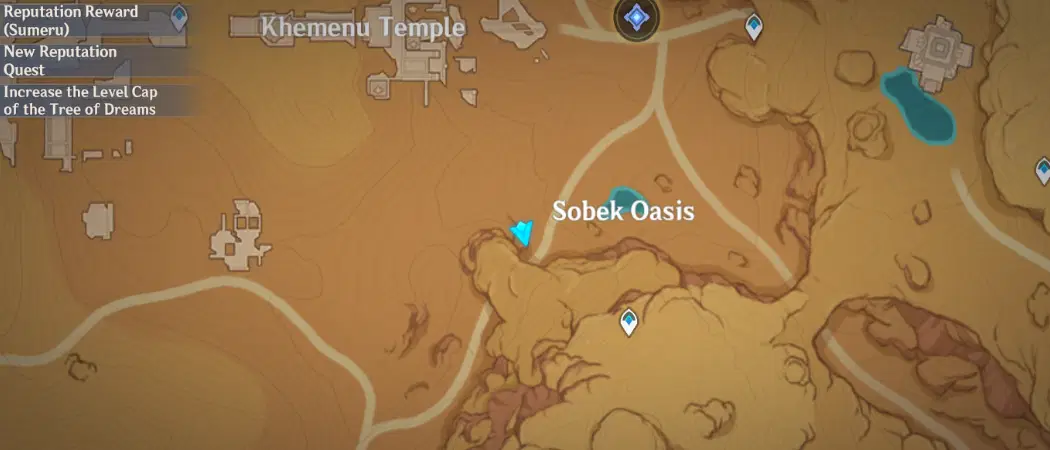
192. [Locked Chest] On the ledge
Will unlock after defeating 4 Eremites and 1 Shaggy Sumpter Beast.
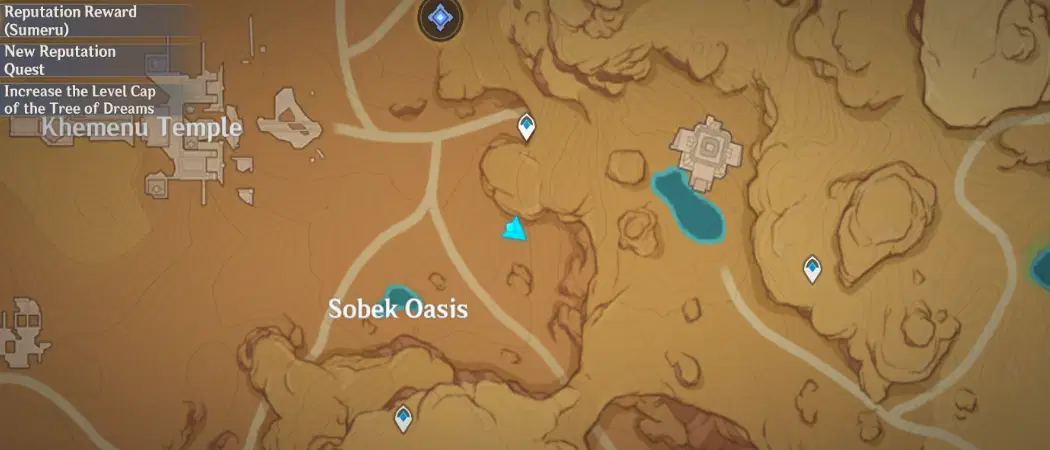
Location:
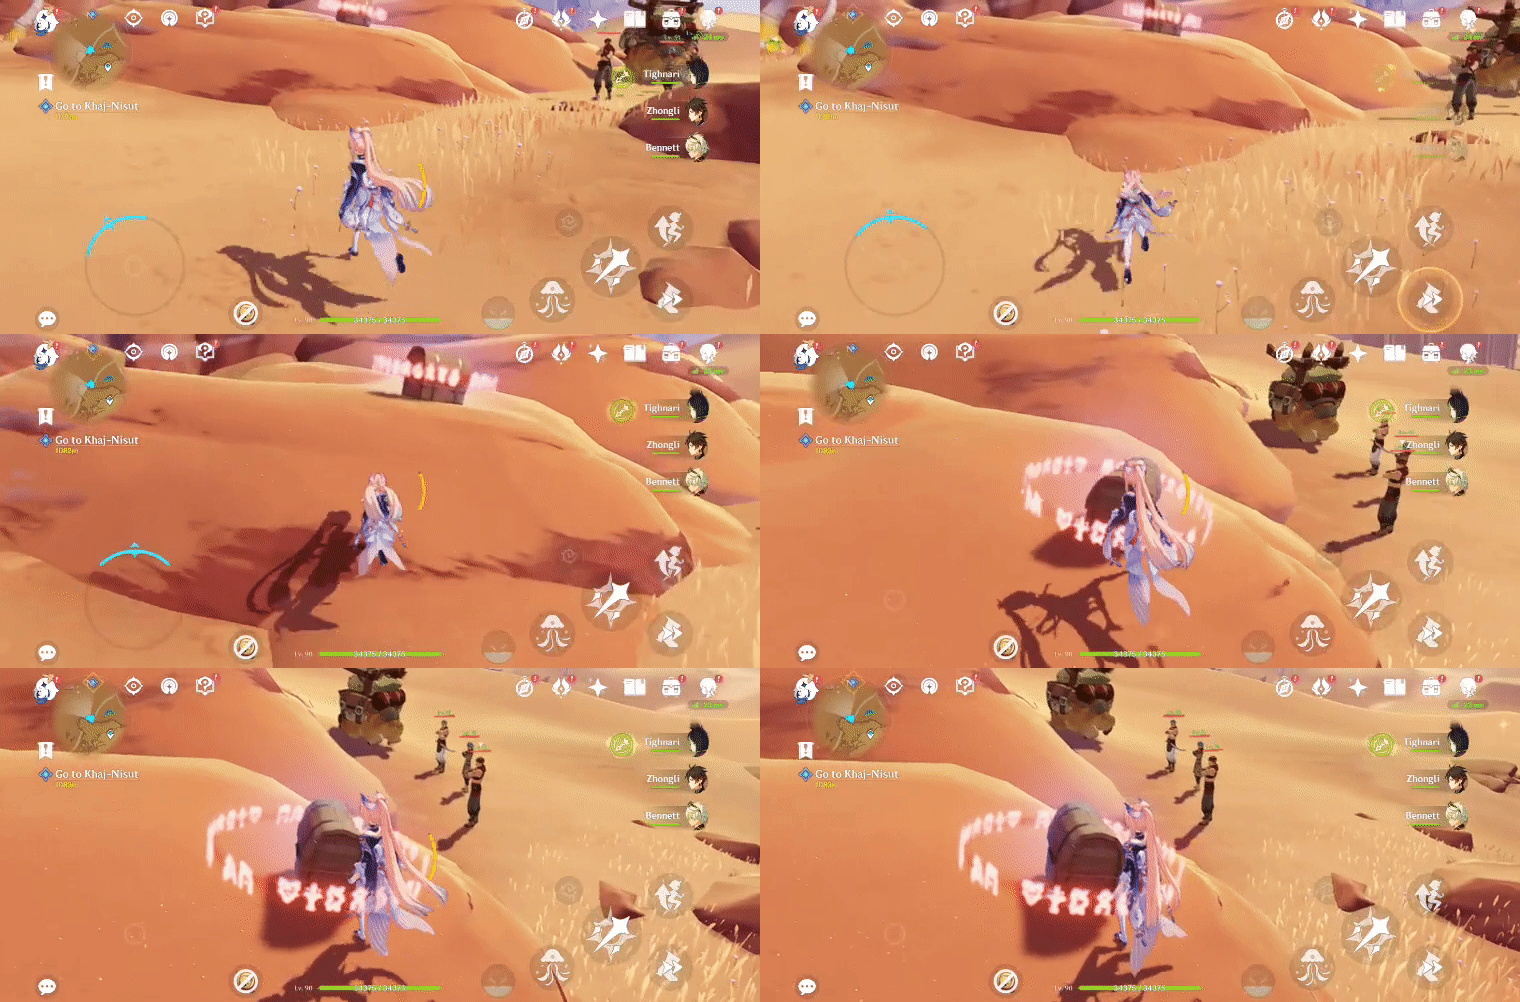
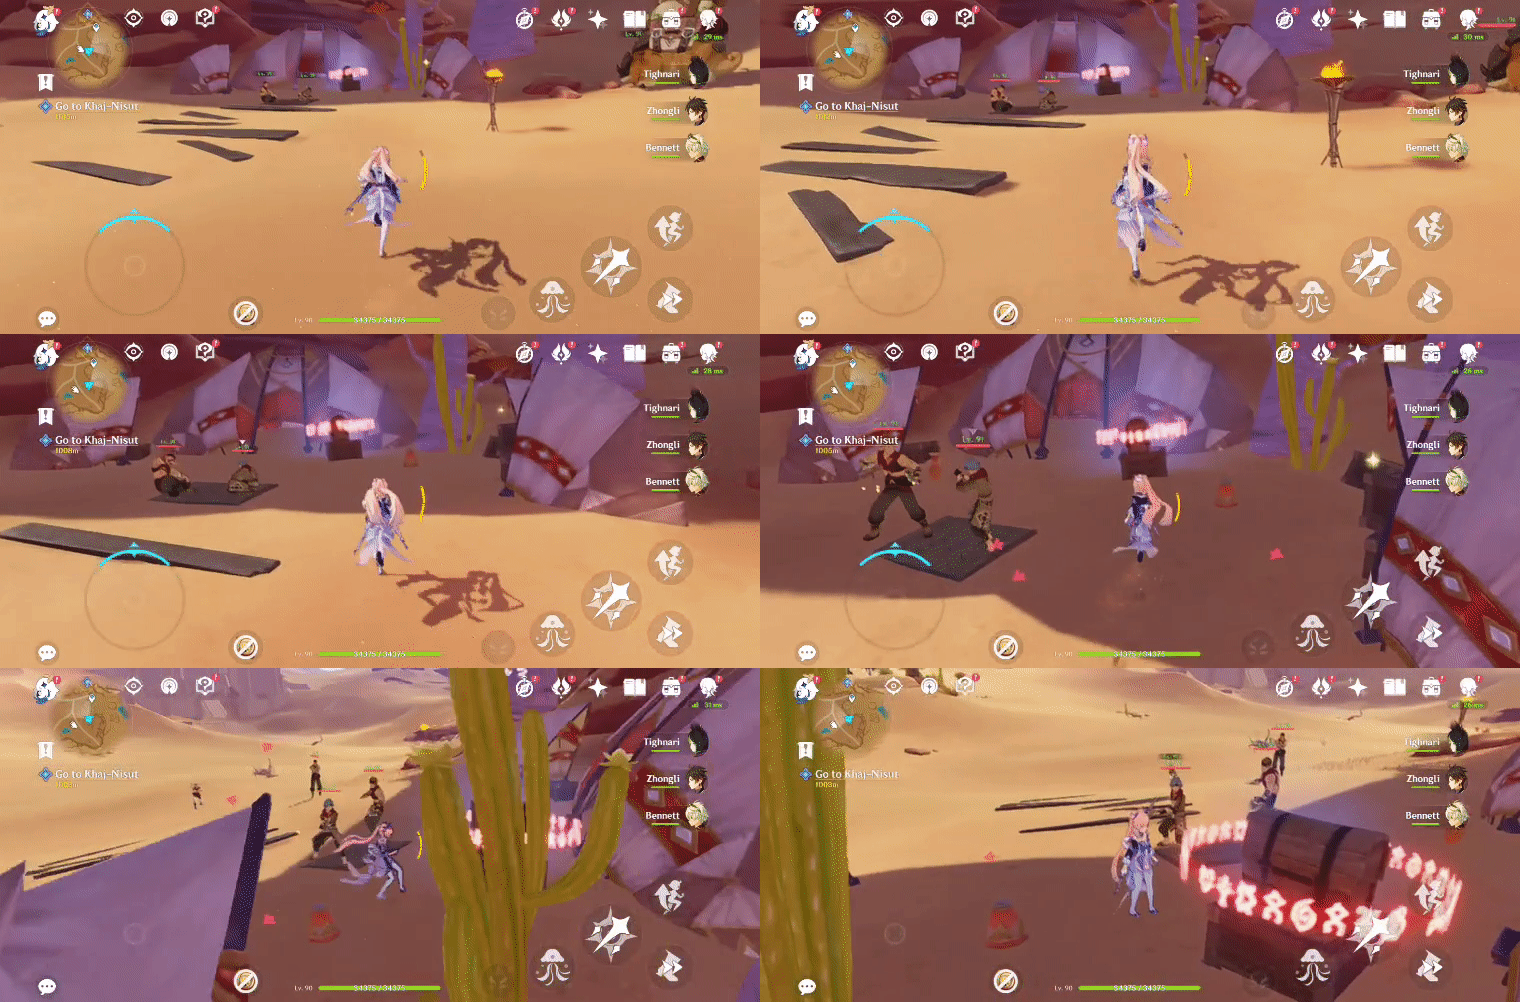
193. [Locked Chest] In front of the Eremite camp
Will unlock after defeating 4 Eremites and 1 Shaggy Sumpter Beast.
Location:
194. [Locked Chest] Underground
Location (Chest):

1. Gather 2 Forged Primal Lights and bring them to the 2 Replicator Keystones to spawn an Everlight Cell and an Obscuring Cell.
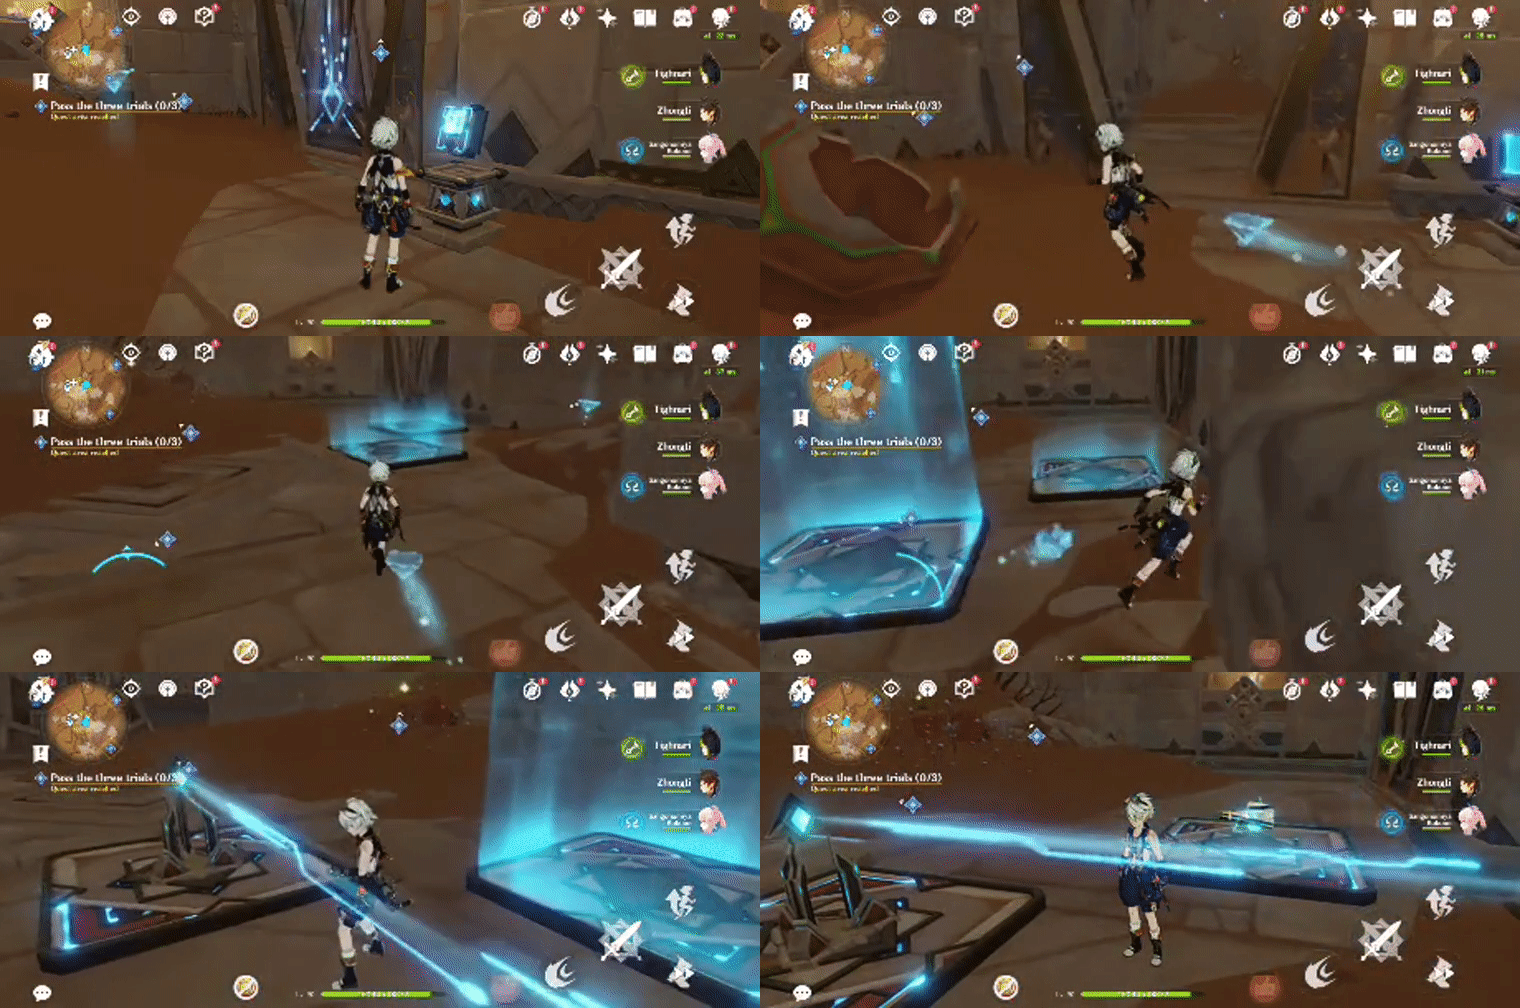
2. Press 'Touch Cell' to unlock the chest.
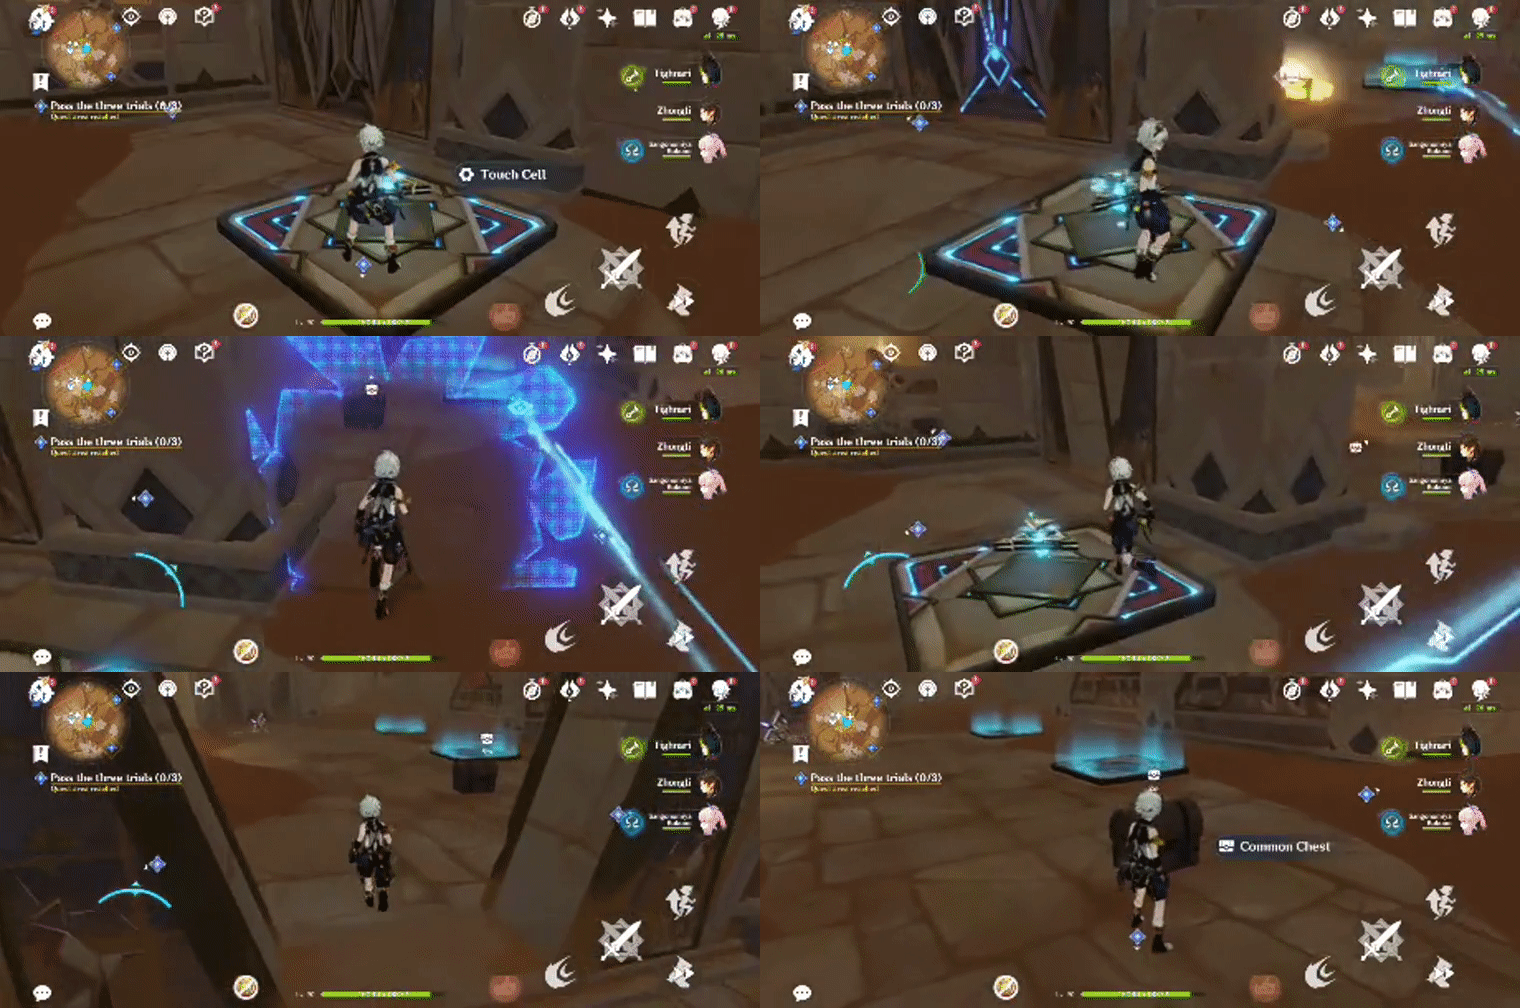
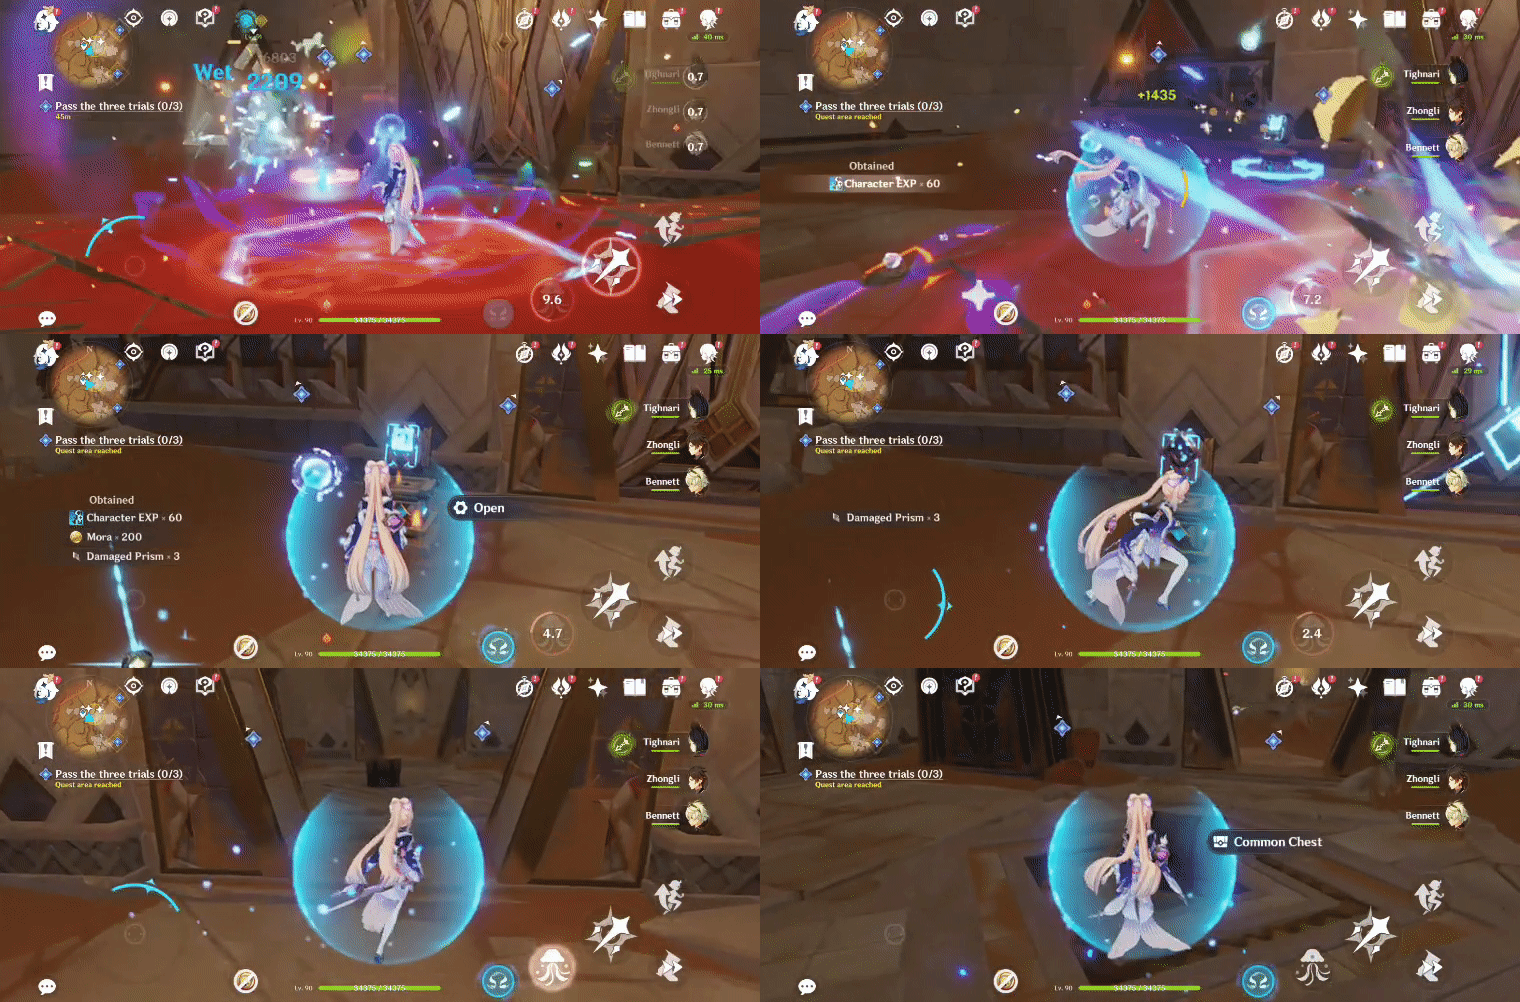
195. [Trapped Chest] Underground
Press 'Open' on the Plinth of the Secret Rites to raise the door to access.
Location (Chest):

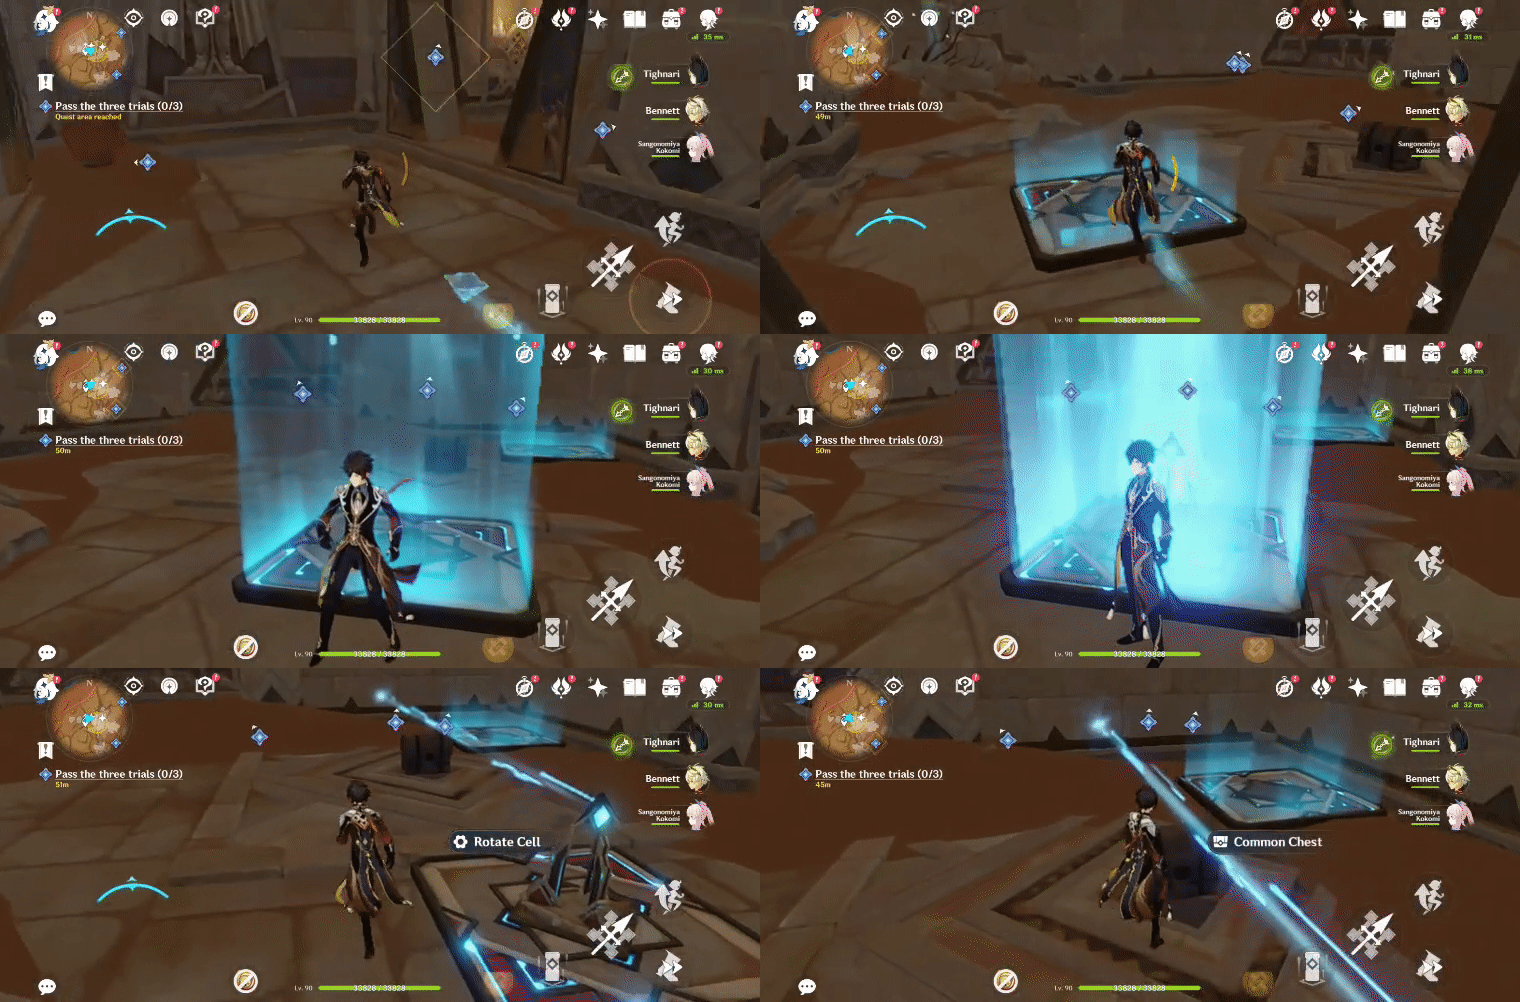
196. [Trapped Chest] Underground
Press 'Open' on the Plinth of the Secret Rites to raise the door to access.
Location (Chest):

197-200 are accessible during and after the World Quest Series 'Old Notes and New Friends'. Complete the 'Golden Slumber' World Quests, wait a daily reset, and then go to the entrance of of Aaru Village to trigger the Quest.
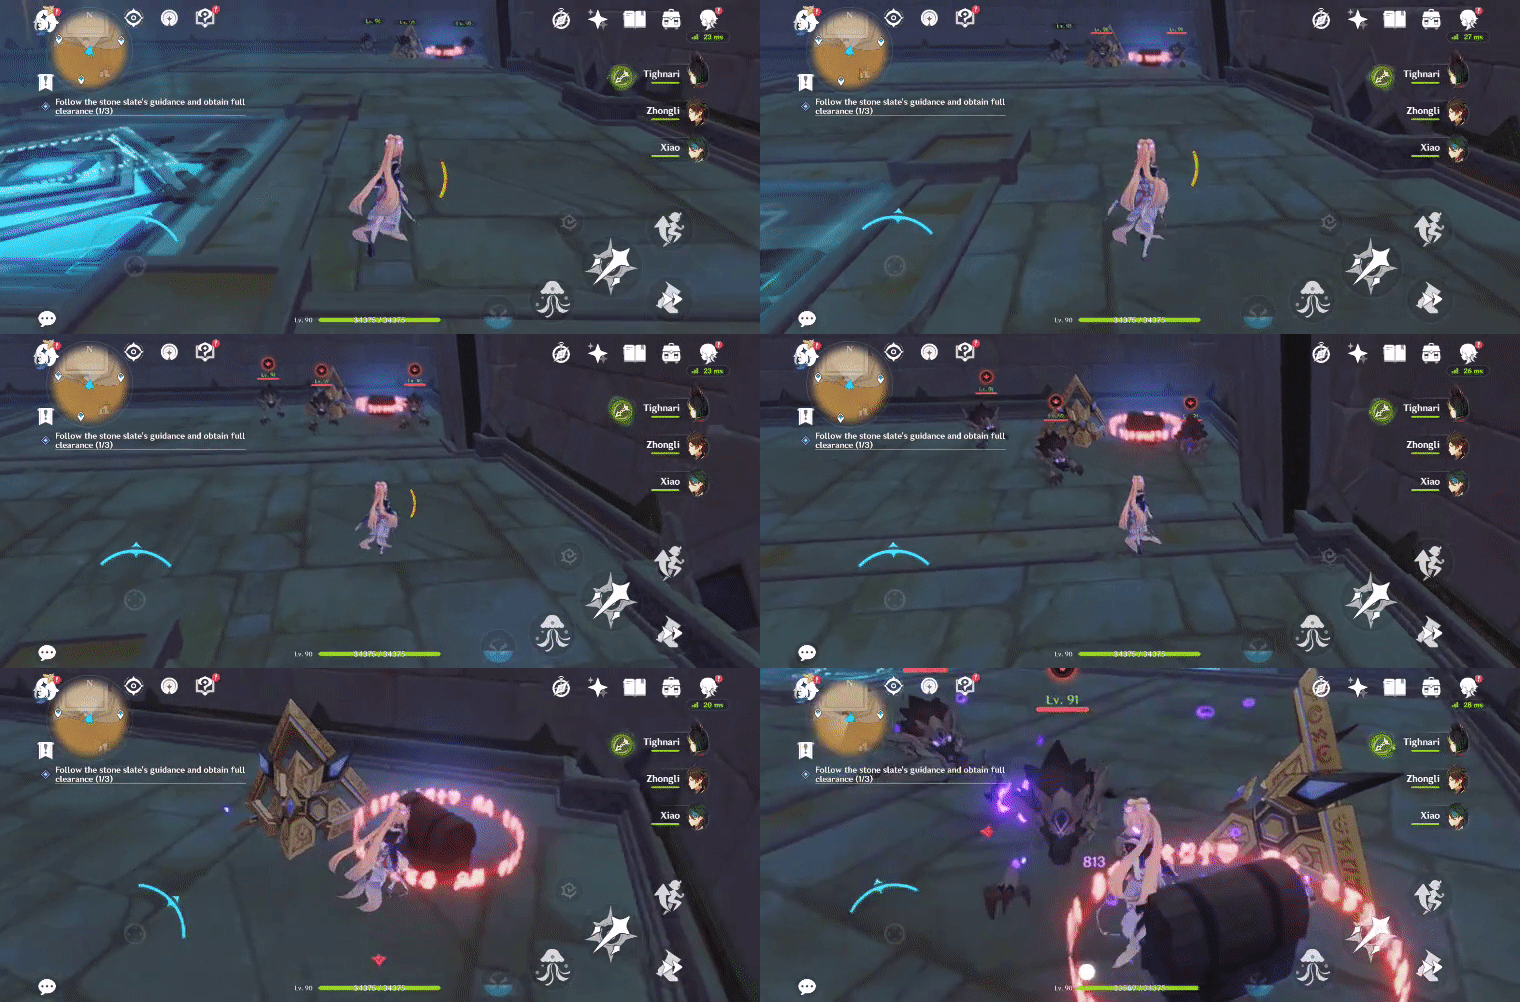
197. [Locked Chest] Underground, in the top right corner of the ruins
Will unlock after defeating 3 Thundercraven Rifthound Whelps.
Location:

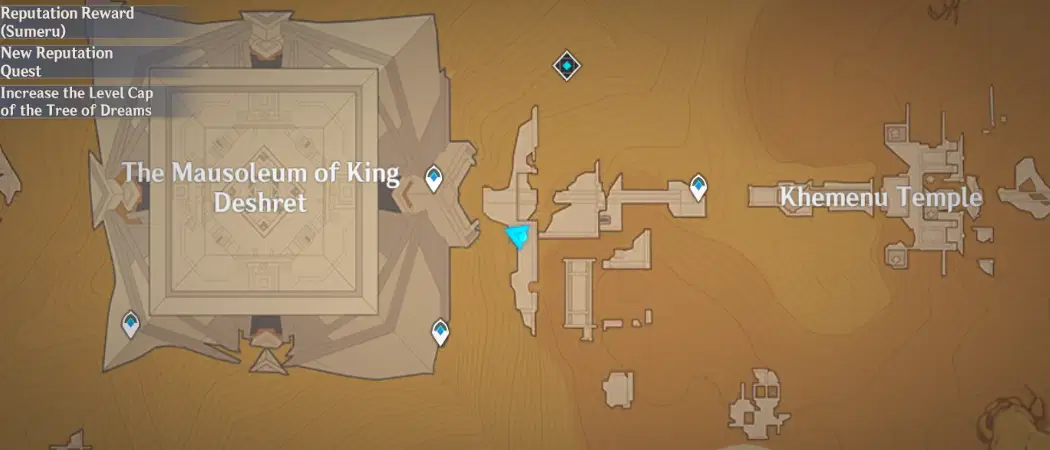
198. [Spawned Chest] Underground
Press 'Move Cell' on the Everlight Cell to spawn the chest (ensure that the elevator behind the 2nd Everlight Cell is above it to unlock it).
Location (Chest):
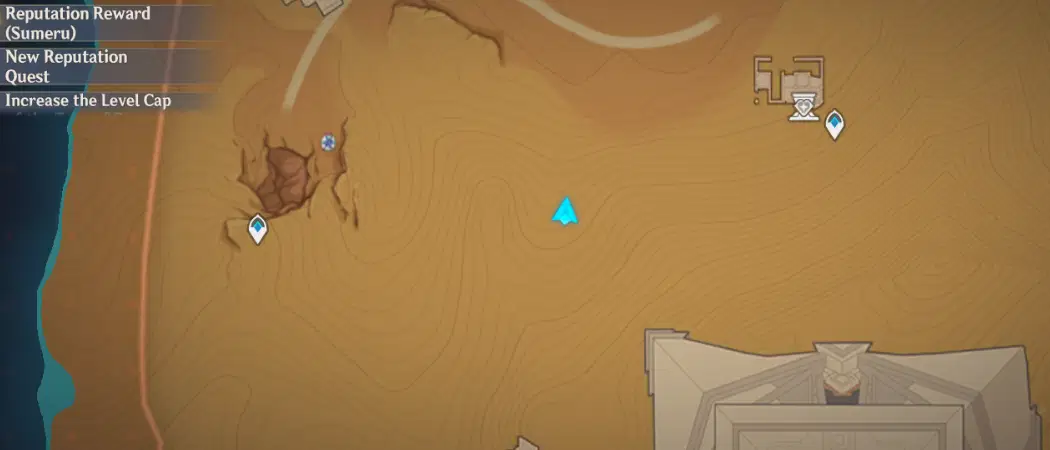
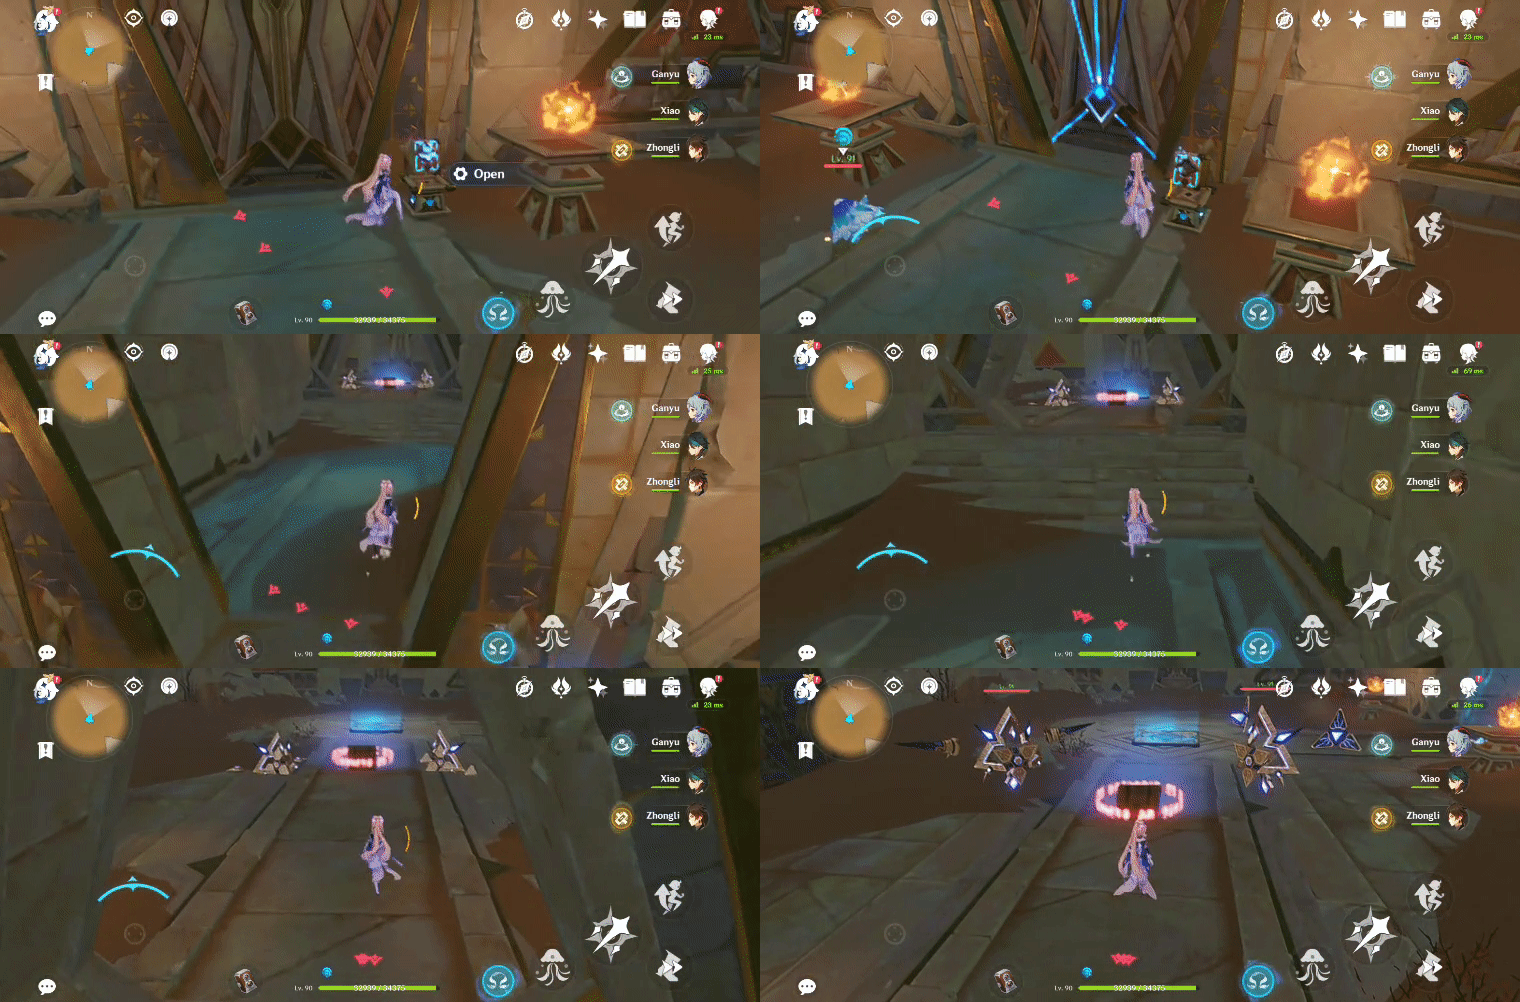
199. [Locked Chest] Underground
[Requires Scarlet Sand Slate- Max Level Clearance]
Will unlock after defeating 1 Primal Construct: Reshaper and 1 Primal Construct: Prospector.
Location:
200. [Spawned Chest]
[Requires Scarlet Sand Slate- Max Level Clearance]
Location (Chest):
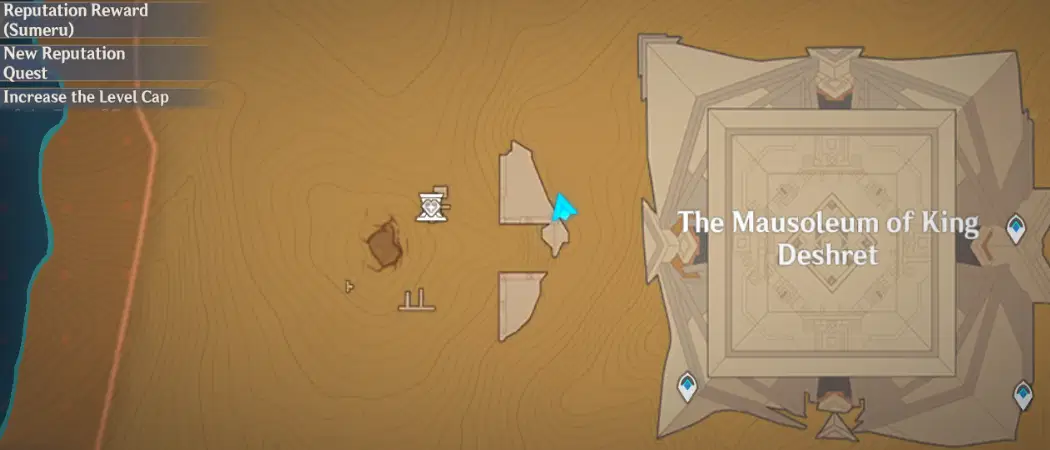
1. Press 'Turn On' to generate an up-current, gather the Forged Primal Light and bring it to the Replicator Keystone to spawn a Primal Sandglass.
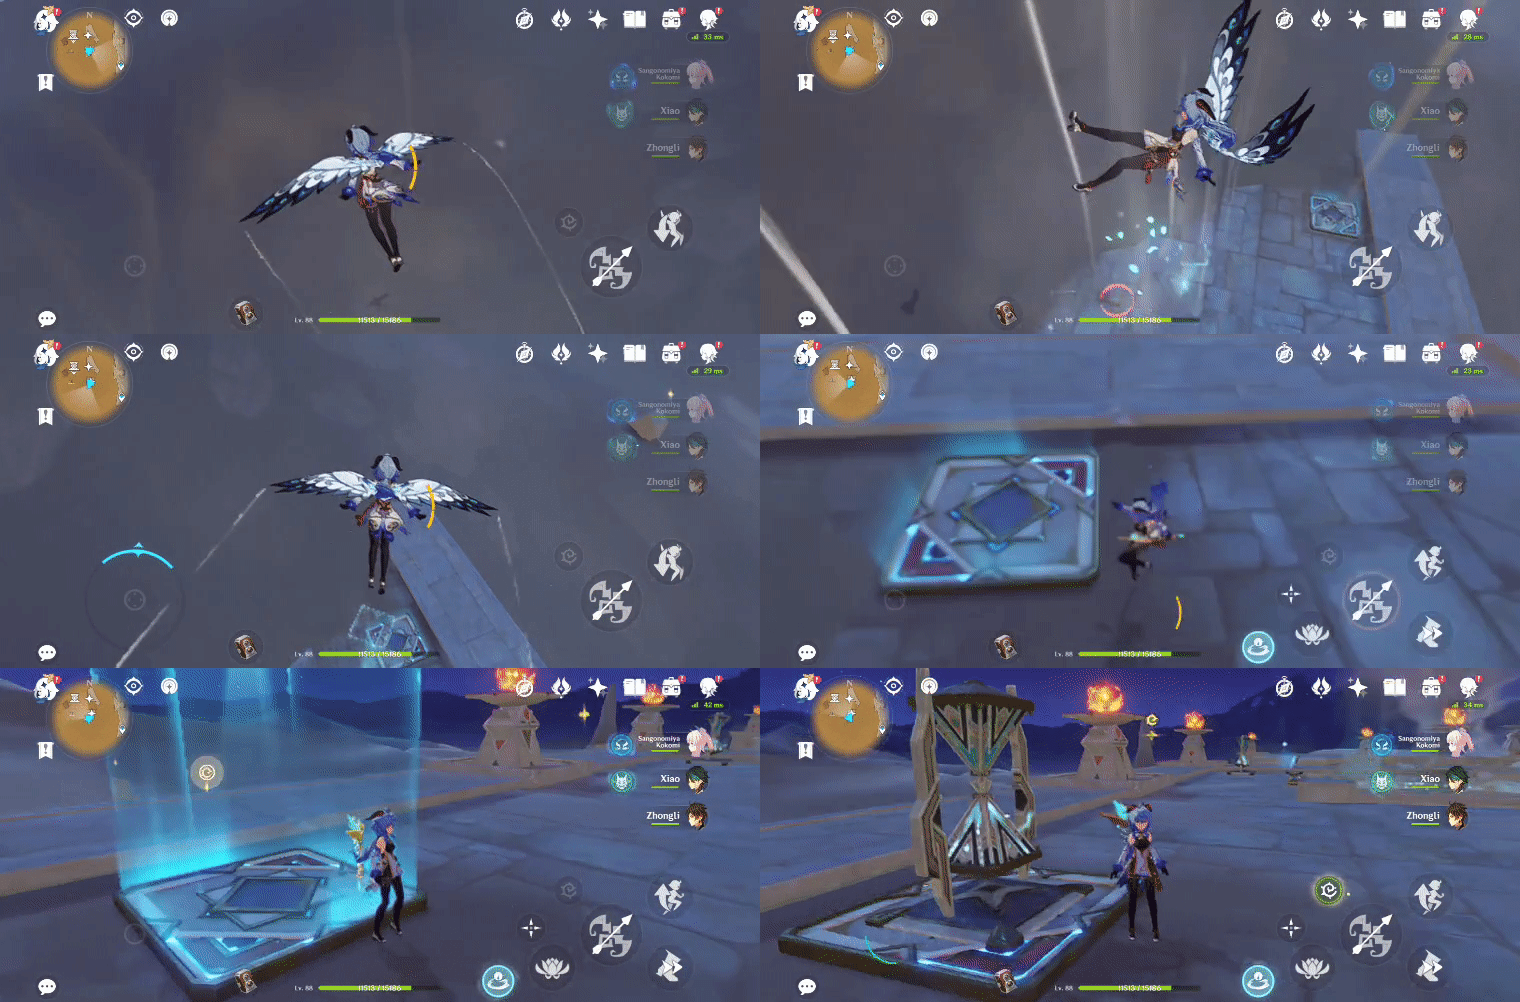
2. Complete the Primal Sandglass: Time Trial Challenge ('Flip 3 Primal Sandglasses within 30s') to spawn a Primal Ember.
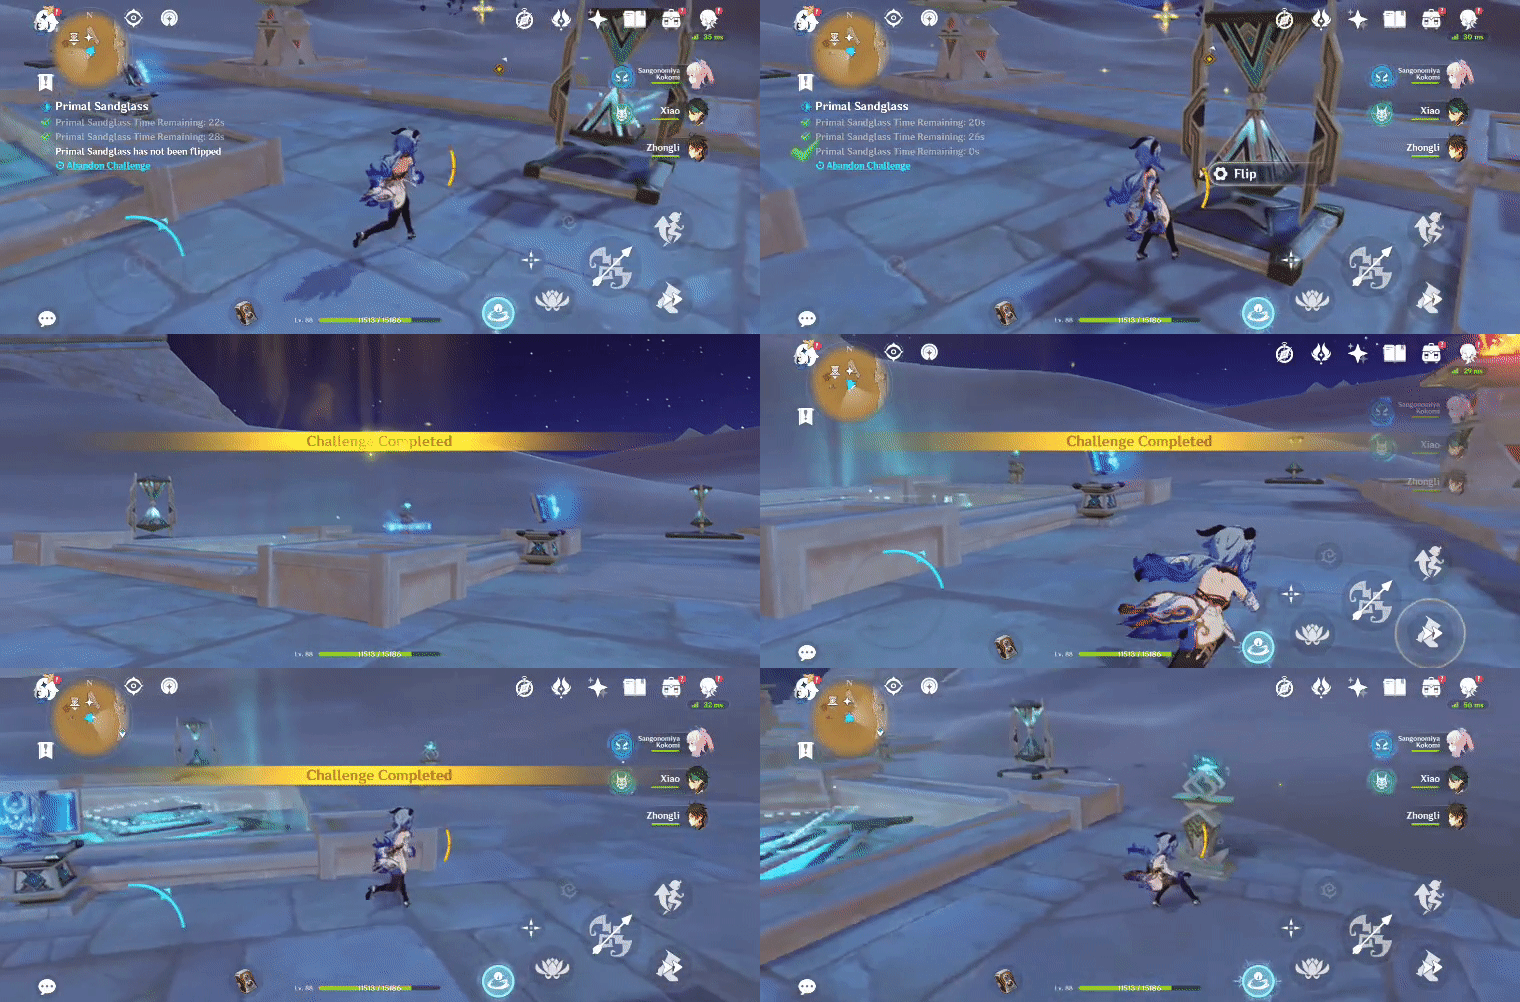
3. Press 'Turn Off' on the Plinth of Secret Rites to stop the up-current, then press 'Release' on the Primal Sconce and follow the Primal Ember to its Primal Torch to spawn the chest.
Previous:[V3.1 Guide] Common Chests- Sumeru Desert: Part 9 | Genshin Impact | HoYoLAB
Index:[Index] Common Chests | Genshin Impact | HoYoLAB
Next:[V3.1 Guide] Common Chests- Sumeru Desert: Part 11 | Genshin Impact | HoYoLAB



