Quest Name:
Inazuma World Quest Compilation –Tatara Tales (First Quest)
Quest Reward:
The first quest rewards Adventure EXP*400, Primogem*50, Hero’s Wit*4, Mystic Enhancement Ore*4, Mora*40,000, Achievement [Knock Knock].
Prerequisites:
Adventure Rank Lv.30; Completed “The Immovable God and the Eternal Euthymia”
Quest Trigger:
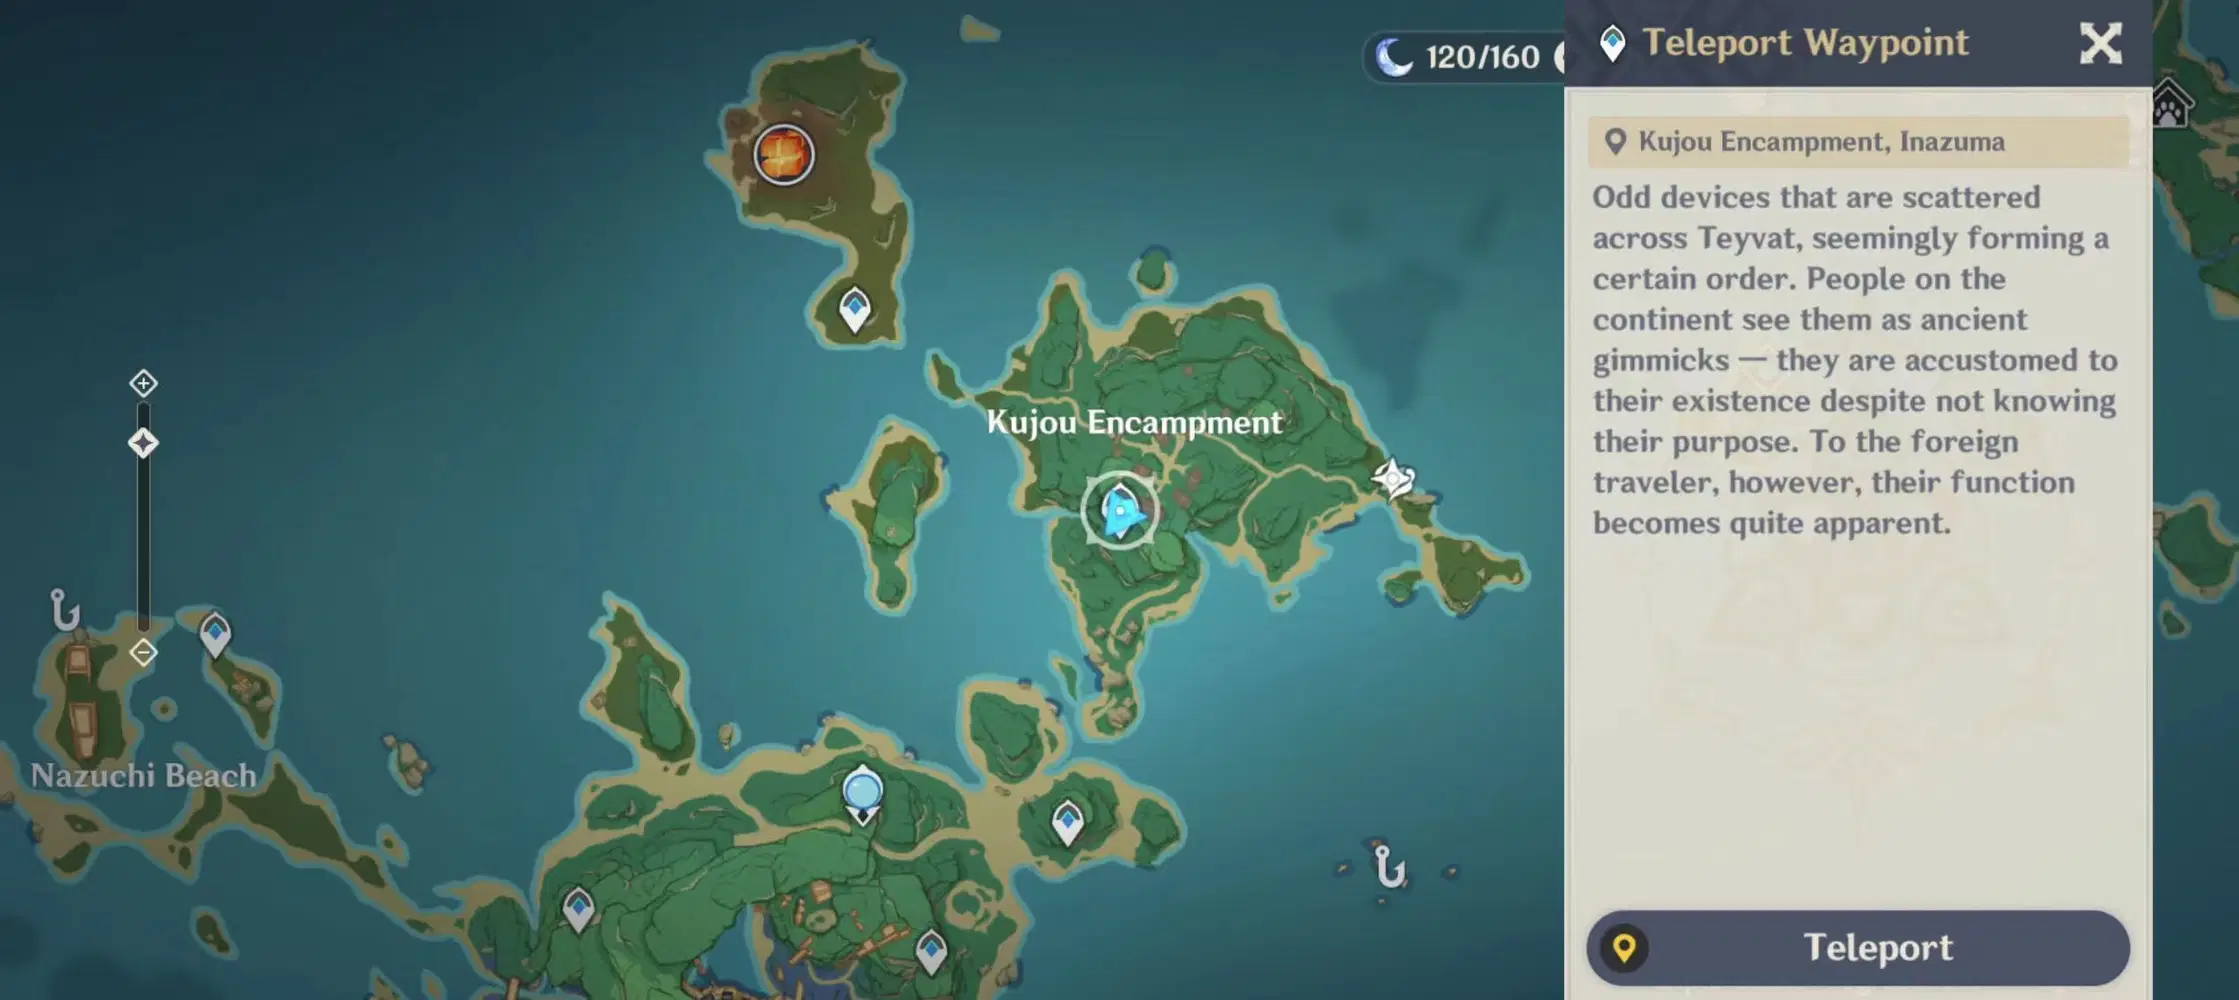
Once eligible for the quest, it will be automatically accepted and appear in the quest log. Teleport to the Kujou Encampment waypoint to trigger the quest.
Quest Summary:
In this quest, we will help Toranosuke with his requests. This is a series of quests including the following -
Tatara Tales (Day 1)
Tatara Tales: Priority Investigation (Day 1)
Tatara Tales: Purification Device (Day 2)
Tatara Tales: Data Collection (Day 3)
Tatara Tales: Process Is Everything (Day 4)
Tatara Tales: Functional Test (Day 5)
Tatara Tales: Final Preparations (Day 6)
Tatara Tales: The Last Act (Day 7)
Tatara Tales Quests refresh every day in [real time].
Quest Steps:
1. Tatara Tales
Talk to both Toranosuke and Miyuki to get a picture of what’s going to happen next. We decide to go look for the engineer from Fontaine called Xavier.
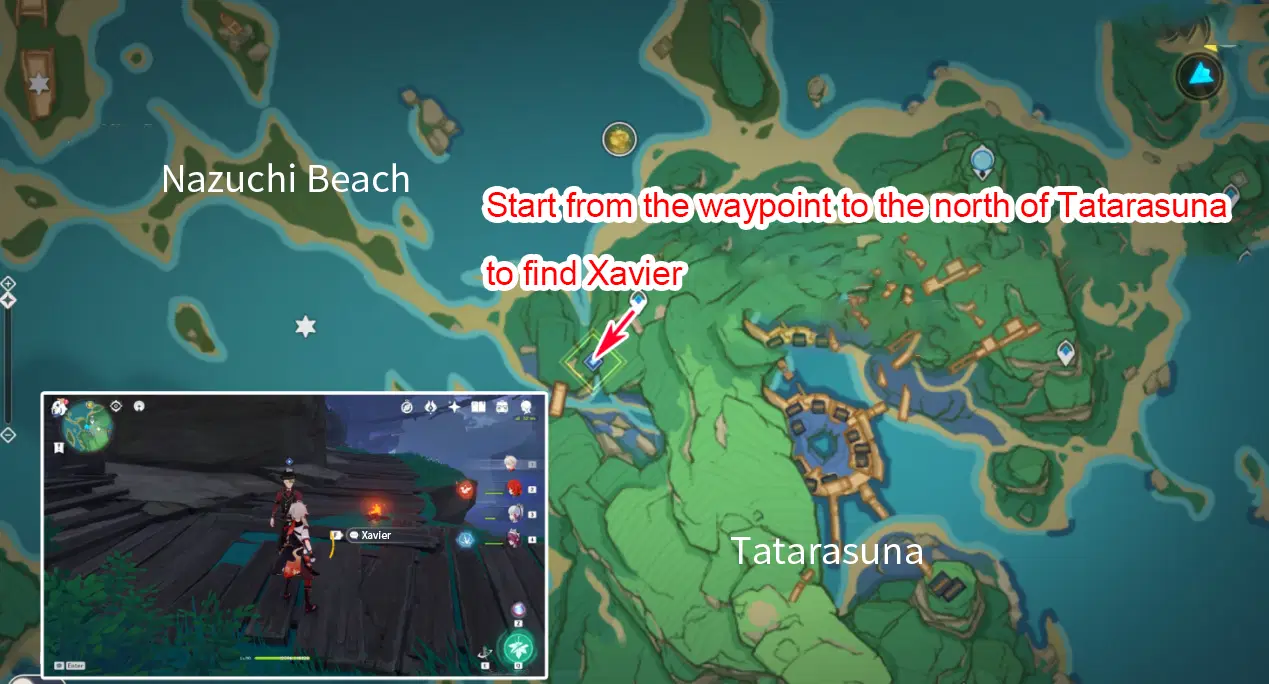
Following the quest navigation, we can find the great inventor near the waypoint in Tatarasuna. The detailed route is shown in the picture below. Talk to Xavier to get a brief on the situation.
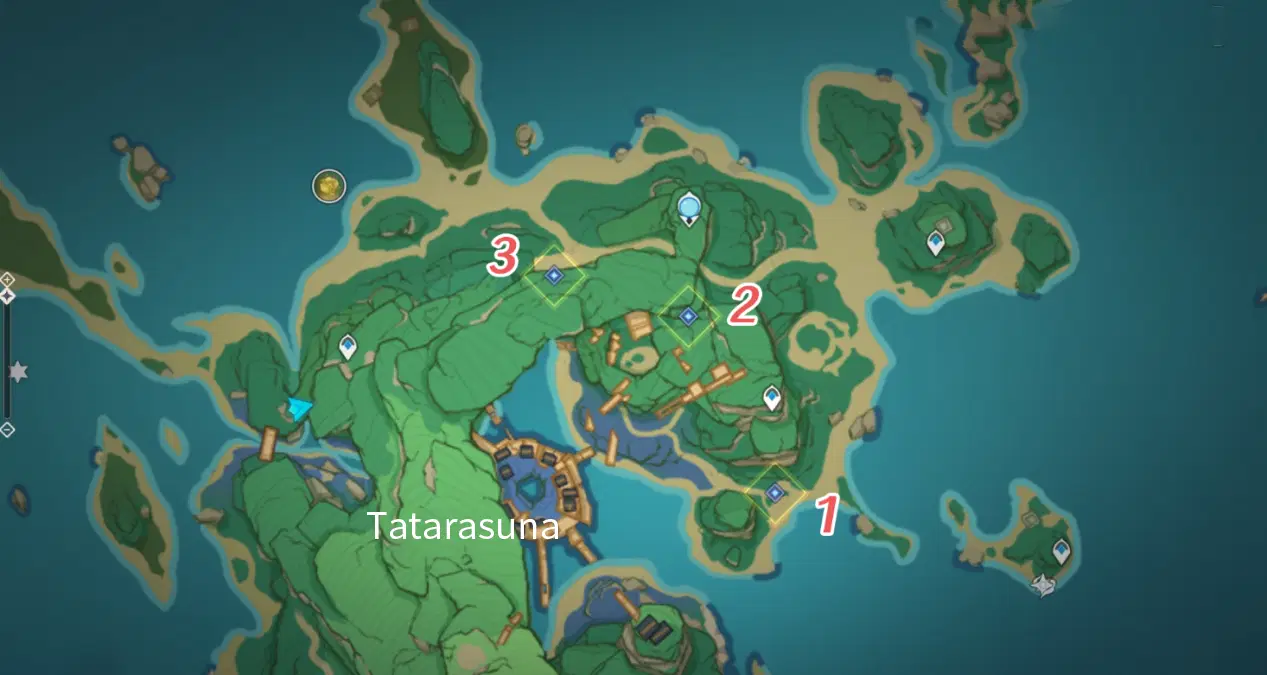
After speaking, we decide to go to the so-called Mikage Furnace and scout the area. There are three points that we need to observe from, all are marked in the picture below. I’ve numbered them from 1 to 3, bottom right to upper left for clarity.
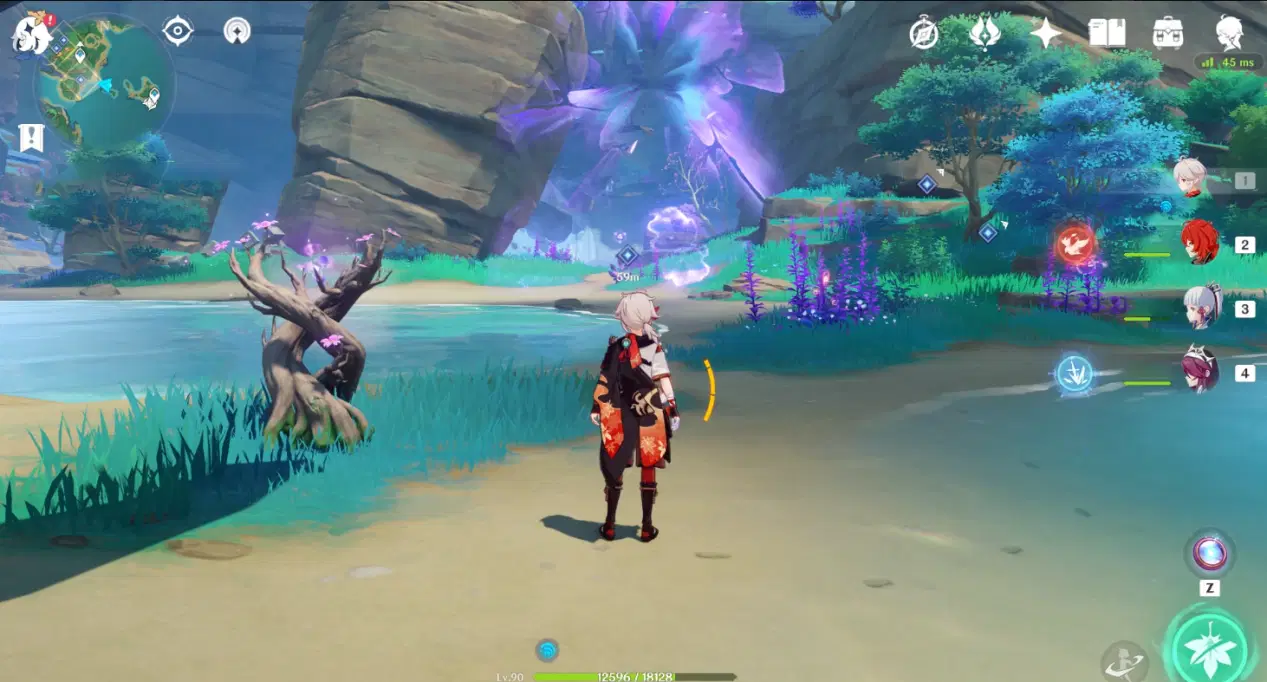
Location 1: Is shrouded by the Thunder Barrier which needs to be broken with the help of Electrogranum next to the ship wreckage nearby. Investigate once you’re inside the barrier.
Location 2: First contact the Electro Seelie in the air, chase it a few times until it lands on the ground and reveals the investigation point. You can use the Thunder Sakura Bough nearby and summon the Electrogranum to fly with Thunder Sphere.
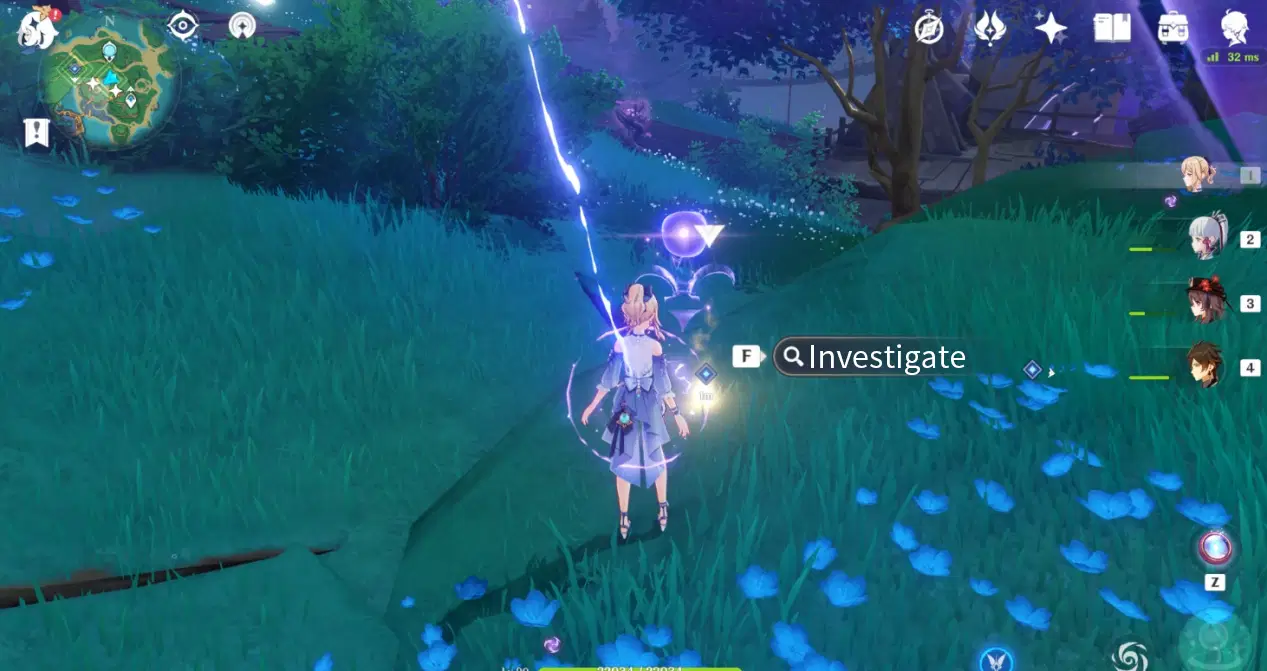
Location 3: There are 3 Fatui Vanguards near this location. Defeat them to reveal the investigation point.
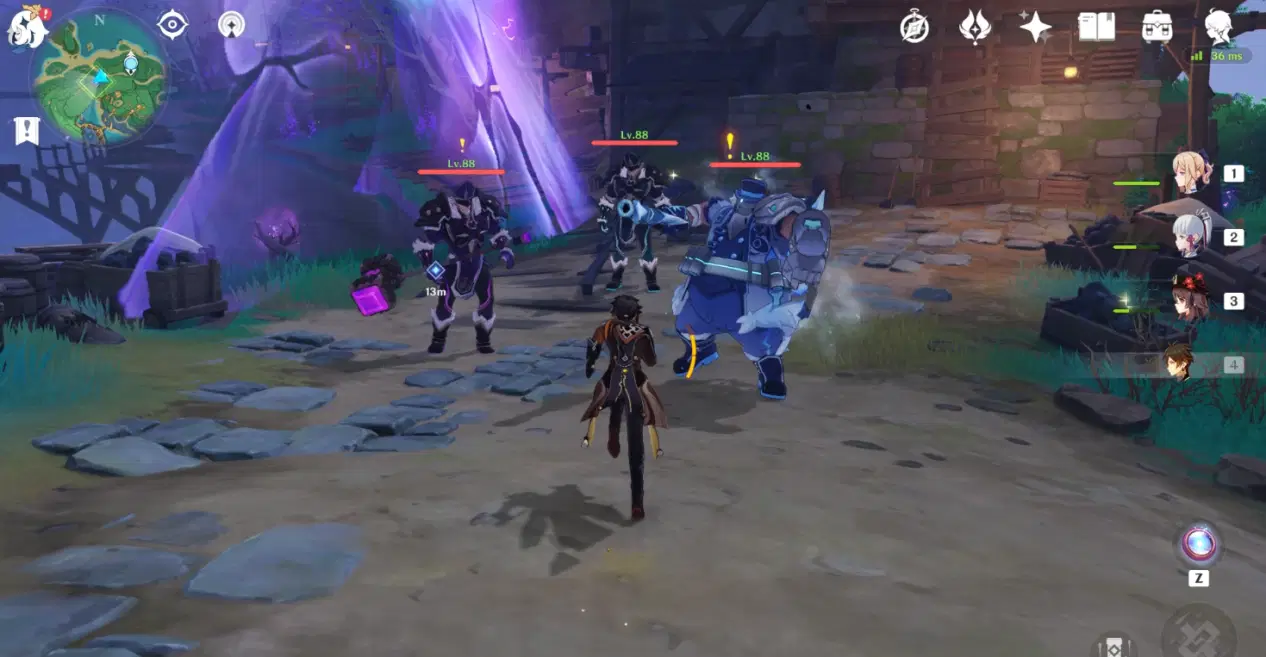
Once you’re done with the above, teleport back to Tatarasuna waypoint and speak to Xavier. Xavier hands us a map for the locations of [Kamuijima Cannons]. By bombarding the barrier with this type of weapon, we can give the Fatui quite a run for their money. We’ll mark the locations from 1 to 3 again for ease of explanation.
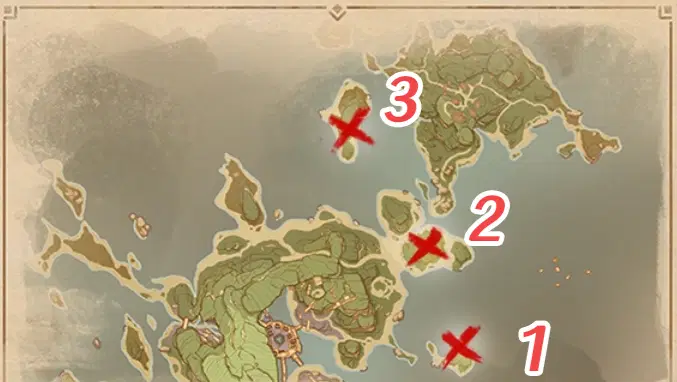
If you’ve never moved the Kamuijima Cannon before, follow the order noted below and you’ll be fine. However, if you have fiddled around with the Cannons before, then you’ll have to find the adjustments yourself~
Location 1: Teleport to the waypoint nearby and you’ll see this Cannon. Summon the Electrogranum next to it to charge and use the Cannon. Move upwards twice then move to the right twice to fire and destroy the barrier ahead.

Adjust left 3 more times and fire to open up the Shakkei Pavilion Domain on the opposite side. Once you’ve successfully opened it up, a shining point of interest will appear as well as the achievement message for “Jackpot”.
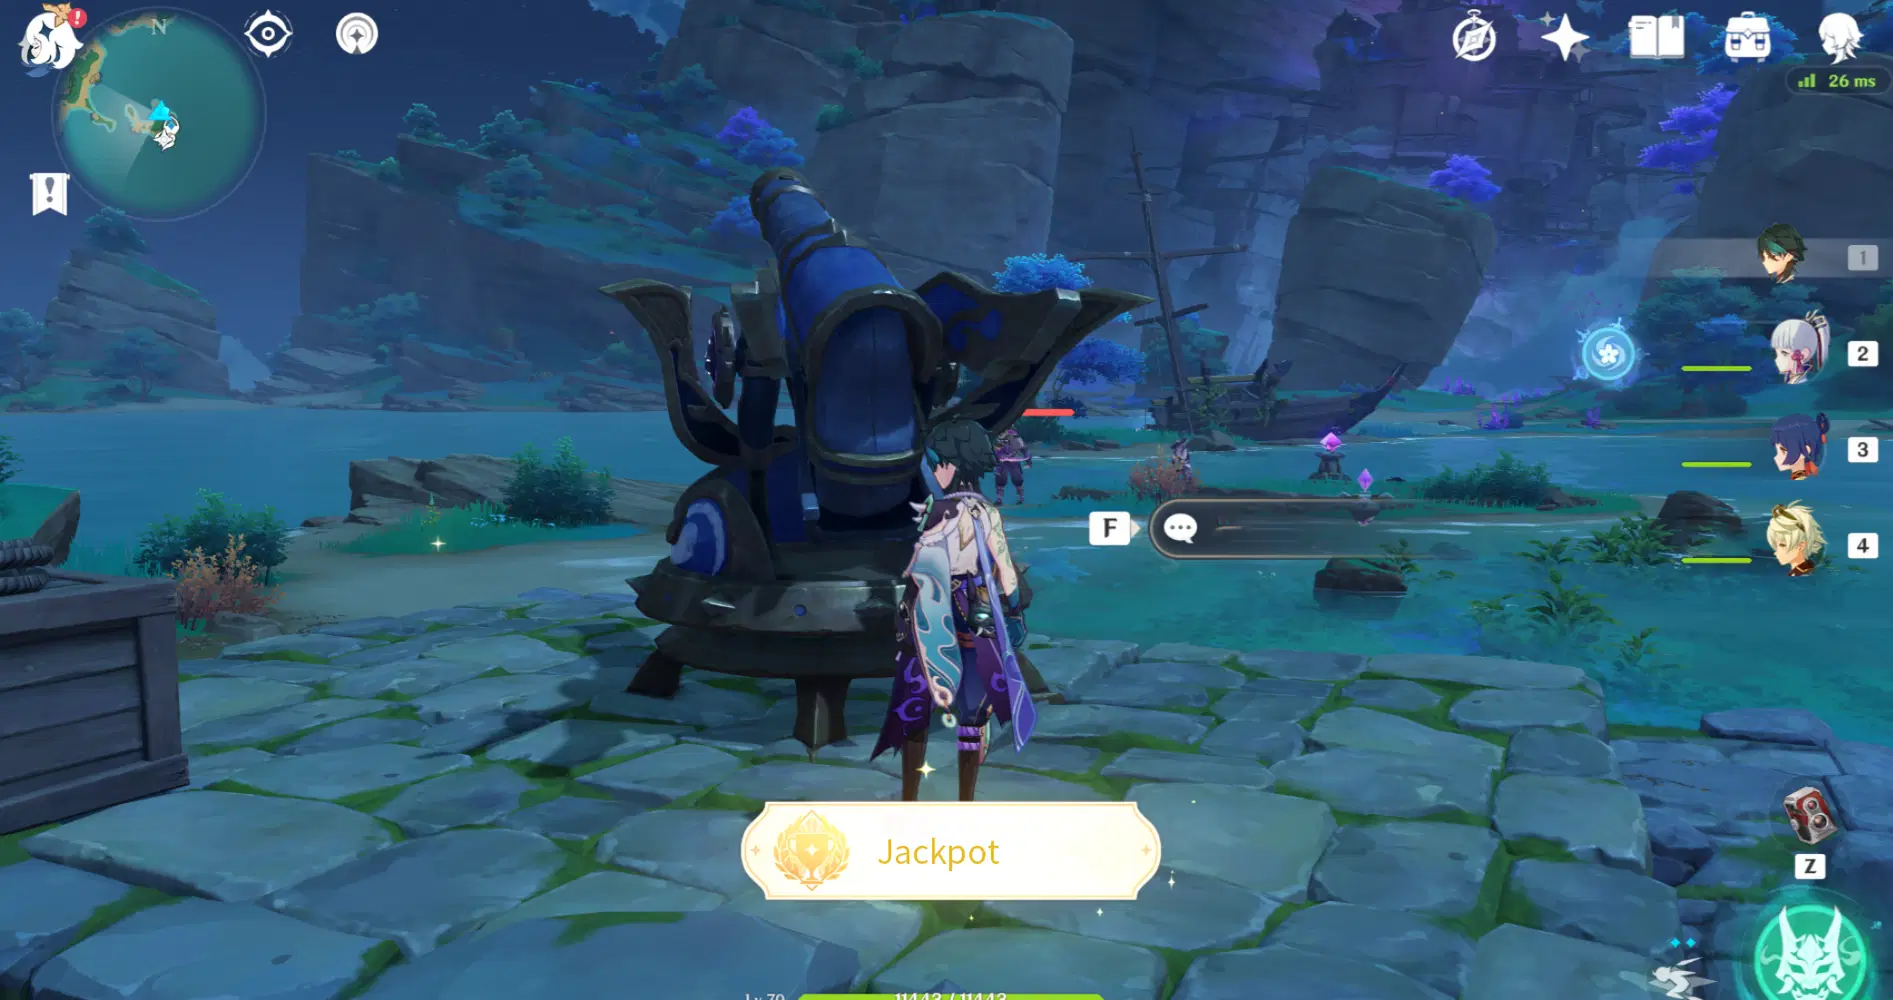
Location 2: The second Cannon is also right next to the waypoint. Same as before, summon the Electrogranum and manipulate the Cannon. Move left 3 times then move up 2 times and fire to destroy the barrier ahead.
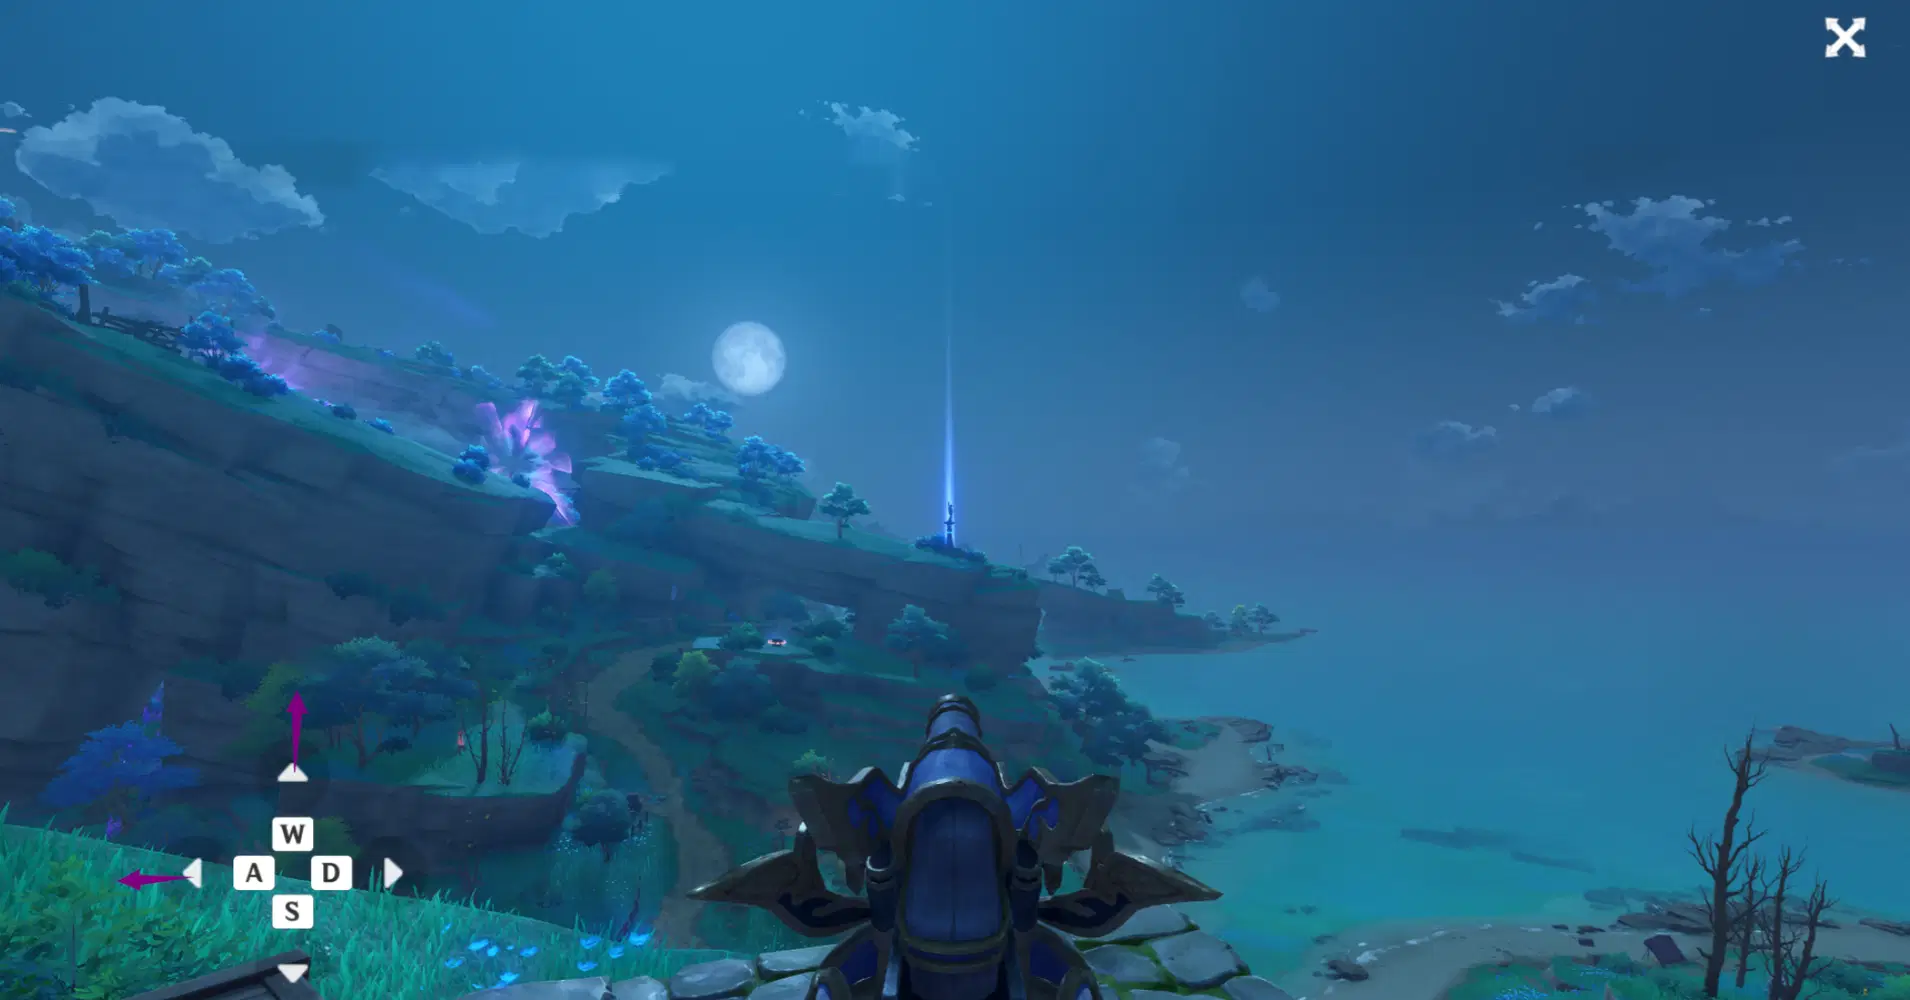
Location 3: For this location, we need to first teleport to the Kujou Encampment waypoint and glide to the opposite side. The Kamuijima Cannon is located at the top of the mountain on the island. Summon the Electrogranum down at ground level then use the Thunder Sphere to quickly get up the mountain. Same as before, manipulate the Cannon with the help from the Electrogranum. Move right 1 time and move up 2 times then fire to destroy the barrier ahead.
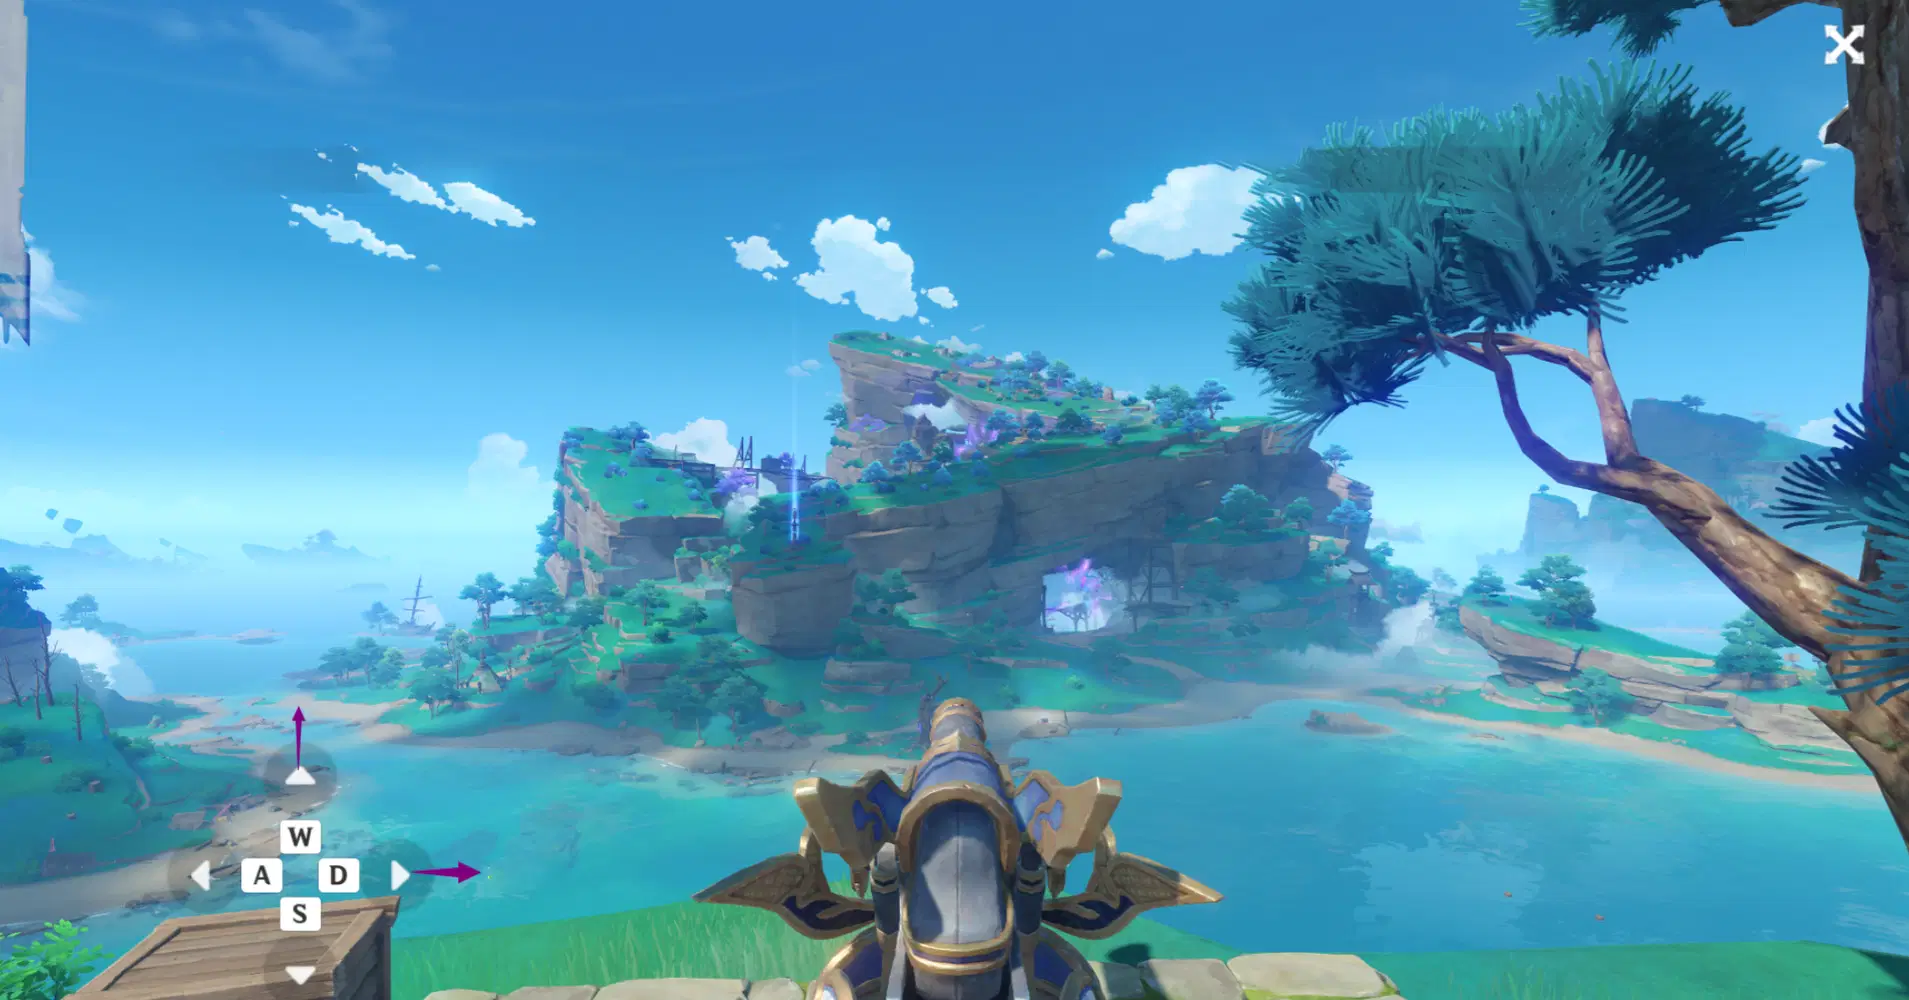
After firing all 3 Kamuijima Cannons, you’ll unlock the achievement “Knock Knock.”
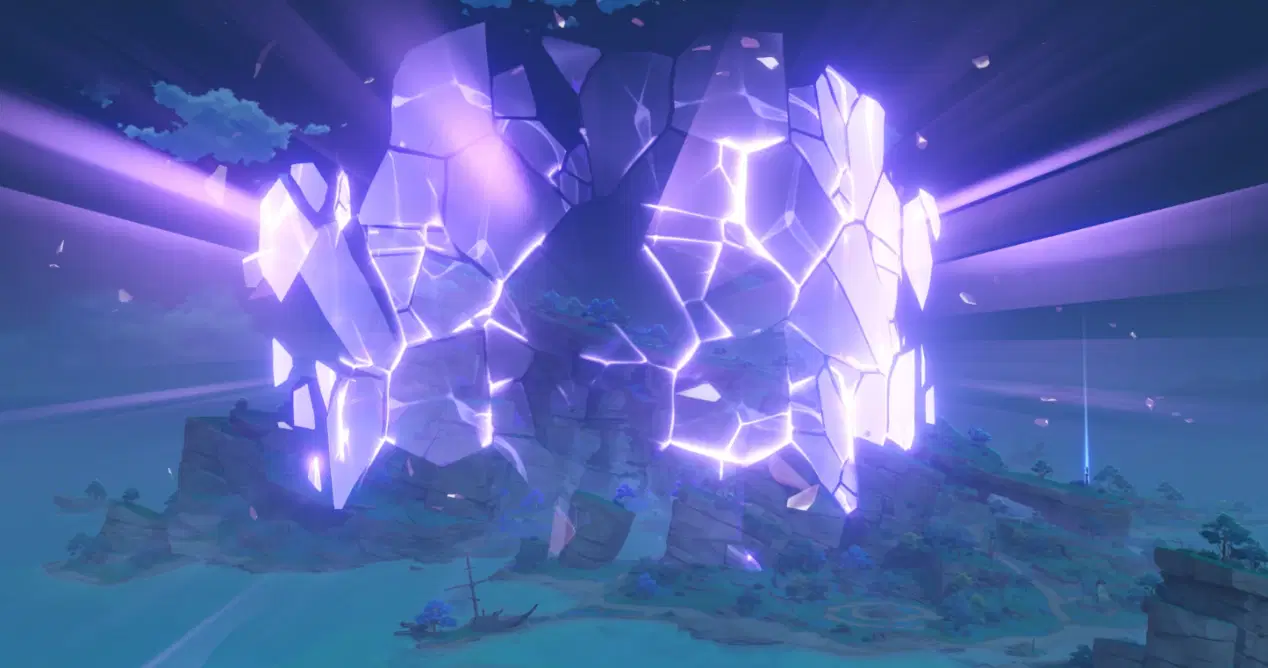
Now that the rifts are destroyed, the energy within is surprisingly not leaking out. Before we could figure out why, another group of Fatui has come looking for trouble. Defeat them and speak to Xavier, who decides to check out the situation within the Mikage Furnace first.
Because there’s a high concentration of Electro around the Mikage Furnace, you’ll be taking HP damage over time while inside. It’s recommended to teleport directly to the waypoint above, then approach the Mikage Furnace from above and glide directly to the destination.
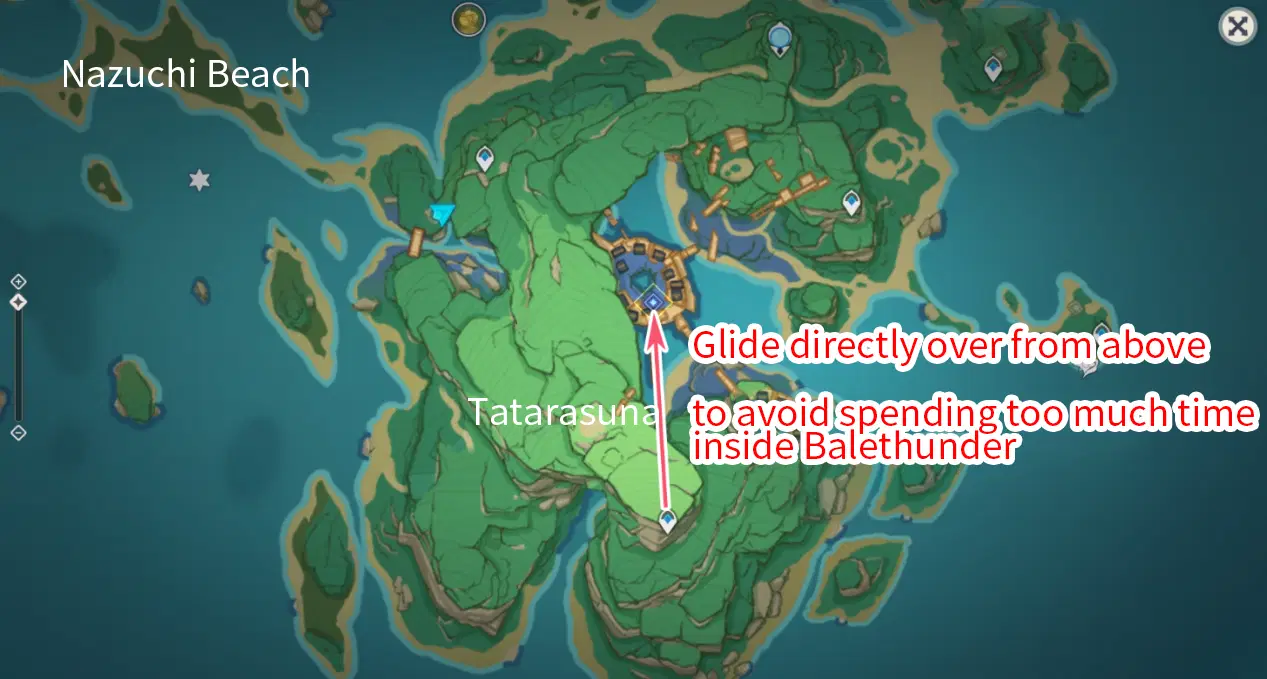
Once at the correct spot, we just have to face the [Mikage Furnace] and bring up the photo interface (Upper left Paimon – Take Photo), adjust to the right angle then take a picture. This will generate an image.
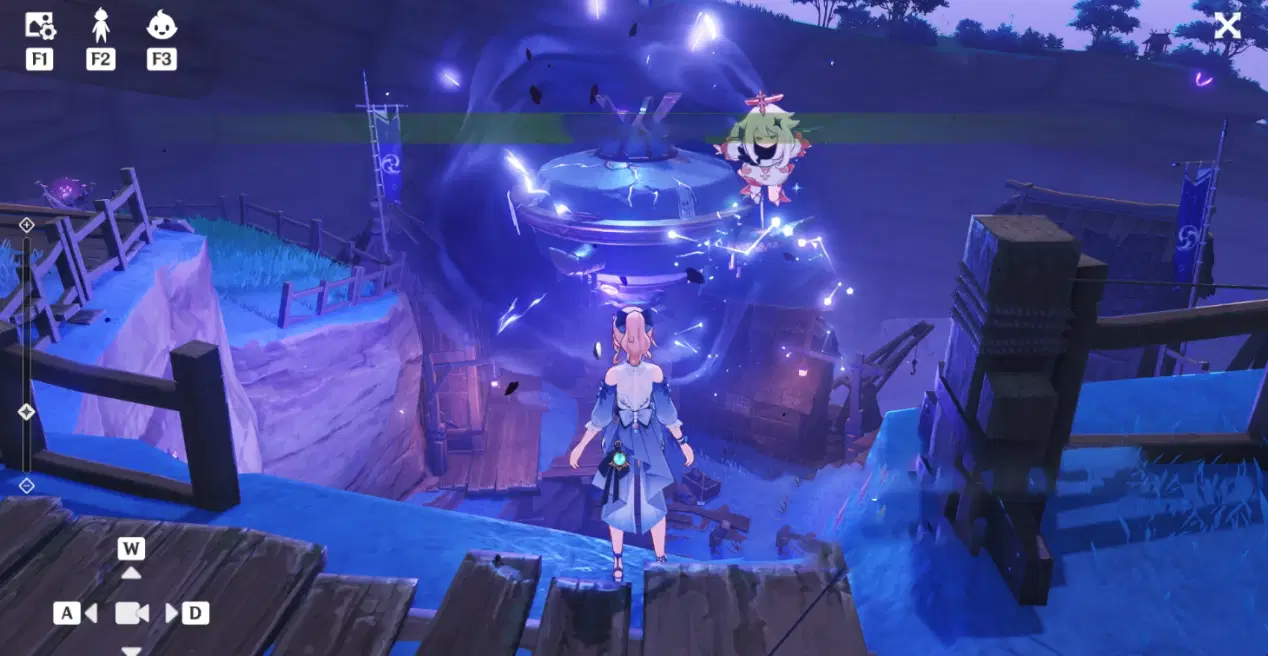
With the image, let Xavier examine it, who then makes a basic diagnosis of what’s happening at the furnace. To continue with the following tasks of cleansing the lingering energy and sealing the storage device, Xavier will need more time to prepare.
The quest Tatara Tales is complete at this point, but the issue with Mikage Furnace is not fully resolved yet. We will tackle the remaining problems in the follow-up quests.
Summary:
Observe 3 locations near the Mikage Furnace, obtain the location map for the [Kamuijima Cannons], fire on three barriers to complete this quest. The follow-up quests will take a total of 7 days to complete.
Alright, that’s it for the guide of [Tatara Tales (First Quest)]. You can check out following detailed guide in the link below:

Follow-up/parallel quest: "Tatara Tales Series (7 Follow-up Quests)"
Collection Skip: [ in Inazuma] World Quest Collection