Quest Name:
"Inazuma: Watatsumi Island" World Quest Compilation - The Moon-Bathed Deep
Quest Reward:
For the final quest, the rewards are Adventure EXP*350, Primogem*40, Hero’s Wit*4, Mora*30,000, Mystic Enhancement Ore*6, Achievement “The Same Moonlight”
Prerequisites:
Adventure Rank Lv.30; Completed “The Immovable God and the Eternal Euthymia” and unlocked Watatsumi Island
Quest Trigger:
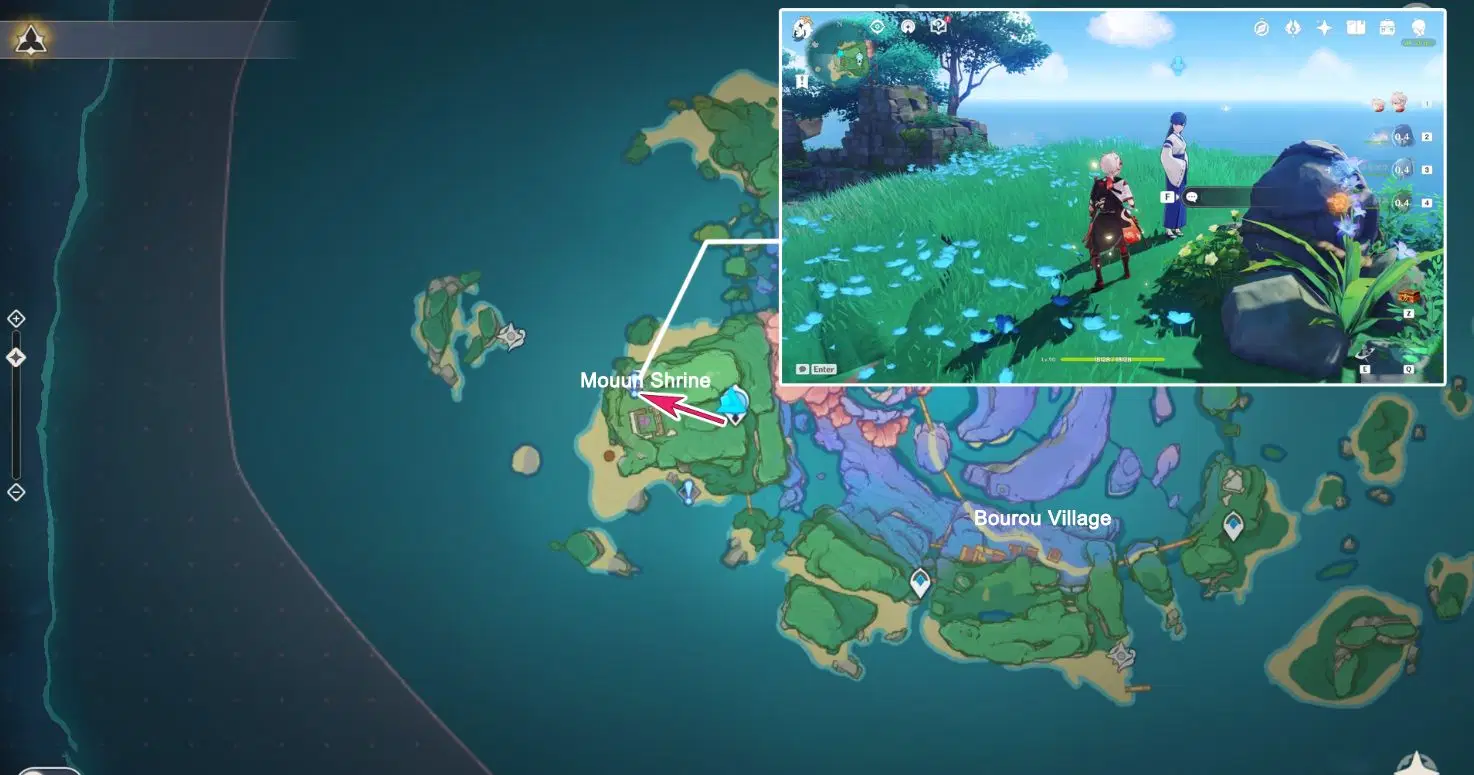
Once eligible for the quest, it will be automatically accepted and appear in the quest log. Teleport to the Statue of Seven waypoint on Watatsumi Island then follow the quest navigation and speak to Tsuyuko at Mouun Shrine.
Quest Summary:
In this quest, we will help the witch Tsuyuko with her request. The quest is divided into “Eye of Watatsumi”, “Fang of Watatsumi”, “Fin of Watatsumi”, “Tail of Watatsumi”, and “Heart of Watatsumi”. It doesn’t matter in which order you complete the first four quests.
Quest Steps:
1. “Eye of Watatsumi”
First we head towards the closest “Eye of Watatsumi”, located on the island not far from right where we speak to Tsuyuko. You can just glide over.
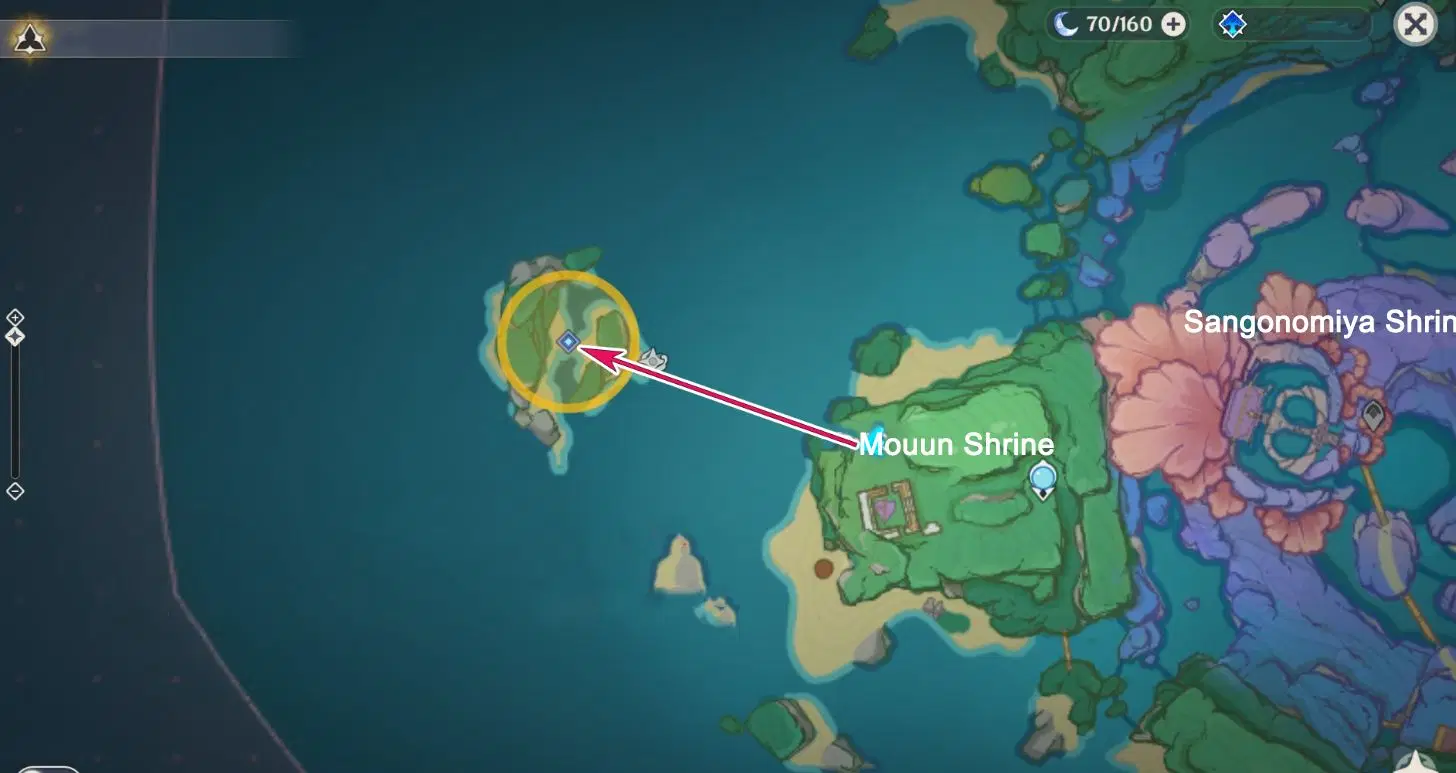
Once at the destination, we need to read the ancient stone tablet next to the shrine to receive hints for the next step.
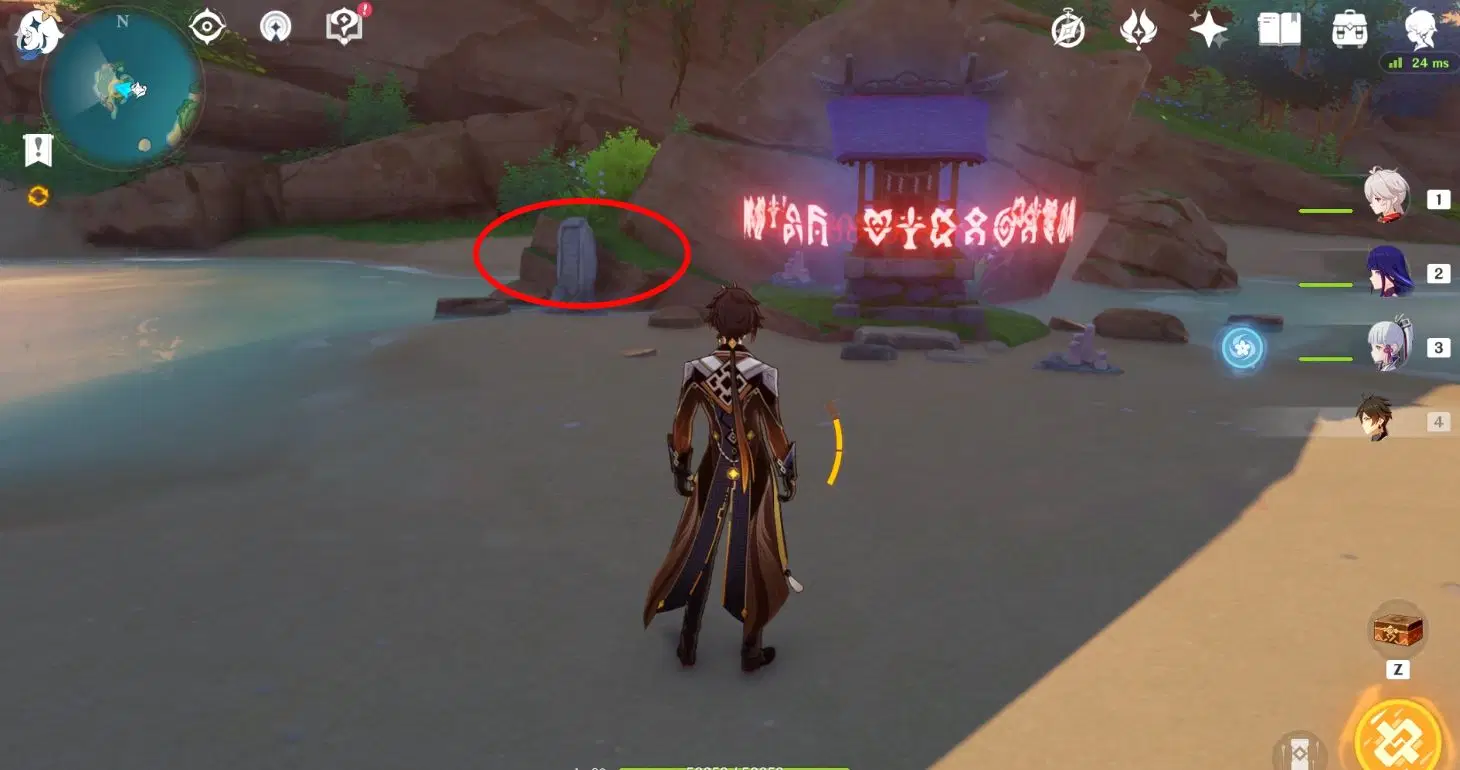
Use Elemental Sight and you’ll see Elemental Tracks that extend beyond, follow the tracks to investigate.
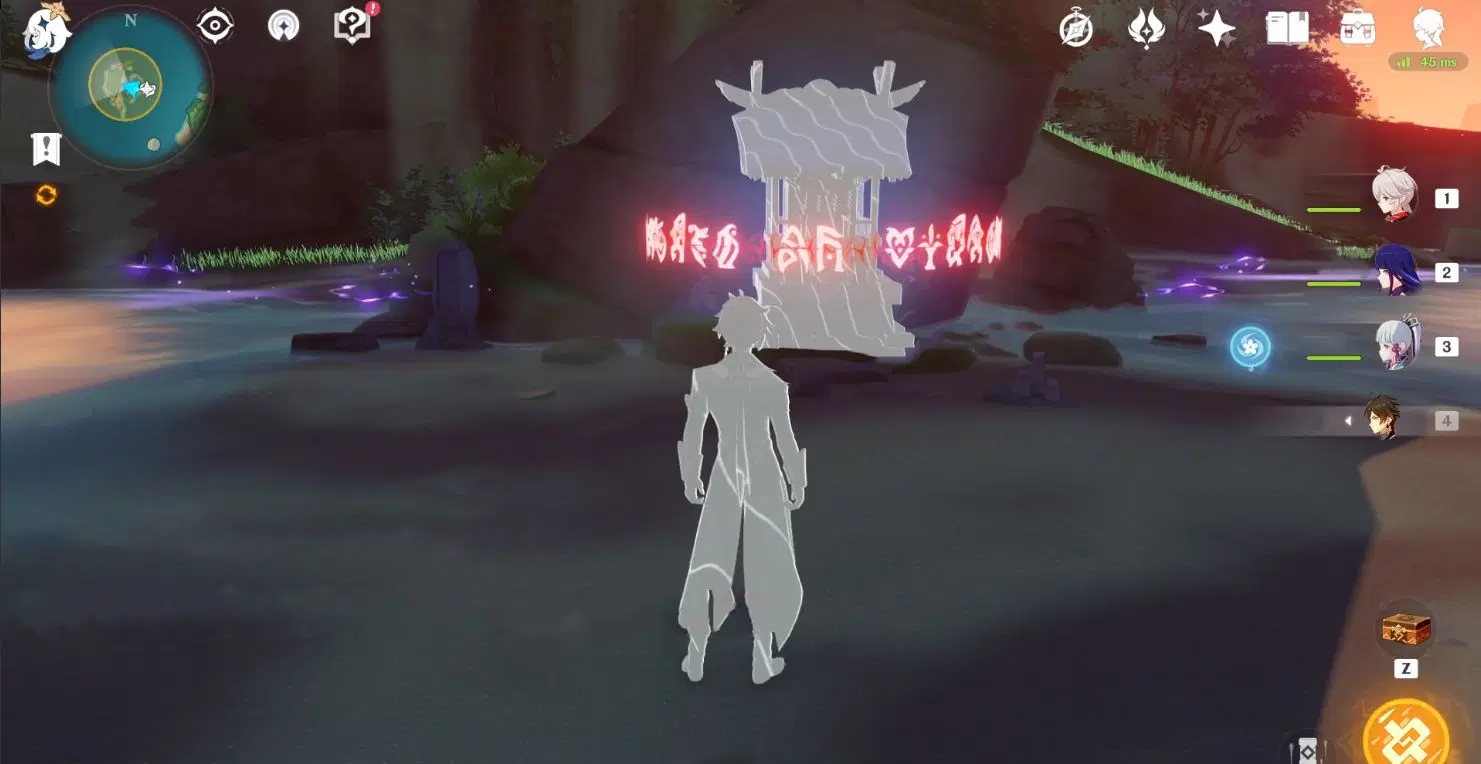
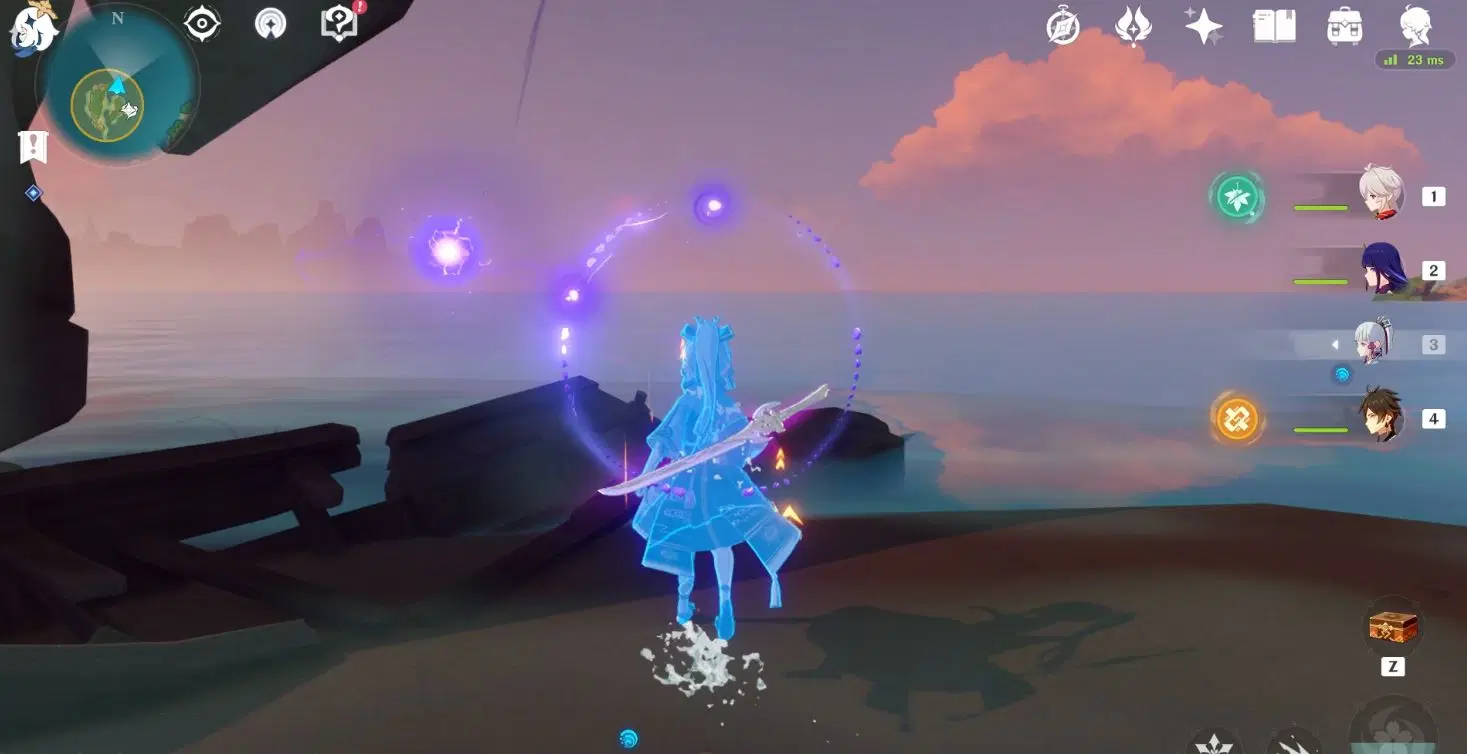
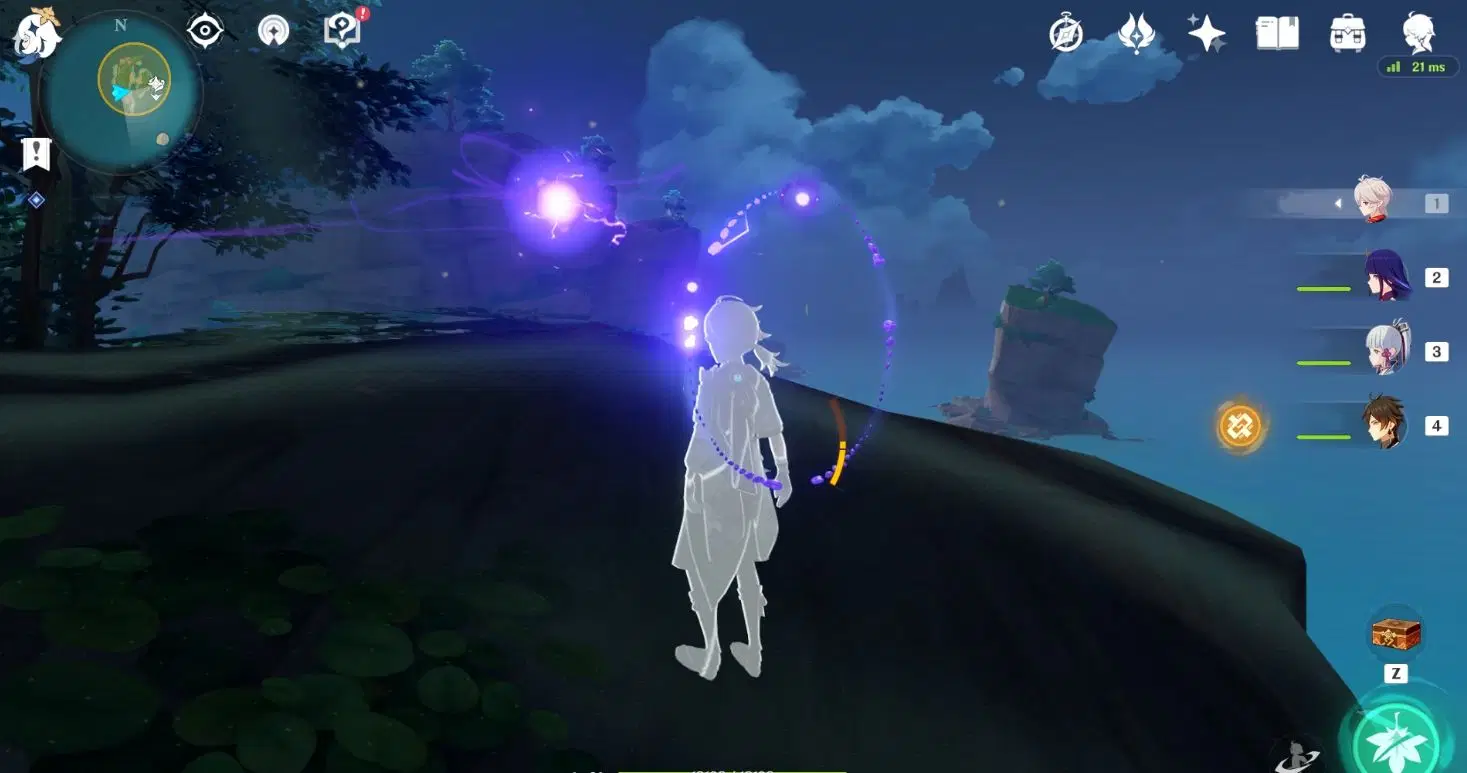
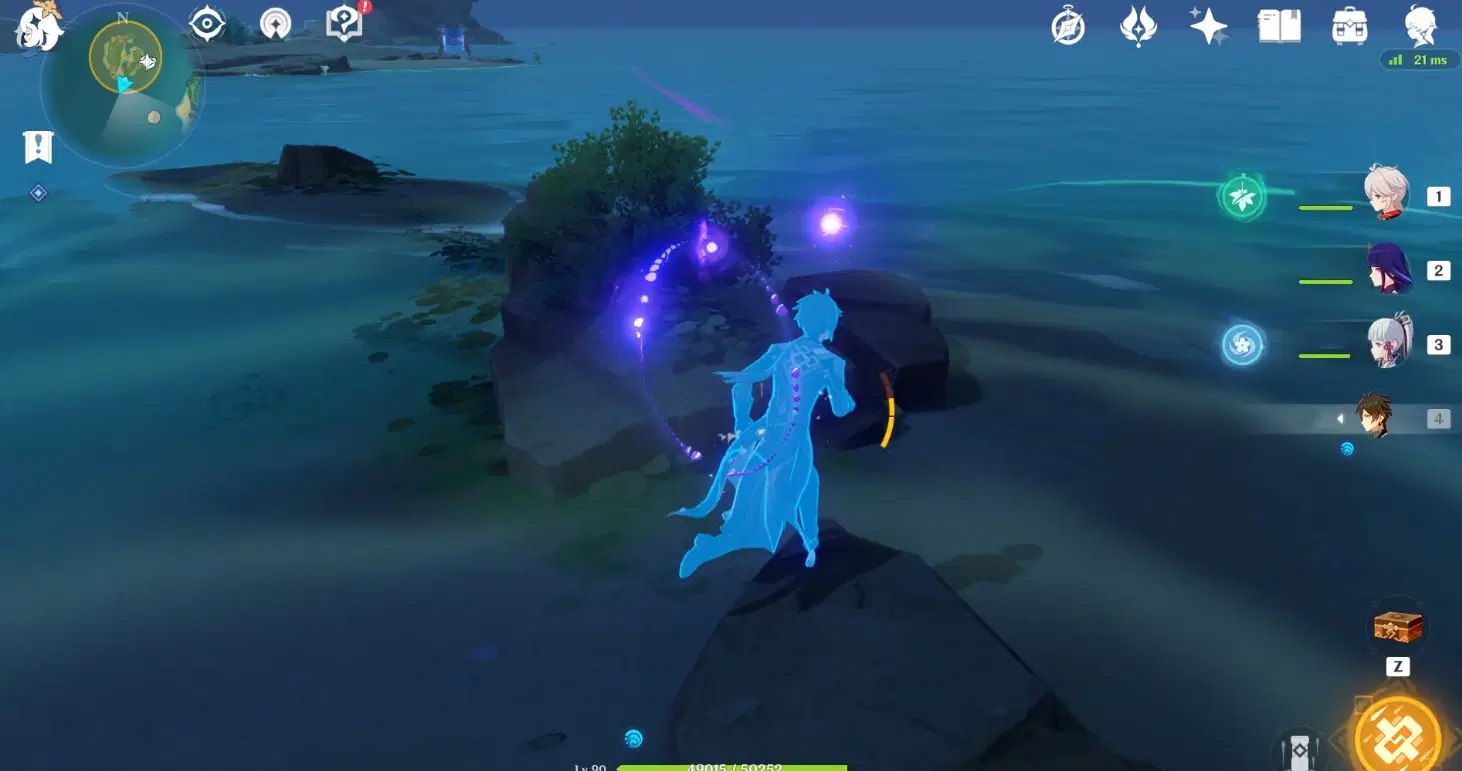
The solution to the puzzle here is to activate Elemental Sight at each of the three locations to spot the Elemental Orbs, then attack and disperse them using Elemental attacks.
Anemo, Pyro, and Cryo all react with the Elemental Orbs, but you’ll need to have certain range.
Location 1: Located atop the shipwreck to the northmost of the island. Approaching will spawn 2 Ruin Destroyers that you need to defeat
Location 2: Located to the west of the island on the platform half-hill. Dispersing the Orb will spawn 3 Anemo Specters
Location 3: Located southmost on the beach of the island. Dispersing the Orb will spawn 2 Mutant Electro Slimes and 4 Electro Slimes.
Once you’re done dispersing the Elemental Orbs at the three locations, return to the shrine at the start to obtain the first Spirit Pearl.
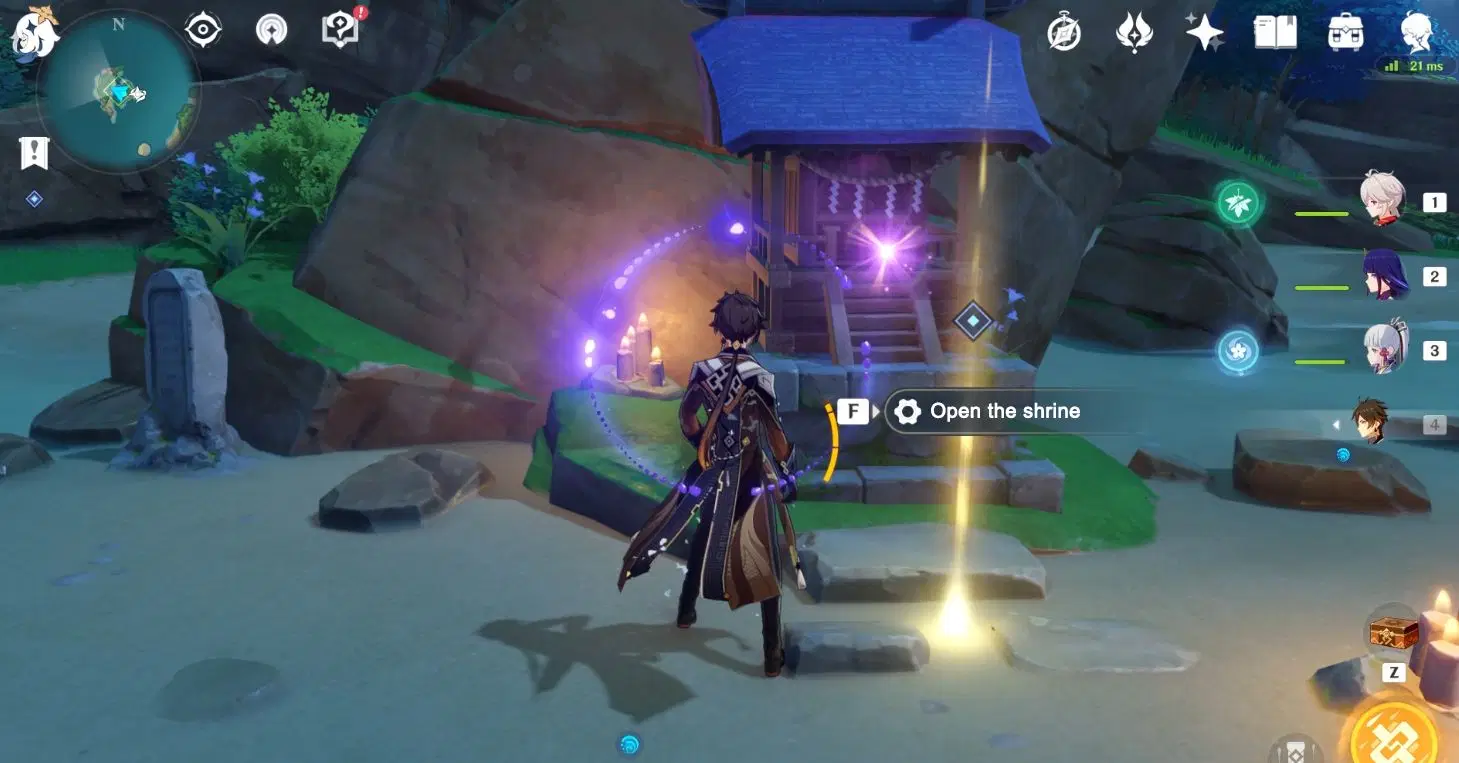
Quest rewards Adventure EXP*250, Primoge***0, Hero’s Wit*3, Mora*25,000.
2. “Fang of Watatsumi”
Teleport to the Watatsumi Island waypoint in the picture and follow the quest navigation. Head towards the shrine and interact with the “ancient stone tablet” next to the shrine.
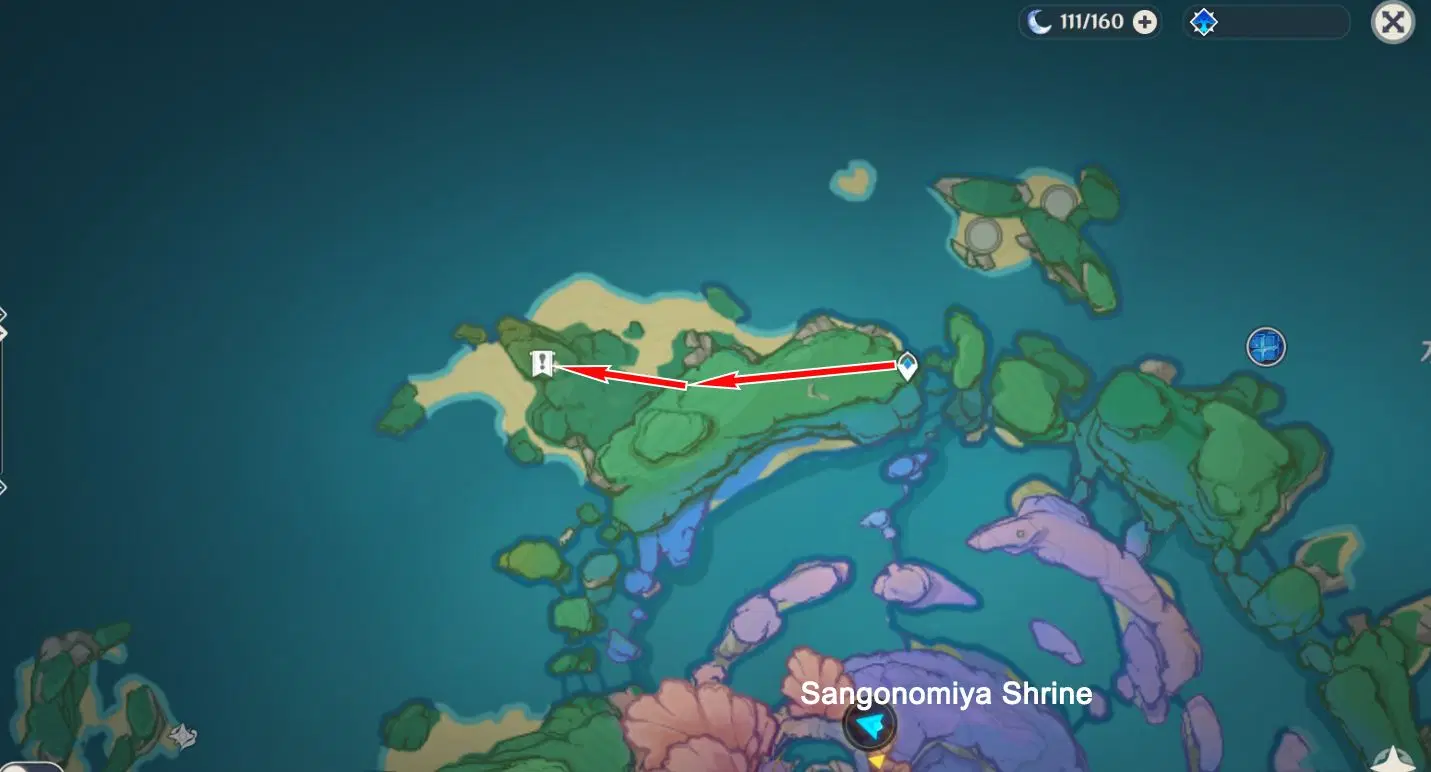
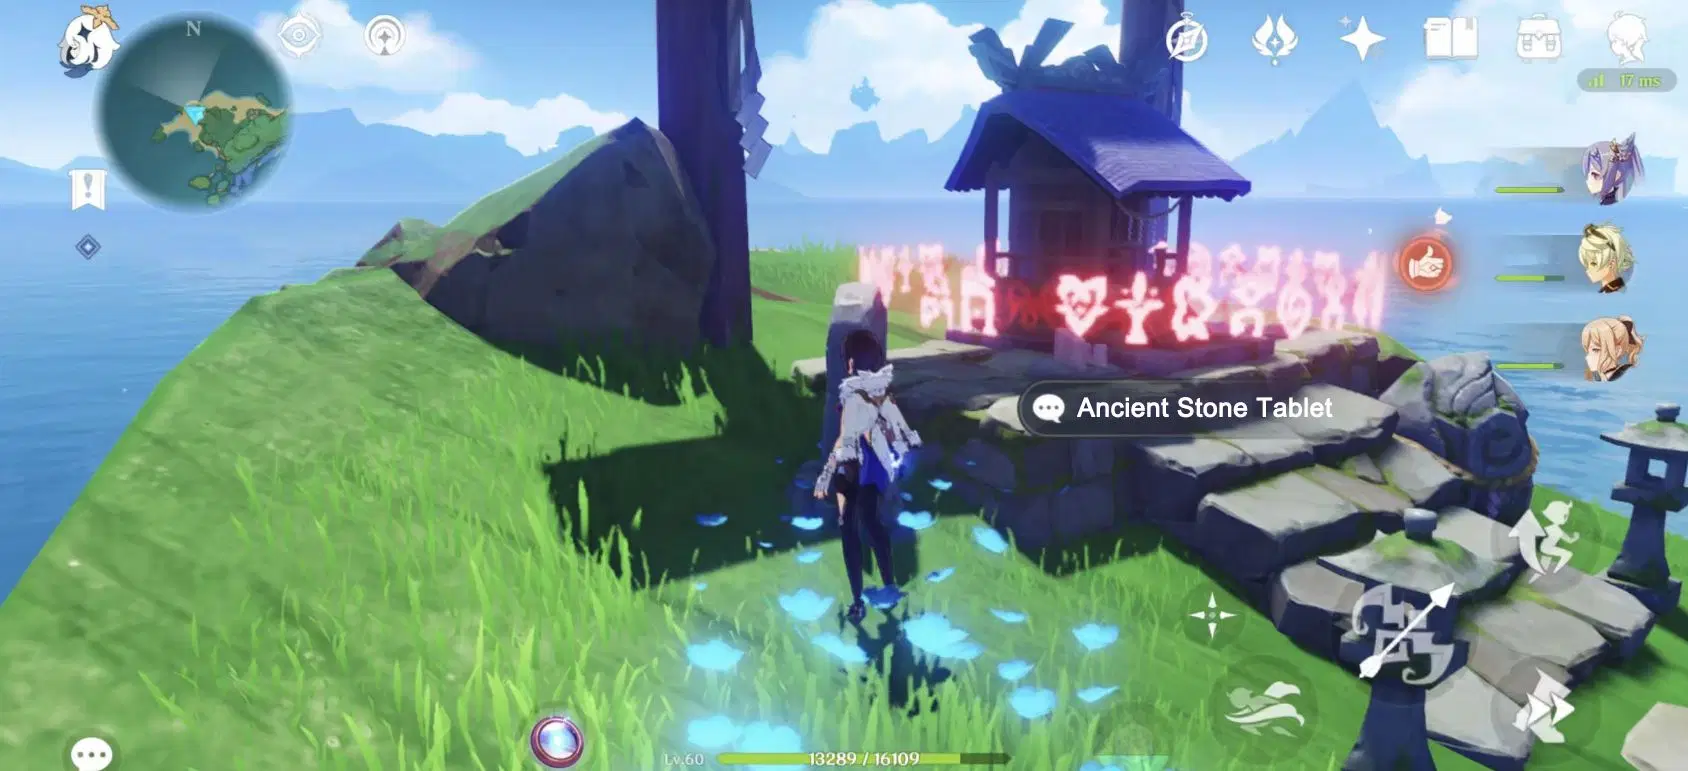
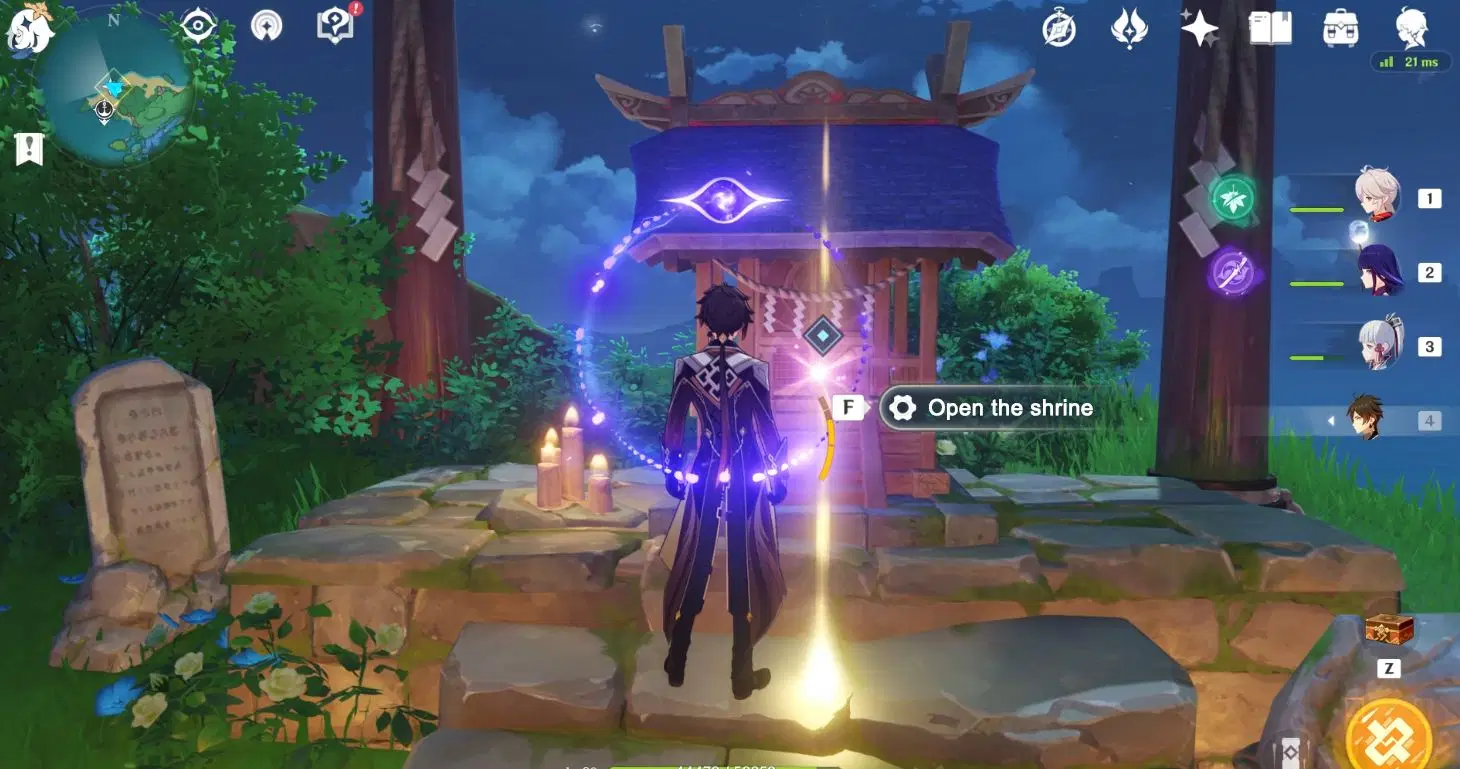
Start the challenge by activating the Ley Line Monolith.
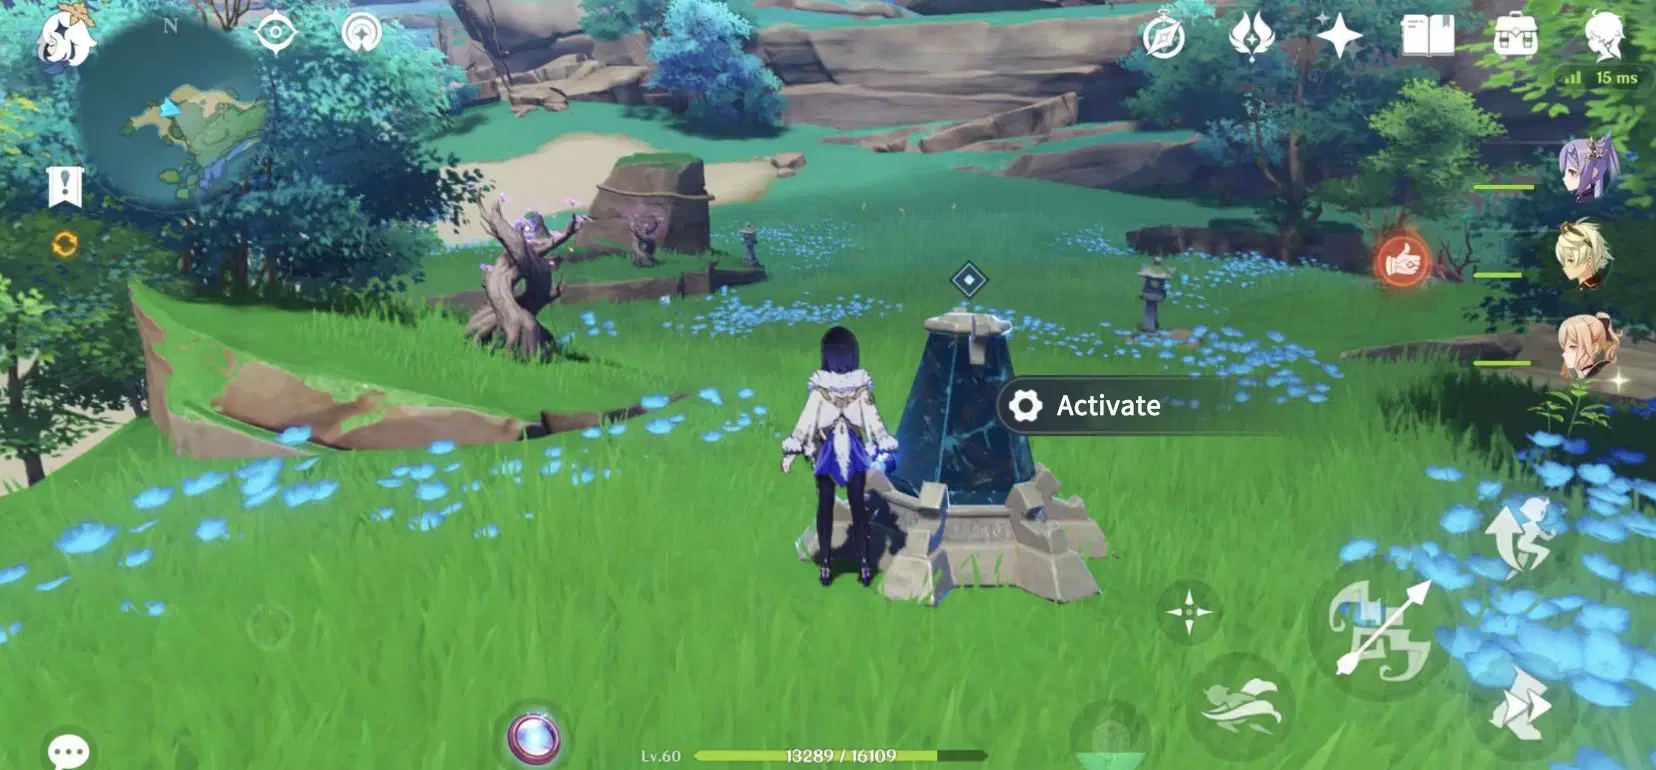
Once the challenge is complete, return to the shrine and interact with the shrine to complete the quest and obtain the “Spirit Pearl”. Quest rewards Adventure EXP*250, Primoge***0, Hero’s Wit*3, Mora*25,000.
3. “Fin of Watatsumi”
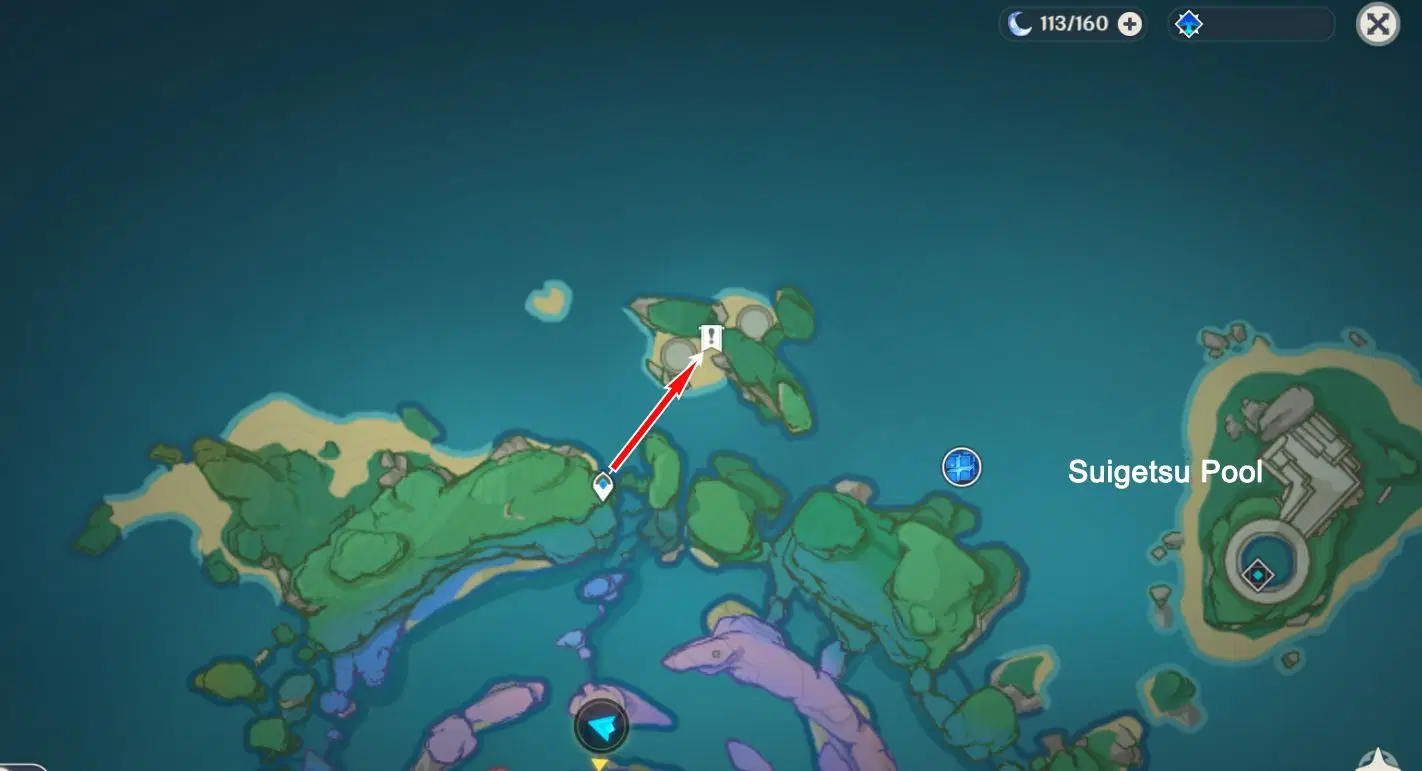
Teleport to the Watatsumi Island waypoint in the picture and follow the quest navigation. Head towards the shrine and interact with the “ancient stone tablet” next to the shrine.
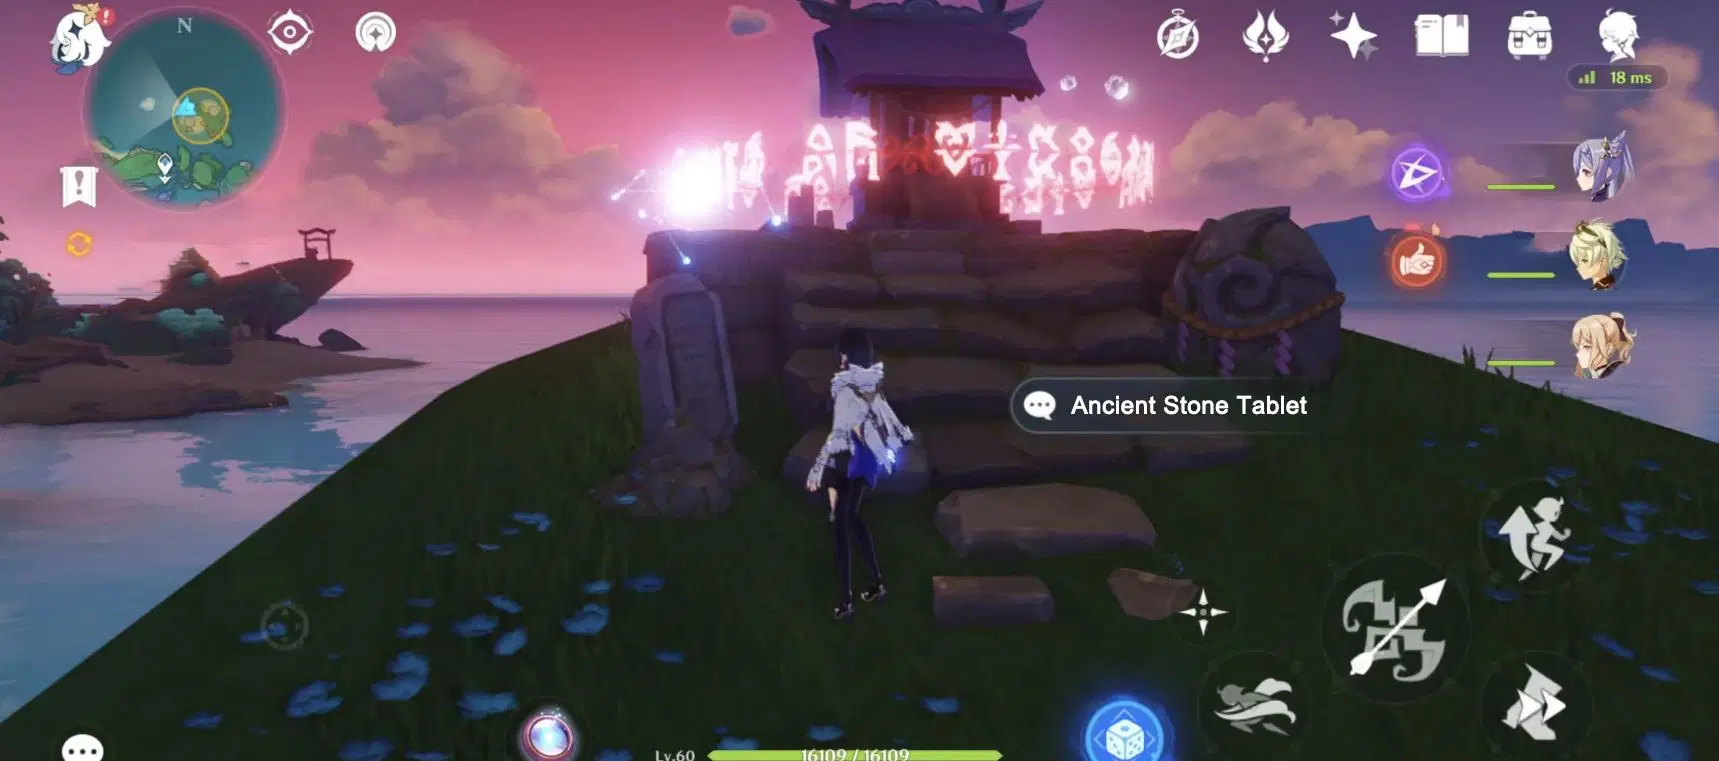
Rotate the three statues of fish on the platform until all are oriented towards the middle, the lines will light up if the statue is in the correct position. After all three fish statues are set, the middle of the platform will glow. Interact with the Mysterious Pillar to lock the statues in place and return to the shrine.
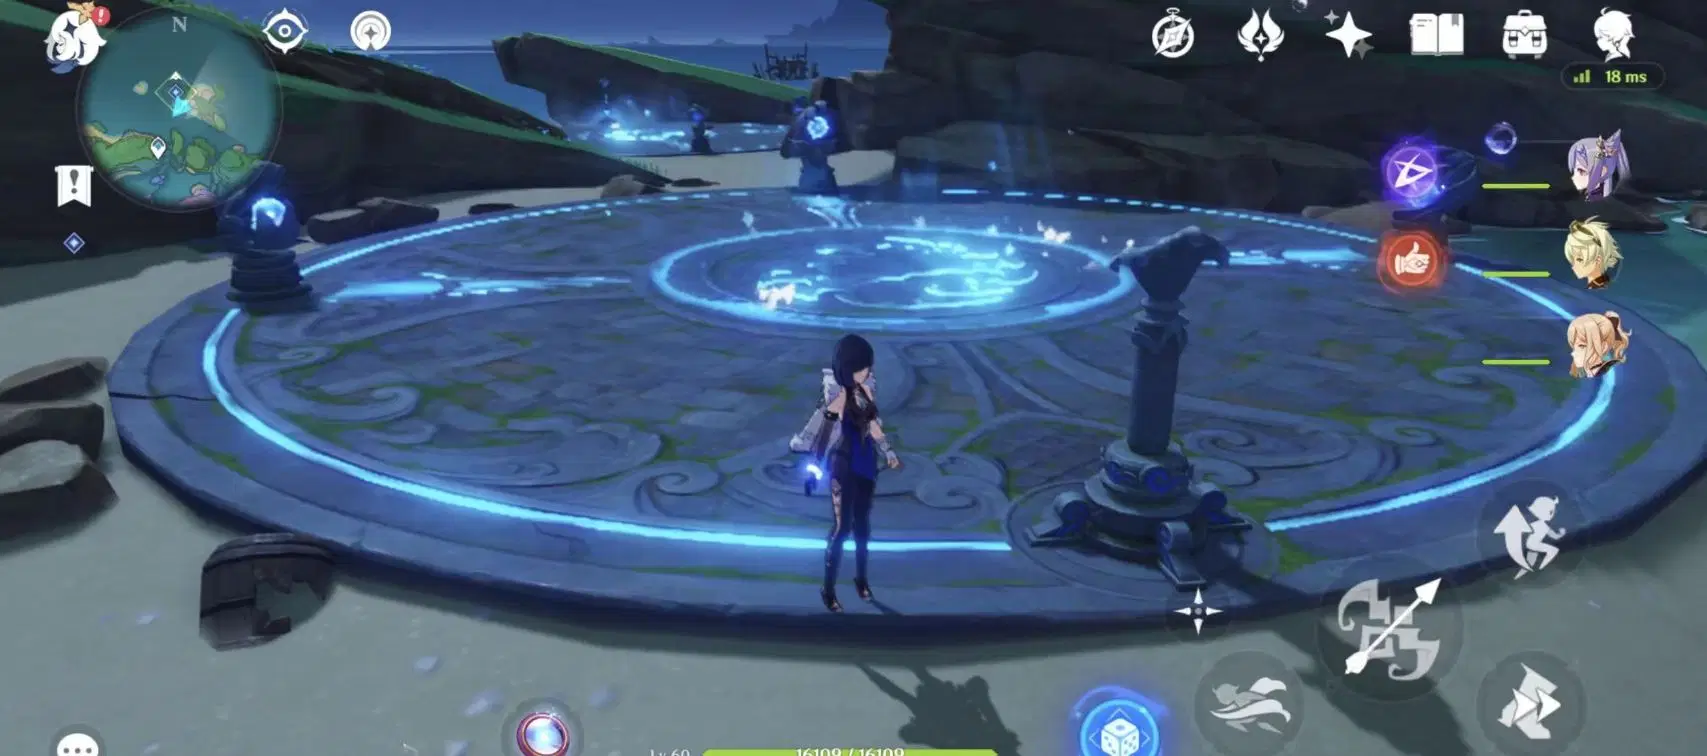
Once the puzzle is solved, return to the shrine and interact with it to complete the quest and obtain the “Spirit Pearl”. Quest rewards Adventure EXP*250, Primoge***0, Hero’s Wit*3, Mora*25,000.
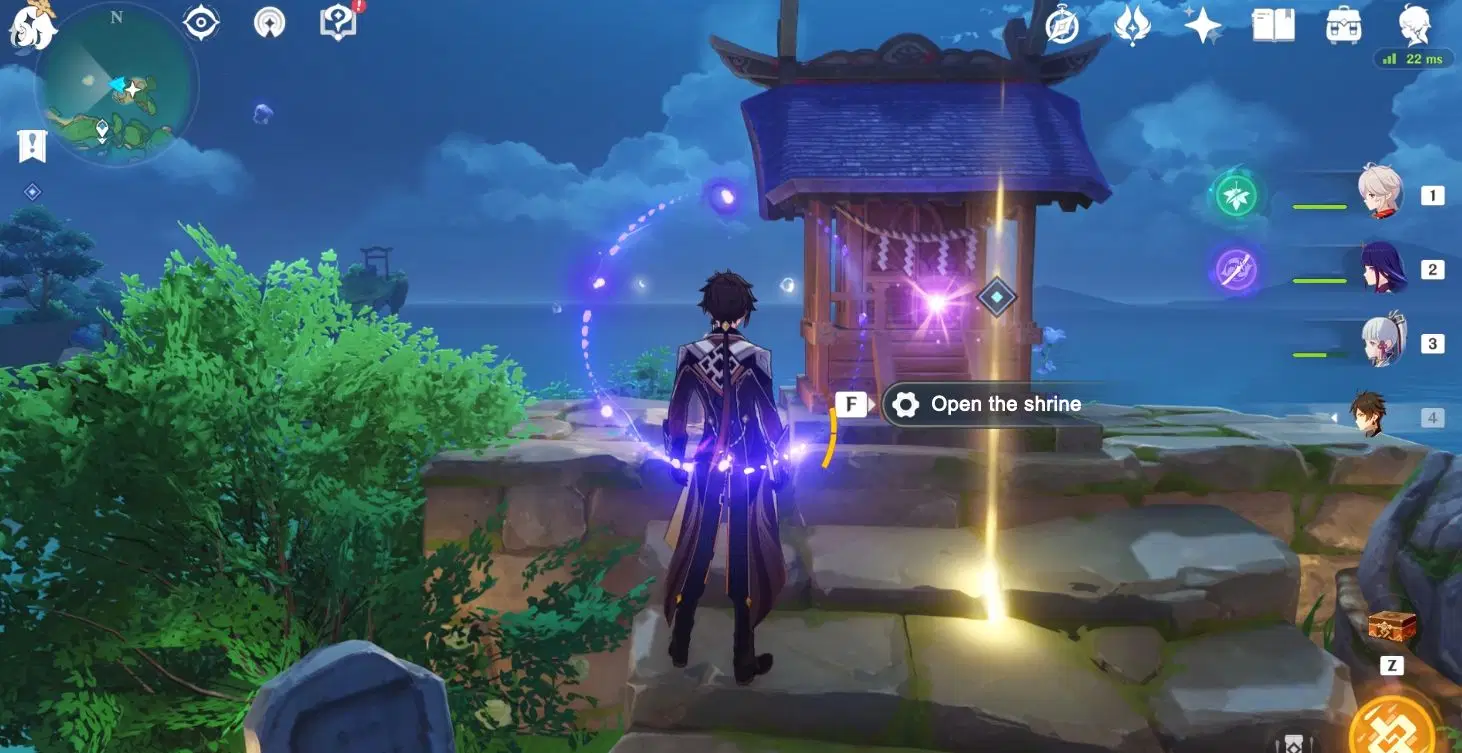
4. “Tail of Watatsumi”
The beginning of this quest is the same as the ones before. Head to the shrine and interact with the stone tablet.
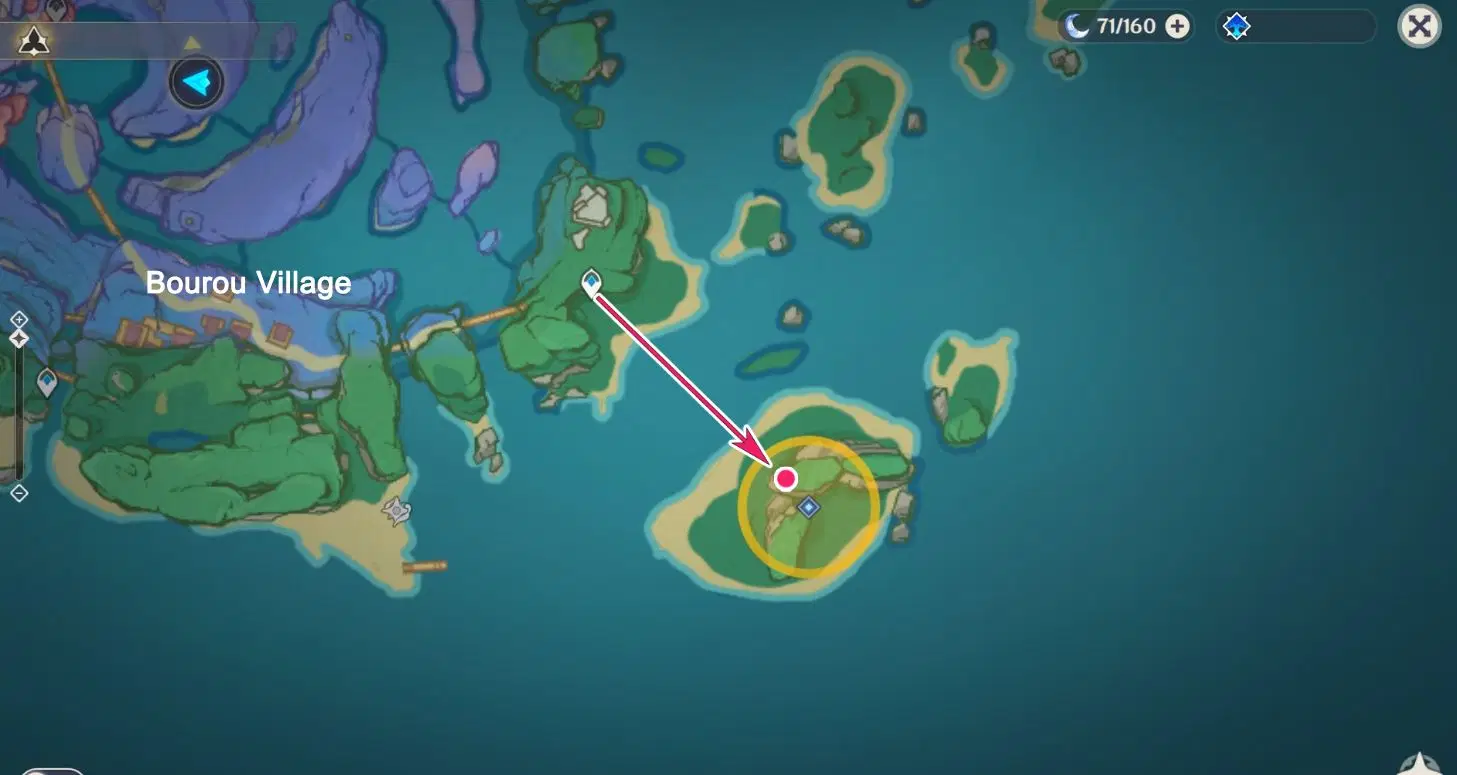
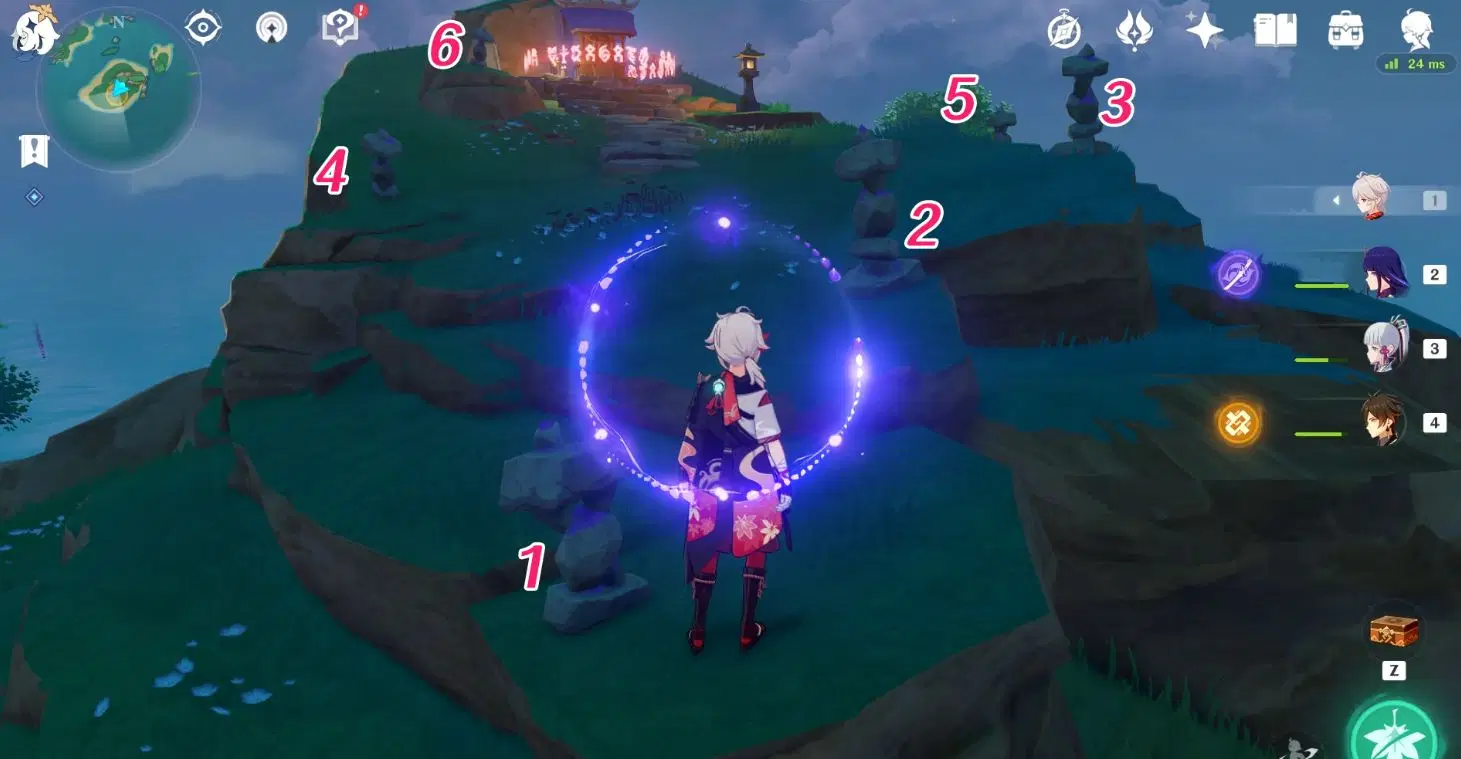
This step asks us to light the Electric Lamps in order. You’ll find the Electrogranum beneath the hill, pick it up and light up the Electric Lamps in the order in the picture below.
Fatui will spawn once you’re done, defeat them and return to the shrine to obtain the “Spirit Pearl”. Quest rewards Adventure EXP*250, Primoge***0, Hero’s Wit*3, Mora*25,000.
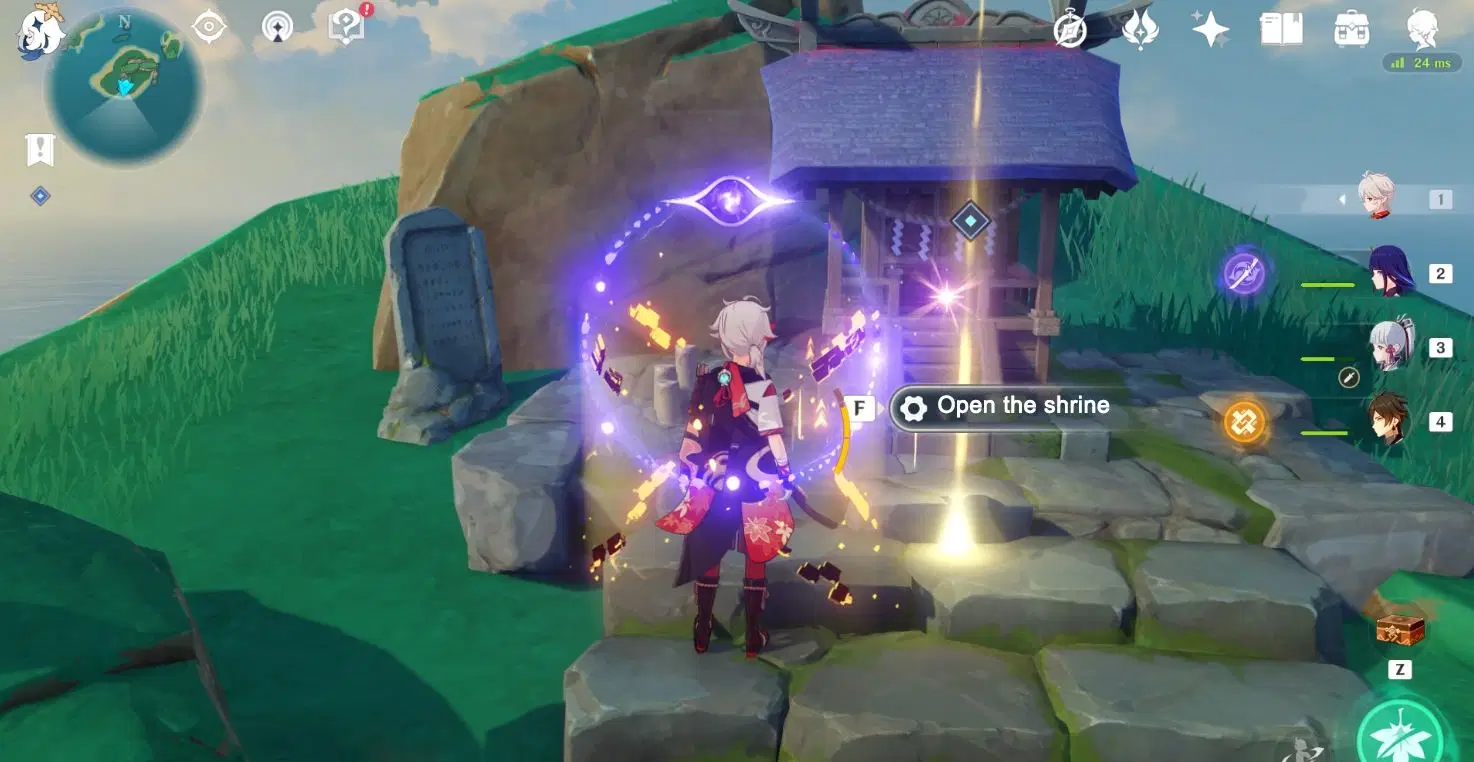
5. “Heart of Watatsumi”
After obtaining all four Spirit Pearls, we return to Miss Tsuyuko.
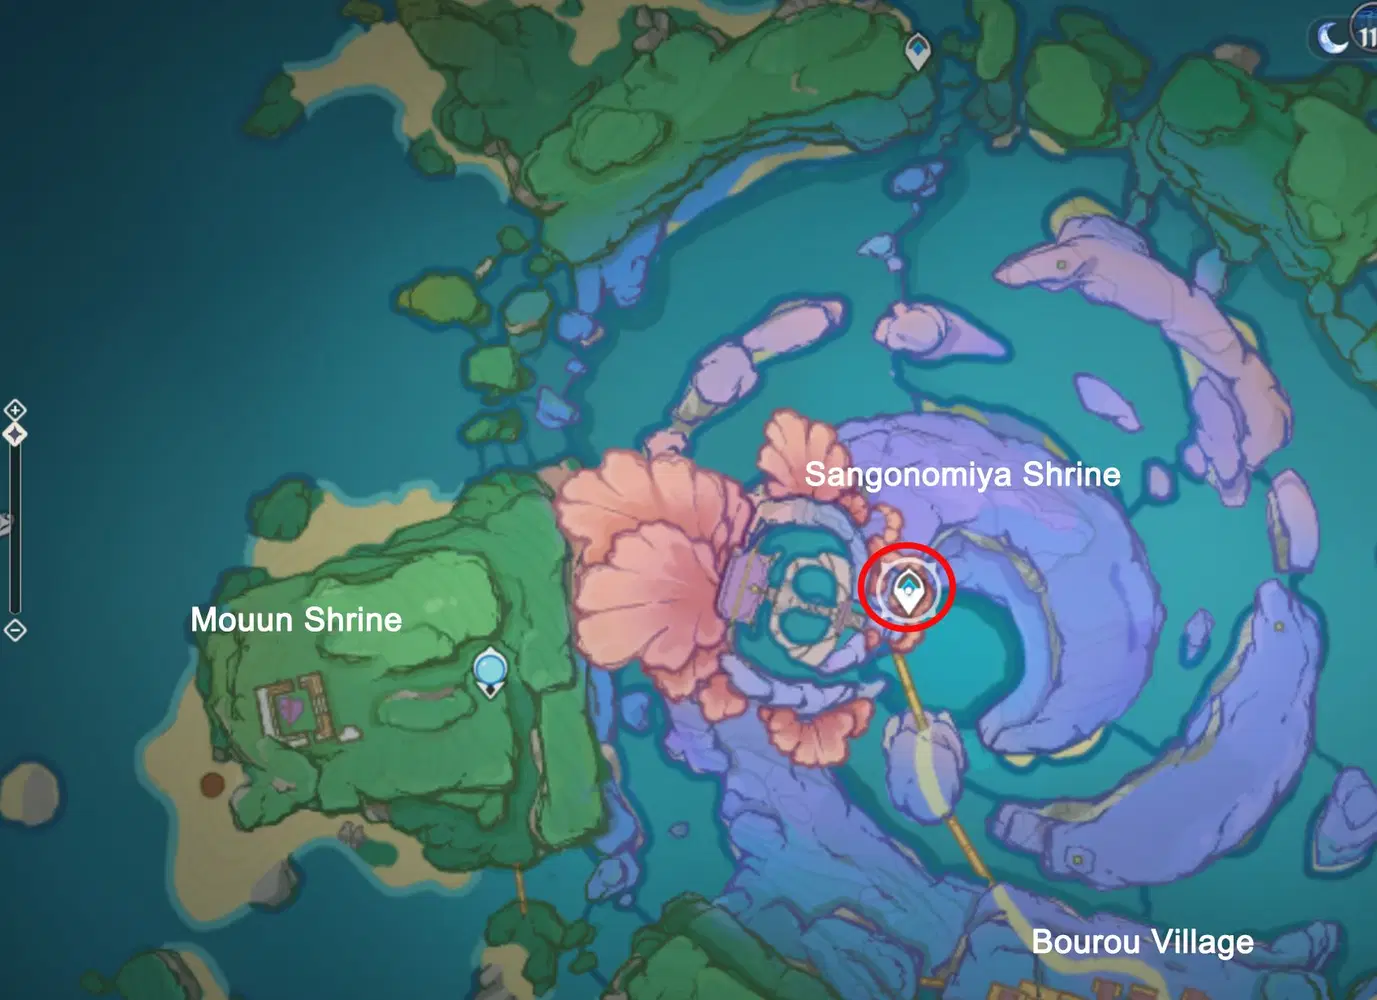
We head towards the “Heart of Watatsumi” next
传送图中海祇岛锚点,按指引路线飞
Teleport to the Watatsumi waypoint in the picture and glide along the route in the picture
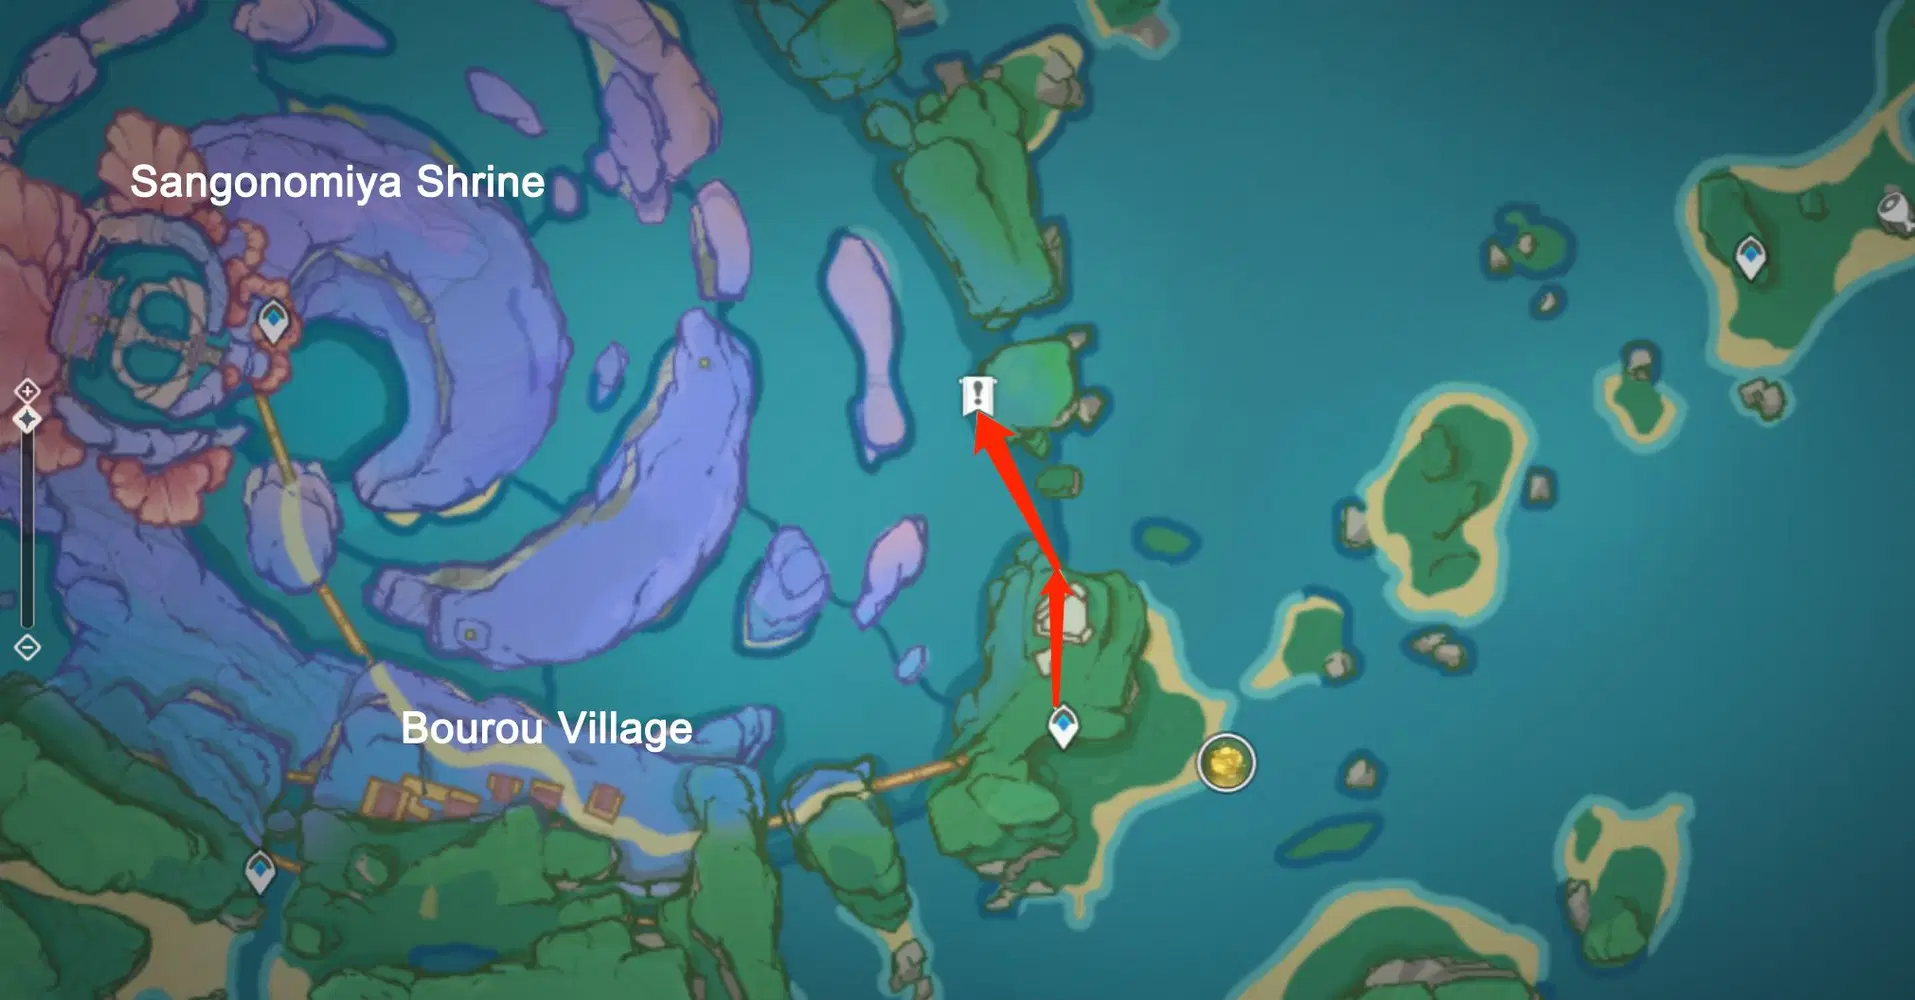
Head to the gate to the “Heart of Watatsumi” half-hill
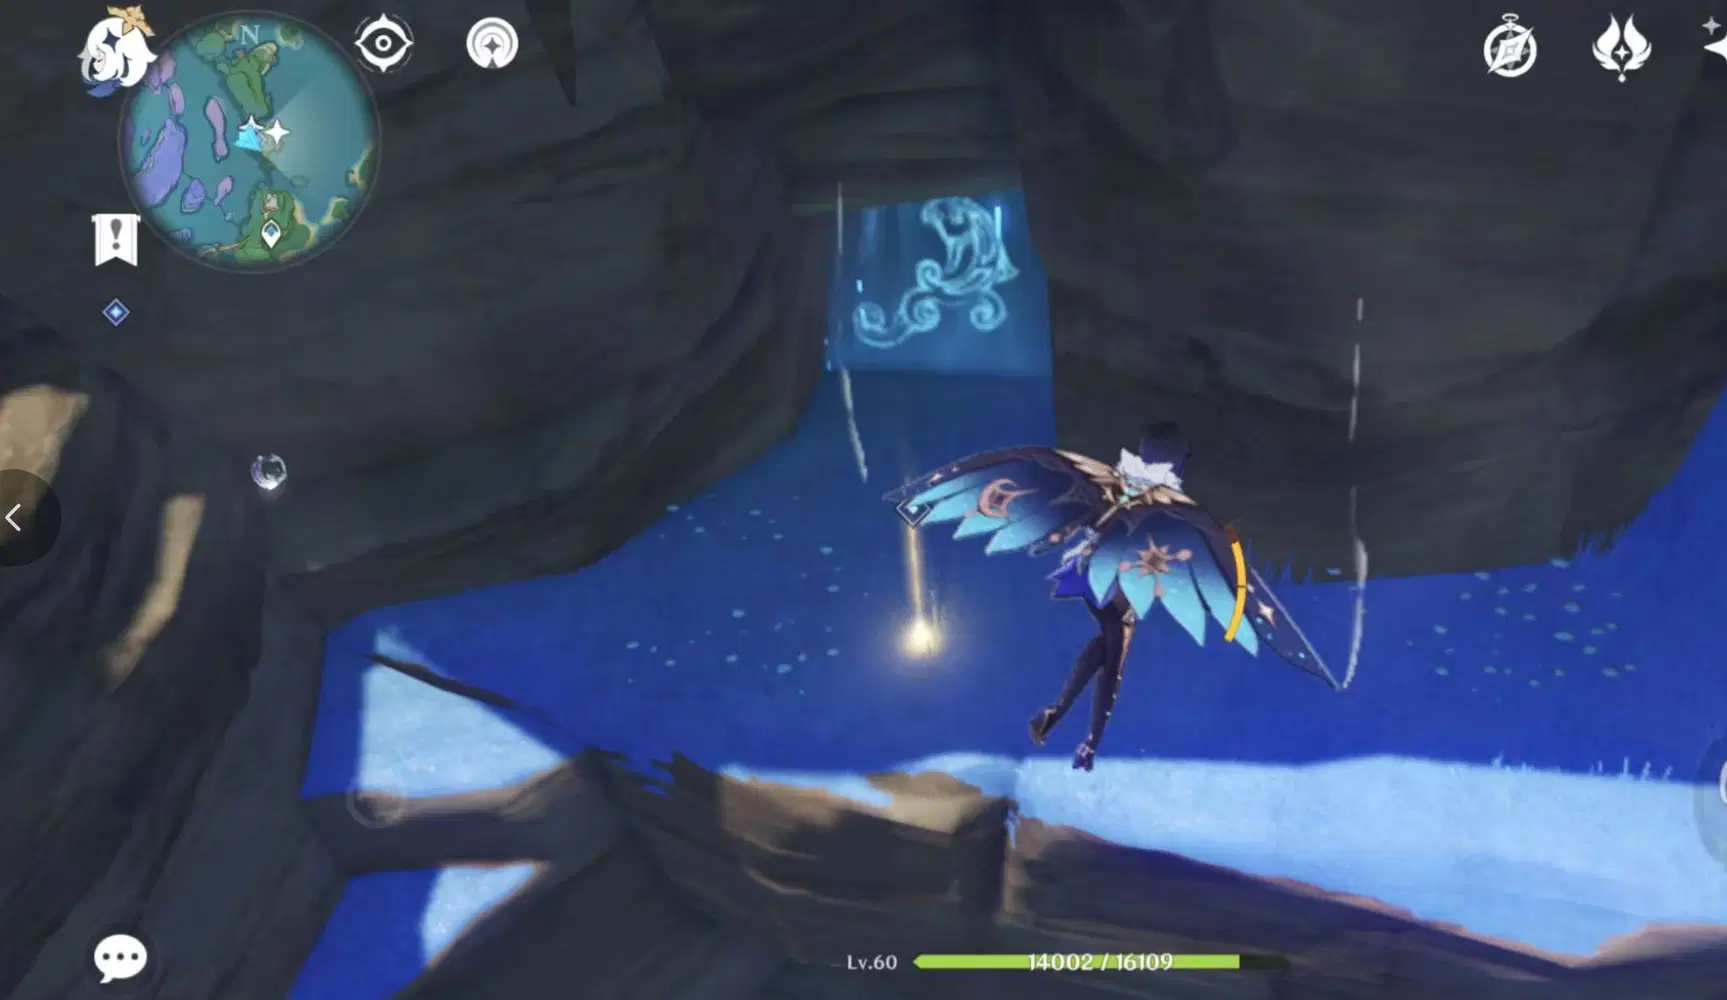
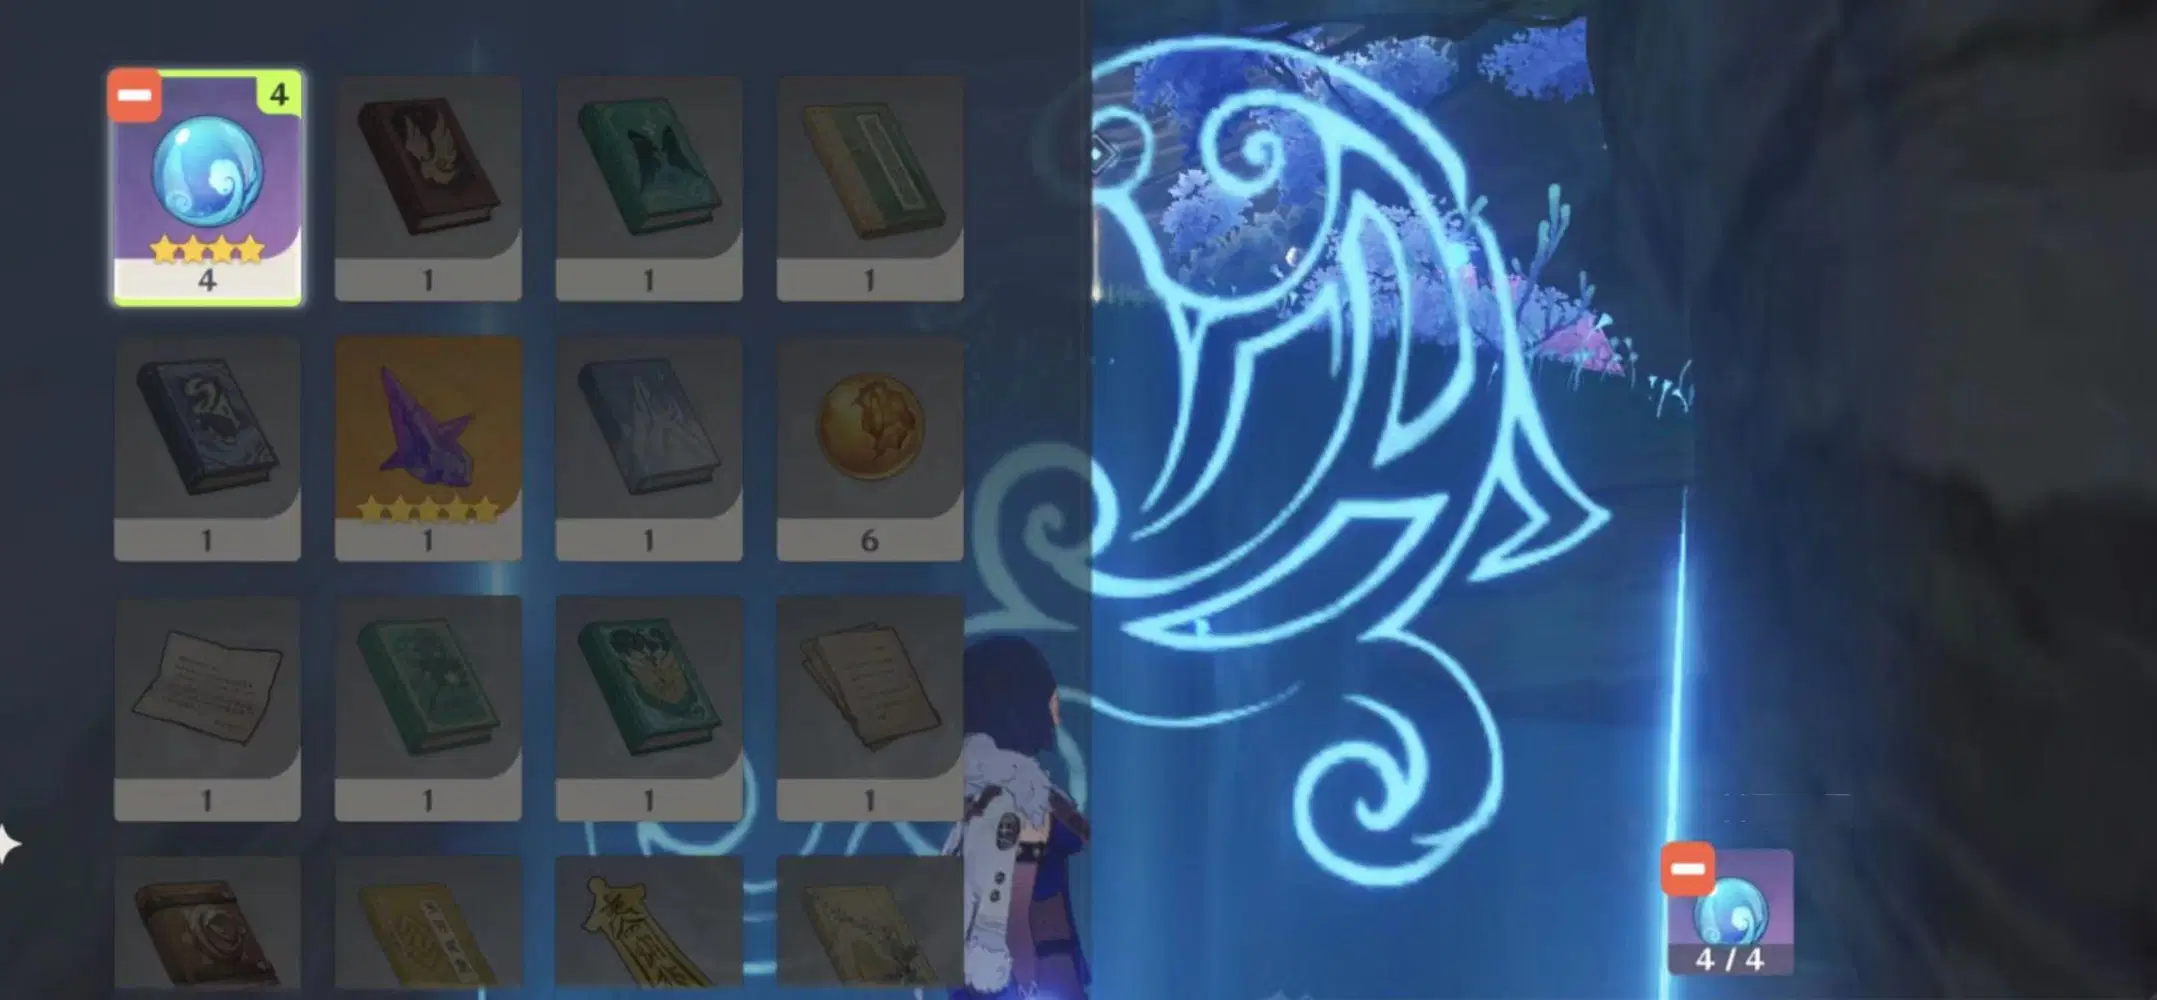
Approach the barrier to interact and hand in the 4 Spirit Pearls we collected earlier, after which we gain access to the “Heart”.
Break the final seal
The seal here also requires us to orient the fish statues towards the center of the platform.
Follow the order in the picture below and activate the Mysterious Pillars, ①②③have the same activation order.
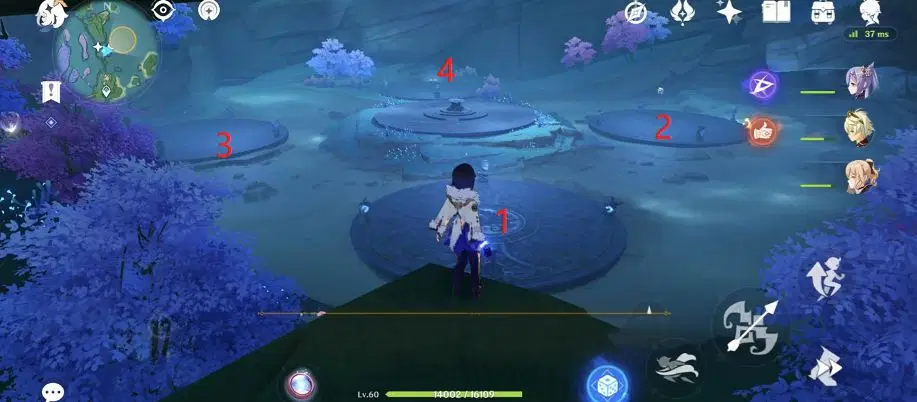
Orient the three fish statues on the platform so they are facing the middle. The platform will light up if the directions are correct.
Once the platform lights up, Hydro Mimics will appear in the middle.
Each platform will spawn two Hydro Mimics.
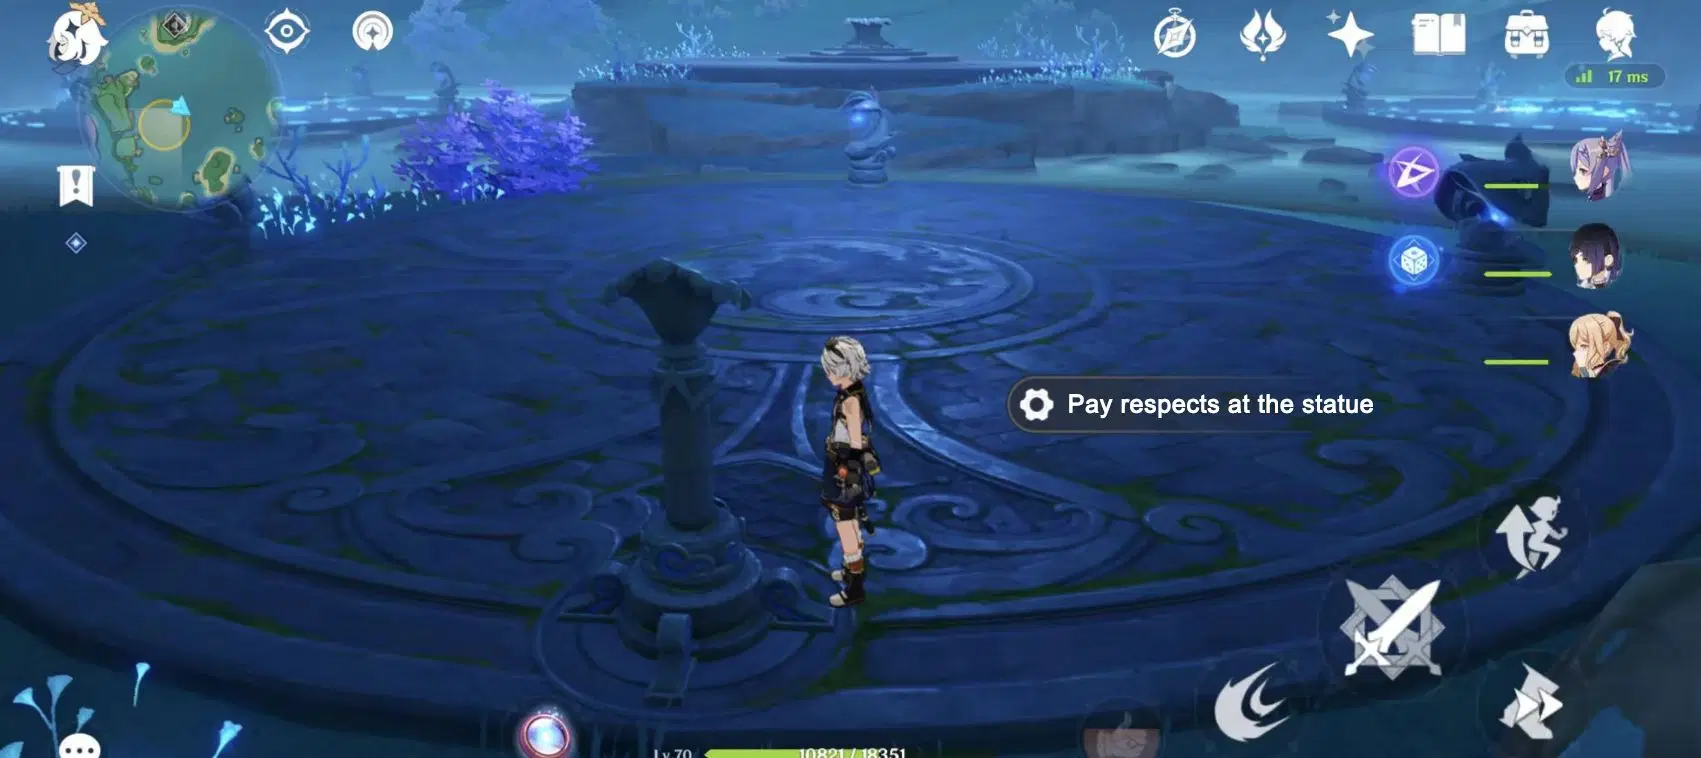
Defeat them then activate the Mysterious Pillar to lock the statues in place
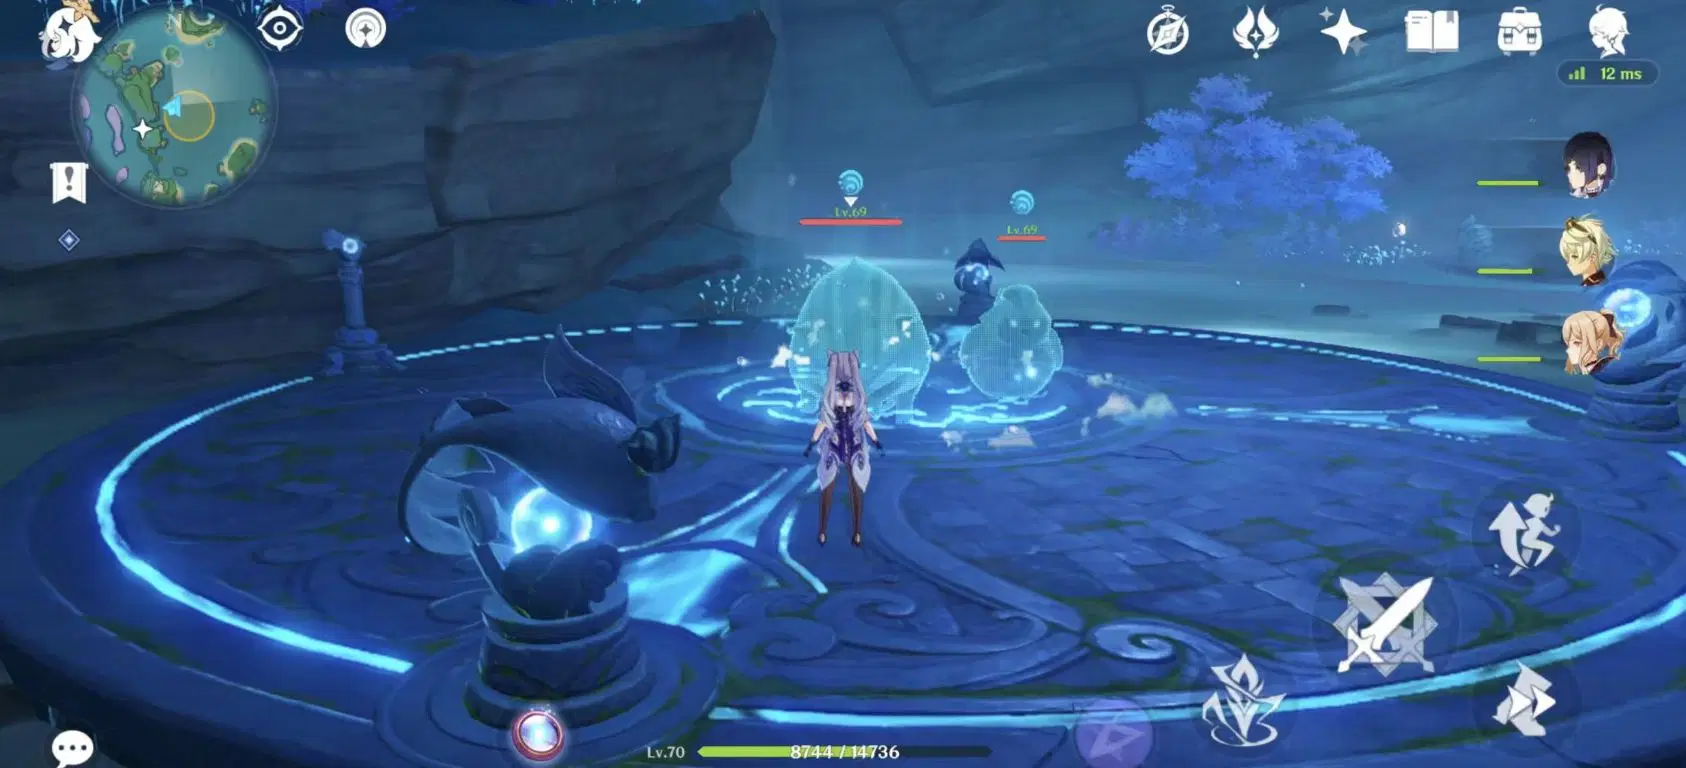
Now we’ll activate the Mysterious Pillar on the platform.
Orient the three fish statues on the platform so they are facing the middle. The platform will light up if the directions are correct.
Once the platform lights up, Hydro Mimics will appear in all four platforms
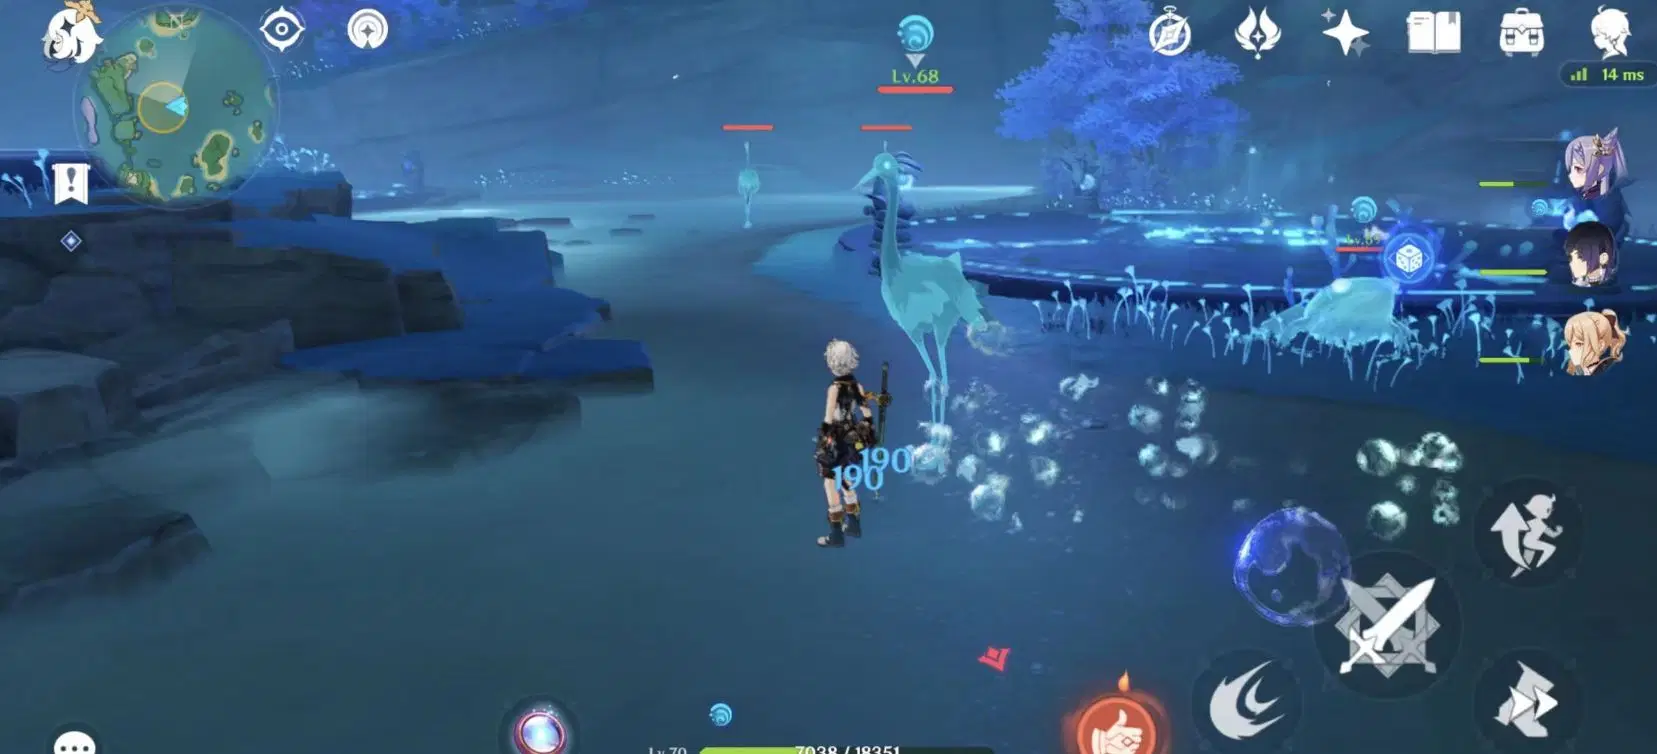
Remember to prioritize getting rid of the three cranes around. If you wipe here, you’ll need to reactivate the four platforms. There are three waves of mobs to defeat in total.
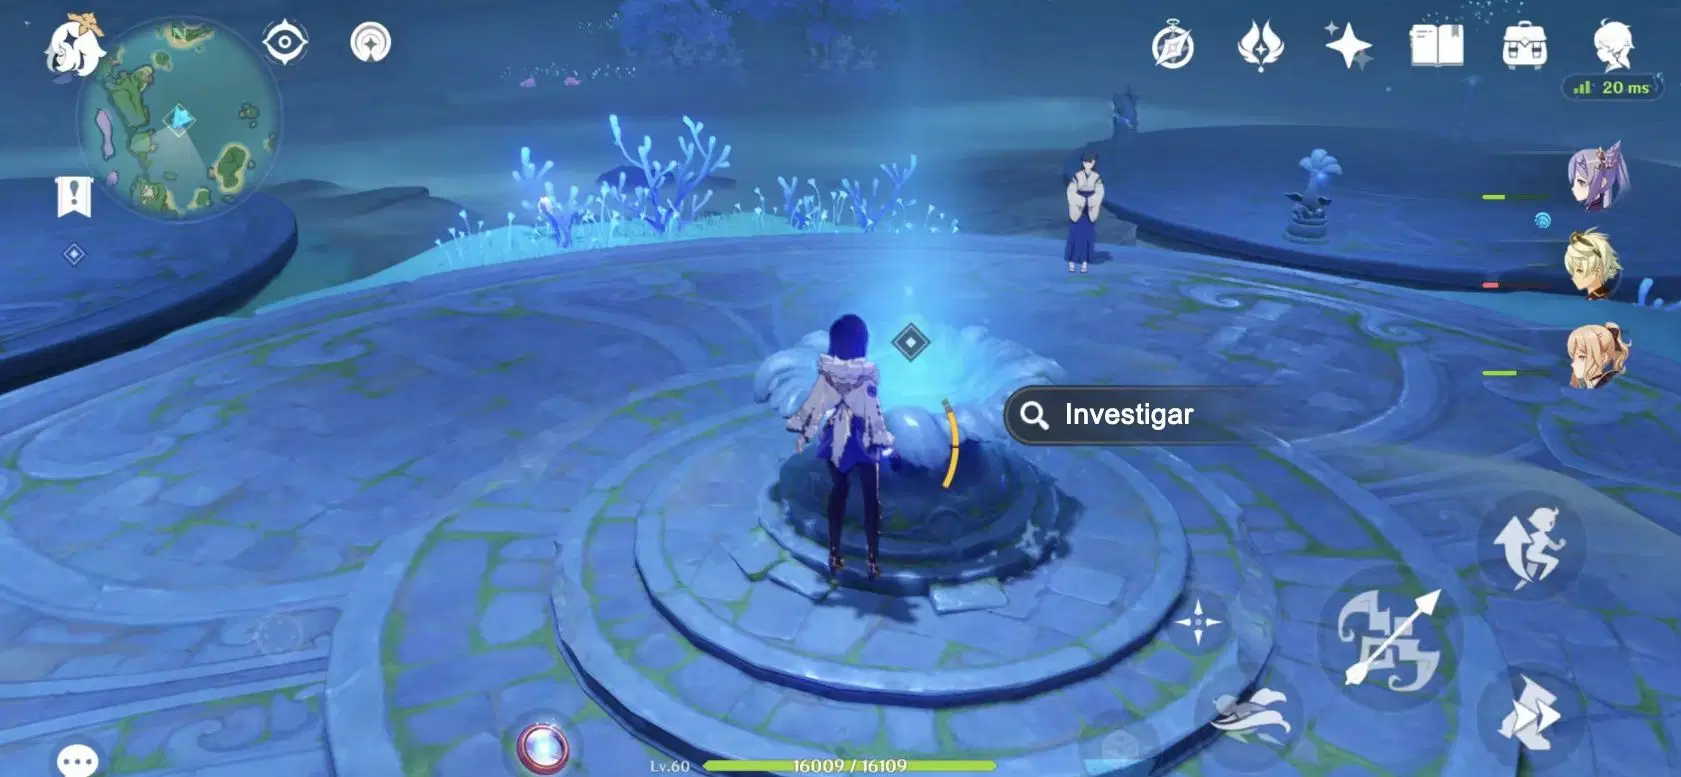
Once they are defeated, head towards the pool in the platform in the middle and investigate to obtain the “Key of the Deep”, then speak to Tsuyuko near the middle to complete the quest.
Quest rewards Adventure EXP*350, Primogem*40, Hero’s Wit*3, Mora*30,000, Mystic Enhancement Ore*6, Achievement “The Same Moonlight”.
Summary:
The quest takes a long time to complete, which is around 45 minutes. The puzzle and combat difficulties are fairly high.
Collection Skip: [Watatsumi Island in Inazuma] World Quest Collection