Continuing from Through the Mists Day 1: A Particularly Particular Author (Part I), we need to complete the offerings at two other perches.
13) Make an offering to the second perch
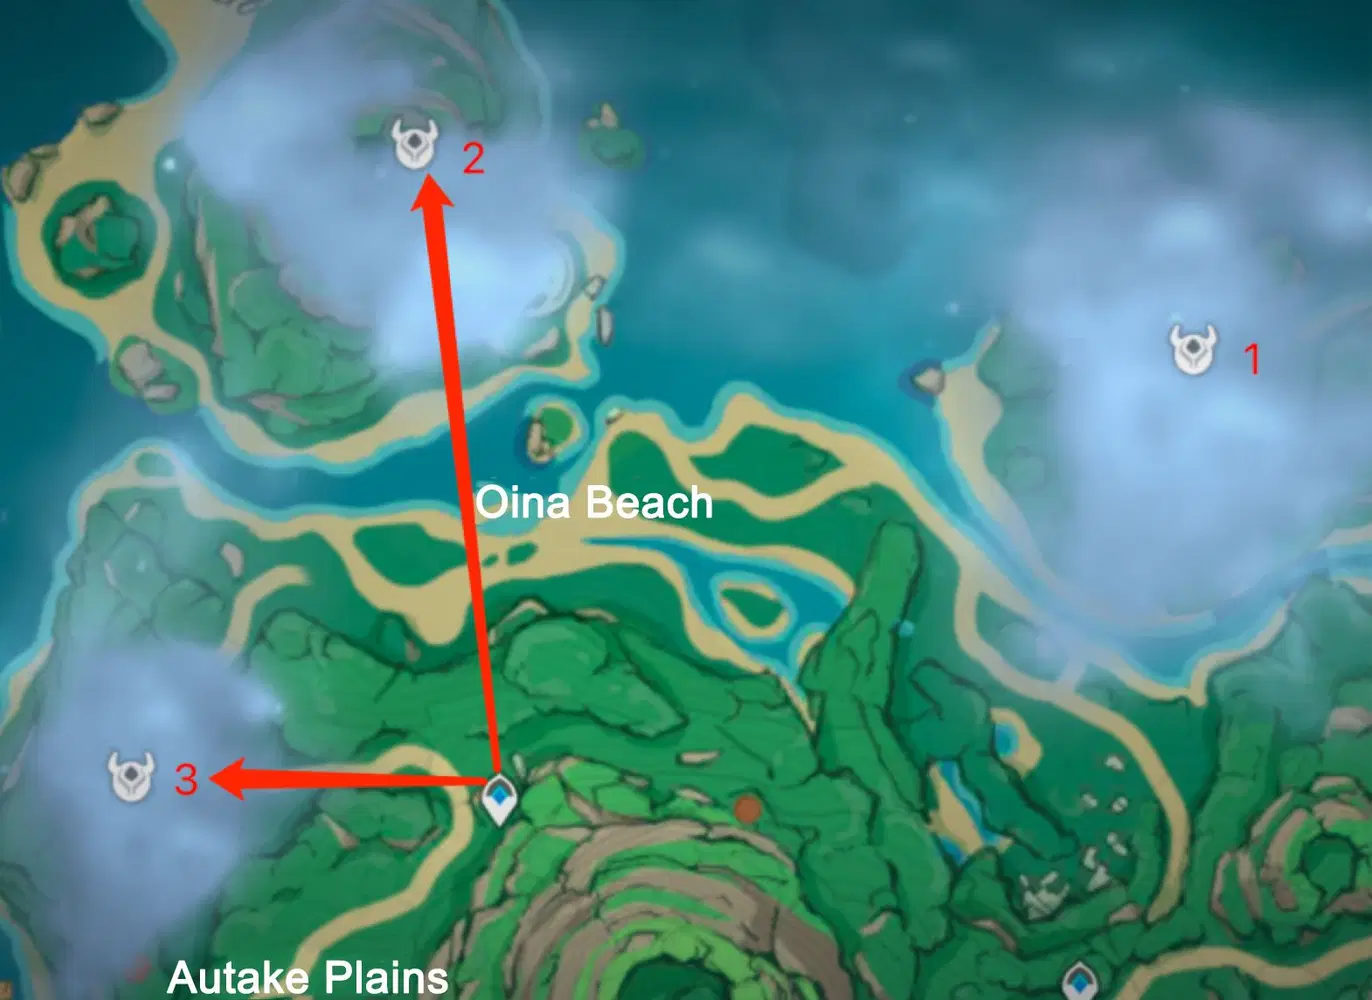
First head towards location 2 on the map, Shirikoro Peak. You can teleport to the waypoint above Autake Plains first then head north.
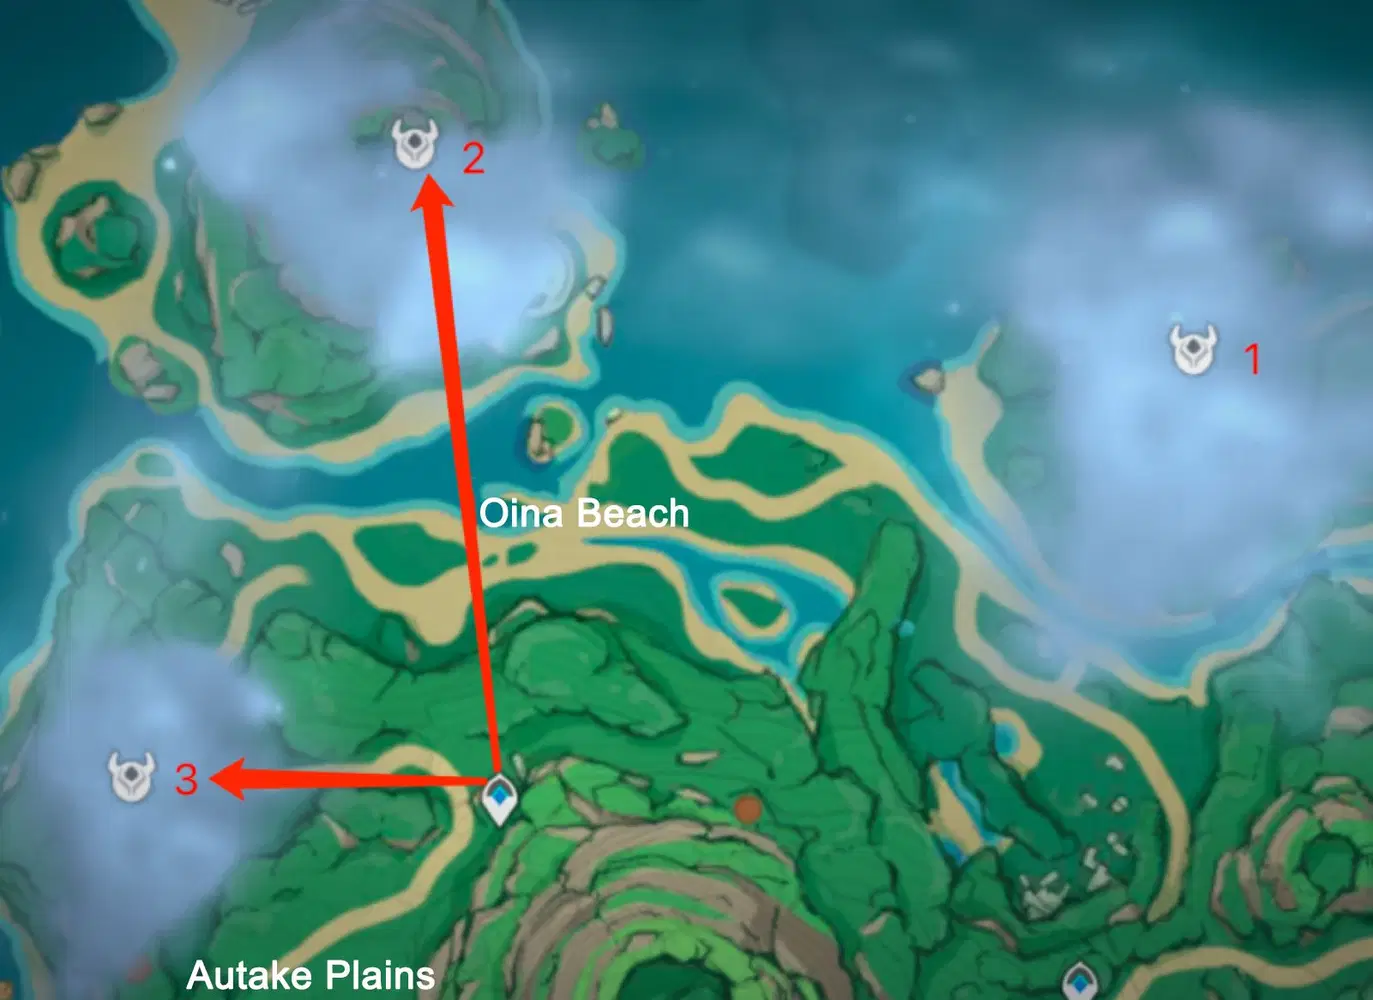
Once you’re at the entrance, follow Seelie #1 of Shirikoro Peak -
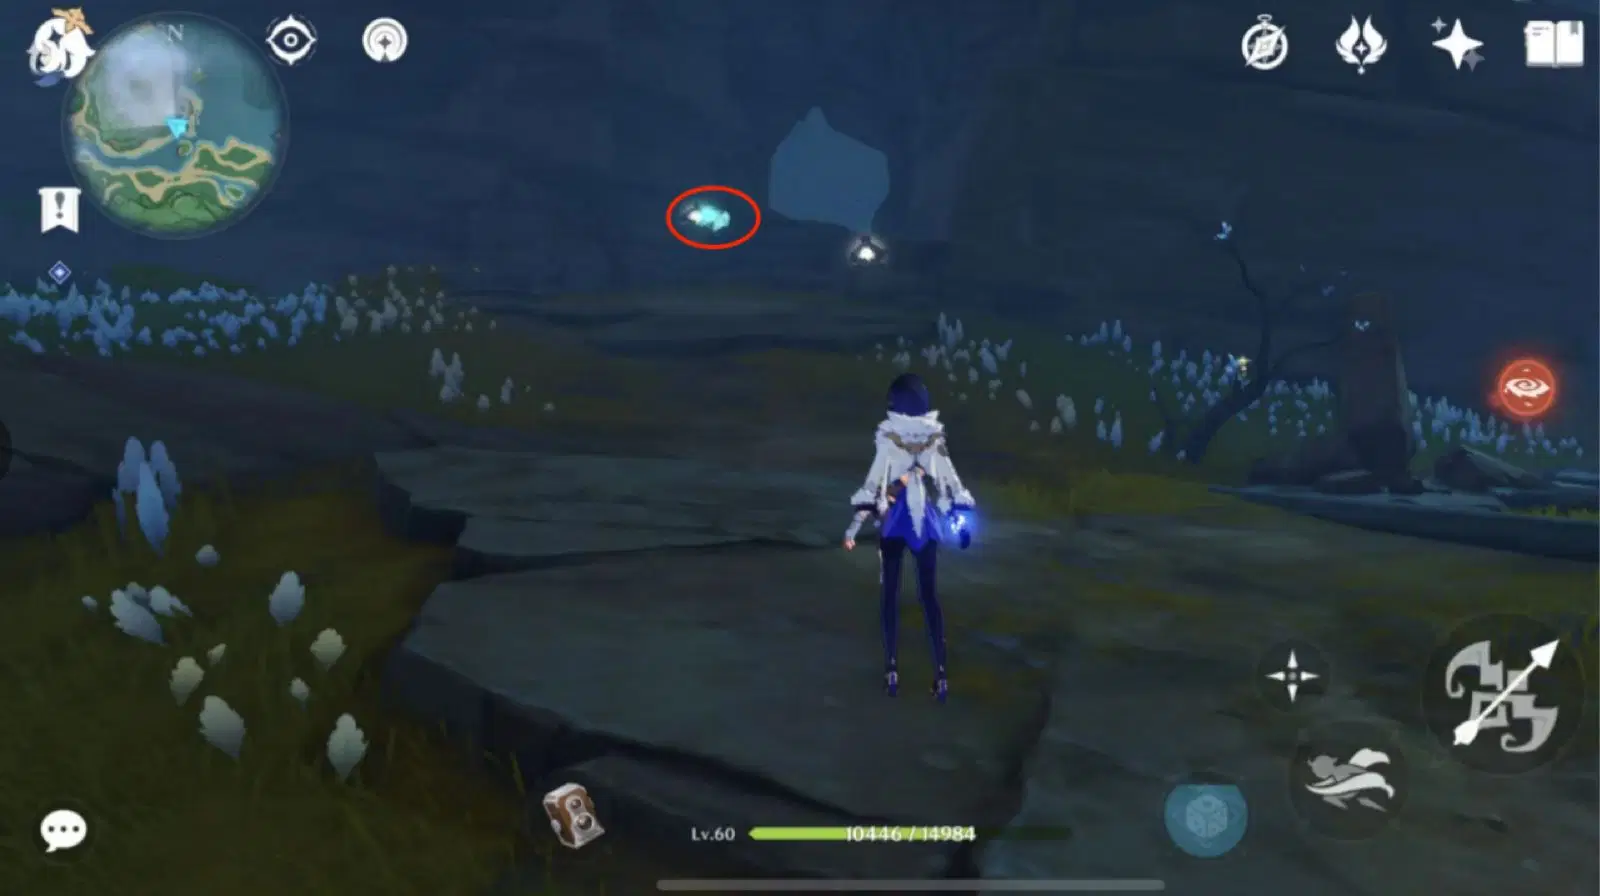
Talk to Ruu. After guiding Seelie #1 to its location, touch the perch and summon the three feathers. You’ll see the approximate locations of the feathers on the mini map to the upper left
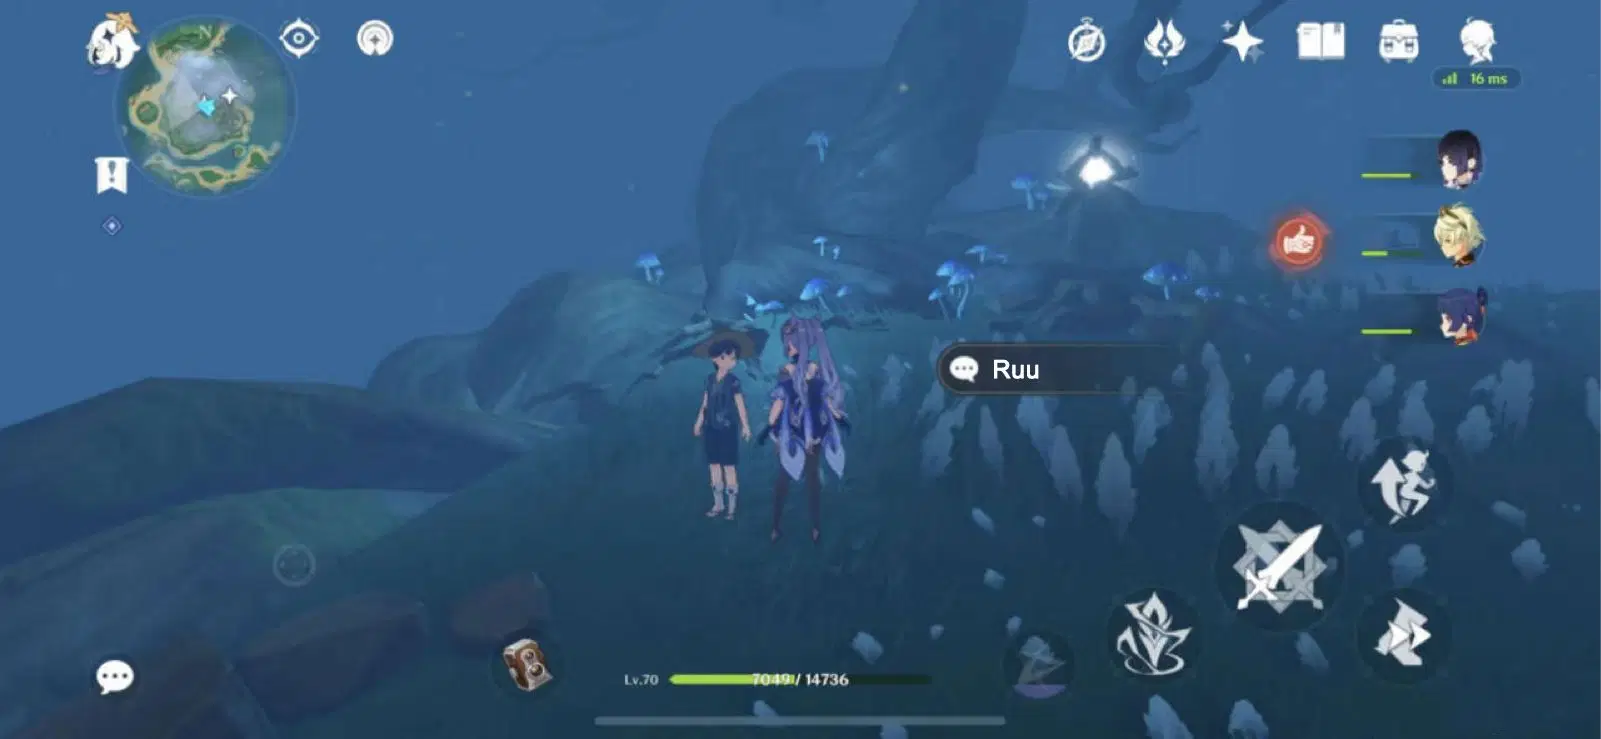
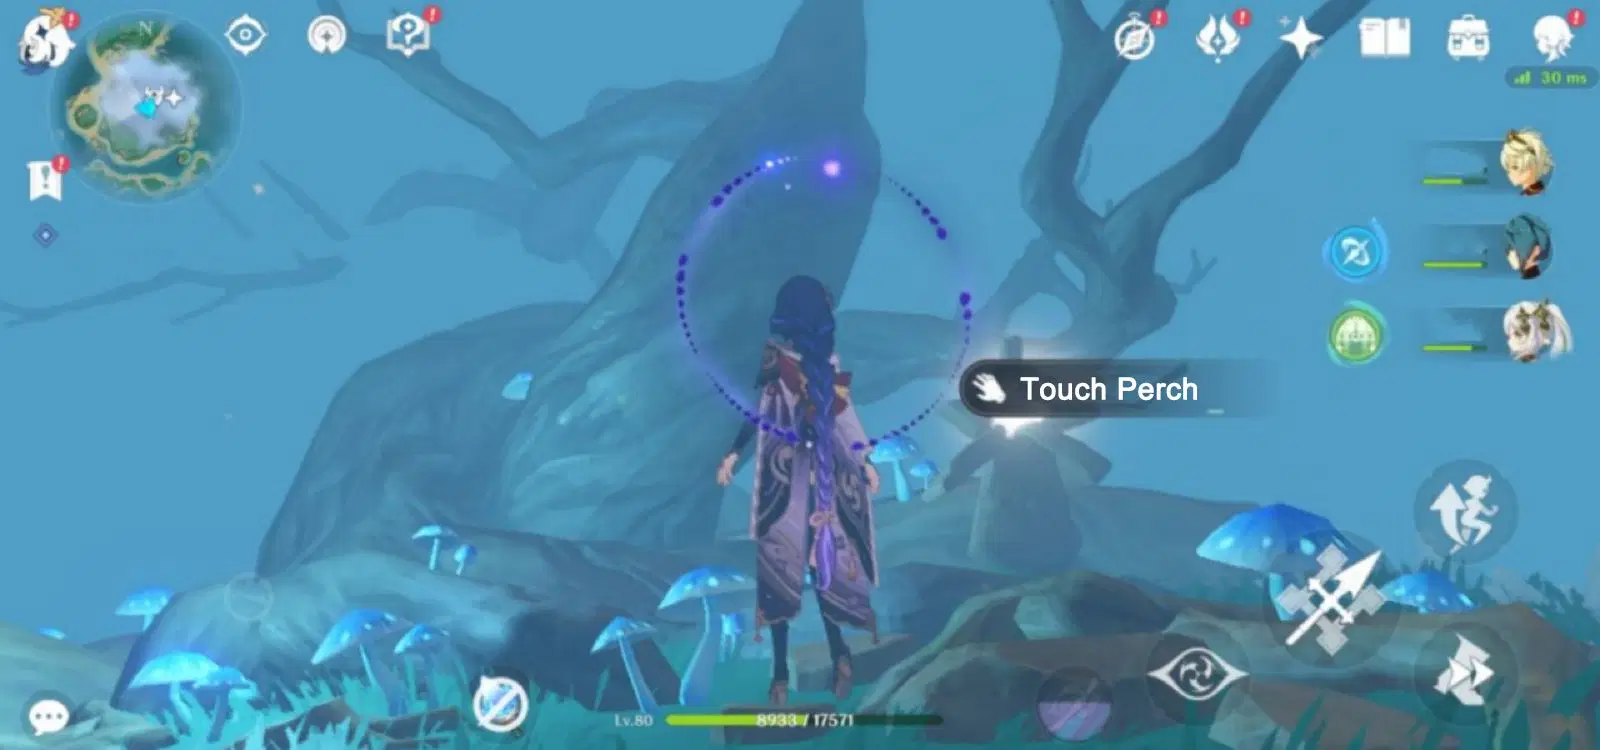
Note: You need to guide the three Seelies to their respective locations and lower the water level below the tree before you can go find the feathers.
Seelie #2
Head northwest of the map, behind the perch. Glide down when you see Seelie #2 next to the white Stormstones of Tsurumi Island, then guide Seelie #2
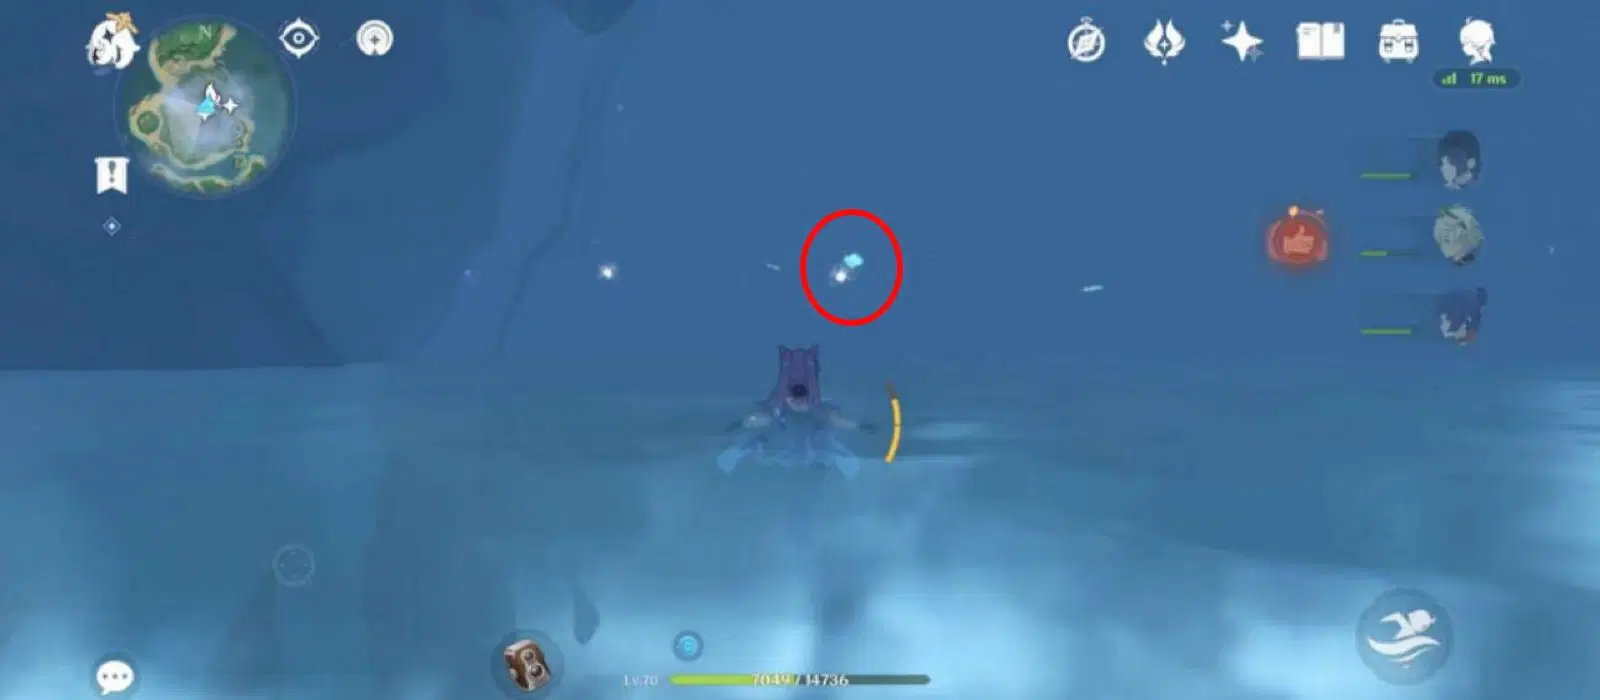
Find the Thunder Sakura Bough on the cliff nearby and summon the Electrogranum. Fly towards Seelie #2 with Thunder Spheres and guide Seelie #2 to its position
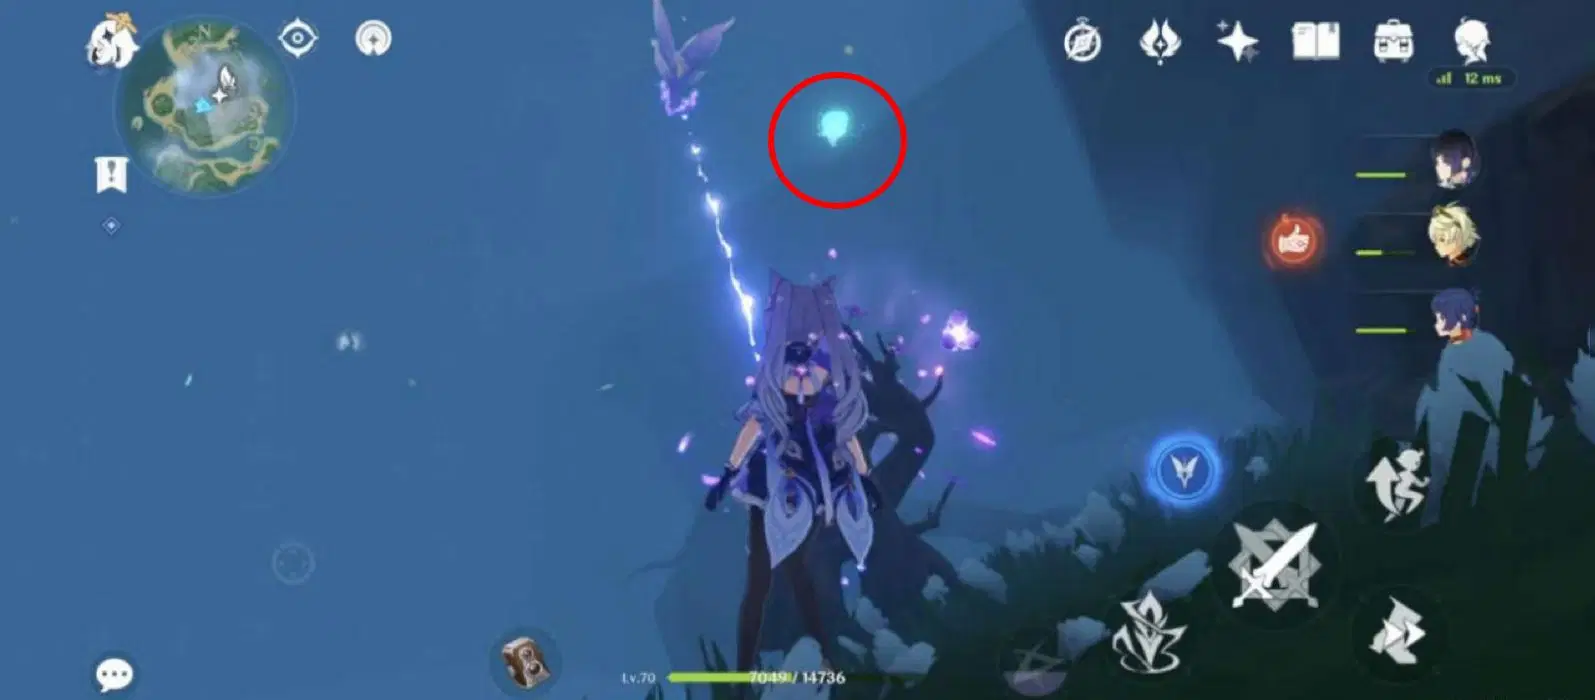
Seelie #3
Stand near Ruu and look northeast of the map. You’ll spot Seelie #3 on a branch, guide and follow it
*Note: Be careful not to fall down. If you fell, find the Thunder Sakura Bough and summon an Electrogranum to fly back up
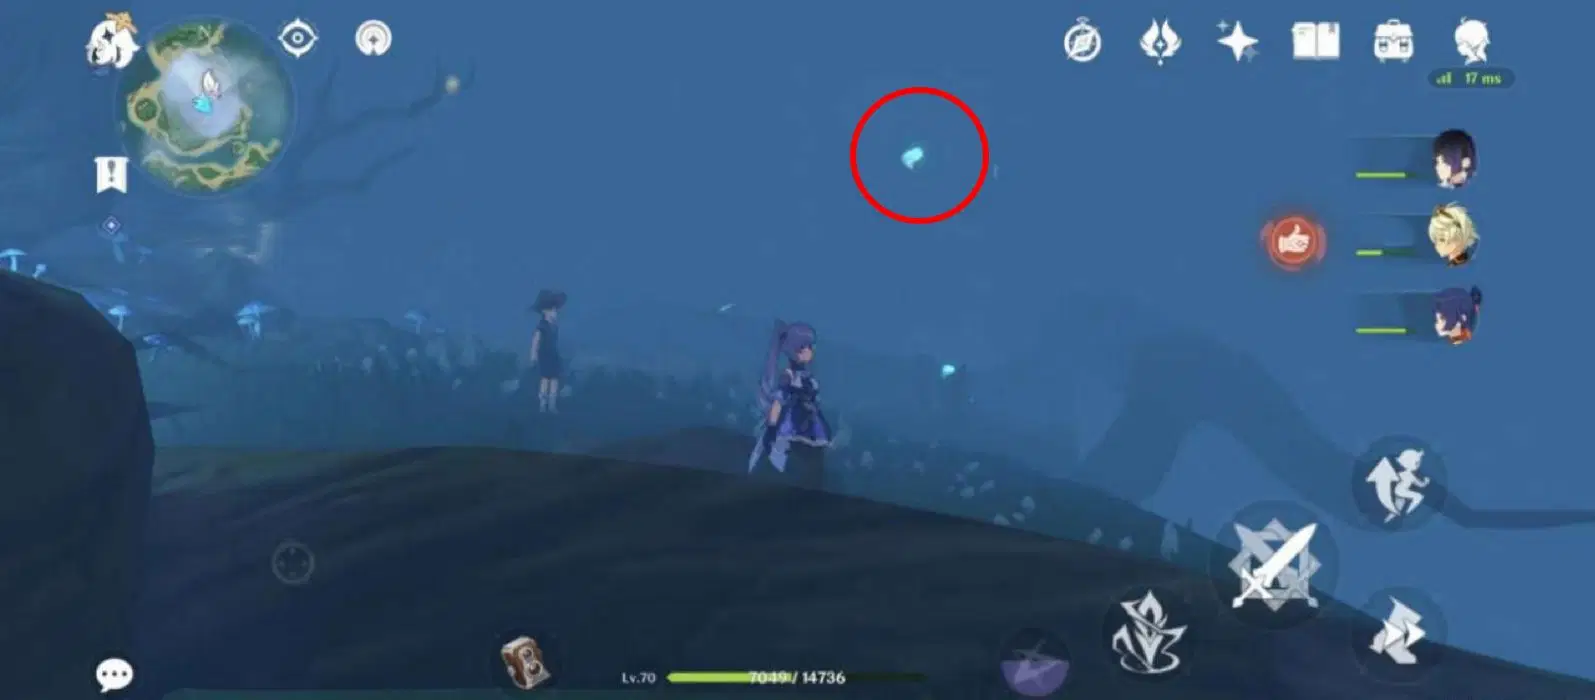
Once the three Seelies are set, a chest will appear and the water level will fall
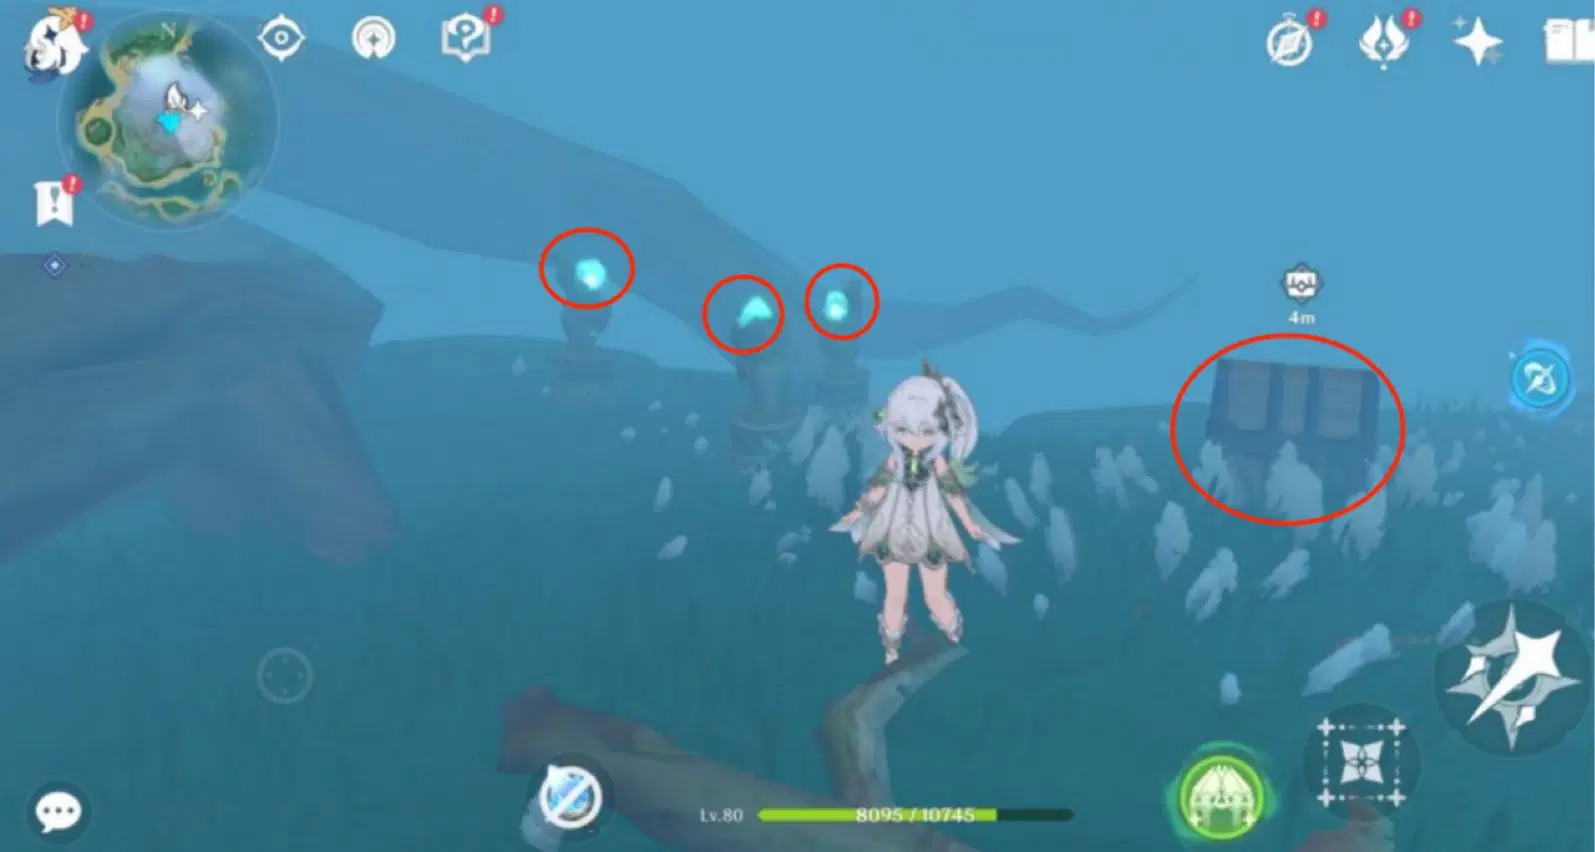
Observe the mini map on the upper left and jump from the northeast direction of the map. Head towards the three feathers
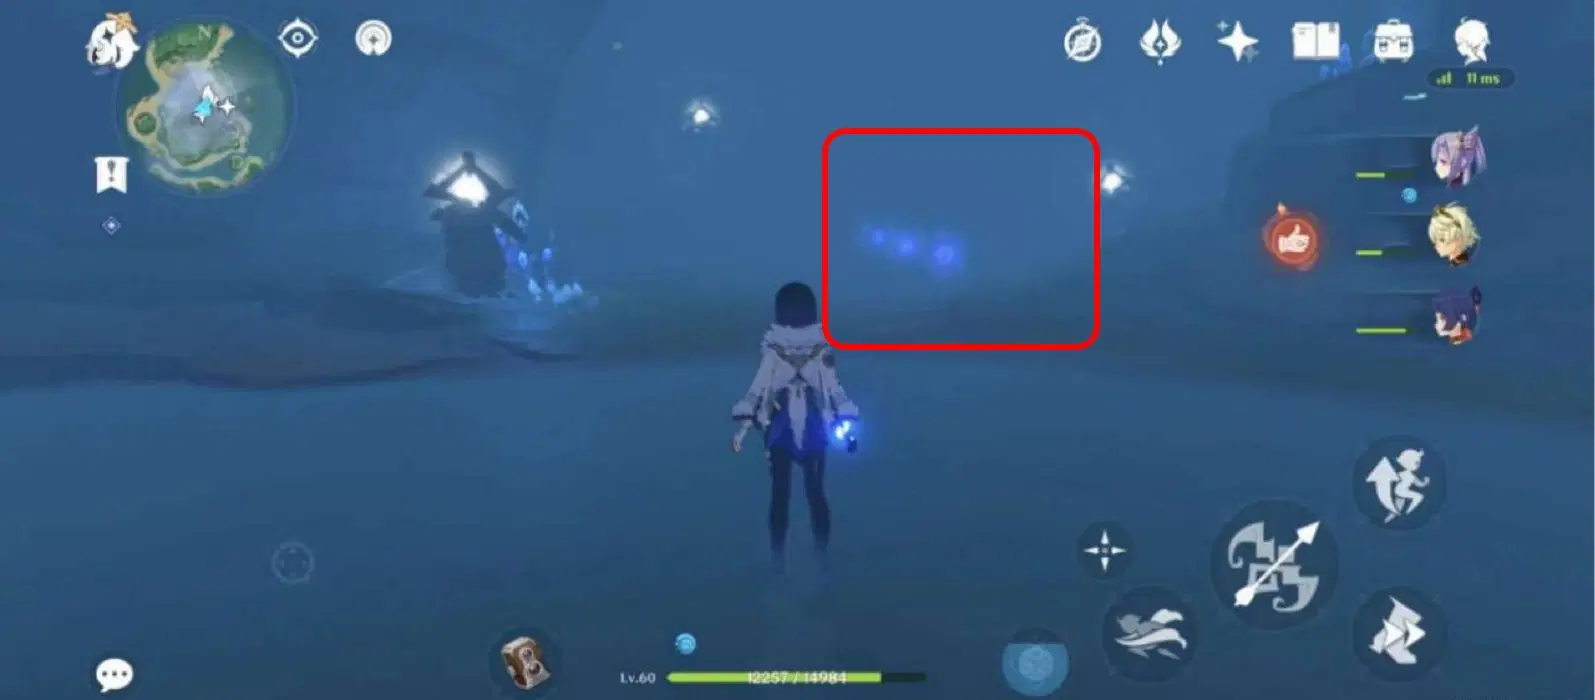
Follow the feathers into the cave and touch the first feather to send it back to the perch. Clear out any Rifthounds on the way
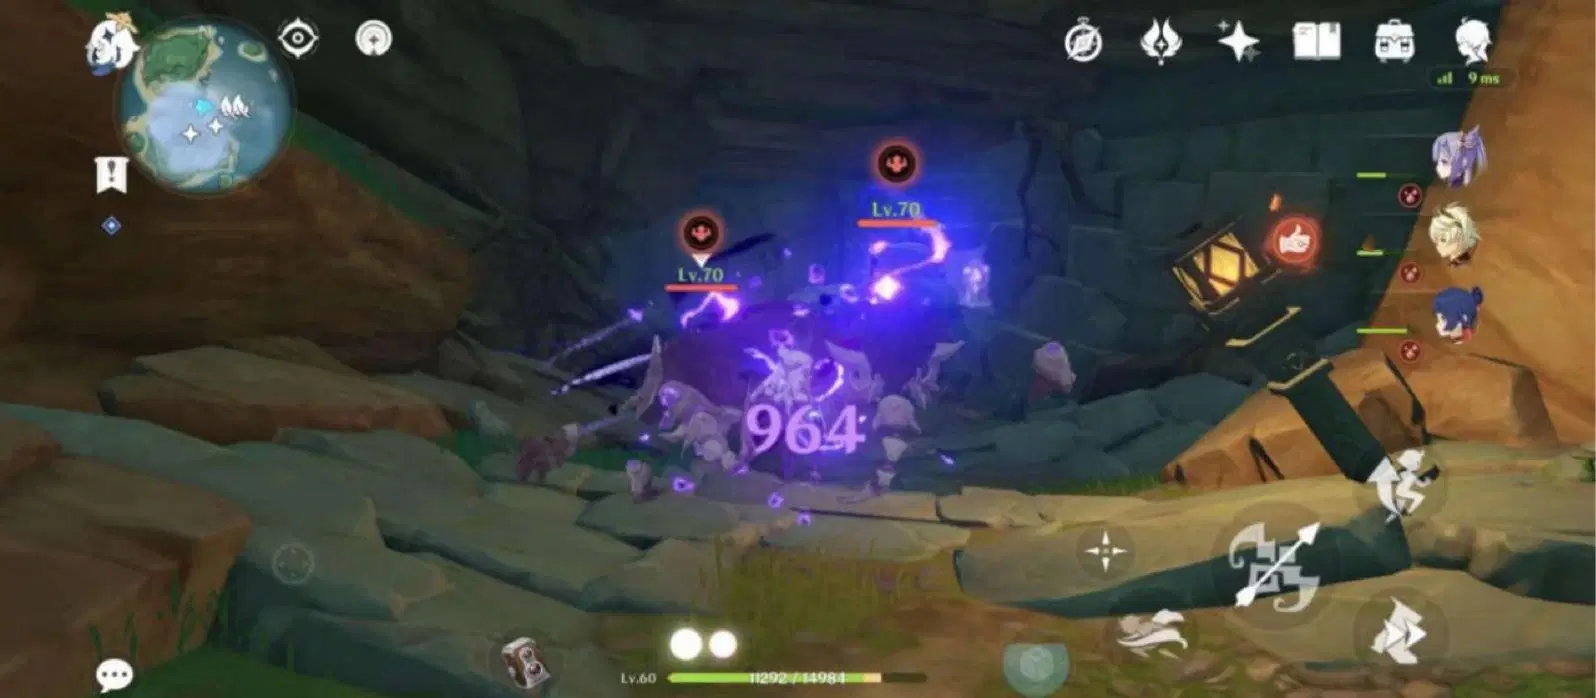
The second and third feathers will need us to keep following them around (Note: Try to not quit out of the game at this stage)
Chamber 1
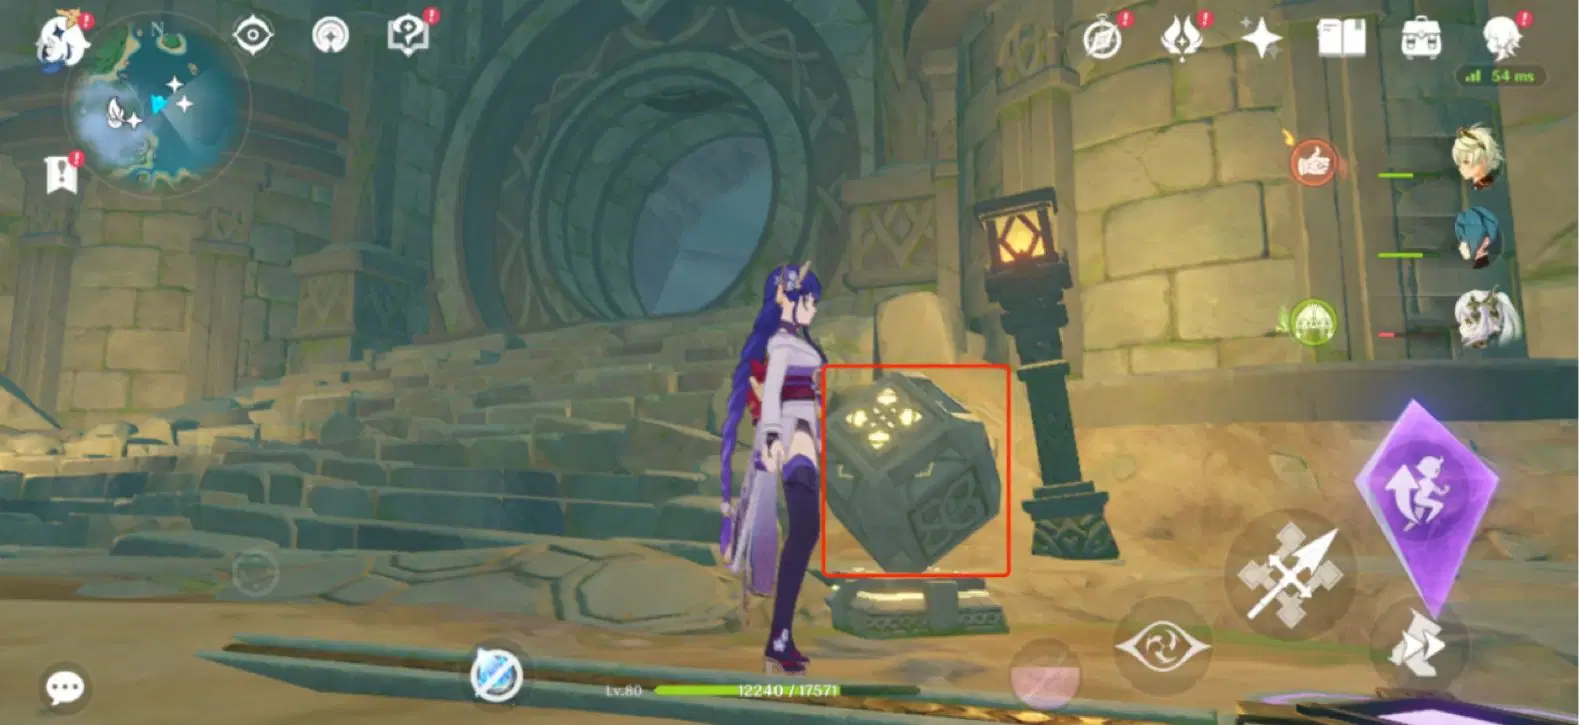
Follow the feather and enter chamber 1, as pictured below,
Find and take the Relay Stone circled red in the picture.
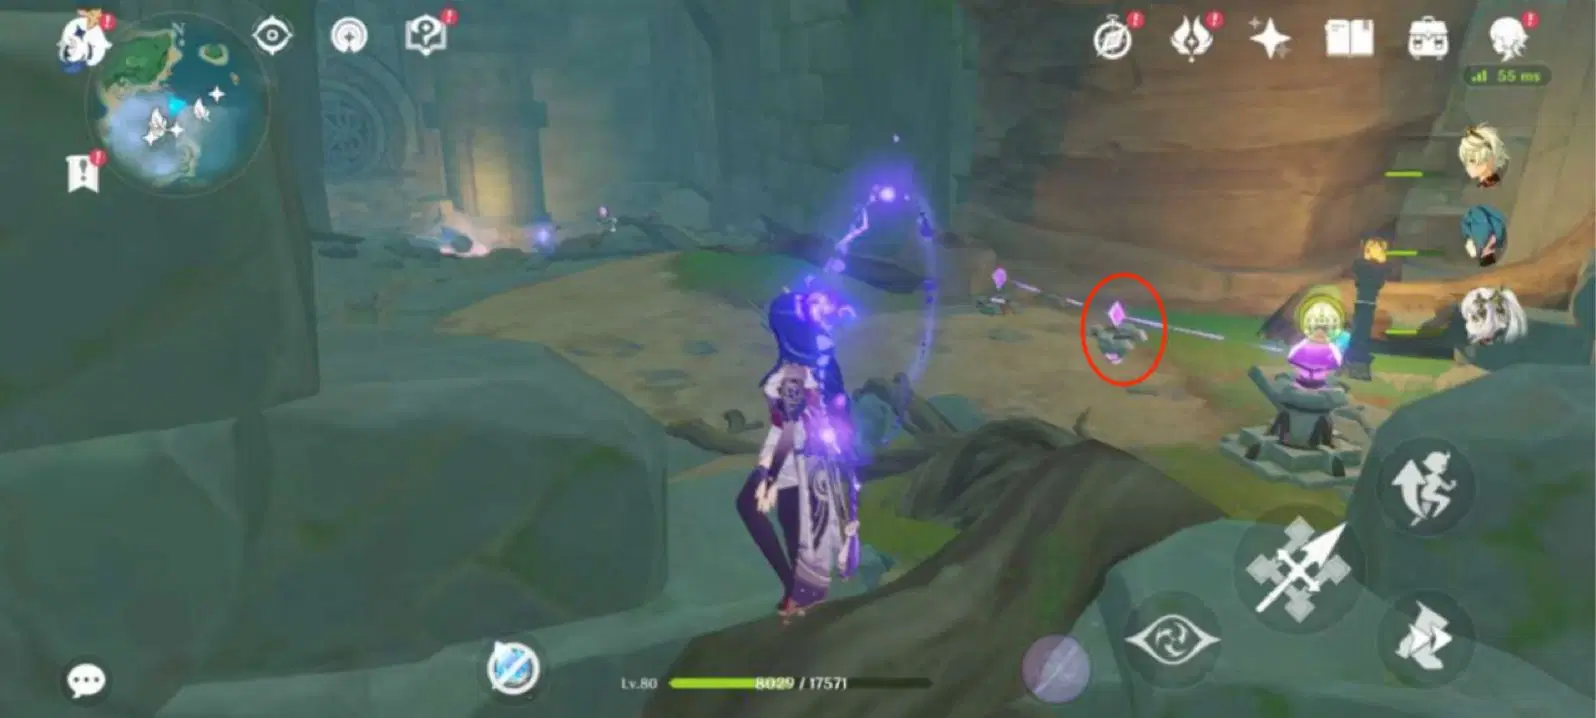
Keep heading north and further in, clear out the Mechanical Arrays on the left in chamber 1
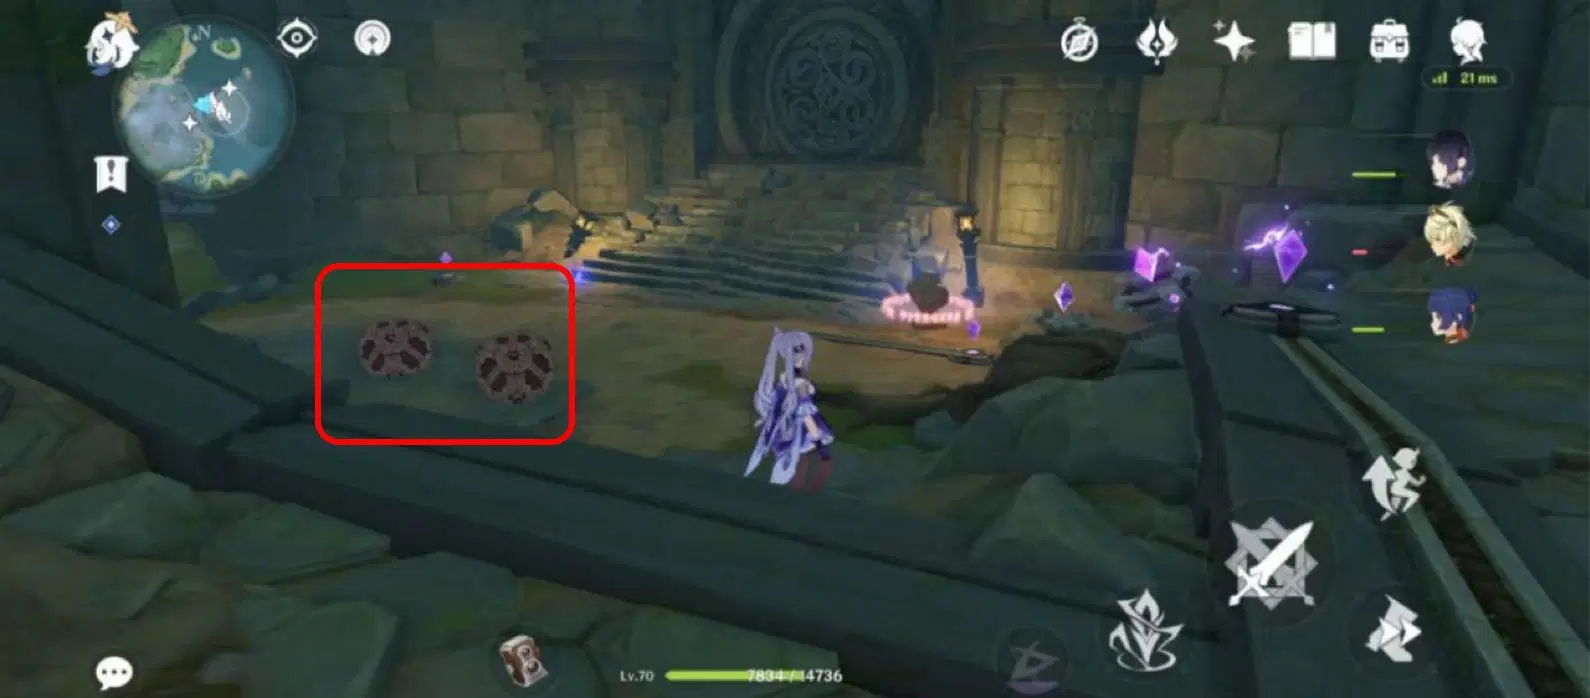
Afterwards, walk to the position in the picture below and place the Relay Stone to form the connection.
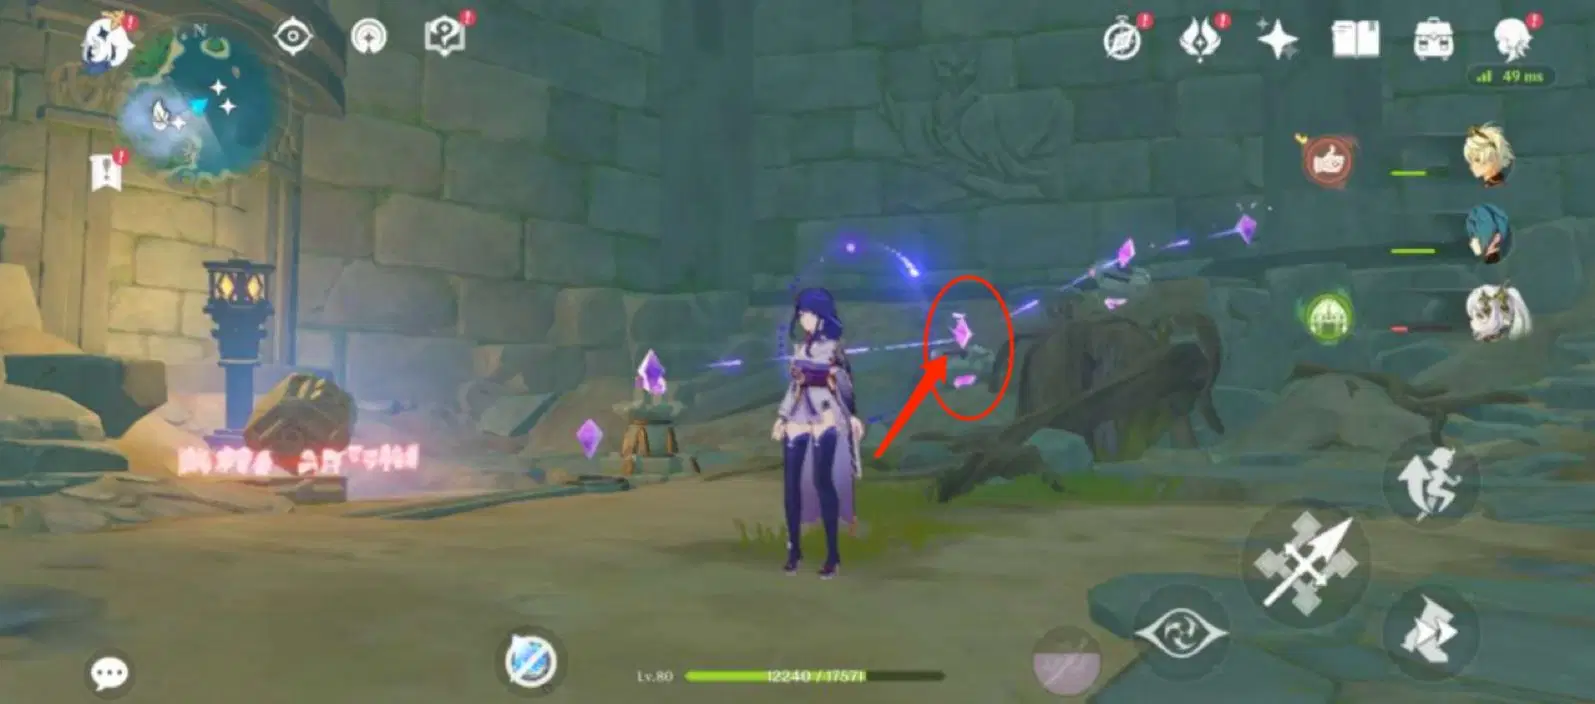
There’s another Relay Stone nearby, take it with you.
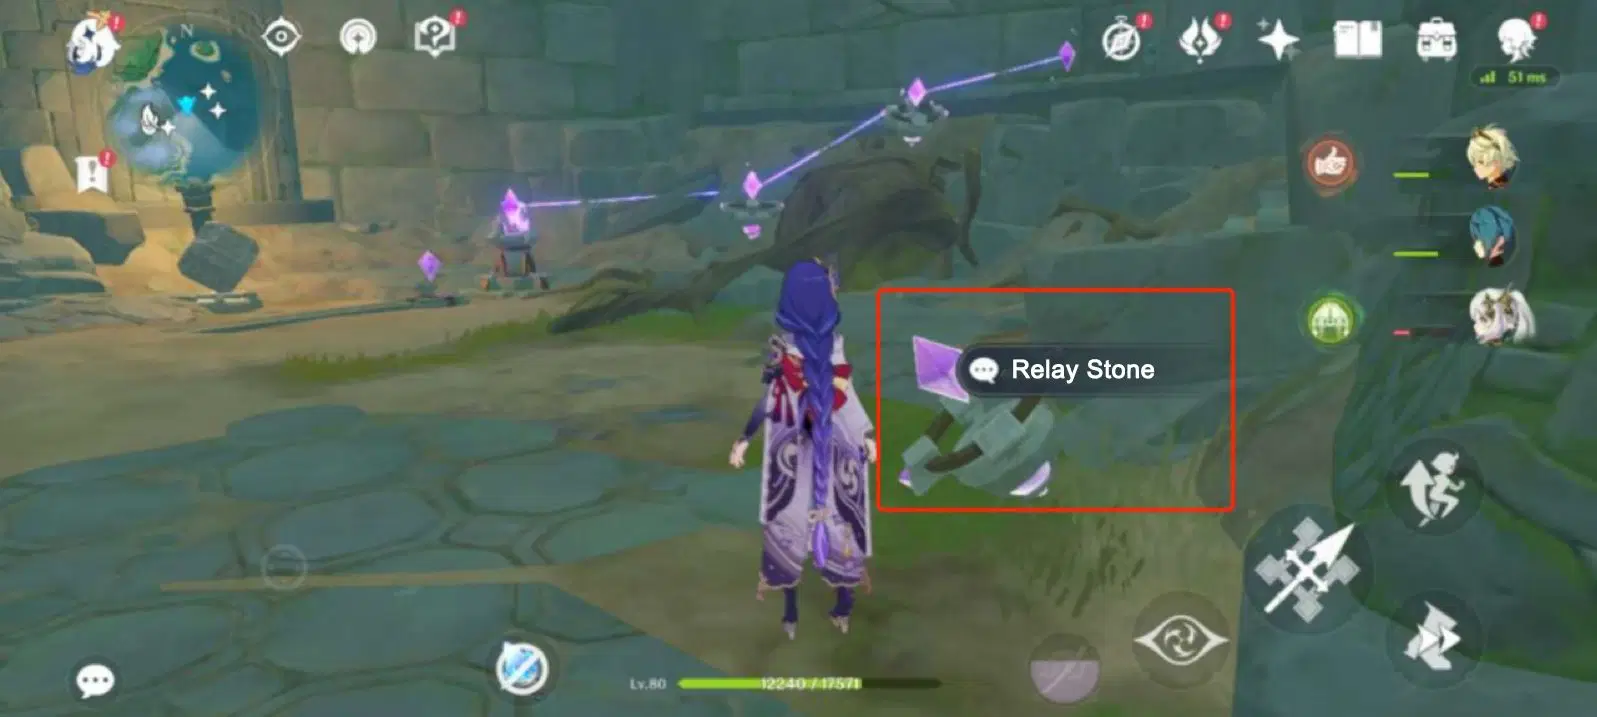
Continue towards the northeast to find another Relay Stone
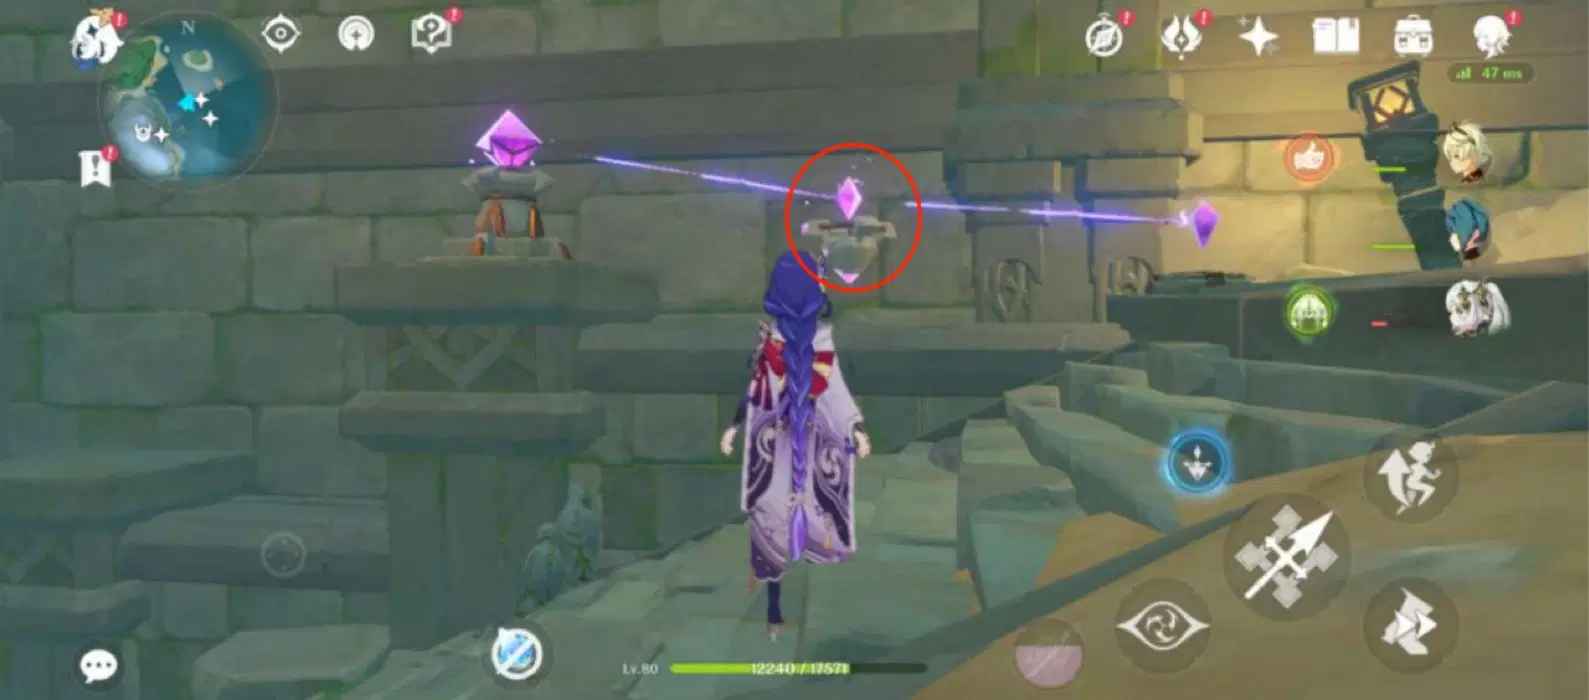
Bring the two Relay Stones with you and return. Place them between the two positions in the picture below to complete another connection.
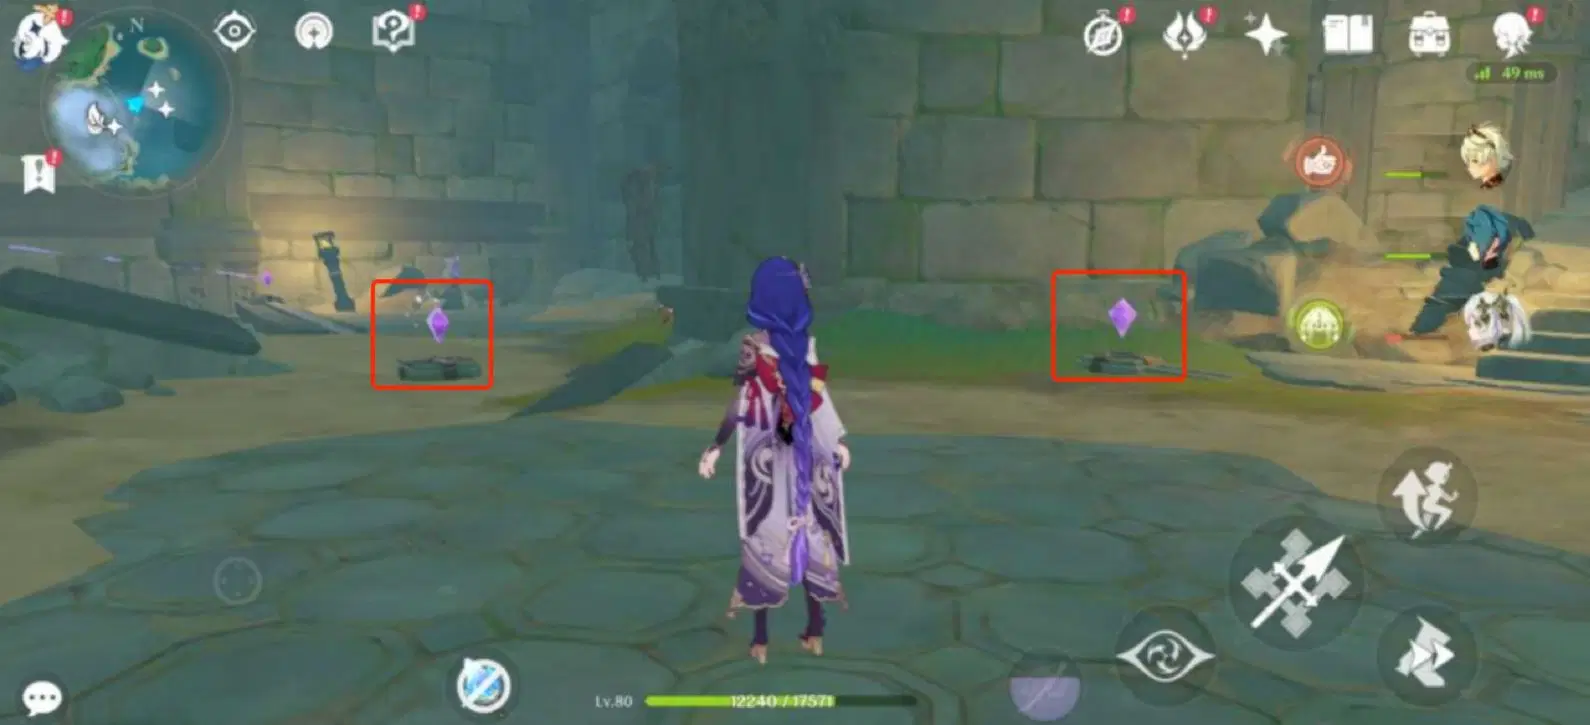
Now you may access the mechanism.
Chamber 2
Activate the mechanism and enter chamber 2 (Note there’s a Ruin Guard here), you’ll spot Seelie #1 on a pillar in front
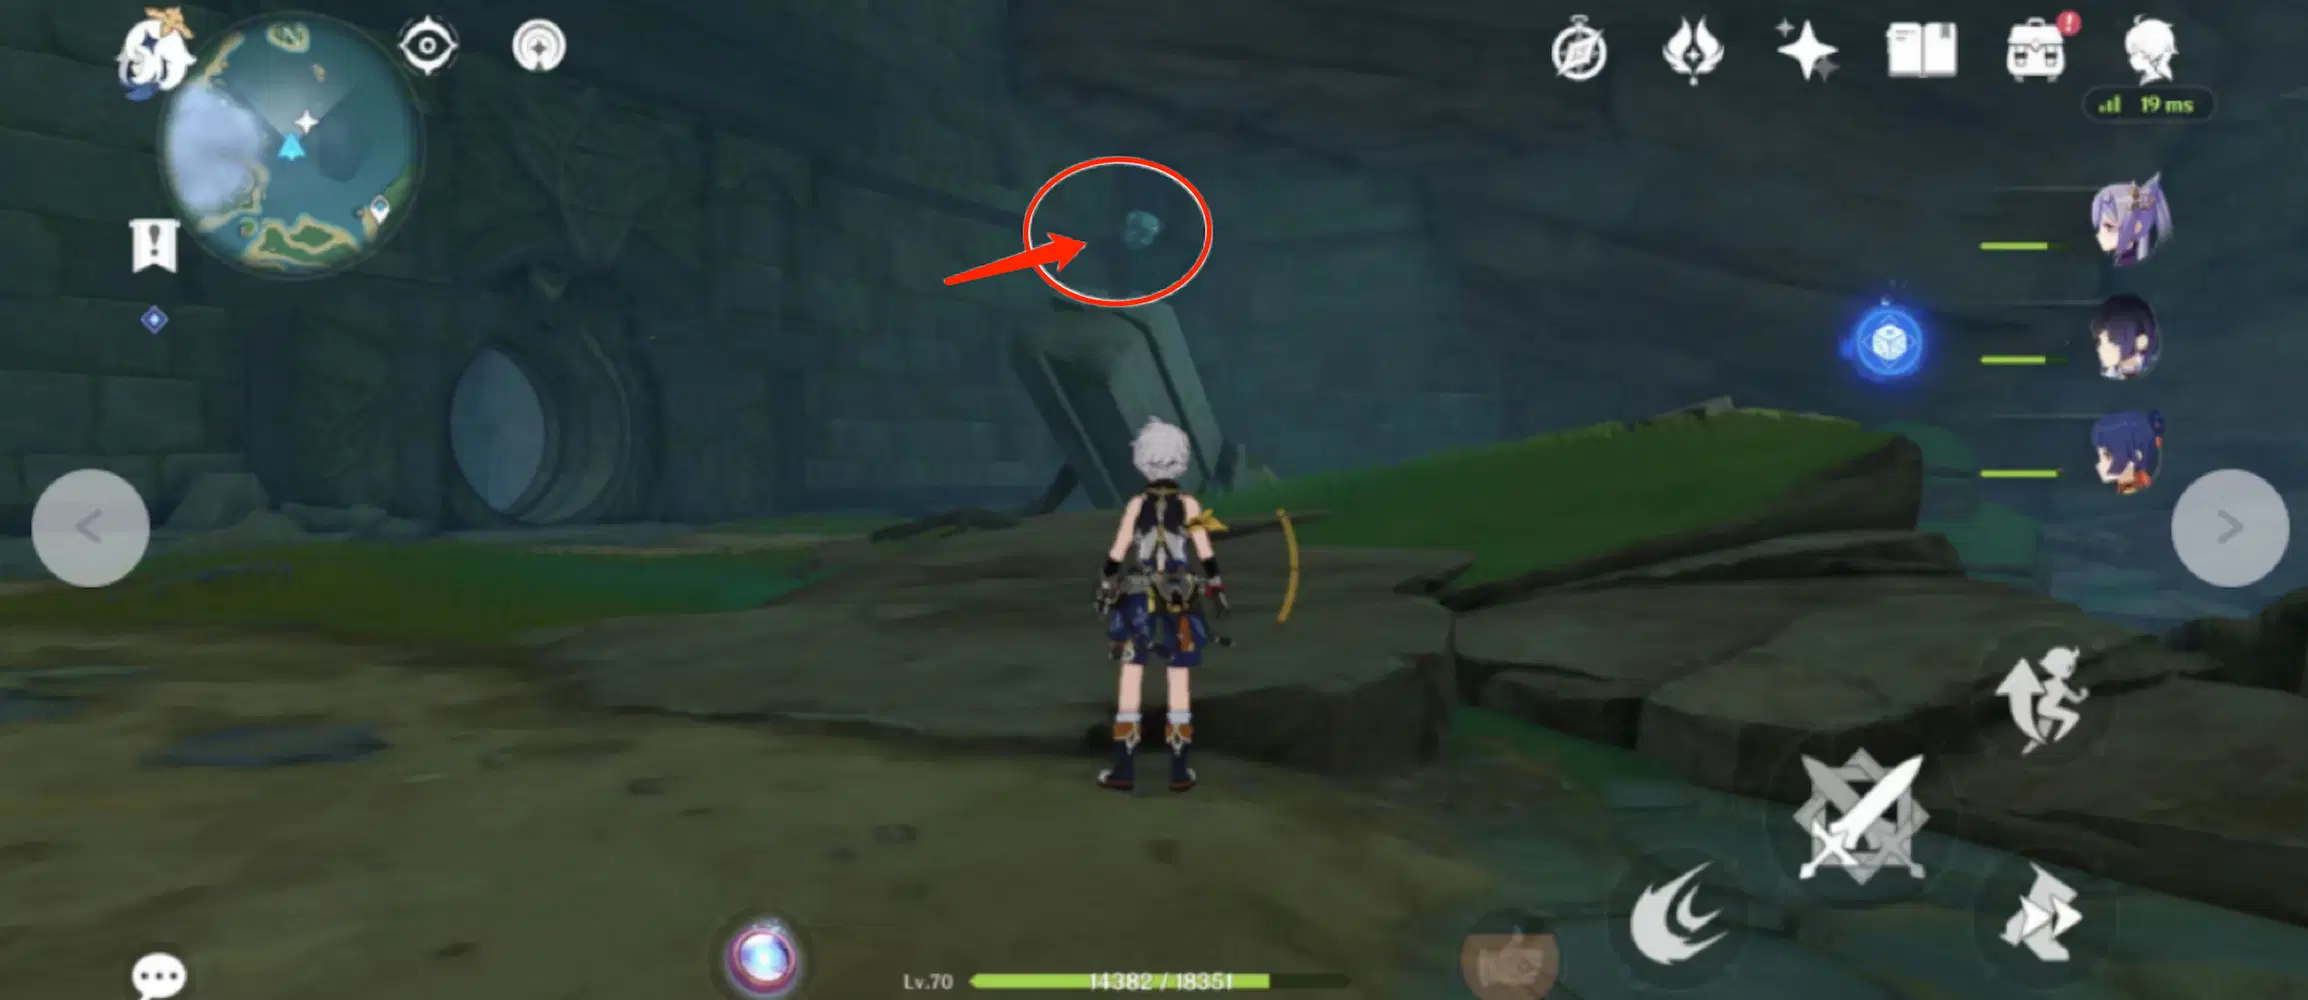
Keep moving forward, you’ll come across the chest and Relay Stone to the left near the ruined dome in the picture below
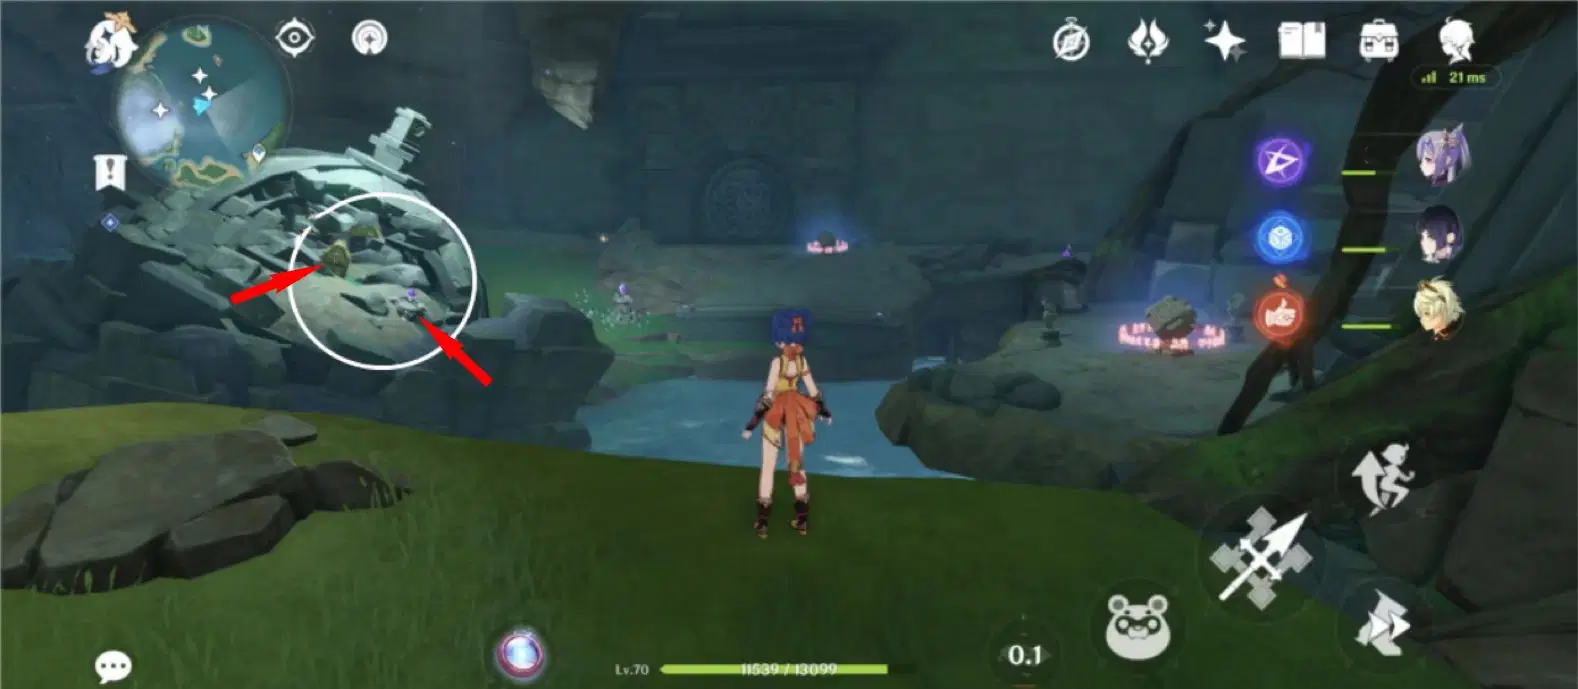
Head northeast of the map and activate your Elemental Sight. Break the rock pile between the cliffs next to the ruins
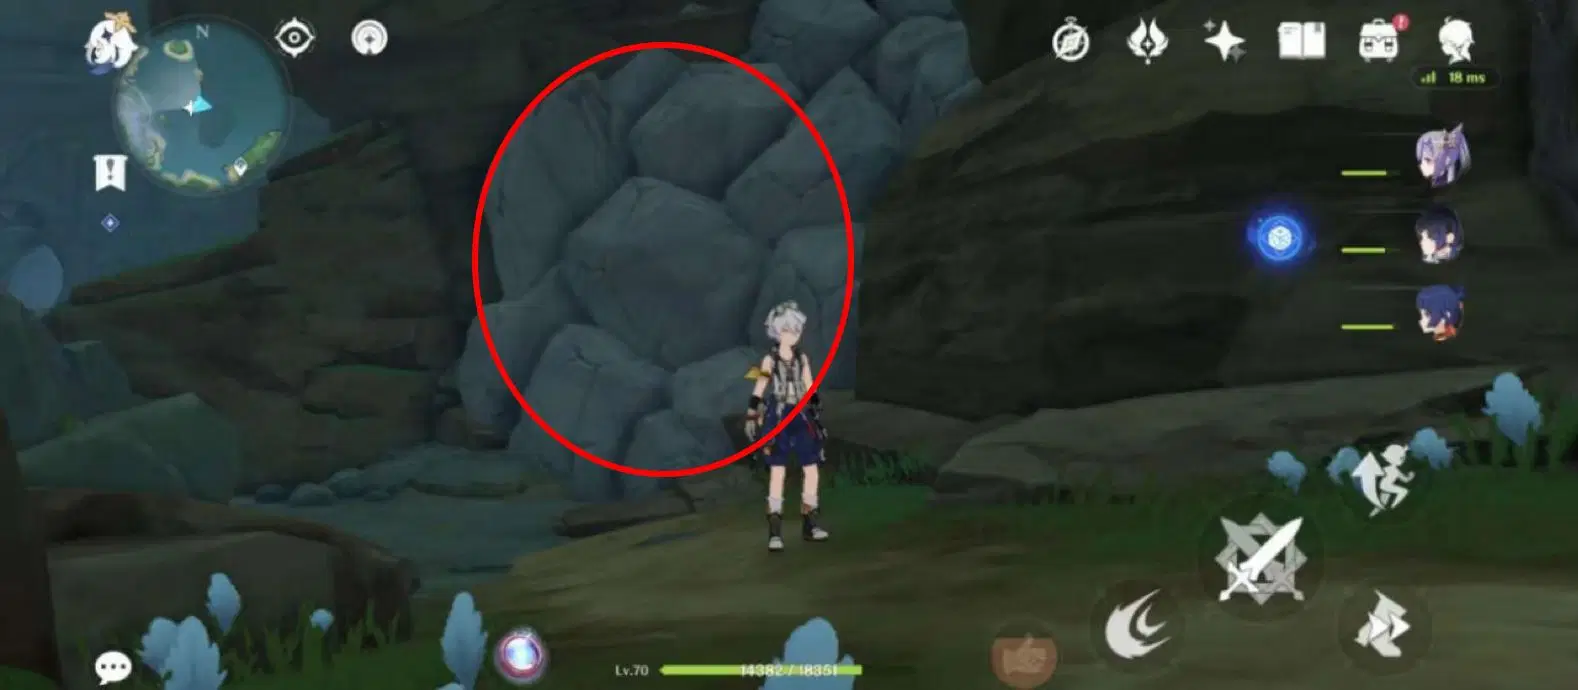
You’ll find Seelie #2 just beneath the rocks
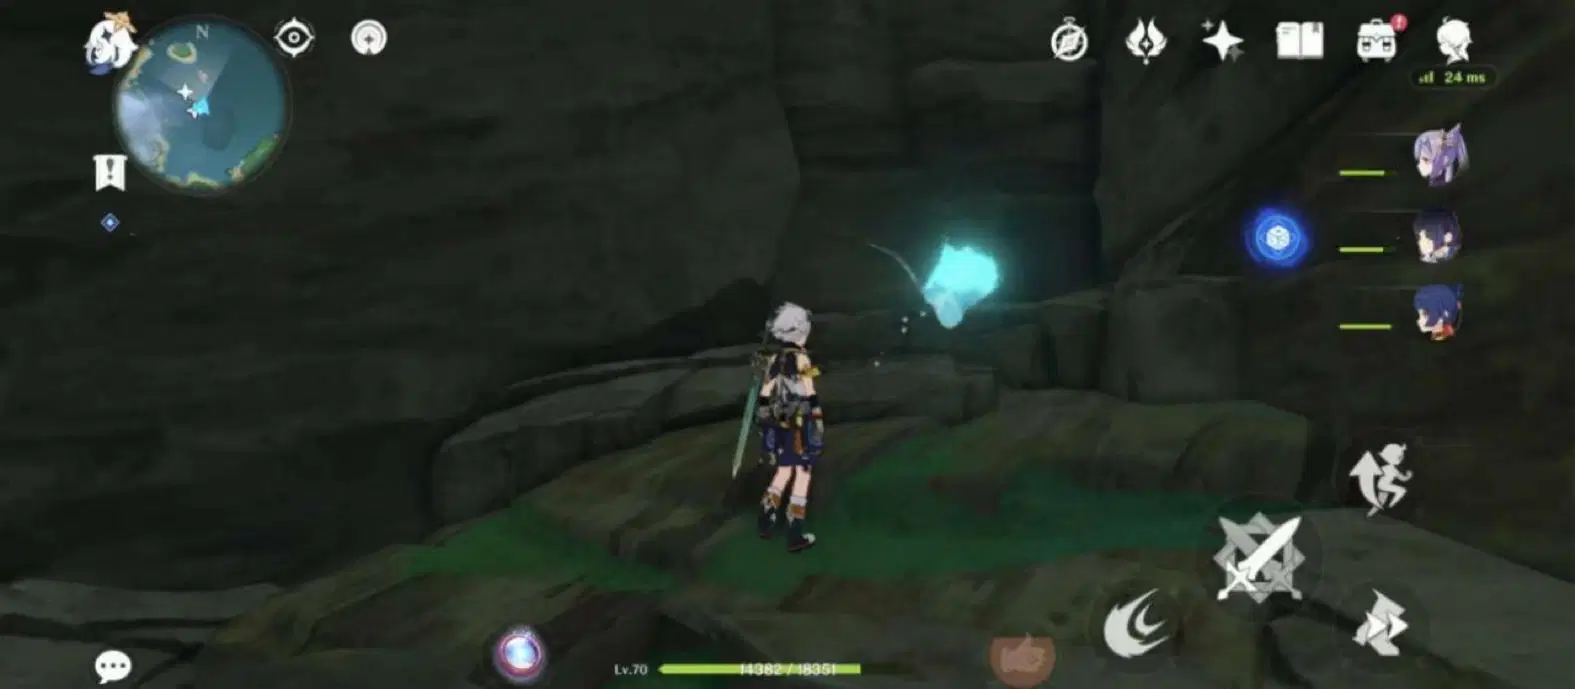
Guide Seelie #1 and Seelie #2 to their respective locations. You’ll find Seelie #3 in a room to the southwest of the map
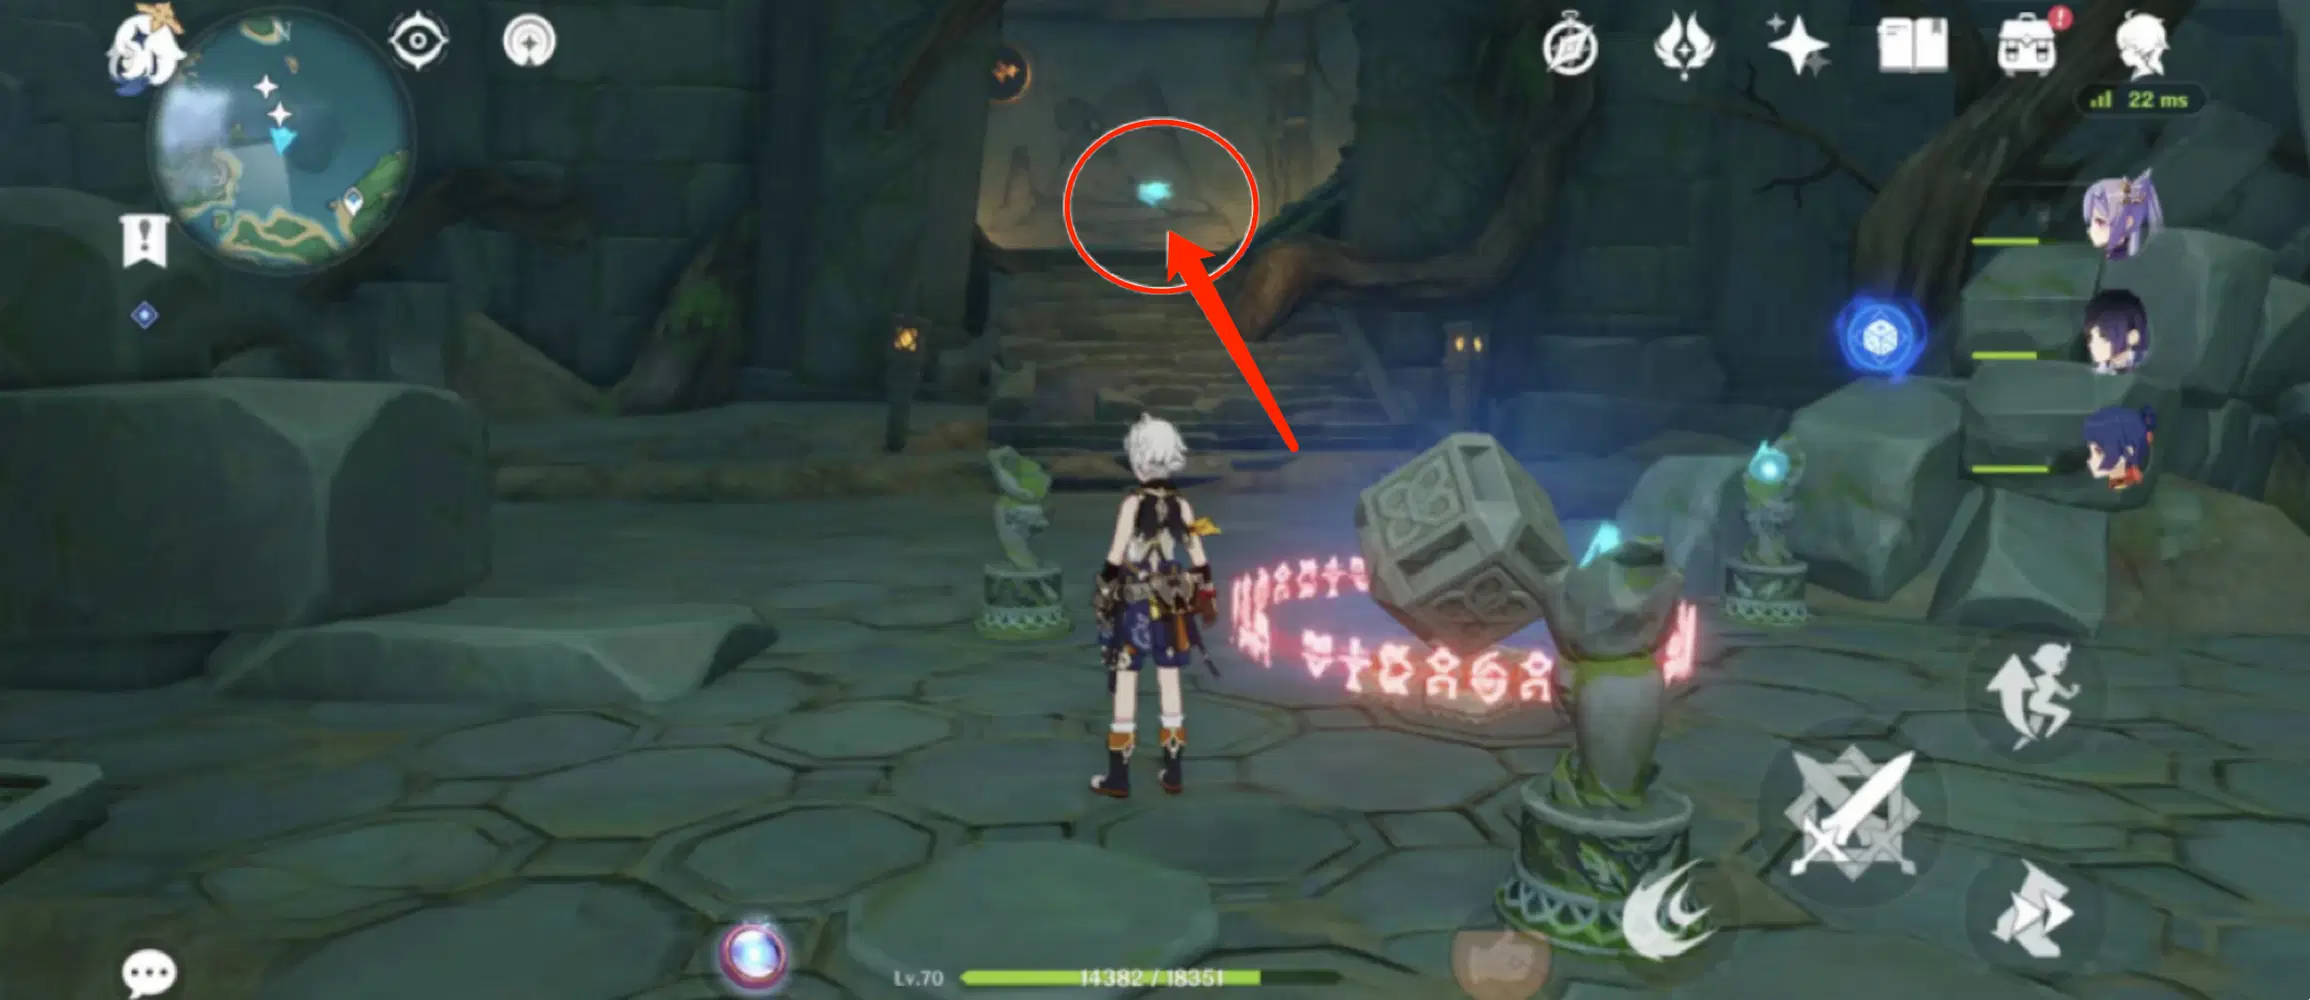
Guide Seelie #3 to its location and grab the chest. Once you activate the mechanism, the water level will fall.
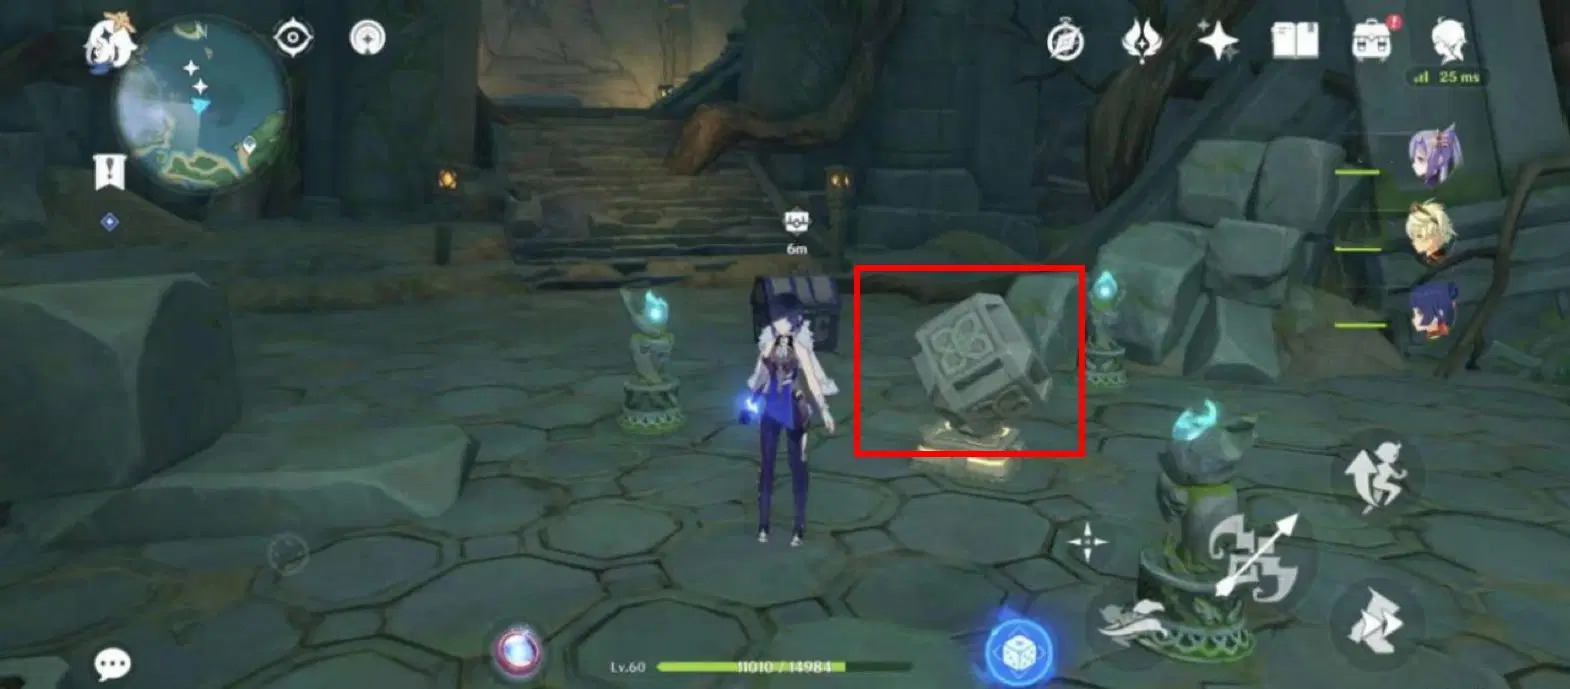
Chamber 2 – Electro Current Puzzle
Jump down to the northeast of the map and clear out the Mechanical Arrays in the passage to grab the Relay Stone
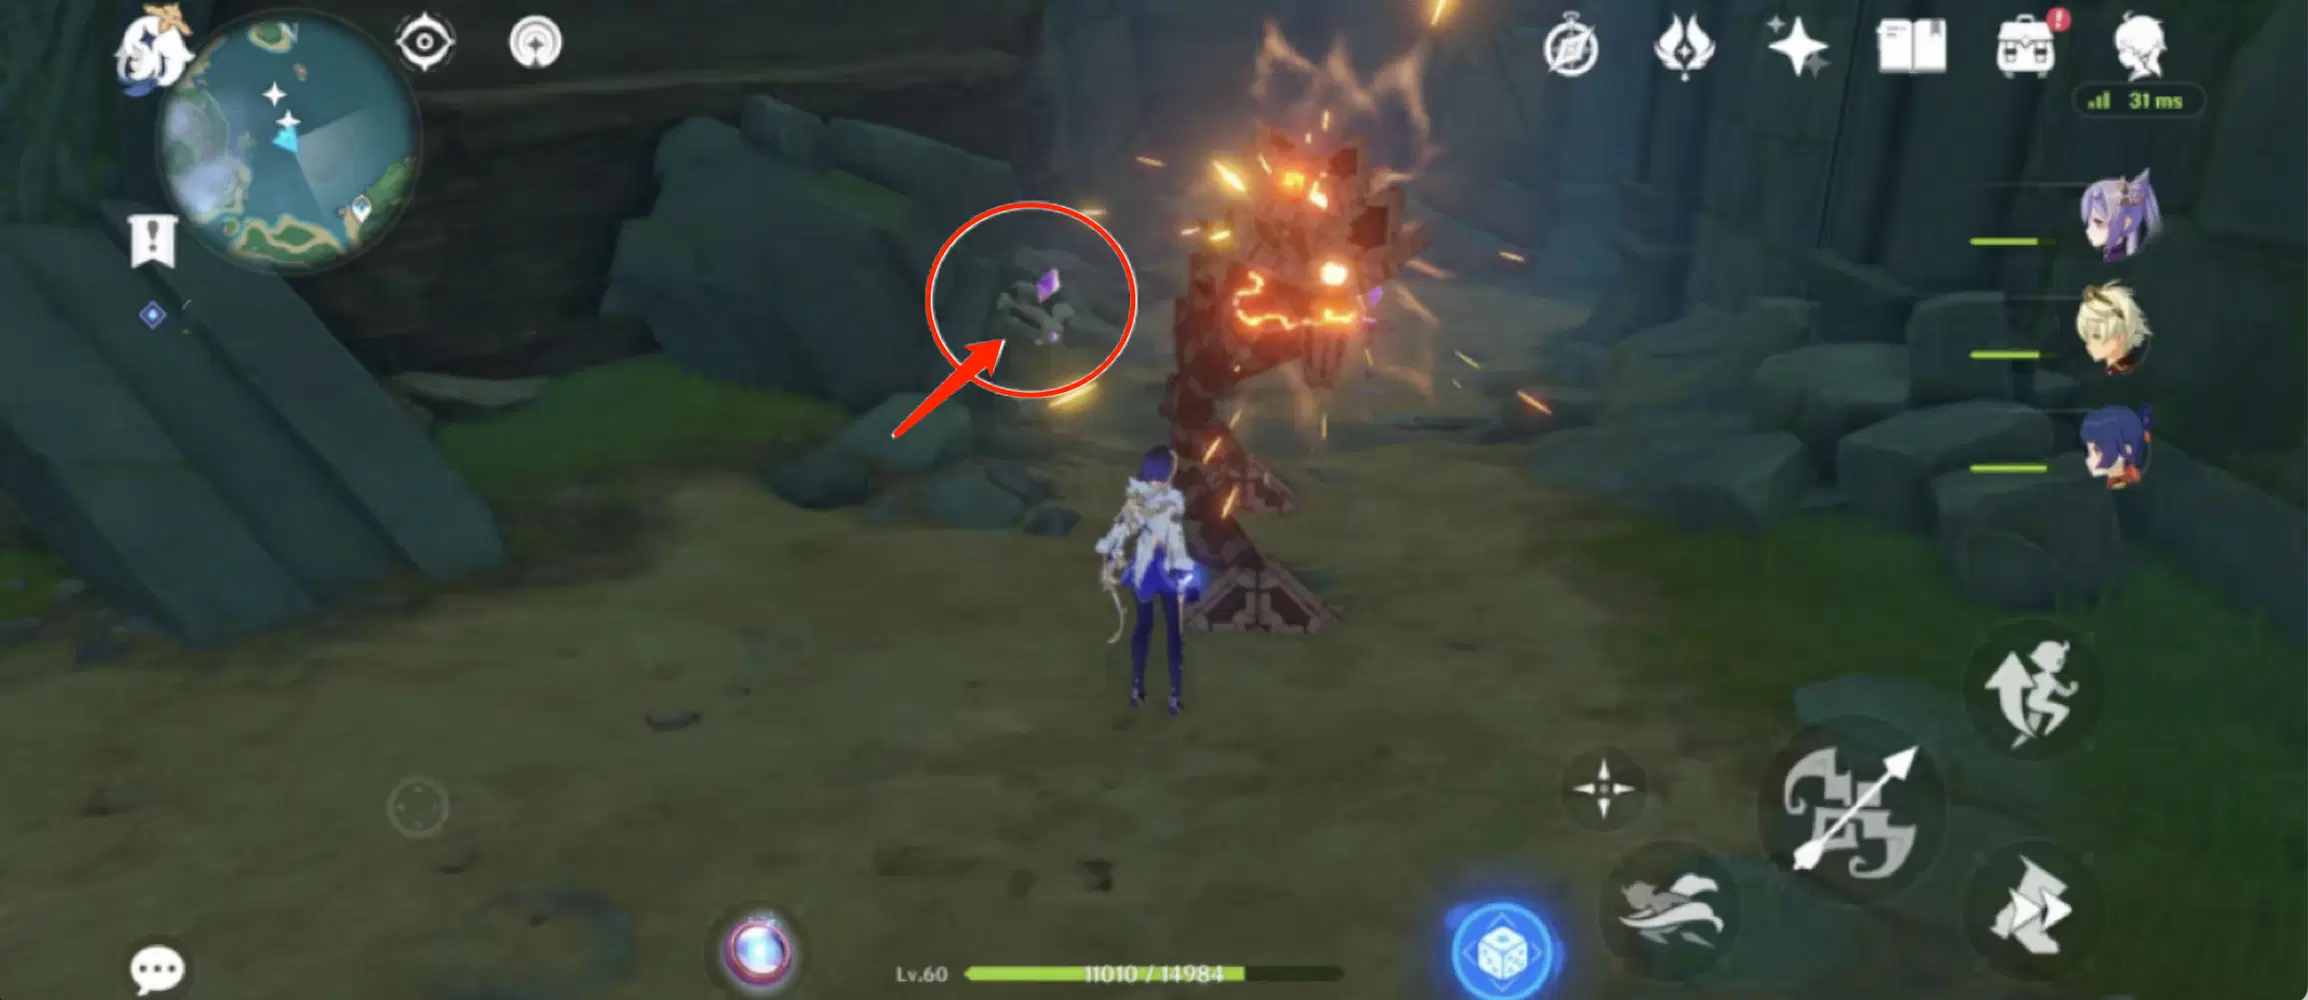
Go southeast to find the other Relay Stone.
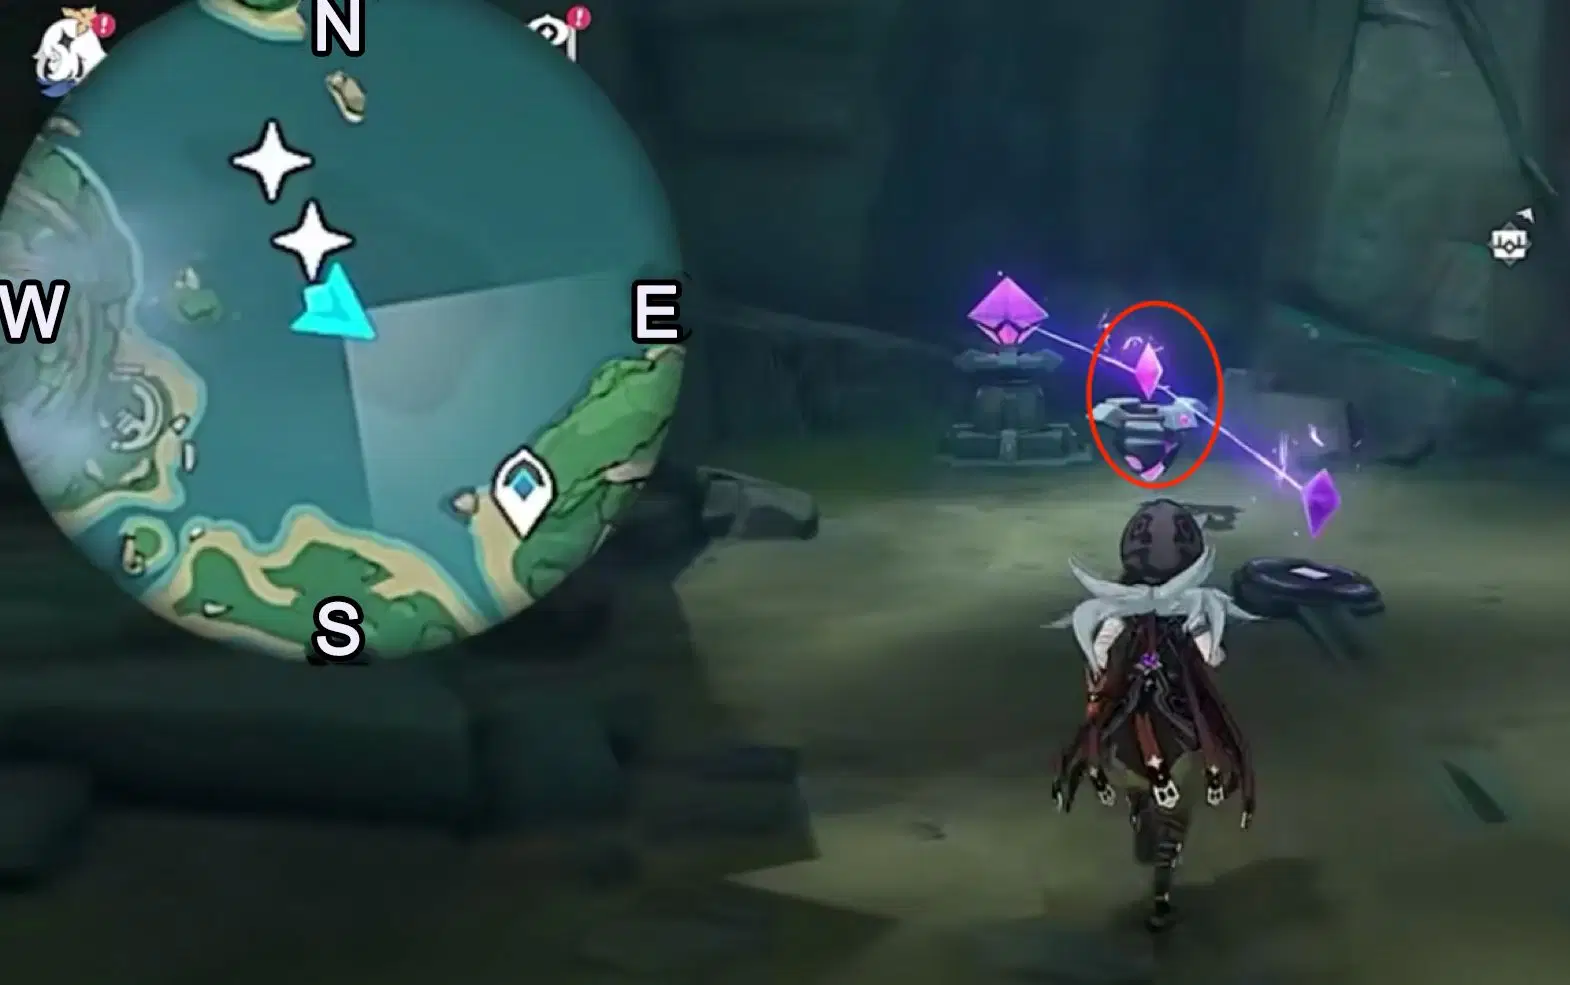
Go northwest of the map, then place the Relay Stone between the two charged stones in the picture
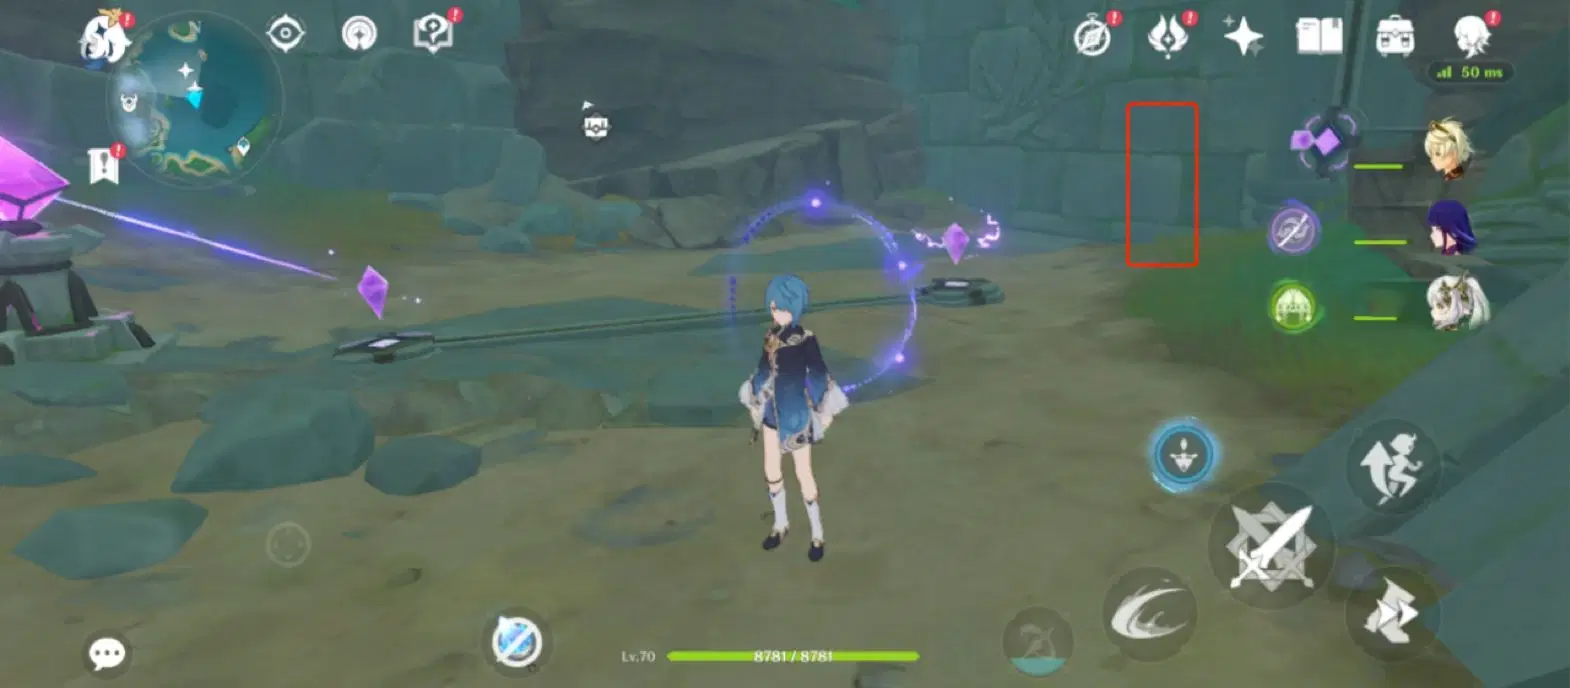
Go to the top of the ruins and grab the chest and Relay Stone
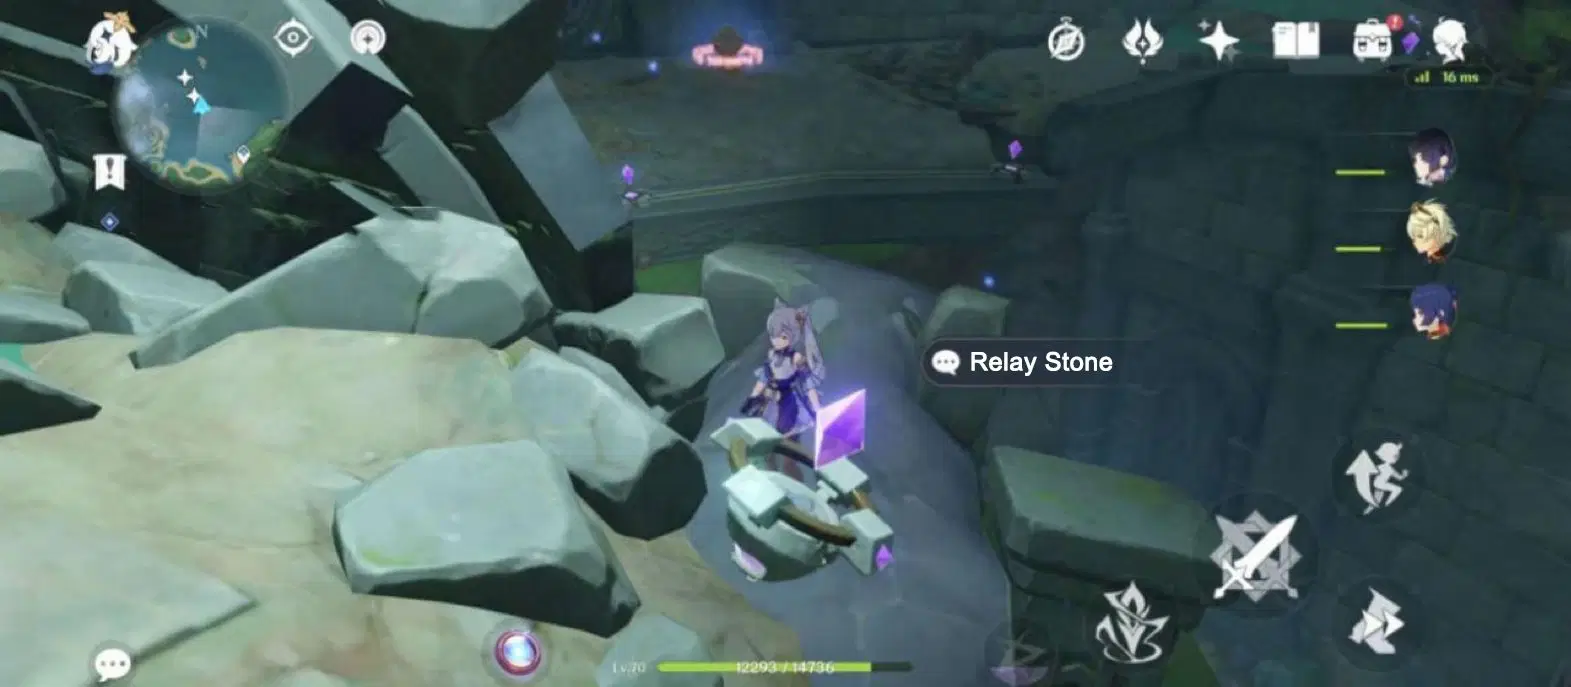
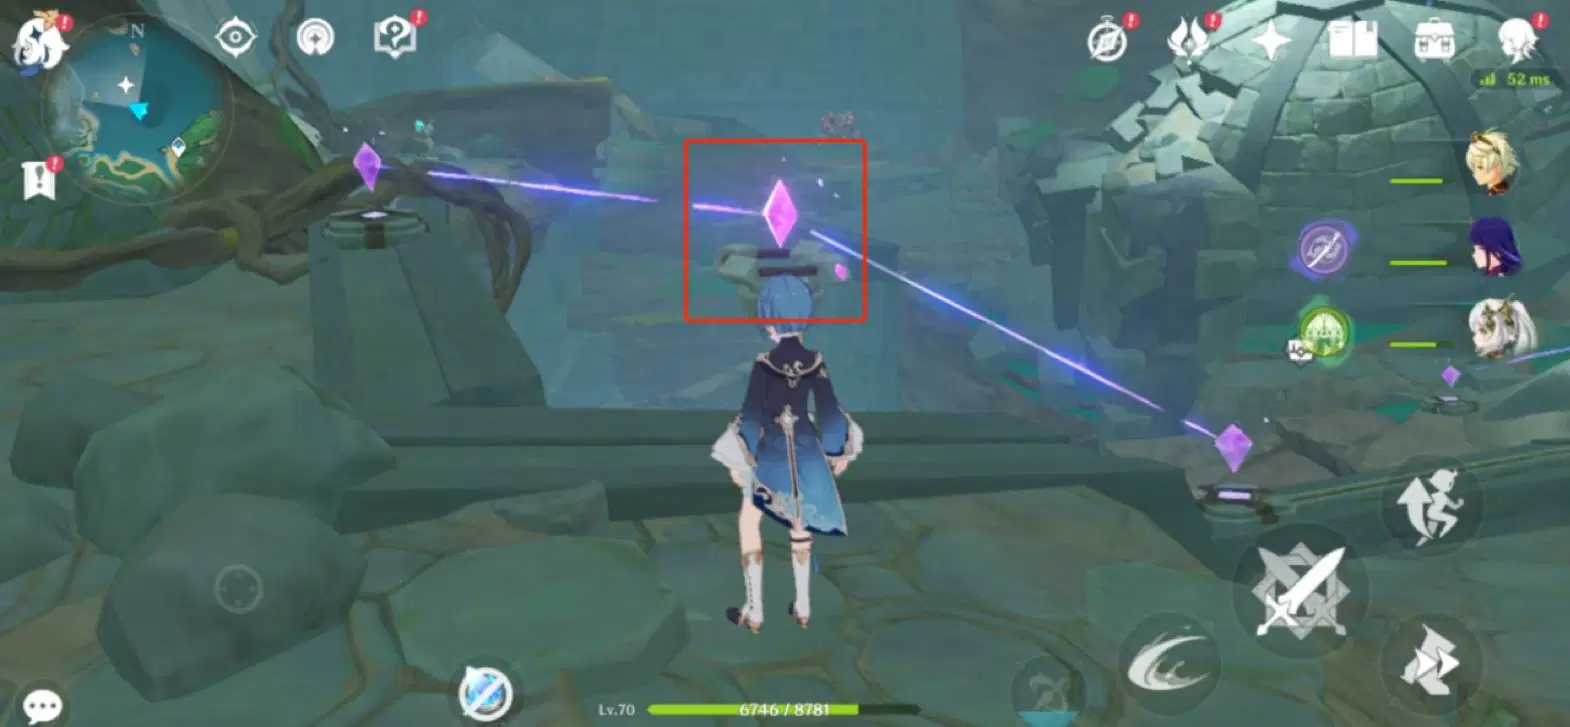
Place the two Relay Stones in the two positions pictured below to complete the three Electro Current Puzzles and obtain the chest, unlocking the mechanism behind you
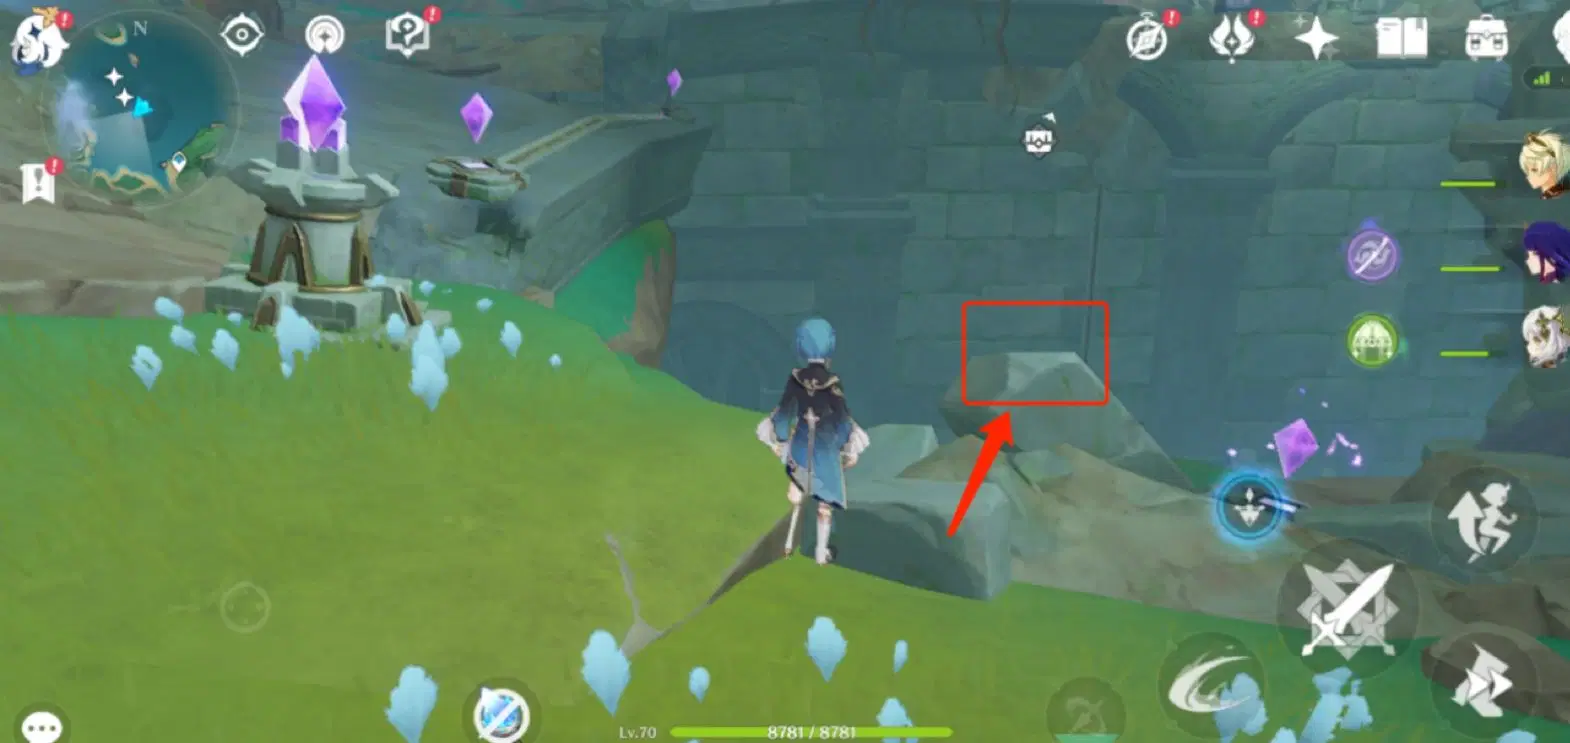
Chamber 3
Activate the mechanism and enter chamber 3
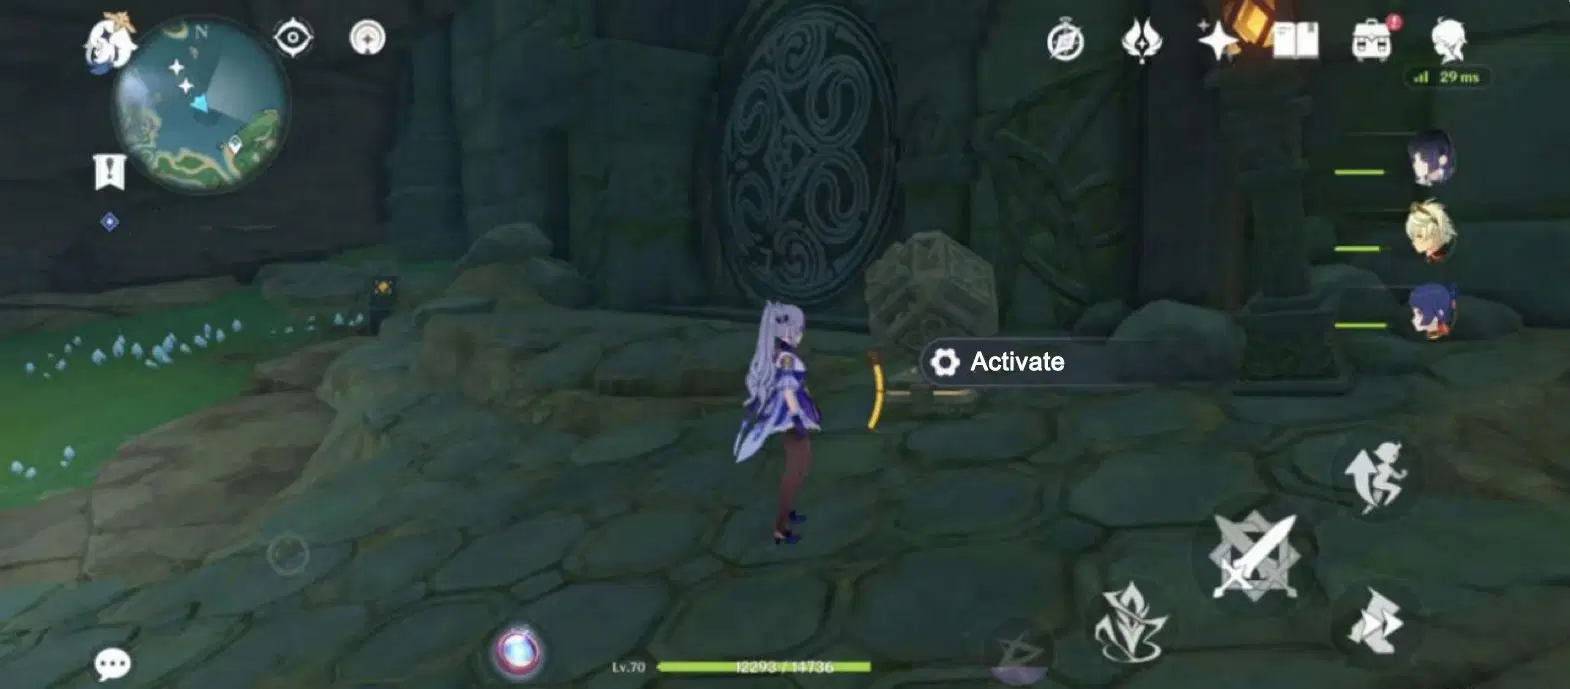
Touch the second feather and send it back to the perch
Note: If you don’t see the feather upon entering chamber 3, you may have to backtrack to when the three feathers are together and redo the chase sequence
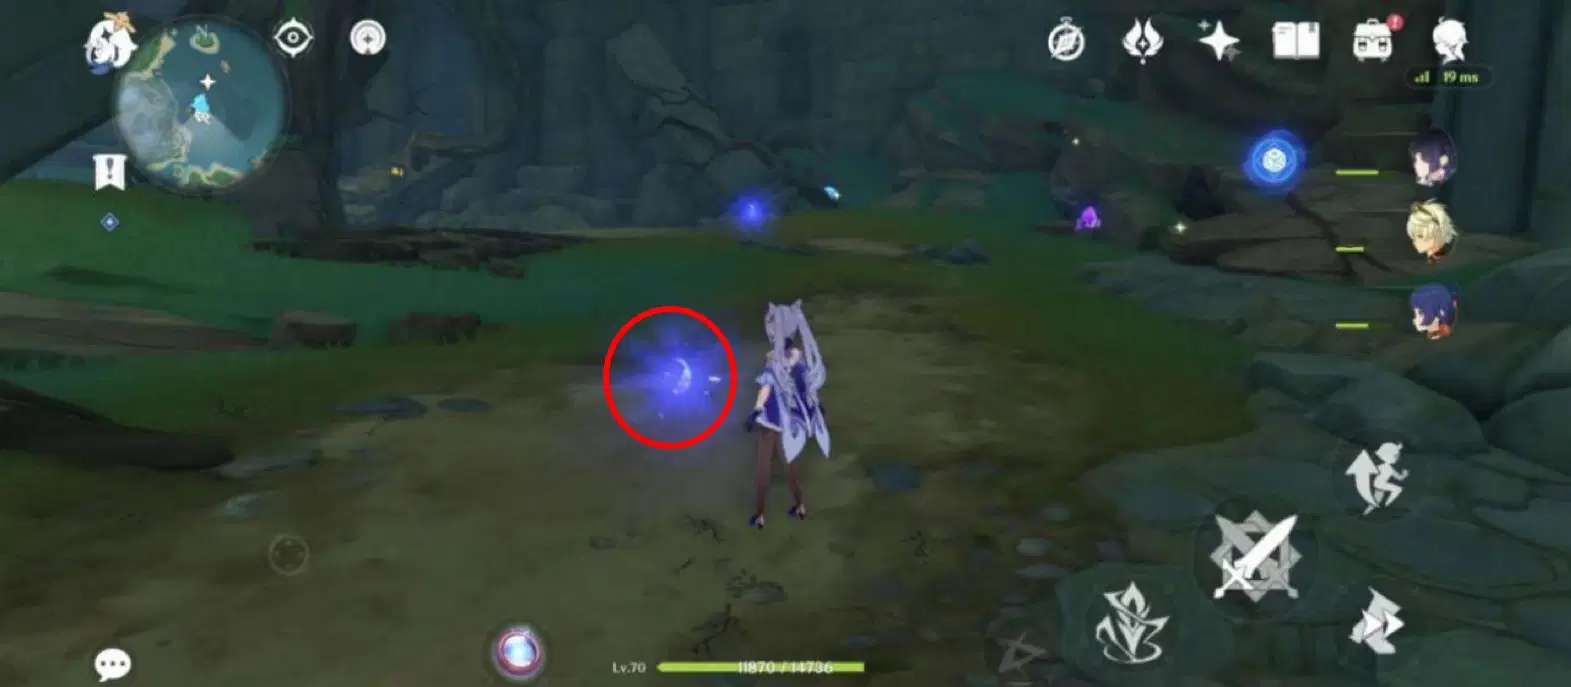
Touch the third feather to send it back to the perch
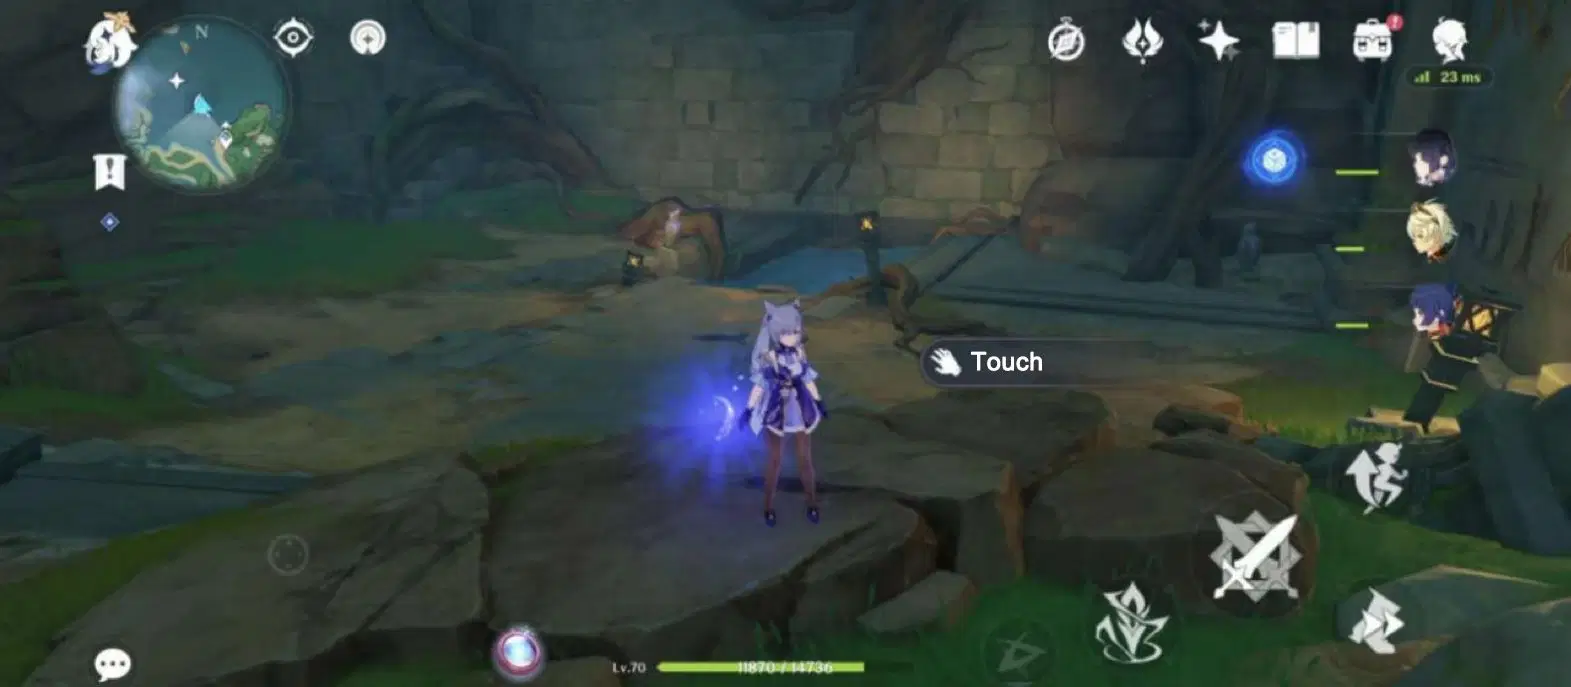
Teleport to the previous waypoint
Return to where the perch was and make an offering to complete the quest.
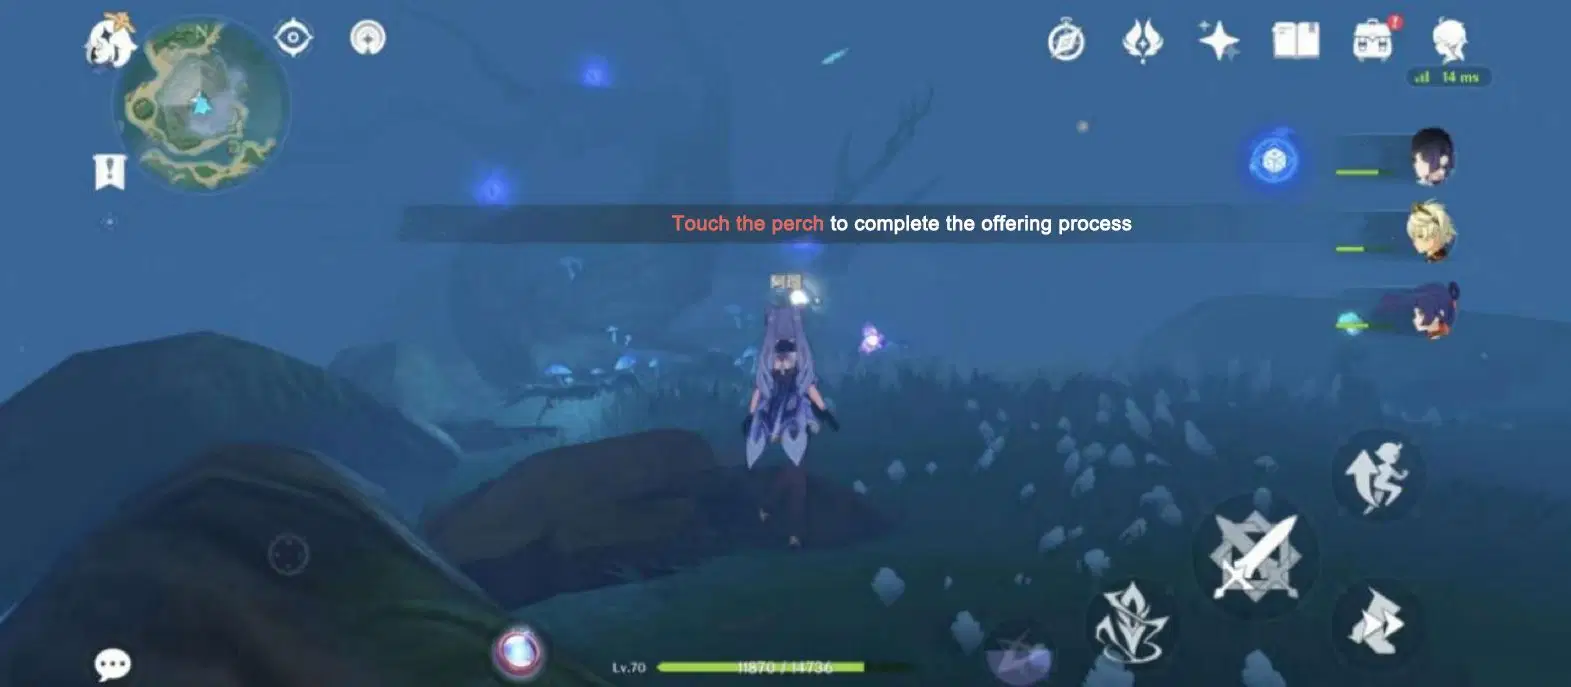
Touch the perch to complete the offering process
Activate the Shirikoro Peak waypoint
Go to the Thunder Sakura Bough above you to the southeast of the map. Climb the cliff face with the instruction in the picture and summon the Electrogranum to fly up with the Thunder Spheres
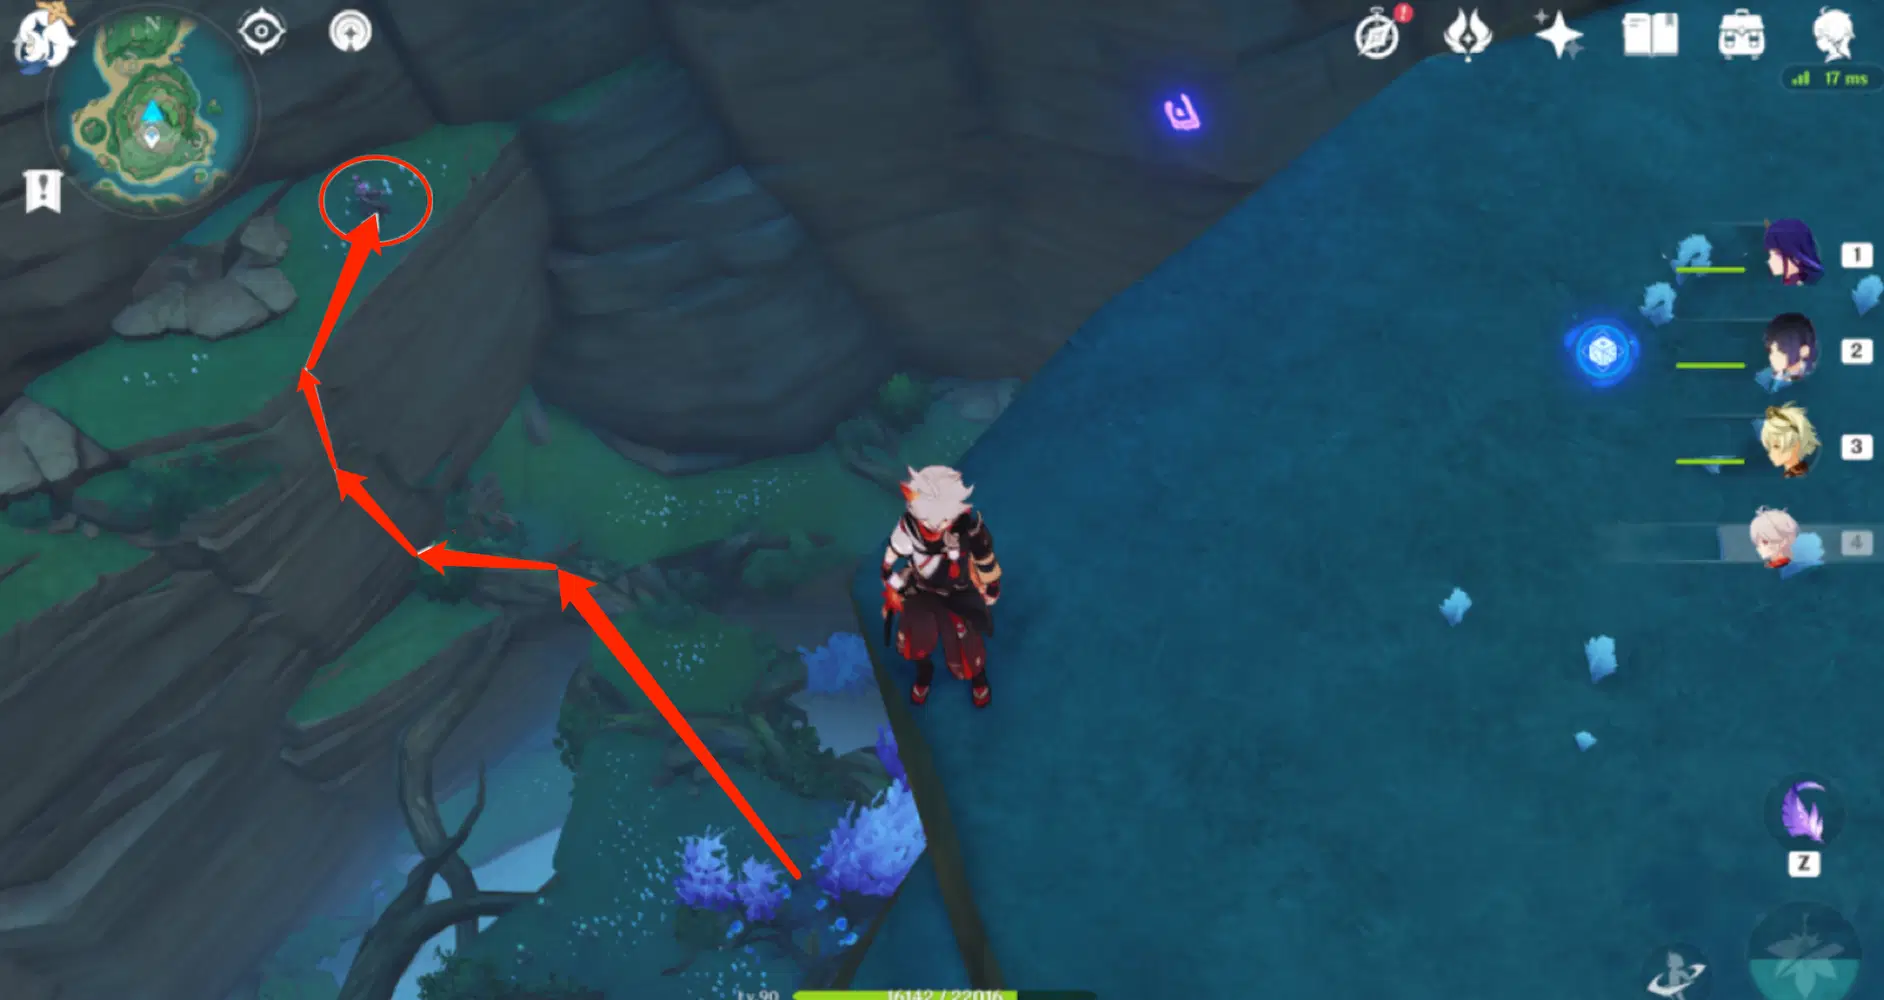
Fly to half hill and find the Thunder Sakura Bough. Summon the Electrogranum and fly up to the peak with Thunder Spheres, then activate the waypoint
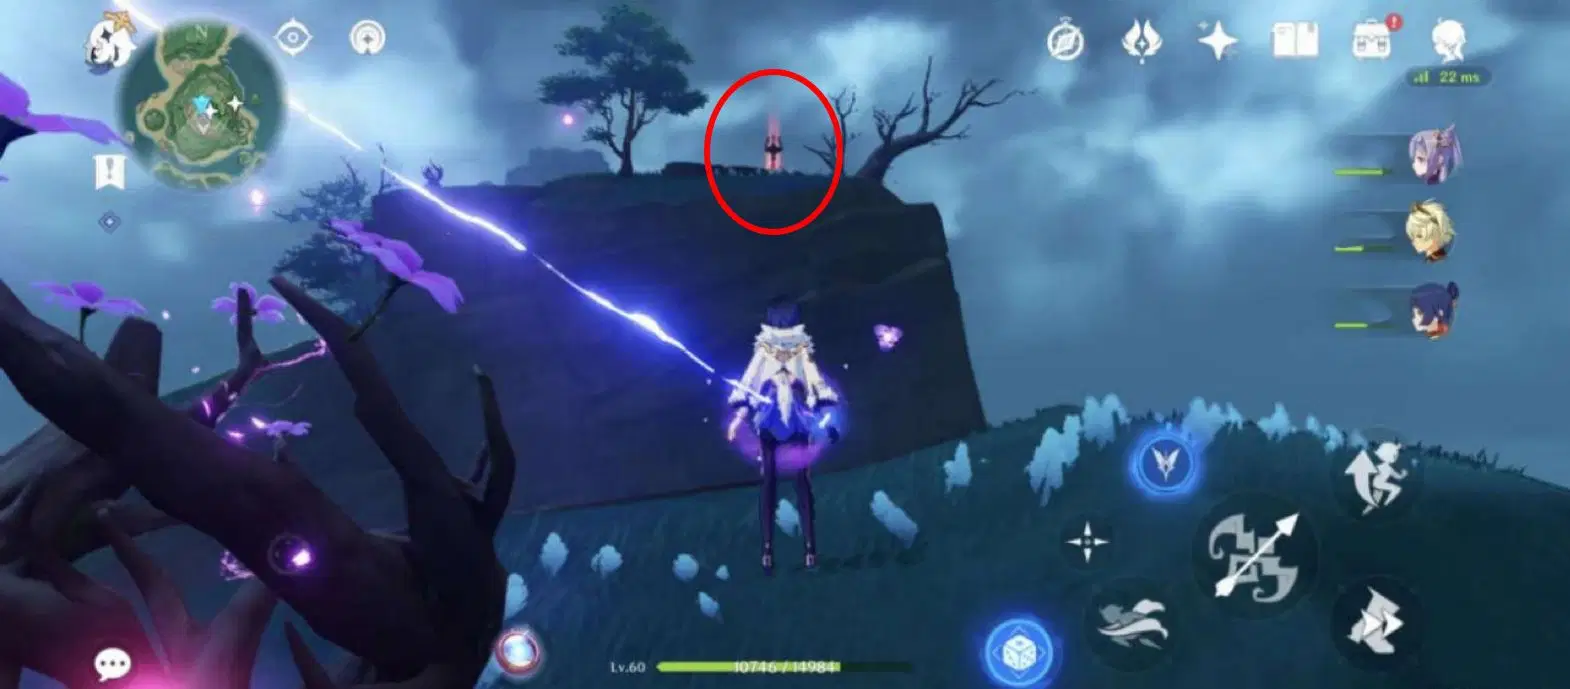
14) Make an offering to the third perch
Teleport to the Autake Plains waypoint then head into the mist towards the west of the map
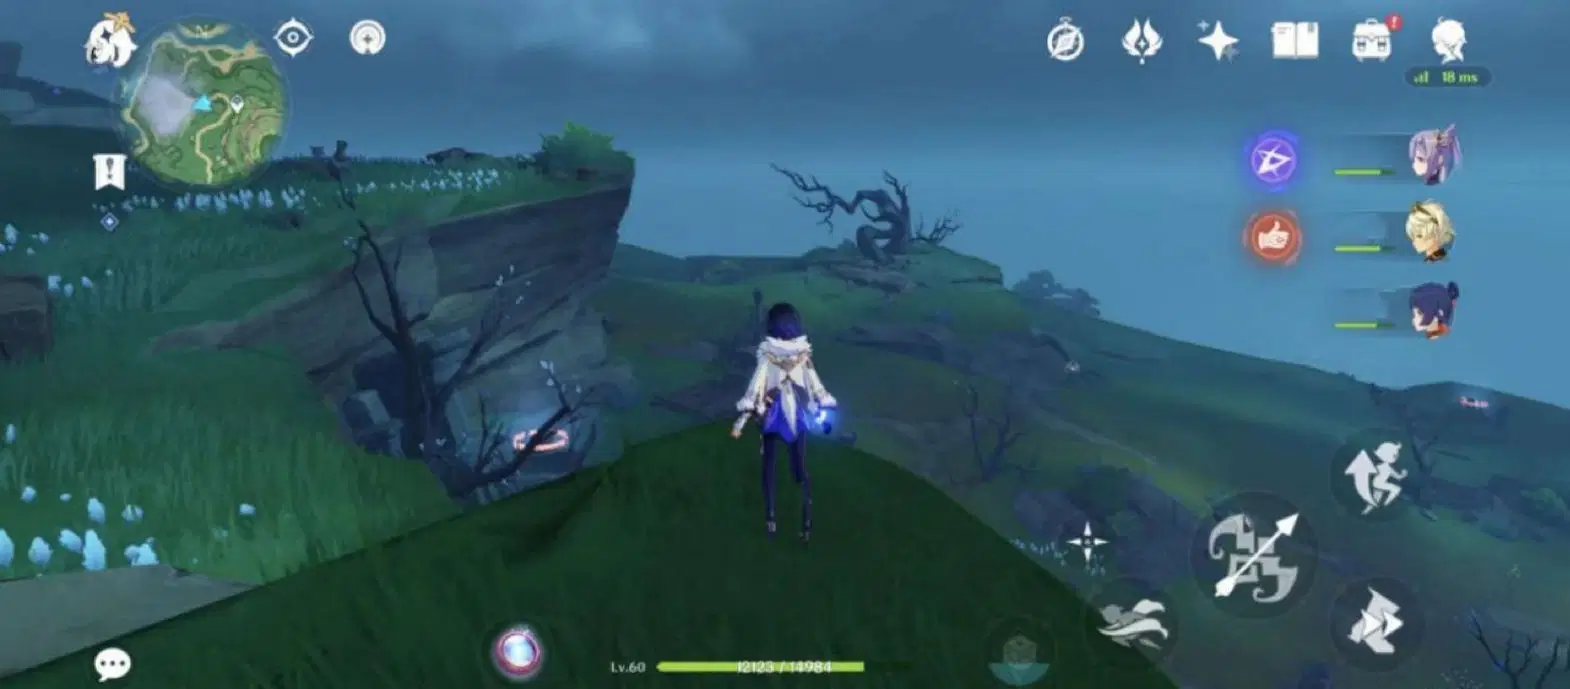
Talk to Ruu then touch the perch again to summon the three feathers. You’ll see their approximate locations on the mini map to the upper left
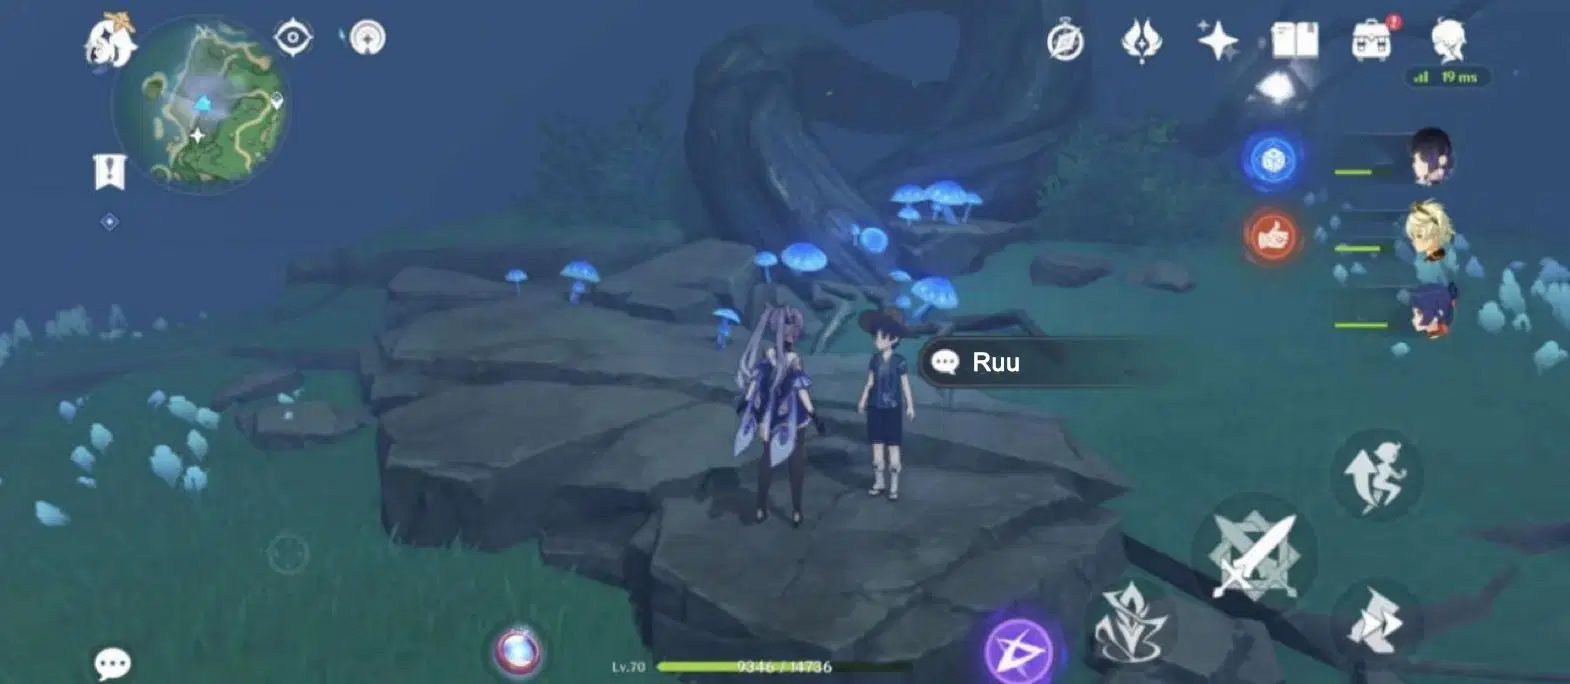
The first feather
Head south of the map and clear out the Hilichurls near the first feather. Touch the first feather on top of the building in the Hilichurl camp to send it back to the perch
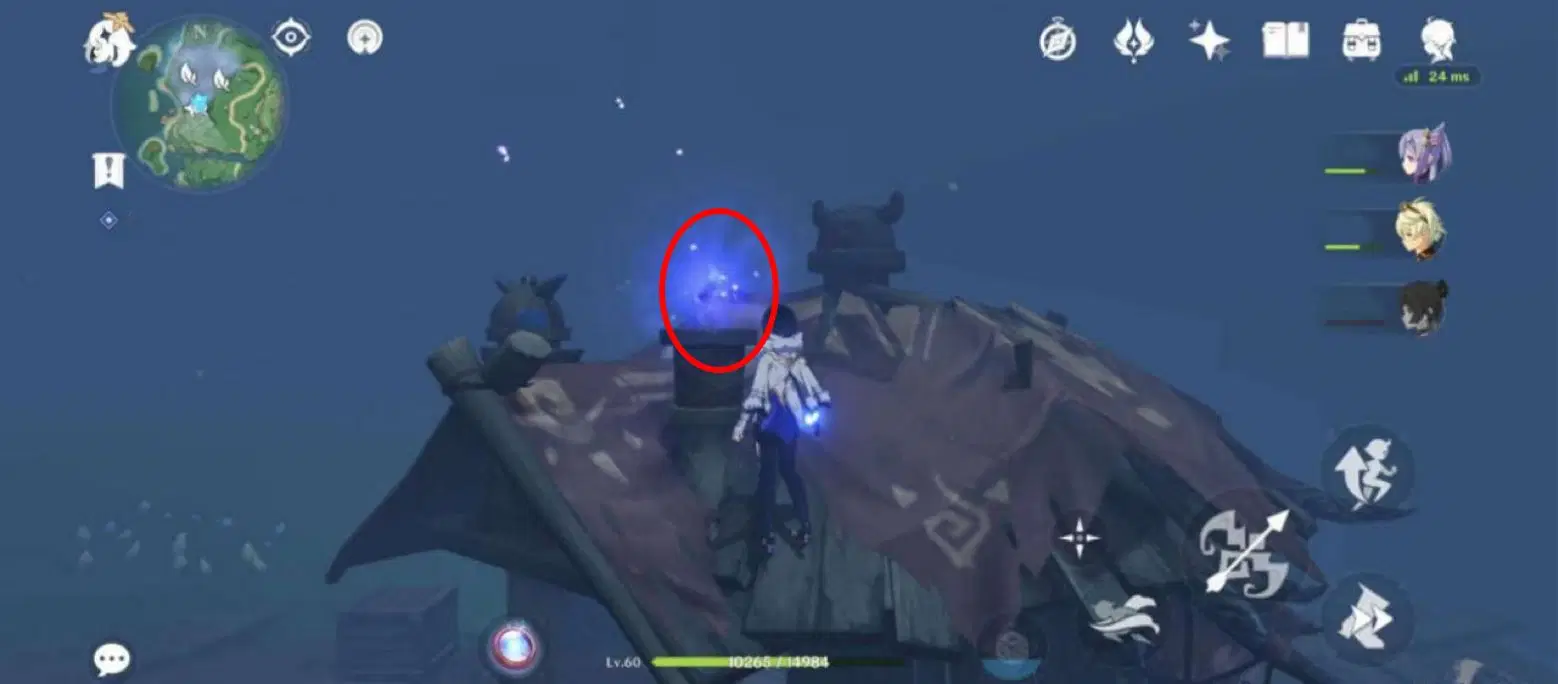
The second feather
Teleport to the Autake Plains waypoint then head west of the map. Find the Thunder Sakura Bough and summon the Electrogranum. Touch the second feather and send it towards the northeast of the map
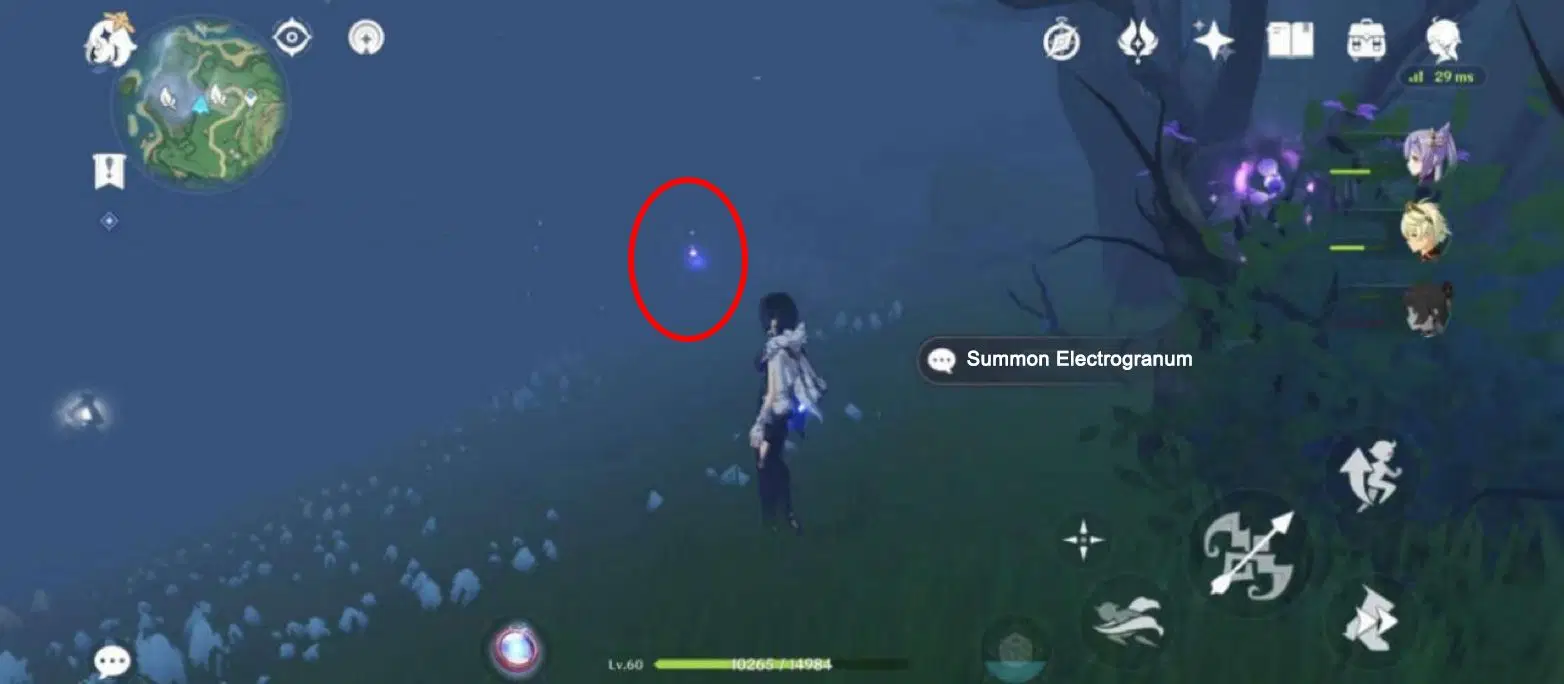
Clear out the Rifthounds near the second feather and touch it to send it back to the perch
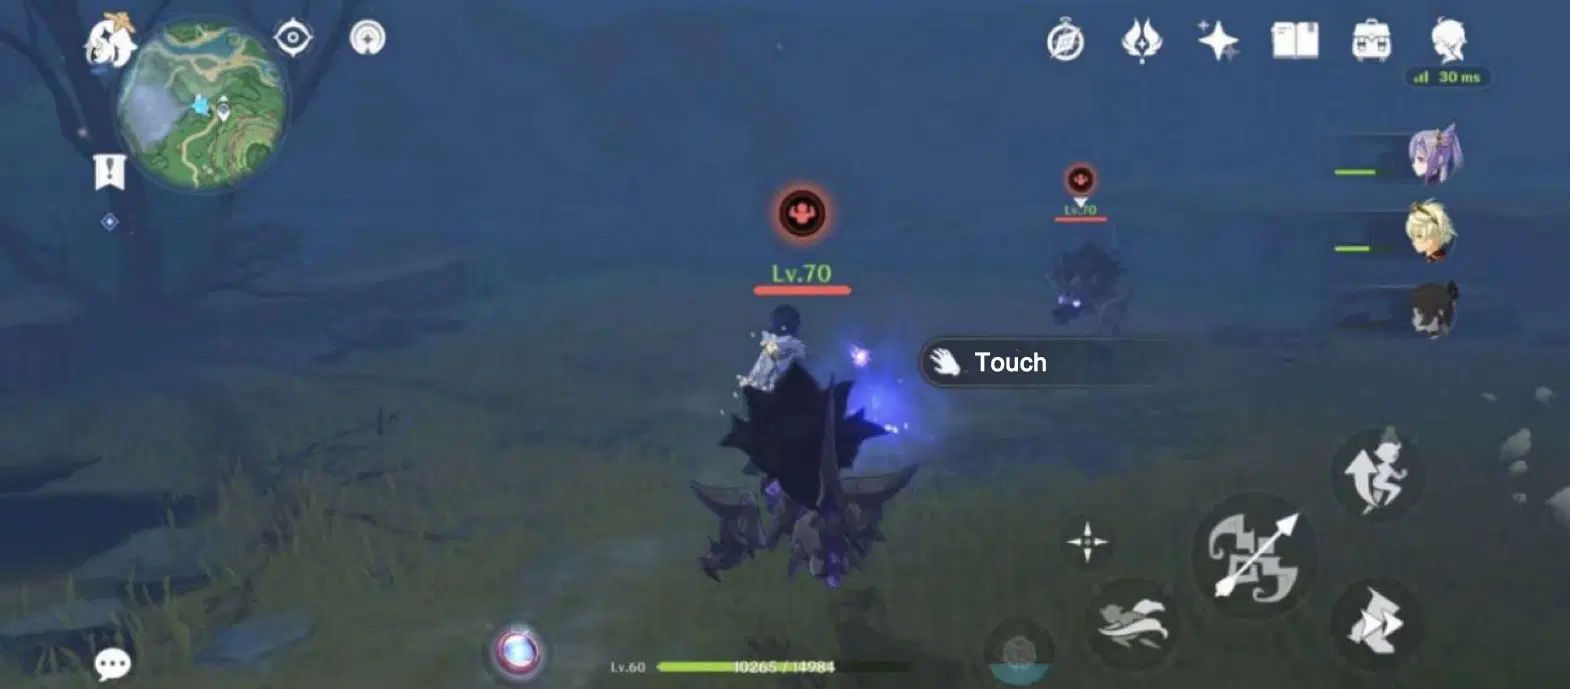
The third feather
Head west of the map, next to the perch, clear out the Hilichurls around the third feather and touch the feather to send it back to the perch
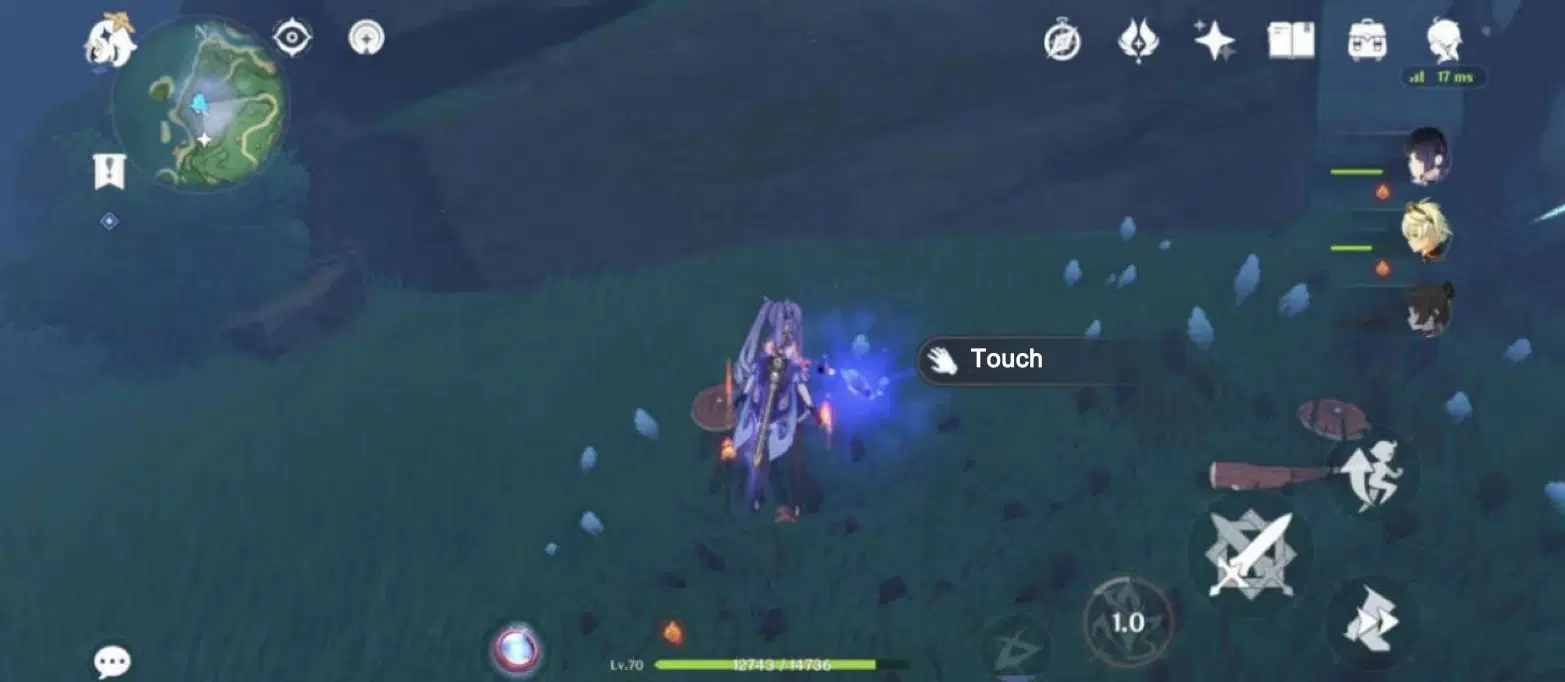
Go make offering to the perch, it will grow leaves and the mist around will fade
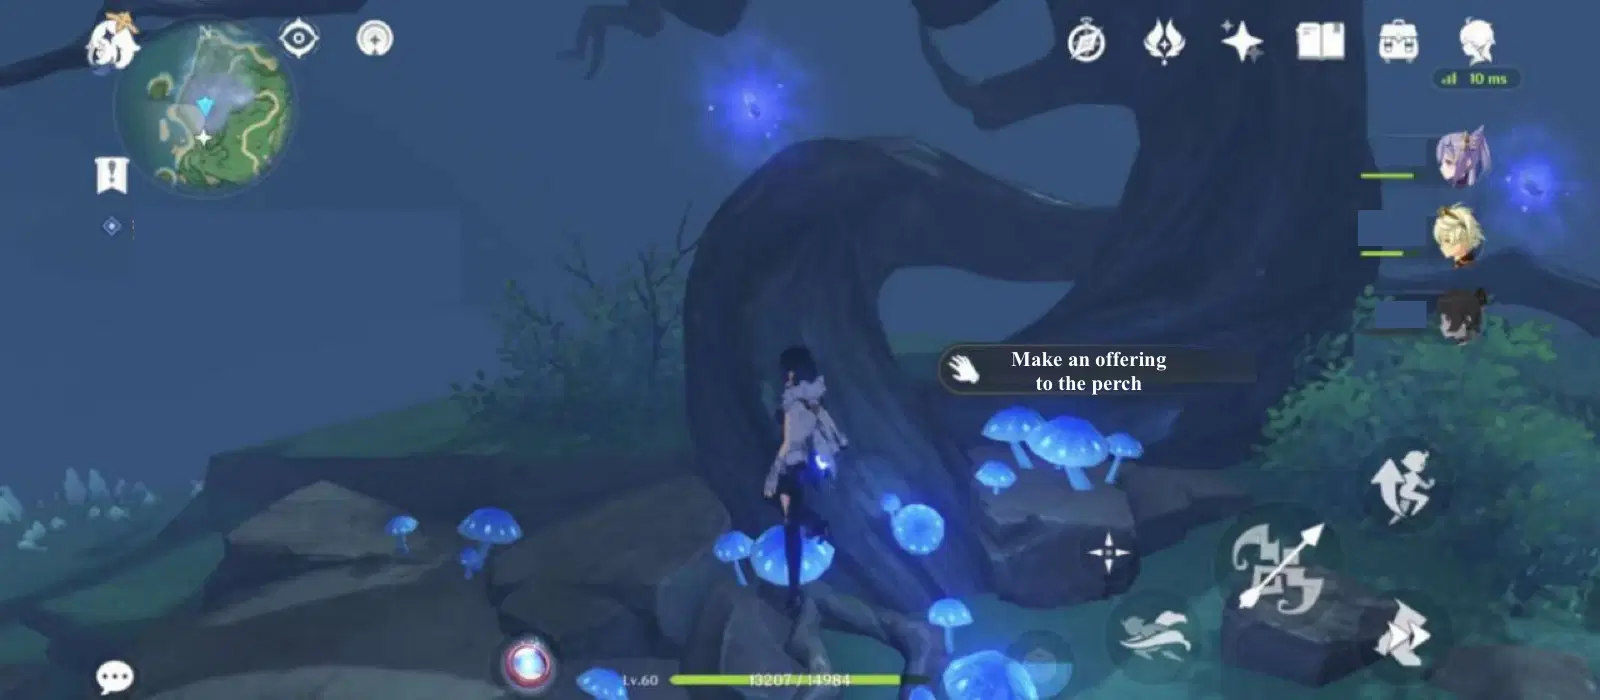
15) Return to the ceremonial site
Teleport to the Moshiri Ceremonial Site waypoint and head to the site
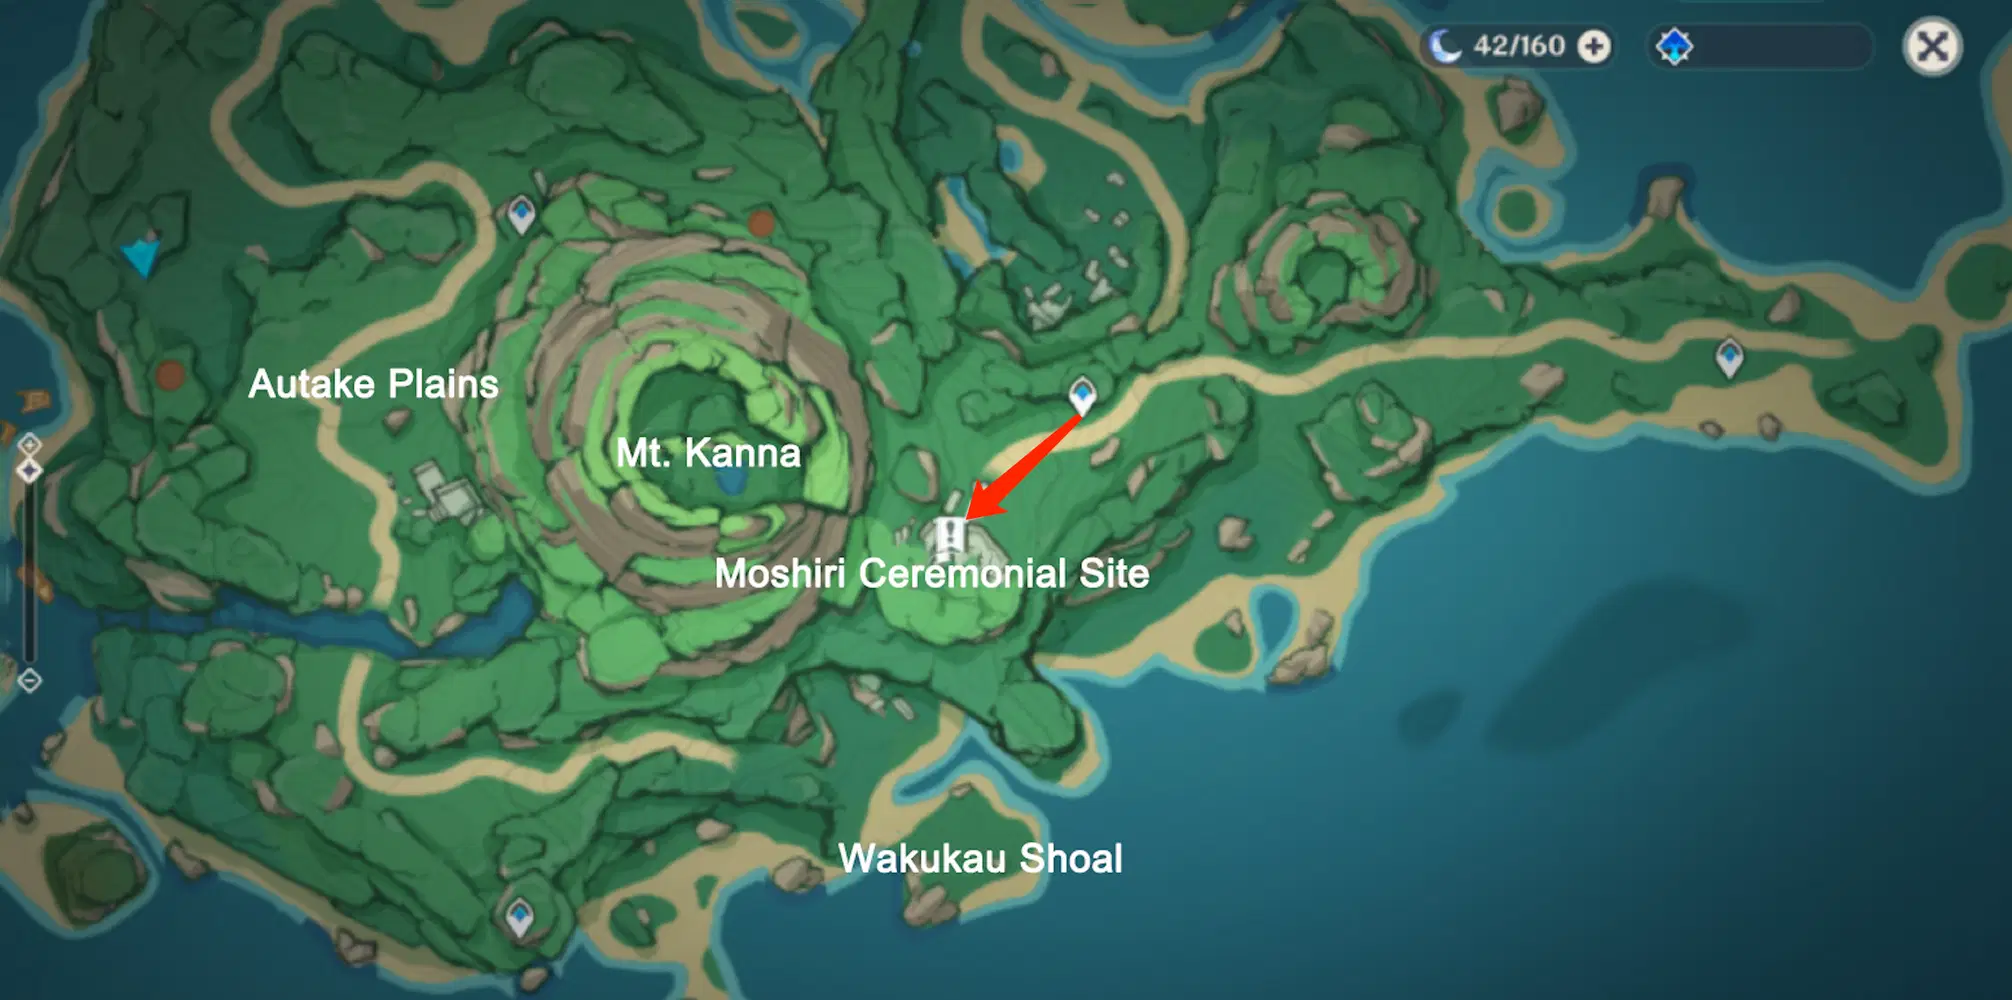
16) Check the light
Follow the quest navigation and investigate the light
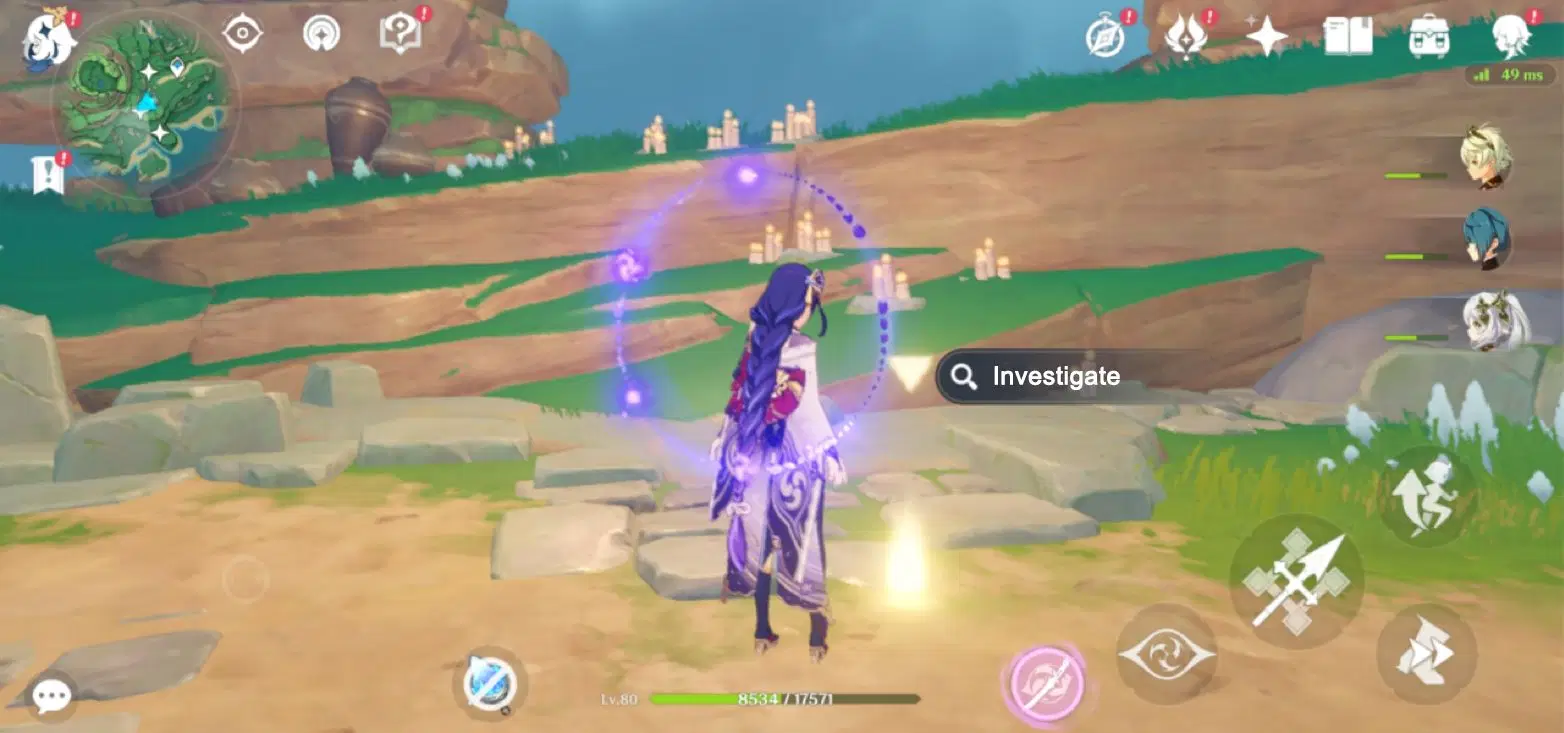
17) Talk to Kama and then return
Teleport to the Statue of Seven on Tsurumi Island
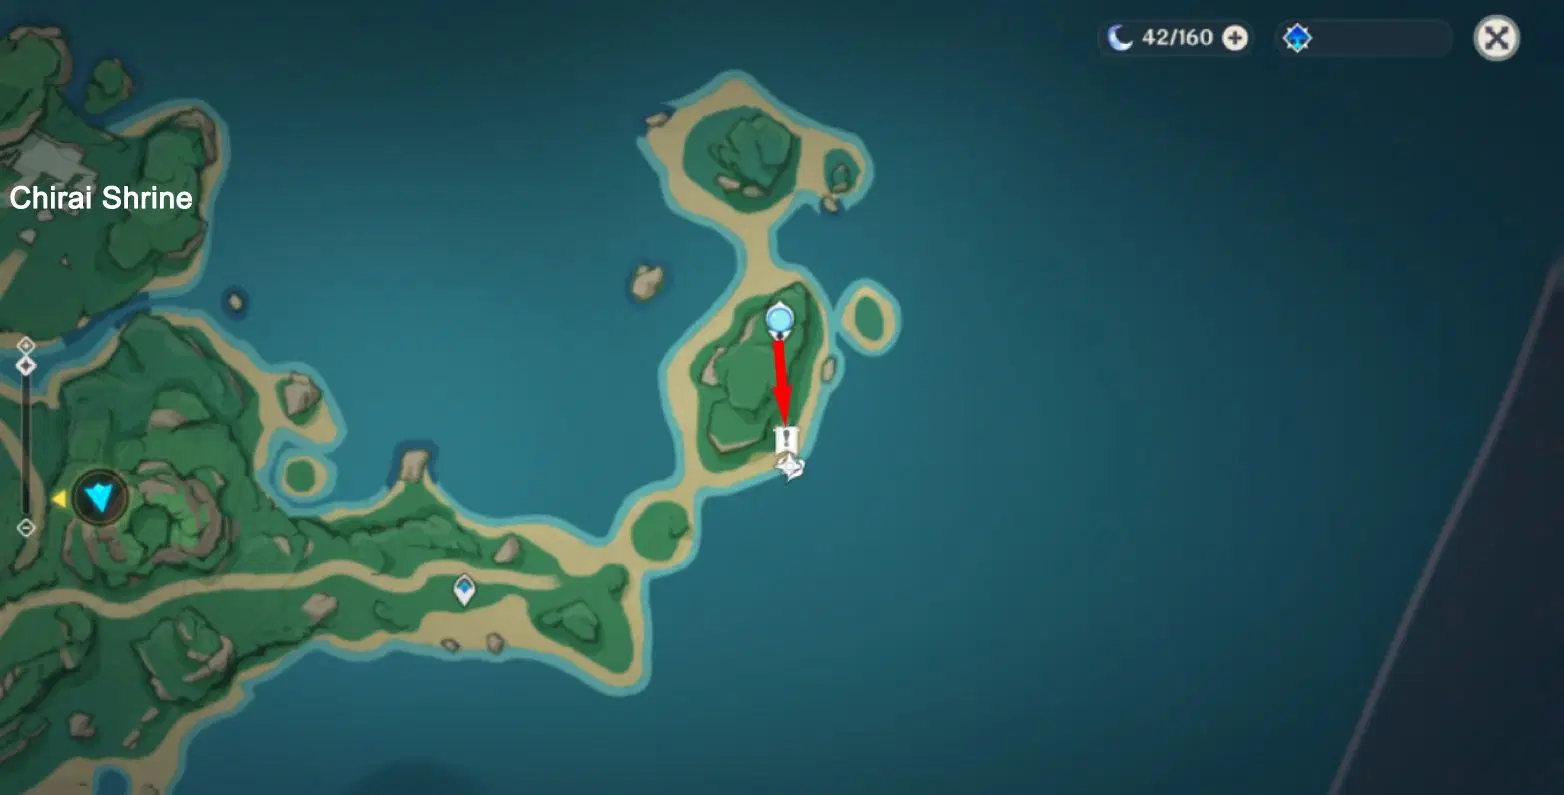
Go to the Waverider waypoint and speak to Kama
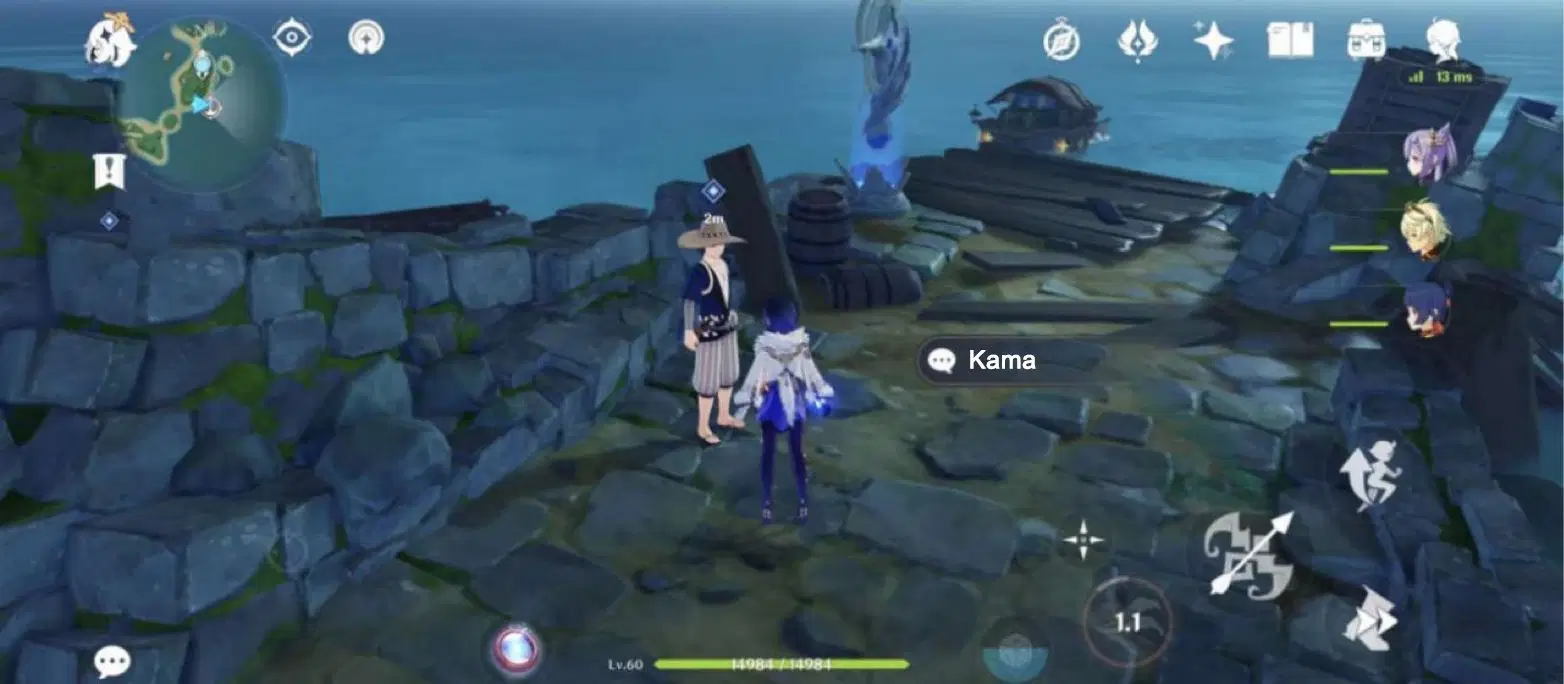
18) Report back to Sumida
Teleport back to Inazuma City waypoint and find Sumida
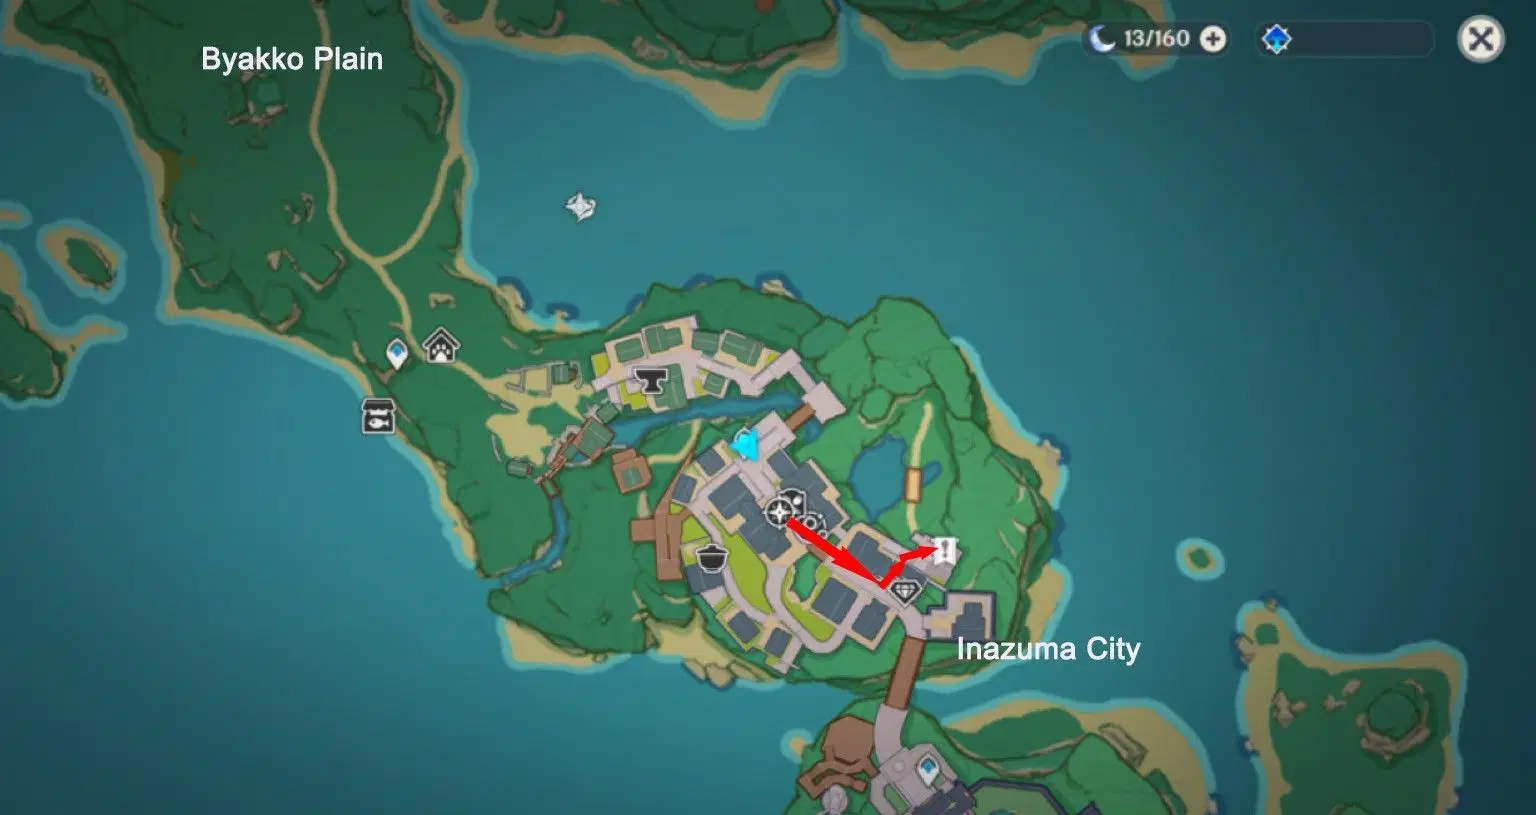
Talk to Sumida
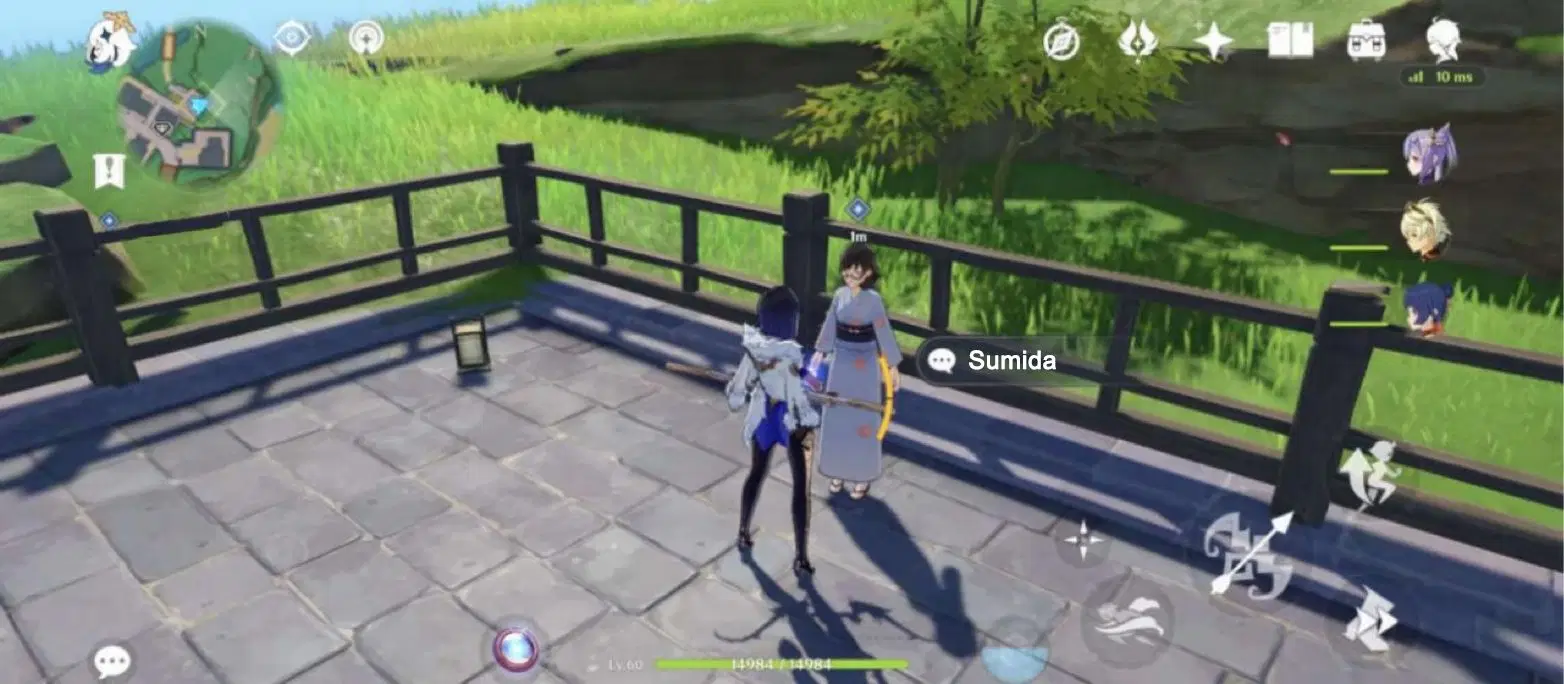
Finish the conversation to complete the quest and unlock the achievement "P—Paimon ate it..."
Now you’ve completed Through the Mists Quest Series Compilation – Through the Mists Day 1: A Particularly Particular Author (Part II)!

Link to Through the Mists Day 2: Octave of the Maushiro
World Quest Series:Through the Mists