Quest Name:
Inazuma Hidden Quest - The Very Special Fortune Slip
Quest Reward:
Special Bamboo Slip and more
Prerequisites:
Reached Adventure Rank Lv.40; Completed all contents of Inazuma Hidden Quest - The Very Special Fortune Slip Quest Series (4-Day Strange Fortune Slip Quest); completed the Domain “Beneath the Abandoned House”
Quest Trigger:
With the prerequisites met, approach the Inazuma Adventurers’ Guild to trigger the quest automatically.
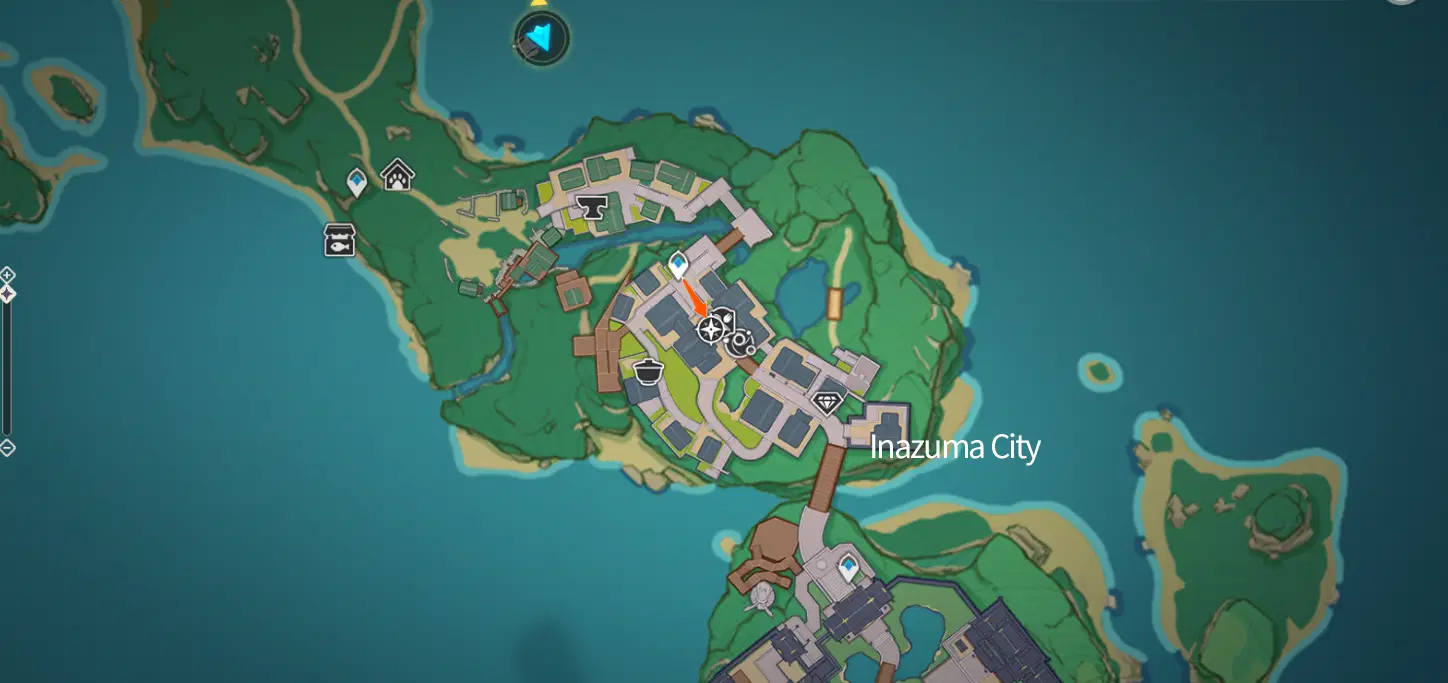
As you approach the Adventurers' Guild in Inazuma City, someone slams into your shoulder and stuffs a note in your hand. This begins the quest.
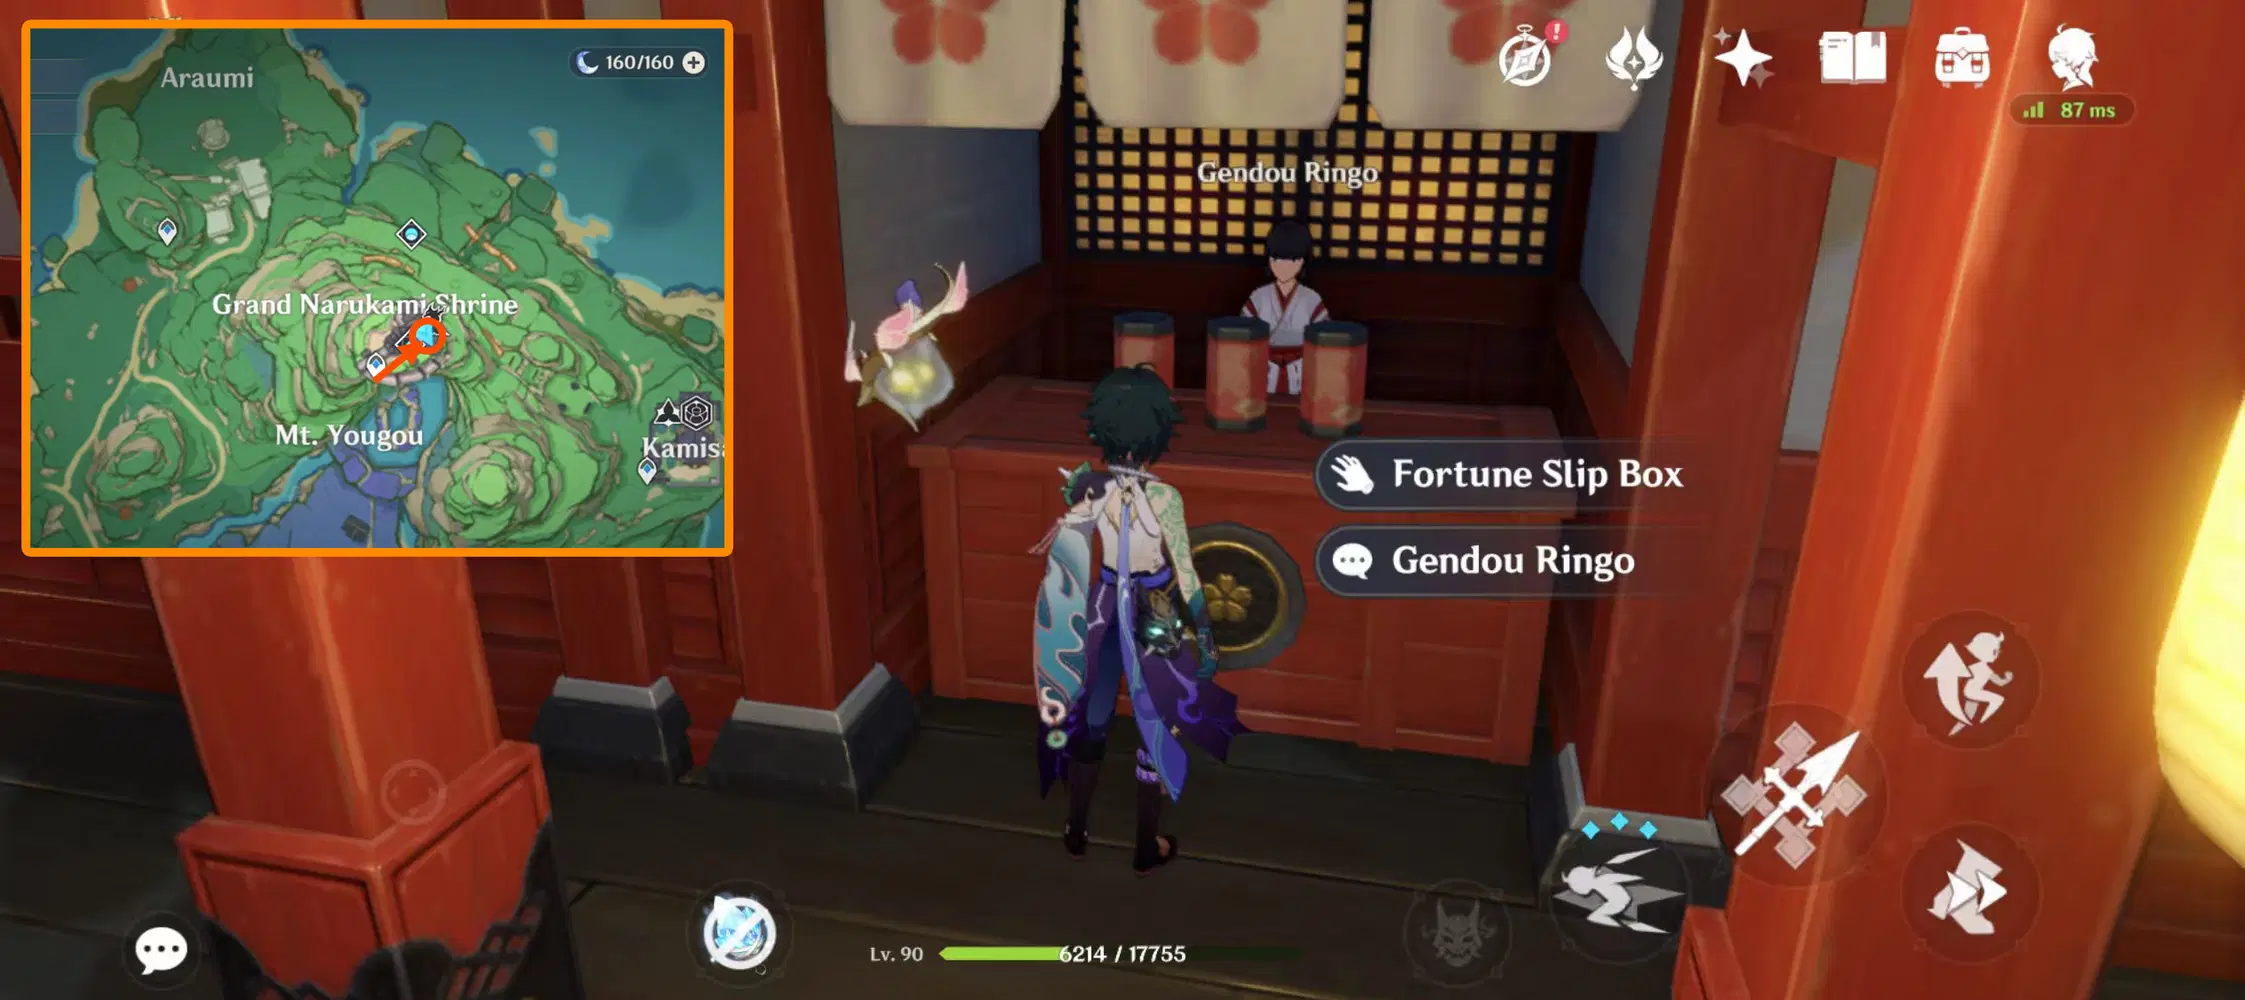
If you’ve completed all four previous daily quests but nothing tri***** here, try speaking to the NPC at the Grand Narukami Shrine fortune box then adjust the in-game time to daytime of the next day and try again.
Quest Summary:
For this quest, we need to ask for our fortune and reveal the fortune multiple times at the Grand Narukami Shrine and complete explorations based on the clues we receive. This guide includes the three Shuumatsuban Operations Quests.
Quest Steps:
1. Shuumatsuban Operations
We were stuffed a note when the quest was triggered and suspected that this may be the coded instructions left by Gendou Ringo to contact her. We return to the safehouse (the safehouse in the fifth [Strange Fortune Slip] quest) to meet her.
As it turns out, she wanted us to disguise ourselves as the Fatui to extract some information from the lurking Fatui. She also marked three locations of the Fatui on the map for us and given us the “Code Sheet” used between Fatui members.
Next, we search for three spies. The order of which you find them doesn’t matter, so I’ll be using the order I went with as an example here.
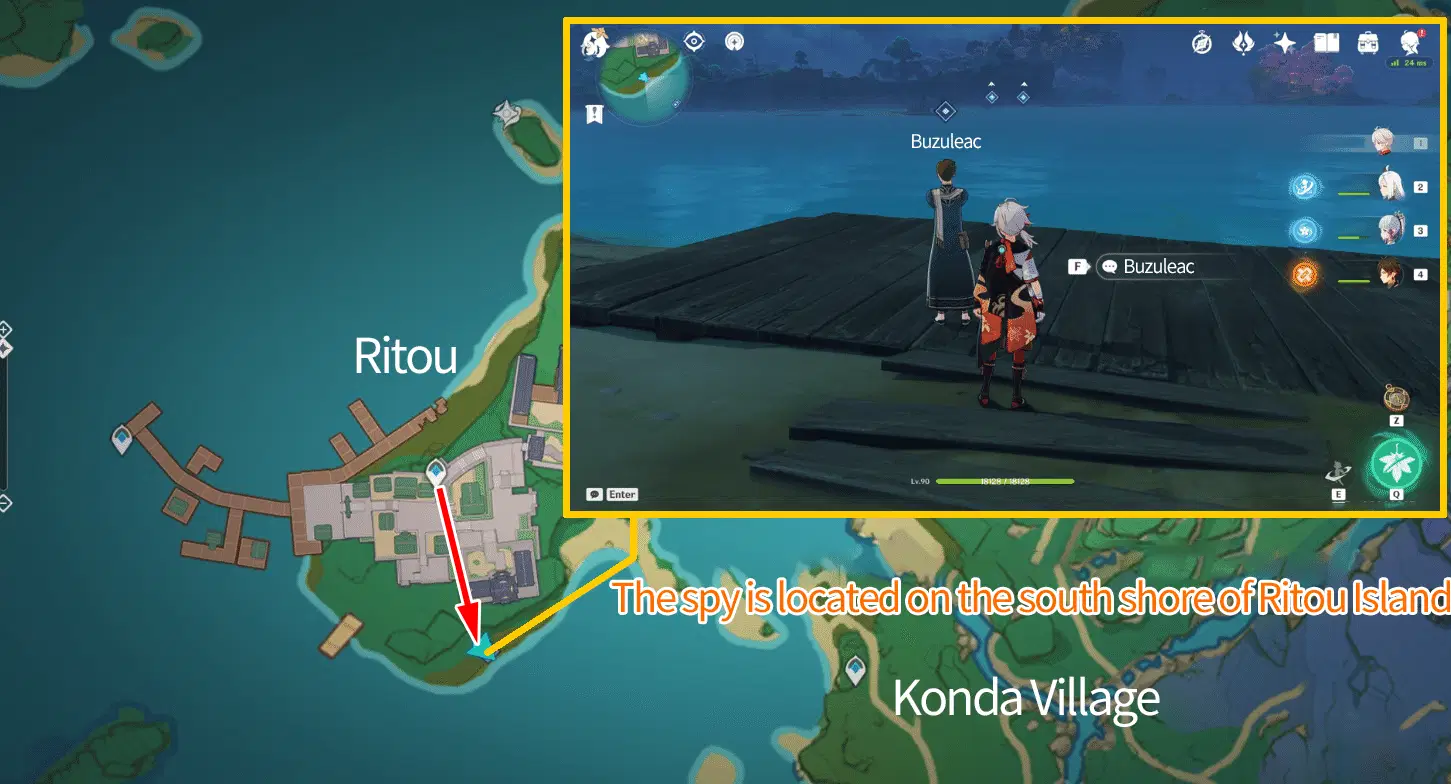
Spy 1: Buzuleac
Attempt to make contact with him and choose the dialogue options: "Fellow coun****en who've forgotten their homeland." / Ugh, yeah, especially those taxes./ That's terrible. You've had it rough, I see./ That's right./ Exactly. We have to work together, after all./ Do people say anything else about her?/ Nothing much.
PS: If you choose to expose your identity for the last response with “Actually, I'm with the ‘Iron Rats.’”, it won’t affect your progress and he’ll simply transform into Fatui and fight us.
Spy 2: Nakatani
Attempt to make contact with him and choose the dialogue options: "Fellow coun****en who've forgotten their homeland."/ Look enraged./ So you suspect that she's "loosened her left hand"?/ Nothing.
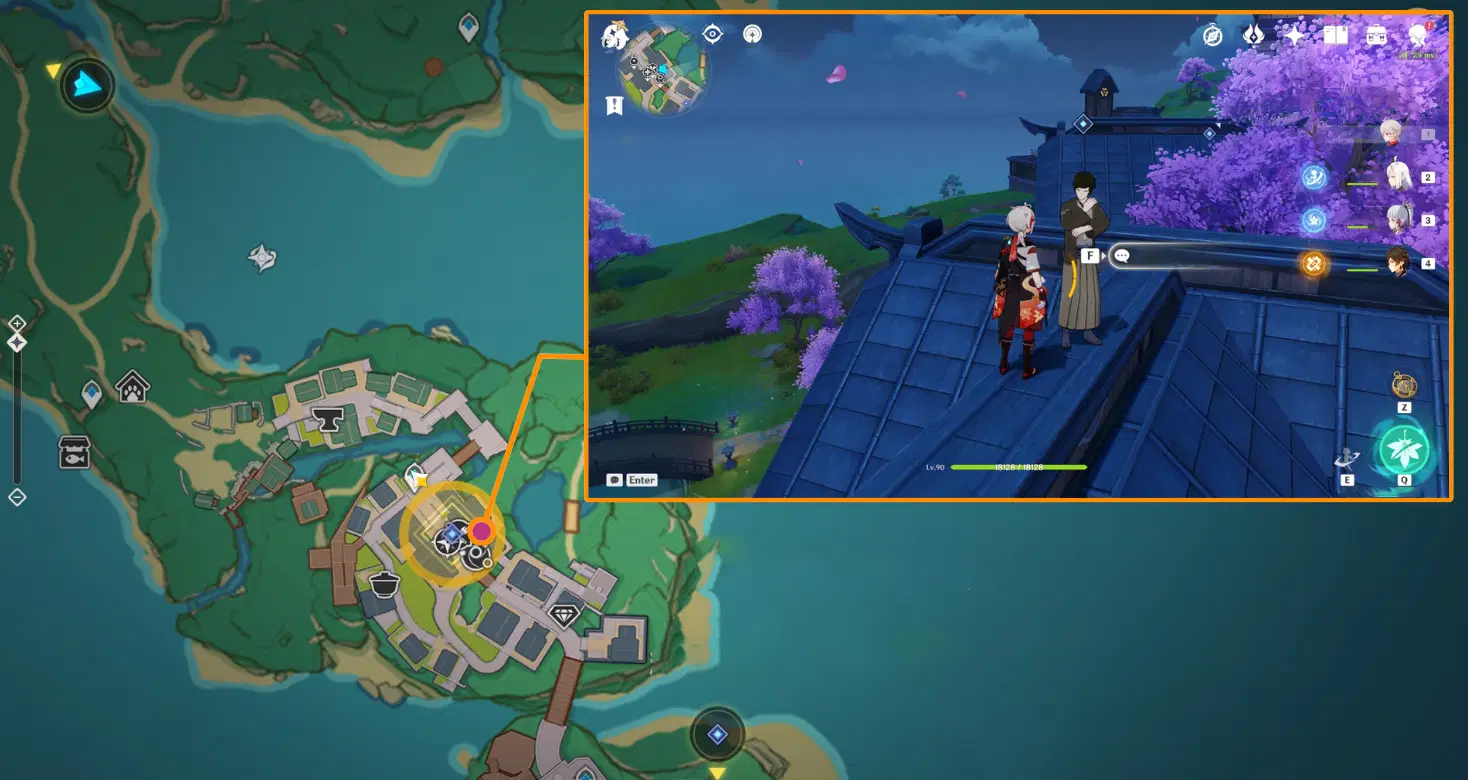
This spy is located above the roof. It’s recommended to climb up from the house located forward left of the waypoint.
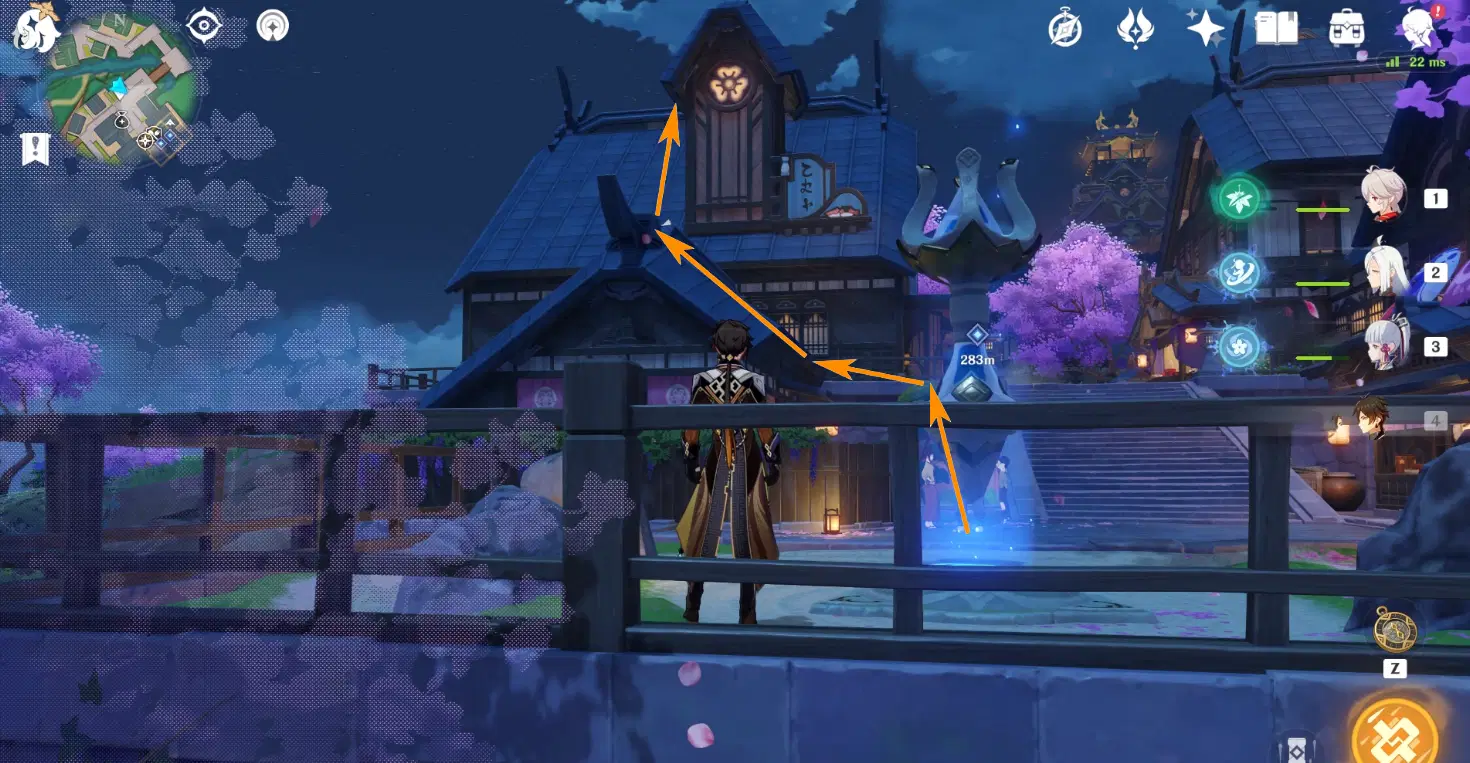
Spy 3: Tae
To find this spy, we first need to travel to the Royal Hot Springs and gather information from Mikawa Akane.
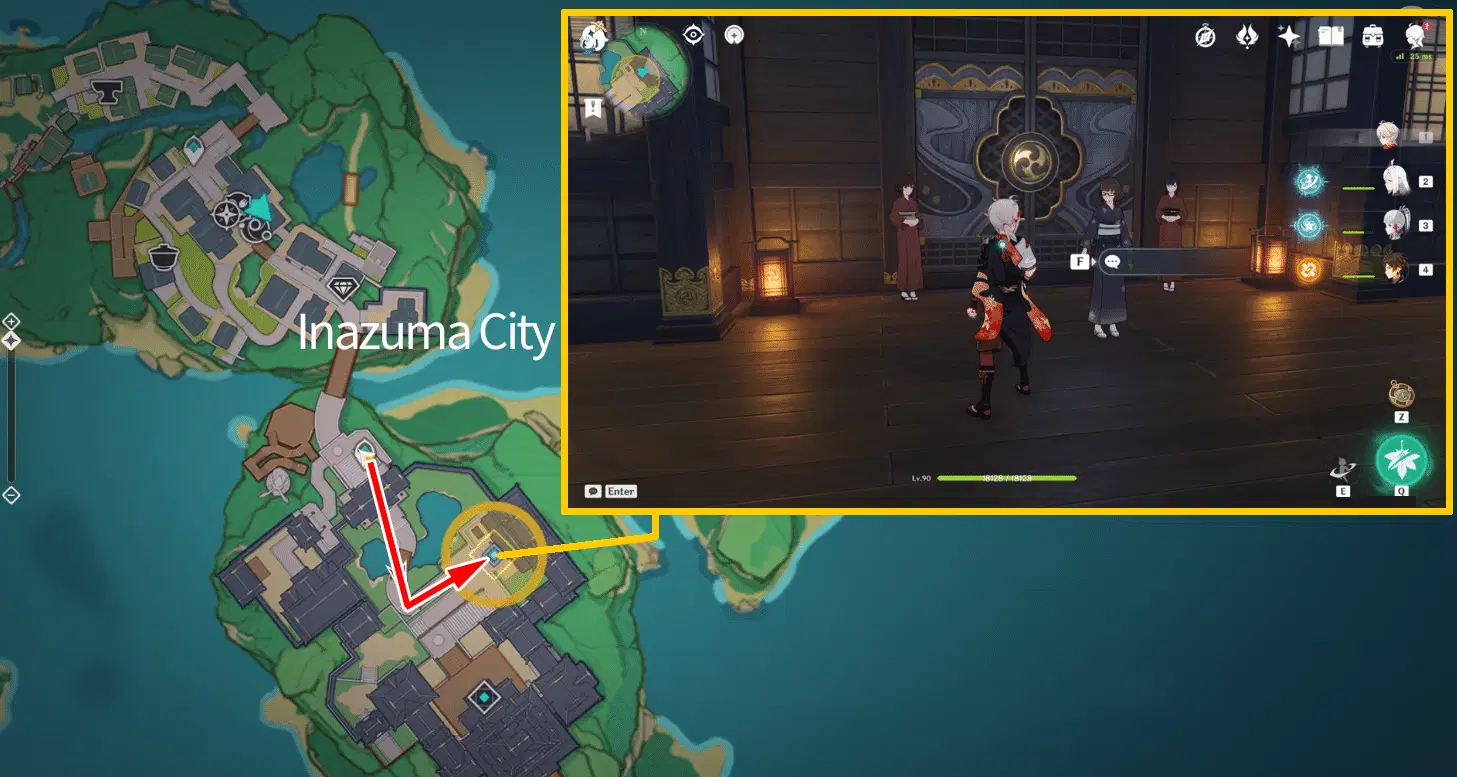
Next, we search for Tae in the courtyard near the cliff based on the clue from Mikawa Akane. (You can get there by following the arrow in the picture)
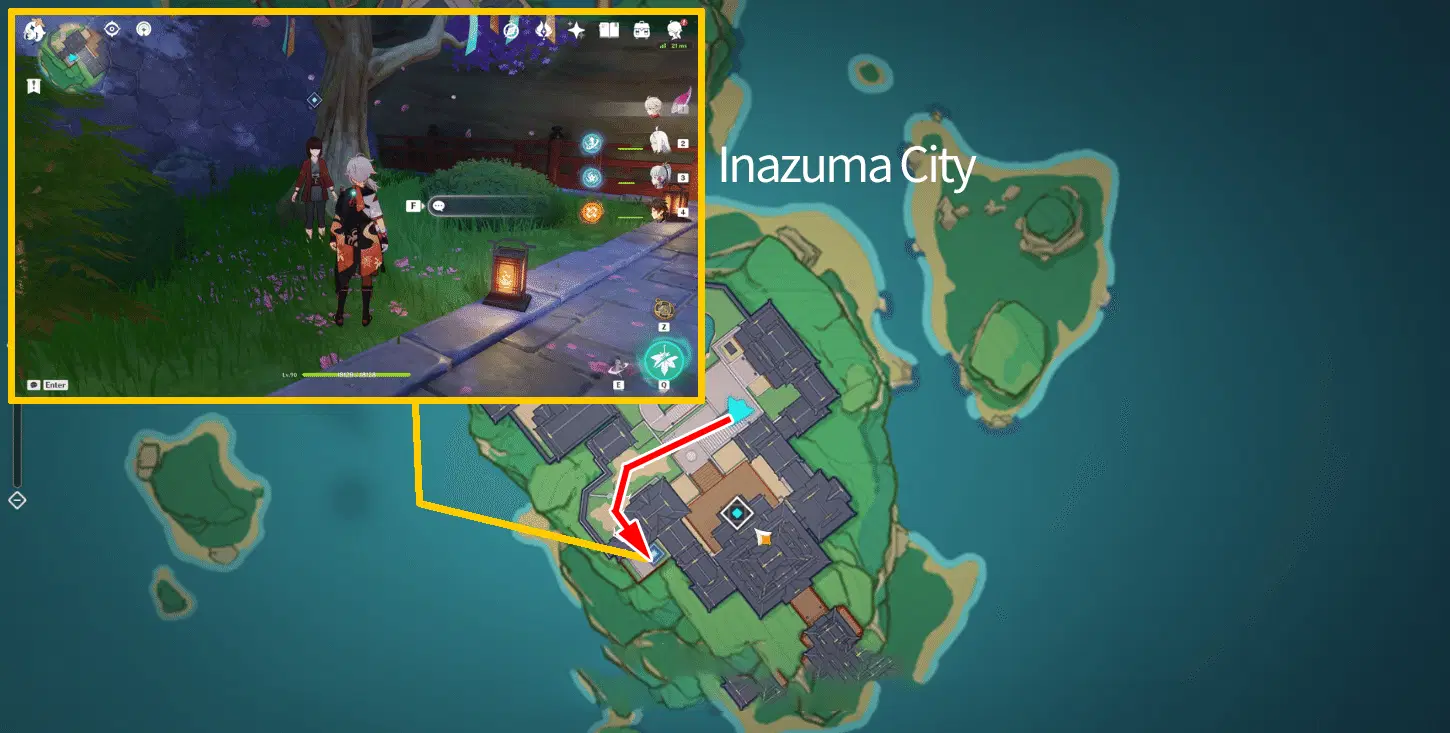
Attempt to make contact with her and choose the dialogue options: "Fellow coun****en who've forgotten their homeland."/ Stay cool, you're still young.../ Comeuppance?/ No, I will "clench my left hand."/ Oh, you'd be surprised./ She dumped her work onto us./ Very well done indeed!/ (Shh, I'm just acting.)
Once the quests are complete, report the information you gathered to Momoyo, who immediately plans our next step: Follow them. She asks us to quickly get the preprations done.
This concludes the hidden world quest “Shuumatsuban Operations” and you’ll receive the next quest “The Replacement's Secret”.
The quest reward is Special Bamboo Slip.
2. The Replacement’s Secret
To better track the impostor Gendou Ringo, we first pretend to have our fortune read and hand her the Bamboo Slip that has elemental powder on it. Teleport to the Grand Narukami Shrine and speak to Gendou Ringo.
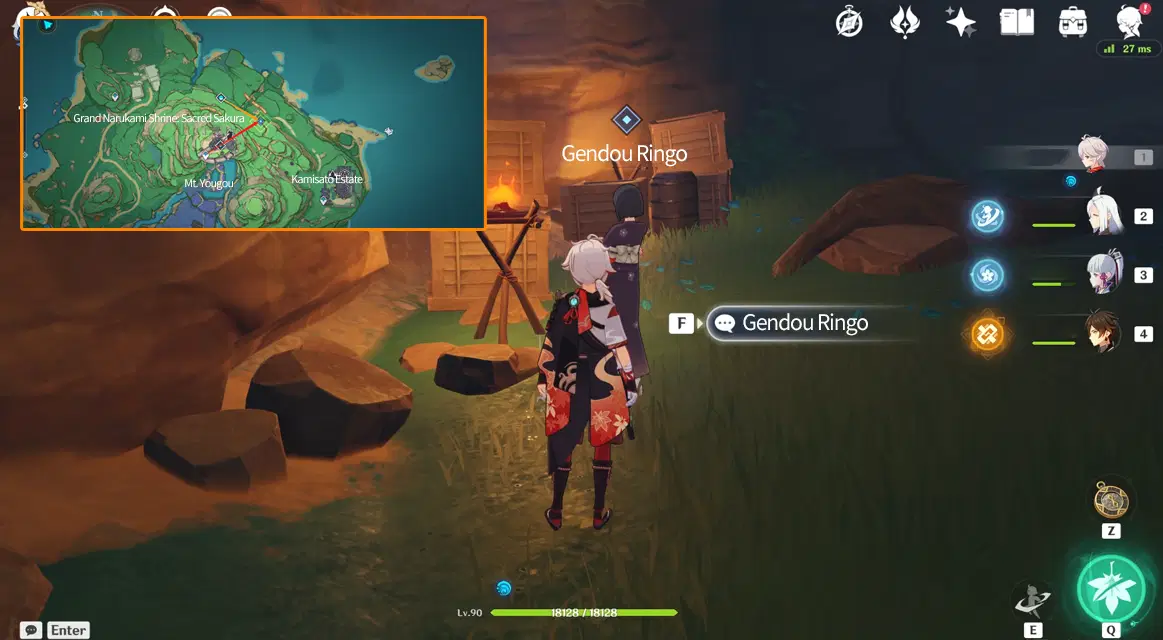
Adjust the time to 21:00~23:00 and head to the hillside next to the Grand Narukami Shrine waypoint to wait for the imposter Gendou Ringo to make an appearance.
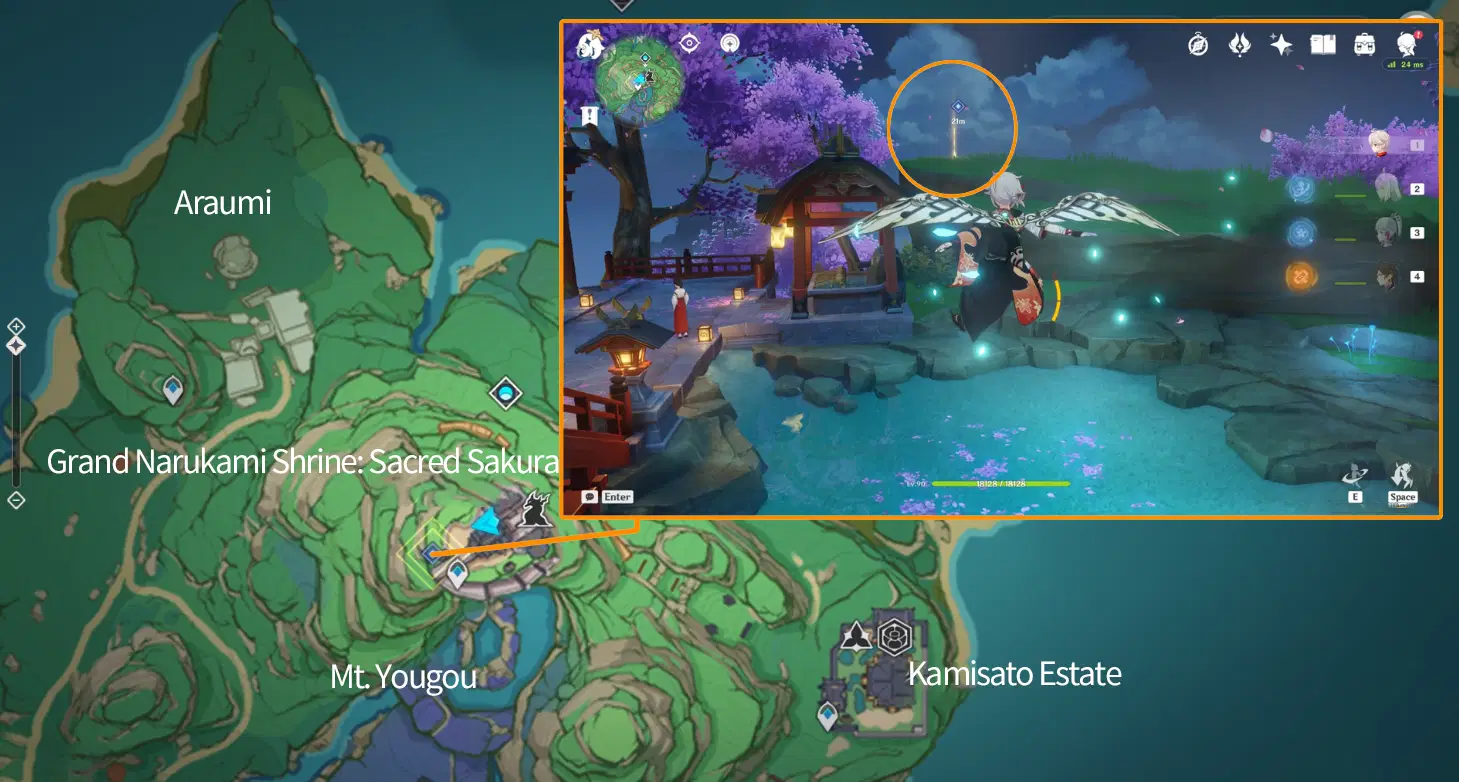
Once she appears, activate your Elemental Sight and track her down!
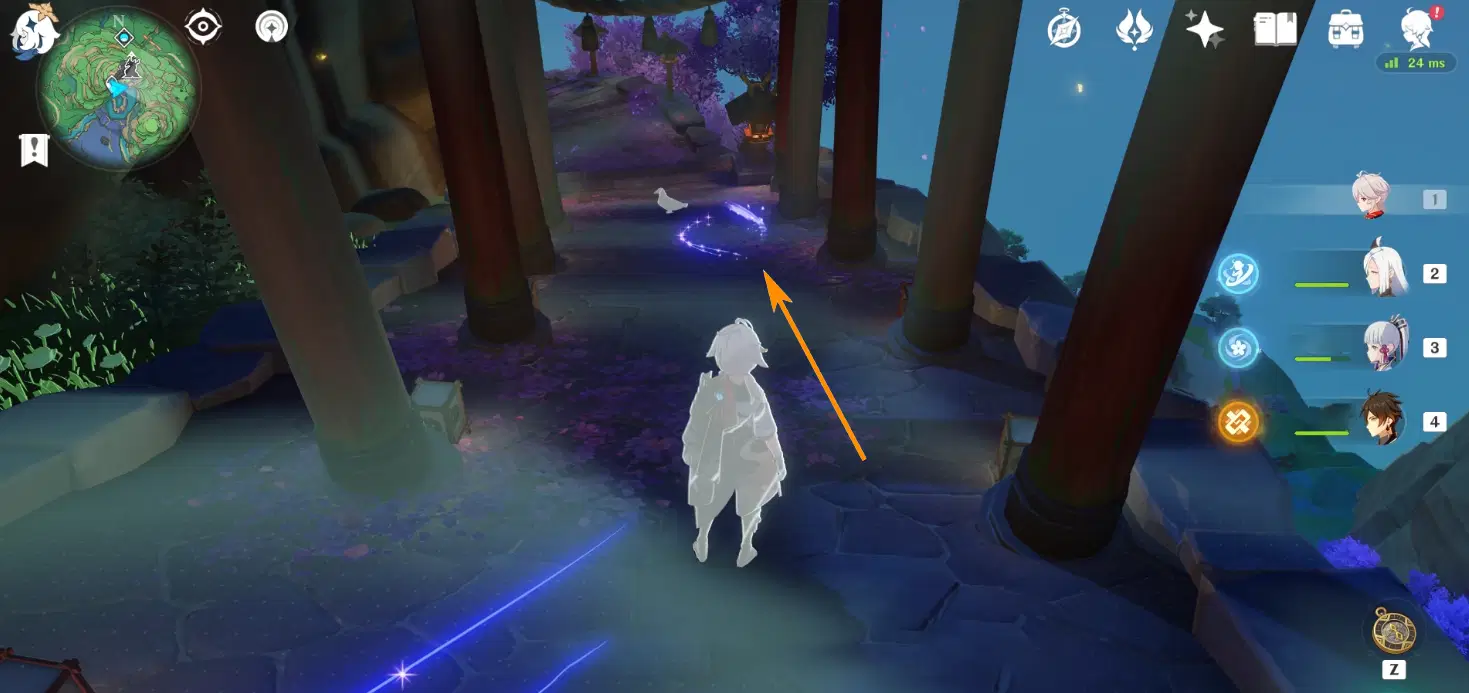
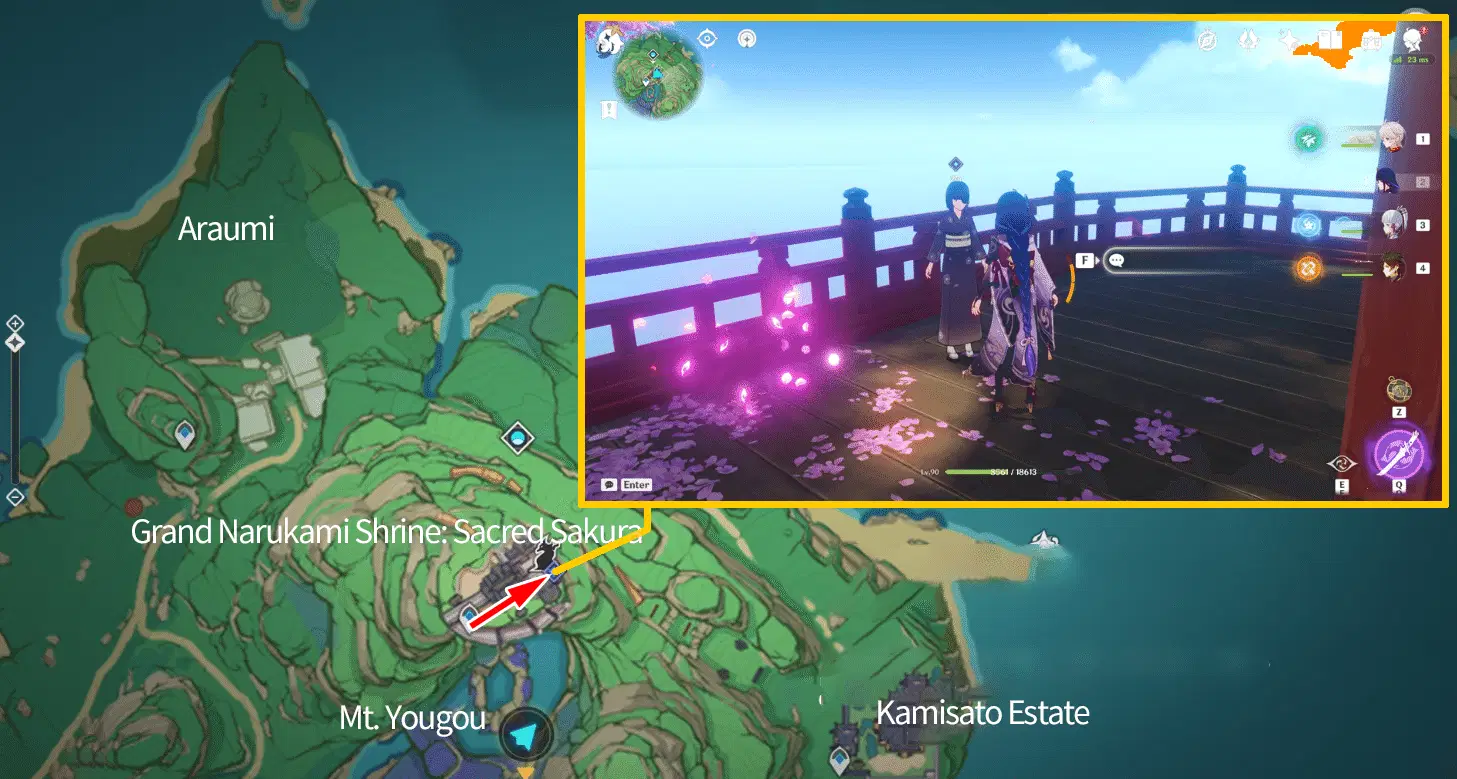
The tracking route is demonstrated by the red arrows in the picture. The final part will involve some flying with the Electrogranum. Once you’re at the location in the picture a cutscene will play, followed by combat.
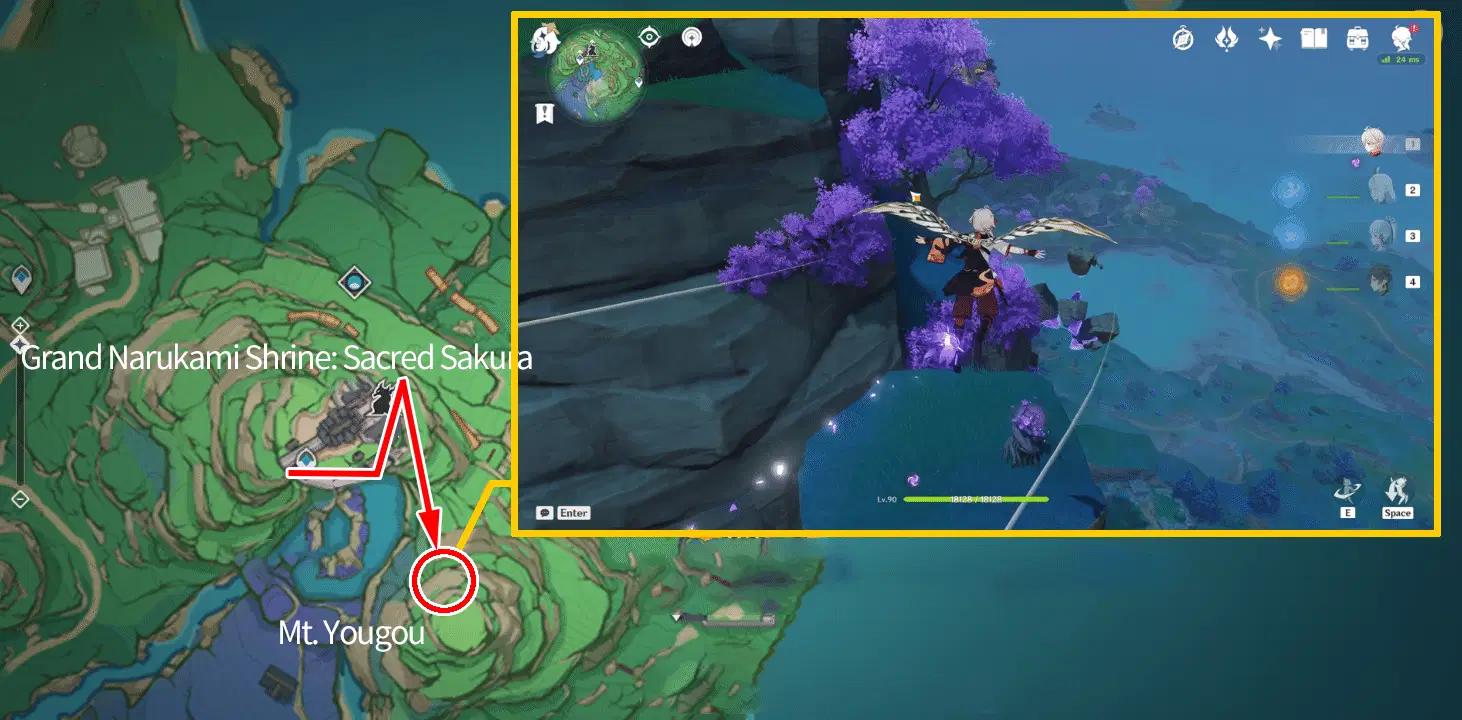
Once combat is over, we make up our mind to help Lyudochka and prepare to report back to Momoyo. Note that the safehouse isn’t on the mountain, but next to the broken bridge located lower.
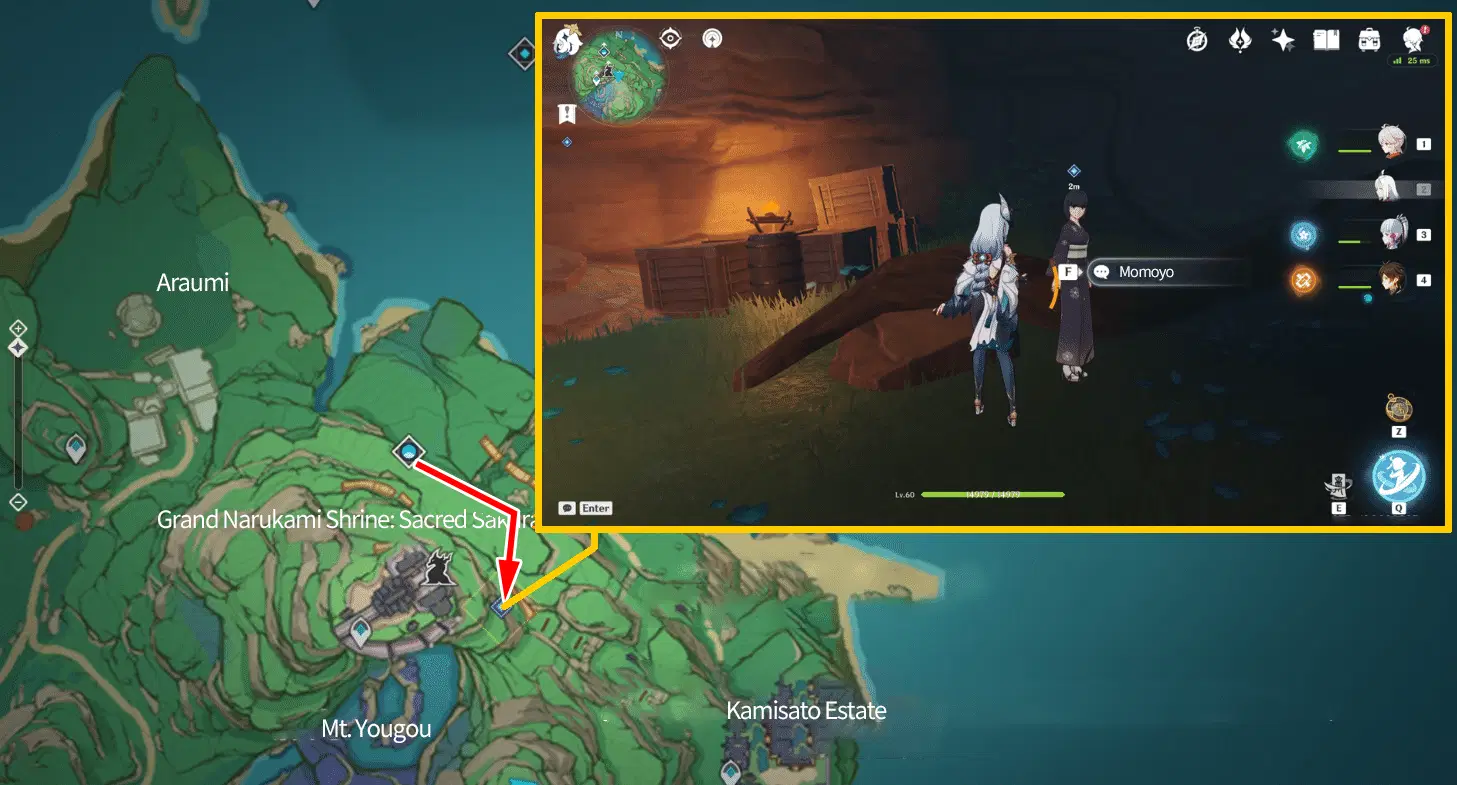
To help Lyudochka, the harsh but well-meaning Momoyo asks us to prepare some materials (Raw Meat*8, Sea Ganoderma*3, White Iron Chunks*4) and a set of Lyudochka’s clothes. Turn them in and leave by climbing out the entrance. You’ll see a yellow indicator in front, approaching it will automatically advance the quest step to adjusting in-game time. (The second day 14:00~18:00)
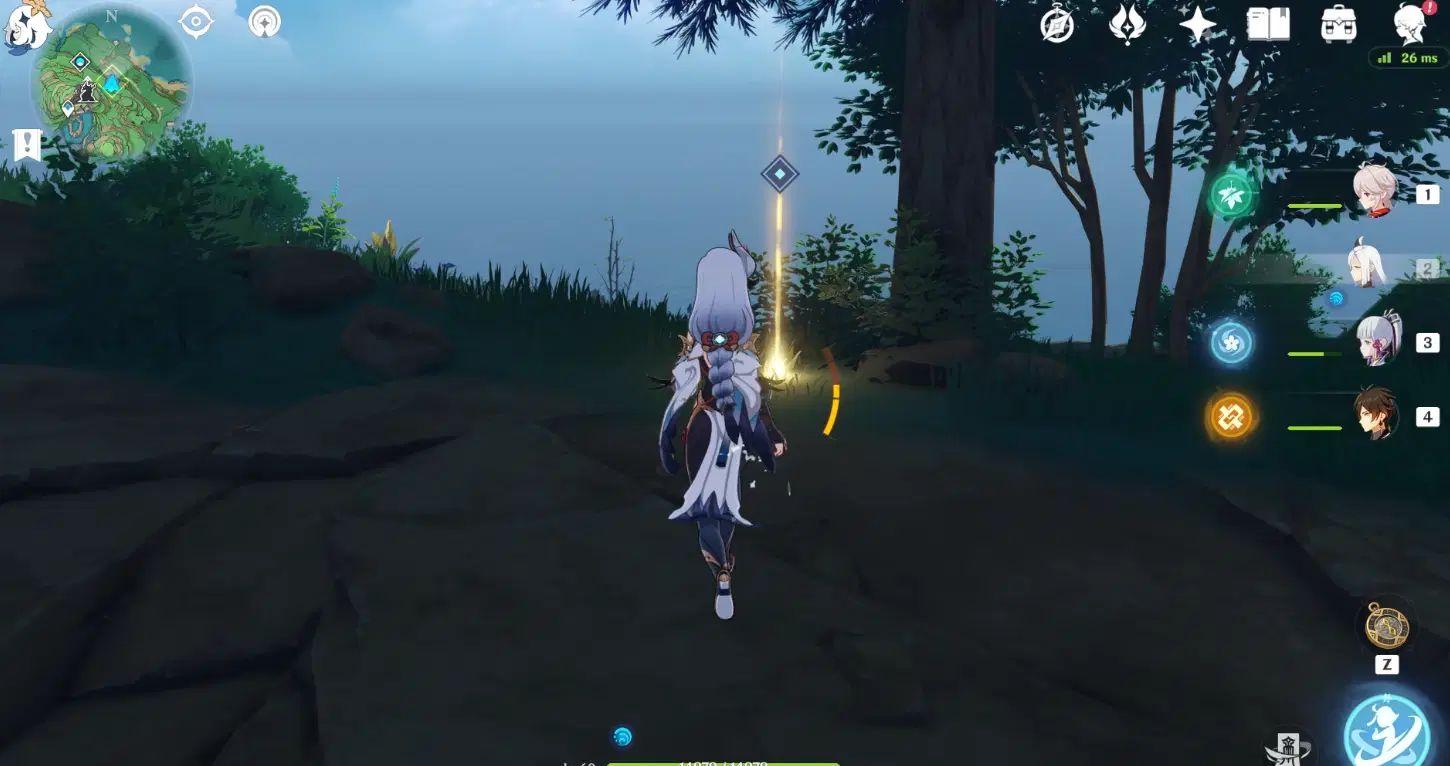
Once the adjustment is done, the quest is completed.
Quest rewards: Adventure EXP*250, Primoge***0, Hero’s Wit*3, Mora*30,000. We’ll also receive the next quest “Where the Dandelions Find Rest”.
3. Where the Dandelions Find Rest
Follow the quest navigation and return to the safehouse to talk to Momoyo, but instead of Momoyo, we find two Fatui Soldiers instead. Enter combat stance!
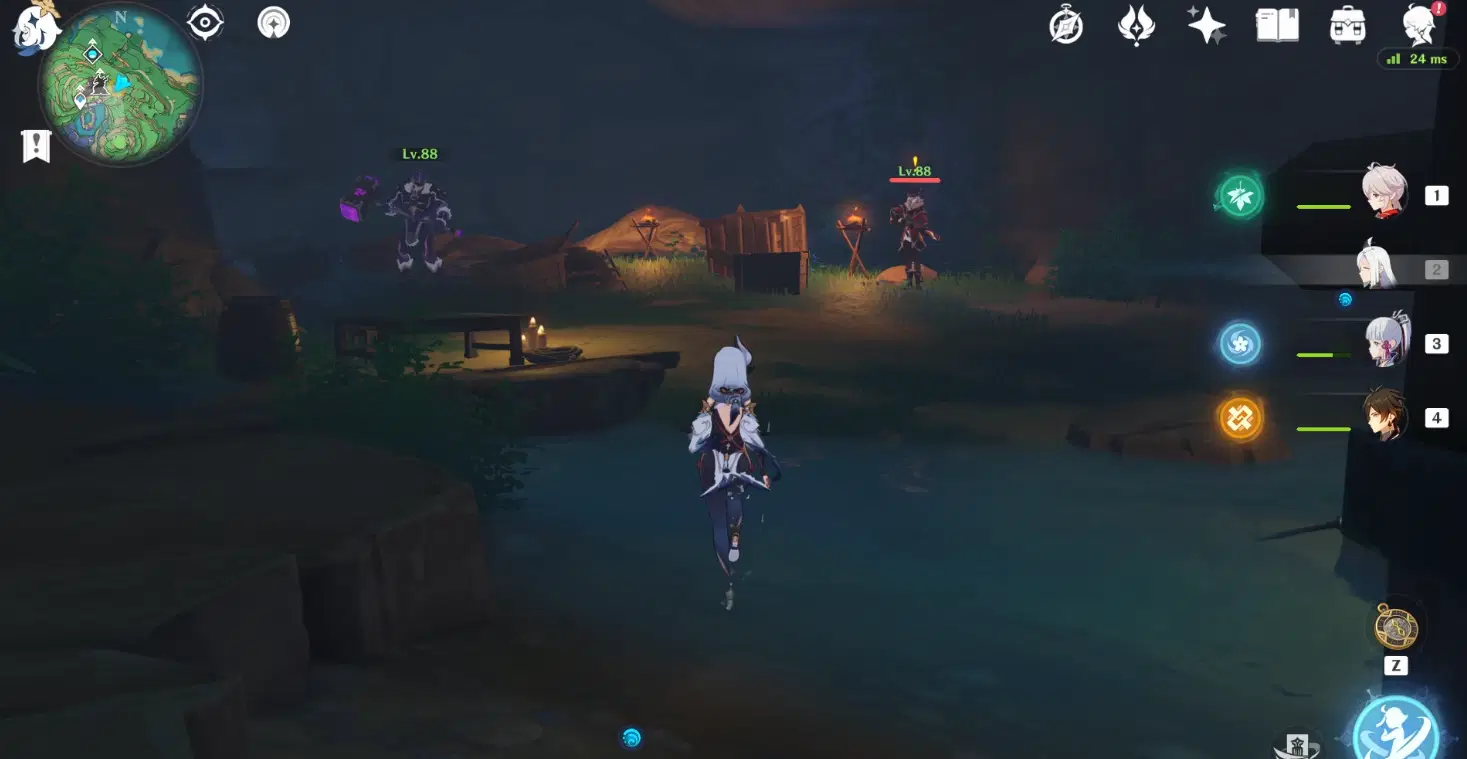
Afterwards we think over what just happened and arrive at the conclusion that the safehouse had been exposed and Momoyo was captured. However, she left behind a trail with the elemental powder, so let’s hurry and look for her whereabouts with Elemental Sight!
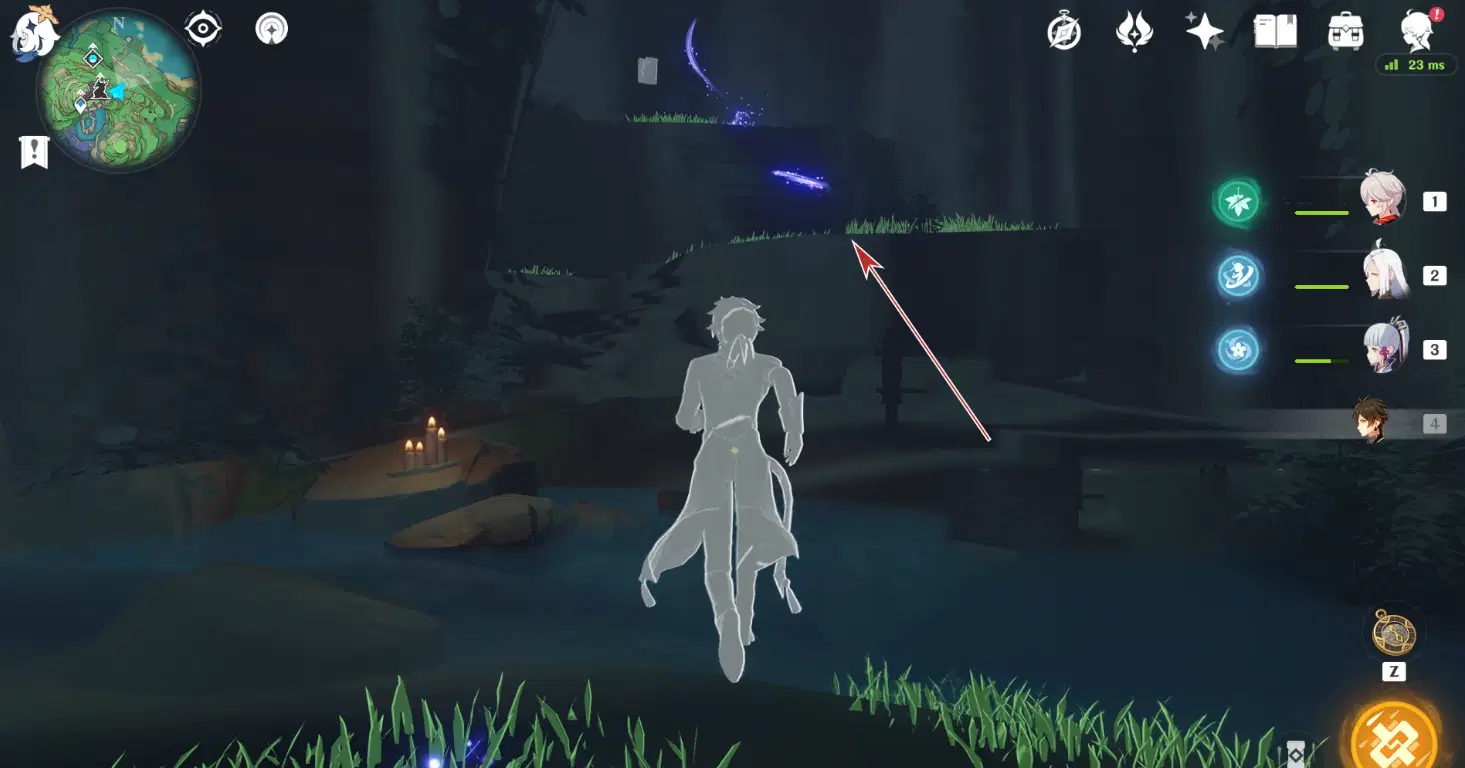
The route is demonstrated in the picture below. For Travelers who have problems tracking the trail, refer to the picture below:
Finally, we begin the Domain exploration once we enter beneath the abandoned house at the yellow indicator. There are Floors B1, 1, and 2, and we’ll find one amulet per floor. What we need to do here is: pick up the amulet on each floor (3 in total), open the door on the top floor, defeat the boss and obtain the cell key, then return to the cell on the bottom floor and rescue Momoyo.
Once inside the Domain, we’ll see a cutscene. We’ll be looking top-down, positioned between floors 1 and 2, and eavesdropping on the Fatui and Kairagi. After the cutscene, jump down and defeat the enemies.
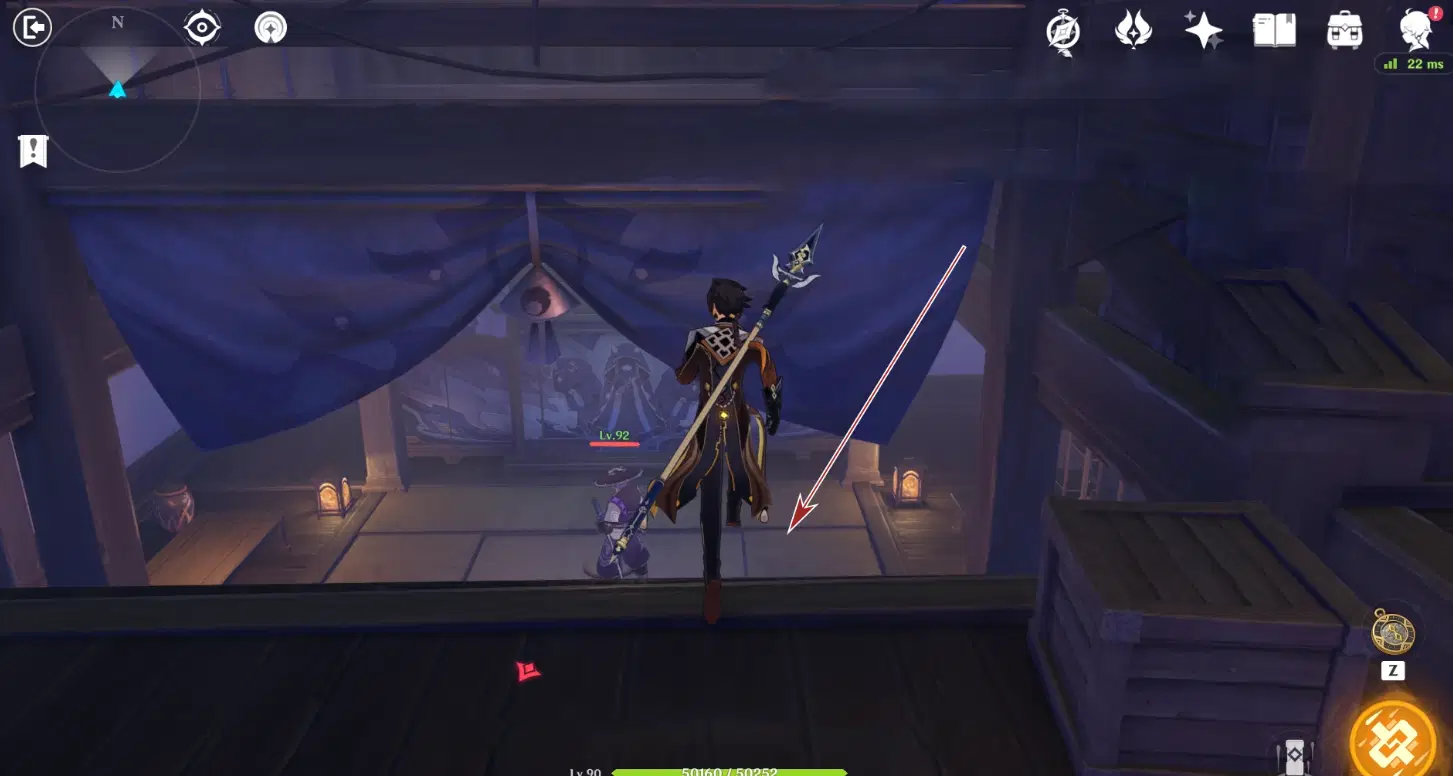
After combat, observe the room around you. There’s a door to the southeast corner (check orientation based on the mini map on the upper left corner) that we can enter:
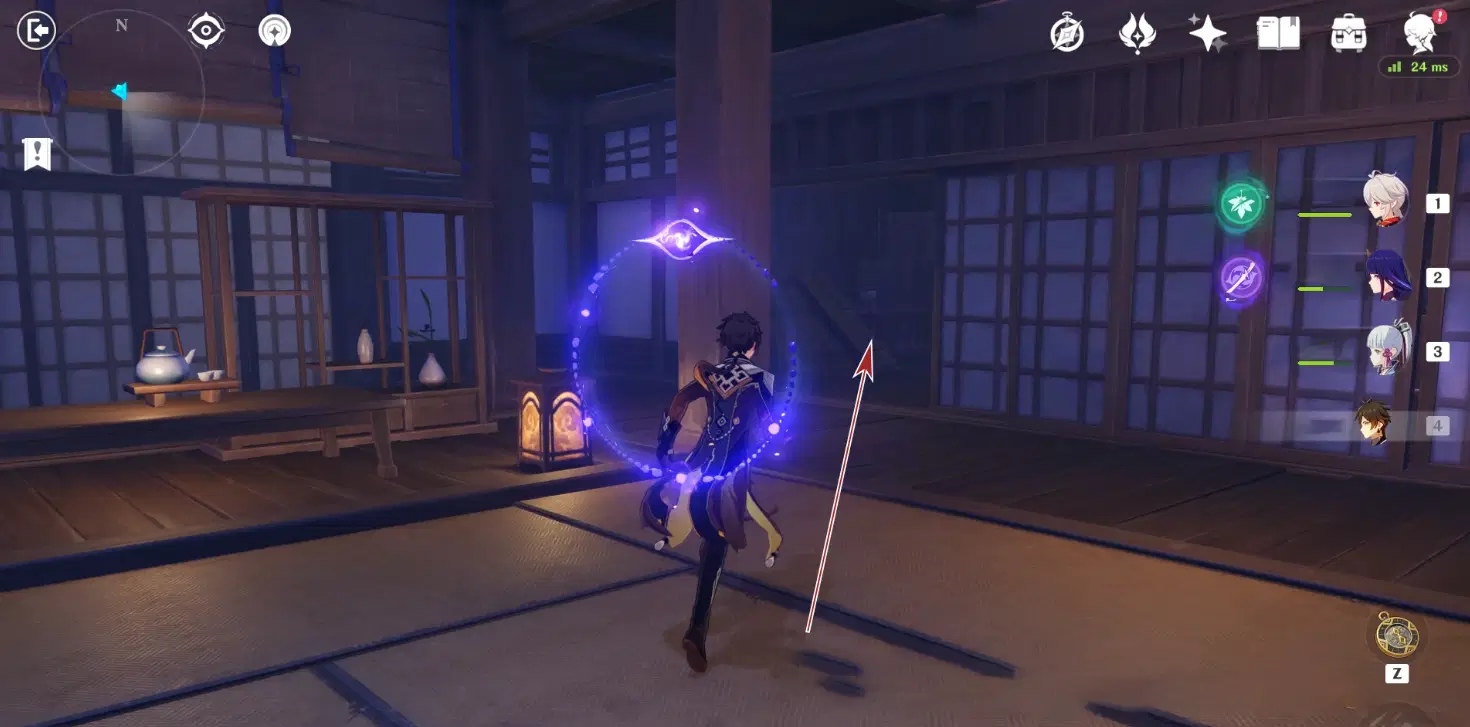
Turn right and go straight and you’ll find the first amulet to your right. Remember to pick it up because you’ll need all 3 amulets to open the door later.
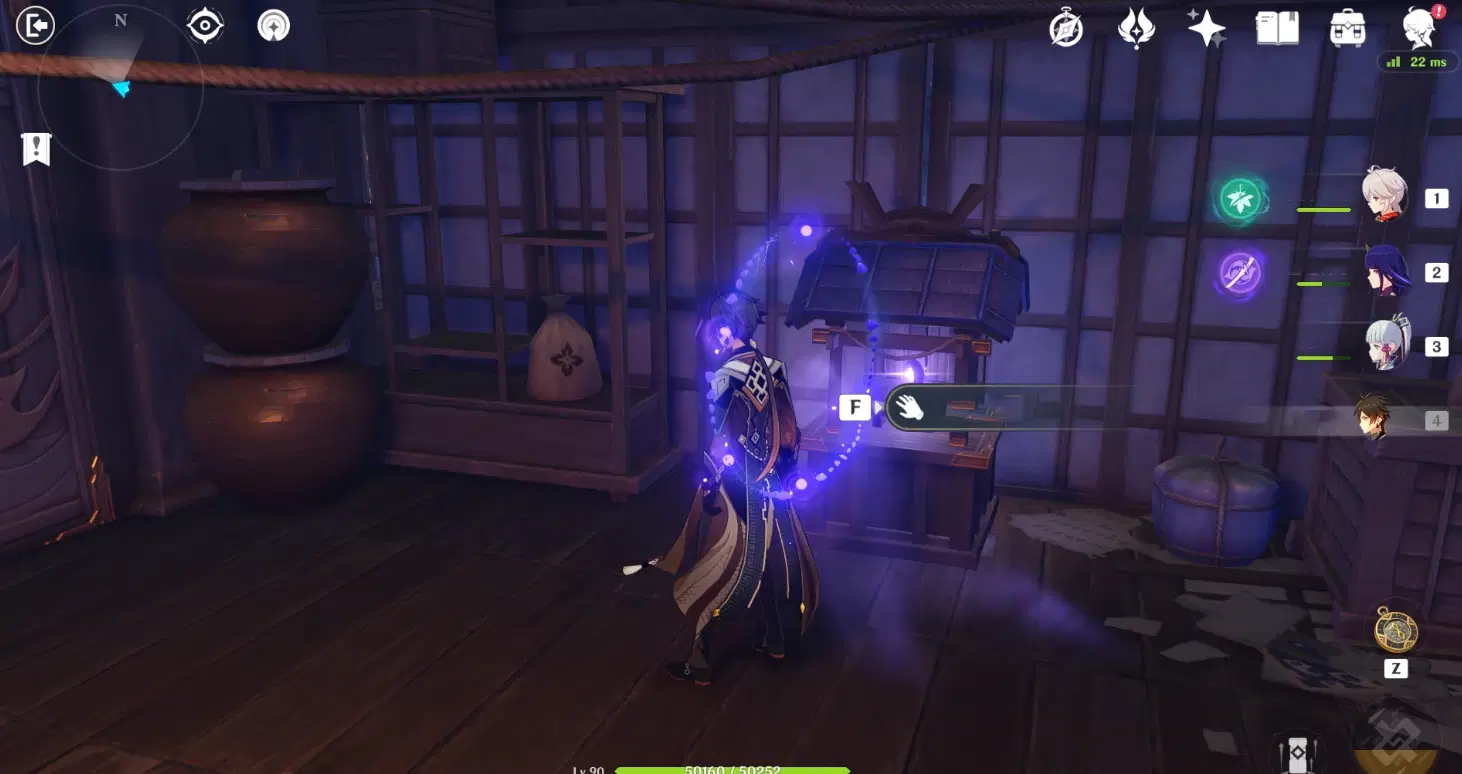
Open the door next to you after picking up the amulet:
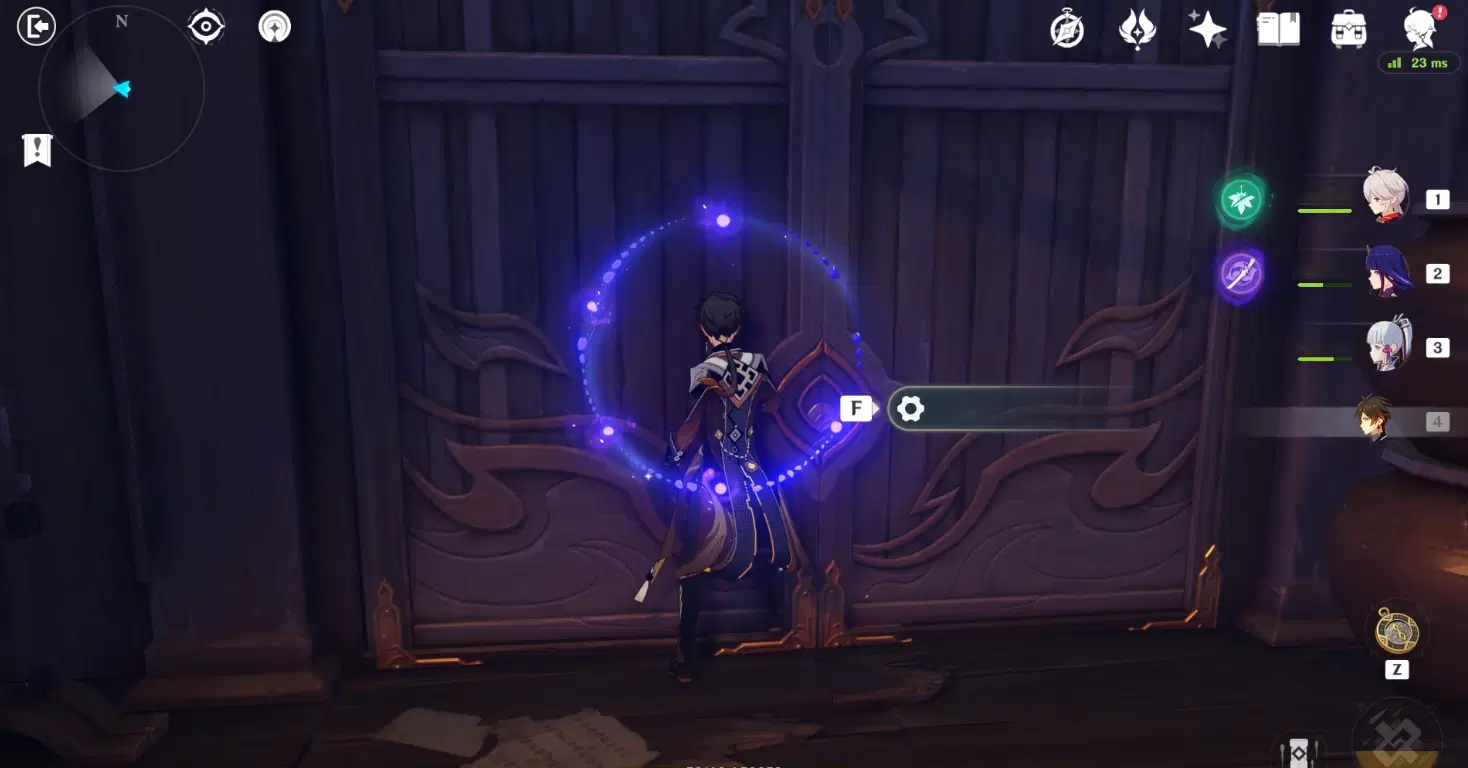
Go straight and you’ll find a door to your right. There’s a see-through floor to the forward right behind the door and a switch next to it; ignore it for now, go through the door and turn left:
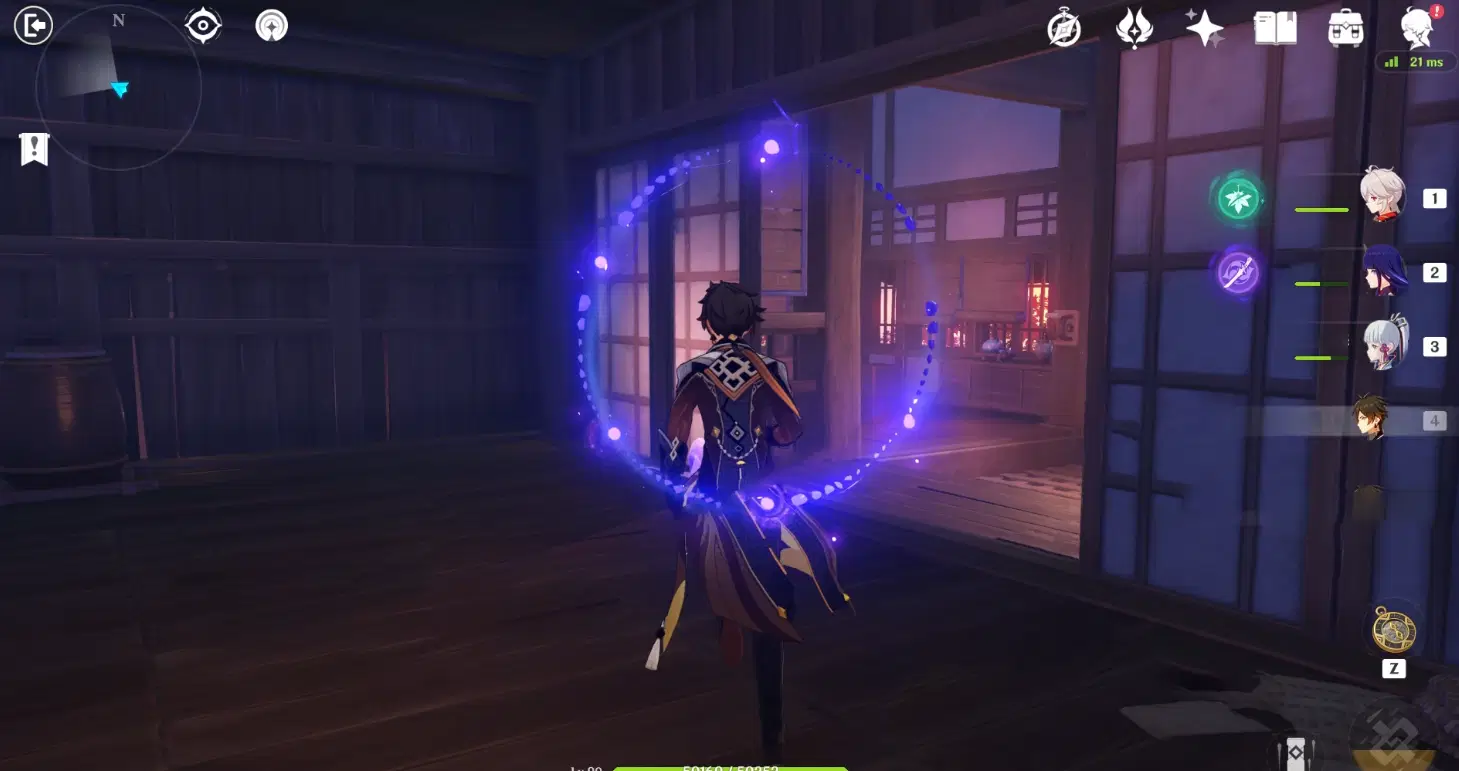
You’ll see a long flight of stairs. Head down and defeat all the enemies inside:
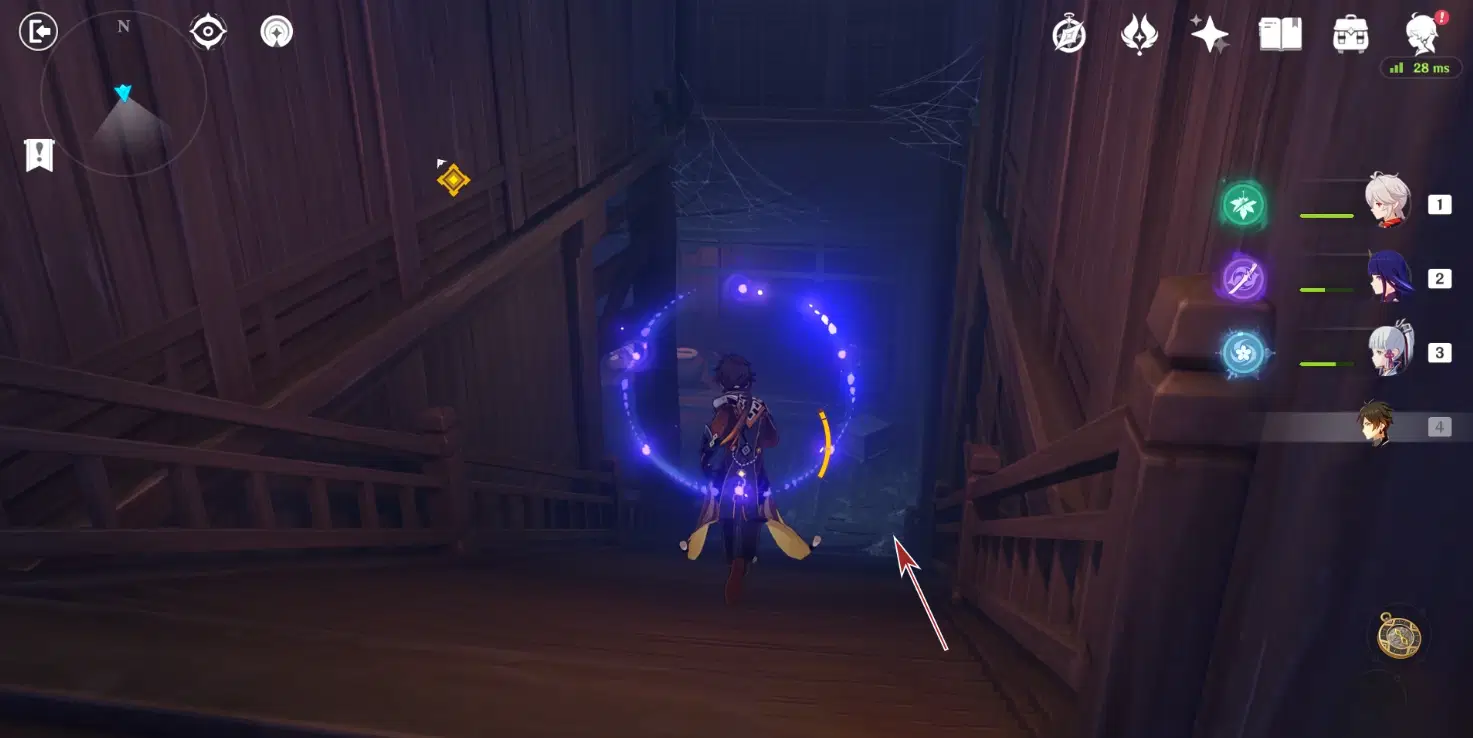
After combat, you’ll find a switch in the southeast corner of the room (next to the trolley, you’ll have to get close before the interaction option pops up. If you can’t find it, use Elemental Sight to make it show up)
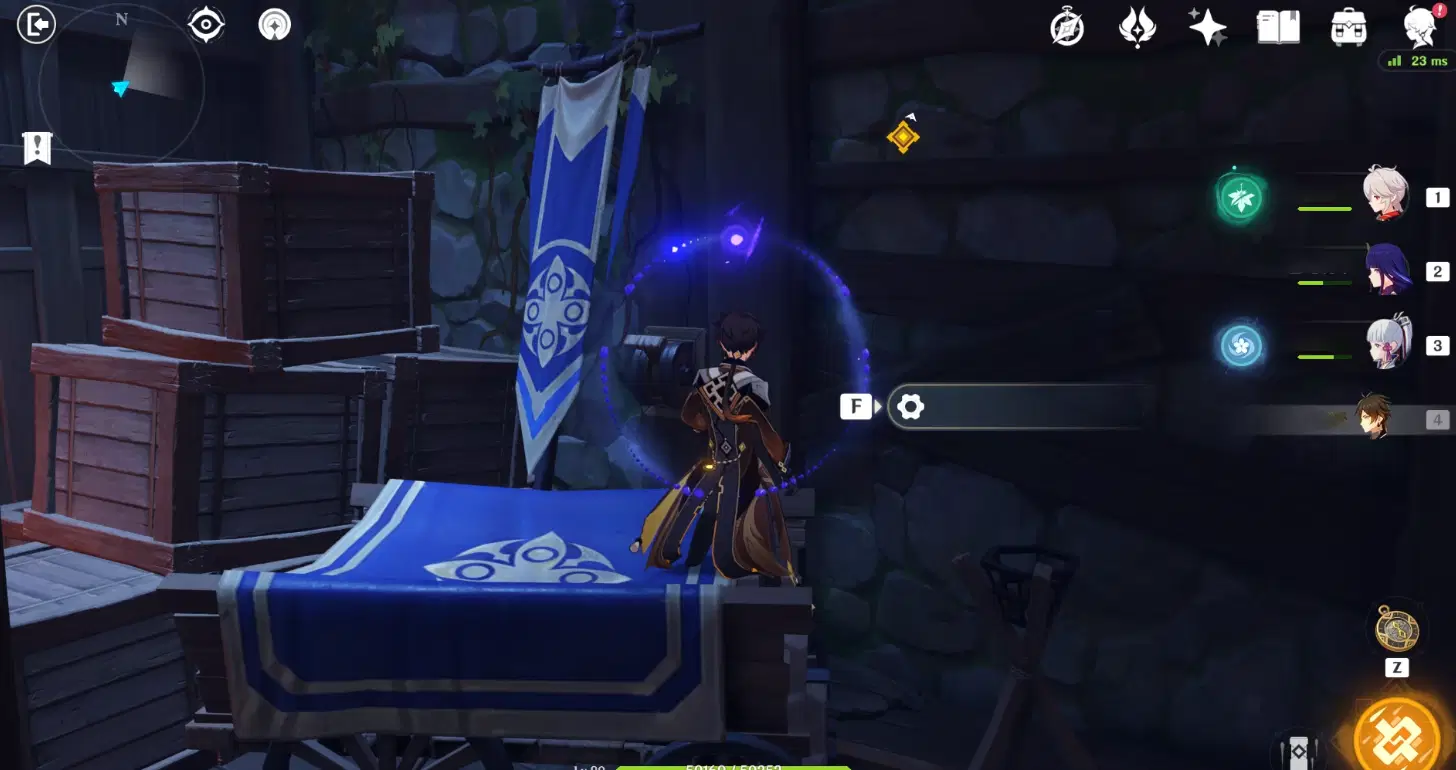
Once the switch is turned on, a ladder will appear to the left. Climb the ladder to the top. There will be a broken section in the middle of the latter, simply hop onto the platform on the side then jump to the upper segment and continue.
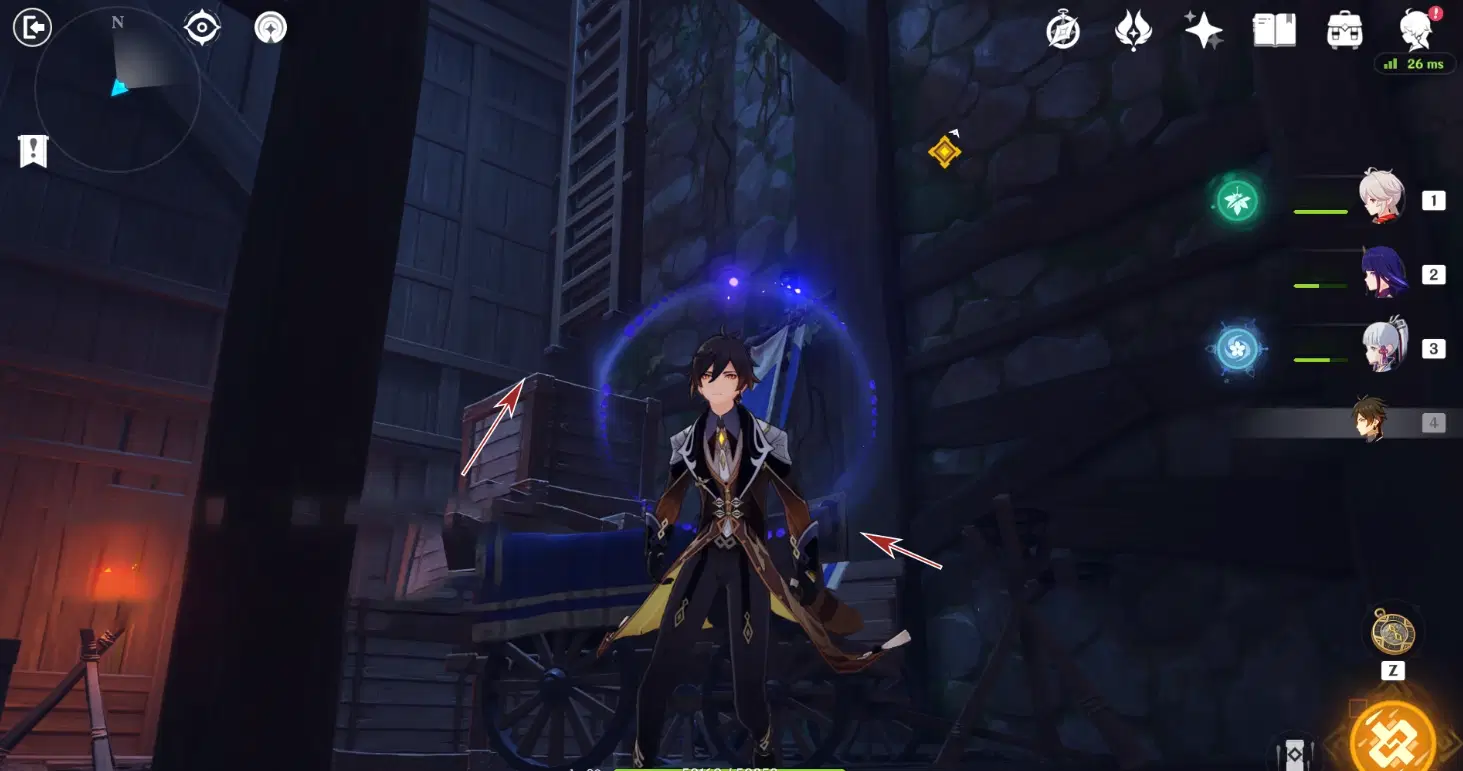
Defeat all Kairagis you find in the passage at the top:
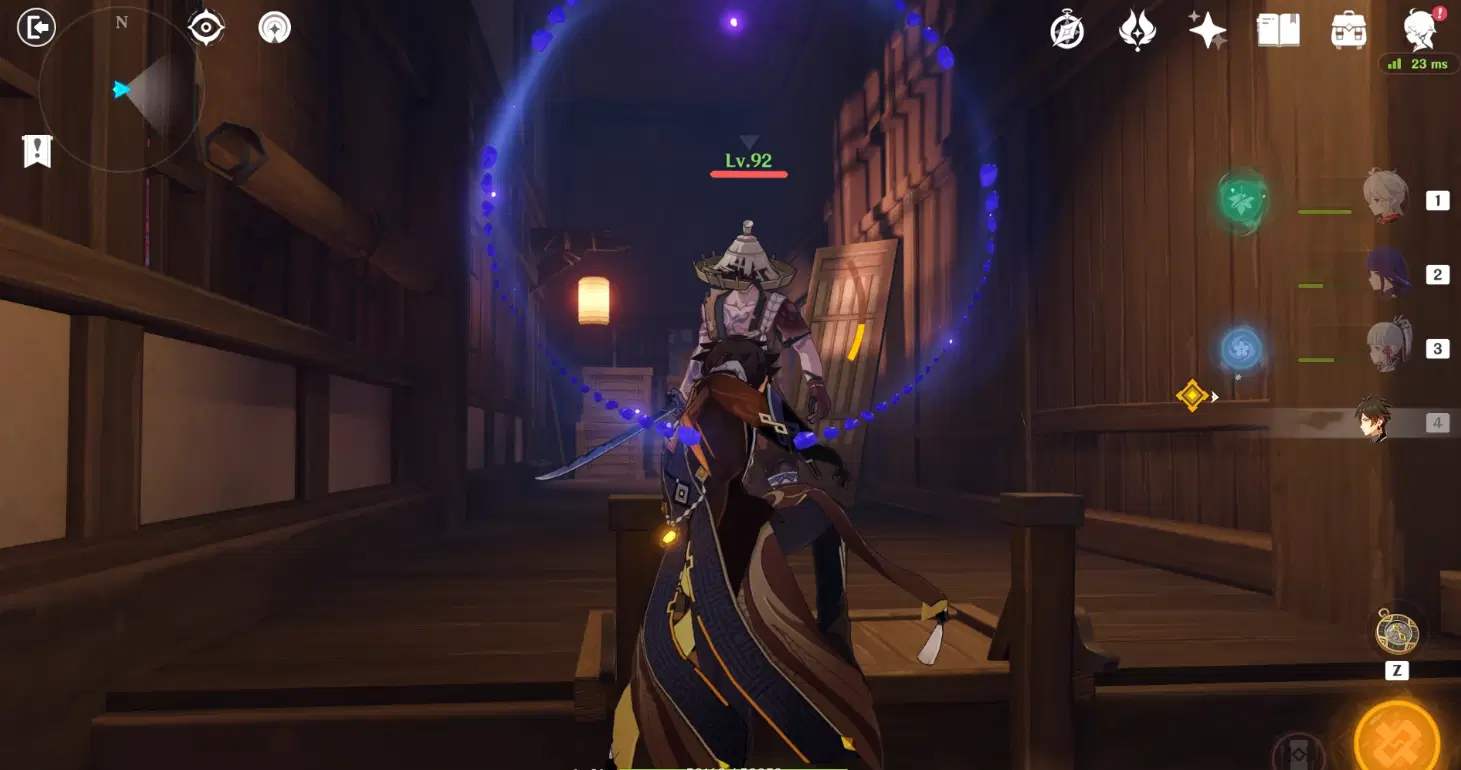
Go straight then turn right into a small room. You’ll find the second amulet here:
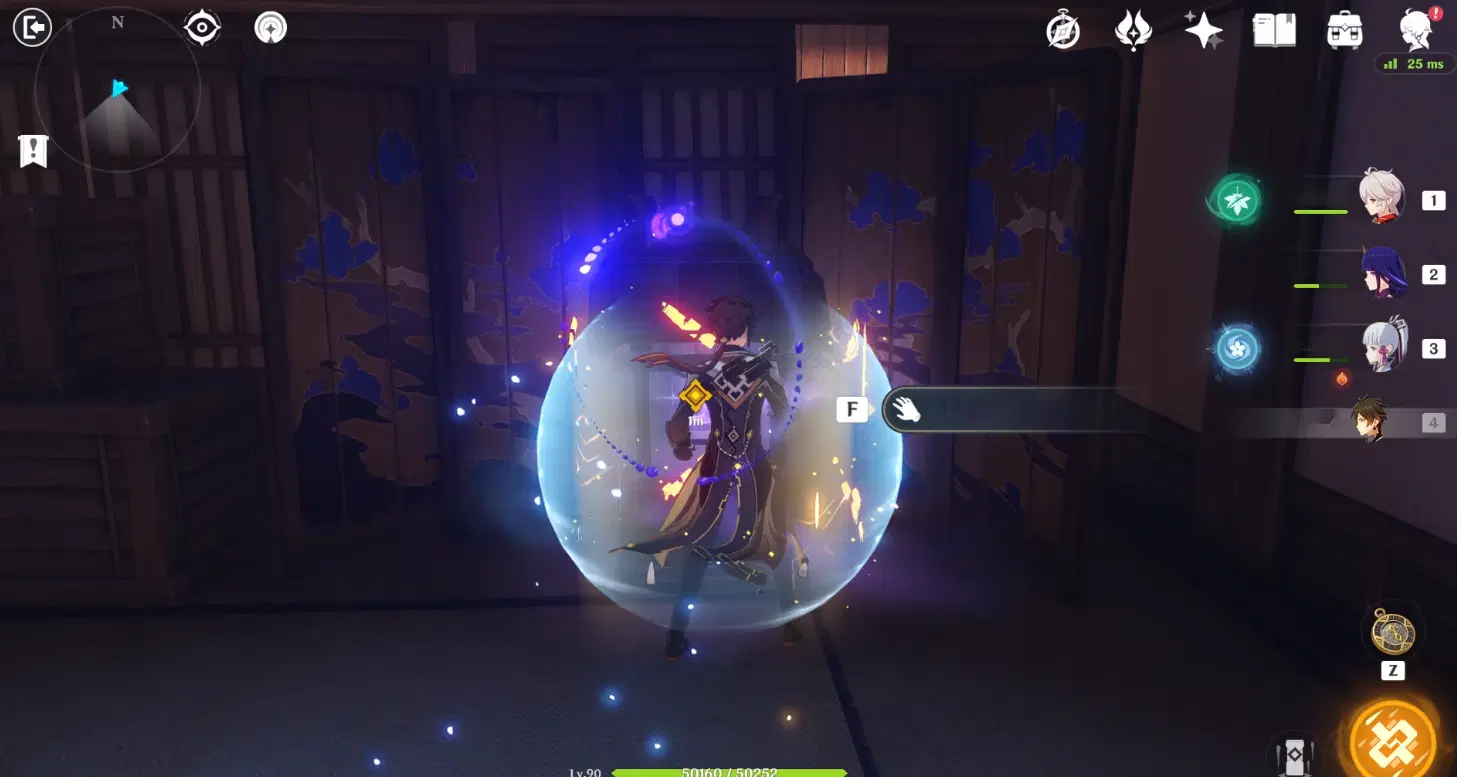
Take the same route back and climb to the very bottom of the ladder back to the room we were in, then climb the long staircase we saw earlier to where we passed the switch and see-through floor.
Activate the floor switch and remove the floor, jump down to find more Kairagi and Fatu**
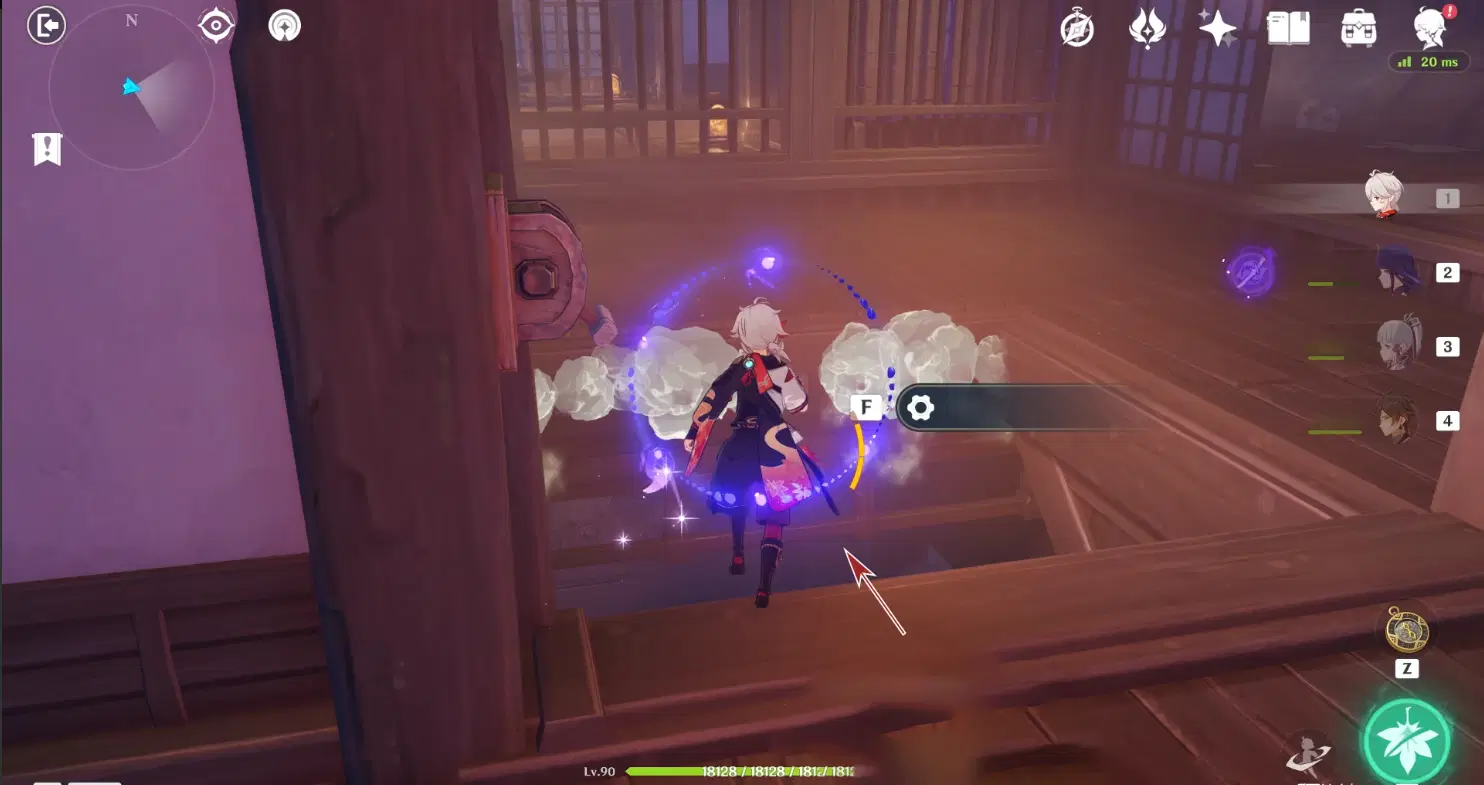
**ce they’re all defeated, the final amulet is where we jumped down, remember to take it with you:
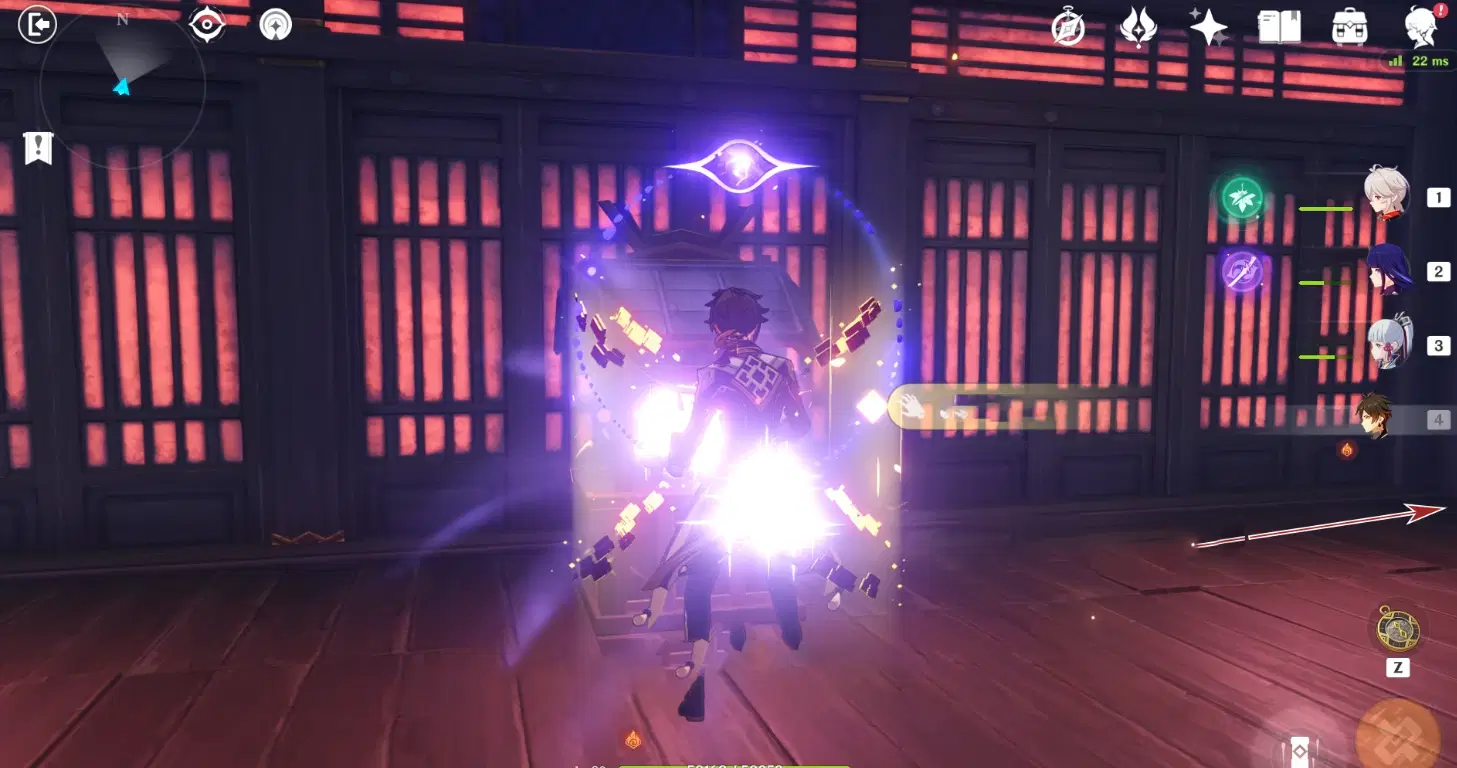
Another thing to note here: To the east of the third amulet (look at the amulet shrine, to your right-hand side) is the cell holding Momoyo with a locked door. Knock once to speak to Momoyo, who will ask us to find the key.
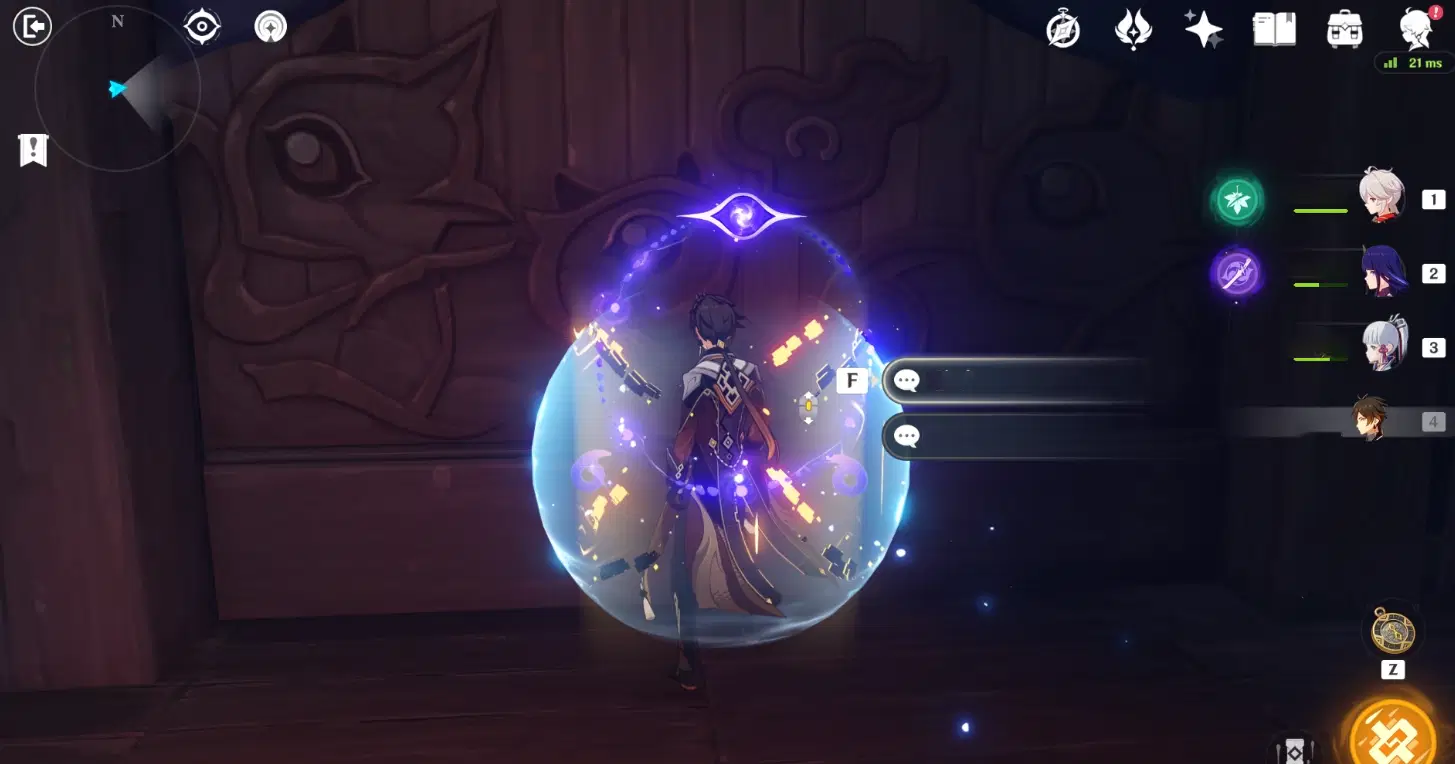
After speaking to Momoyo, with all three amulets in tow, head south and get to the top floor via the lift.
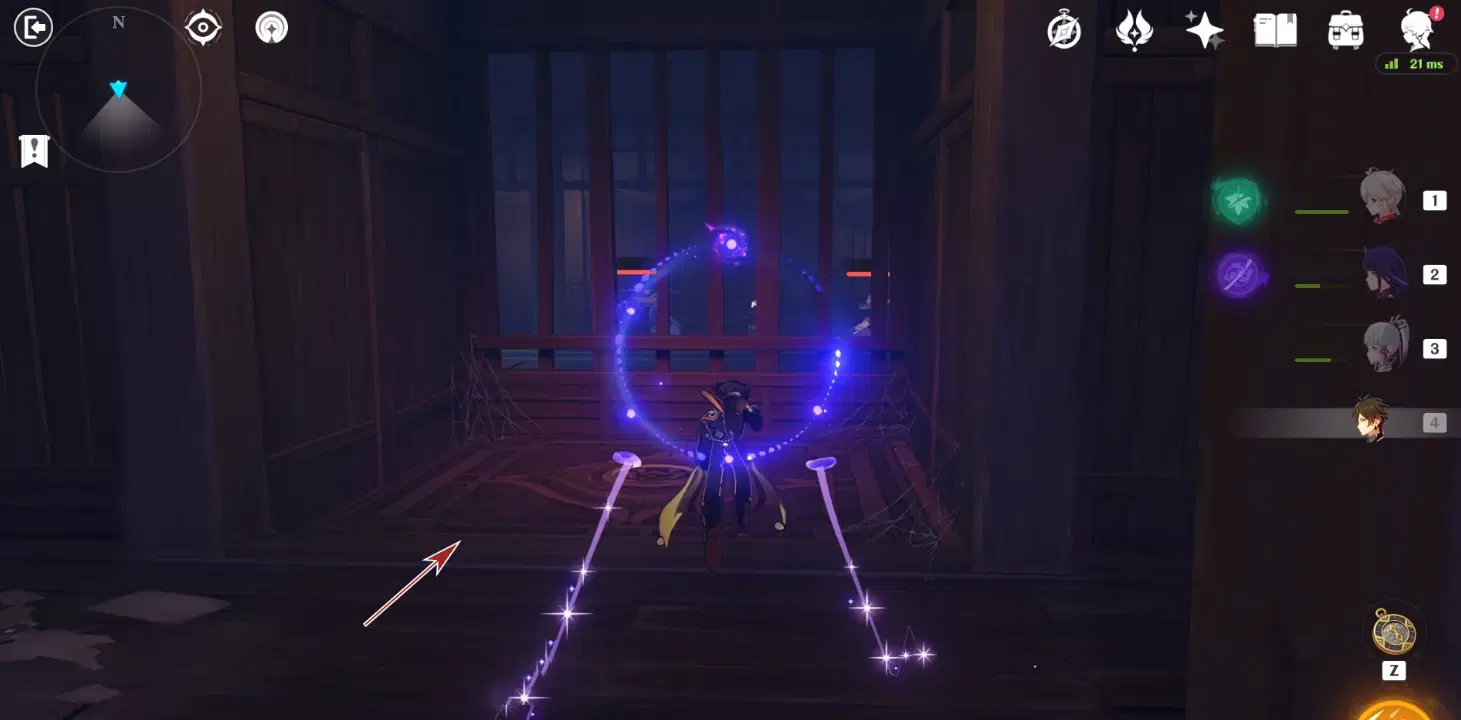
The door is on the top floor. Pay attention to not slip down the hole in front of the door, which will take you to the place next to where we started.
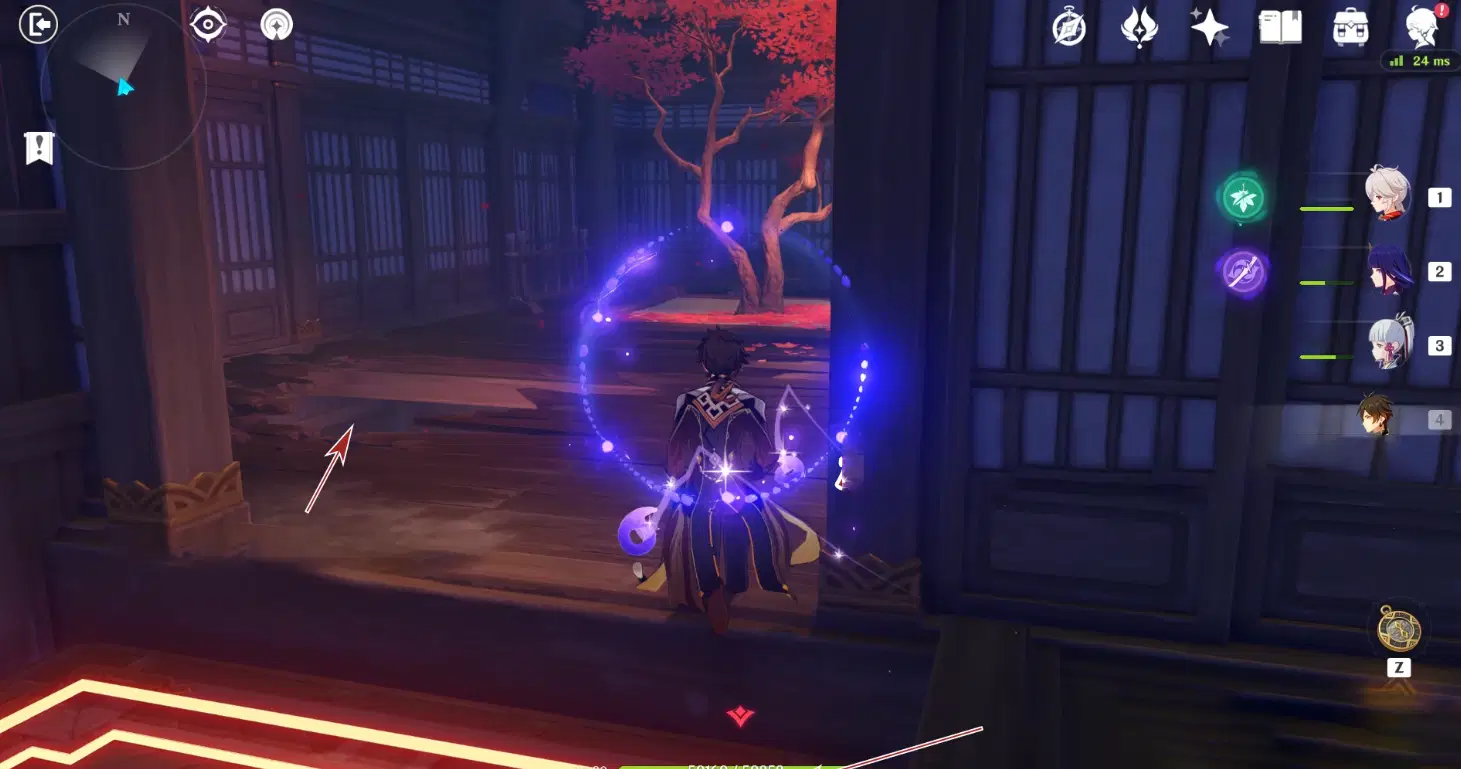
Approach the door after defeating the Kairagis on the top and open it with the amulets.
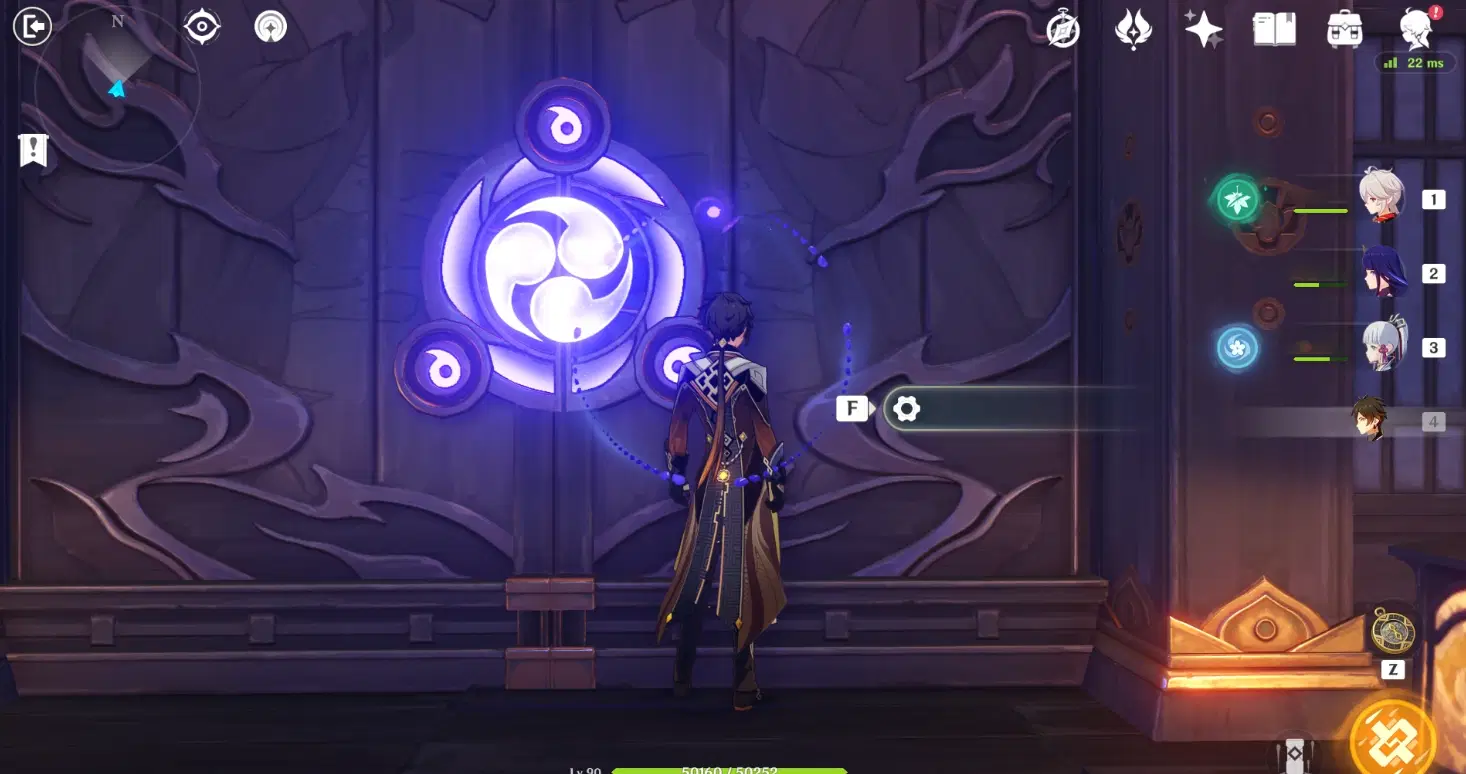
Inside, we’ll find two bosses. Defeat both to obtain the cell key.
Come out the room and jump down at the lift (or jump down twice at the hole in front of the lift) to get to the bottom most floor.
Approach the cell door and open it with the key to move it aside.
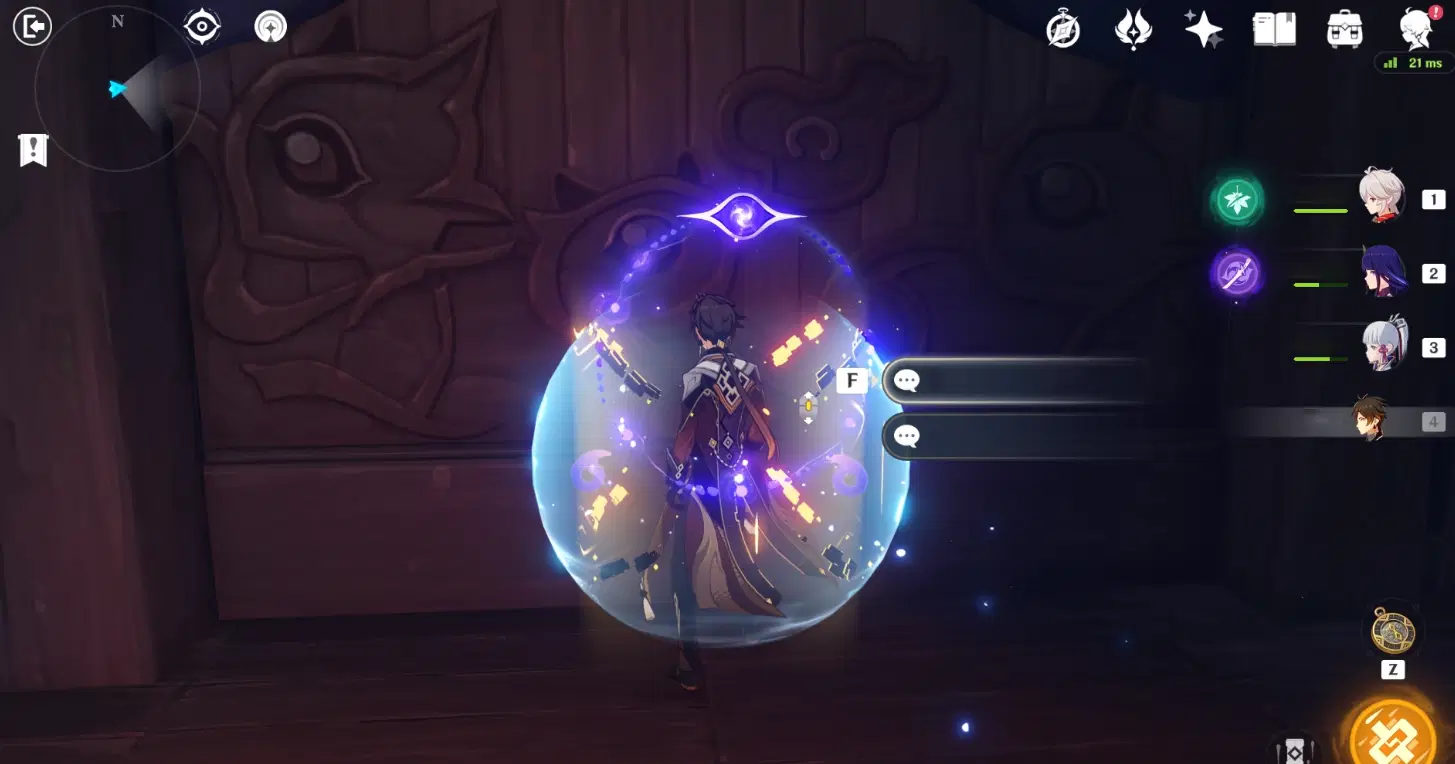
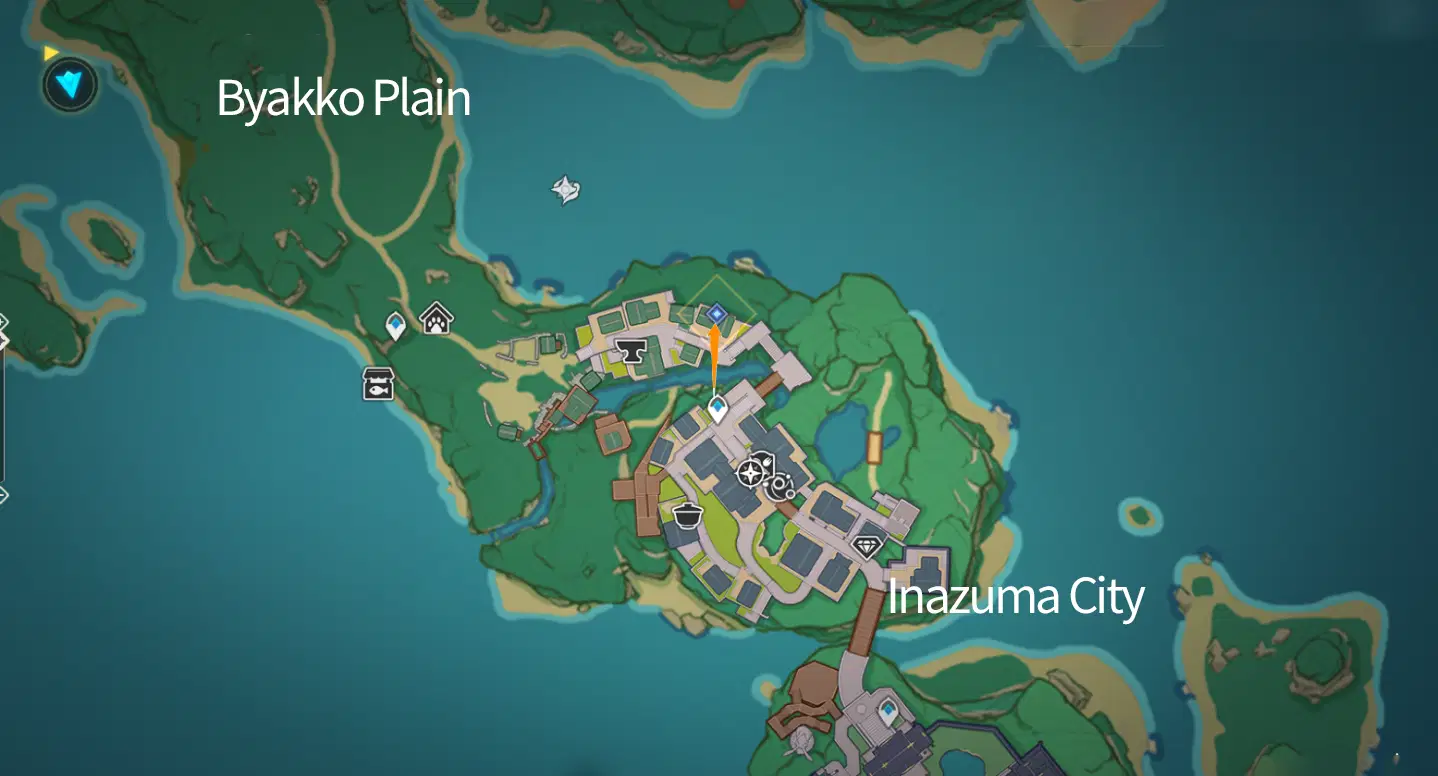
After rescuing Momoyo, despite what happened to her eyes, she asks us to go find Lyudochka and deliver the good news! But when we go look for Lyudochka behind the Yae Publishing House, we discover that she’s gone. So we inquire Aratani, who tells us that Lyudochka left behind a Letter and a Mora Purse for her to give to us before departing.
We report the situation to Momoyo afterwards. This time we’ll find her around the corner of the fortune box in Grand Narukami Shrine.
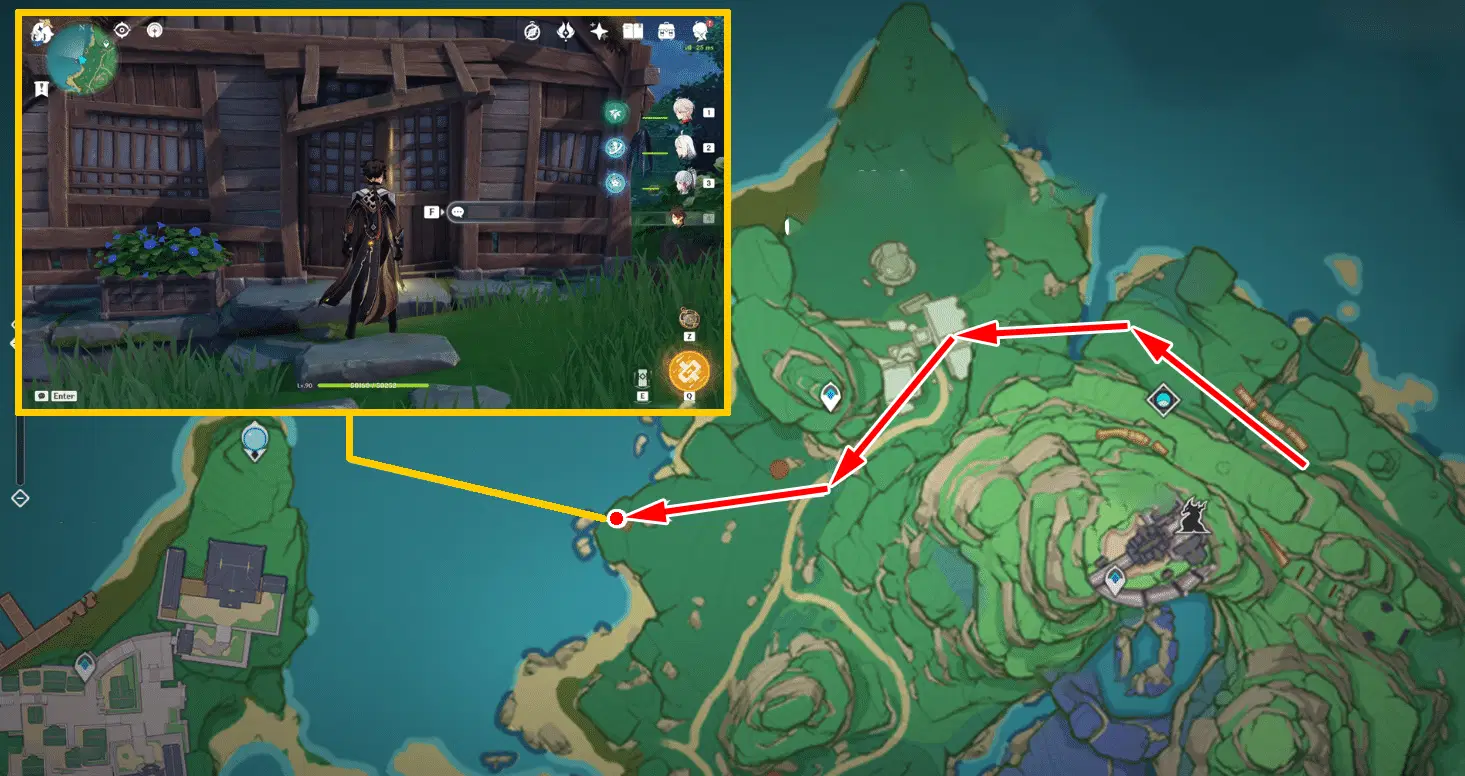
After some instructions from Momoyo, we hurry to Ritou Island piers to catch up to Lyudochka. The location is shown below:
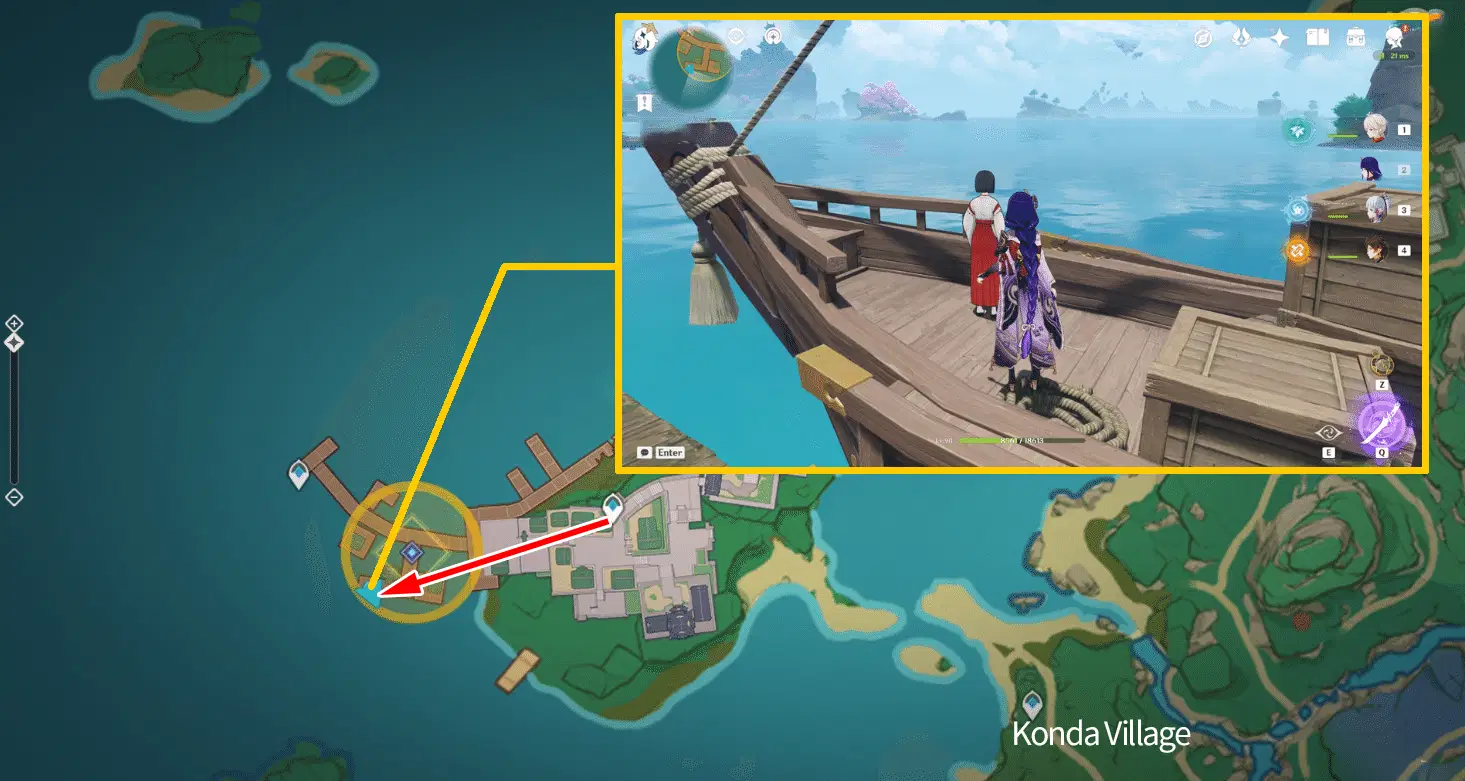
The quest concludes after the conversation.
Quest rewards are: Adventure EXP*400, Primogem*50, Hero’s Wit*3, Mora*30,000, Mystic Enchantment Ore*6.
Summary:
The combat difficulty is moderate for this quest, but the puzzles are complicated, making the overall difficulty somewhat challenging.
Click for: Inazuma Hidden Quest Series