


Quest Name:
The Heavenly Stone's Debris
Quest Reward:
Adventure EXP*350, Primogem*40, Mora*30,000, Hero's Wit*3, Mystic Enhancement Ore*6
Prerequisites:
Reach Adventure Rank 28 and complete the Archon Quest Chapter I: Act III: "A New Star Approaches"
Quest Trigger:
Complete the quest "Chasm Spelunkers" and talk to Jinwu to trigger it
Quest Summary:
Look for cannonballs, open tunnels to the depths, and explore further
Quest Steps:
1. Tell Jinwu about what happened
Tell Jinwu about what happened. Learning that we are going to use the cannon to open the tunnels, she marks the keys' locations for us.
2. Look for the two keys to the gunpowder storehouse
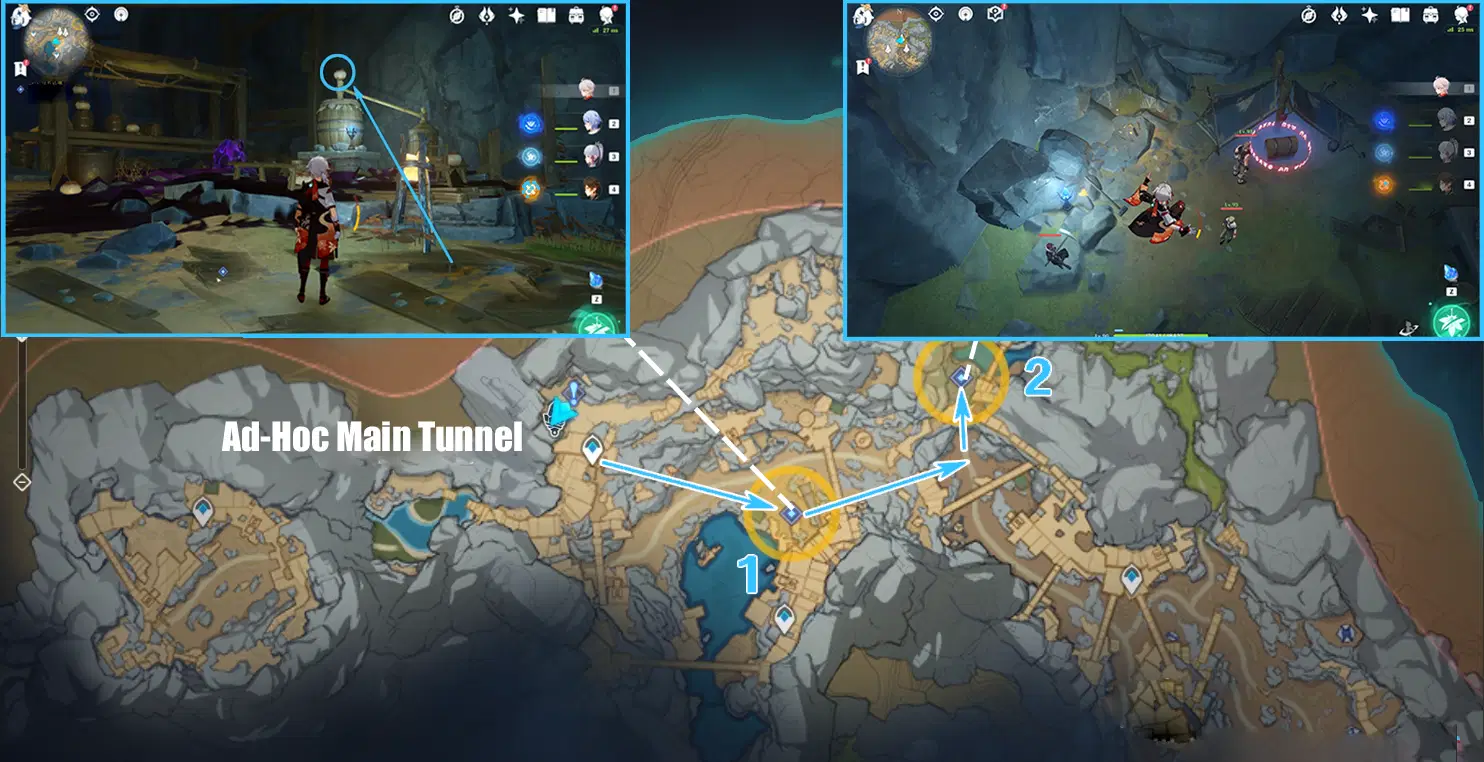
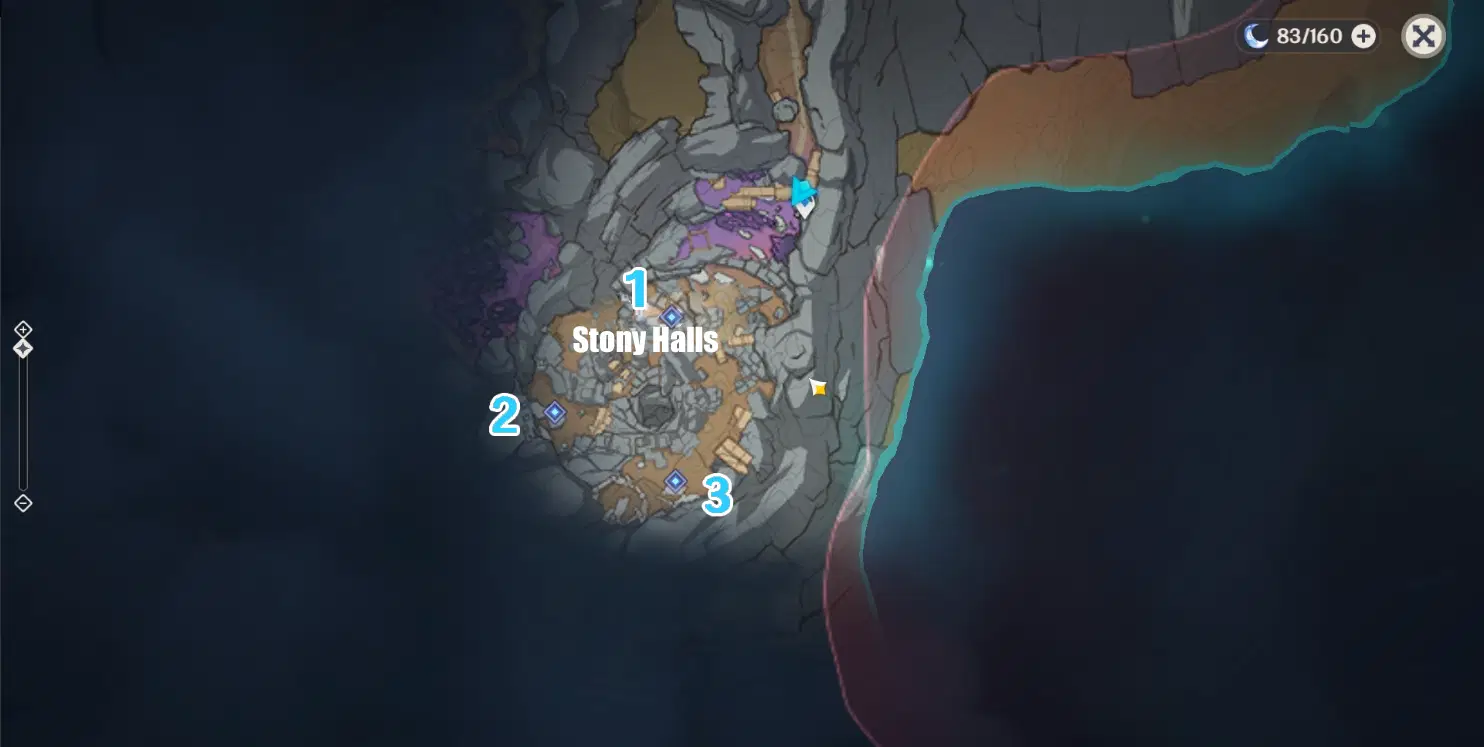
Glide from the teleport waypoint to Location 1, smash the pot on top of the water filter, and investigate to obtain the first key.
Then head northeast to the edge of the cliff and glide to the second water filter. There are Treasure Hoarders guarding the treasure chest. Fend them off first to investigate.
After fending off them, there is a dig spot between the treasure chest and the Lumenlamp. Digging will reveal a Geo barrel. Detonate it and investigate to obtain the second key.
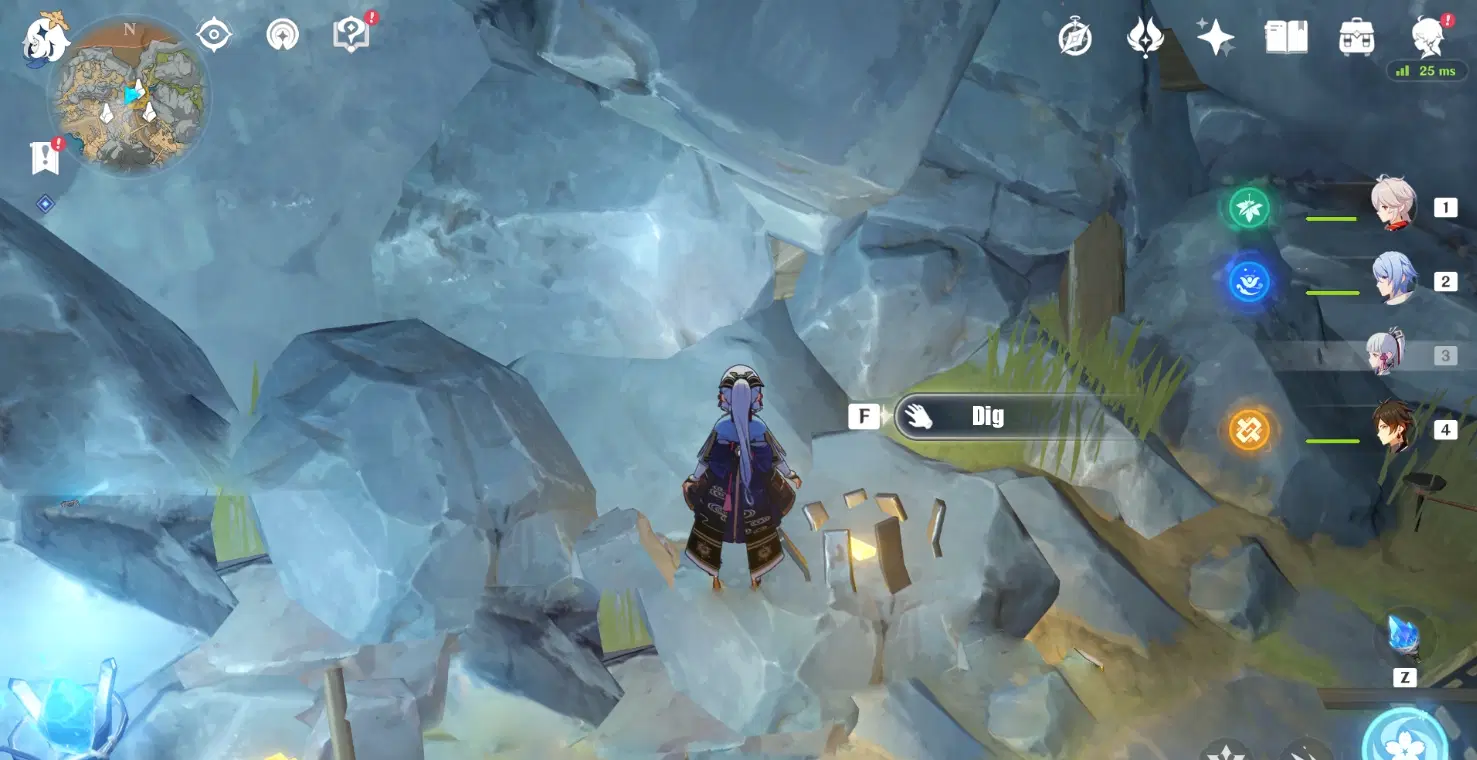
P.S.: The wall next to the second water filter seems to have air current. Approach it and choose to move up. After interaction, move up to the surface mines to get a Luxurious Chest and unlock the hidden achievement "All We Need Is Some Firewood and Some Vinegar...".

3. Go to open the door to the gunpowder storehouse
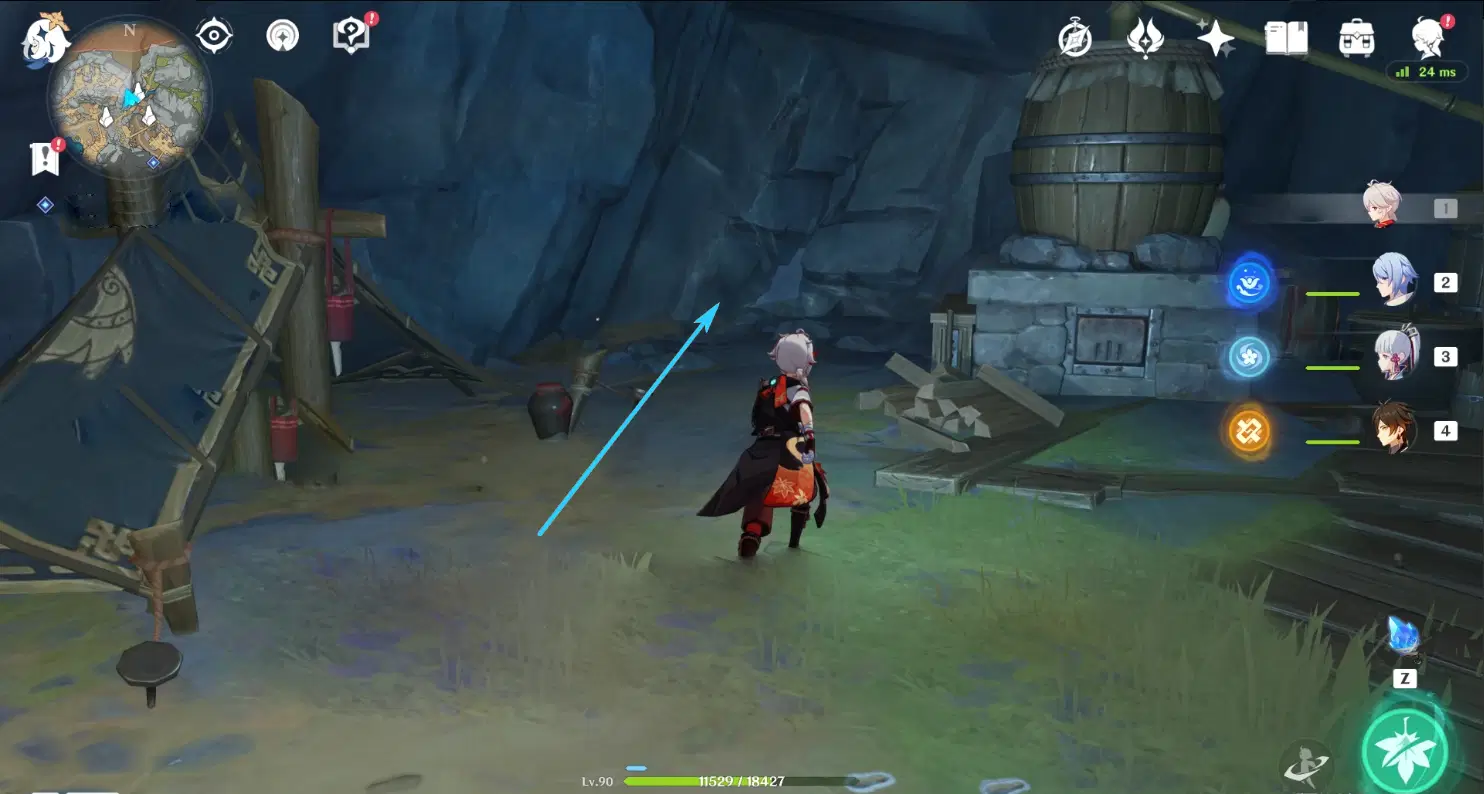
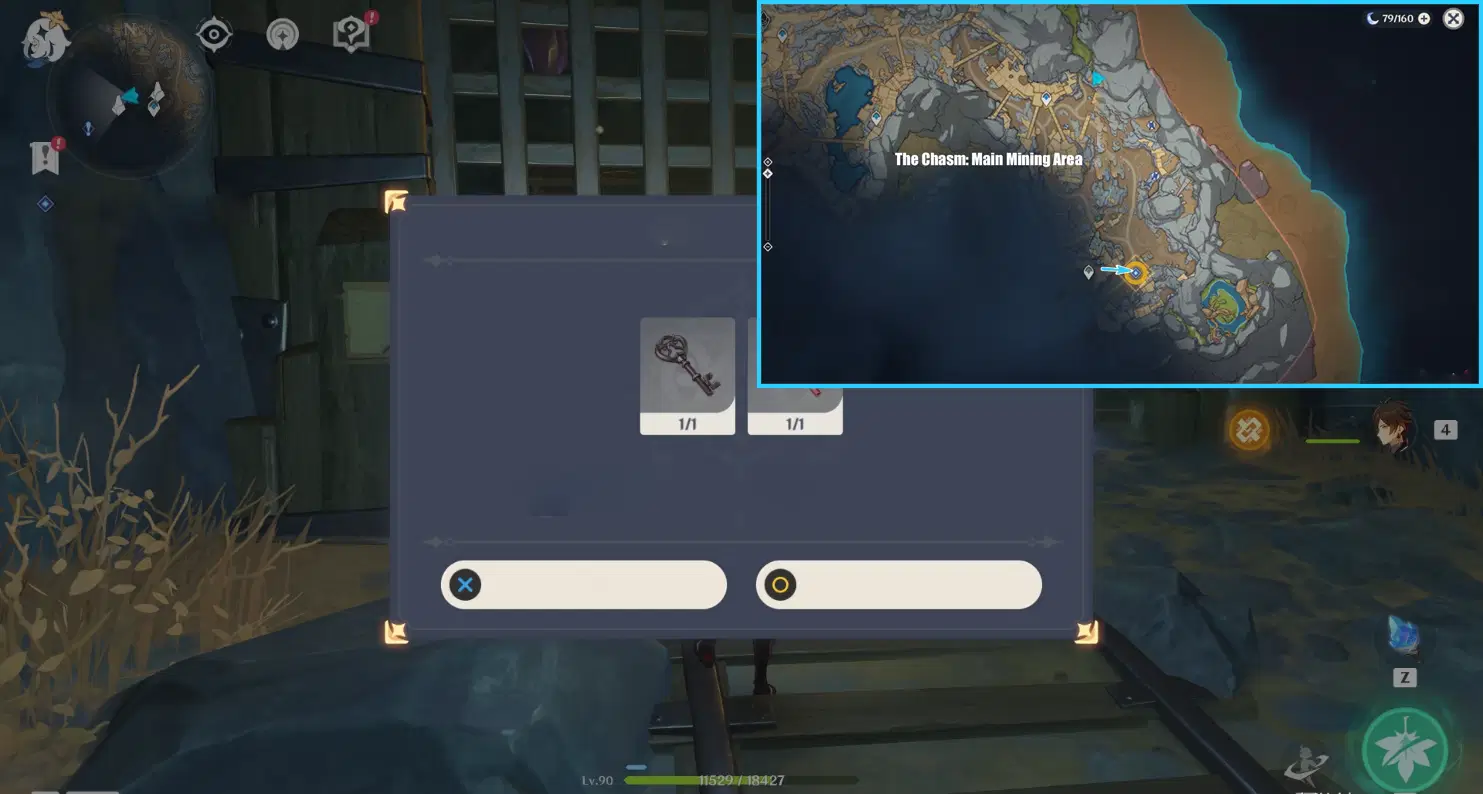
Once you have all 2 keys, descend directly from the previously unlocked waypoint (as shown below) to the gunpowder storehouse.
4. Look for a cannonball
Once inside the storehouse, mud will fall and 2 large Geo Slimes will appear. Mind you, we can't sprint on the dark mud, so be careful when fighting!
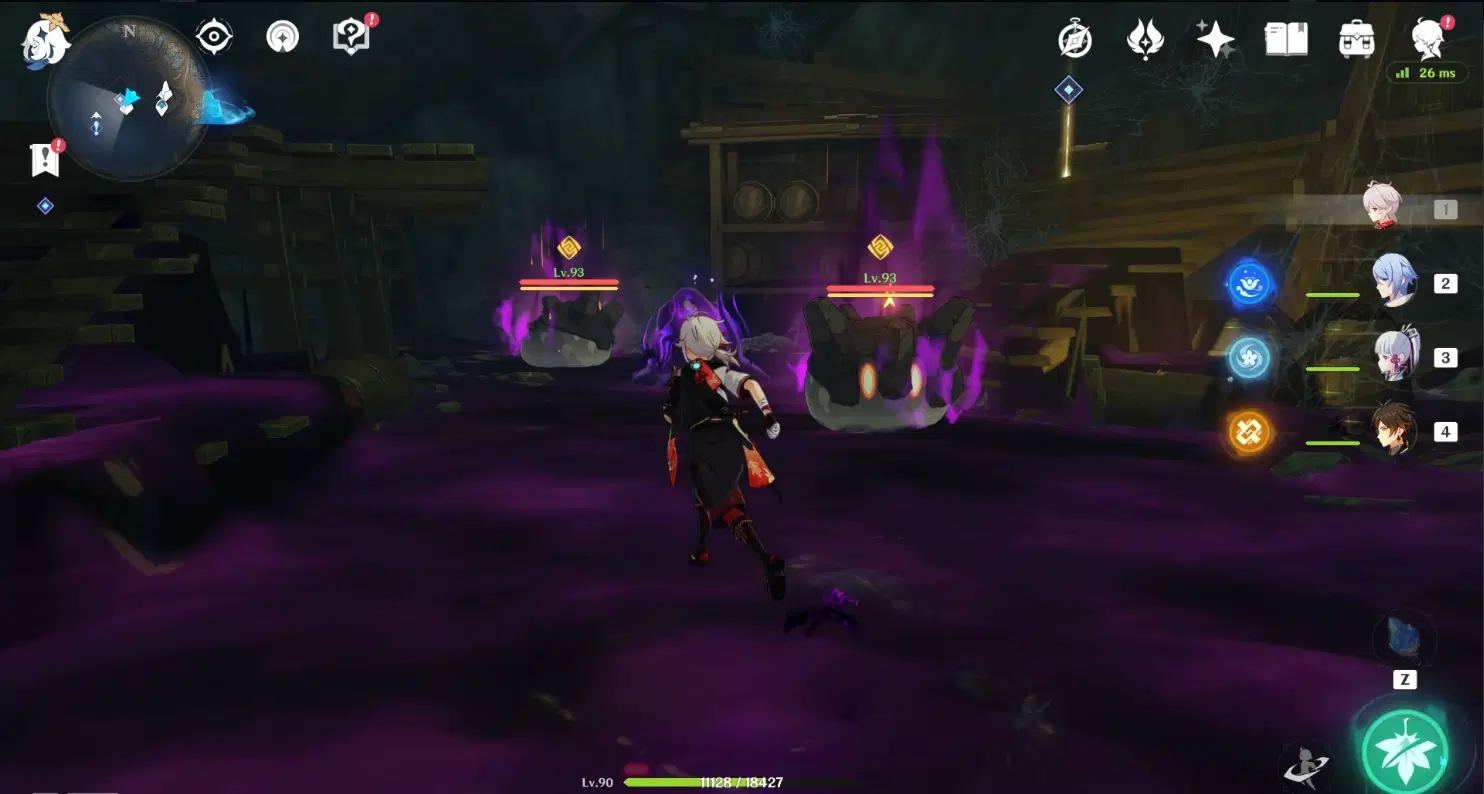
After defeating the monsters, find a Common Chest with a cannonball on the right shelf.
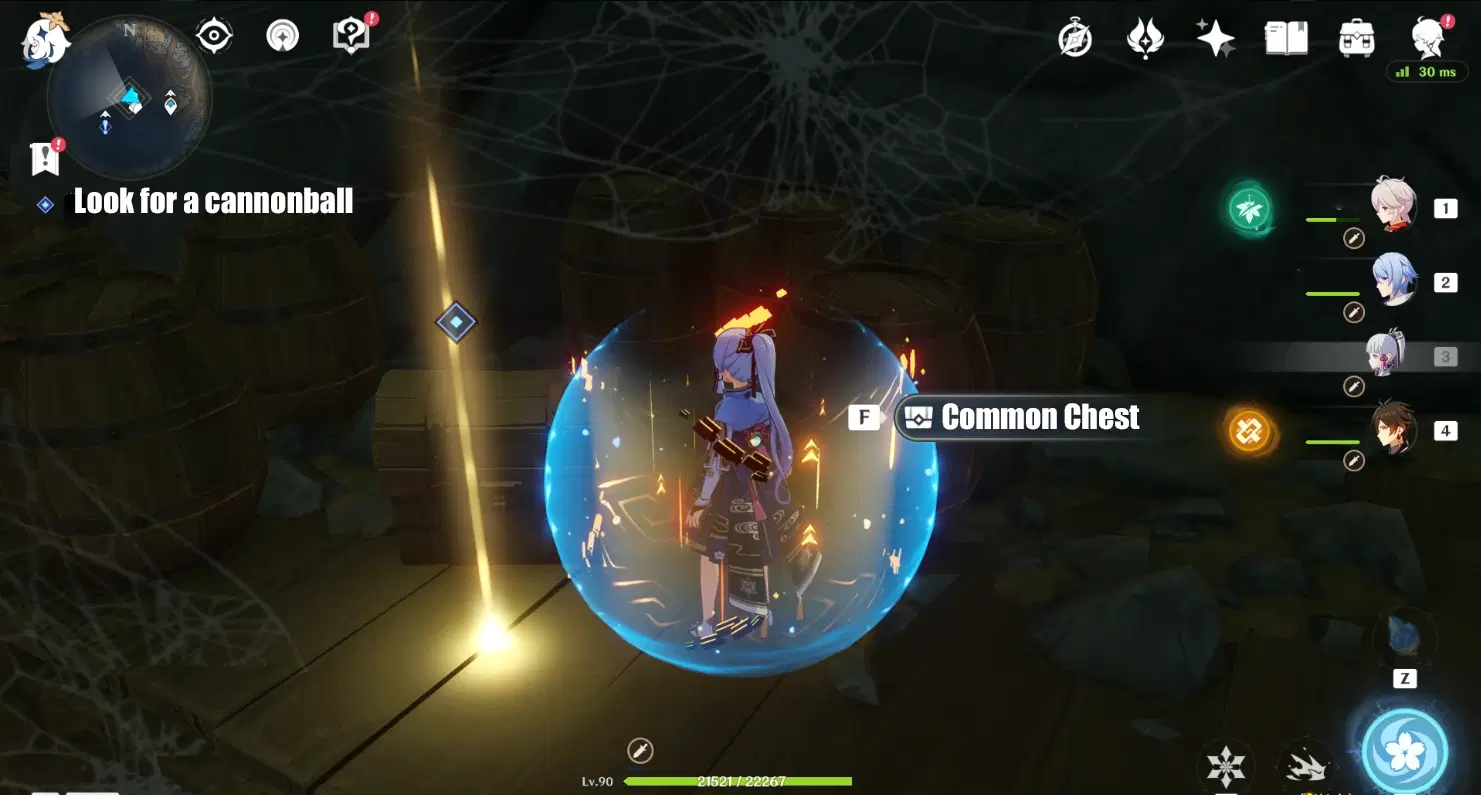
5. Bring the cannonball back to the camp
Returning to the camp again to find Clitopho, he finds that the fuses of the cannonballs are all useless. To fix them, he reveals to us how to make a Special Unmoving Essential Oil and asks us to make 3 of them. They can be made at the Crafting Bench in the camp, and the materials require Cor Lapis *6 and Frog *6.
Cor Lapis Collection Route Guide
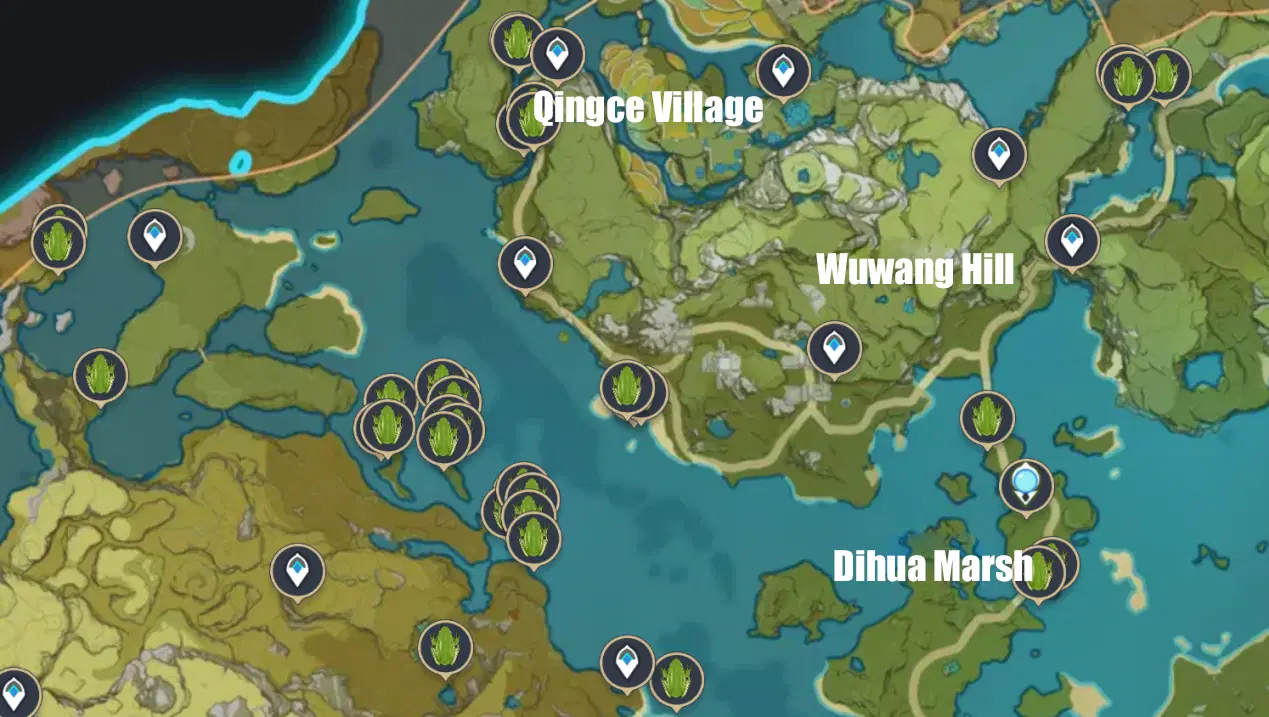
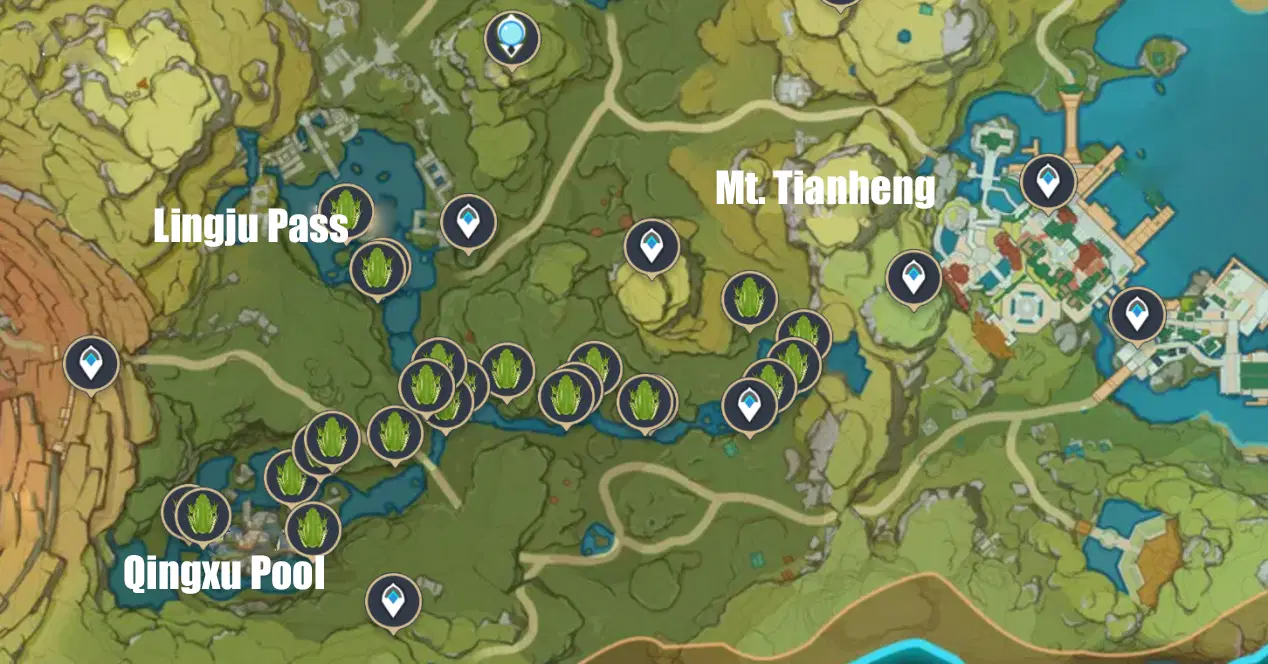
Frogs are more concentrated near the waters of Mondstadt and Liyue, with specific locations as follows:
Near Qingce Village:
Near Lingju Pass:
After crafting, give the 3 Special Unmoving Essential Oils to Clitopho. Zhiqiong has drawn a map of the new area as well. Read the Signaling Guide and release the safety on the cannon's breech.
6. Read the Signaling Guide
Teleport back to the north waypoint of the Main Mining Area of The Chasm, and glide down one floor to see the Signaling Guide on the wooden table.
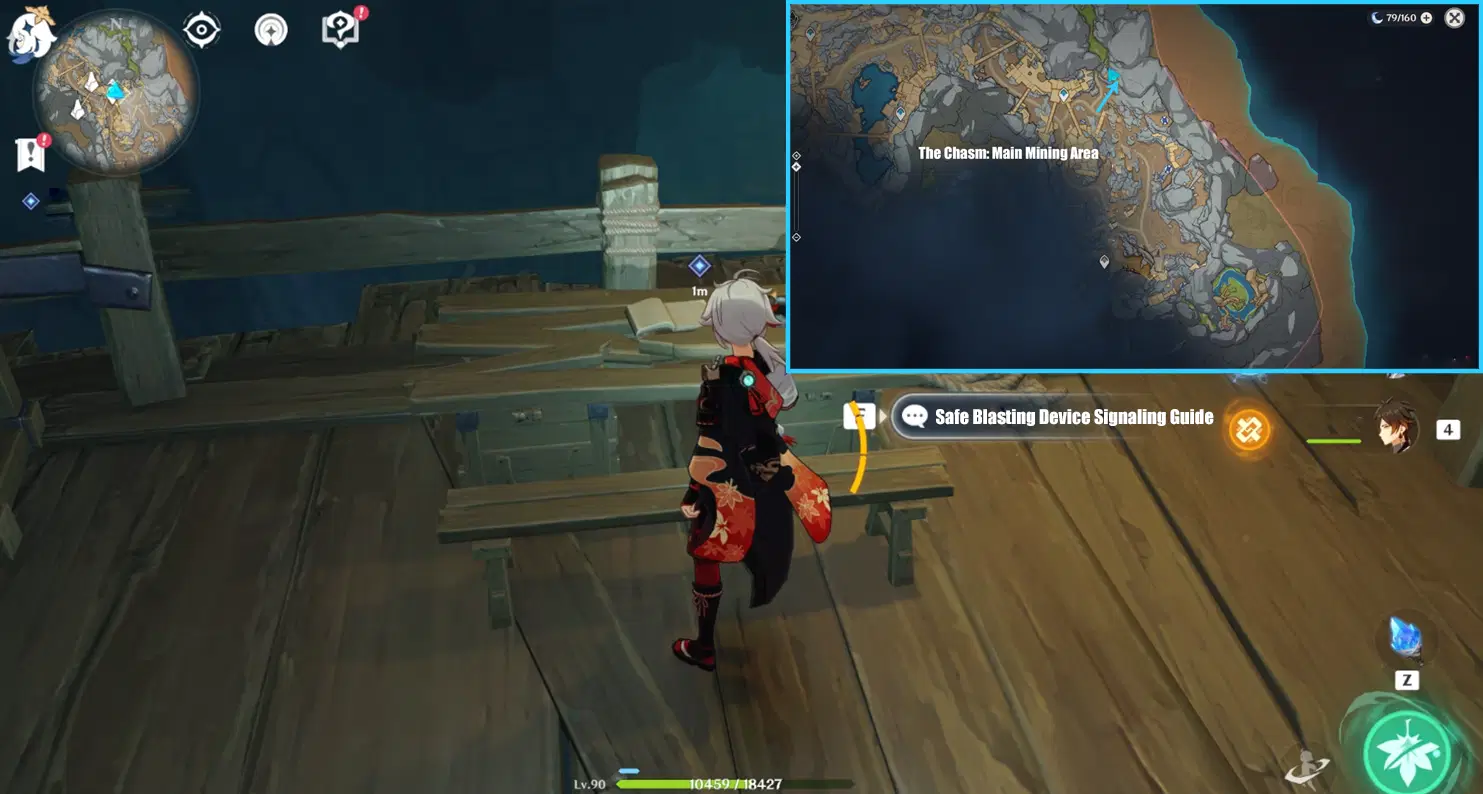
Set the flicker frequency of the lamps corresponding to the 3 lamp posts according to the guide: "Low lamp post, high-frequency flicker. Middle lamp post, low-frequency flicker. High lamp post, low-frequency flicker", and release the safety on the cannon's breech.
Release the safety on the cannon's breech
Interact at the observation spot beside the wooden table, and you can see 3 lamps lit up in the distance, namely, the locations of the 3 lamp posts. From near to far, they are respectively High lamp post, Middle lamp post, and Low lamp post.
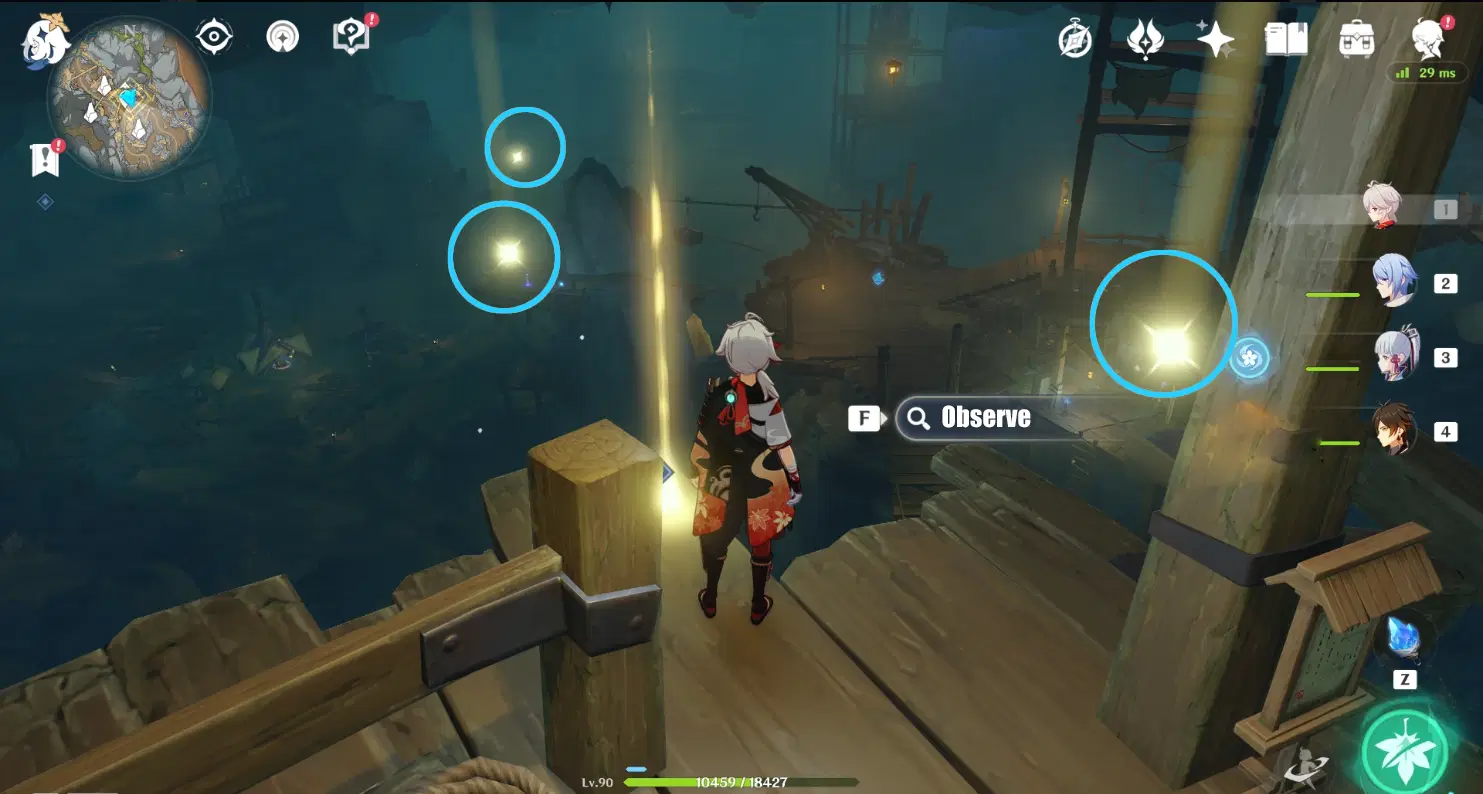
If the lamp posts have not been moved (initial state), then: 1. Go to the High lamp post and activate it; 2. Go to the Middle lamp post and activate it; 3. Go to the Low lamp post and activate it, and then change the frequency. In the picture below, from north to south, are High, Middle and Low lamp posts.
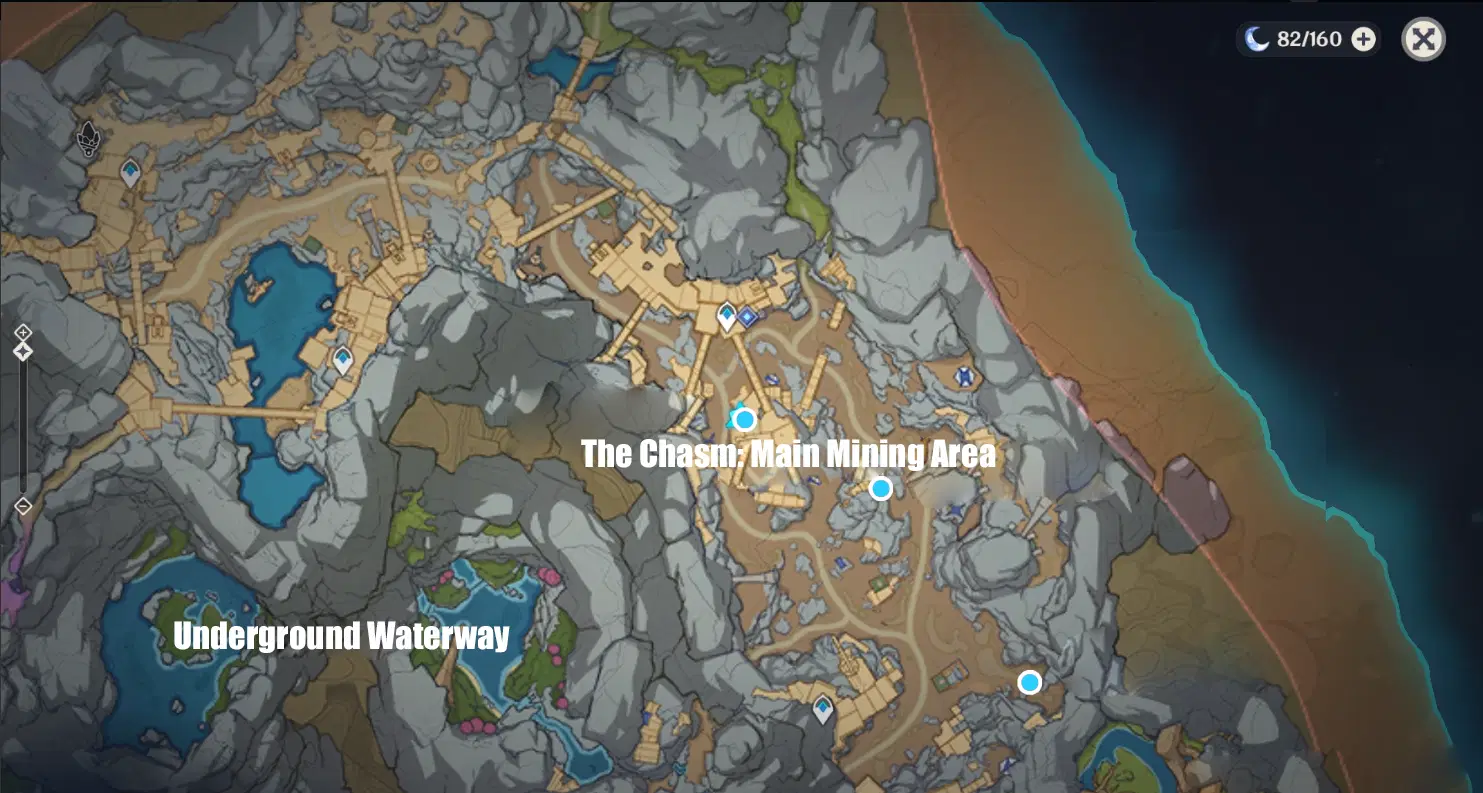
P.S.: There is dark mud near the Low lamp post, and Pyro Whopperflower will appear when you get close it. Watch out for them!
7. Load the cannonball in together with Zhiqiong
After releasing the safety on the cannon's breech, return to the cannon and start loading it. Simply run through the Low lamp post.
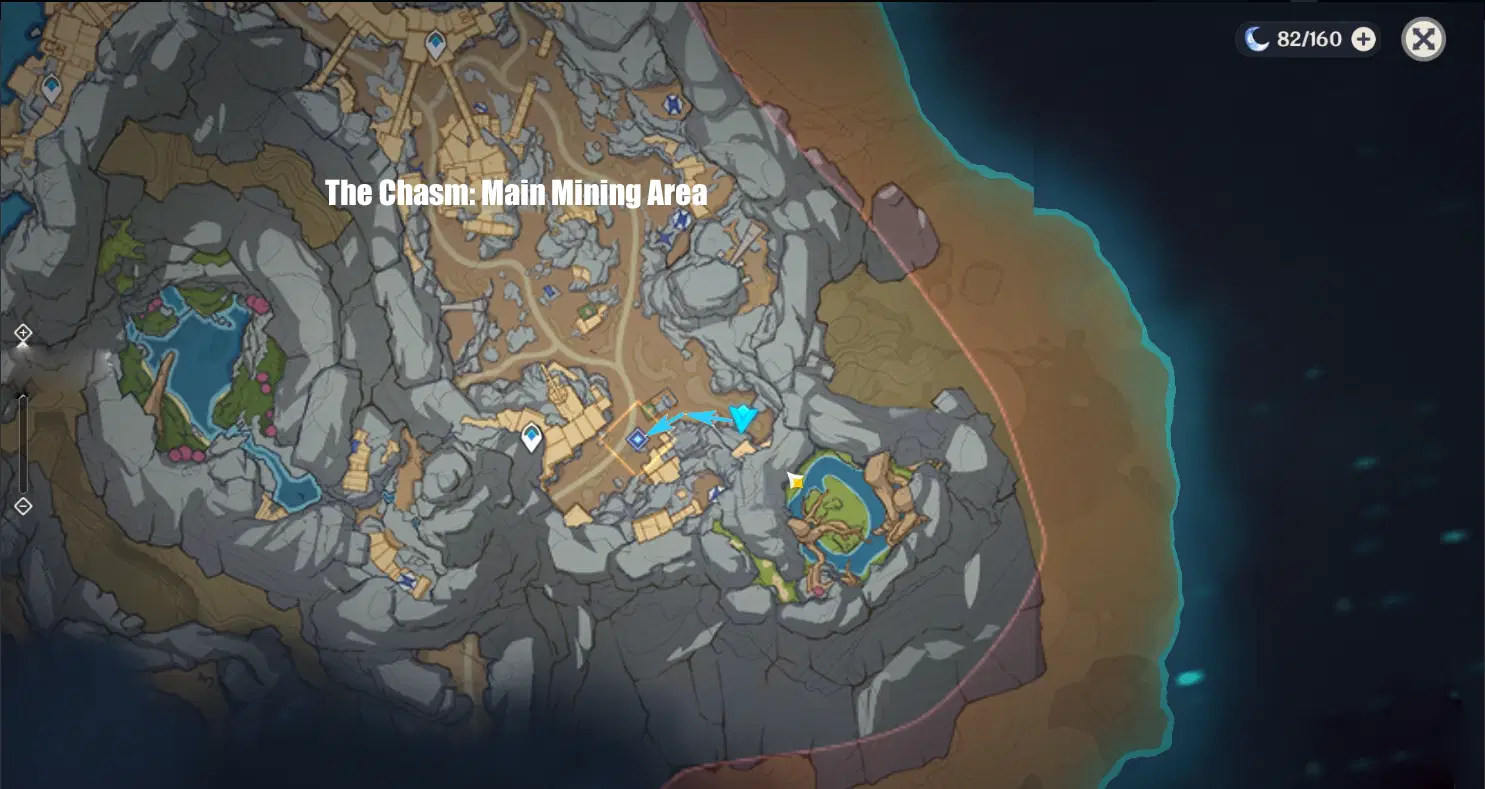
8. Use the great cannon to destroy the sealing rocks
After loading the cannonball in, get close to the cannon and interact with it. In the initial state, move to the left once and down twice, and fire the cannon to destroy the sealing rocks.
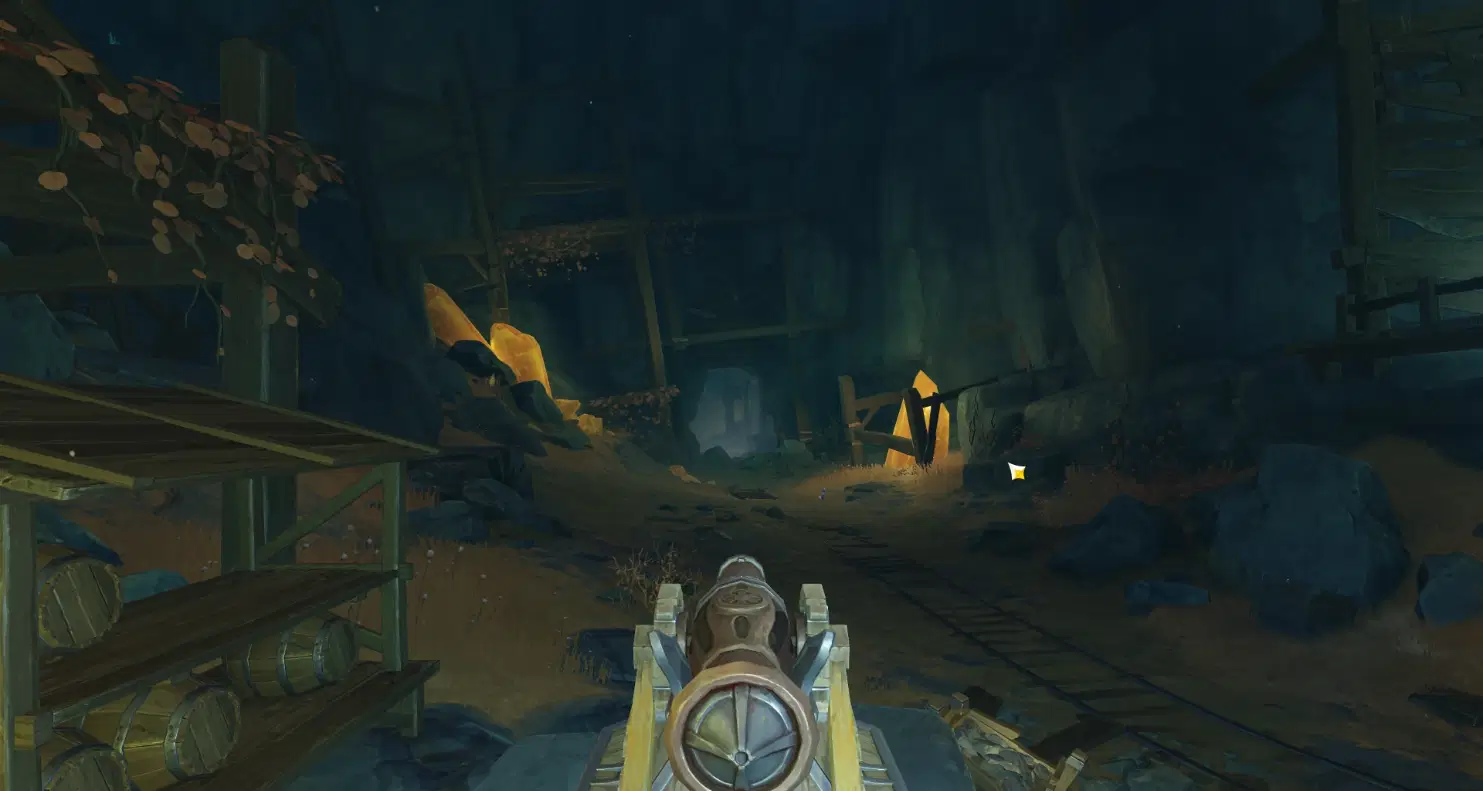
You will also unlock the Wonders of the World achievement "Maintain Safety Distance".

9. Go further in
Go through the passage opened by the cannonball, and head all the way along the left side. You will encounter a Geovishap influenced by the dark mud on the way, so watch out for it!
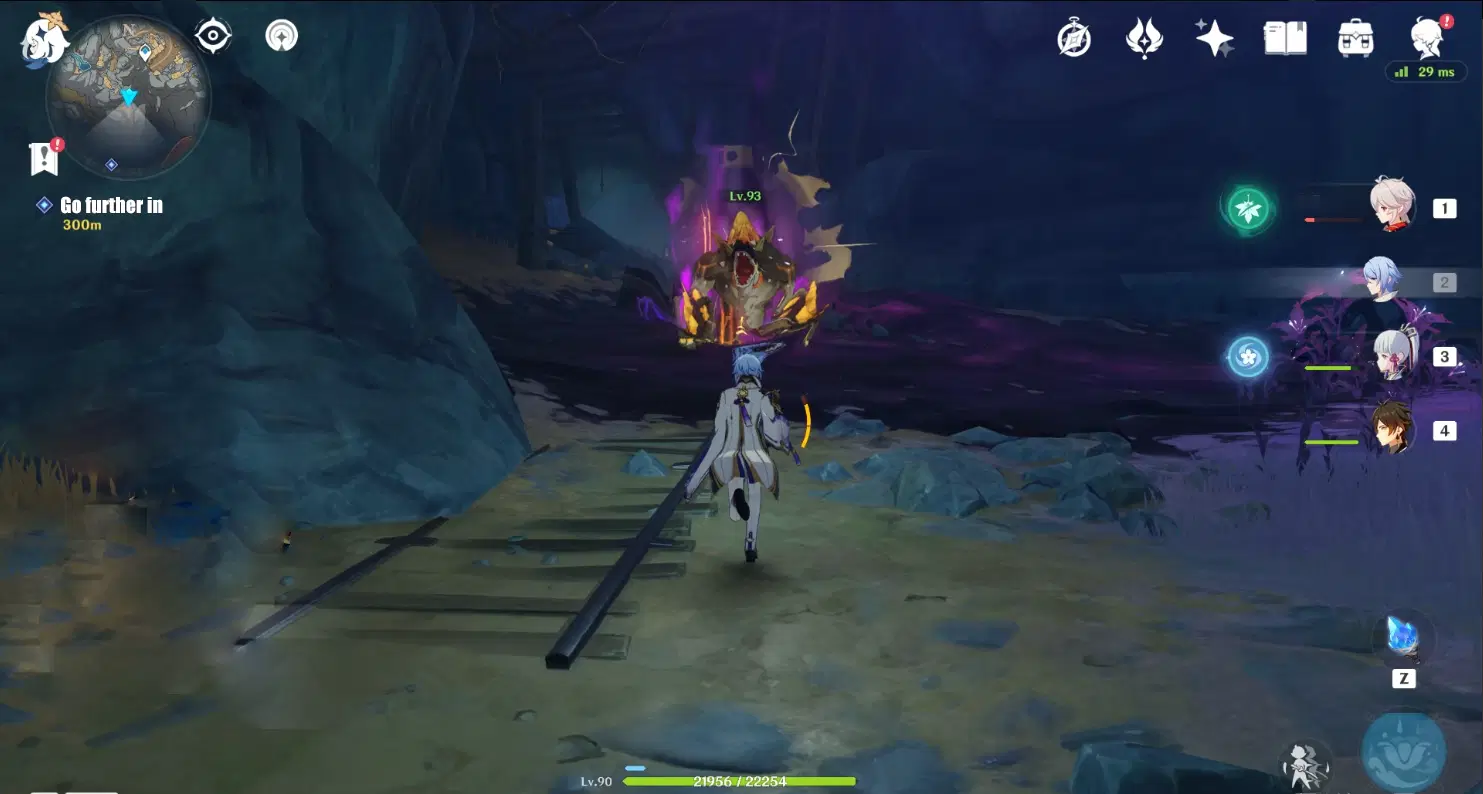
When you get to the teleport waypoint, you will enter a dialogue. Remember to unlock the waypoint.
10. Activate the mechanism
Zhiqiong discovers that there are 3 strange mechanisms around this spar. We need to investigate.
P.S.: For this step, you must upgrade your Lumenstone Adjuvant to at least Level 2, Level 3 or above is best. If not yet, please explore the map first to collect Lumenspar to upgrade the Lumenstone Adjuvant.
Once the Lumenstone Adjuvant is above Level 1, use the skill "Blooming Light" to clear Oozing Concretions. Approach the mechanism and use the item skill "Blooming Light": consume 1 energy to clear the Oozing Concretion next to the mechanism to reveal its original appearance.
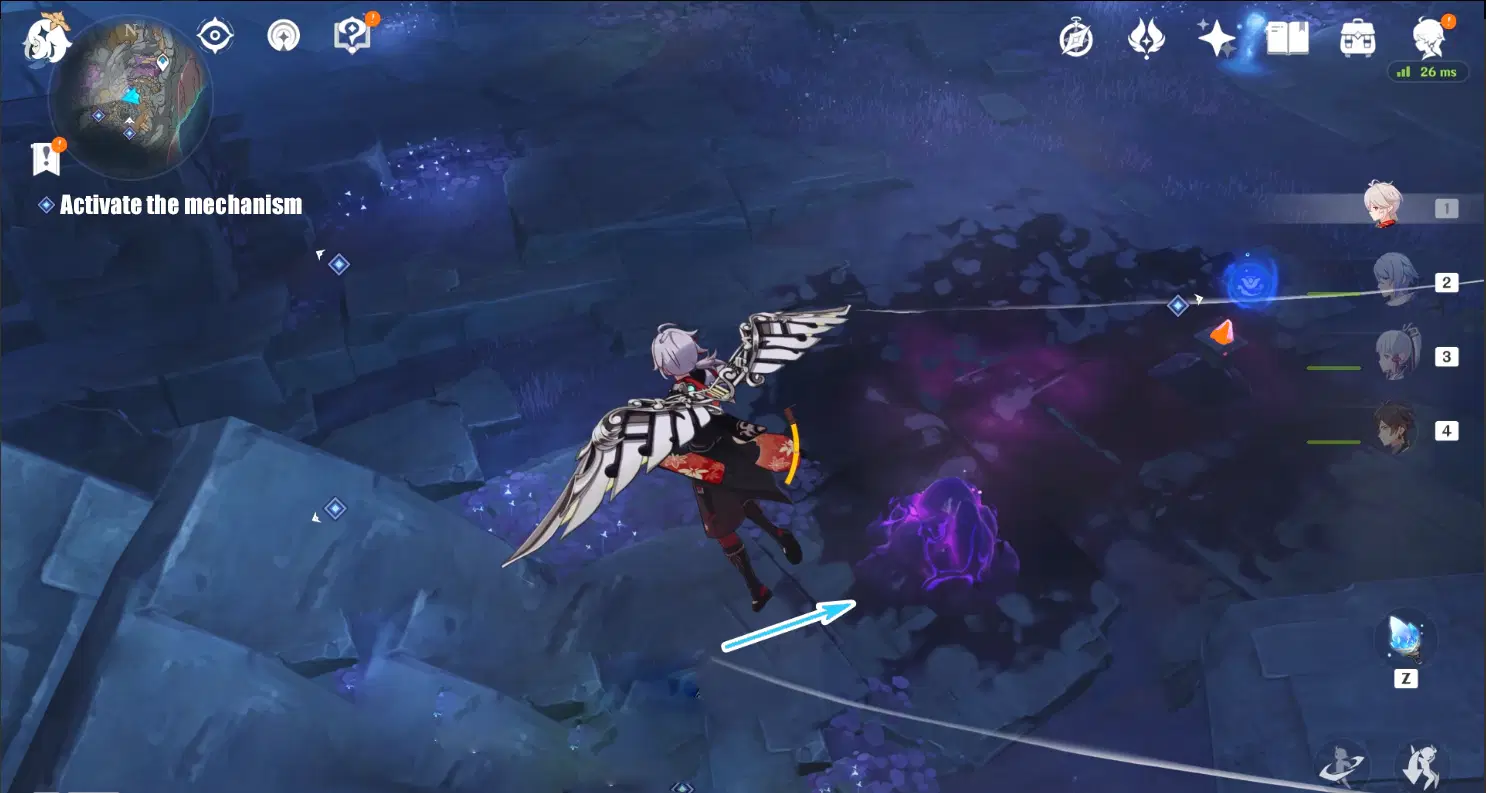
If you use the Blooming Light to destroy an Oozing Concretion for the first time, you will also unlock the Wonders of the World achievement "Yet the Darkness Did Not Overcome It...".

Once the Oozing Concretion has been cleared, it still needs to consume energy to recharge the mechanisms. Each mechanism requires 3 energy to recharge.
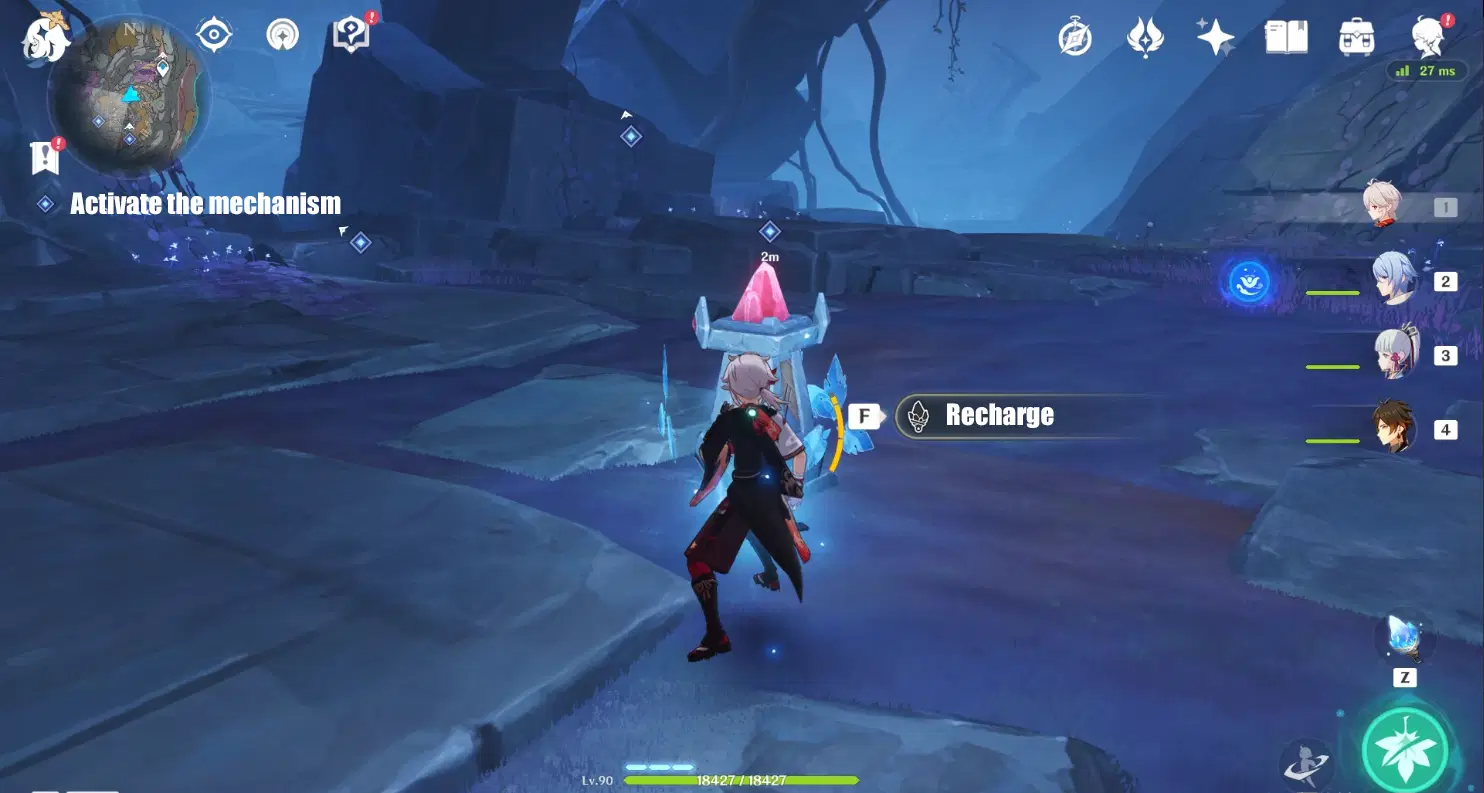
If you are a Traveler with Level 2 Lumenstone Adjuvant, you only have 3 energy in total. After consuming 1 energy just now, there are only 2 energy left. In this case, you will need to use the surrounding charging devices to recharge your Lumenstone Adjuvant. Interacting with the orb of light below will allow you to get 3 energy.
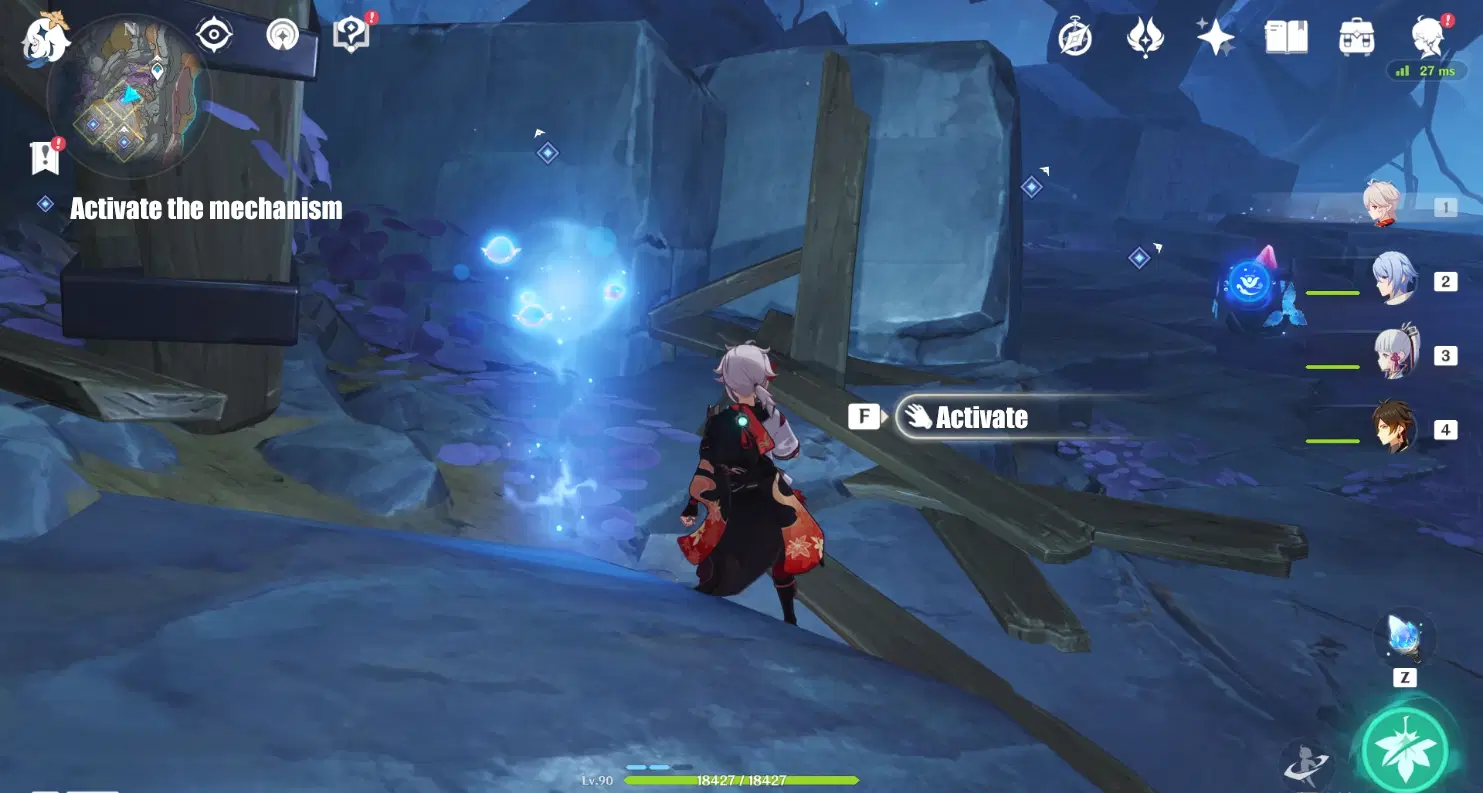
After recharging the mechanism, you will get the Wonders of the World achievement "Light Up the Dark".

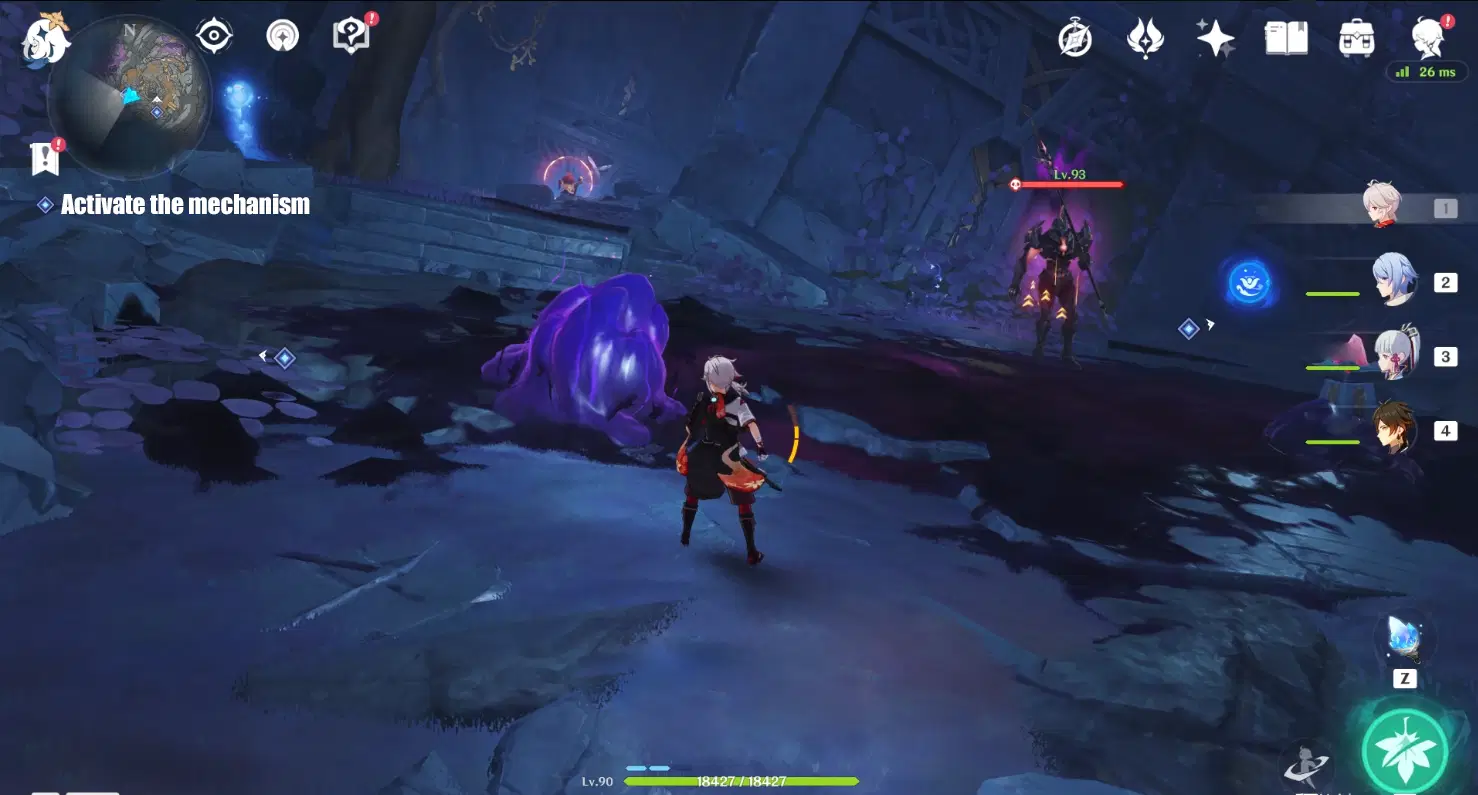
The first mechanism is activated, and the next ones share the same steps: first destroy the Oozing Concretion, and then recharge the mechanism. The orbs of light for recharging are found near every mechanism, so you can find it by turning around a little. The second one, however, will have a husk, so we need to fend off it.
At the third mechanism, the Oozing Concretion is hidden behind the ruins, and on the outside is a Lumenlamp post (it can restore energy to us unlimited times after being lit, so) which should be lit first.
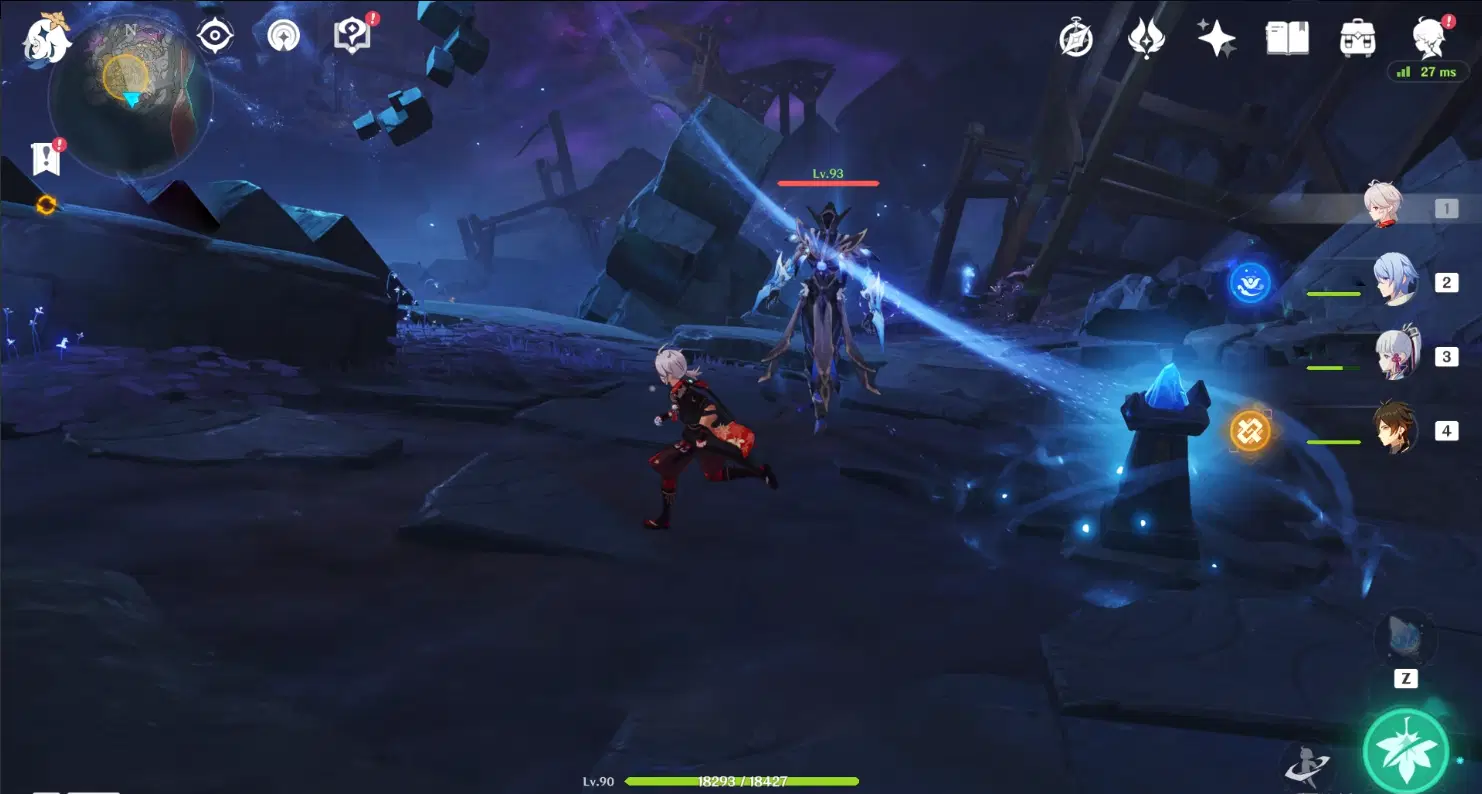
Use the orb of light to recharge the mechanism inside to destroy the Oozing Concretion, and there will also be monsters, a couple of Geo Slimes. After defeating them, activate the third mechanism and start the cutscene.
11. Defeat the emerging monsters
After the cutscene, 1 Hydro Abyss Herald appears. Defeat him and enter the story to complete the quest!
Summary:
The quest steps are a little too much. Follow my guide and you can unlock 4 additional hidden achievements. Really worth it!
Follow-up quest: The Chasm Delvers Quest Series - Perils in the Dark
Compilation Quicklink: The Chasm Delvers Quest Series Compilation



