


Previous:[Guide] Common Chests - Sumeru Desert: Part 17
Index:[Index] Common Chests
Next:[Guide] Common Chests - Sumeru Desert: Part 19

-Footage & Location photos are from my 1st account-
If there is anything you're unsure about, feel free to ask!
341. [Locked Chest] Underground
Will unlock after defeating 1 Primal Construct: Reshaper and 1 Primal Construct: Repulsor.
Location:

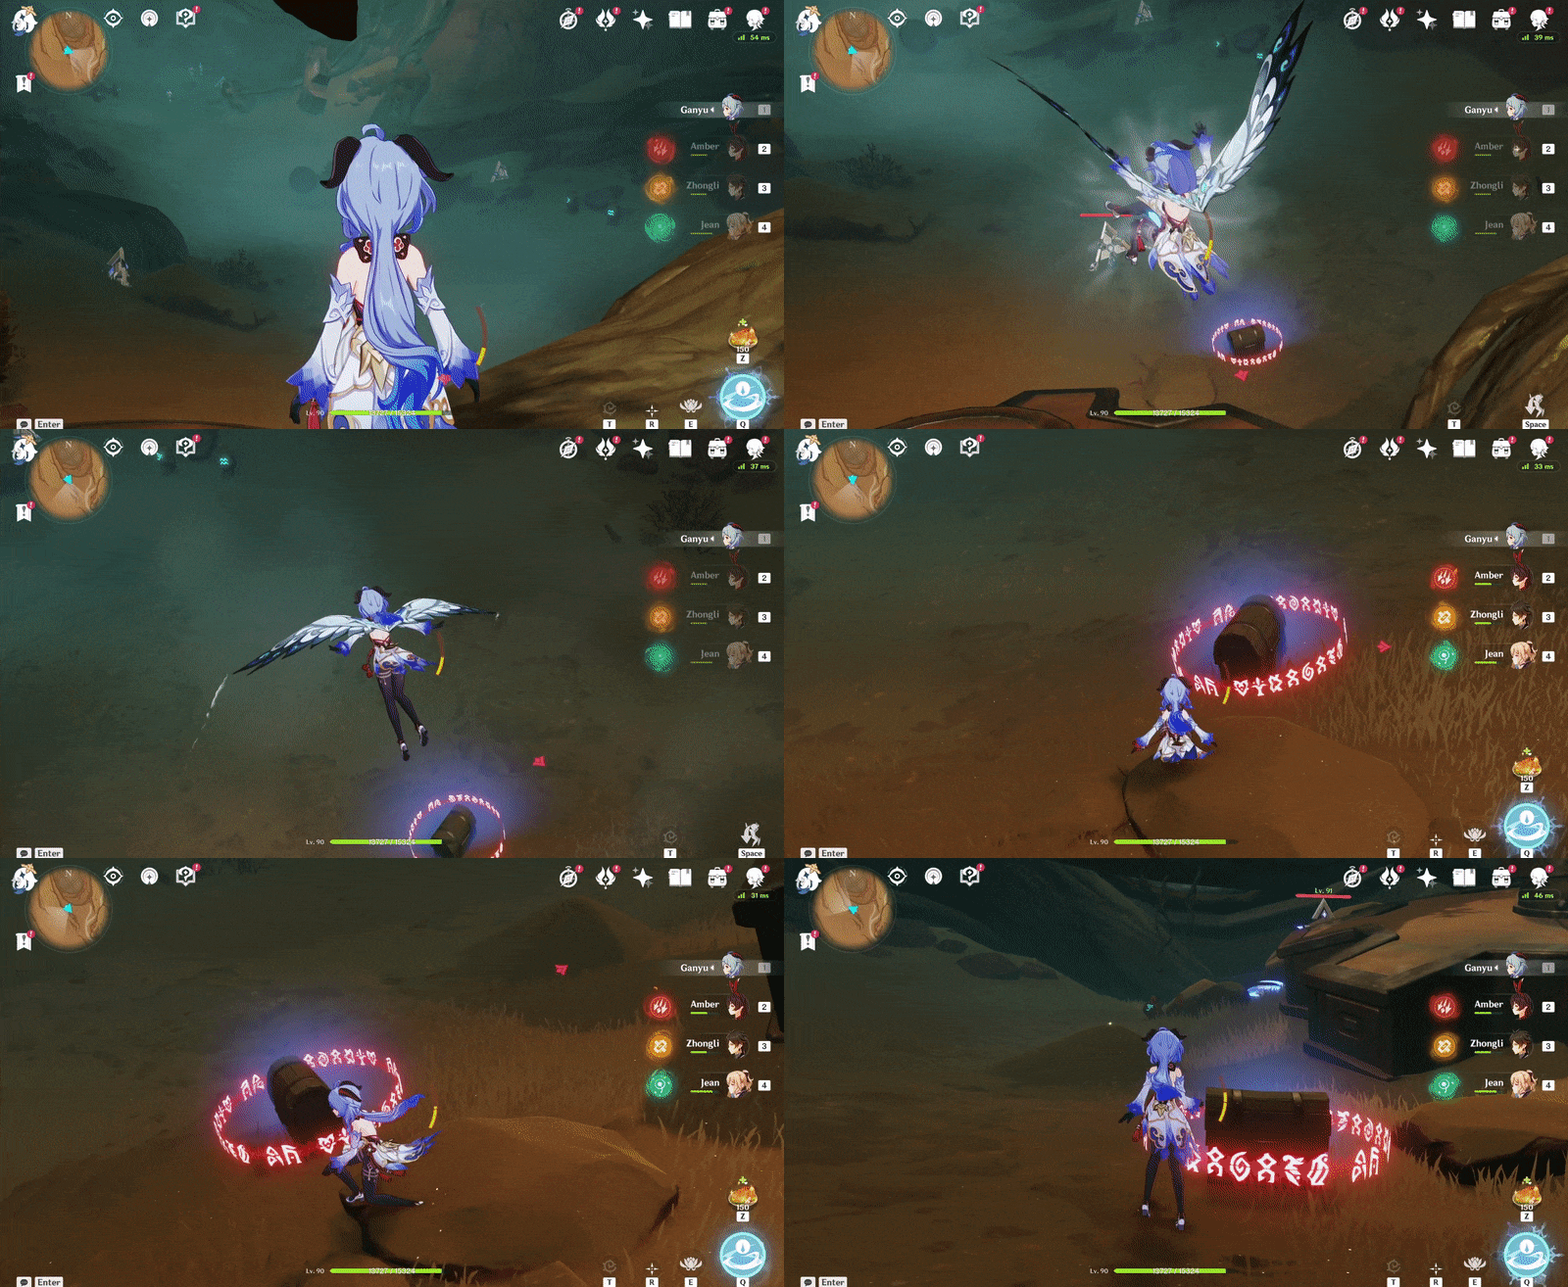
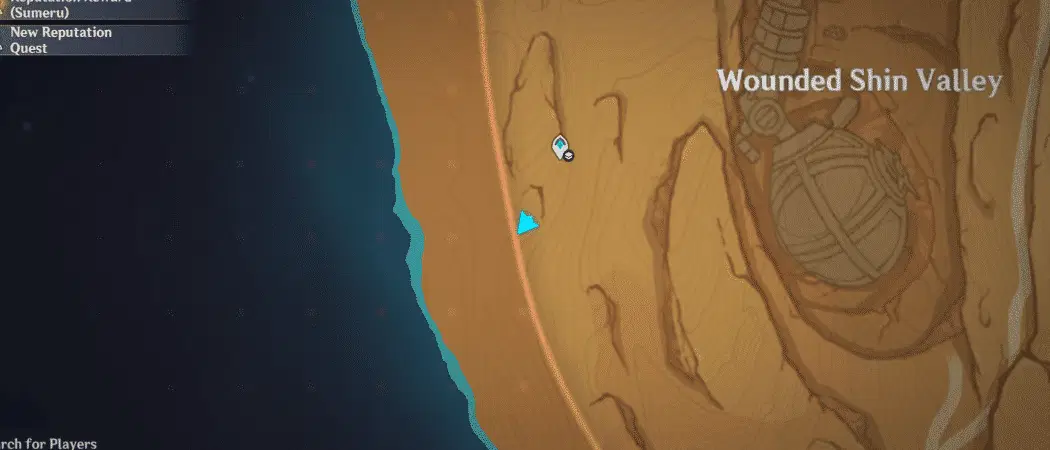
342. [Spawned Chest] Underground
Location (Chest):
1. Press 'Release' on the Primal Sconce.
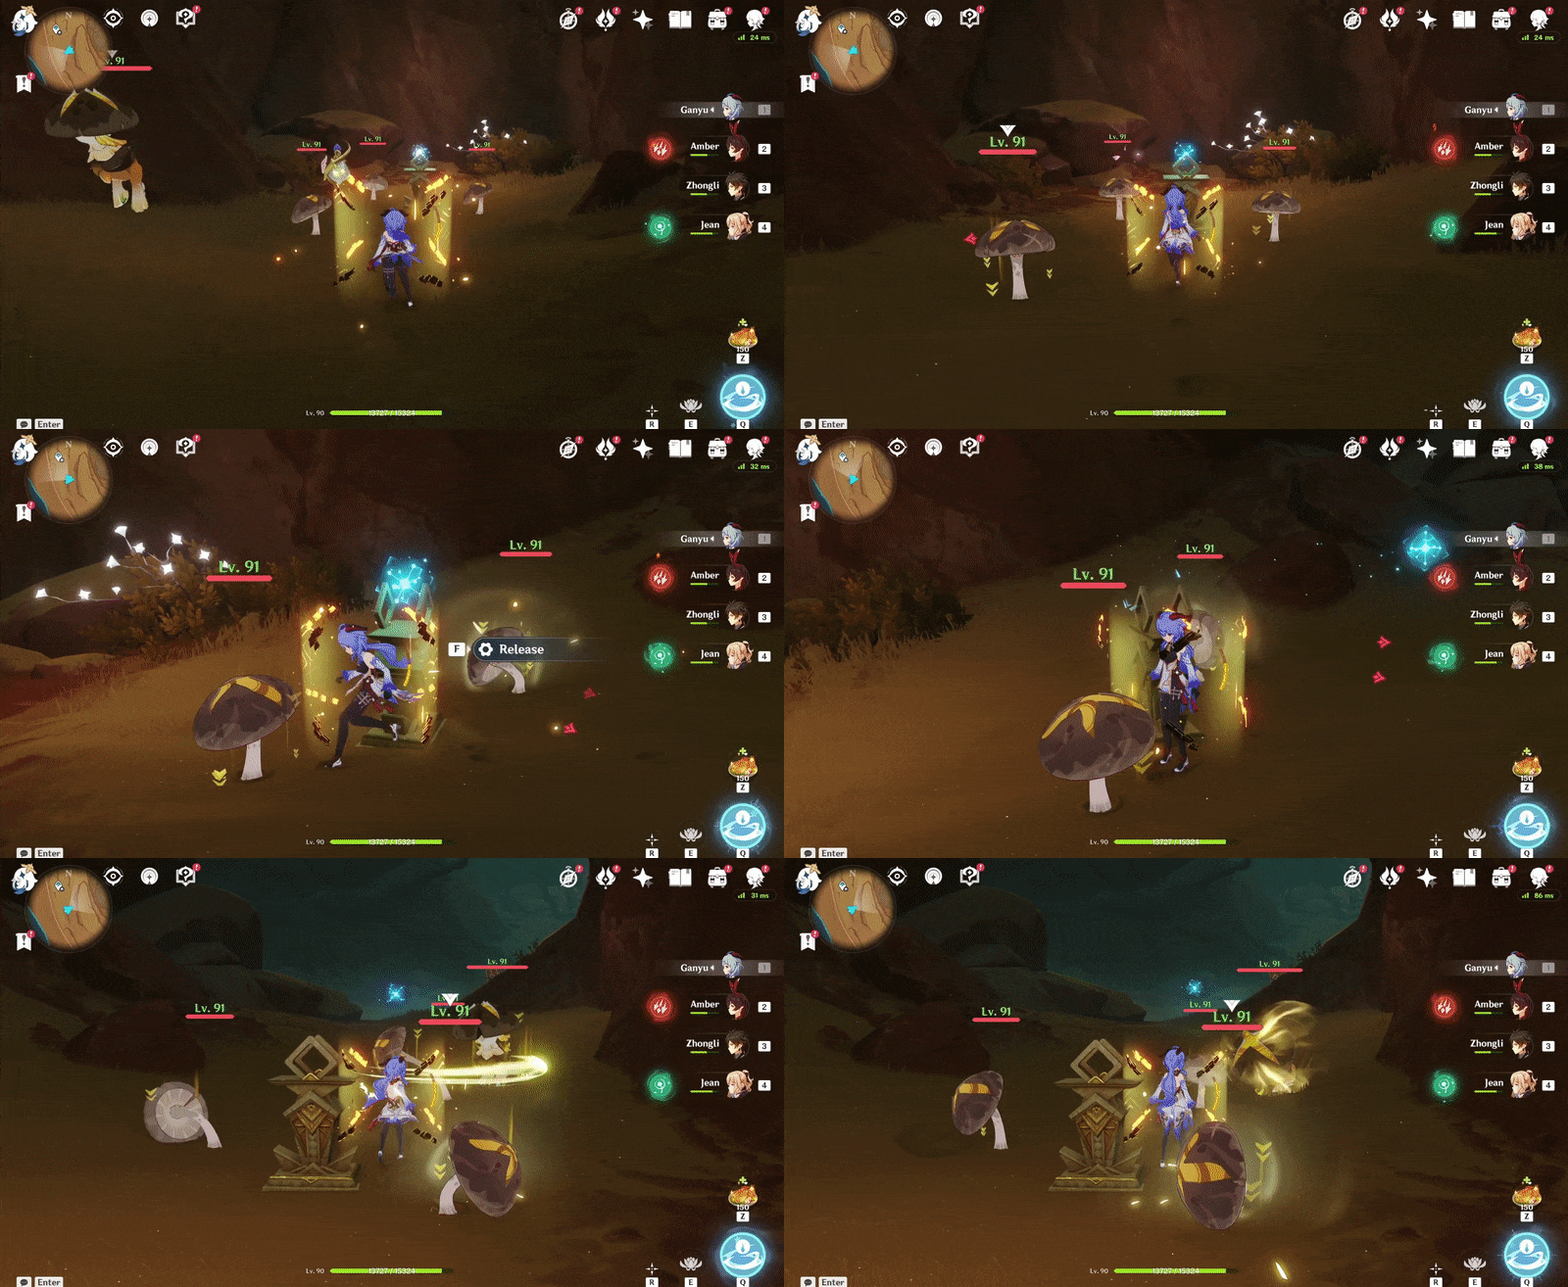
2. Follow the Primal Ember to its Primal Torch to spawn the chest.
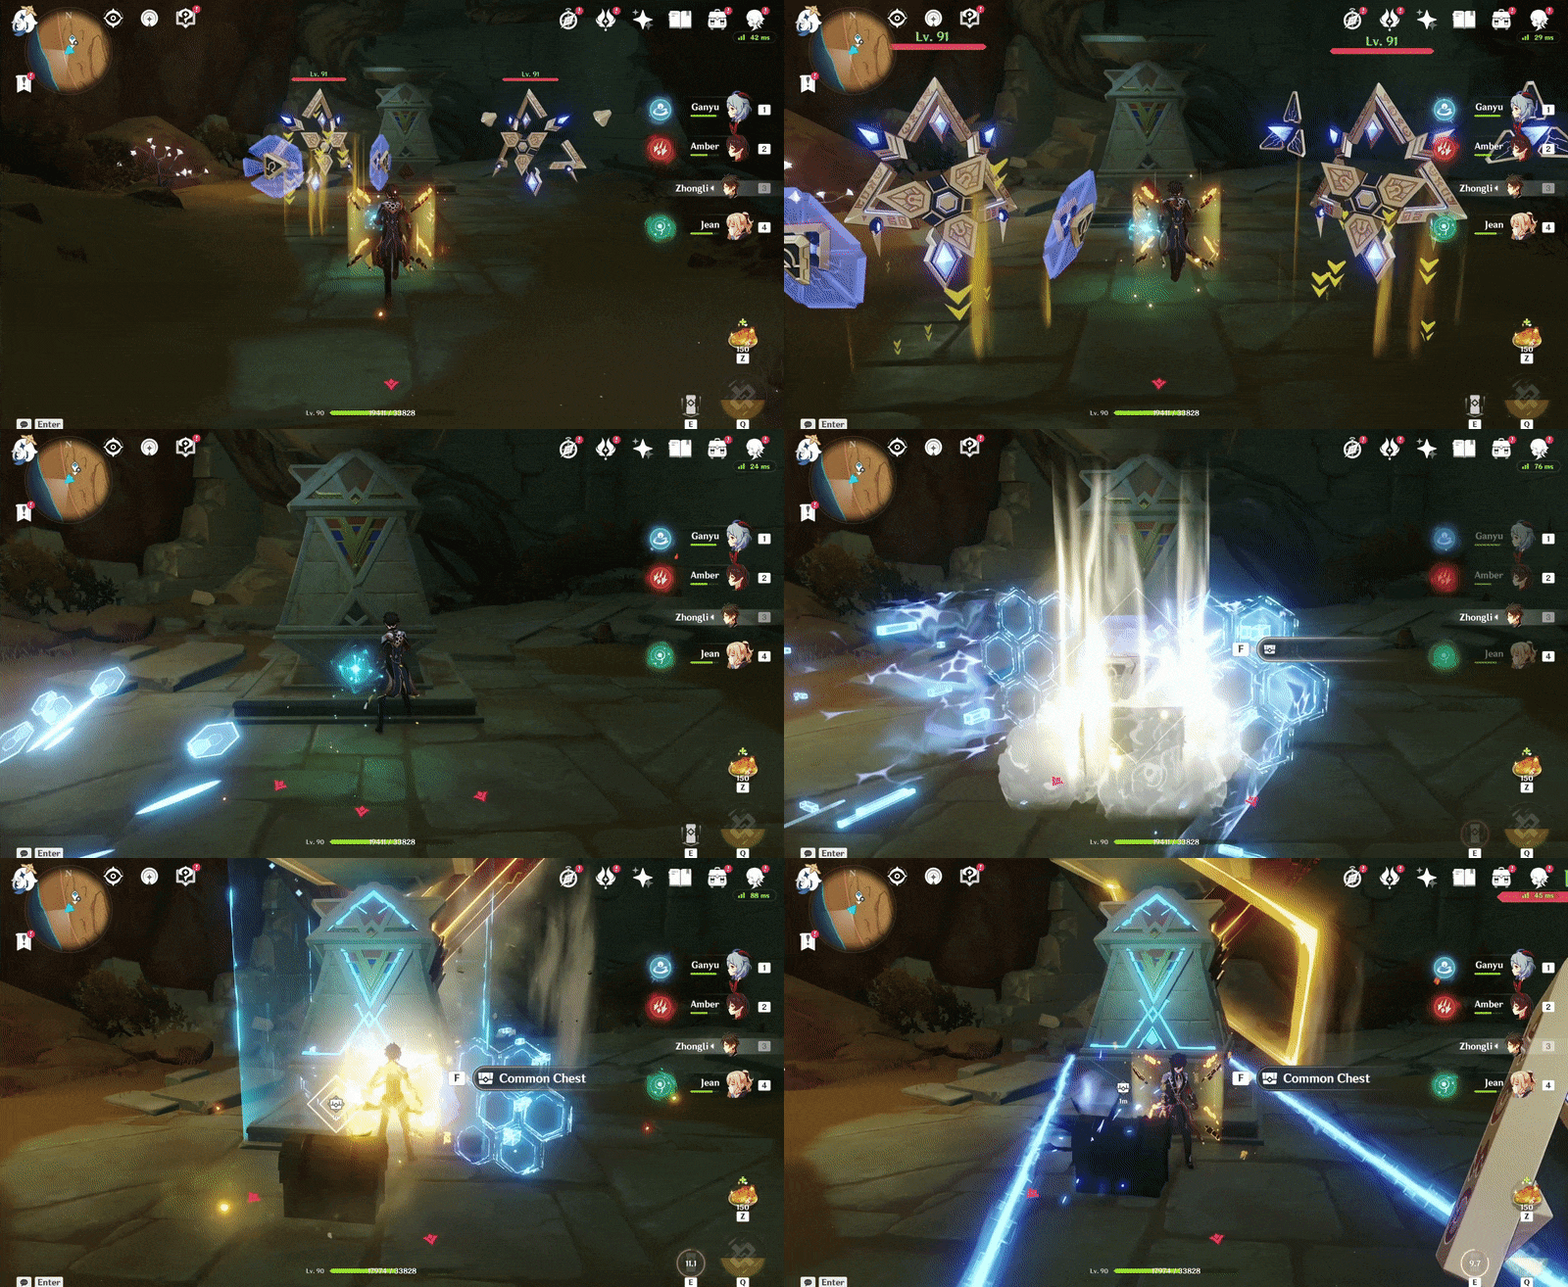
343. [Trapped Chest] Underground, on a high ledge
Blow away the sand pile using Anemo to access.
Location:
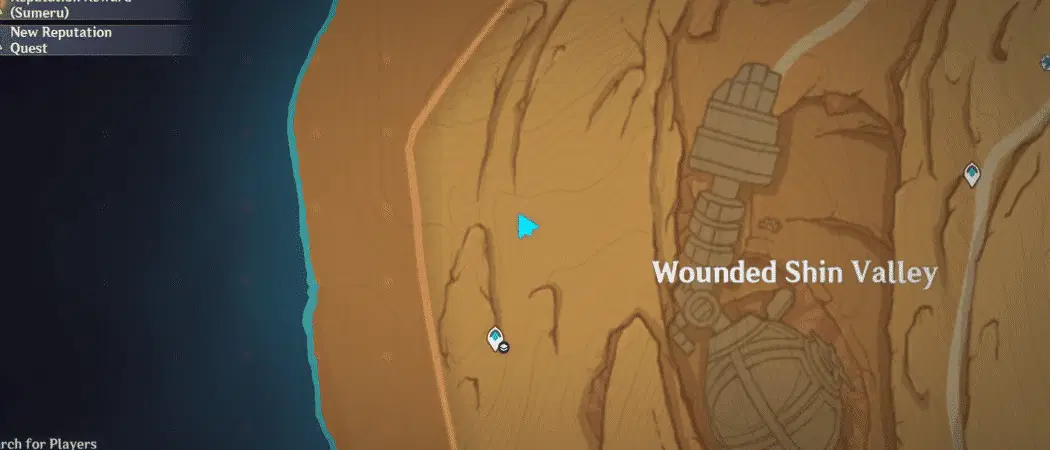
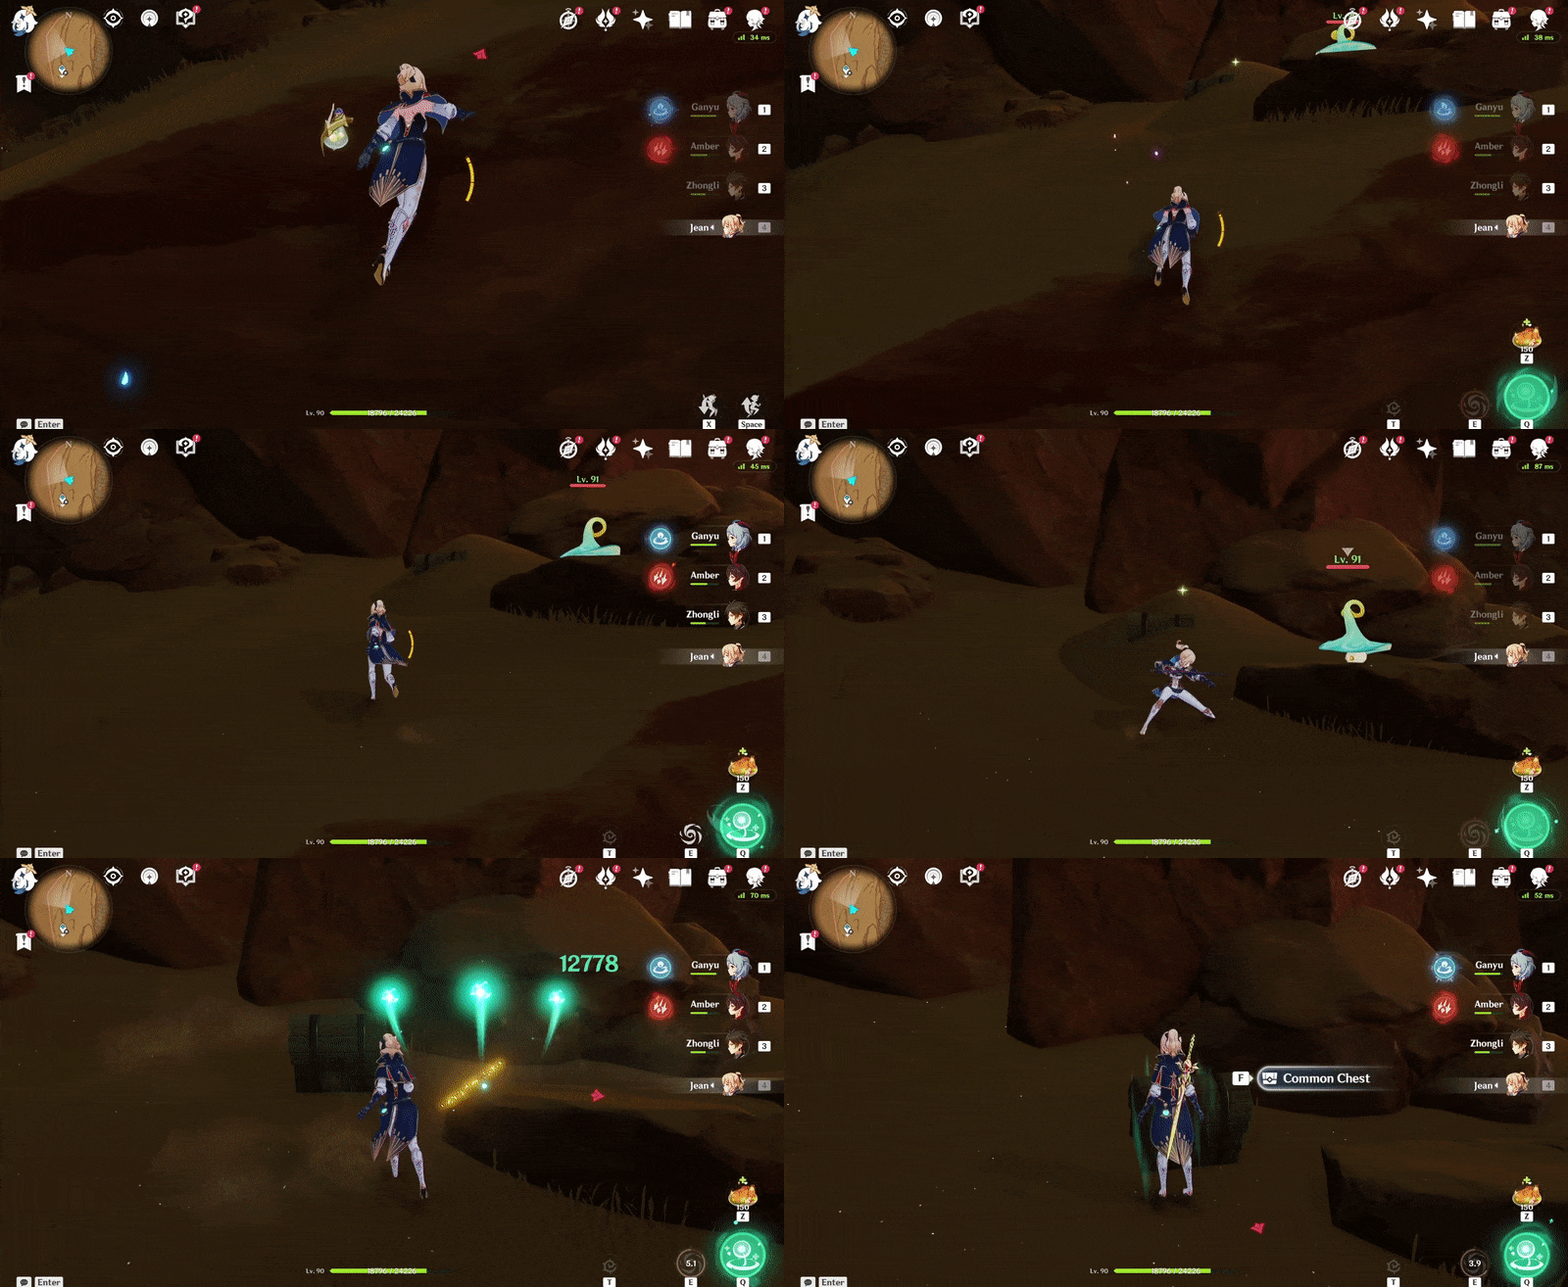
344. [Spawned Chest] Underground, in the ruins
Accessible during and after 'Dune-Entombed Fecundity: Part III'.
Location (Chest):
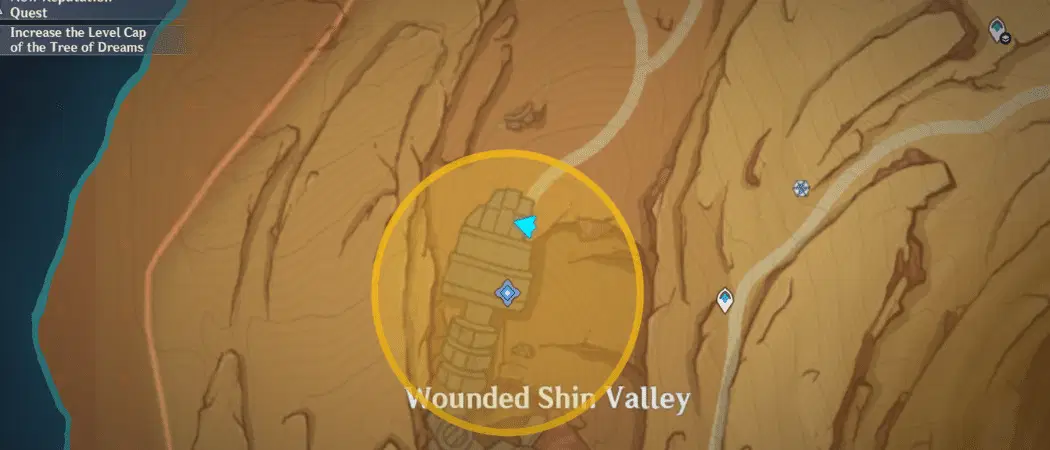
1. Press 'Rotate Valve' on the Pipe Diverter Valve to spawn the Primal Ember, and press 'Release' on the Primal Sconce.
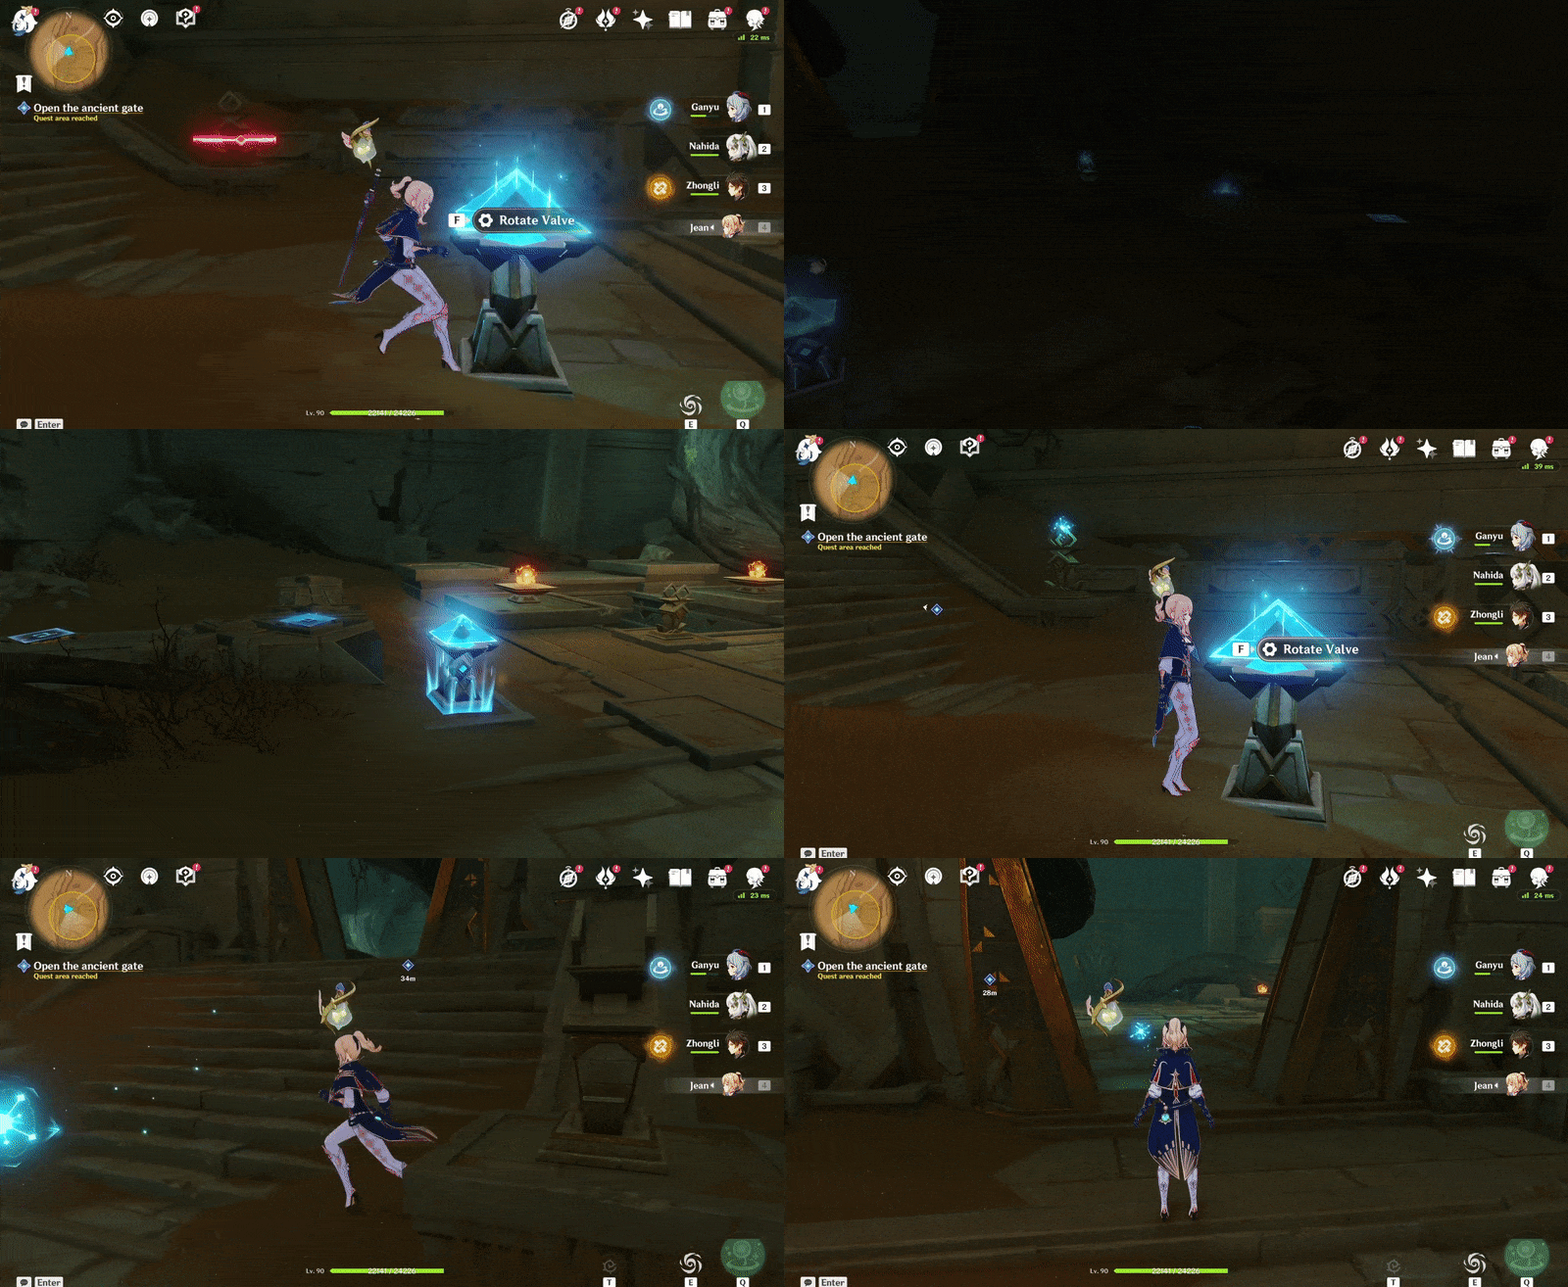
2. Press 'Start' on the Pipe Diverter Valve to raise the gate to continue following the Primal Ember.
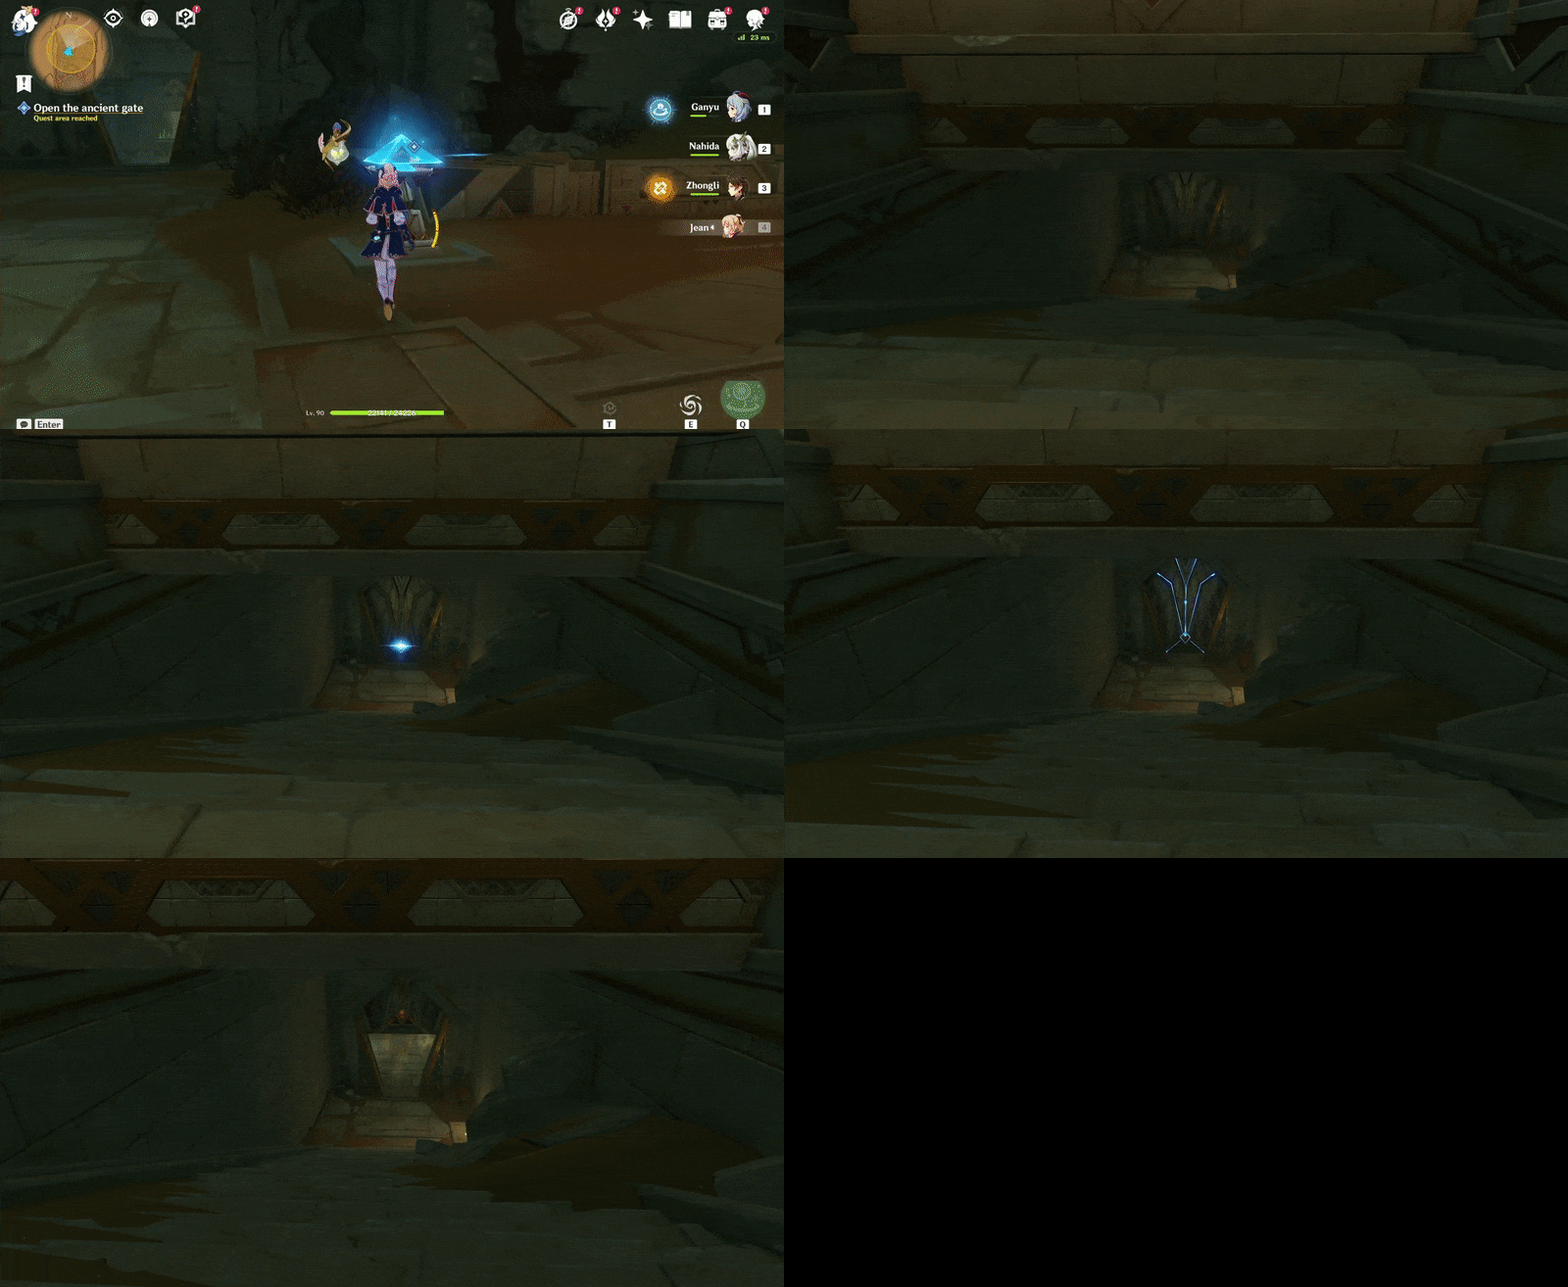
3. Press 'Rotate Cell' on the Everlight Cell x2 to remove the barrier, and press 'Start' on the Pipe Diverter Valve to access the other one. Press 'Start' to raise the door and continue following the Primal Ember.
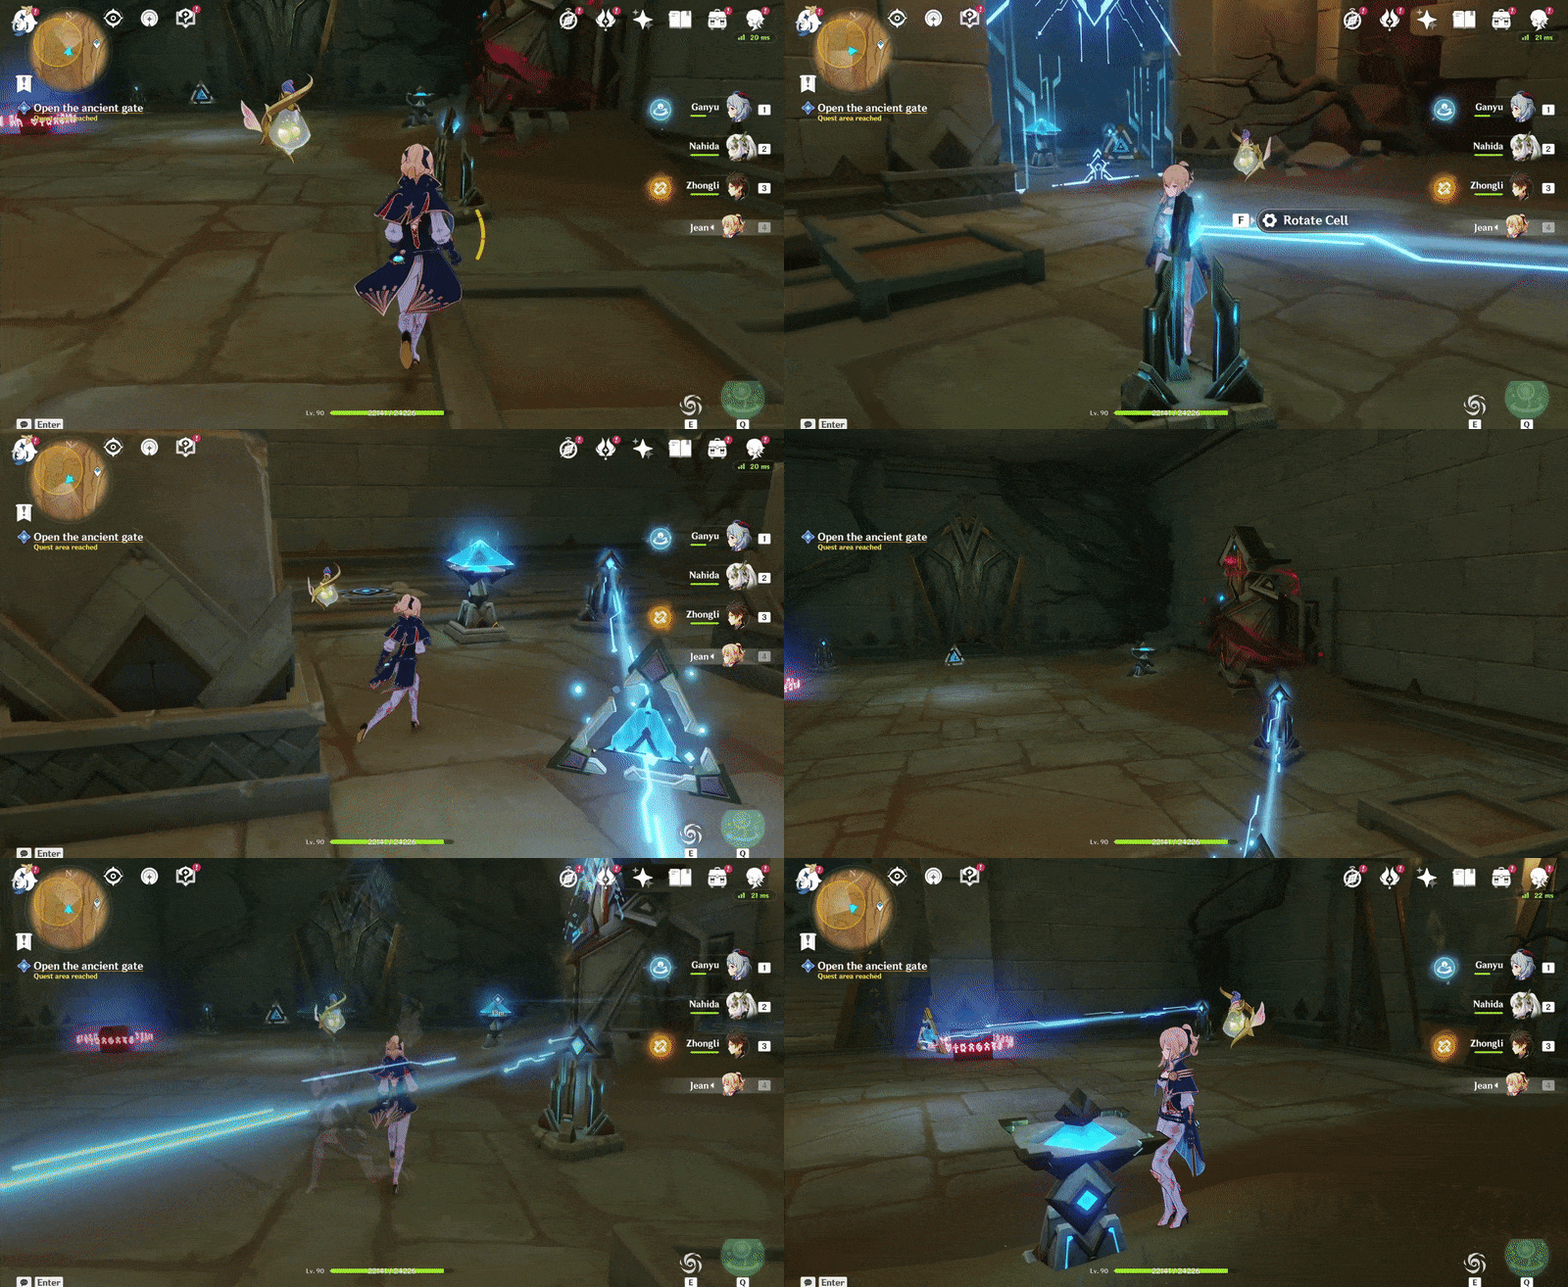
4. Defeat 1 Primal Construct: Reshaper and 1 Primal Construct: Repulsor to unlock the mechanism, and press 'Turn Off' to remove the barrier.
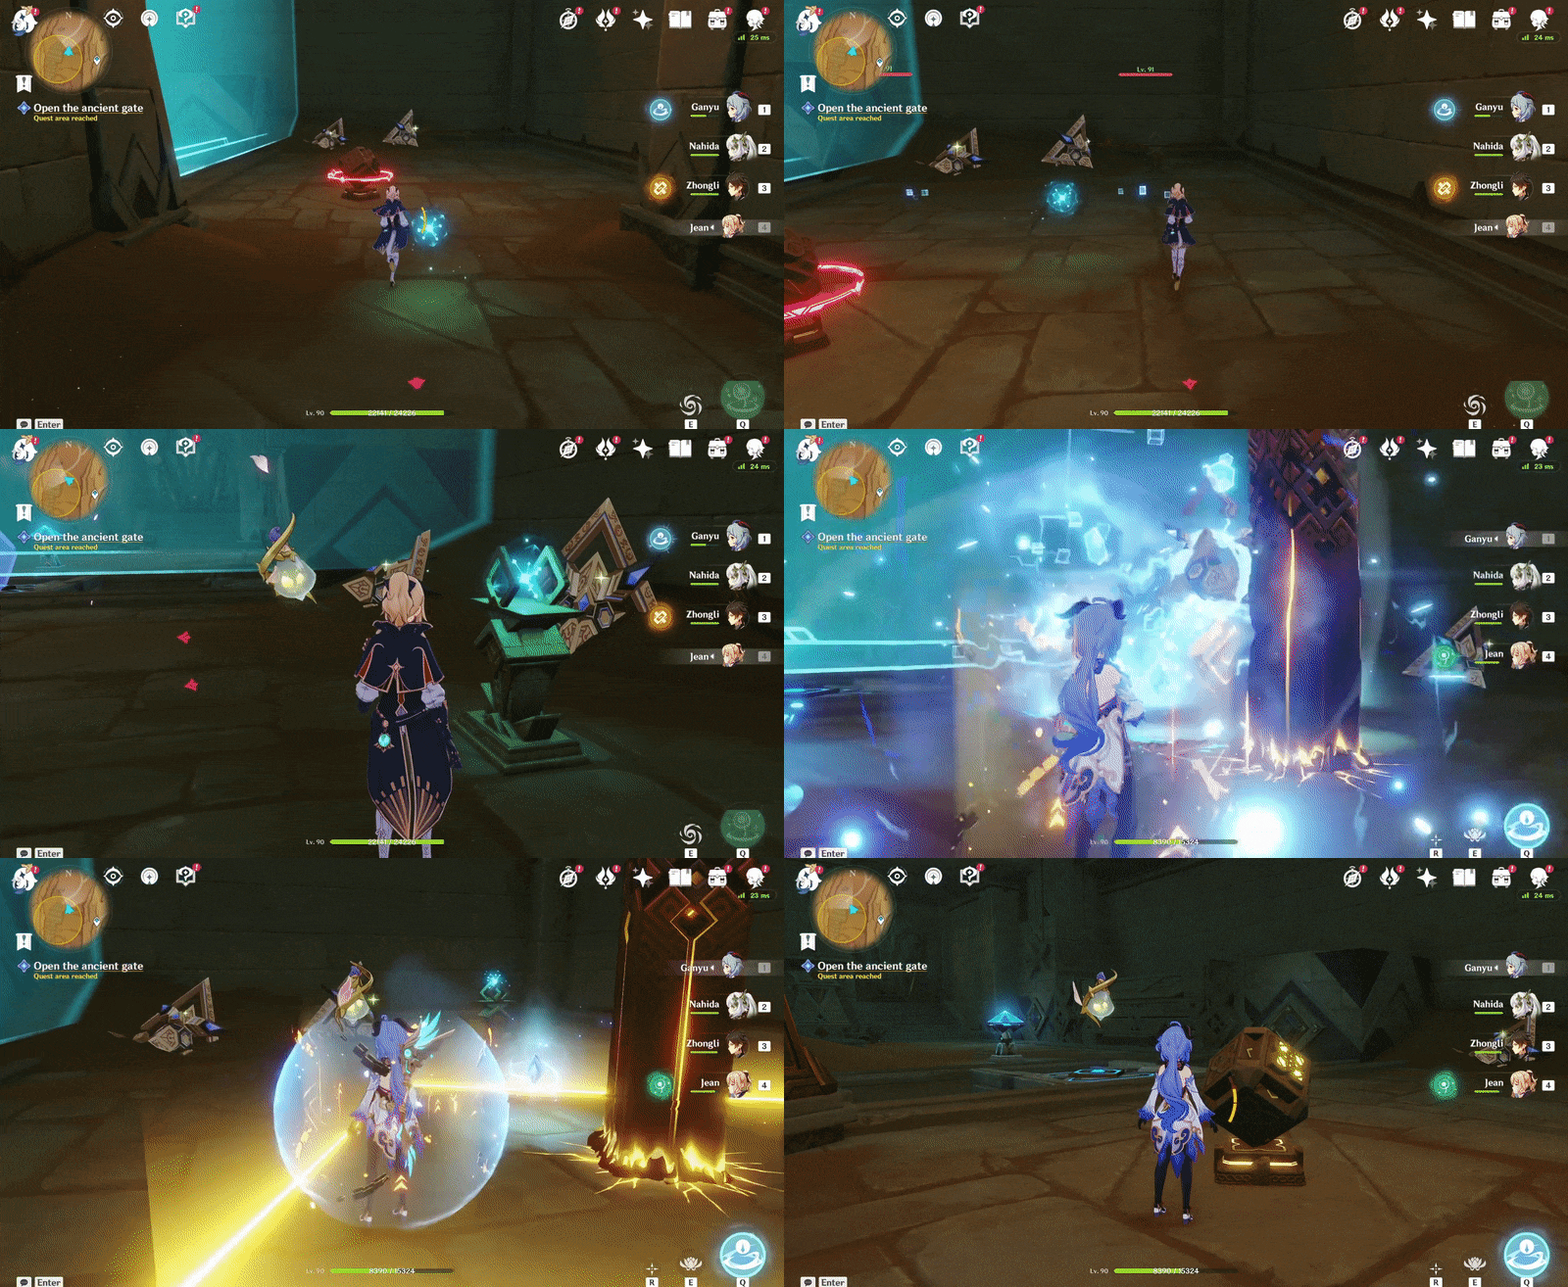
5. Follow the Primal Ember to its Primal Torch to spawn the chest.
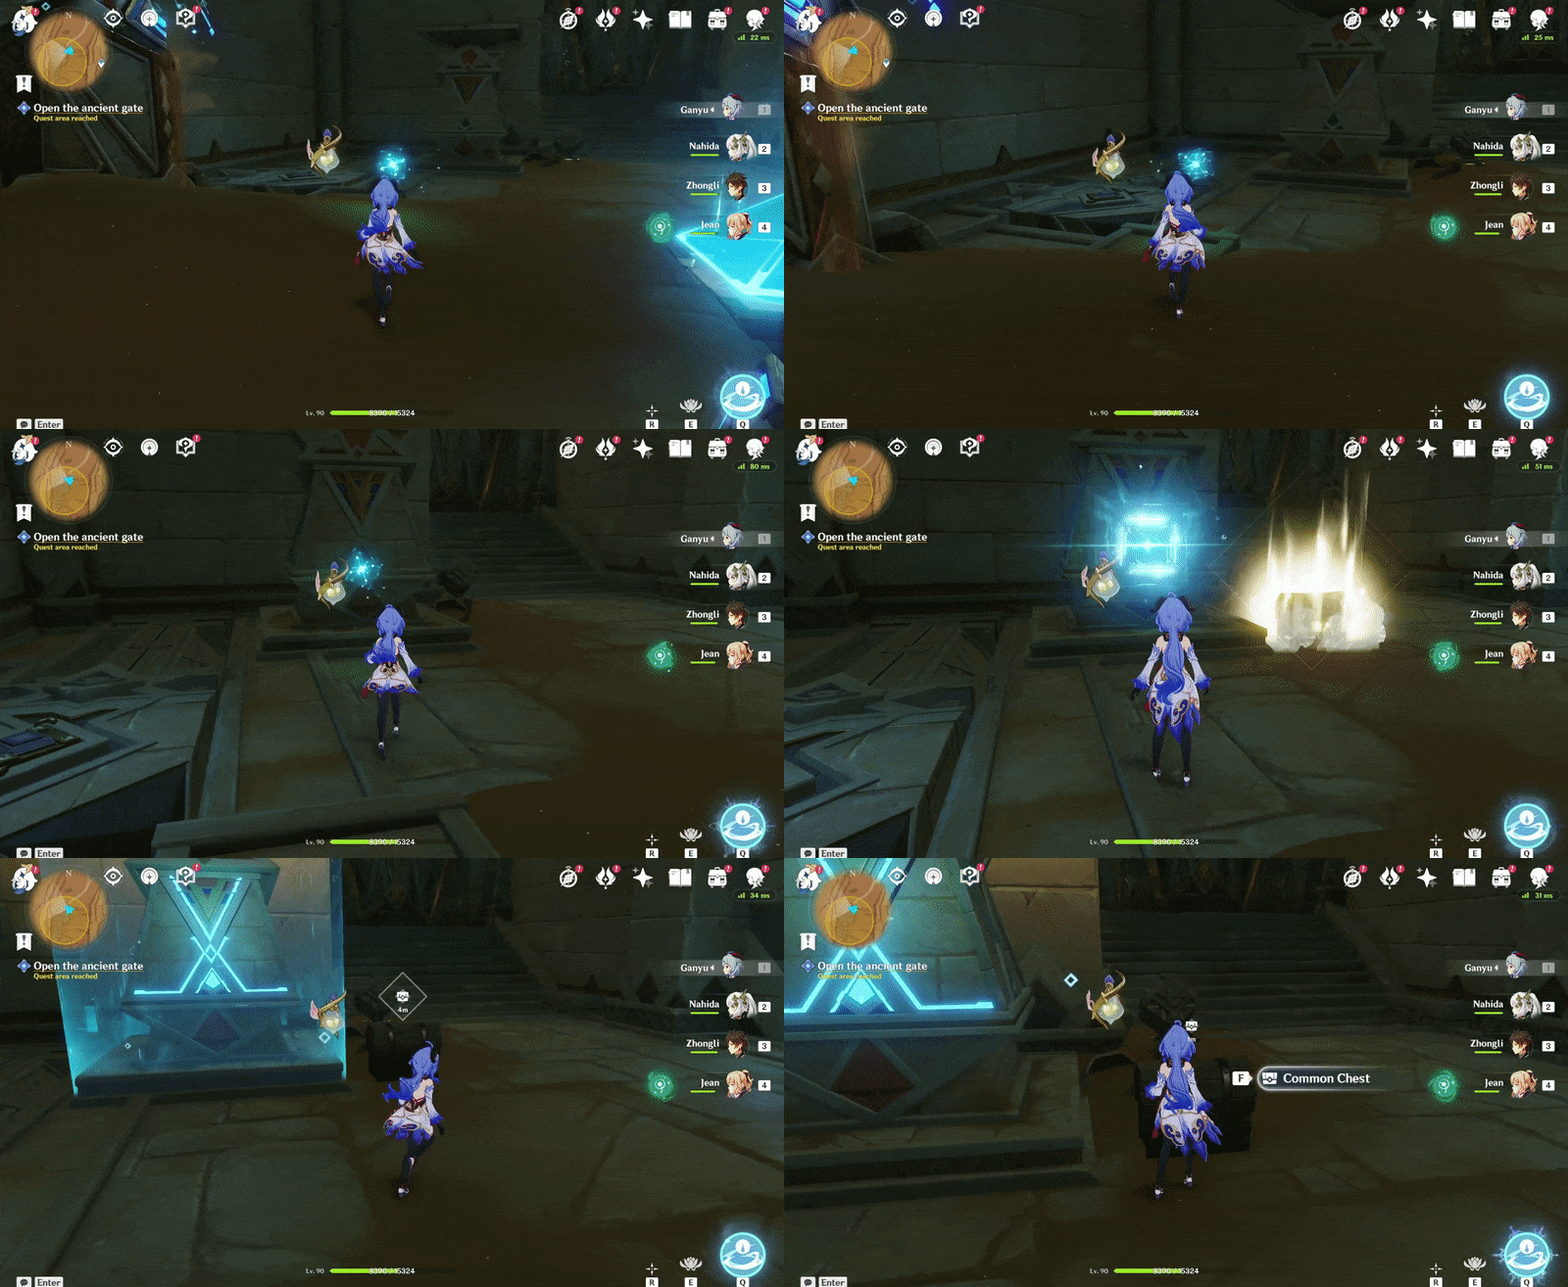
345. [Locked Chest] Underground, in the ruins
Accessible during and after 'Dune-Entombed Fecundity: Part III'.
Press 'Rotate Cell' x1 on both of the Everlight Cells to unlock the chest.
Location:

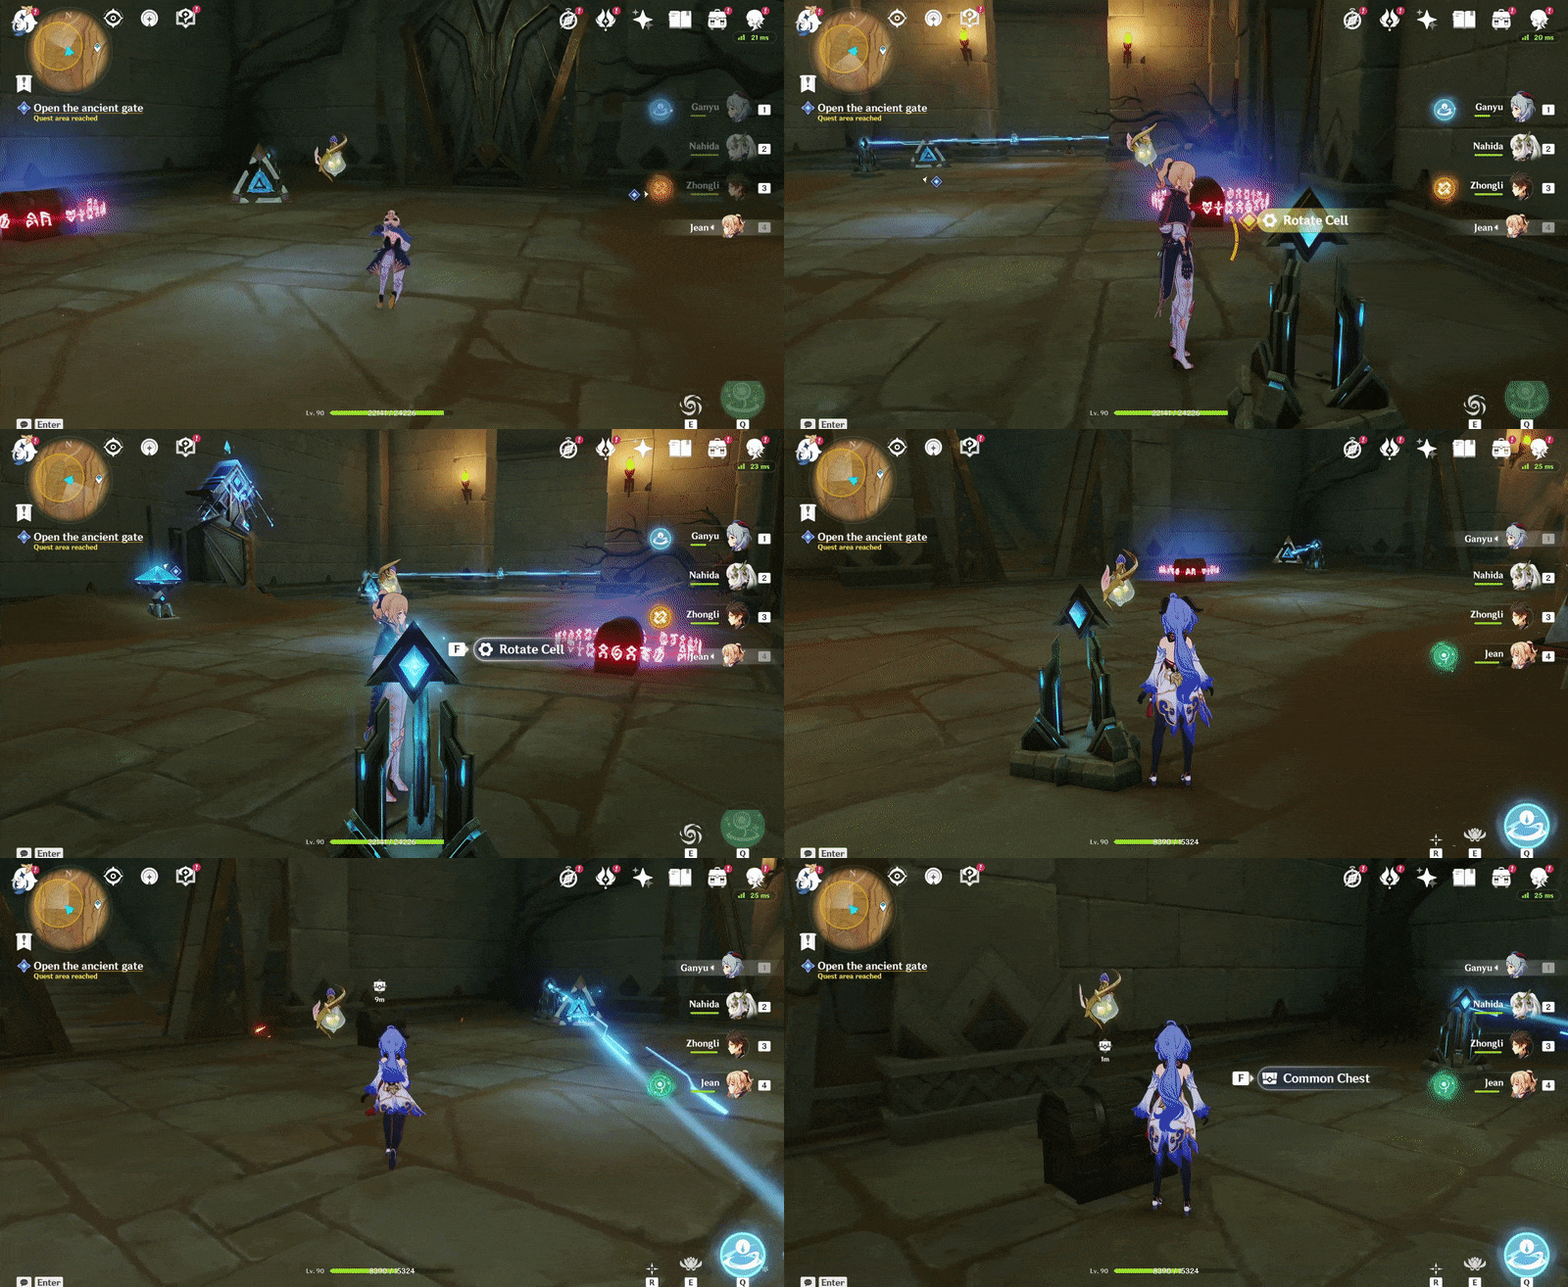
346. [Spawned Chest] Underground, in the ruins
Will spawn after completing the Time Trial Challenge ('Blow up 8 Exploding Barrels within 45s').
Location (Challenge Marker):

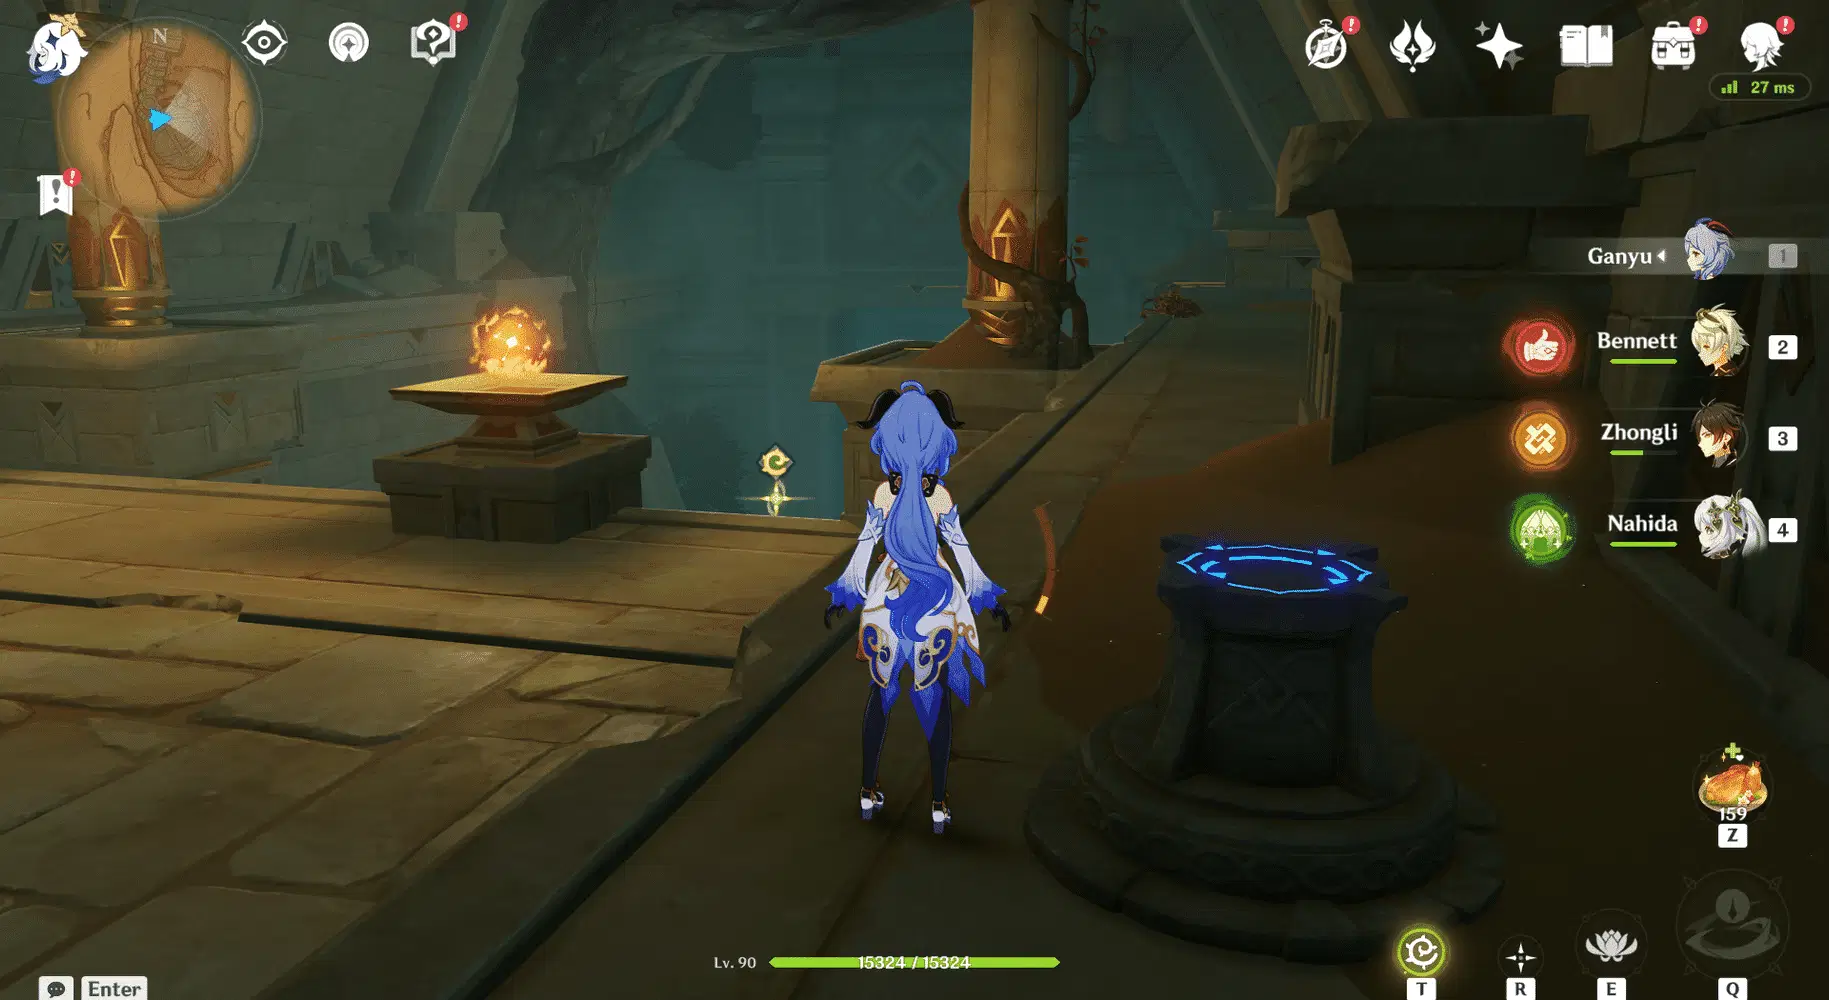
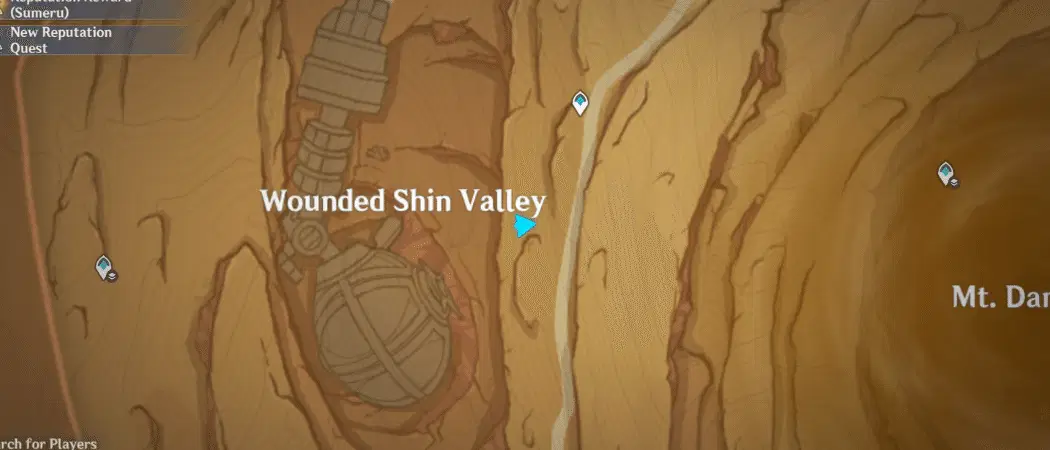
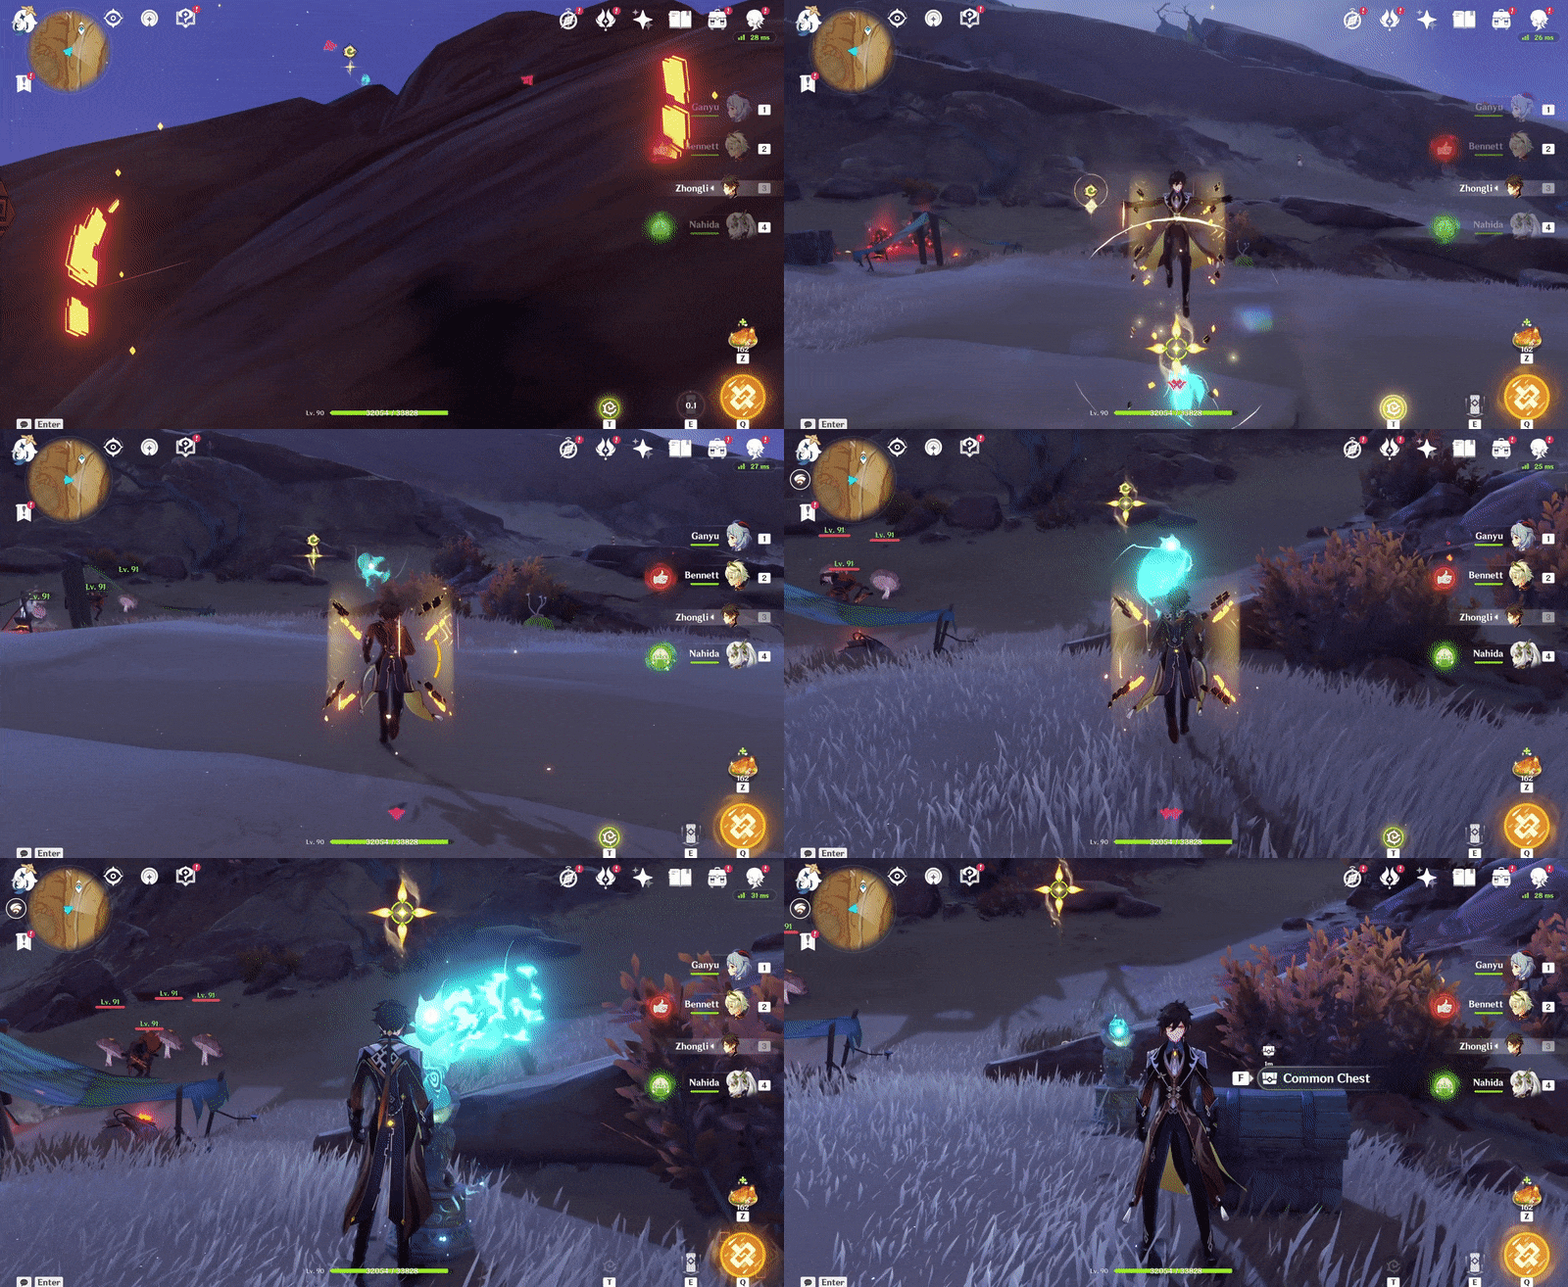
347. [Spawned Chest] On top of the Ruin Golem
Will spawn after the Seelie returns to its Statue.
Location (Seelie):
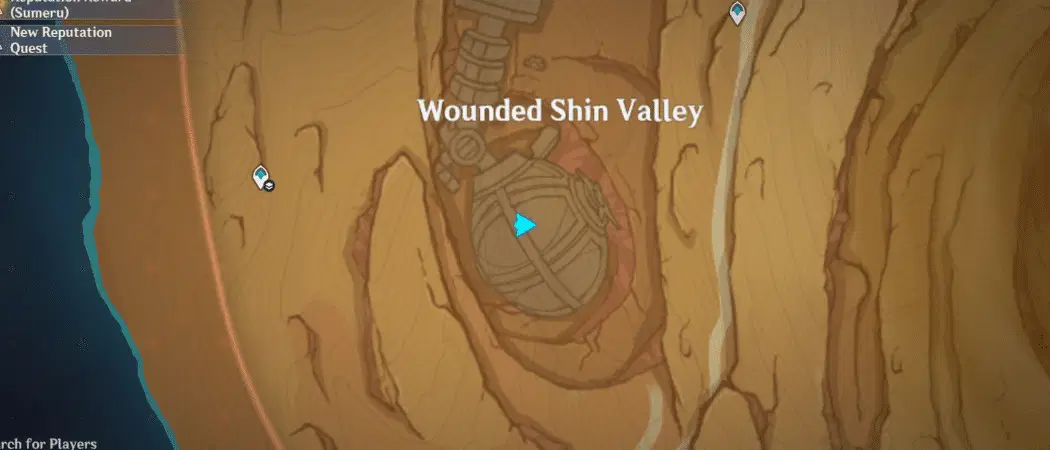
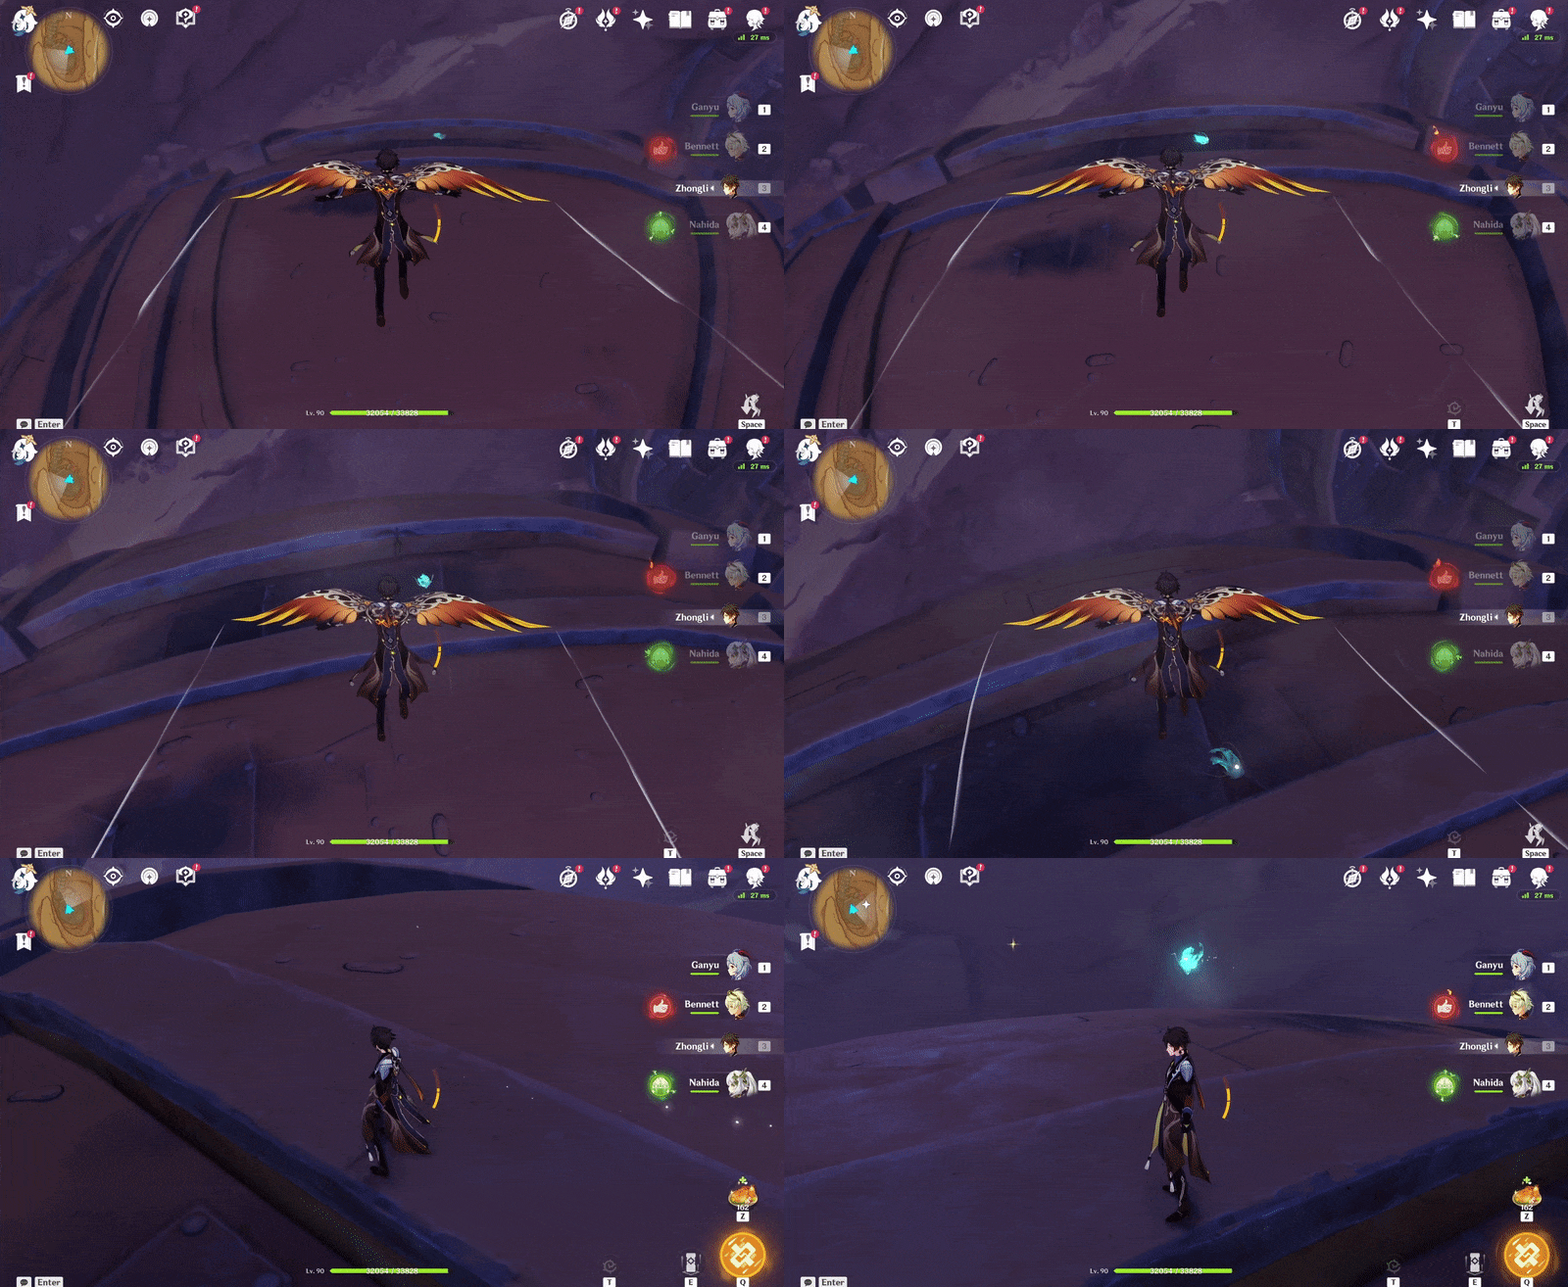
Location (Seelie Statue):
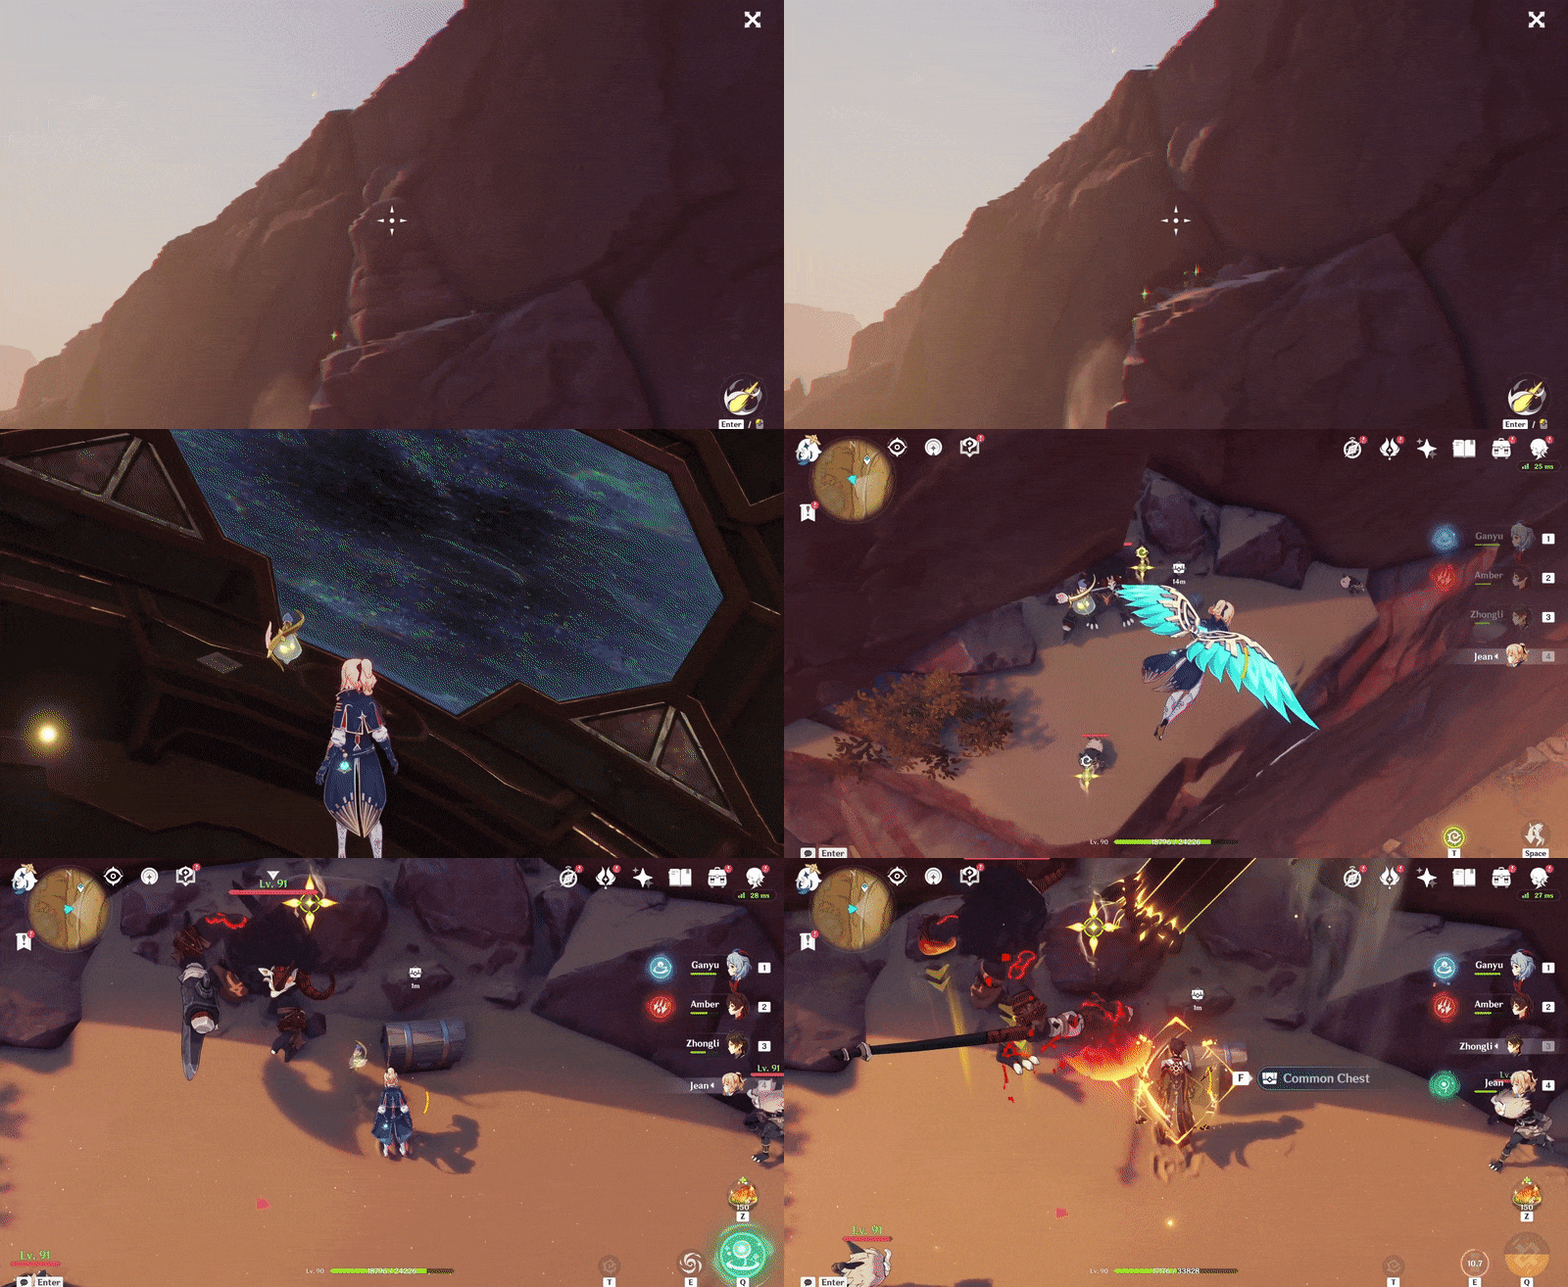
348. [Spawned Chest] On a high ledge
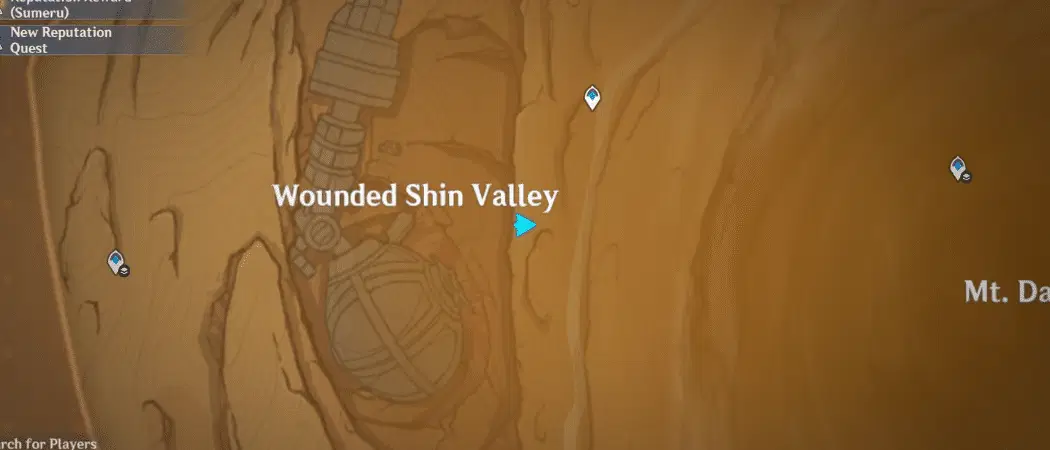
Break the stone using the Ruin Golem to access.
Location:
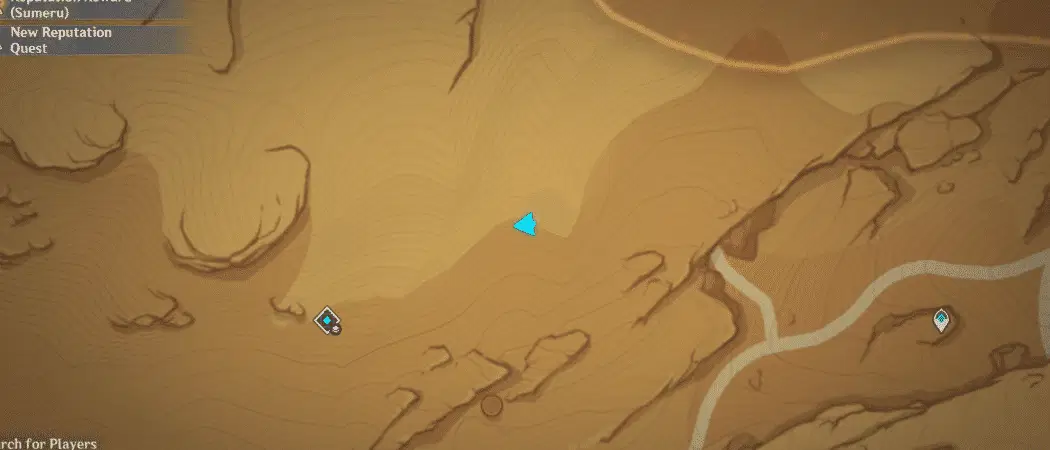
349. [Spawned Chest] In the cave
Will spawn after completing the Time Trial Challenge ('Collect 10 Dendro Particles within 50s').
Location (Challenge Marker):
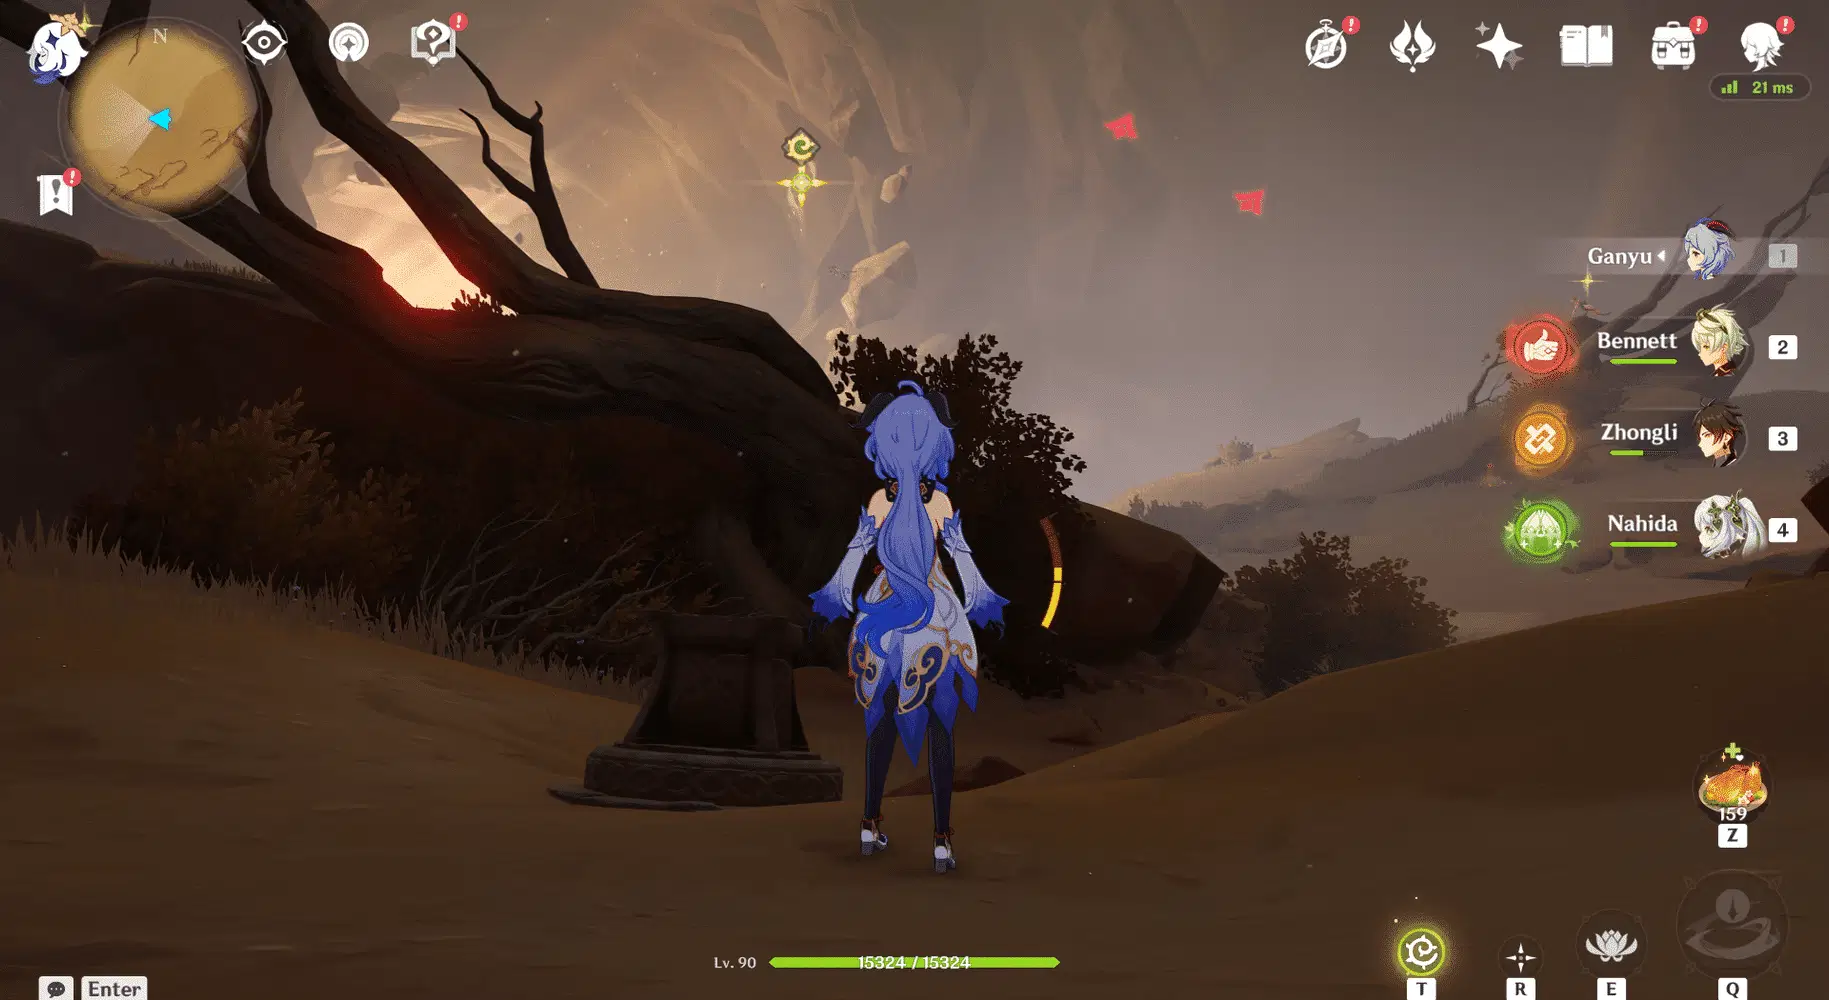
350. [Trapped Chest]
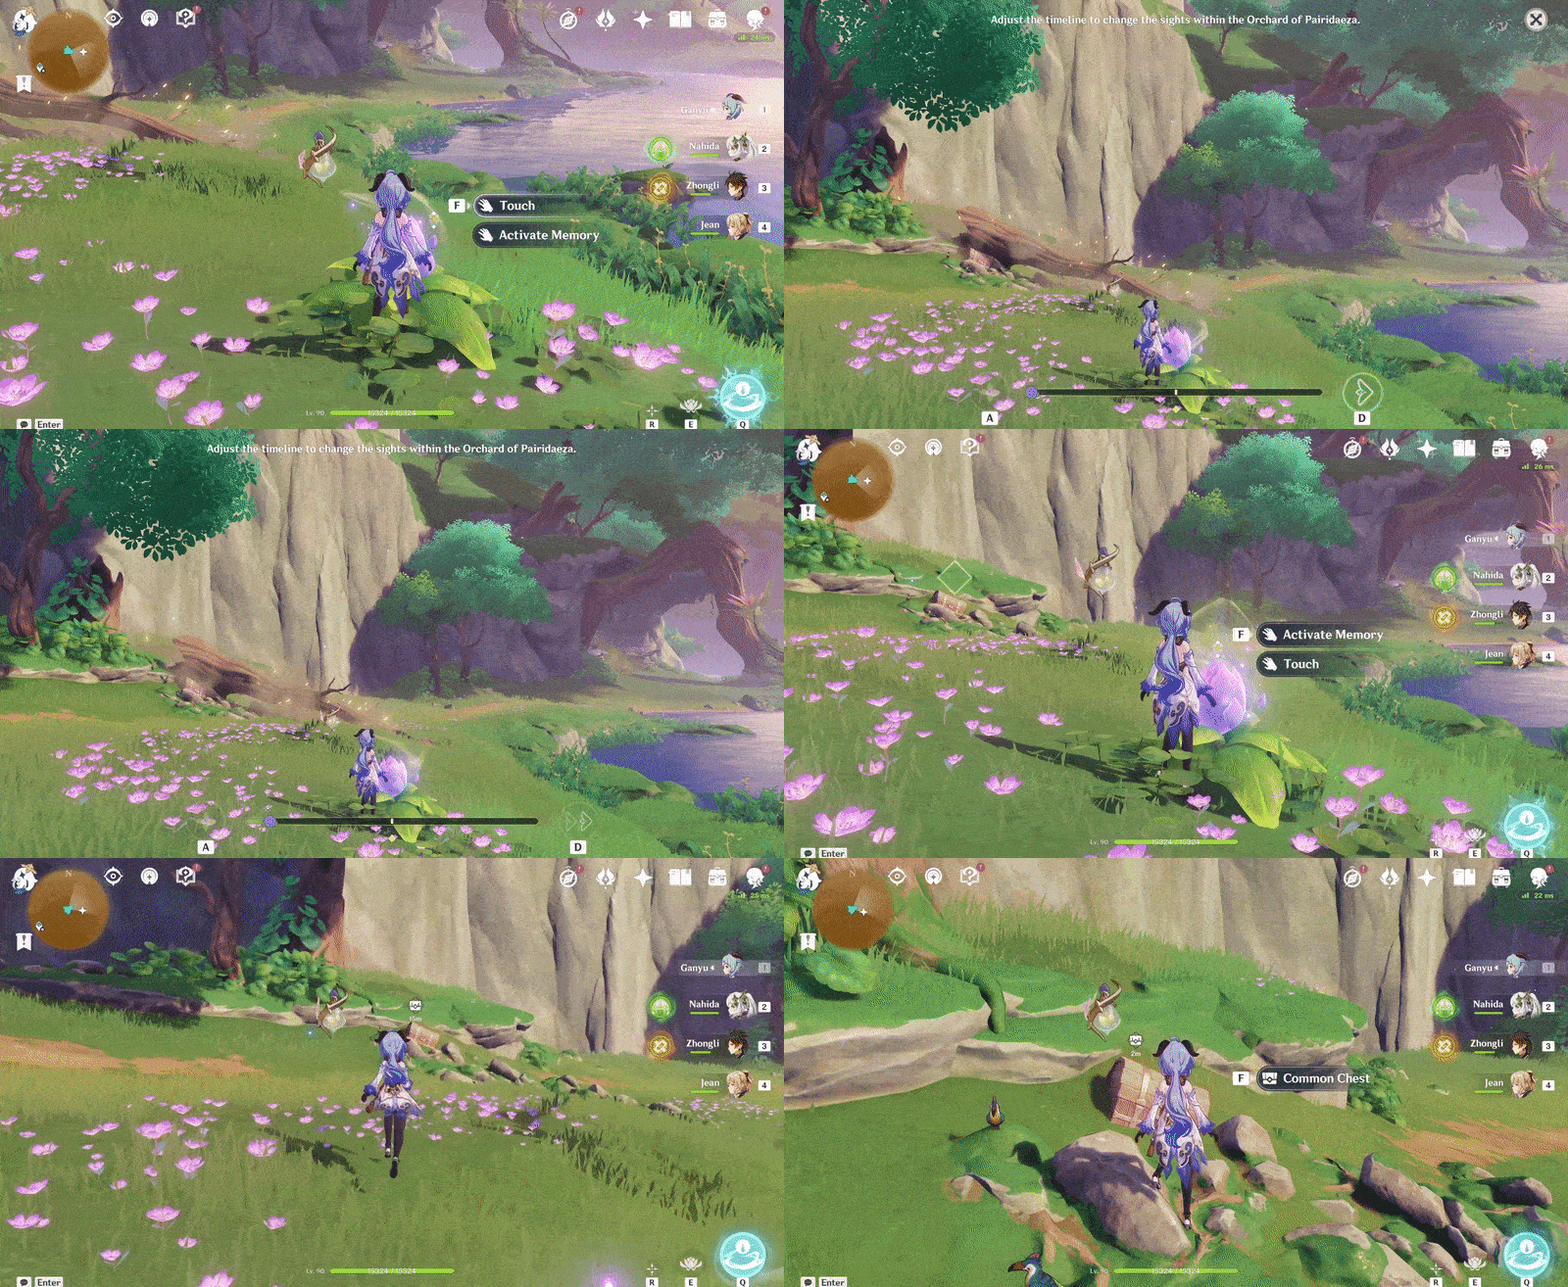
Press 'Activate Memory' and move the timeline forwards x1 to remove the obstacles to access.
Location:

351. [Spawned Chest] Near the entrance, left side
Location (Flower Bud):

1. Press 'Touch' and follow the Flower Bud until it stops.
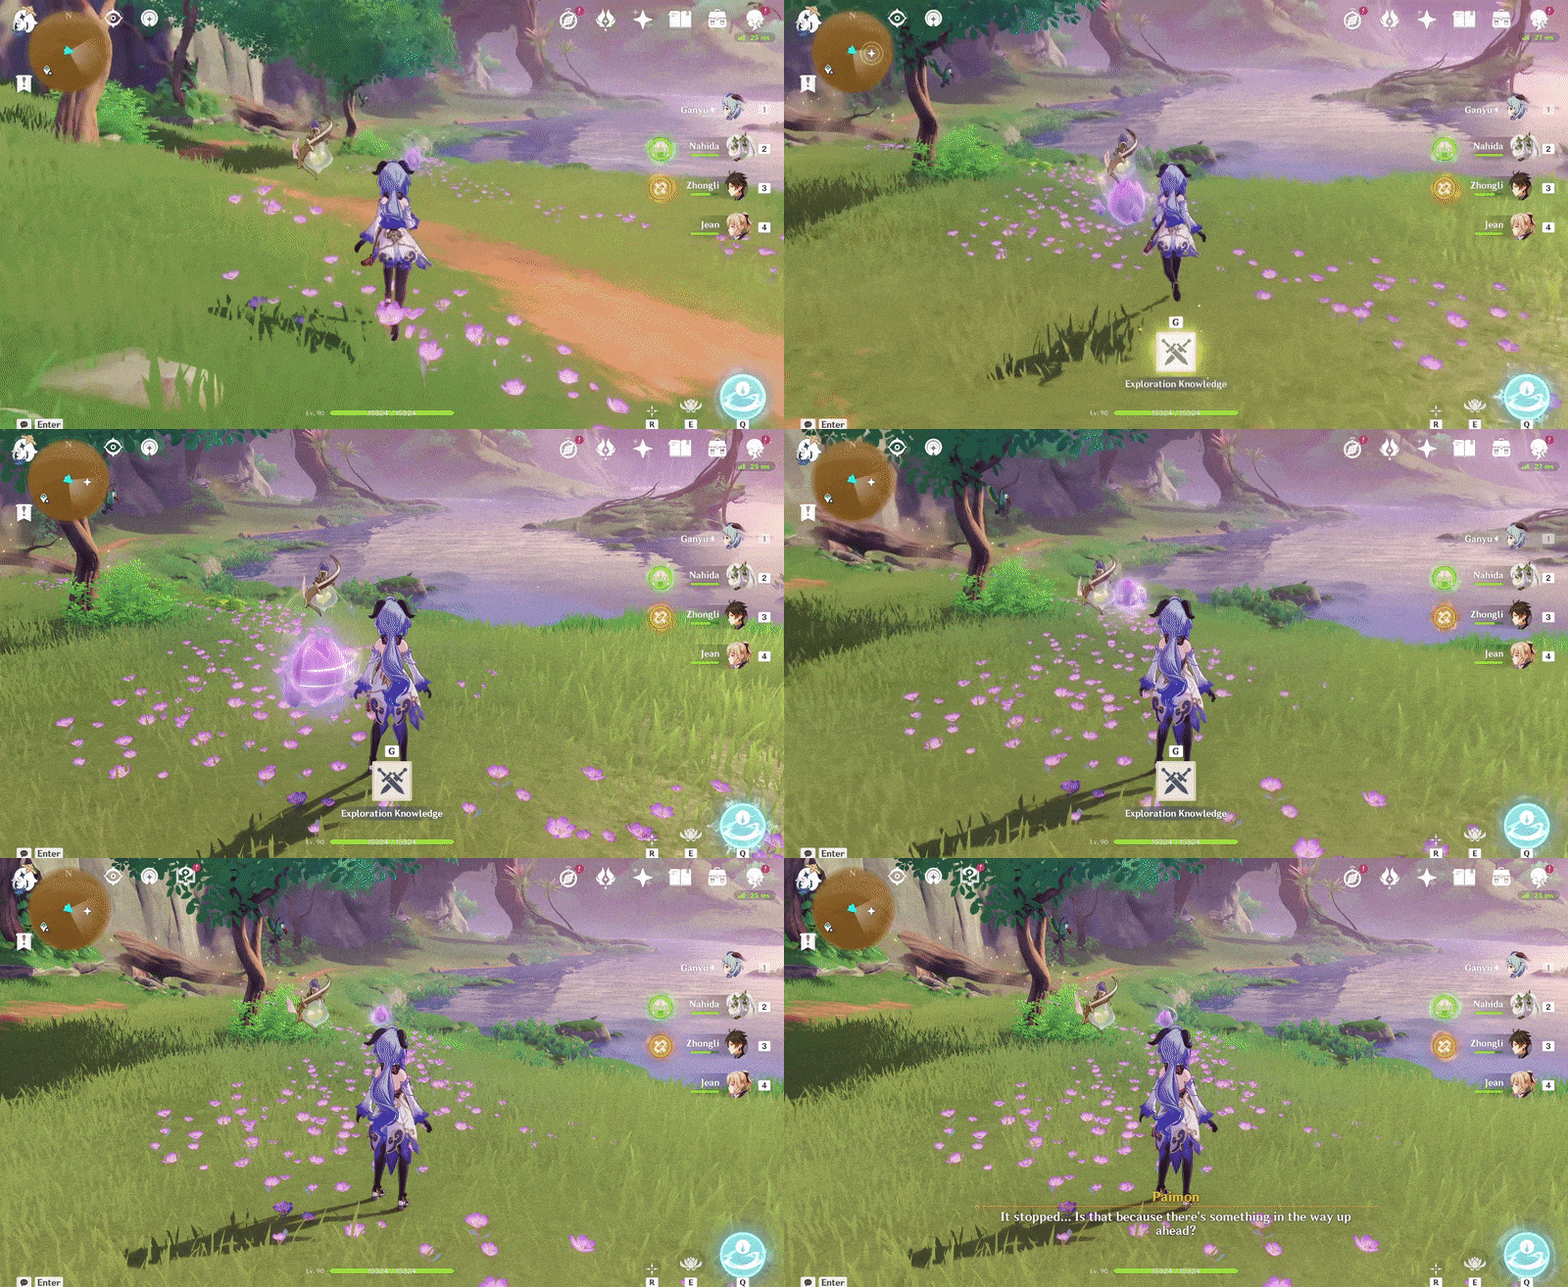
2. Press 'Activate Memory' and move the timeline forwards x1 to remove the obstacles. Press 'Touch' and continue following the Flower Bud until it stops again.
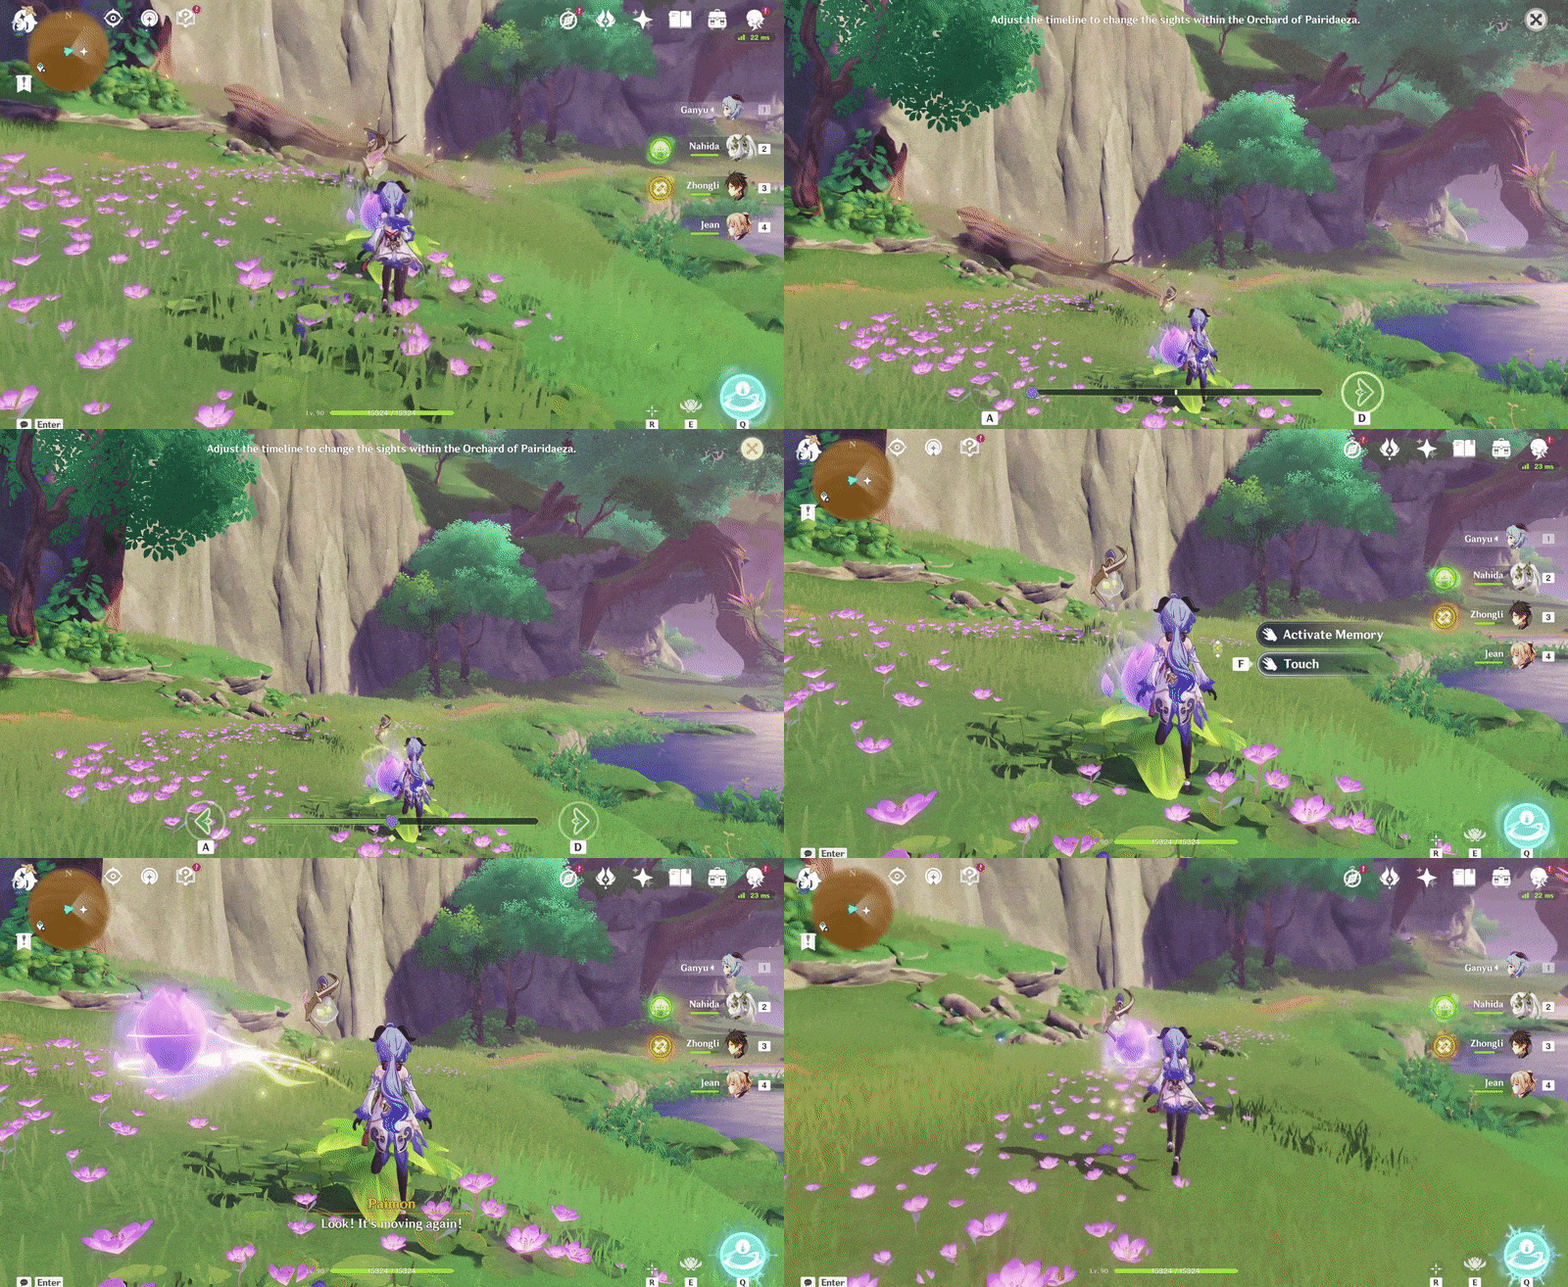
3. Press 'Activate Memory' and move the timeline forwards x1 to remove the obstacles. Press 'Touch' and continue following the Flower Bud until it stops again.
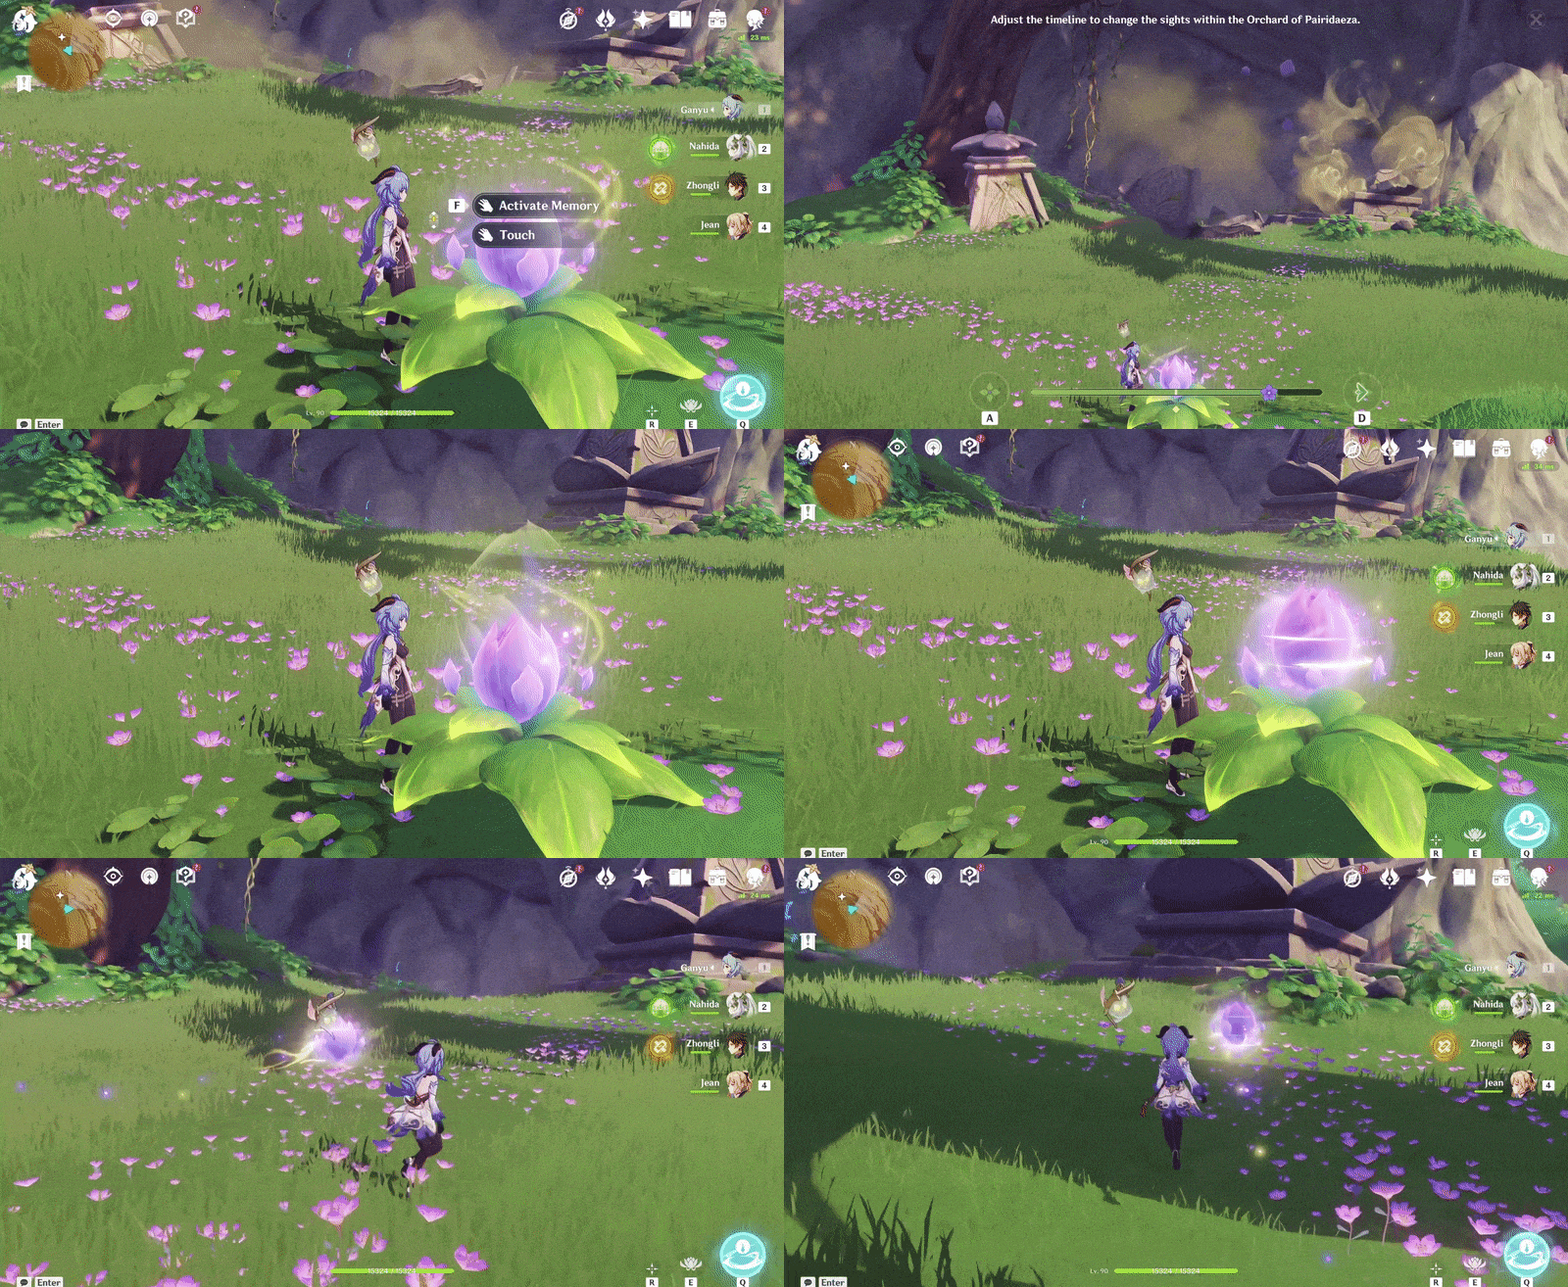
4. Press 'Activate Memory' and move the timeline backwards x2 to remove repair the Memories of the Eternal Oasis (I) and collect it to spawn the chest.
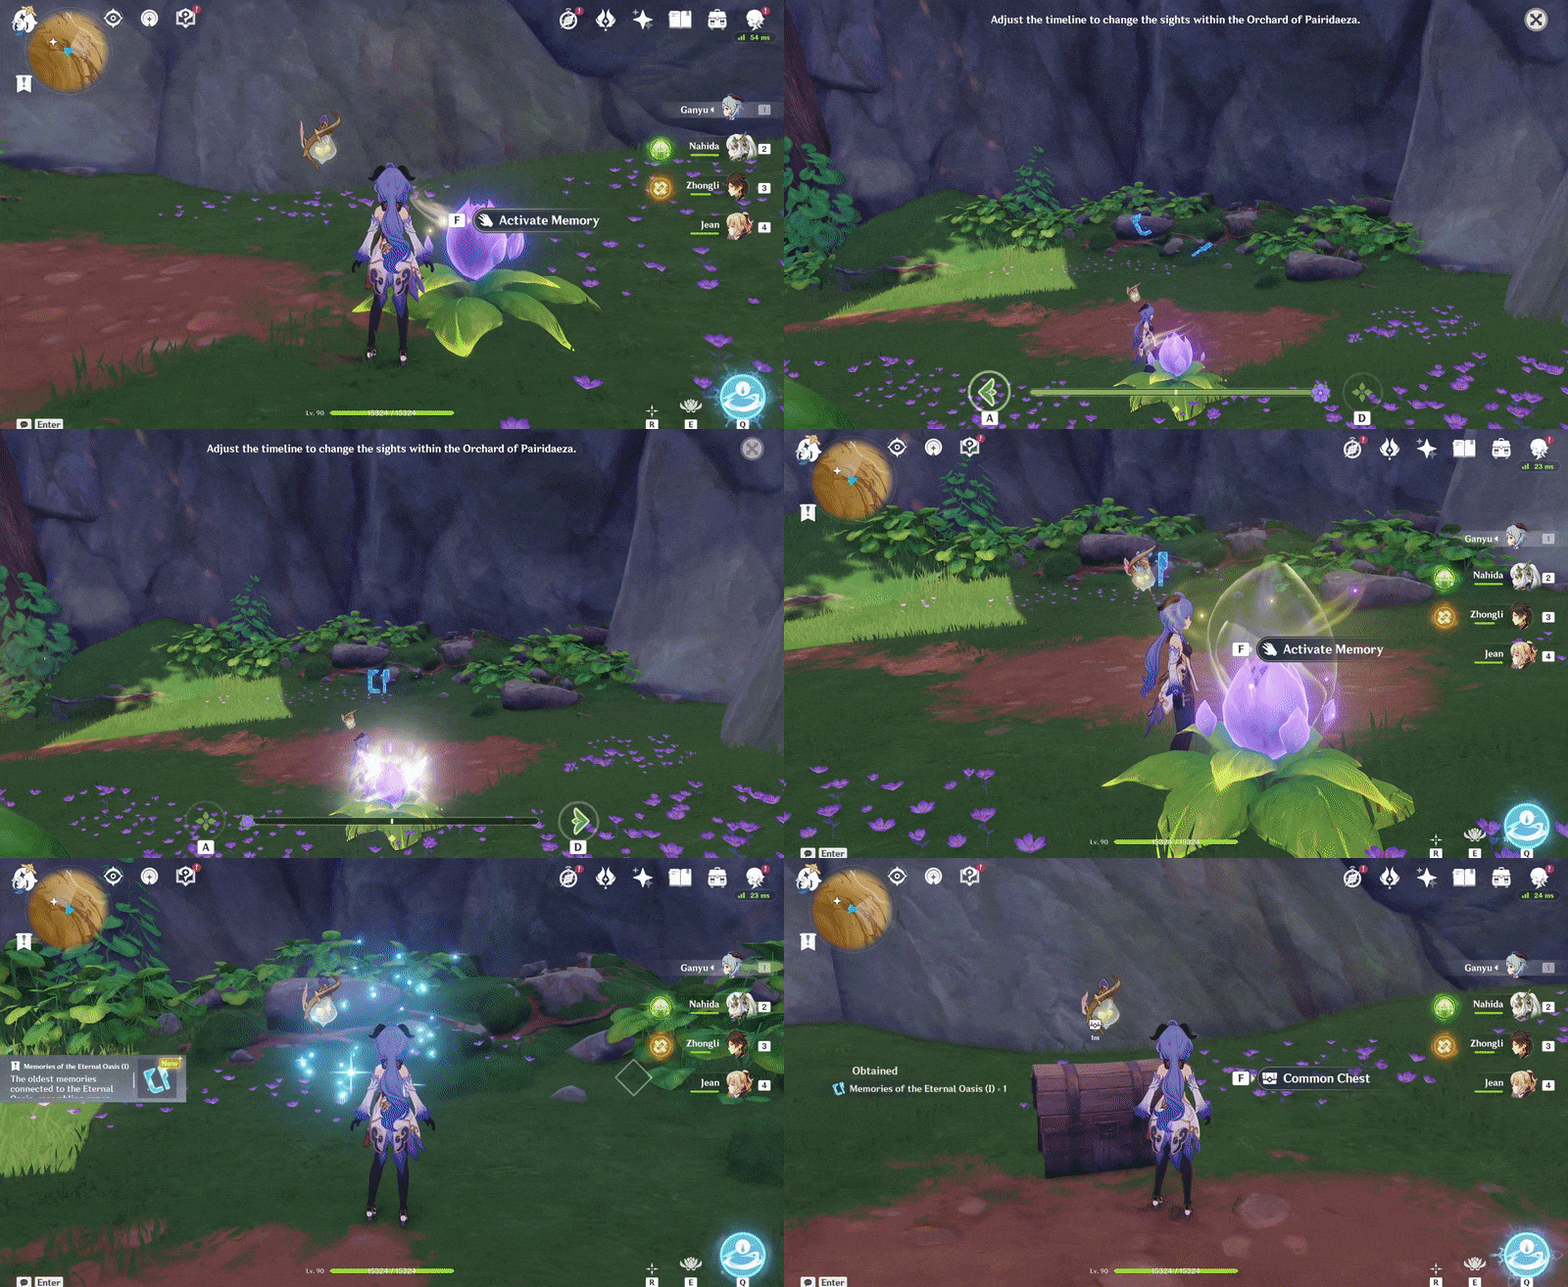
352. [Trapped Chest]
Press 'Activate Memory' and move the timeline backwards x1 to remove the obstacles to access.
Location:
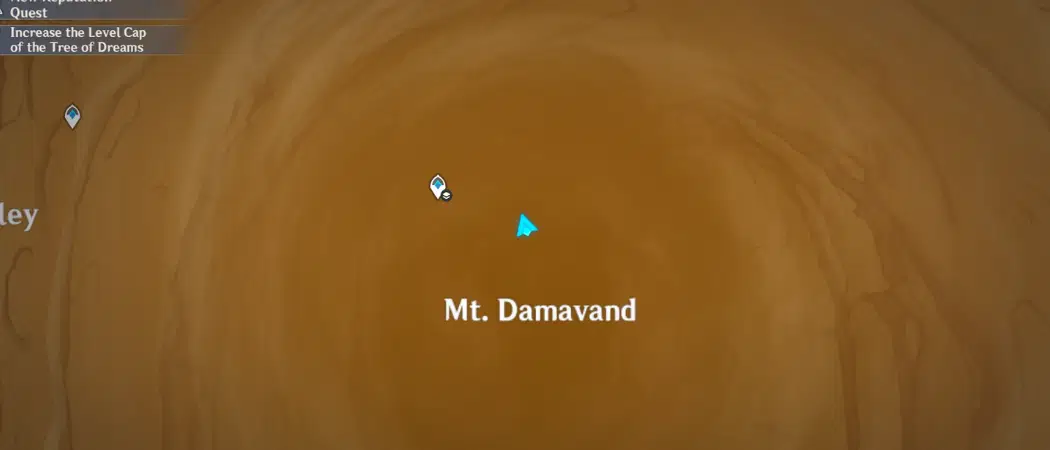
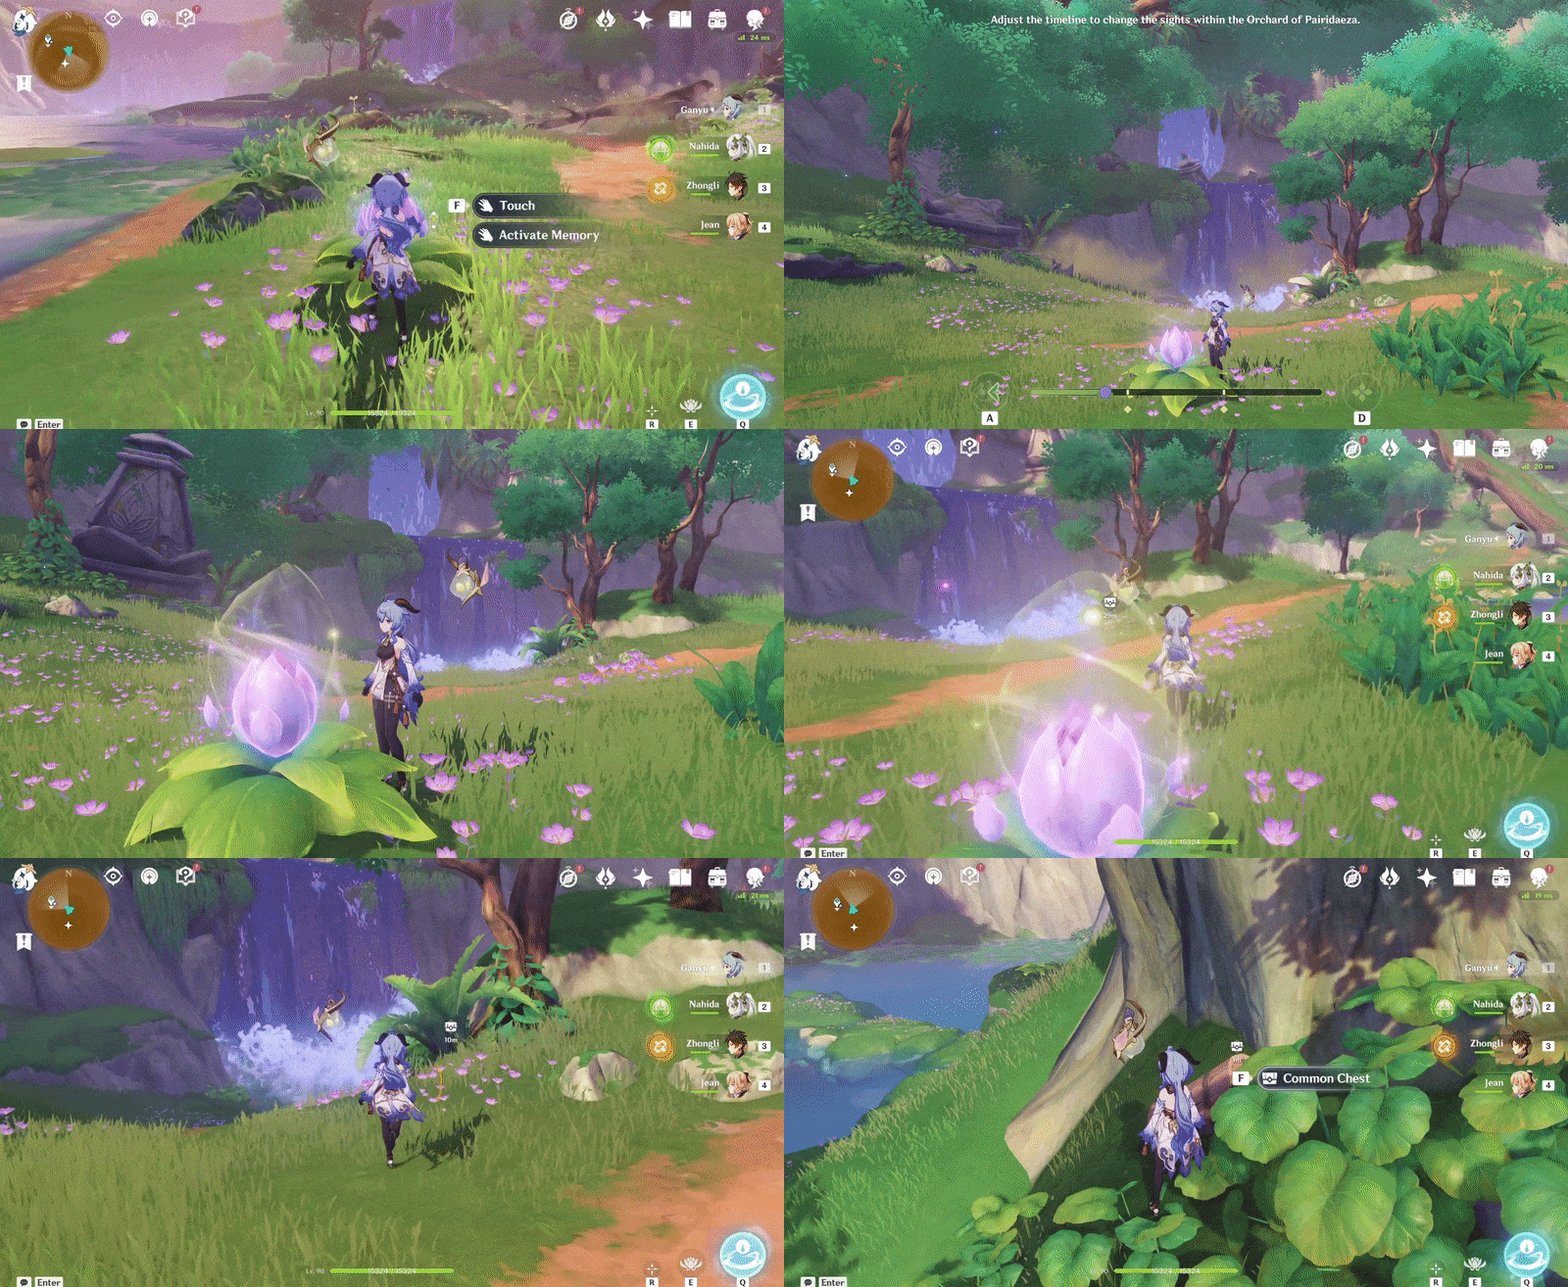
353. [Spawned Chest] Right side of the Oasis
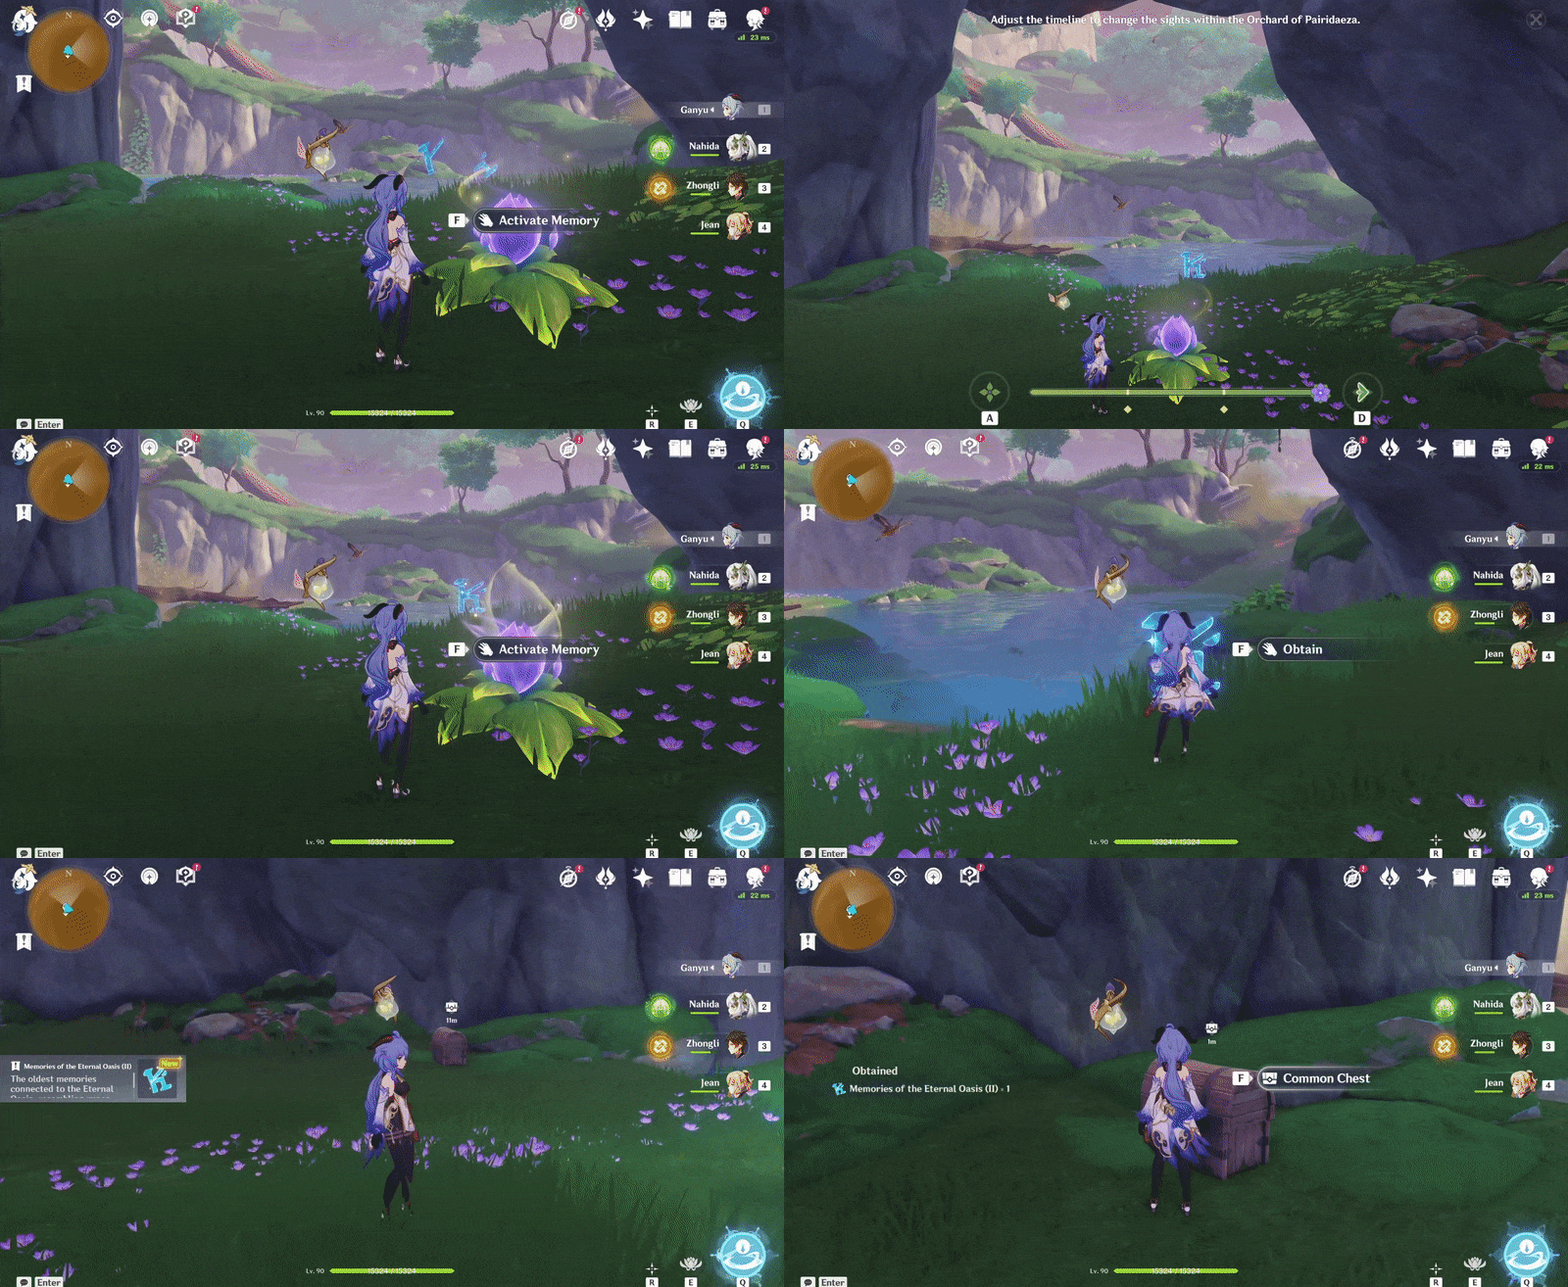
Location (Flower Bud):

1. Press 'Touch' and follow the Flower Bud until it stops.
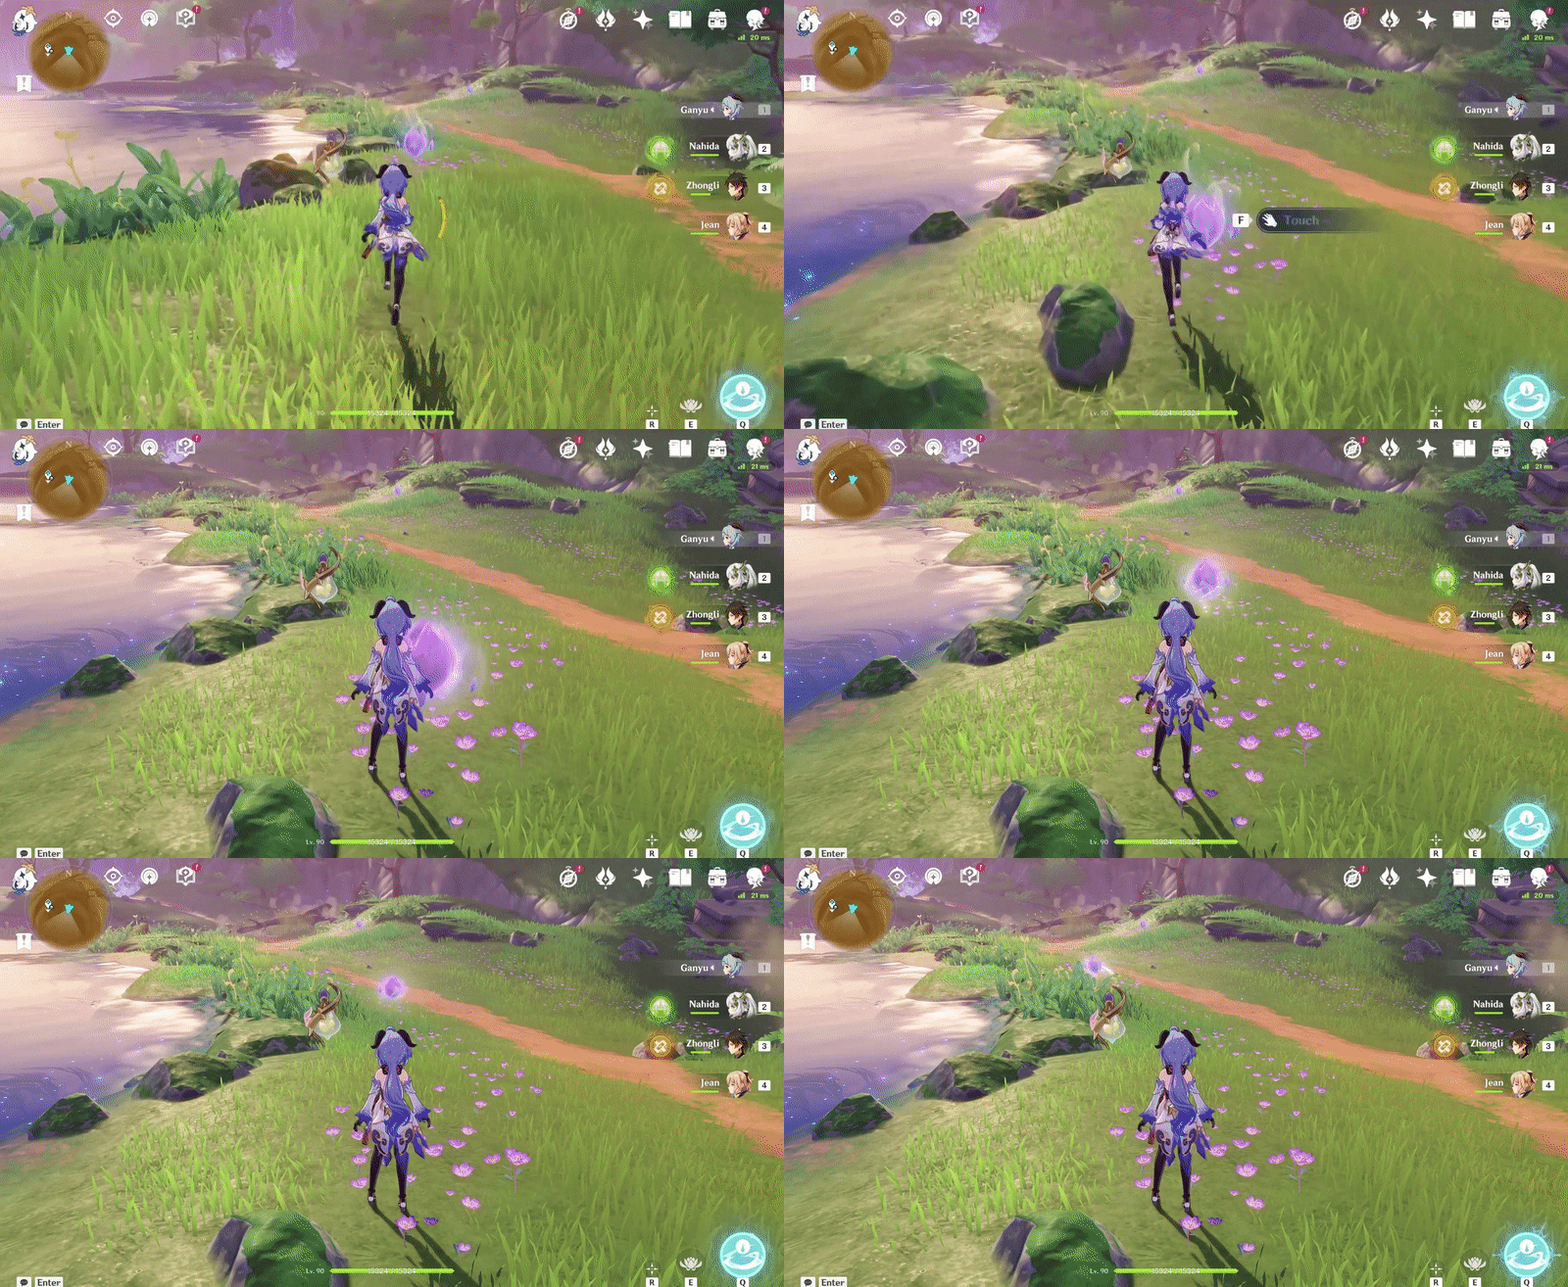
2. Press 'Activate Memory' and move the timeline backwards x1 to remove the obstacles. Press 'Touch' and continue following the Flower Bud until it stops again.
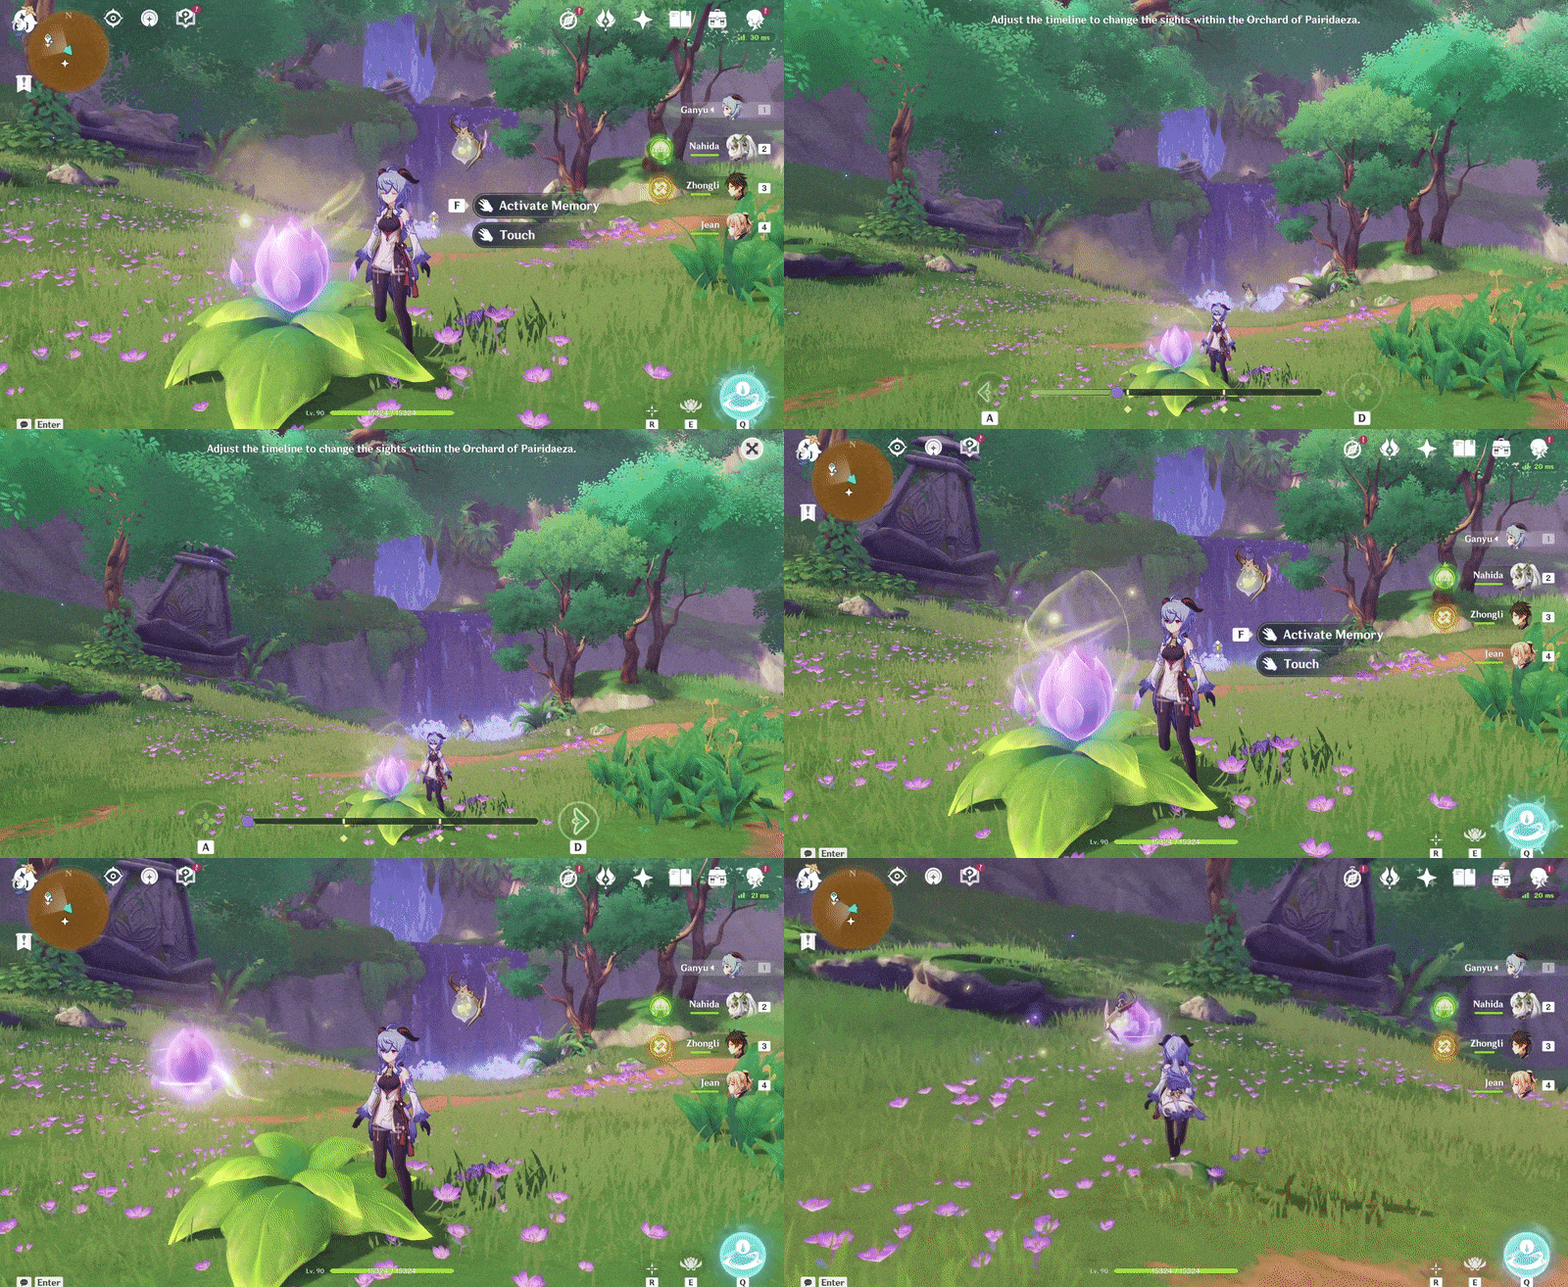
3. Press 'Activate Memory' and move the timeline forwards x2 to remove the obstacles. Press 'Touch' and continue following the Flower Bud until it stops again.
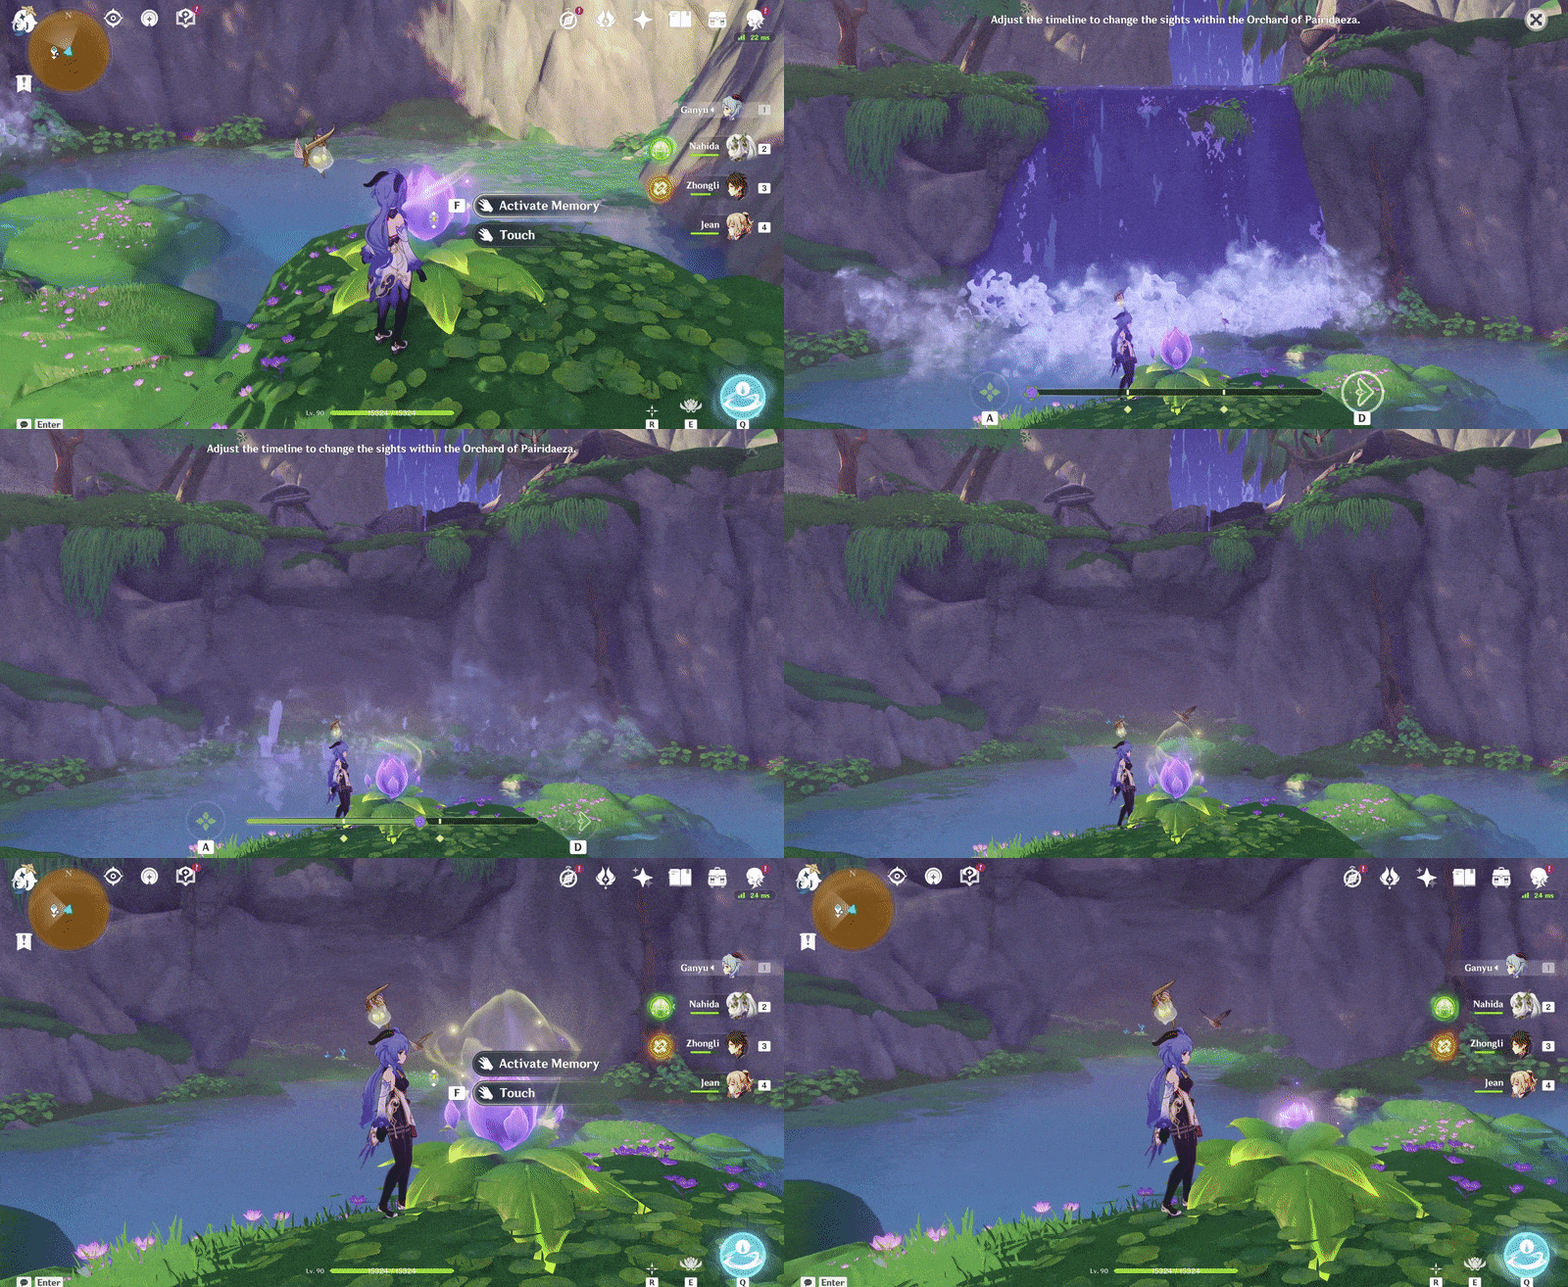
4. Press 'Activate Memory' and move the timeline forwards x1 to remove repair the Memories of the Eternal Oasis (II) and collect it to spawn the chest.
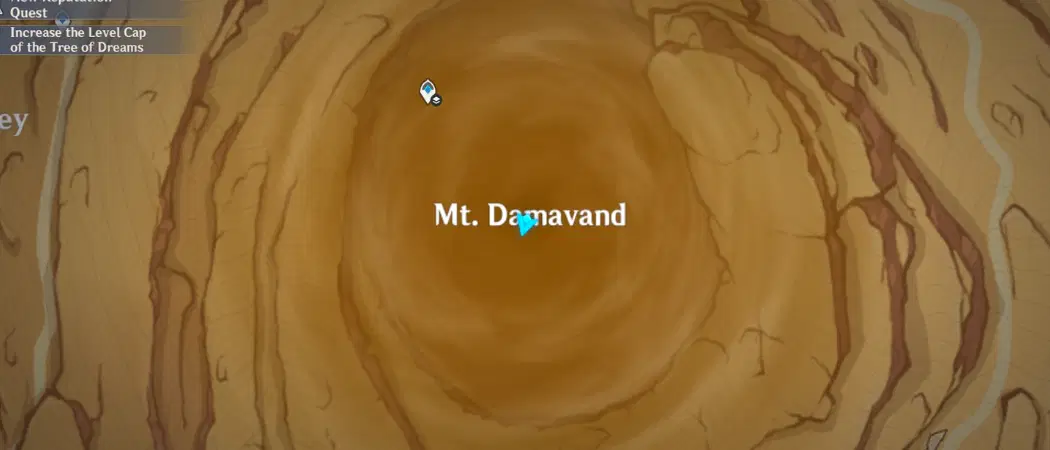
354. [Trapped Chest]
Press 'Activate Memory' and move the timeline forwards x1 to remove the obstacles to access.
Location:
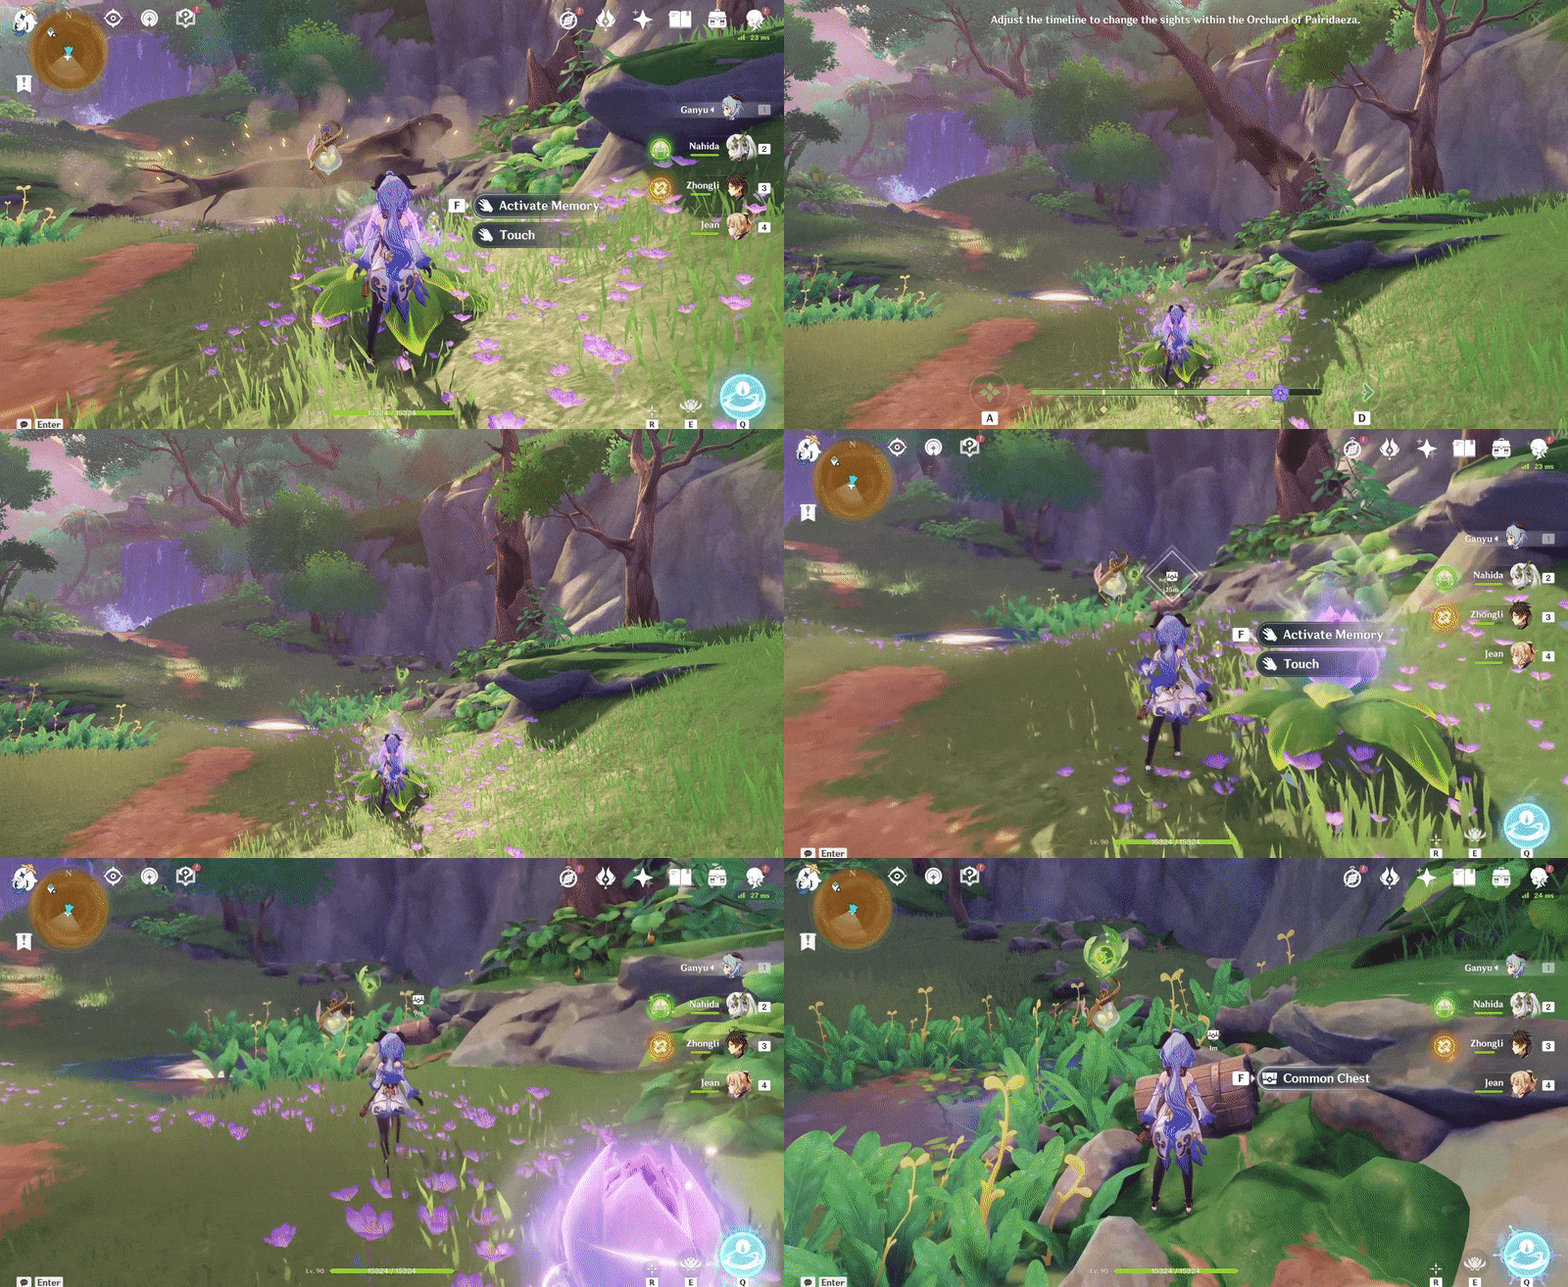
355. [Spawned Chest] Right side of the Oasis, further ahead
Location (Flower Bud):
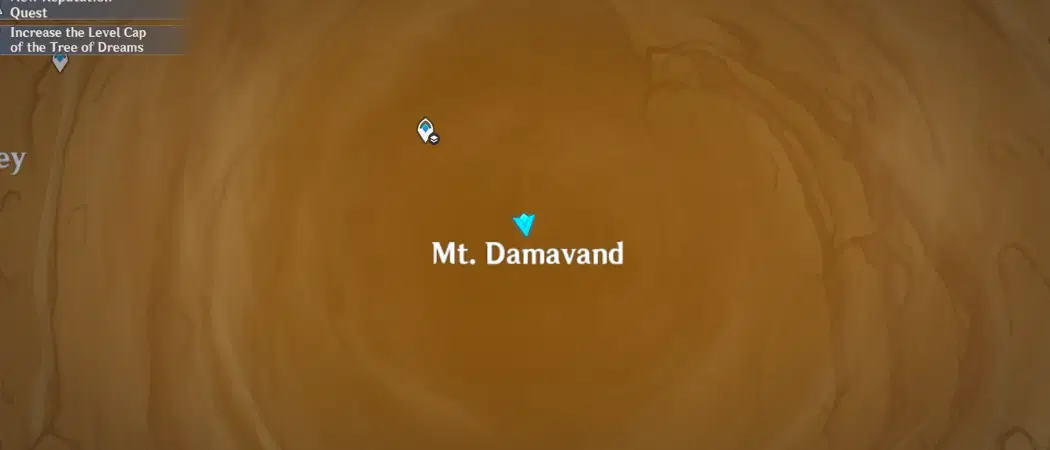
1. Press 'Touch' and follow the Flower Bud until it stops.
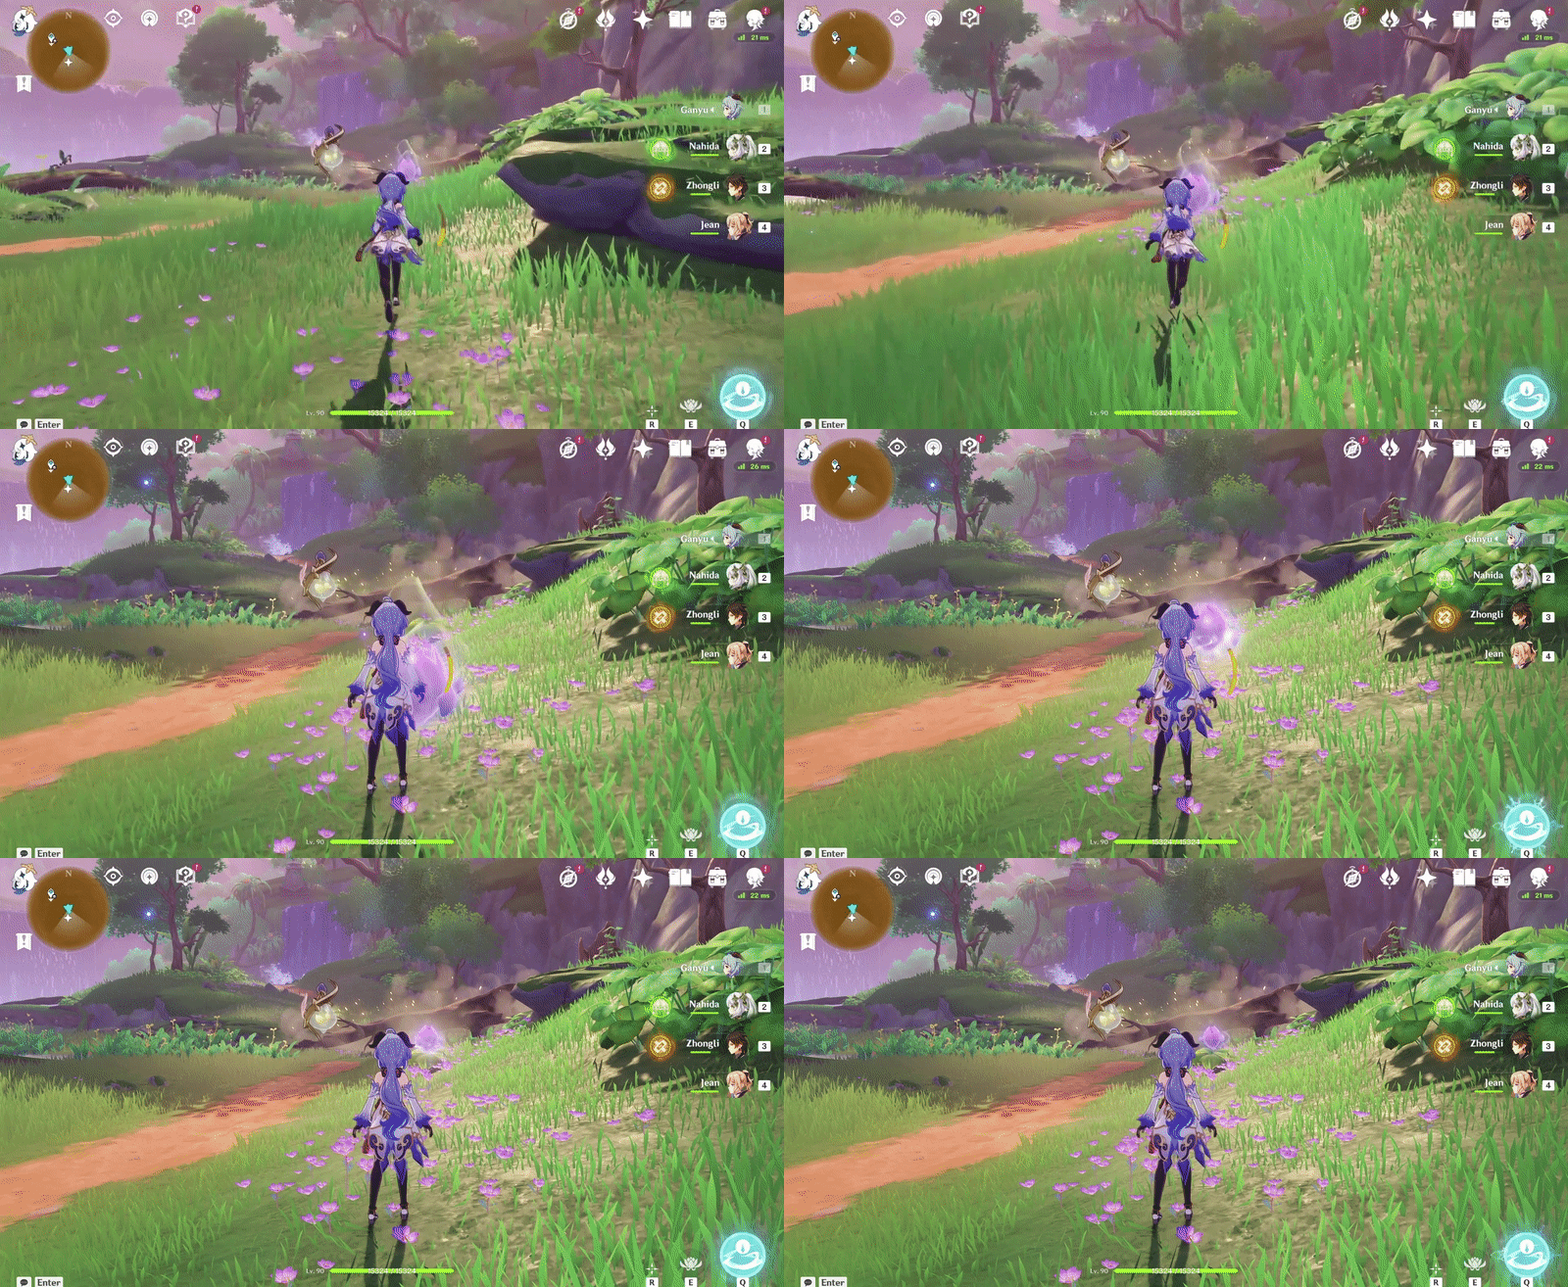
2. Press 'Activate Memory' and move the timeline forwards x1 to remove the obstacles. Press 'Touch' and continue following the Flower Bud until it stops again.
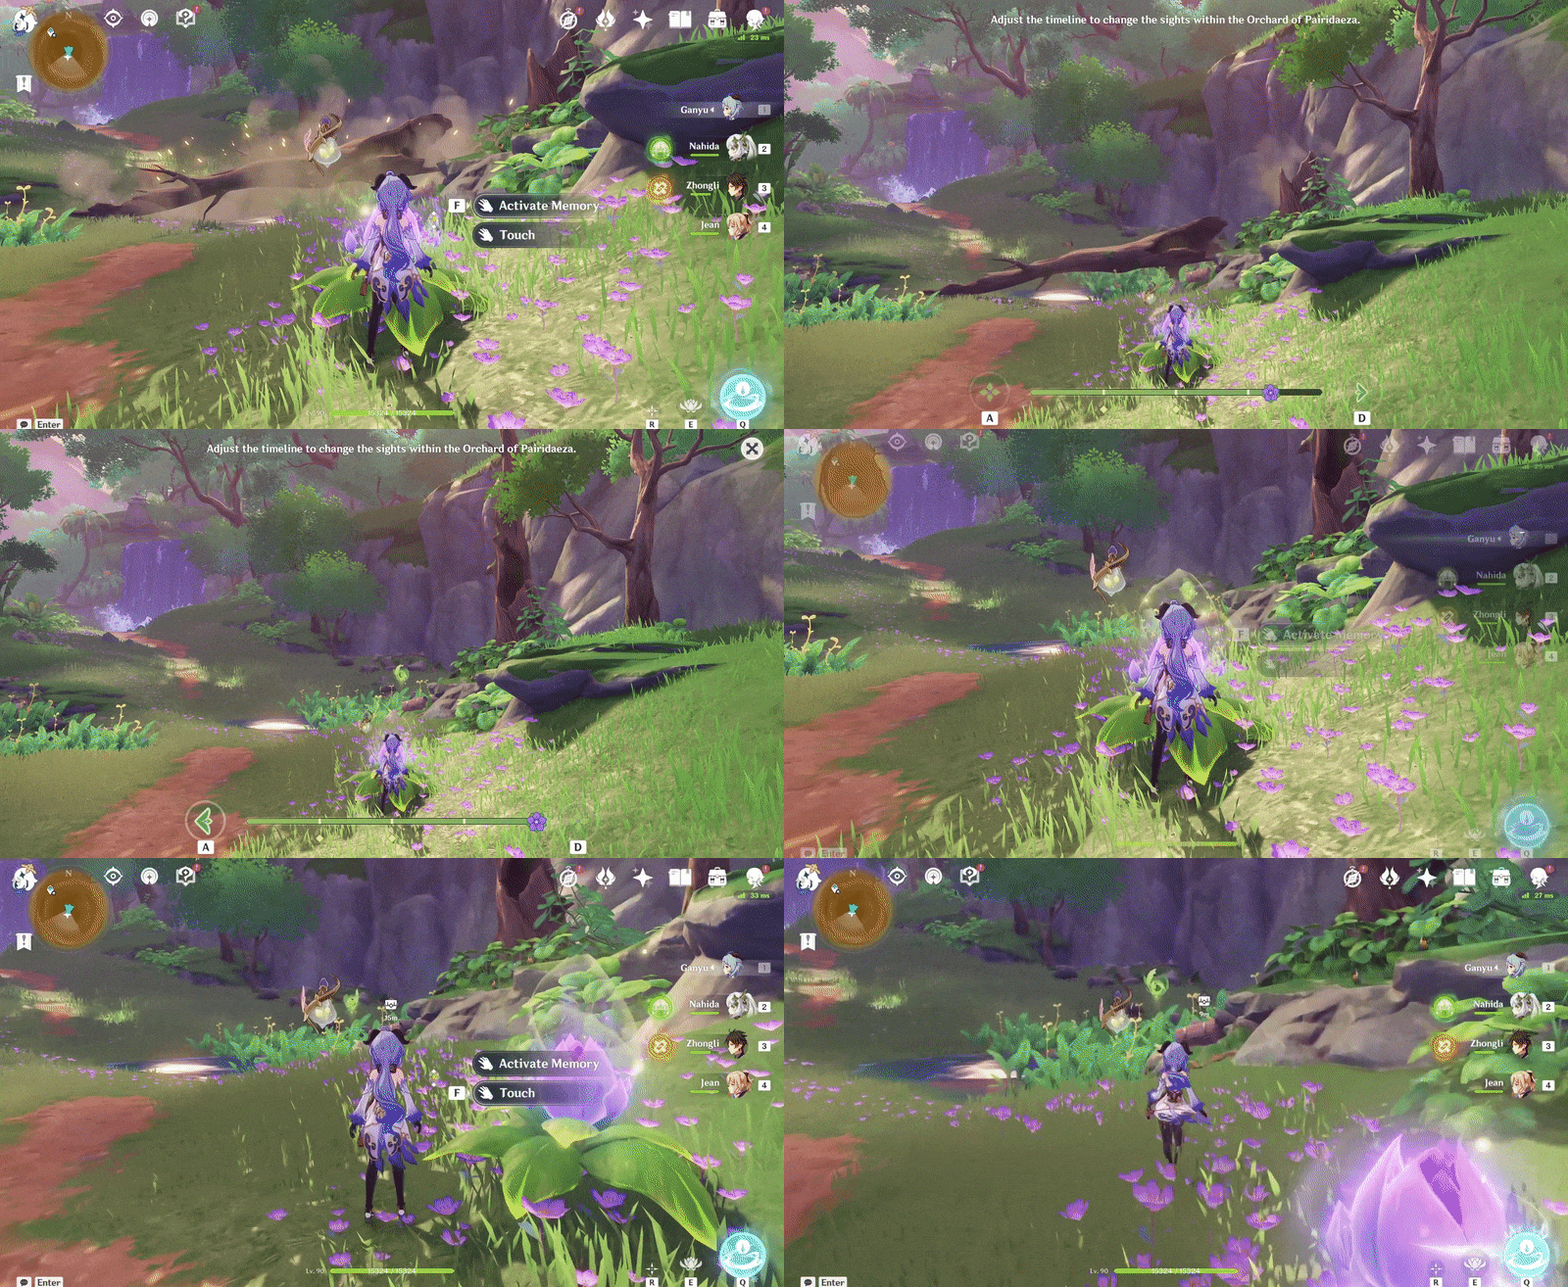
3. Press 'Activate Memory' and move the timeline backwards x3 to remove the obstacles. Press 'Touch' and continue following the Flower Bud until it stops again.
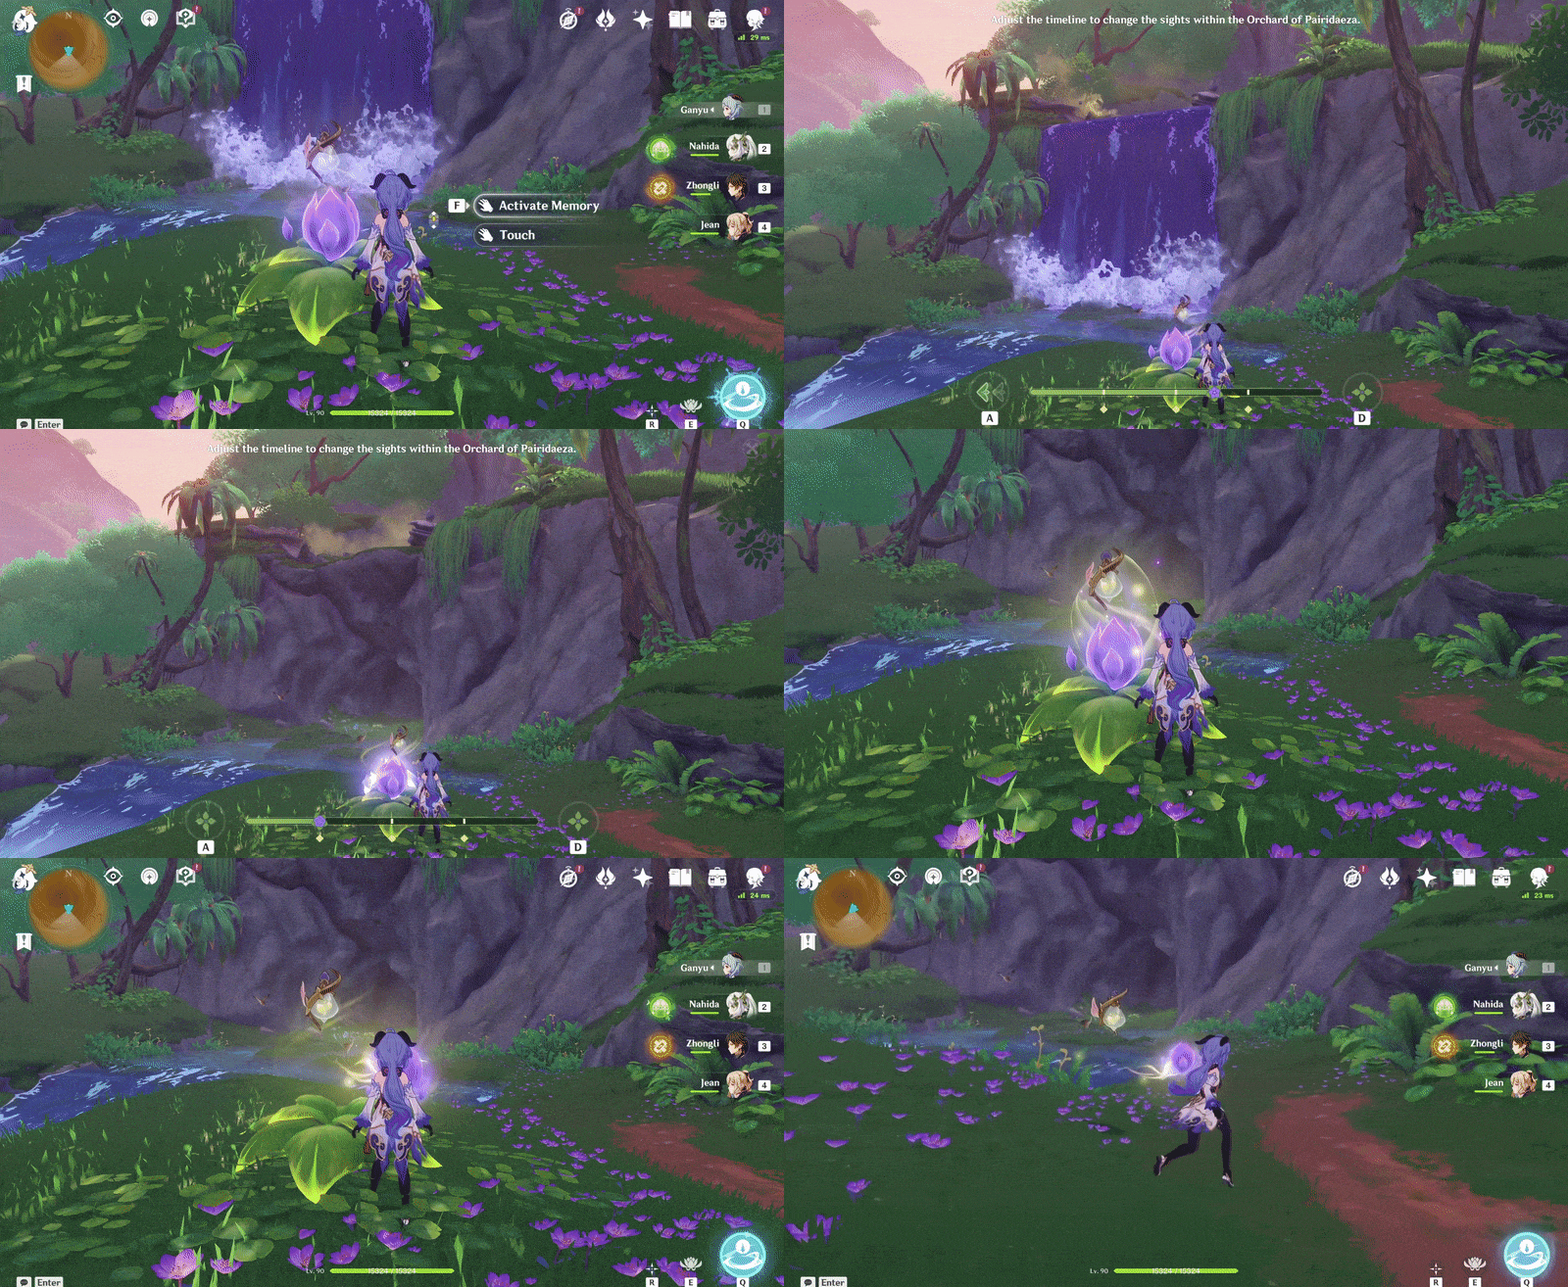
4. Press 'Activate Memory' and move the timeline backwards x1 to remove repair the Memories of the Eternal Oasis (III) and collect it.
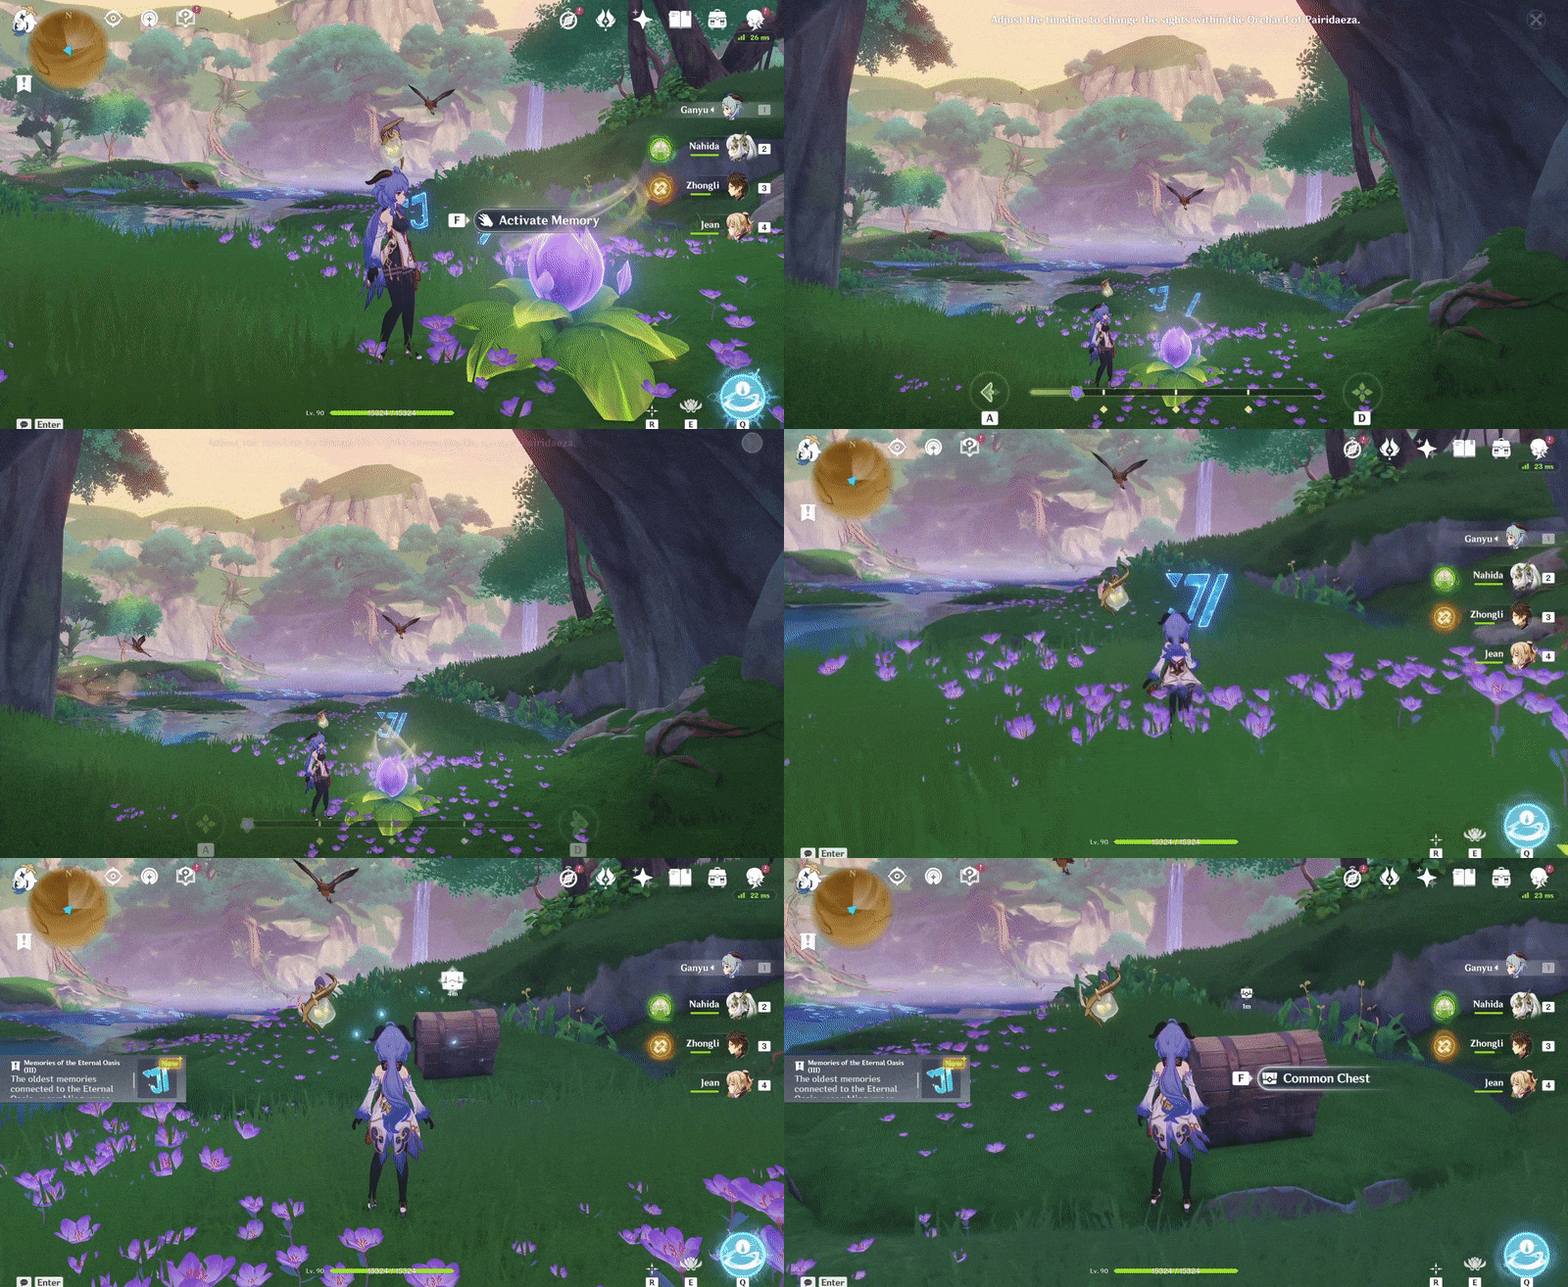
356 requires Lv.3 Jinni's Might to dispel the Large Atmospheric Vortex.
356. [Spawned Chest]
[Requires Liloupar- Lv.3 Jinni's Might]
Approach the Large Atmospheric Vortex with Lv.3 Liloupar equipped to dispel it, revealing the Weathered Obelisks. Hit the left Weathered Obelisk x2, hit the centre Weathered Obelisk x1 and hit the right Weathered Obelisk x1 (so that it matches the patterns on the ones south-west) to spawn the chest.
Location:

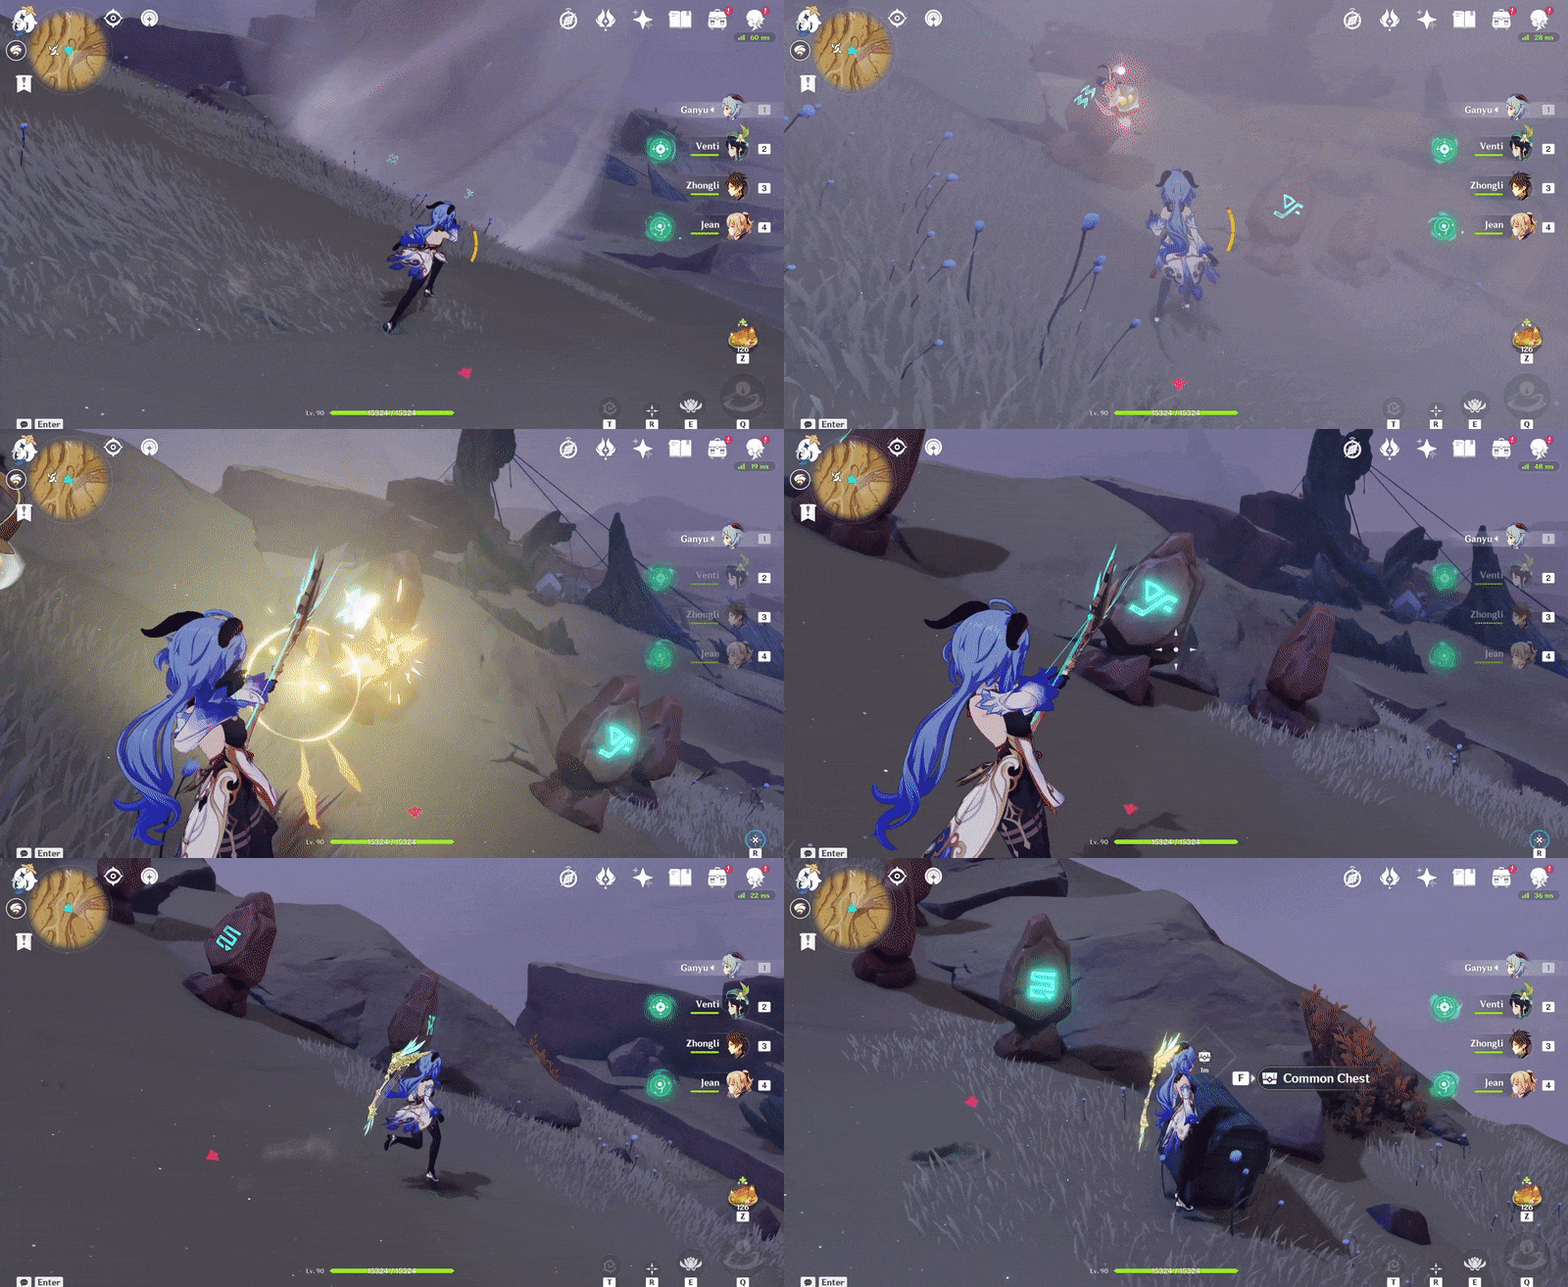
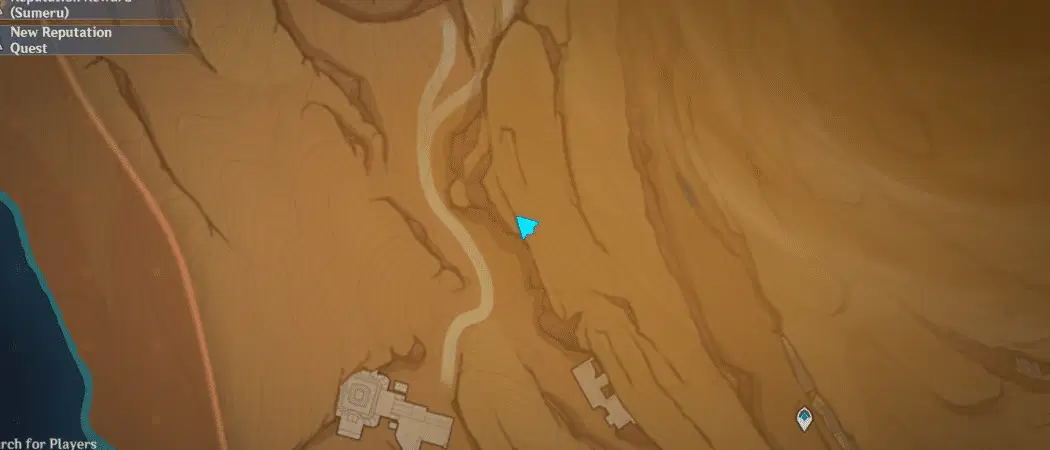
357+358 are part of the Mysterious Clipboard- Photos #14 and #15. Visit the Mailbox on each daily reset to receive the 2 new photos and spawn the chests.
357. [Spawned Chest] In the cave
Will spawn after pressing 'Dig'.
Location:
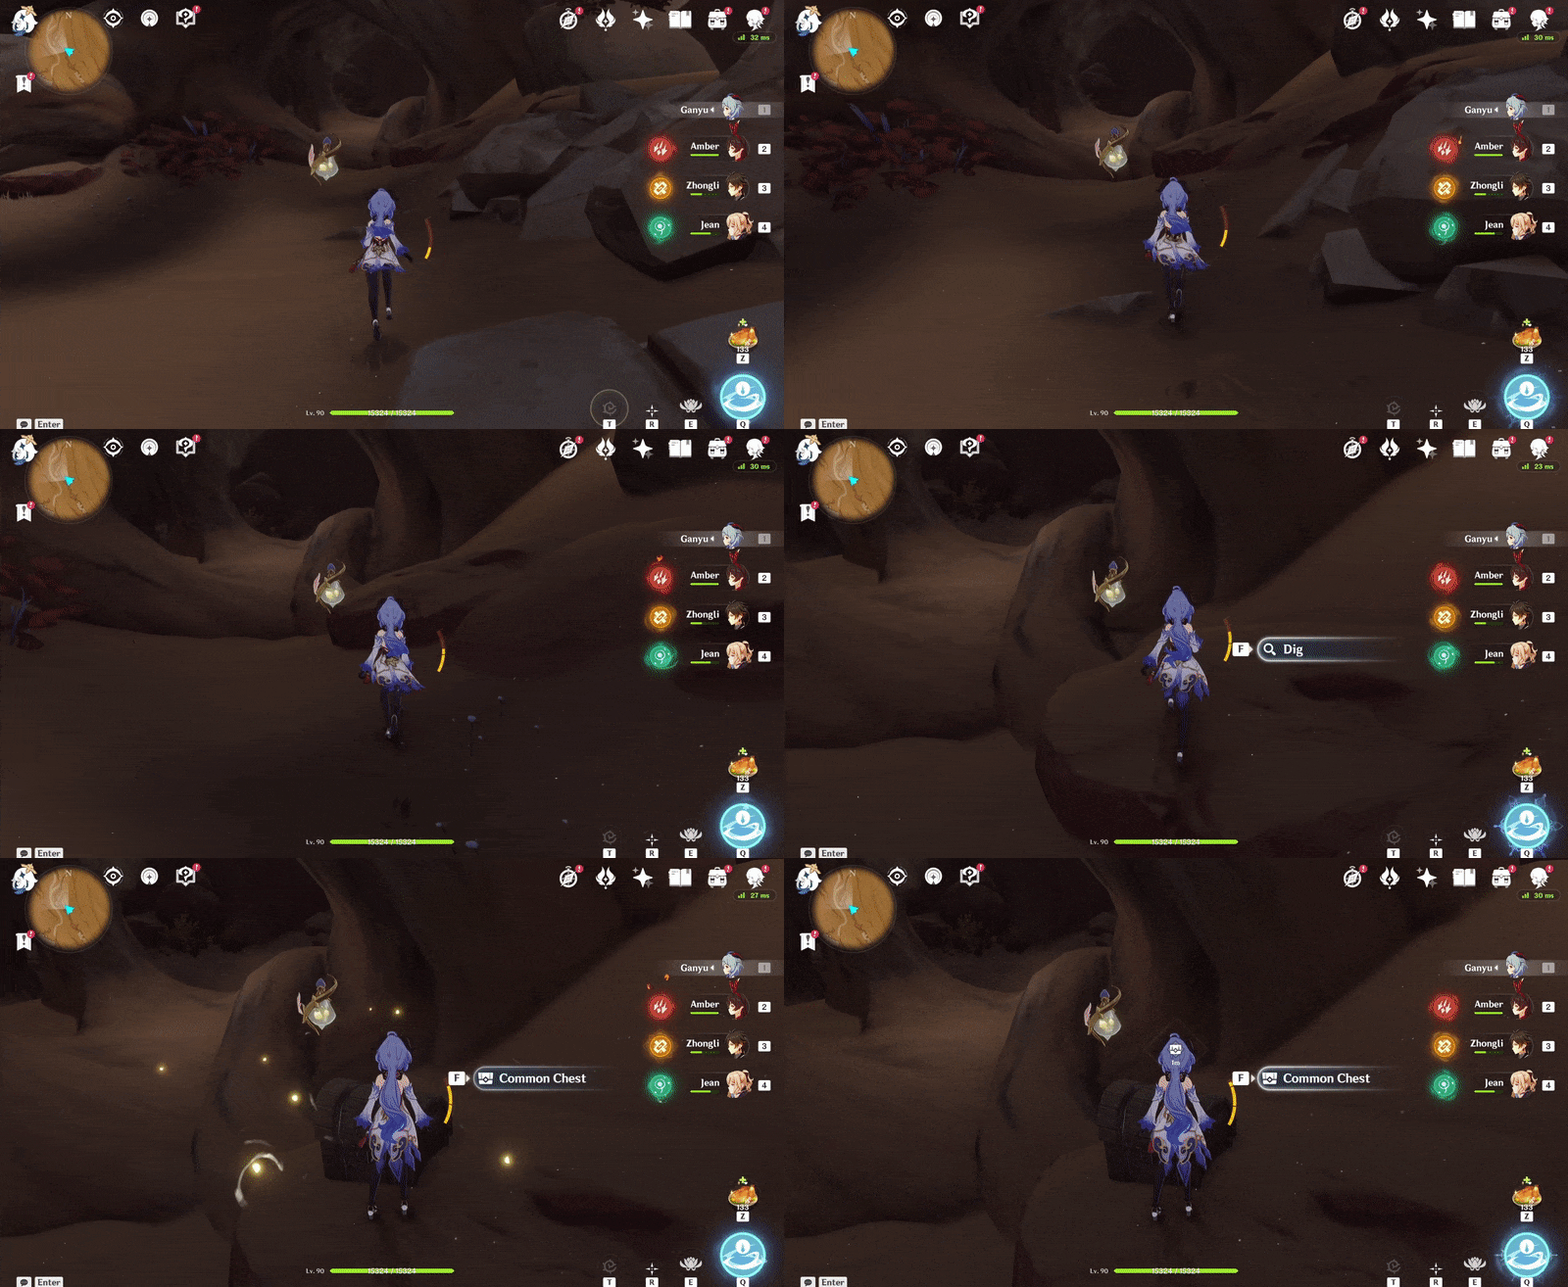
358. [Spawned Chest] In the Wenut Tunnels, at the bottom most level
Will spawn after pressing 'Dig'.
Location:
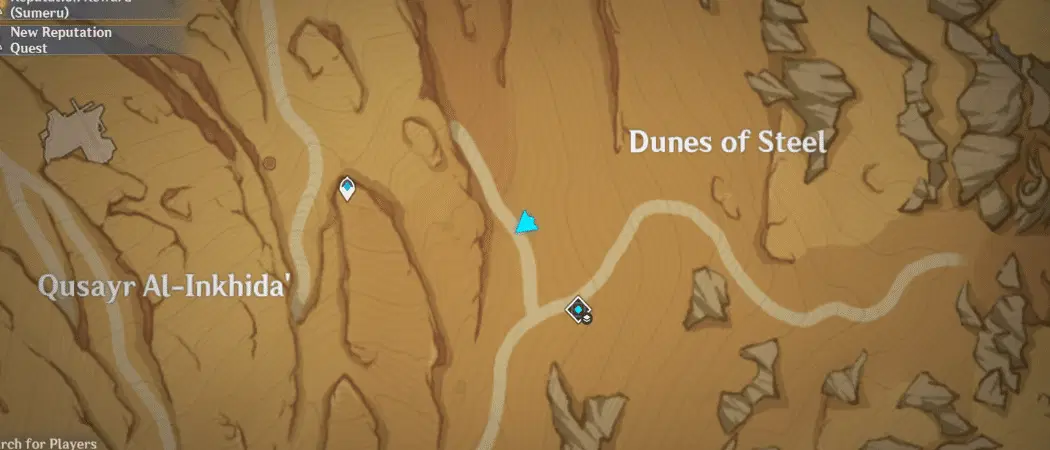
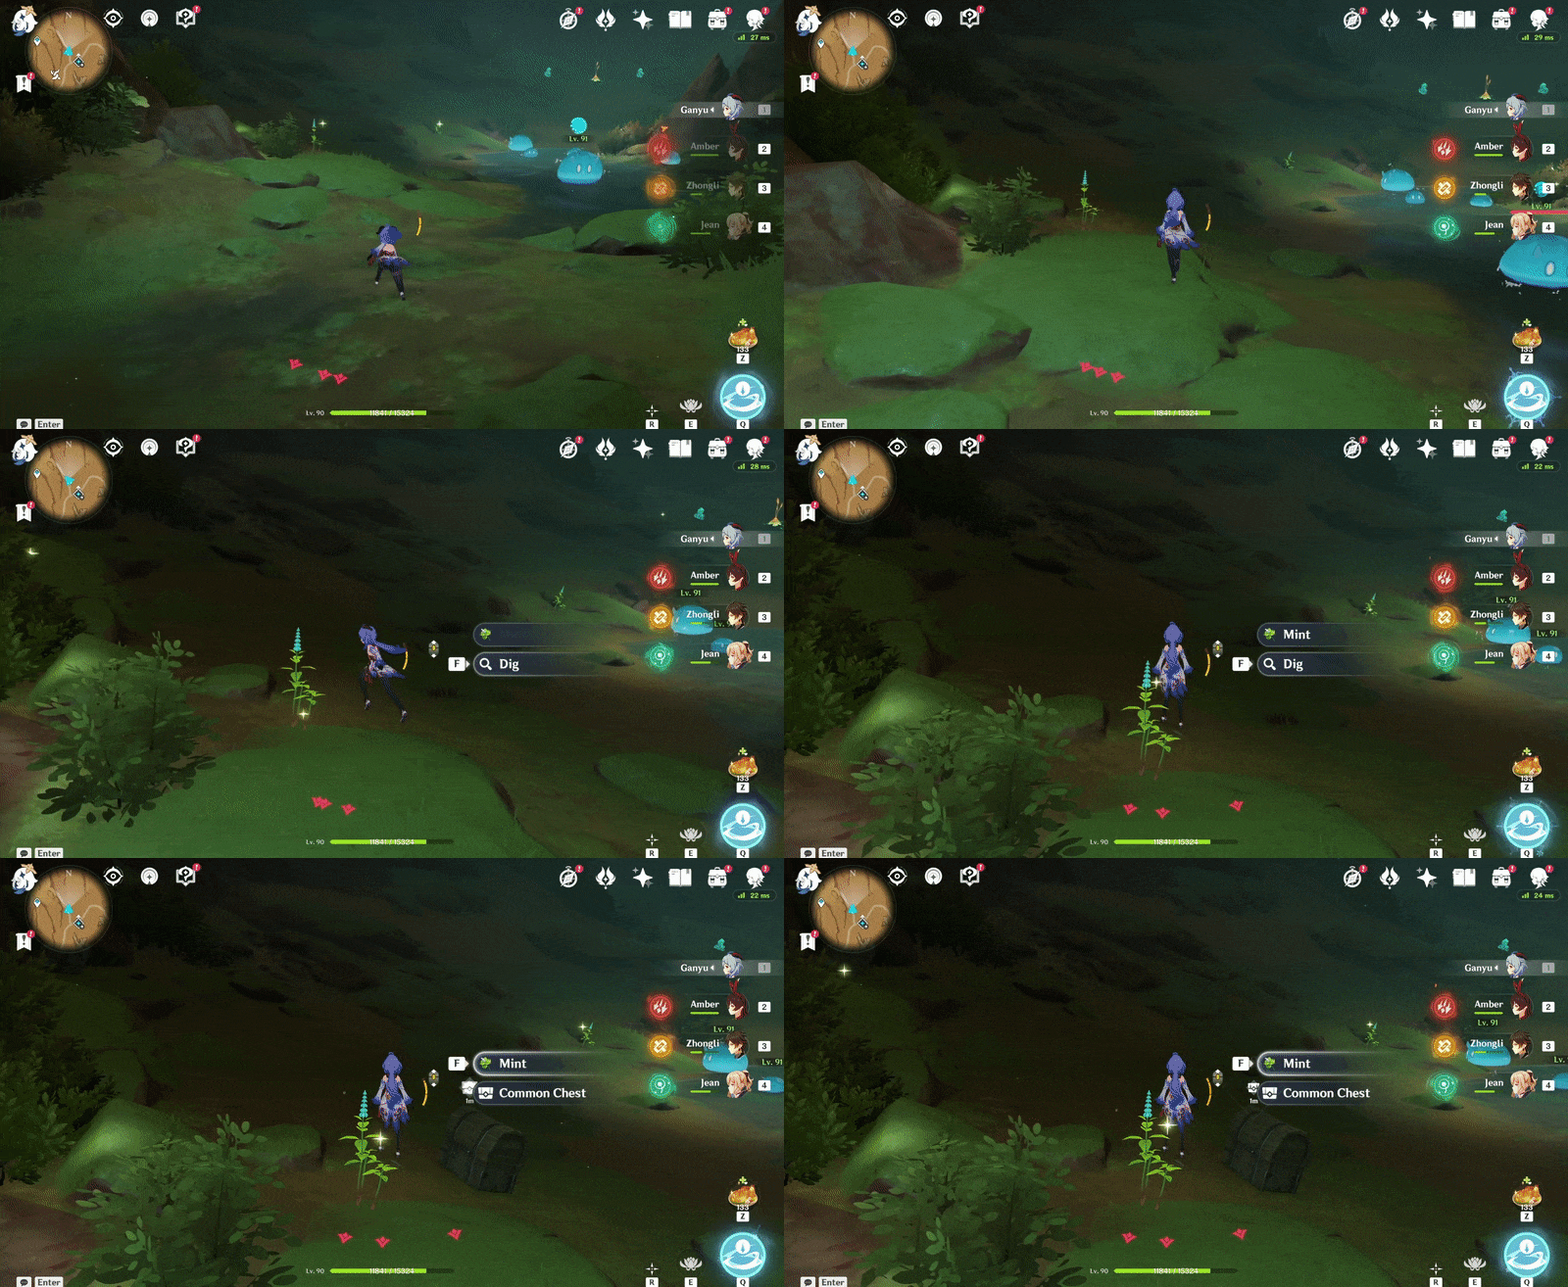
359. [Spawned Chest]
Will spawn after completing the Time Trial Challenge ('Collect 8 Dendro Particles within 40s').
Location (Challenge Marker):
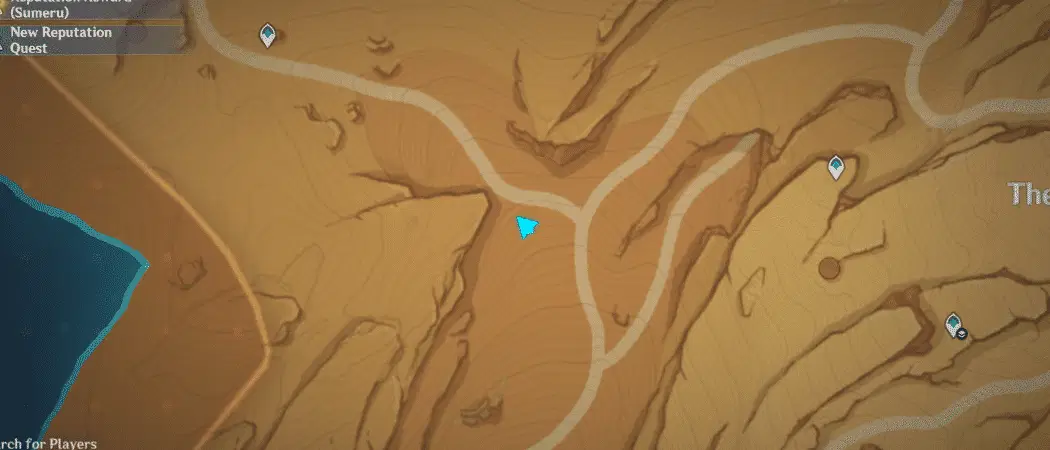
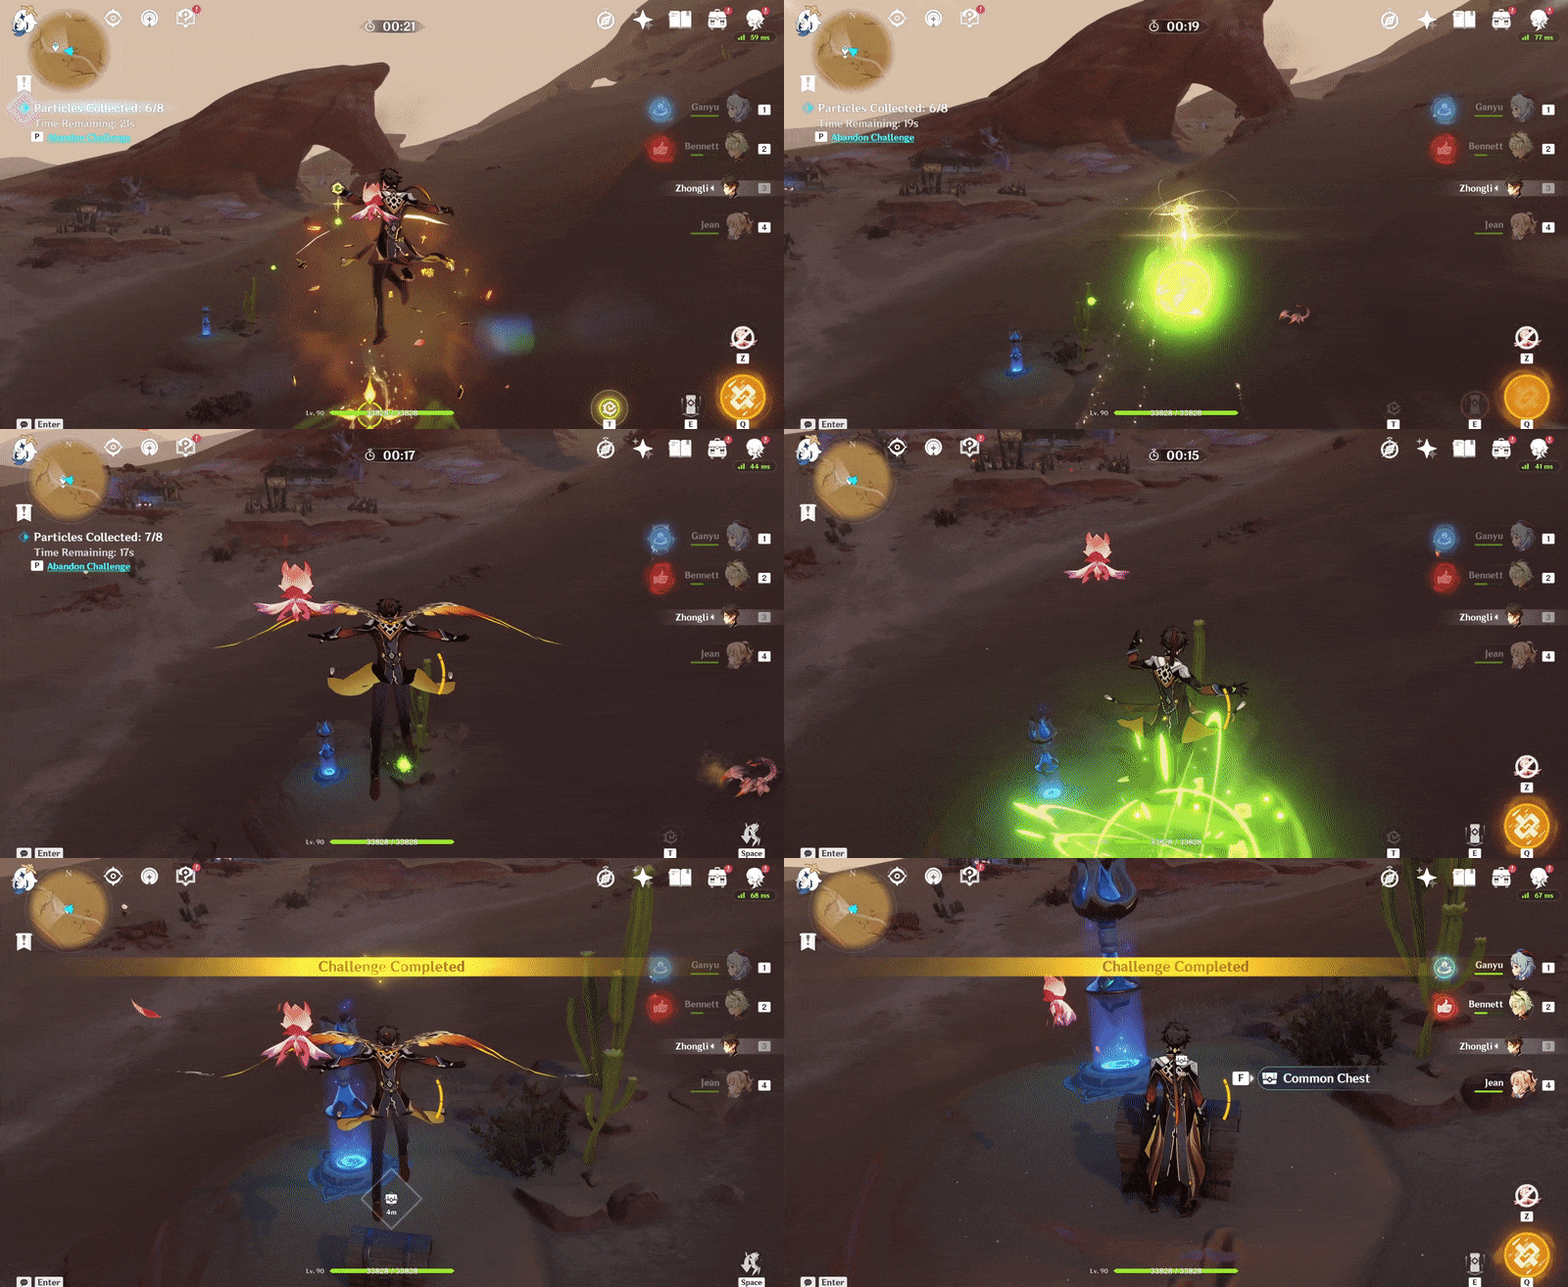
360. [Spawned Chest] By the bushes
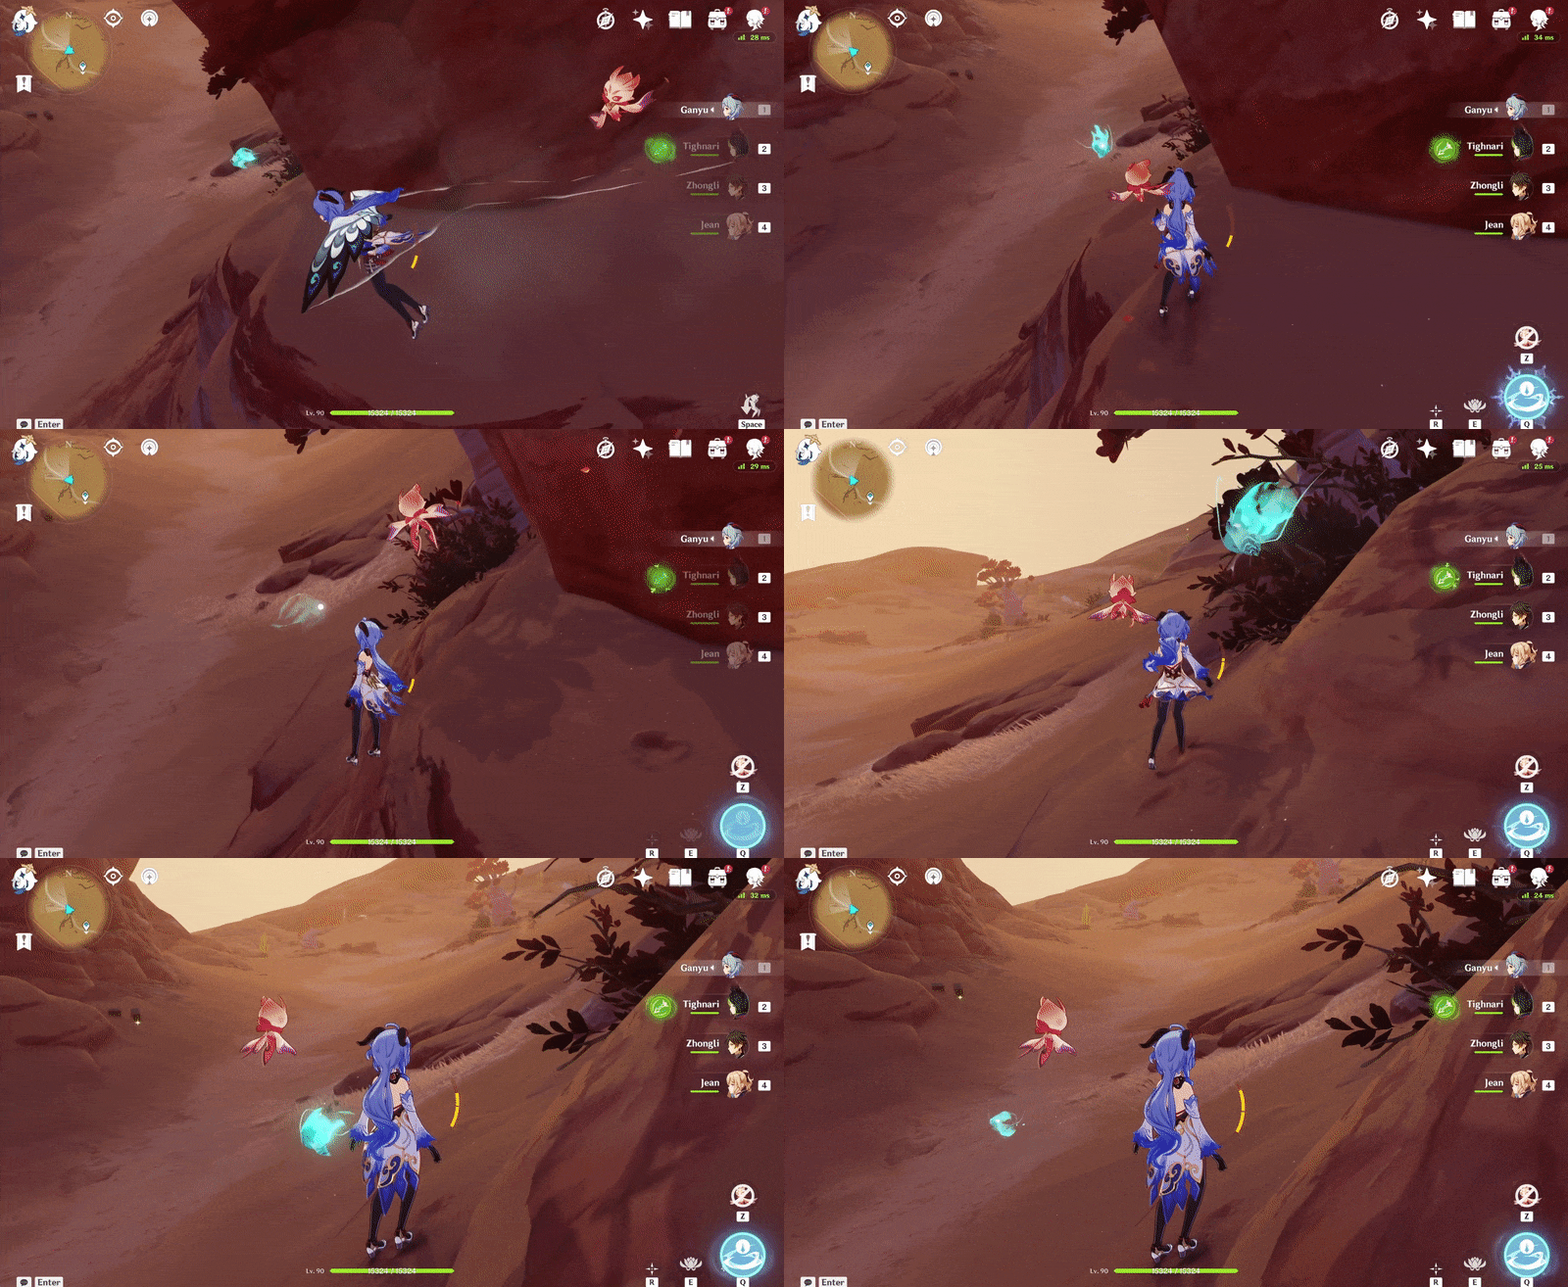
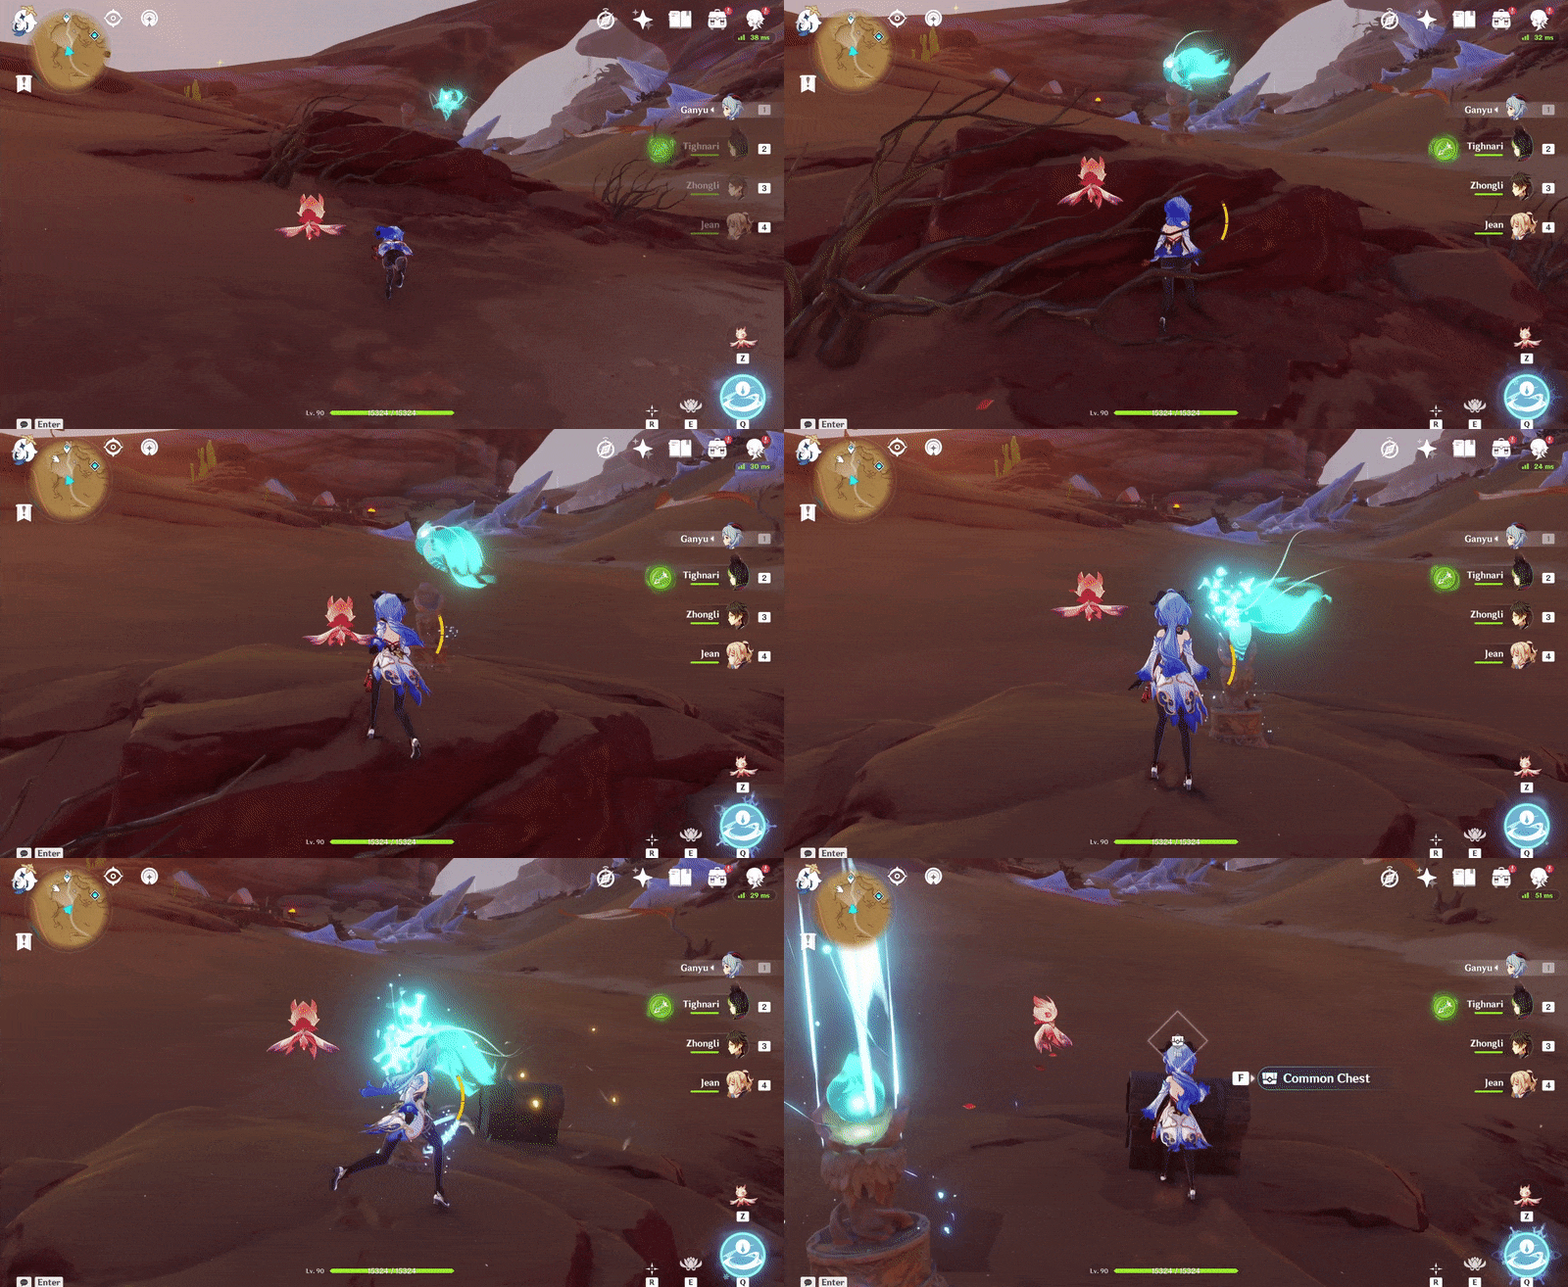
Will spawn after the Seelie returns to its Statue.
Location (Seelie):

Location (Seelie Statue):

Previous:[Guide] Common Chests - Sumeru Desert: Part 17
Index:[Index] Common Chests



