


Previous:[Guide] Common Chests - Sumeru Desert: Part 19
Index:[Index] Common Chests
Next:[Guide] Common Chests - Sumeru Desert: Part 21

-Footage & Location photos are from my 1st account-
If there is anything you're unsure about, feel free to ask!
381-383 are also part of the Luxurious Chest Puzzle.
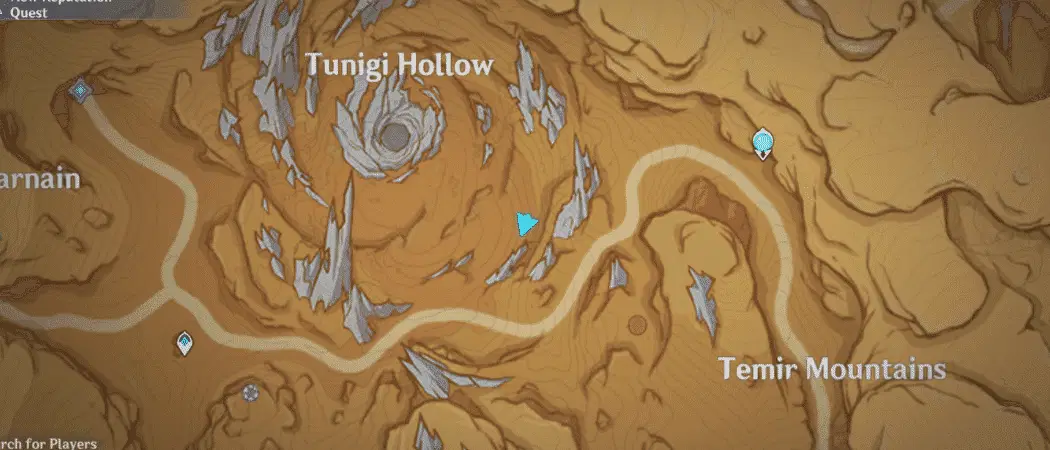
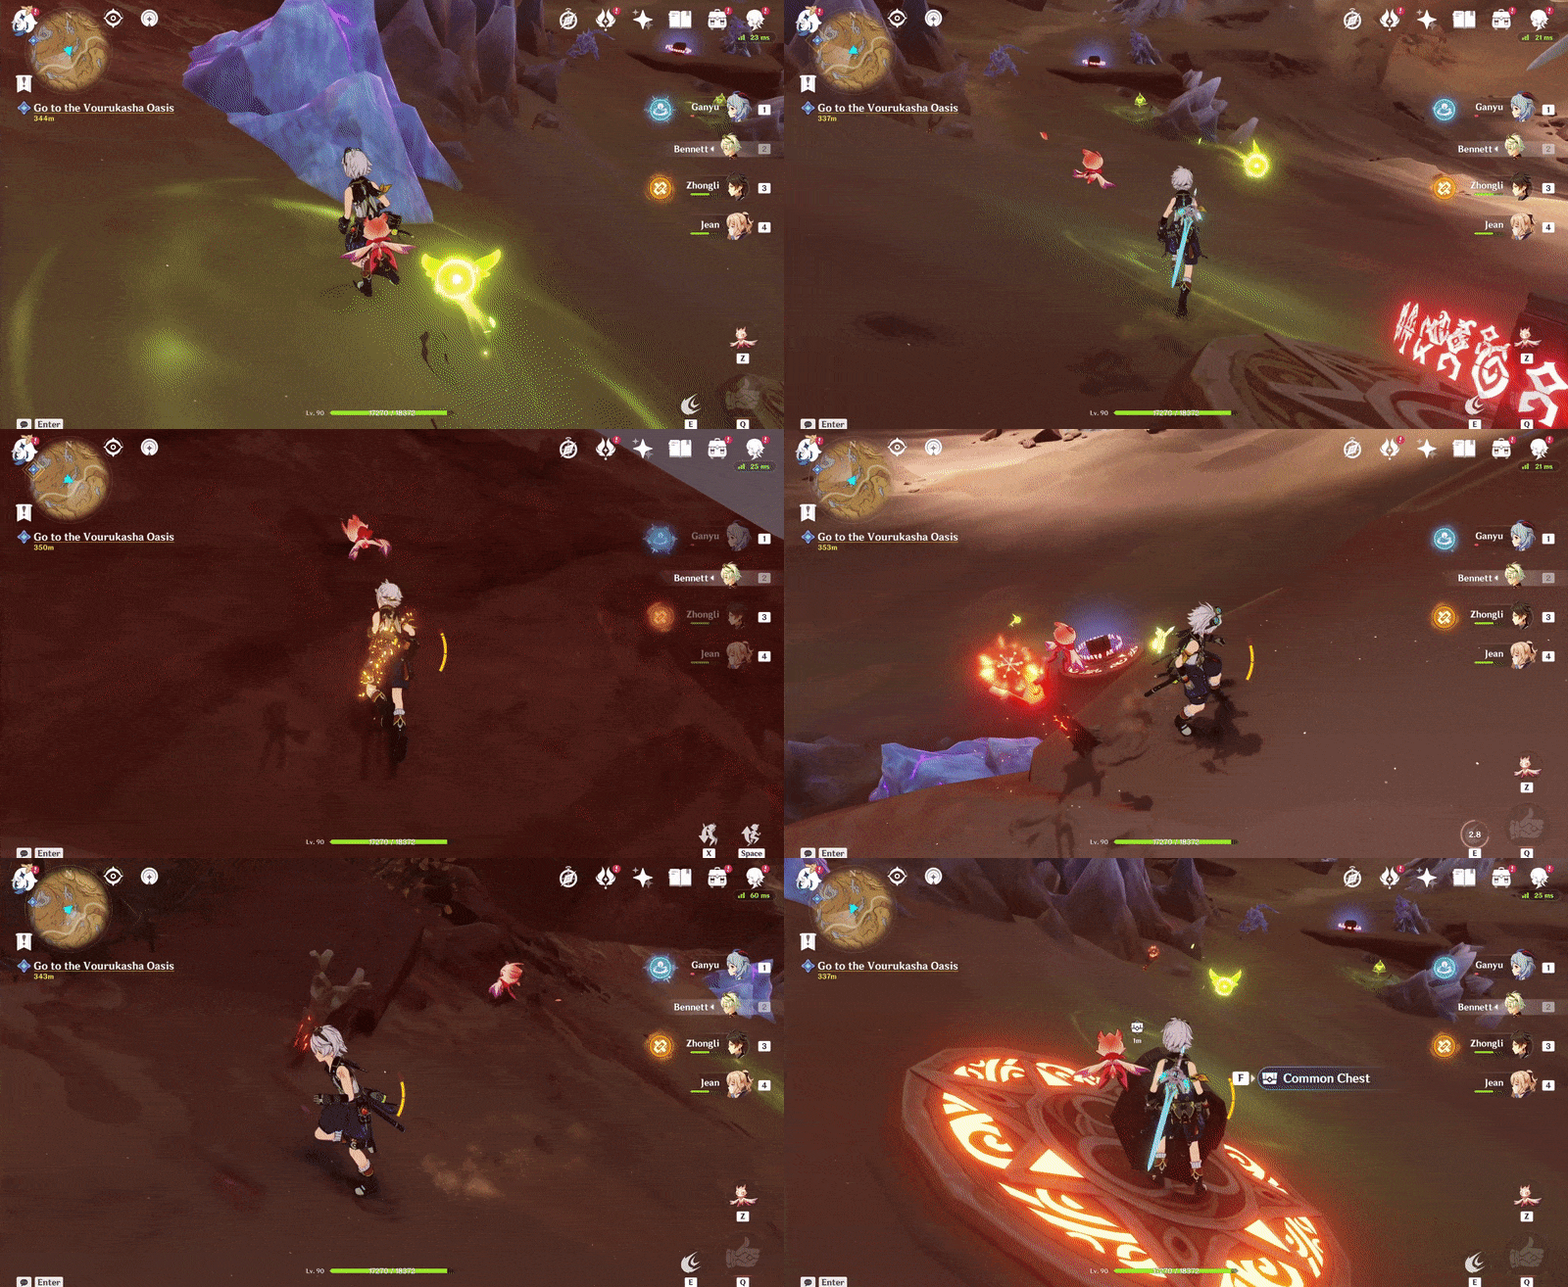
381. [Locked Chest]
Will unlock after lighting the 4 Pyro torches with Pyro (also freeing the Khvarena Power).
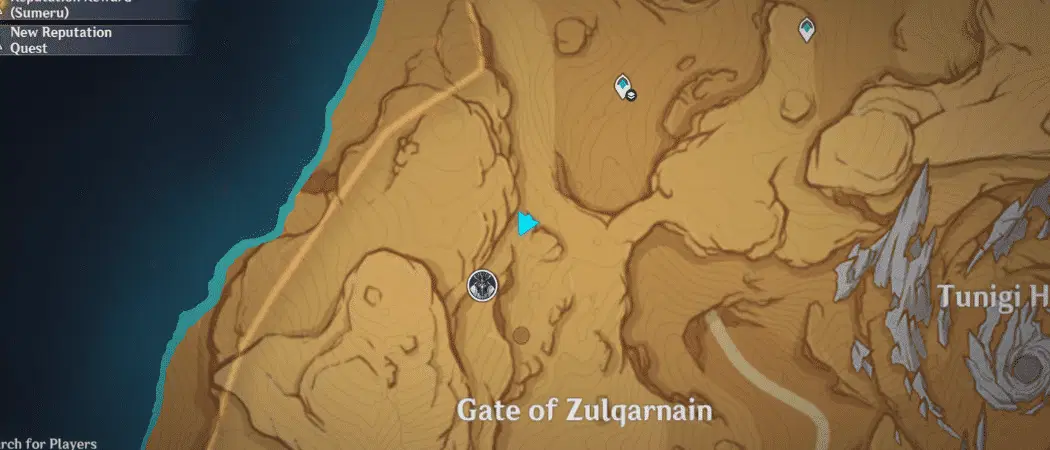
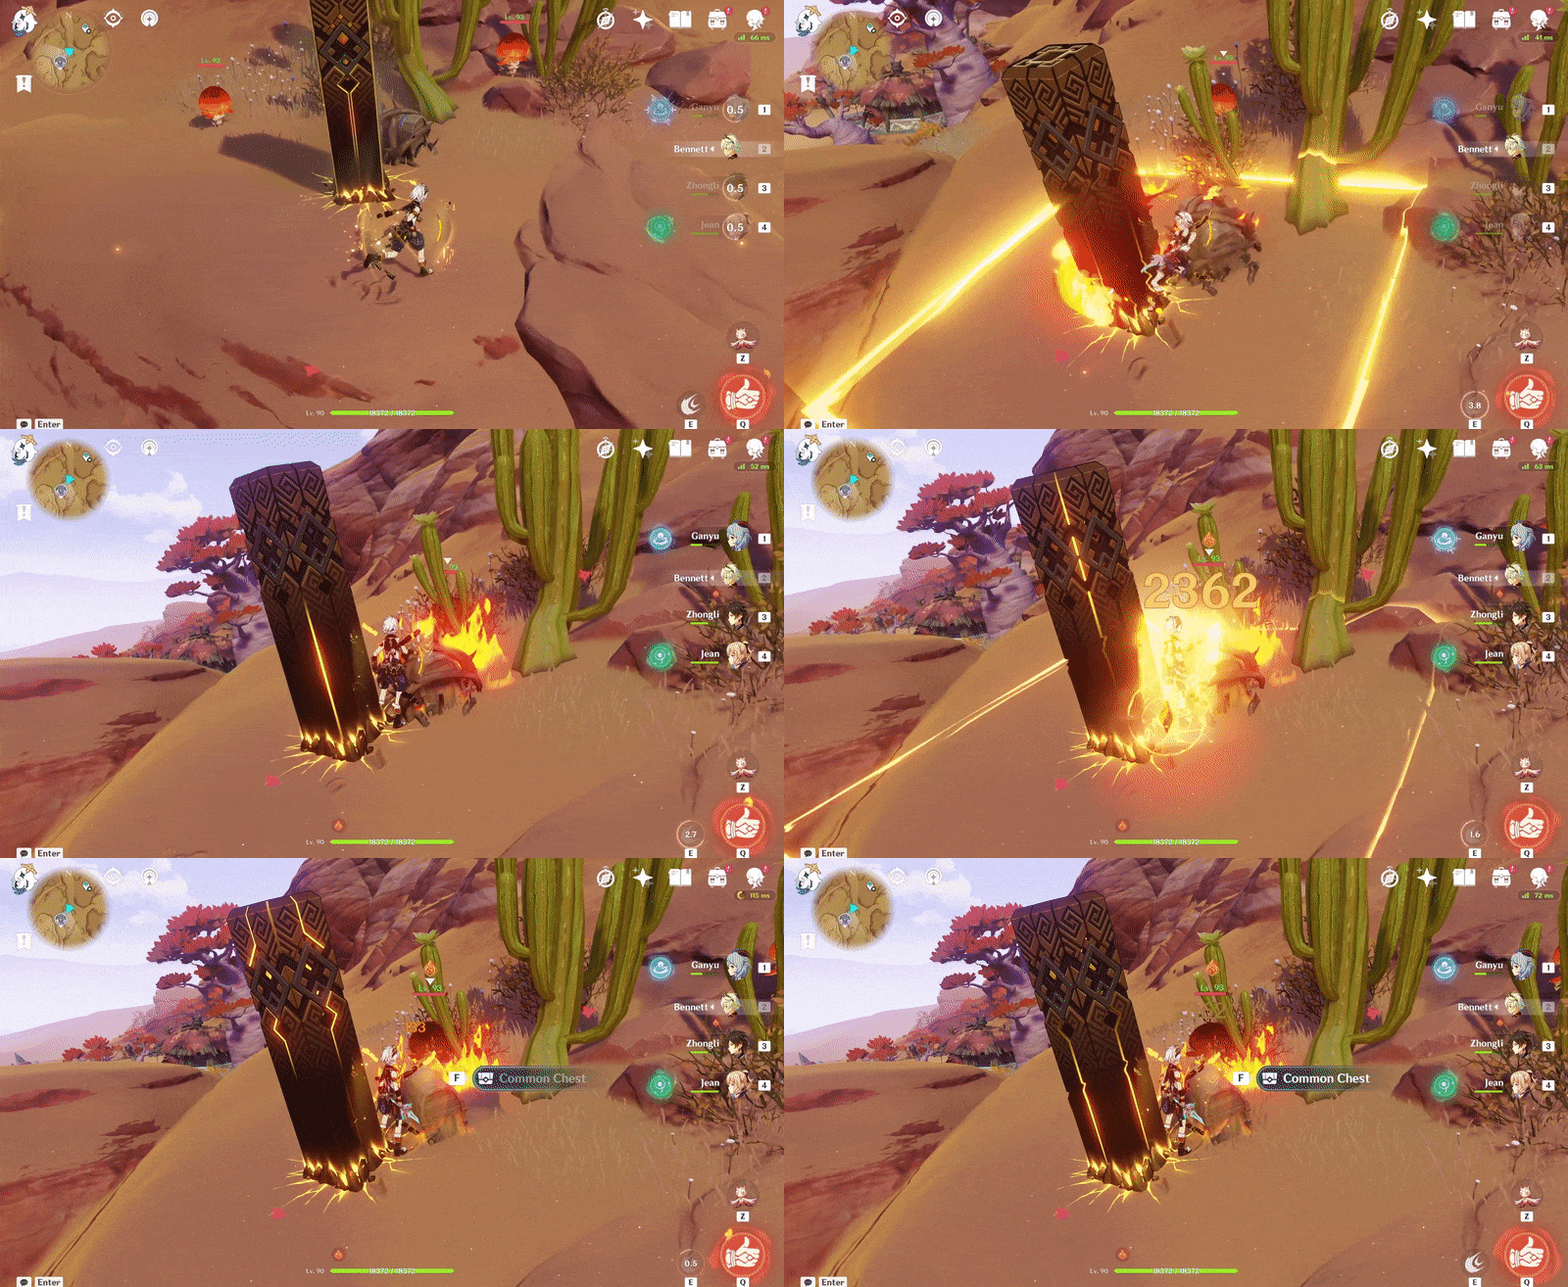
Location:
382. [Spawned Chest] On top of the above Common Chest
Follow the Khvarena Power and defeat 1 Rockfond Rifthound that spawns to spawn the chest.
Location (Khvarena Power):
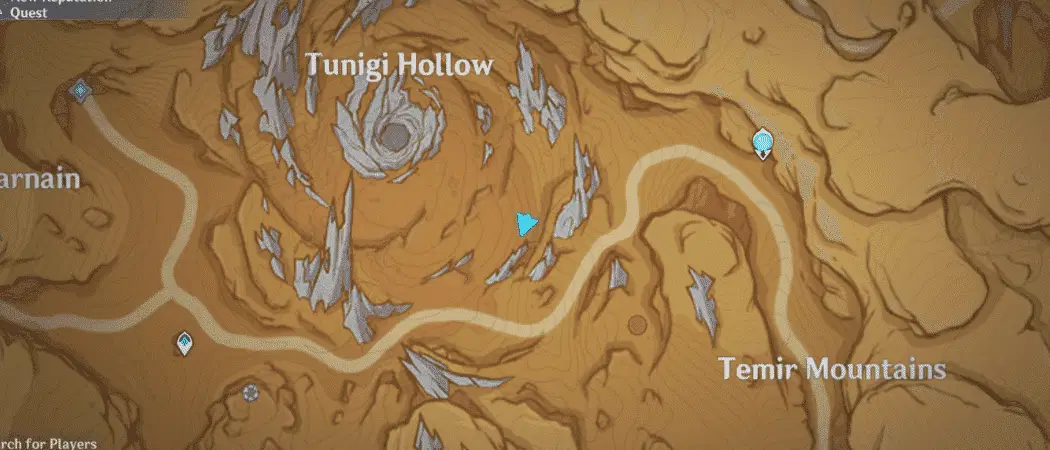
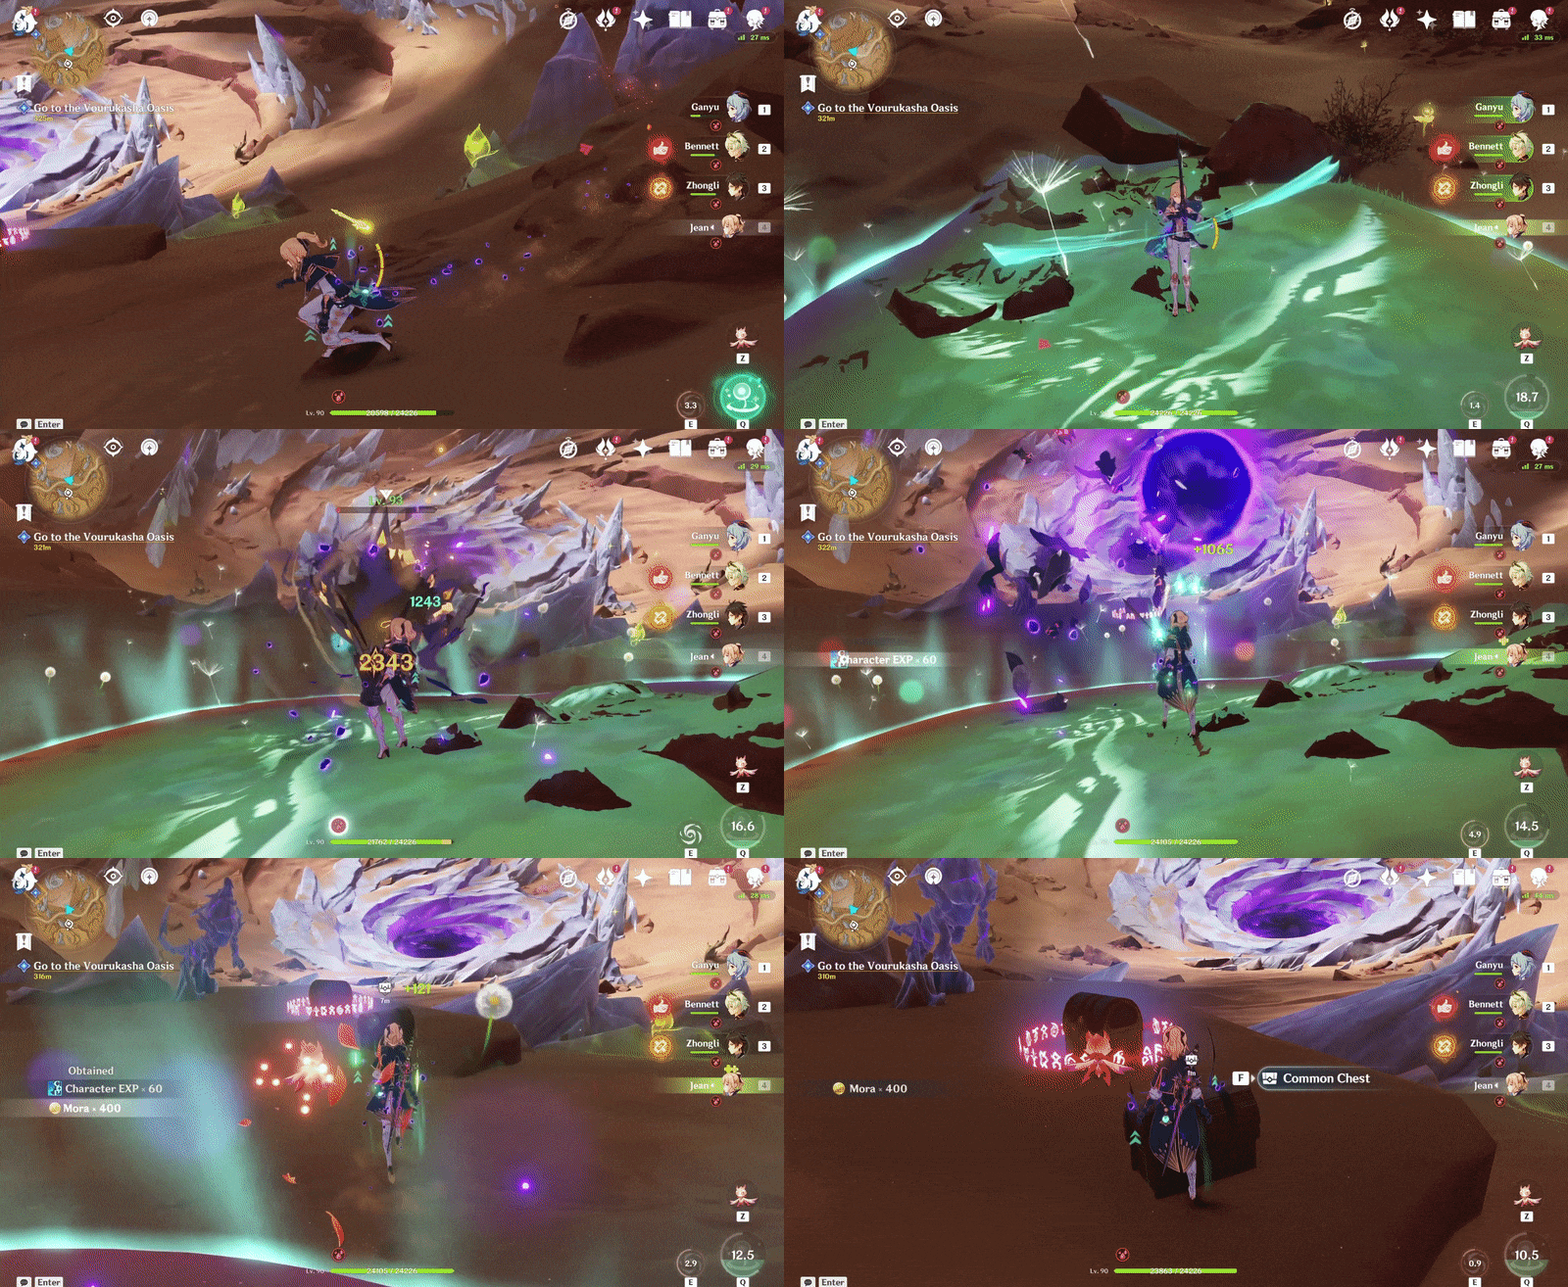
383. [Spawned Chest]
Location (Khvarena Power):

1. Follow the Khvarena Power and defeat 1 Rockfond Rifthound Whelp and 1 Thundercraven Rifthound Whelp that spawn.
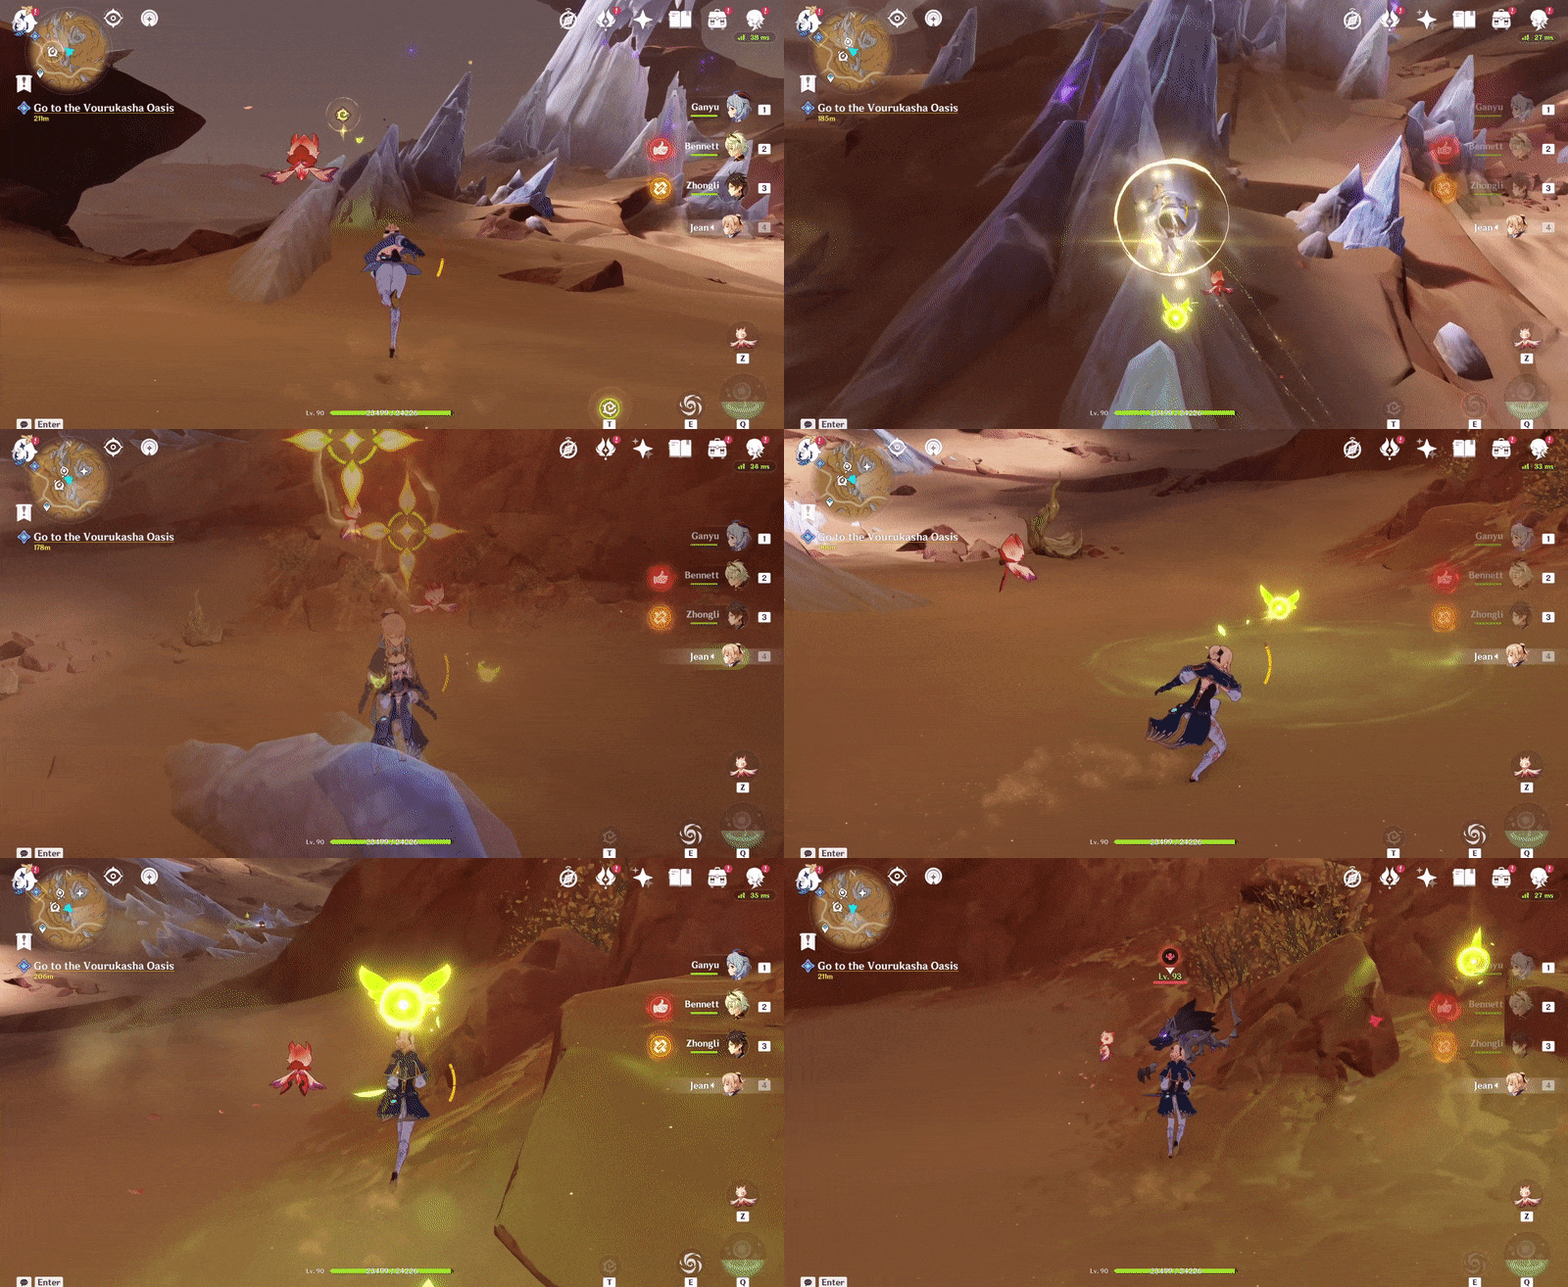
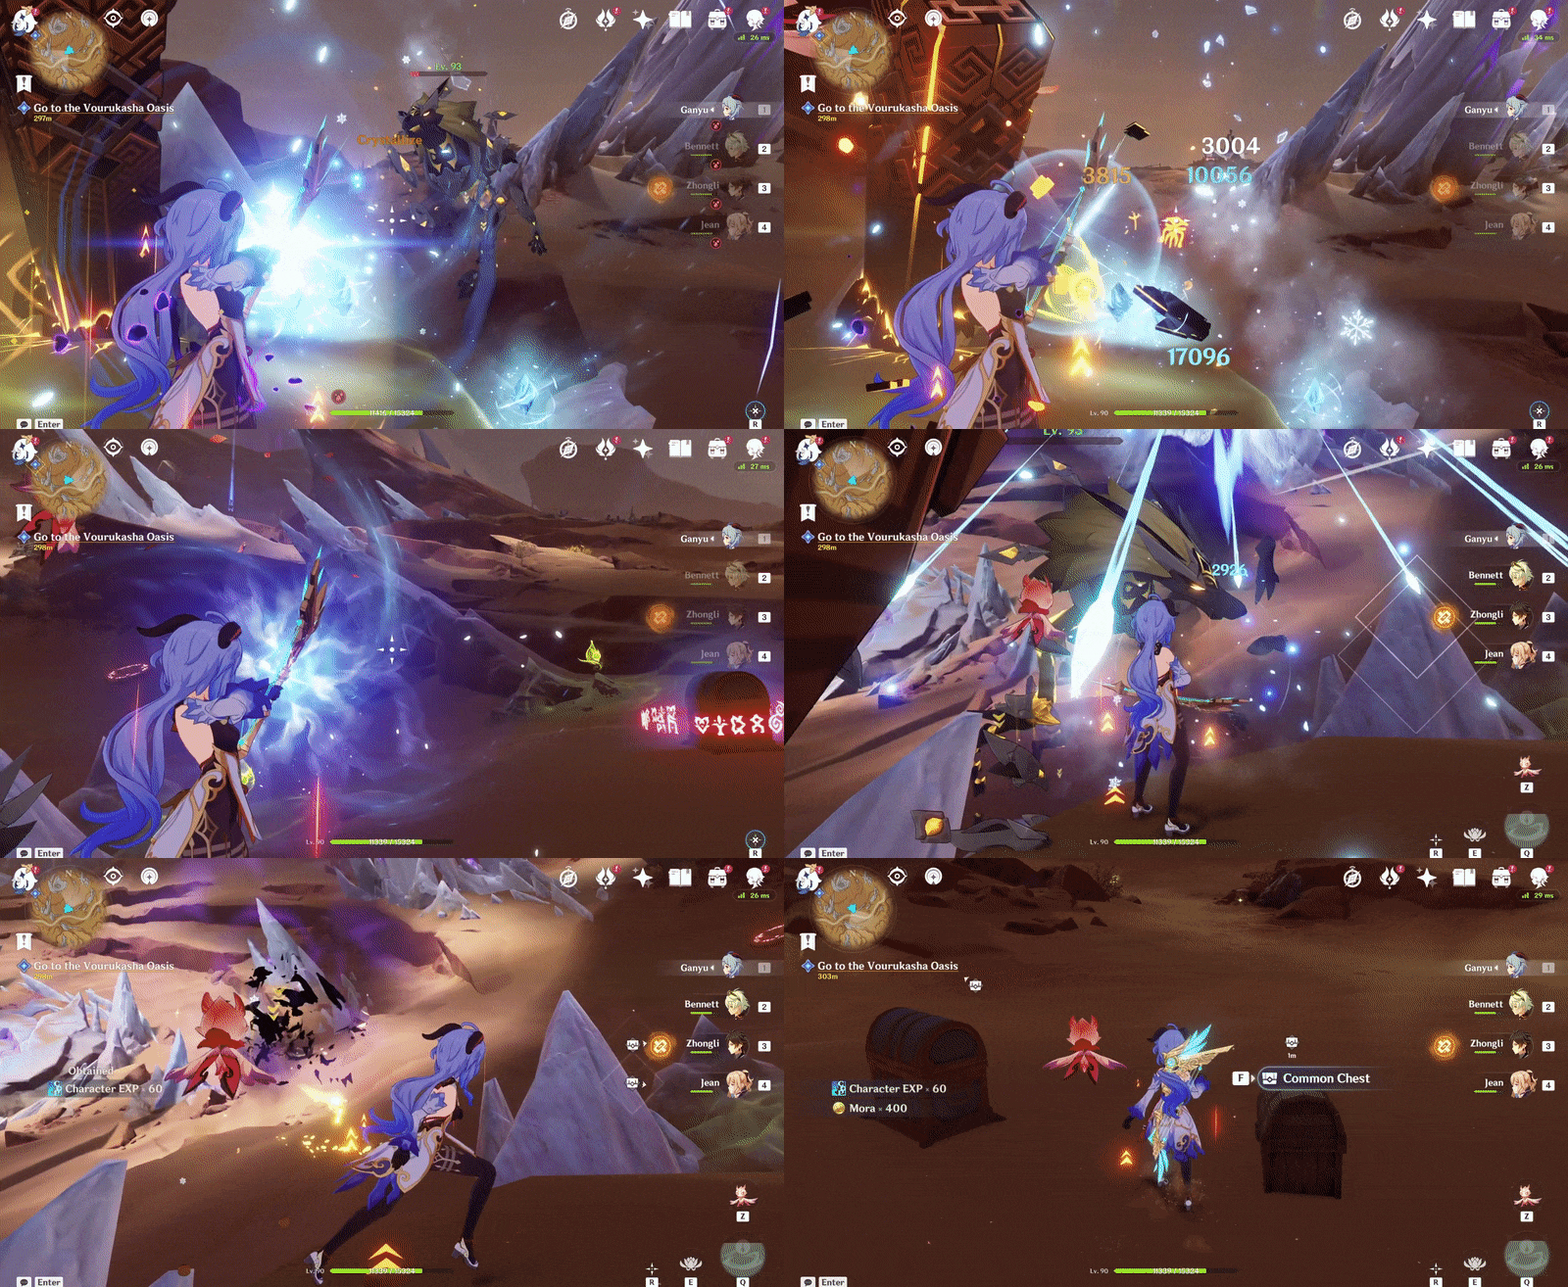
2. Continue following it, and defeat 1 Rockfond Rifthound to spawn the chest.
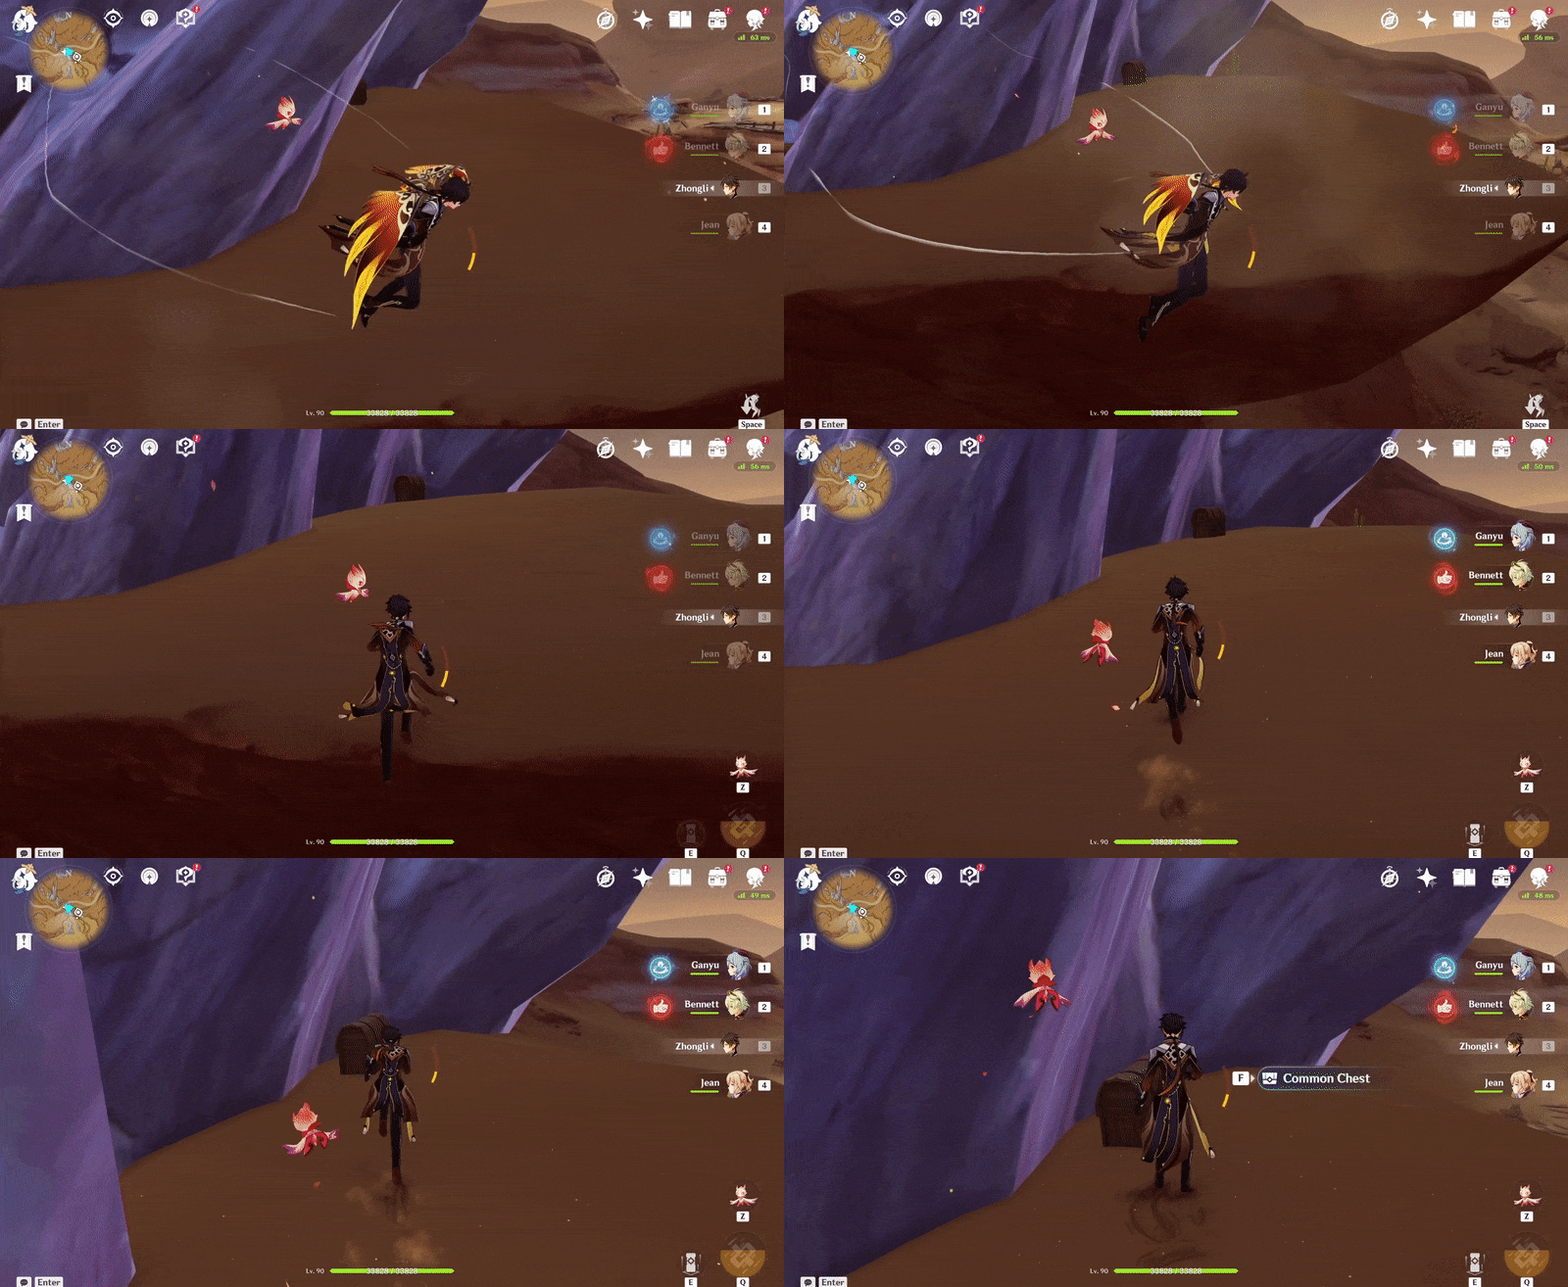
384. [Open Chest] Beneath the petrified Wenut remains, on the ledge
No requirements needed to access.
Location:

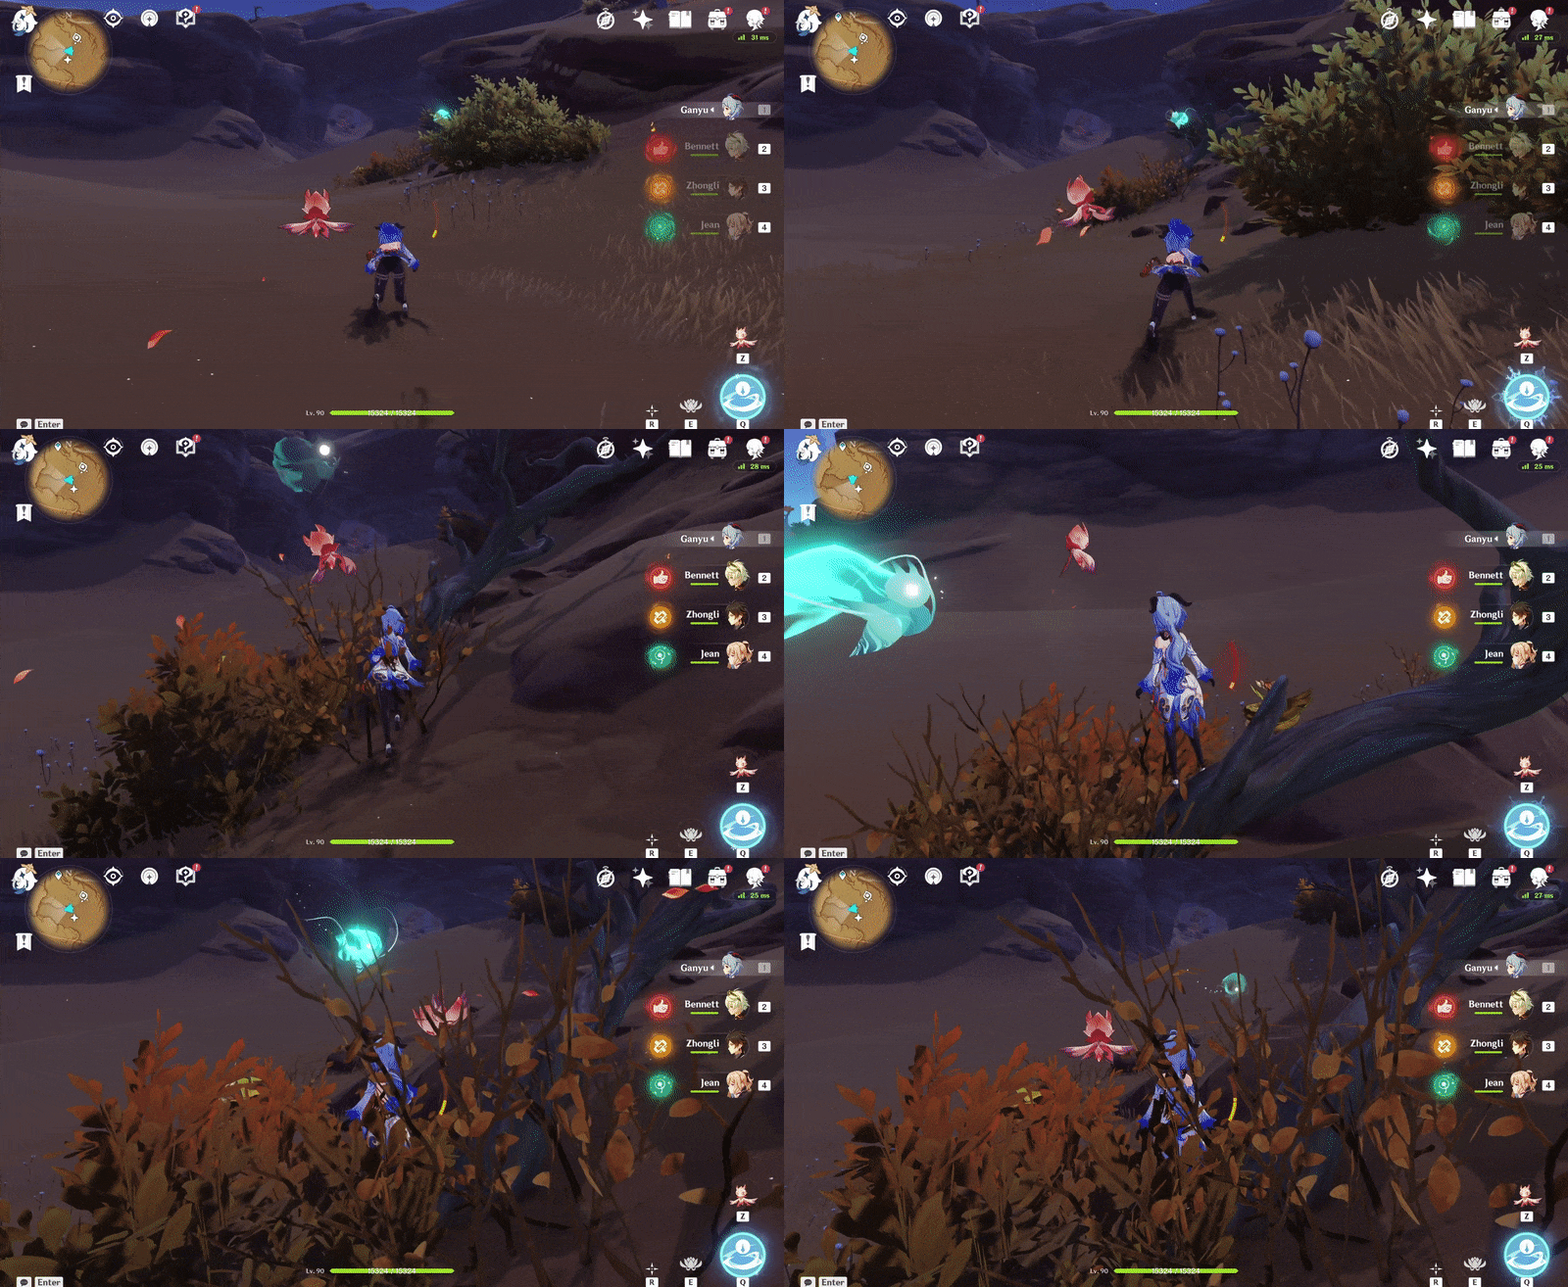
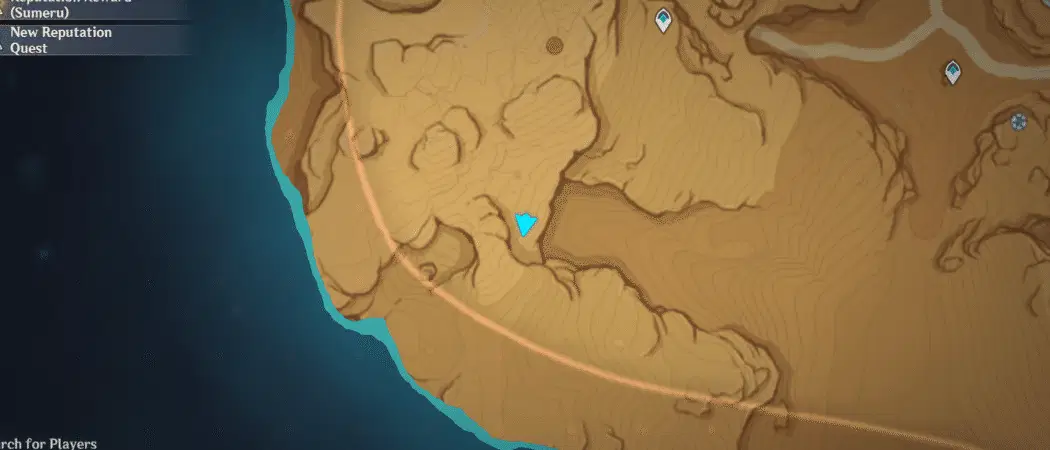
385. [Spawned Chest] By the bushes
Will spawn after the Seelie returns to its Statue.
Location (Seelie):

Location (Seelie Statue):
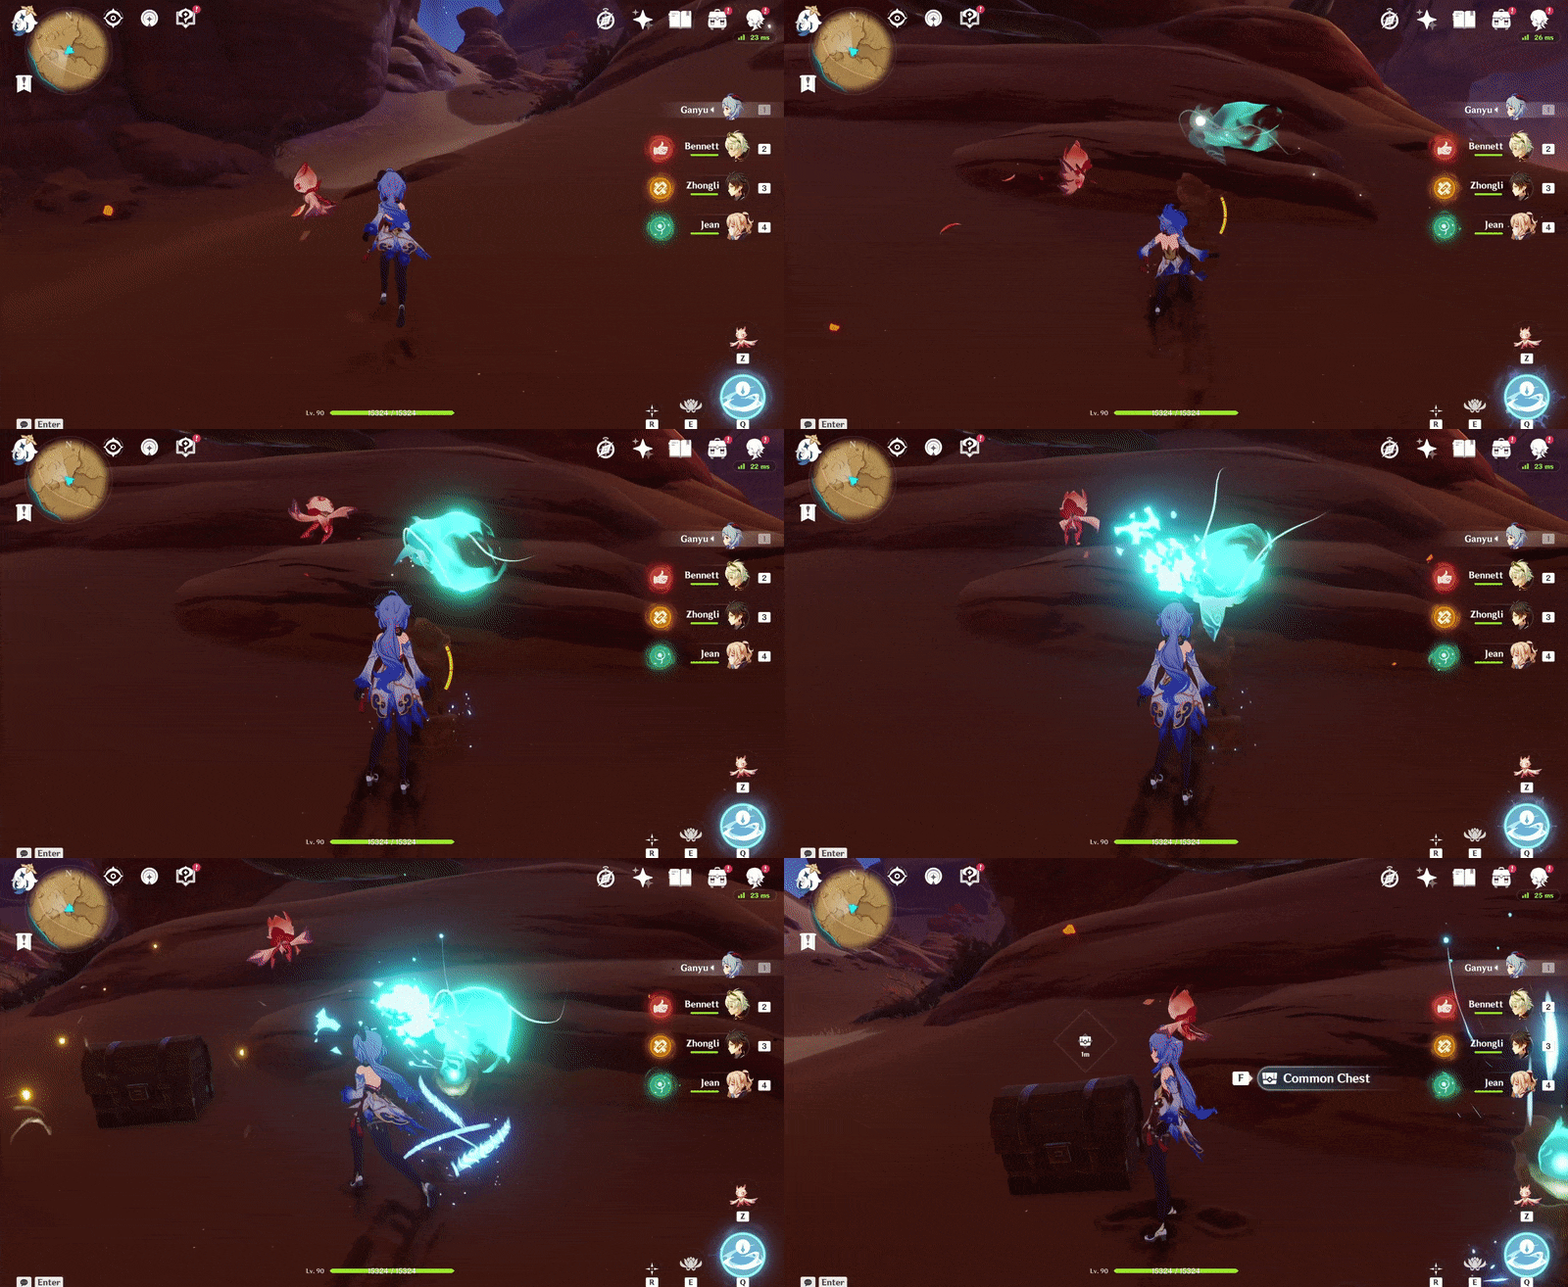
386. [Spawned Chest] On top of the arch
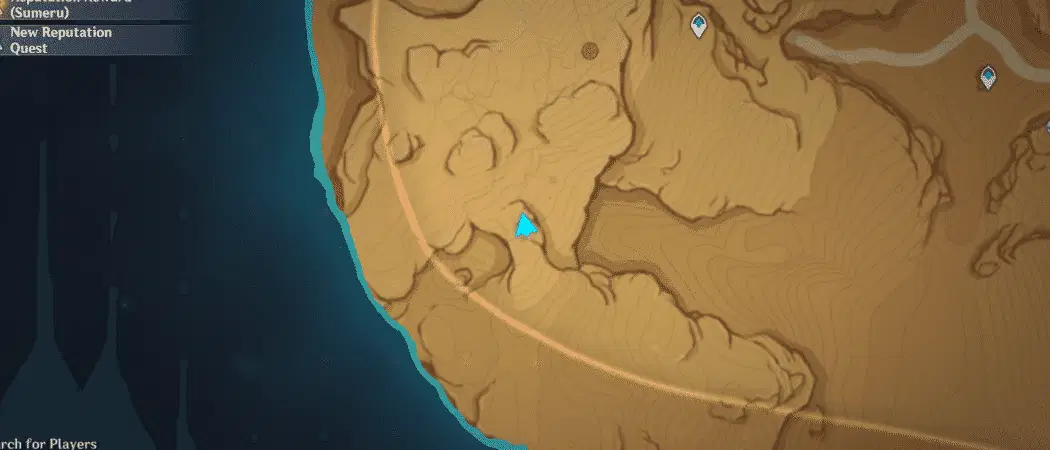
Will spawn after completing the Trial of the Soul Bell ('Reach 4 targets within 30s').
Location (Soul Bell Marker):
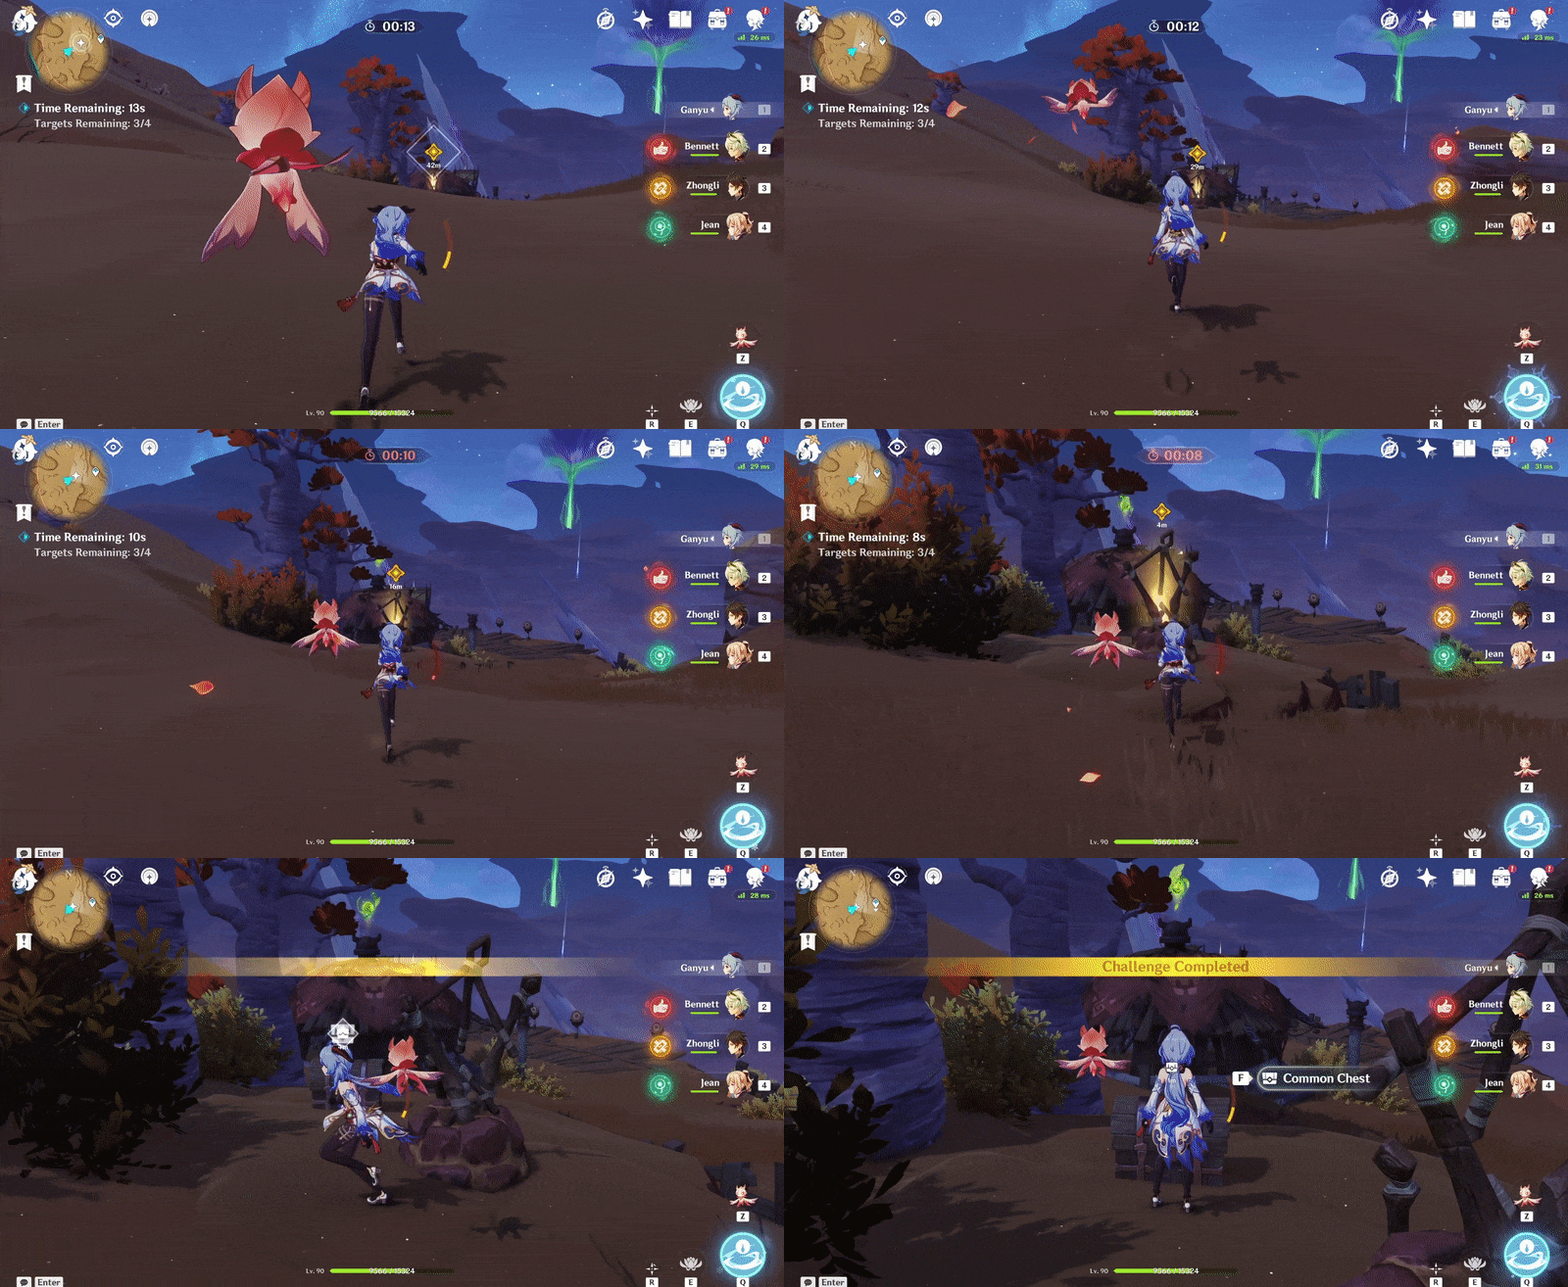
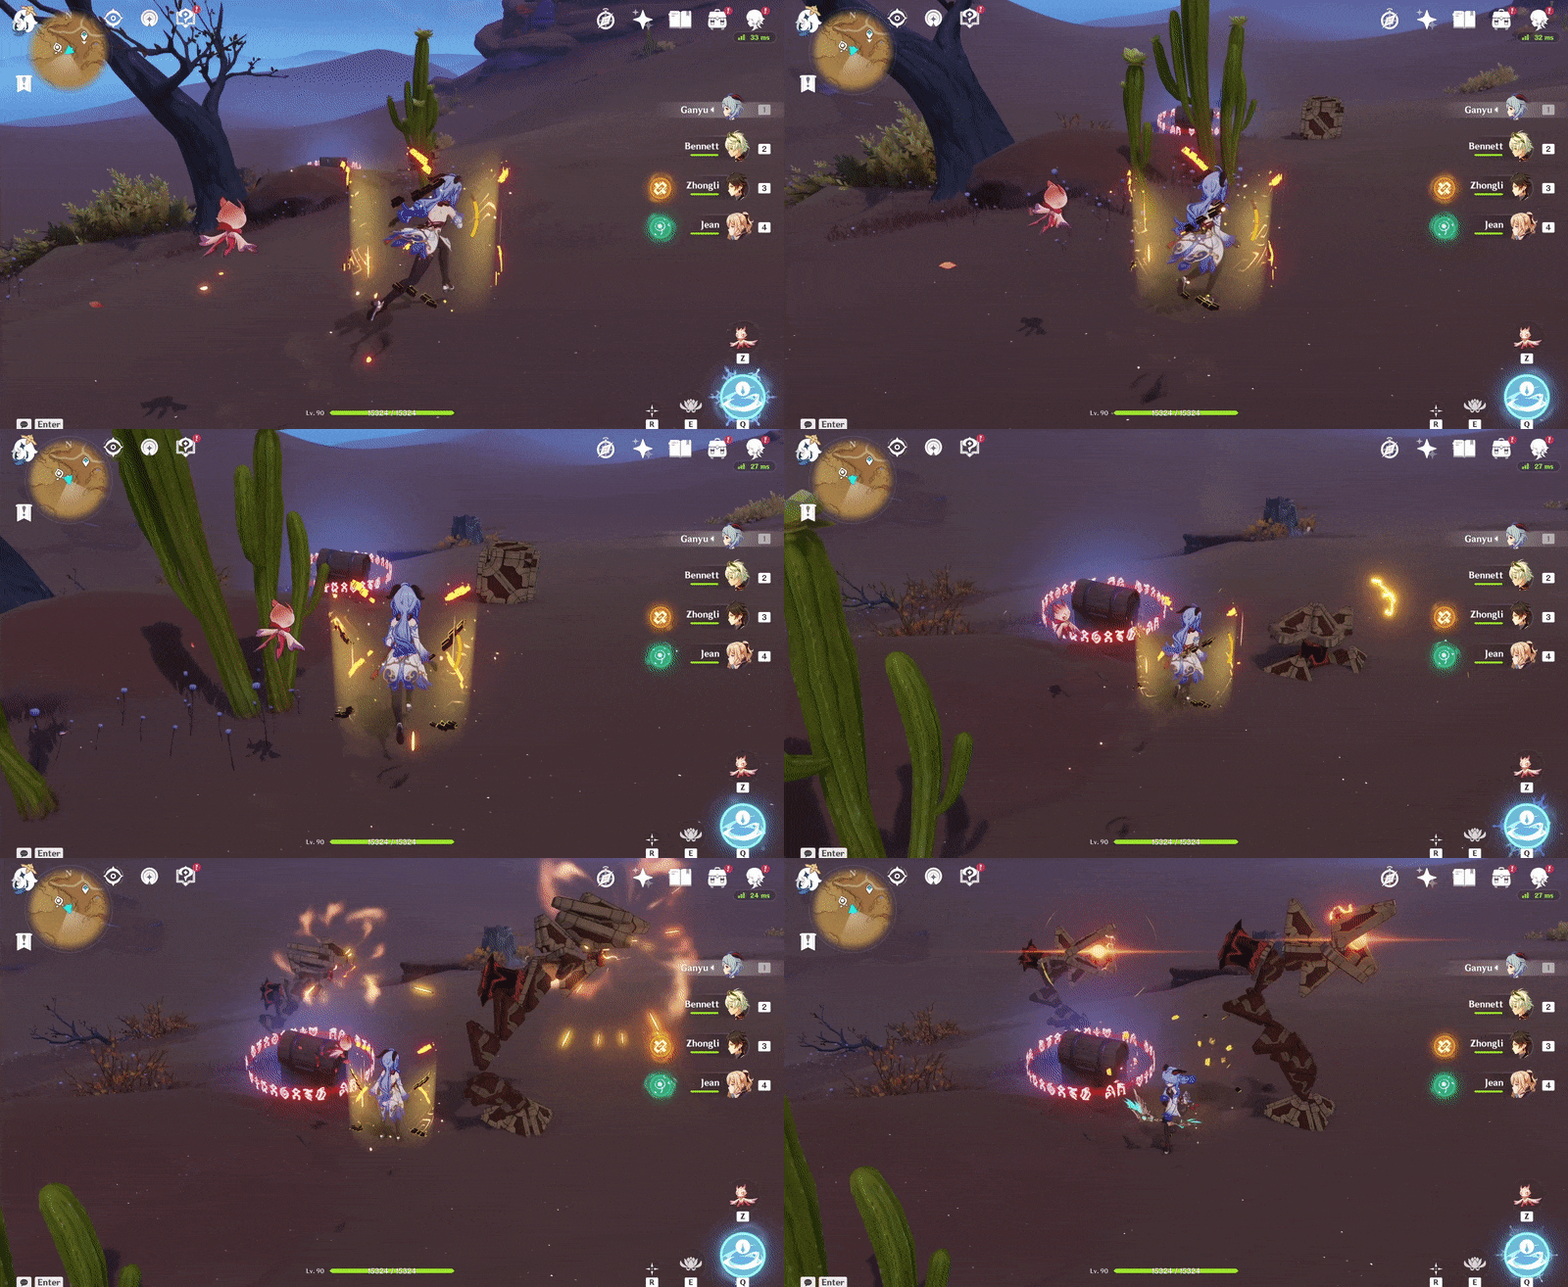
387. [Locked Chest] By the cacti
Will unlock after defeating 2 Ruin Sentinels.
Location:

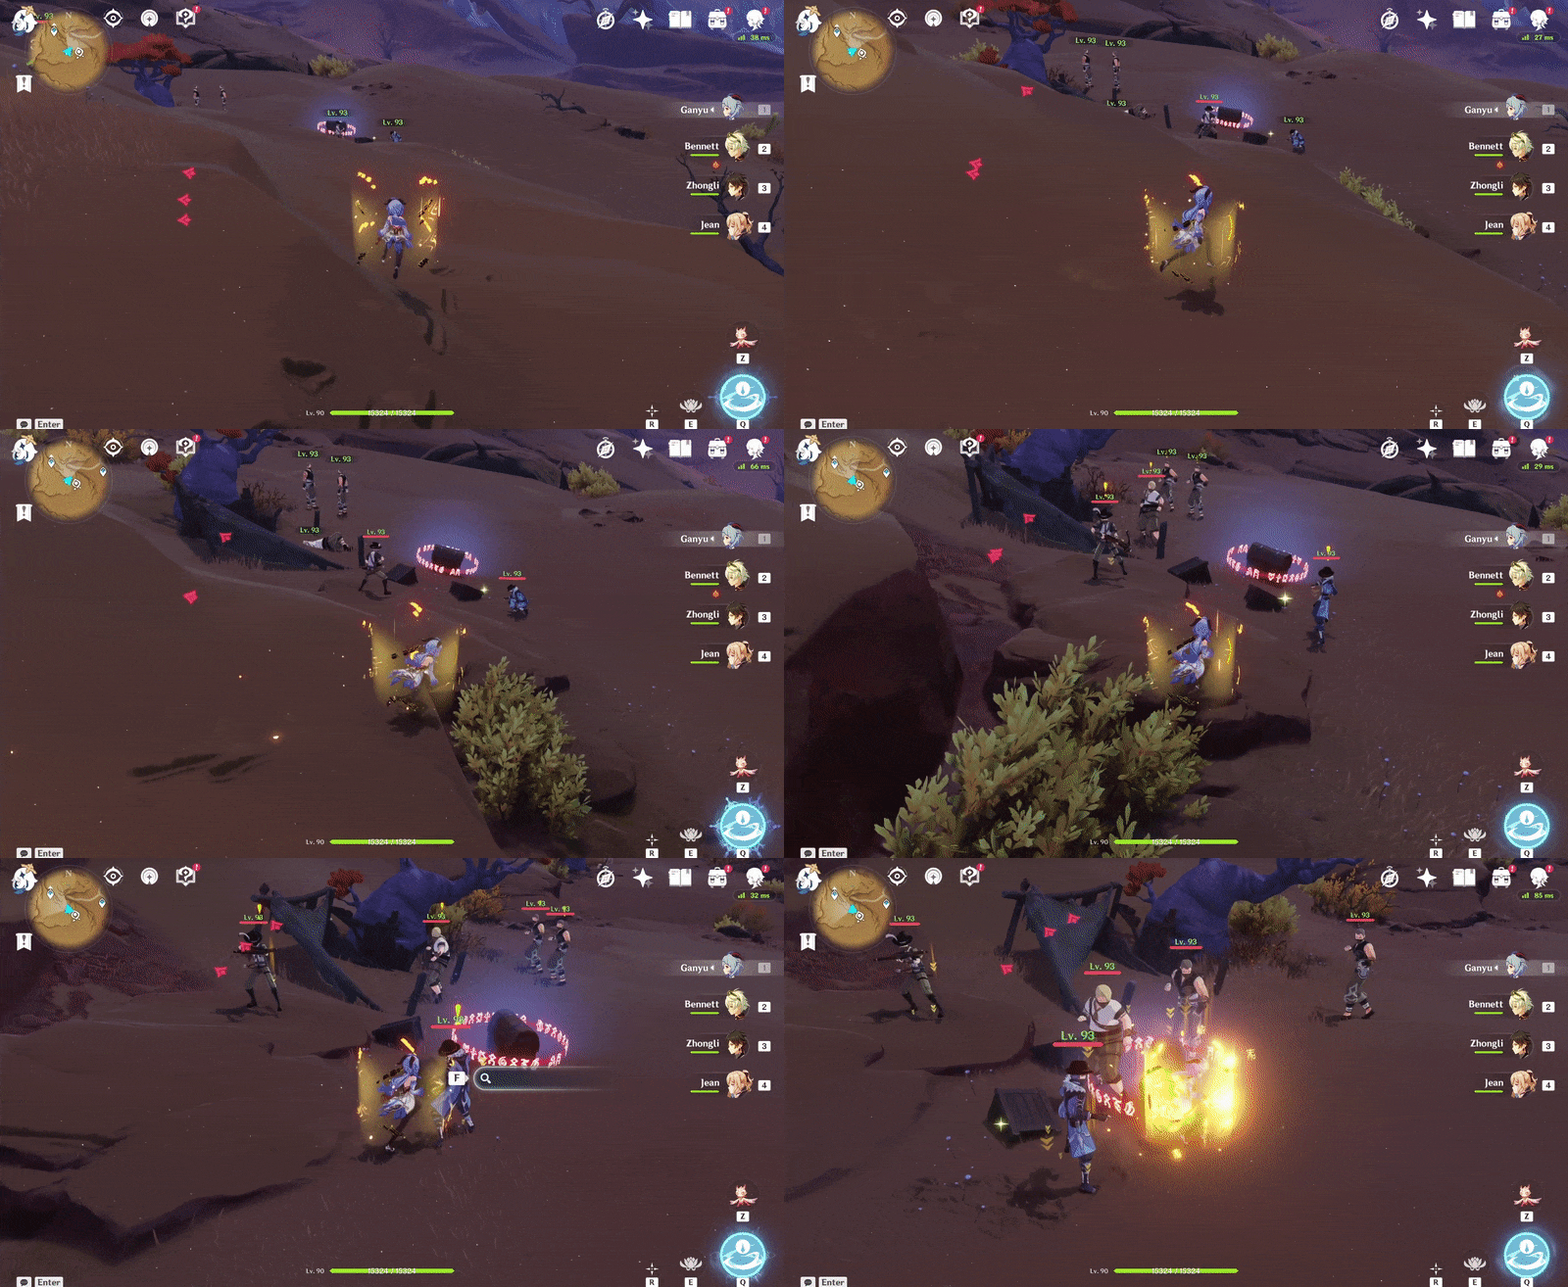
388. [Locked Chest] Near the tree
Will unlock after defeating 5 Treasure Hoarders.
Location:

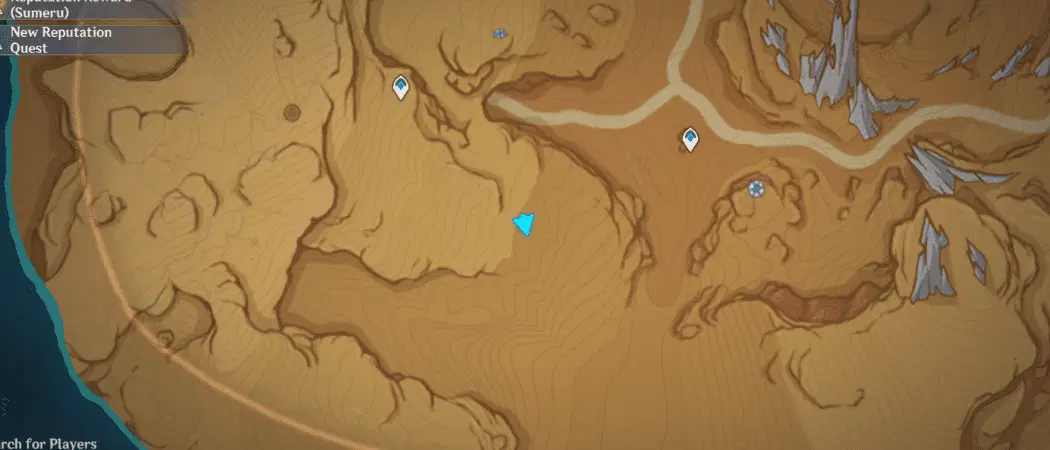
389. [Locked Chest]
Will unlock after lighting 4 Pyro torches with Pyro (wait for the Khvarena Power circling around to dispel the Gray Crystals to reveal 2 Pyro torches - they will reform however when out of range).
Location:
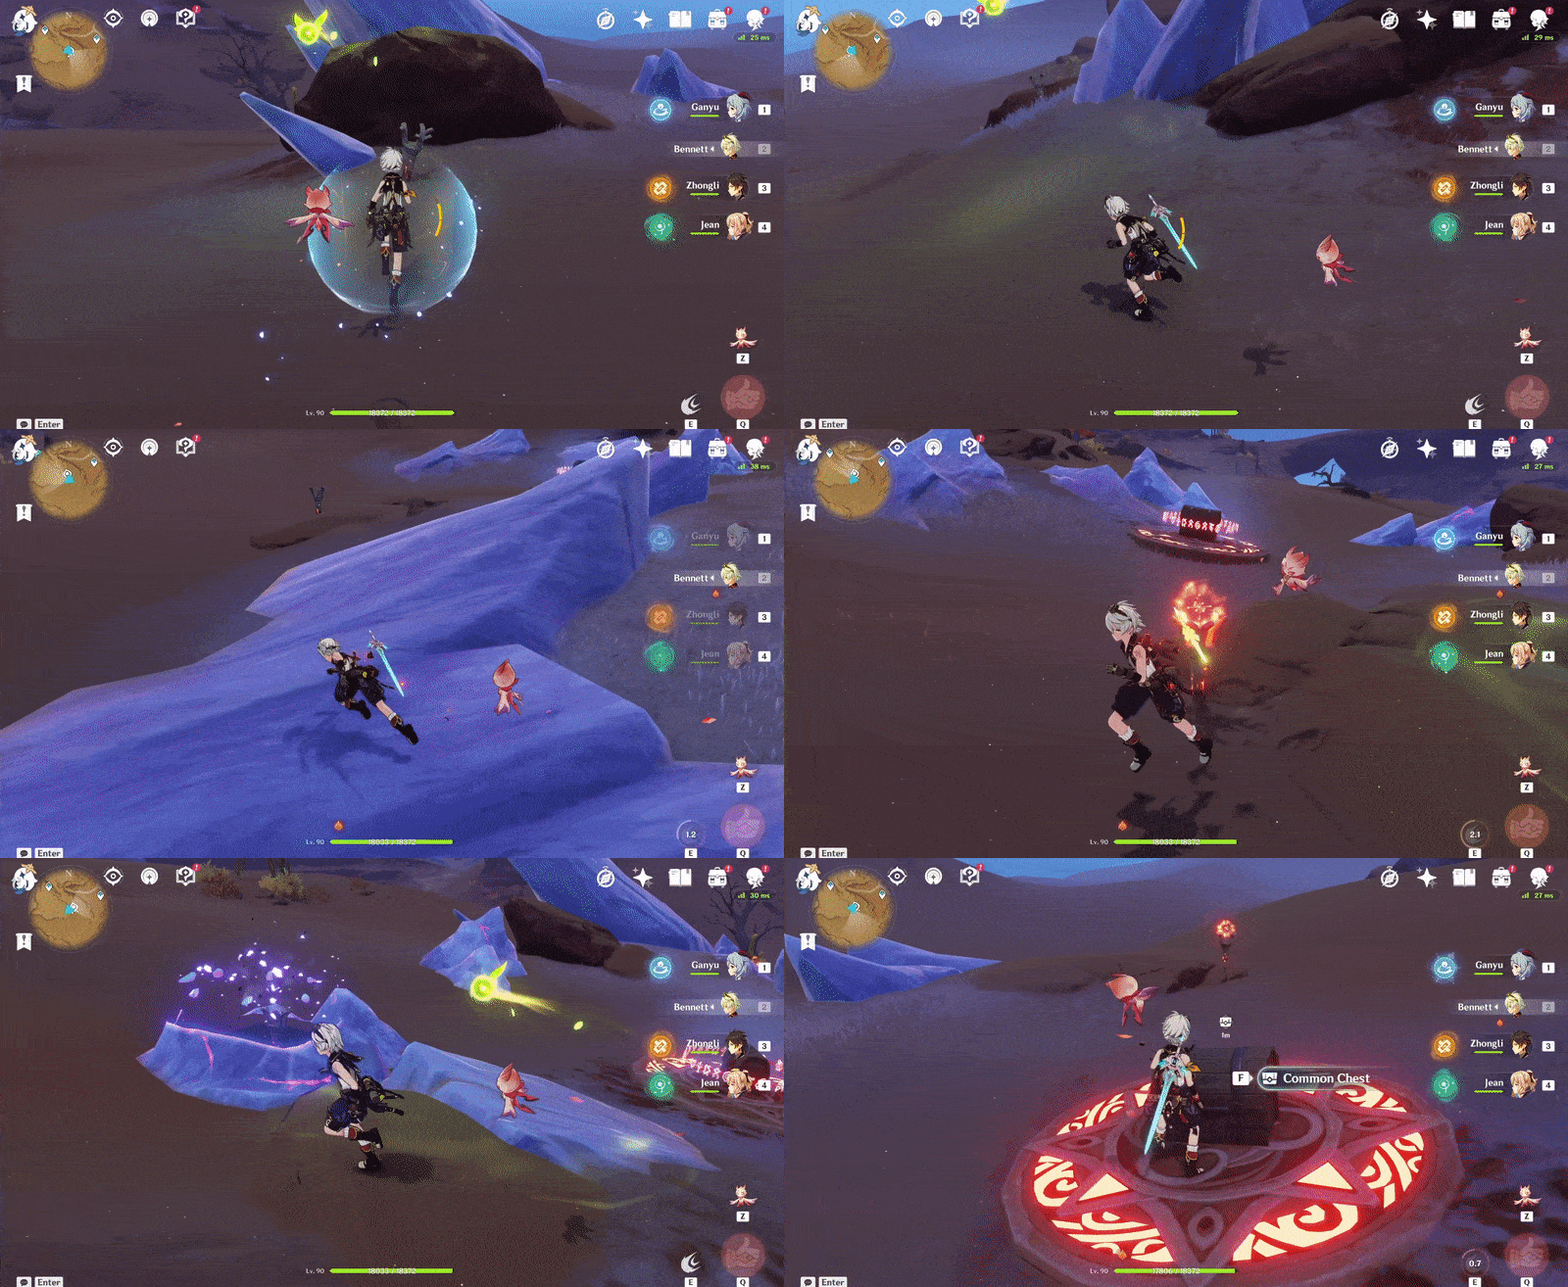
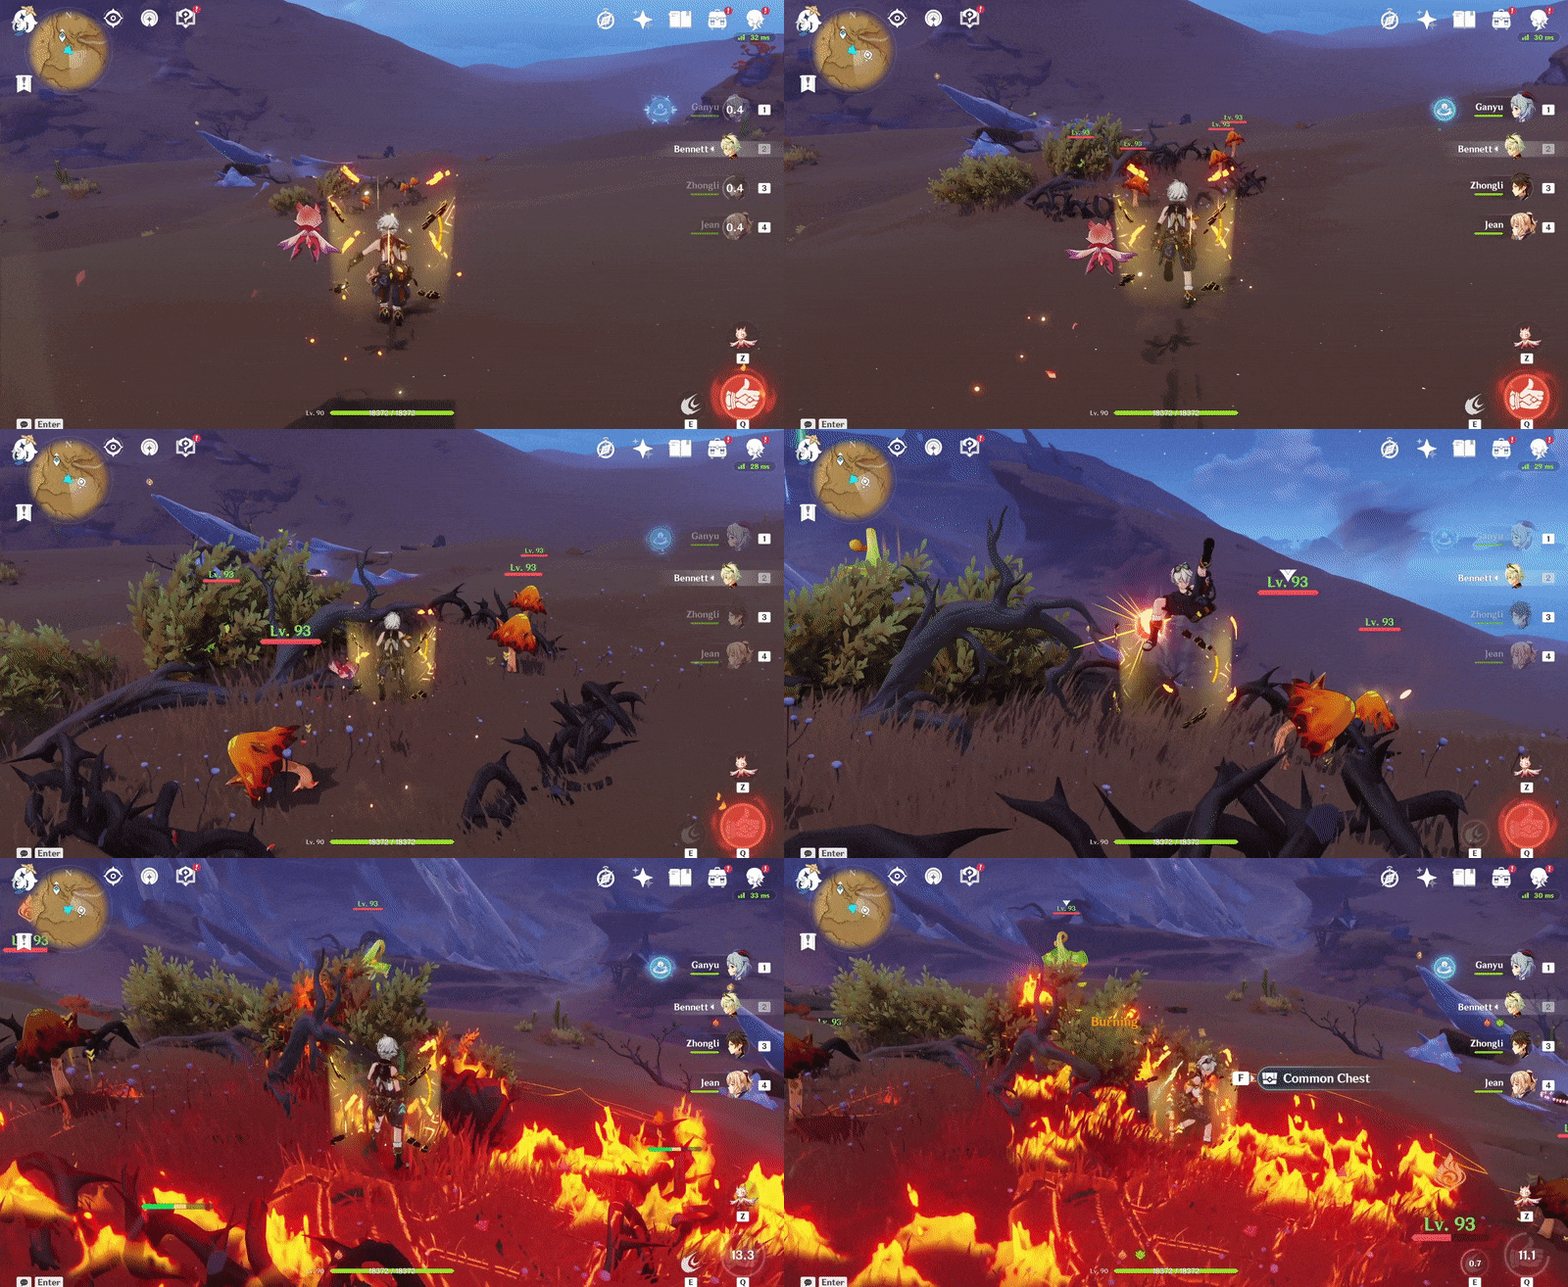
390. [Trapped Chest] By the 3 Stretchy Pyro Fungi
Burn the brambles with Pyro to access.
Location:
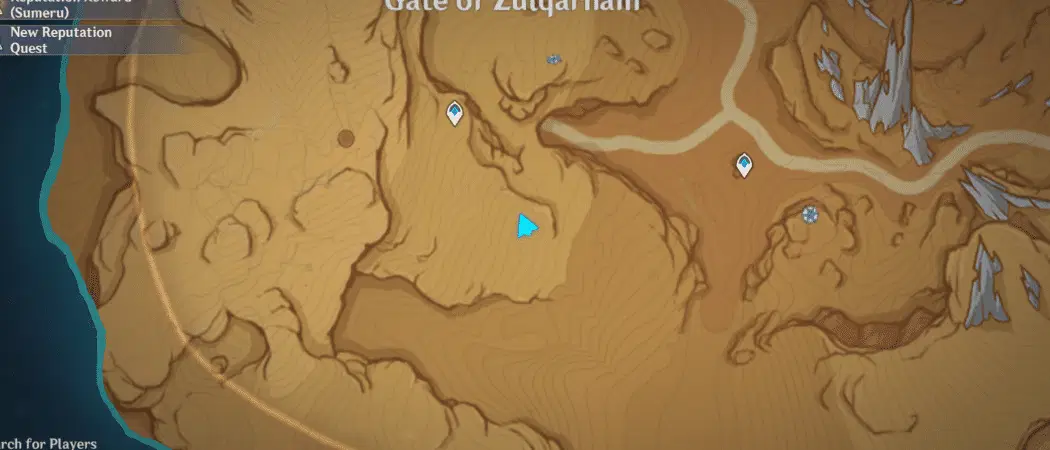
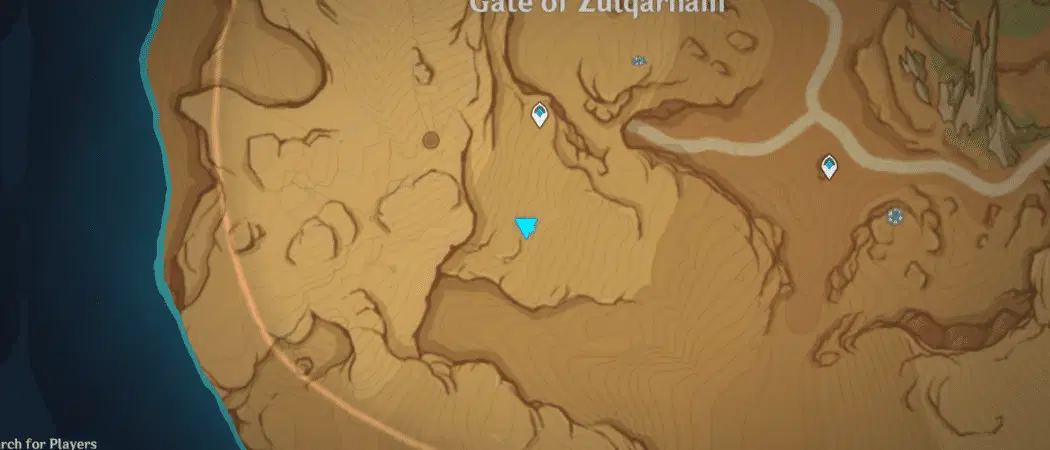
391. [Spawned Chest] By the trees
Will spawn after activating 3 Pyro totems with Pyro in order (based on the amount of trees next to each one - 0 to 2).
Location:
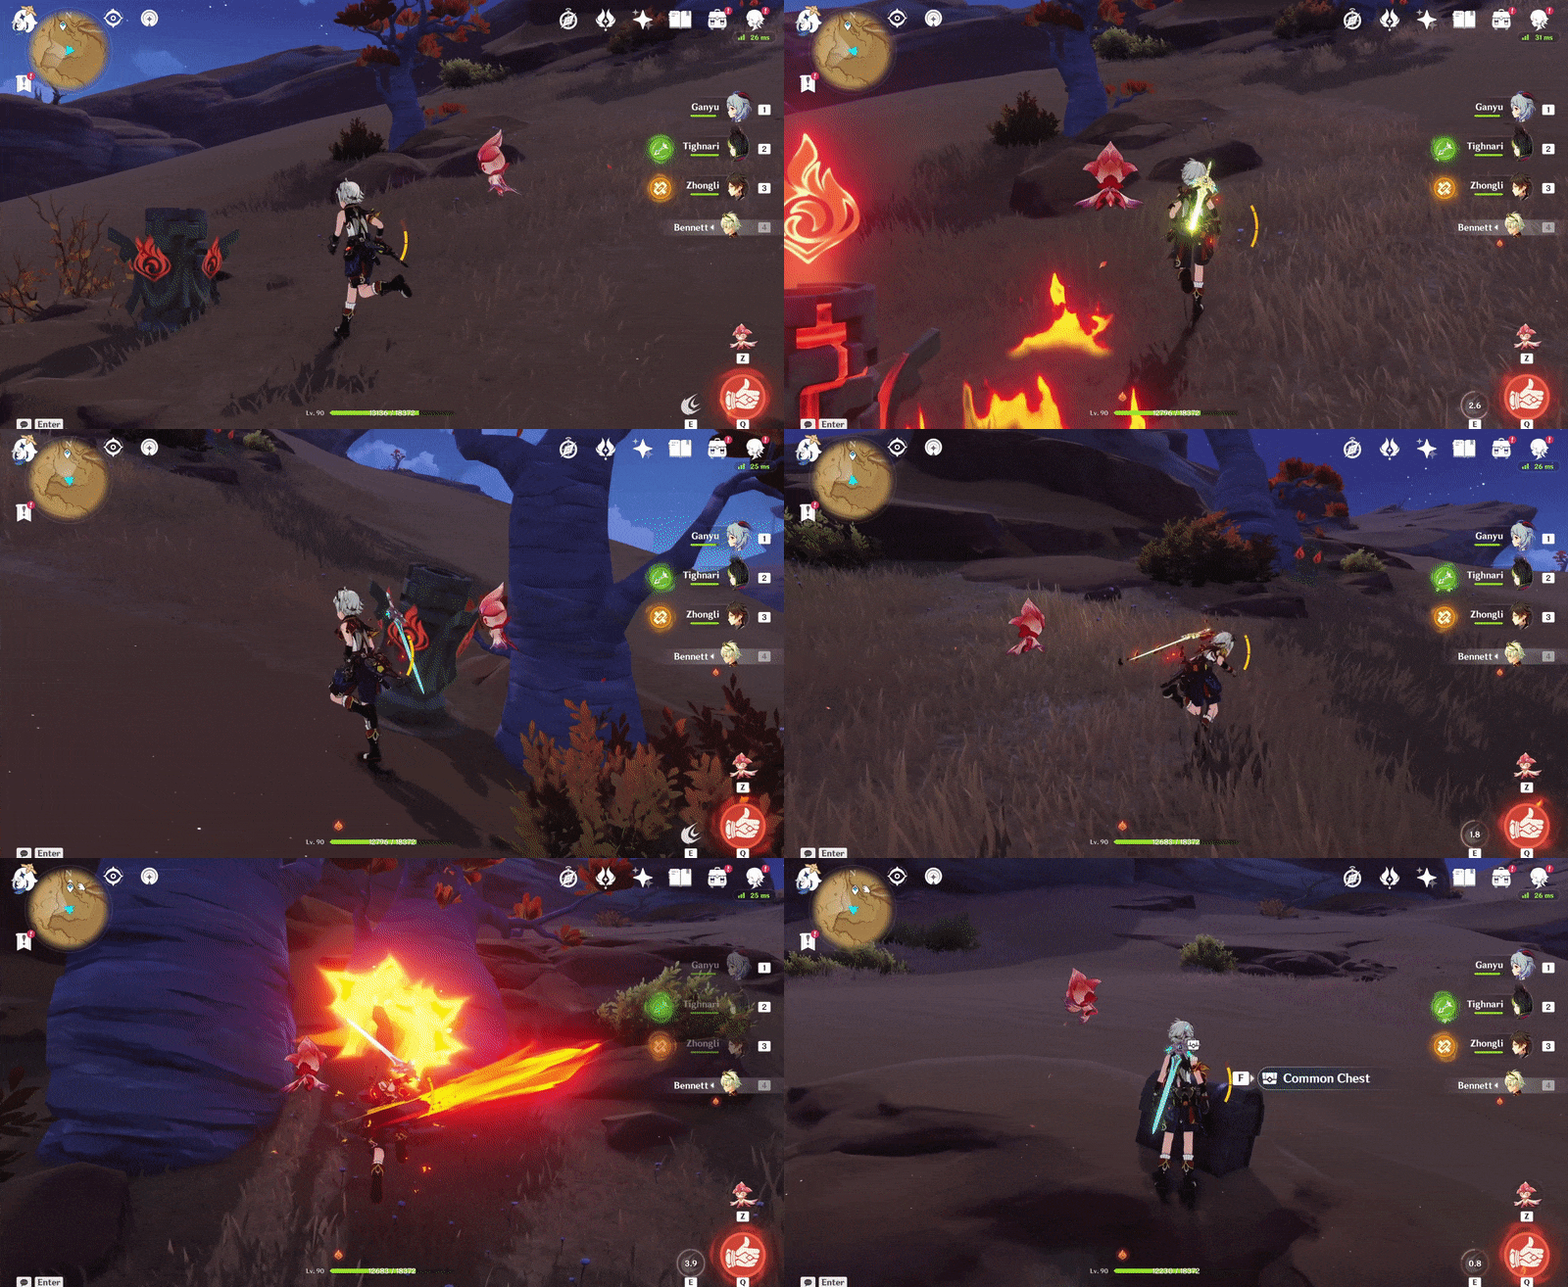
392. [Spawned Chest] On top of the small tree
Will spawn after the Seelie returns to its Statue.
Location (Seelie):

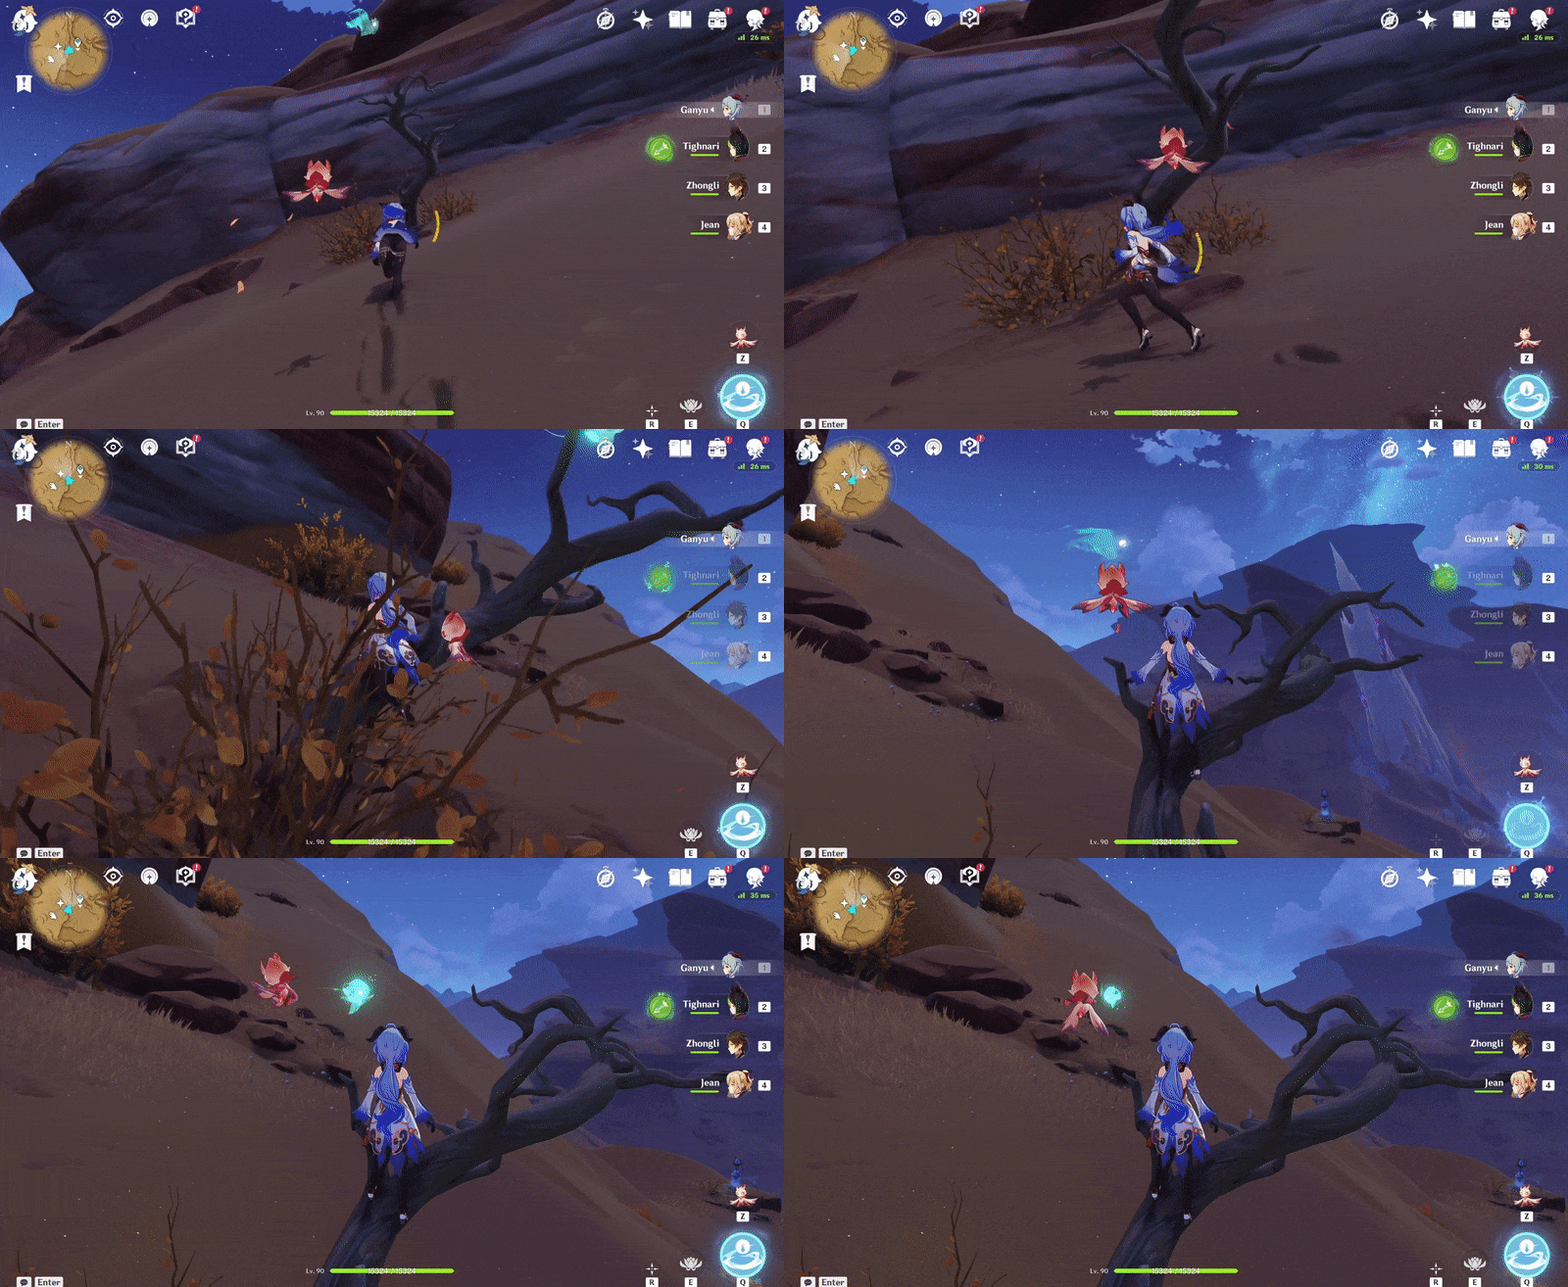
Location (Seelie Statue):

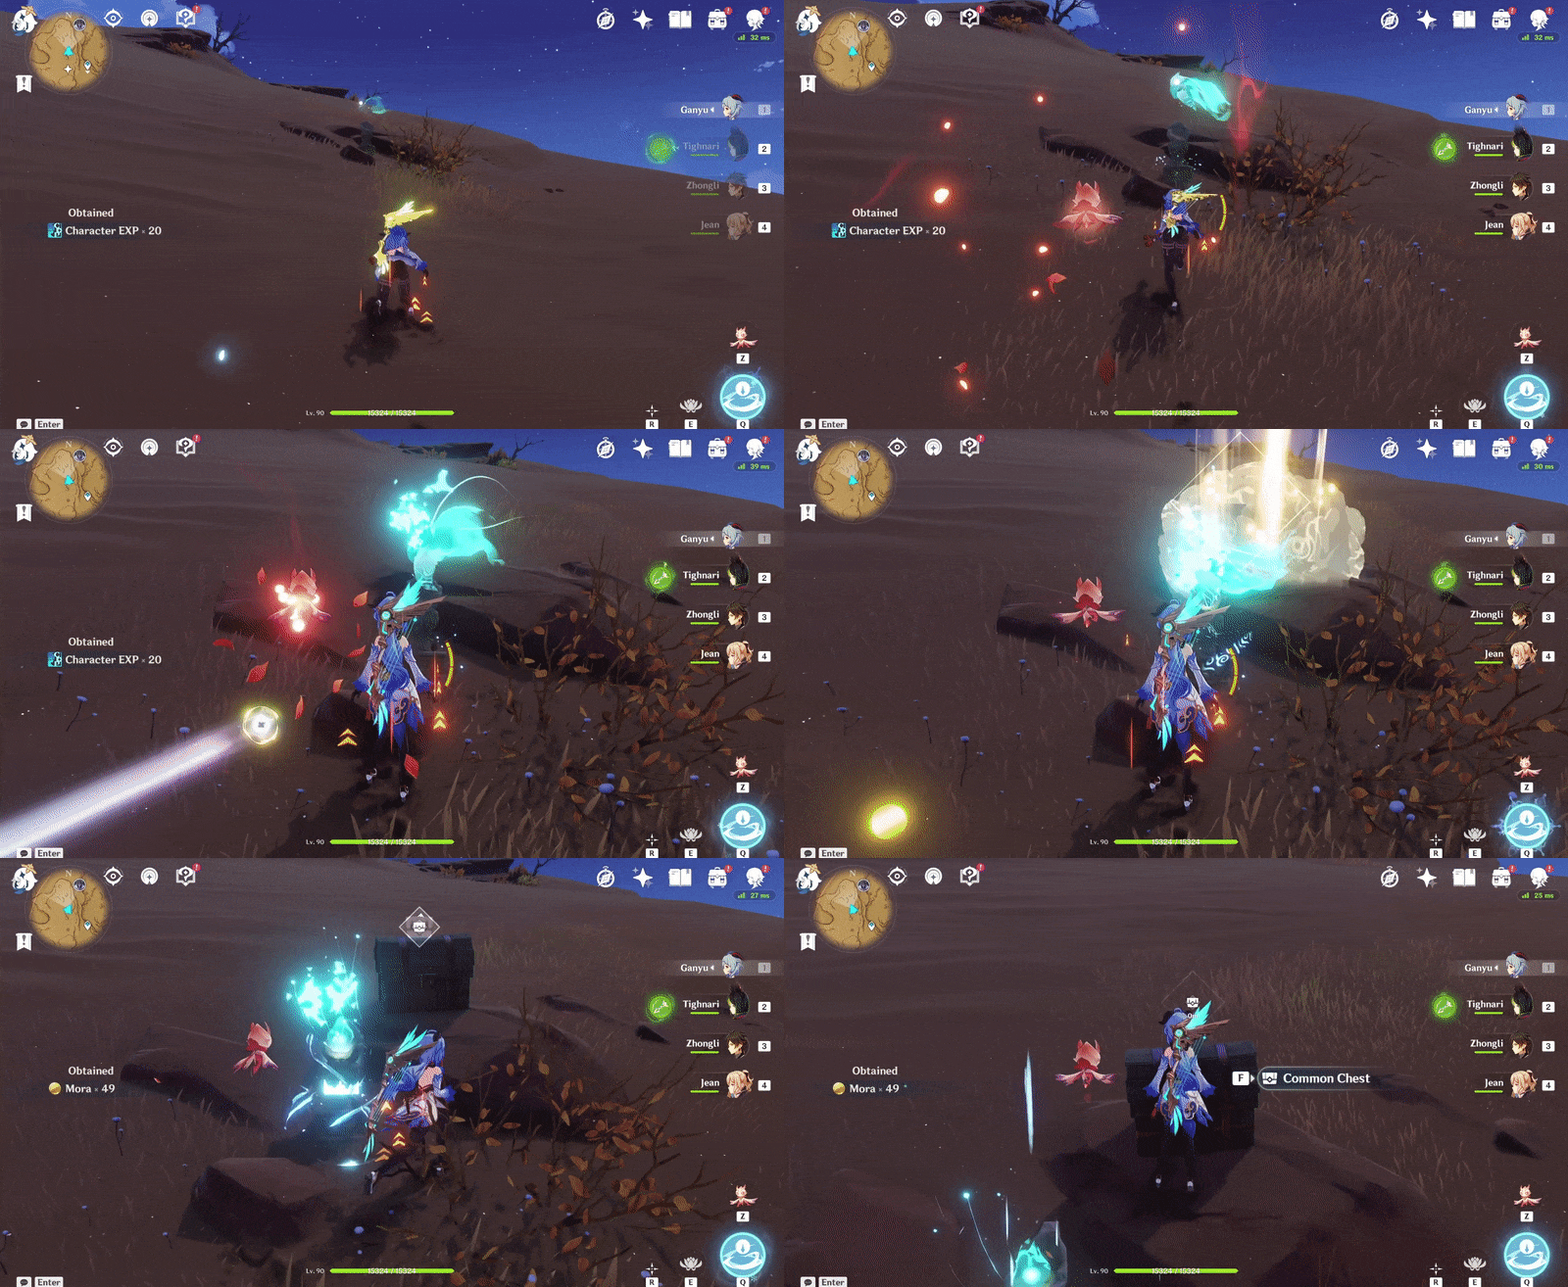
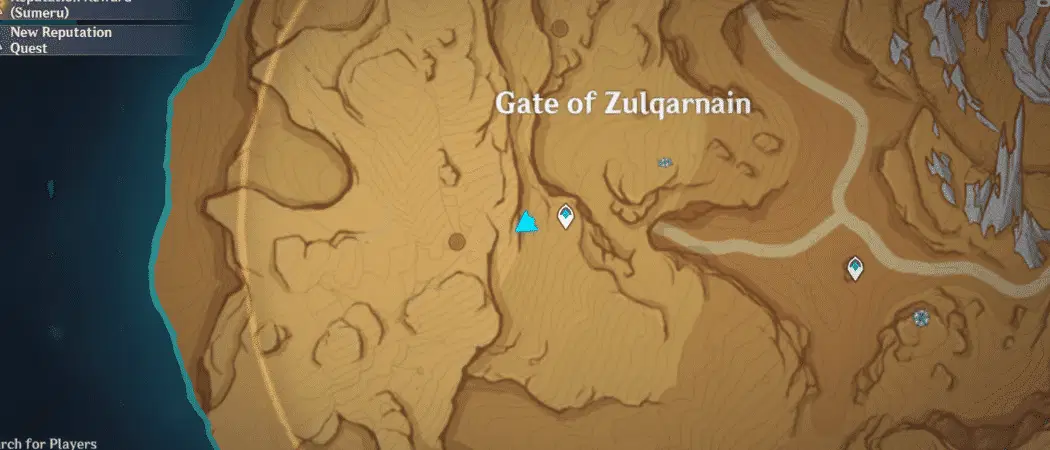
393. [Locked Chest] By the bonfire
Will unlock after defeating 2 Hilichurls, 1 Samachurl and 1 Pyro Abyss Mage.
Location:
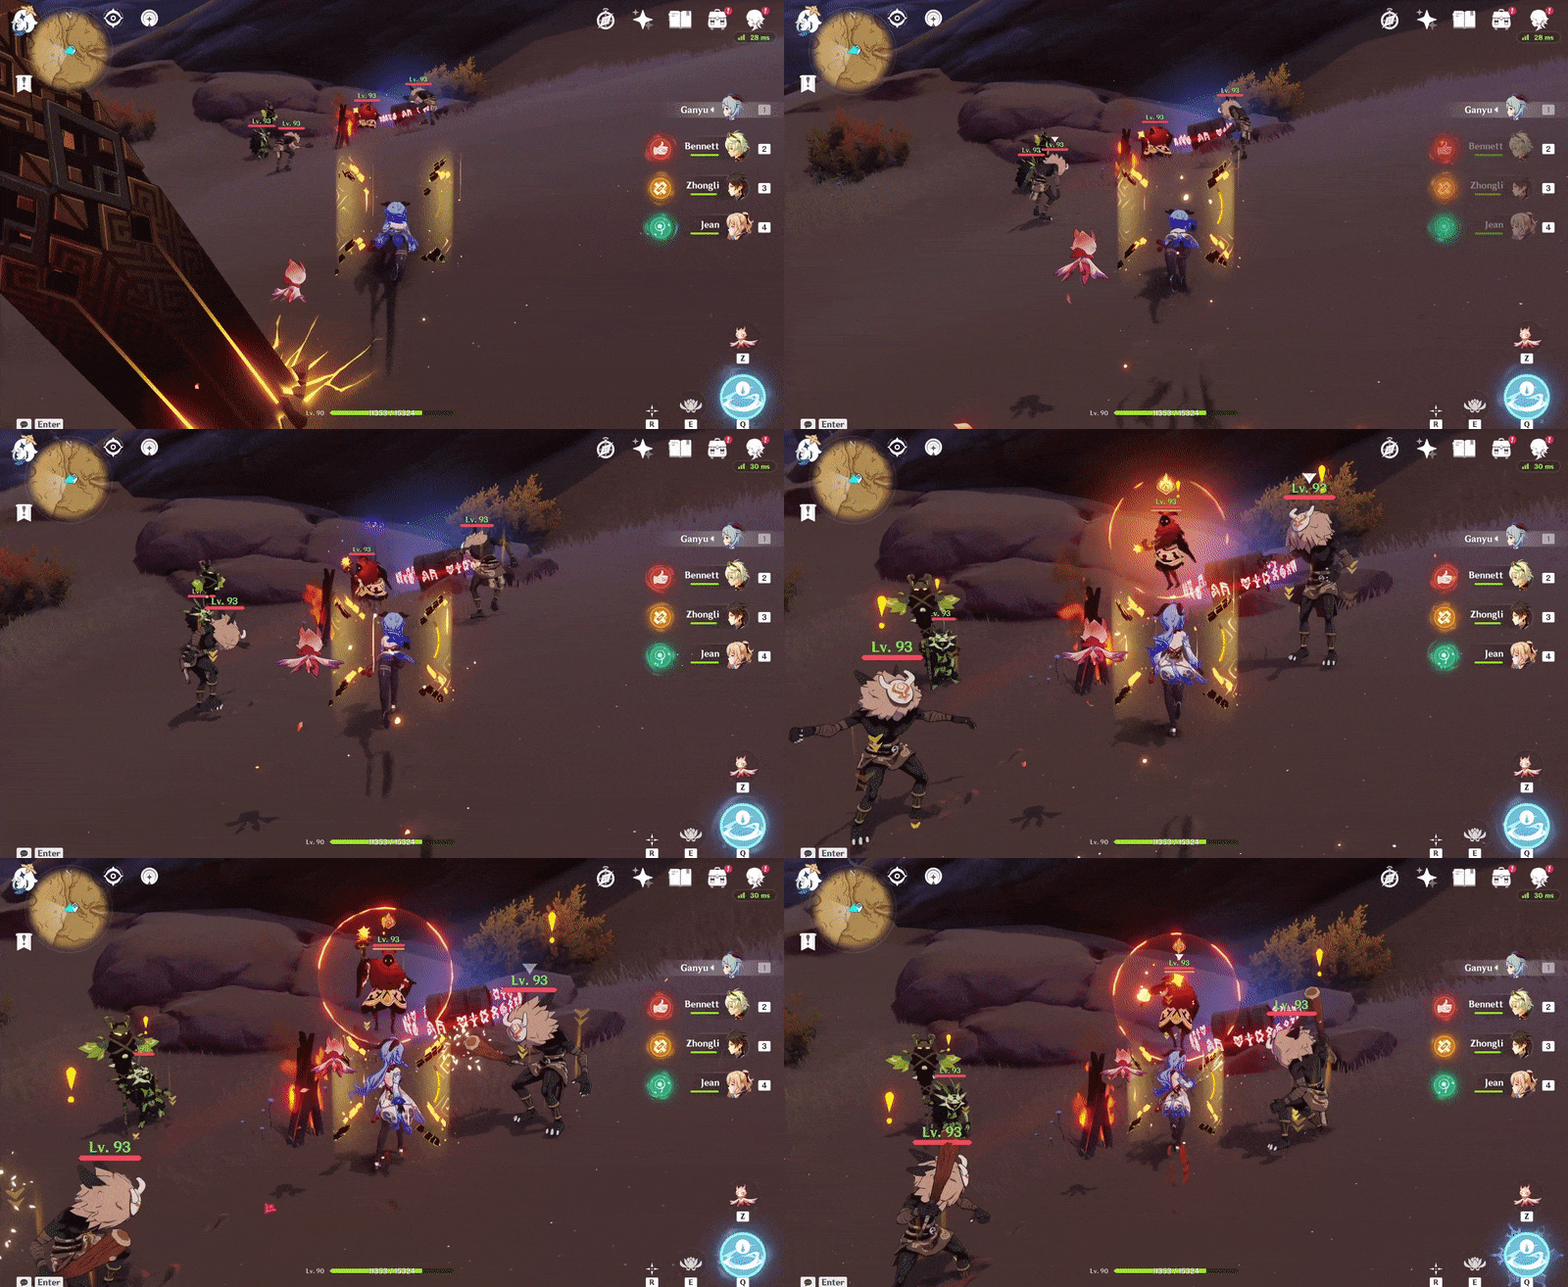
394. [Locked Chest] By the tree
Will unlock after defeating 1 Ruin Drake: Skywatch.
Location:

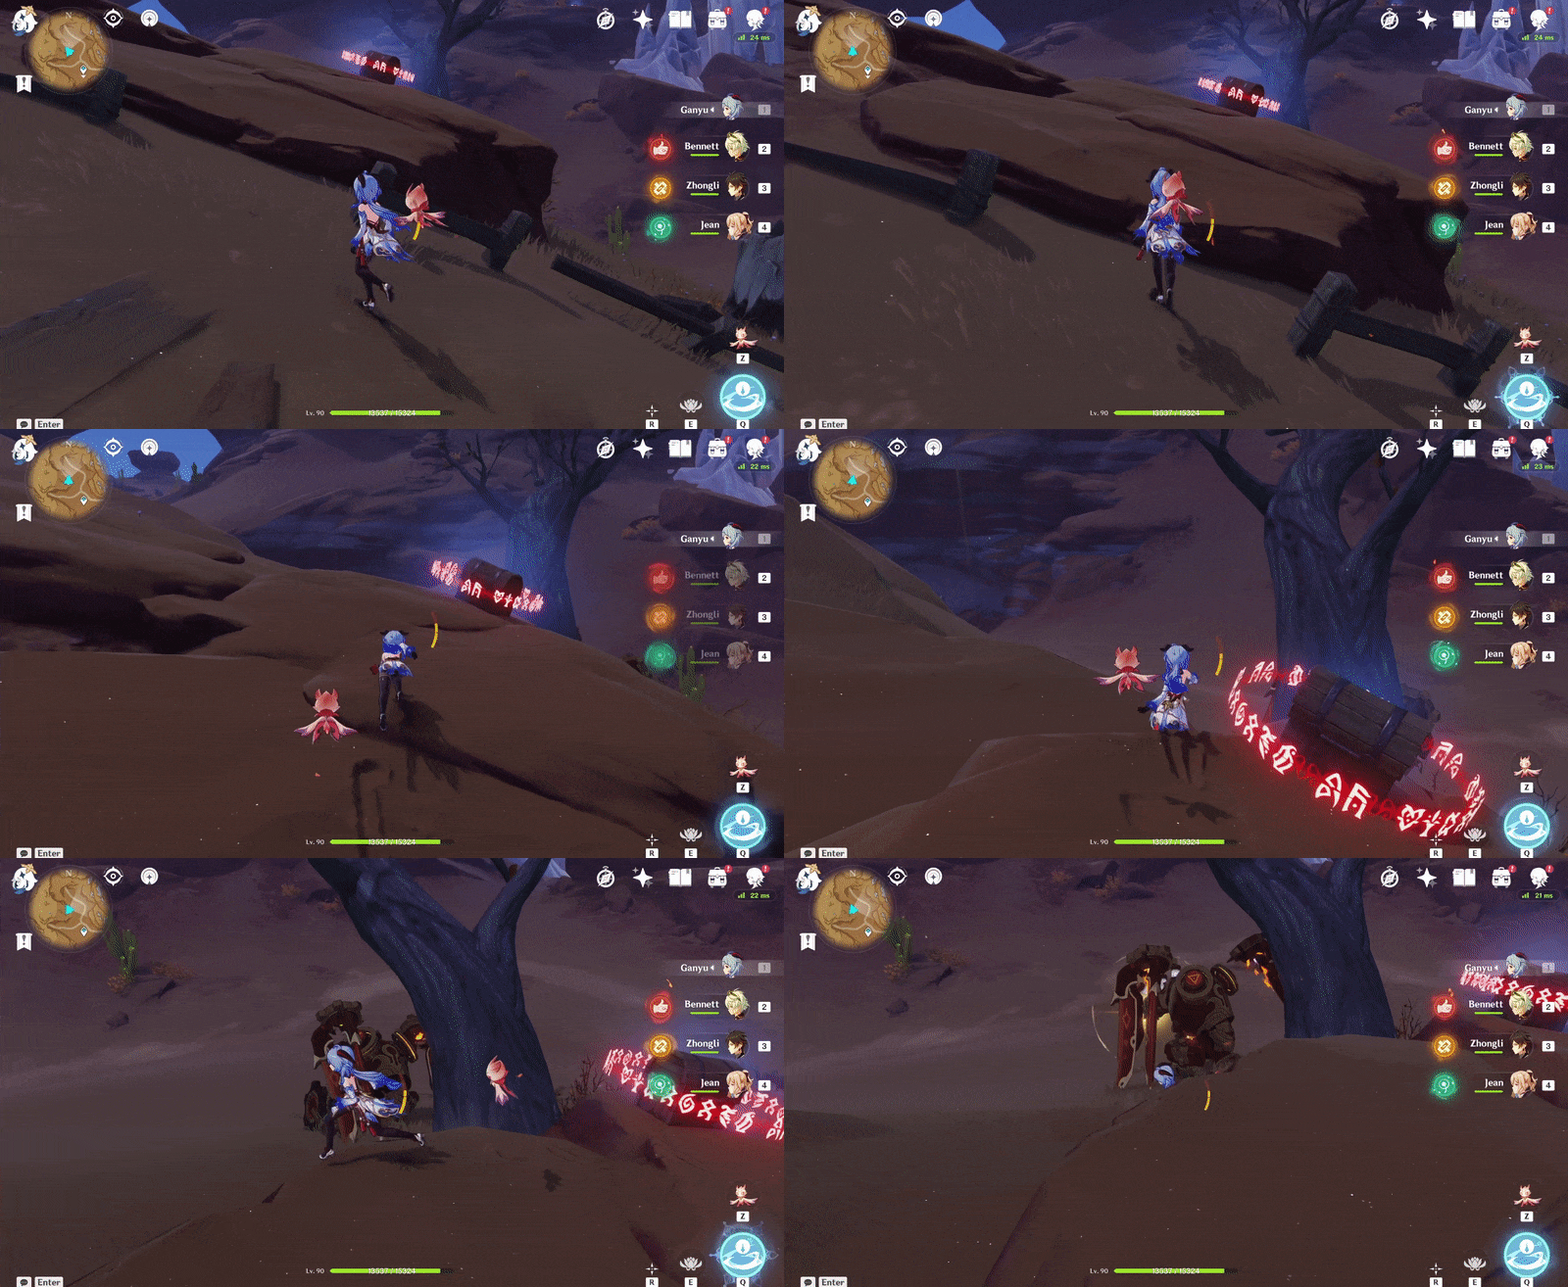
395. [Locked Chest] Beneath the tree root
Will unlock after defeating 3 Floating Dendro Fungi and 2 Whirling Pyro Fungi.
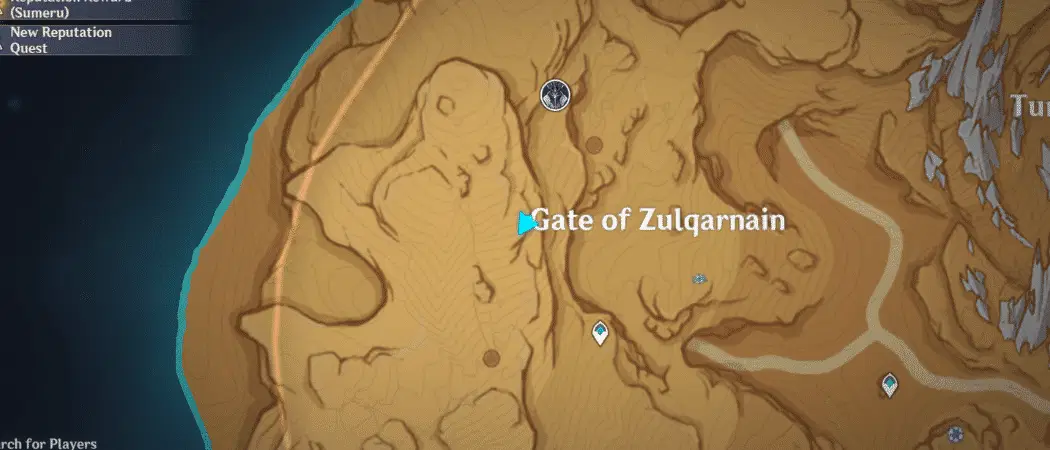
Location:
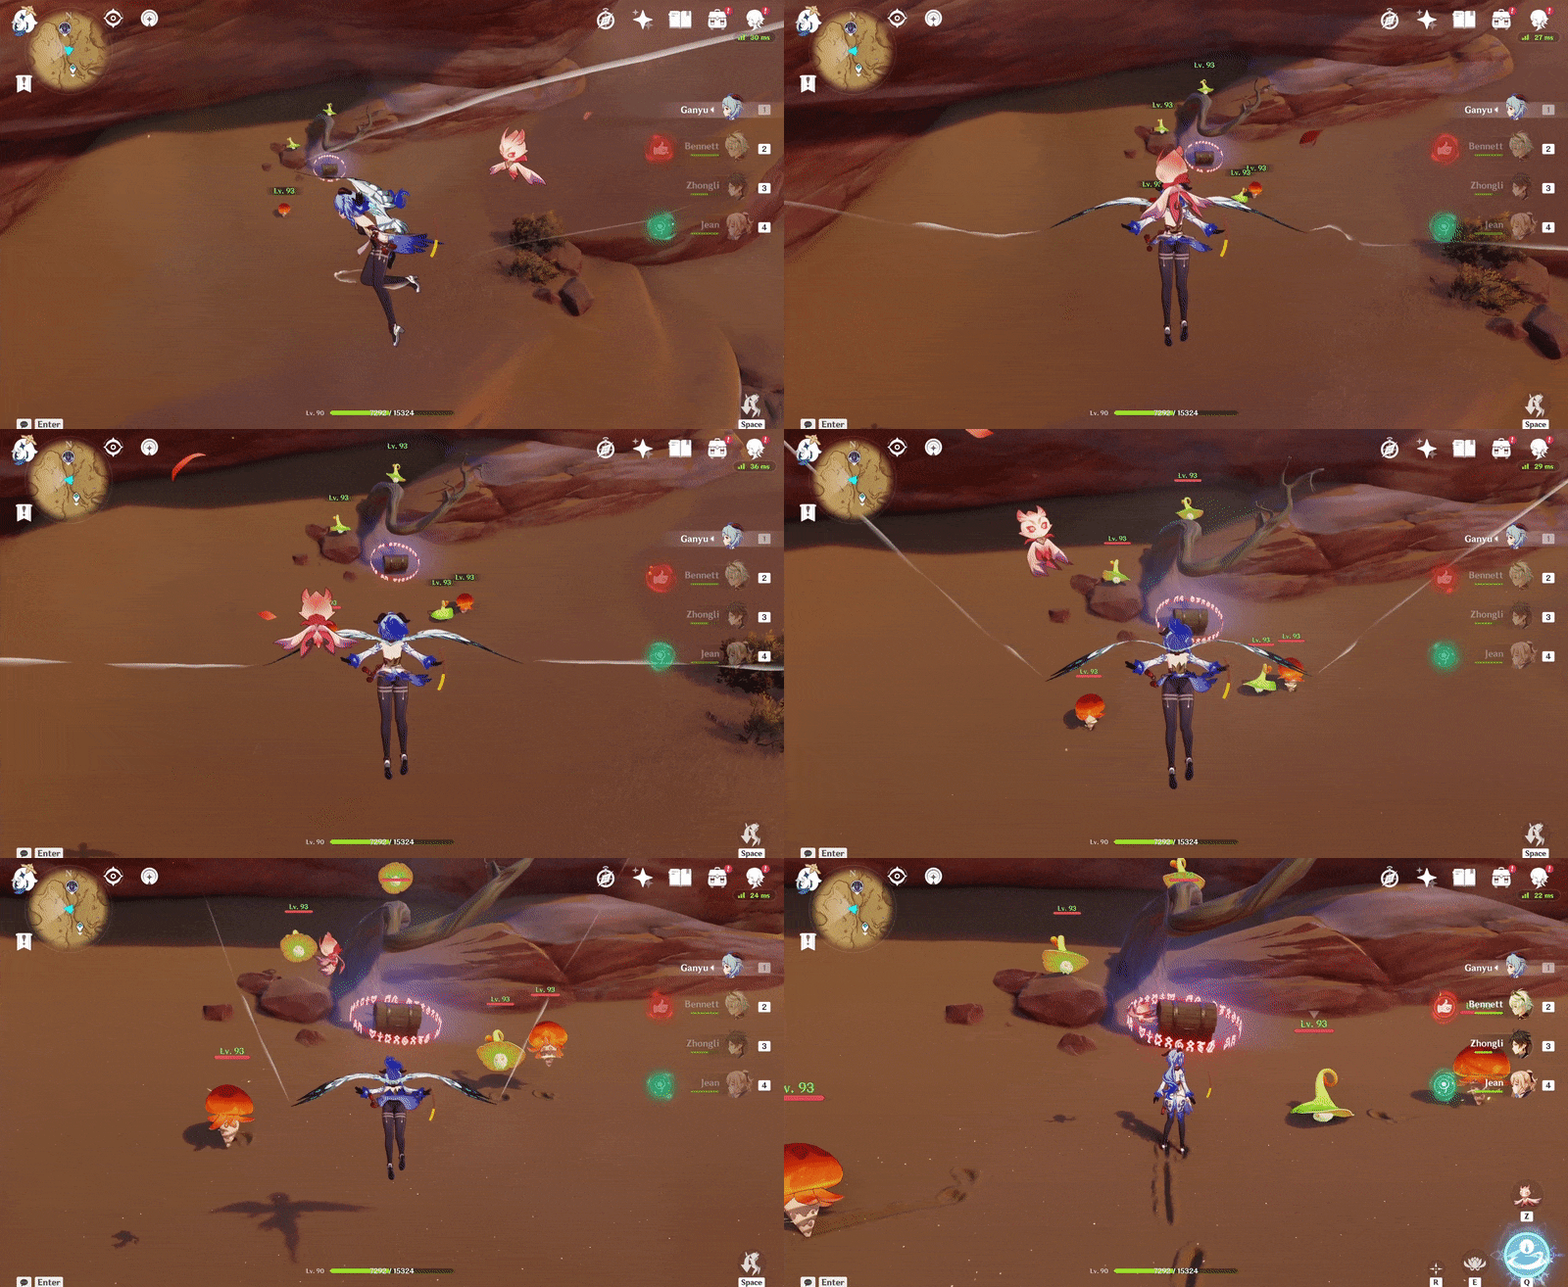
396. [Locked Chest] By the 2 large trees, on top of the cliff
Will unlock after defeating 5 Treasure Hoarders.
Location:

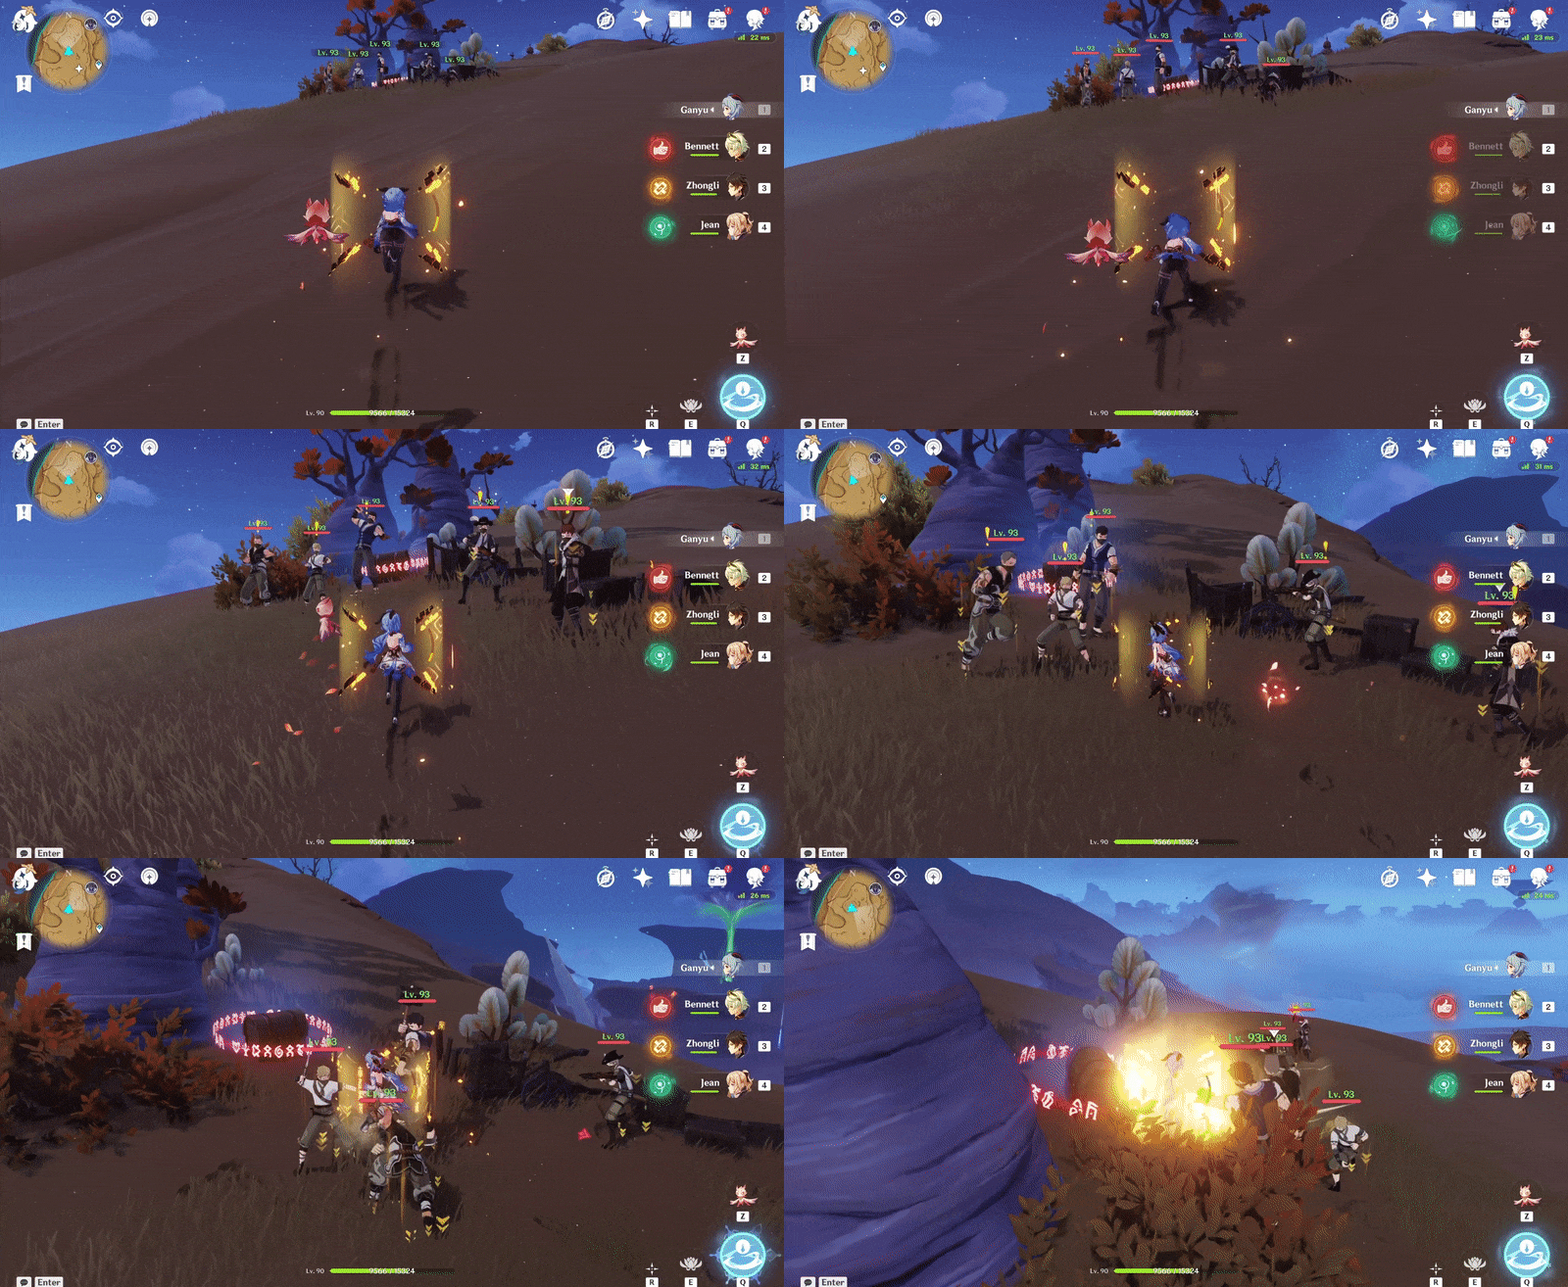
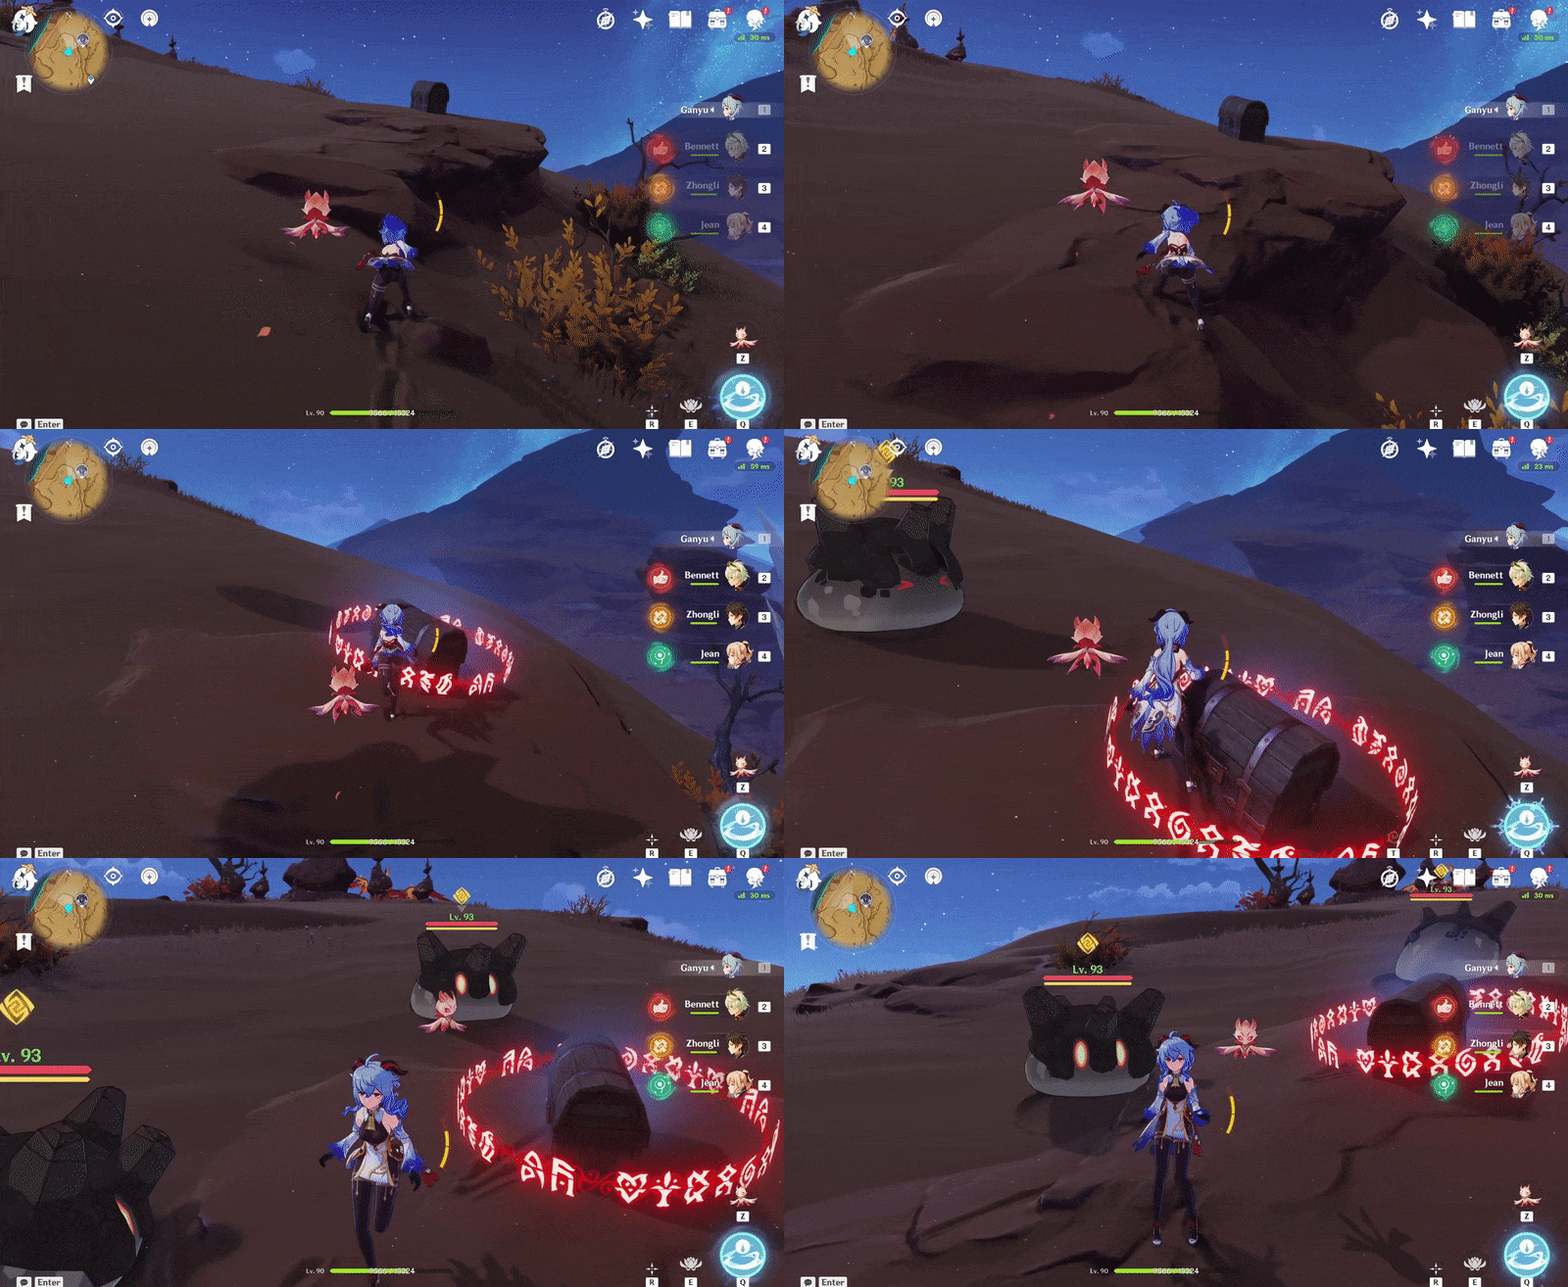
397. [Locked Chest] On the ledge, on top of the cliff
Will unlock after defeating 2 large Geo Slimes that spawn when close enough.
Location:
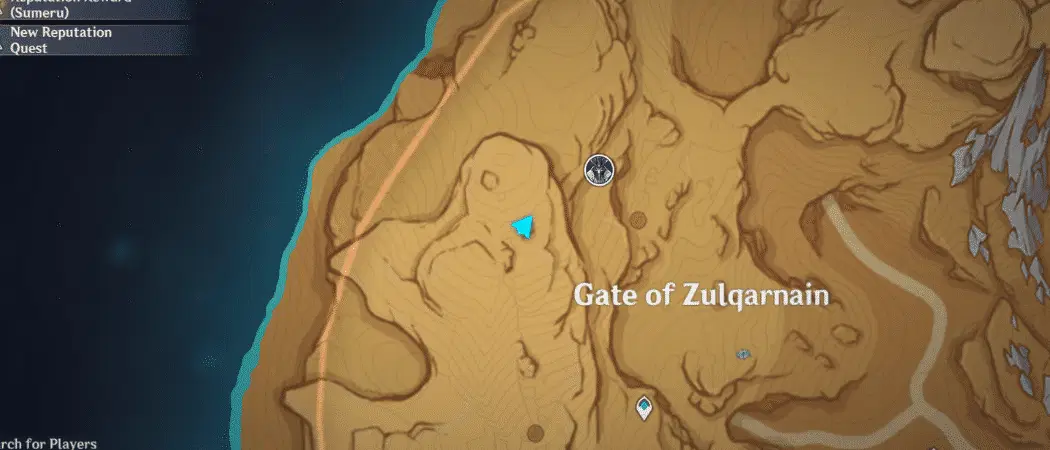
398. [Spawned Chest] On the ledge, by the bushes
Will spawn after the Seelie returns to its Statue.
Location (Seelie):

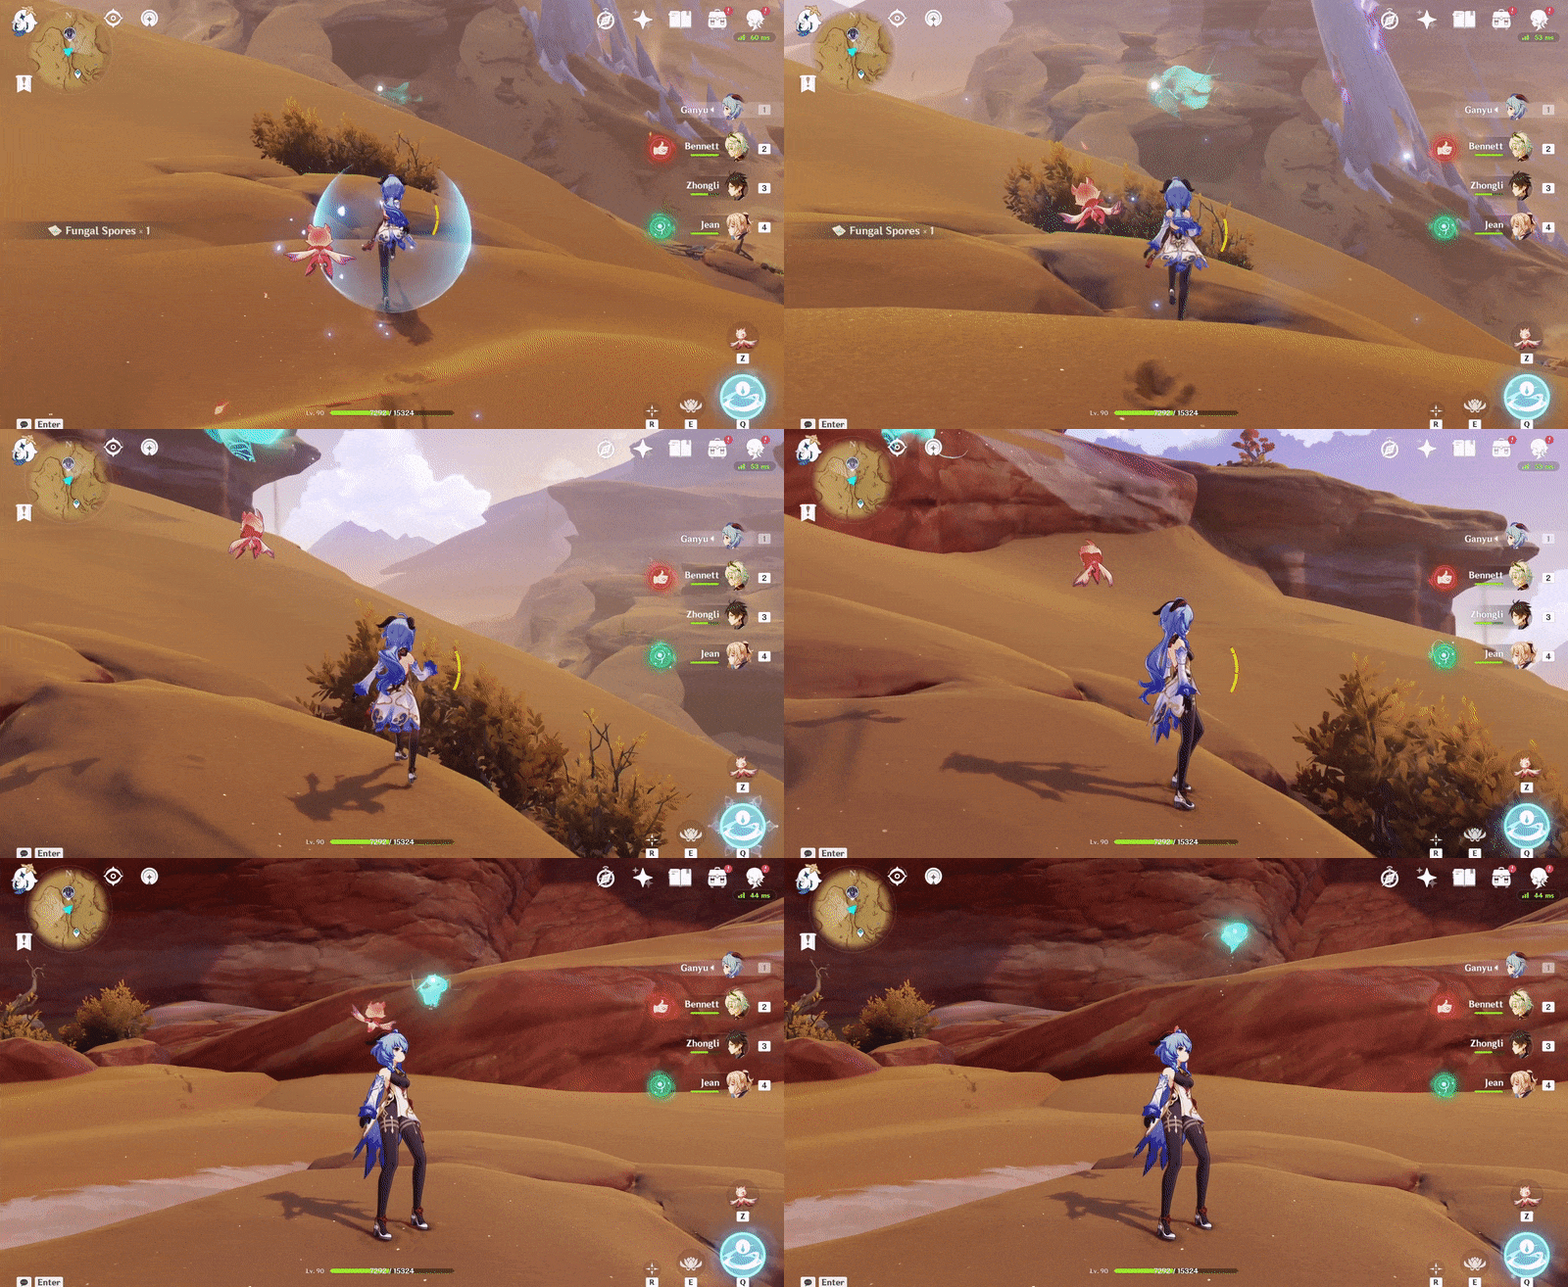
Location (Seelie Statue):
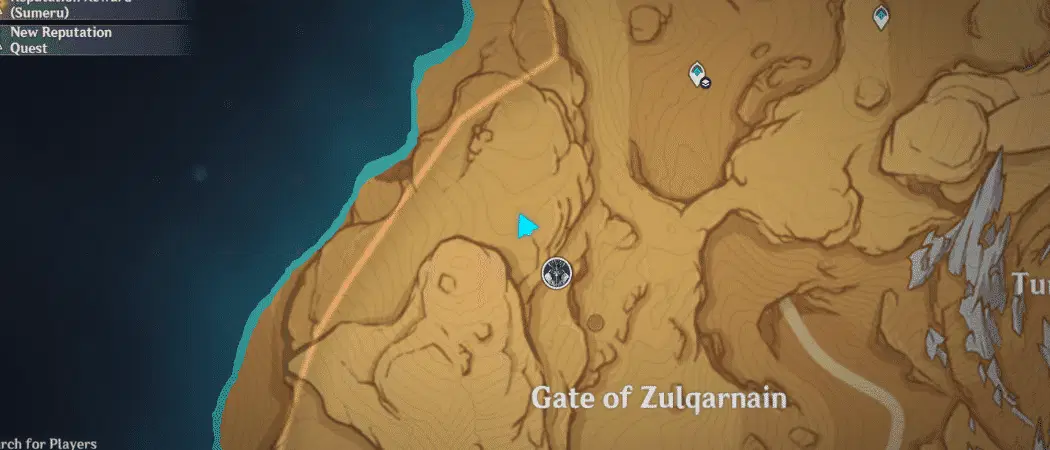
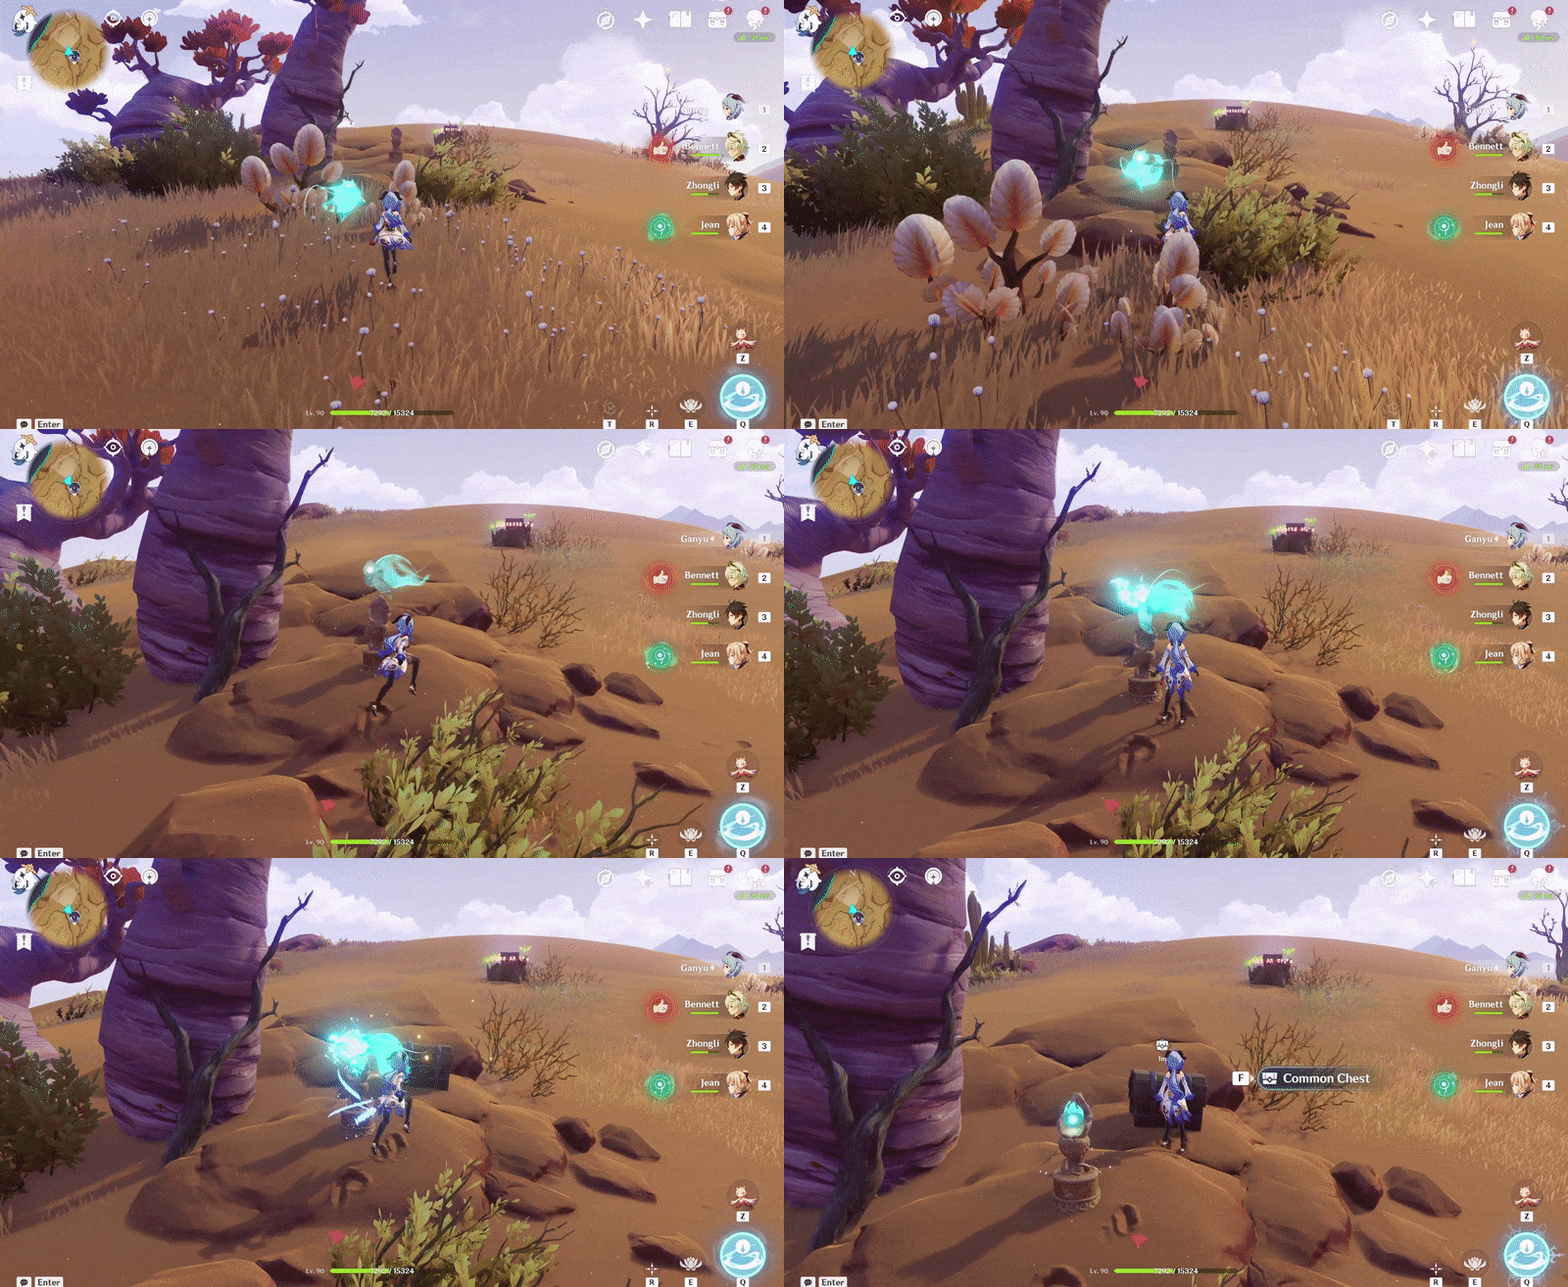
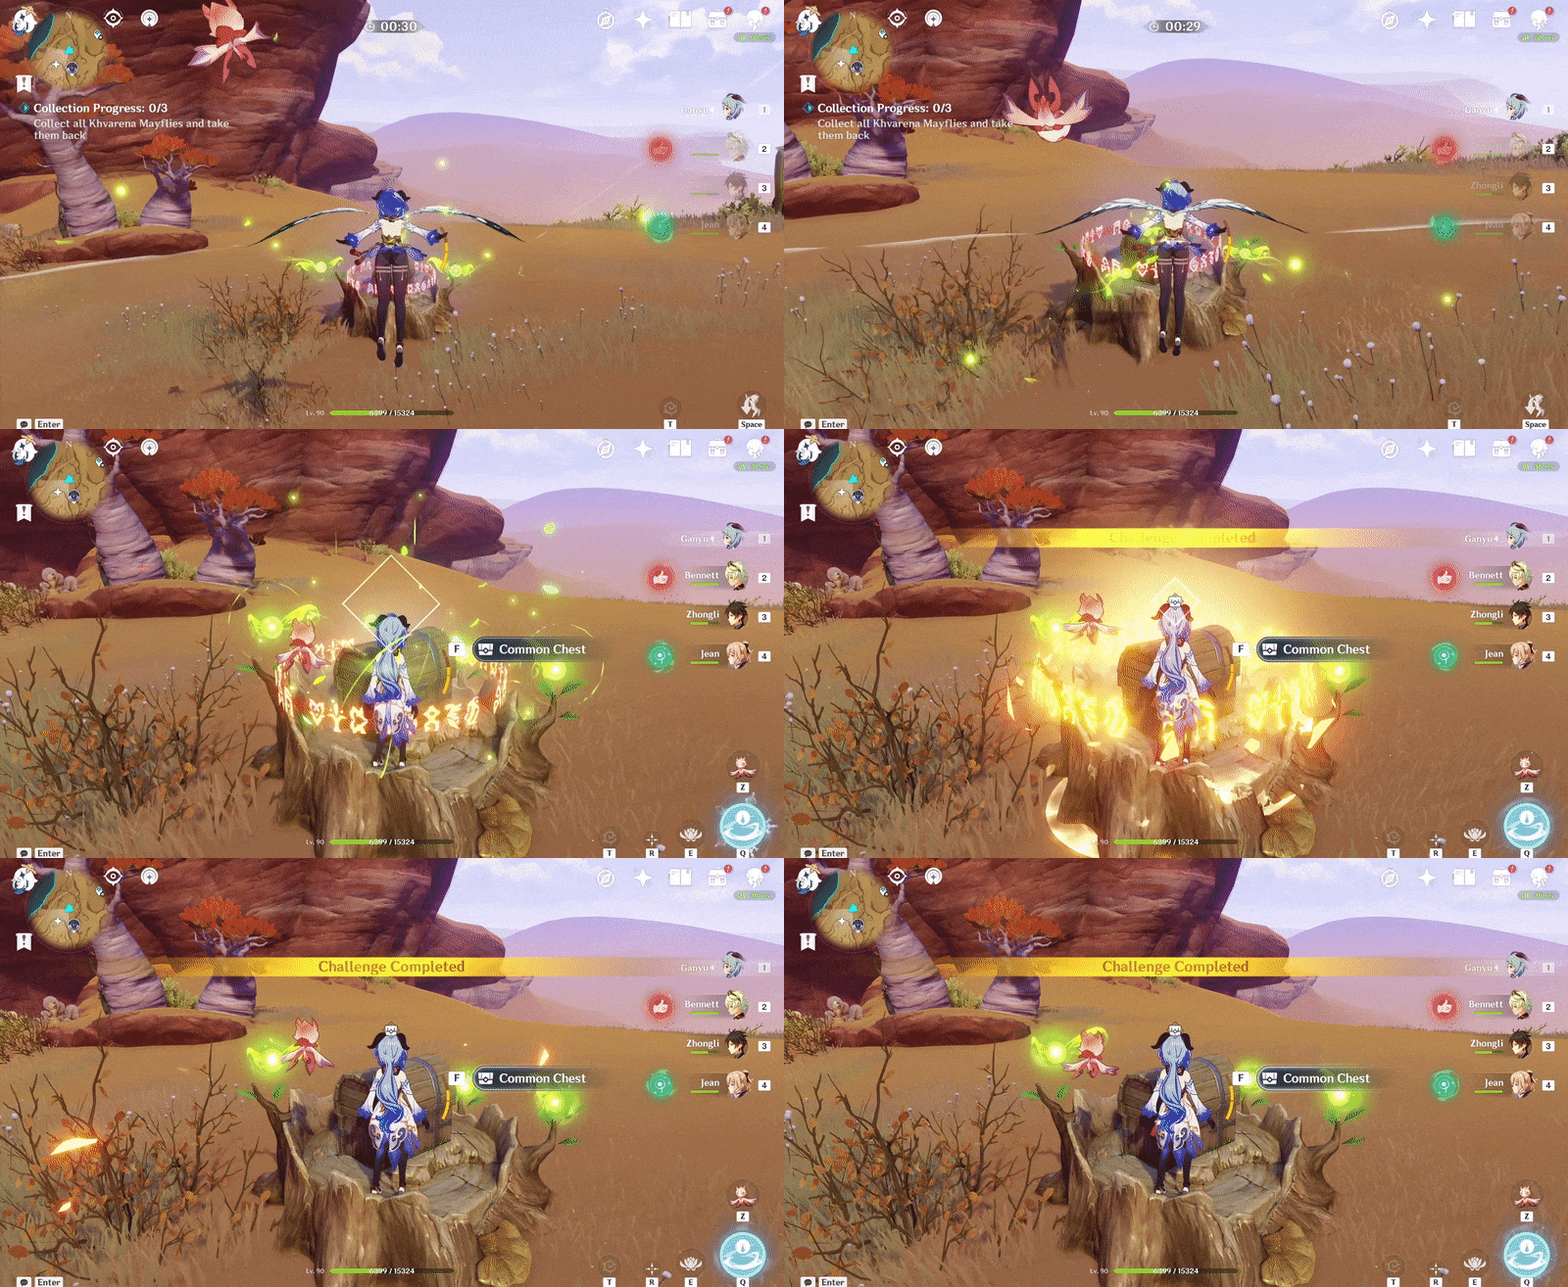
399. [Locked Chest] On the tree stump, on top of the cliff
Will unlock after completing the Khvarena Mayfly Challenge ('Collect 3 Khvarena Mayflies and return them within 60s').
Location:
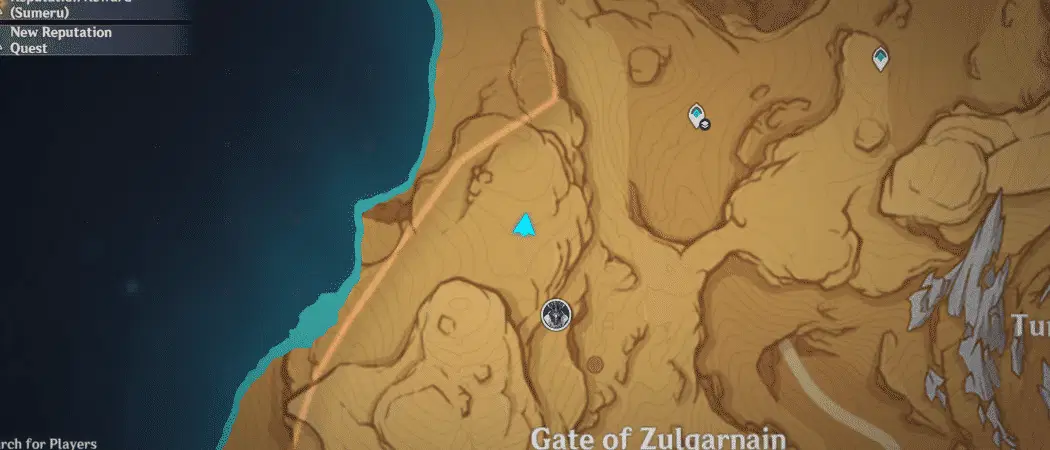
400. [Trapped Chest] By the cacti and 2 Floating Pyro Fungi
Burn the brambles with Pyro to access.
Location:
Previous:[Guide] Common Chests - Sumeru Desert: Part 19
Index:[Index] Common Chests



