UID: 710532802
Index:[Index] Wonders of the World- Hidden Achievements - miHoYo Player Community (hoyolab.com)
-Hidden achievements are achievements located under 'Wonders of the World' that do not appear until after completion-
-Footage is from my 2nd & 3rd account-
-Location photos/diagrams are from my 1st account-

Index (Part 1)
Cooking
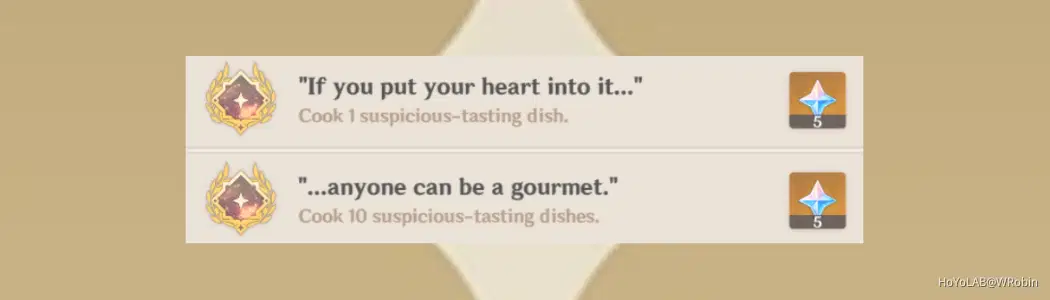
🟆""If you put your heart into it..."", ""...anyone can be a gourmet.""
NPC
🟆"Friends the World Over"
Being Defeated
🟆 "The Bleak Midwinter", "The Hunter Becomes the Hunted", "Boared to Death"
Party Members
🟆"Fantastic Four", "Bon Appétit"
Electro Hypostasis
🟆"The PRISM Program", "Force Field Erosion", "...Lizard-Spock"
Anemo Hypostasis
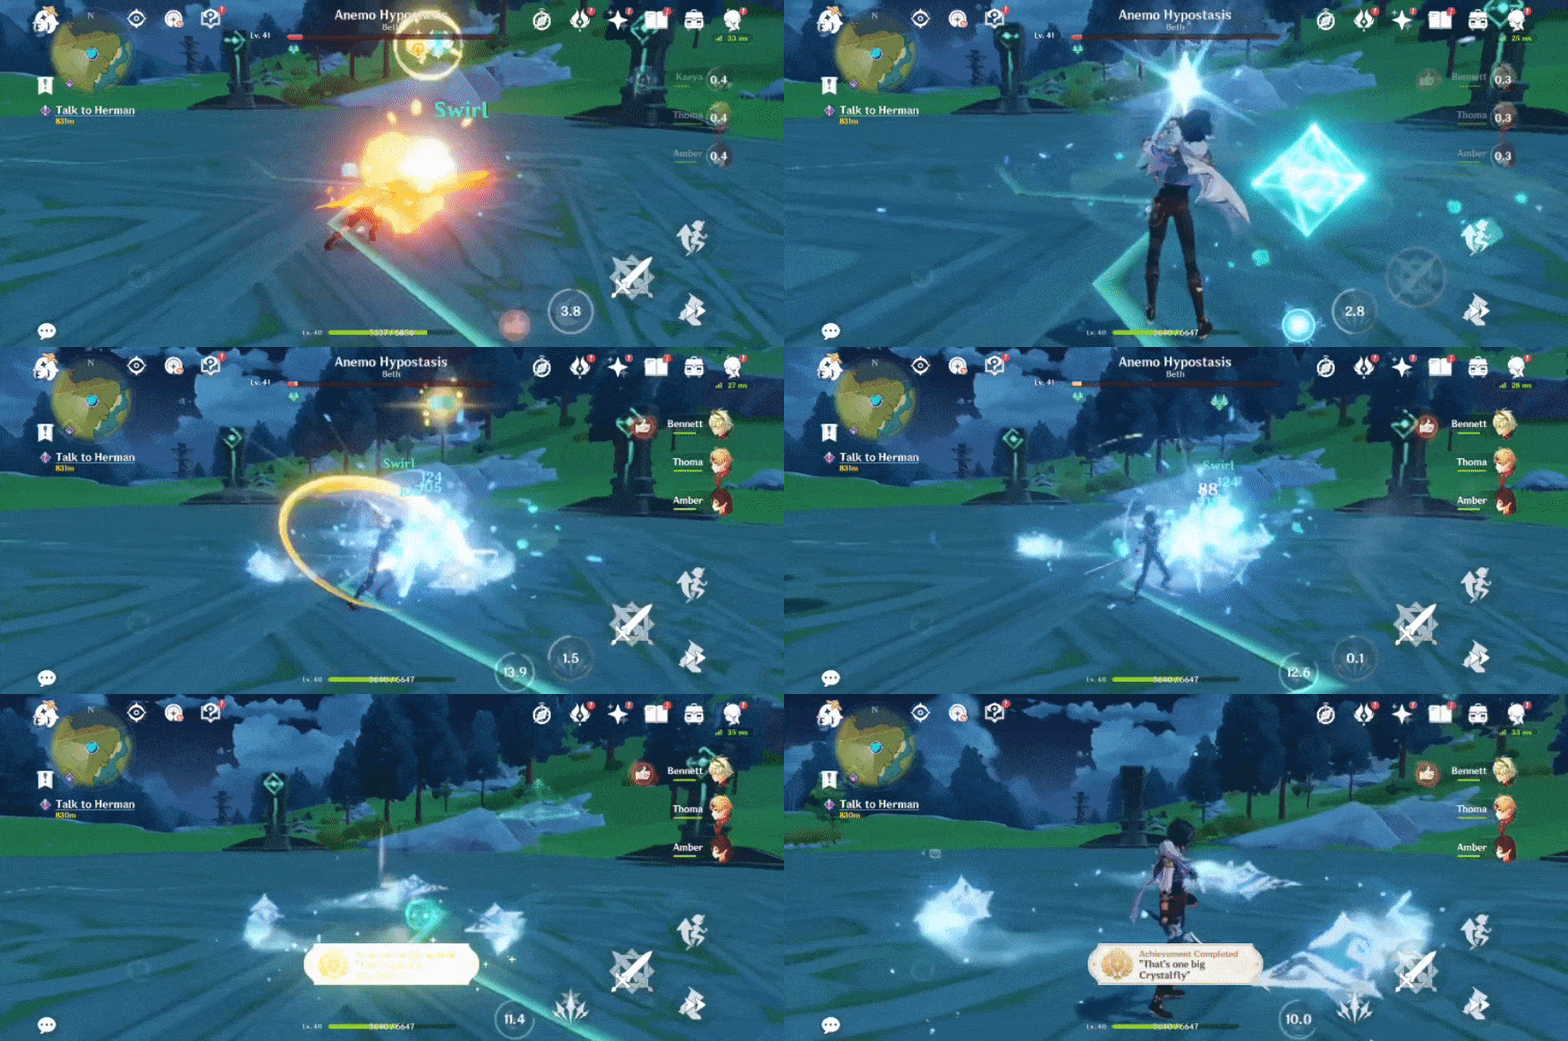
🟆""That's one big Crystalfly"", ""...Not indicative of the final product"", "Back With The Wind"
Geo Hypostasis
🟆"None Stand Secure", "A House Ill-Founded","Juggernaut"
Cryo Regisvine
🟆""Take That, You Overblown Mist Flower!"", "Knockout"
Pyro Regisvine
🟆"Core Meltdown", ""That Was Blooming Hot""
Primo Geovishap
🟆"Deflection!", "You Can Have Those Back!"
◈Cooking◈ 2 achievements (Total: 10 primogems)
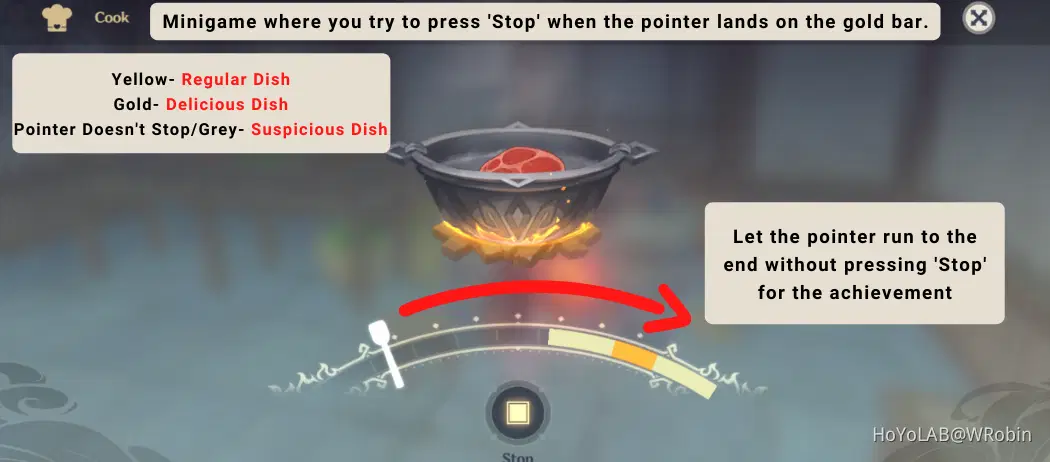
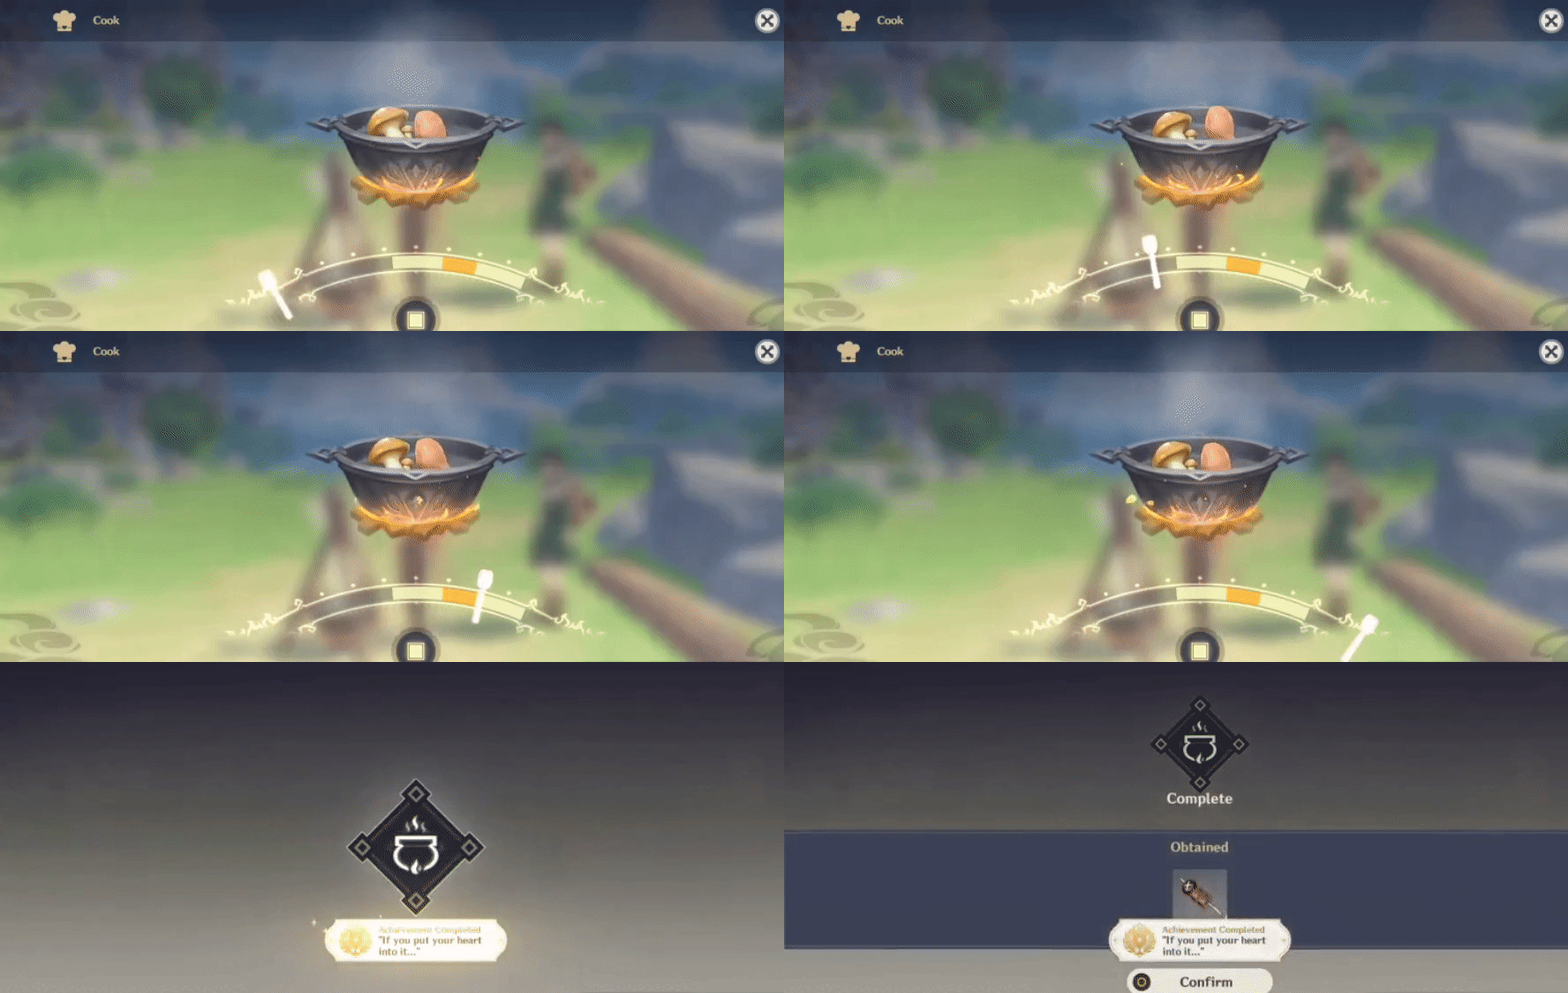
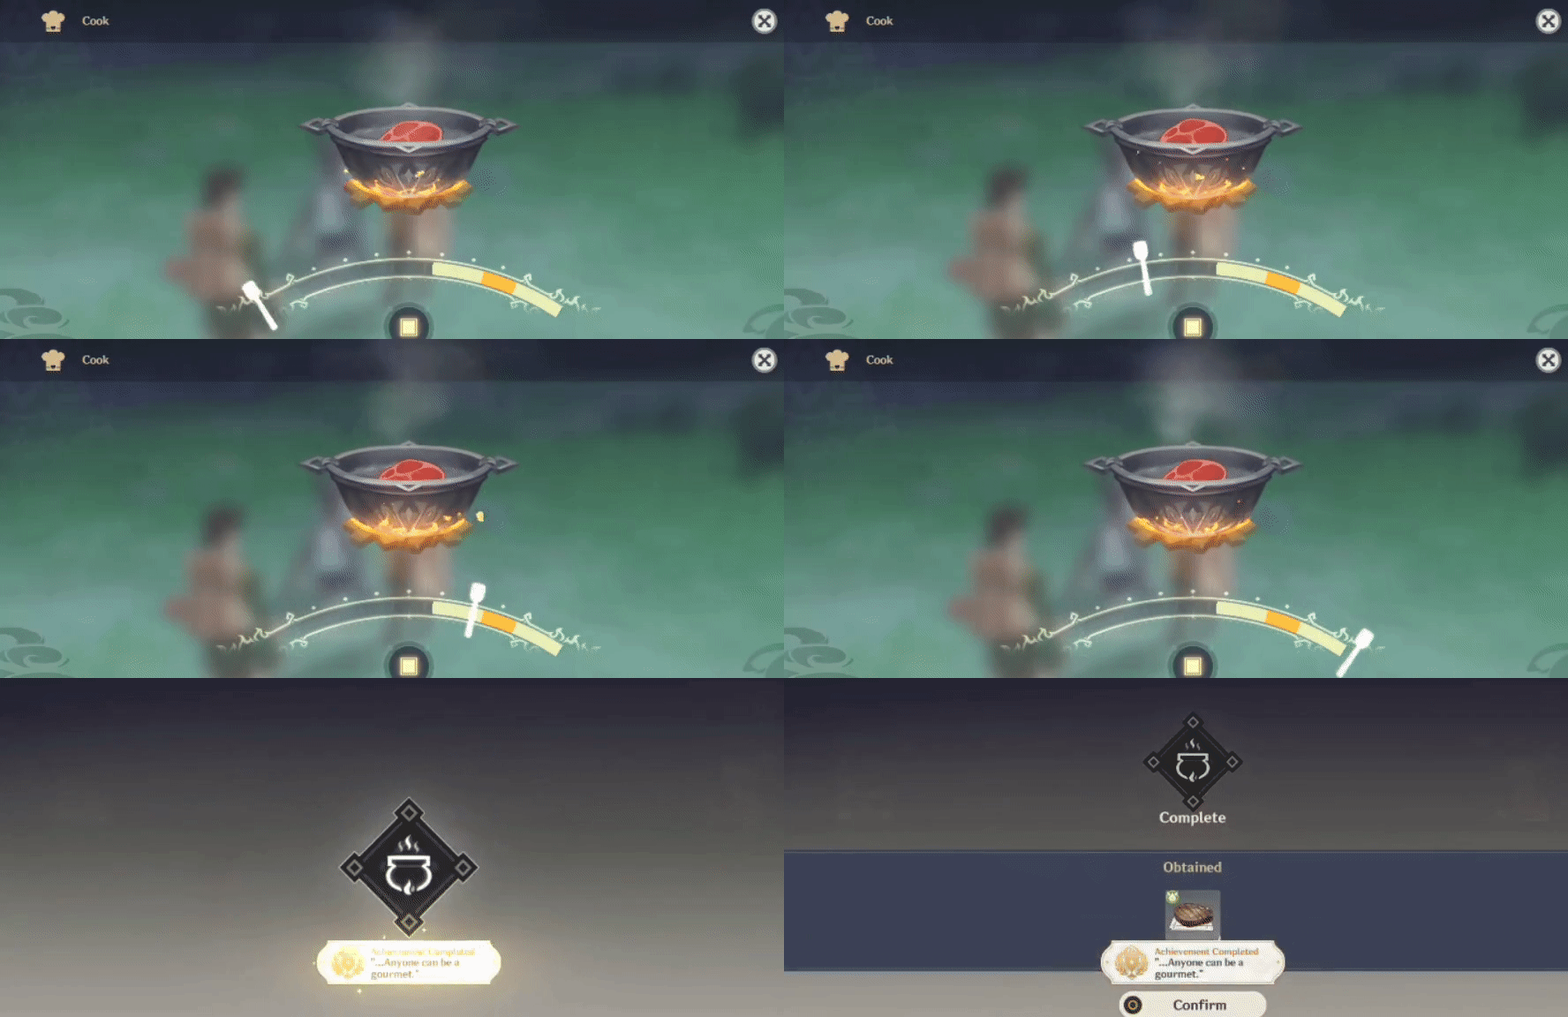
➤Suspicious dishes- made when the pointer runs to the end (no interaction to stop it).
➤Manually cook an easier option (one with less resources) if you've already learnt to auto-cook it.
e.g. Tevyat Fried Egg and Steak
Achievements will issue after failing 1 and 10 dishes respectively.
◈NPC◈ 1 achievement (Total: 10 primogems)
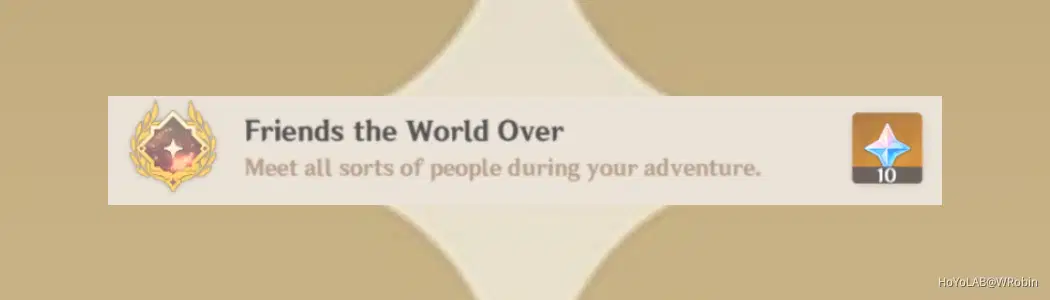
Requirements: Talk to NPCs a total of 10,000 times
➤It's based on how many time you initiate a conversation with an NPC (not how many dialogue boxes/choices/texts).
➤Conversations during Story Quests/Archon Quests also contribute towards this number.
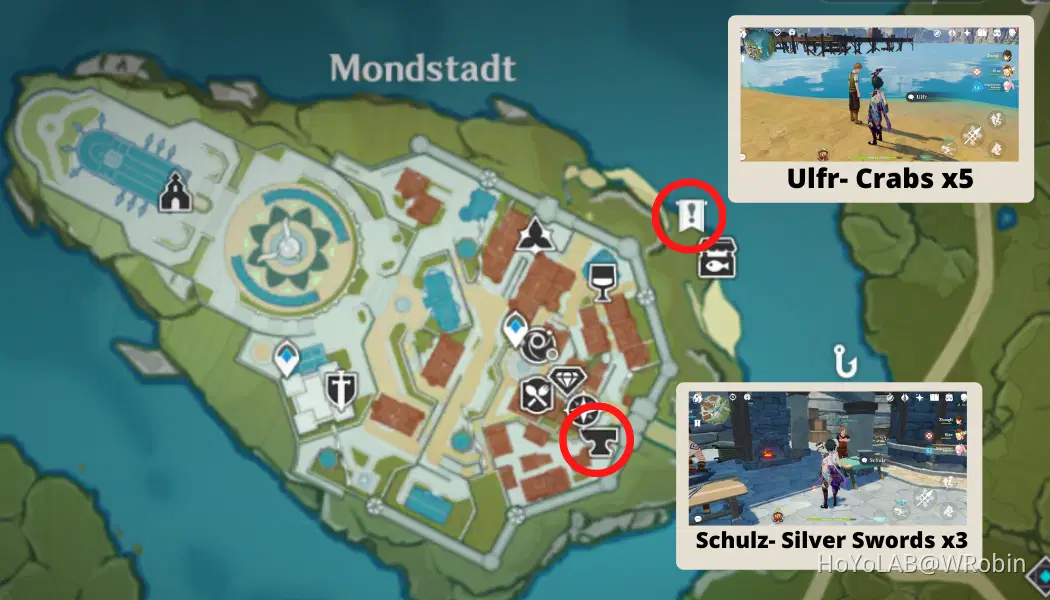
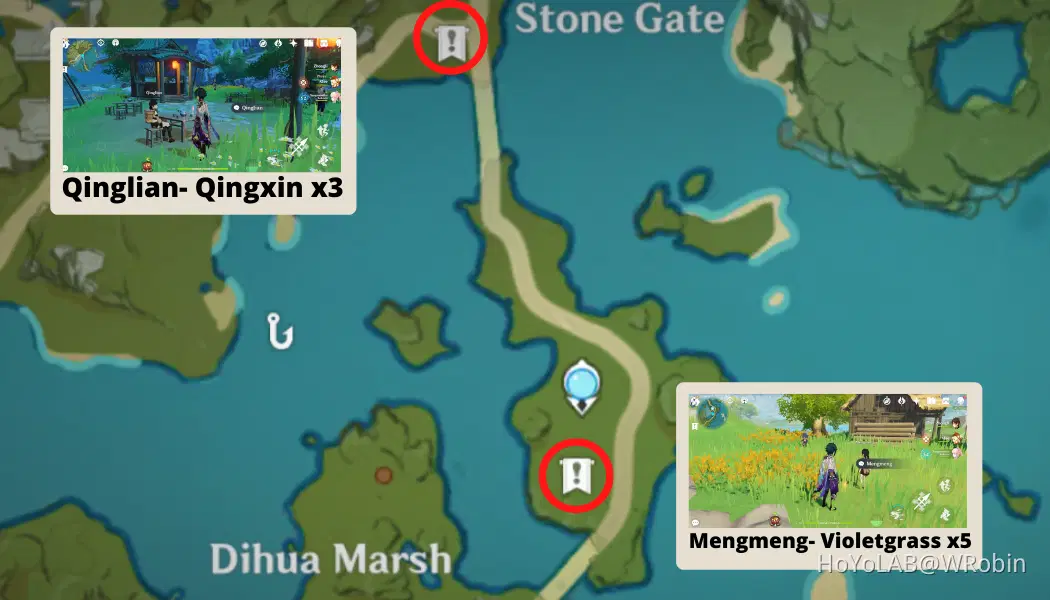
Some NPCs who give rewards in conversation:
[Mondstadt]
[Liyue]
Achievement will issue after the 10,000th conversation.
◈Being Defeated◈ 3 achievements (Total: 15 primogems)
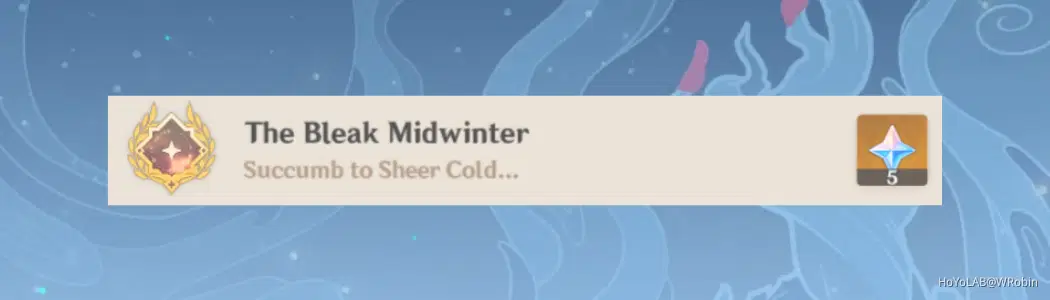
➤Sheer Cold is a status, only applicable in Dragonspine (when your character is away from heat sources- Waypoints, fire...).
➤Once the bar reaches full, your character will take damage until the status is removed or they die.
➤Go to a Waypoint in Dragonspine, then move far away enough that the status is then applied. Wait until it reaches full and your character dies.
Achievement will issue after 1 character dies from Sheer Cold.
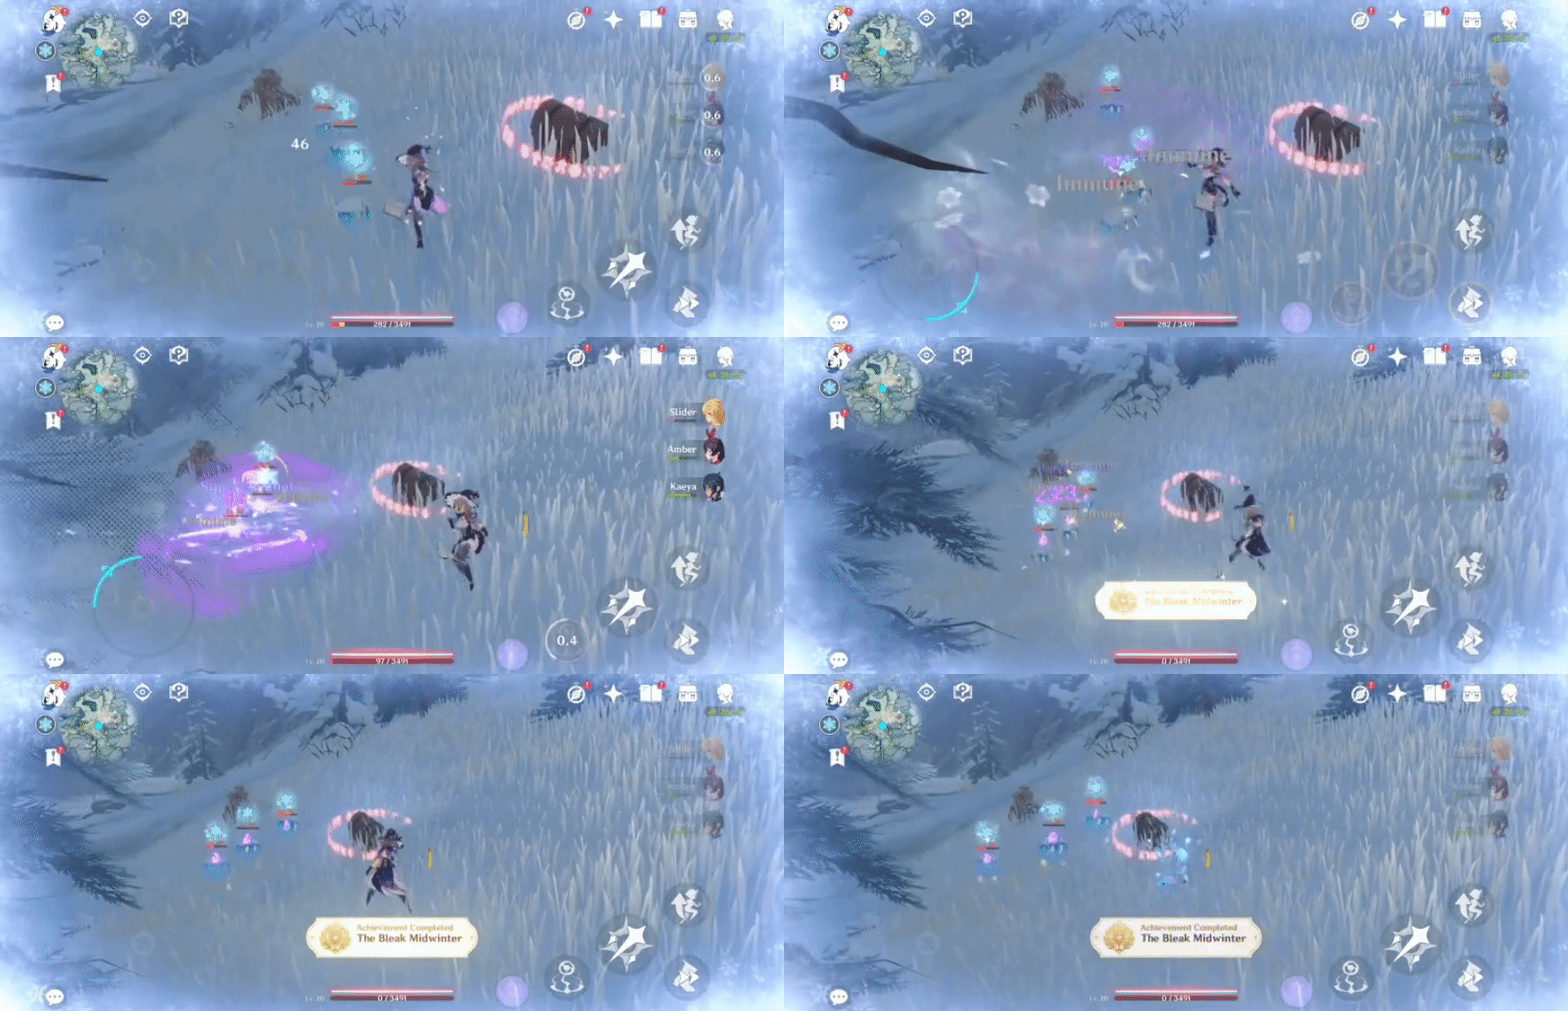
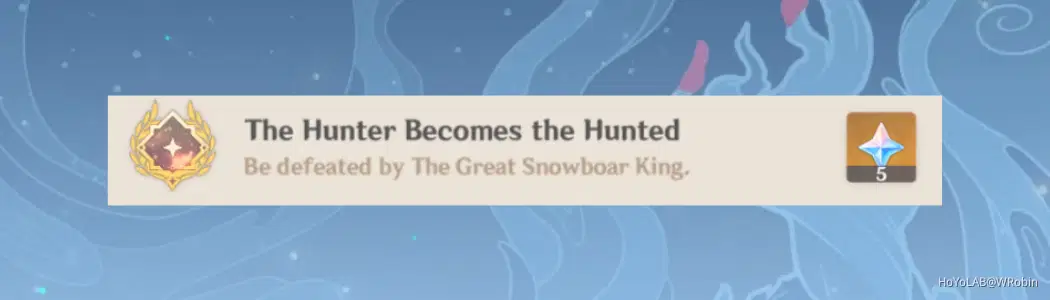
Location:
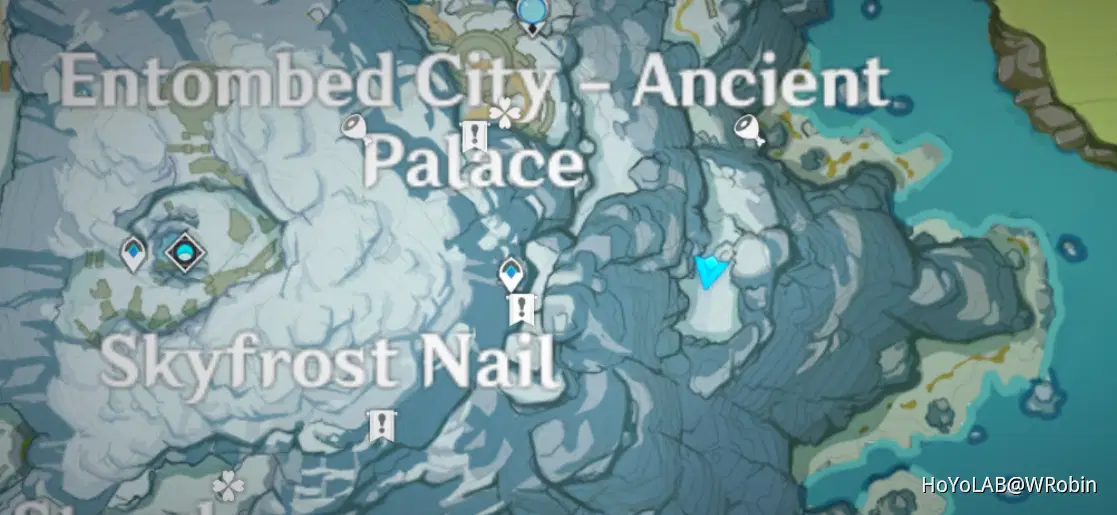
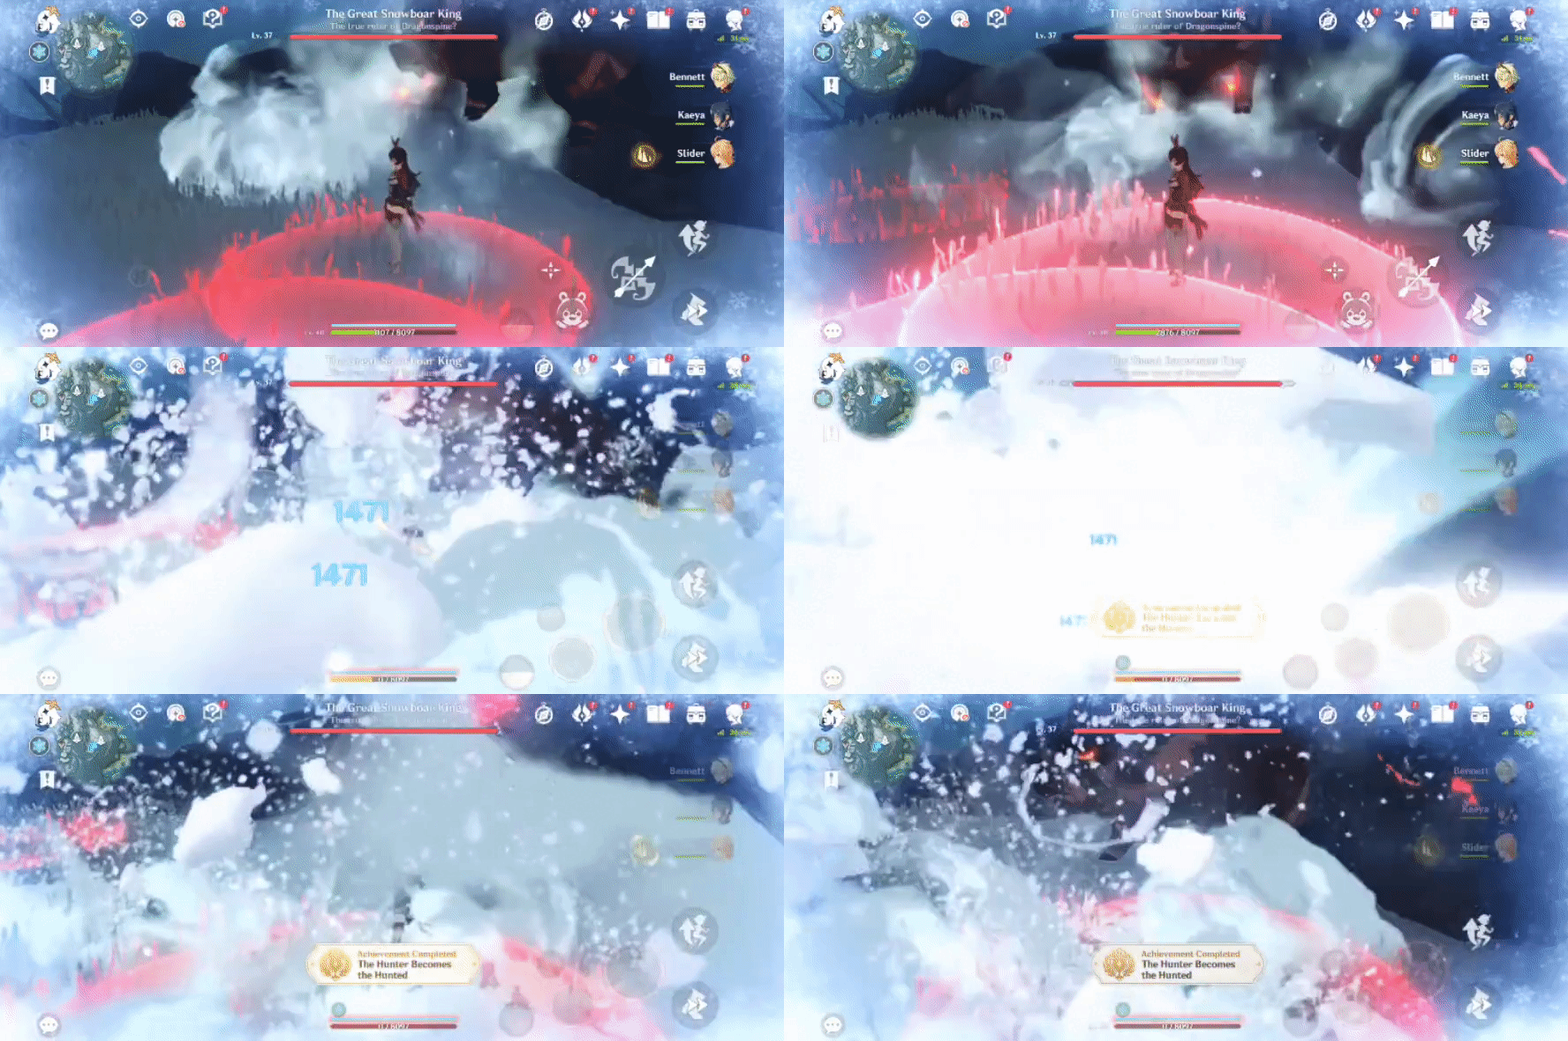
➤Melt the ice (using Pyro) encasing the 3 regular Snowboars in the area and kill them to summon The Great Snowboar King.
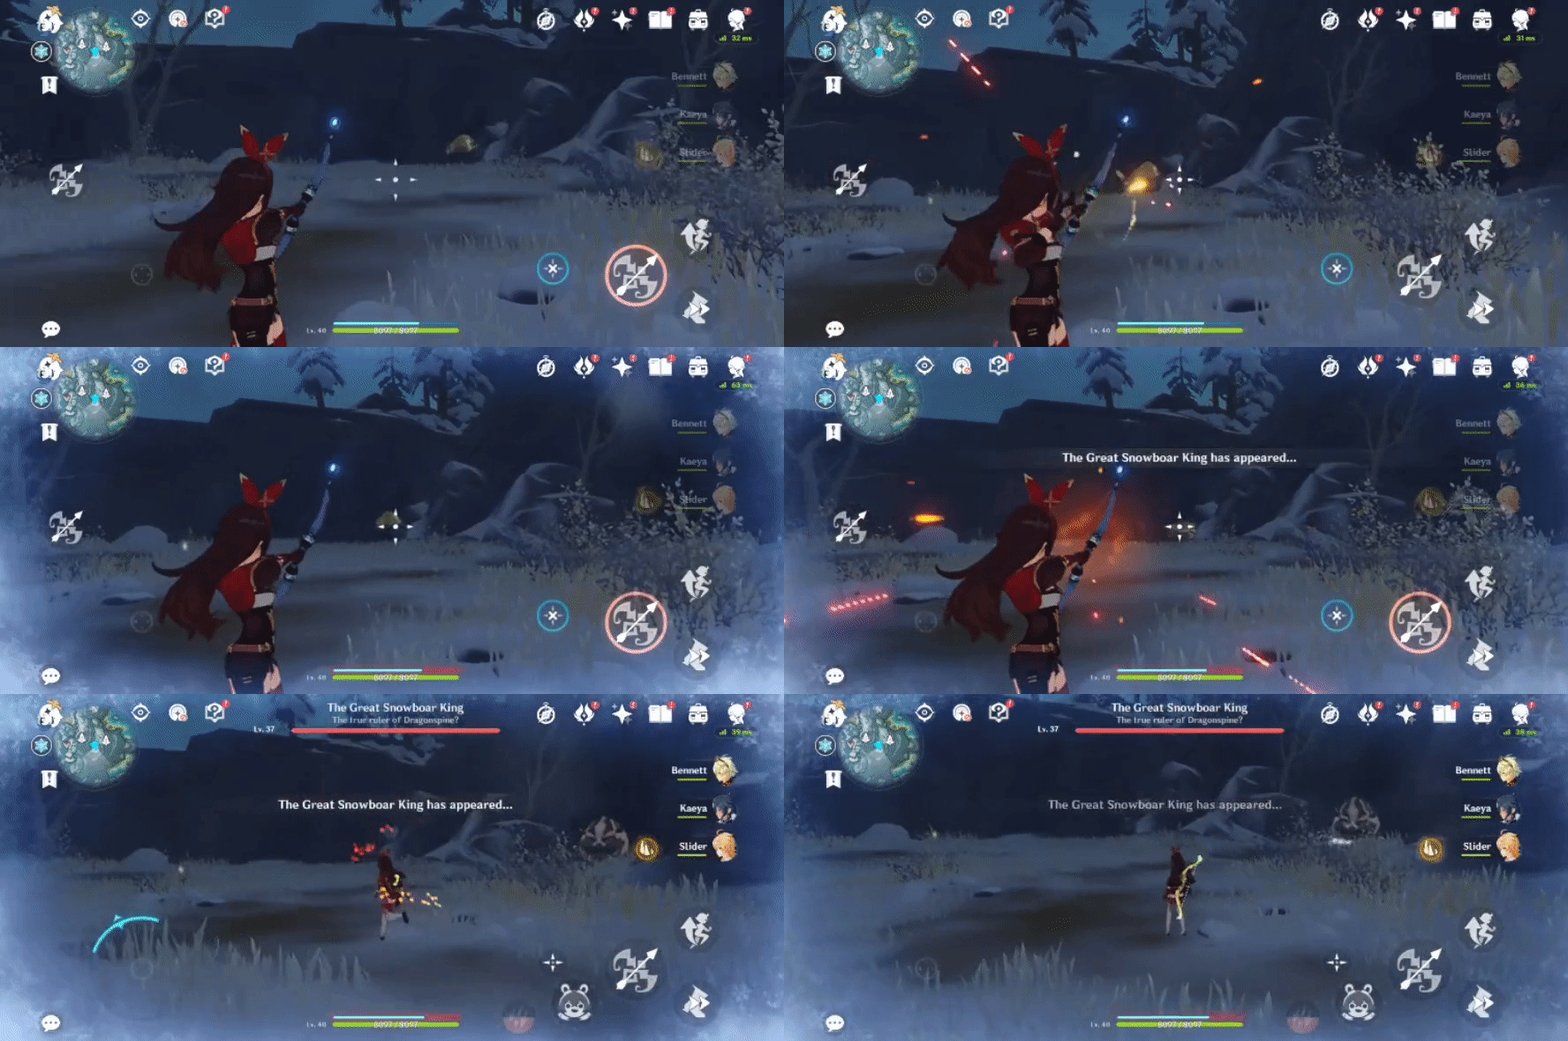
➤For a quicker defeat- don't attack, block or use Elemental Bursts for an invincibility frame.
Achievement will issue after 1 character is defeated.
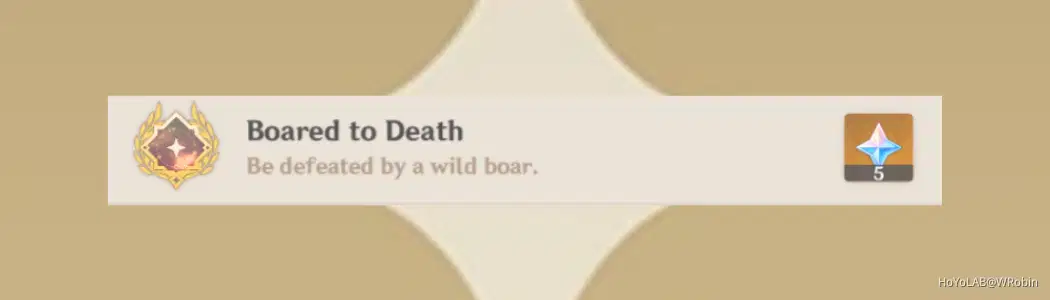
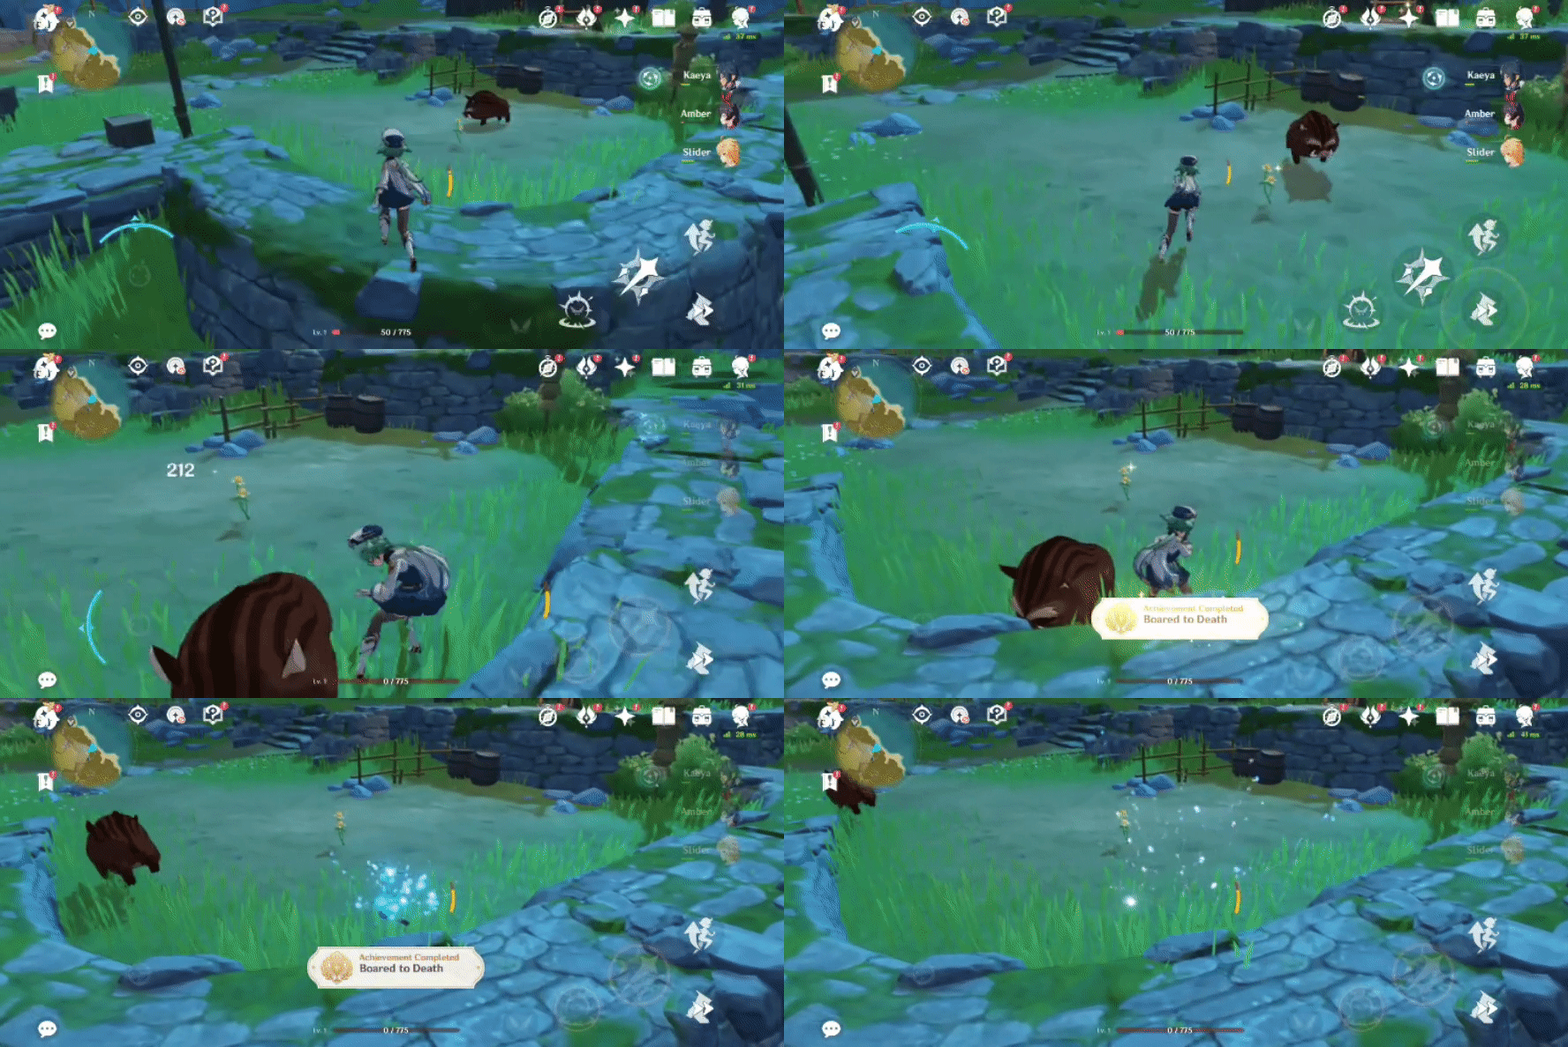
➤Decrease your health as low as possible before interacting with a boar (it'll only attack you once before running- then despawning if it isn't killed).
➤You can take damage by:
-Sheer Cold (then teleporting away)
-Falling from high spots
e.g. Anemo Archon Statue in Mondstadt
➤Or have your character die, then revive it with the least effective revival dish
e.g. Steak
Location (Boars):
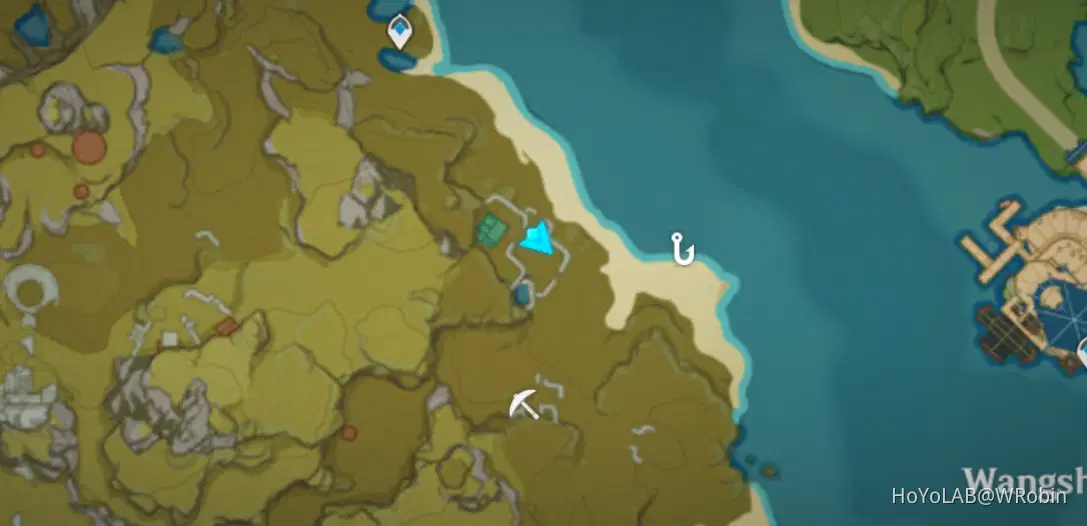
Achievement will issue after being defeated by a boar.
◈Party Members◈ 2 achievements (Total: 20 primogems)
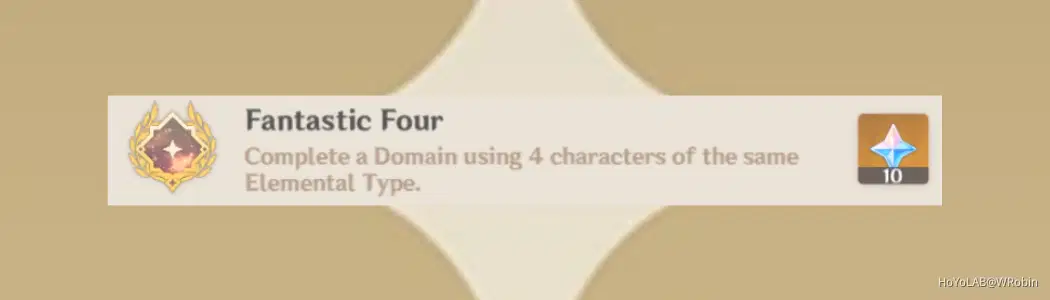
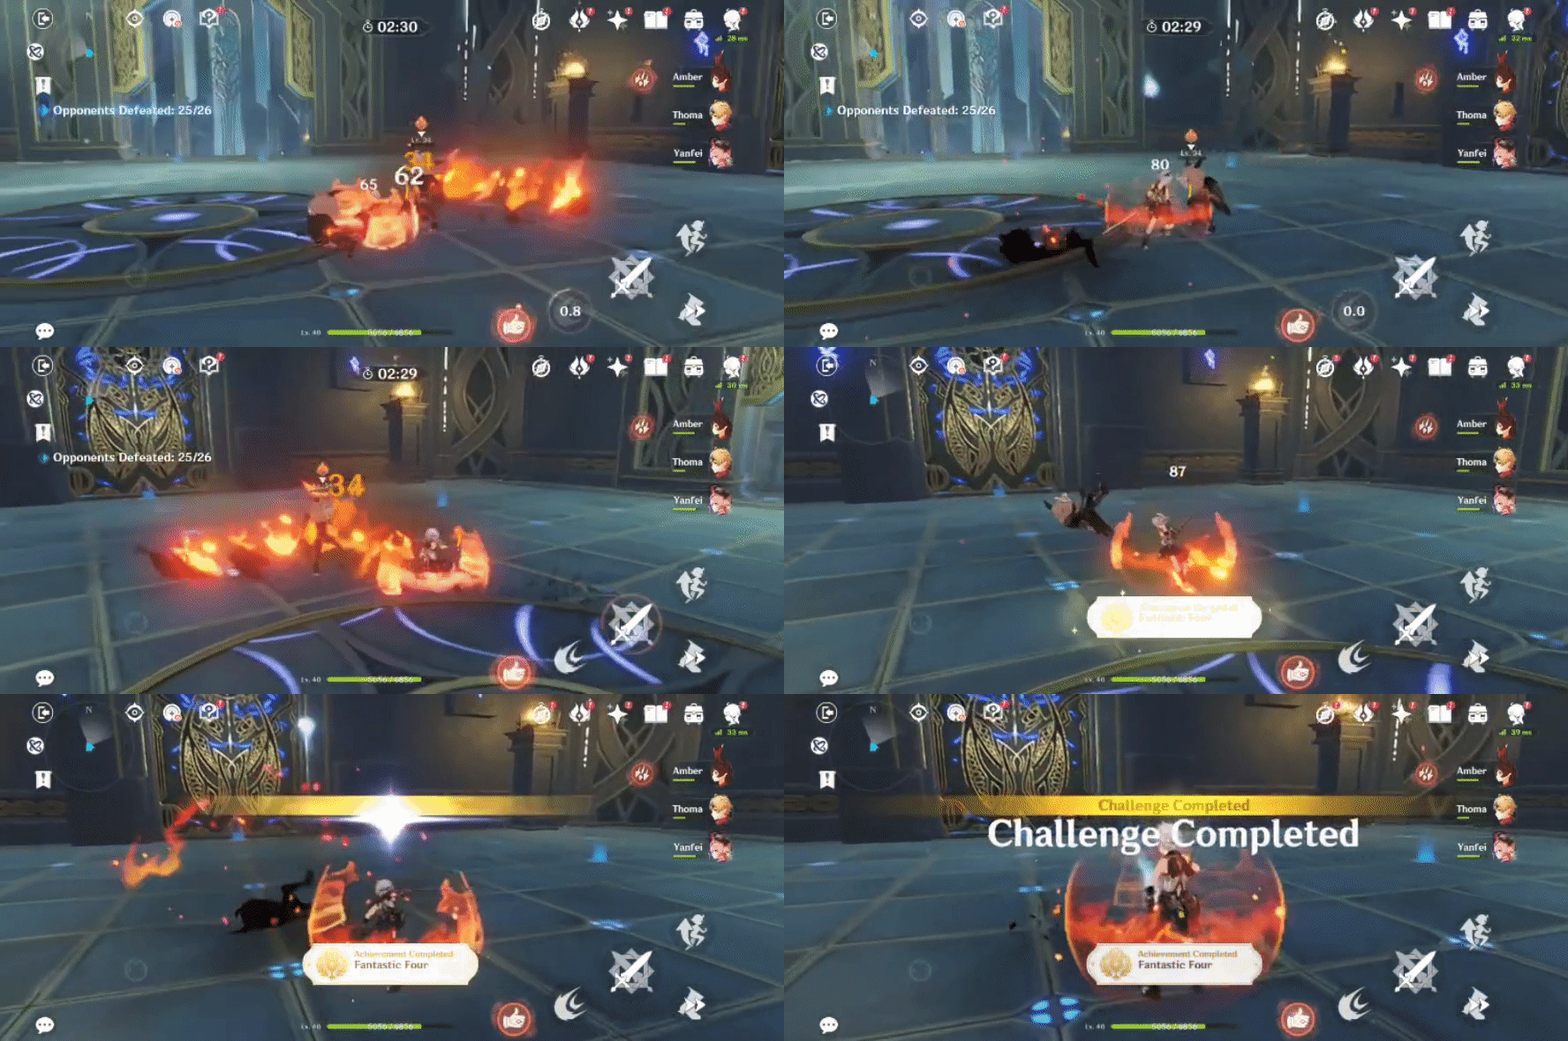
Possible team combinations (EXAMPLES):
Electro- Beidou, Lisa, Fischl, Razor
Cryo- Chongyun, Kaeya, Diona, Qiqi
Pyro- Bennett, Xiangling, Amber, Xinyan
➤You can do any domain of any level for this- so the level/stats of your characters don't matter.
➤If needed, you can use your main DPS (then base your team off of them), or use a specific Elemental Resonance for a boost
e.g. Fervent Flames- Increases ATK by 25%
Achievement will issue after completing the domain.
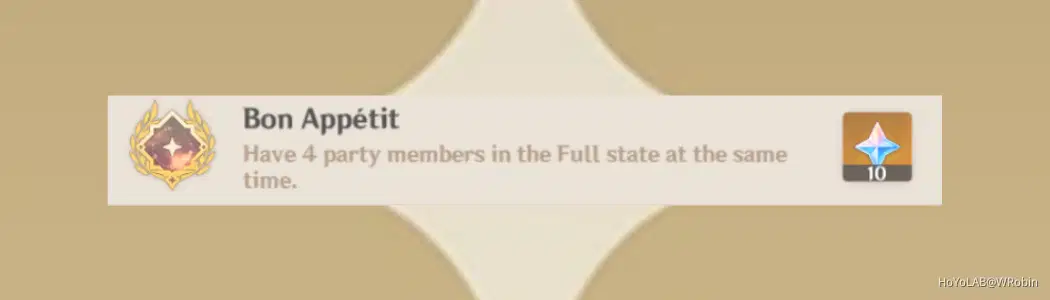
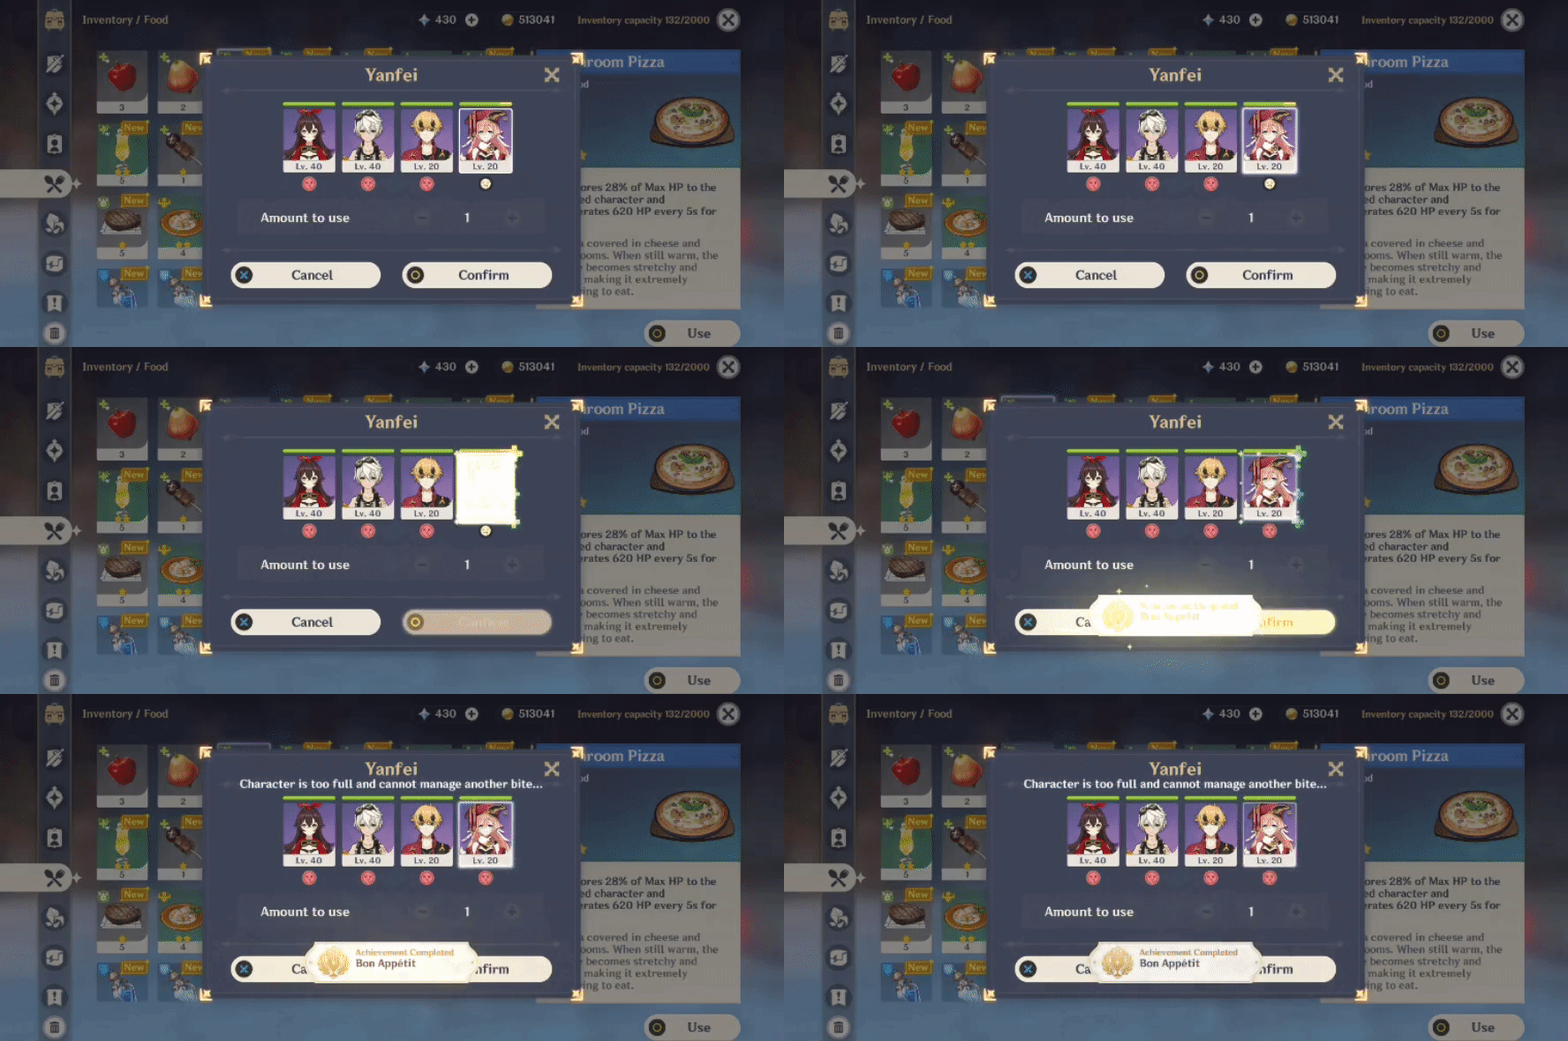
➤When feeding a character, there is an icon to display their 'fullness'.
Max (red face)- can no longer feed that character for the time being.
➤Use dishes that you are happy to use and have a high amount of.
Achievement will issue after all 4 characters are in a full state.
◈Electro Hypostasis◈ 3 achievements (Total: 20 primogems)
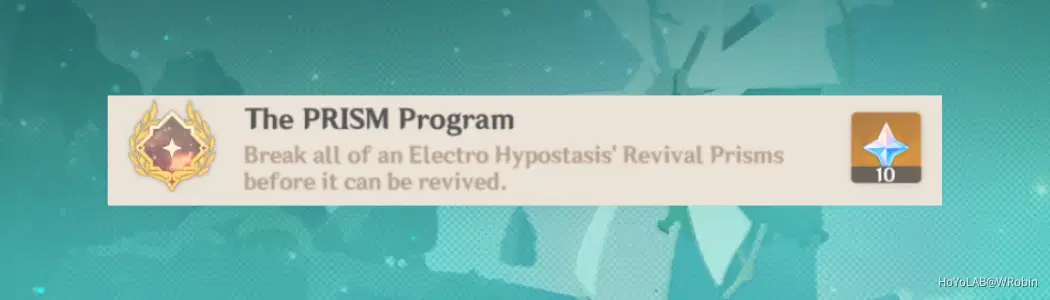
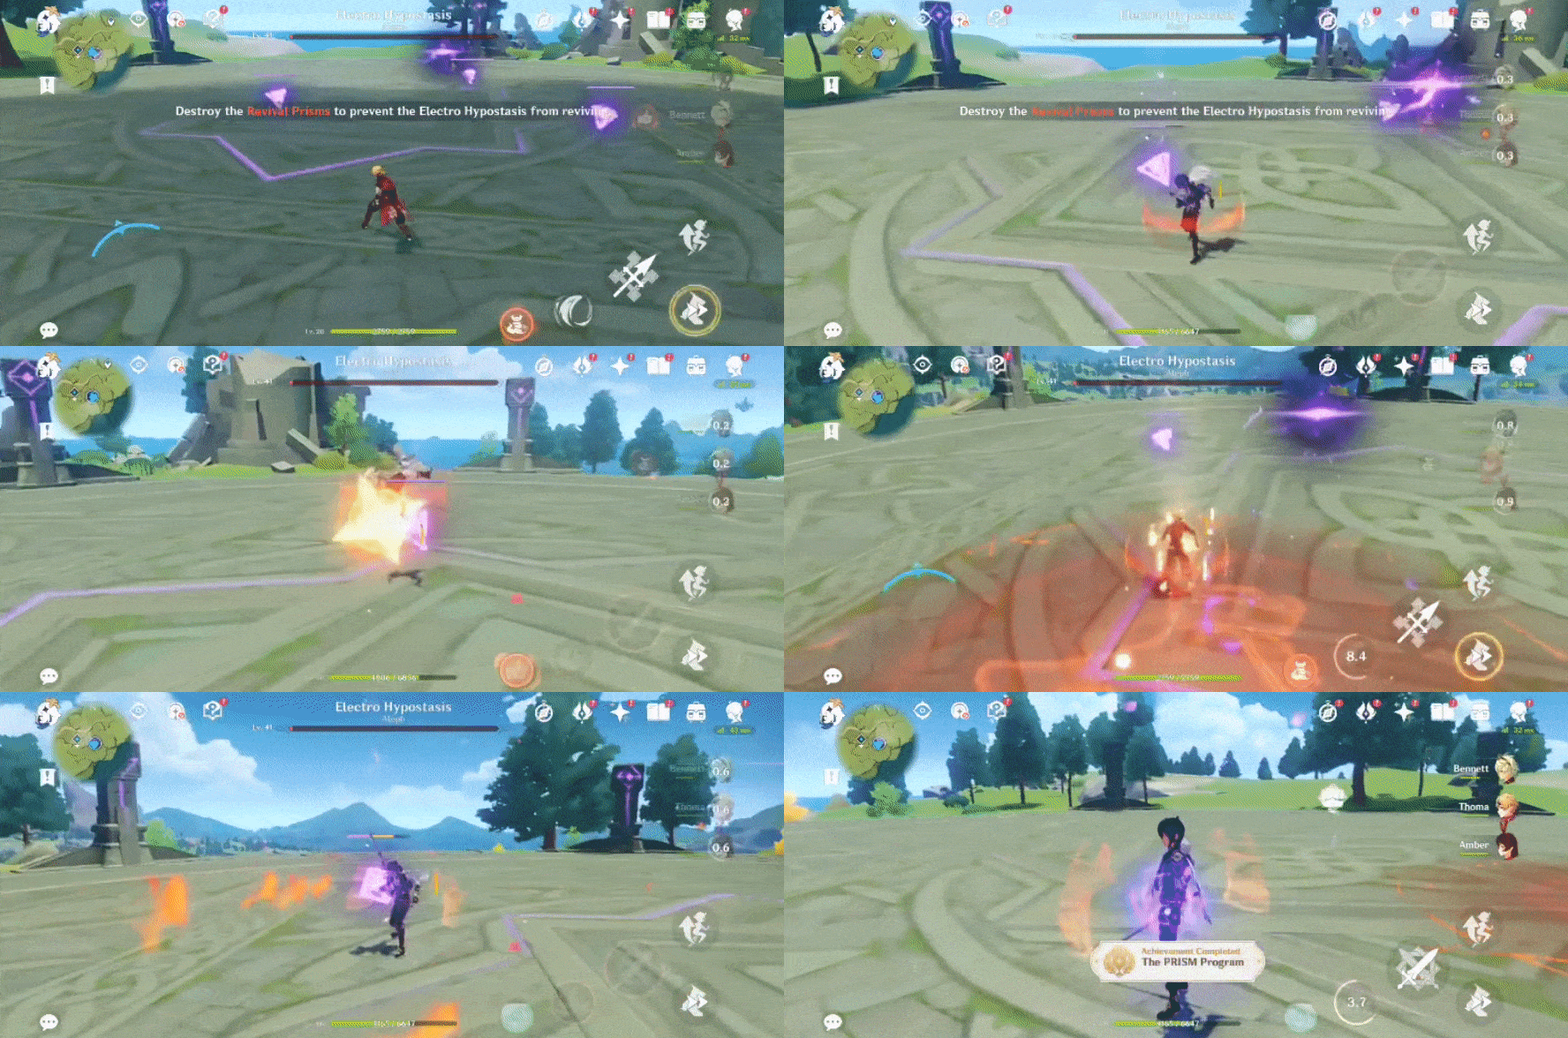
When the Electro Hypostasis reaches low enough HP, it will then enter a state where 3 prisms spawn. Depending on whether the prisms can be broken, the enemy will then either be defeated or revive with more health (depending on how many prisms are left).
➤Use Pyro or Cryo attacks to easily and efficiently break the prisms as elements like Anemo do less damage.
➤If possible, save any Elemental Burst near the end to break the prisms here as there is a time limit.
➤Physical and Electro attacks do no damage to the prisms.
Achievement will issue after the Electro Hypostasis is defeated (without reviving).
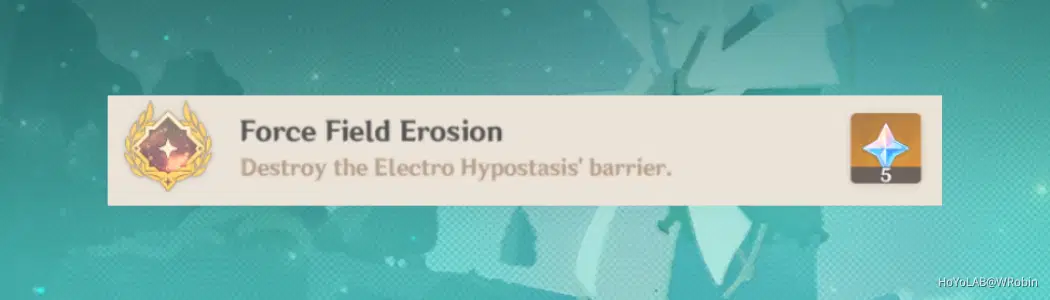
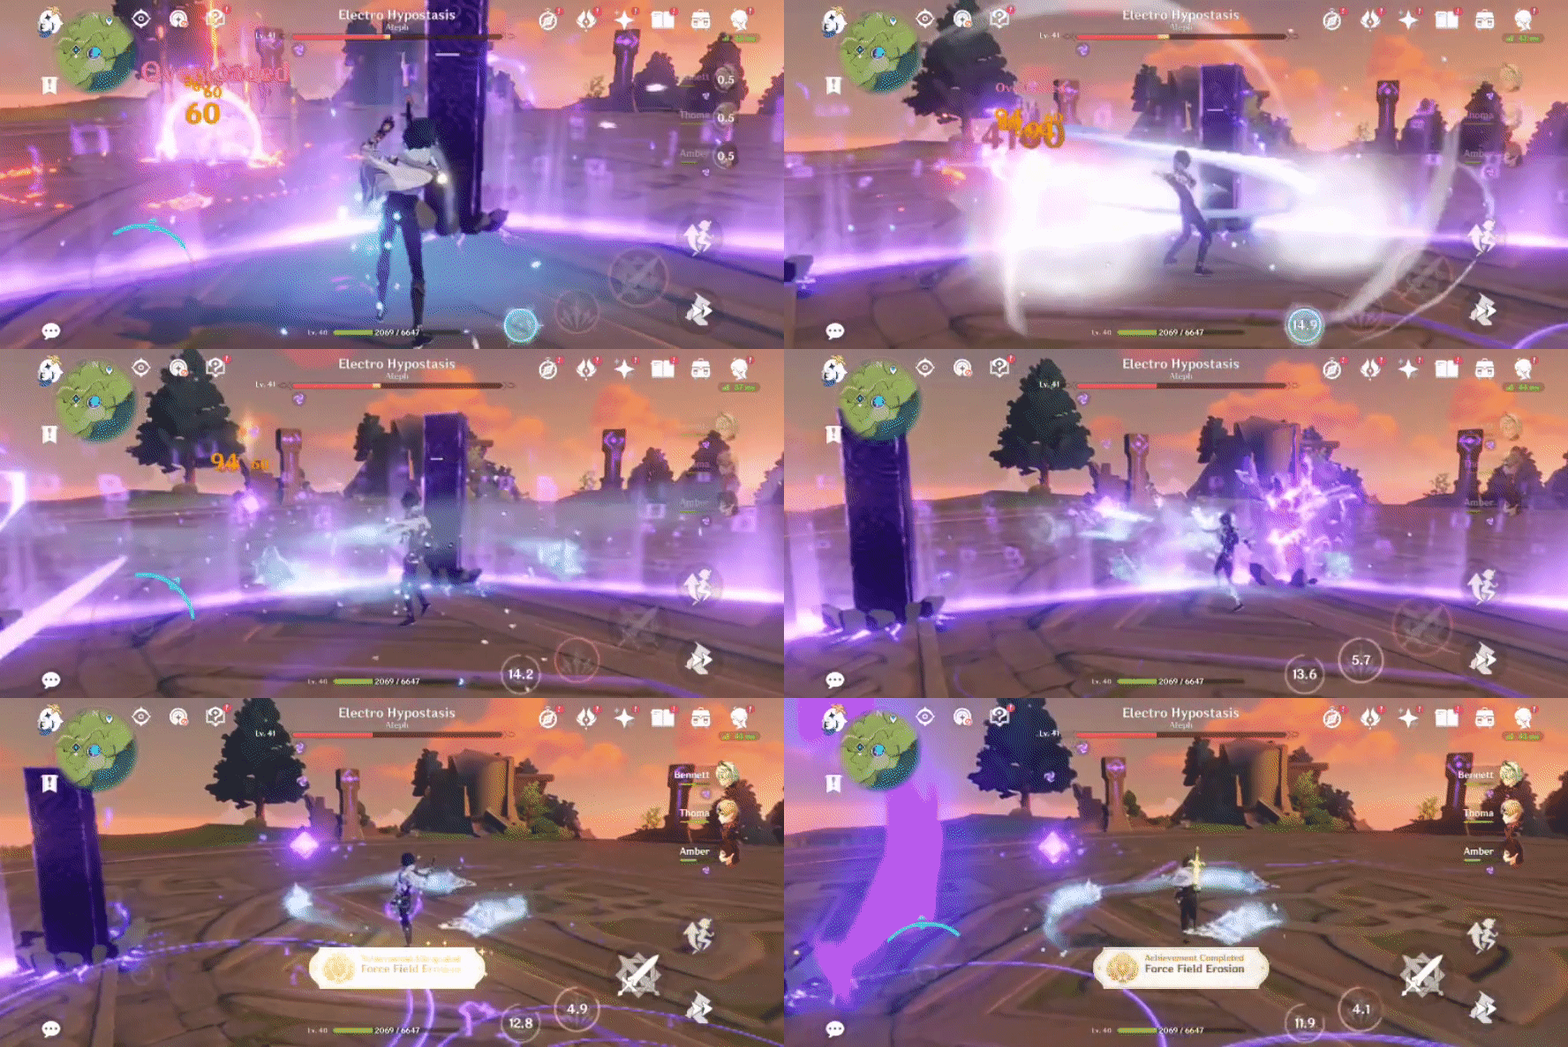
One of the attacks unique to the Electro Hypostasis is it creating a barrier that can trap the character inside and then launch attacks inside. It is possible to escape this by either using elemental damage (recommend Pyro or Cryo) to break a pillar or by sprinting to escape the area before the barrier is fully formed.
➤As this attack can take a while to be used by the enemy, focus on either doing very small amounts of damage so it isn't defeated immediately or only dodge while waiting for it.
➤This boss does not have to be beaten in order to get this achievement.
Achievement will issue after the barrier is destroyed.
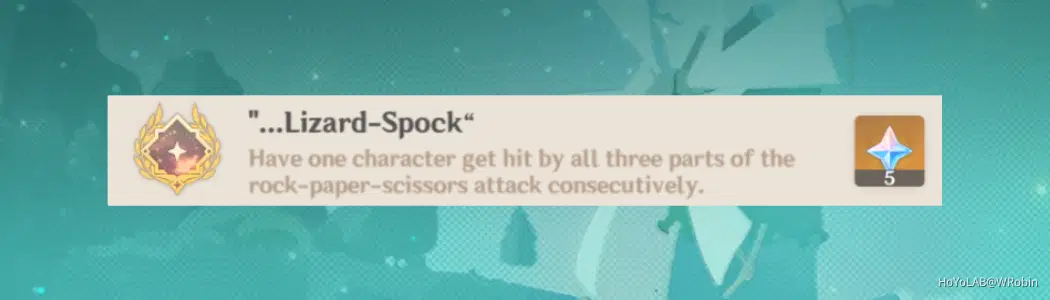
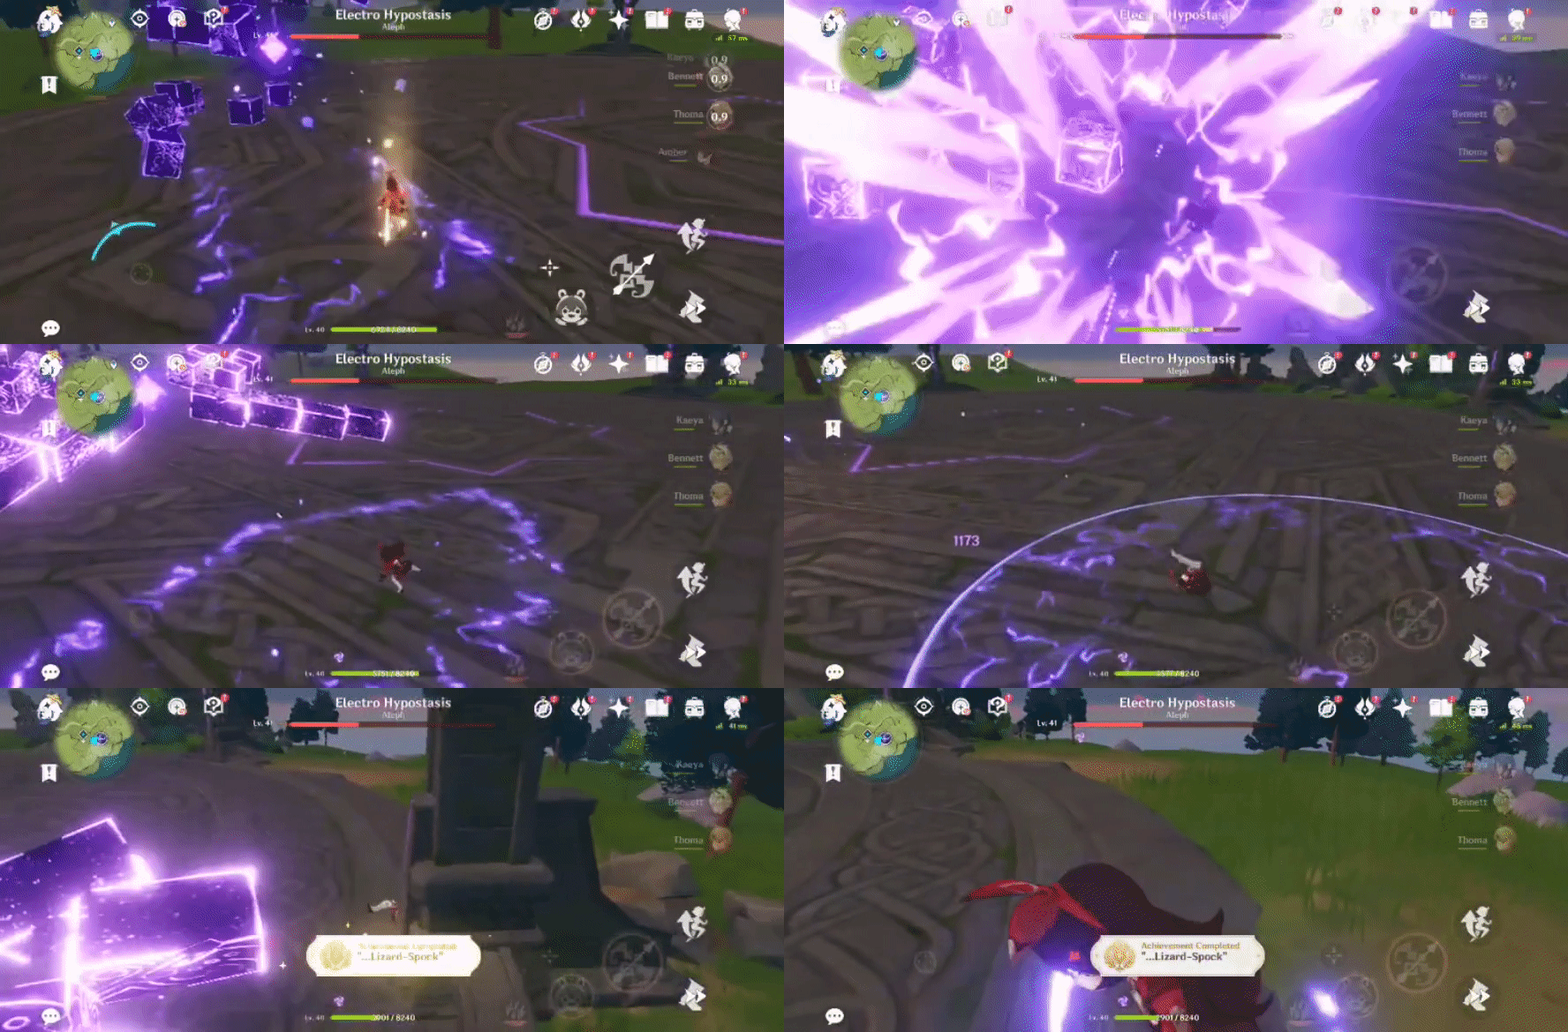
While this attack isn't limited to the Electro Hypostasis, it is the one who uses it the most. The attack consists of it forming a fist and 'punching the player', then forming a scissor and attacking, then finally forming an open palm and slamming the player.
➤Wait for this attack to appear and do not move as it will aim in your direction for all 3 attacks.
Achievement will issue after the attack sequence ends.
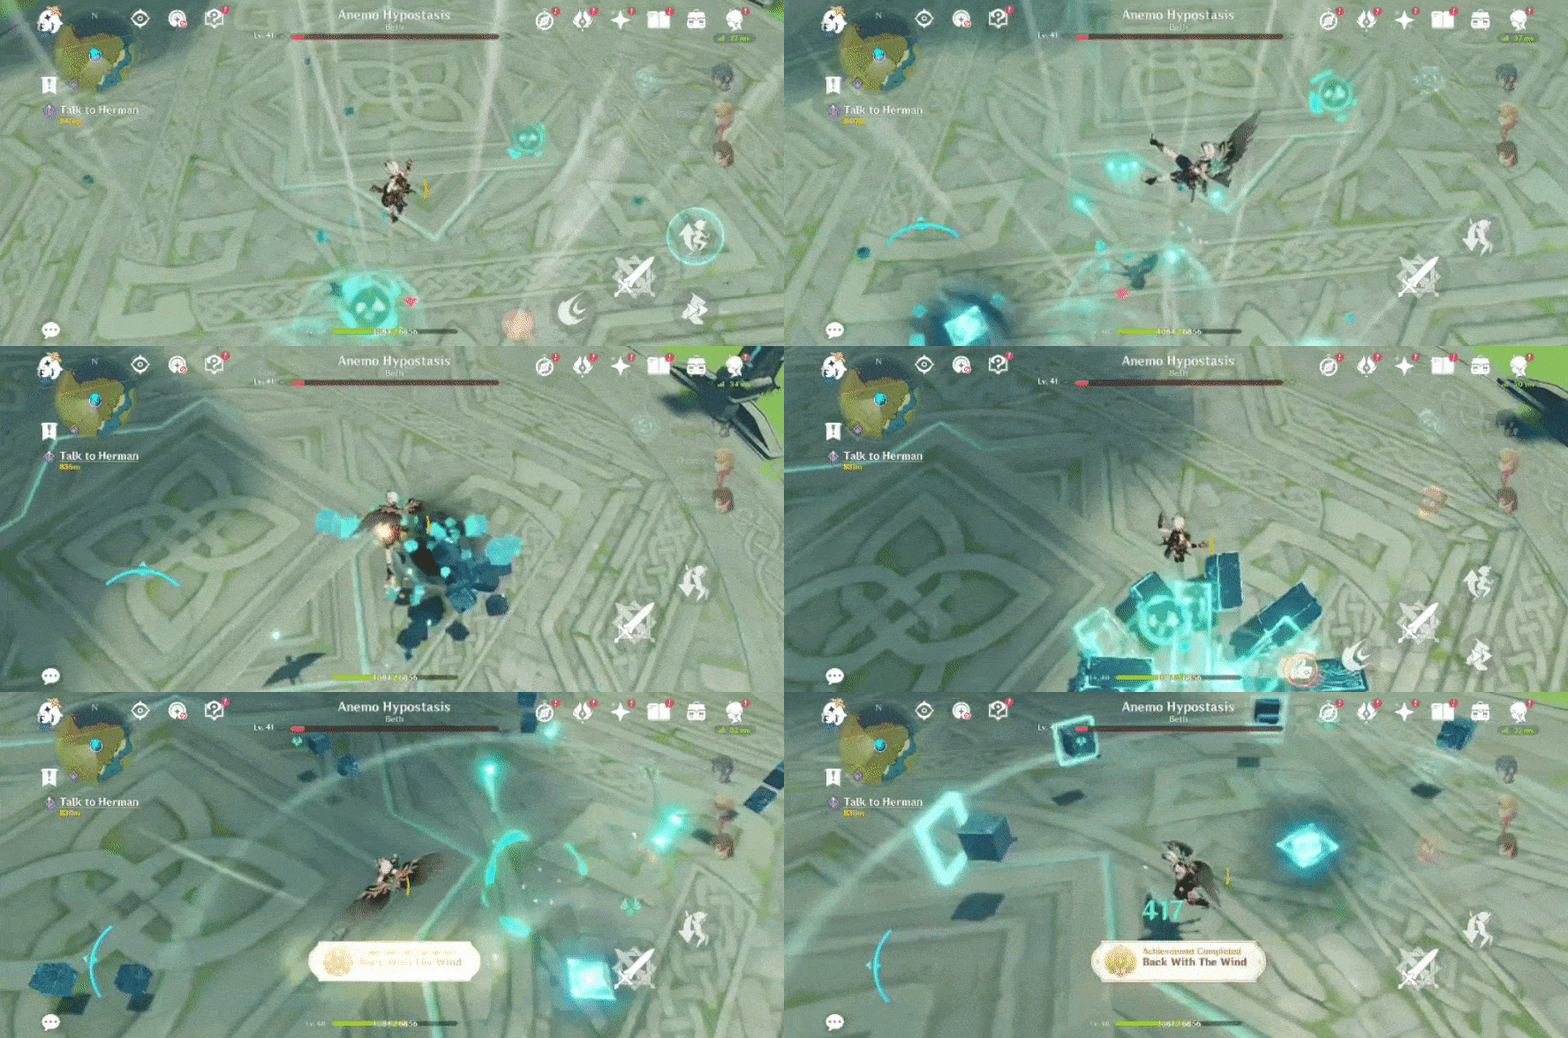
◈Anemo Hypostasis◈ 3 achievements (Total: 25 primogems)
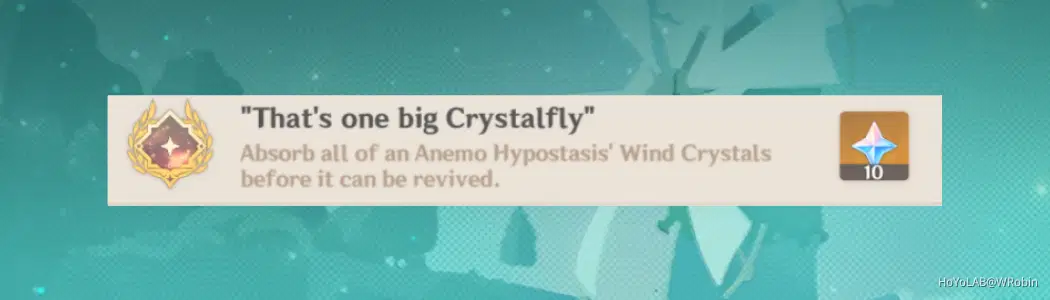
Much like the Electro Hypostasis, at a low enough HP, this boss will spawn 'orbs' (Wind Crystals) in the air that require the player to fly using one of the four up-currents and glide to collect them all. If all are not collected, then the boss will regain health depending on how many are left.
There can be some confusion regarding this, as even though all of the Wind Crystals might have been collected, the Anemo Hypostasis will 'revive' with a bit more HP (unlike the Geo or Electro Hypostasis). But as long as there are no more remaining in the sky in the time limit, then it is counted as successfully absorbing all of the Wind Crystals. Use the up-current that is closest to a cluster of these and then glide to the remaining isolated ones.
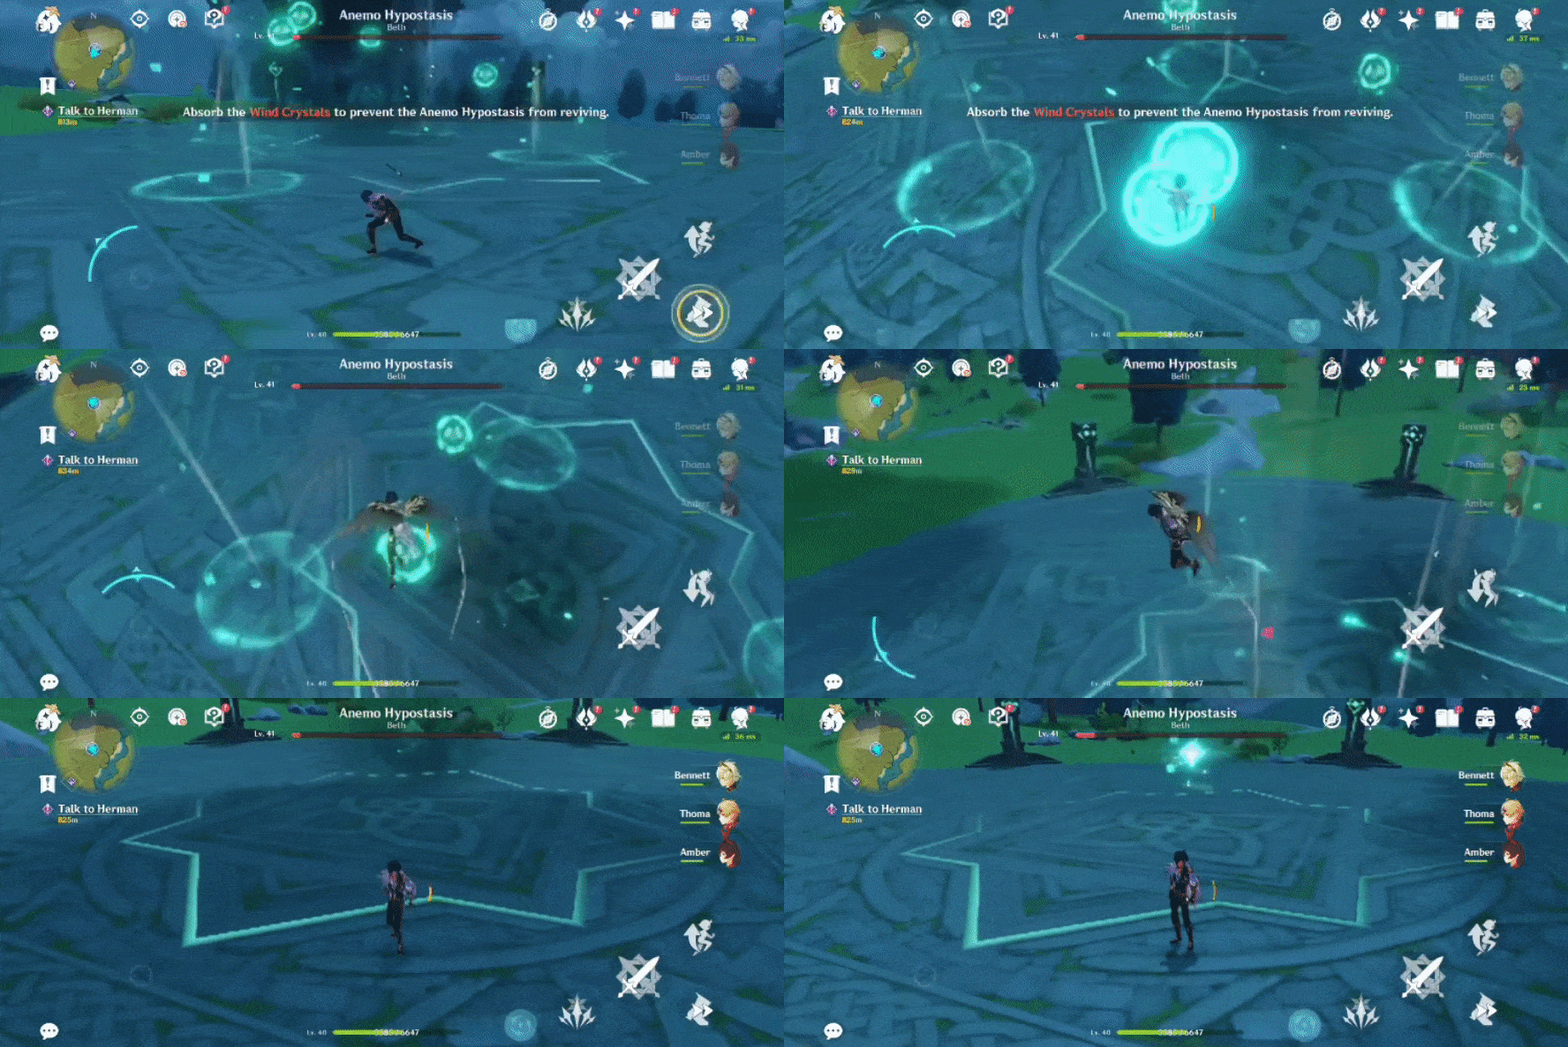
Achievement will issue after the Anemo Hypostasis is defeated (without reviving).
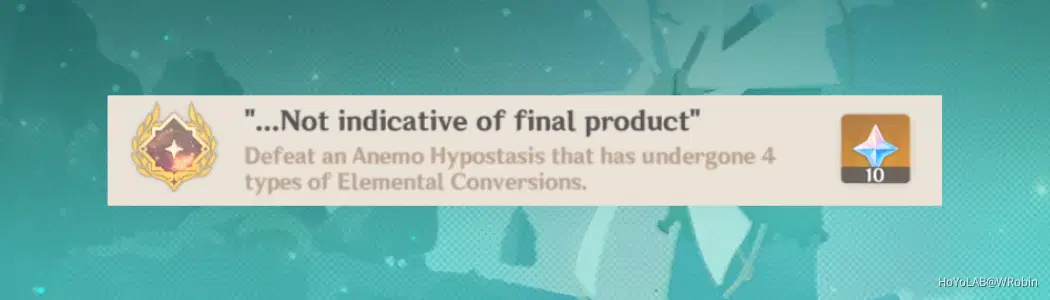
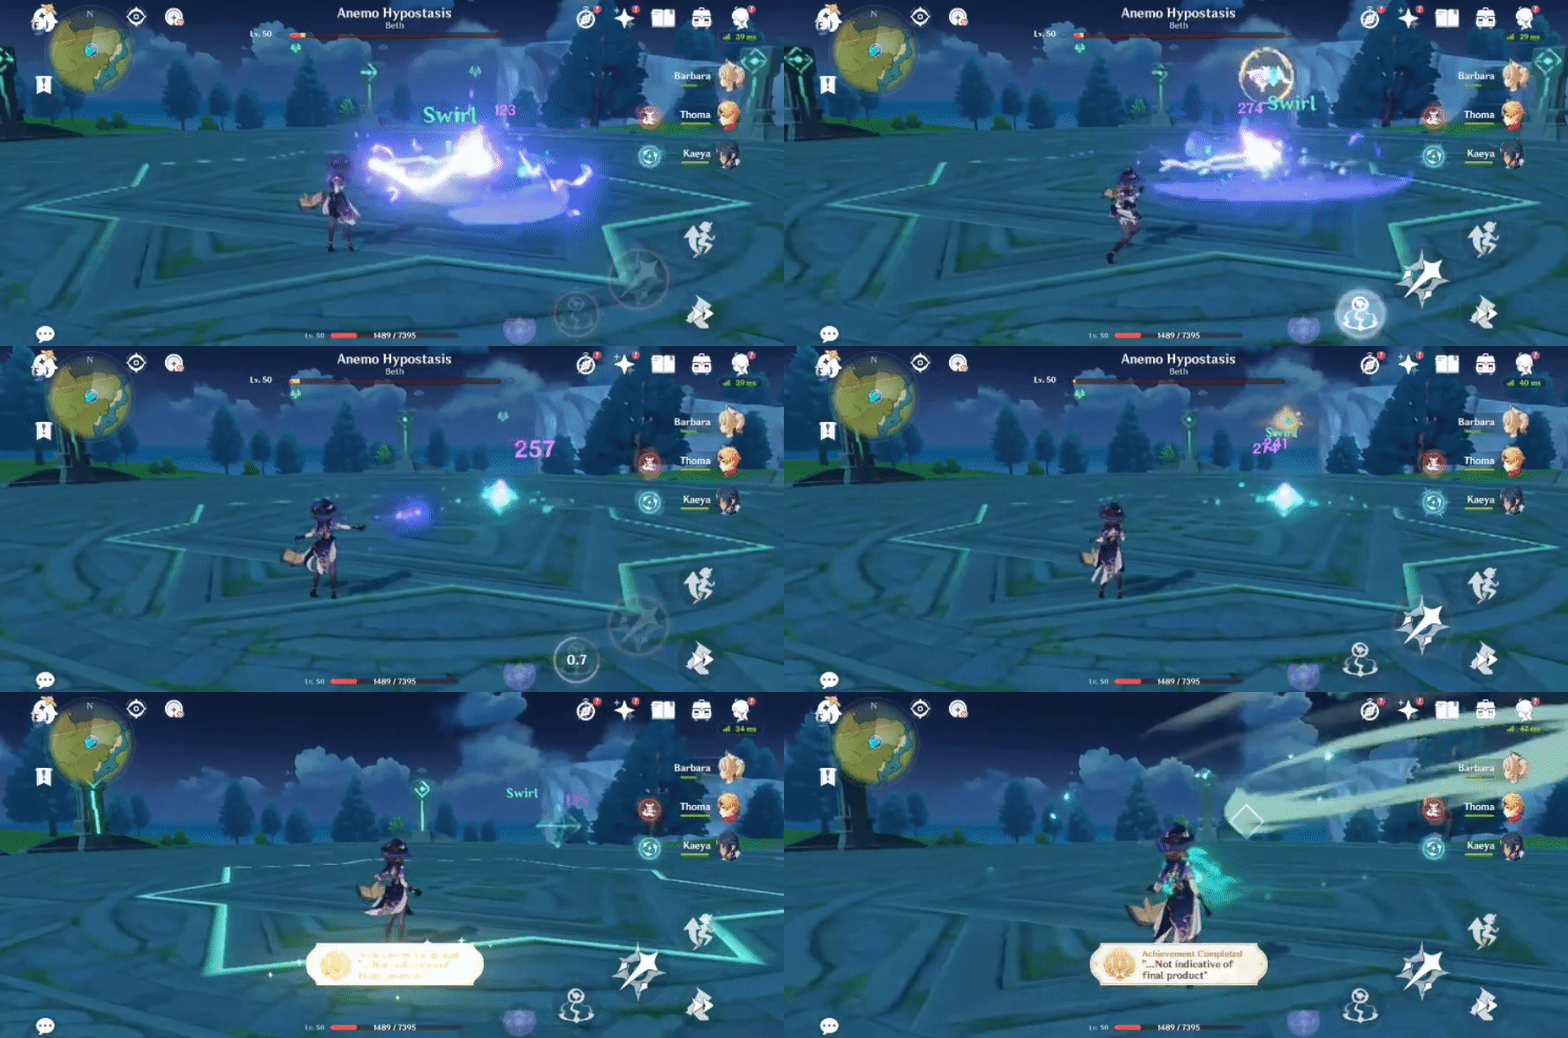
The attack referred to here spawns several tornadoes which will then circle and drift across the platform, dealing Anemo damage to the player if touched. If a character's Elemental Skill interacts with the tornado, then it will change to the colour of that element. Once the tornados disappear, coloured orbs will appear in the sky. In a later attack, it will then absorb the orbs (converting itself) and deal great damage equivalent to that element across the majority of the platform.
➤Before fighting the enemy (it must be defeated in order to receive this achievement), change your party set-up until it matches with the set-up below (it doesn't have to be in the same order though):
Hydro/Electro/Pyro/Cryo
➤Depending on the characters you use, it might be useful to save Elemental Bursts in advance, in case it is easier to convert the tornados that are constantly moving.
➤It is important to note that you do NOT have to convert all of the tornados in one round. Focus on one conversion and then wait while dodging until it repeats the attack again.
➤Apparently this may not be available in co-op mode so it is recommended to do this in single player mode just in case.
➤Do NOT absorb the orbs as the Anemo Hypostasis needs to absorb and then convert itself for this achievement.
Achievement will issue after the Anemo Hypostasis is defeated.
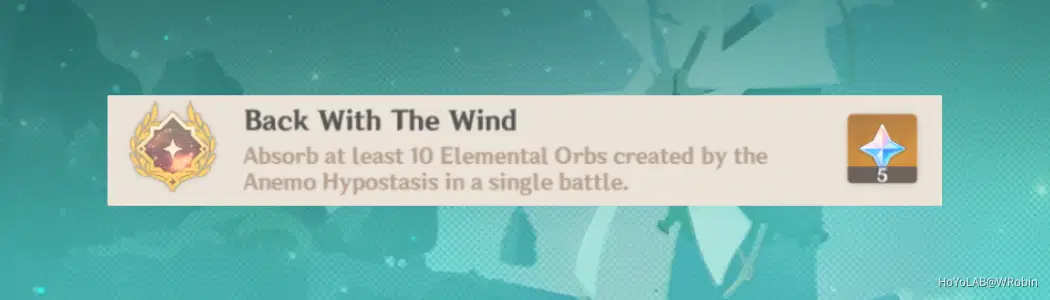
The Elemental Orbs mentioned here include the orbs created after the tornados. It is difficult to collect all of them in one round so wait while dodging for more to spawn and slowly ensure that you have collected enough.
➤You can do this achievement at the same time as the conversion one, but only absorb Anemo Elemental Orbs.
Achievement will issue after absorbing the 10th Elemental Orb.
◈Geo Hypostasis◈ 3 achievements (Total: 20 primogems)
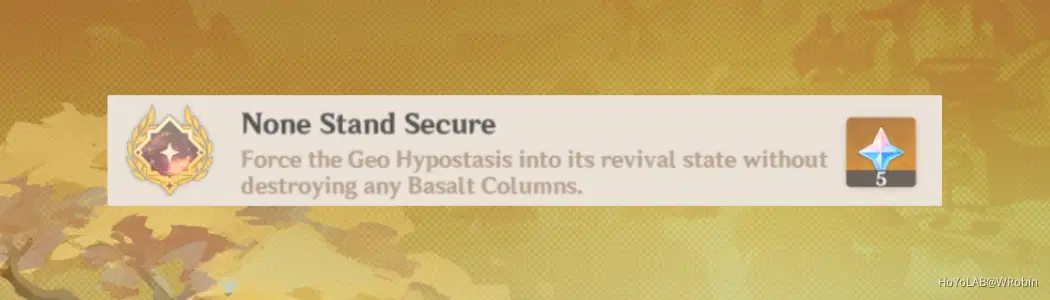
During this battle, there will be pillars (Basalt Columns) spawned almost immediately upon fighting.
➤Equip your party with at least one bow character so you can directly aim at it without damaging the pillars. This will take a while (even more so depending on your damage) but it is safer than risking direct damage and destroying a pillar partway through.
➤Alternatively, you can use attacks like Xiao's Elemental Burst with Elemental Skill to directly attack it, or Lisa's Elemental Skill (tap) as a honing attack.
Achievement will issue after the Geo Hypostasis enters the revival state.
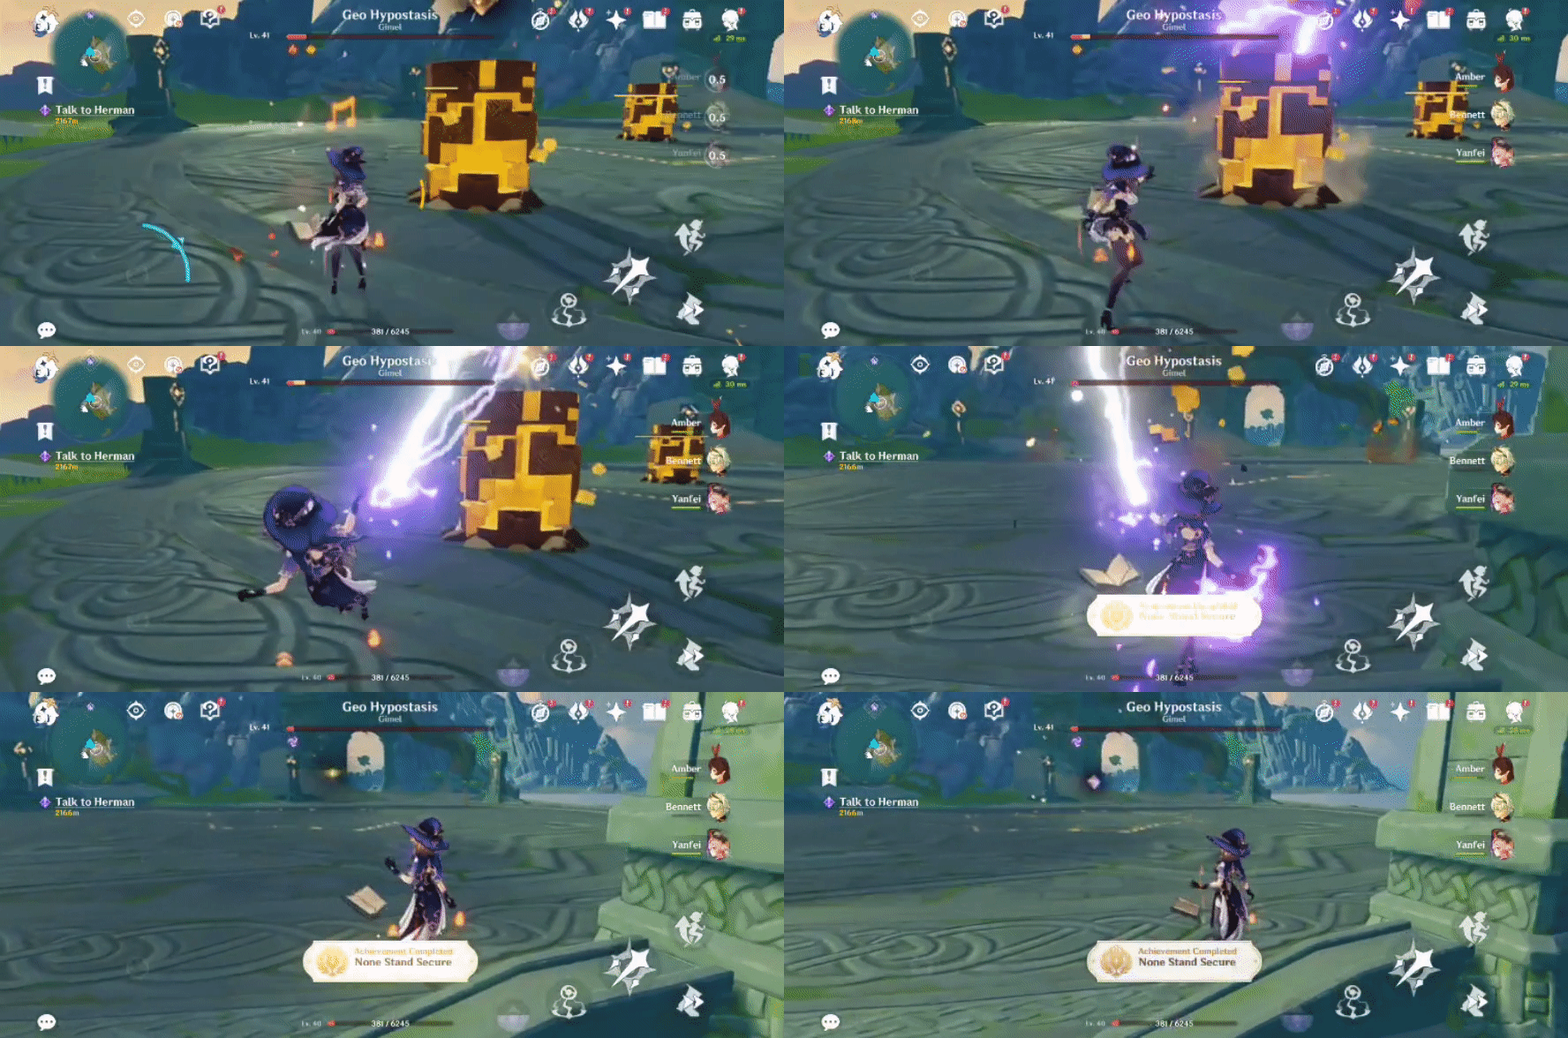
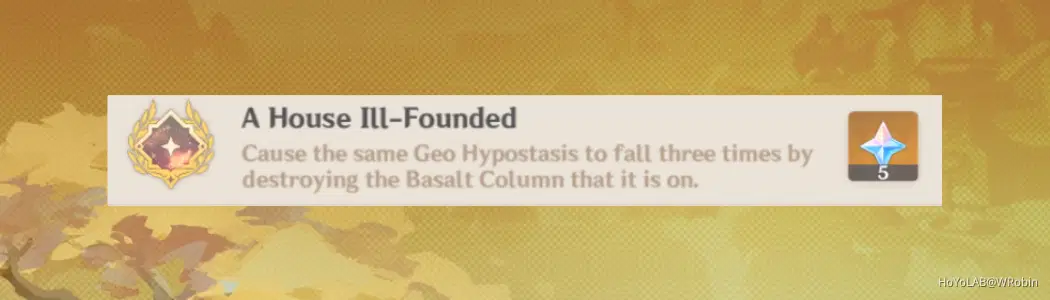
By destroying the pillars placed, if the Geo Hypostasis is directly above the one destroyed, then it will fall and allow the player to attack it directly.
➤Do not destroy any pillars that the Geo Hypostasis isn't on (even if you're currently breaking the one it used to be on after it teleports to another).
➤While waiting or dodging attacks, you can wear down each pillar so when it teleports to one, you only need to do a few more hits to destroy it (preventing the scenario where it teleports to another one after a period of time).
Achievement will issue after the 3rd Basalt Column is destroyed.
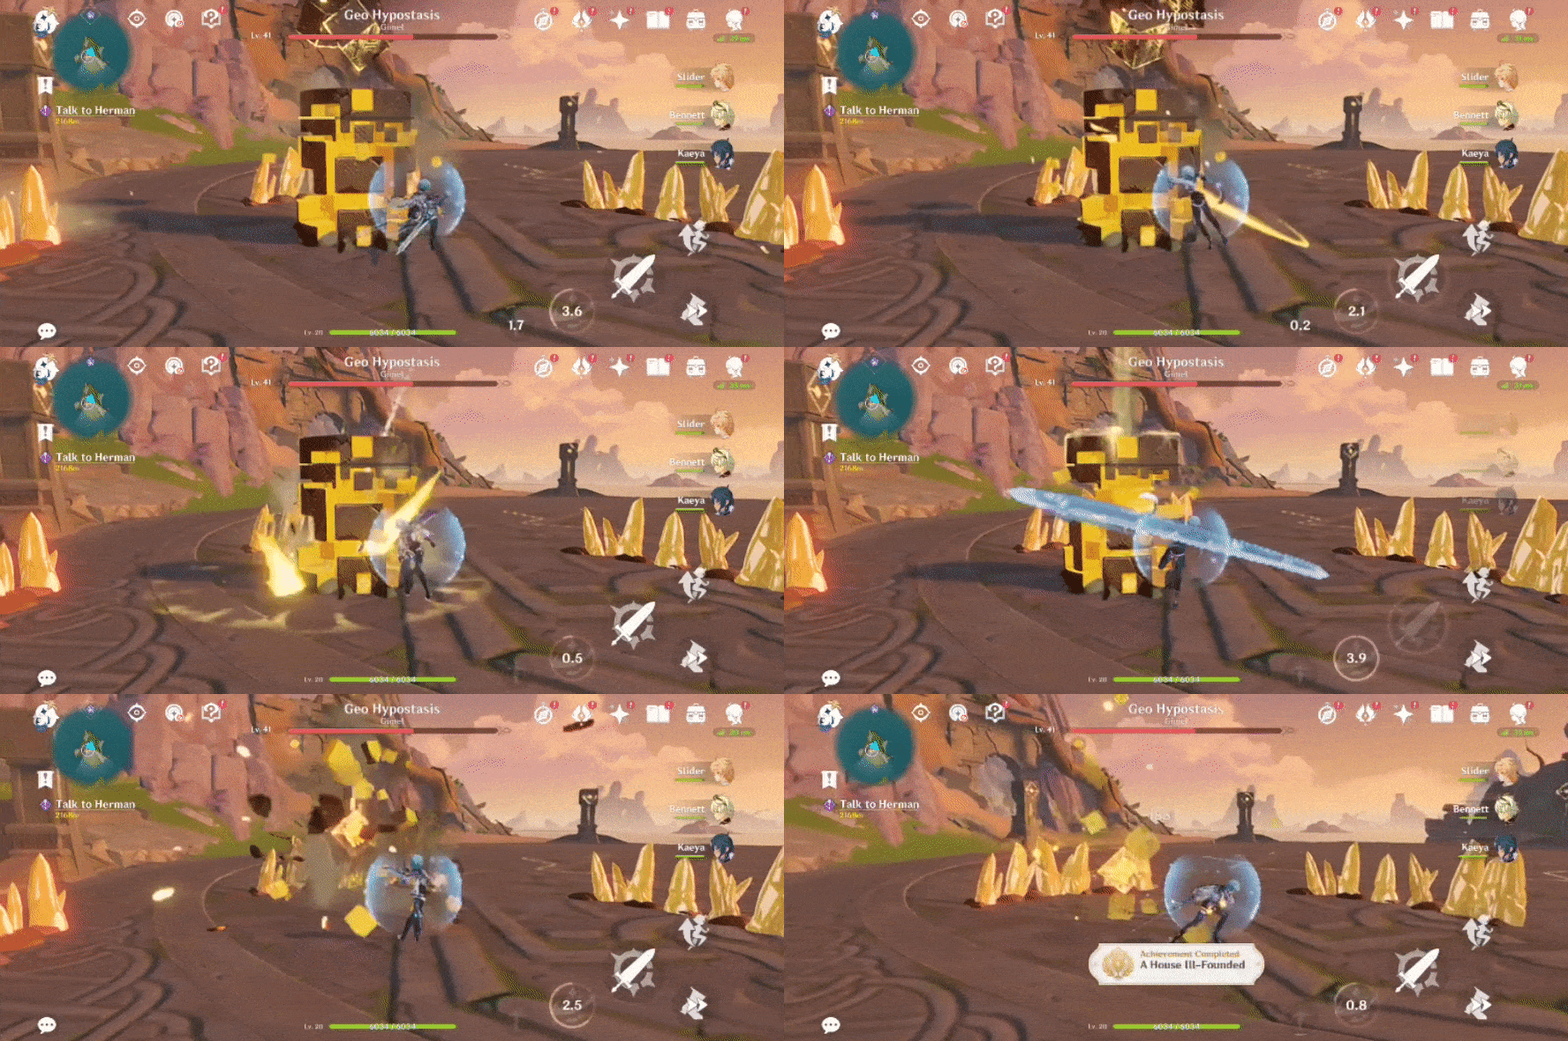
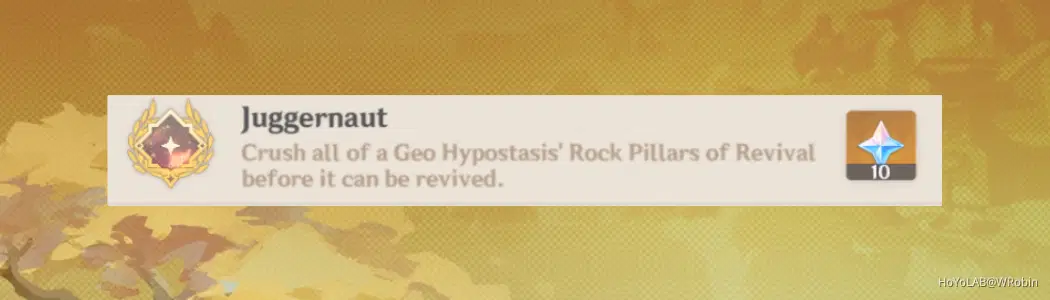
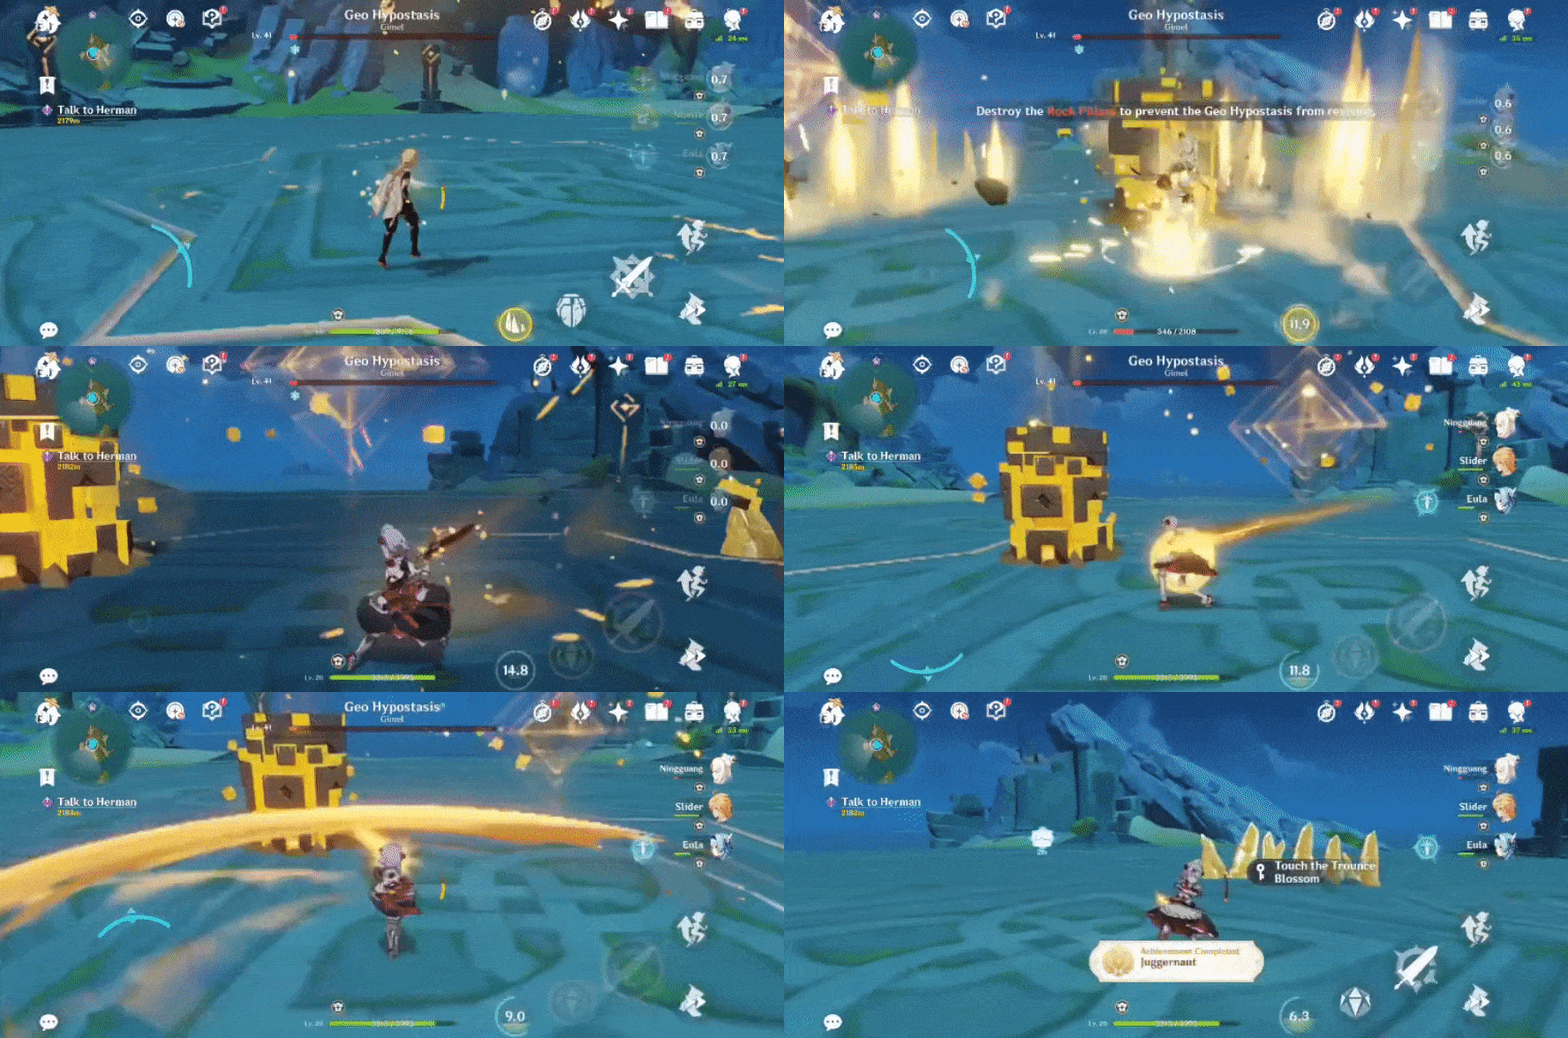
When it falls to a low enough HP, it will enter a state that spawns 3 pillars that must be destroyed to stop it from reviving (or it will revive with the HP varying on how many pillars are left).
➤Although the pillars here are considerably easier to destroy than the ones used in the state before, there is a short time limit.
➤Using Claymore/Geo characters with Elemental Bursts will help speed up the process.
Achievement will issue after the Geo Hypostasis is defeated.
◈Cryo Regisvine◈ 2 achievements (Total: 15 primogems)
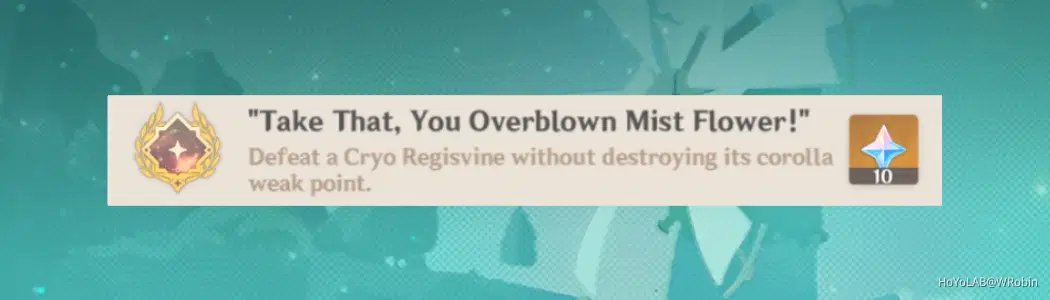
The corolla weak point refers to its head. It takes more damage from Pyro or Electro based attacks and when destroyed, it will cause the enemy to go into an 'unconscious state' that is more susceptible to damage. The core is also a weak spot (located near its roots).
➤The weak spots (corolla/core) will alternate after one is destroyed. Attack the core weak spot, but when it next respawns as the corolla weak point, avoid attacking.
➤If you wait long enough, the core weak spot will reform, so you can attack it again.
Achievement will issue after the Cryo Regisvine is defeated.
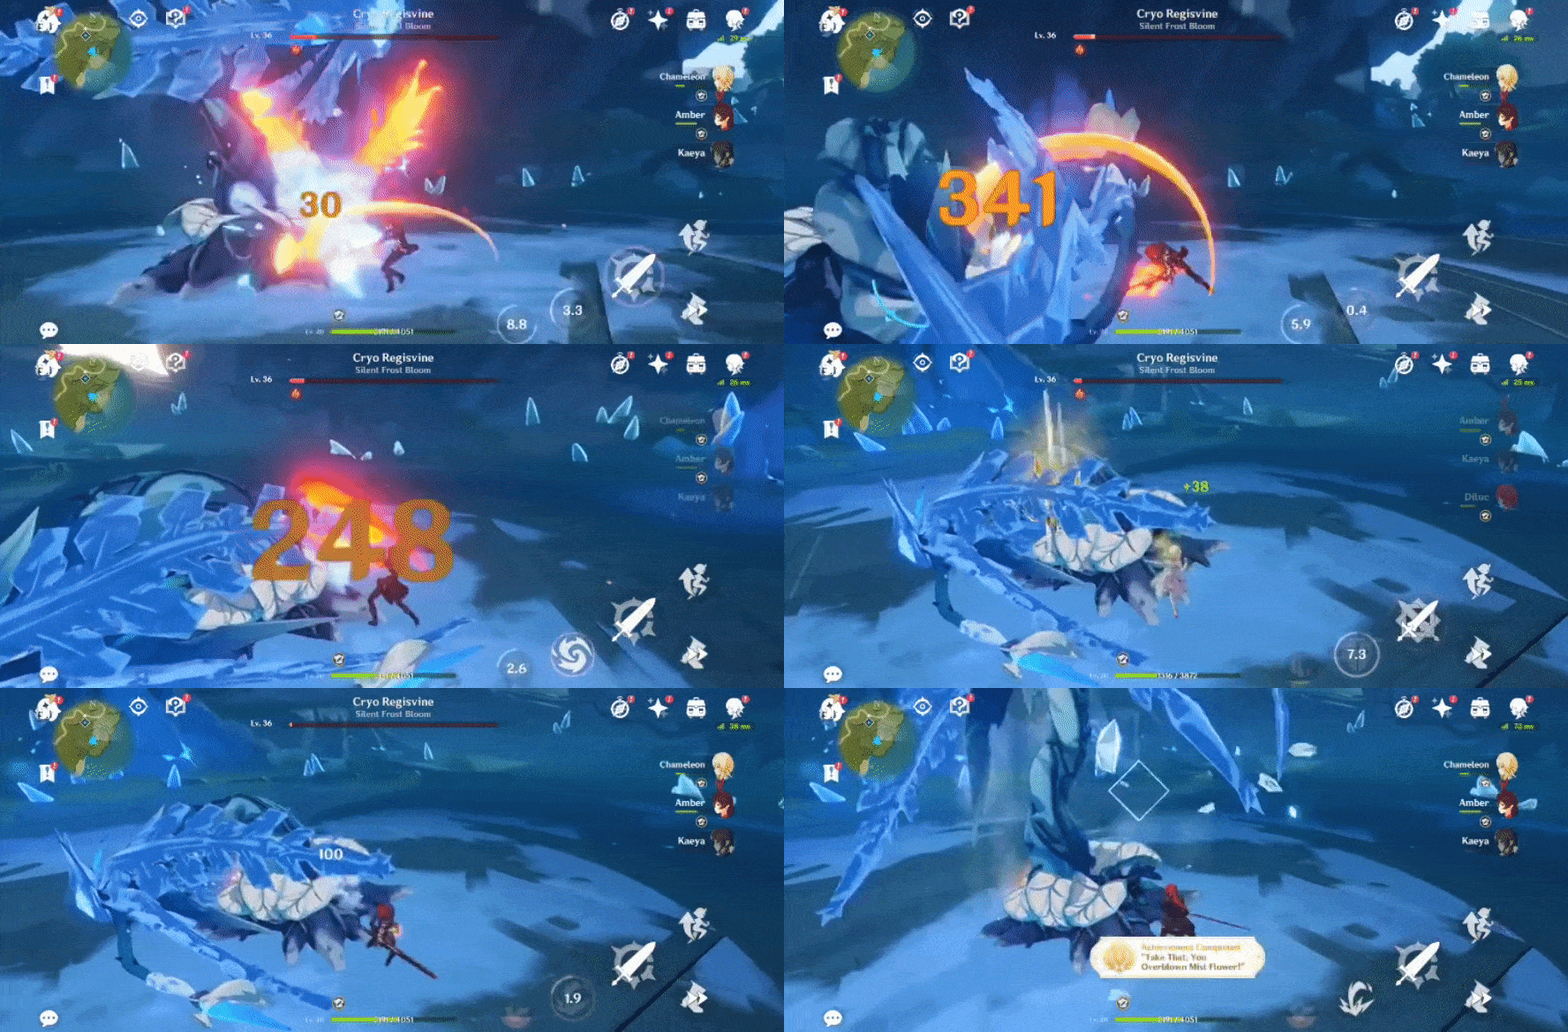
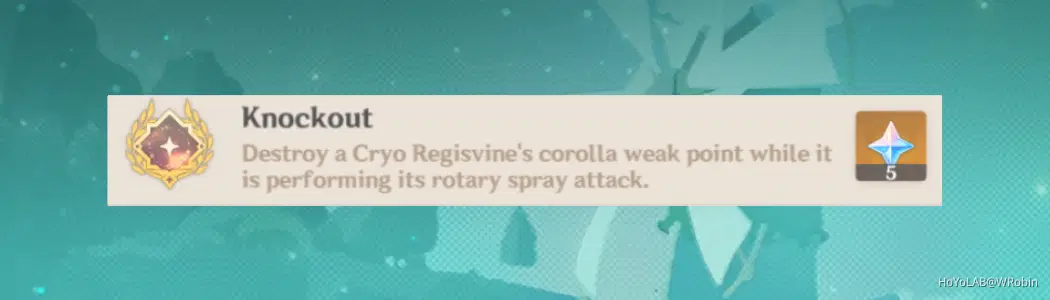
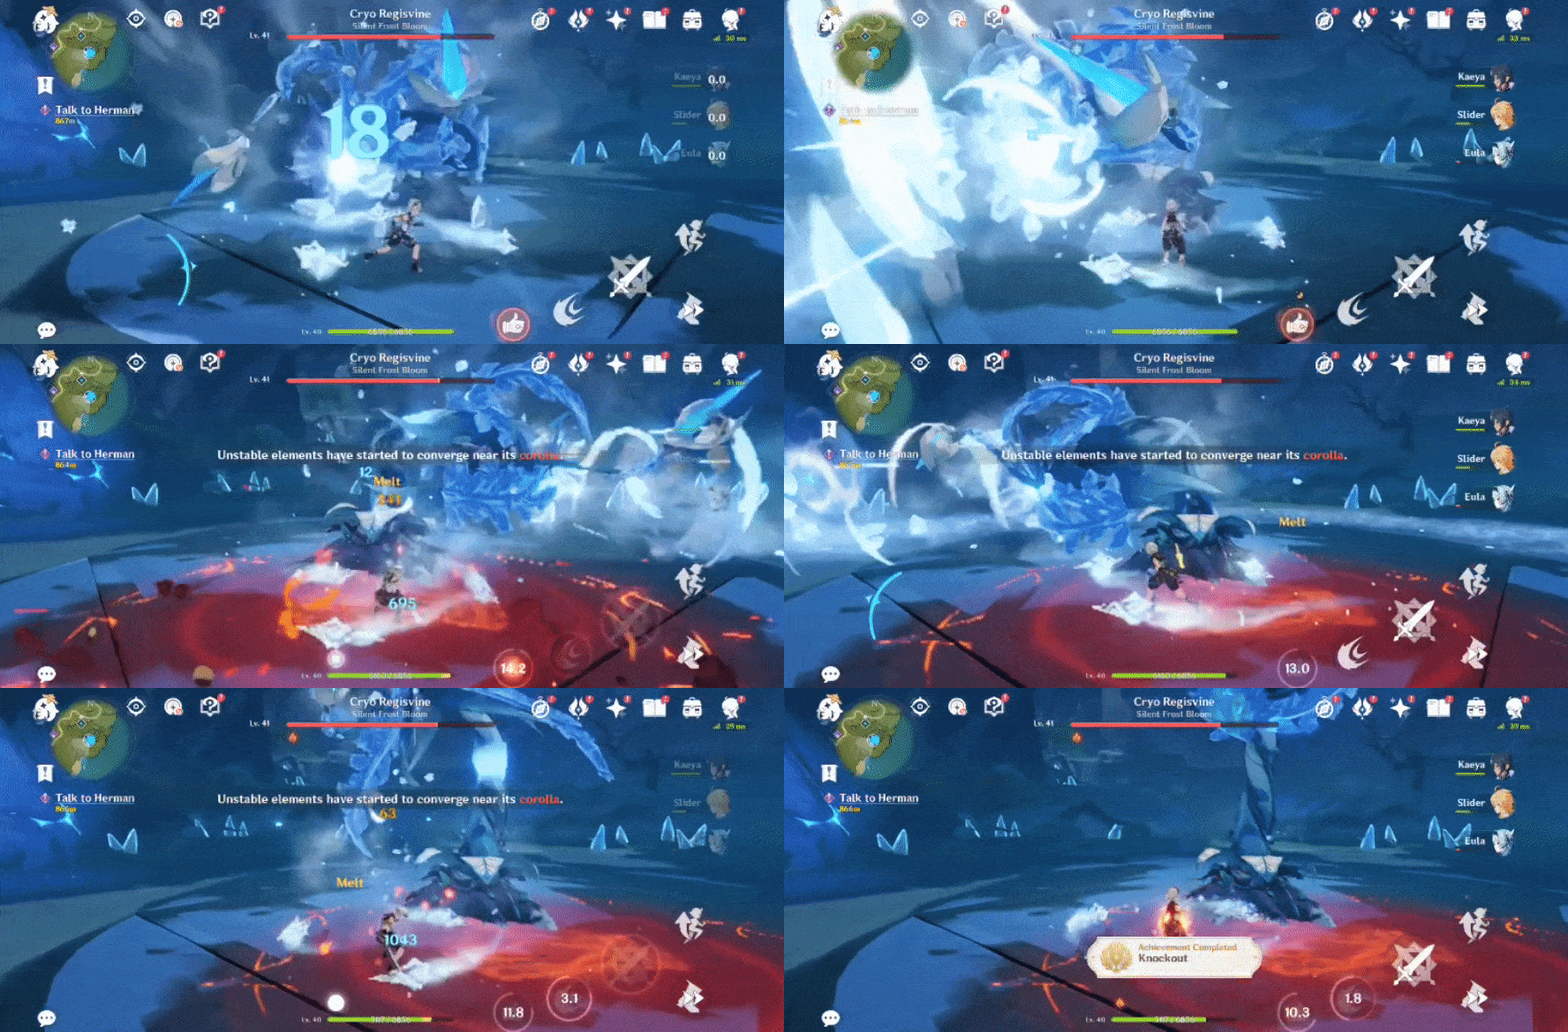
After the weak point located on its bottom half is destroyed and wakes up from the 'unconscious state', the weak point will be respawn on its head. Without fail, the first attack after waking up is dealing Cryo DMG from its head while rotating until it has made a full circle.
➤As Pyro is more effective against this enemy, save a Pyro character's Elemental Burst and use it as the 'rotary spray attack' is about to reach you.
➤You need to be close enough to the enemy while standing in a position that it will reach you before it's finished its full attack.
➤If your burst is not enough to destroy the weak point, then apply a food buff/potion buff or use the Elemental Resonance e.g. 'Fervent Flames'
Achievement will issue after the corolla weak point is destroyed.
◈Pyro Regisvine◈ 2 achievements (Total: 15 primogems)
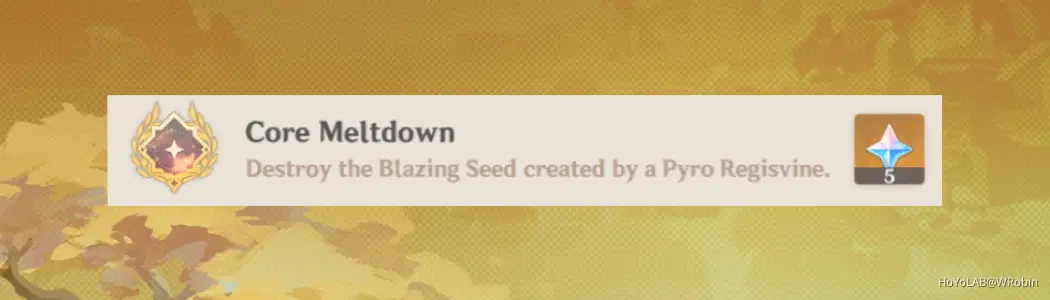
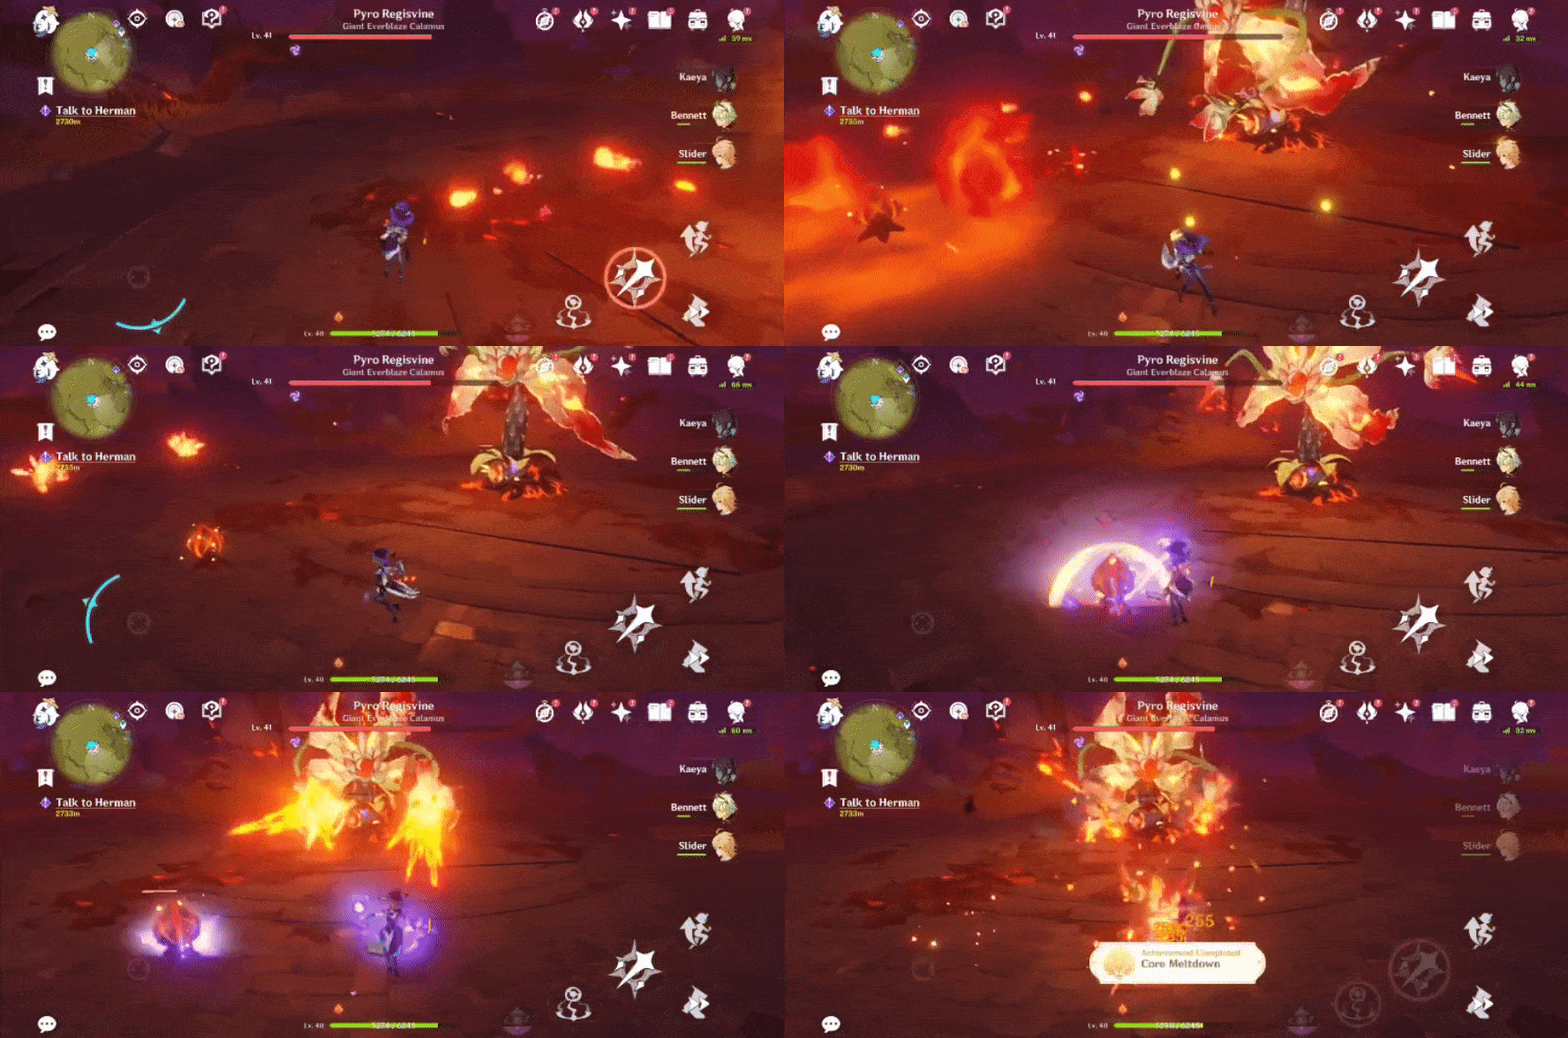
During the battle, the Pyro Regisvine will spawn a seed nearby that will explode and deal Pyro damage if it isn't destroyed after a period of time.
➤As Hydro/Electro is more effective against this enemy, use a character like Barbara/Lisa to quickly and efficiently destroy the seed in good enough time.
Achievement will issue after the Blazing Seed is destroyed.
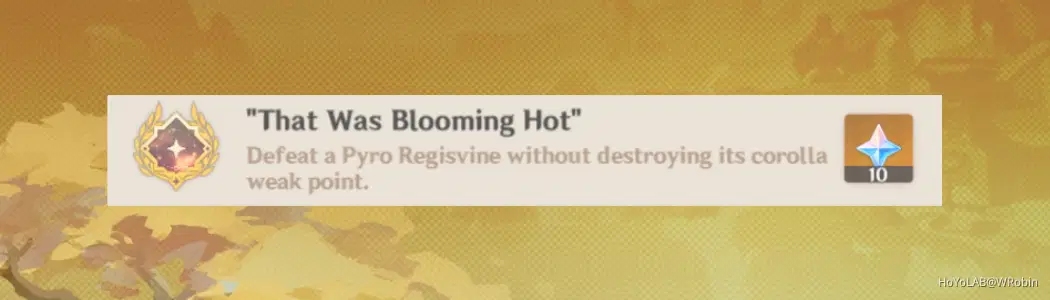
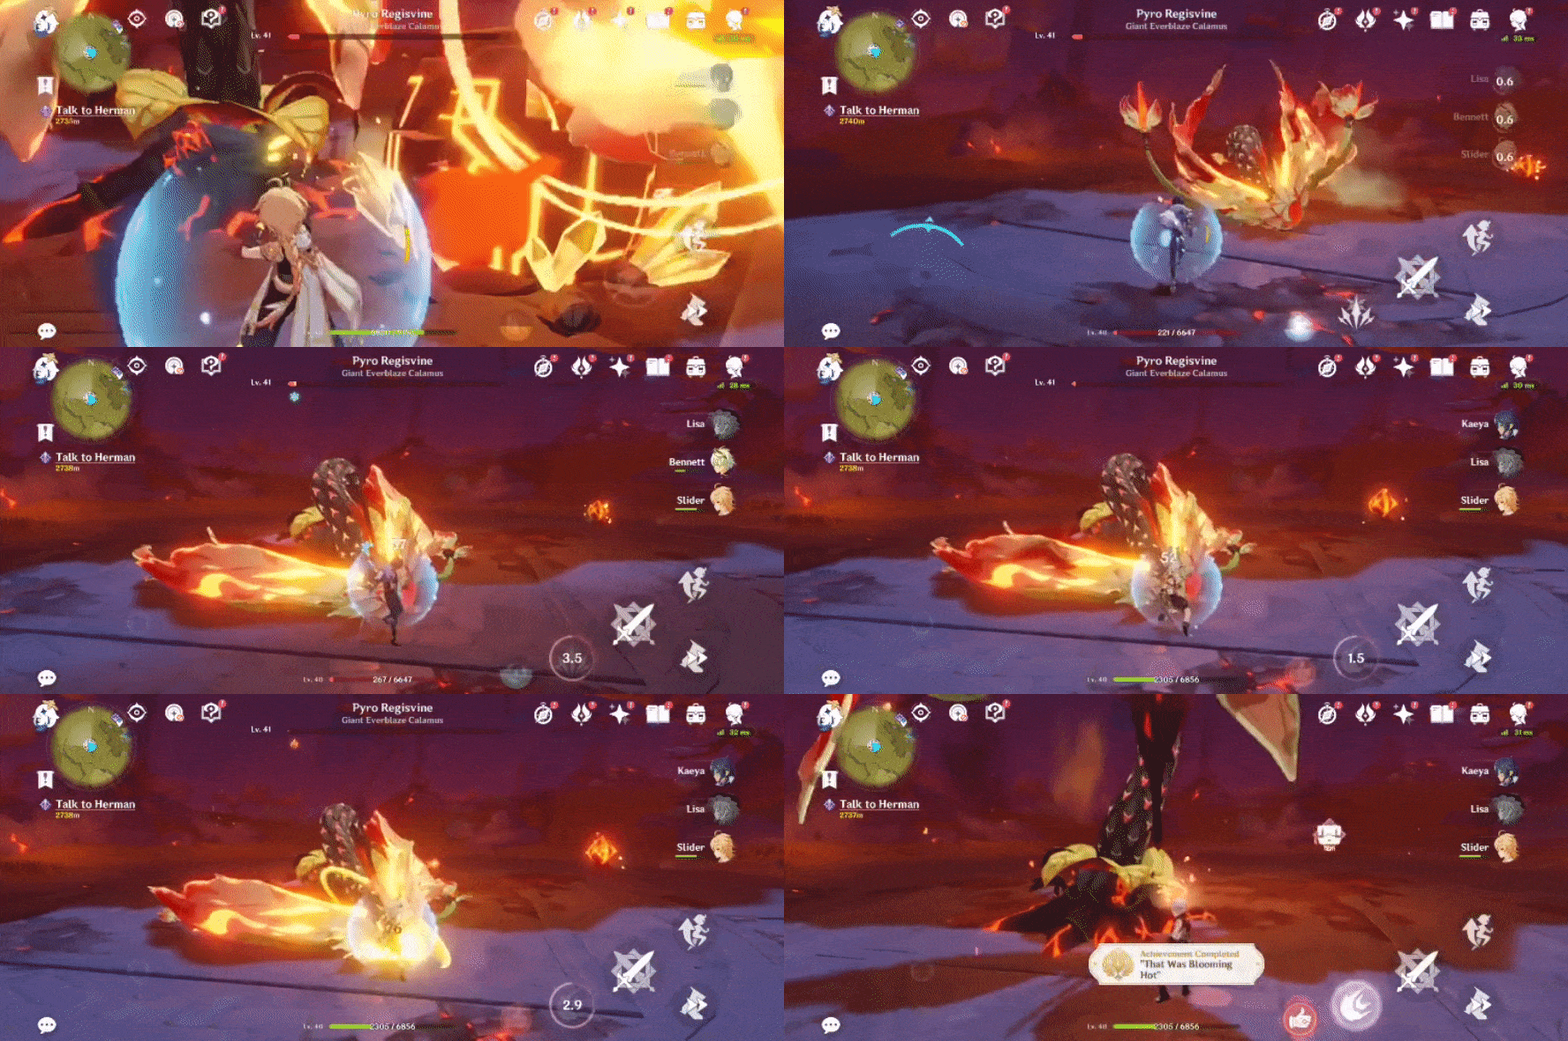
The corolla weak point refers to its head. It takes more damage from Pyro or Electro based attacks and when destroyed, it will cause the enemy to go into an 'unconscious state' that is more susceptible to damage. The core is also a weak spot (located near its roots).
➤The weak spots (corolla/core) will alternate after one is destroyed. Attack the core weak spot, but when it next respawns as the corolla weak point, avoid attacking.
➤If you wait long enough, the core weak spot will reform, so you can attack it again.
Achievement will issue after the Pyro Regisvine is defeated.
◈Primo Geovishap◈ 2 achievements (Total: 10 primogems)
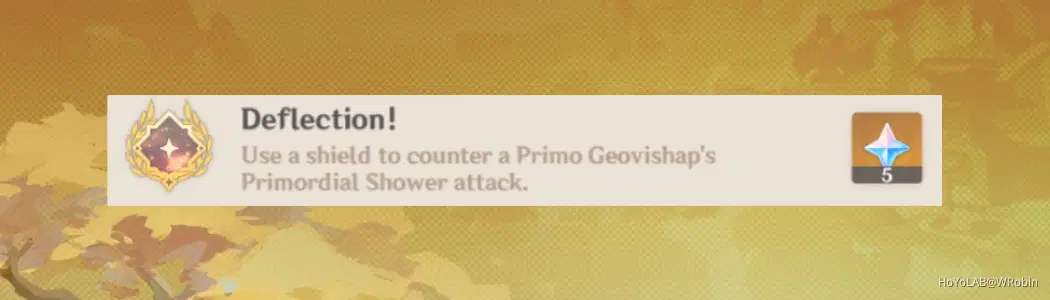
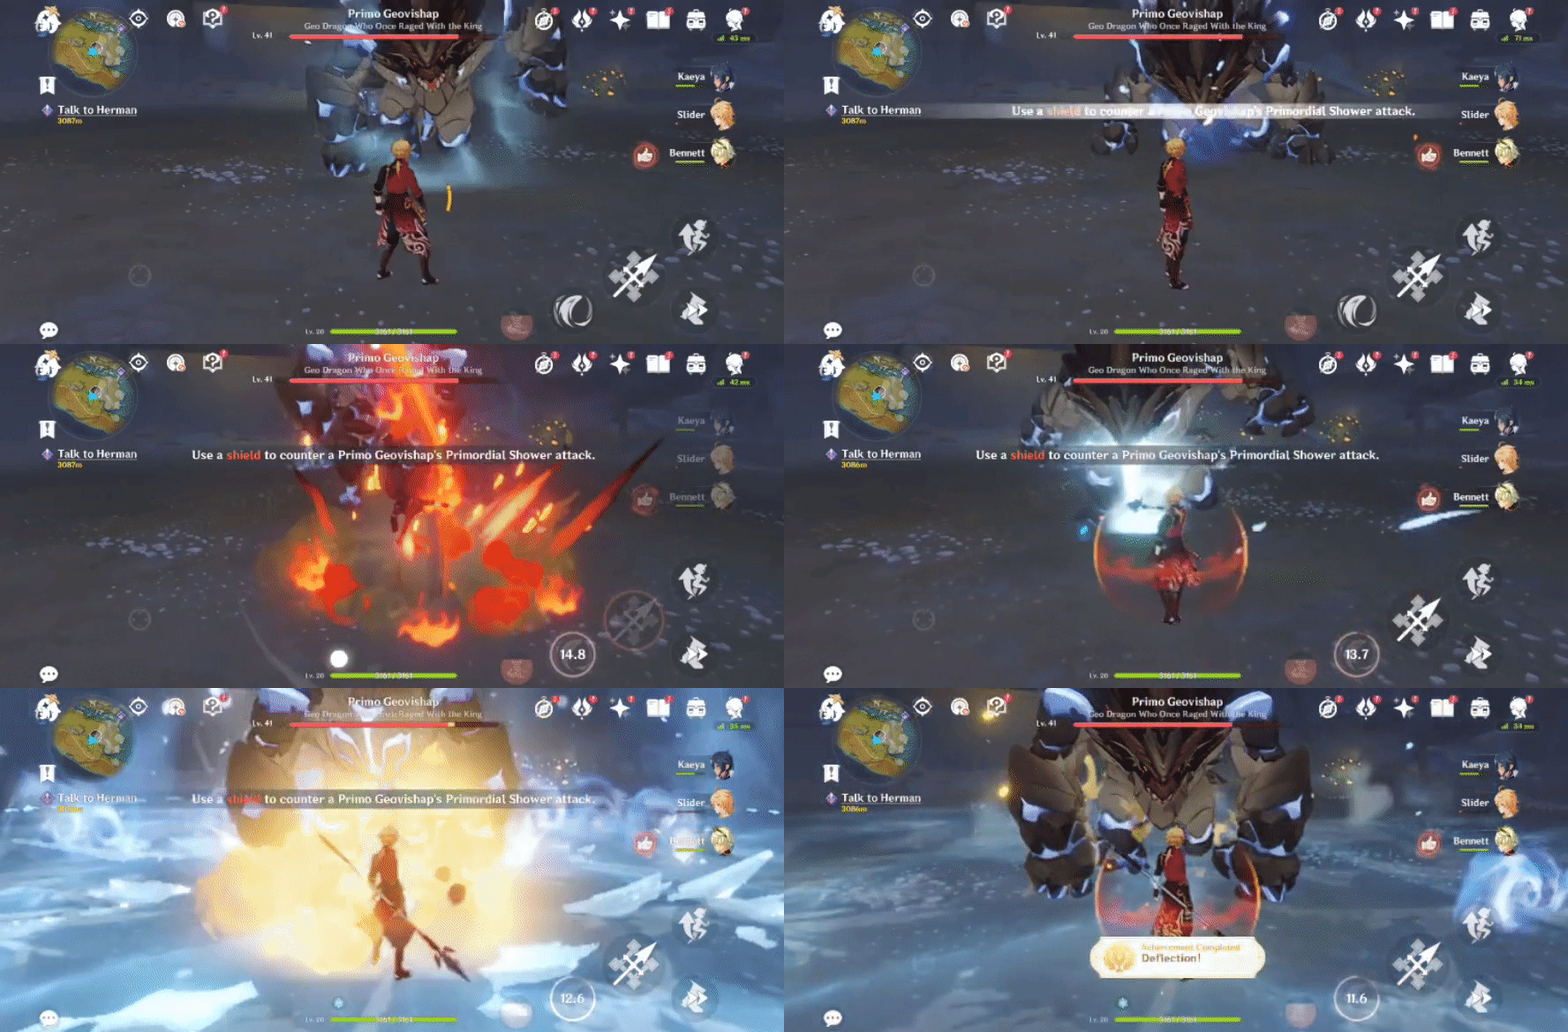
One of the repeated attacks is spraying an elemental attack onto the ground which will then deal large amounts of damage to your character. But if your character is equipped with a shield (either generated by Geo colliding with an element and creating a shield of that element or an Elemental Skill/Burst), then it will deal damage to the enemy whilst avoiding damage taken.
➤Use a character that is able to create a shield, but will not create a shield matching to the Primo Geovishap's element in order to not complete the next achievement by accident.
e.g. Using Beidou's Elemental Burst to create an Electro shield against a Hydro Primo Geovishap
Achievement will issue after the attack is deflected (Primo Geovishap has taken damage).
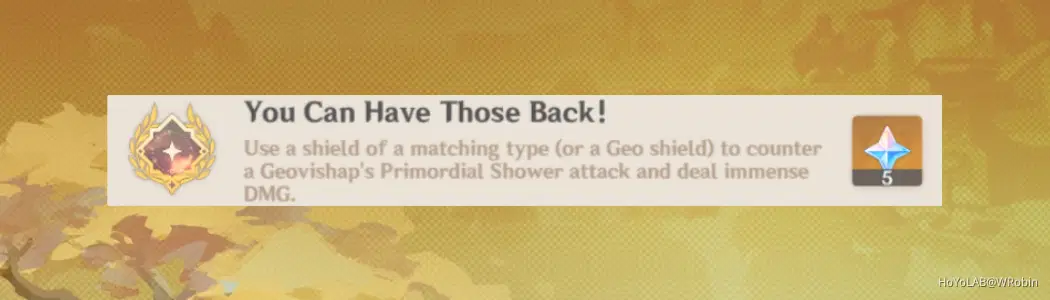
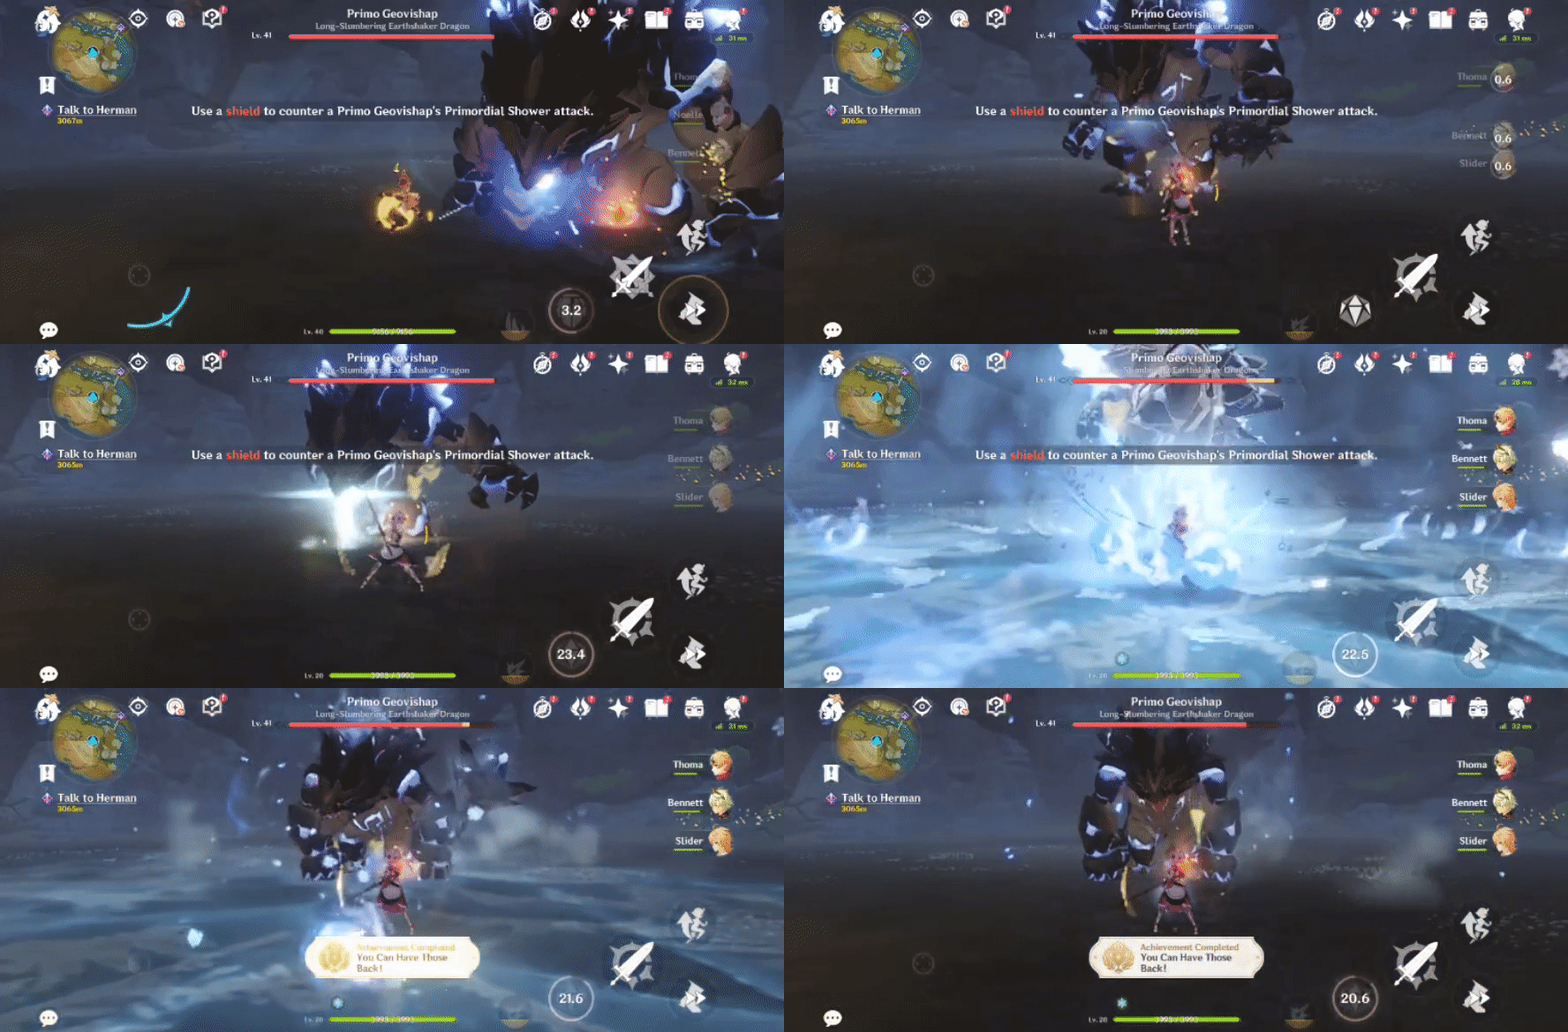
➤Unless you have a specific character that can quickly create a shield (e.g. Beidou's Elemental Burst which would match with an Electro Primo Geovishap or Zhongli who would create a shield by holding his Elemental Skill), then it is recommended to use Noelle who is obtainable on the Beginner's Banner using 10 wishes. Noelle can create a shield using her Elemental Skill.
Achievement will issue after the attack is deflected (Primo Geovishap has taken damage).
Index:[Index] Wonders of the World- Hidden Achievements - miHoYo Player Community (hoyolab.com)