Introduction
At first I didn't like Imaginarium Theater too much, but that changed after I figured out what not to do (and, by extension, what to do). Then I decided to make this small guide, so more people can enjoy this new game mode as much as I do.
Characters
First and foremost: you absolutely do not need 18 fully levelled up and equipped characters. If your goal is to only get full rewards from hard mode and you don't care about performance stellas (which are purely for bragging rights and do not affect rewards in any way), then you can easily do that with a cast that has 4-6 level 70 characters equipped with 1* weapons and no artifacts at all. Here's how it works: there are 8 fights, each requires 4 characters, for a total of 32 vigor. 18 characters required to enter hard mode have a total of 36 vigor. That means you won't use 2 characters at all (or use 4 only one time). Moreover, the first few fights are very easy and can be completed with 1-3 strong characters (depends on fights and strength of your characters), which means others are in the team just to satisfy 4 characters requirement. Let's say that you can beat acts 1 and 2 with 2 characters and acts 3 and 4 with 3. That's 3 characters that just sit there and do nothing. Combined with aforementioned 2 characters you won't use at all, that's 5 characters whose entire job is just to look pretty. And that's ignoring mystery caches that can restore vigor to your characters.
But that's not all! There's plenty of characters that can provide value even at level 70 with a 1* weapon. For starters: every single anemo character equipped with 4 level 0 4* pieces of Viridescent Venerer (VV) can trigger swirl and lower enemy elemental resistance by 40%. Every character with 40 energy/12s cooldown burst can provide 100% uptime on Noblesse Oblige (NO) 4-piece bonus. Similarly plenty of characters (in general, not necessarily in the current version of the Theater) can have good uptime on 4-piece Tenacity of the Millelith (TotM). And let's not forget resonances, bonus triggered just by characters existing.
Special mentions:
1. Amber: cheap burst with 12s cooldown for constant NO bonus; Baron Bunny can draw aggro away from monolith; archer for hitting weak spots/paralyzing ruin machines; half of pyro resonance, BFF.
2. Lisa: A4 passive makes burst reduce enemy defence; burst pushes small enemies away - useful for monolith defence; will call you cutie in one of her new voiced lines. :3
3. Lynette: resistance reduction with VV; Ousia to break Coppelius's shield. Combine those two and she is the anemo character to use in the final fight.
4. Electro Traveler: best energy restoration (battery) in the game; burst can provide some decent off-field damage with good Emblem of Severed Fate.
5. Anemo Traveler: possibly in top 5 of the most underrated characters in the game. Burst (at C6) not only lowers elemental resistances, but also anemo res! With VV you're looking at 60% elemental resistance reduction (at level 70 with 4 level 0 artifacts and a 1* weapon)! Seriously, it's crazy how underrated this guy is. Burst also groups enemies, which can be useful in some acts.
6. Traveler in general: you only need to level him/her once and you get access to a character that you can always use, no matter what elemental restrictions are there in the future versions of the Theater. Level up your Traveler. Now.
Strategy
Cast
Immediately buy a new character (by selecting companion event) before the first battle. If it's a character you want to use only in the final acts (for example during boss fights 2 and 3), consider restarting. Always buy/invite new cast members if you have a chance (unless it's a mystery cache where you would lose more Fantasia flowers than you need for a regular invite).
Ideally you want to have 11 characters before the first boss fight: 6 opening cast, 1 invited before the first fight, 2 from winning battles, 2 more invited with events. Why? So you can use your less developed/moral support/dead weight characters during early easy battles. And if you mostly get your powerful characters that you intended to use in later acts, then you can restart early without losing too much time. Obviously ignore this point if all 18 of your characters can easily win battles. Unless you want Mystery Cache achivement - getting all characters as soon as possible increases your odds of getting Mystery cache events by removing invites from pool (unless you chose cache option that guarantees Companion event, so don't do that if you're hunting for achivements).
Wondrous Boons
They are bad.
No really, they are super underwhelming and a waste of Fantasia. Only buy them once you have all the characters you need.
In my opinion boons being mediocre is a very good thing - not only you can focus on getting characters without worry that you might miss some game changing bonus, but they also do not steal spotlight from characters. So when you see Dehya Superstar you know she was not carried by boons, but achieved that on her own.
Rerolls and rewind
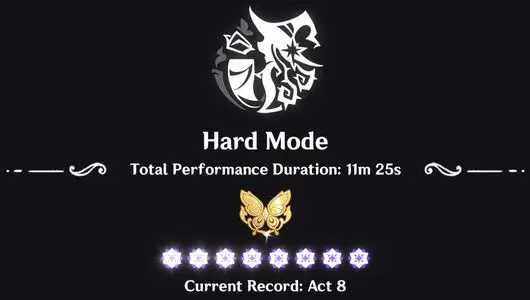
Use them as you see fit. I only used rerolls to get mimic combat to make Dehya Superstar, so you can get all 8 stellas without ever using them. They are a nice feature to reduce randomness, but not crucial to success.
General advice
Have a plan.
Each character has 2 vigor, there are 8 fights, so you need at leat 4 main damage dealers. 5-6 gives you more flexibility if you have terrible luck with invites, more might be an overkill.
You can invite 1 character as support, so if you're like me and don't have sufficiently strong character, borrow one and save him/her for boss fights 2 and 3.
Current version (the first one if you're reading this in the future): trial characters are good enough to clear most acts. Haven't tried all, but act 7 is doable with Hat Guy, Faruzan and Thoma + whoever.
Stellas are not required to obtain all rewards. Once you have enough characters just winning fights is enough, you can ignore optional objectives.
A guide ends, a story begins
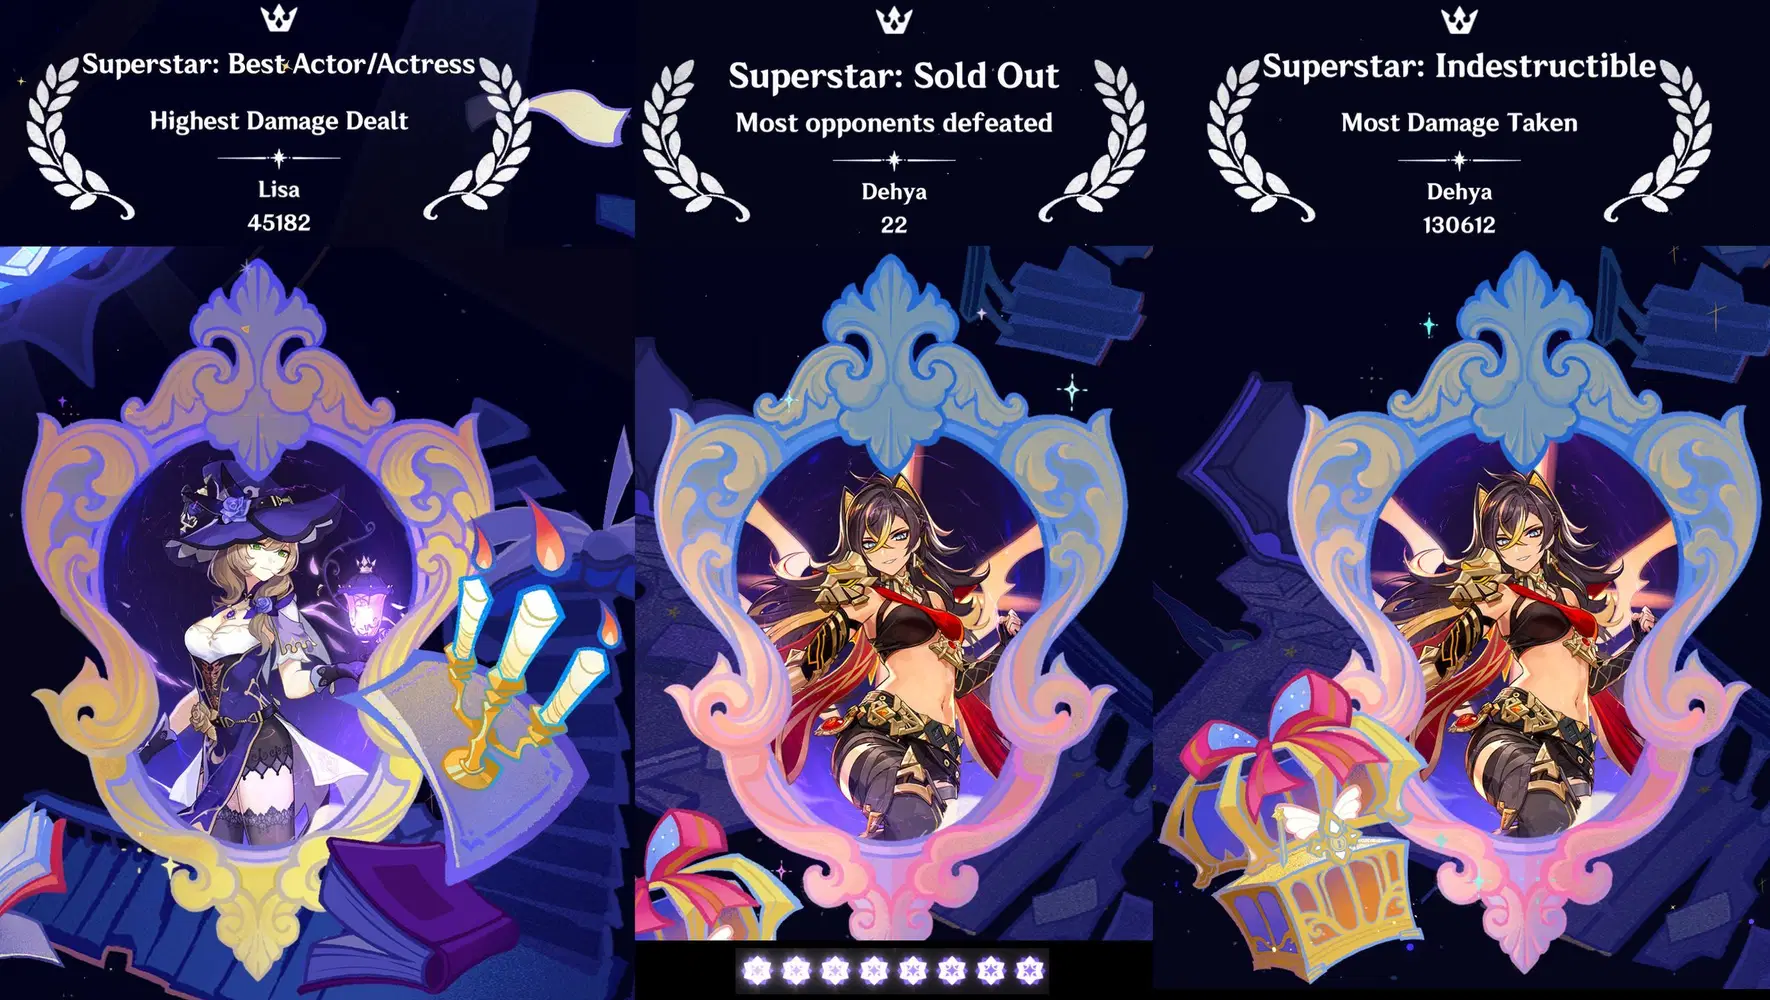
So, you're curious how Dehya became a double superstar? That sure is a story.
This was actually the second time I played Imaginarium Theater, the first time I only got 5 stellas and, more importantly, I didn't screenshot superstar screen (which had Dehya double superstar, which in turn inspired this). Since I wanted to get an achivement, I decided to use a support this time (C0R1 Yoimiya) and see if I can get all 8 stellas. I used all the knowledge I shared in the guide: ignore boons, get as many invites as possible, do not waste all trial characters on early stages and save rerolls to get a mimic combat event so Dehya can shine. ^_^
Start: I buy a character for 80 Fantasia (choice of 2 anemo: Sucrose and Jean. I pick Sucrose for grouping) and get super lucky - next event is a free mystery cache that gives me... Jean. 20 Fantasia for an early character intended as a filler? Awesome!
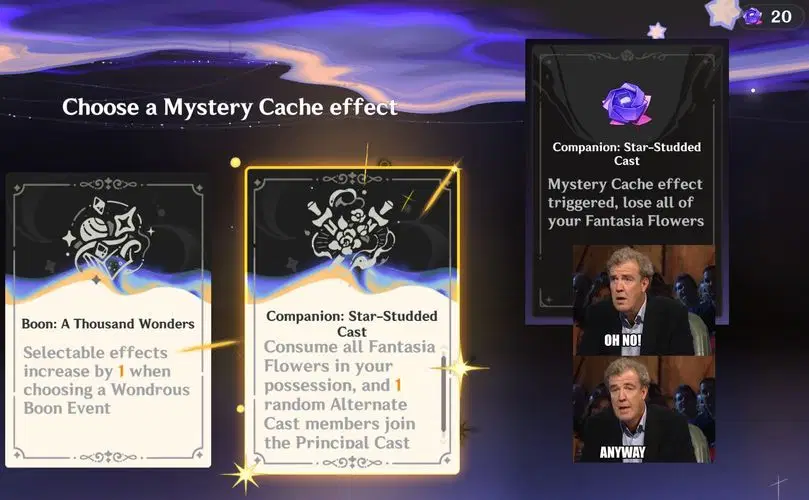
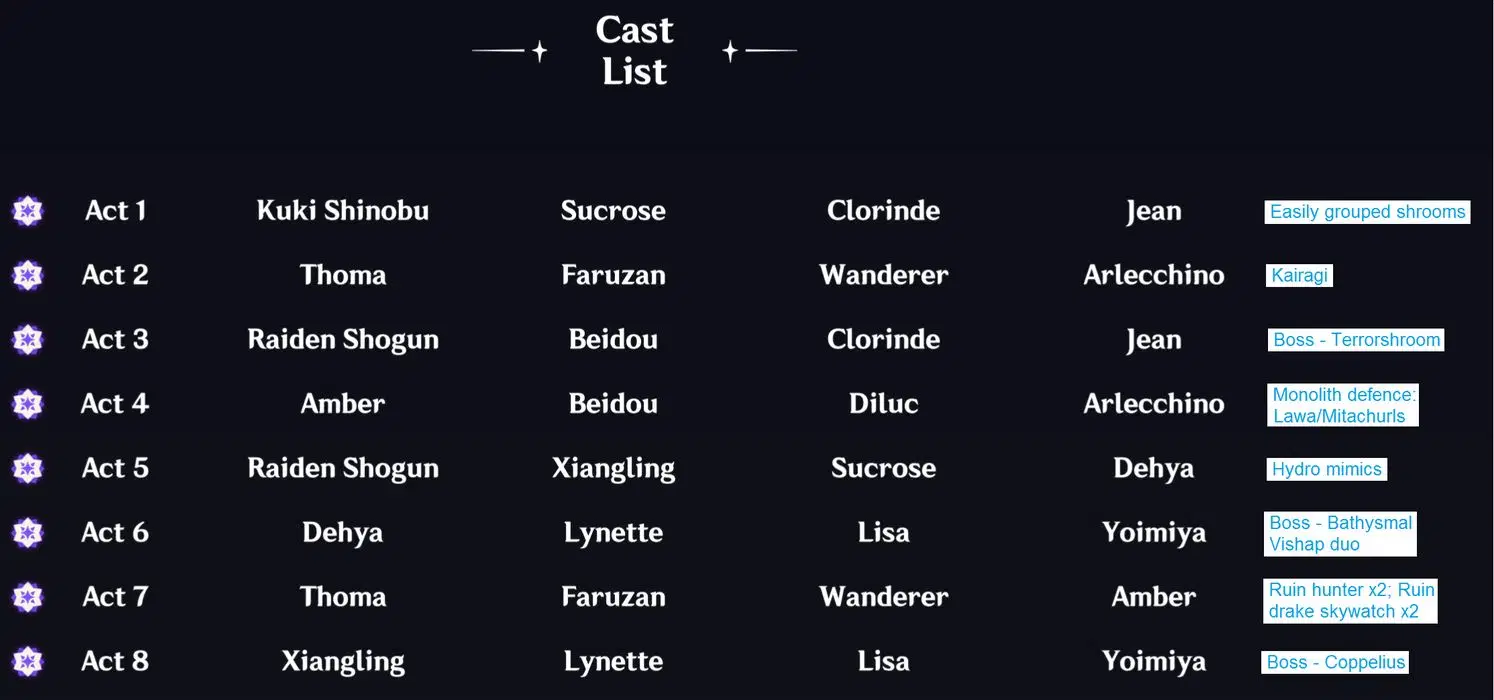
Act 1: Kuki activates skill to trigger TotM, Sucrose groups enemies and trial Clorinde goes pewpewpew-slash-pewpewpew-slash-pewpewpew-slash. Jean is a moral support, would be trial Arlecchino otherwise (in the same role). I think I got Diluc(?) for winning. No invite event this time.
Act 2: Combat choices were between bad and awful: Kairagi and a few Nobushi or Fatooey clown car: both cicin mages, geo, hydro, anemo and a few Nobushi, because why not. Turns out Theater Kairagi at Act 2 level aren't that bad and trial Hat Guy easily dispatches them. Arlecchino purely for pyro resonance. 2 invite events, so now I have 12 characters to choose from!
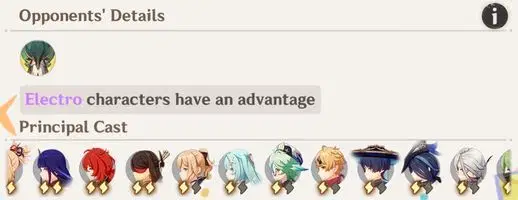
Act 3: Raiden activates skill (that's all I use her for BTW), Beidou bursts (sadly still C5), Clorinde does Clorinde things (pewpewpew-slash-pewpewpew-slash-pewpewpew-slash). Seriously, trial characters are good enough that you don't even need 4th character. Two more characters (winning + shop).
Act 4: Monolith defence with 2 Lawachurls and Mitachurls (max 3 enemies at once). Amber opens by dropping 2 bunnies (C6 brag BTW) to redirect aggro, bursts to reduce electro shield from lawachurl. Beidou bursts to provide shield and additional damage. Diluc does almost all the work, but since I rarely use him, it's not pretty. A lot of restarts and anger because I kept killing mitachurls one at a time and stage ended before I could score 9 kills required for stella. Looking back I think I should have bursted Lawachurls faster instead of leaving them for last. A few lucky mystery caches (one gave me additional rerolls), but no mimic battle. It's reroll time. I think it took 3 rerolls, but I finally got it.
Act 5: This is why you're here. Story of Dehya the killing machine.
Dehya uses skill x2, bursts, barely kills 3 boars and runs out of fuel. Struggles to kill more stuff, can't get enough particles to reactivate burst.
...
This is not how it was supposed to go.
...
This is not how it went the first time I played the Theater.
...
Something's wrong, and I'm not sure what. I'm pretty sure I fought them at this stage, so it's not enemy level.
Initially I was saving Xiangling for boss fights, but I feel like I need to try a different approach. Lightbulb moment. Raiden's skill boosts burst damage.
Raiden opens with her skill, Xiangling bursts, Sucrose burst for that sweet EM bonus and that brings boars very close to death. Dehya uses skill twice killing boars, dashes toward newly spawned crane and company, burst and immediately deletes them and keeps killing. Xiangling burst runs out, but Dehya has her burst enhanced by Raiden + procs from Raiden's skill + procs from electro-charged + once her burst runs out procs from her own skill and that's enough. All those particles recharge Xiangling and Dehya just in time when second wave of boars spawns, so fun begins anew.
Total kills: 35, kills attributed to Dehya: 22.
No, Dehya is not a damage dealer, she's a tank. A tank that can kill with proper support from her team.
No, Xiangling did not carry this fight, her artifacts aren't that great, and neither is her damage. It was a team effort. Her burst was enhanced by Raiden as well and if she had to stay in place to wait till boars are dead her performance would have been identical to that of Dehya: running our of burst time before she gets enough energy to recharge it.
What matters at the end of the day is that Dehya is good enough to be a superstar in this game mode, and no amount of garbage posts and complaints about her performance is going to change that. She's a tank first and foremost, but if you know what you're doing (and remember it's a team game) she can also kill enemies. And a lot of them.
Act 6: The most difficult fight in this Theater IMO. Those vishaps have tons of HP, jump around, deal lots of damage almost all the time and drain energy. The first time I tried the Theater I struggled a lot with a lolrandom team I had. Remember that tip about buying as many characters as you can? Yeah, I learned that a very hard way. This time however?
Dehya the superstar drops The Ultimate Survival Field(TM), Lynette burst to trigger VV, Lisa burst for defence reduction, Yoimiya goes pewpewpewpewpewpewpewpew. Dehya burst during downtime and after second rotation vishaps are dead.
Act 7: This act is the main reason why I'll keep replaying the Theater. I know what you're thinking: "after all that Dehya awesomness this is the reason?". Crazy, I know. Here's why: back when I started playing Genshin ruin hunters were bane of my existence. Constantly flying out of melee range, when in range they deal insane amounts of damage and knock characters back, and when they hover and I'm not fast enough with shooting their weak spot they'll keep nuking the entire area forcing me to constantly dodge.
It's time for revenge.
Air-to-air combat.
Thoma (C4) uses burst and skill to provide shield, granny Faruzan (C6) bursts, Hat Guy flies up, triggering hover mode in ruin hunters.
Ahahahaha.
All their attacks can only hit ground.
Sweet, sweet revenge.
Hat Guy pummels helpless machines, which come down crashing.
"Revenge will be mine" - Eula. "Revenge IS mine" - me.
Ruin drakes have some air-to-air attacks, so Thoma once again deploys shields, Faruzan bursts, Hat Guy easily destroys both drakes. Oh, and Amber's there too.
Yeah, trial characters are enough to clear act 7. "But you had C6 Faruzan!" Yes, I also had 4th character who did nothing (except enable pyro resonance), so I'm pretty sure it evens out, DPS wise.
Act 8: Rather anticlimatic battle after Dehya superstarring act 5, tough DPS and survial check that was act 6 and pure kino that was act 7.
Xiangling bursts, Lynette bursts for VV, Lisa bursts for defence reduction, swap to Lynette and wait for about 2 seconds for Copellius to deploy shield, destroy it with Lynette's skill, swap to Yoimiya. GG EZ NO RE
If you enjoyed this story then you're a liar, zoomers can't read this much. Also feel free to share it/link to it on any social media and whatnot, since I don't have any and the world should know that Dehya is a superstar and Imaginarium Theater is awesome.