Foreword
Hello fellow Proxies! The purpose of this guide is to provide insight to the node layout for the Critical Nodes with general suggestions on how to handle the enemies in them. This is to help all Proxies clear this content. May this guide assist Proxies who are seeking to get their first full clear. And for Proxies looking to improve their rankings and their clear times, I hope the information helps you plan your teams and strategies to do so.
Layouts will be from the perspective of the entrance to the Node. Do not be fixated on the location of the spawns, as in combat camera changes may cause you to lose your orientation. There are arbitrary gridlines to give a general idea of the area of spawns. The gridlines don't actually exist in-game nor are they necessarily representative of anything.
Special Effect
This cycle's special effect is the Daze Tactics.
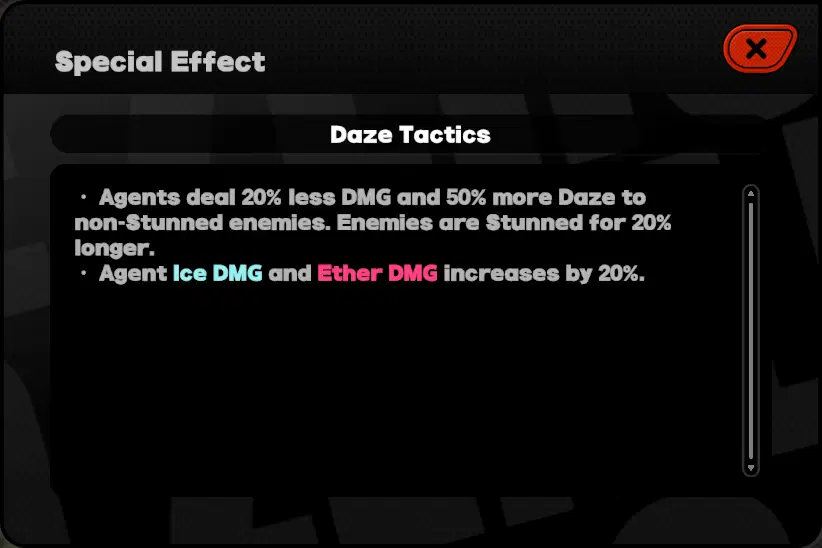
The Daze Tactics incentives players to focus on Dazing enemies and dealing damage while they are Stunned. Also as stated, Agents that deal Ice and Ether damage are recommended for the bonus damage; promoting usage of Ellen Joe and Zhu Yuan.
With the increase of applied Daze to non-Stunned enemies, this means you can be regaining Assist Points during Chain Attacks more often as enemies can be Stunned sooner than normal. So overall I recommend activating Defensive Assists with Assist Follow-Ups as often as the enemies are willing during each encounter as the Assist Points will be regenerated once you Stun an enemy.
Do be aware that Defensive Assists (Parries) and Assist Follow-Ups (Counters after Parrying) will increase Daze separately, and Evasive Assists (Agents with ranged attacks) build no Daze. But a ranged Agent's Assist Follow-Up will have higher Daze to make up for the lack of Daze on the Evasive Assist. So I encourage activating a Defensive/Evasive Assist to swap in your main Attack character or Stun character (or Defense character) (generally not Anomaly or Support characters) to build further Daze.
Ultimate usage will primarily be used while the enemy is stunned, probably saved and used at the end of the Chain Attack sequence with an Attack character, since Dazing enemies is easier due to this Tactic's effect.
Critical Nodes
In order to have access to the Critical Nodes, you will need to complete the 10 Current Frontiers.
First Frontier
1-1
Weaknesses: Electric, Ether
Resistances: (none)
Format: 3 Waves
- Wave 1: 3 Beholder Engine
- Wave 2: 1 Tarasque Mixer
- Wave 3: 1 Tarasque Mixer, 2 Beholder Engine
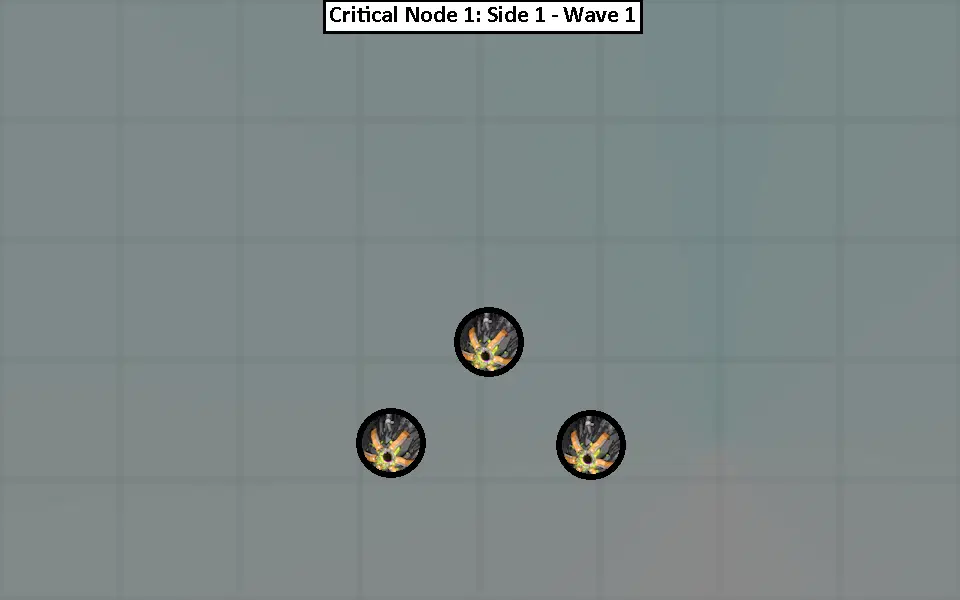
The Beholder Engines have both a melee and ranged attacks. The melee attacks are the preferred action for them to take as they will come to you. They have 2 ranged attack patterns, both of which will cause the Beholder Engine to move from their original spot. To minimize enemy movement, it is best to be aggressive and build up (and work to Stun) them at the start of the fight while they are all grouped up at the spawn. Keep them grouped up and continuously attacked to not give them the chance to use their ranged attacks.
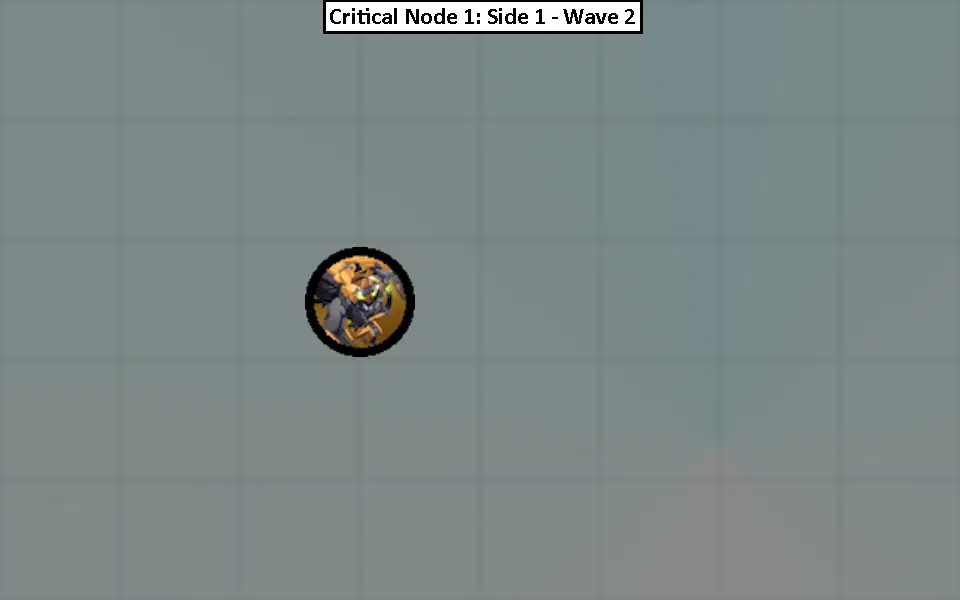
The Tarasque Mixer has melee and ranged attacks. The Tarasque Mixer ranged attacks will cause it to move.
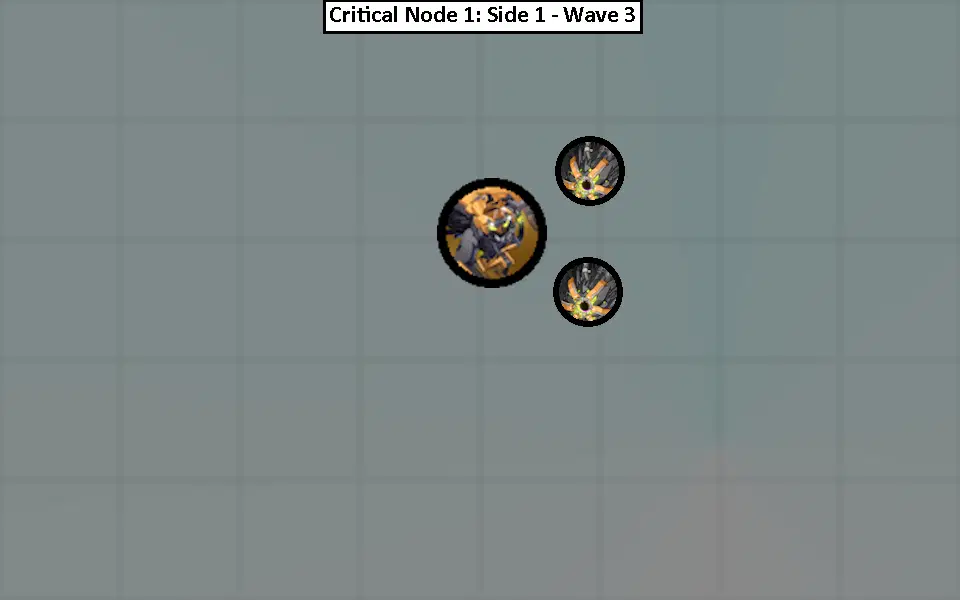
In Wave 3 you will face both Beholder Engines and Tarasque Mixer. Ideally all 3 enemies will stay together and your attacks will hit all of them. But if they are splitting apart, you will have to decide to stay with the main group or try to herd enemies back together. Herding them back together is ideal but if they are moving too far away and/or taking too much time to herd together, you may want to just focus on the Beholder Engines, as they are weaker and more mobile than the Tarasque Mixer. Additionally the Tarasque Mixer's ranged attacks are very telegraphed ranged laser attacks. Meaning watching out for the Tarasque Mixer's attacks for Parries and/or Dodge Counters is easier than the Beholder Engines.
1-2
Weaknesses: Ether, Ice
Resistances: (none)
Format: 3 Waves
- Wave 1: 1 (Red) Mandrake, 2 Hoplitai
- Wave 2: 1 Arlaune
- Wave 3: 1 Armored Hati, 2 Tyrfing
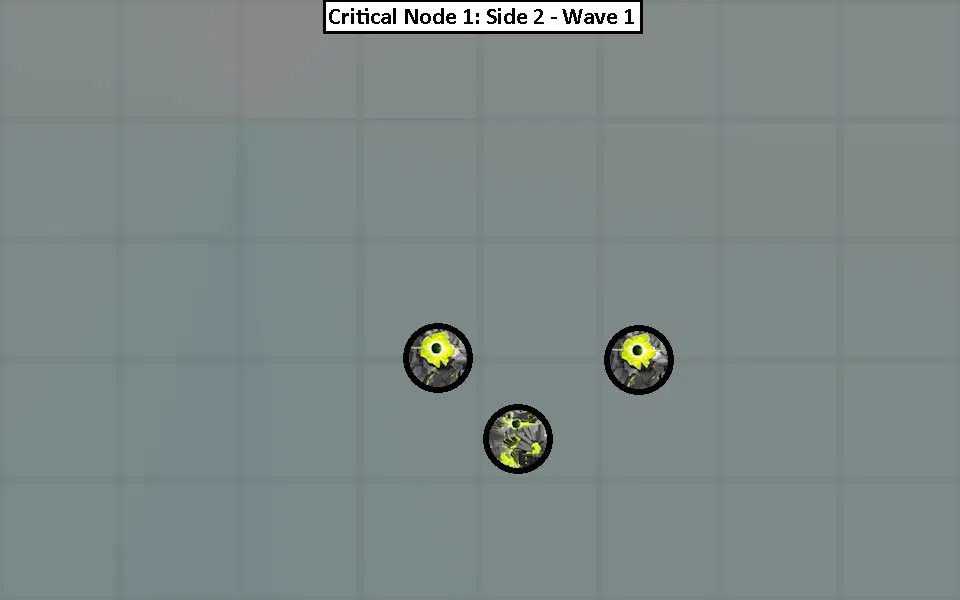
The tricky part of this Wave is the Mandrake. The Mandrake does not build up Daze and thus is not Stunnable, so it will always receive reduced damage per the Daze Tactics. Additionally its attack is rather annoying (its spin attack) to fight around. Fortunately this Mandrake just provides buffs to its allies (rather than shields). And luckily the Hoplitais only have melee attacks, so they will come to wherever you are. I recommend fighting close to the Mandrake and keeping the Hoplitais grouped around the Mandrake to allow you to hit all 3 of them together. Parrying the Hoplitais with Defensive Assists into Assist Follow-Ups, Dazing Hoplitais to Stun them to allow for Chain Attacks, and using timely EX Specials near the Mandrake is preferred as these options provide invincibility frames during those attacks.
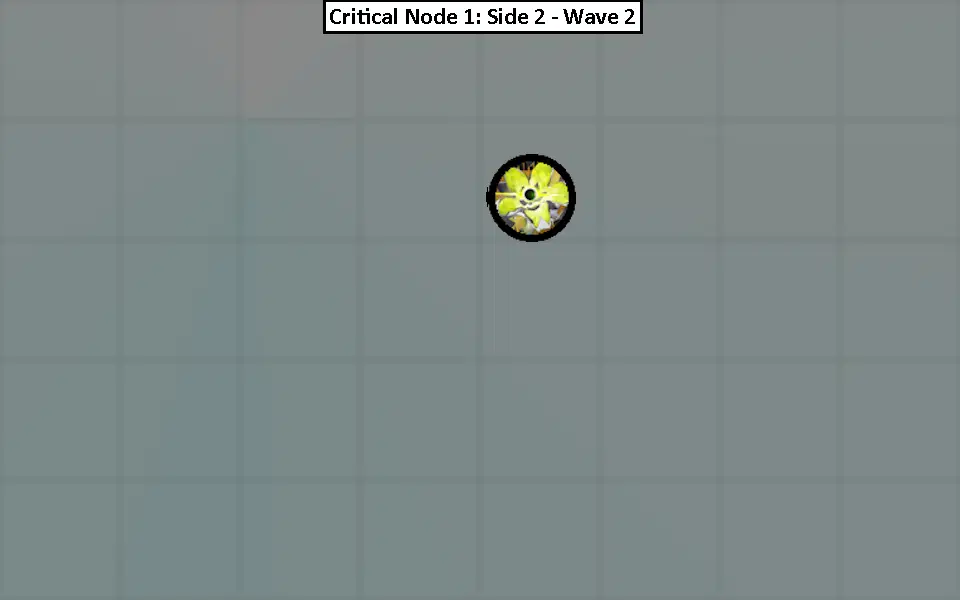
The Arlaune is a tricky enemy to fight. Its attacks are generally only able to be Dodged or evaded via Evasive Assist. Thus you will have to prepare for performing Dodge Counters (or Evasive Assist with Assist Follow-Up) and EX Specials into its attacks. It has ranged attacks that cause it to shoot a volley of projectiles while moving back, so stay close to it.
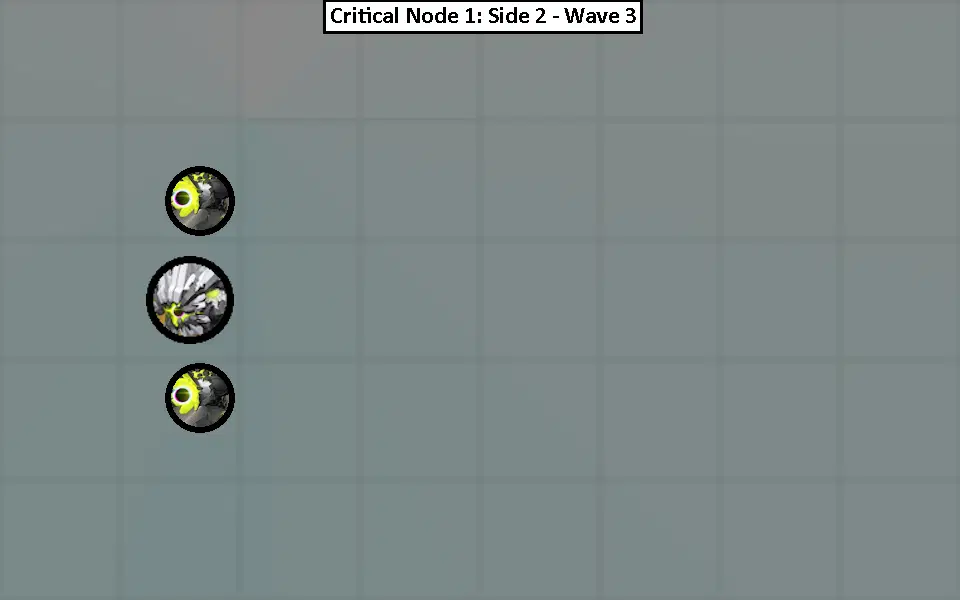
The Armored Hati has an armored shell that can break after dealing enough damage to their front side. Both the Armored Hati and Tyfing are mostly melee attackers so they will come to you.
Second Frontier
2-1
Weaknesses: Fire, Physical
Resistances: Ether
Format: 3 Waves
- Wave 1: 2 Rookie Jaeger, 2 Light Jaeger
- Wave 2: 1 Lightfoot Rover
- Wave 3: 1 Heavy Striker, 2 Light Jaeger
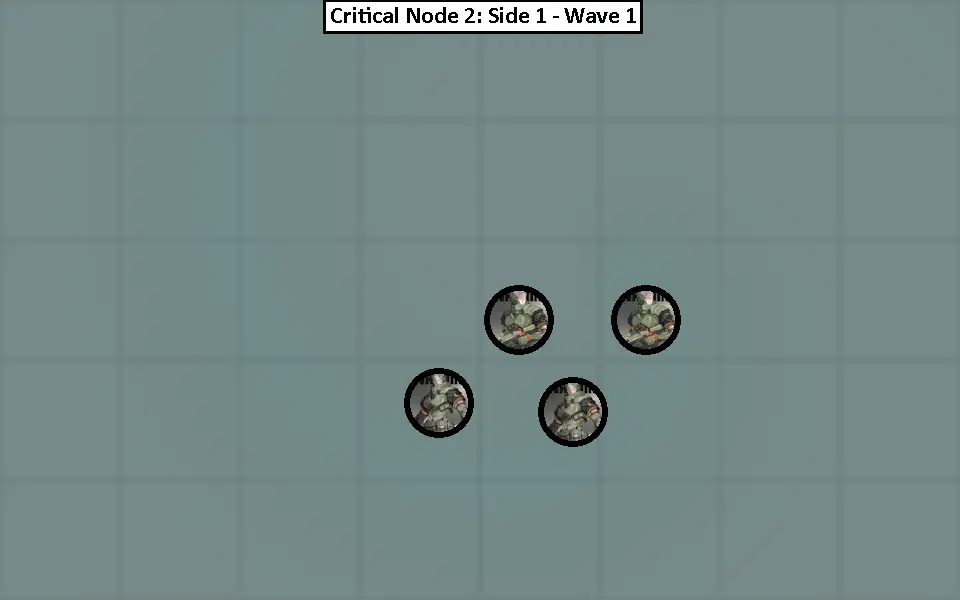
The Rookie Jaegers and Light Jaegers are melee and ranged attackers respectively. I recommend at the start to go around to knockback one of the Light Jaegers into the other and focus on them once they are together. While doing this the Rookie Jaegers will come to you with the melee attacks.
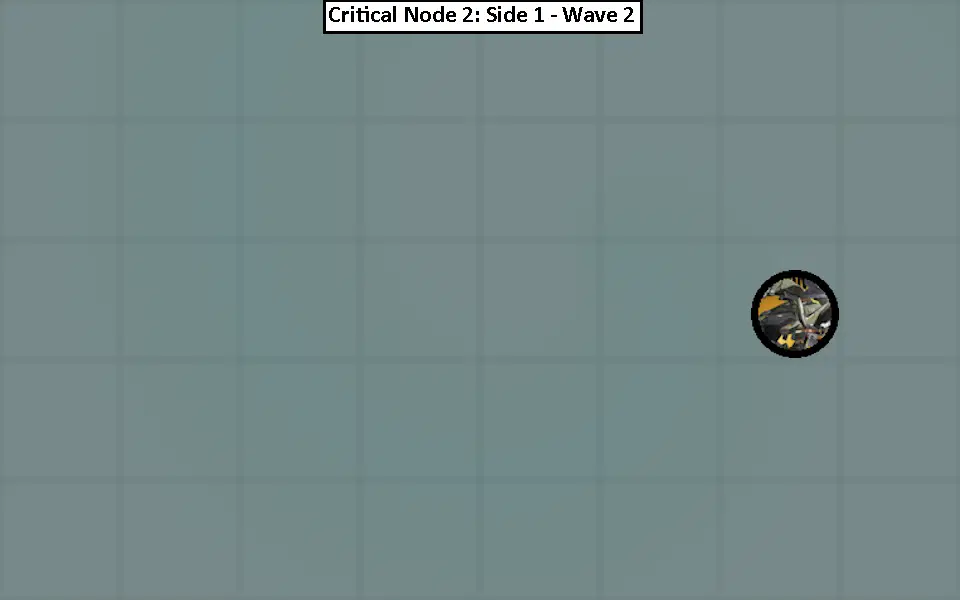
The Lightfoot Rover's main annoyance are its drones, which it will deploy once it spawns at the beginning of the fight. Watch out of the drone's attacks as they come in pairs and twice.
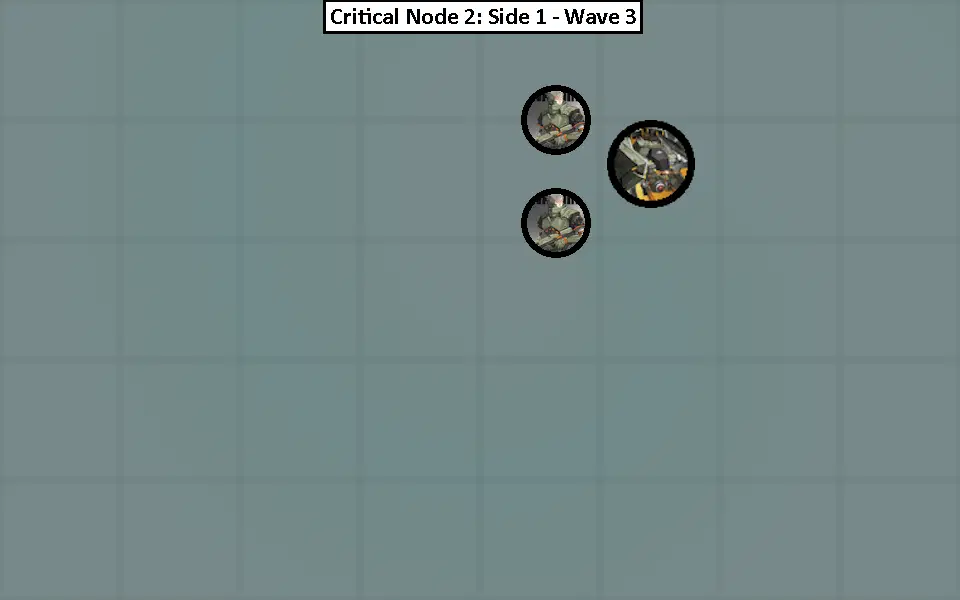
The Heavy Striker can employ a Shield during the fight. If it does get Shielded, cause it to be Stunned to remove the Shield. I recommend handling the Light Jaegers first in a similar fashion as in Wave 1; herding them together and attacking them once they are grouped together.
2-2
Weaknesses: Ether
Resistances: Ice
Format: 3 Waves
- Wave 1: 2 Ionized - Nacelia, 2 Ionized - Setoria
- Wave 2: 1 Ionized - Farbauti
- Wave 3: 1 Ionized - Thanatos, 2 Ionized - Nacelia
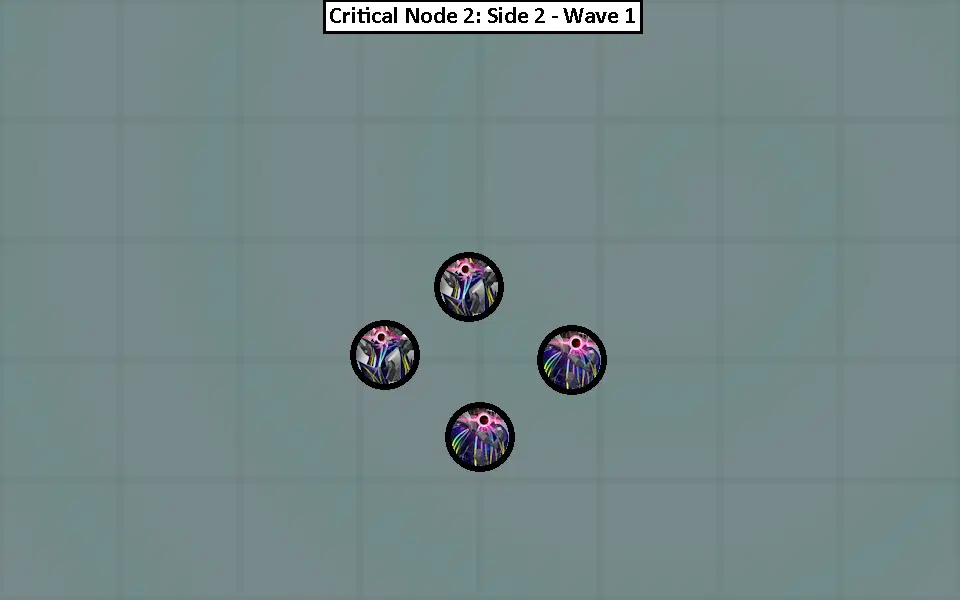
I recommend focusing on the Nacelias at the start by knocking them into each other and to build up Daze quickly to Stun them. If left unchecked, the Nacelias will attack by charging a large energy bomb and lobbing it towards you. The delay on the attack is long so you can build up Daze on them and Stun them to prevent their attack.
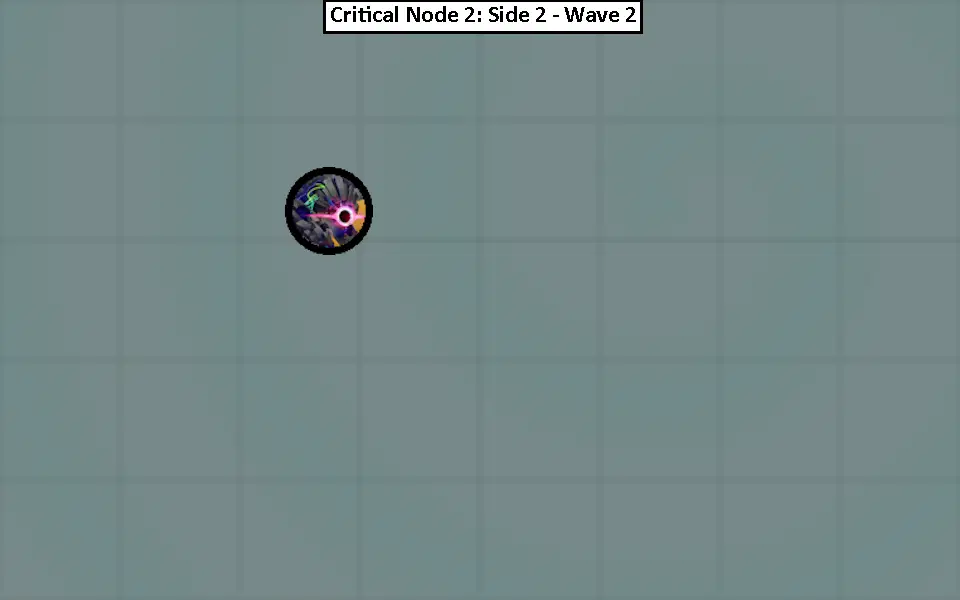
The Farbauti is an enemy you should be familiar with fighting against. It will start charging a jump slam attack, which you can choose to run away from the damage indicator or Dodge Counter it before it completes its slam. Remember to use Defensive Assists with Assist Follow-Ups whenever possible to apply Daze in order to Stun it sooner.
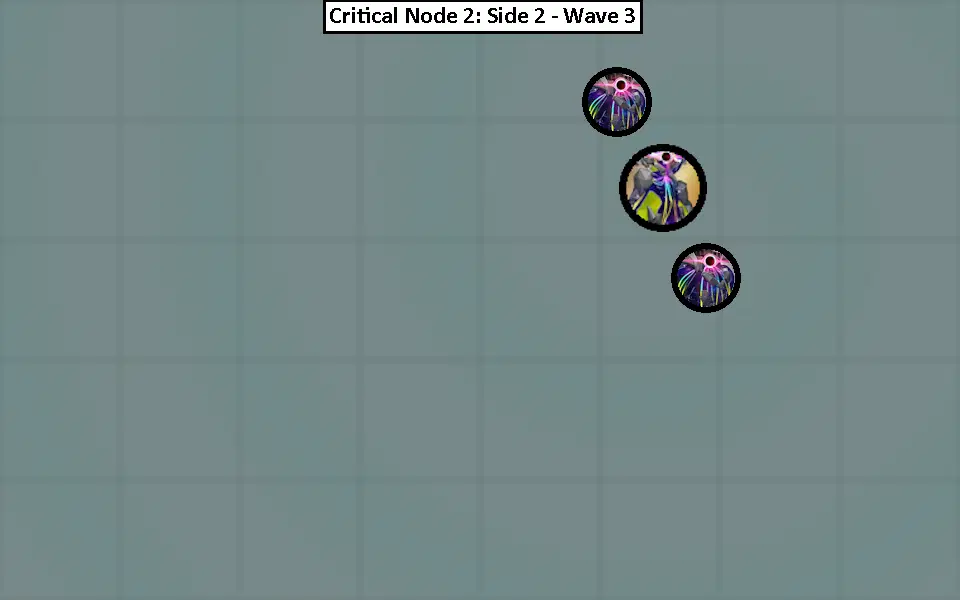
The Thanatos is a very evasive enemy to fight. It is notorious for teleporting away frequently during fights. Unfortunately in this fight it is also accompanied by 2 Nacelias. Due to the evasive nature of the Thanatos I recommend dealing with the Nacelias in a similar fashion as mentioned in Wave 1, while keeping your eye on the Thanatos's attacks. Ideally if you can Stun a Nacelia (which is going to be much easier than trying to land hits on the Thanatos) you can use the Chain Attacks to be invincible and to potentially hit the Thanatos if it teleports in. After taking care of the Nacelias, you can then focus on the Thanatos by itself.
Third Frontier
3-1
Weaknesses: Ice, Physical
Resistances: (none)
Format: 4 Waves
- Wave 1: 3 Assaulter
- Wave 2: 1 Bulky Intimidator
- Wave 3: 2 Assaulter, 2 Pyromaniac
- Wave 4: 1 Bulky Enforcer
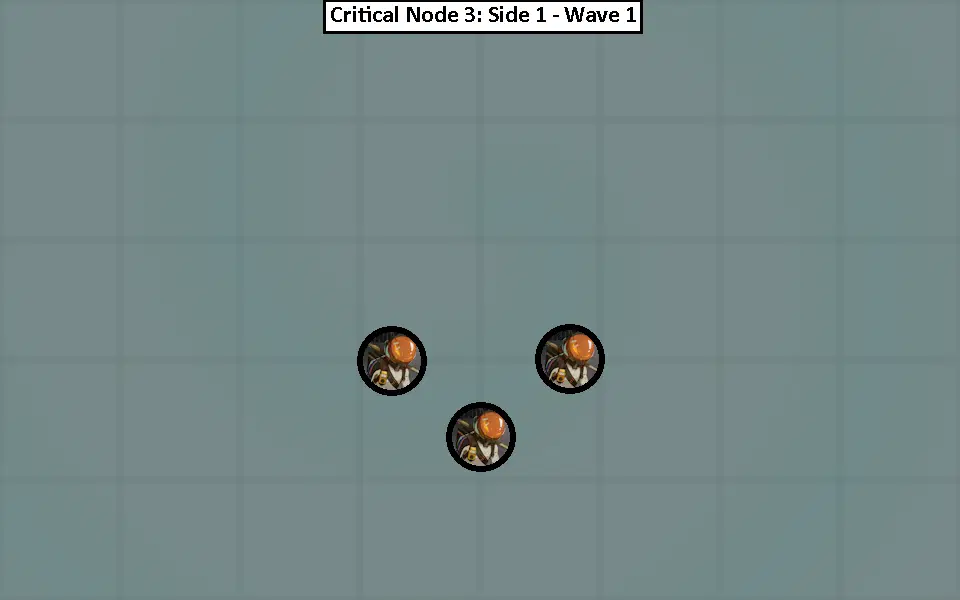
The Assaulters are melee enemies. They will come to you with melee attacks for easy Parries.
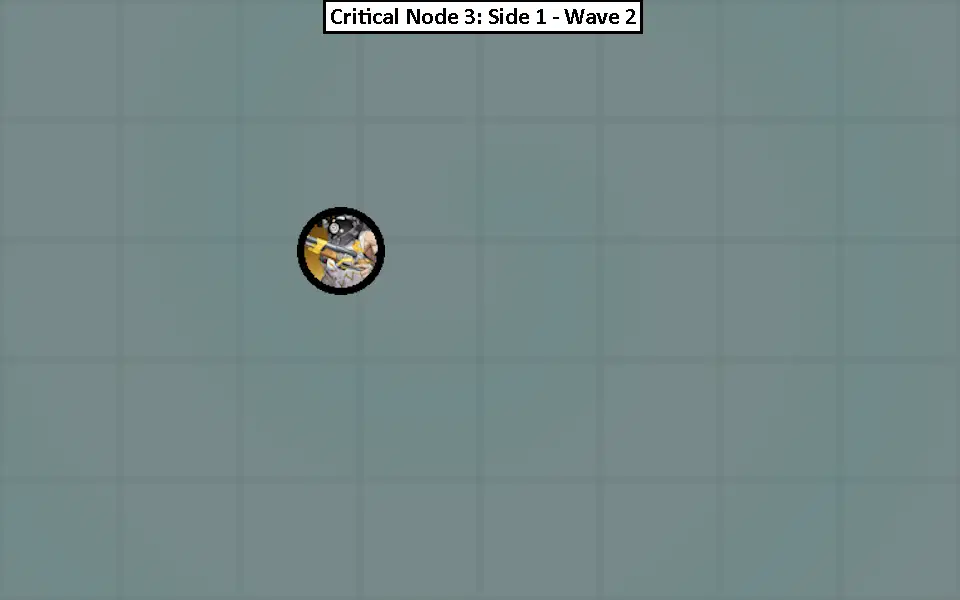
The Bulky Intimidator is a ranged attacker. Use Dodge Counters (and Evasive Assist with Assist Follow-Ups) when possible.
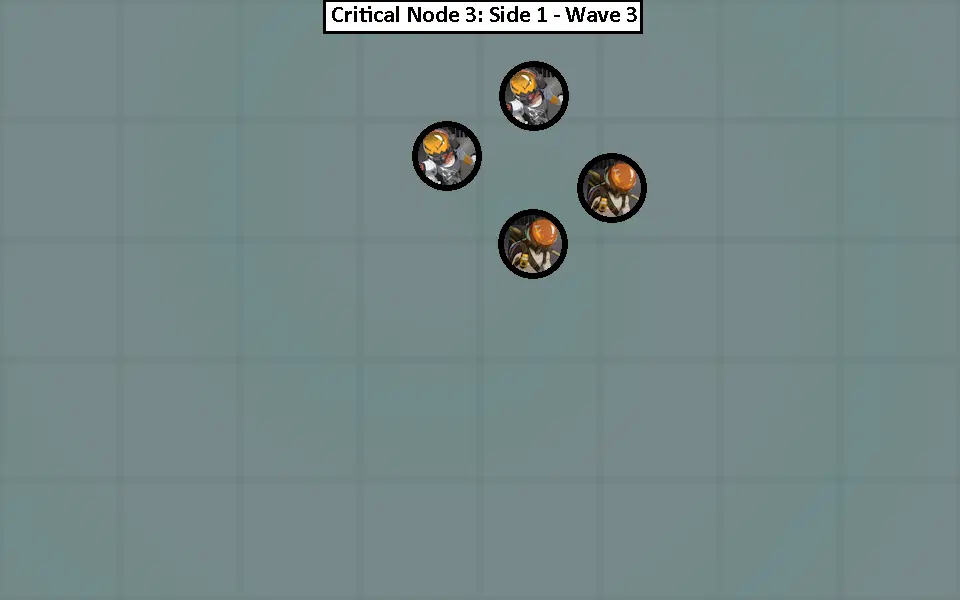
The Pyromaniacs are ranged attackers. I recommend going and knocking one of them into the other to deal with them at the same time. The Assaulters will come to you with their melee attacks.
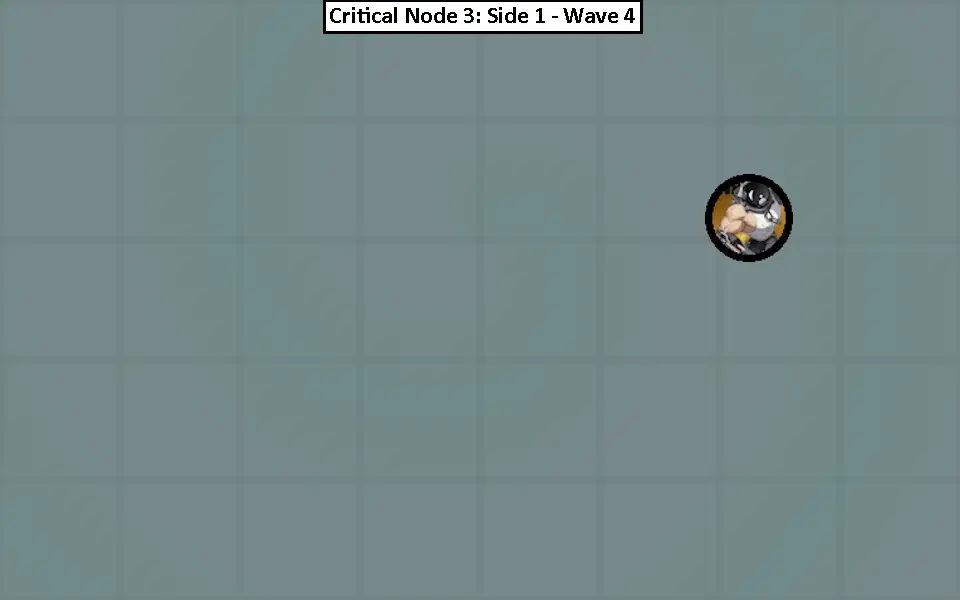
The Bulk Enforcer is a melee attacker that will zig-n-zag and perform jump attacks at you. Use Defensive Assists with Assist Follow-Ups whenever possible to apply Daze in order to Stun it sooner.
3-2
Weaknesses: Fire
Resistances: Electric
Format: 4 Waves
- Wave 1: 3 Vicious Striker
- Wave 2: 1 Frenzied Maniac
- Wave 3: 2 Vicious Striker, 2 Greedy Ranger
- Wave 4: 1 Wicked Wraith
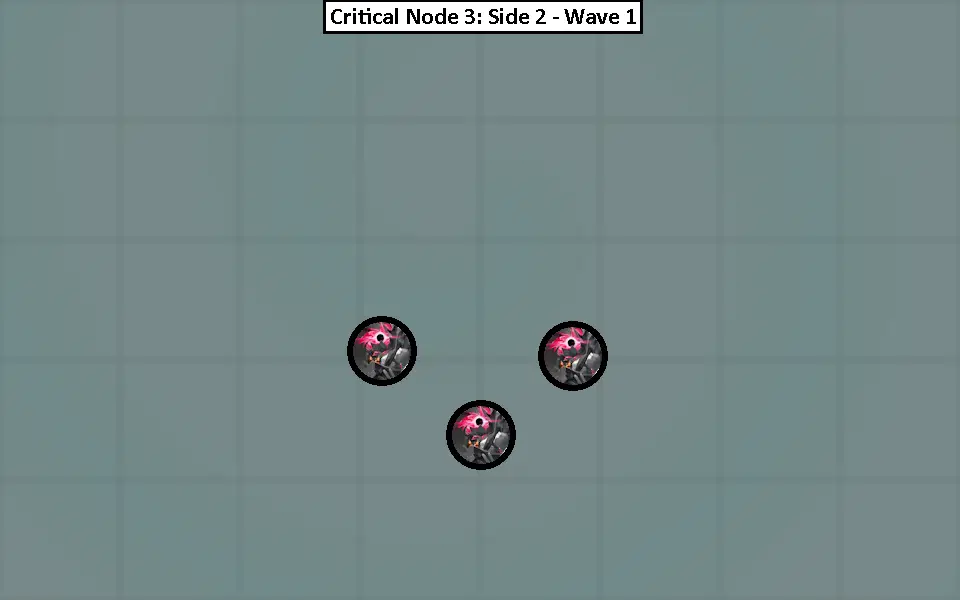
The Vicious Strikers are melee enemies. They will come to you with melee attacks for easy Parries.
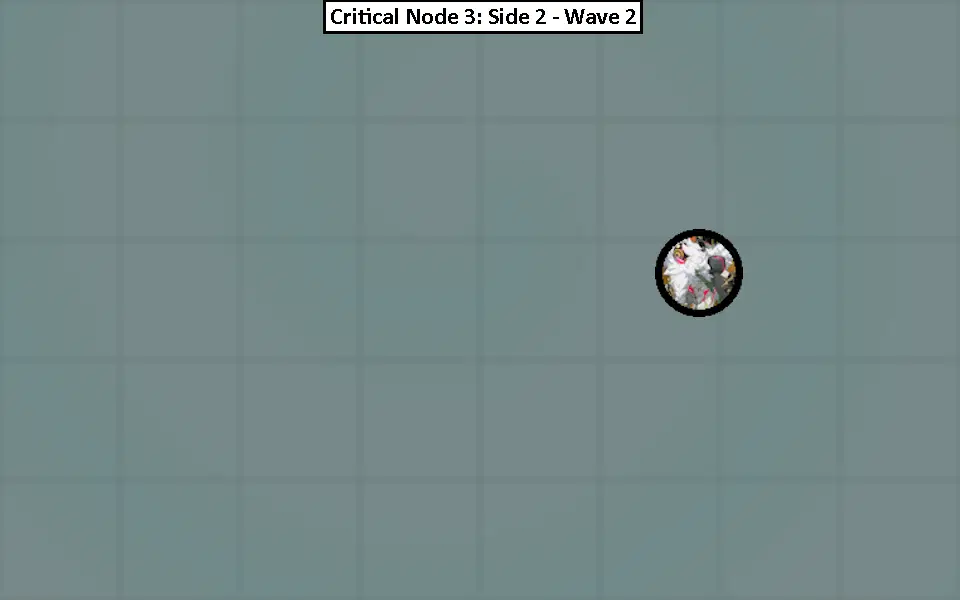
The Frenzied Maniac is another melee attacker. Use Defensive Assists with Assist Follow-Ups whenever possible to apply Daze in order to Stun it sooner.
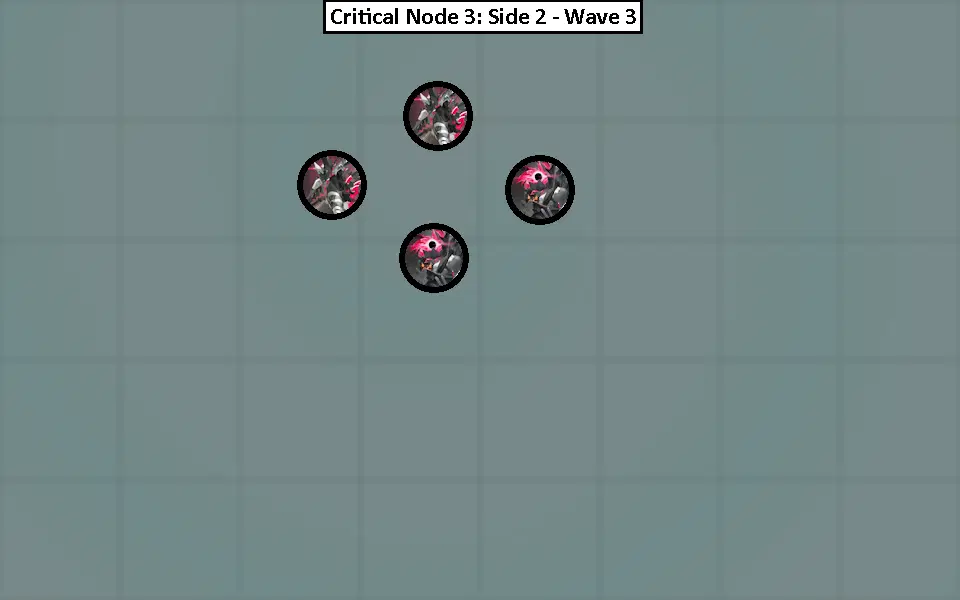
Greedy Rangers are ranged attackers (the guys with diamond-shaped masks on their face). I recommend going and knocking one of them into the other to deal with them at the same time. The Vicious Strikers will come to you with their melee attacks.
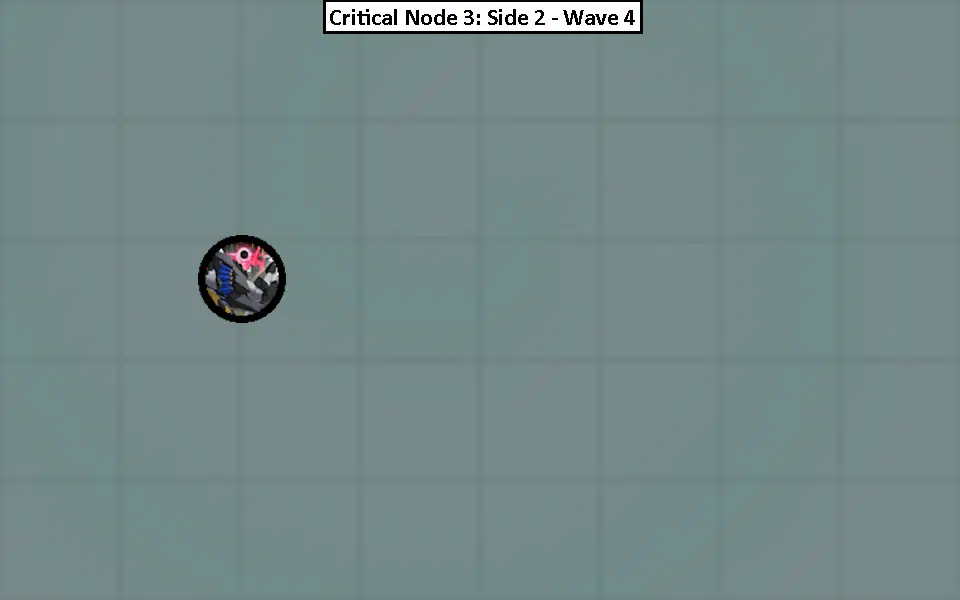
The Wicked Wraith is another melee attacker. Use Defensive Assists with Assist Follow-Ups whenever possible to apply Daze in order to Stun it sooner.
Fourth Frontier
4-1
Weaknesses: Electric
Resistances: Fire
Format: 4 Waves
- Wave 1: 3 Patrol Jaeger
- Wave 2: 1 Assault Gunner
- Wave 3: 2 Patrol Jaeger, 2 Scout Jaeger
- Wave 4: 1 Heavy Striker MK II
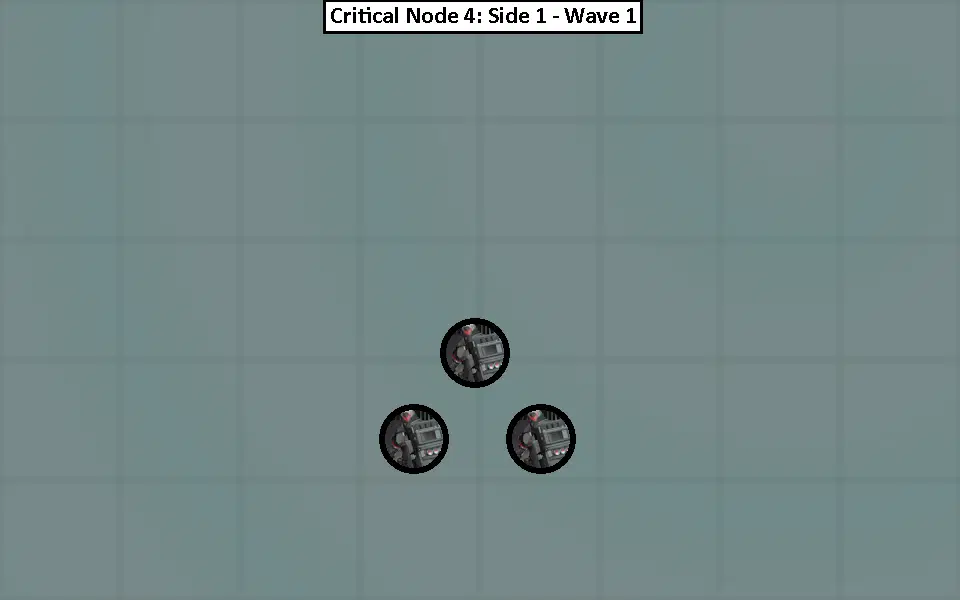
Patrol Jaegers have shields that provide them damage reduction on their front side. The shields can be broken if attacked on their front side with enough damage, but it is better to focus on Stunning them and then dealing damage while they are Stunned. Patrol Jaegers are melee attackers so they will come to you naturally.
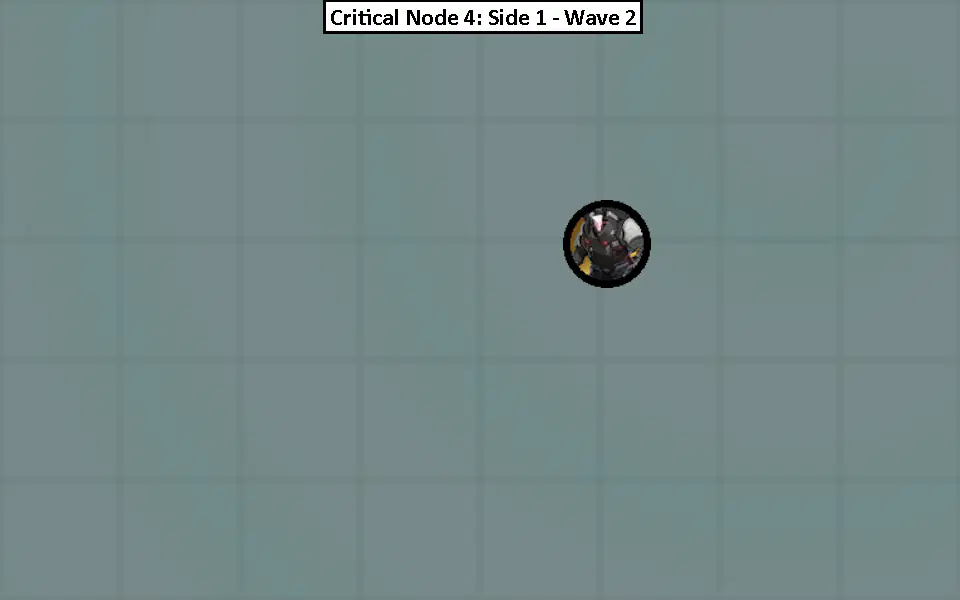
The Assault Gunner has some very telegraphed attacks that are avoidable. Generally staying in melee distance will allow you to avoid its attacks. If you can get in Dodge Counters and Defensive Assists with Assist Follow-Ups to build up Daze, it will be Stunned sooner.
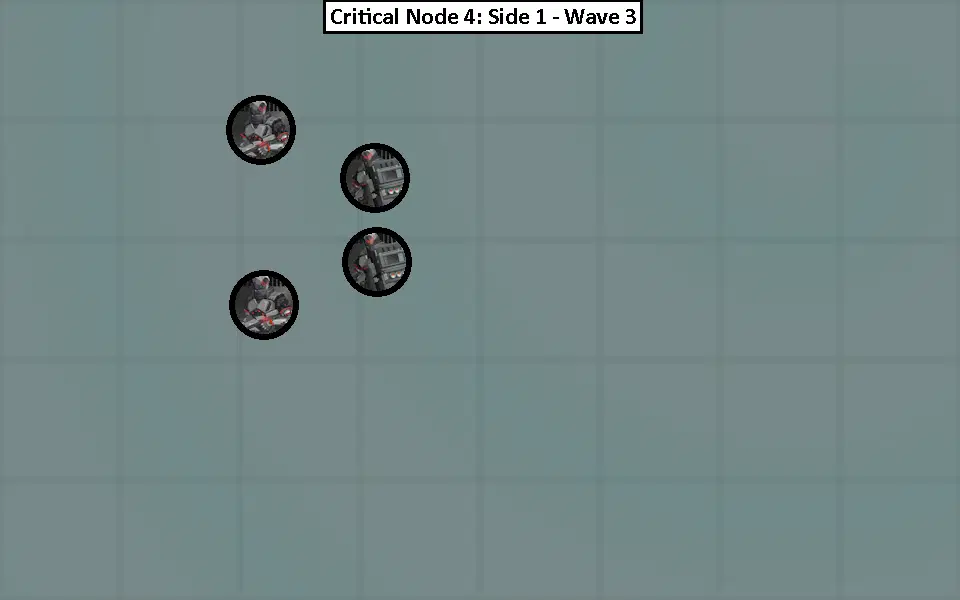
The Scout Jaegers are ranged attackers. I recommend going and knocking one of them into the other to deal with them at the same time. The Patrol Jaegers will come to you with their melee attacks and can be dealt with afterwards as mentioned in Wave 1.
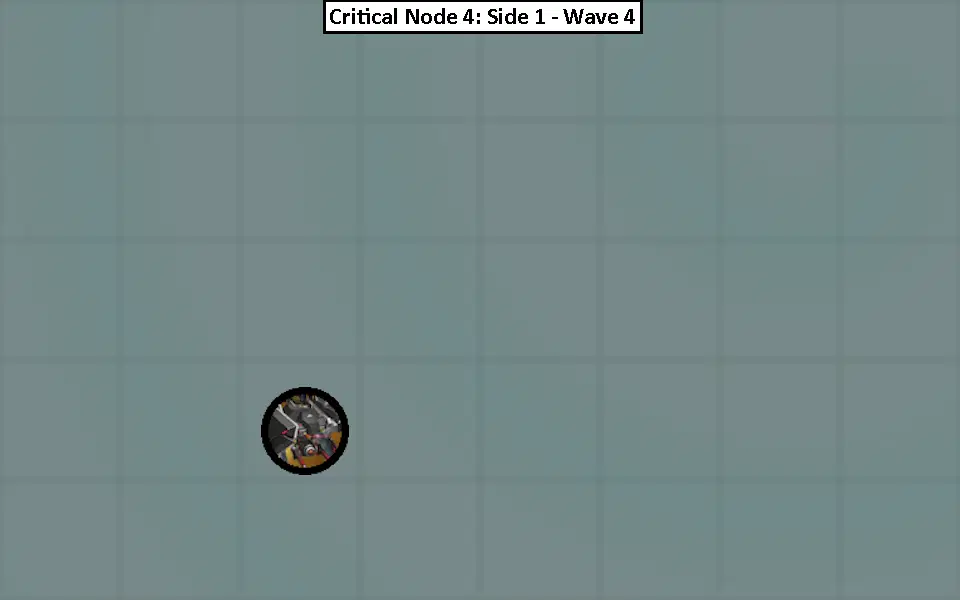
The Heavy Striker MK II can employ a shield during the fight. If it does get Shielded, causing it to be Stunned will remove the Shield.
4-2
Weaknesses: Ice, Ether
Resistances: (none)
Format: 3 Waves
- Wave 1: 1 (Red) Mandrake, 2 Hoplitai, 2 Alpeca
- Wave 2: 1 Hati
- Wave 3: 1 Metro Goblin, 3 Tyrfing
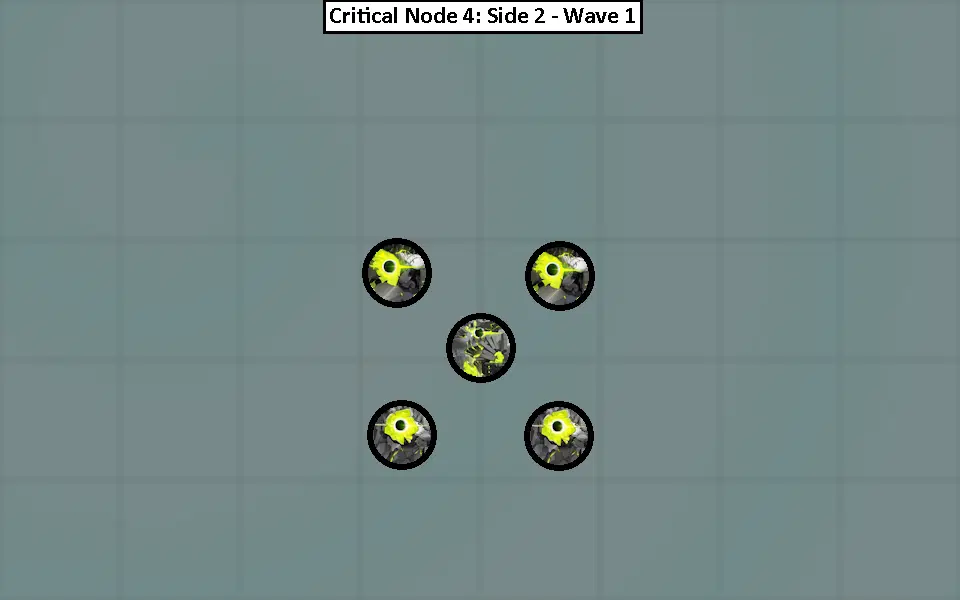
Similar to the 1-2's fight, this fight could be tricky due to the Mandrake. Unfortunately it can get more annoying as there are also additional ranged attacking enemies, 2 Alpecas.
Alpecas are ranged attackers that can make it move backwards after its ranged attack, which can be troublesome if left unattended (as it can move itself very far from the rest of the enemies). In this Wave I recommend to go and immediately knock each Alpeca into the Mandrake. Then attack the Alpecas and Mandrake together with the intention of Dazing the Alpecas to Stun them. This will allow you to go into Chain Attacks to hit the 3 of them (more if the Hoplitais are there too) together while being invincible during the Mandrake's spin attack. I would be cautious to complete Defensive Assists into Assist Follow-Ups against the Hoplitais as they will probably be pushed farther away from any grouped up enemies you've gathered and/or it may give enough time for the Alpeca to reorient their position with their ranged attacks. If the Alpecas so happen to leave the area around and be unable to group back to the Mandrake, I would focus on the Alpeca. Watching out for the Alpecas' ranged attacks can be troublesome, and can be damaging since they are enhanced by the Mandrake's buff.
Team Recommendation: I strongly recommend having either Nicole or Resonaboo on this Side due to their EX Special and Active Skill vacuuming enemies together for a short period of time. Nicole is recommended as it can be aimed and used more frequently. But Resonaboo can be just as effective to hold these enemies together for a good damage window (providing that Resonaboo puts its Black Hole in an ideal location). To achieve a higher ranking, having Nicole or Resonaboo use either of their abilities on the Mandrake to gather enemies together will help you to reduce overall time usage.
Luckily after this Wave, the rest of the Side is mode straight-forward.
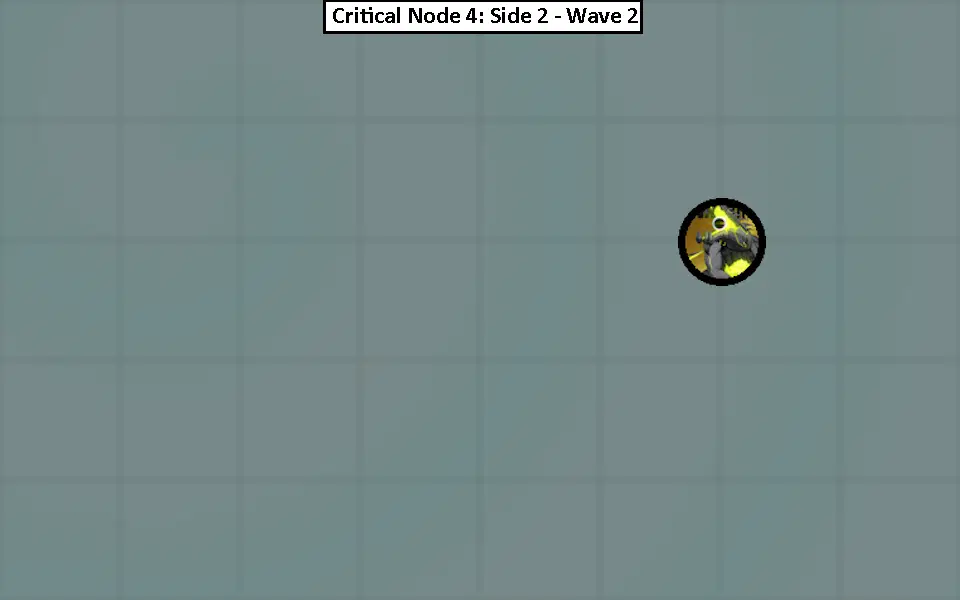
Unlike its brother from the 1-2's Wave 2, this Hati is not armored.
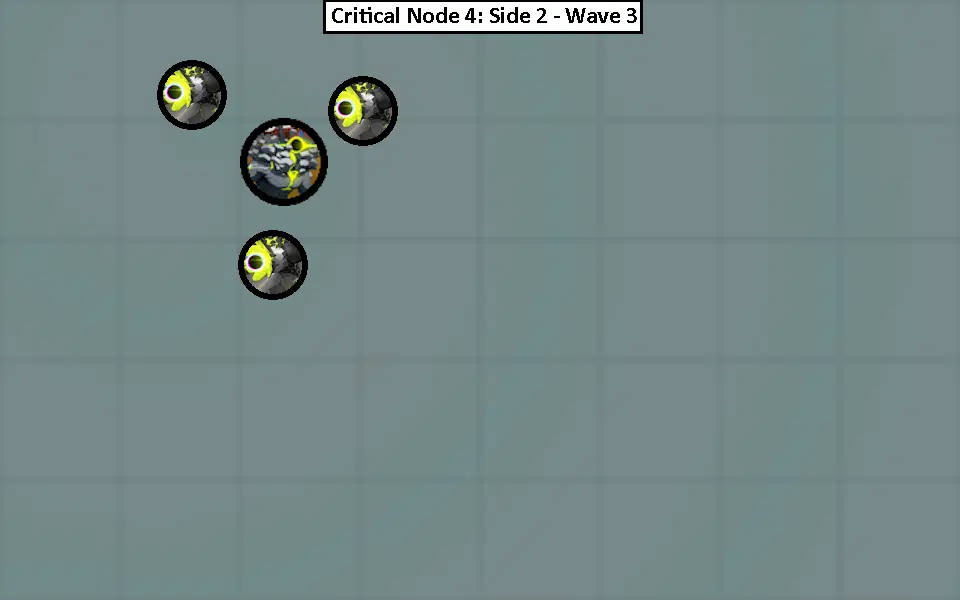
Metro Goblin is a melee attacker. Use Defensive Assists with Assist Follow-Ups whenever possible to apply Daze in order to Stun it sooner. The Tyrfings will come at you with their melee attacks.
Fifth Frontier
5-1
Weaknesses: Ice, Physical
Resistances: (none)
Format: 3 Waves
- Wave 1: 2 Assaulter, 2 Poacher
- Wave 2: 1 Bulky Intimidator
- Wave 3: 1 Bulky Enforcer, 1 Bulky Intimidator
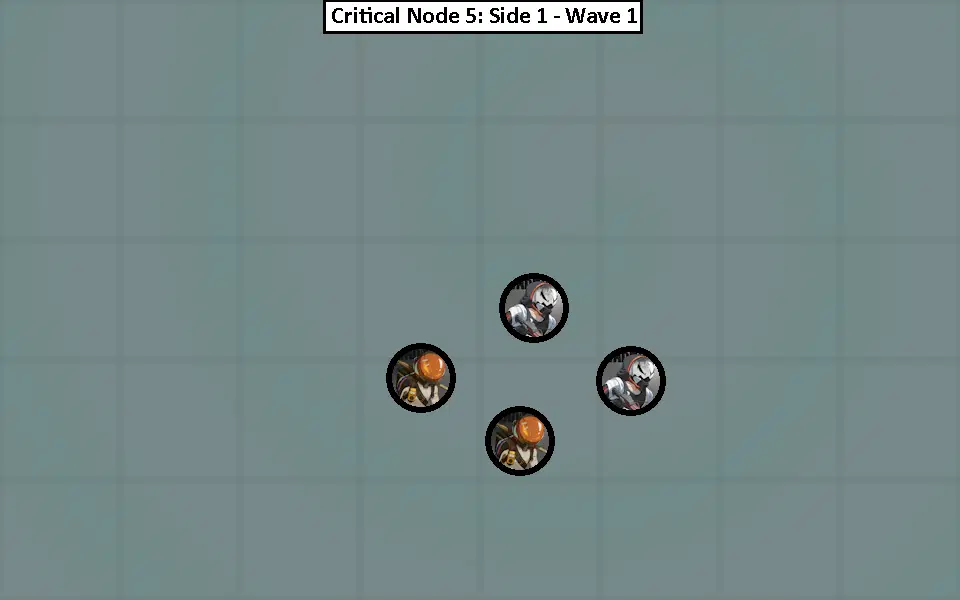
The Poachers are ranged attackers. I recommend going and knocking one of them into the other to deal with them at the same time. The Assaulters will come to you with their melee attacks.
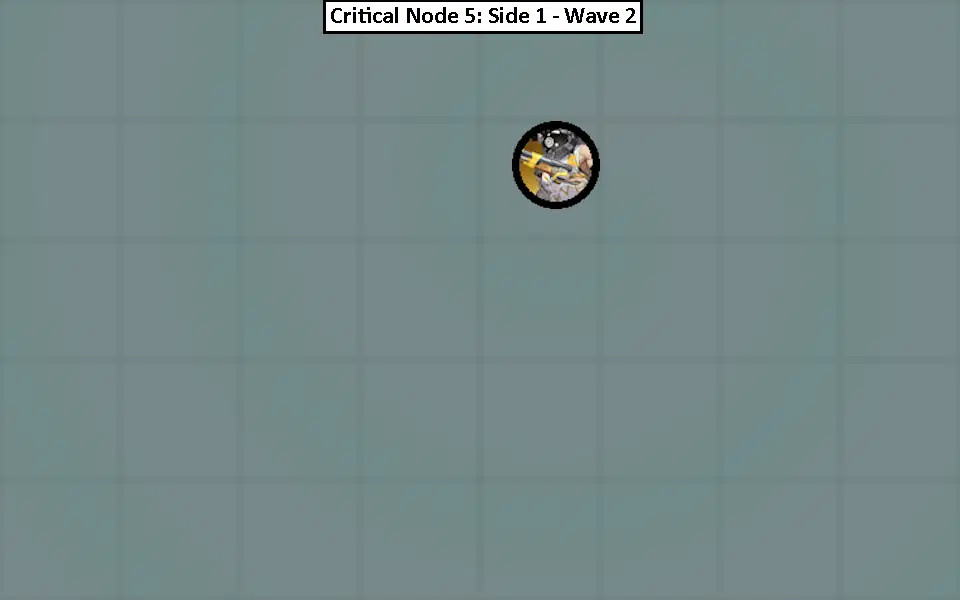
The Bulky Intimidator is a ranged attacker. Use Dodge Counters (and Evasive Assist with Assist Follow-Ups) when possible.
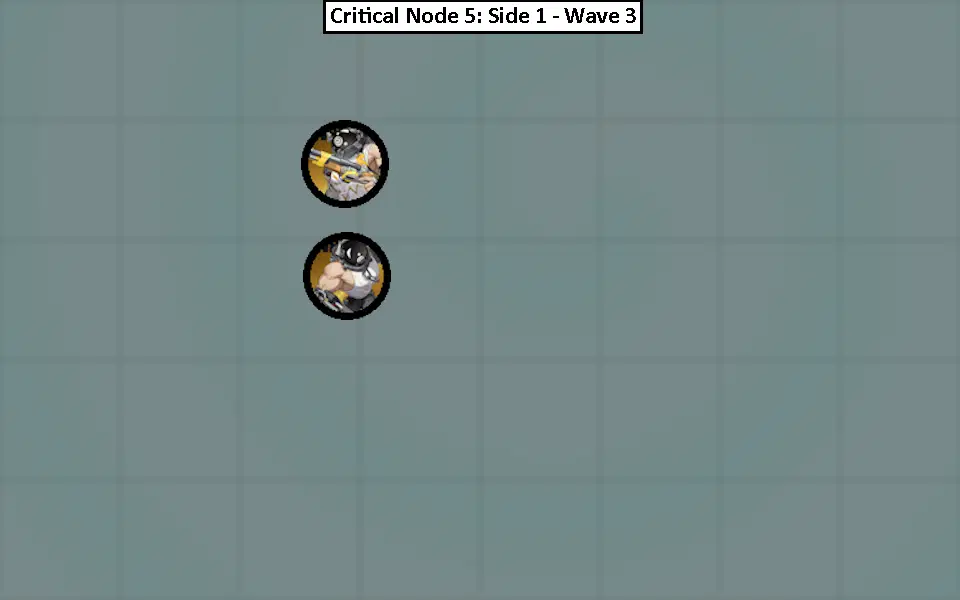
In Wave 3 we fight both the Bulky Enforcer and the Bulky Intimidator, who will use melee and ranged attacks respectively. I recommend focusing on the Bulky Intimidator as the Bulky Enforcer will come to you with its melee attacks. Take every opportunity to perform Defensive Assists with Assist Follow-Ups against the Bulky Enforcer for if they are close enough together, you can build the Daze on both of them. Don't bother keeping their Daze levels equal; having them get Stunned staggered is better in order to be able to perform more Chain Attacks and regain more Assist Points.
5-2
Weaknesses: Ice, Ether
Resistances: (none)
Format: 3 Waves
- Wave 1: 1 (Blue) Mandrake, 2 Tyrfing, 2 Alpeca
- Wave 2: 1 Armored Hati
- Wave 3: 1 Thanatos, 1 Arlaune
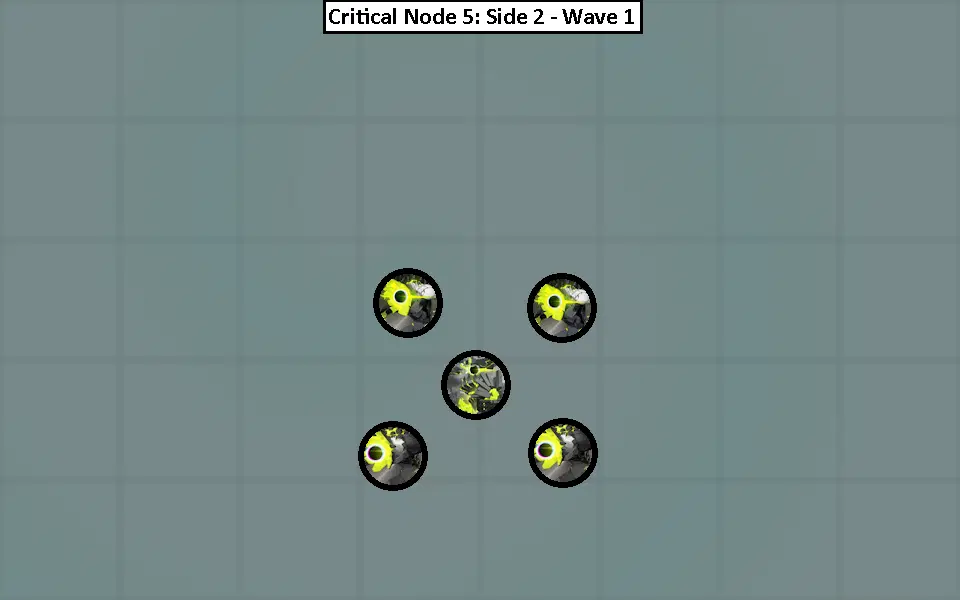
This is pretty much a rerun of the 5-2's Wave 1. Except the enemies are higher level (more HP and stats) and the Mandrake will provide Shields to its allies. The Shields from the Mandrake will maintain even if the enemies are Stunned. Only defeating the Mandrake will remove the (and prevent future) Shields. In this case, purely focusing on the Mandrake can be a valid strategy to start, but the Alpecas may have an opportunity to move away after using their ranged attacks. So I recommend using the same strategy as in the 5-2's Wave 1; knock the Alpecas to the Mandrake and attack all of them at once (including the incoming Tyrfings). Use invincibility frames to damage the group, and Dodge Counter the Mandrake's spin attack when needed.
Team Recommendation: Similarly as before, I recommend having Nicole or Resonaboo on this Side due to their EX Special and Active Skill vacuuming enemies together for a short period of time. To achieve a higher ranking, having Nicole or Resonaboo use either of their abilities on the Mandrake to gather enemies together will help you to reduce overall time usage.
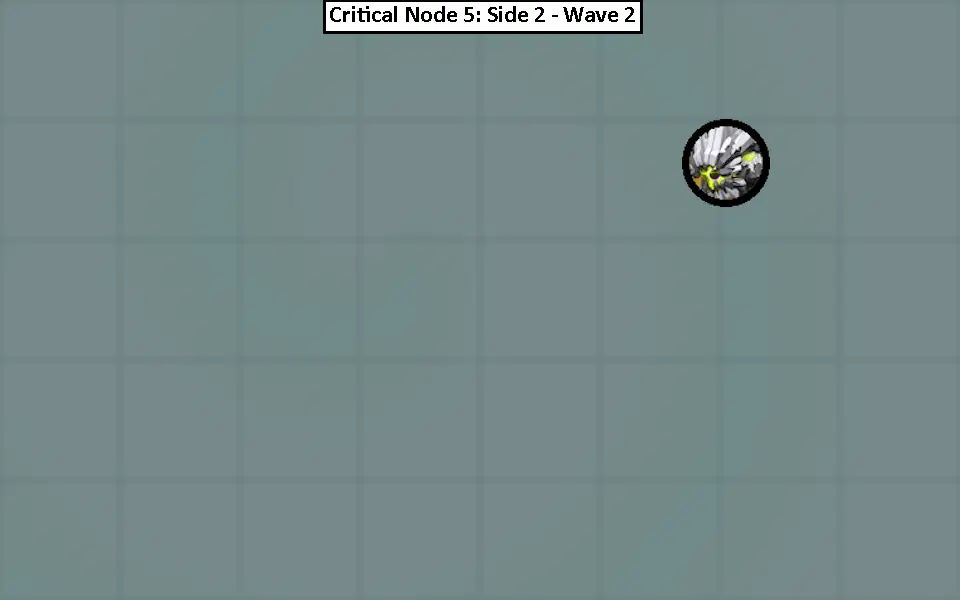
Similar to 1-2's Wave 2 except by itself this time, the Armored Hati has an armored shell that can break after dealing enough damage to their front side.
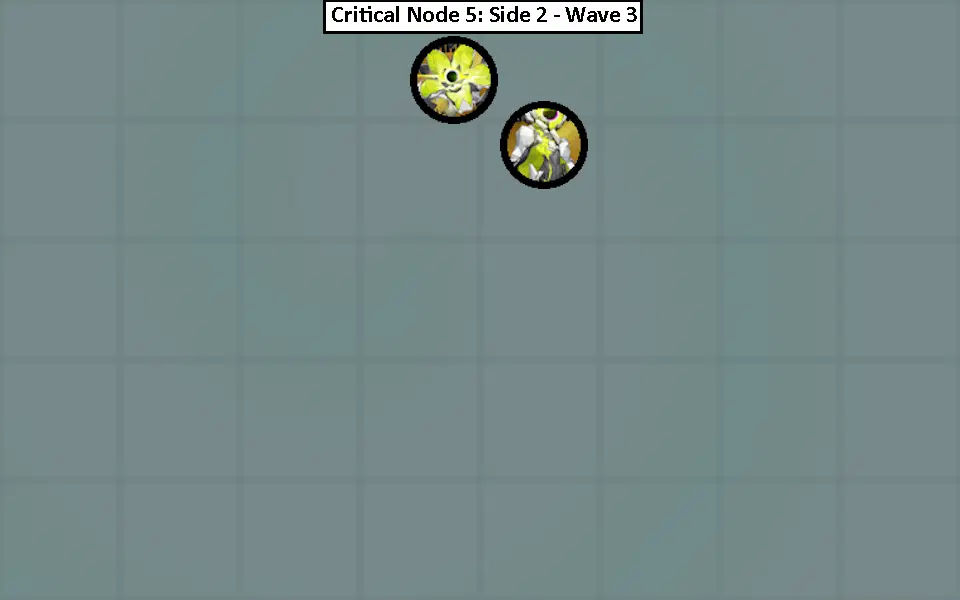
Similar to 2-2's Wave 3, Thanatos is accompanied with another enemy; but this time it's an Arlaune. The same tips should be employed here as before: focus on the Arlaune while keeping an eye out for Thanatos's attacks. For Arlaune tips, see 1-2's Wave 2.
Sixth Frontier
This Frontier will have enemies at level 65 which is higher than current maximum Agent level (which is currently level 60). This means all enemy effective HP pools will be higher and overall enemy received damage will be reduced due level differences even at maximum Agent level. So while the fights can be handled with similar strategies as before and/or be straight-forward, the fights will be longer and require continuous repetition of combos more so than before. You are basically fighting HP sponges.
Clearing this Frontier will check if your main Attackers' levels, W-Engine, and Discs are properly upgraded. Your own endurance to perform your attack combos and react to Parries and/or Dodgeable attacks will be tested.
To get a higher ranking will require you to maximize attack damage where possible (rotating Supports in to keep up buffs, maximizing Daze, etc.) and perform with minimal errors.
6-1
Weaknesses: Ice, Ether
Resistances: (none)
Format: 2 Waves
- Wave 1: 1 Arlaune, 2 Hoplitai
- Wave 2: 1 Notorious - Armored Hati
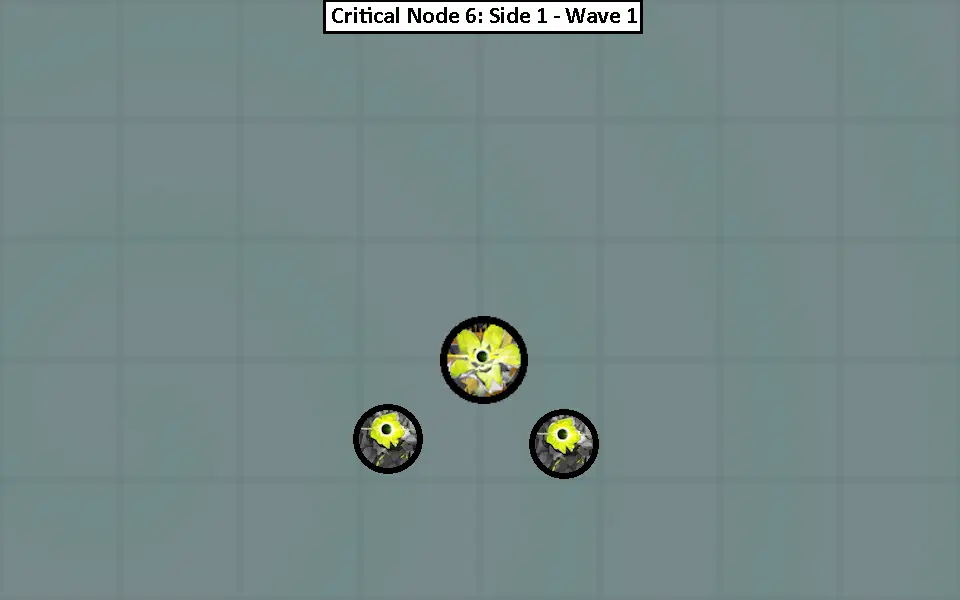
Focus on fighting the Arlaune here as it is the trickiest enemy, and the Hoplitai will come to you. While fighting the Arlaune, keep your eye out for Hoplitai's Parryable attacks and activate Defensive Assists with Assist Follow-Ups when possible. See 1-2's Wave 2 for Arlaune tips.
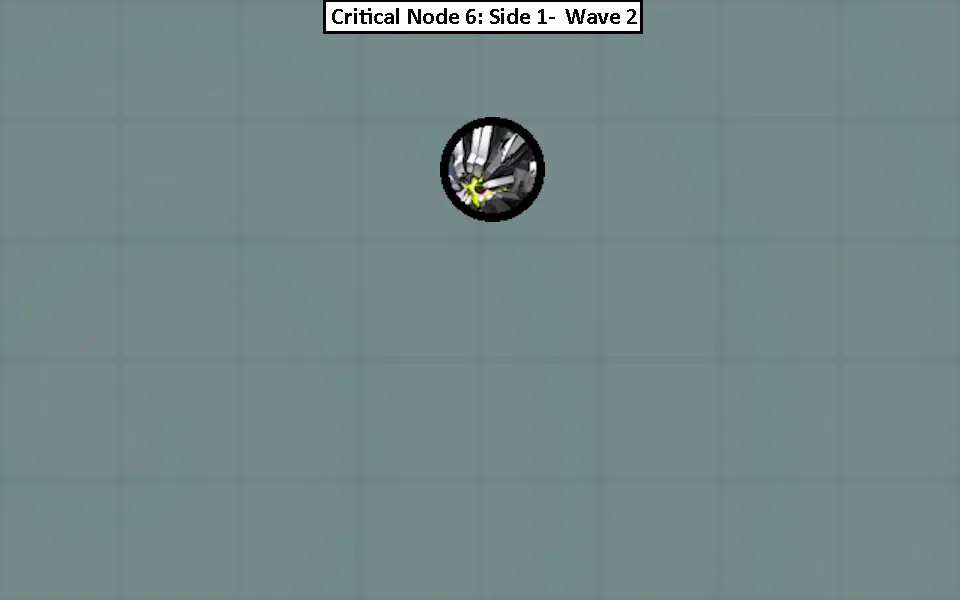
Wave 2 is similar to the previous Armored Hati encounter in the 5-2's Wave 2, except the higher level (more HP and stats) and this time it's a boss level enemy. You will also be able to perform 3 Agent Chain Attacks once it is Stunned since it's a boss level enemy. As in previous encounters, you will need to break its armor after performing Defensive Assists with Assist Follow-Ups and Chain Attacks.
In this instance since it's a boss level enemy, this Armored Hati gains a charged ranged attack that it can shoot. The charged ranged attack takes a small moment to fire off and is largely telegraphed while it prepares it, in which you should be able to maneuver around to its side or backside to fully avoid the attack. If you are in front of it, it may curve towards you and/or if you do not Dodge in time when it fires it off, you may get clipped by the attack.
6-2
Weaknesses: Ether
Resistances: Ice
Format: 2 Waves, 1 Ambush
- Wave 1: 1 Ionized- Thanatos
- Wave 2: 1 Ionized - Dullahan, 1 Ionized - Farbauti
- Ambush: 2 Ionized - Setoria
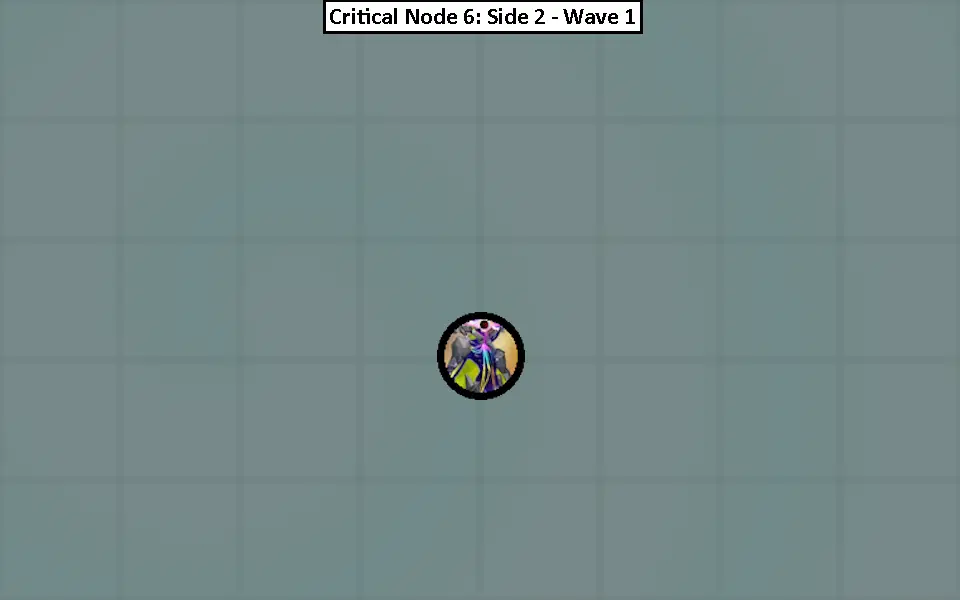
The Thanatos will be a similar fight as the encounters in the 2-2's Wave 3 and the 5-2's Wave 3 except there will be no additional enemies with it. So you can solely focus on Stunning it through its elusive movements. This will be a longer fight due to its higher level (more HP and stats).
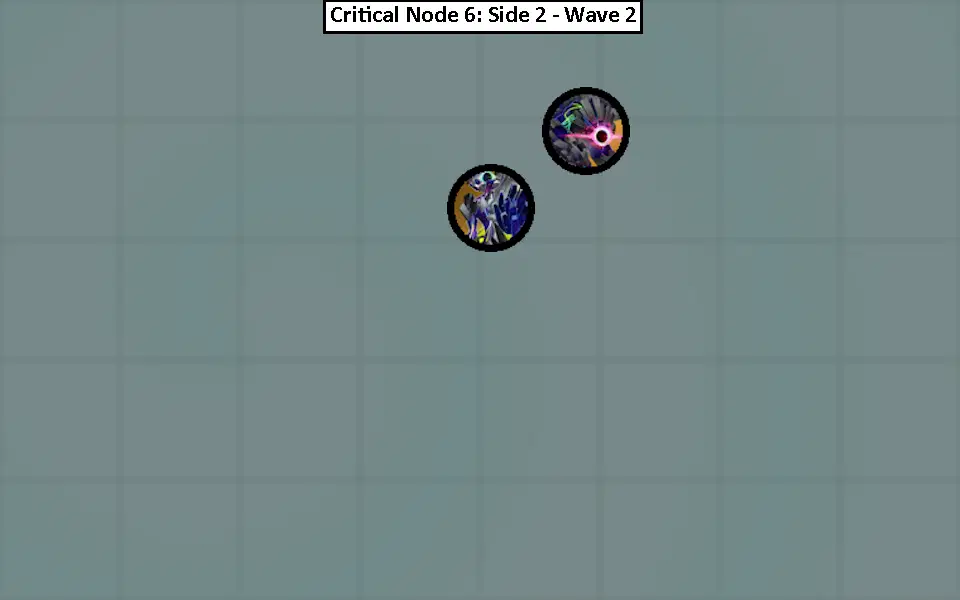
Wave 2 will spawn both the Dullahan and the Farbauti together. The Farbauti will start by charging its jump slam attack and Dullahan will usually delay a bit before performing a Parryable melee attack. These actions generally happen at the same time. I would recommend preparing a Dodge Counter as the Farbauti lands from the jump slam attack.
After the above attacks, I would recommend focusing on the Dullahan as the big old Farbauti will definitely come to you for its attacks naturally (and most cases the Farbauti will intercept attacks intended for the Dullahan). But keep an eye on the Farbauti, as its attacks, like the rampaging grand pounds, may cause you to get combo'd by it and then the Dullahan. Reason to focus on the Dullahan is mainly because the Farbauti's large model can hide the Dullahan and make it harder for you to see the Dullahan's attacks. Dullahan's attacks also have quite a bit of range to them (and damage) which can clip you even if you seem far enough away from it.
If possible save EX Specials for when you need emergency invincibility frames (like when both Dullahan and Farbauti are attacking at the same time). Look out for the Parryable attacks to also get invincibility frames through Defensive Assists and Assist Follow-Ups. And as always focus on applying as much Daze as possible to one or both targets to get them Stunned as soon as possible.
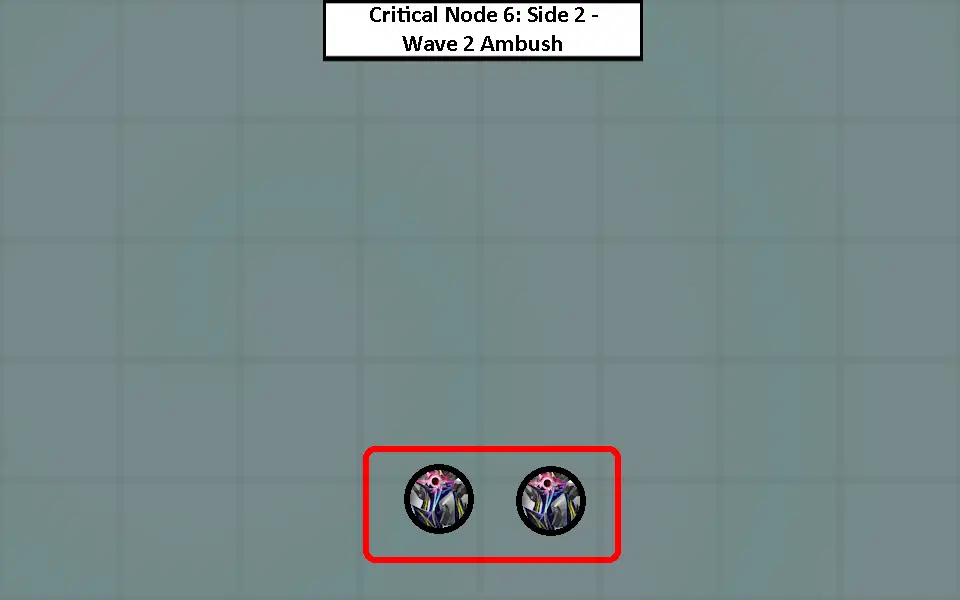
The Ambush Wave will spawn behind you
AMBUSH! During Wave 2 you will get an Ambush Wave. This is triggered after either the Dullahan or Farbauti are defeated.
The spawn of the Ambush wave will always spawn behind your character at the time of the initially defeated enemy, so be wary of these shark-birds winding up their attacks. Your character will mention this verbally that you are getting Ambushed from behind. Since the Setoria use melee attacks, they will come to you; so I would continue focusing on the remaining Dullahan/Farbauti while trying to keep tabs on incoming Setoria attacks. If need be, move to a position around the remaining Dullahan/Farbauti in which you can see all remaining monsters.
Seventh Frontier
The Seventh Frontier will have enemies at level 70 which, as with the previous Frontier, is higher than current maximum Agent level (which is currently level 60). Enemies' effective HP pools will be higher and overall enemy received damage will be
reduced due level differences even at maximum Agent level.
Clearing the Seventh Frontier in itself is effectively an account progression check (Agent level, W-Engine level, Skill levels, Core Passive upgrades, Discs levels, team synergy, etc.). Your own endurance will be further tested as the effective HP pools are even higher. Again, you are basically fighting bigger HP sponges.
To get a higher ranking will require careful planning of the Nodes, and a bit of luck (with respect to enemy attack patterns) in order to maximize damage opportunities. Goes without saying that even less errors are required on this Frontier.
7-1
Weaknesses: Ice, Ether
Resistances: (none)
Format: 2 Waves
- Wave 1: 2 Specter, 2 Ahriman
- Wave 2: 1 Notorious - Dullahan
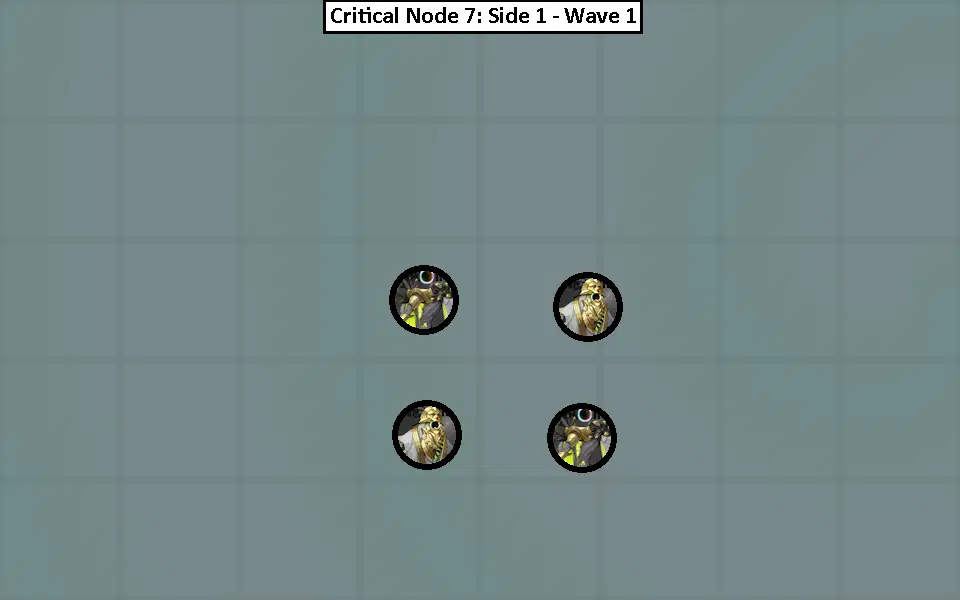
The Specters are ranged attackers and Ahrimans are melee attackers. Unfortunately both enemy types have their own annoyances. The Specters love doing their ranged attacks which will not only shoot multiple projectiles, but also move them around. The Ahrimans can become intangible/phased to fully avoid attacks for a brief moment, which is enough to disrupt continuous attacks onto them.
This Wave may be the wave that you will focus on optimizing to reduce overall Frontier time (as the other Waves and Side 2's Waves may have less room for improvement). Luckily this is the first Side and is Wave 1, so feel free to restart or exit out to readjust teams as needed.
Similarly to previous encounters, I do recommend knocking the ranged attackers together. In this case immediately herding the 2 Specters together at the start, then attacking both of them while letting melee attackers gather towards you. Hopefully you can inflict enough Daze to Stun both of them. The spawn positions of the enemies will allow you to immediately target one of the Specters, and be able to knock it towards the Specter that is Spawned in the back (without needing to run past enemies in previous melee+ranged attacker spawn setups).
Team Recommendation: Also similarly as before, I recommend having Nicole or Resonaboo on this Side due to their EX Special and Active Skill vacuuming enemies together for a short period of time. To achieve a higher ranking, having Nicole or Resonaboo feels required (due to the previously mentioned annoying nature of the Specters and Ahriman) to gather the enemies together to reduce overall time usage.
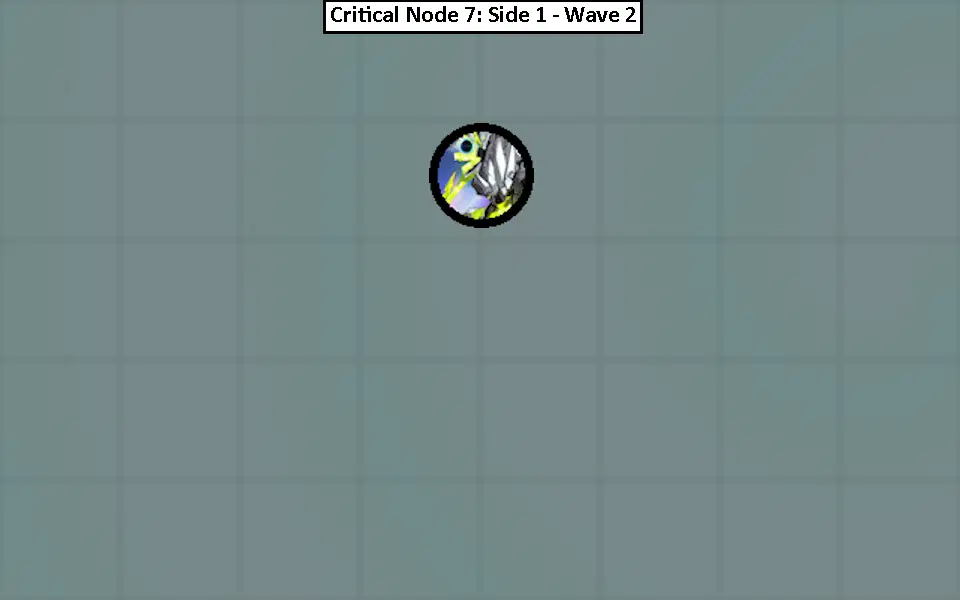
Wave 2 is much more straight-forward as it is 1 Dullahan. Use Defensive Assists with Assist Follow-Ups whenever possible to apply Daze in order to Stun it sooner. You will also be able to perform 3 Agent Chain Attacks once it is Stunned since it's a boss level enemy.
7-2
Weaknesses: Ether
Resistances: Physical
Format: 2 Waves
- Wave 1: 2 Ionized - Setoria, 2 Ionized - Nacelia
- Wave 2: 1 Hans - Energized
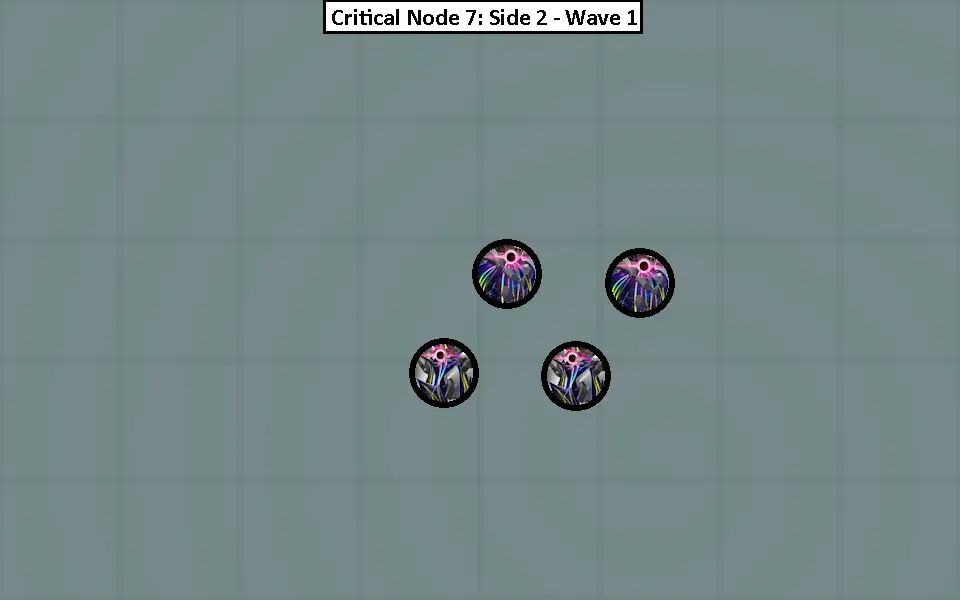
Similar to the 2-2's Wave 1, knock the Nacelias together and damage them together (while expecting the Setorias to attempt to perform melee attacks at you).
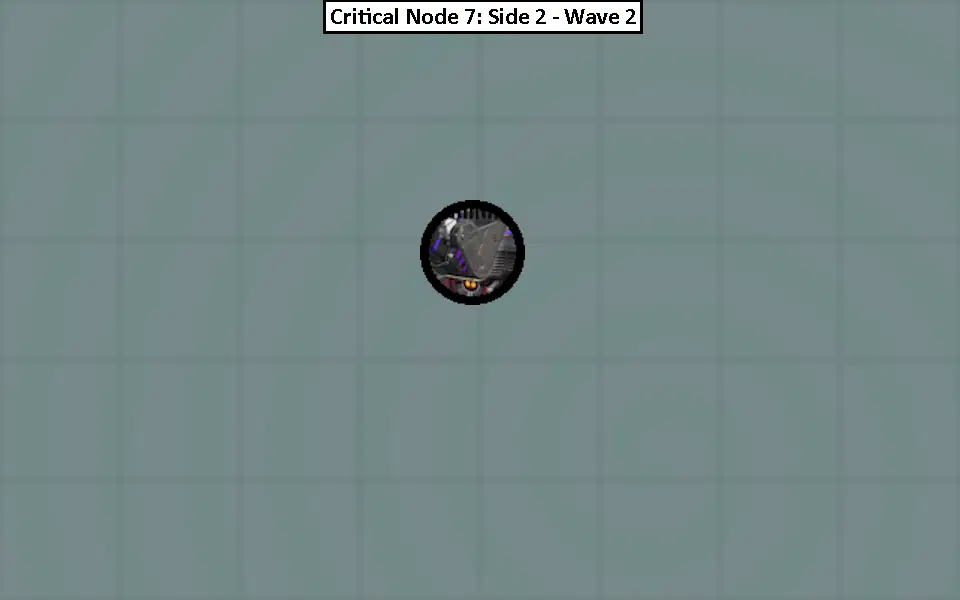
Wave 2 will consist of only Hans (from the Belbog Story Quest, Anton's Bro). Hans has various attack patterns (spinning, dropping rubble at you, digging into the ground, etc.) that you should watch out for and try to Parry and/or Dodge Counter when the indicator flashes. Focusing on applying Daze to Stun it as soon as possible. But Dazing Hans will not be as effective as Dazing other enemies despite the Daze Tactics effect. You may run out of Assist Points before Stunning Hans. With this in mind, I recommend trying to Dodge Counter Hans's attacks when possible to conserve Assist Points just in case. You don't need to conserve all of them, but be aware the build up to Stun it is not as "free" as with previous enemies.
Just like in the Story Quest, each of Hans's 4 legs can be Impaired to help increase overall damage dealt to it. Impaired is an effect that occurs when certain enemy body parts take enough damage that causes it to be destroyed. (This is similar to destroying the armor of an Armored Hati, or destroying the shield of a Patrol Jaeger.) Impairing/Destroying a leg can only occur when Hans is not Stunned. When Impairment/destruction is achieved, the words Impaired will appear and the leg will visibility be damaged/cracked. In order to Impair another leg, you must move and attack a different leg that isn't impaired/destroyed.
I recommend focusing on applying Daze on a specific leg (or rotate between 2 of them) to build up the damage on it to eventually cause it to be Impaired/destroyed.
Afterword
Thank you for taking the time to read/glance/skim this guide. I hope it provides some aid to your journey through the Critical Nodes. If this is the first time you will attempt a given Frontier I recommend playing it through to see how much time you take to clear (or not clear) that Frontier. After the attempt adjust accordingly (strategies, team setup, Bangoos, levels, Discs, etc.). Reaching the Sixth and Seventh Frontiers in itself is an accomplishment. Clearing each other are their accomplishments as well. If you are unable to clear or achieve desired ranking, do not fret. Come back later or challenge the next cycle after progressing your Agents further.
I wish everyone the best of luck in their attempts in clearing this cycle of the Shiyu Defense Critical Nodes.