
Keep in mind that the team example is merely that, an example. After all, you need to take different artifacts and weapons to the calculation. You don't have to follow my team comp and use the characters that you are more comfortable with and completely built. In fact, do share your lineup in the comment section! It may help other Travelers who also struggle in creating a comp.
If you want to skip to the comment section, go look at the Table of Contents and click on the last point~ 

Blessing of the Abyssal Moon

Reminder: Blessing of the Abyssal Moon will change every refresh cycle and may not be updated here. But the enemies list and strategy will remain the same.
Deadfrost Moon
When a charcter trigger Cryo-related reactions, a shockwave will be released at the opponent's position, dealing True DMG. This effect can be triggered once every 4s.
Floor 11
Ley Line Disorder
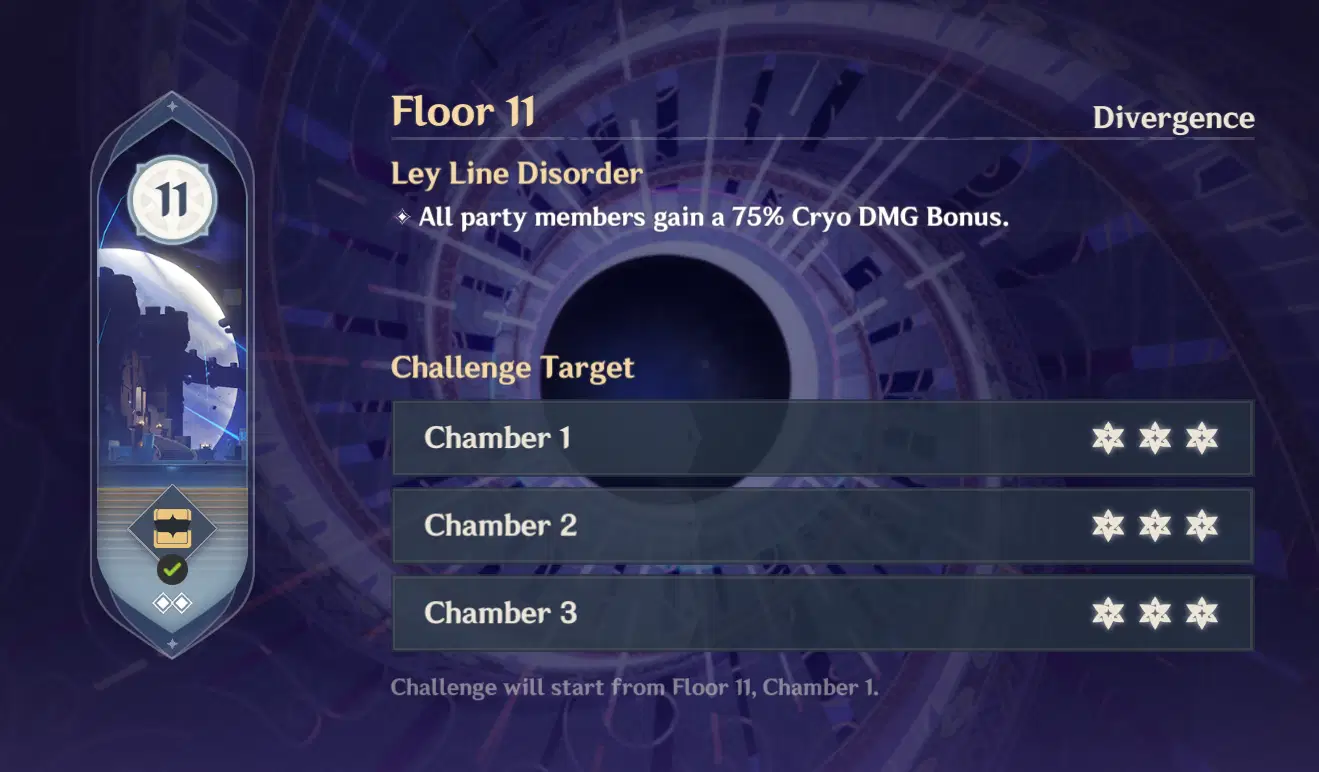
- All party members gain a 75% Cryo DMG Bonus.
Team Recommendations
There are Leyline Monolith stages for Chamber 1, and some enemies spawn near each other/easy to gather while some are a bit far away. You can bring along an Anemo CC to any of the teams if you want. If you plan to bring a Bloom team, remember that the explosion from the Dendro Cores will also deal some damage and reduce the Monolith's HP.
Team Recommendations for the First Half

The recommended elements for the First Half
- Anemo CC - You really should bring along at least one Anemo that can create a vortex to pull enemies because they are a LOT of dudes here.
The not recommended elements for the First Half
- Pyro & Hydro - Not like not recommended, just make sure to have a counter of these elements since there are Hydro and Pyro enemies in chamber 2 and you shouldn't bring Mono Pyro or Hydro here.
Example:
(1) Electro-Charged: Sucrose + Xingqiu + Fischl + Ororon
(2) Hyperbloom Team: Sucrose + Xingqiu + Kuki Shinobu + Yaoyao/Collei/DMC
(3) Freeze Team: Sucrose + Xingqiu + Kaeya + Rosaria
(4) Melt Team: Venti + Yelan + Benentt + Xiangling
(5) Bloom Team: Nilou + Nahida + Dendro + Hydro
You can find more lineups in the official HoYoLAB Lineup Simulator here.
Team Recommendations for the Second Half

The recommended elements for the Second Half
- Hydro & Cryo - It's best if you bring these two in the team so they can remove the elemental shield of the Fatui in Chamber 3.
The not recommended elements for the Second Half
- Physical - Ruin enemies in Chambers 1 and 2 have some resistance towards Physical.
- Anemo - Wind Operative in Chamber 3 has high resistance towards Anemo.
Example:
(1) Melt Team: Barbara + Bennett + Xiangling + Kaeya
(2) Melt Team 2: Candace + Bennett + Xiangling + Rosaria
(3) Hyperbloom Team: Nahida + Xingqiu + Kuki Shinobu + Dendro/Electro
(4) Hypercarry: Arlecchino + Bennett + Xiangling + Citlali
(5) Hypercarry 2: Neuvillette + Furina + Kazuha + Xilonen
You can find more lineups in the official HoYoLAB Lineup Simulator here.
Floor 11 Chamber 1
First Half

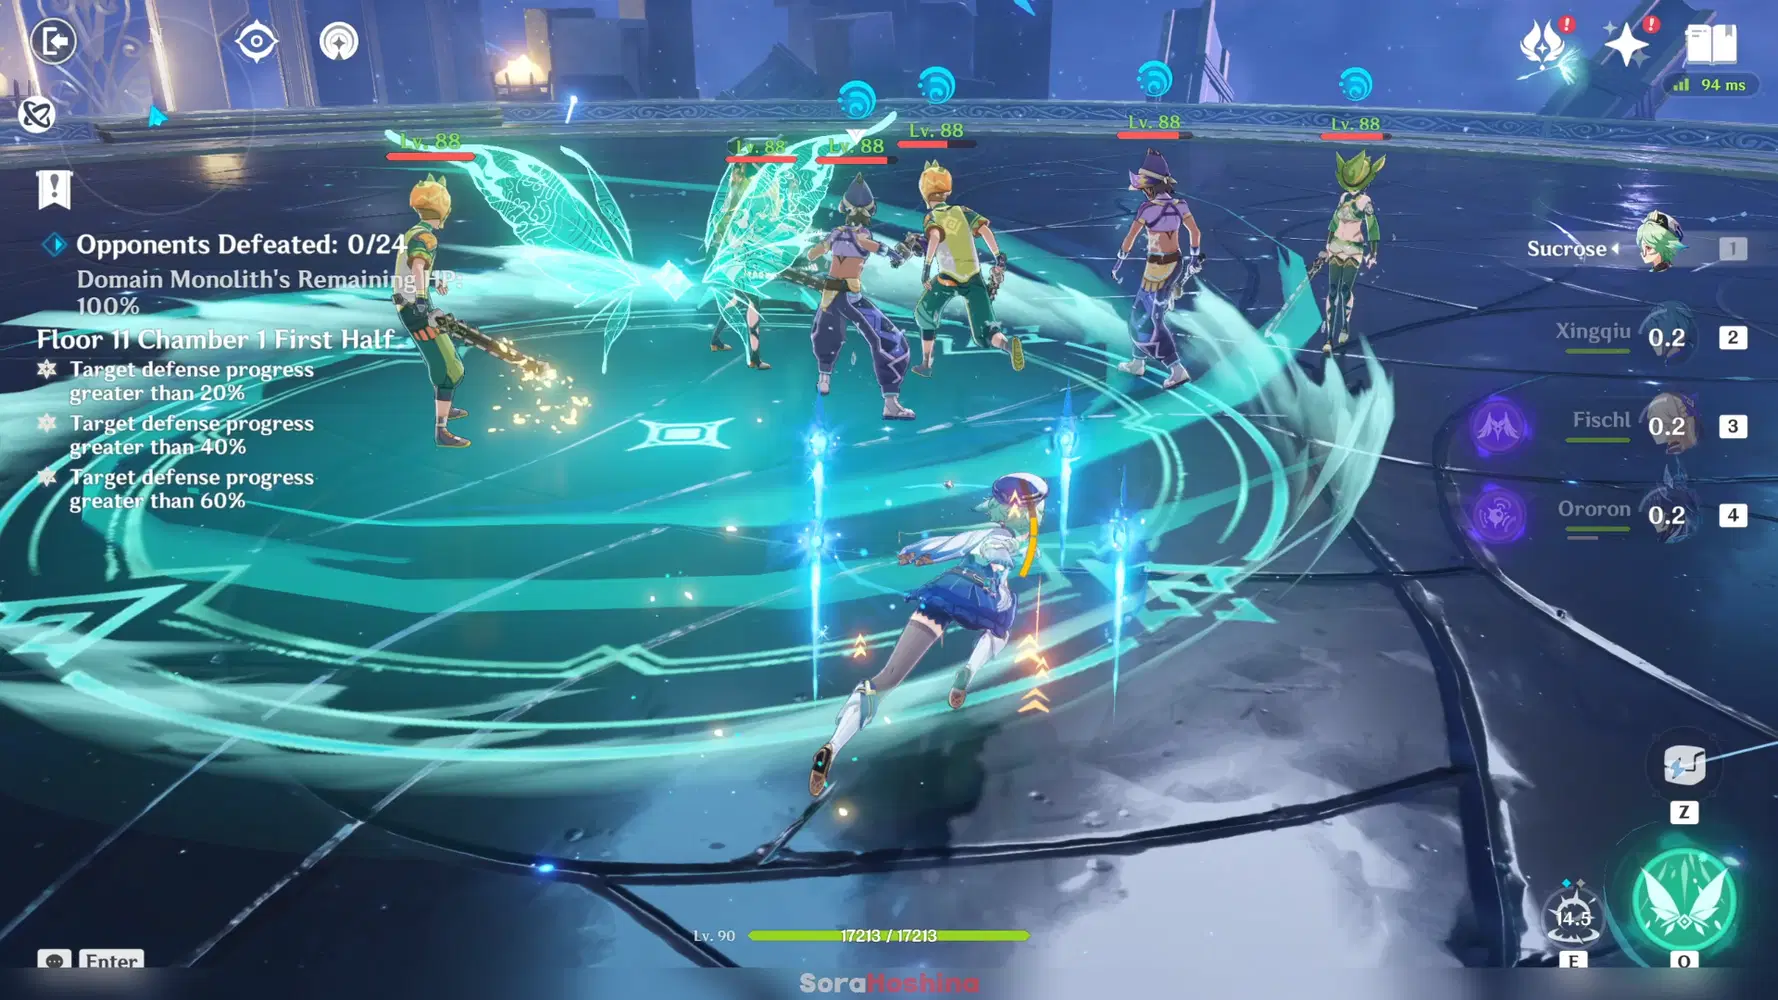
There is a continuous wave here where if you defeat an enemy, another one will appear in another position. There's a total of 24 enemies, and all will focus on the Monolith. The strategy here is to bring either an Anemo CC or use a Bloom team.
- Once you have Anemo CC, make sure to use their Ult (that can create vortex) to keep gathering the enemies in one place.
- Yes, Bloom explosion will deplete the monolith's HP, so just make sure you don't attack enemies near the monolith (lure them away from it).
Second Half
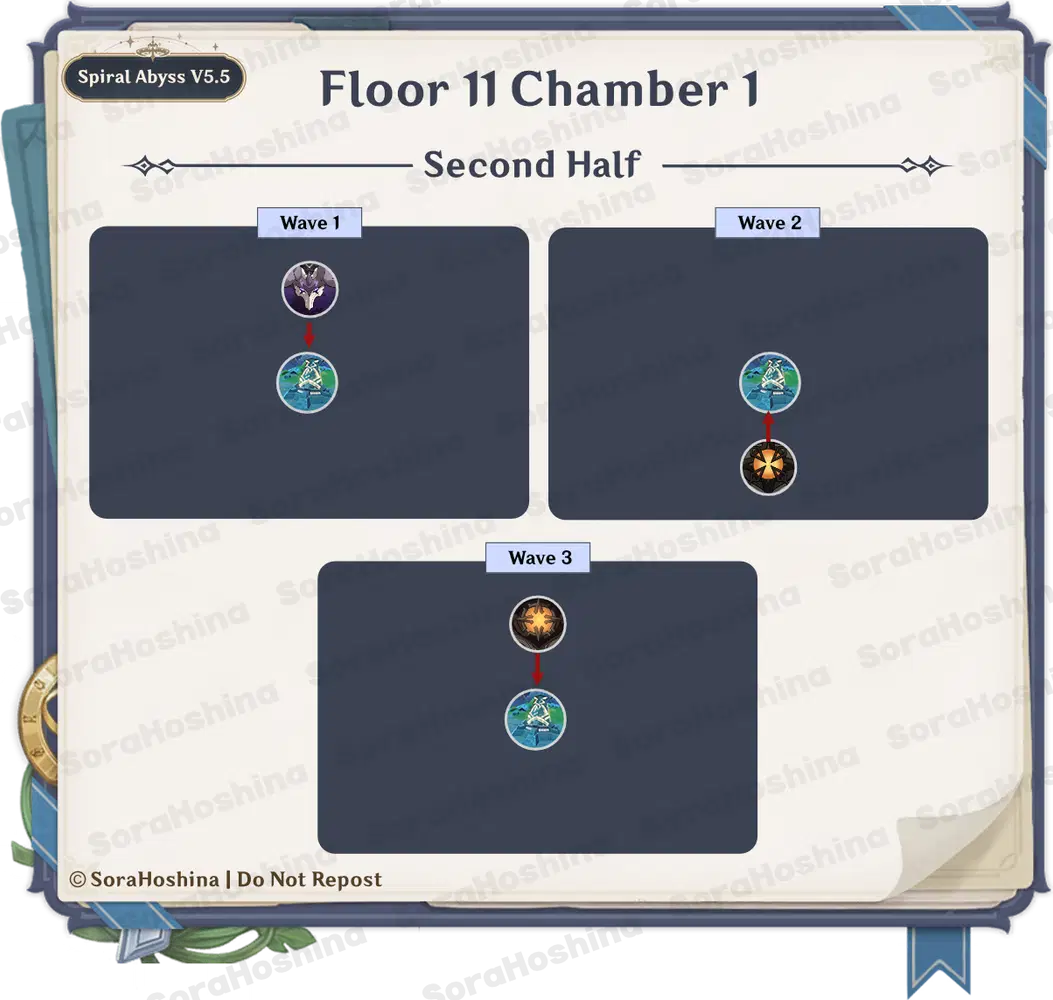
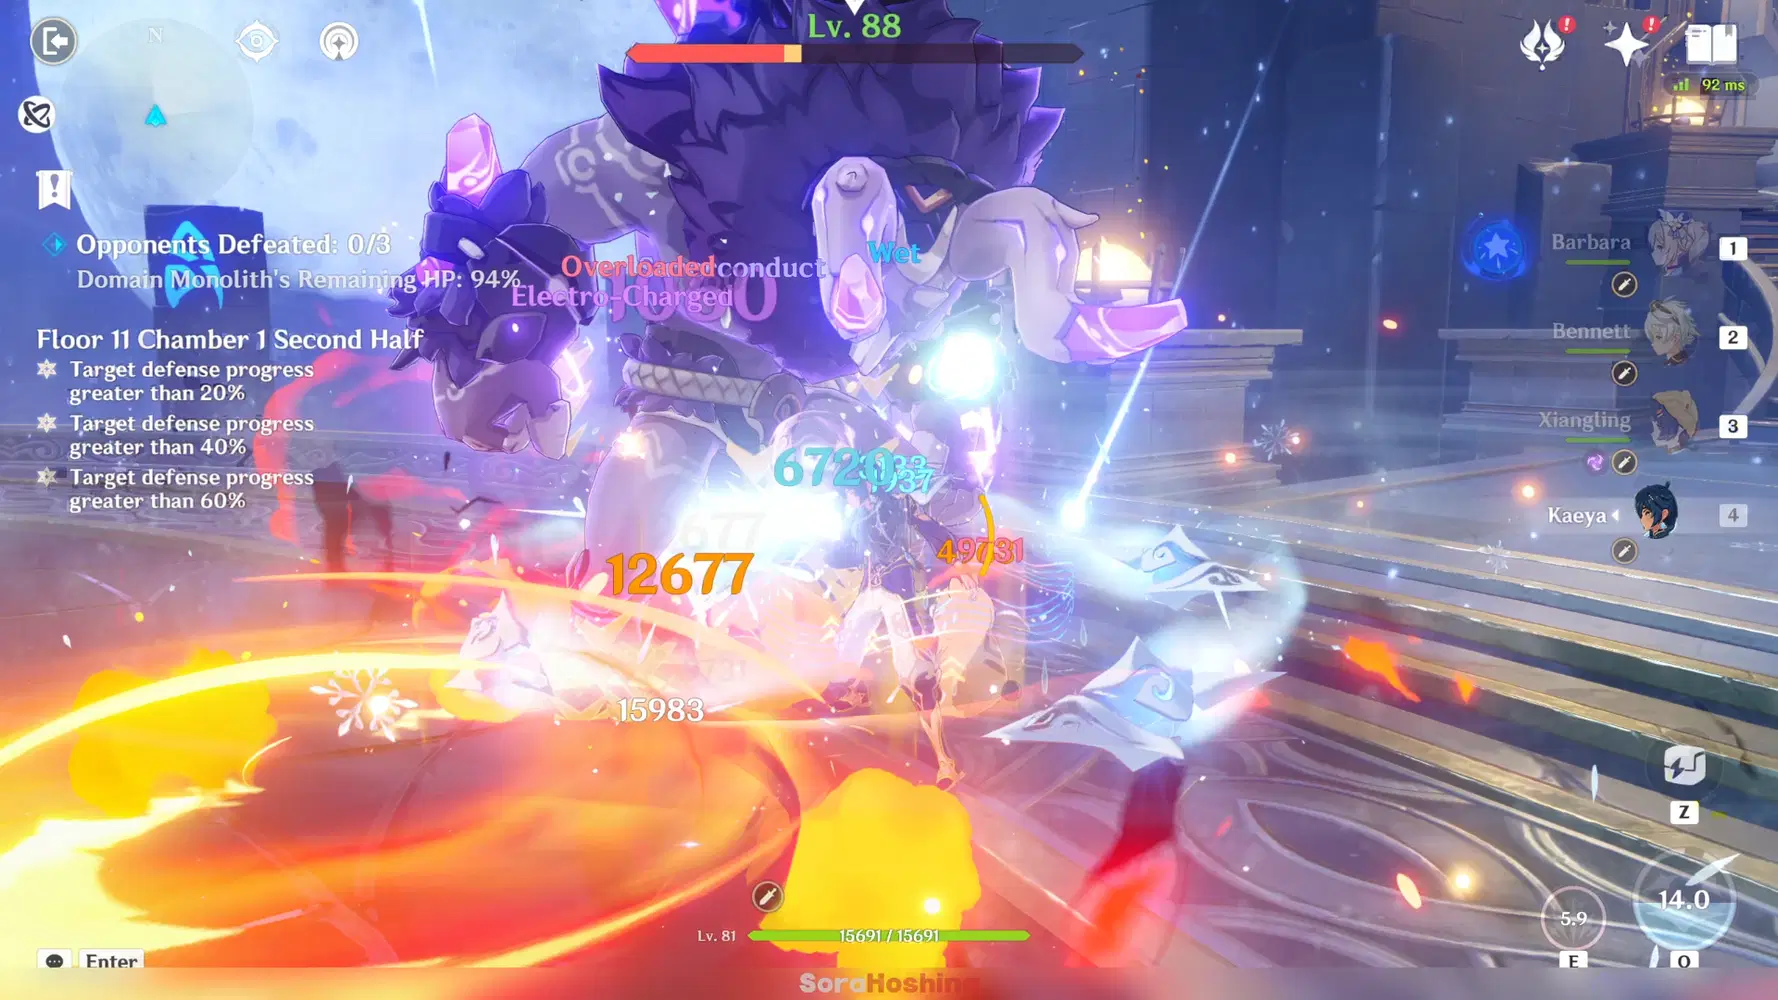
- There's only a single enemy in each wave, so once you trigger aggro, just lead them away from the monolith.
Floor 11 Chamber 2
First Half
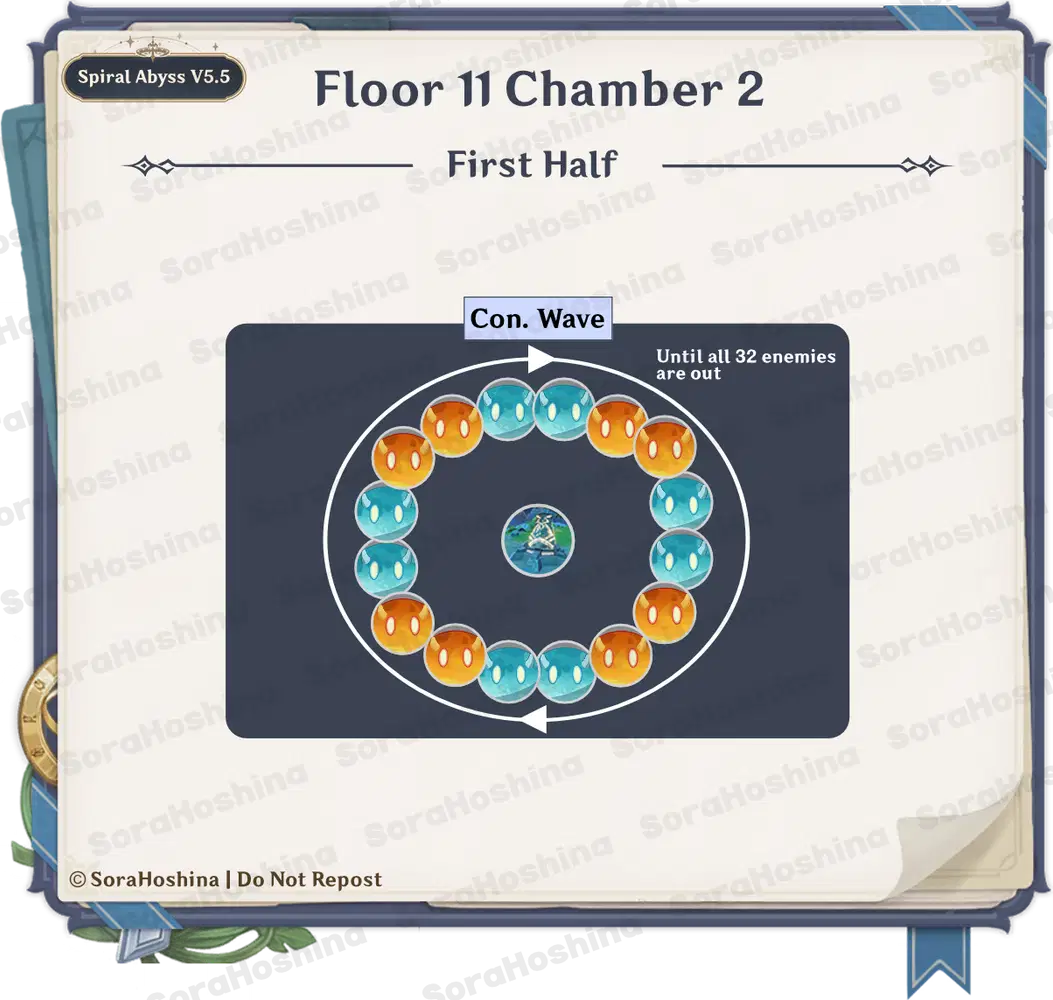

- Same as Chamber 1, this one has a continuous wave, so don't bother remembering their position and keep focusing on gathering them at one place and defeating them.
- It's best if you bring along at least one Hydro character to remove the Large Pyro Slime from the ignited state. If not, it will explode upon defeat and will deplete the monolith's HP if it's too near.
Second Half


- There's only one enemy per wave, so just focus on them and brute force.
- The first two waves don't have a special mechanism, so let's just focus on the last one. There will be a time when it will summon a Phagocytic Energy Block. Make sure to attack this block with elemental attacks (even better if its Pyro) until the bar is filled so you can gain the Phagocytic energy > hit the consecrate enemy > and paralyze them. If you leave the Block alone for a period of time, the beast will reabsorb the Phagocytic Energy Block and re-enter Phagocytic Form (its more strong form).
Floor 11 Chamber 3
First Half

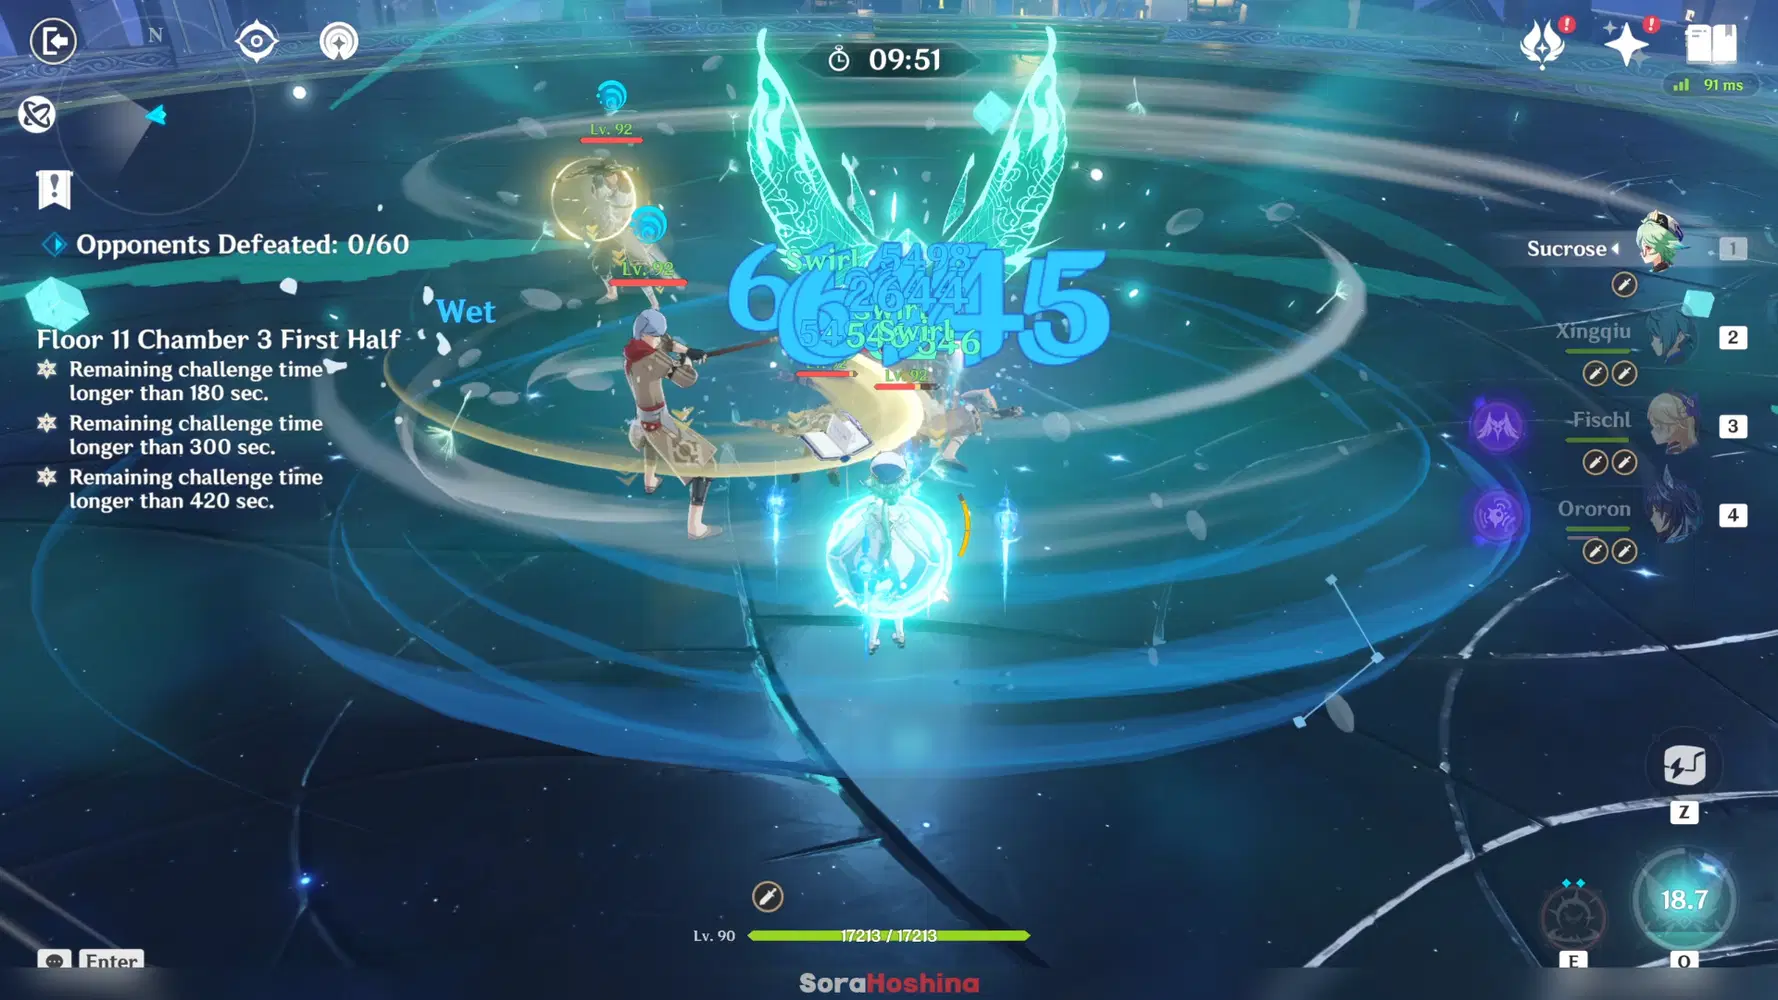
- Ridiculous stage with 60 enemies. At first, there will be 6 enemies, but if you defeat any of them, another one will spawn until all 60 enemies are out (yeah, it's a continuous wave). Keep gathering them in one place (they will chase after you anyway) and use AoE attacks.
Second Half
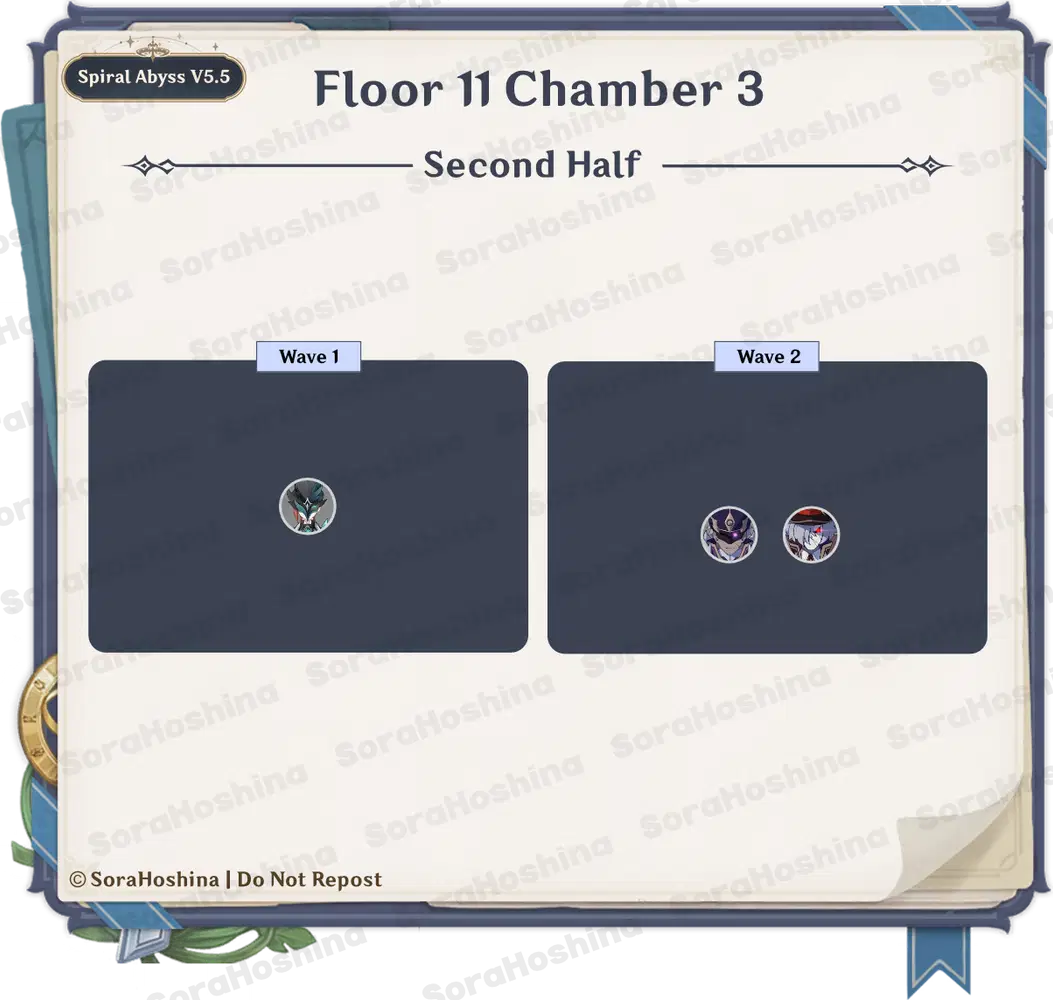

- The Wind Operative lady here has high Anemo RES and loves to teleport, so that's one problem you need to watch out for. Try to lure her to the back area so you will be near the enemies in the second wave when it spawns.
- In the second wave, there are 2 Fatui, and each of them will have their own elemental shield. Use Hydro on the Pyro shield and Cryo on the Electro shield to remove them fast before brute forcing. I recommend getting close to the Pyro Fatui because he's a ranged attacker and will try to stay away from you, while the Electro Fatui will keep coming after you. This way, you can group them together more easily.
Floor 12
Team Recommendations
Ley Line Disorder

First Half: Character's Elemental Skill Geo DMG increased by 75%
Second Half: Character's Elemental Skill Cryo DMG increased by 75%
Team Recommendations for the First Half
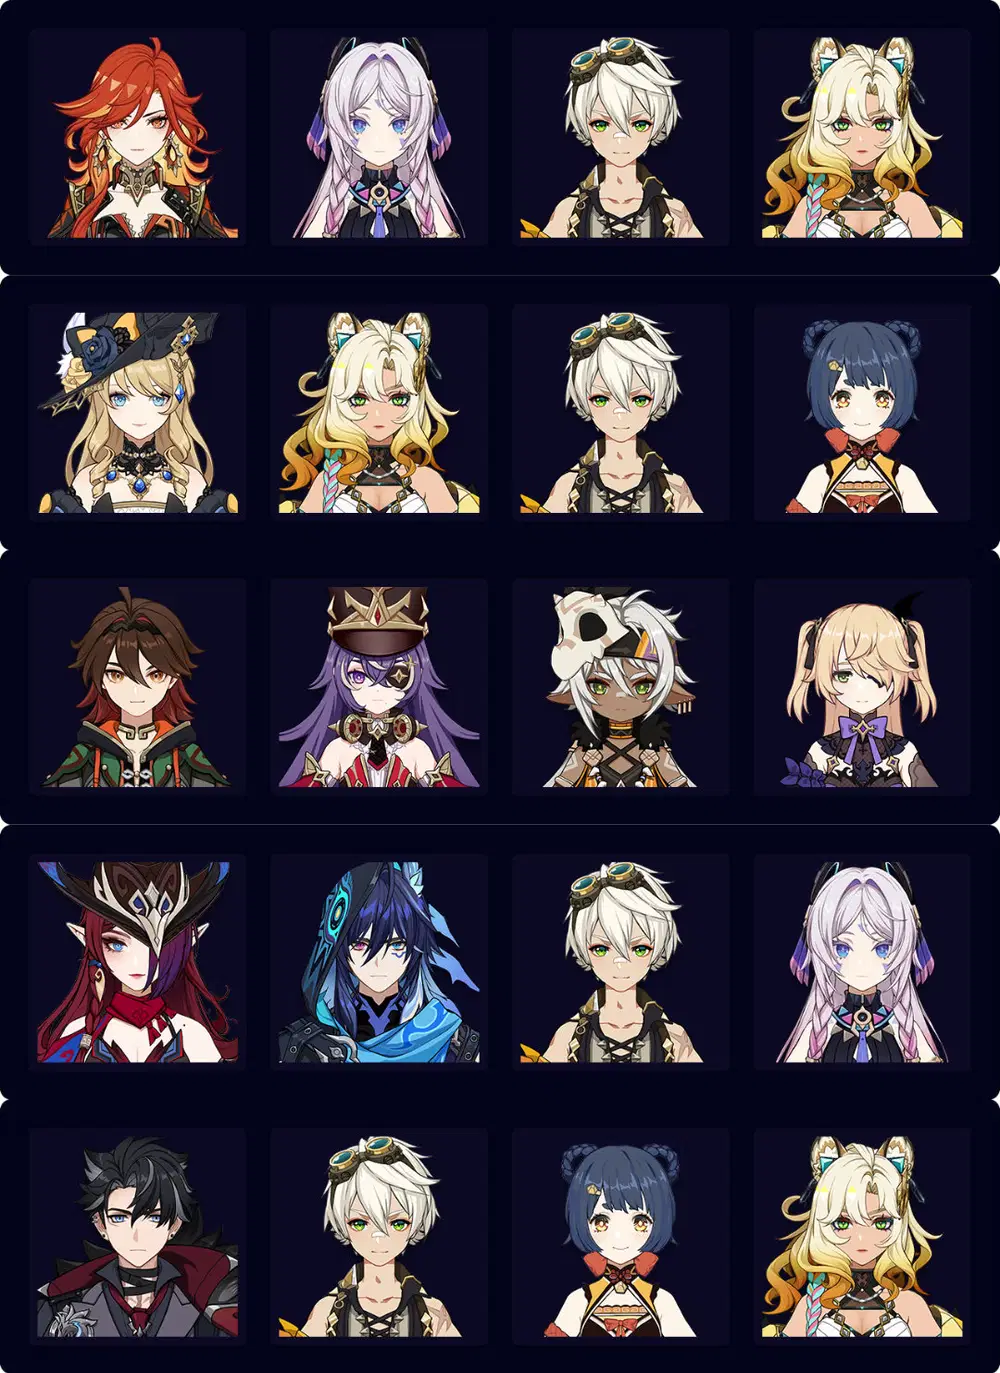
The recommended elements for the First Half
- Any element except Hydro - There's not much restriction in terms of element, BUT there's the SS Automaton that wants a Natlan character who can climb its pillar (unless you have other characters that can fly/jump high) so that's that.
The not recommended elements for the First Half
- Hydro - Two chambers have Hydro-state enemies, so don't bring a Hydro DPS.
Example:
(1) Hypercarry Team: Mavuika + Citlali + Bennett + Xilonen
(2) Crystallize Team: Navia + Xilonen + Bennett + Xiangling
(3) Plunging Team: Gaming + Chevreuse + Iansan + Fischl
(4) Floating Team: Chasca + Ororon + Bennett + Citlali
(5) Melt Team: Wriothesley + Bennett + Xiangling + Xilonen
You can find more lineups in the official HoYoLAB Lineup Simulator here.
Team Recommendations for the Second Half
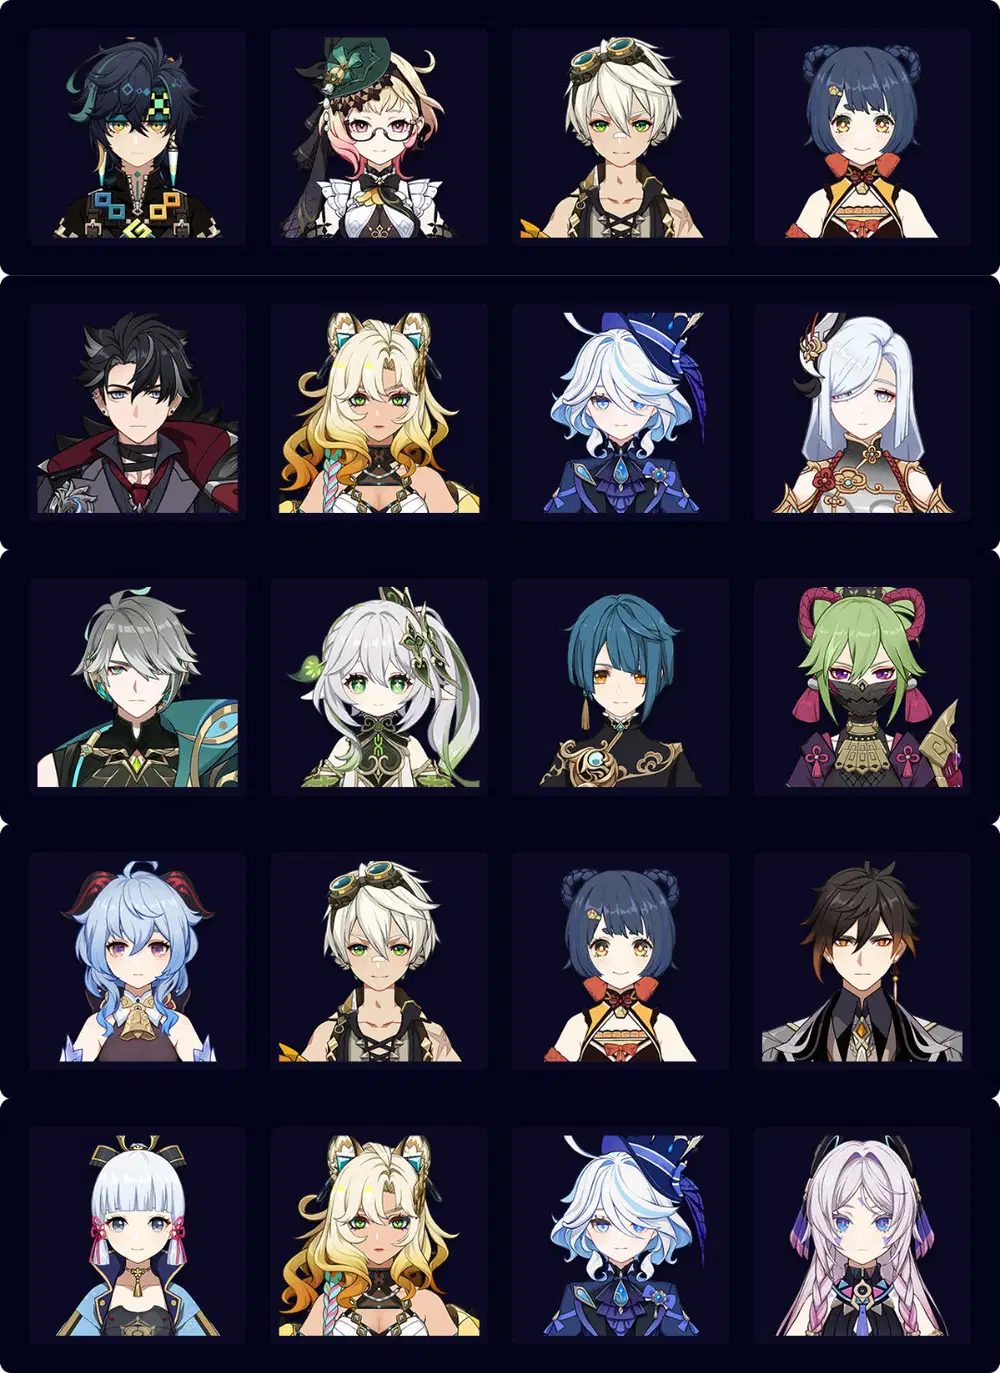
The recommended elements for the Second Half
- Cryo, Pyro, Dendro - There are many enemies with Electro shields, and these elements do well in depleting those shields.
The not recommended elements for the Second Half
- Electro - Chambers 1 and 2 have enemies with high Electro RES.
- Hydro - All enemies in Chamber 3 have high Hydro RES (unless your team is Neuvillette and Furina combo, then that's okay)
Example:
(1) Burning Team: Kinich + Emilie + Pyro + Pyro
(2) Freeze Team: Wriothesley + Xilonen + Furina + Shenhe/Citlali
(3) Hyperbloom Team: Alhaitham + Xingqiu + Kuki Shinobu + Nahida/Yaoyao/Collei/DMC
(4) Melt Team: Ganyu + Bennett + Xiangling + Zhongli
(5) Freeze Team: Ayaka + Xilonen + Furina + Shenhe/Citlali
You can find more lineups in the official HoYoLAB Lineup Simulator here.
Floor 12 Chamber 1
First Half


- Fortunately, we only have one wave here, and the boss is completely immune to Hydro! It probably doesn't want us to use Neuvillette. But alas, you can trigger any Hydro-related reactions easily, so it's not that hard. Most of its base attacks are pretty easy to avoid and only deal decent damage (it has a super huge HP pool, though). The hard part is when it summons a Half-Tulpa and absorbs it to enhance itself.
- During the battle, a Half-Tulpa will spawn every few seconds. The Hydro Tulpa will absorb the Half-Tulpa to enter an enhanced state. In this state, its AoE and DMG dealt are increased, and RES to all DMG is increased by 45%. Make defeating the Half-Tulpa your top priority because you definitely don't want the boss to enter the enhanced state. Their HP and Hydro shield is not that strong, so you can easily defeat it. The best element would be Dendro, followed by Cryo.
Second Half
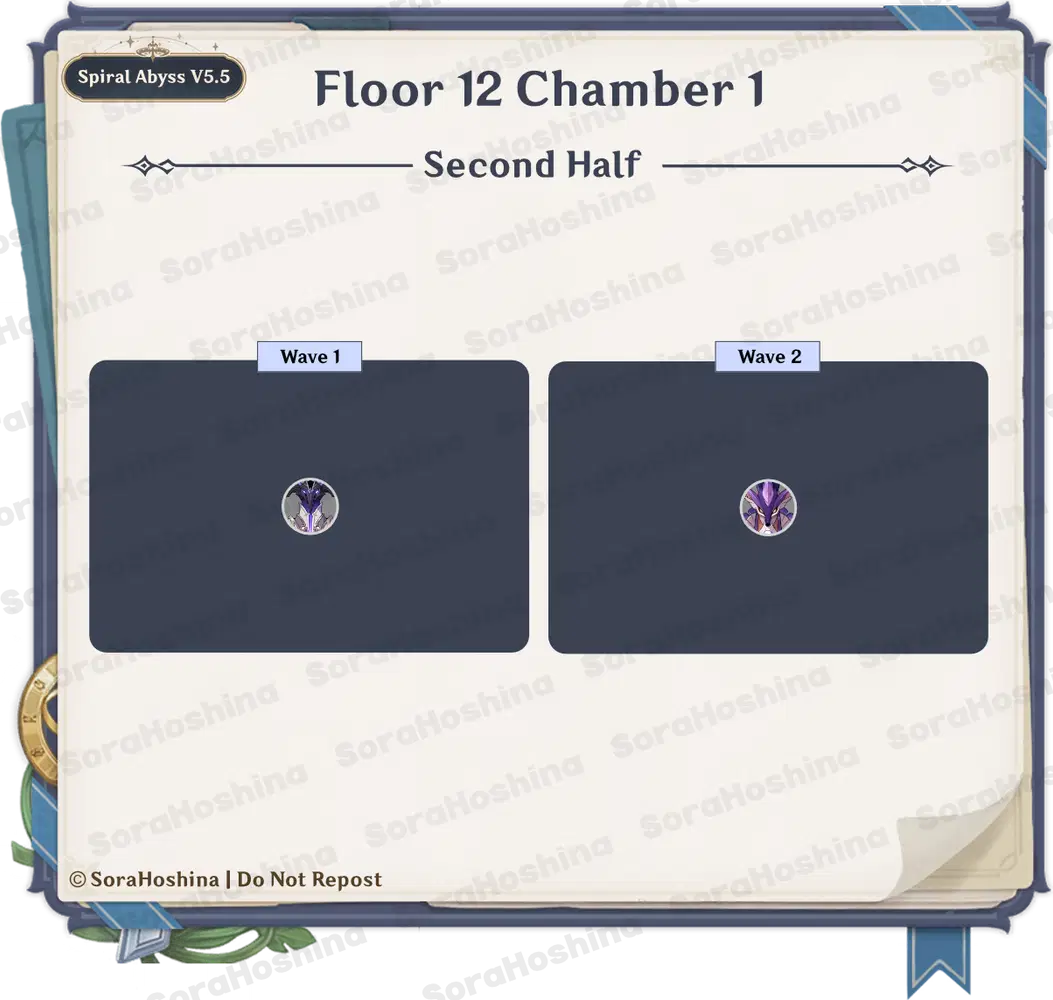

- In the first wave, Abyss Lector. Like any other Abyss dudes, we need to deplete its HP to around 20% before it will be stunned and create its respective elemental shield, and for this one, it's Electro. The best element to remove this shield is Pyro = Cryo = Dendro. After the shield is destroyed, this enemy will be defeated.
- And for the second wave, a boss with a similar Electro shield, aka the Seahorse. The 'shield' is in the shape of a pearl in front of its left that grants the boss 60% RES. The best element to remove it is the same as the previously mentioned element (Pyro = Cryo = Dendro). Make sure to focus on that pearl and destroy it before you spam all your powerful attacks.
Floor 12 Chamber 2
First Half
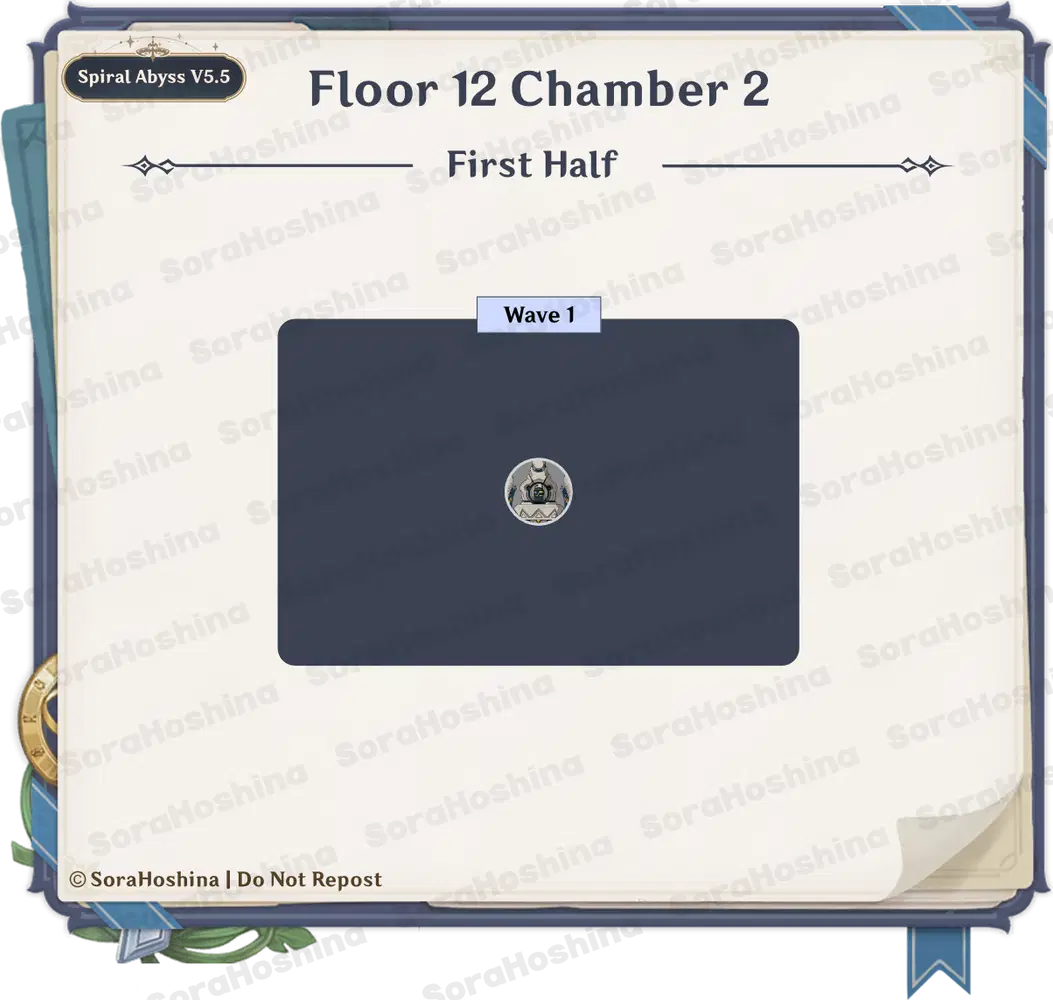
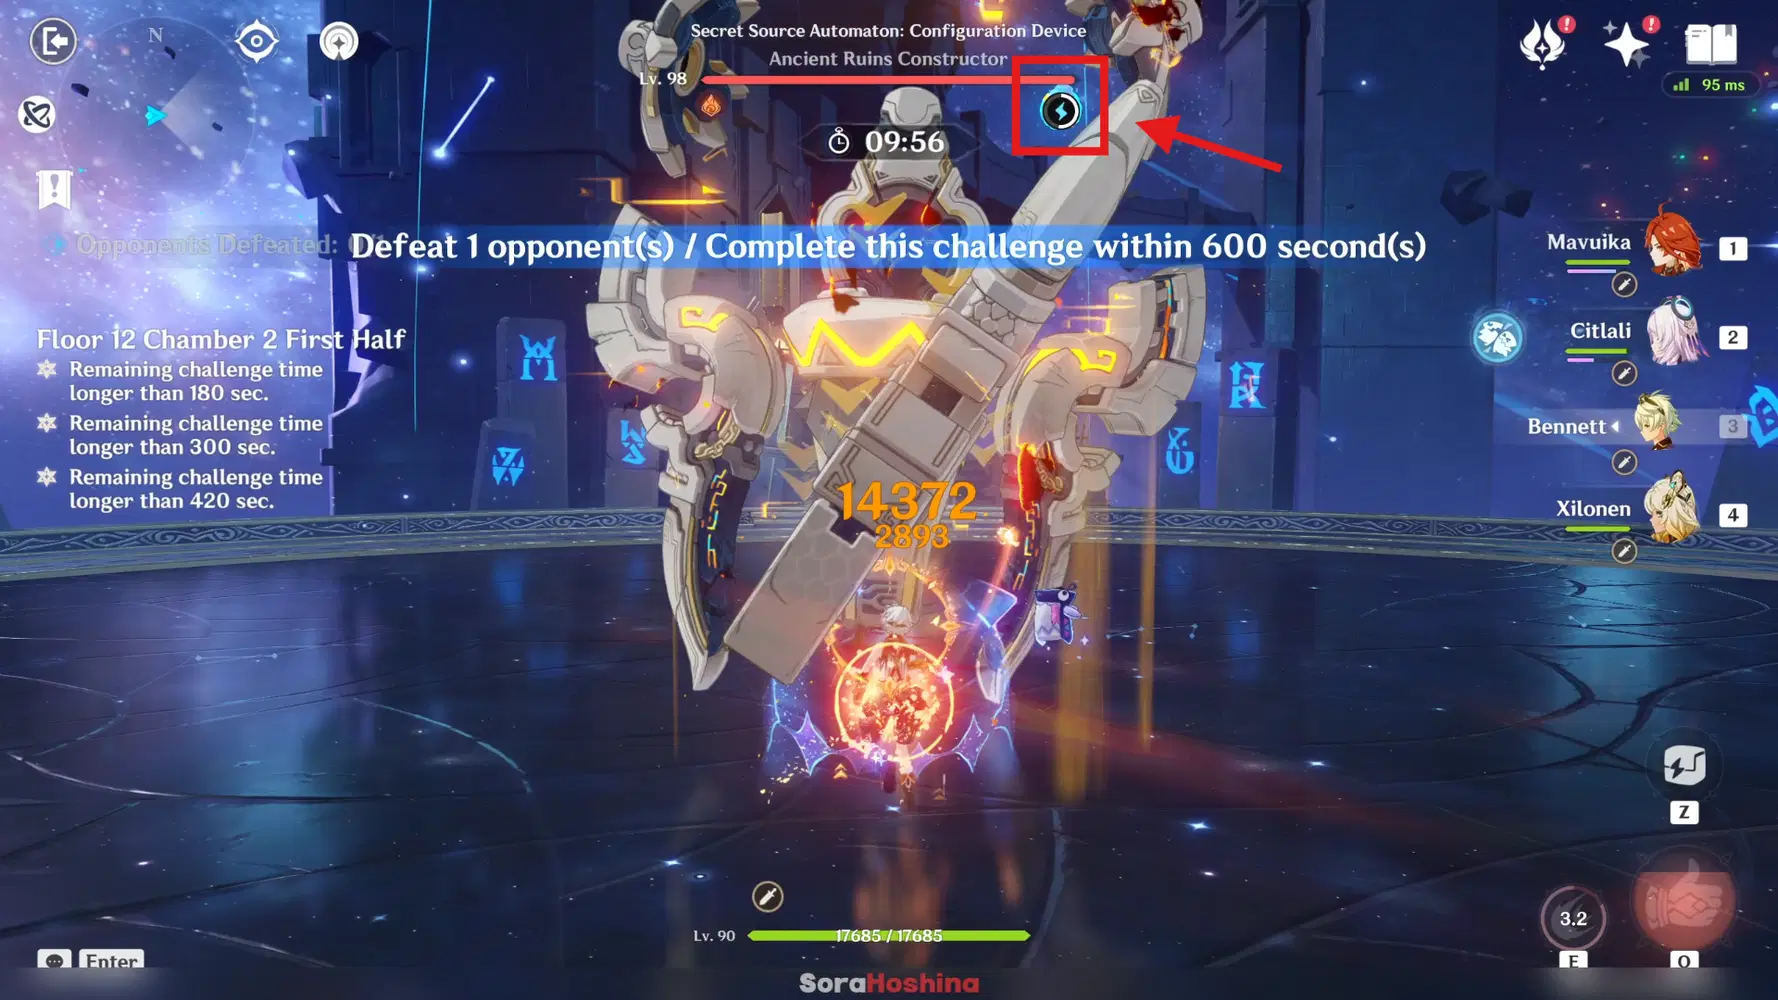
- There's only one boss here, which is the Secret Source Automaton: Configuration Device. Unfair mechanism where it has 60% RES to all elements in its BASE STATE. In other words, you need to paralyze it so the RES goes down. To reduce it, you need to fill the Adaptive Countermeasure gauge under its HP bar with Nightsoul's Blessing (aka Natlan character).
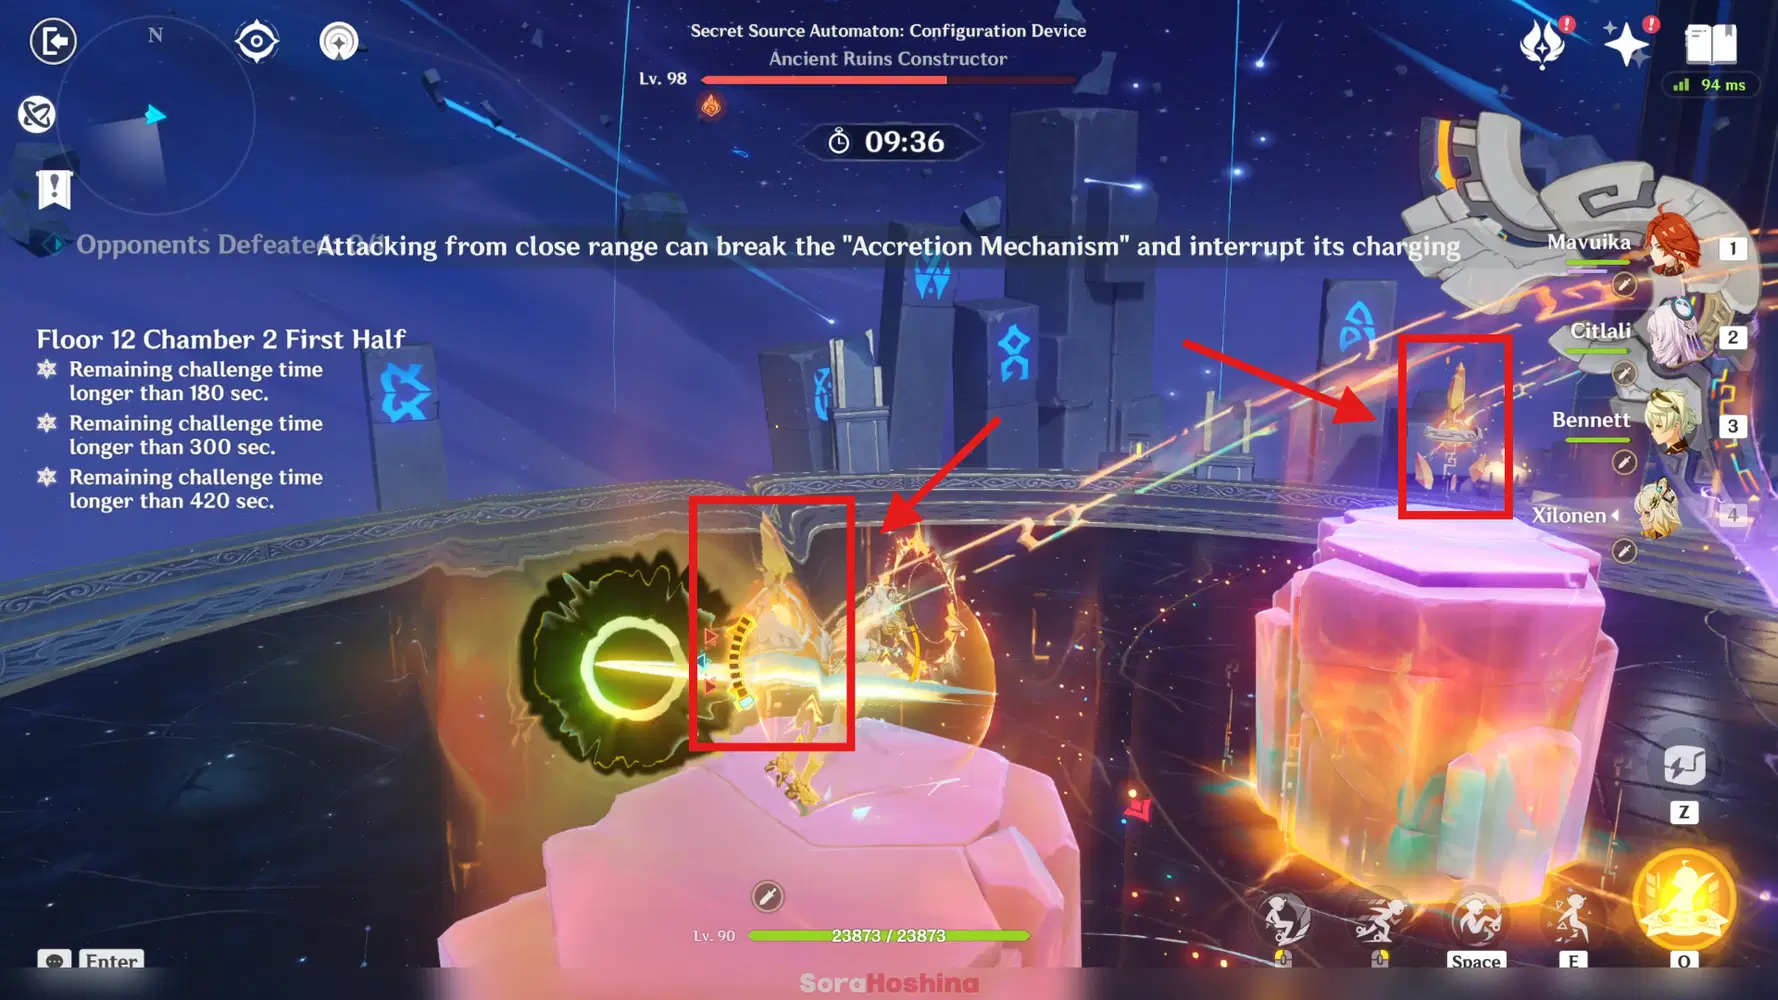
- Once the bar is full, it will create 2 pillars that can only be climbed with Children of Echoes tribesman or Mavuika's motor (or use other mobile Elemental Skill that can help you jump/fly towards the top of the pillar). Hit the two mechanisms on top of the pillars to paralyze it and reduce its RES by 90% for 15 seconds.
Second Half

- One enemy per wave, in a total of 3 waves. The first 2 waves are pretty simple, so let's skip that.
- The annoying one is in the third wave, which is the Electro Wayob. Now, if you haven't fought him yet in Natlan, just know that he's the top enemy if your team focuses on Elemental Burst. Aside from all of his normal attacks, one that you should be careful of is the 'Arena'.

- What you need to watch out for is when it summons a non-elemental shield, which can be destroyed by dealing any damage. Aside from that, while the Arena is active and you're inside it:
- Your characters will lose Energy and cannot gain Energy
- Your characters deal increased DMG, while Nightsoul-aligned (Natlan) characters deal even higher DMG than non-Natlan characters.

- If you do not destroy Wayob's non-elemental shield until Arena's duration ends, he will convert the remaining percentage of that non-elemental shield to an Electro elemental shield. With the Electro shield, the best element to destroy it is Pyro = Cryo = Dendro attacks.
- But if you destroy the non-elemental shield, you can gain LOTS of energy. When either shield is destroyed (non-elemental shield or Cryo shield), the Wayob Manifestation becomes paralyzed for 5 seconds.
Floor 12 Chamber 3
First Half
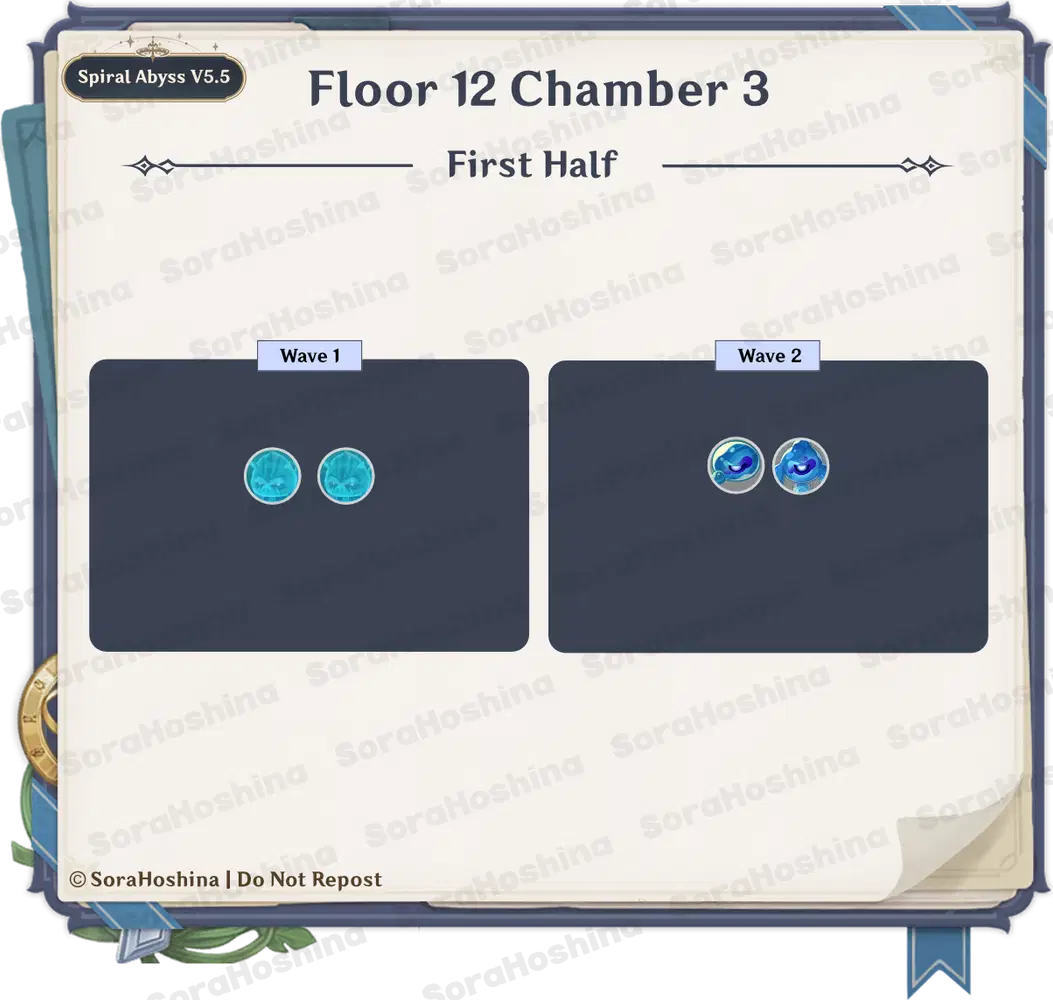
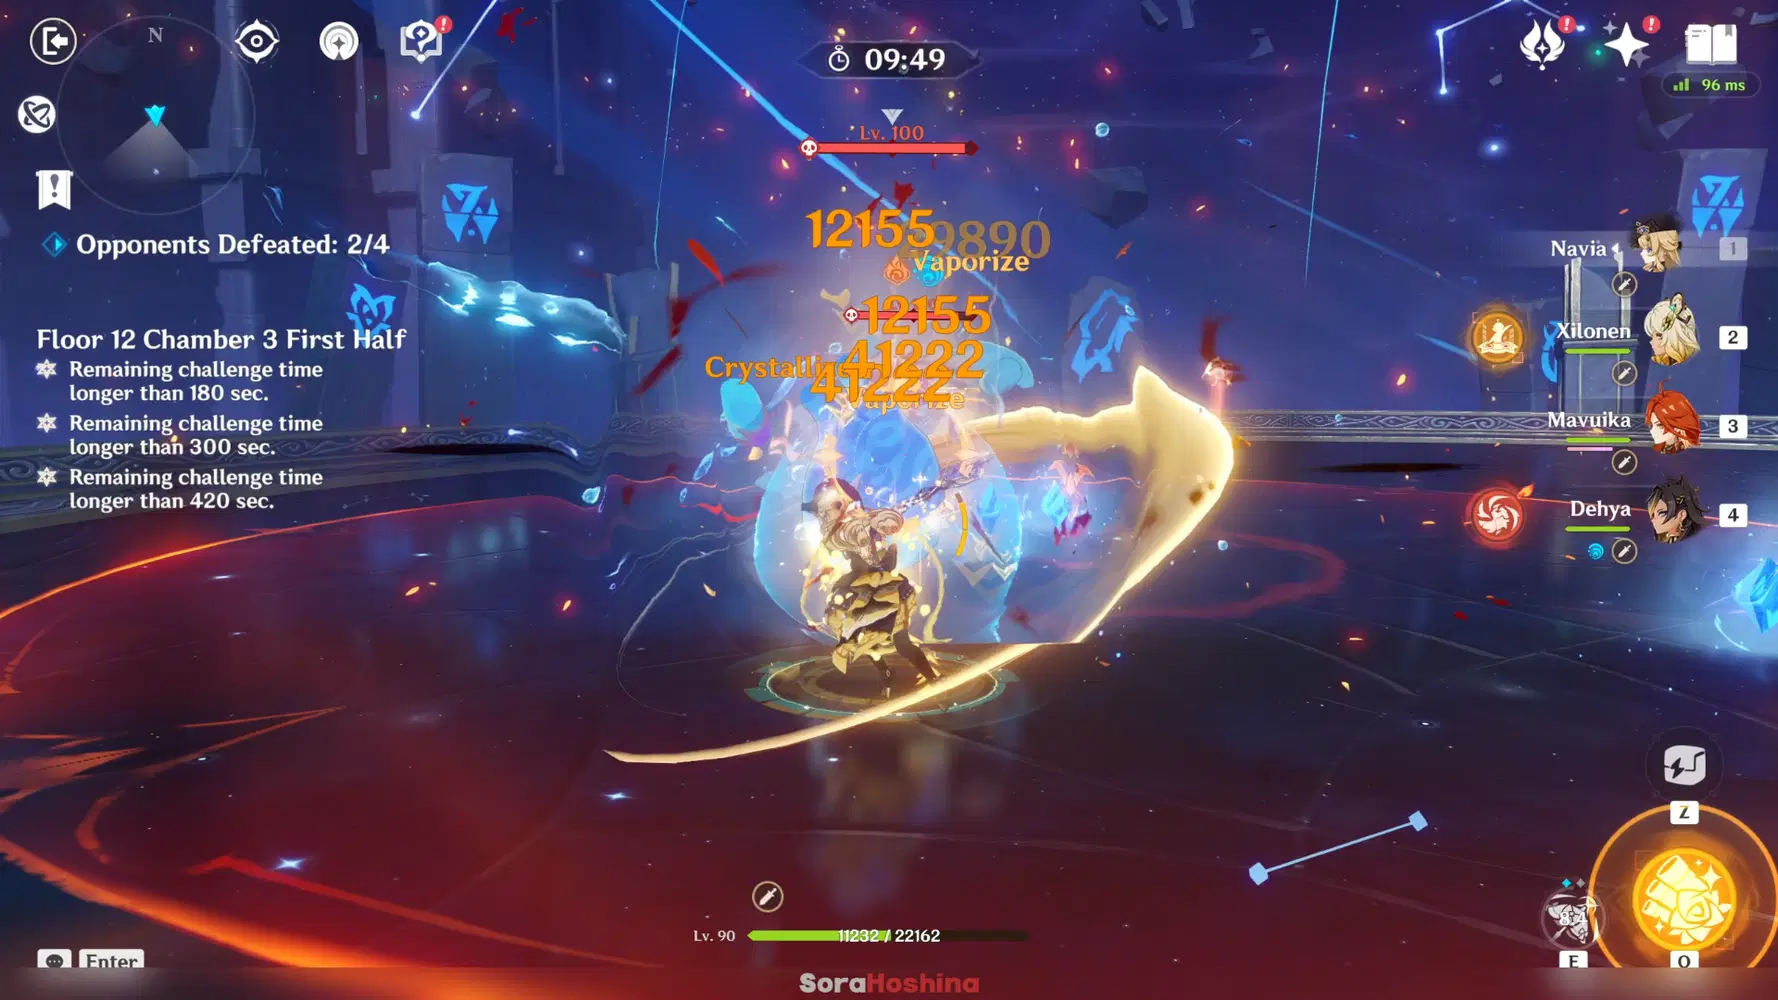
- Both waves have Hydro-state enemies. The first one is simple Hydro Mimic, the second wave features the Veteran Water Phantasm. They will enter Enraged State from the start and will stay that way permanently. In this state, their attacks will be enhanced and become immune to being Frozen.
- Between the two Phantasms, the Water-Spouting one (the one on your left) is a bit slower than the Water-Splitting one. So from the start of the challenge, go to the Water-Spouting at the left side and let the Water-Splitting chase after you. When the two are really close to each other, it's a matter of spamming damage to them and trying to avoid incoming attacks (unless you have a shield) to reduce the damage taken.
Second Half
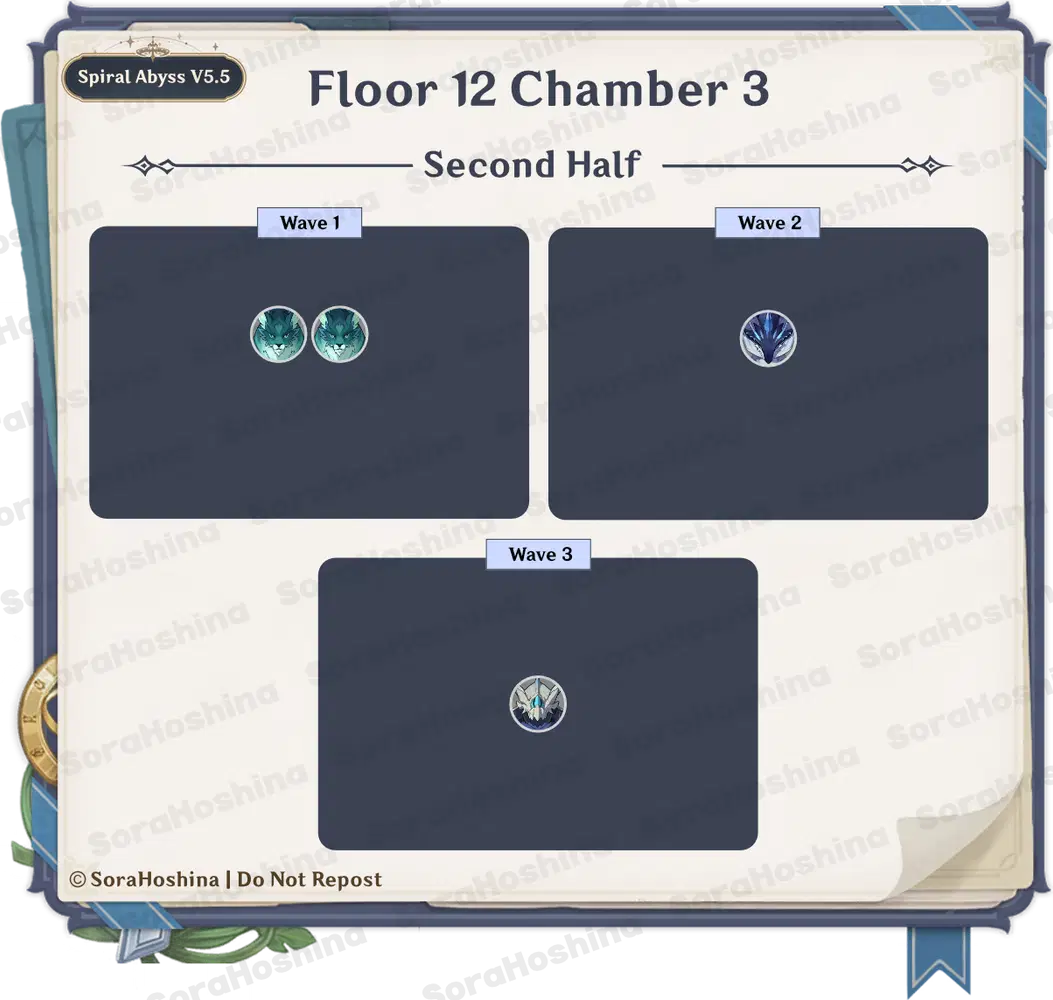
- Chamber that hates Hydro DPS (unless you're Neuvillette and Furina). First wave features two beasts which are easy to group since they will chase after you. While waves 2 and 3 only have a single enemy, they will also chase after you.
- Xuanwen Beast = 50% Hydro RES
- Primordial Vishap = 30% Physical and Hydro RES
- Consecrated Horned Crocodile = 70% Hydro RES when its in Phagocytic Form
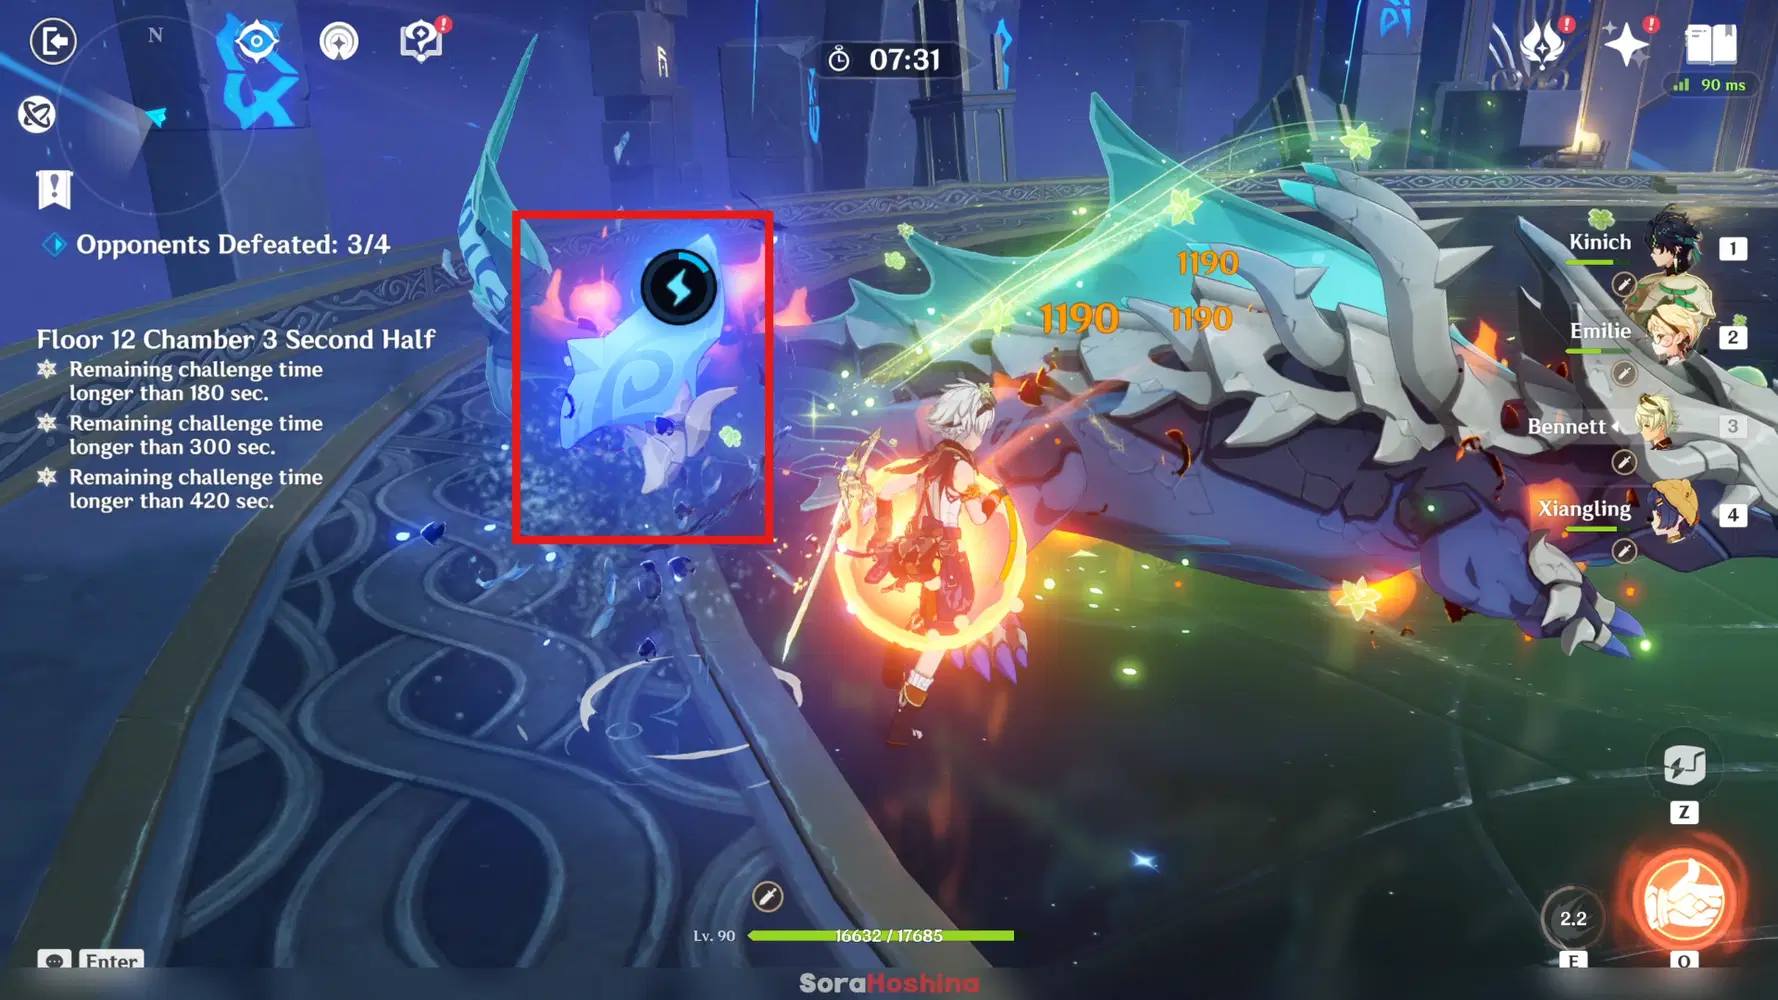
The first two waves don't have a special mechanism, so let's just focus on the last one. There will be a time when it will summon a Phagocytic Energy Block. Make sure to attack this block with elemental attacks (even better if its Hydro) until the bar is filled so you can gain the Phagocytic energy > hit the consecrate enemy > and paralyze them. If you leave the Block alone for a period of time, the beast will reabsorb the Phagocytic Energy Block and re-enter Phagocytic Form (its more strong form).
Click Here to Skip the Guide and right to the Comment Section
This is only for table of contents so the people at the top of the post can skip the guide and go to the comment section.