In this unga bunga event, you can get up to 420 Primogems as the rewards.
As long as you reached 500 points from defeating the enemies, you can already grab your primogems in each days.
But, if you want to reach gold (2000 points) for other rewards, and you still struggle with it, then this guide is for you.
*I will recommend the team based on available event's character only
(Because everyone have different characters that they own)
This way, this guide can be used for every player


✧ Team Composition
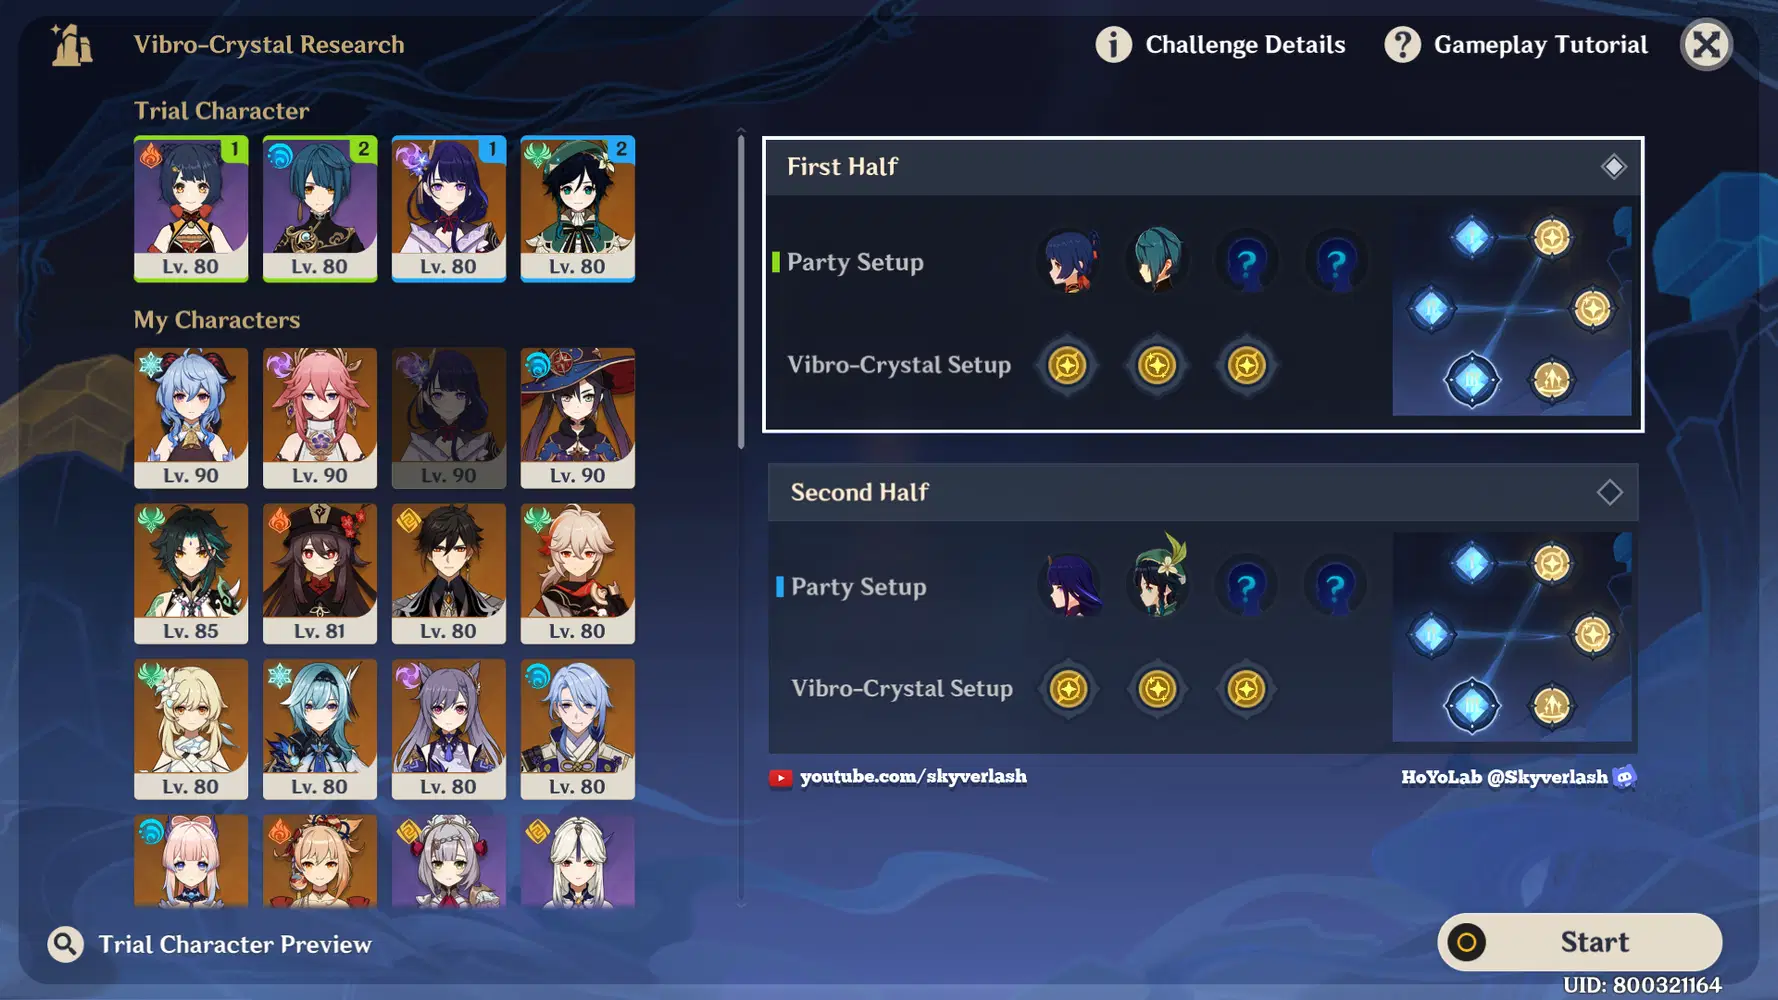
First Half Team Recommendation
- National team
|| Xiangling, Xingqiu, [any cc anemo], [Flexible]
|| Sky's recommended characters = Chongyun / Sucrose / Kaeya / Bennett, etc
*Xingqiu can "heal" 1 active character, so if you want to be edgy, you can choose to not include healer here
Buff explanation
|| Use burst = burst damage buff
|| Use E skill = EM buff
|| Switch character = burst damage buff
Second Half Team Recommendation
- Overload team
|| Raiden, Venti, [pyro], [healer]
|| Sky's recommended characters = Yoimiya / Klee / Yanfei / Diluc / etc
- Taser team
|| Raiden, Venti, [hydro], [healer]
|| Sky's recommended characters = Mona / Kokomi / Fischl / Barbara
- Mono electro team
|| Raiden, Venti, [electro], [Flexible]
|| Sky's recommended characters = Beidou / Fischl / Sara / Yae / Lisa
|| I just want to remind you that there's electro cicin mage, so it'll be slower to kill her if you only have electro attack here
(She rarely spawn tho)

Domain buff
|| Use burst = + 5% ATK buff
*8 stacks, 15s durations
Buff explanation
|| Use burst = burst damage buff
|| Use E skill = EM buff
|| Switch character = burst damage buff
✧ How To Win 1st Day Challenge
First Half Tactic
- Spam your burst & E skill (It will increase your harmonics points gauge)
*Even if your burst / E skill sequence are random, that's totally fine. Just keep go unga bunga
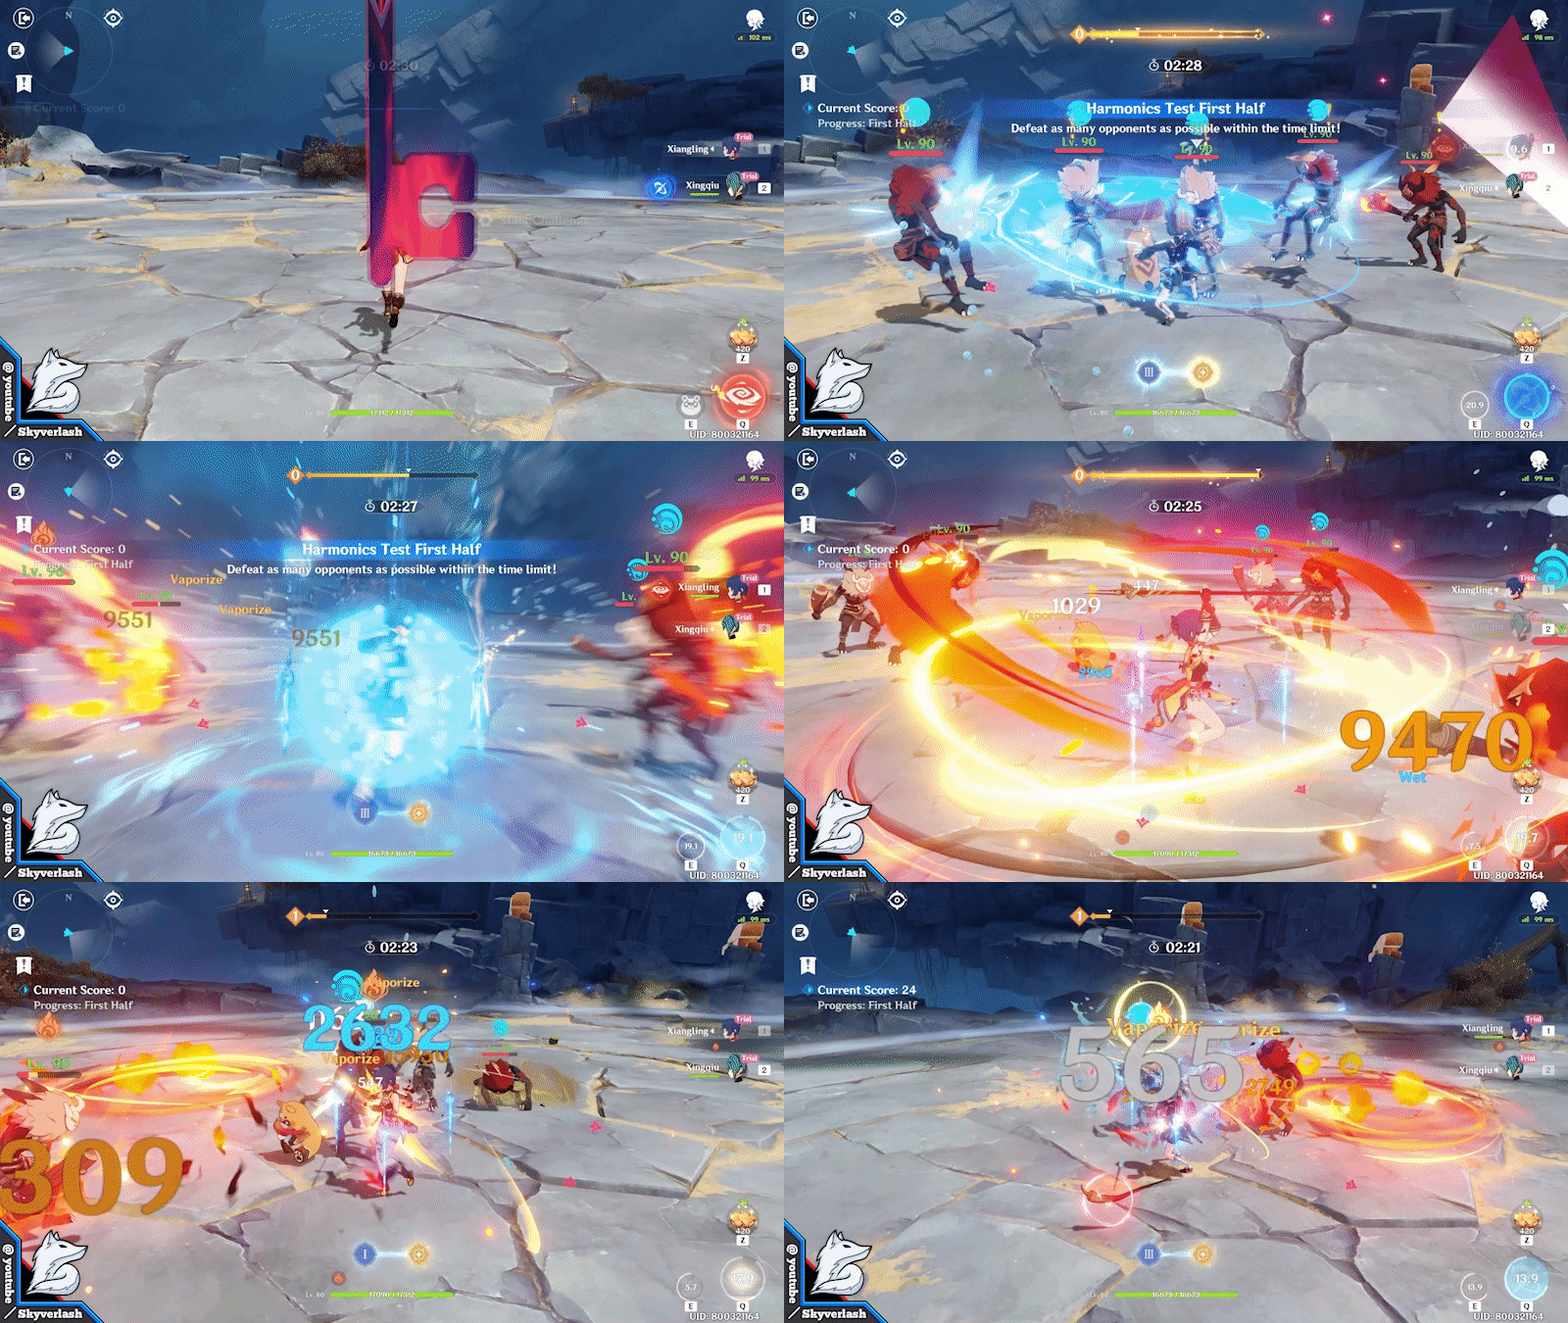
- Constantly switch your characters too! (It will increase your harmonics points gauge too)
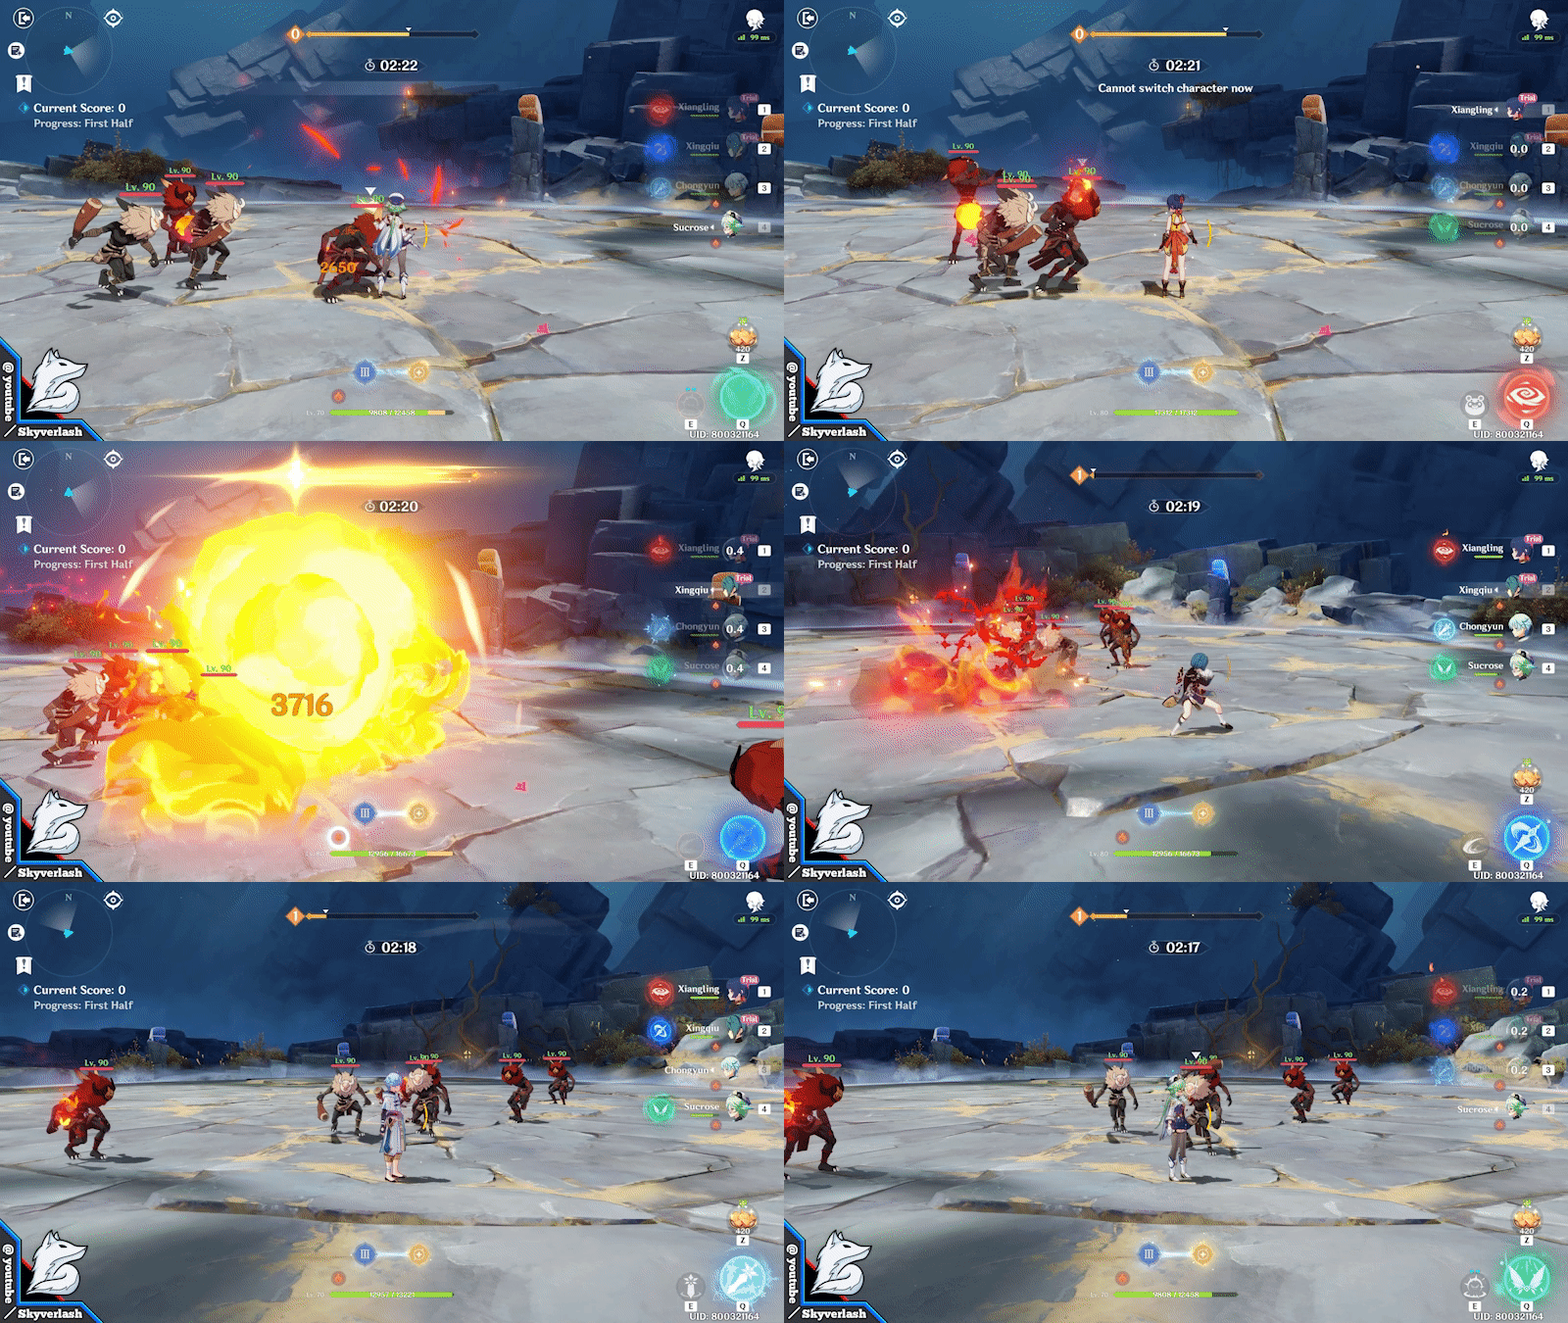
HARMONICS GAUGE WILL INCREASE YOUR CDMG
|| So if you have a chance to use burst / E skill / switch character, it will definitely helps you increase your damage tremendously
*This harmonics interval is every 3s (separated for each trigger)
Notes
|| If you don't use crowd control character like Sucrose or Anemo Traveler, don't worry too much about your low points in 1st half, because we have Venti in 2nd half to help farm the points faster
|| For the first round, just go unga bunga to all those hillies
|| There will be a moment where the shamachurl will spawn, kill them immediately (otherwise the other enemies gonna get healed)
|| For the ruin sentinels, they'll deal AoE attack too, so becareful
They'll spawn near end time, but if you have low points (around 500 ish for example), that's totally fine, 2nd half is where you'll farm a ton of points
Second Half Tactic
- Spam Venti's burst as much as you can
*Make sure to use Venti's burst facing the middle of the map
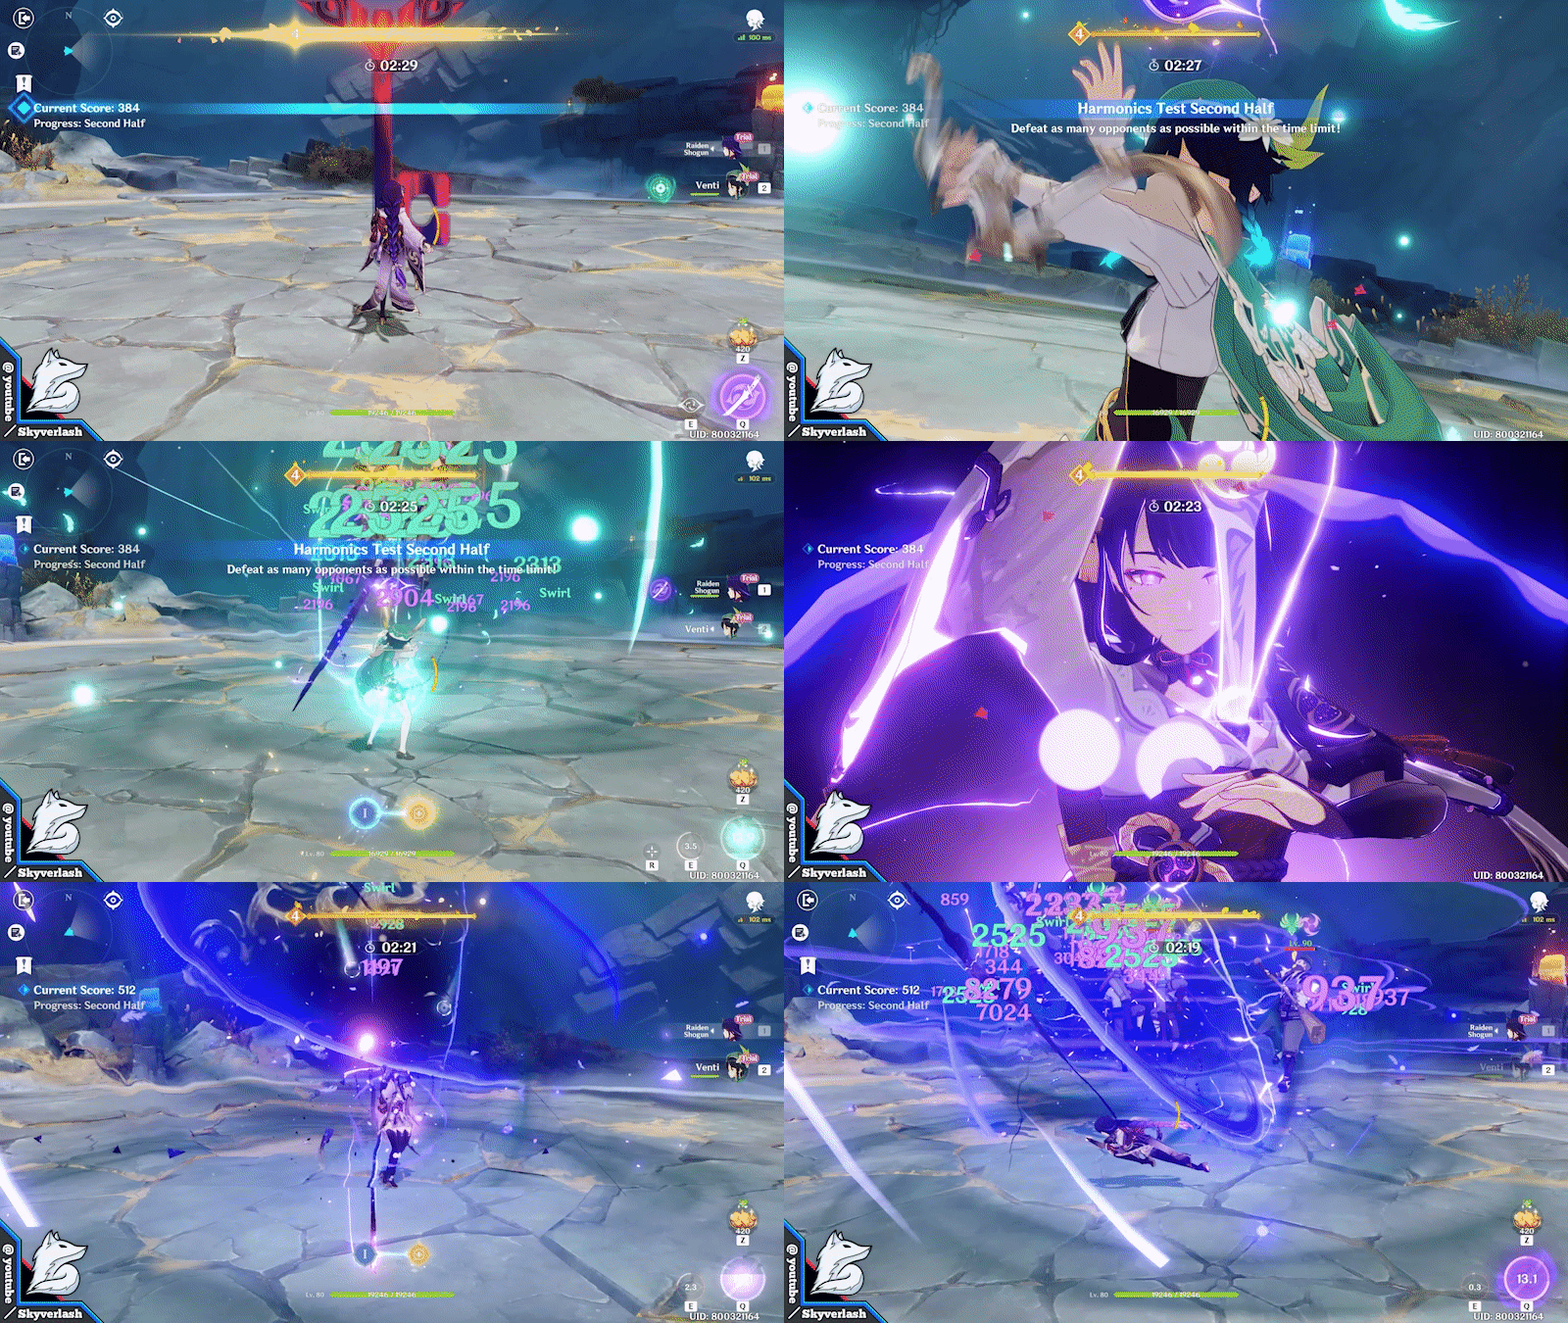
At this point, you should already have 4 stacks of Harmonics Points (meaning you'll get CDMG buff)
As long as you spam the burst, it'll buff your attack too
- Even if you only see 1 pyro fatui / 1 electro cicin mage, use the burst
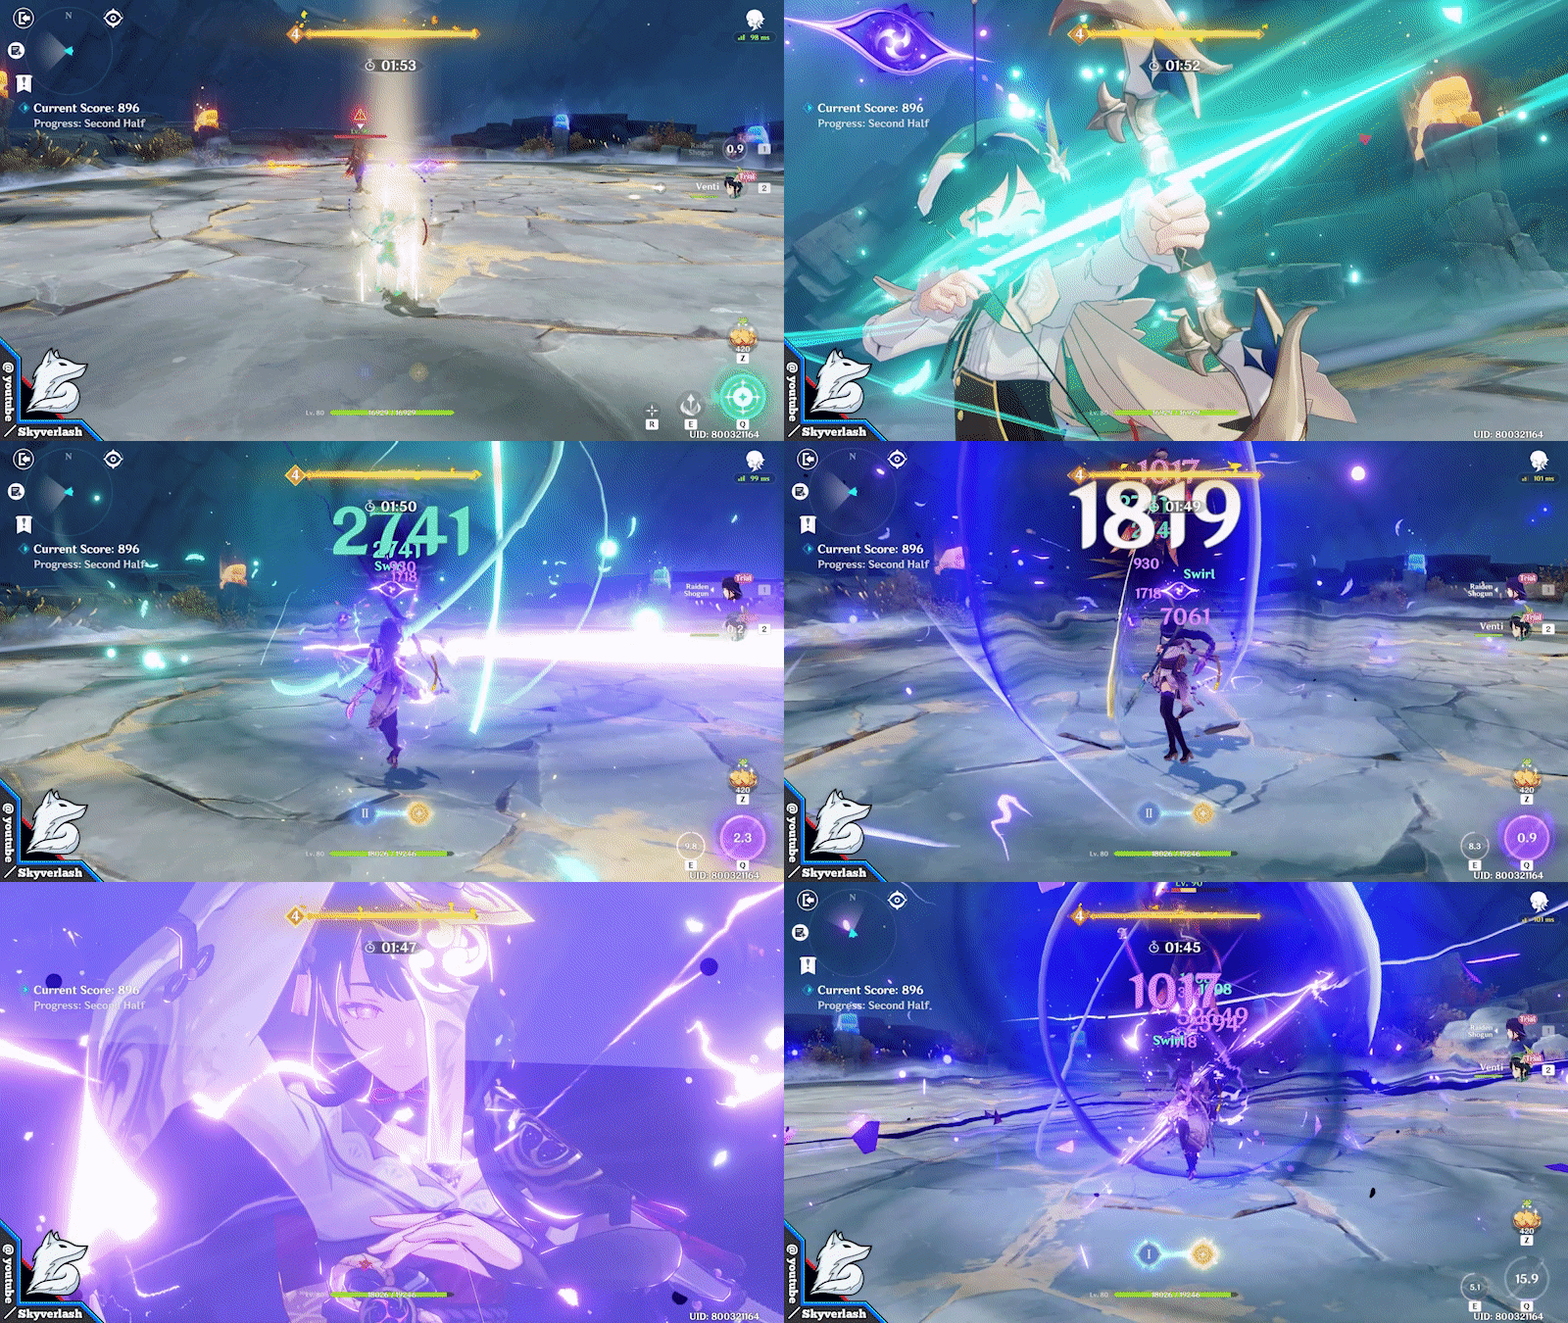
Once the crowd starts to spawn again, you'll get abundant amount of energy orbs
So no need to worry about your burst won't be recharged
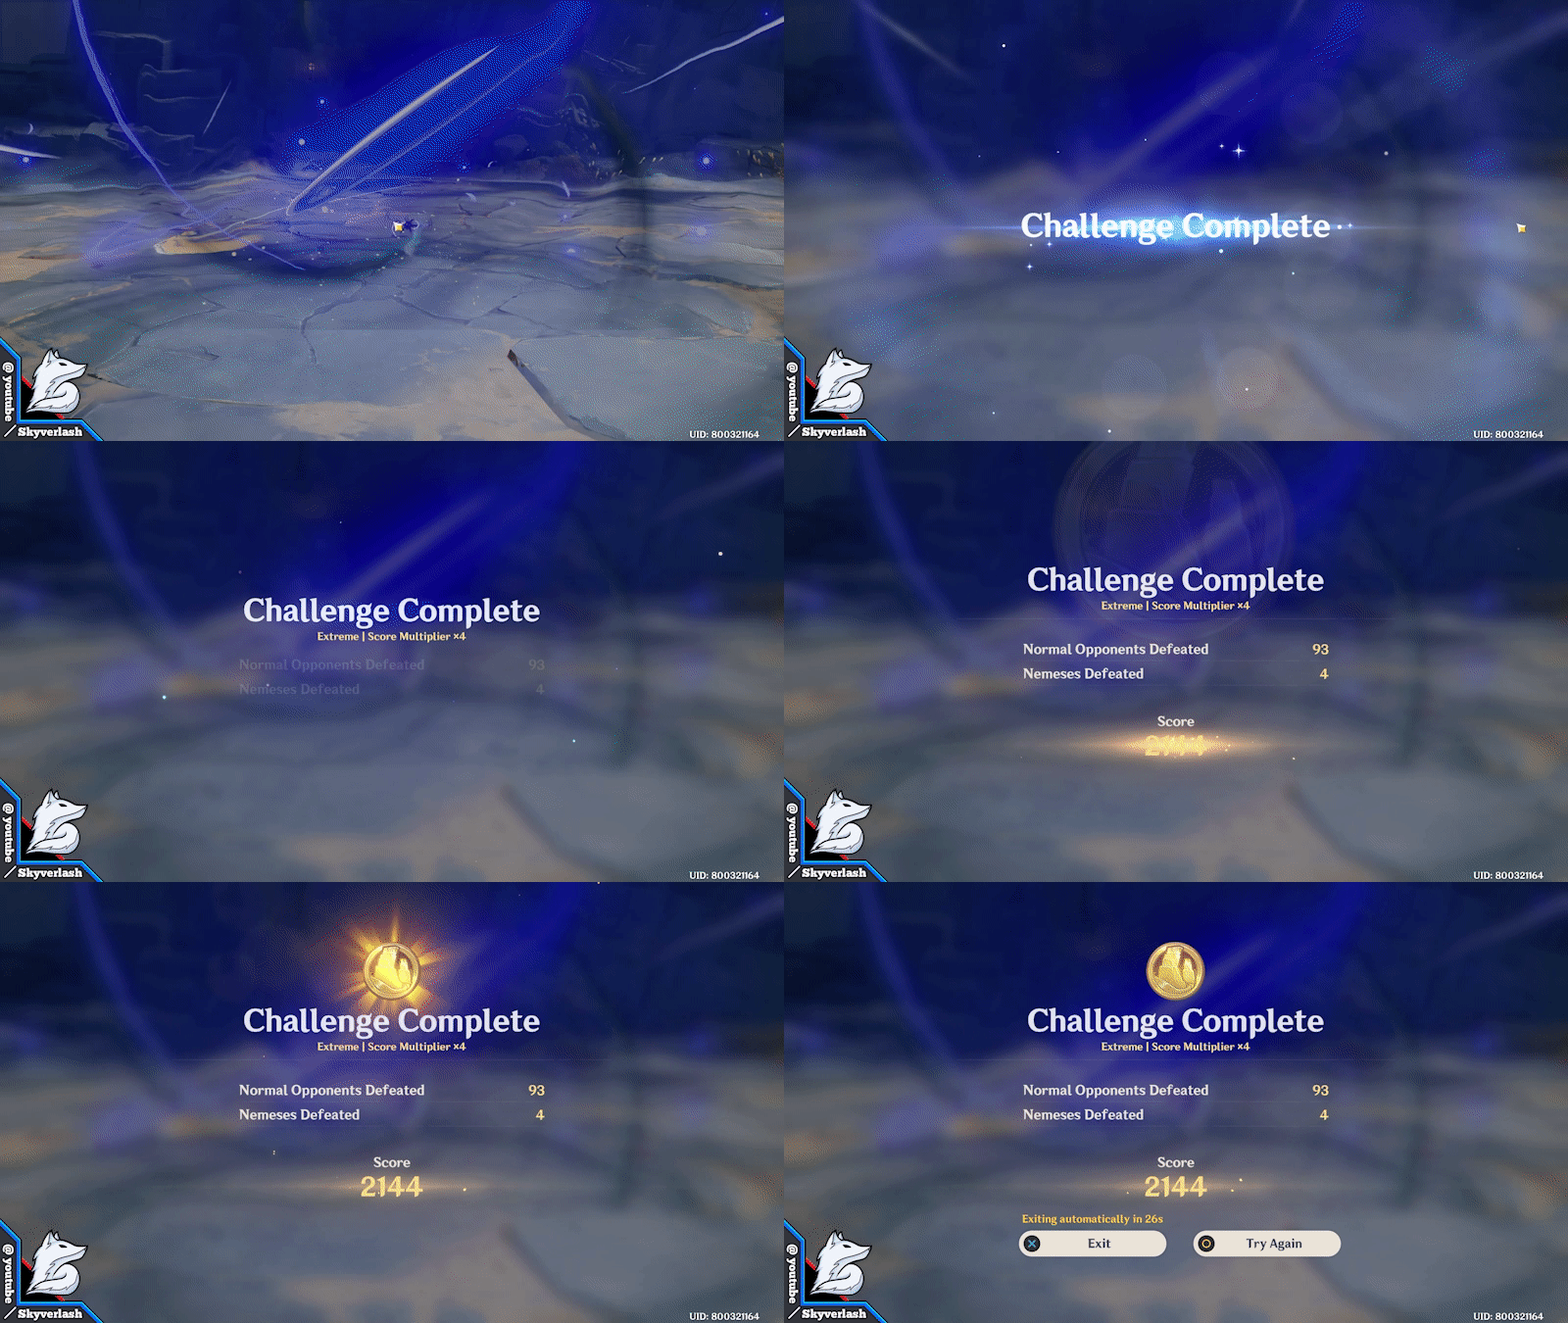
It's a close call, but i did it with the event's character only XD

✧ Team Composition
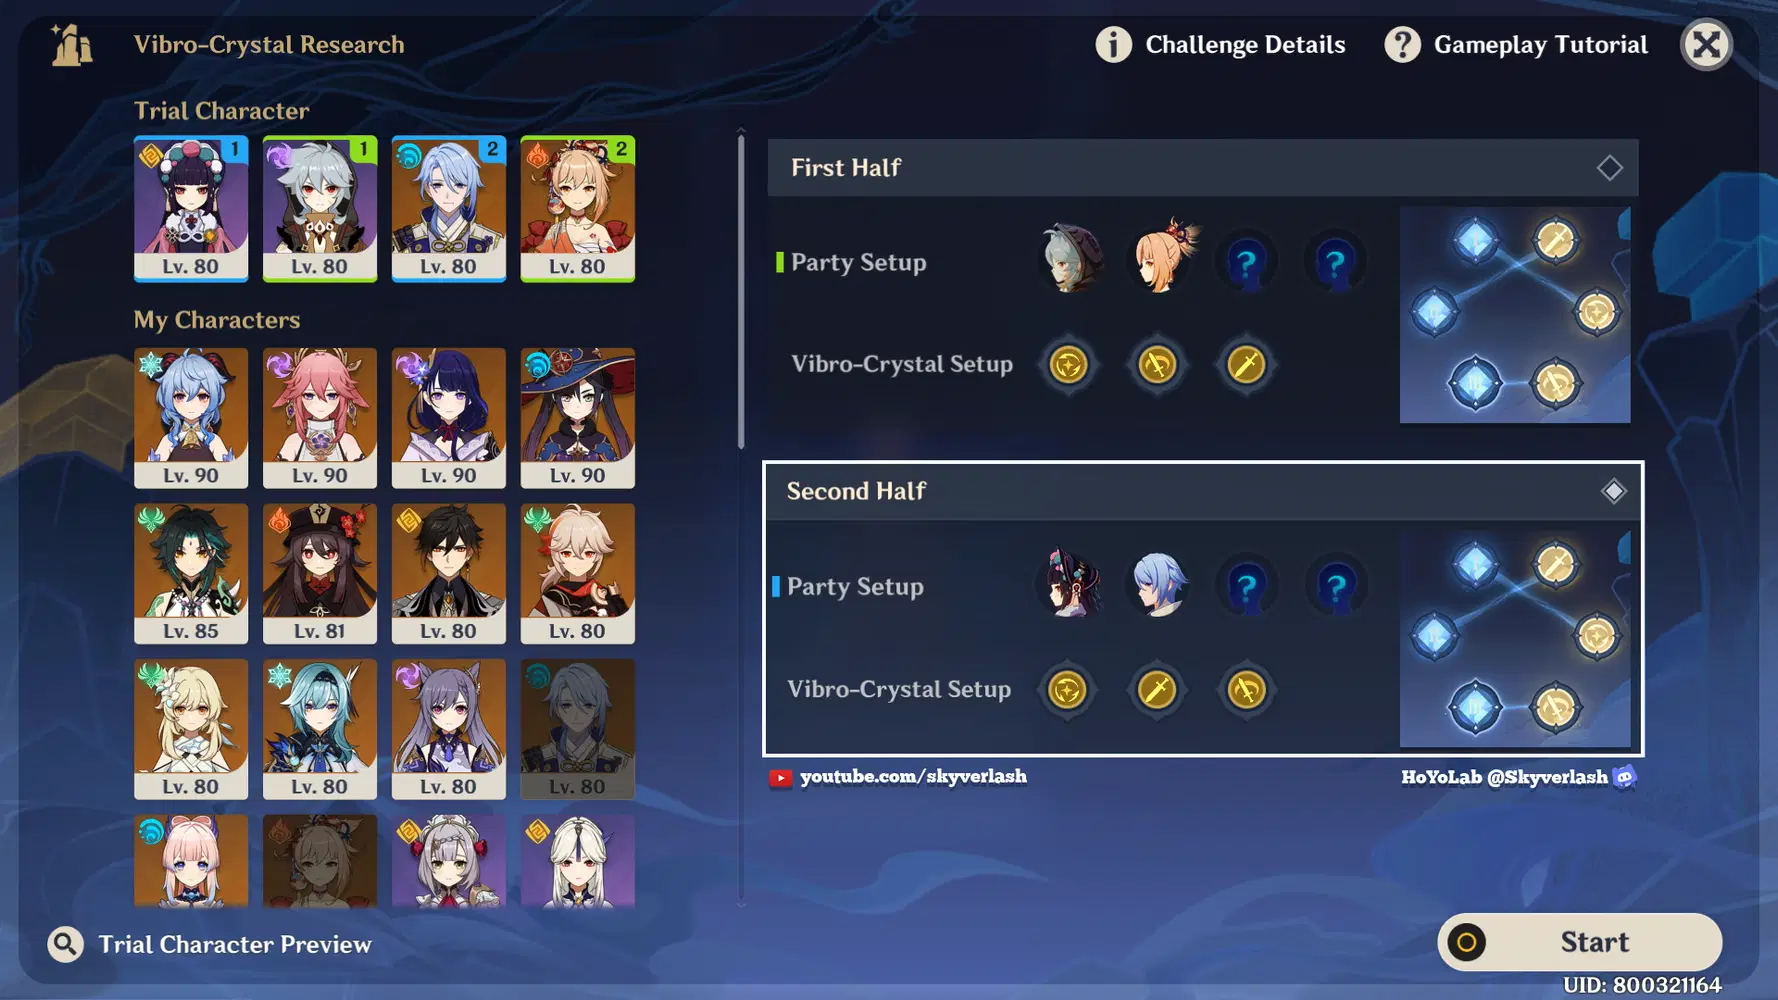
First Half Team Recommendation
- Mixed reaction team comp
|| Razor, Yoimiya, [Flexible], [Healer]
|| Sky's recommended characters = Kaeya / Rosaria / Sucrose / Kazuha / Hu Tao / Eula
|| If you want go physical, pair with cryo character
|| If you want to go vape / melt, 1 pyro character is already enough since there's hydro & cryo enemies
|| Kazuha will be the heavy back bone in your team here (if you have him)
*You can still beat this domain without healer, but it's better to be safer
Buff explanation
|| Use E skill = E skill damage buff
|| Normal attack = Normal attack damage buff
|| Normal attack (deals elemental dmg) = ATK speed buff
Second Half Team Recommendation
- Hyper carry Ayato
|| Yunjin, Ayato, [Bennett], [Flexible]
|| Sky's recommended characters = Bennett / Mona / Xingqiu / Jean / Zhongli
*Kazuha is more suitable for the 1st half if you're struggling with dealing the slimes and abyss mage
|| It's better to have geo battery so Yunjin can keep up with the burst uptime
- Moryana (Permafreeze)
|| Yunjin, Ayato, [cryo], [Diona]
|| Sky's recommended characters = Venti / Ganyu / Rosaria / Chongyun / Jean / Kaeya / Rosaria / Ayaka
*You can switch Yunjin with anemo characters for the res shred
Buff explanation
|| Use E skill = E skill damage buff
|| Normal attack = Normal attack damage buff
|| Normal attack (deals elemental dmg) = ATK speed buff
Domain buff
|| Use normal attack = + 10% normal attack damage buff
Can be proc every 1s, last for 8s, 5 stacks
Notes
|| Yoimiya can stack all the harmonics gauge by herself.
|| Yoimiya has shimenawa set in this domain, use E skill will drain your burst energy
|| I'd could even say, Yoimiya is the main star for the 1st half. She counters every enemies in this domain
|| For 2nd half, you will see only 1 enemy at a time. So it'll be a challenge if you don't have a burst battery
|| Even without burst battery, Ayato's E skill alone can still carry the match. This match is all about normal attack spam anyway
✧ How To Win 2nd Day Challenge
First Half Tactic
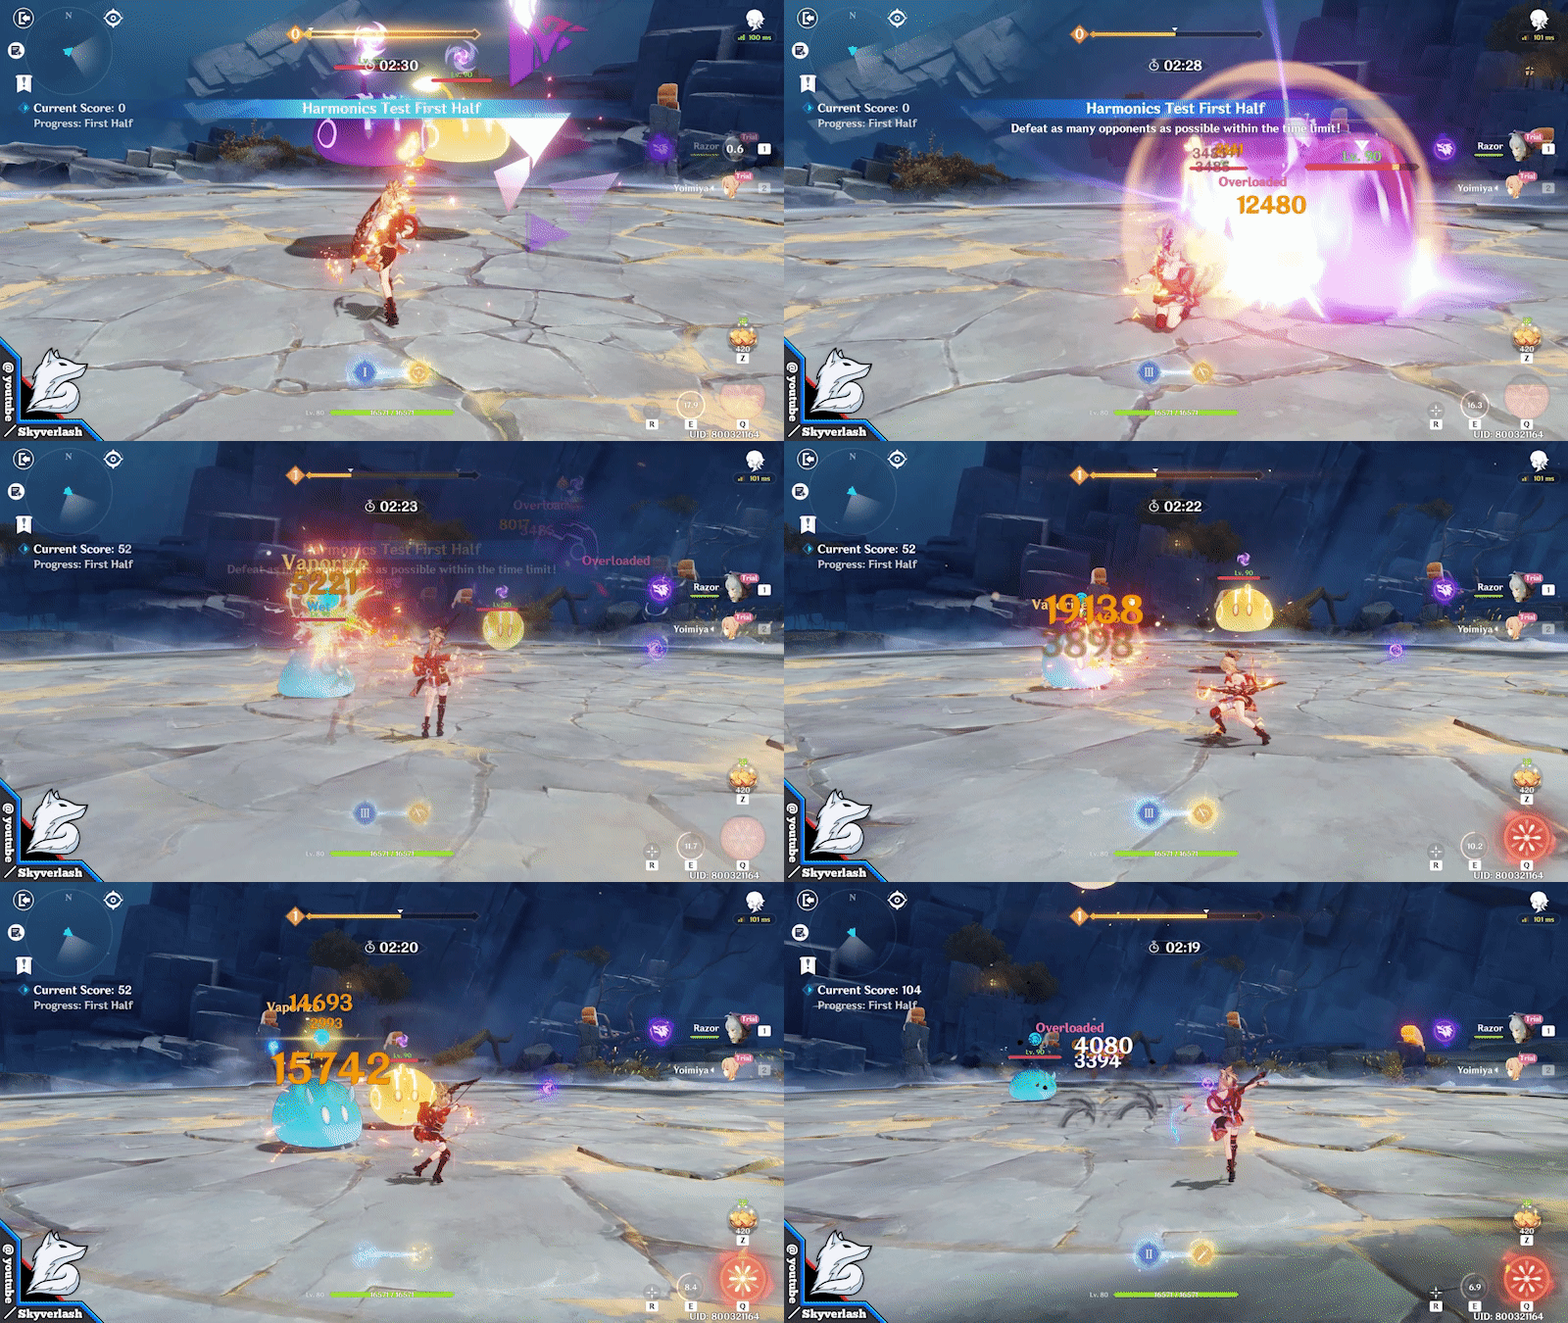
- See electro slime? Spam Yoimiya's E skill
Not using Yoimiya's burst is also fine, just keep spam the normal attack
(She can actually single handedly complete the domain alone actually)
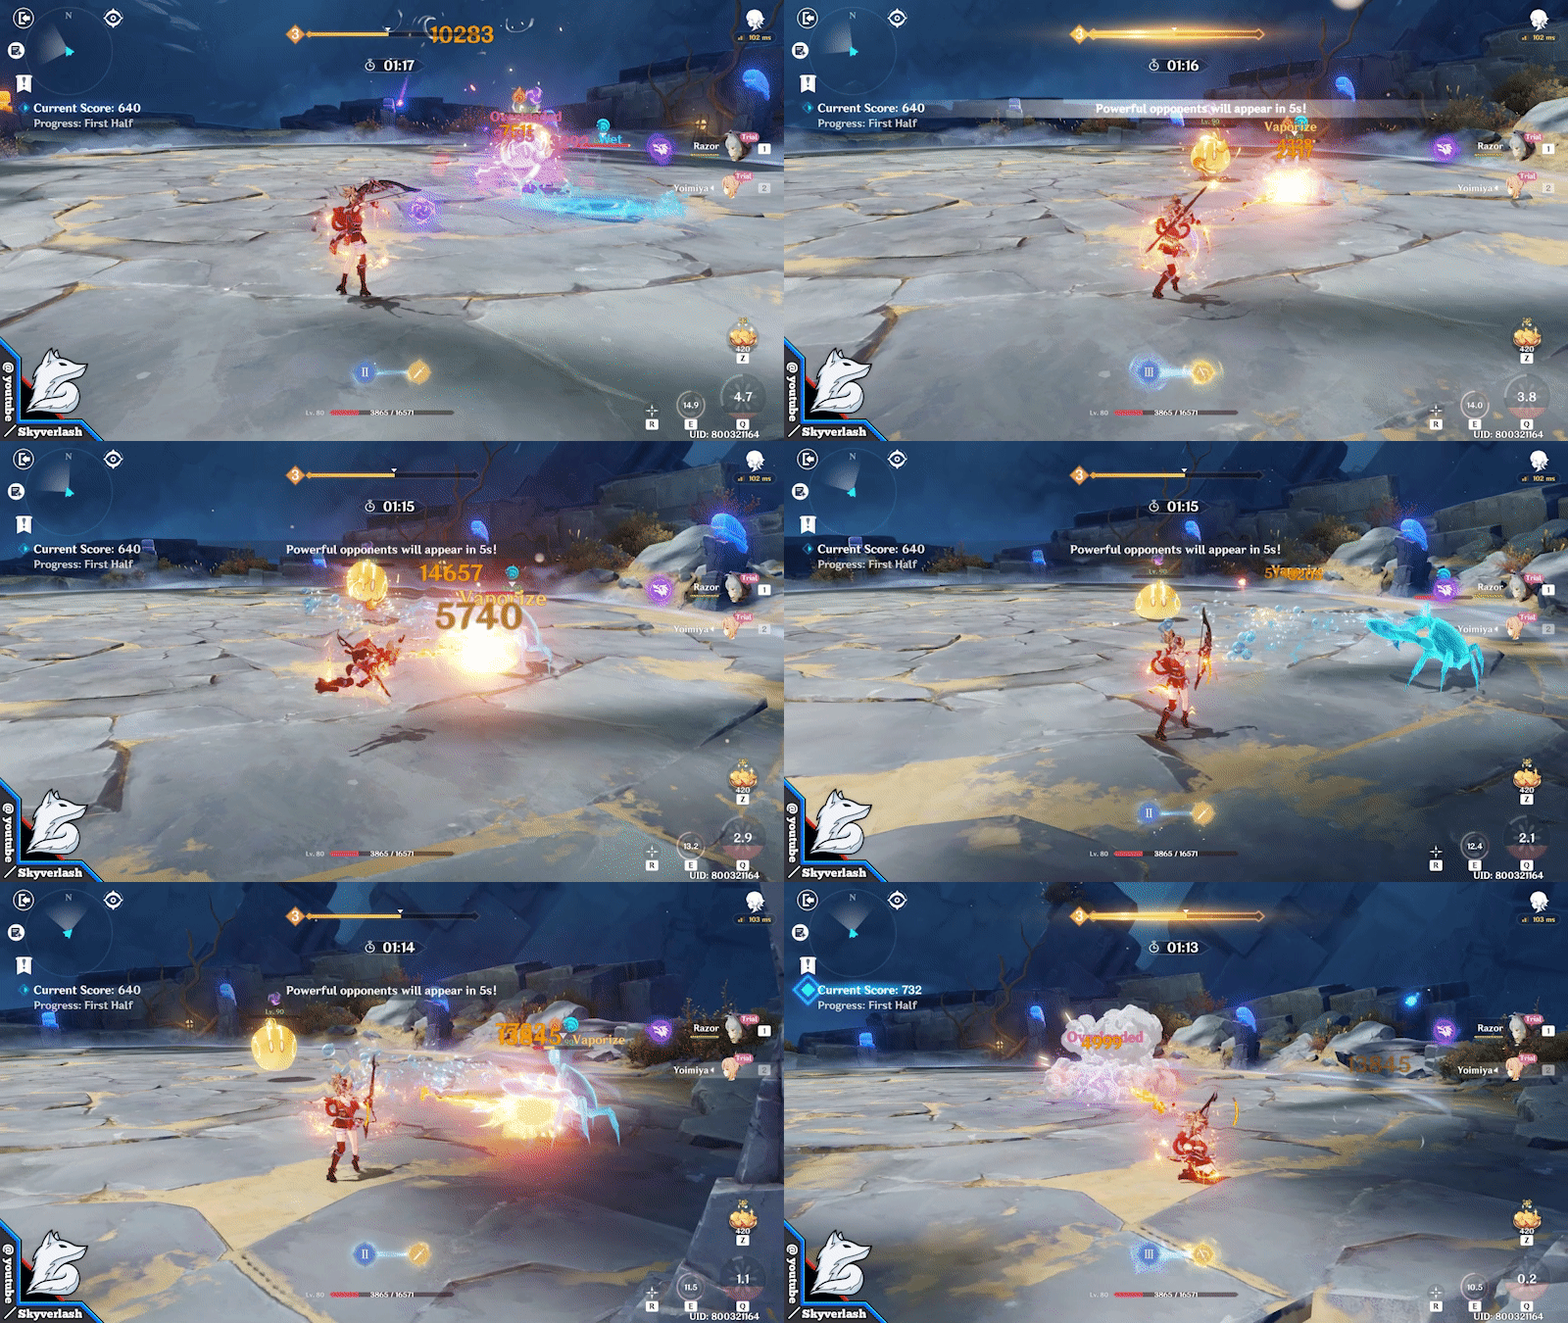
- Put distance with the hydro crab
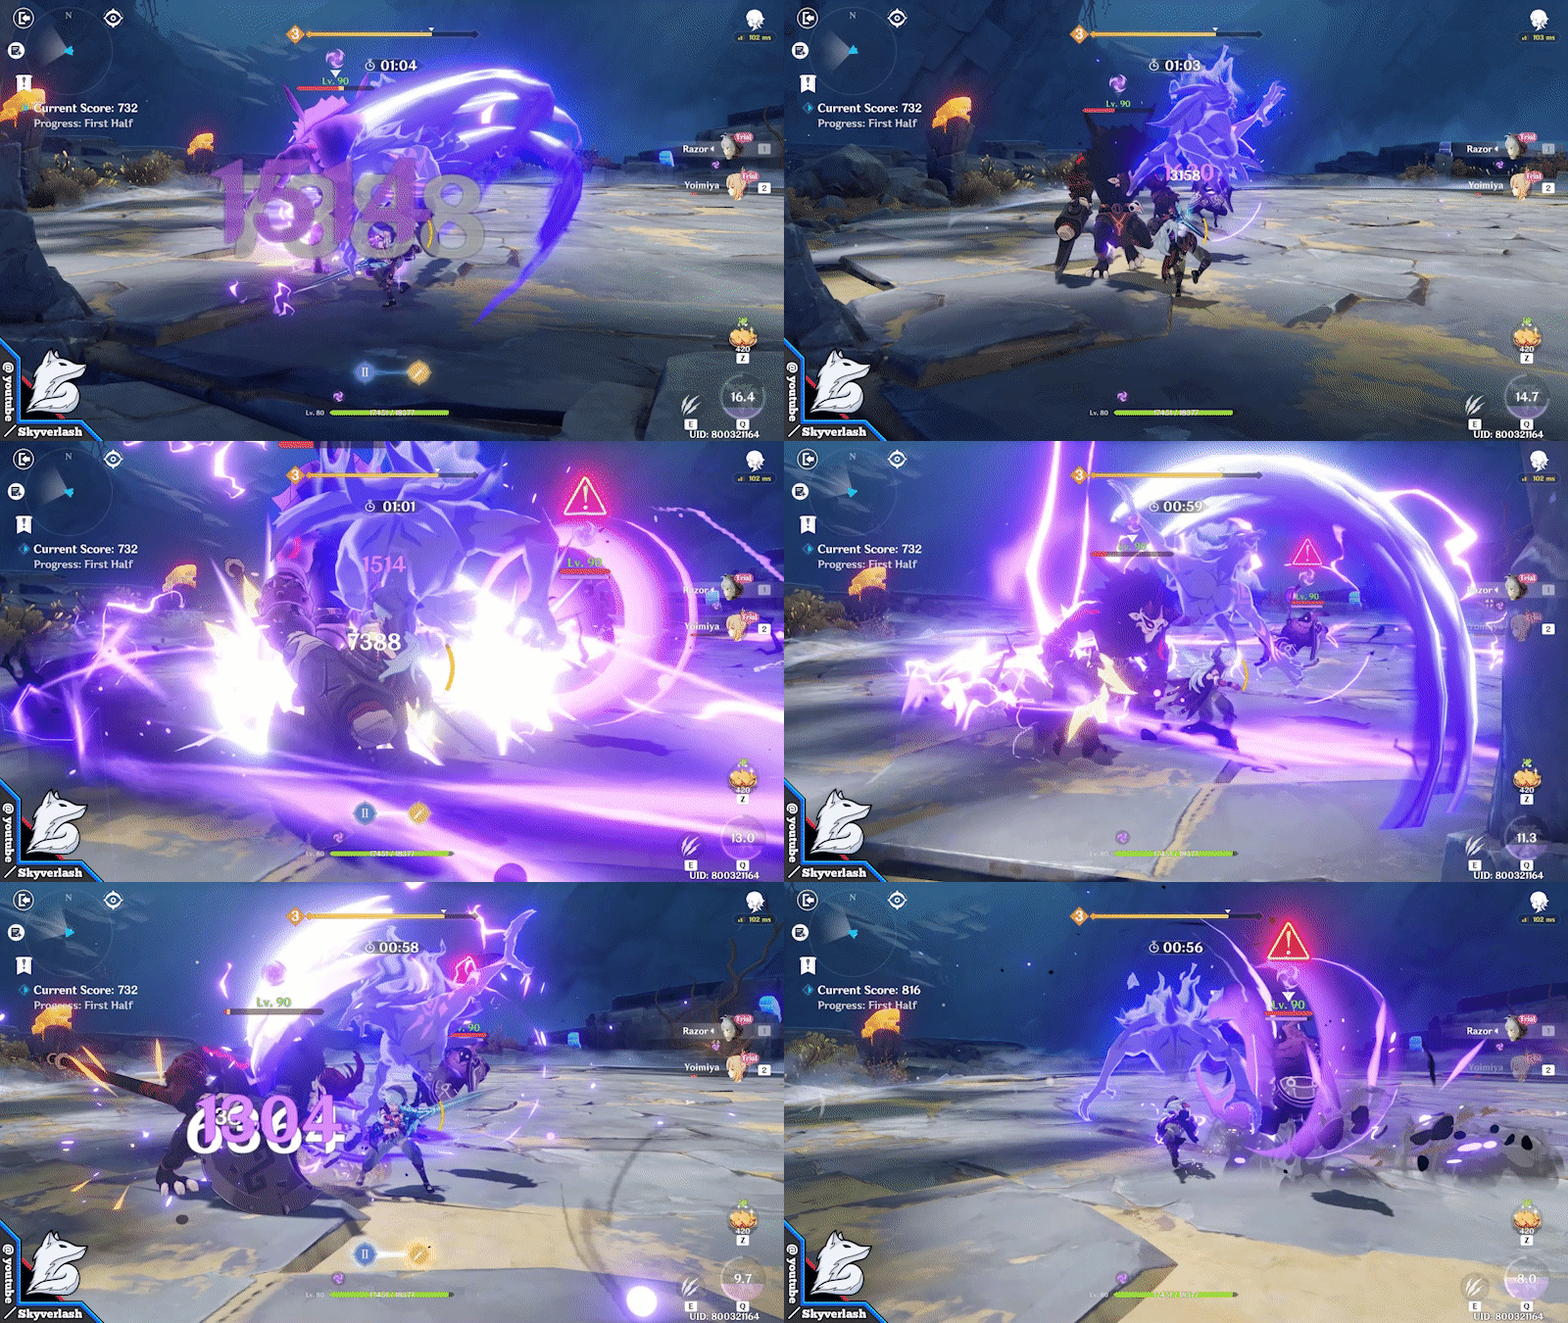
- Be comfortable to hug near the electro abyss mage's distance (if he blinks to you)
If you stand near his shield, his electro circle won't hurt you
Second Half Tactic
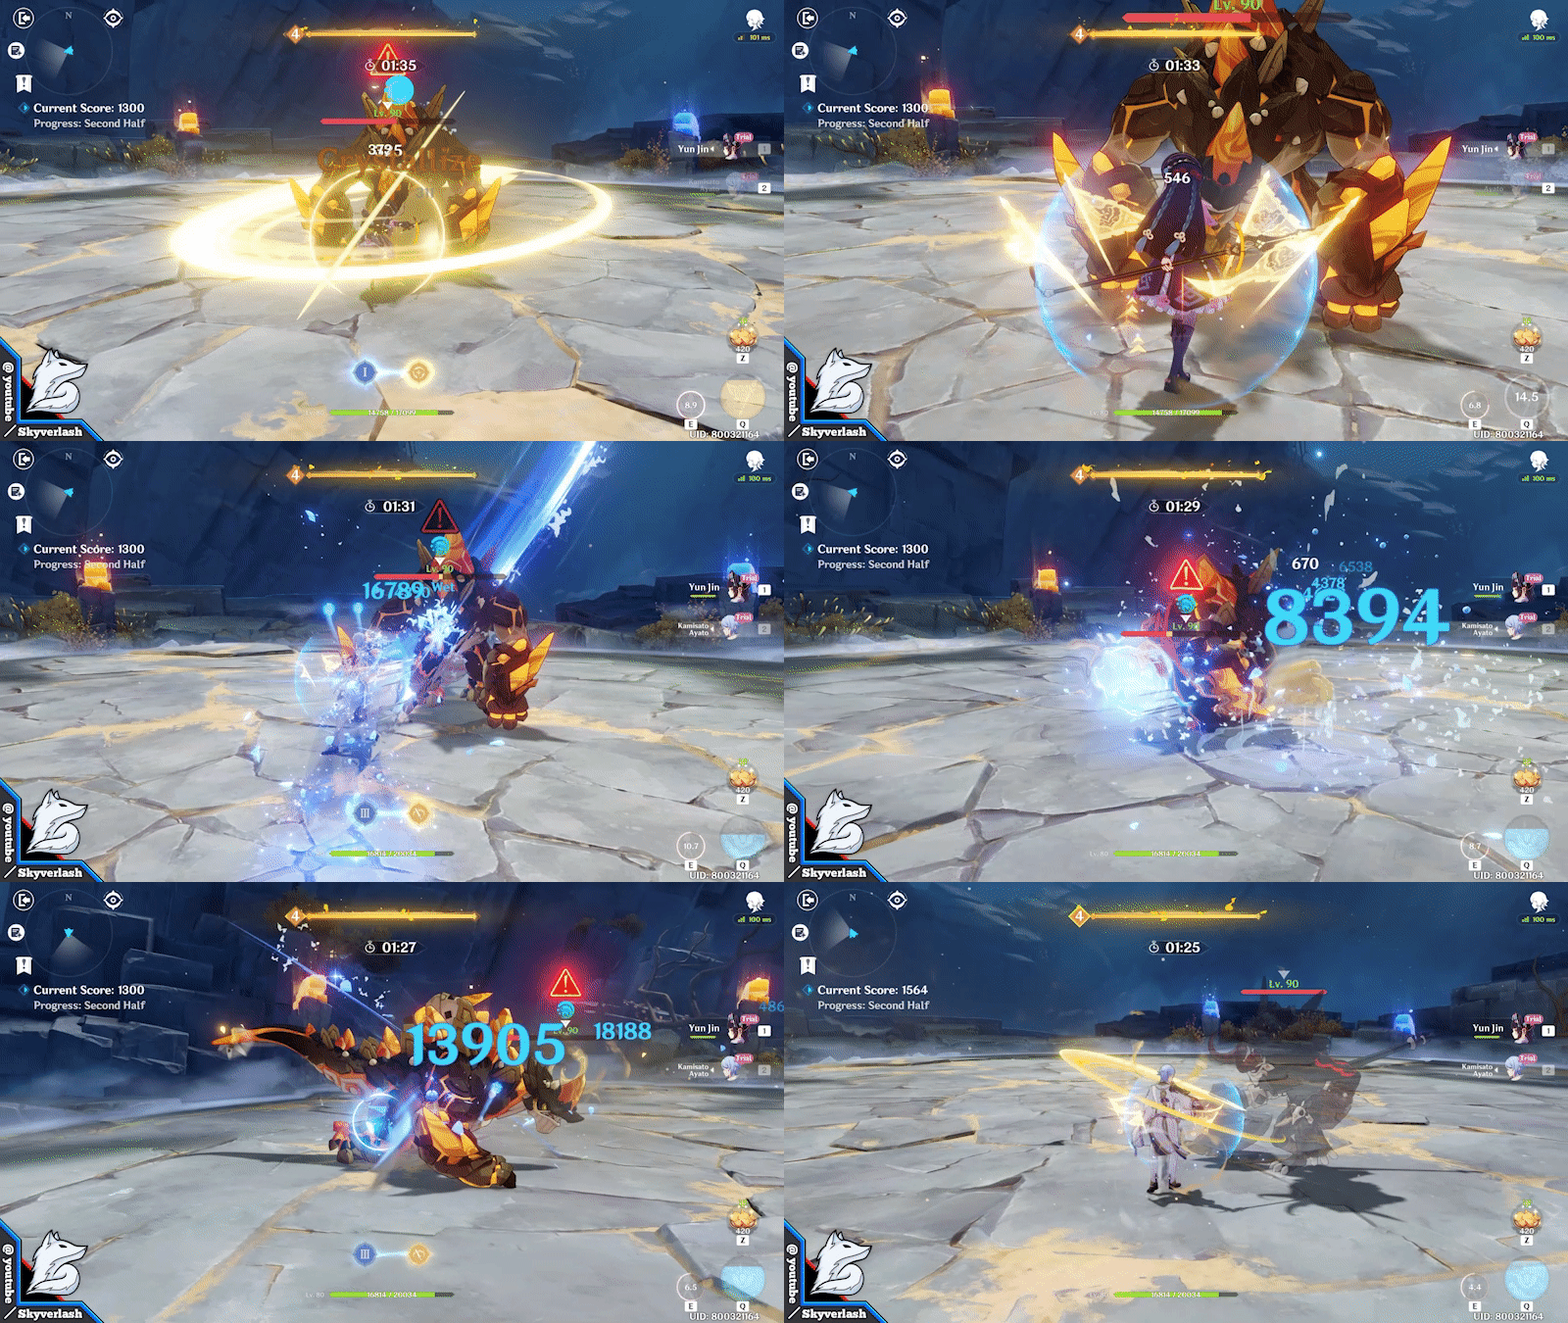
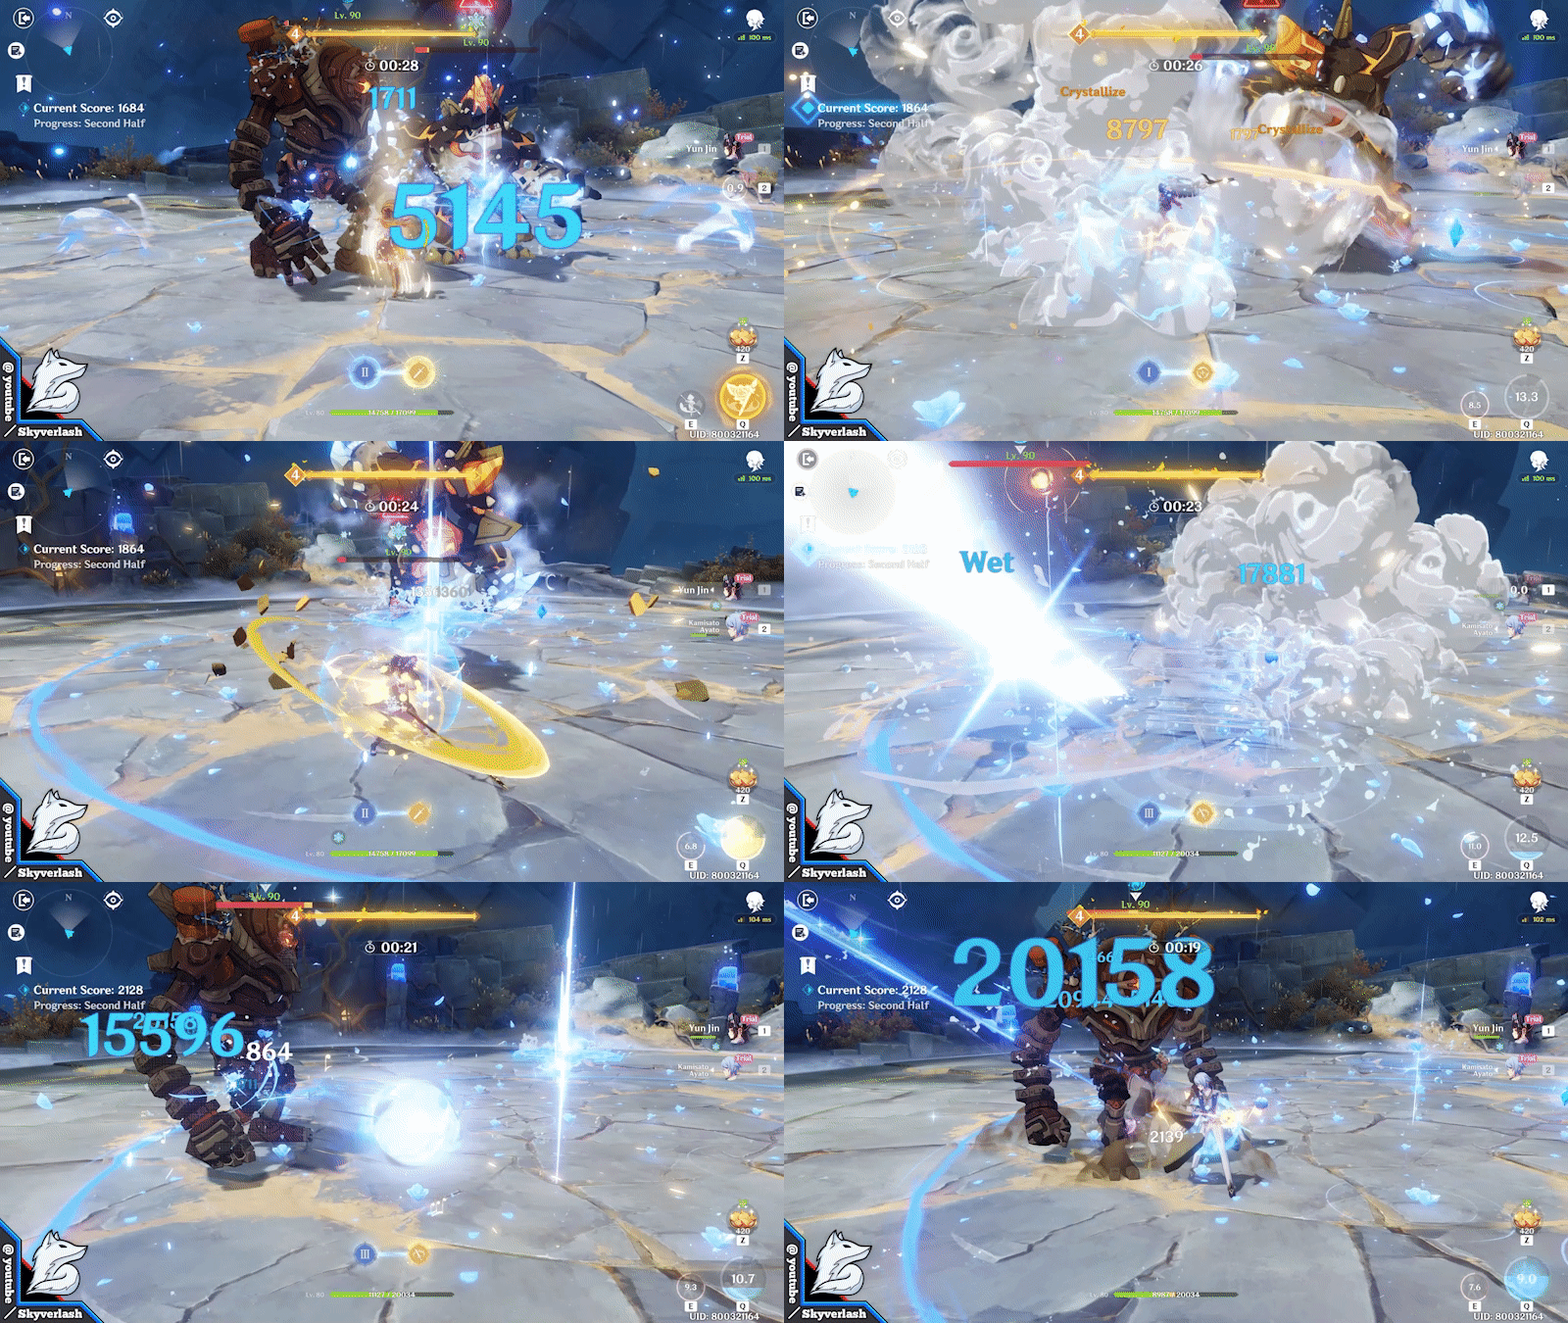
- Keep using Ayato's E skill
It'll be a slow progression, but once geovishap (the boss) appeared, you'll see huge increase for the points
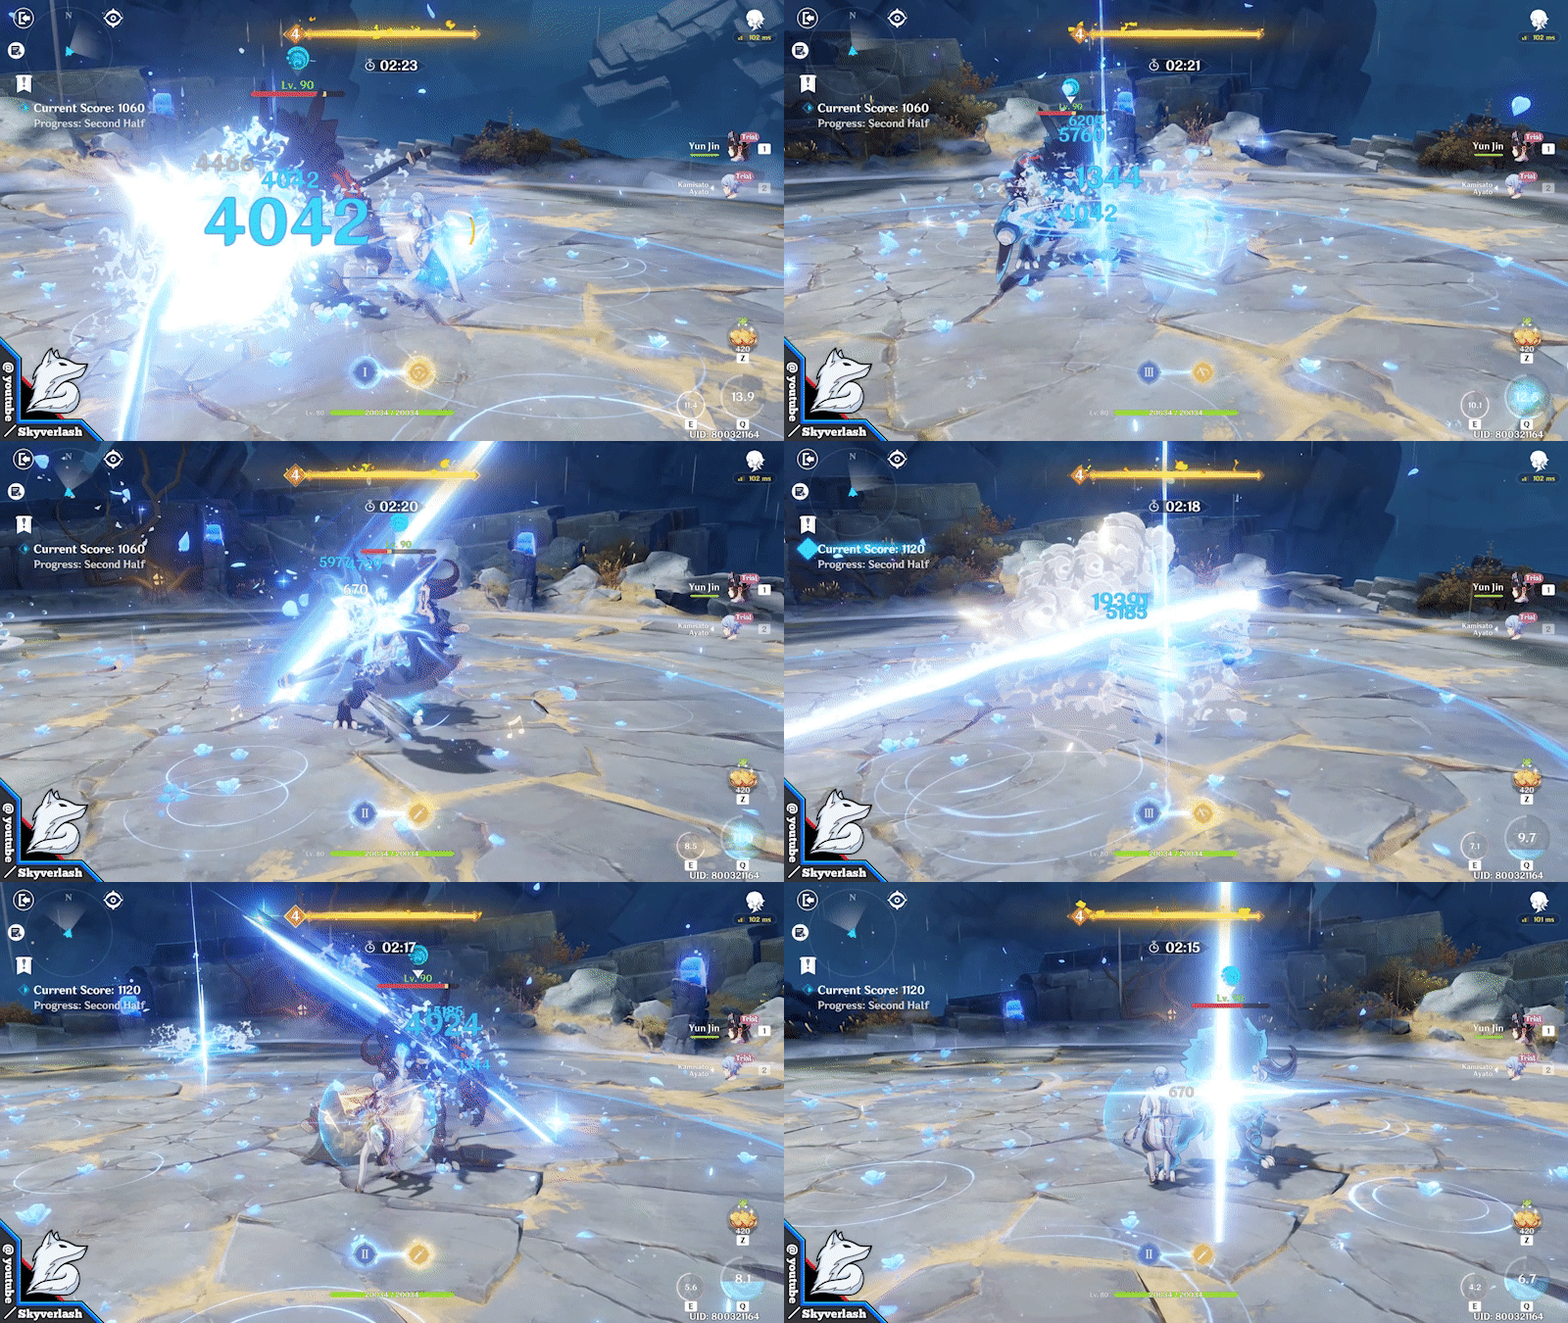
- Yunjin's crystallize = solid shield
Another day passed the 2000 points mark~
Let's go into day 3!

✧ Team Composition
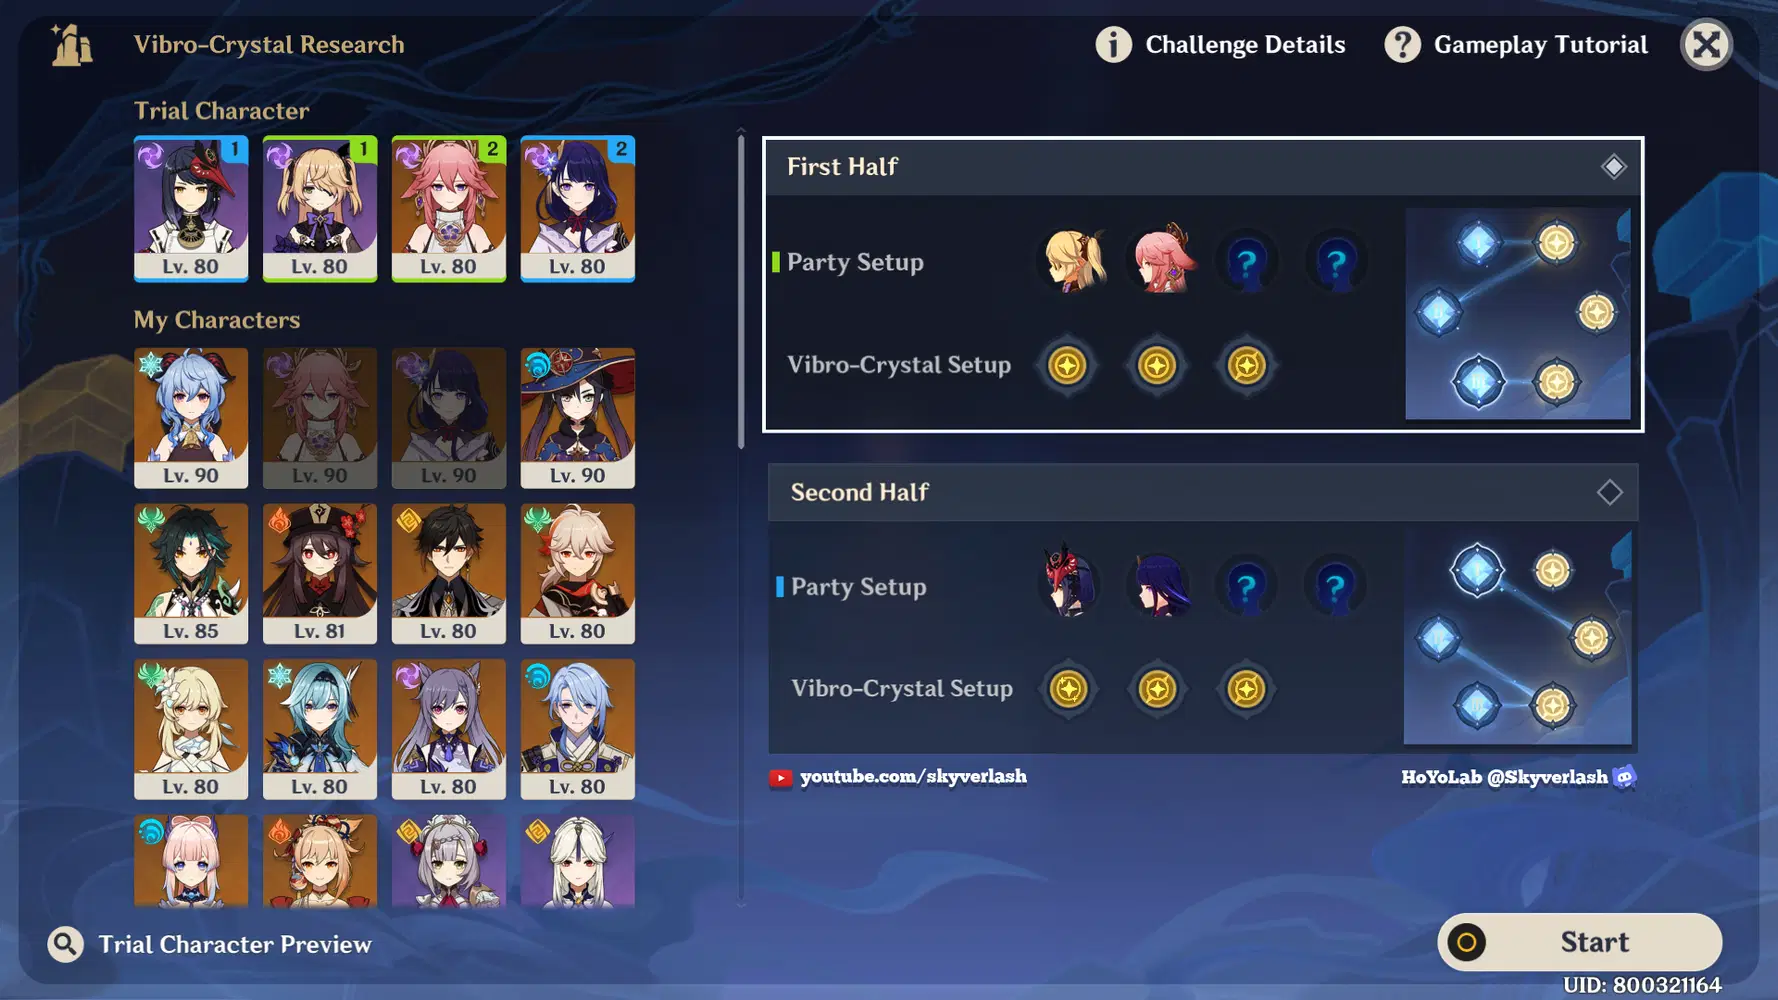
First Half Team Recommendation
- Taser Team (electrocharged)
|| Fischl, Yae Miko, [Sucrose], [hydro]
Sky's recommended characters = Sucrose / Xingqiu / Mona / Kokomi / Barbara
Buff explanation
|| Trigger electro related reaction = buff E skill damage
|| E skill = buff E skill damage
|| Any electro attack = buff burst damage
Second Half Team Recommendation
- Mono electro
|| Sara, Raiden, [Electro], [Anemo]
|| Sky's recommended characters = Beidou / Keqing / Kazuha / Venti / Zhongli
* You can also use Bennett in this team
Buff explanation
|| Trigger electro related reaction = buff EM
|| E skill = buff burst damage
|| Any electro attack = buff burst damage
Domain buff
|| 40% electro dmg bonus
Notes
|| 1st team is more about "AFK" E skill spam from Yae Miko and Fischl
|| This is very flexible, but I prefer burst buff for Yae instead of EM buff in 1st team
|| For 2nd team, it's all about the burst buff. But the 3rd burst buff will only increase it by 10%, so you can choose between E skill buff or EM buff for your team
I choose EM buff there because both Raiden and Sara's E skill's damage are very weak (so it depends on what character you used here)
*Remember, you need to trigger electro related reaction to get this "EM buff"
|| Yae Miko alone can already stack the harmonics gauge to full, so you can enjoy that CDMG buff later on
|| Since electro has the benefit here, even with double mono electro team, you can still win this domain
✧ How To Win 3rd Day Challenge
First Half Tactic
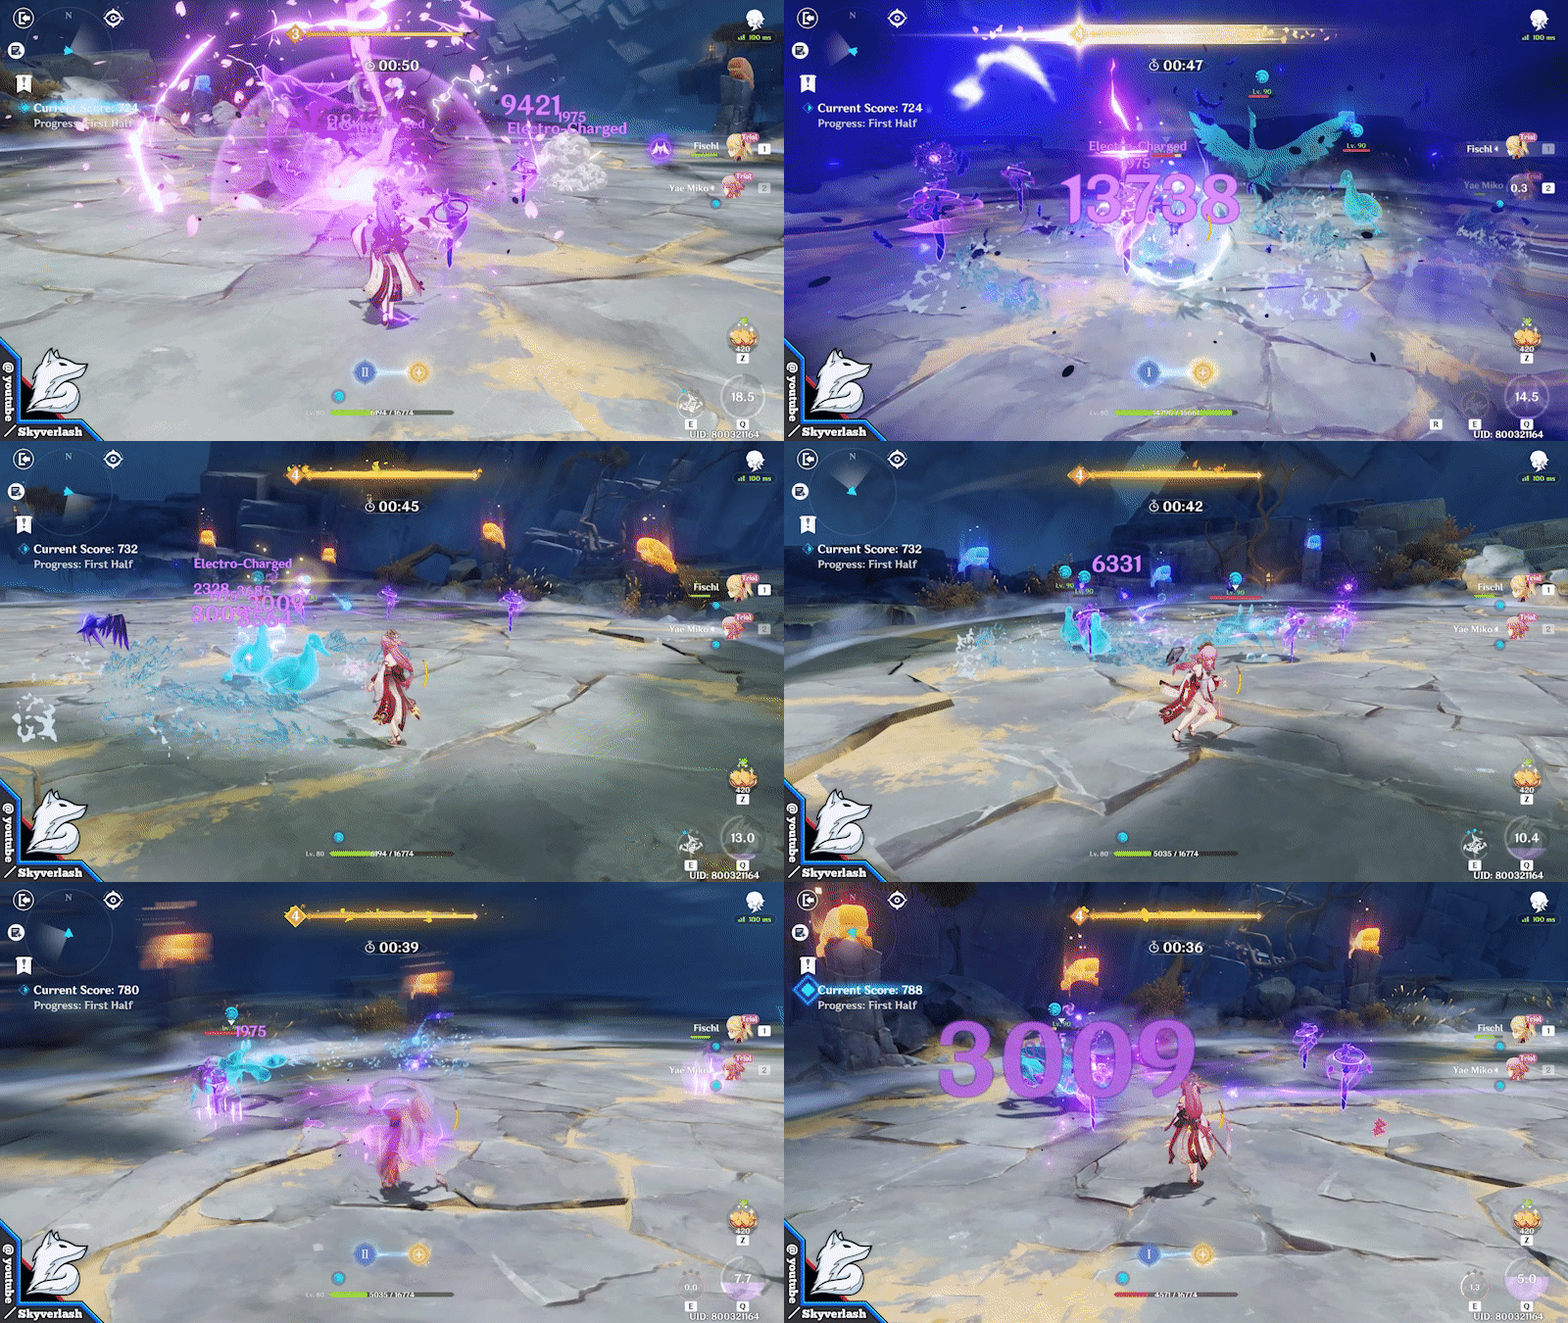
- Keep alternating Yae Miko's E skill - Burst - E skill / Fischl E skill - burst
Literal hot potato in genshin impact
As long as you can use Yae Miko's burst, make sure to have her 3 E skill turret > burst
As for Fischl's timing, if her E skill (Oz) already disappeared, use her burst and hug nearby enemies to zap them
If you can, always position yourself to the center of the map (so Miko's burst can hit more enemies easily)
You'll get massive energy orbs most of the time, so don't hesitate to spam Miko's burst
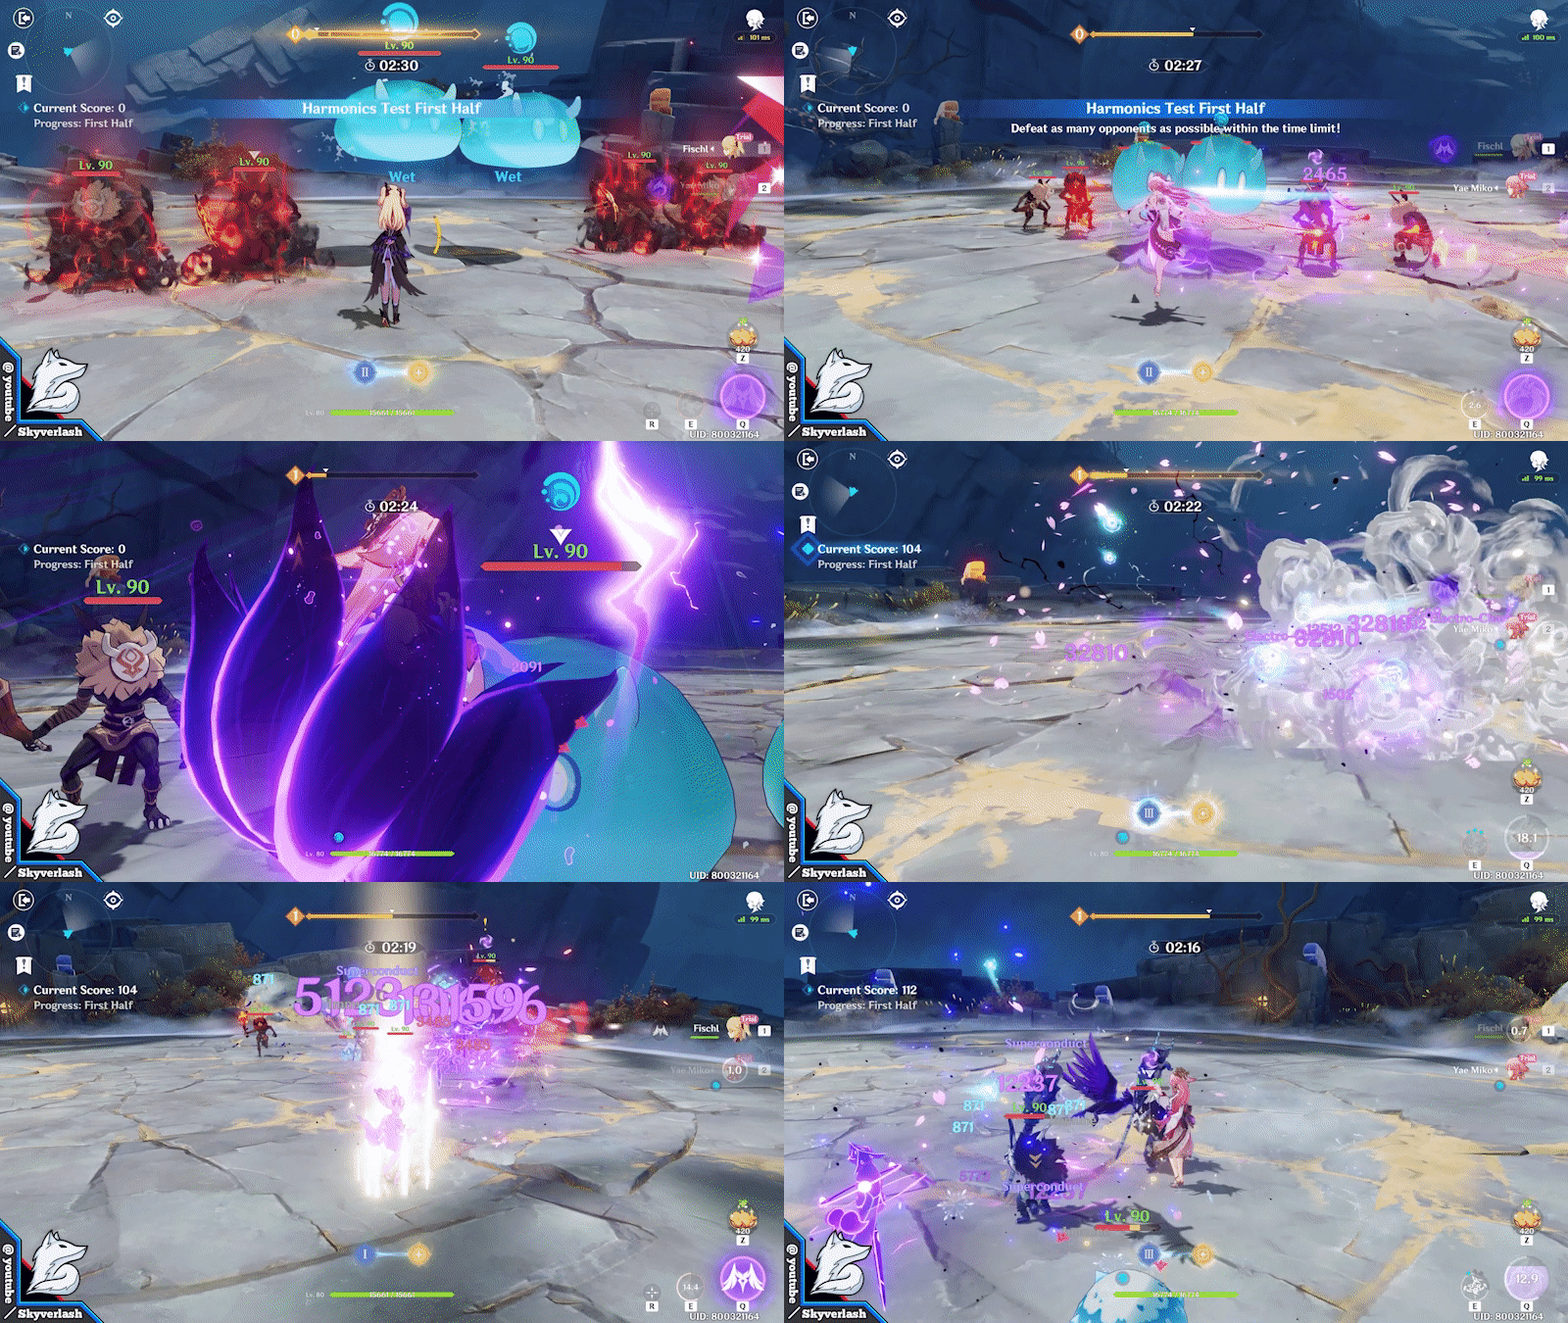
- If you see duck or crab, run away XD
Second Half Tactic
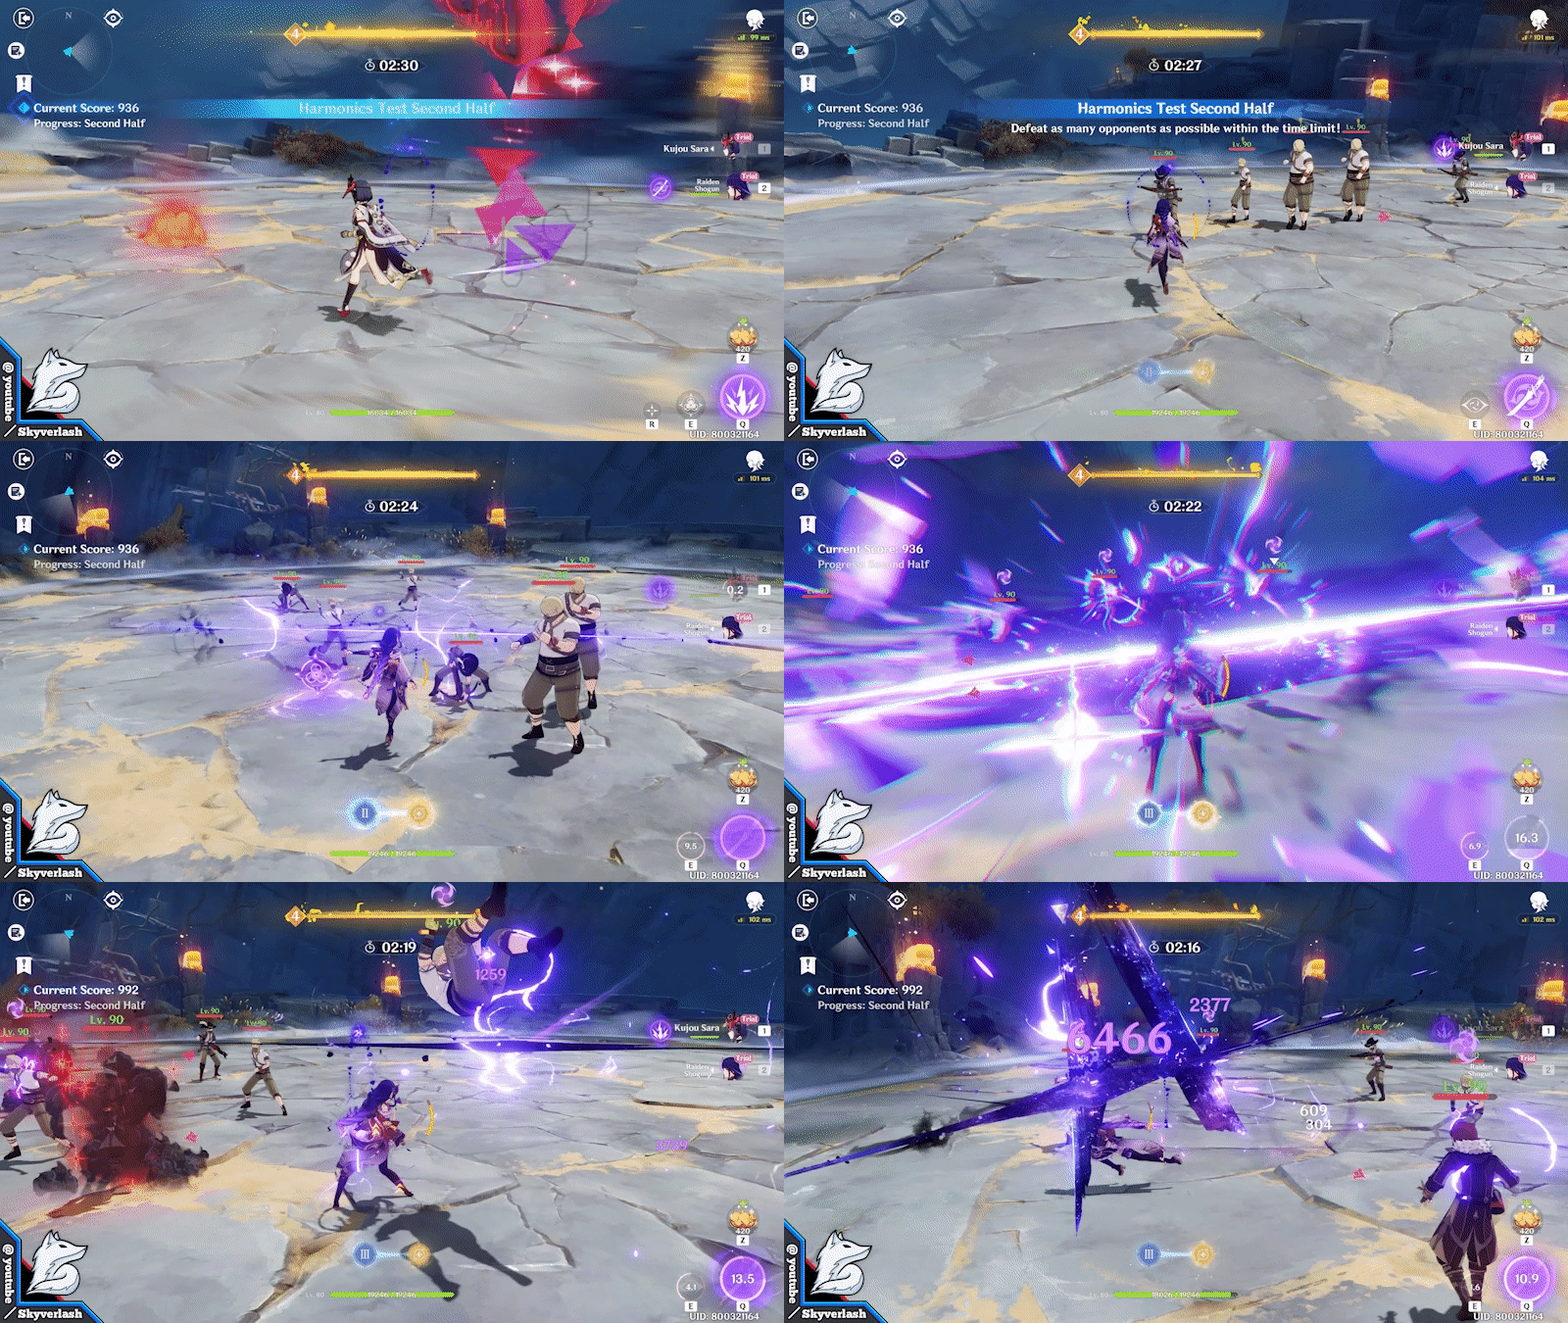
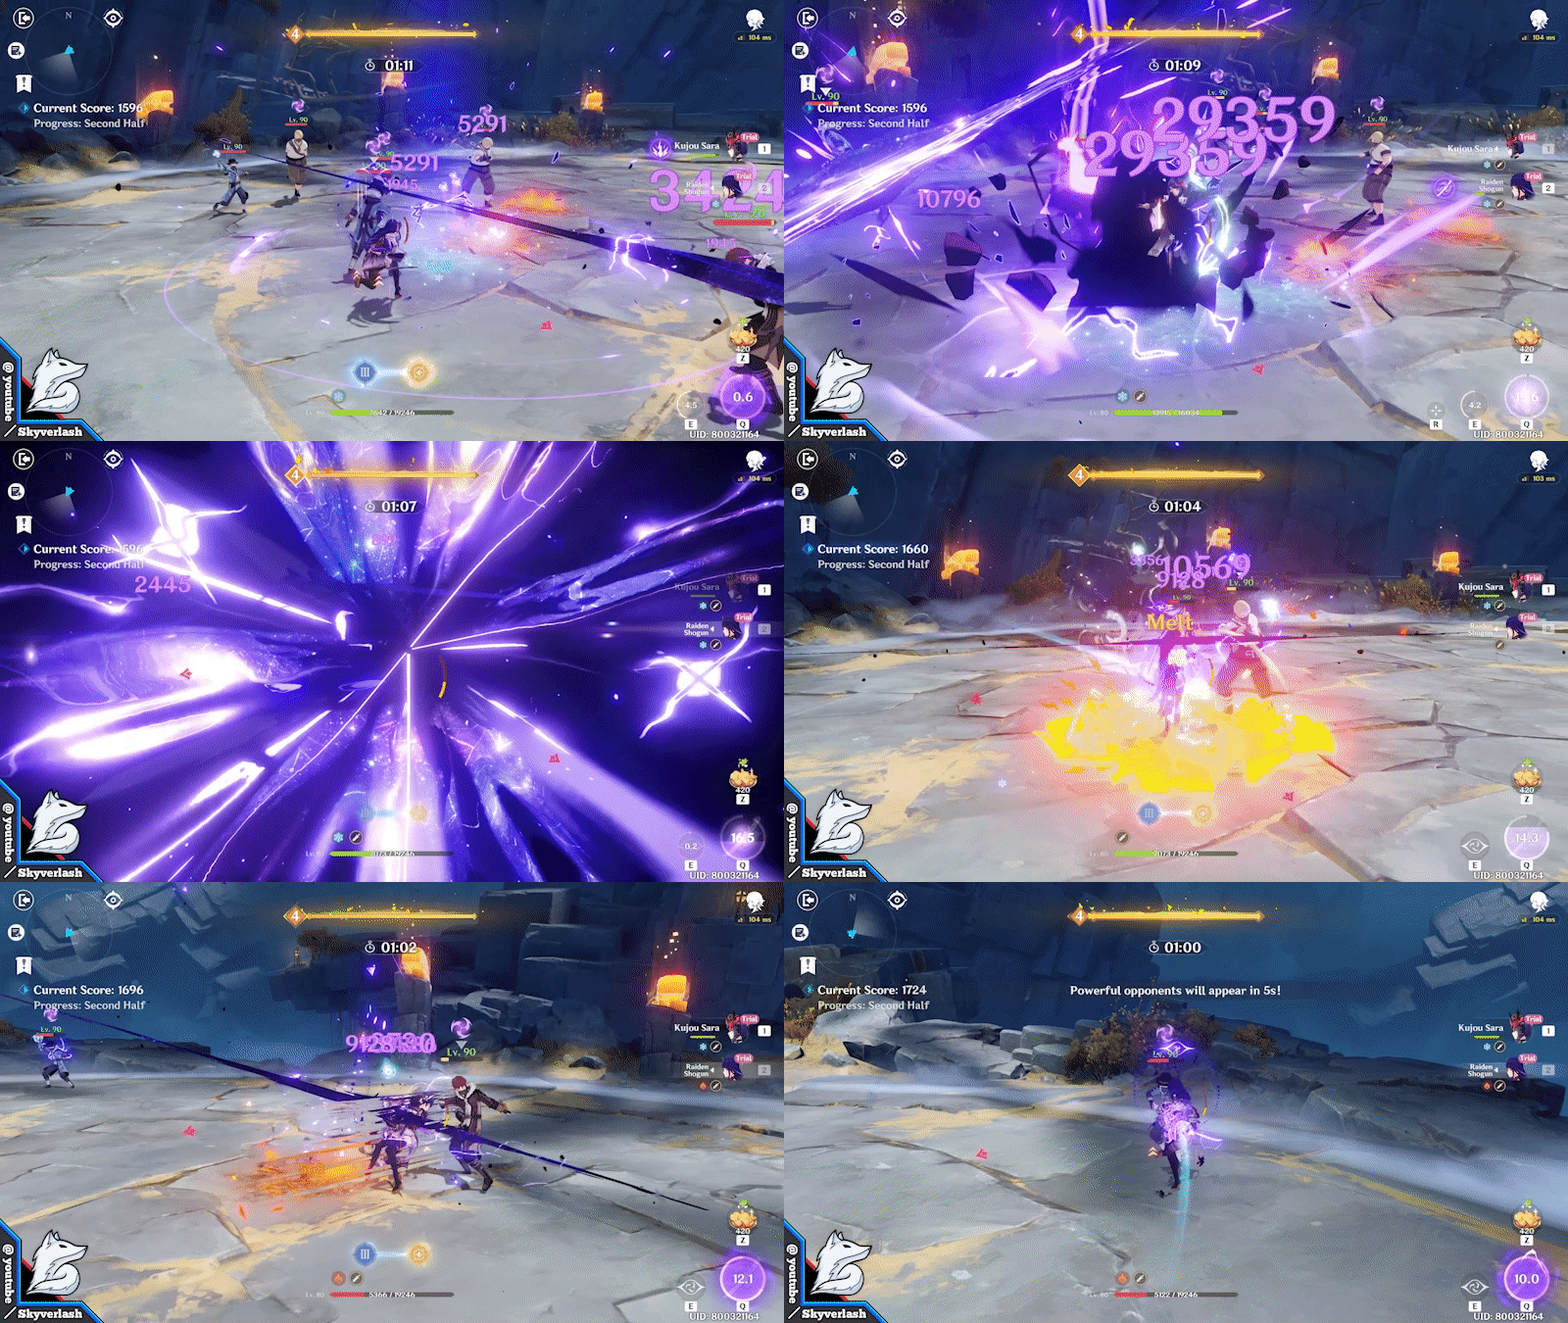
- It's all about spamming burst
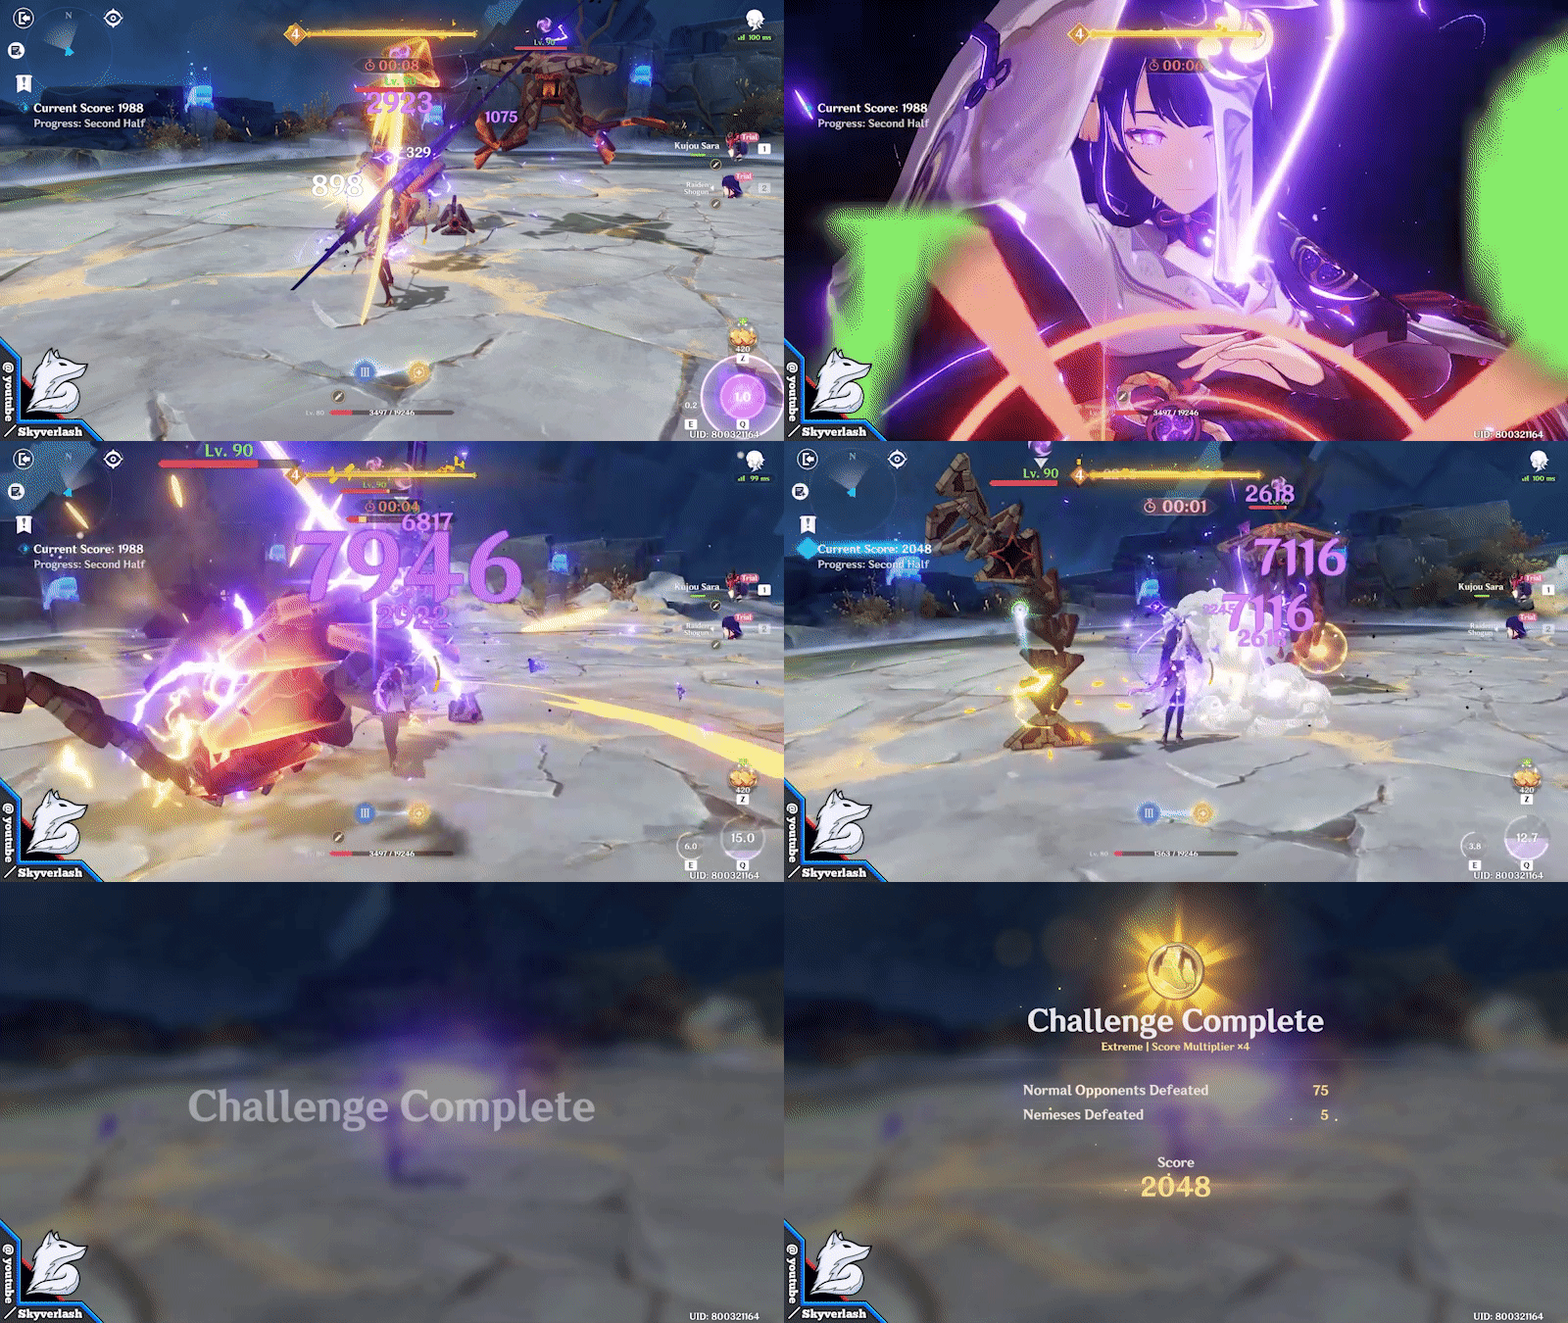
Uwaaa, I almost failed this XD 
I like the adrenaline tho 

✧ Team Composition
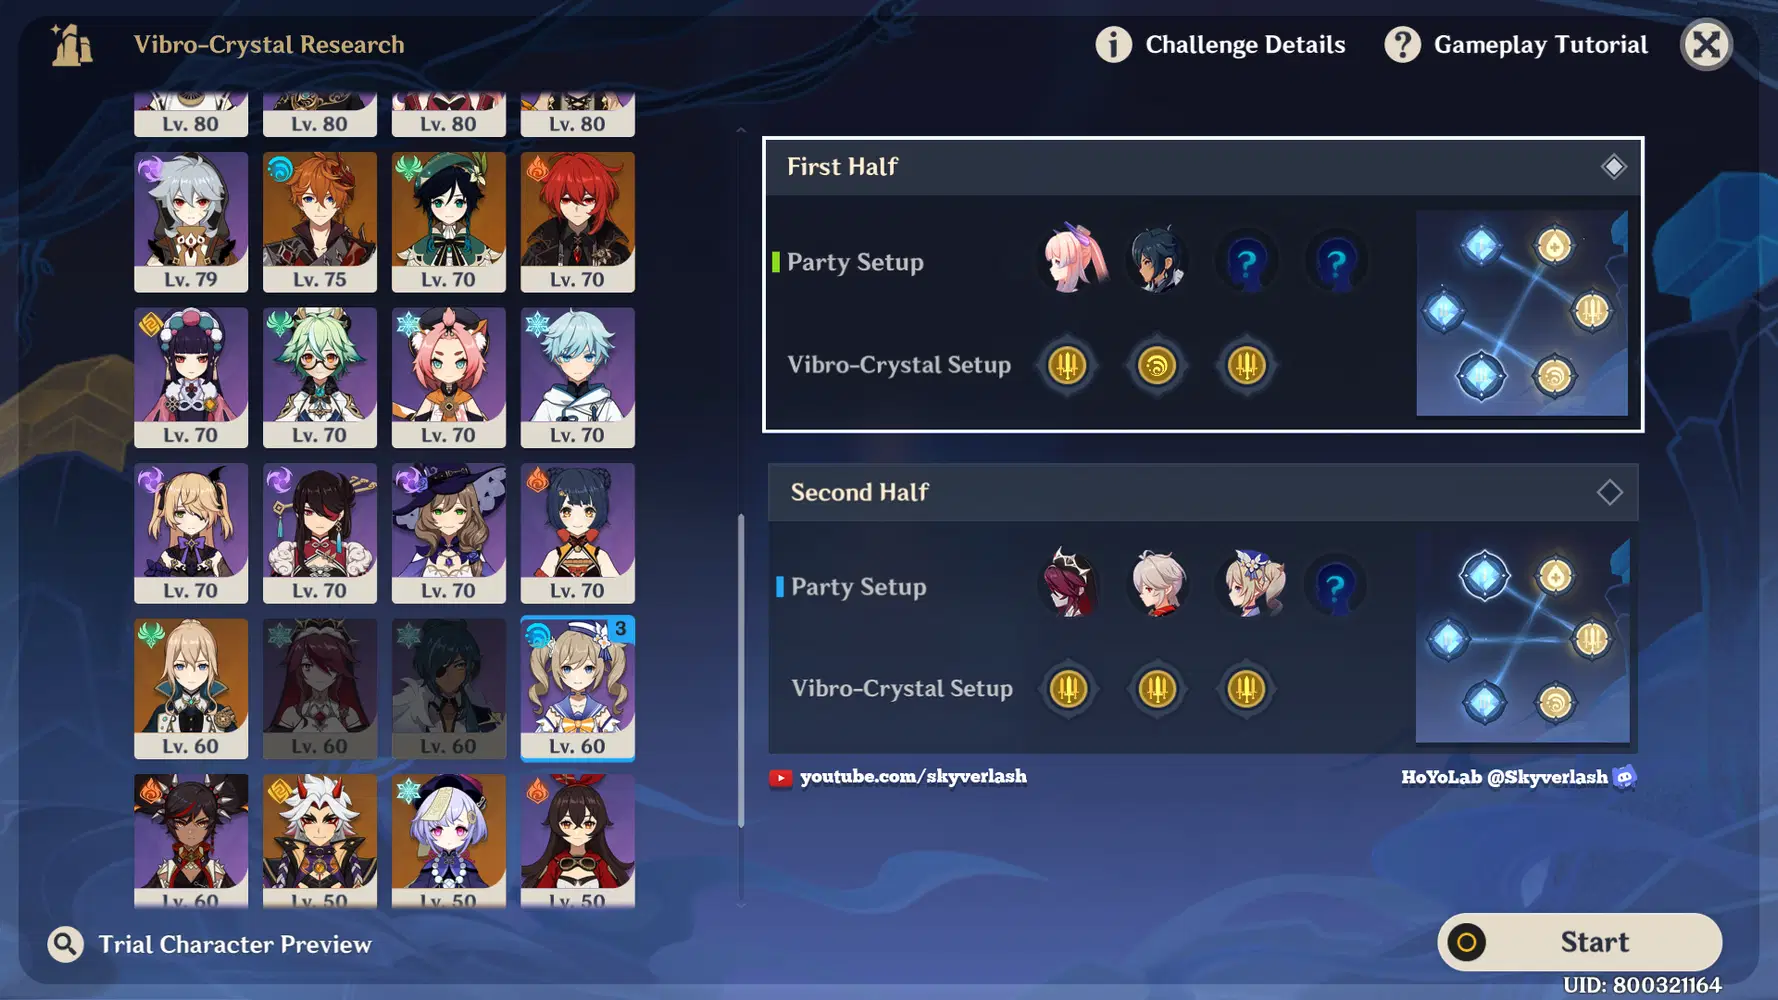
First Half Team Recommendation
- Must include hydro + healer
|| Kokomi, Kaeya, [any cc anemo], [Flexible]
|| Sky's recommended characters = Venti / Sucrose / Mona / Ganyu / Ayato / Ayaka / Eula / Diona / any shielder
|| If you don't want to use Kokomi, you can add Jean / Qiqi too
|| As for the buff, it depends on your team. If there's hydro DPS, it's better to use hydro damage buff instead of ATK buff
Buff explanation
|| Heal = ATK buff
|| HP depletes = Hydro buff
|| Use E skill = Max HP increase
Second Half Team Recommendation
- Freeze Team + healer
|| Rosaria, Kazuha, [hydro], [healer]
Sky's recommended characters = Diona / Ayaka / Ayato / Ganyu / Qiqi
Make sure you have healer here
Buff explanation
|| Heal = ATK buff
|| HP depletes = ATK buff
|| Use E skill = Max HP increase
Domain buff
|| E skill damage & Burst damage bonus based on 50% current HP
Domain debuff
|| Use E skill / Burst = corrosion (constant HP reduction / damage over time)
You can die if you don't heal from this corrosion
Notes
|| For the buff, you can switch between hydro damage bonus / ATK bonus depending on your character
I have no hydro DPS there, so it's better to buff the ATK
|| Higher HP = higher E skill damage, so it's also good to use trigger E skill = max HP increase
|| Kokomi used 4 set clam here, so her healing can act as DPS source too
|| This domain will become very easy because there's Kazuha
Kazuha always act as the backbone of your team :D
✧ How To Win 4th Day Challenge
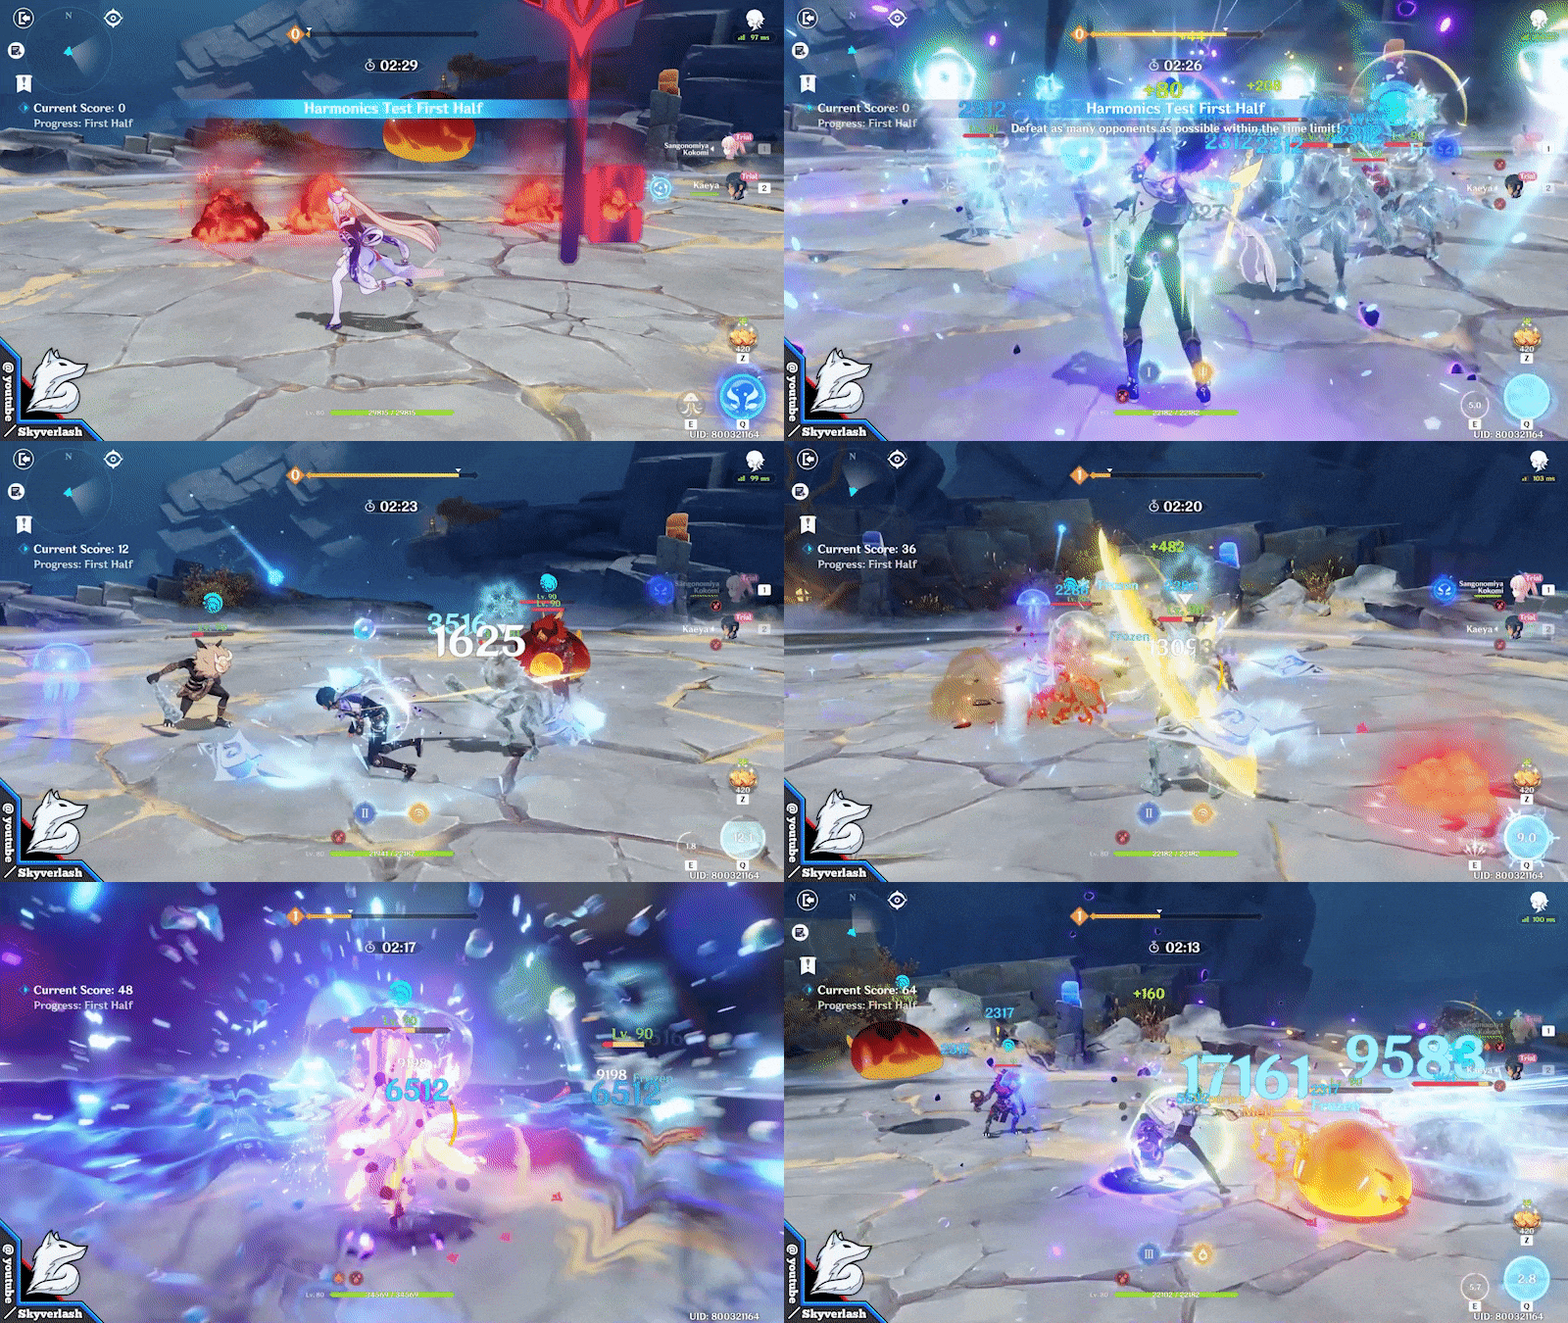
First Half Tactic
- Heal using Kokomi's E skill everytime you can
(to fill up the harmonics quicker)
Once the E skill cool down reached 10 seconds to 8 seconds, you can use Kokomi's burst to prolong the jellyfish duration
Make sure to NOT use the burst when the cool down is below 8 seconds (the jellyfish already gone, so you can't prolong the jellyfish duration)
The rest is repeat the cycle using any characters you have
*When Kokomi is in her burst mode, it's better to use her normal attack + charged attack mode for the heal + damage from the clam artifact set
Second Half Tactic
- Just use Kazuha's E skill + burst, you gonna enjoy this domain
Loop every elemental attack with Kazuha's burst
Kazuha used sacrificial sword here, so you have a chance to "re-use" his skill once again
Use Kazuha's hold E skill to suck in enemies that are far away
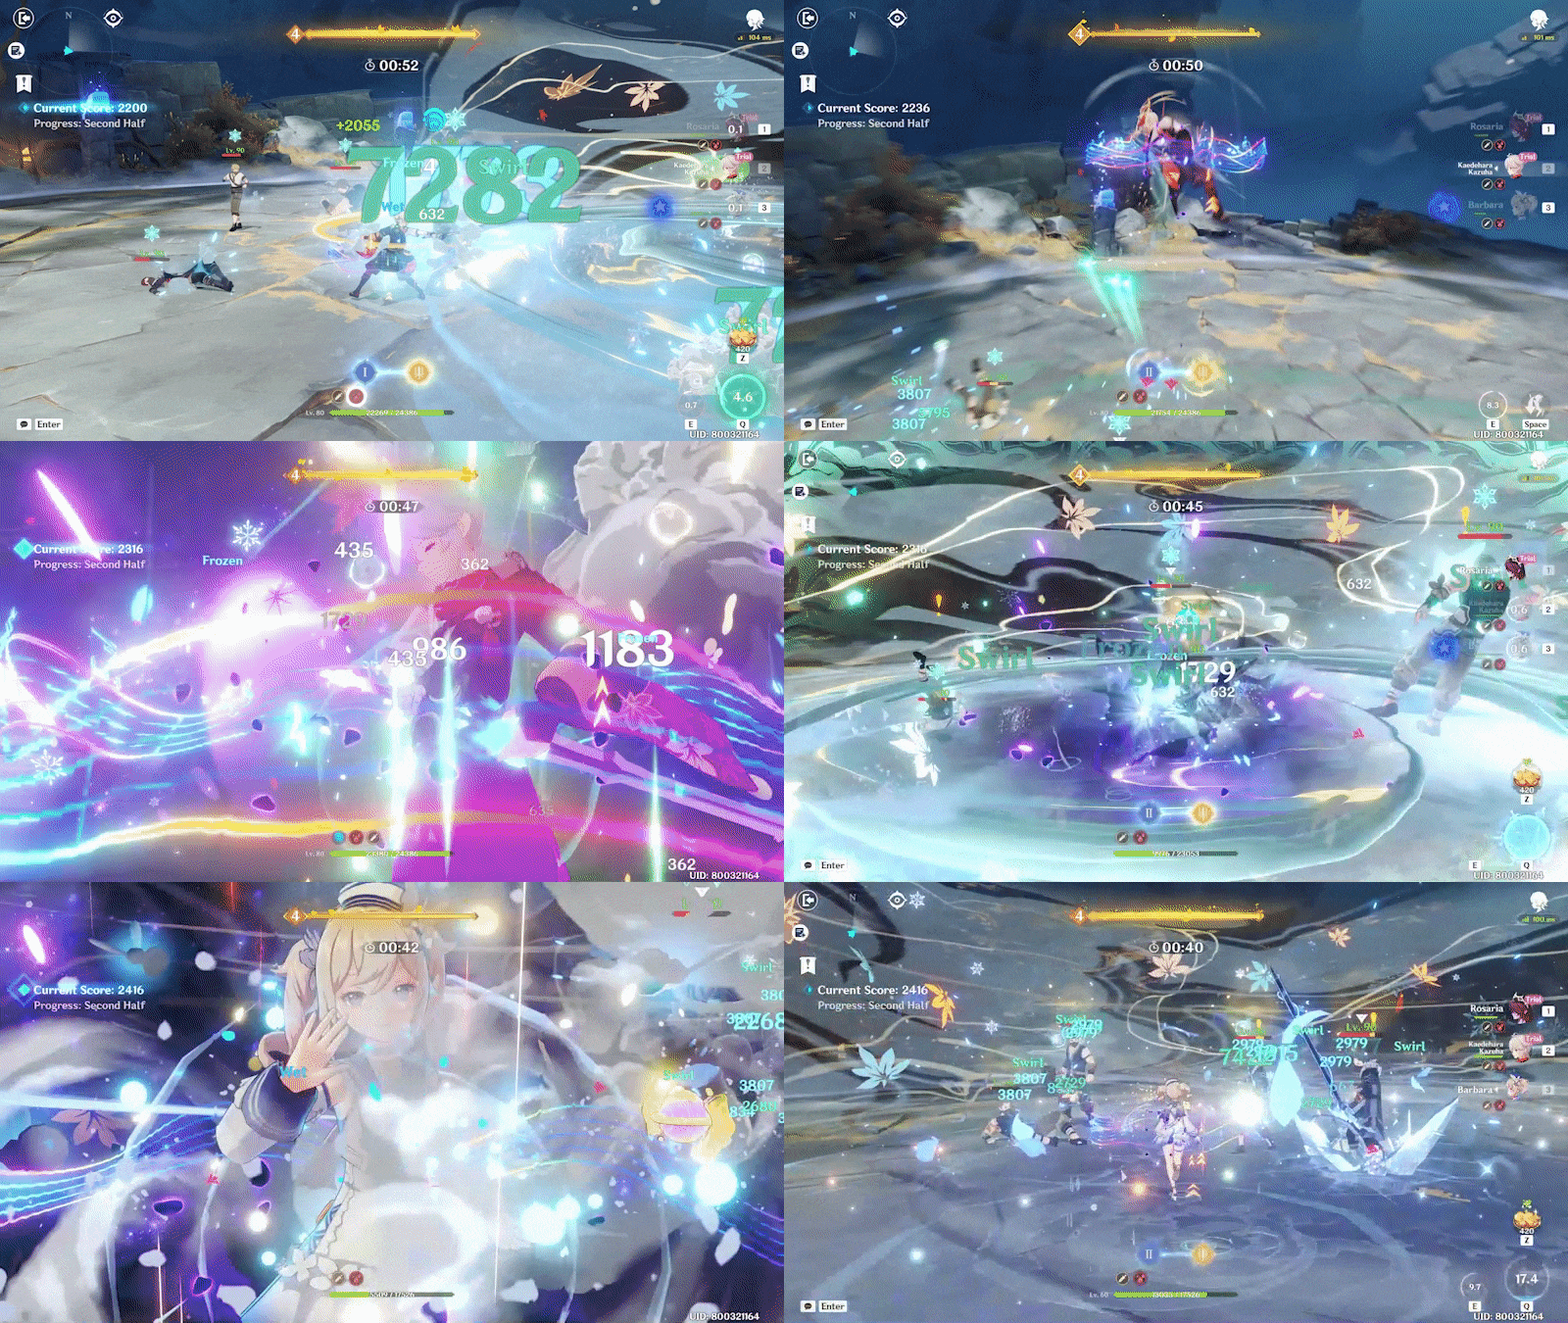
Kazuha made everything unga bunga - able
I even reached 2k effortlessly because of Kazuha

✧ Team Composition
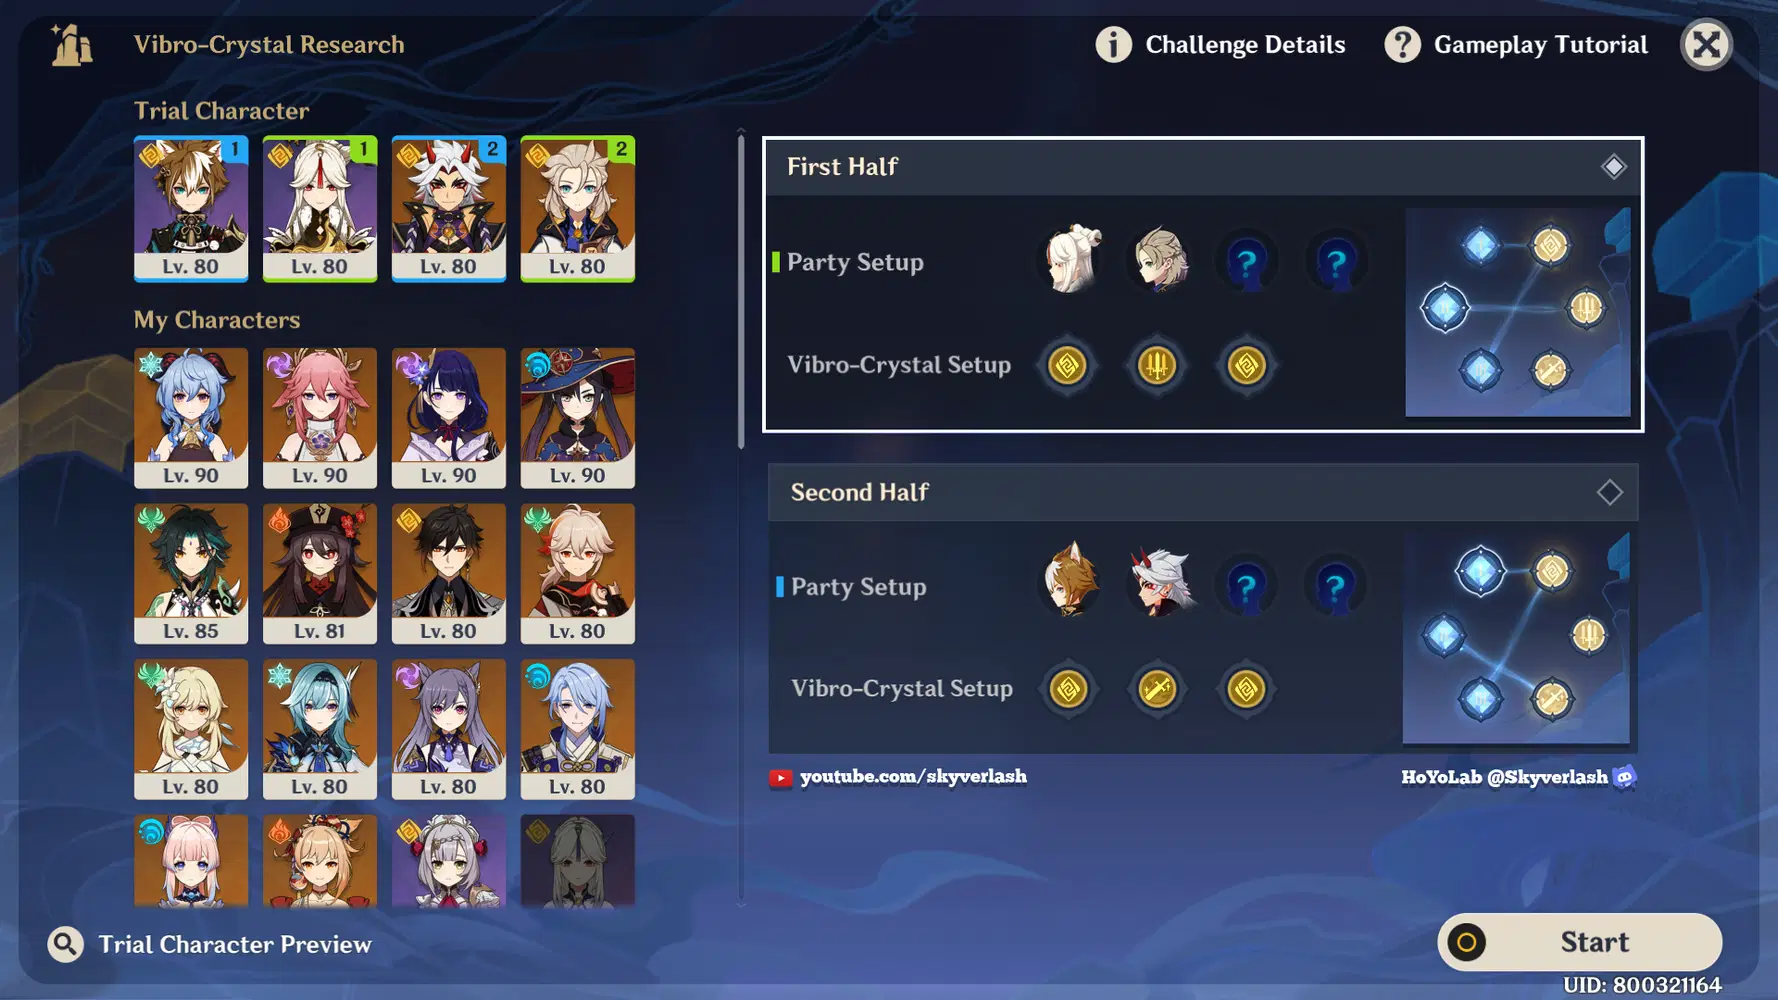
First Half Team Recommendation
- Geo Burst team
|| Ningguang, Albedo, [Flexible], [Flexible]
|| For this one, Sky will not give a recommendation, because you can legit use any characters and it'll work (hopefully)
|| Ningguang and Albedo can act as battery to each others, and once you spam their burst, it's very easy to recharge their energy again
*Also Ningguang only need 40 energy, so very gucci
Buff explanation
|| Use Geo attack = Geo damage bonus
|| Trigger crystallize = ATK buff
|| Use E skill = Geo damage bonus
Second Half Team Recommendation
- Arataki Itto the Unga Bunga Boss
|| Gorou, Unga Bunga Boss, [flexible], [flexible]
|| For this one, you can also be wild and free with whatever team, even meme team would work here
|| Because we have Itto and Gorou to seal the deal here
So you can say, prepare the trouble, and make it double
Buff explanation
|| Use Geo attack = Geo damage bonus
|| Trigger crystallize = Crit Rate buff (Charged Attack only)
|| Use E skill = Geo damage bonus
Domain buff
|| Obtain crystallize shield = 15% Damage buff
Last for 8s, 3 stacks
Notes
|| For 1st team, Ningguang's burst can actually hits quite hard, so keep spamming her burst
She's the battery for herself too
|| Make sure to stay inside Albedo's E skill range to benefit his off field damage too
|| 2nd team is the one that carrying you, so don't worry about low points in 1st half
✧ How To Win 5th Day Challenge
First Half Tactic
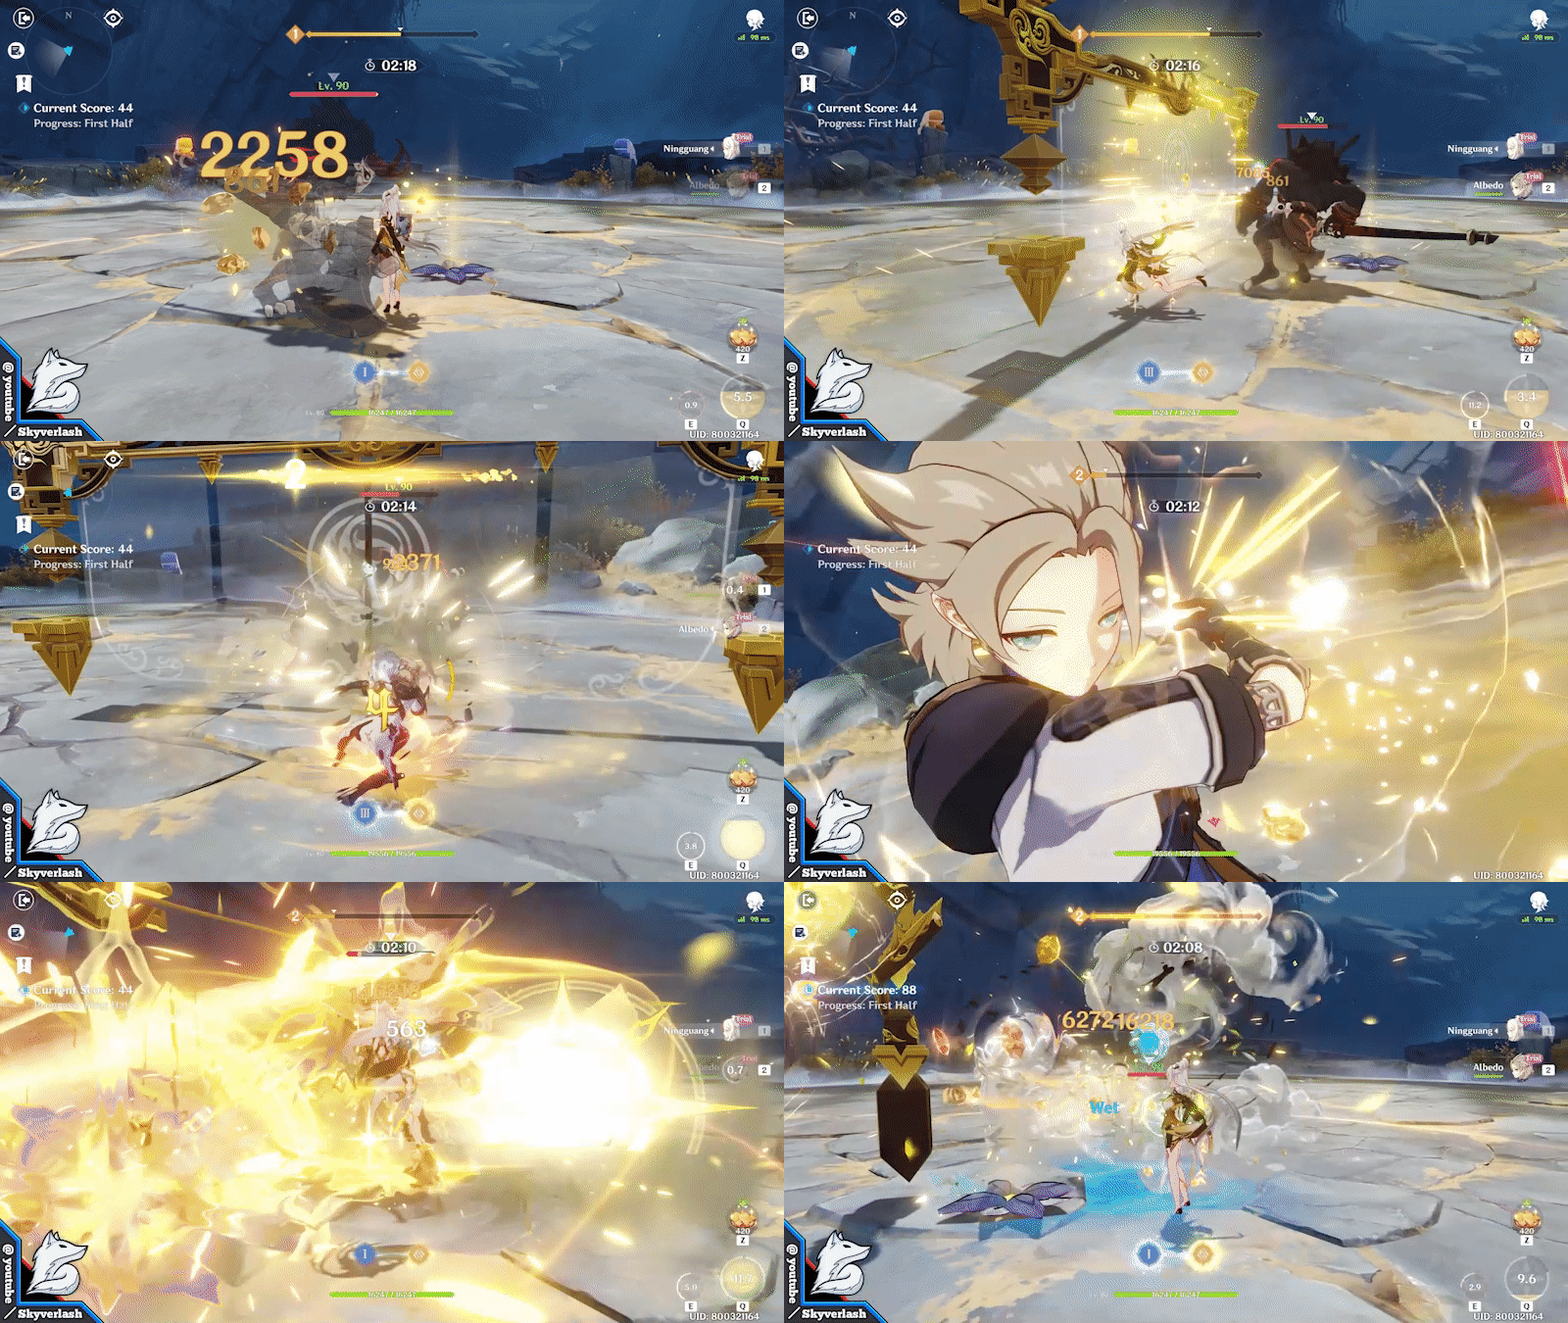
- Pass through Ningguang's Jade Screen to gain additional geo buff
Then continue with the E skill - burst sequence
The order won't matter that much, as long as you keep alternate Ningguang's burst, Albedo's burst and your other character's burst
- Crystallize's shield can actually withstand the hydro bomb
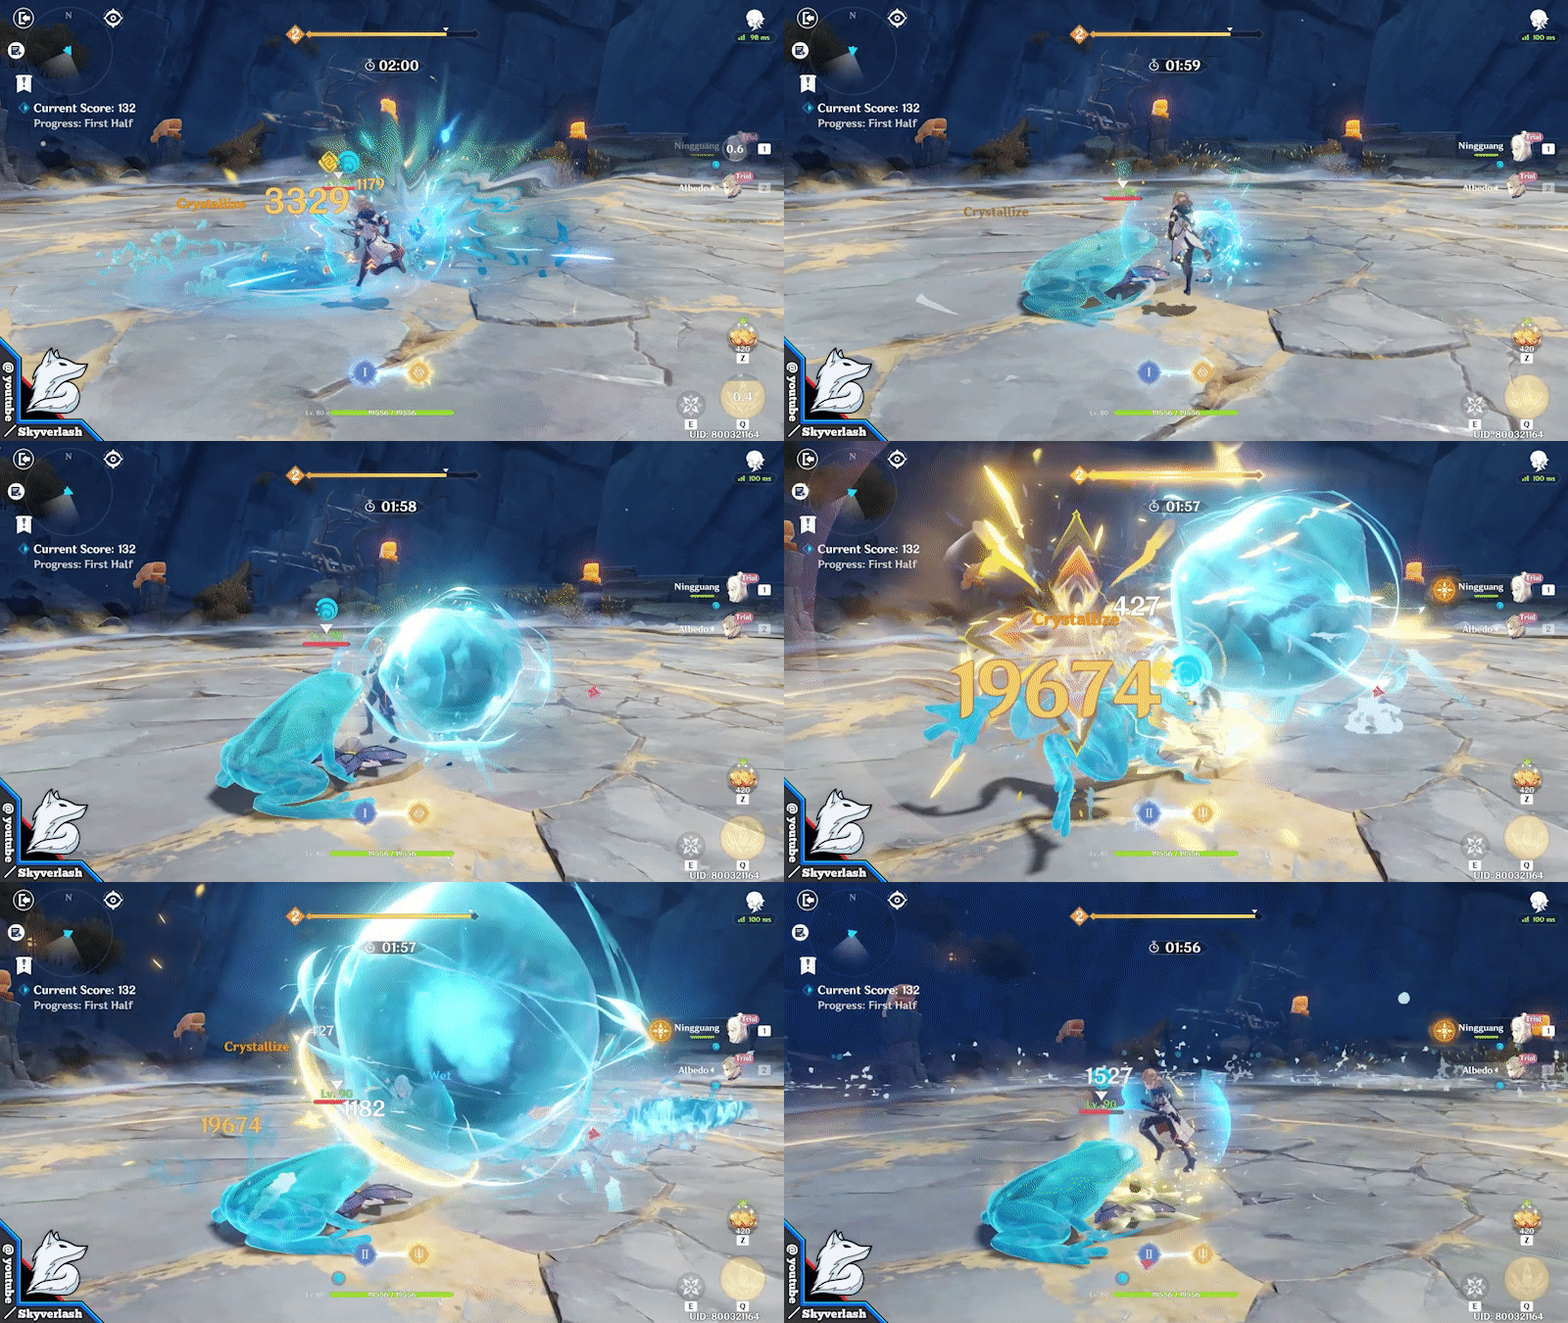
What you see isn't me trying to use Albedo's elevator 
*Also, it's totally fine if you have lower points on first half
Itto will Unga Bunga all the time to reach 2000 points
Second Half Tactic
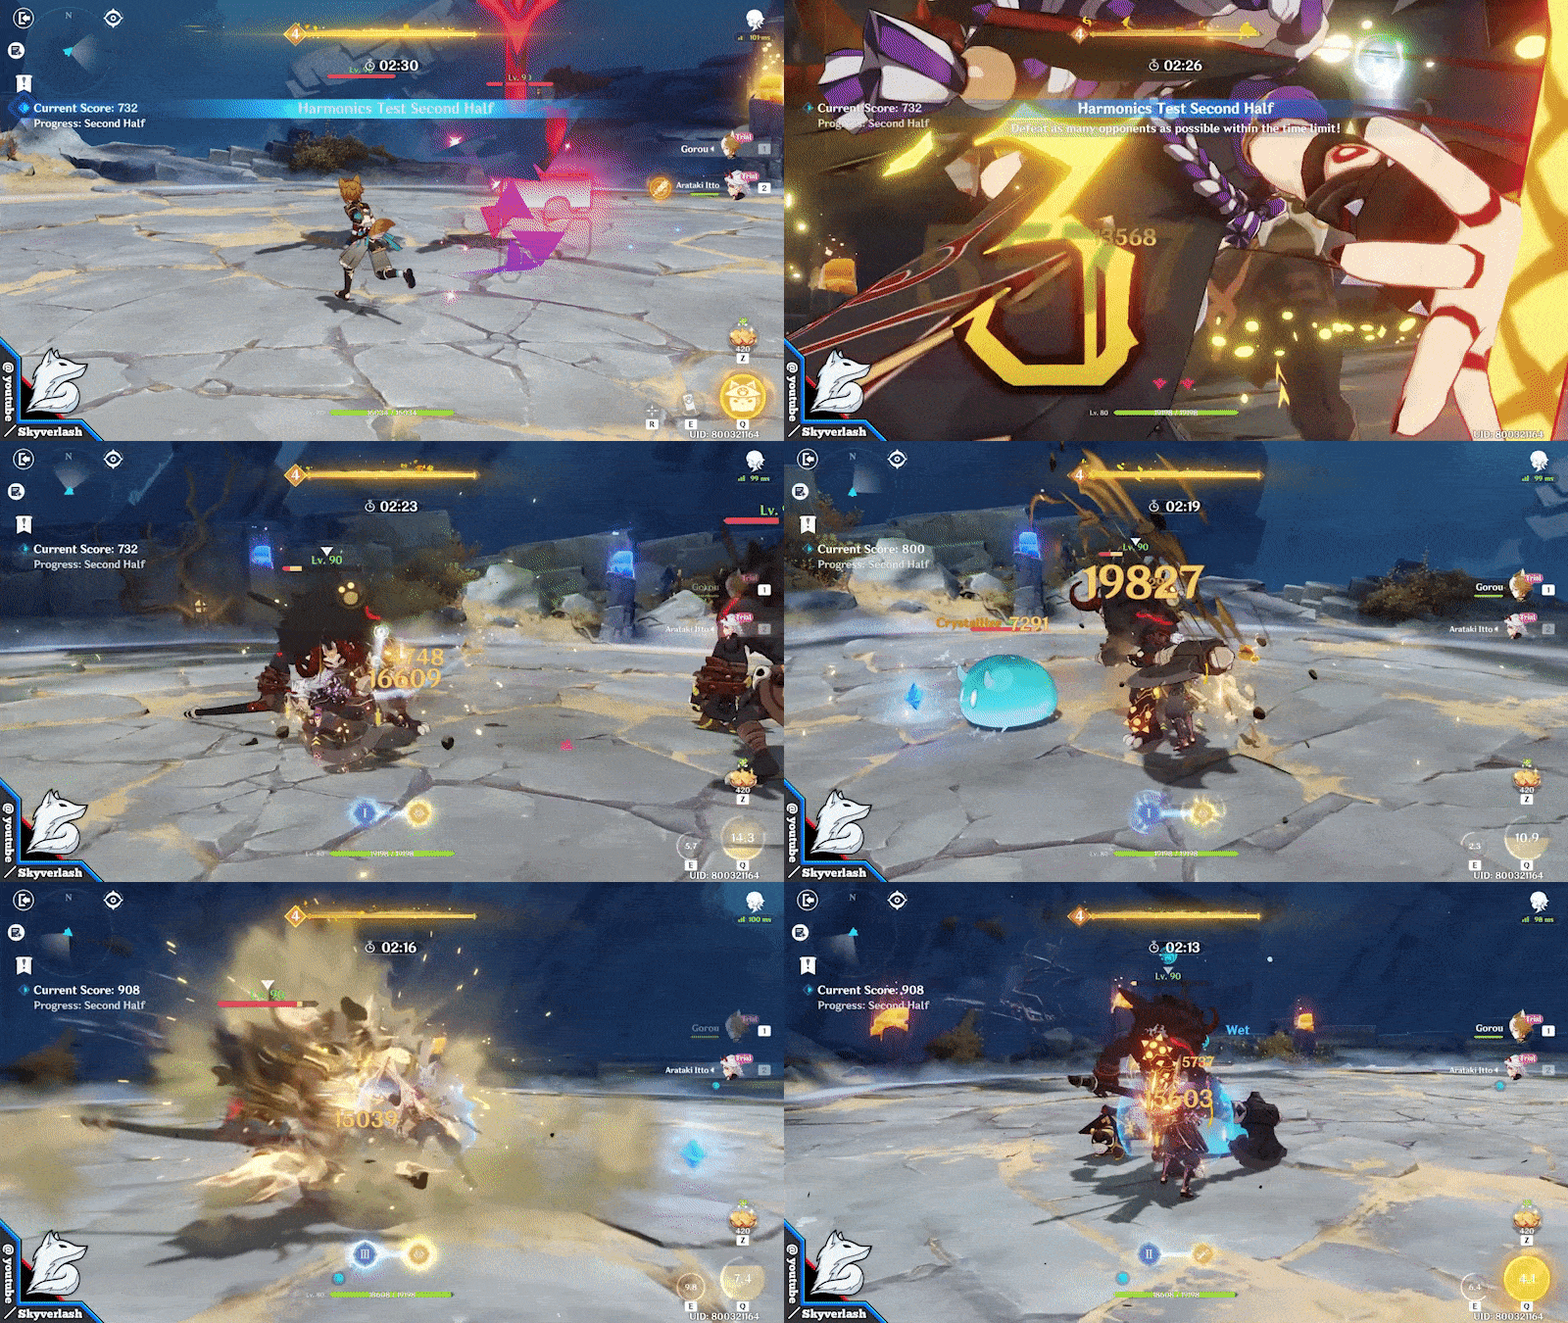
- Use Gorou's burst to buff DEF, Itto burst > once it's 5 stack, go unga bunga
- Make sure to use Ushi after you trigger Itto's burst
This made me believe that Ushi is the reason why Itto is 5*
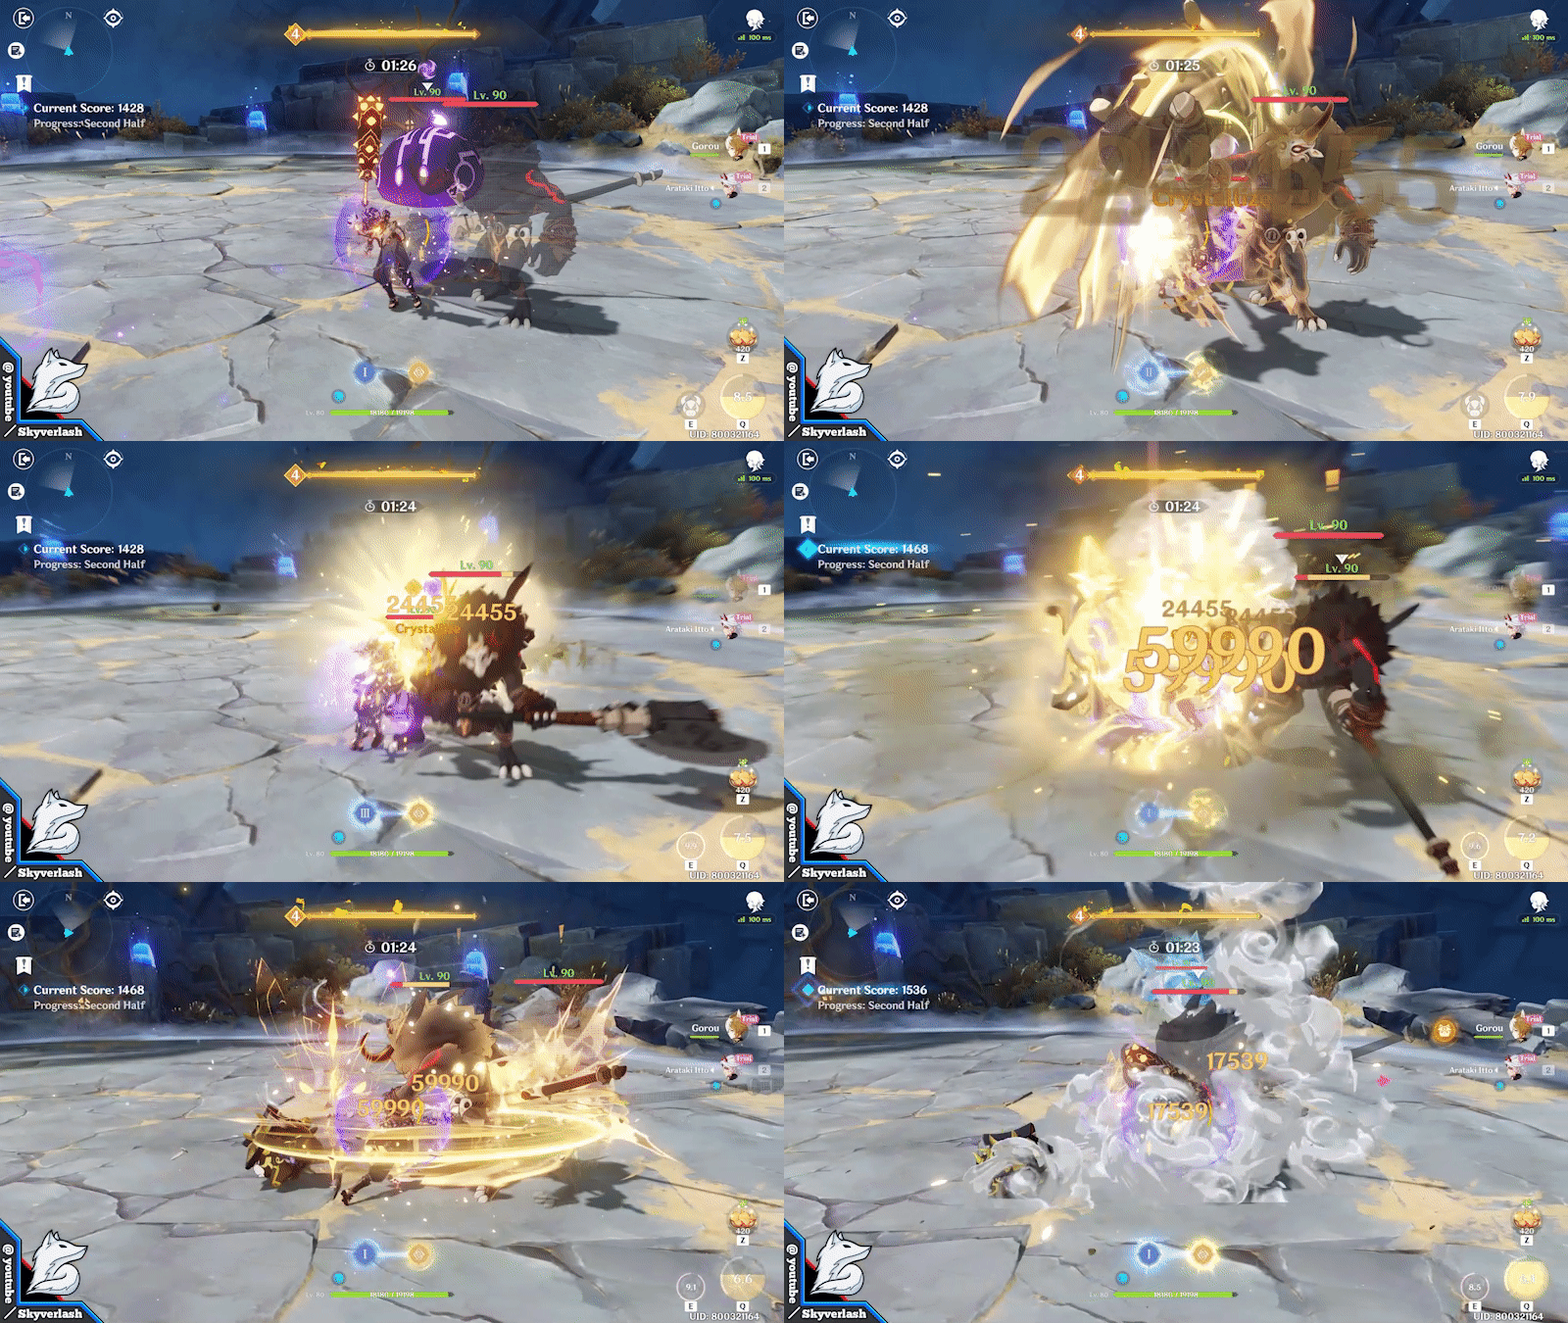
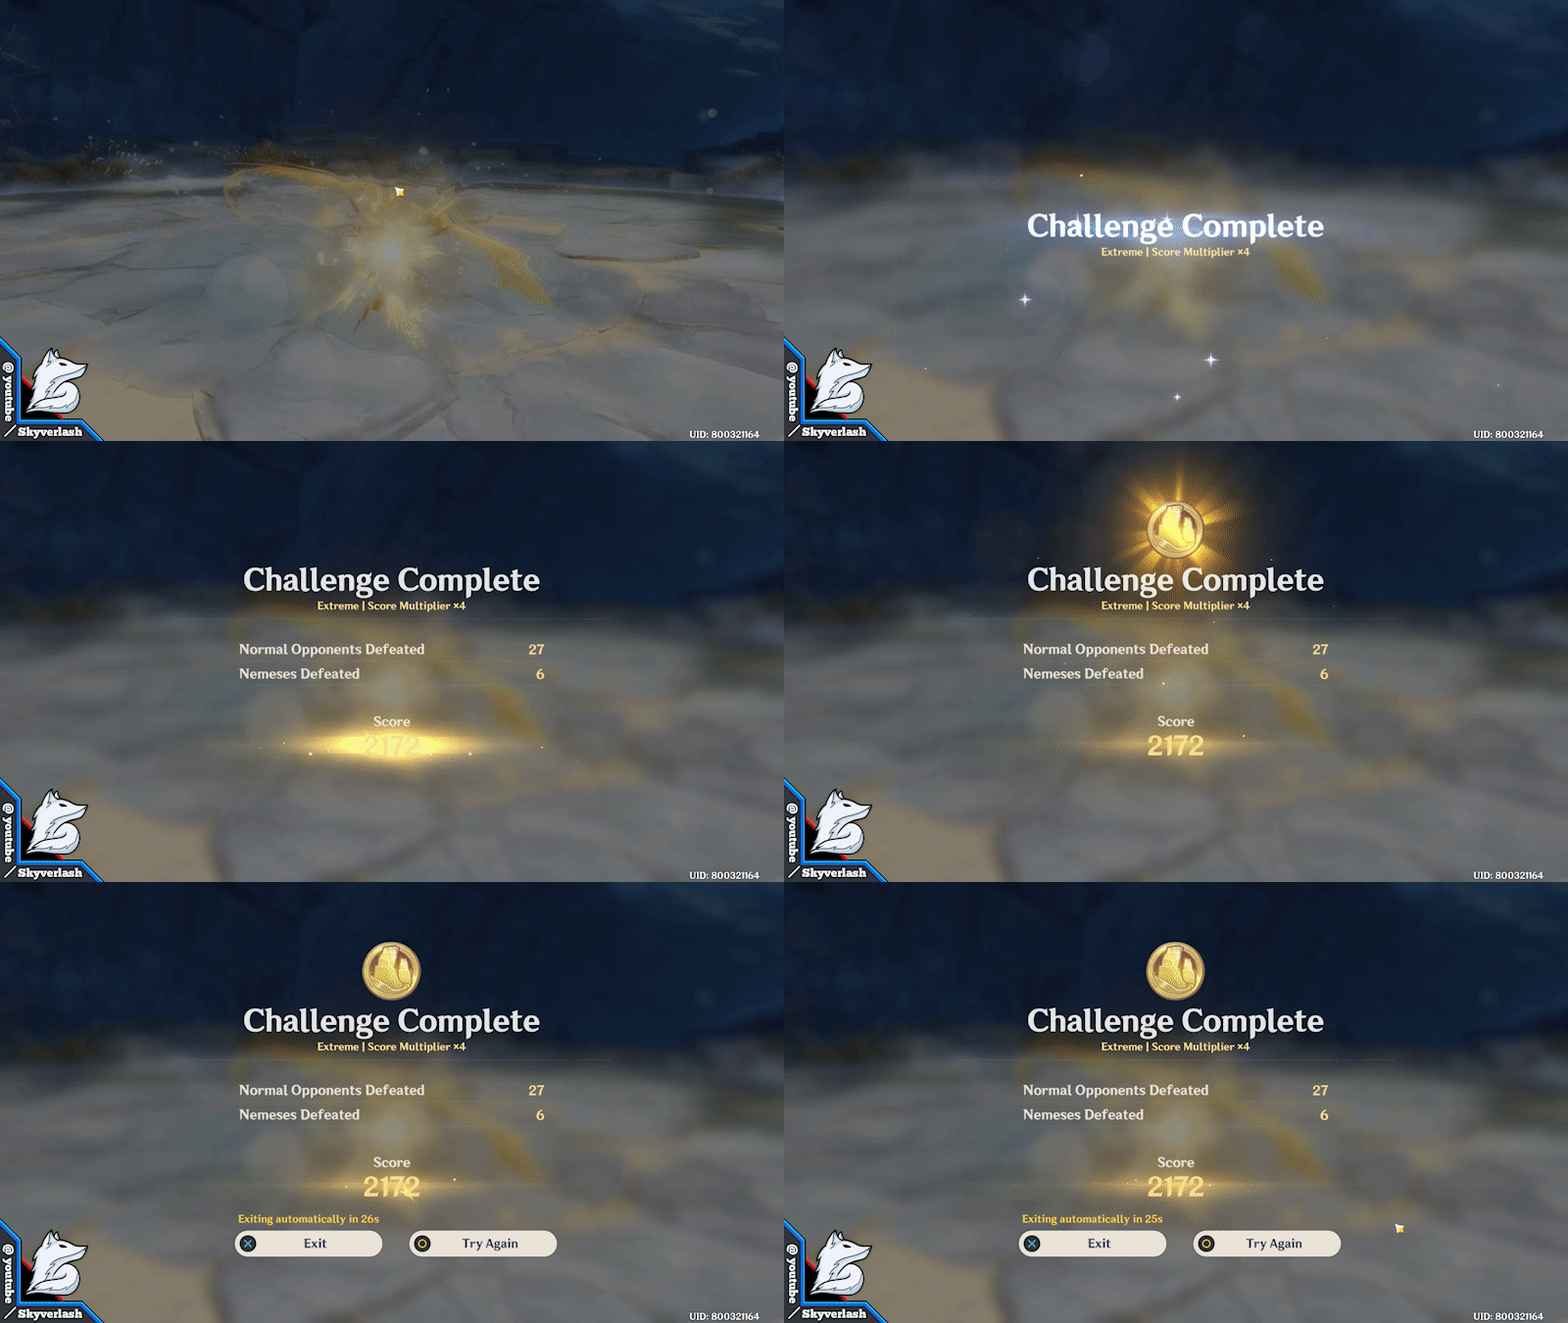
We did it!
Itto's Unga Bunga really fun tho, I enjoyed it too much XD

✧ Team Composition
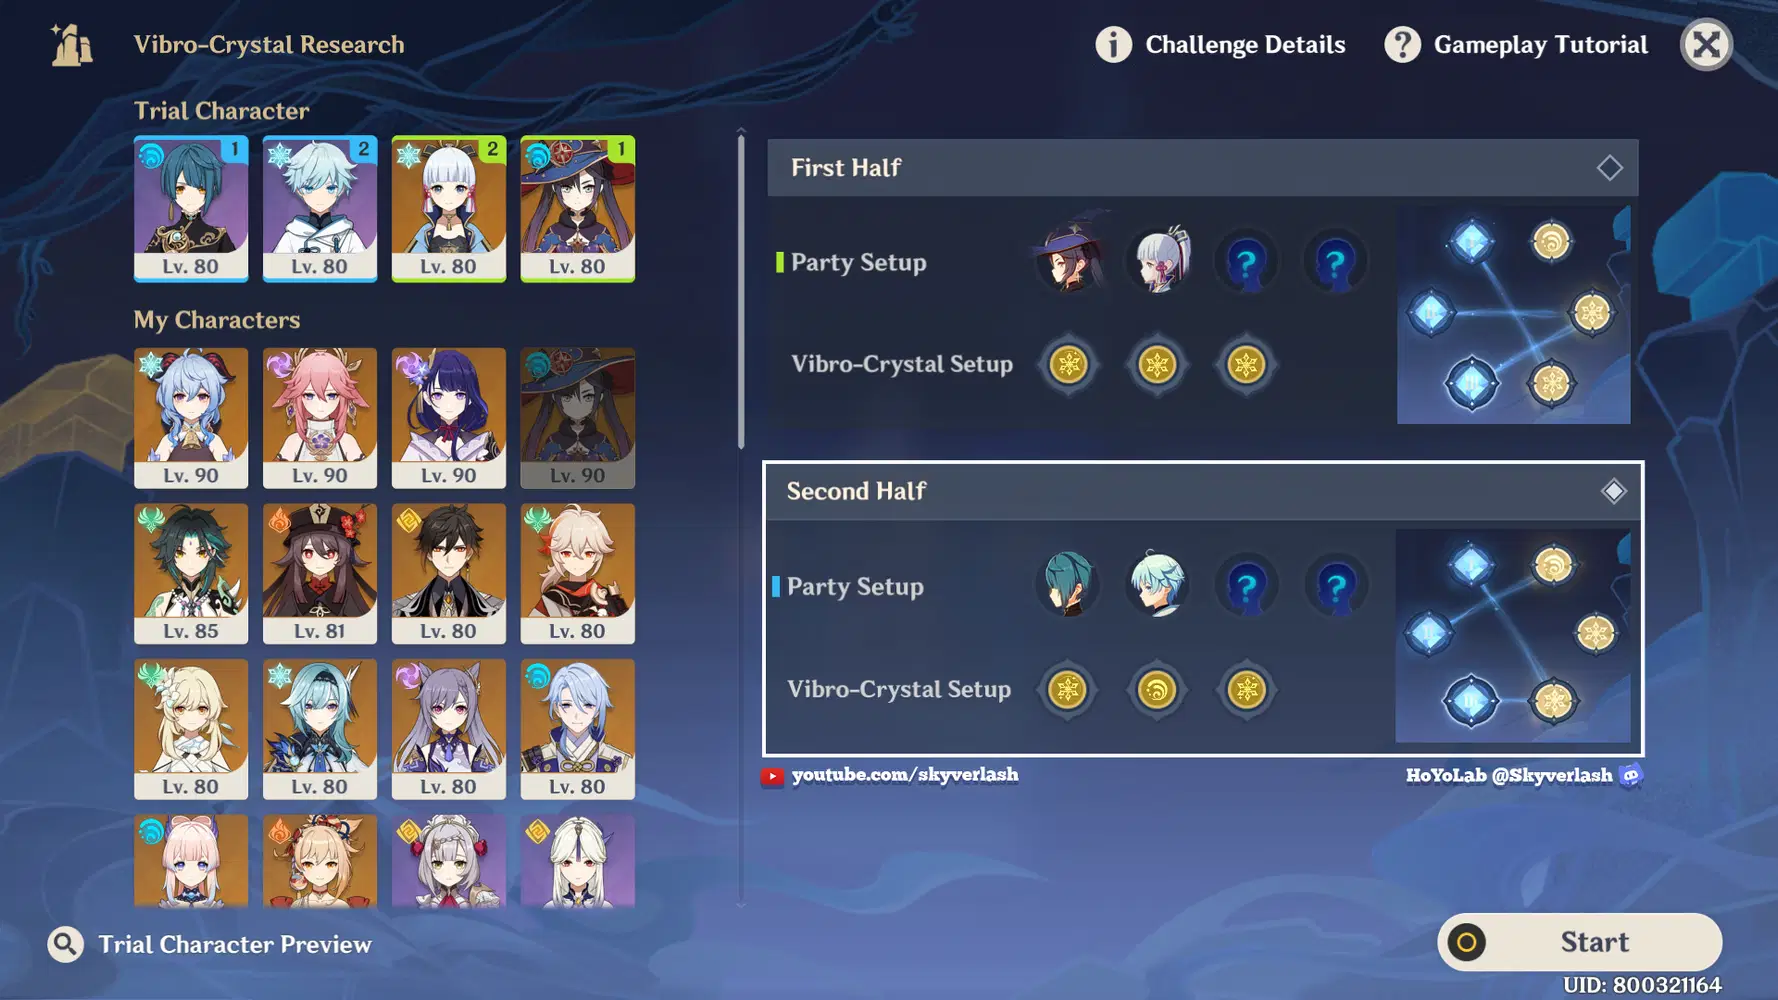
First Half Team Recommendation
- Moryana team
|| Mona, Ayaka, [Diona], [Anemo]
|| Sky's recommended characters = Diona / Venti / Sucrose / Kaeya / Rosaria / Jean
|| The main core of permafreeze is here (Mona and Ayaka), the only thing you need to add is the cryo battery which is Diona, and one cc anemo character to complete the set
Buff explanation
|| Hit frozen enemies = Increased damage against frozen enemies
|| Use E skill = Cryo damage bonus
|| Trigger frozen = Cryo damage bonus
Second Half Team Recommendation
- Freeze team
|| Xingqiu, Chongyun, [hydro], [anemo]
|| Sky's recommended characters = Ayato / Kazuha / Jean / Kokomi / Childe
|| You can also use Xiangling actually here, but the buffs only focus on cryo and hydro character tho
Buff explanation
|| Hit frozen enemies = Increased damage against frozen enemies
|| Use E skill = Cryo damage bonus
|| Trigger frozen = Cryo damage bonus
Domain buff
|| Frozen enemies = Def shred by 50%
Last for 3s after no longer frozen
Notes
|| This domain really emphasize the usage of frozen team, which is hydro and cryo characters. If hydro is your main dps, then you can switch the cryo damage bonus buff to hydro damage bonus buff
|| Ayaka will be the main carry in this team, so make sure you always coat her with infused cryo attack (just keep dash frequently) to get the cryo damage buff all of the time
✧ How To Win 6th Day Challenge
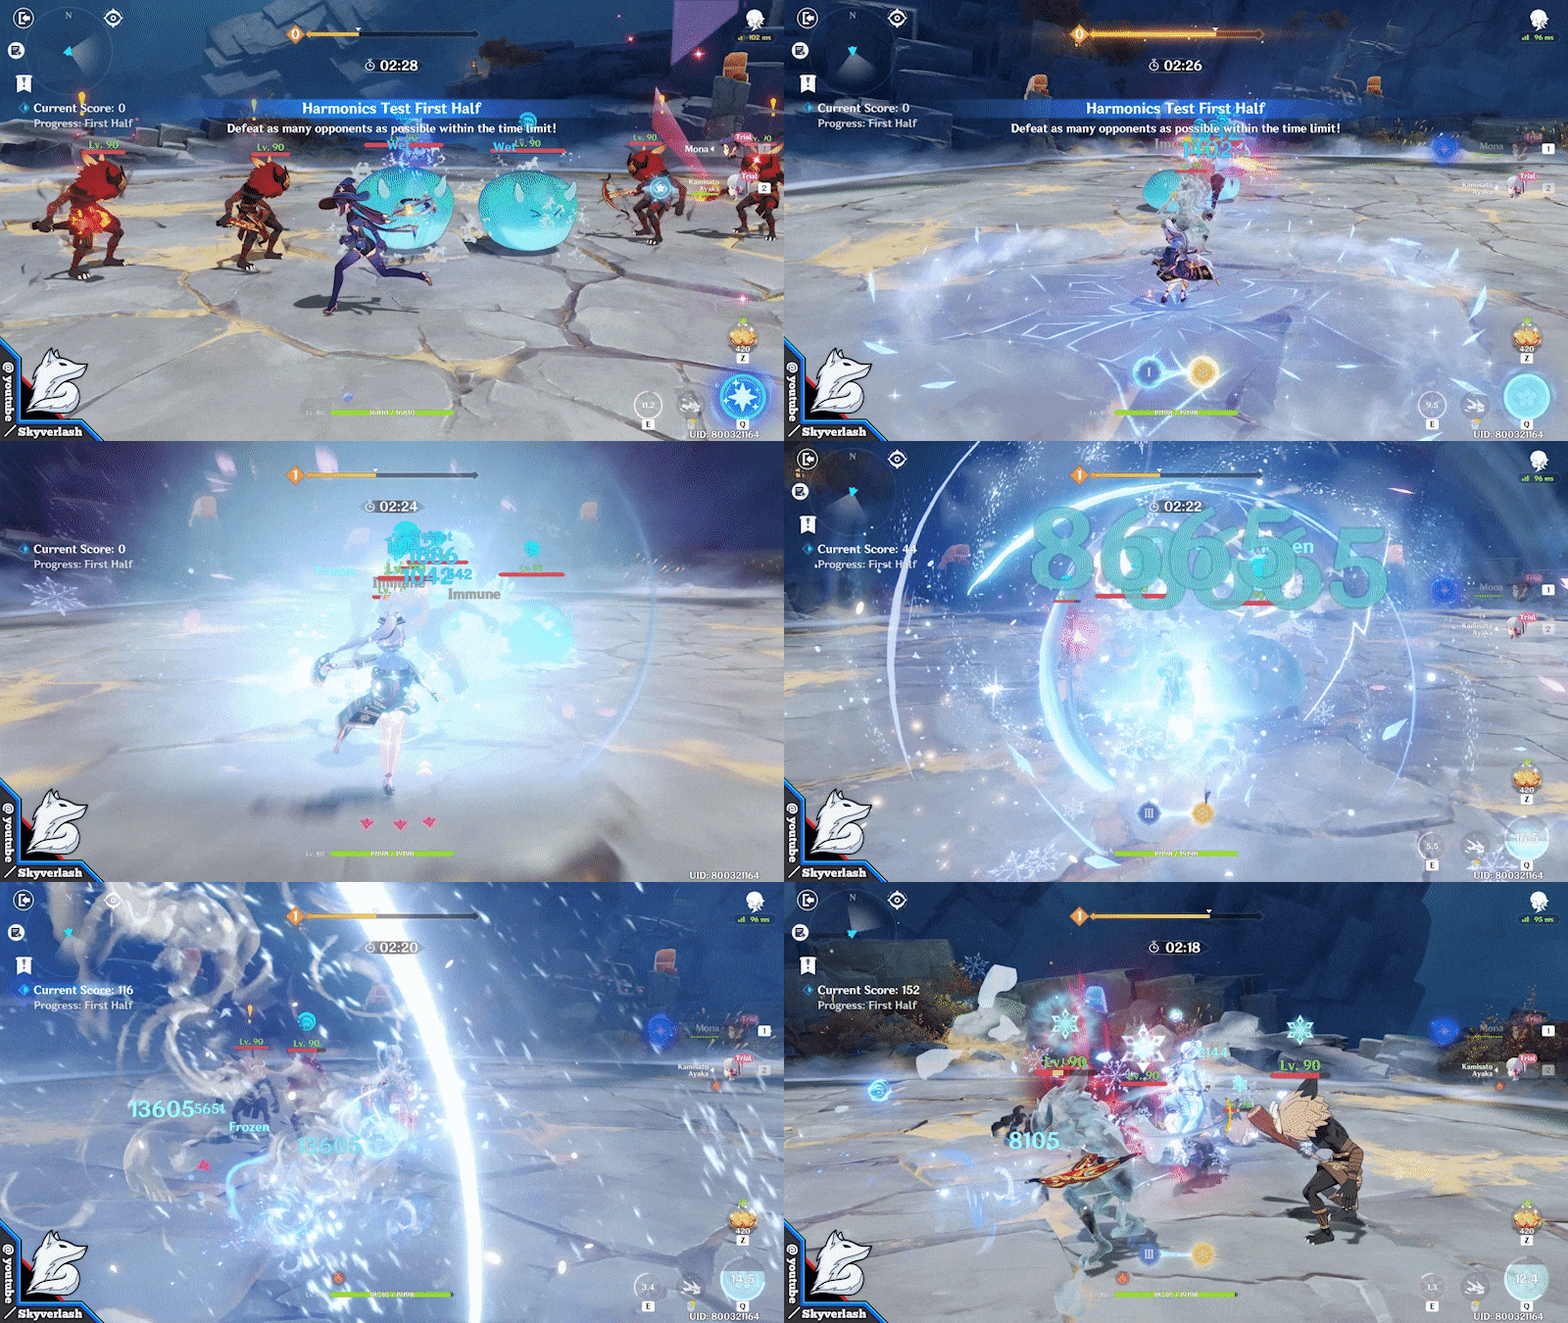
First Half Tactic
- Spam Ayaka's dash to infuse herself with cryo attack
Also, make sure to align Ayaka's position at the edge of the enemies' line so that her burst will hit everyone
Frozen enemies = damage buff, so make sure to keep spamming the hydro - cryo reaction all the time to let Ayaka kill the enemies faster
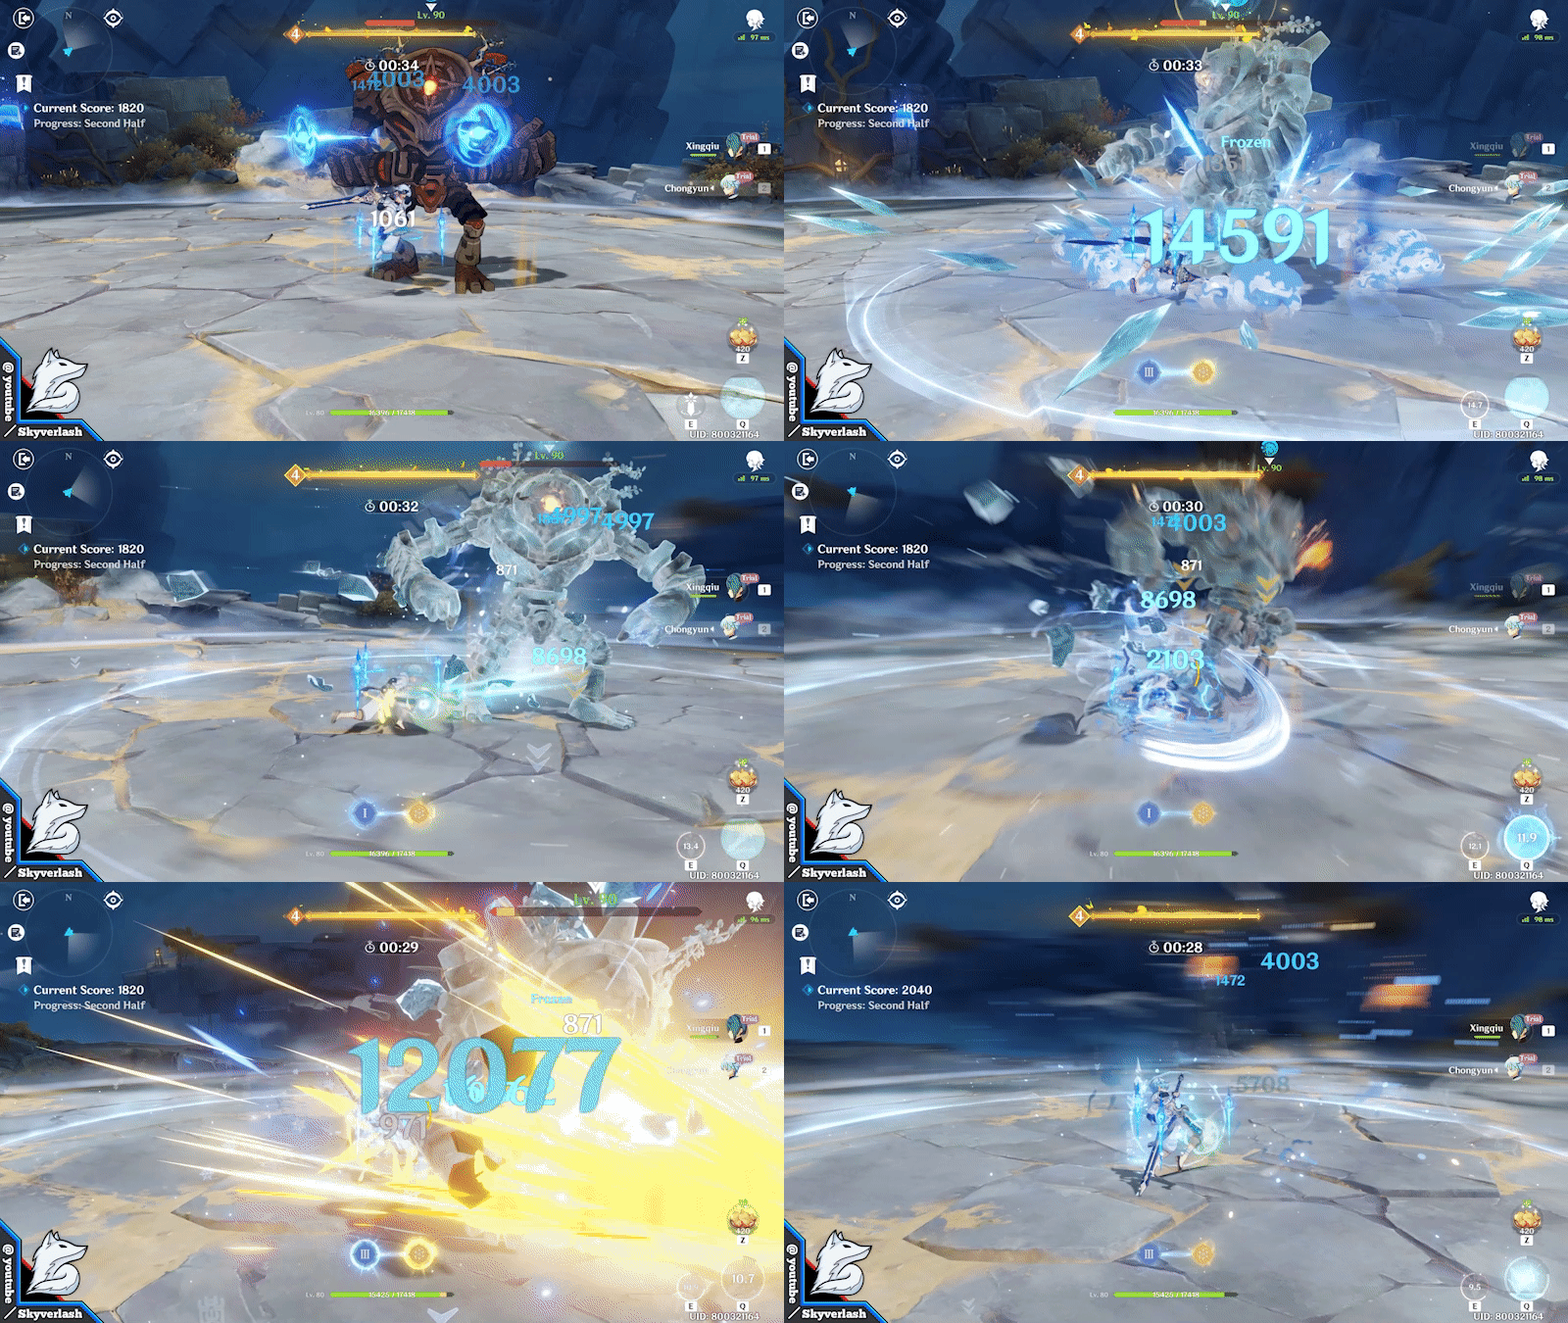
Second Half Tactic
- Shatter is not a problem, as long as you keep the enemies frozen again
Also, it's better to use Chongyun's burst when the enemies are frozen
My Guides Archive [Click Me]
≿—═ | ༻✧༺ | ═—≾
In-Depth - Thorough - Clean
≿—═ | ༺❀༻ | ═—≾

And that's it! I truly hope you find this guide useful
My job's done here~
I'm Skyverlash, and I really appreciate all the likes and comment!
You can follow me on my youtube channel, discord serverand hoyolabtoo