This guide is based on content from the Creator Server.
Vodyanitsa is just around the corner.
This guide takes a closer look at her Constellation damage increases, team buff structure, and the gap between her signature weapon and alternative options, helping players who have decided to build her — or plan to invest further — map out their pull order more rationally.
If you're weighing whether to go for more Constellations, this guide should serve as a useful reference.
Constellation Analysis
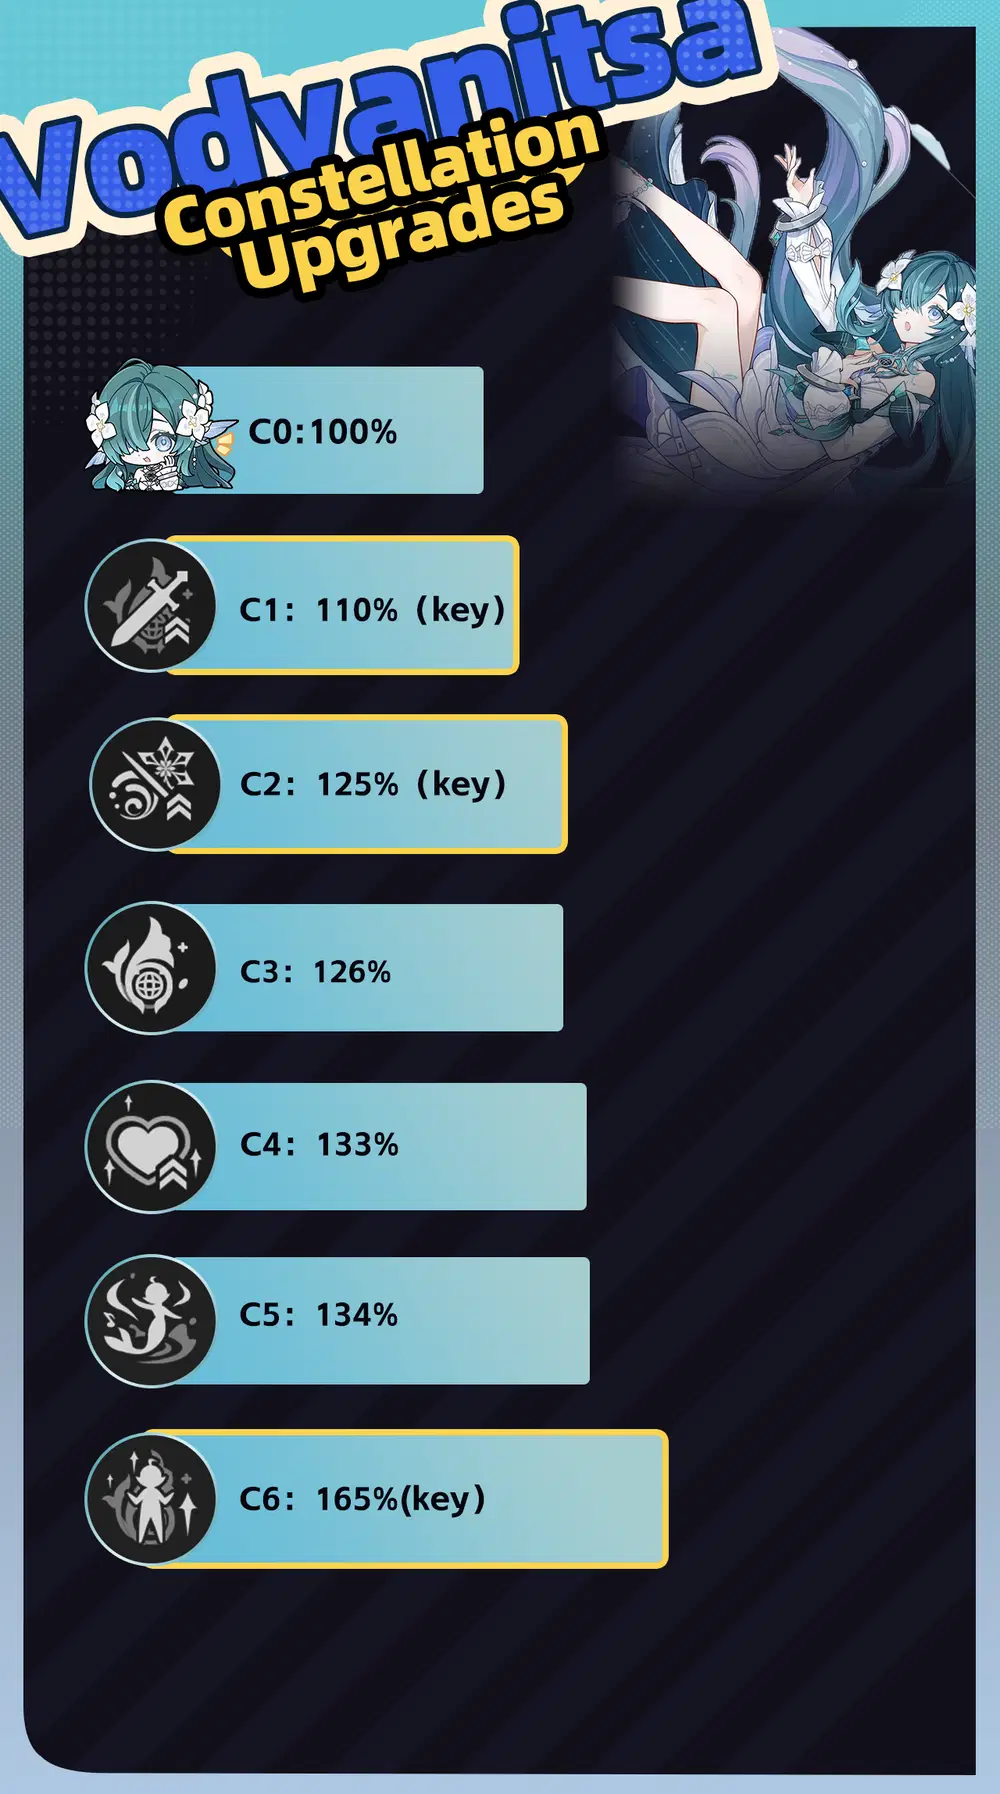
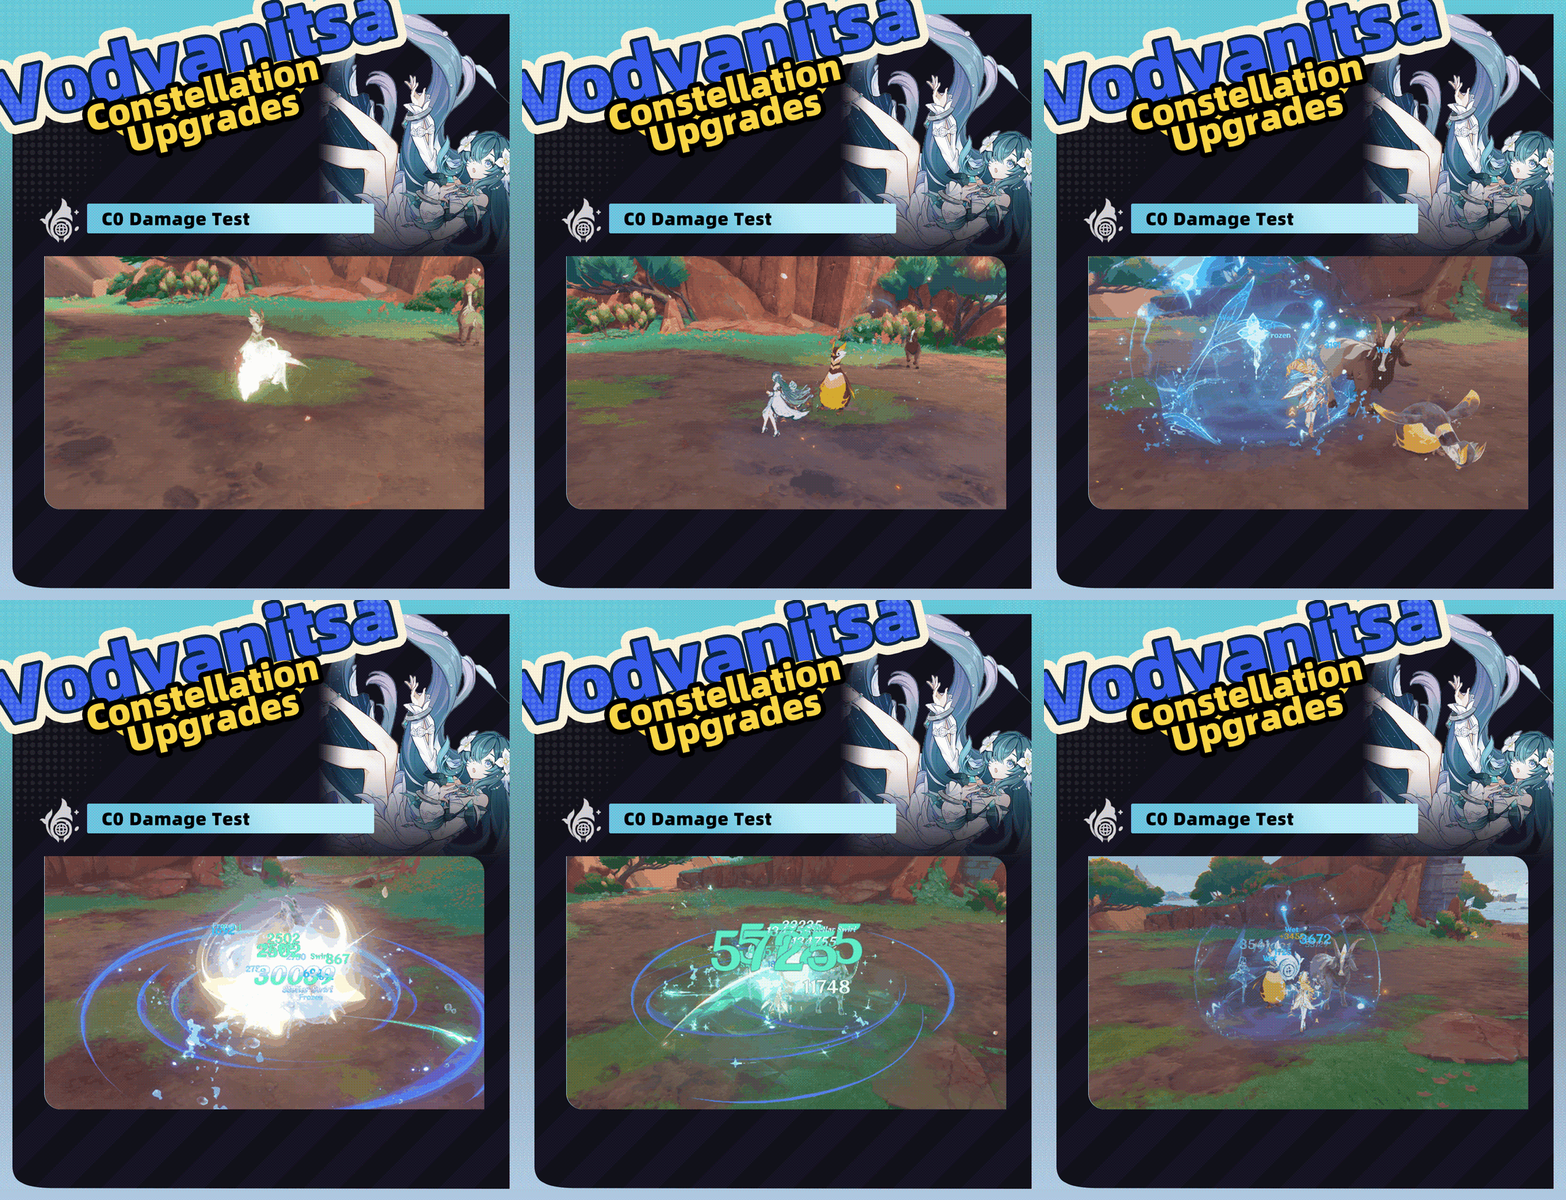
Calculation Baseline: C0 Vesna (Scarlet Proof, R5 Emberwell) + C0 Vodyanitsa (Tenacity of the Millelith, Thrilling Tales of Dragon Slayers) + C0 Odette (Heart of the Furnace, R5 Emberwell) + C6 Faruzan (Viridescent Venerer, R5 Favonius Warbow)
Constellation damage increases are measured against team total damage with Vodyanitsa.
Conclusion First
Recommended Investment Path:
C1 → C2 → C6
Vodyanitsa's Constellation gains focus on team damage buffs, buff coverage, and her support ceiling. All calculations below are based on the current Stellar Swirl environment.
Buff Structure
Before diving into each Constellation, it's important to clarify where Vodyanitsa's core support comes from.
① Elemental Skill
Provides Hydro/Cryo RES shred.
② Stellar Swirl Enhancement
Converts Stellar Vortexes into Wandering Vortexes, reducing nearby enemies' Anemo RES.
③ Passive Talent
Based on her Max HP, provides a flat DMG increase for Cryo and Hydro — with a larger increase for Stellar Swirl reaction damage.
All demonstrations below use a current mainstream Stellar Swirl team as the reference environment.
C1 (Core Constellation)
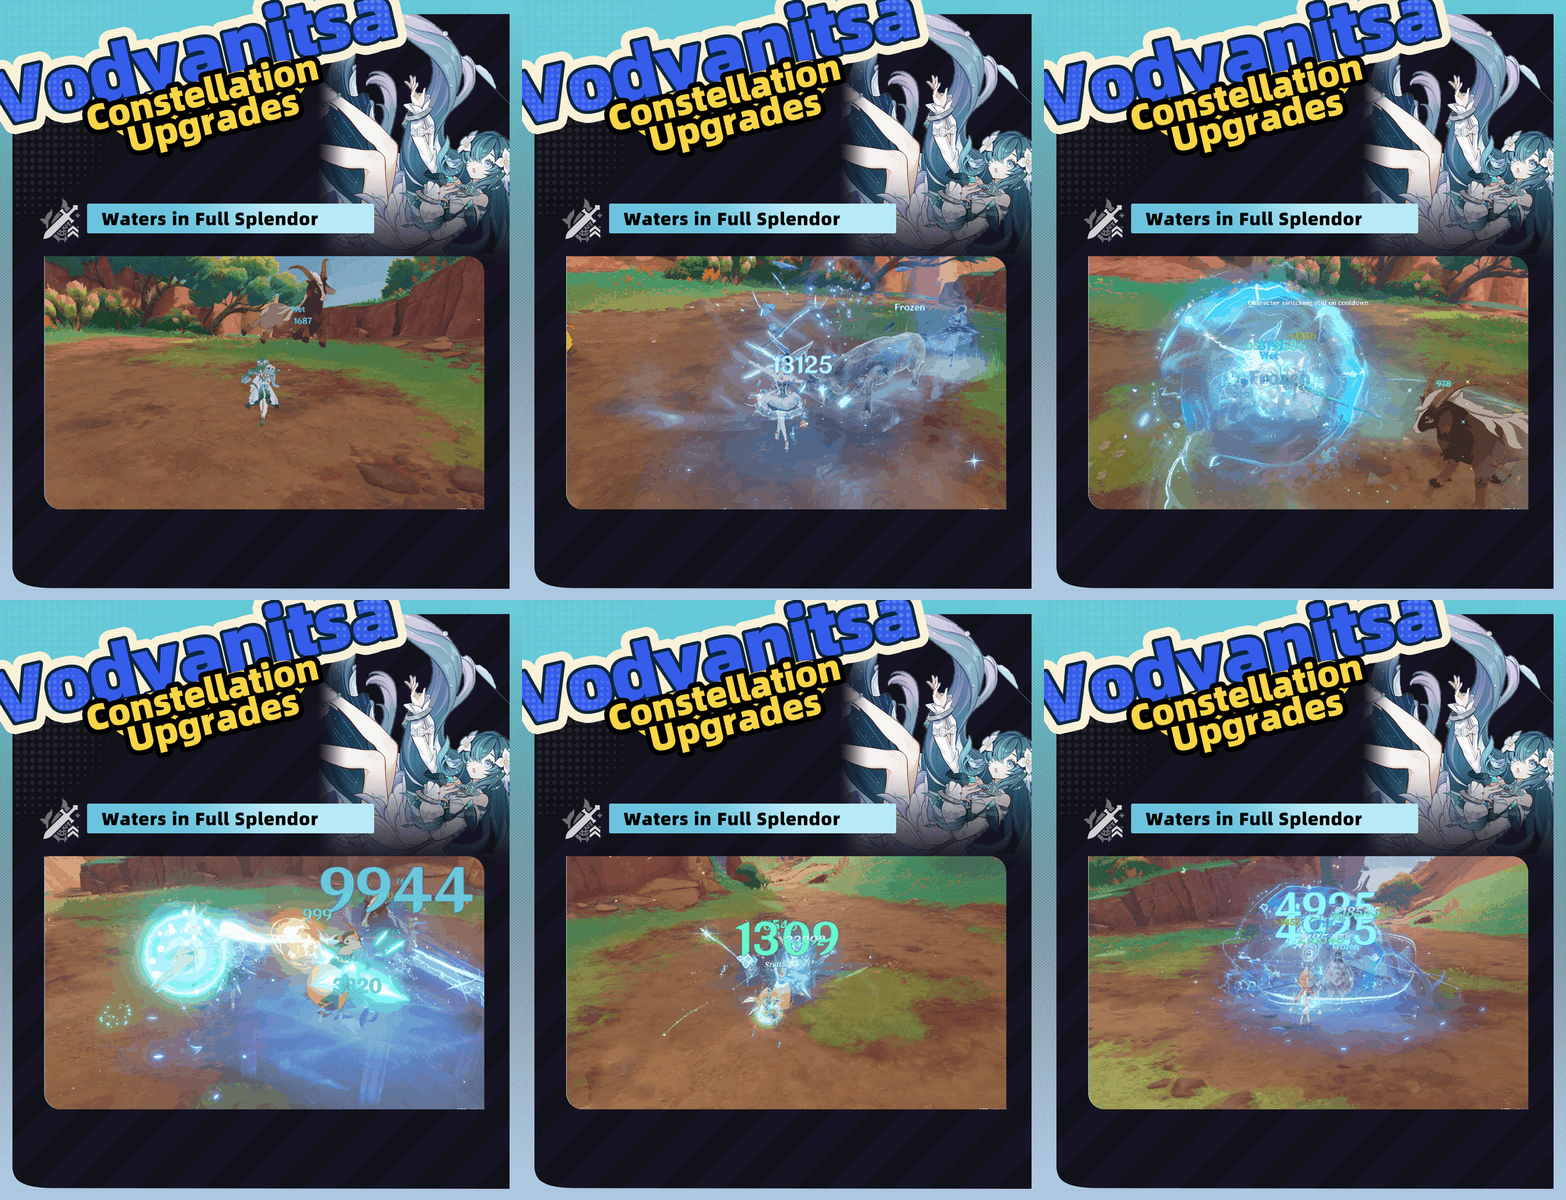
Effect
- When healing is triggered, all nearby party members gain increased ATK.
- The increase equals 0.8% of Vodyanitsa's Max HP, lasting 5 seconds.
Evaluation
C1 is a very important foundational upgrade for Vodyanitsa.
It converts her survival-oriented healing into a team-wide ATK buff. At 60,000 HP, each trigger provides the whole team roughly 480 ATK — steady returns and high overall value.
Team Damage Increase: 11%
C2 (Core Constellation)
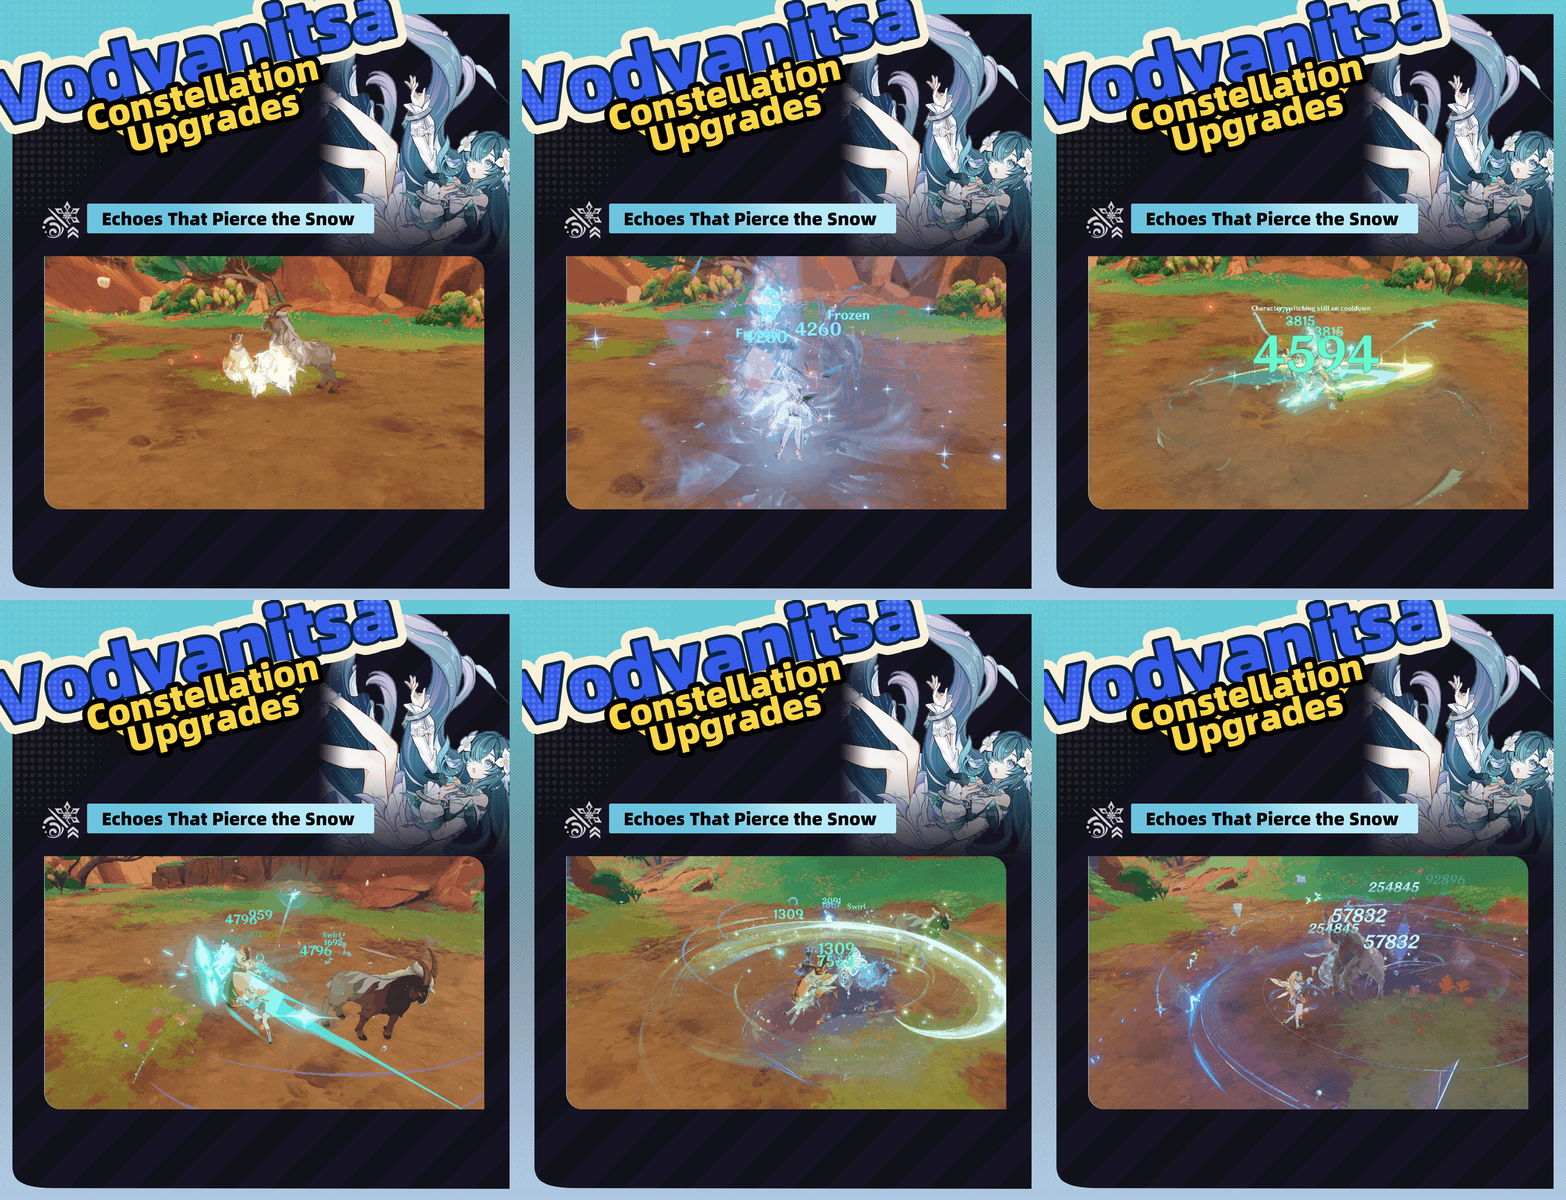
Effect
- When the summoned creature attacks an enemy, an additional effect is granted: the active character's Hydro/Cryo CRIT DMG is increased by 50% for 5 seconds.
- If a Wandering Vortex is on the field, or within 5 seconds of its detonation, this is instead converted into a 60% CRIT DMG increase for Stellar Swirl reaction damage.
- Elemental Skill duration extended by 9 seconds.
Evaluation
C2 is a very key node for Vodyanitsa.
Compared with C1's ATK buff, C2 directly fills the team's CRIT DMG multiplier — clearly valuable in both Hydro-Cryo direct damage and Stellar Swirl teams.
Meanwhile, the 9-second longer Skill duration makes buff coverage more stable and gives your combat rotation more room for error.
Team Damage Increase: 15%
C4
Effect
- When healing is triggered, effects vary based on the healed character's HP:
- If the healed character's HP is below 40%, that healing instance is increased by 50%.
- If not below 40%, Vodyanitsa's Max HP is increased by 20% for 6 seconds, stacking up to 3 times.
Evaluation
A sustain-and-stat reinforcement Constellation.
The extra 50% healing at low HP strengthens the team's emergency recovery; at healthy HP, Vodyanitsa stacks her own Max HP for up to 60%. Since her healing, Talent buffs, and C1's ATK buff all scale with HP, C4 indirectly strengthens her support as well.
That said, compared with the direct team value of C1 and C2, C4 leans toward a high-Constellation transitional stop.
Team Damage Increase: ~7%
C6 (Game-Changing Constellation)
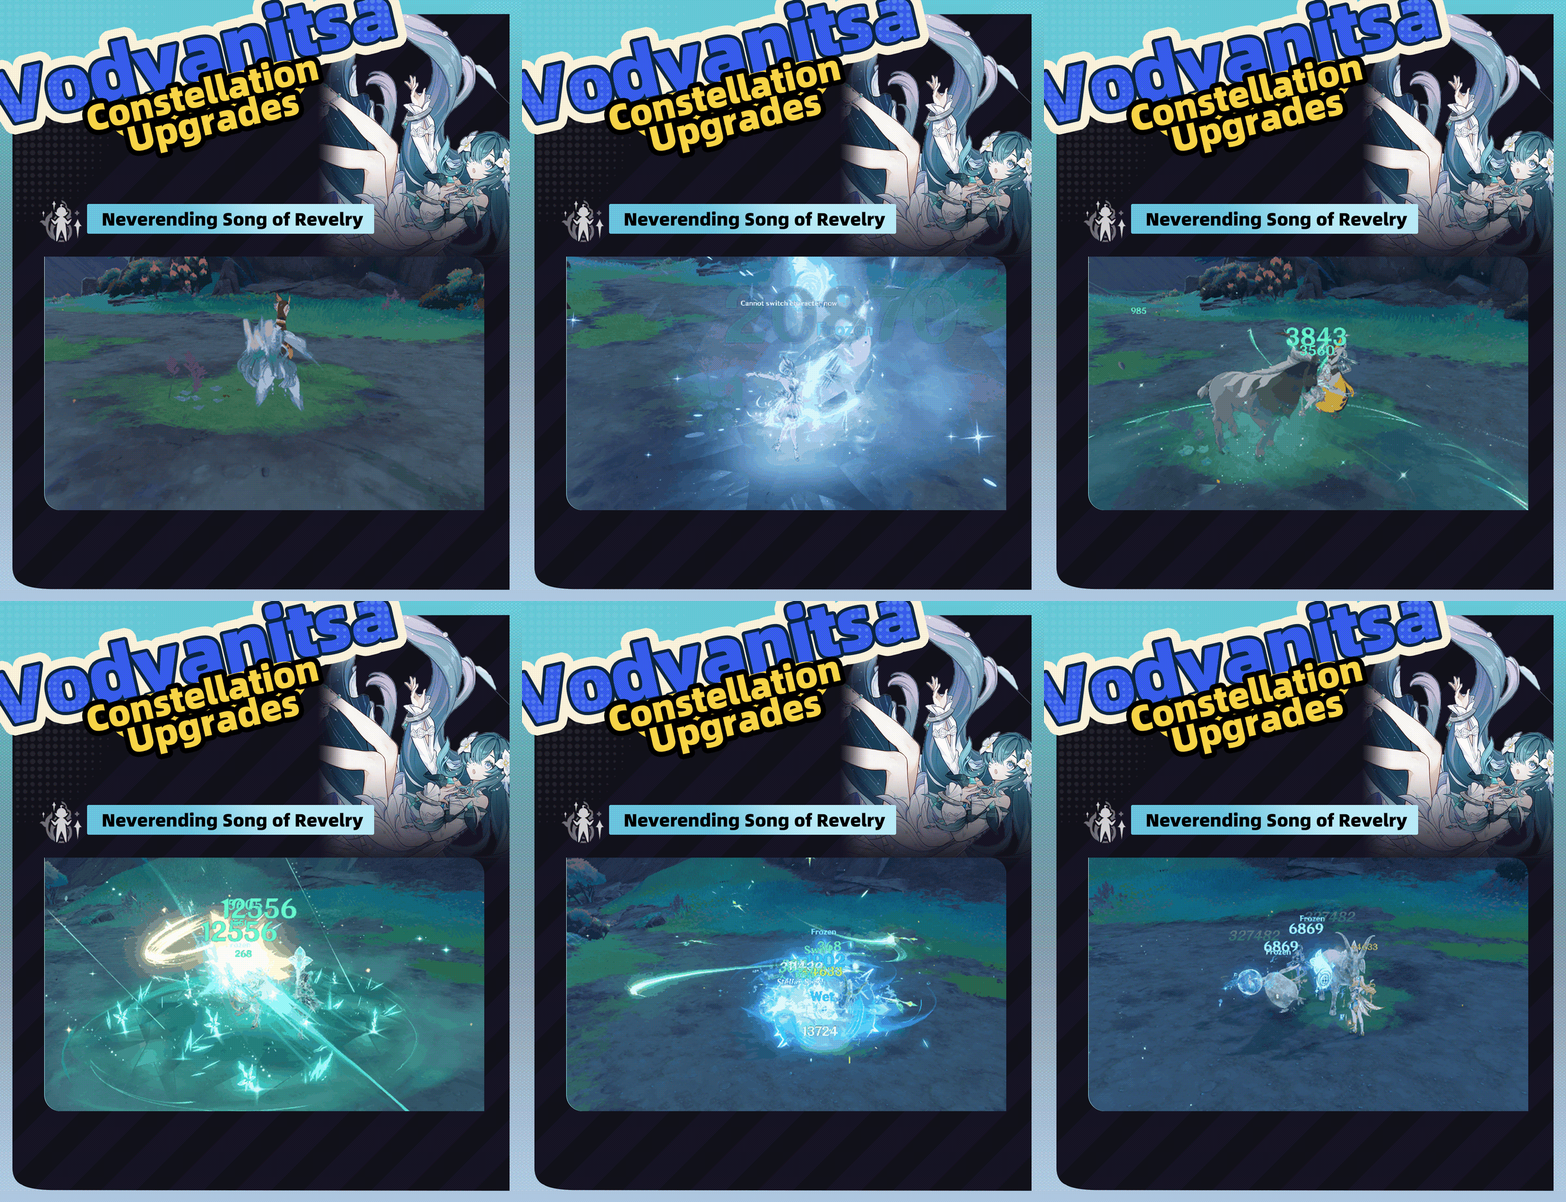
Effect
- C2's effect now applies to all nearby party members.
- During the Skill's duration, nearby party members' Stellar Swirl reaction damage is Elevated by 25%.
- Their Hydro/Cryo DMG is simultaneously increased by 60%.
Evaluation
C6 is a clear, major power spike.
Extending C2's buff from a single character to the whole team lets off-field sub-DPS and quick-swap characters benefit fully from the CRIT DMG increase.
At the same time, the extra 25% Stellar Swirl Elevation and 60% Hydro/Cryo DMG buff significantly raise the damage ceiling of both Hydro-Cryo direct damage and Stellar Swirl teams.
For players chasing the archetype's complete form — or planning to run Vodyanitsa alongside multiple main teams — C6's improvement is very noticeable.
Overall Damage Increase: 31%+
Weapon Analysis
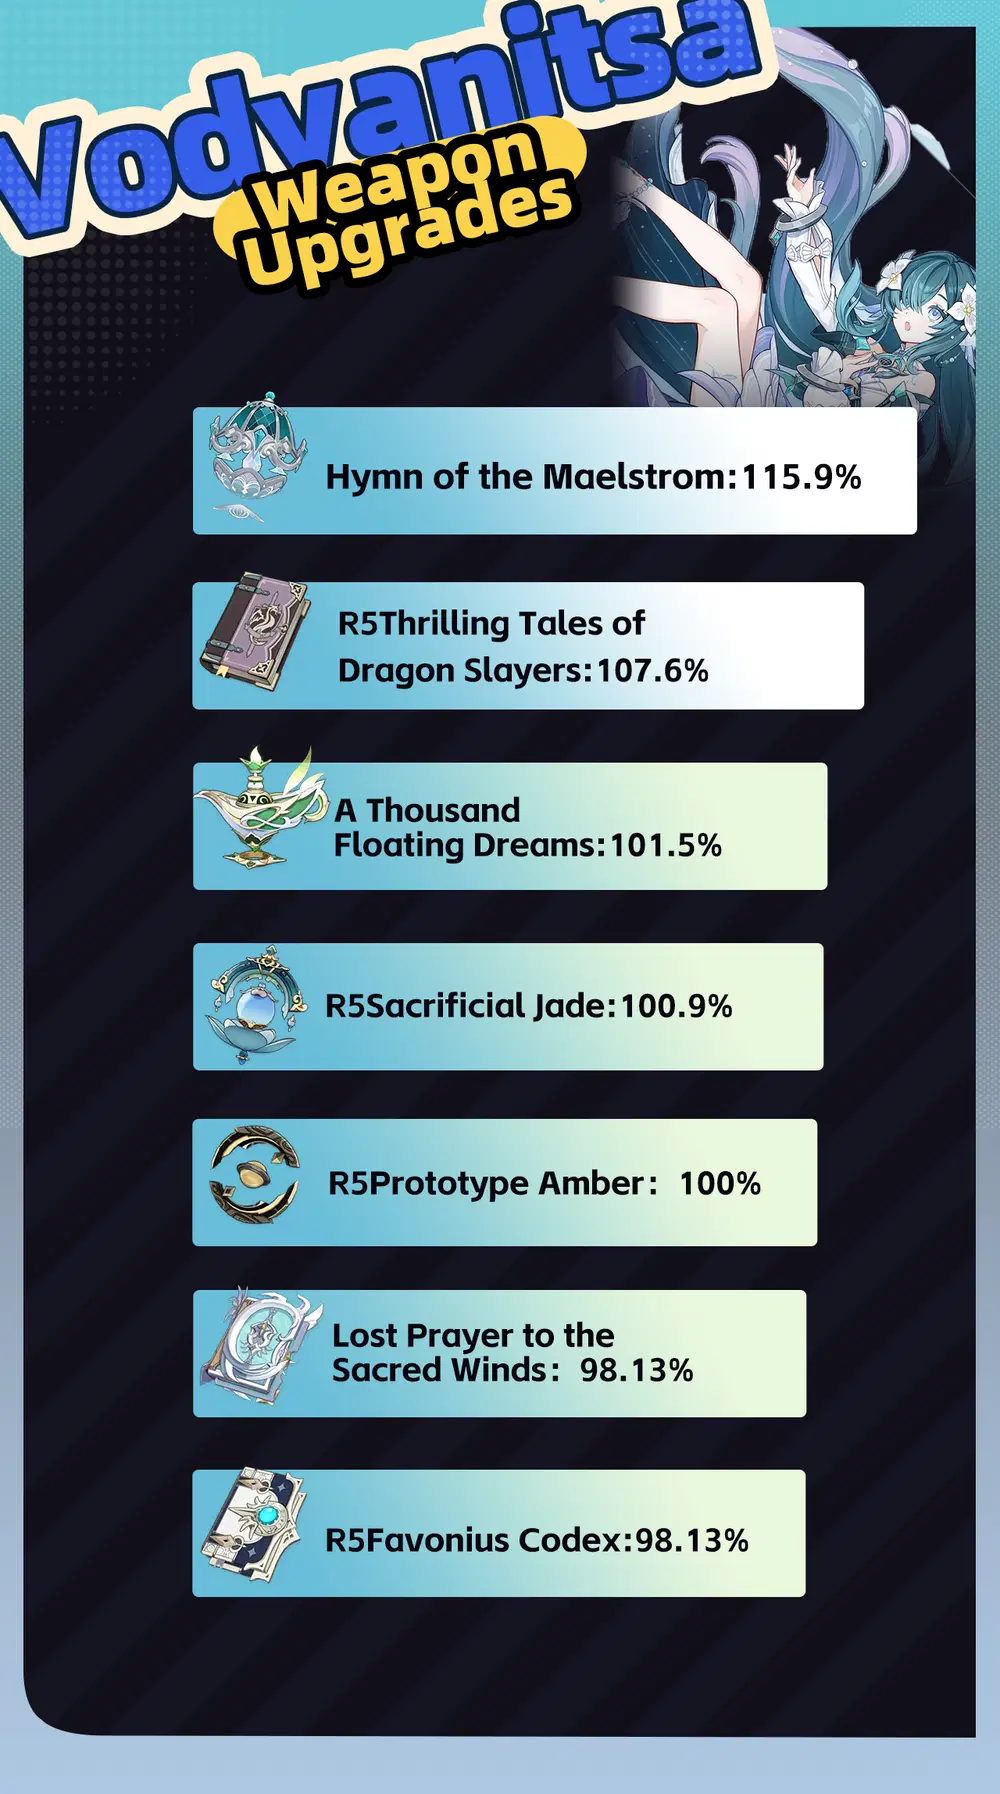
Vodyanitsa's weapons should secure HP first; only on that foundation should you weigh the team support a weapon provides.
All weapon calculations use the same team, artifacts, and rotation as the Constellation tests, swapping only Vodyanitsa's weapon. R5 Prototype Amber is set as the 100% baseline, and we track team total damage.
Signature Weapon: Hymn of the Maelstrom
Provides:
- 70.2% HP
- 8% ATK bonus for the active character
- 4% Healing Bonus
The signature weapon's strengths:
- Well-rounded stats
- Highly synergistic with Vodyanitsa's kit
- Provides support utility at the same time
≈16% improvement over Prototype Amber.
Thrilling Tales of Dragon Slayers
Provides:
- A large ATK buff for the character swapping in.
Its swap-based ATK buff is extremely direct. With sufficient HP already secured, Thrilling Tales provides a solid boost to overall team damage — though with a duration of only 10 seconds, uptime issues can appear in practice. Overall experience remains solid.
Other Weapons
- A Thousand Floating Dreams, Sacrificial Jade, Everlasting Moonglow, etc.: overall performance is roughly on par with Prototype Amber.
Summary
- C1 converts healing into a team-wide ATK buff, reinforcing the team's overall stats.
- C2 provides Hydro-Cryo CRIT DMG plus a Stellar Swirl-exclusive CRIT DMG buff — the most central game-changing node.
- C6 extends C2's buff to the entire team and adds a high-value independent multiplier.
As for weapons, Hymn of the Maelstrom balances HP, Healing Bonus, and active-character ATK buffs, with extra bonuses for Frozen / Stellar Swirl reactions — the most well-rounded support option. The lower-rarity alternatives are a decent experience as well.
If you're already set on building a complete Stellar Swirl team around Vesna, the overall banner value and expected returns favor pulling the weapon banner first, then Constellations.
We hope this analysis helps you plan your investment more efficiently. Good luck on your pulls — may every Traveler bring home the character they have their heart set on!