To enable Sumeru commission, you need to complete Archon Quest Chapter III: Act I & Act II, as well as world quest "Adventure Takes Courage!" (simply talking to Katheryne). This quest will be unlocked 1 day after you finish Archon quest.
☑ CONFIRMED
☒ UNCONFIRMED
⚠ MISSABLE (read carefully)
Update:
✪ 2023 Mar 14: Update on Garcia's Paean chain and additional info about commission cycle (if you don't know what cycle is, the search button is right there)
✪ 2023 Apr 16: Update on Garcia's Paean chain again. Still no ending in sight.
✪ 2023 Apr 20: Garcia's achievement is now achievable!
✪ 2023 Apr 26: Update on Garcia's Paean chain. Remove [WIP] tag.

VERSION 3.1
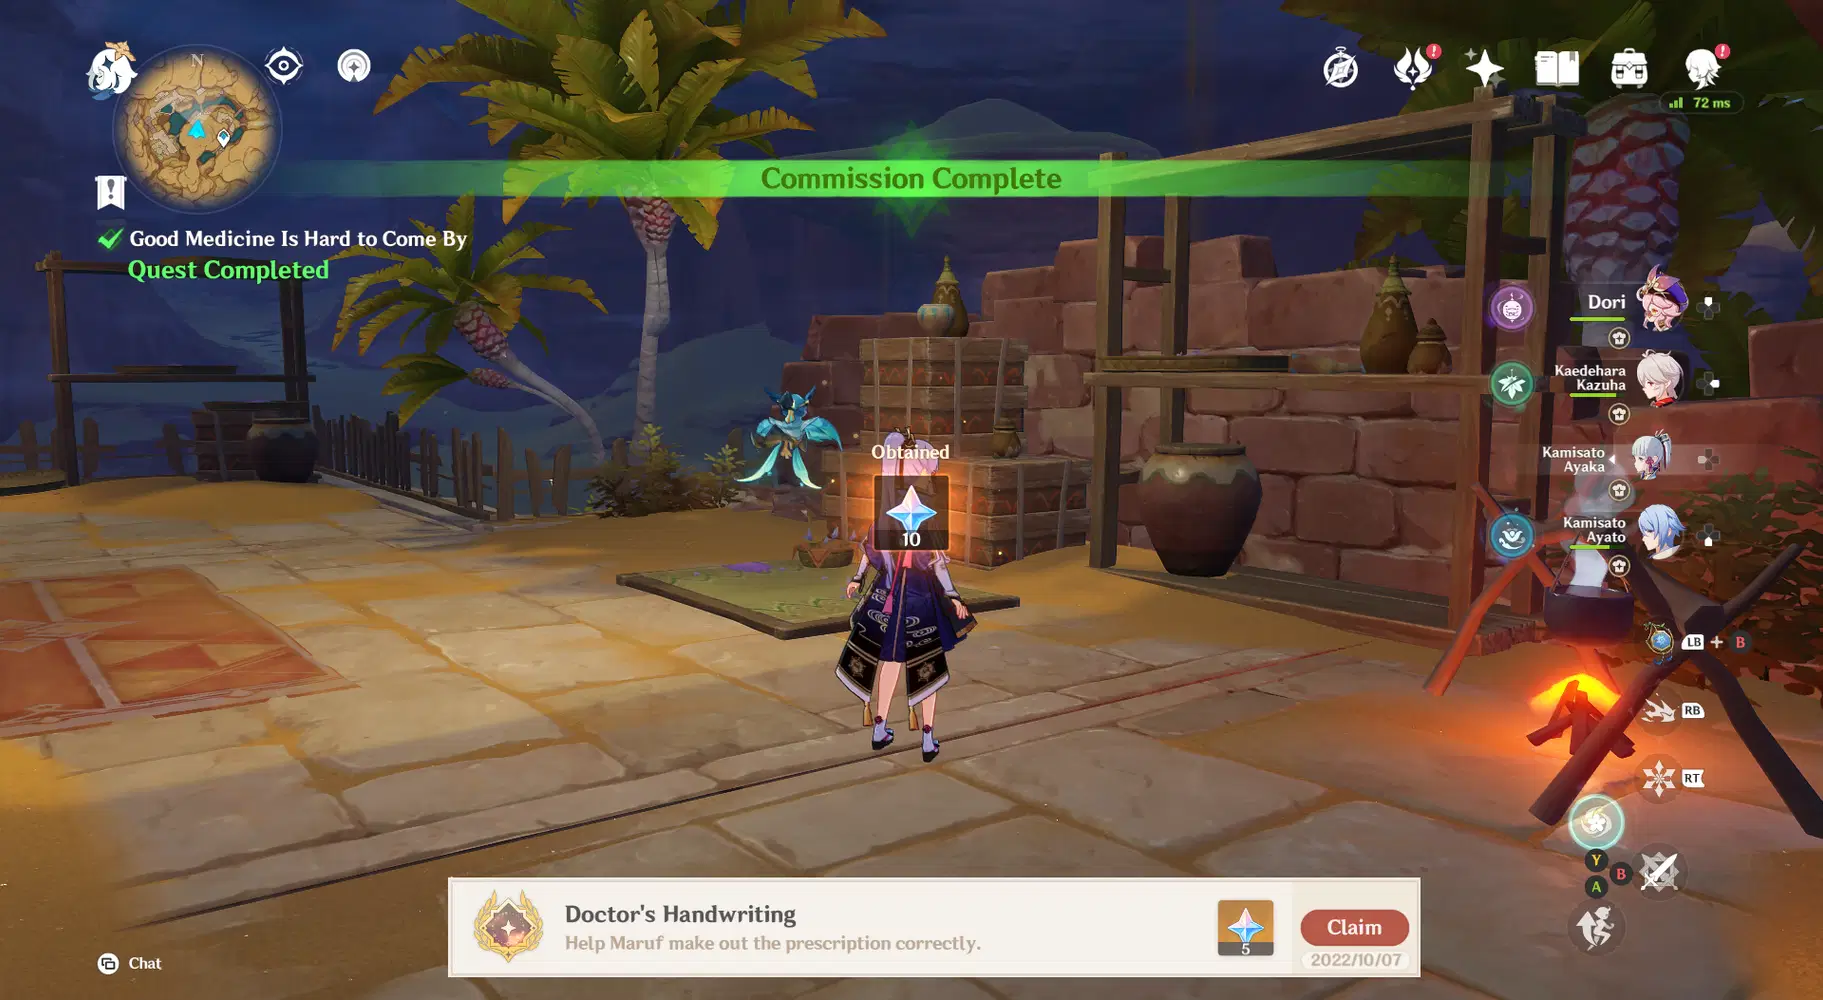
☑ Doctor's Handwriting: Help Maruf make out the prescription correctly.
⚠ Commission: Good Medicine Is Hard to Come By
• Convey the correct prescription from Dr. Zakariya to Maruf (read dialogue or his note properly). You only need to successfully complete this commission ONCE to get achievement.
• Giving him the wrong prescription will trigger a follow-up commission Good Medicine Is Difficult to Make, when you have to collect material to make new medicine for Maruf. Anyway, DON’T try this unless you really enjoy wasting your time.
• Number of repeats: 1 time per cycle.
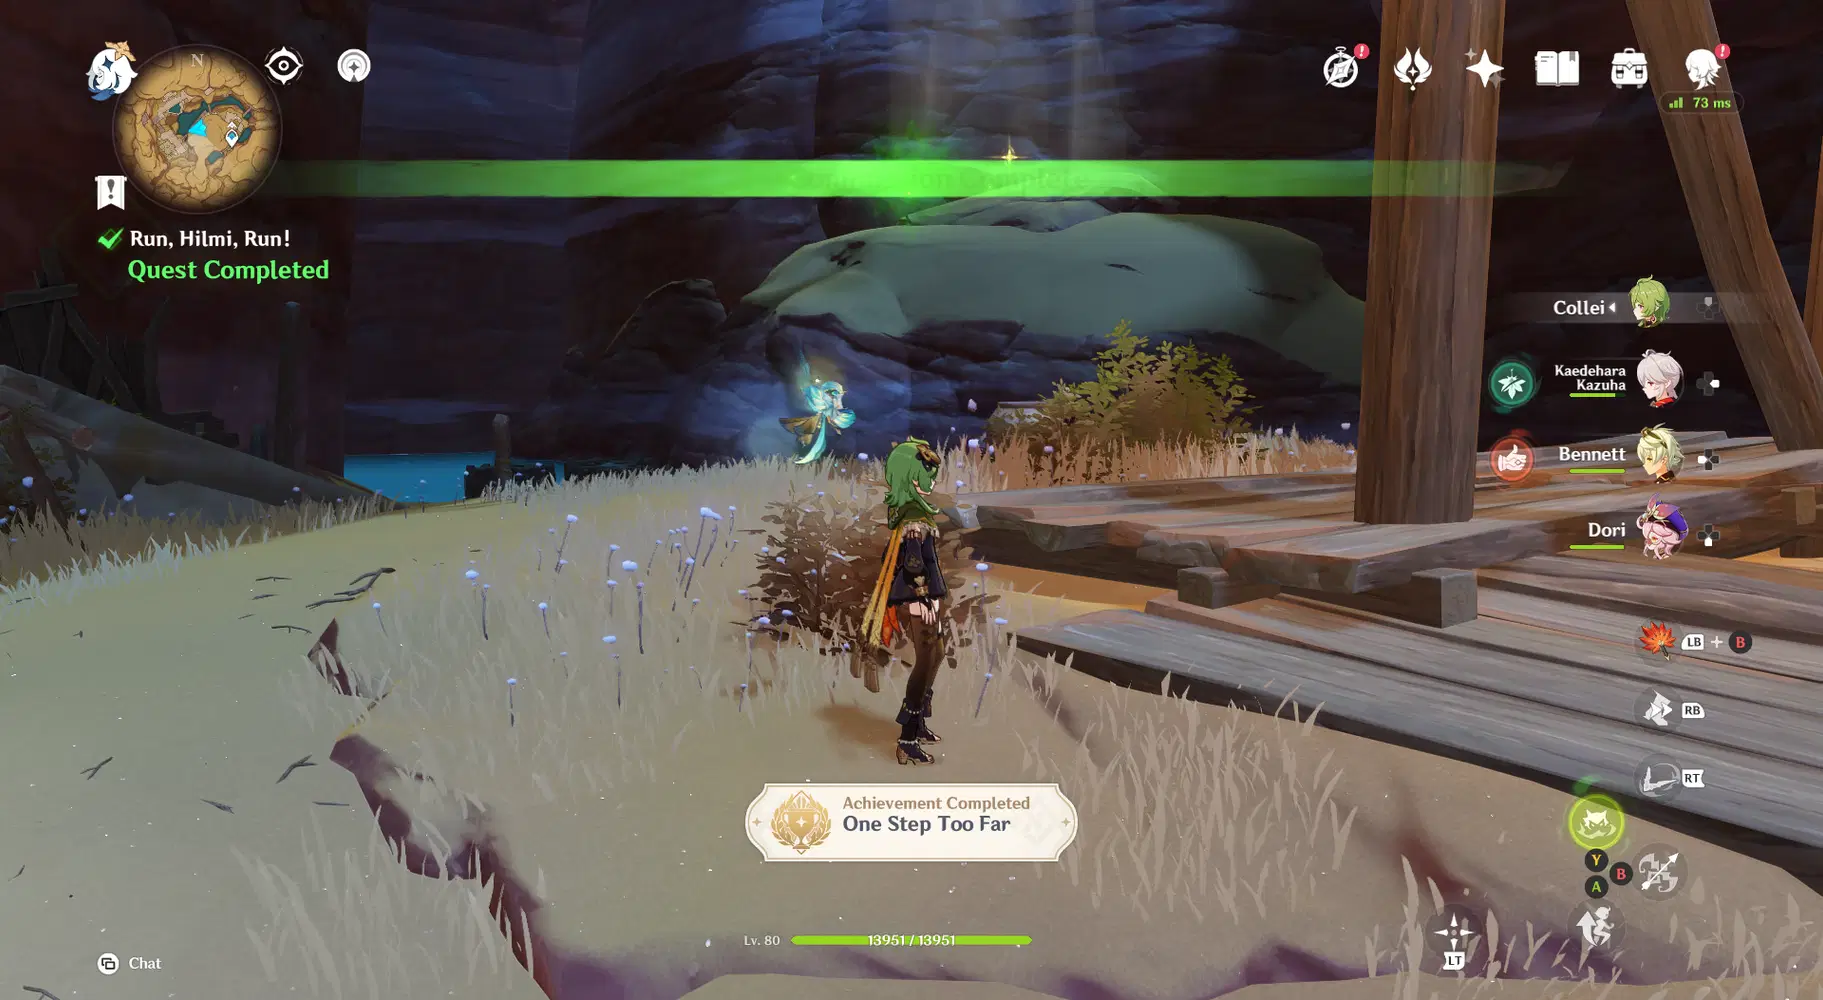
☑ One Step Too Far: Slip up in a race against Hilmi...
⚠ Commission: Run, Hilmi, Run!
• When Hilmi challenges you for a race, don't try to win (you can just stand still and watch him run).
• Number of repeats: 1 time per cycle.
☑ A Lingering Fragrance: Witness Nermin's tale.
• Prerequisite: world quest Blooming Sands (unlocked after completing Sumeru Archon Quest: Act IV).
• Commission: Desert Bloom (3 times) → Blooming Sands: Lasting Scent
• You need all 3 variants of Desert Bloom: Water / Cat / Zaytun Peach. Completing Blooming Sands: Lasting Scent just once will give achievement.
• Number of repeats: 1 time per cycle, therefore you need at least 3 cycles to complete this chain.
☑ Don't Blame the Mora!: Witness the Gourmet Supremos' adventures in Sumeru...
[1] Finish Sumeru Archon Quest Act 2: The Mourn a Thousand Roses Bring.
[2] Earn all achievements related to the Gourmet Supremos in Inazuma (read version 2.0 post).
[3] After version 3.1 update, play commission The Gourmet Supremos: Where'd the Ingredients Go?
[4] Once you're done with Inazuma, go to Port Ormos to meet the gourmet squad and start new world quest Gourmet Supremos: Within Our Duties. It will also remove all Gourmet Supremos commissions from Inazuma.
[5] In version 3.2, a follow-up quest called Gourmet Supremos: Cleanup was added, which gave nothing but the 3 recipes that Hoyo somehow forgot to put in previous quest. However, you may not want to touch this quest until Fontaine coming out next year, because it can potentially unlock new series of Gourmet Supremos.
All Gourmet Supremos achievements can be done in 1 cycle, presume you know what to do
VERSION 3.0
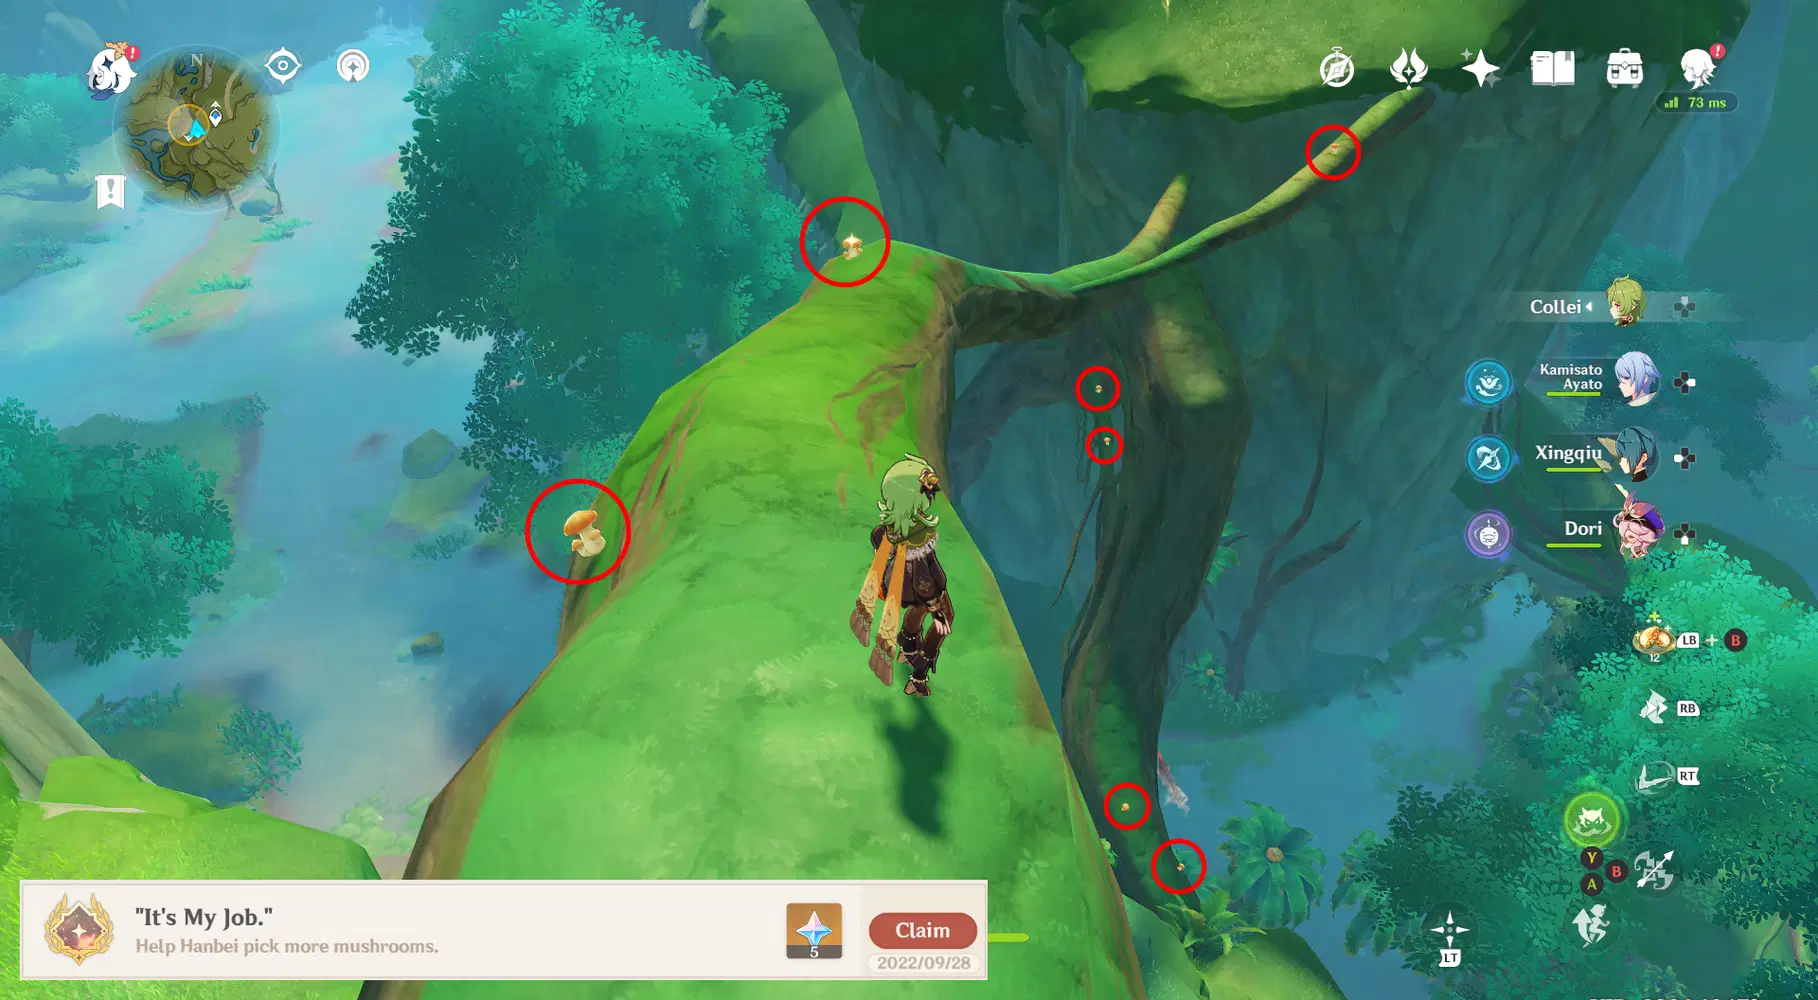
☑ "It's My Job.": Help Hanbei pick more mushroom.
⚠ Commission: Attaché in Another Land
• Prerequisite: world quest series Tatara Tales (Inazuma).
• Hanbei requests you to pick 5 mushrooms for him, but you MUST pick more (either 6 or 7 is fine).
• Number of repeats: 1 time per cycle.
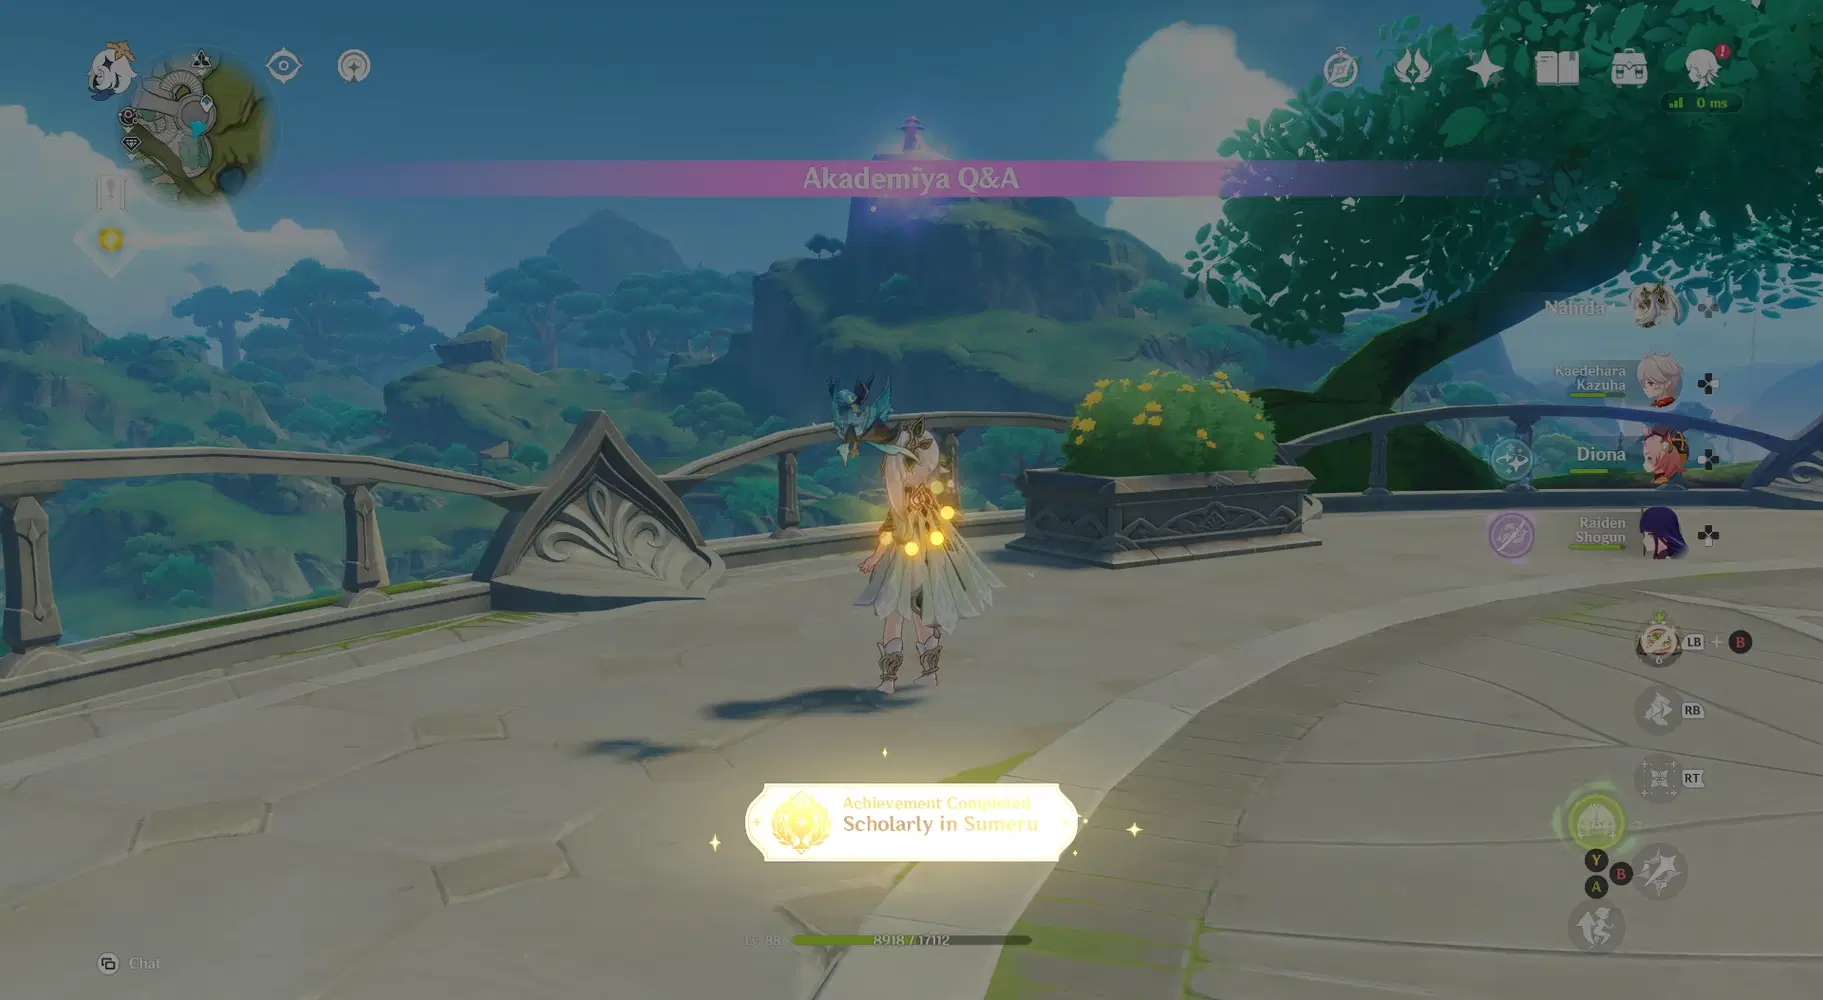
☑ Scholarly in Sumeru: Answer 6 different questions correctly.
⚠ Commission: "Akademiya Q&A"
• Answer for each question as follow:
- The Darshan (school) with most researchers? → Amurta
- The Darshan specializes in elemental power? → Spantamad
- The tree holding up the Akademiya? → Divine Tree
- The barrier surrounds Sumeru desert? → Wall of Samiel
- The beast used by merchants to carry goods? → Sumpter Beast
- The mushroom-like monster in Sumeru? → Fungi
• Each time you only get 3 random questions, hence you need at least 2 times (dupe isn't counted).
• Number of repeats: 1 time per cycle.
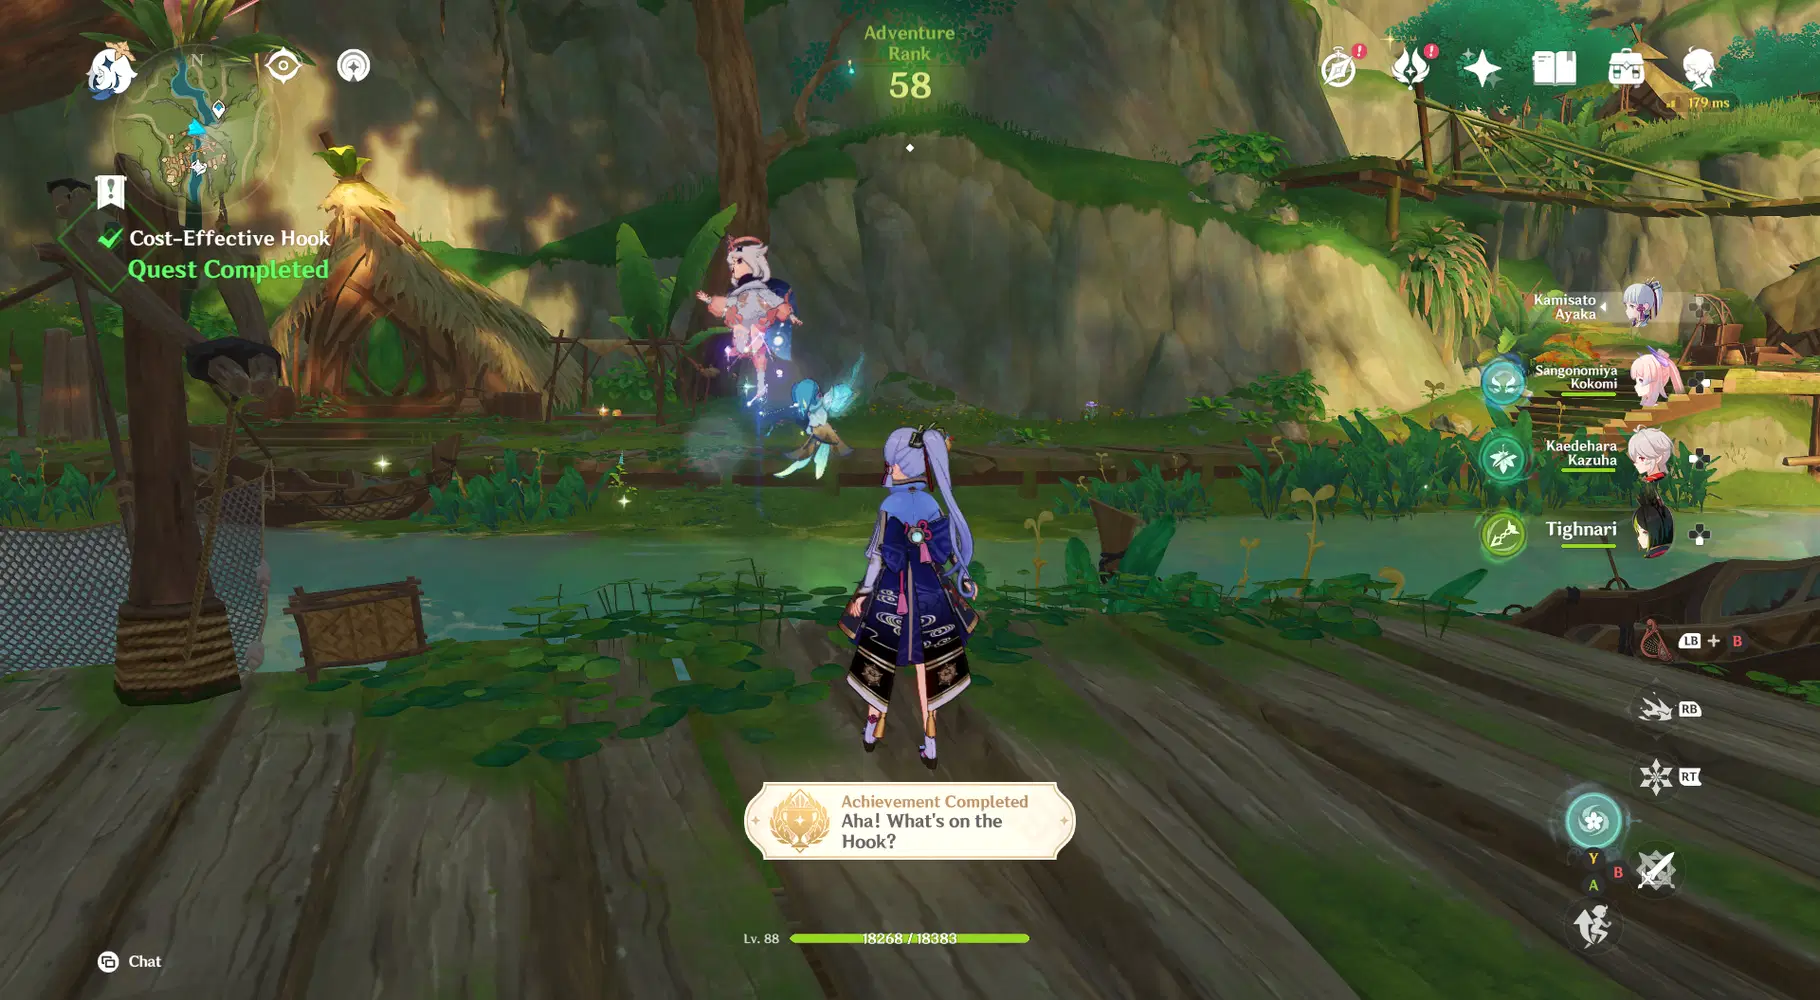
☑ Aha! What's on the Hook?: Fish some strange things up with Kayvan...
• Commission: Supreme Hookshot?, followed by world quest: Cost-Effective Hook
• You have to repeat this commission three times (any variant), then wait until day reset and world quest Cost-Effective Hook will be unlocked. Complete the quest to get achievement.
• Number of repeats: 3 times per cycle (will be removed permanently afterward). After the quest, you'll get a sequel commission The Hook's Unexpected Adventure (1 time per cycle).
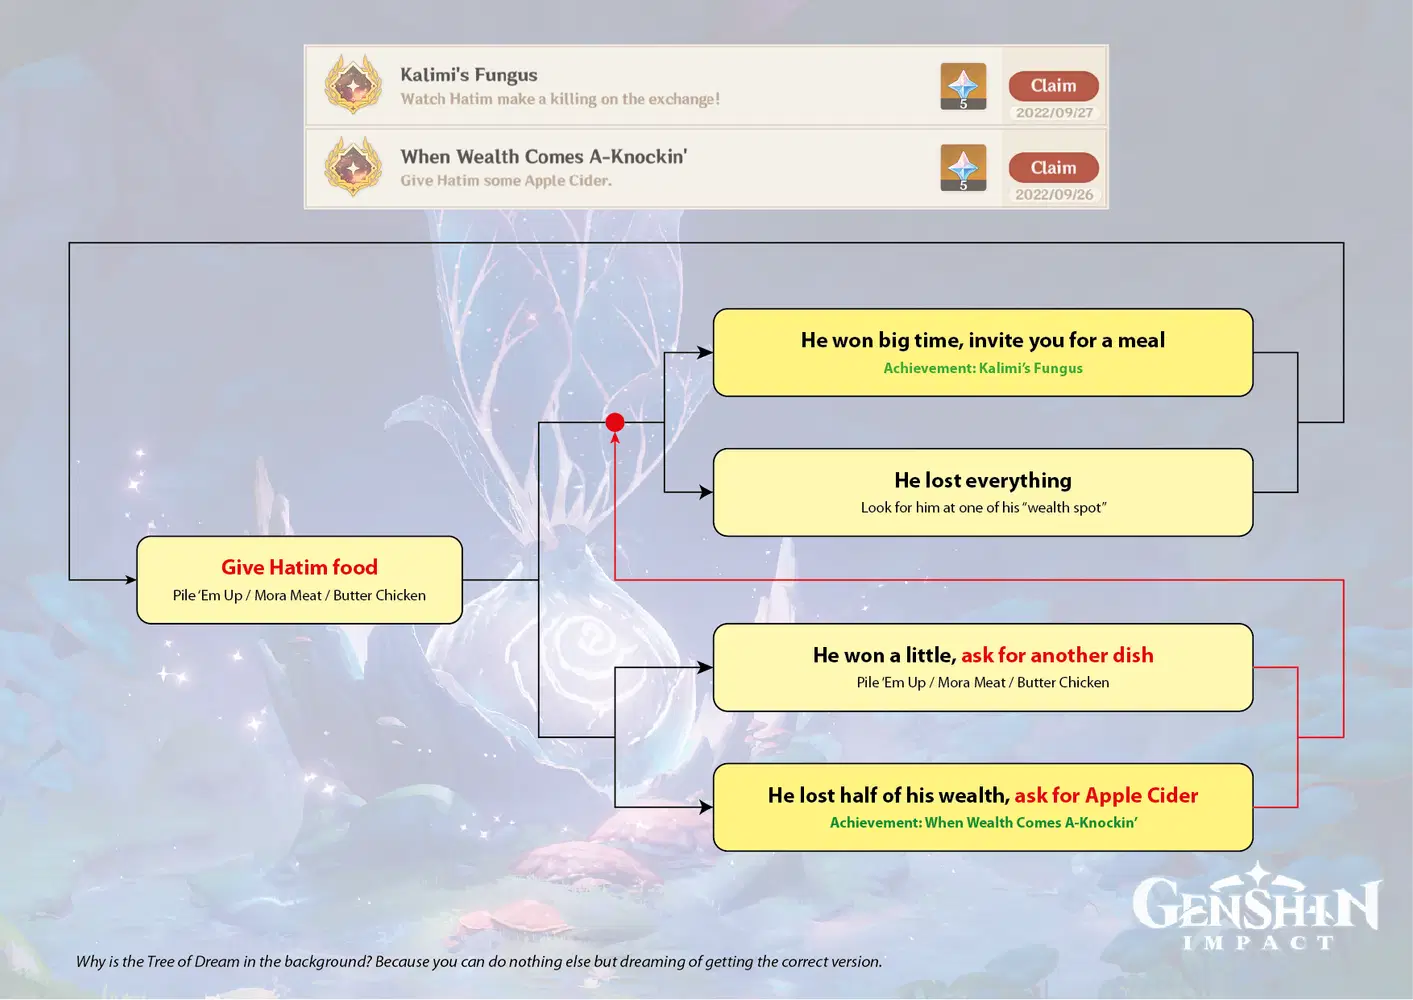
☑ Kalimi’s Fungus: Watch Hatim make a killing on the exchange!
☑ When Wealth Comes A-Knockin’: Give Hatim some Apple Cider.
• Commission chain: Gold Devouring and Mora Gathering (multiple parts with the same name)
• In the first part, Hatim will ask you to pick a lucky dish for him: Mora Meat, Butter Chicken, or Pile ‘Em Up. After many trials and errors, the current conclusion about this commission is: it's utterly random. Hatim's "lucky dishes" and "wealth spots" are just the mirror of players' various copium methods, like logging out at specific place or doing pull ritual. It has absolutely nothing to do with his business result (or you losing 50/50 to Qiqi). Whoever designed this commission was definitely making fun of us.
• The second part has 4 possible outcomes:
- Tavern: He won big time. You're invited for a meal at the tavern (first achievement).
- Wealth Spot: He lost everything. You have to look for him at his "wealth spot" (no achievement).
- Other Dish: He won a bit, then ask for another lucky dish (no achievement).
- Apple Cider: He lost half of his wealth, then ask for Apple Cider (second achievement).
• If you get Tavern / Wealth Spot then you'll end the chain and reset thing back to the beginning. But if you get Other Dish / Apple Cider, then it'll be considered the same as "giving Hatim food", so you are open for the third part. This time though, only the first two outcomes are available for you.
• Number of repeats: 2 or 3 times per cycle.
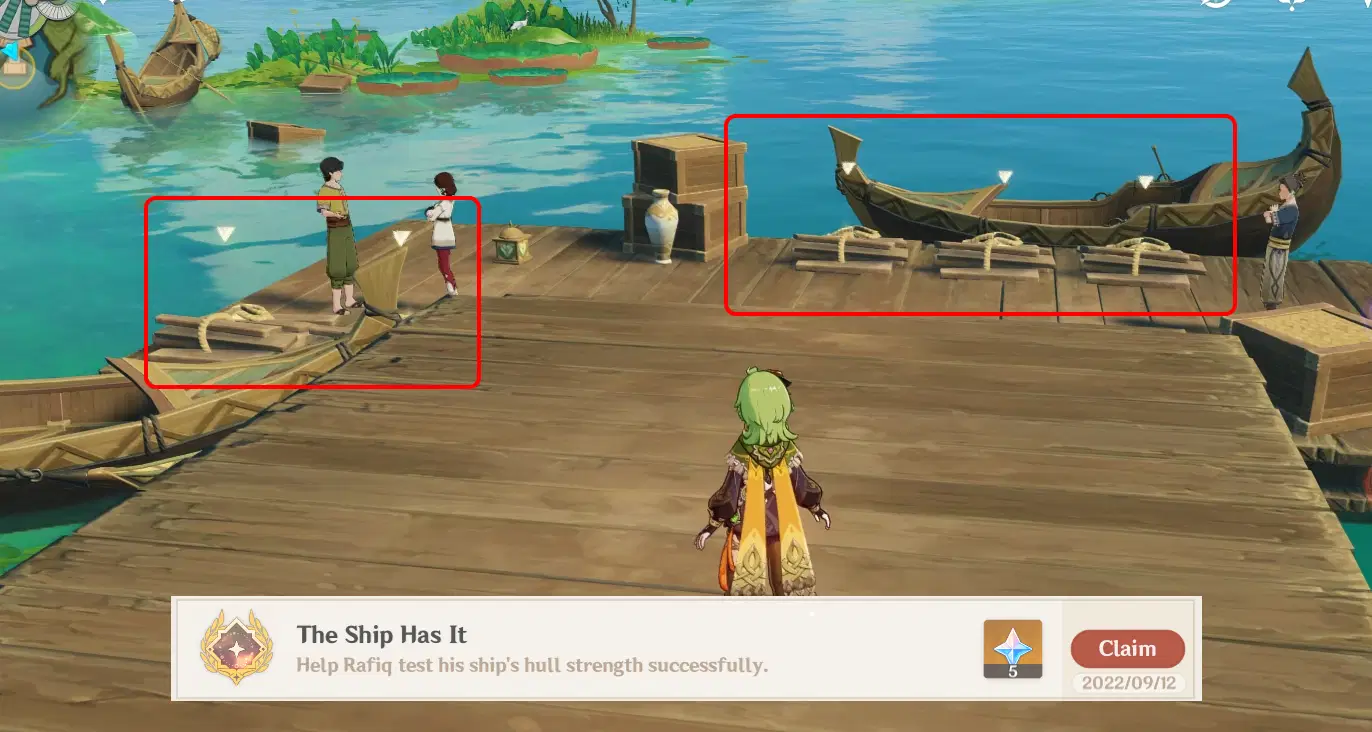
☑ The Ship Has It: Help Rafiq test his ship's hull strength successfully.
⚠ Commission chain: Problem Conversion
(1) Problem Conversion
(2) Problem Conversion: Theory Reliability
(3) Problem Conversion: Loading Capacity
(4) Problem Conversion: The Underpinning Factor
• During Theory Reliability, you need to collect 3 planks but there are 5 lying around. If you only collect 3 or 4, Rafiq will fail his test in Loading Capacity and you won't get achievement. You will have to redo that in The Underpinning Factor later.
• Number of repeats: 1 time per cycle for each part. From cycle 2 onward, only Loading Capacity and The Underpinning Factor remain.
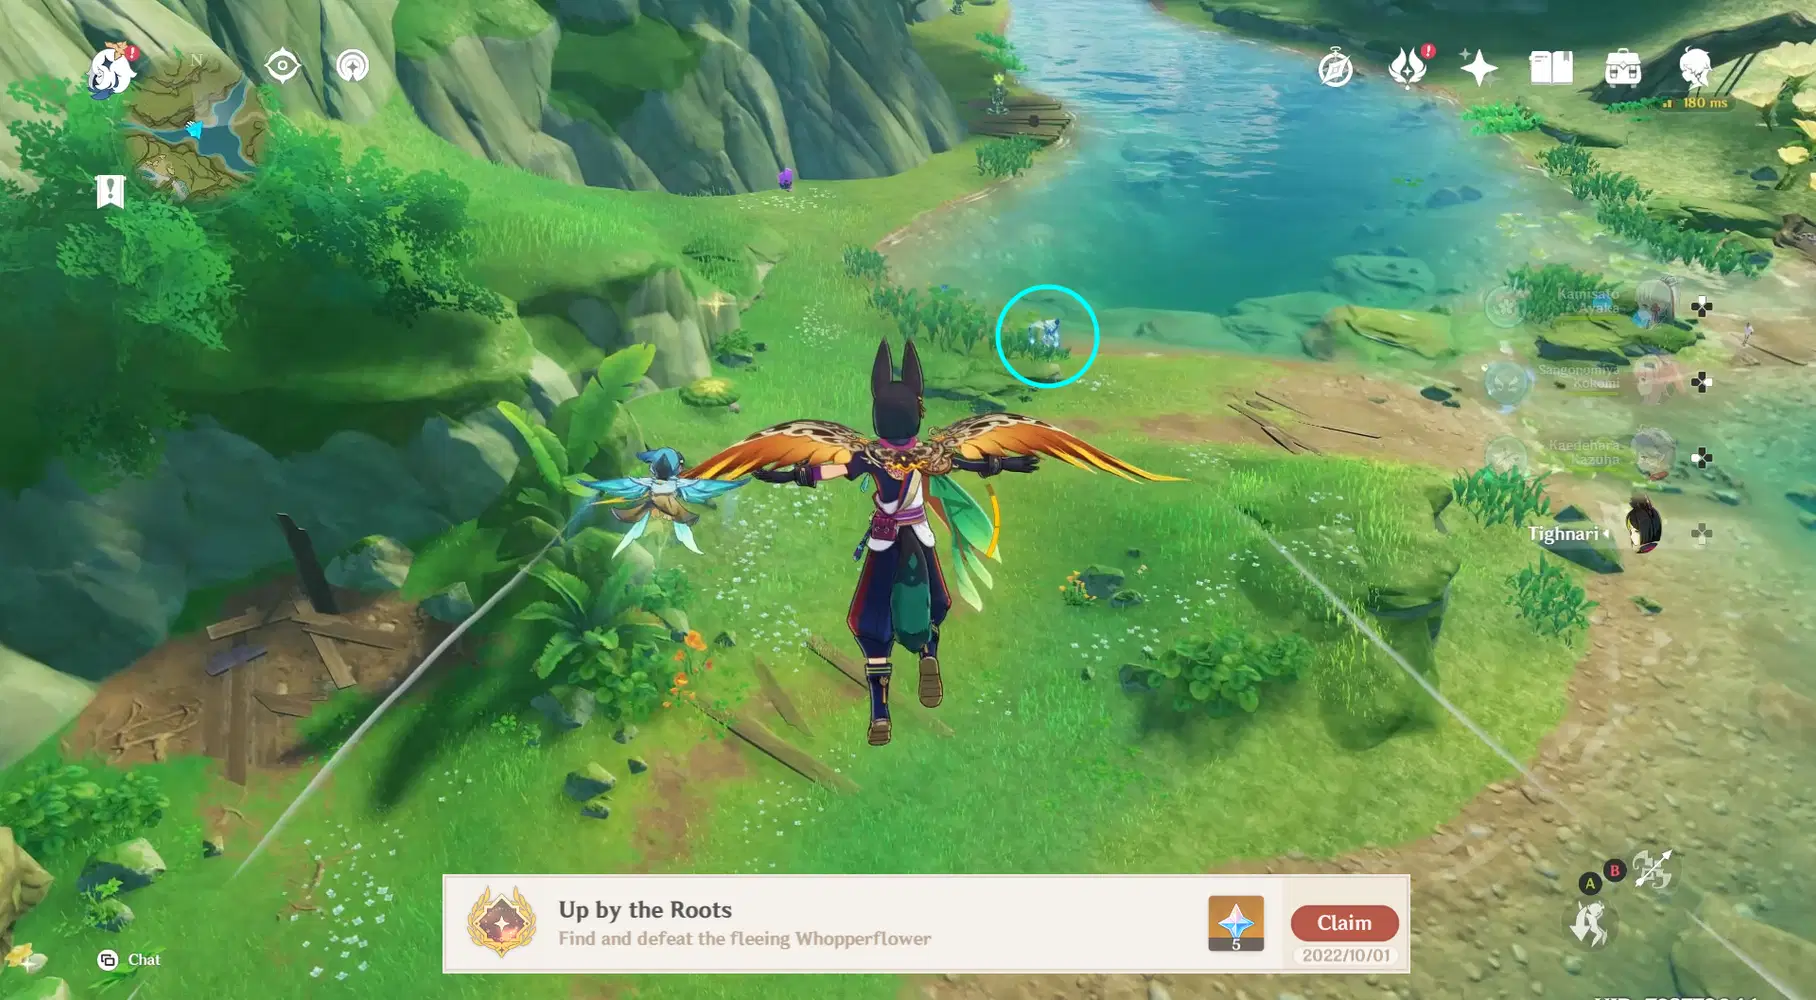
☑ Up by the Roots: Find and defeat the fleeing Whopperflower.
• Commission chain: The Flowers That Won’t Grow (3 times) → When Flowers Bloom
• Versions of The Flowers That Won’t Grow don't matter.
• There are 2 situations can happen with When Flowers Bloom, decided purely by RNG:
- You get a beautiful Sumeru rose and nothing else. Just a waste of time.
- The whopperflower appears and escapes. The camera will pan to the direction it flees to, you need to search and destroy right away. If you go too far or teleport away, it may despawn and you'll have to redo the whole chain again.
• Number of repeats: 3+1 times per cycle.
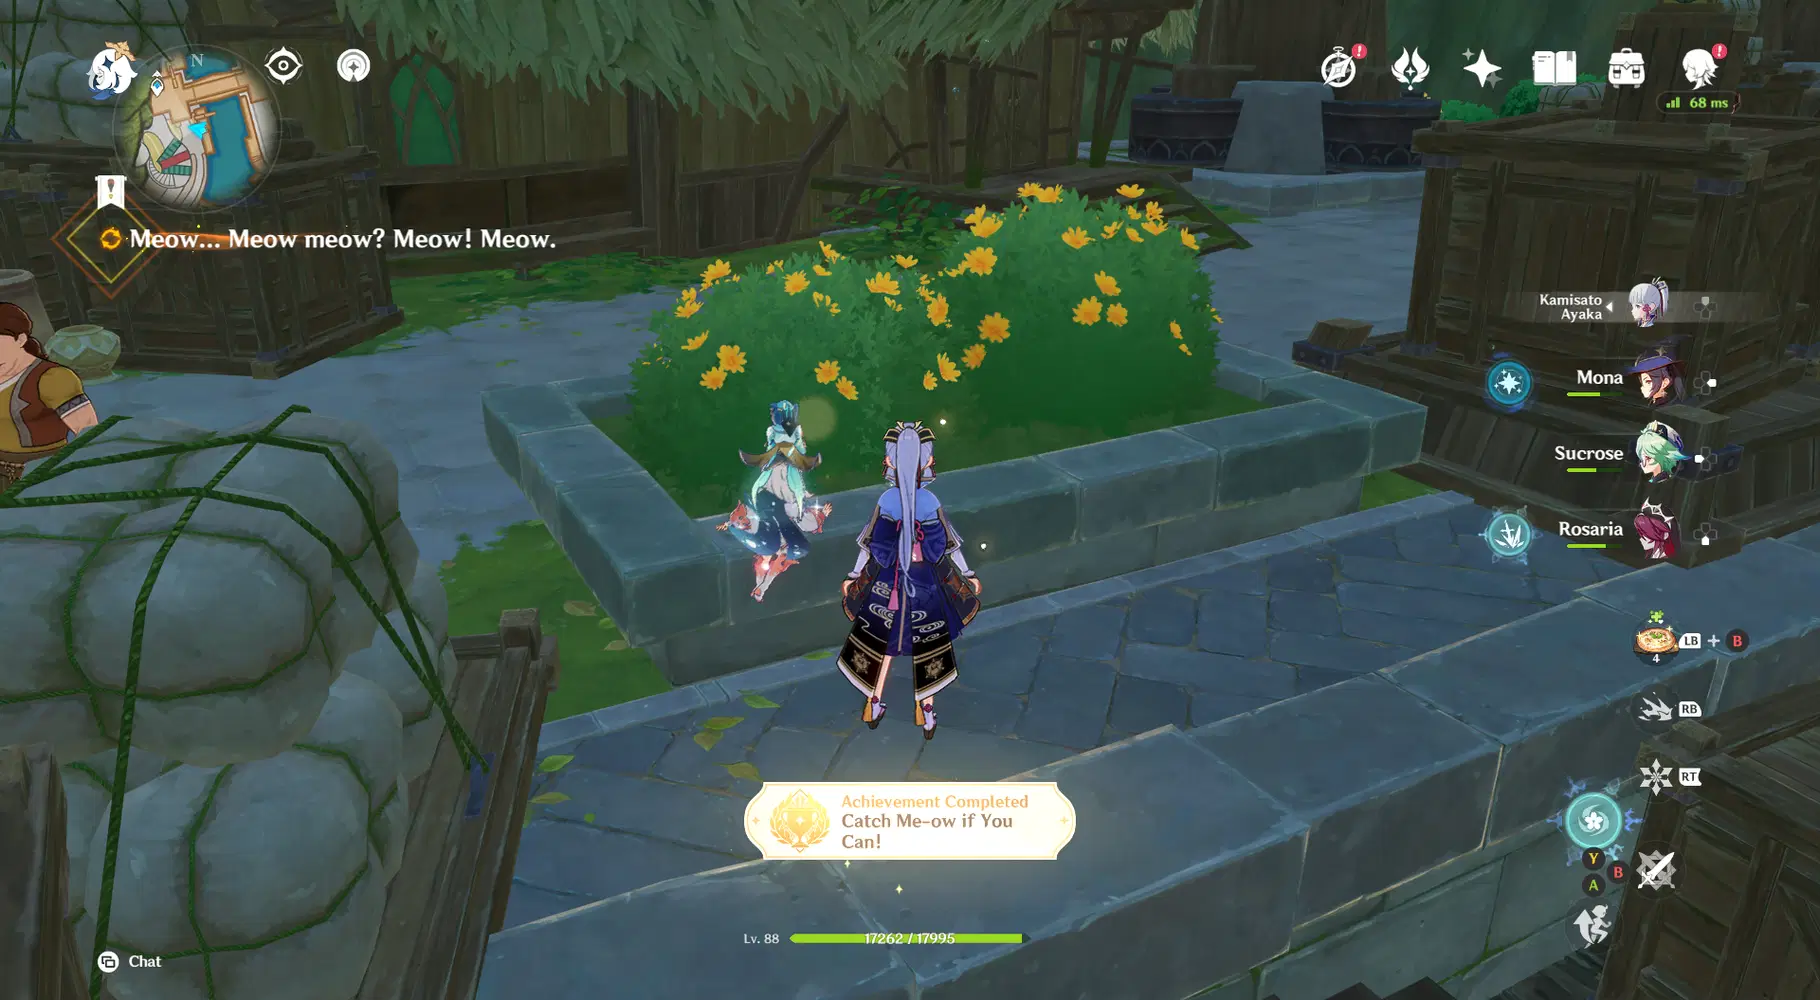
☑ Catch Me-ow if You Can!: Help Sareh find all the little cats.
⚠ Commission: Meow... Meow meow? Meow! Meow.
• Catch all 3 kittens for Sareh. She will teach you cat language to call for each one, remember it well or you may fail this commission.
• You need to catch 3 different cats. If you encounter a dupe, skip it.
• Number of repeats: 1 time per cycle. One peculiar thing about this commission is that you get achievement by catching cats, not bringing them back. So if you want achievement early, you can just catch them and not finish the commission -- it will remain in current cycle while you're still making progress.
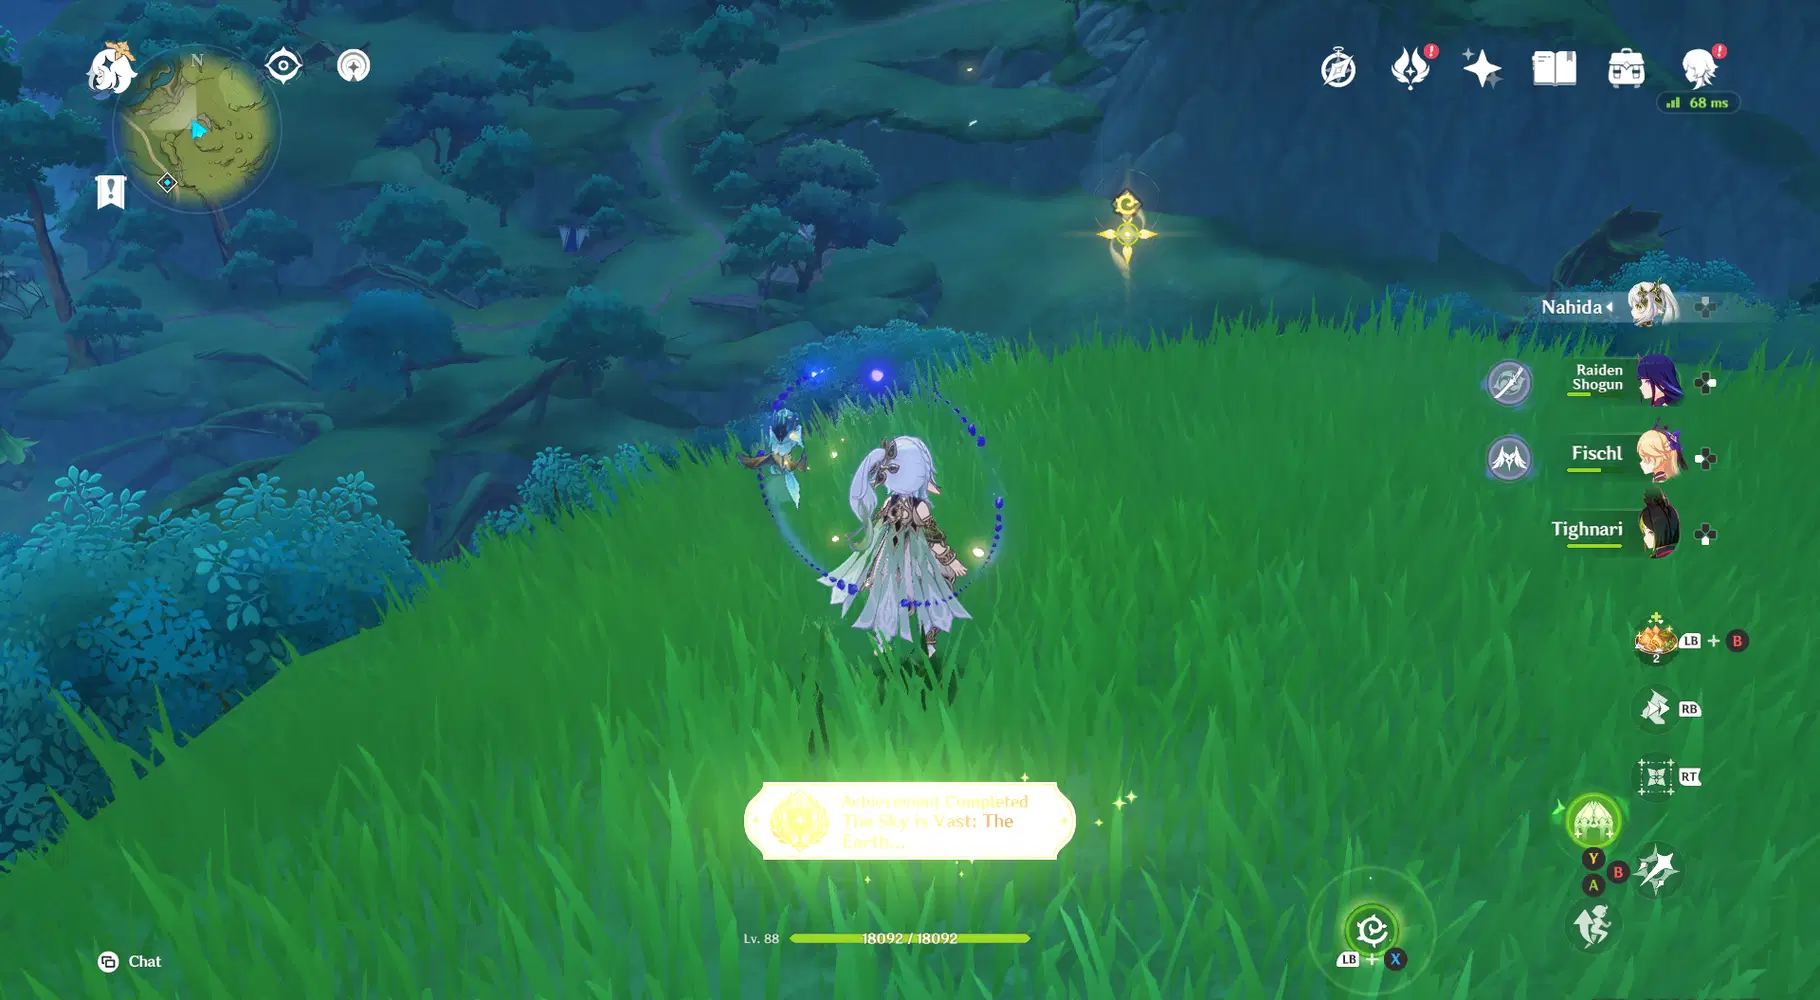
☑ The Sky is Vast; The Earth...: Help Farghani perform measurements.
• Commission: To Measure the World
• Complete 3 different variants of this commissions:
- Defeating monsters (either ruin sentinels, fungi, or hillichurls)
- Setting up beacons (east of Vimara Village)
- Retrieving beacons (only after you set them up)
• Number of repeats: 1 time per cycle.
• Some people reported that they get achievement by defeating x2 (different enemies) and beacon x1. I'm still not sure the exact condition for it, since there's conflicted information.
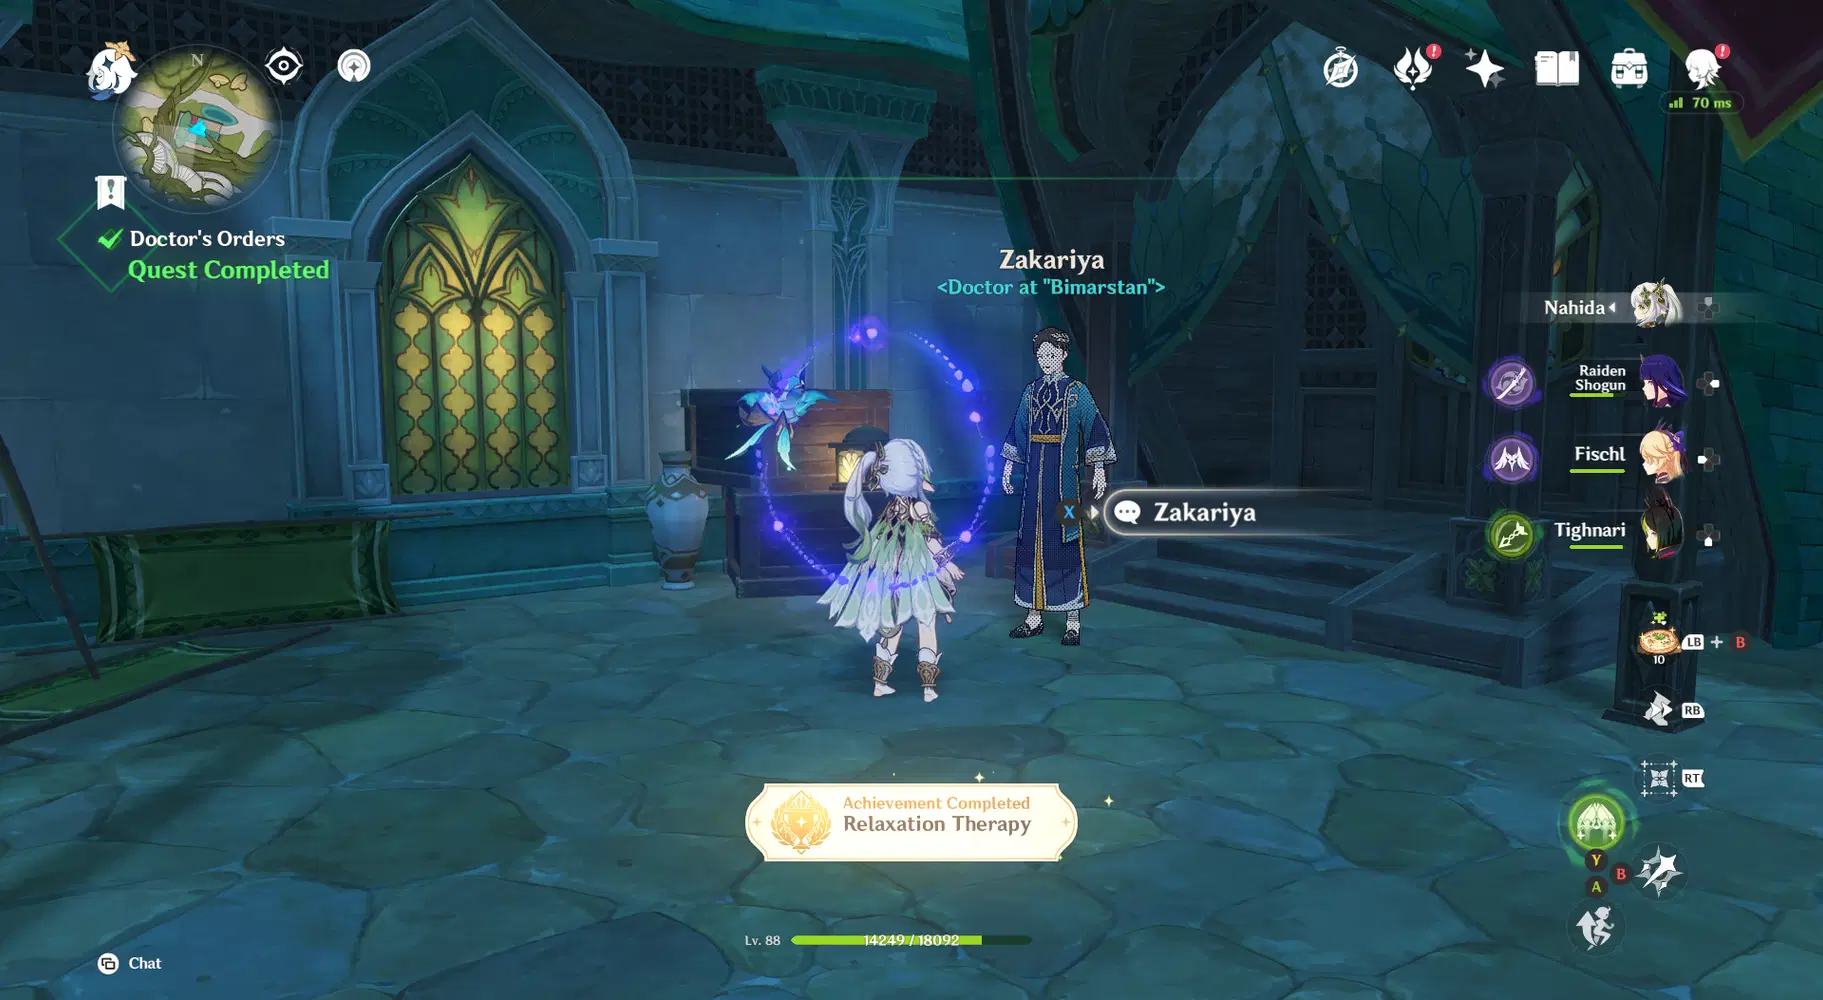
☑ Relaxation Therapy: Fulfill the 3 patients' wishes.
⚠ Commission: Doctor's Orders
• While bringing medicine to 3 patients as doctor requested, you need to to do something else for them:
- Gurgen: give him medicine → clear the bushes on his field with melee attack → talk to him again.
- Azra: give her medicine → talk to her again and give her Sugar.
- Aftab: give him medicine → talk to him again and give him Delicious Steak.
• DON'T report to doctor before doing those tasks, or else you'll miss progress.
• Number of repeats: 1 time per cycle.
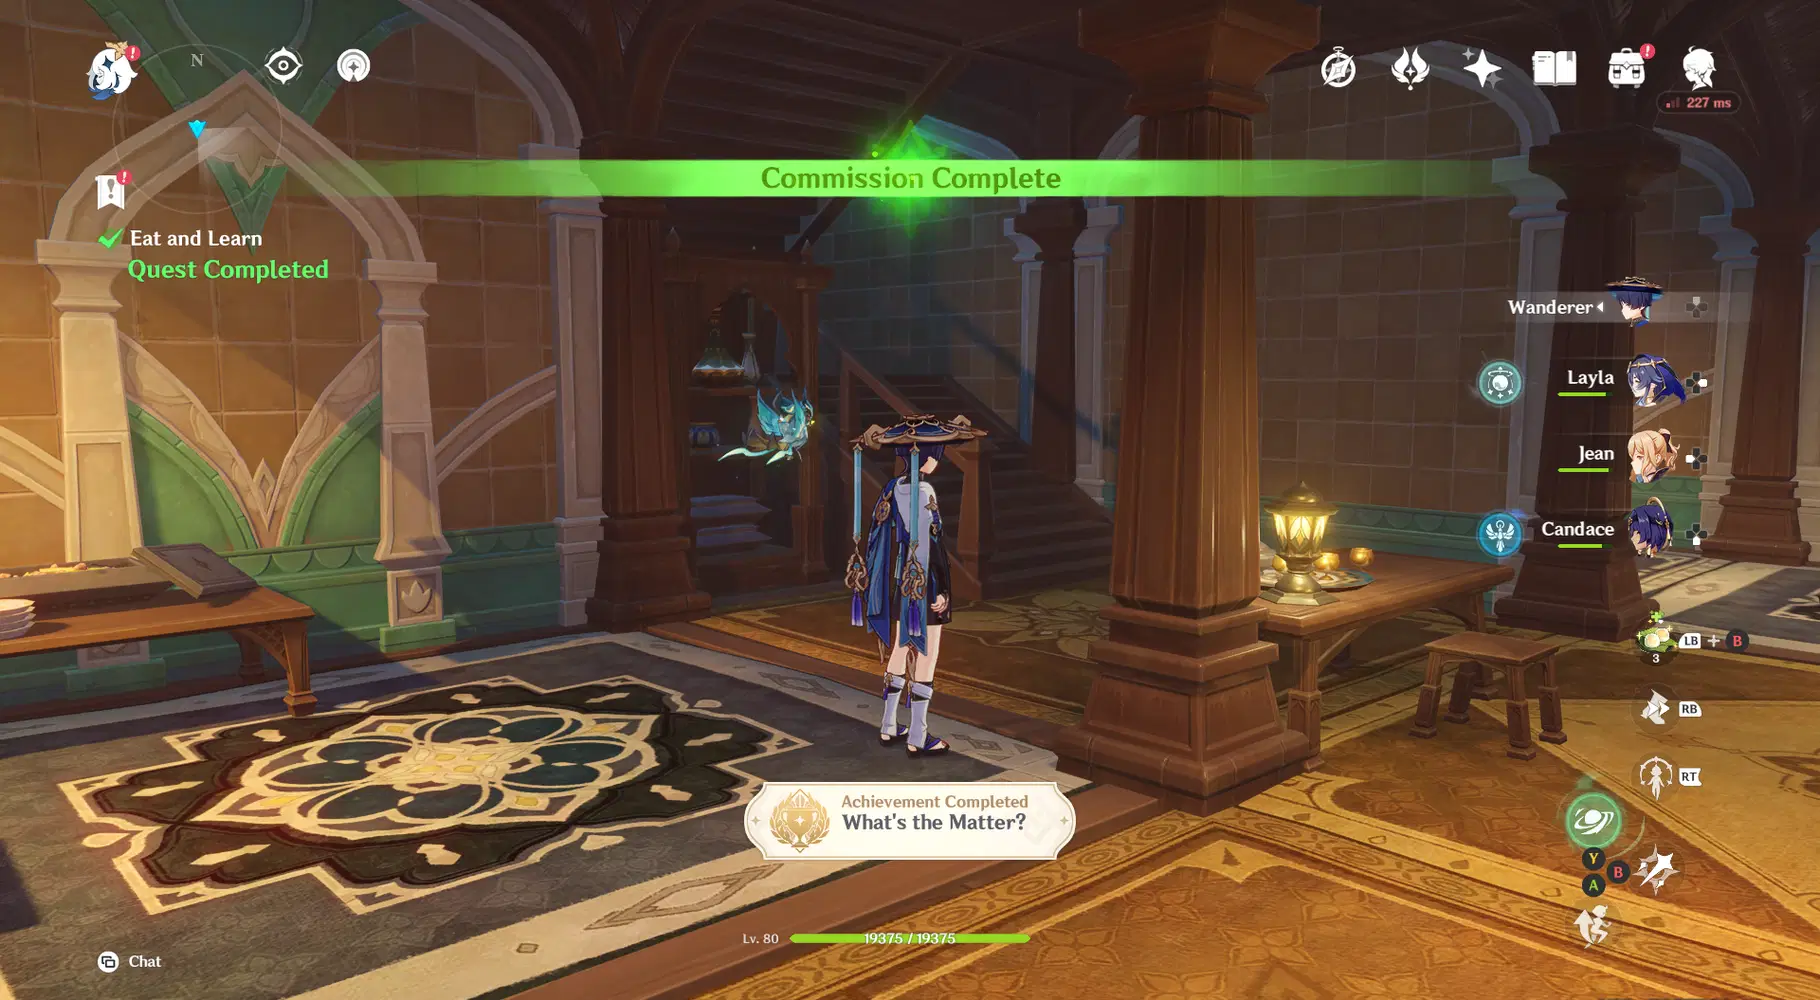
☑ What's the Matter?: Enjoy three of Jafar's dishes.
• Commission: Eat and Learn
• Try all three dishes made by Jafar: Minty Bean Soup, Panipuri, Shawarma Wrap (RNG).
• Number of repeats: 1 time per cycle.
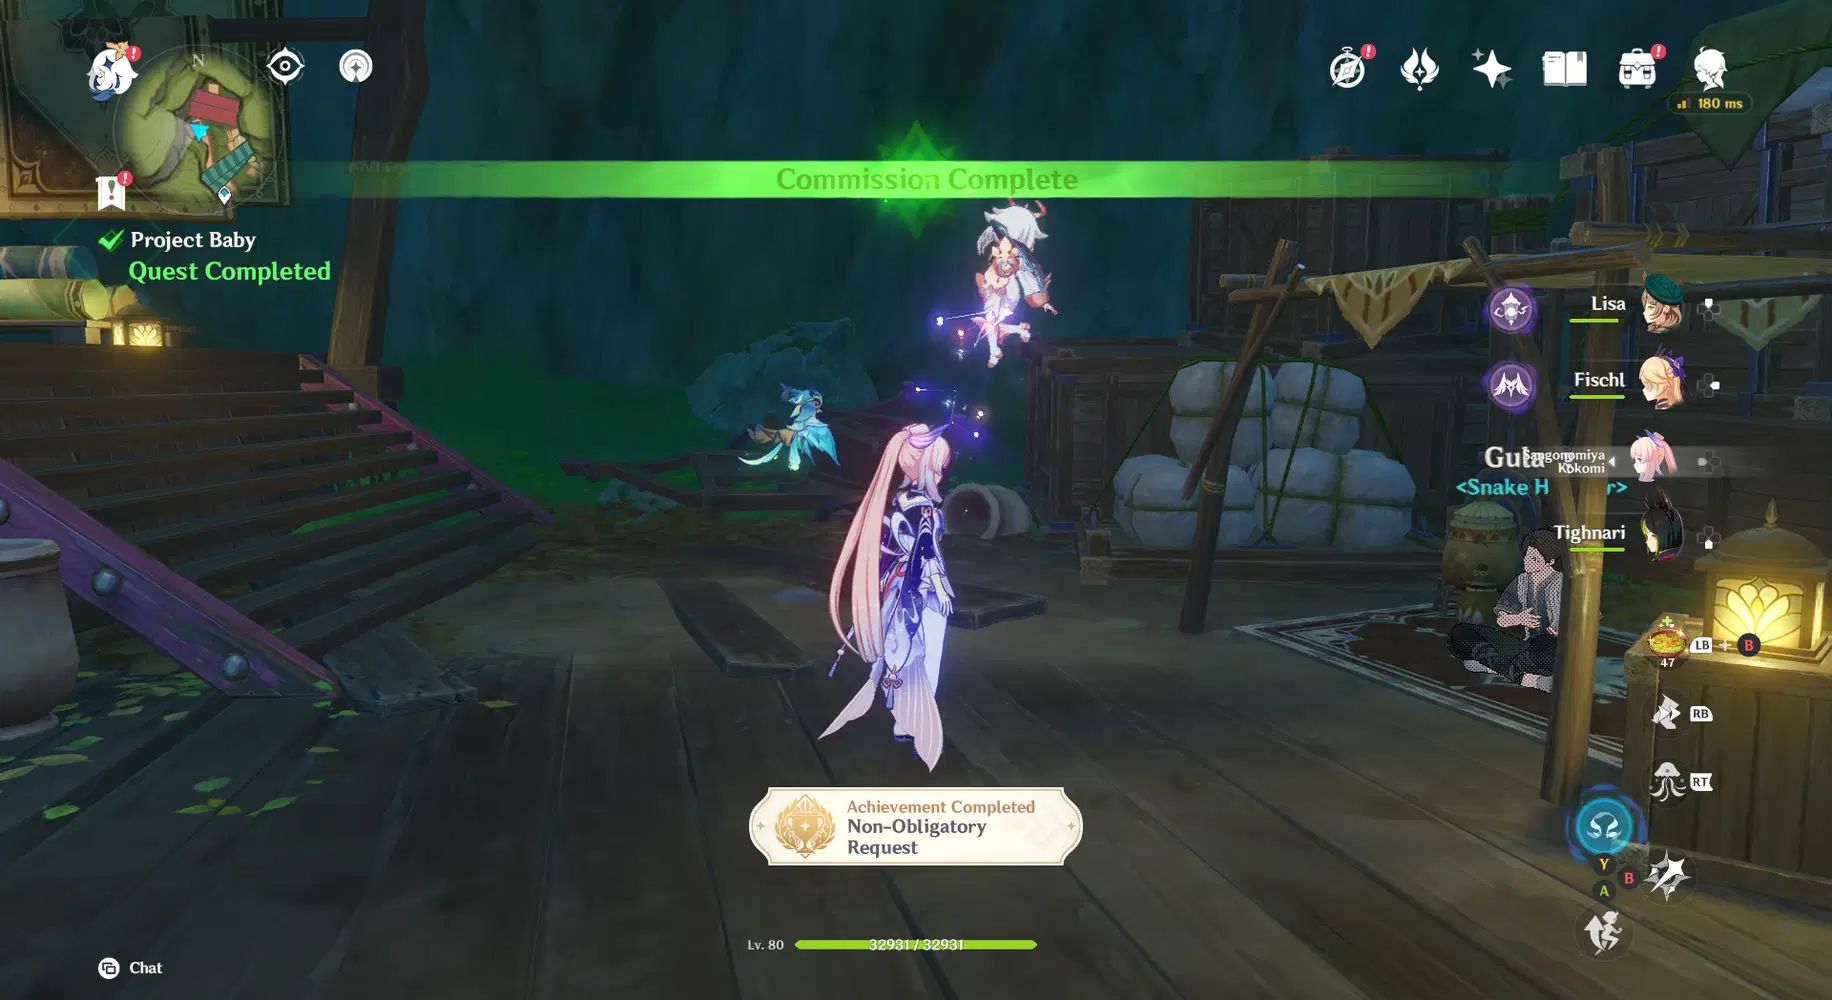
☑ Non-Obligatory Request: Find all the items that Gulabgir gave his snakes.
⚠ Commission: Project Baby
• Gulabgir requests you to find snake food at one of his five camps: Fungi camp (defeat all fungi) / Vine camp (burn the vines) / Rockslide camp (break all rock piles) / Pot camp (break all pots) / Tree camp (search the bird nests on tree).
• After you pick up the food, a new point of interaction will appear to indicate there's another item: Strange Bead between the pots at Fungi camp, Strange Tiny Hats in the fourth nest at Tree camp, and Shabby Rack under a rock pile at Rockslide camp. Pot camp and vine camp don't contribute anything for the progress, skip if you see them.
• Number of repeats: 1 time per cycle.
☑ Principia Arithmetica: Help Garcia perfect his machine.
• Commission chain: Garcia's Paean
(1) Garcia's Paean: Key Items
(2) Garcia's Paean: Substitutes
(3) Garcia's Paean: By Bearings
(4) Garcia's Paean: Easy Peasy
(5) Garcia's Paean: the Echo of Someone
• To unlock this chain, first you need to complete world quest Garcia's Paean at Wangshu Inn.
• The quality of insignia given to Garcia during Substitutes and Echo doesn't seem to have any effect on progress.
• After the long absence of Easy Peasy (since version 3.3 until Mar 14) due to a bug, the roadmap of this chain has changed with version 3.6 update:
- Cycle 1: Key (x2) + Substitutes (x2)
- Cycle 2: Key (x1) + Substitutes x1 (x1) → Bearings (x1) → EZPZ (x4) → Echo (x2) + Key (x1)
- Cycle 3: Key (x2) + Echo (x2)
• You'll get achievement by completing the third Echo of Someone. Then after daily reset, world quest Garcia's Paean: A Gift of Compatibility will occur. If you still have other incomplete commission achievements in Sumeru, it's recommended to put this quest on hold so that Garcia will no longer bother you with his commissions.
Commissions without achievement
• 1001 Cups of Coffee (1 time/cycle): Tell some tall tales to the storyteller Maddah at Puspa Café. Maybe when he's famous, the Grand Sage will summon him to his bedchamber every night for some nice stories ( ͡° ͜ʖ ͡°)
• Clean and Healthy (1 time/cycle): Help the intern doctor clean up the hospital.
• King of Invokations (1 time/cycle): Do some poses for a light novel's material.
• Equivalent Exchange Once More (1 time/cycle): This commission only appears after you complete Return to Days of Winter in Mondstadt. I don't know if I feel relieved or disappointed that he doesn't give us any achievement this time.
• Warehousing Business (1 time/cycle): Help the warehouse of Aaru Village deal with some problems.
• Price Comparison (1 time/cycle): Help Azalai in Aaru Village choose supplier for his wares.
• Commission chain Concresoil (4 times/cycle, then got removed) → Other Applications of Concresoil (1 time/cycle)
• Commission chain The Great Tree (1 time/cycle for each part):
(1) The Great Tree
(2) The Great Tree: Rooted State
(3) The Great Tree: State of Growth (need 3x Rooted State, only be available once)
(4) The Great Tree: Statistical State
There's no telling if they may continue with something in the future.