
- - - THUMBNAIL PURPOSES ONLY - - -
Credits for emojis used in thumbnail : Genshin Impact
"Teyvat Times" Series Emojis: Special Review Edition

What do you need when taking a character portrait?
Well you need two main things, the character and the background.
You can find a great scenery you want to take a photo with, bring out your chosen character then snap!

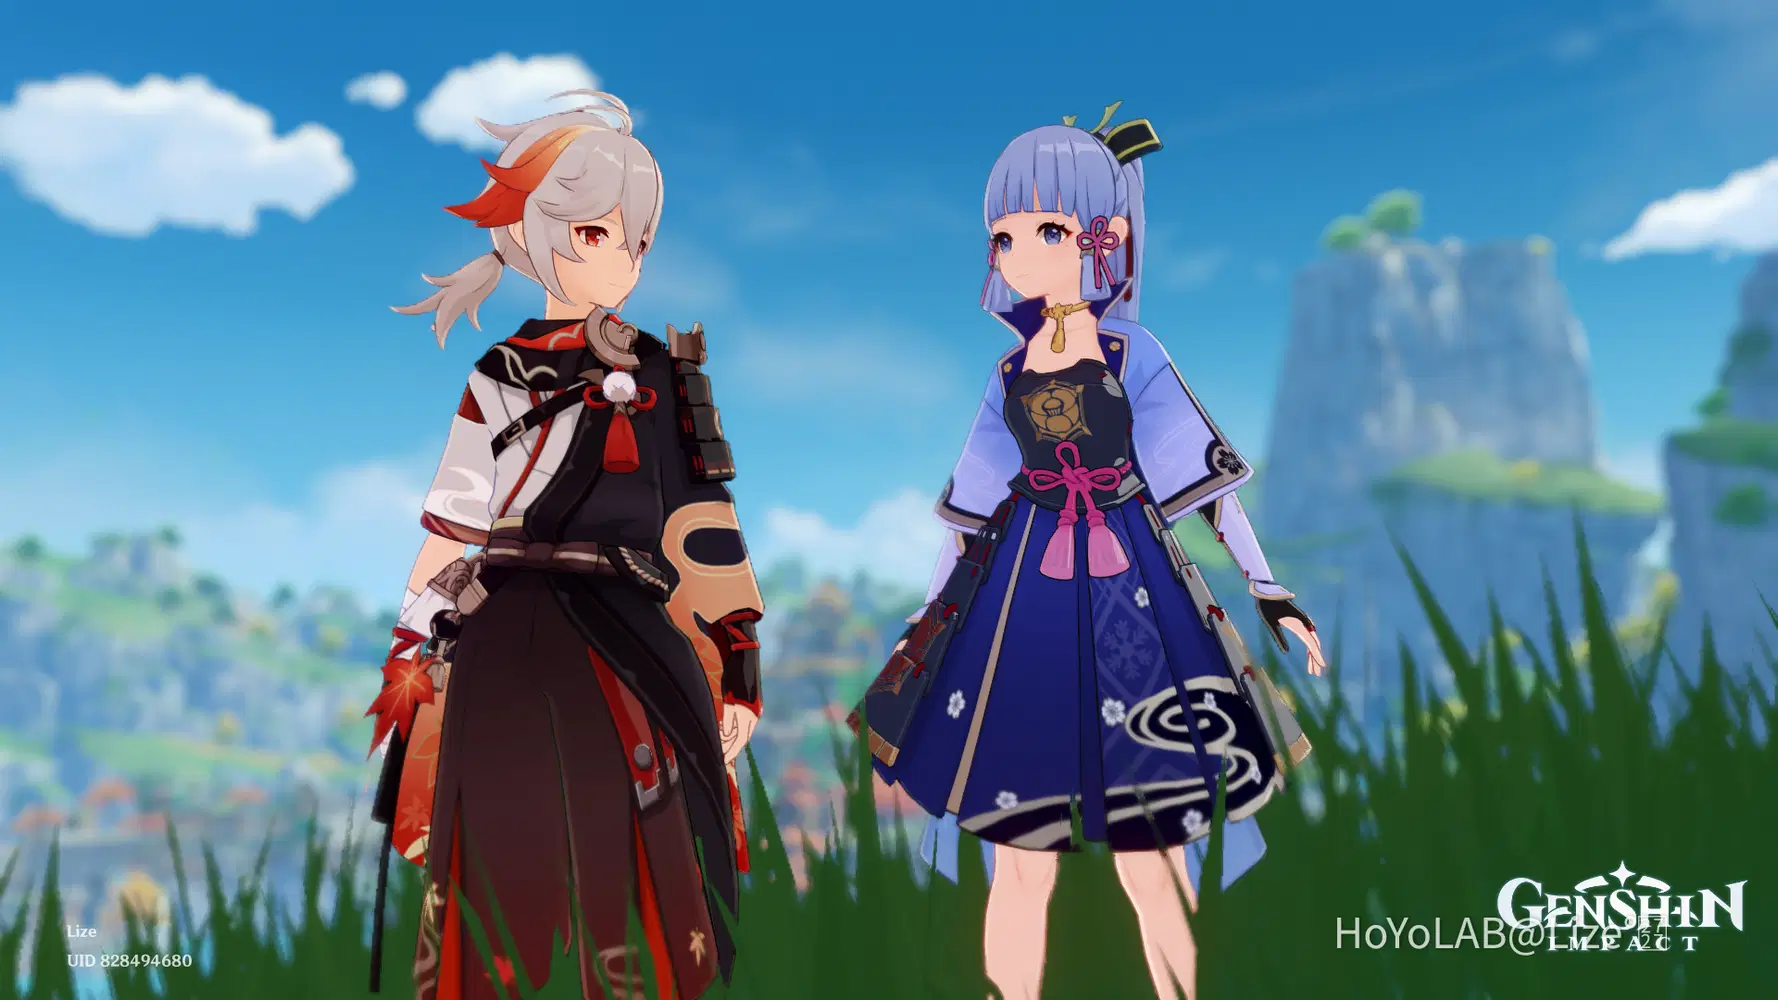
 Hmmmmm..
The shot is ok but not too appealing. Seems like its missing something 
If you think there is something lacking or if you want to improve your portraits, I got your back!!
I am not a professional photographer, but I'll share all the things I've learned in taking pictures.
Here are some tips and tricks that I use in my shots!!

I will do these in parts so I can go through each tips in depth! Feel free to share some of yours as well!!
Also, there's a Table of Contents feature now in Hoyolab so you can use it to skip to the part that you want to see!!
The Blur
The blur is a handy tool to direct the focus to your subject or the character you want to take a picture with!
Especially in a busy background, the focus will go to the things going on at the back instead of the character.
Take this photo as an example.
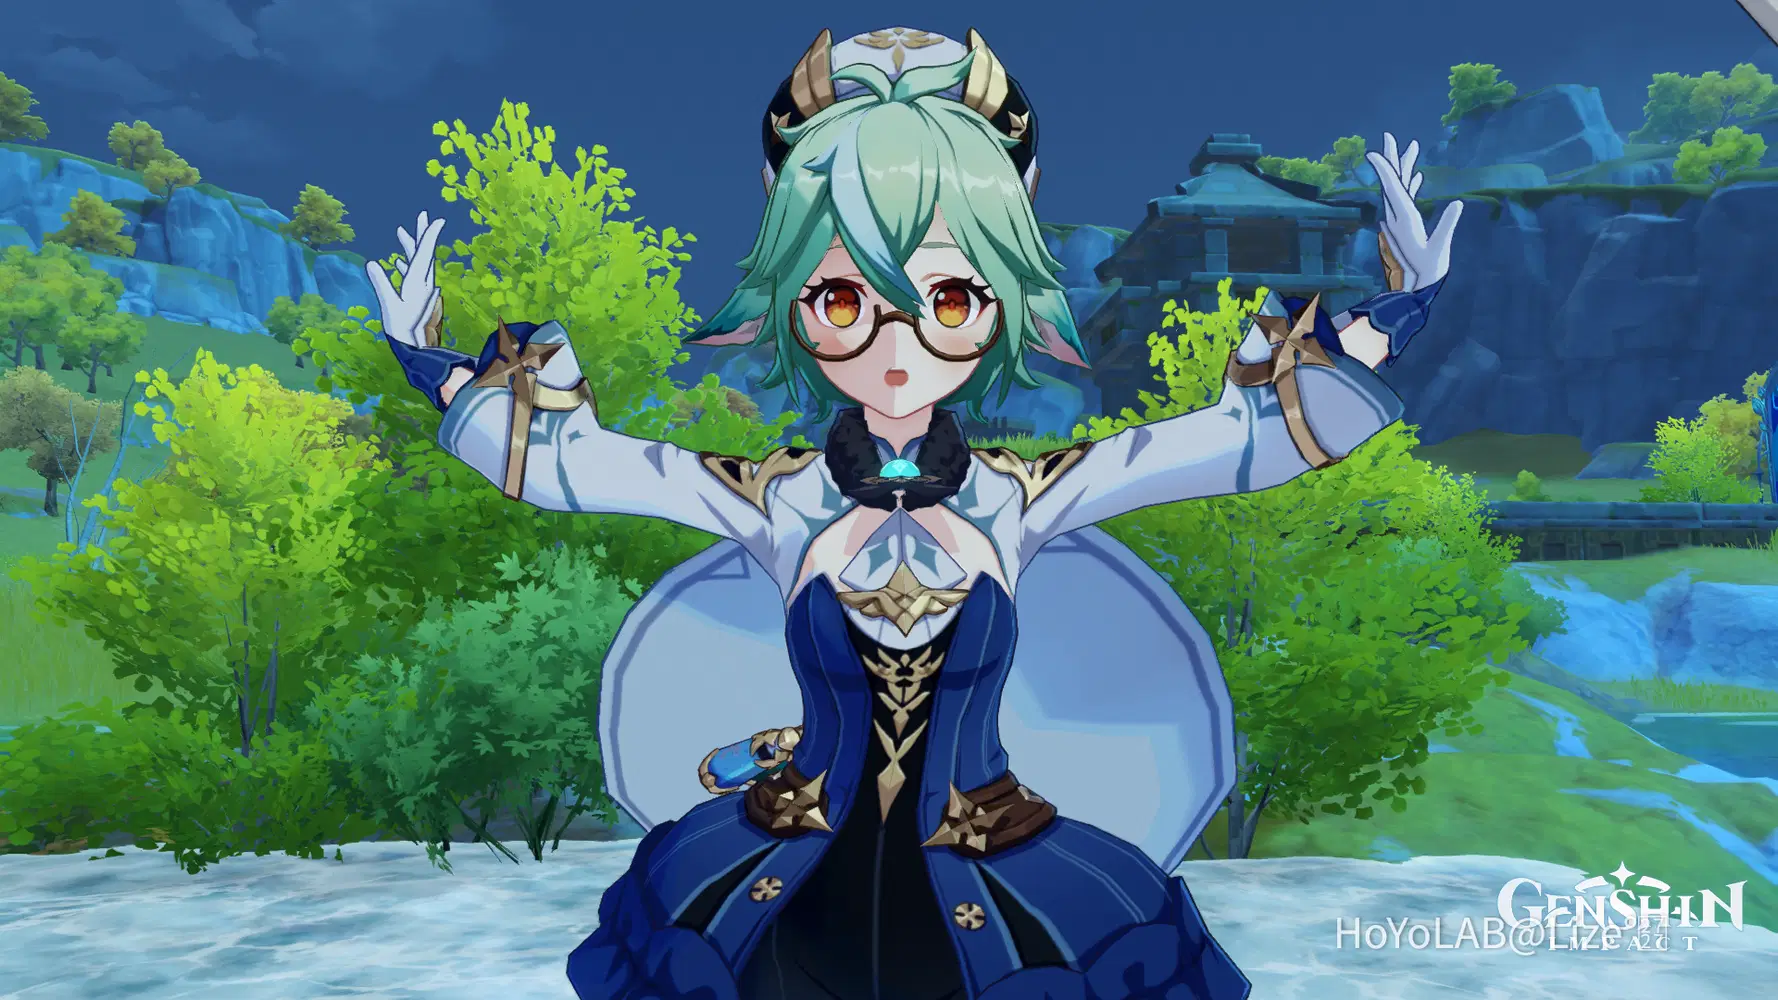
Here's sucrose looking all cute, but the greenery and all the structures in the background clashes with her for the spotlight.

If you blur out the unnecessary things in the background, it can help in lifting up the character and making them pop!
This picture of Yelan for instance:

The sparkly bright trail would've hindered Yelan from standing out.
But by blurring it, you can tone it down and give all the the focus to the character being showcased!
It even gave that mysterious feel to it.

So take note that you can take advantage of the blur to properly convey what you what to show in your photograph as well~
Thanks for modelling Yelan~


So how to you use Blur in your shots?
Once your backdrop and character is all set, go to the paimon menu and click the Camera icon.
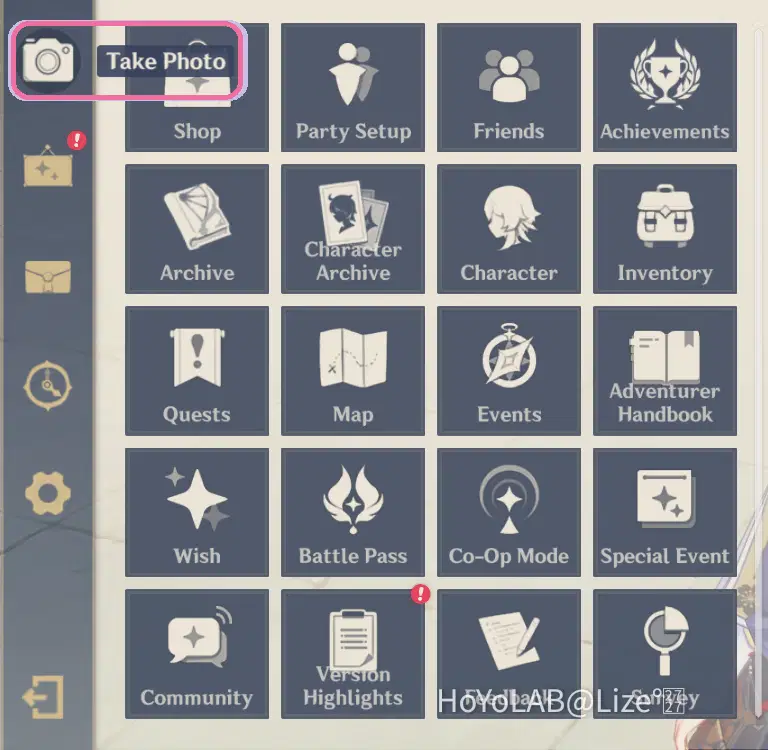
Then find the Background Blur Setting and turn it on! 

Once its on, you'll find two things that you can toggle, the blur distance and blur radius.
So What's the difference between the two?

Blur Distance
The blur distance is where in the photo do you want to place the focus on.
If the blur distance is low, the object near the camera will be seen clearly while everything in its back will be blurry.
You can observe here that Ayaka is somewhat in the middle but a bit near to the camera,
so I set the blur distance on the near middle as well!
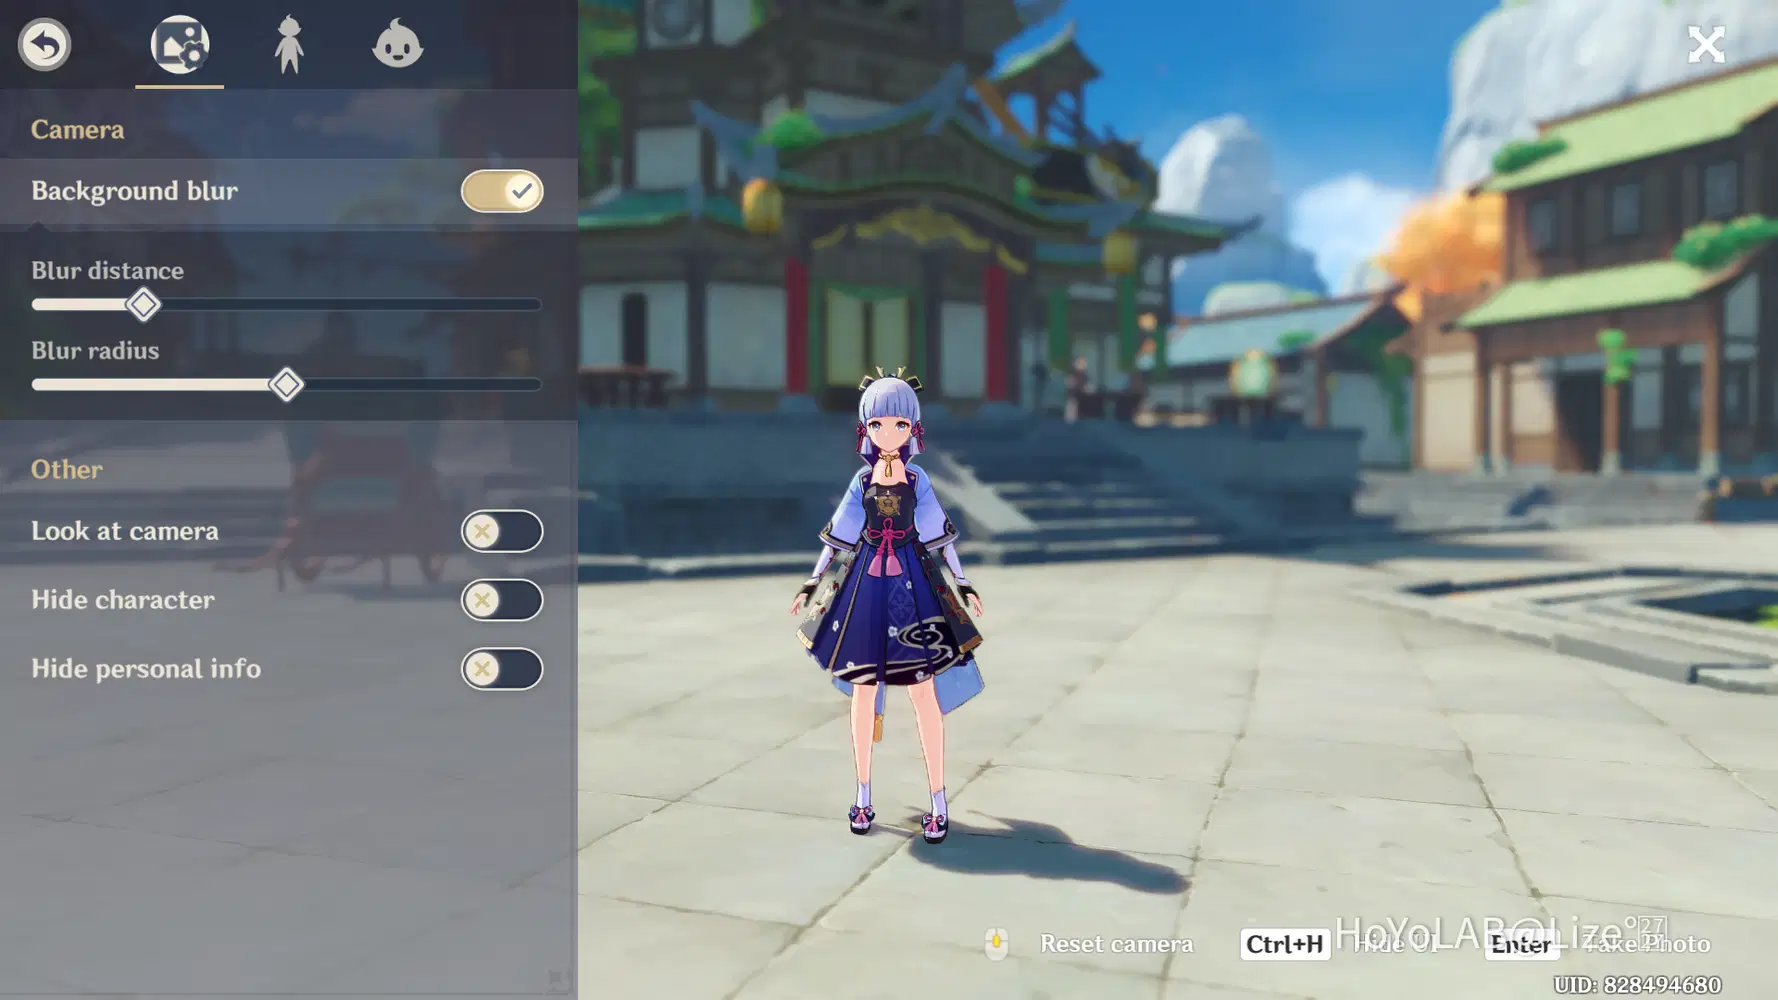
While in this photo, I zoomed in on Ayaka so she's nearer to the camera.
Its noticeable that the blur distance is much lower this time!

Long story short, adjust the blur distance until the character doesn't appear to be blurry anymore.

Blur Radius
Blur radius is just basically how blurry you want it to be.

If you want minimum blur, set it to low.
This is best used when you still want the backdrop to be visible but not overpowering the character!
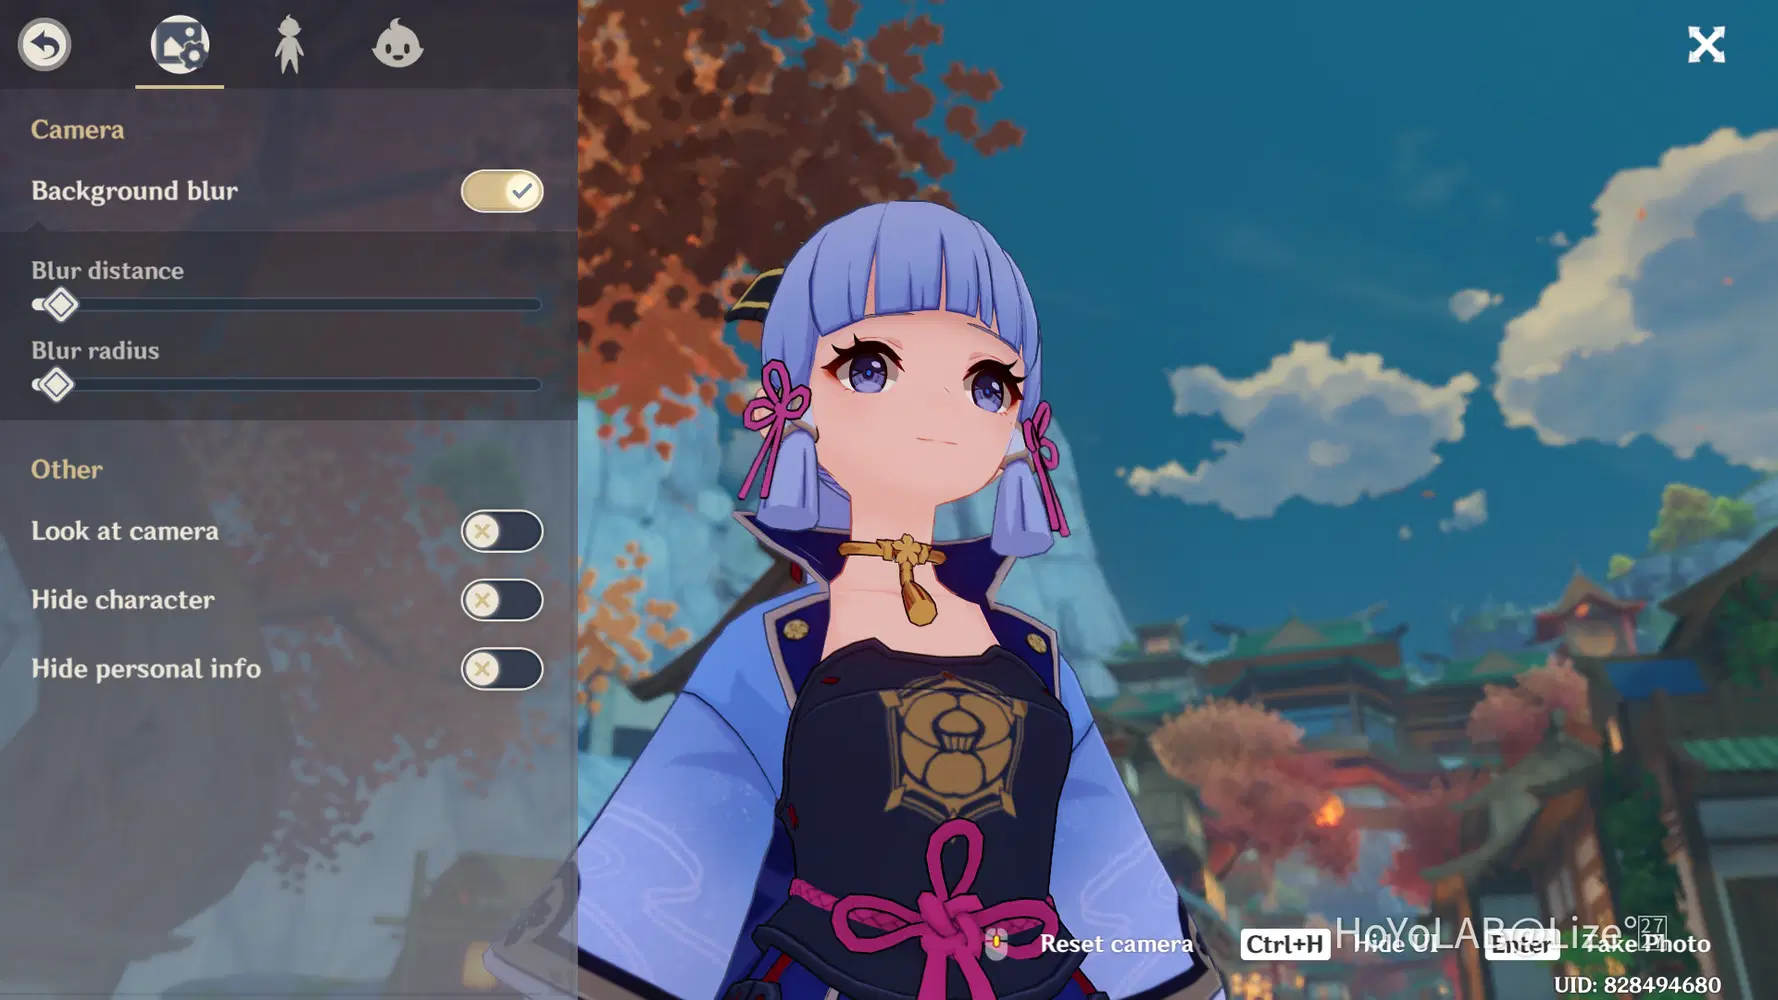
If you want it really blurry set it to high.
This one give's a softer feel and is great in depicting that warm fuzzy feeling.
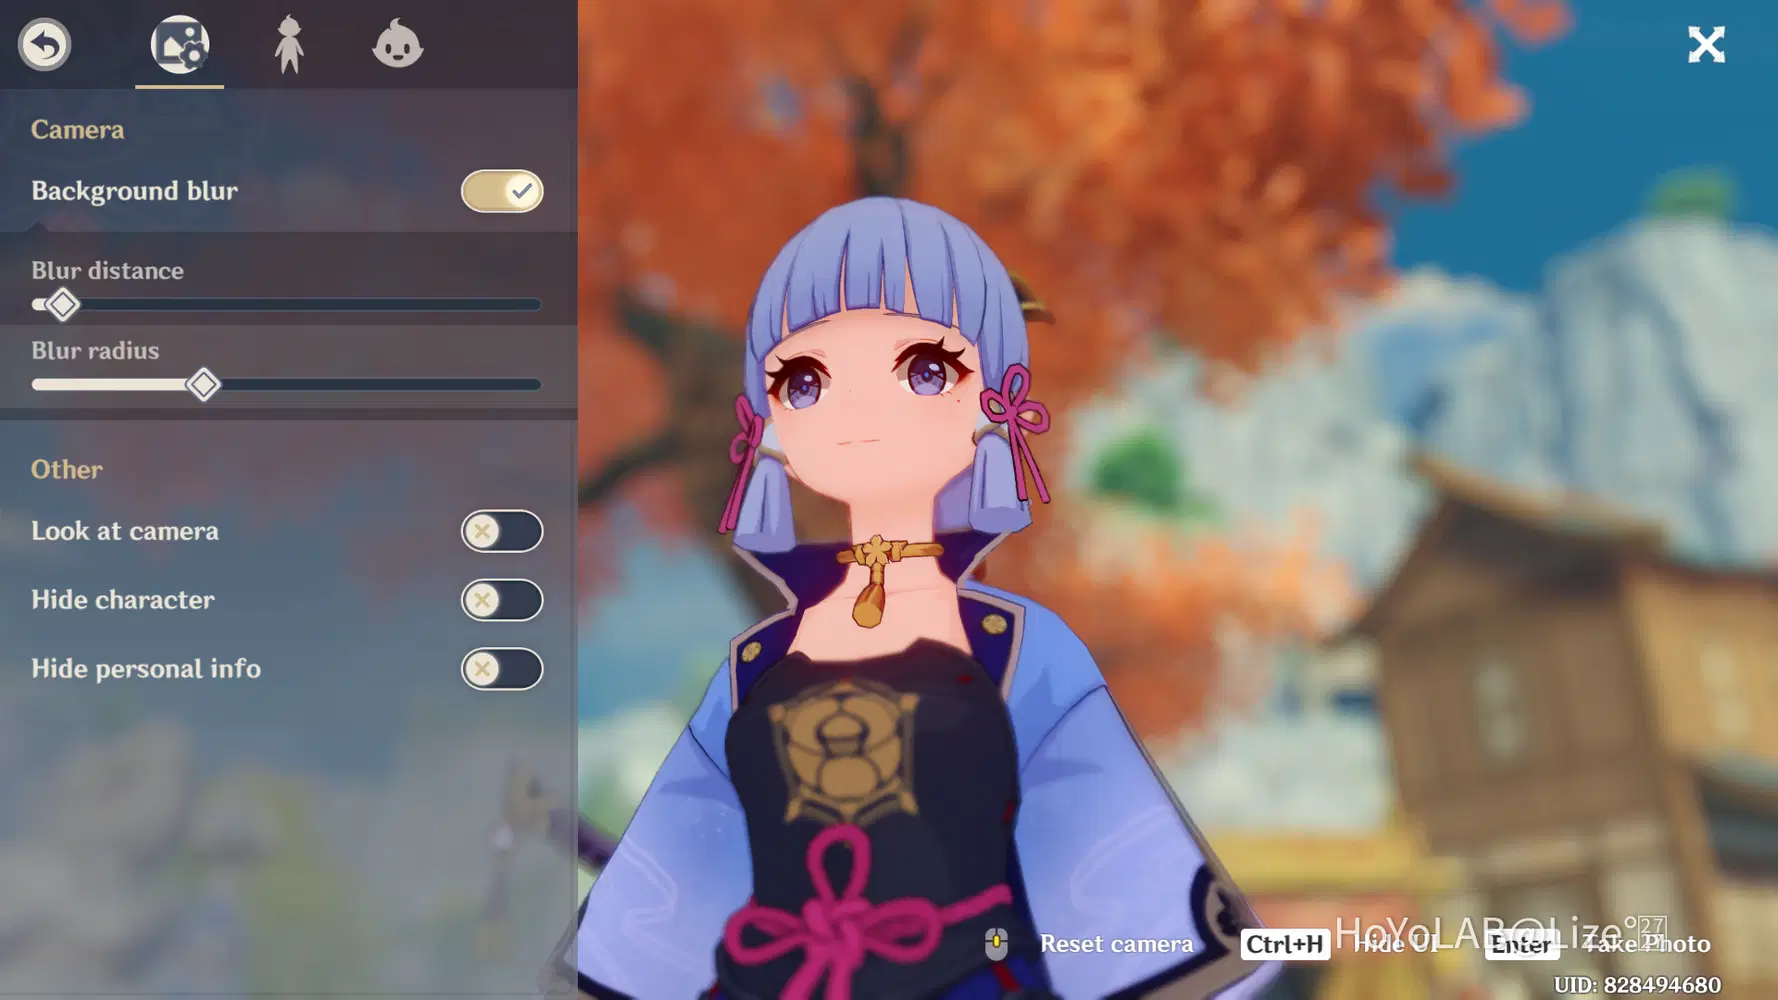
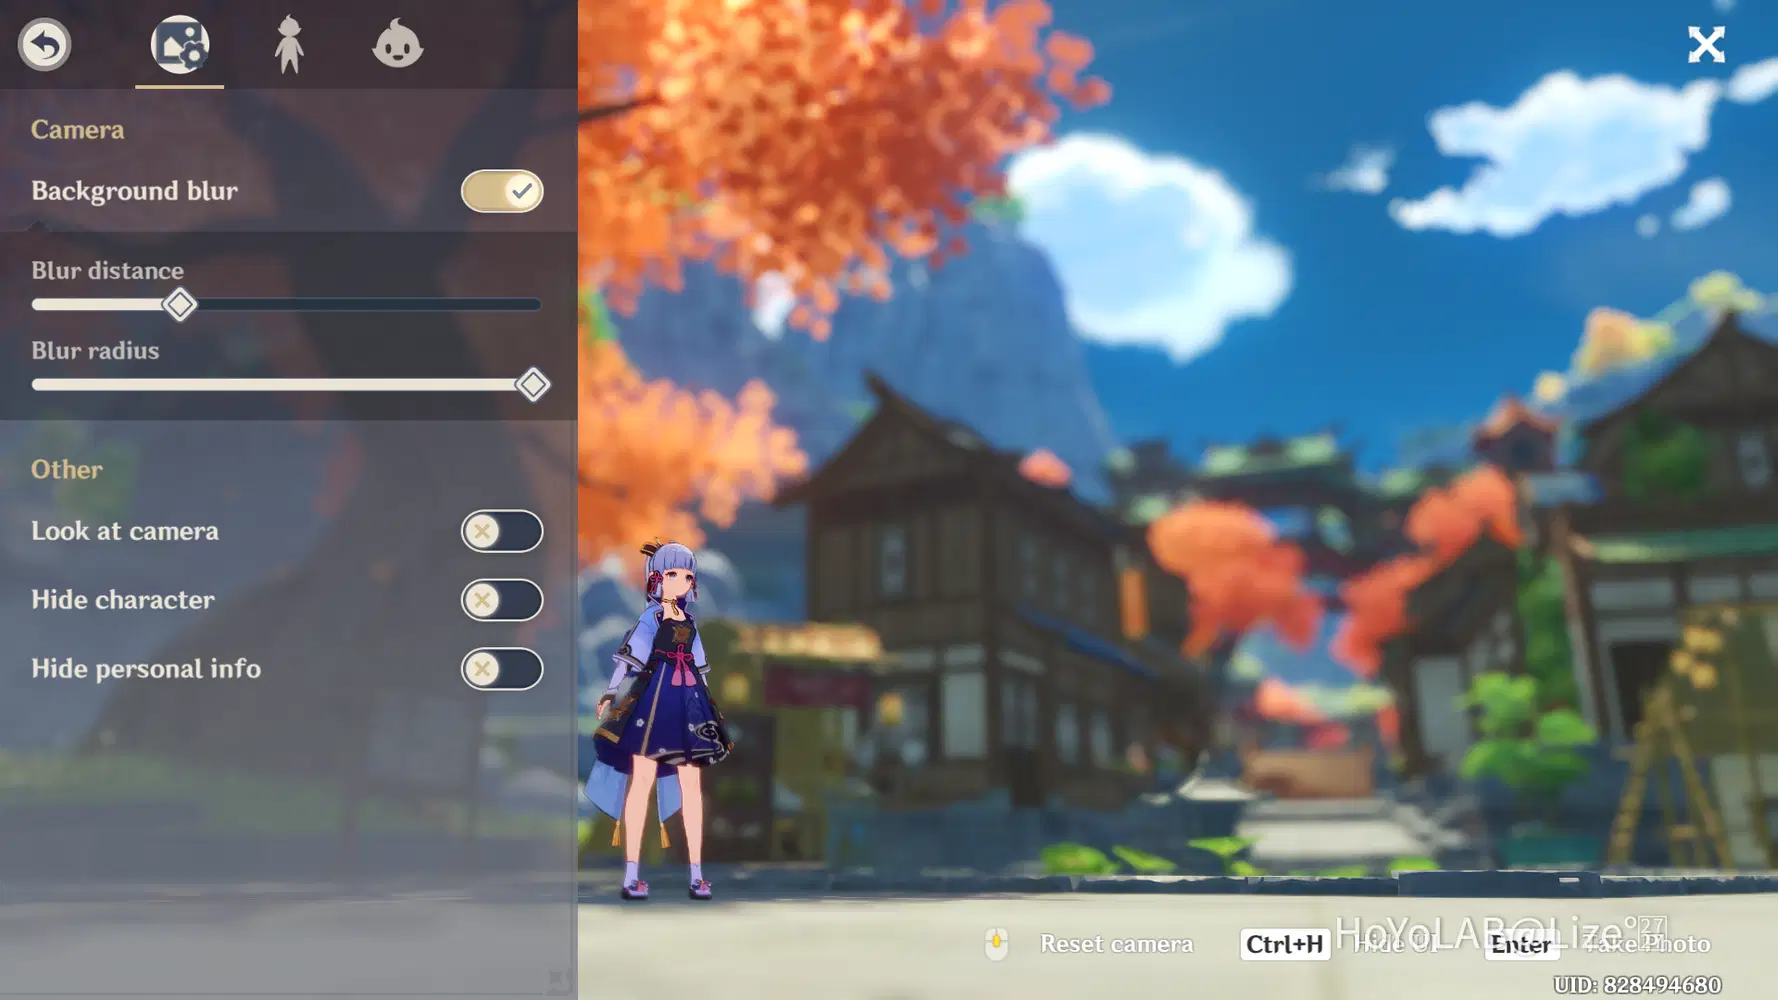
Keep in mind that when set into the middle, it could already be quite blurry.
So setting it at max will be really blurry.
Doesn't mean its unusable though.
You can still use it if the character is pretty far away!
Like in the photo below:
But be mindful of how you apply the Blur to your image!!
Too much of anything is bad after all~
Make sure to not overdo it and to not blur the background too much.
If you adjust the blur too high, sometimes the character ends up being blurry as well.
This shot for example,
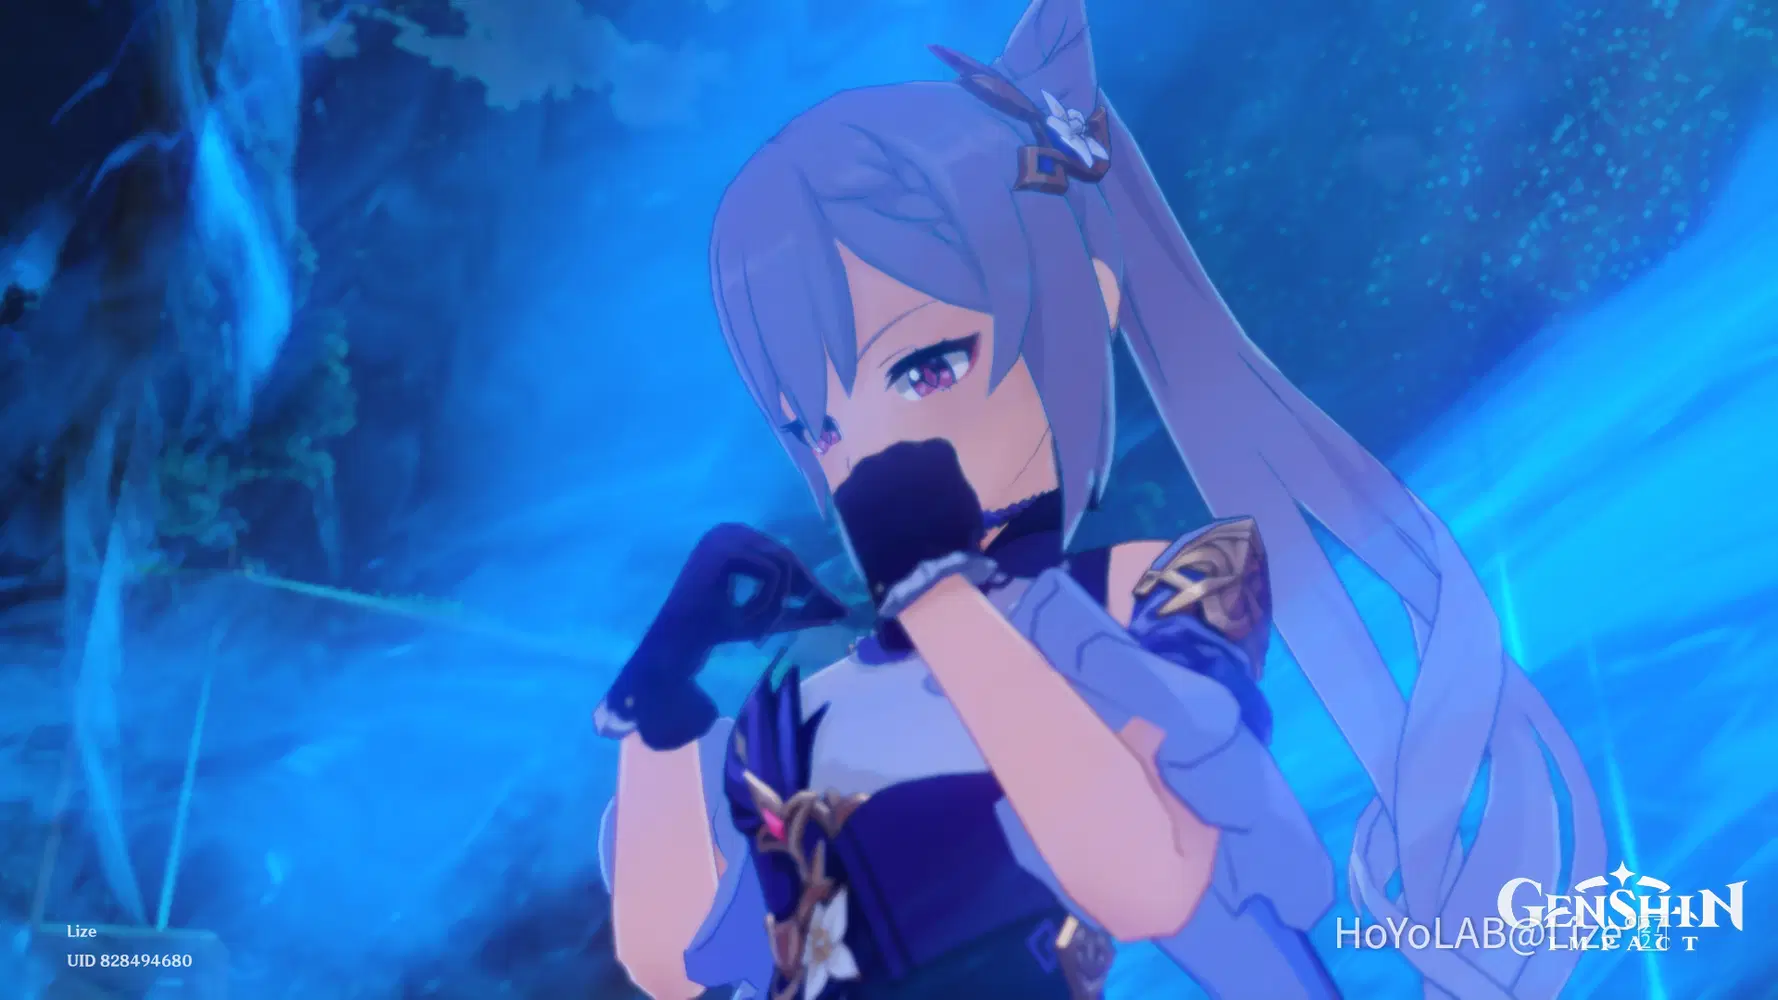
I tried to blur out the blue flame like textures in the background.
But in doing so, I set the blur too high and made Keqing a bit blurry as well
In addition, since its a close up shot, lower amount of blur is more ideal!
I did mention that it can be used in far away shots,
Although one reason we do those shots is to showcase some of the surroundings together with the character.
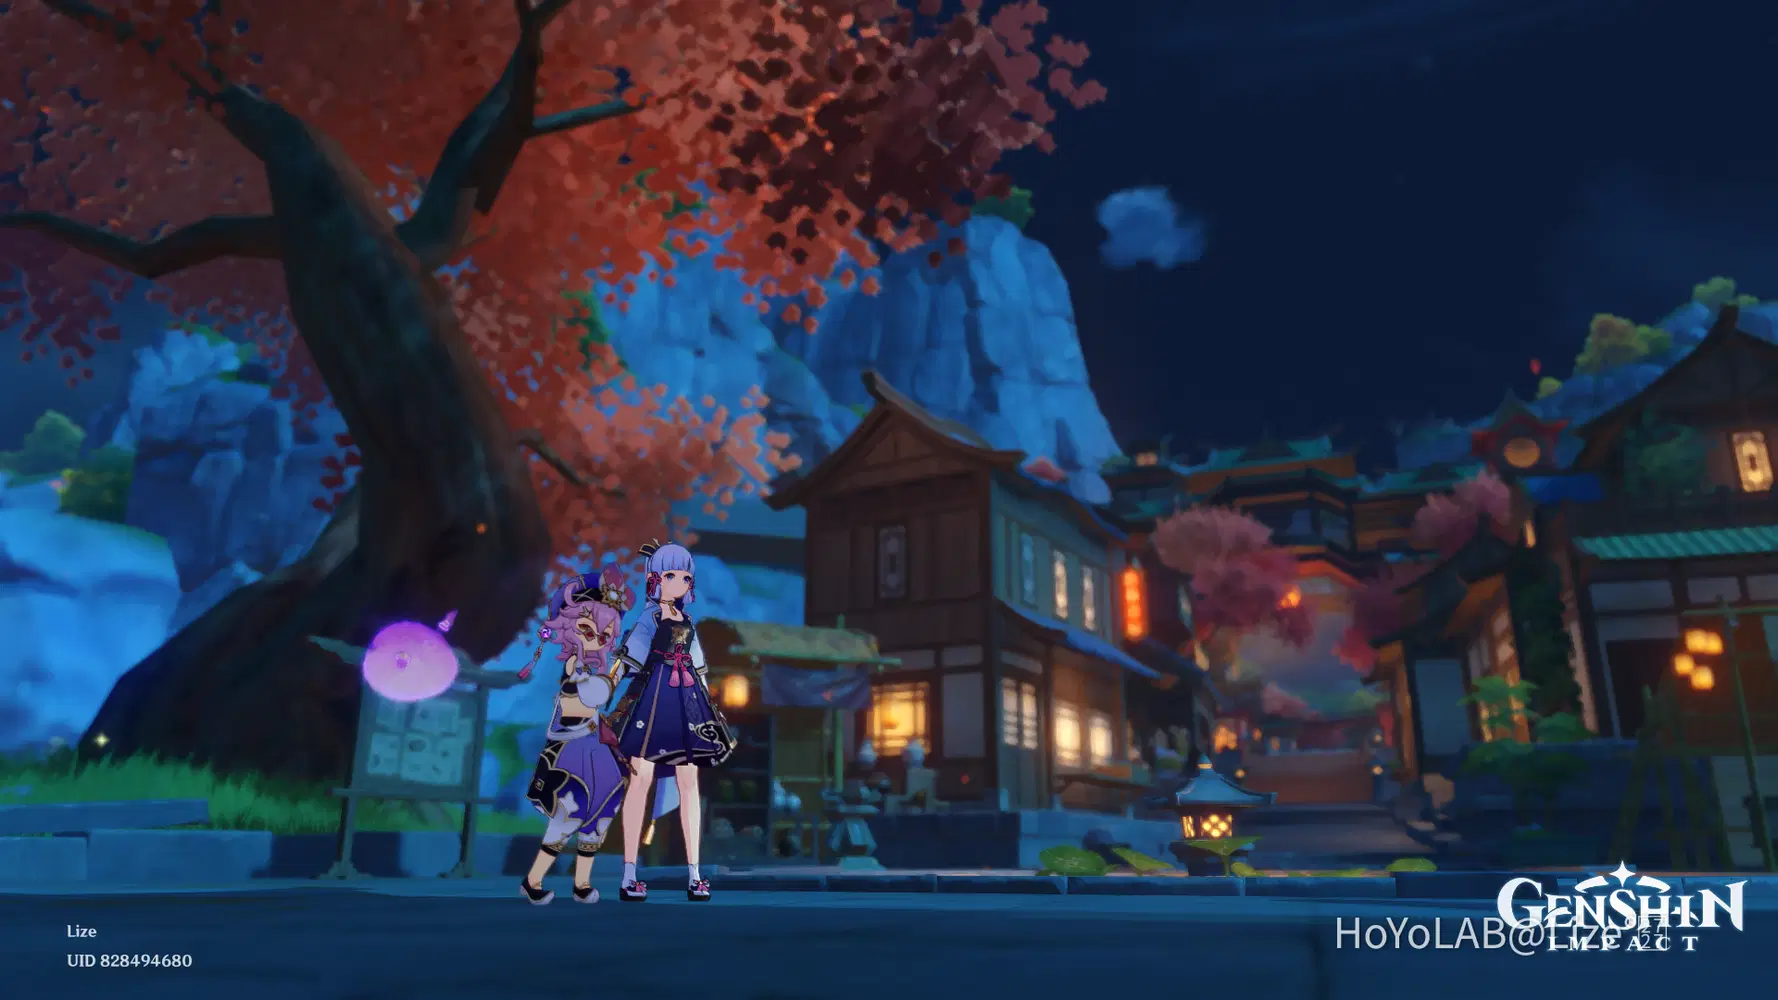
So be careful!! Only apply the right amount and resist the urge of going all out!

And that is it for today!
I hope this guide helped you in taking better photos in Genshin!
I would love to see your improvements and queries are very much welcome as well!!
(Just keep it coming~) 
If you want more photography guides, you can check out the whole collection here,
✧°․ Guide in Teyvat Photography .°✧
The next one will be about foreground!! (Already done!)
You can check it out using this link ⇒Lesson 2 : The Foreground
or by clicking the left arrow below!

Have a wonderful day everyone~