- - - THUMBNAIL PURPOSES ONLY - - -
Credits for emojis used in thumbnail : Genshin Impact
"Teyvat Times" Series Emojis: Special Review Edition

I know I said I was busy (I really am XD)
But creativity spiked and suddenly I have a lot of motivation to finish this guide
And I actually did Holy

Yes, 2 posts today but probably no posts for a while (maybe for a week or two)
Anyways hope you enjoy this one!
Now back to the lesson!! 
So last time we talked about the blur
I hope you learned something from our previous lesson about blur!!
 Let's look at the picture we took last time after the lesson!
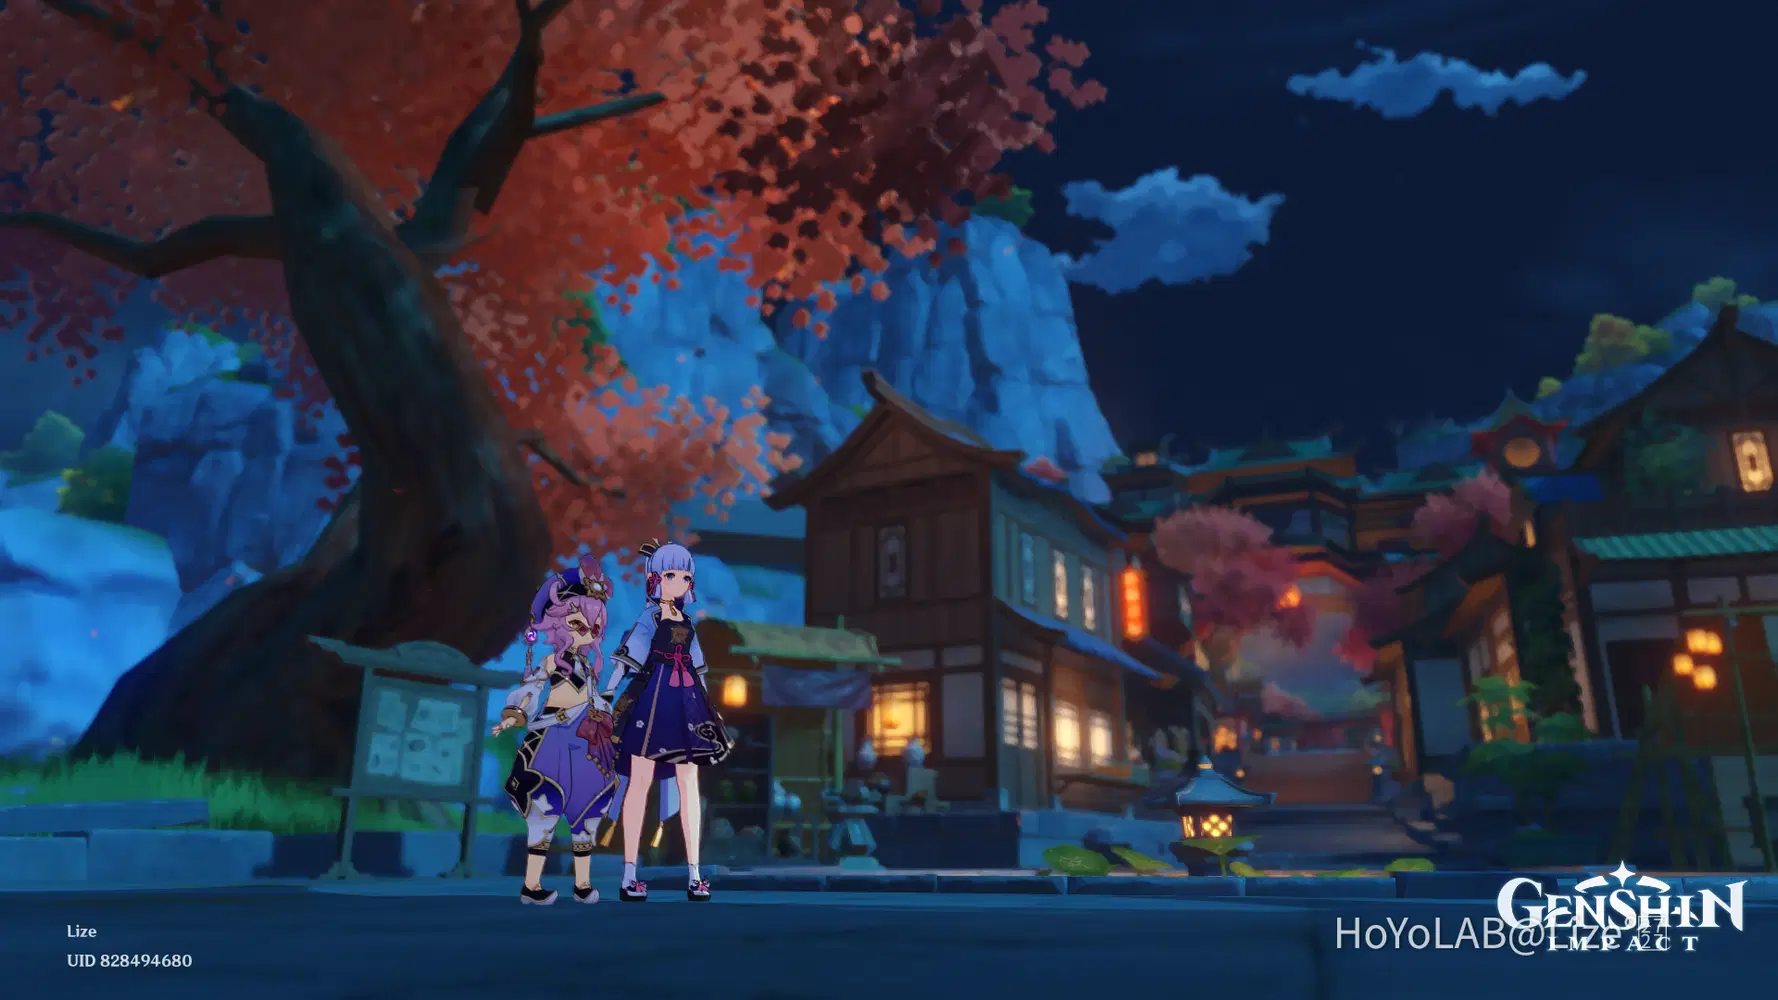
Looking nice!! But did you know that you can improve these shots even more?

For the next lesson, let me introduce you the wonders of foreground
and how it can make your shots a whole lot better!!
I am not a professional photographer, but I'll share all the things I've learned in taking pictures.
Here are some tips and tricks that I use in my shots!!

I will do these in parts so I can go through each tips in depth! Feel free to share some of yours as well!!
Also, there's a Table of Contents feature now in Hoyolab so you can use it to skip to the part that you want to see!!
The Foreground
The foreground in simplest terms, is basically the things or the area that is the nearest to the camera. The foreground is something that you can incorporate in your shots to make it look more eye catching.
In addition, it can serve as an introduction that adds more depth to the photo.

Let's look at two pictures.
One that has foreground and another where there's none.
Here's an example of a photo that has foreground:
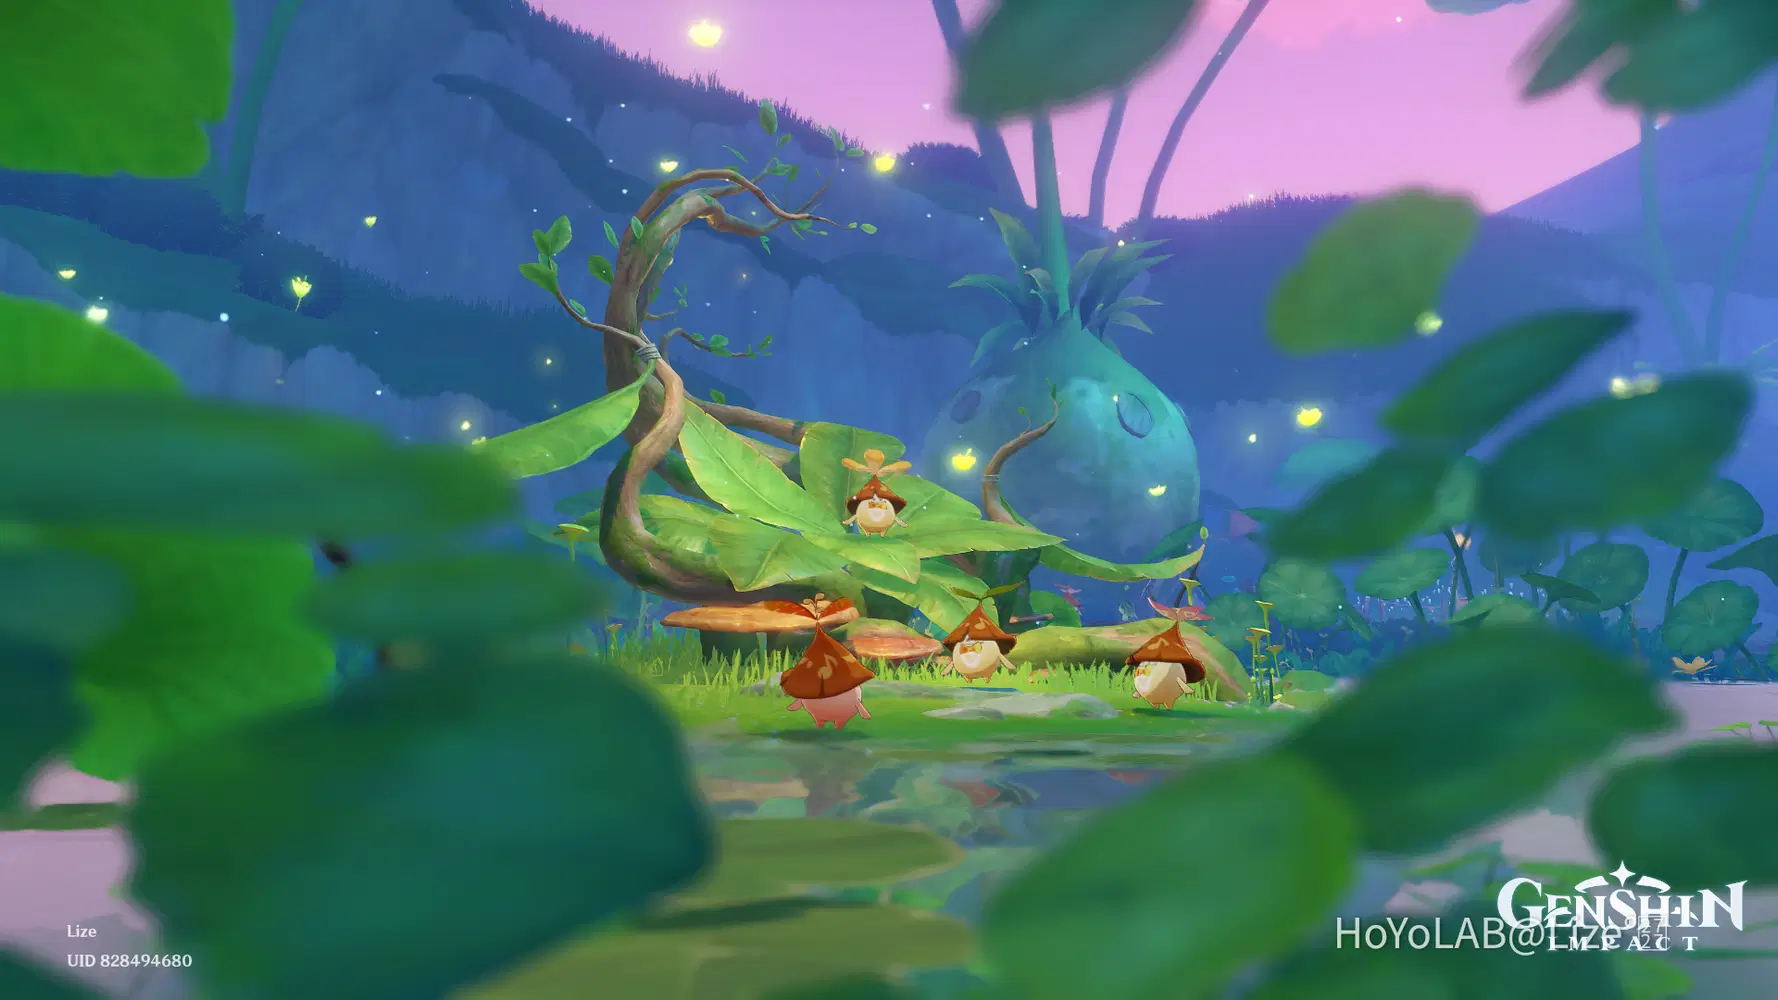
Here's the same place but no foreground:

Same place, same Aranaras, but different vibes

Doesn't the first one give that feeling when you peeked outside a bush and gets welcomed with the sight of these adorable little fellas?
The second one is still a great shot nonetheless, with the blur and all,
but it lacks depth and has little to no story to tell.

That's the power of foreground!
But I'll explain it in more detail so that you guys can have a deeper look on foreground and understand it better.
Let's go!! 

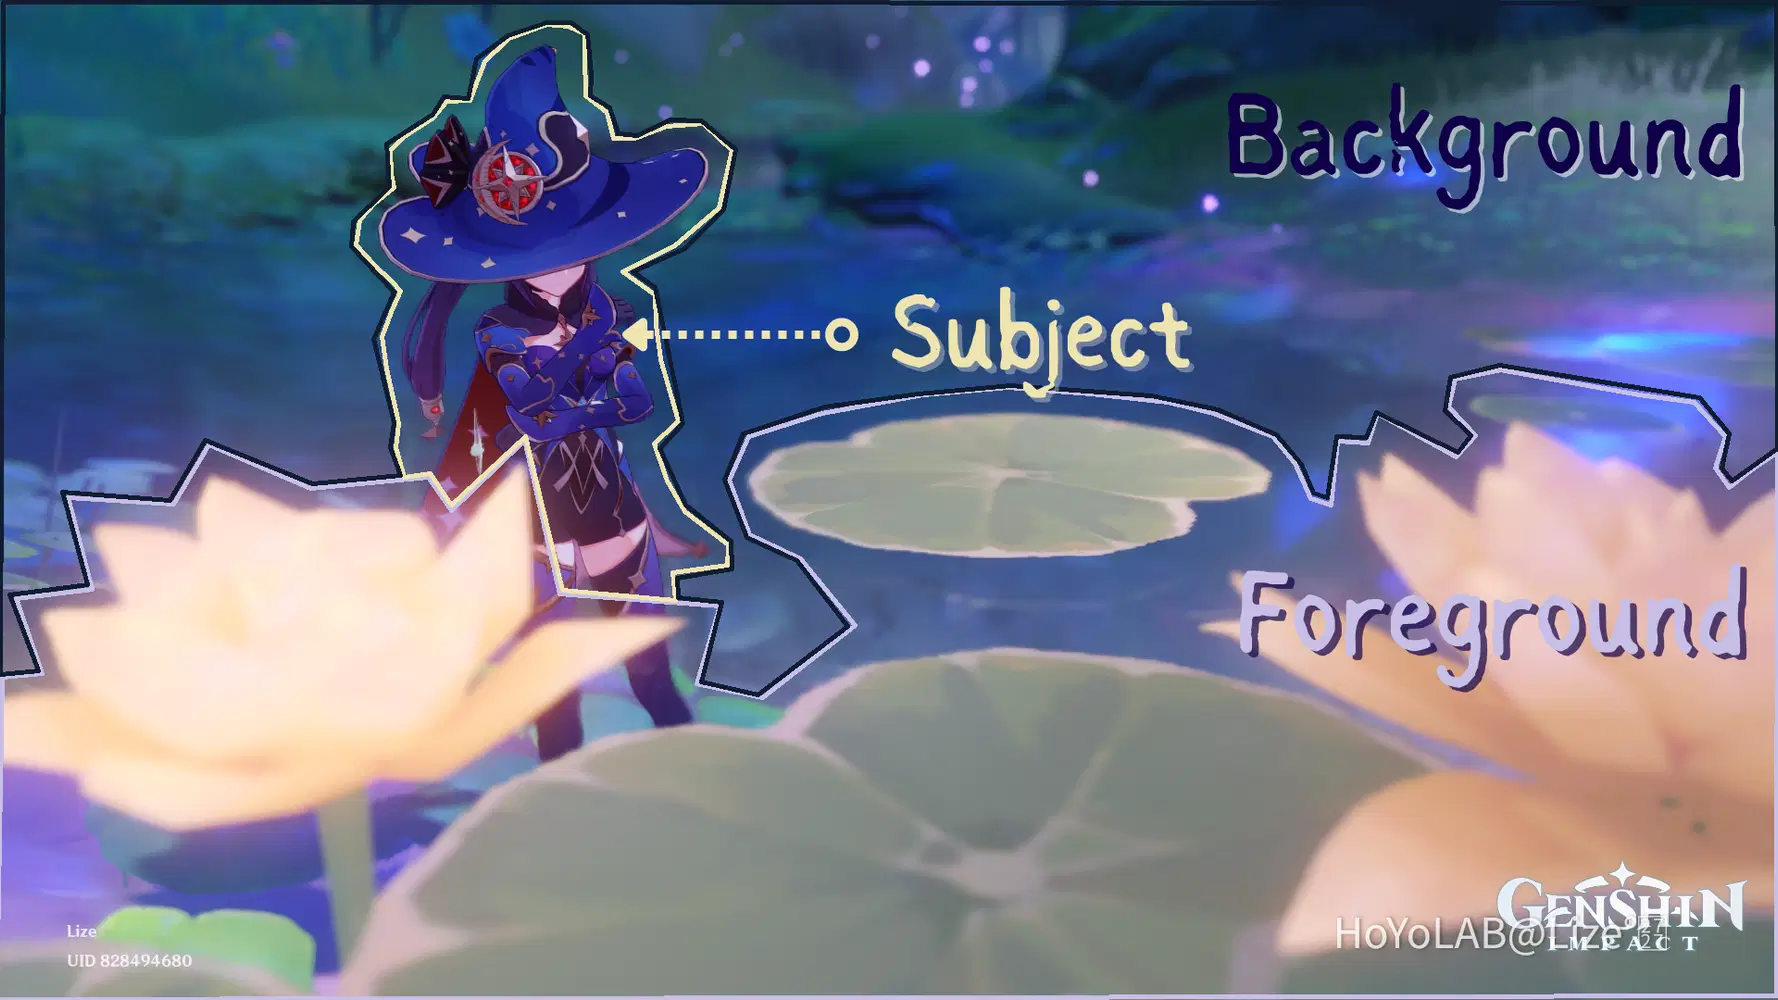
Let's divide this photo into 3 layers
I used one of Mona's pictures to demonstrate it more clearly! 
(Check this out if you want to see more photos of her ⇒ Just Mona°⁜※ )
So in this photo we have the Foreground, the Subject or Middleground, and the Background.
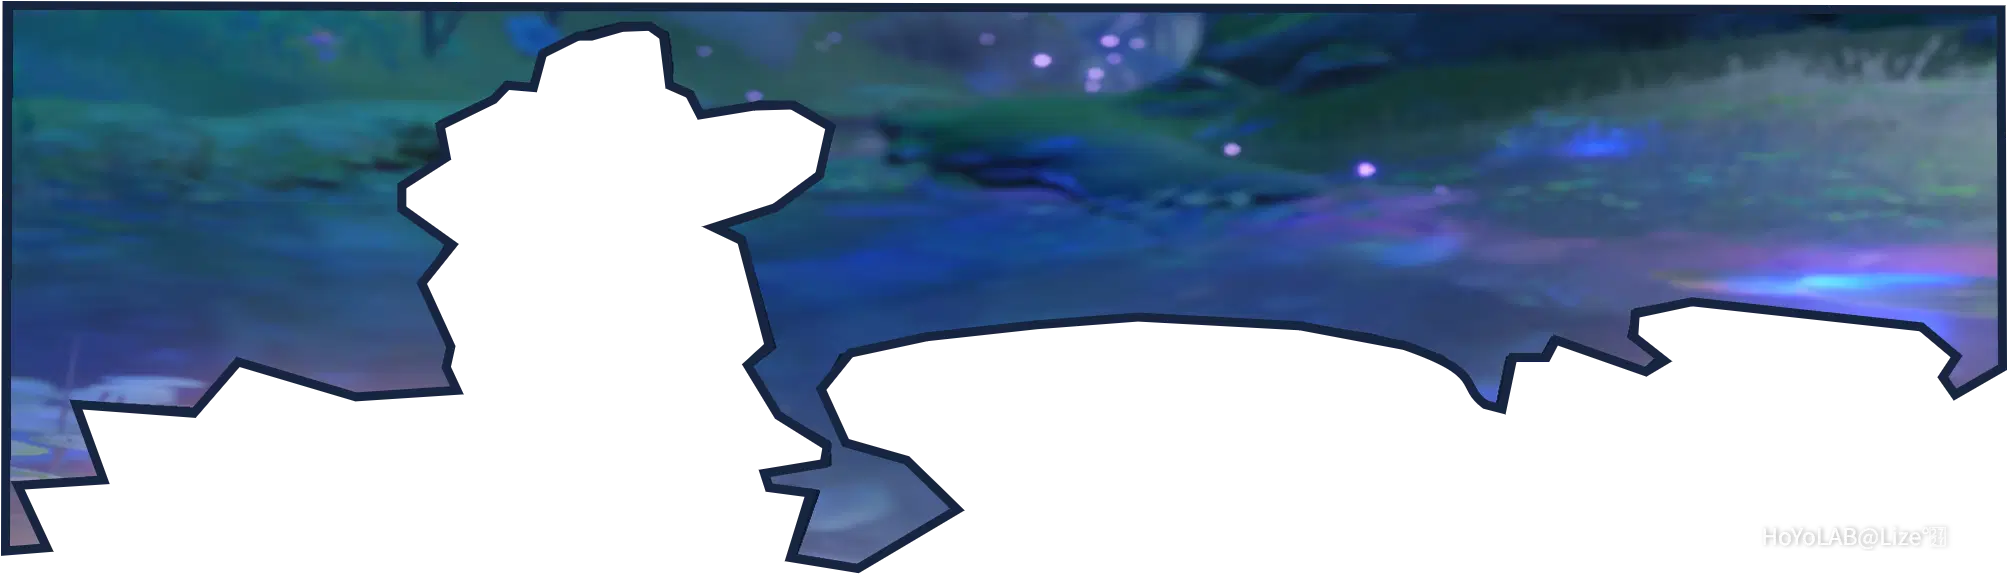
The Background
The background is the outermost layer in the picture.
It is located behind the subject as well as the foreground.
This one is pretty self explanatory and I briefly discussed it in the last lesson as well so we'll move on to the next one!

The Subject
The subject is the focal point in a photo.
In character portraits, the subject is the character you are showcasing or focusing on!
It can also be called the middleground because this layer is placed in between the foreground and background.
You can see in the photo, Mona is located behind the lily pads and lotus
But she is still in front of the scenic view or the background.

The Foreground
Last but not the least, we have the foreground.
As you can see, it is the closest objects in the photo.
You can also notice that there are also lily pads in the back but its included in the background.

Well, the foreground is a part of the environment that is used as the background.
(In this case, the place where the purple onion is located in is the background.)
But only the ones in front of the character and close to the camera can be considered as one
(I positioned the lily pads in front of Mona. So instead of being a part of the background, it transformed into the foreground!)
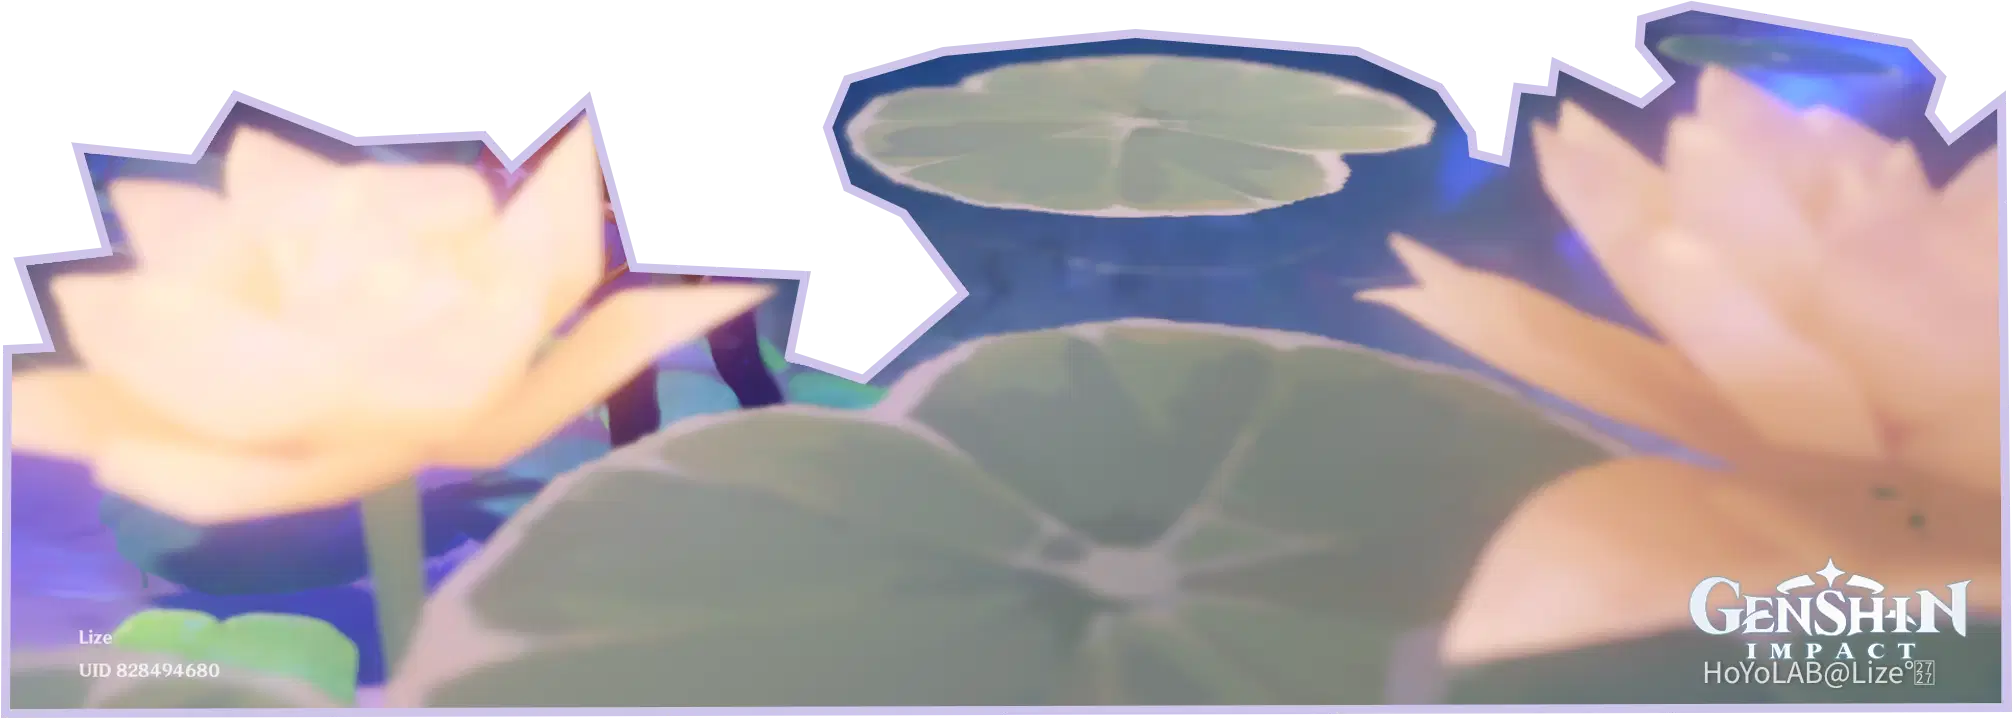
So what can we use as foreground?
Usually plants, trees, or rocks are used as the foreground
Like in this picture, I used the lavender-like plants as foreground! (Love those flowers!)
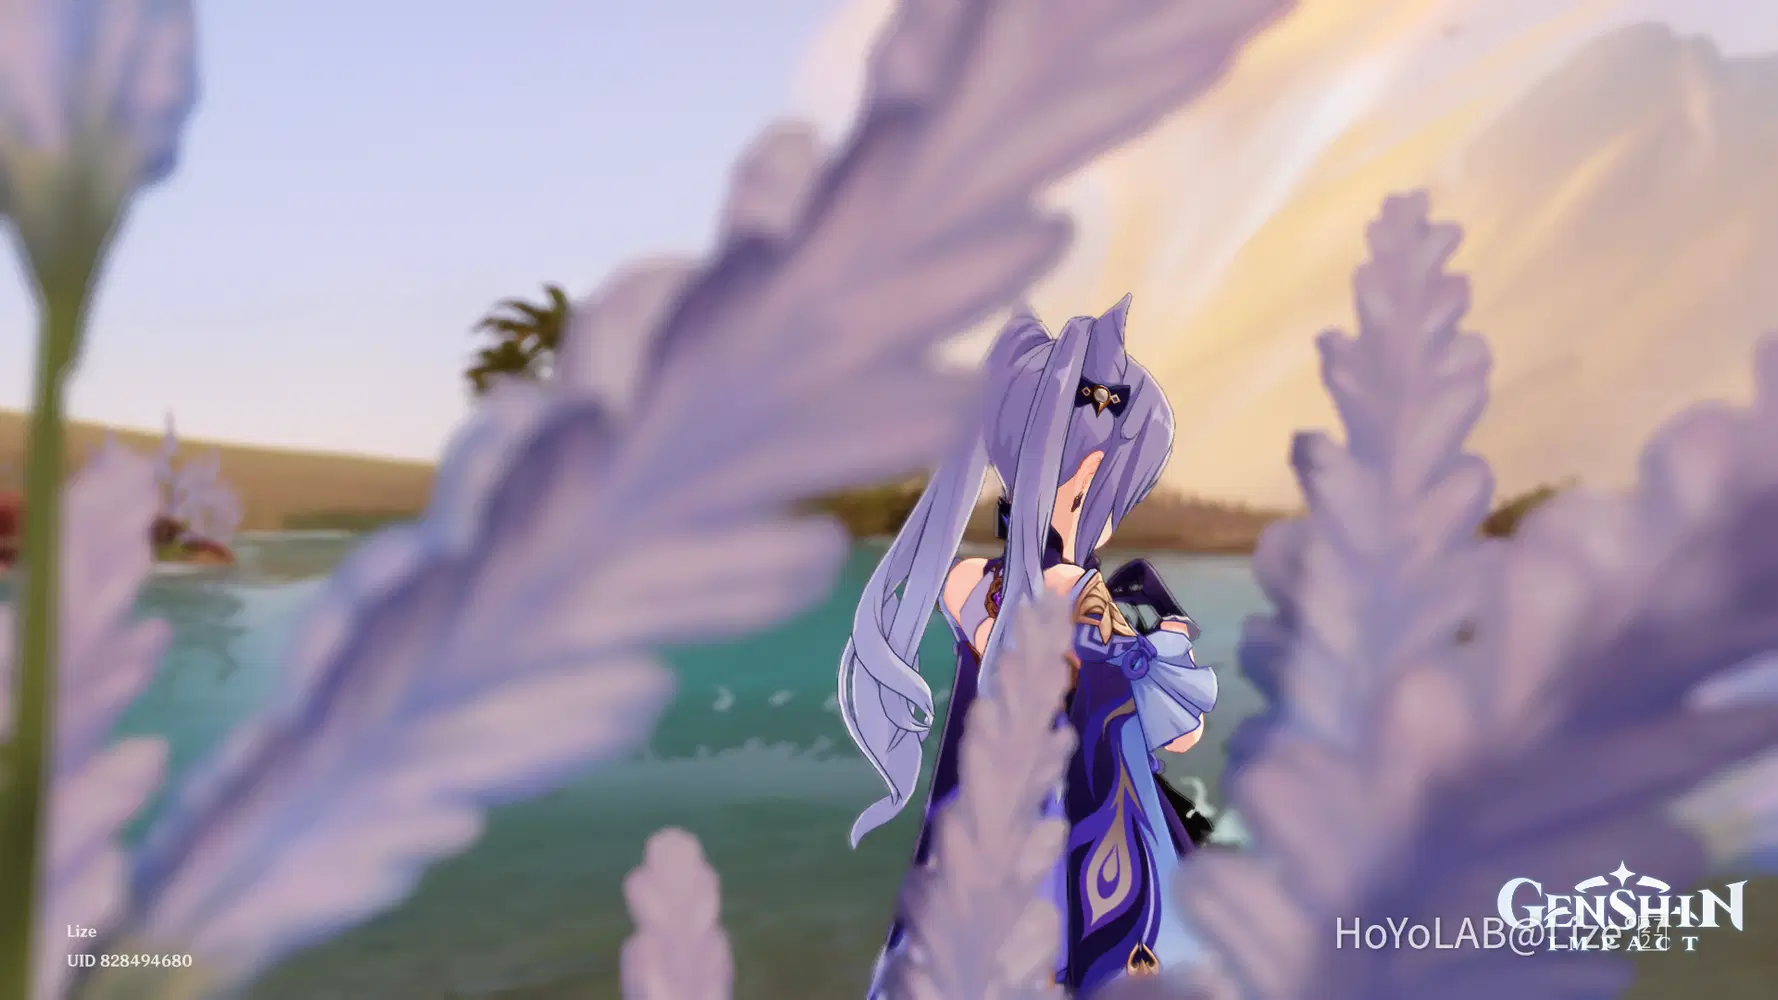
But it is not limited to what I mentioned.
In fact, anything can be used as foreground!!
Yep that's right

And when I say anything, i really mean ANYTHING can be used
For example, in this picture of Shinobu
Can you guess what I used as a foreground?
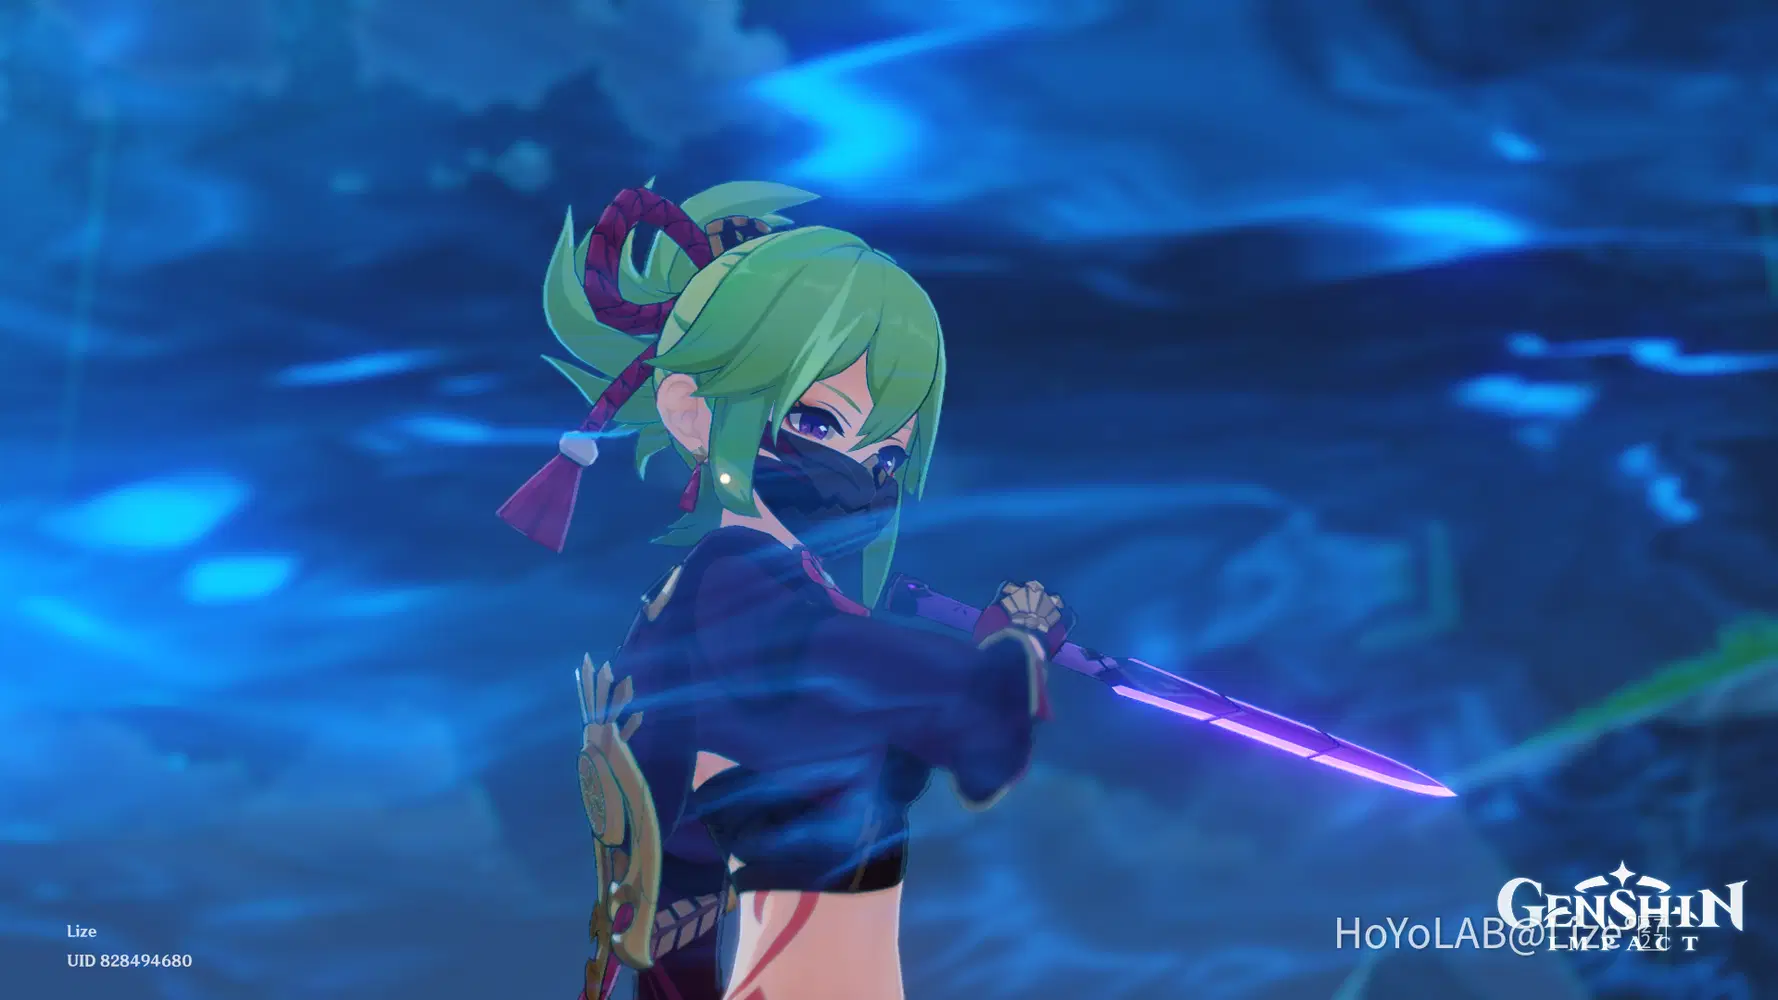

The correct answer is the Spiral Abyss!!
How about in this picture of Kokomi?
(This is actually from the first showcase I posted! You can check it out here ⇒ Just Kokomi ♡)
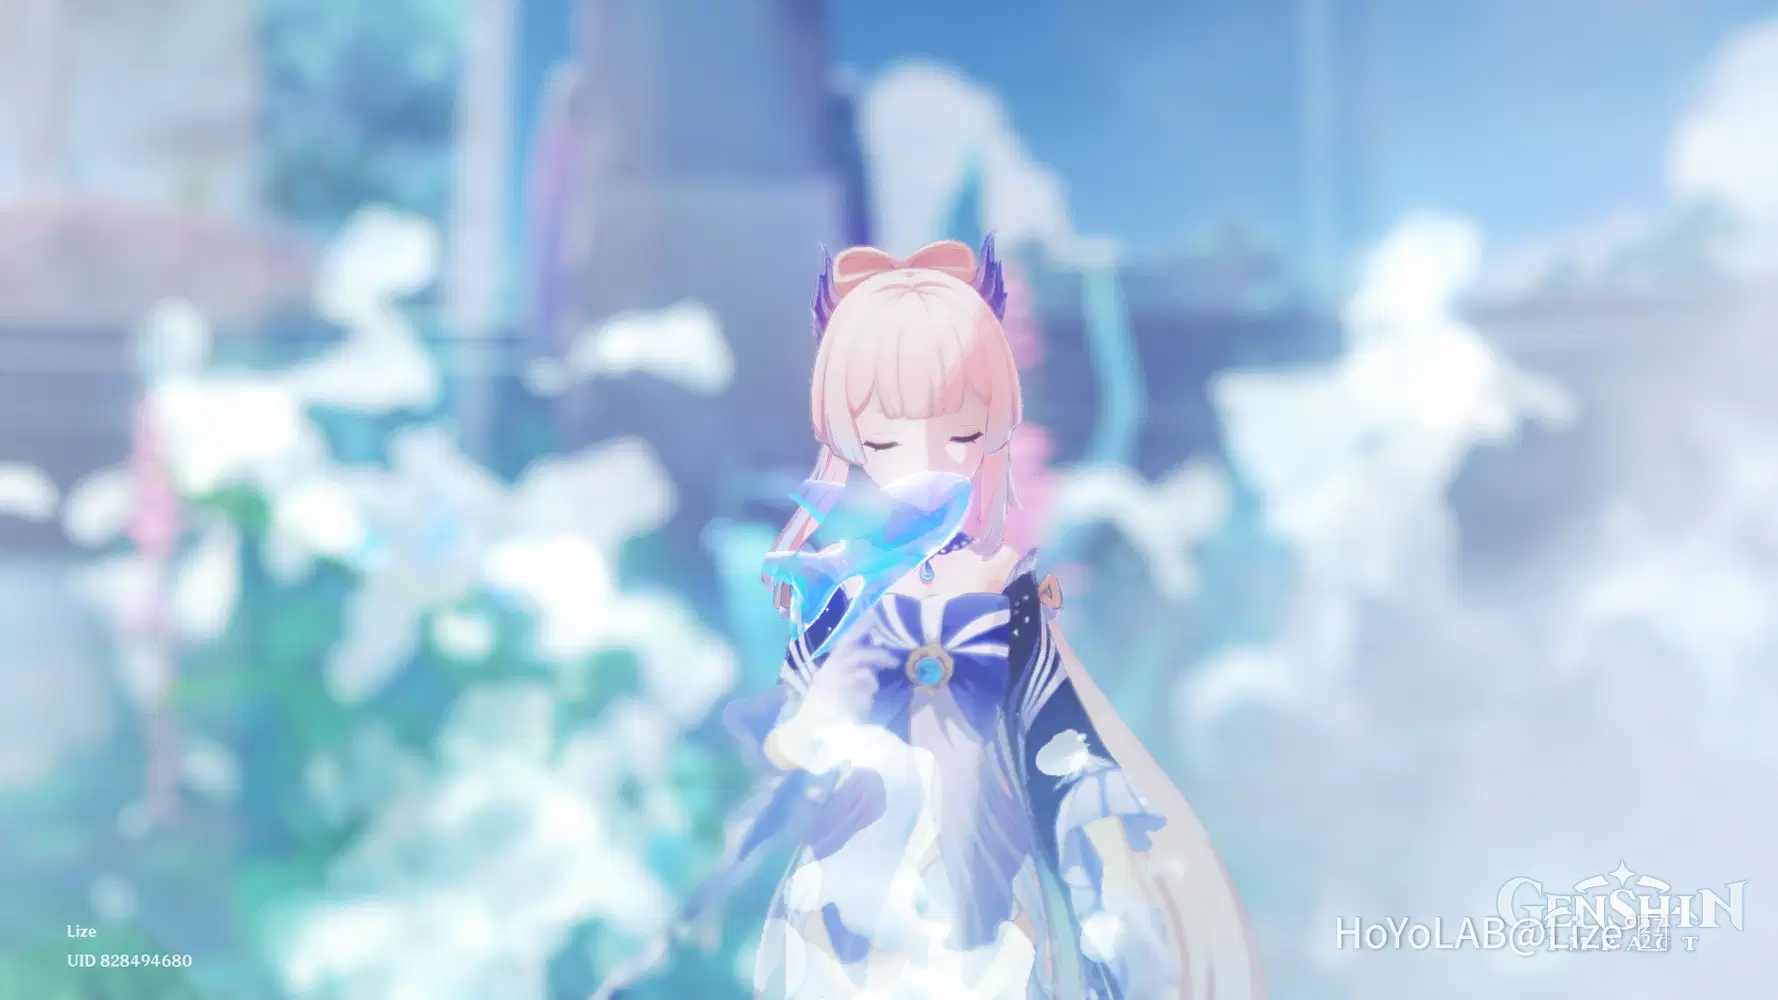
This one was actually taken in Watatsumi island!
I don't know what its actually called but I used these mini waterfalls~

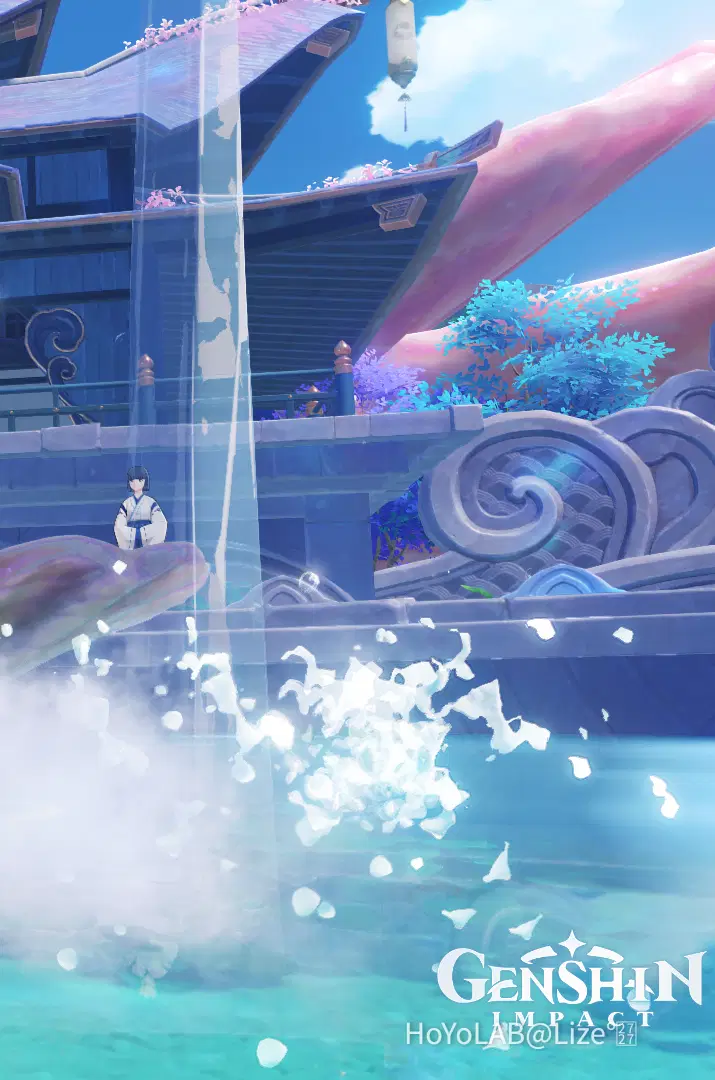
Anyways, what I'm saying is don't restrict yourself!
 Go and unleash your creativity!!

Because only your imagination is your limit!
Before we end the lesson,
Just a Tip!
You can use the blur together with the foreground to achieve better results!
For example, these are two renditions of the same photo.
One has blur

The other does not
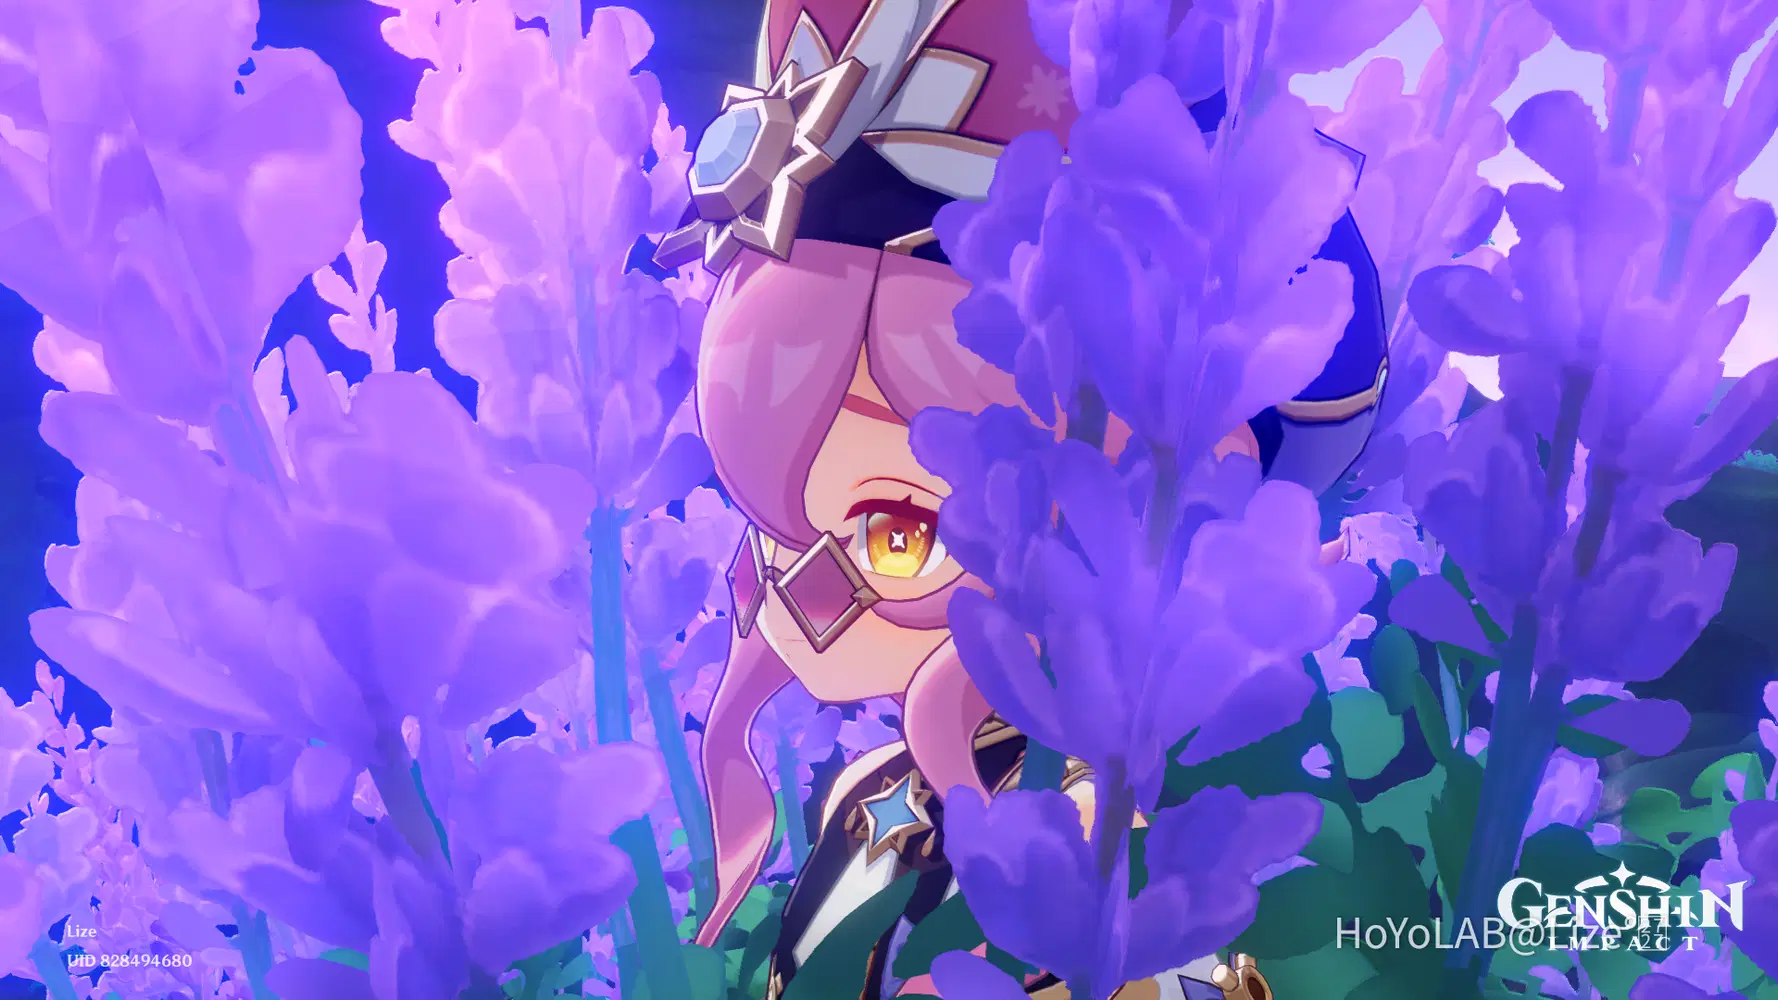
See the difference?  (Ignore her expression XD)
I mentioned in last time that blur helps in bringing the focus to the character being showcased.
The same thing applies here, just be mindful of the blur so you won't ruin the shot accidentally because the picture became too blurry.

But why does it work?
Have you ever tried placing your finger really close to your face (eye level)
Then look at an object behind it or just try looking past your finger.
Your finger looked really blurry right?
That's the same concept that we are applying here.
The object (finger) near the camera (your eyes) will look blurry if you look at the thing behind it (the subject)
By adding blur to the foreground, the photo looks more immersive and real!!

It makes a pretty noticeable difference so keep it in mind!
And that is it for today!
I hope this guide helped you in taking better photos in Genshin!
I would love to see your improvements and queries are very much welcome as well!!
(Just keep it coming~) 
If you want more photography guides, you can check out the whole collection here,
✧°․ Guide in Teyvat Photography .°✧
And if you missed the first part, just click the right arrow below to see it!
The next one will be about movement!! (Already done!)
You can check it out using this link ⇒ Lesson 3 : Movement
I hope you look forward to it!!

Have a wonderful day everyone~