- - - THUMBNAIL PURPOSES ONLY - - -
Credits for emojis used in thumbnail : Genshin Impact
"Teyvat Times" Series Emojis: Special Review Edition

Last time we talked about the Foreground
Did you guys use foreground in your shots?
Hope the last guide helped you in taking better pictures in Genshin!!

Let's have a recap first and look at foreground once again before we proceed to the next one!
Foreground is any object or thing that is the nearest to the camera like these flowers in front of Kokomi.
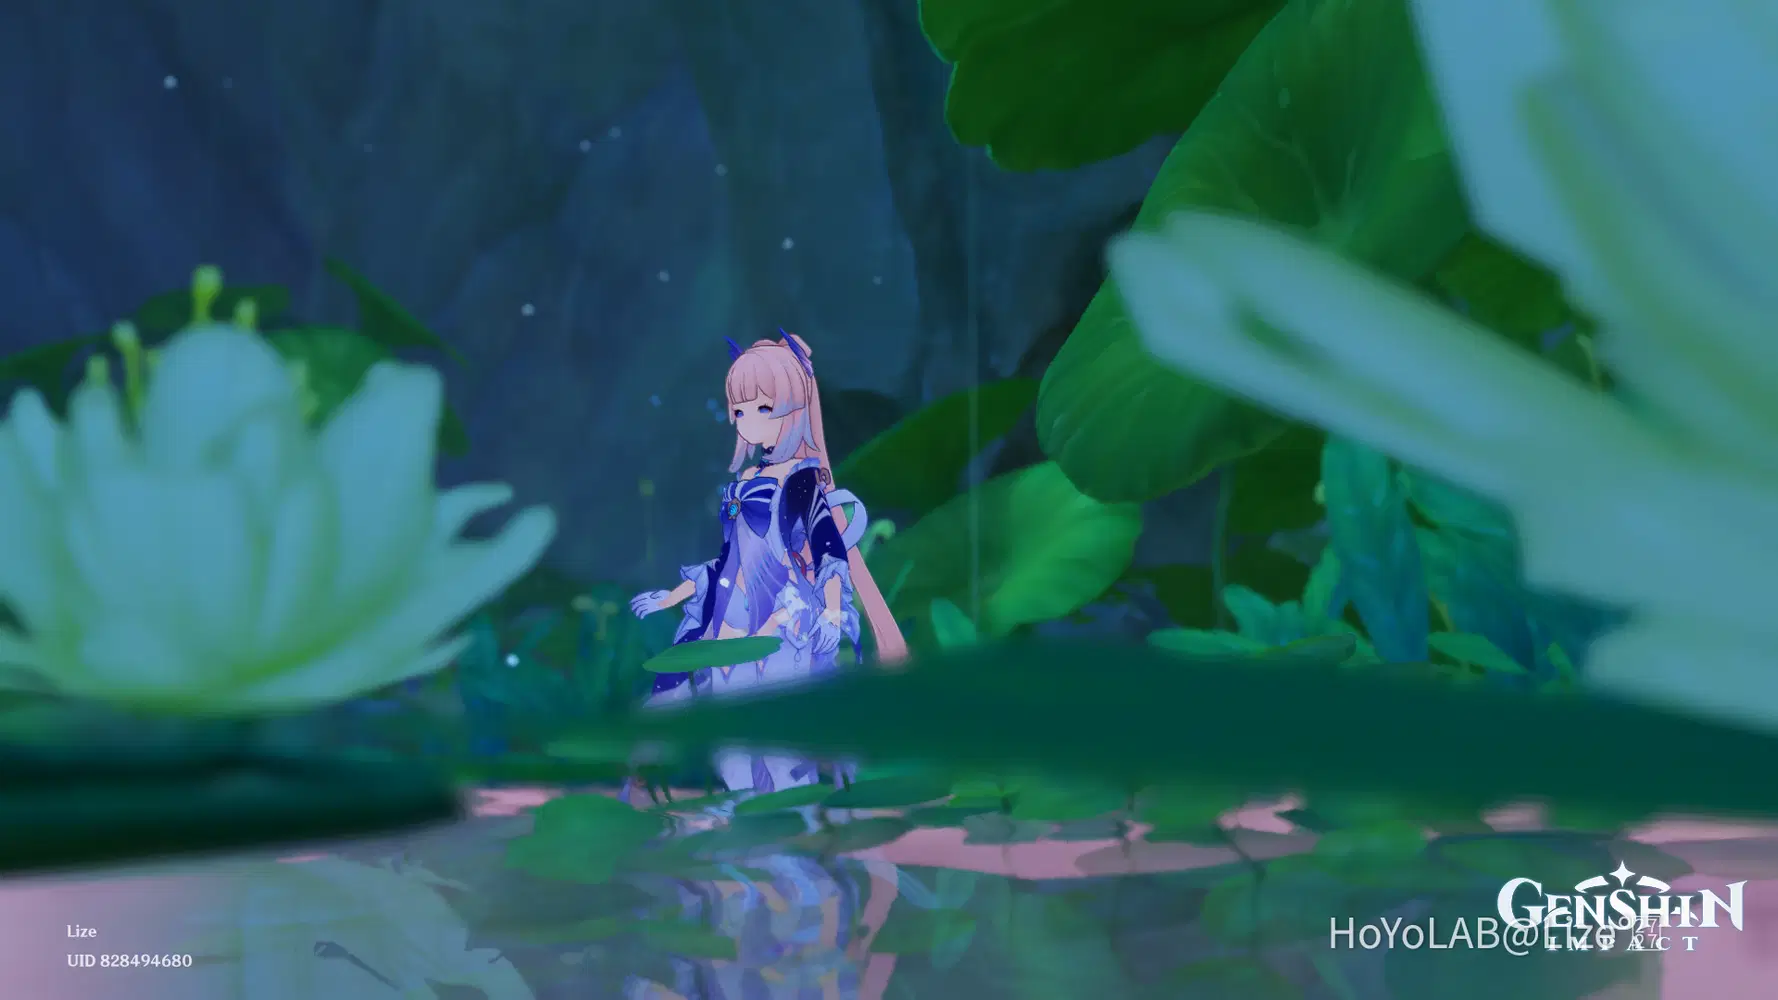
Its a handy tool that can make your shots stand out!!
Looks amazing doesn't it?
Although don't you some action would make it even better?

And that's where movement enters the scene!
For the next lesson, we'll talk about two ways you can utilize movement into your pictures!!
I am not a professional photographer, but I'll share all the things I've learned in taking pictures.
Here are some tips and tricks that I use in my shots!!

I will do these in parts so I can go through each tips in depth! Feel free to share some of yours as well!!
Also, there's a Table of Contents feature now in Hoyolab so you can use it to skip to the part that you want to see!!
The Movement
In order to spice up your photos, adding movement is one of the things you need to consider.
Some of you may have used this tip already but I'll try to list down all the things you can do to add movement as well as list the pros and cons of each one!!

Taking a picture of a character just standing still just looks so lifeless, as if you're capturing a doll. So by making the character move makes them feel alive and more breathing.
You know what I mean?
So here are the two ways in which you can add life and motion to your chosen character.
There's the idles and the attack animations.

Idles
Making use of the character's idle animations is a great and easy way in adding motion to your photos.
In order to use it, you just need to position you character, open the camera feature and wait for the idle to play out!! Some of you might have already used idles in your photos but I hope you can still learn something in this guide~
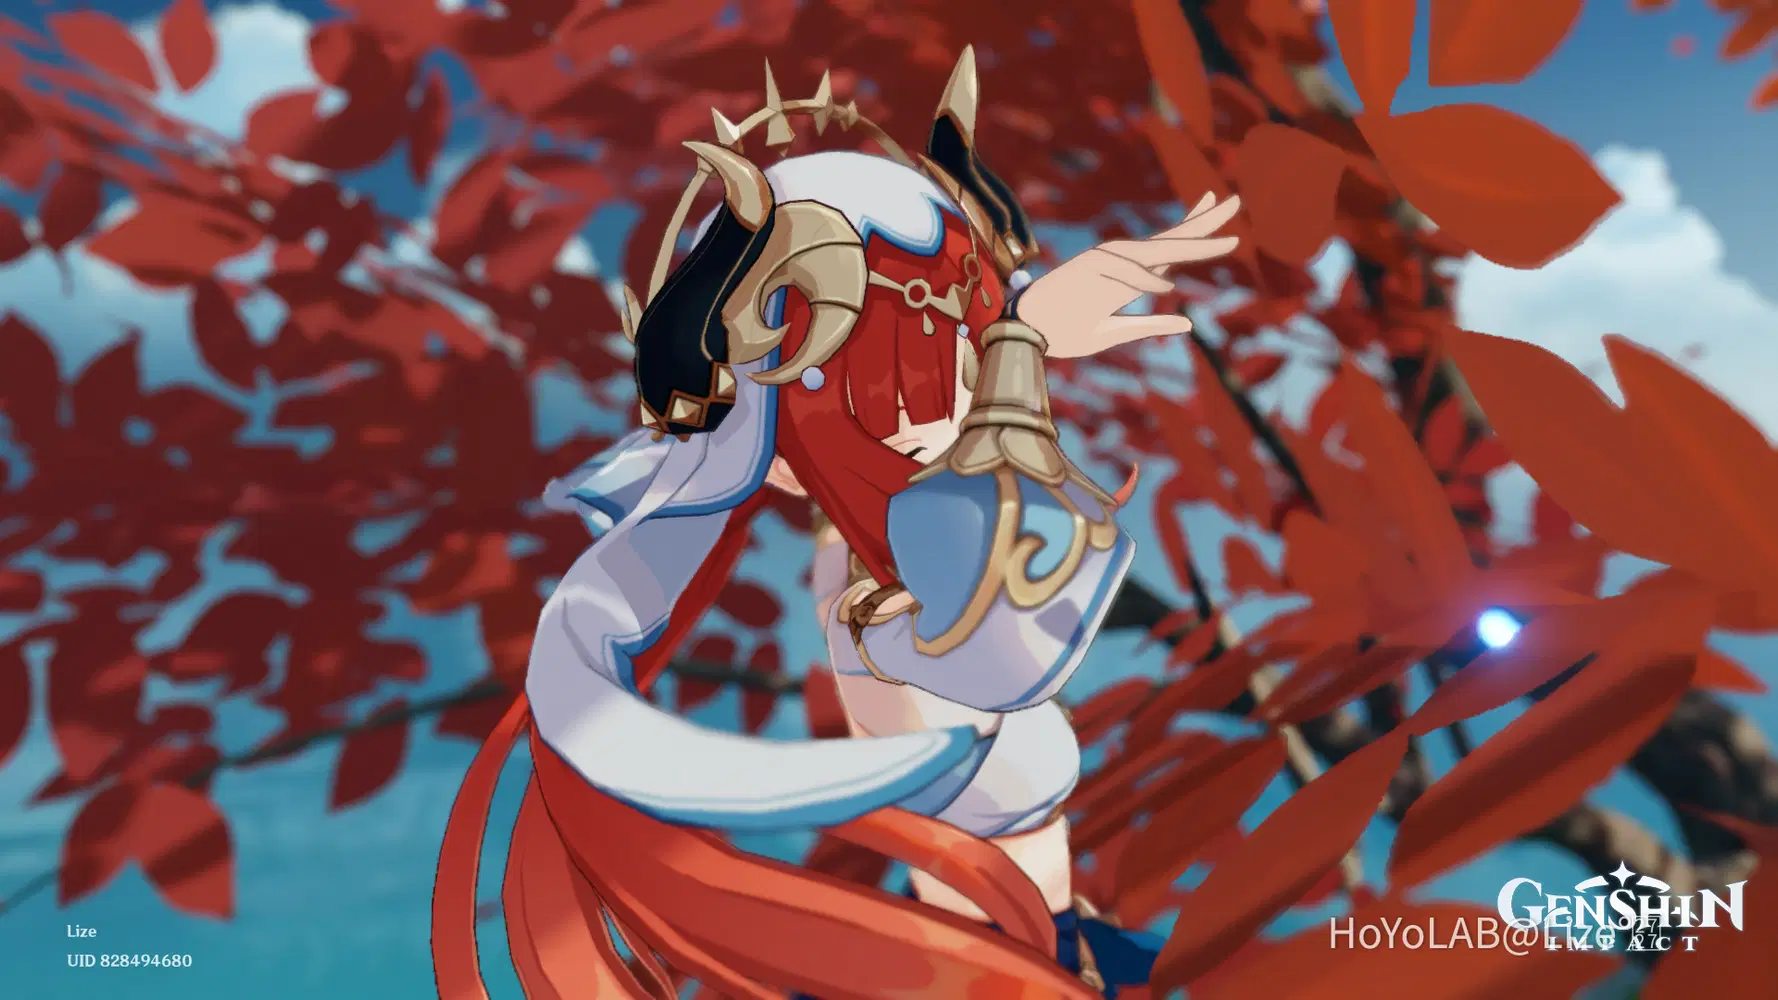
In this photo for instance, I made use of Nilou's dance idle to make it look like she was hiding in the bushes.

You can make a lot of scenarios by using the right idle and surroundings.
Take this picture of Shinobu as an example.
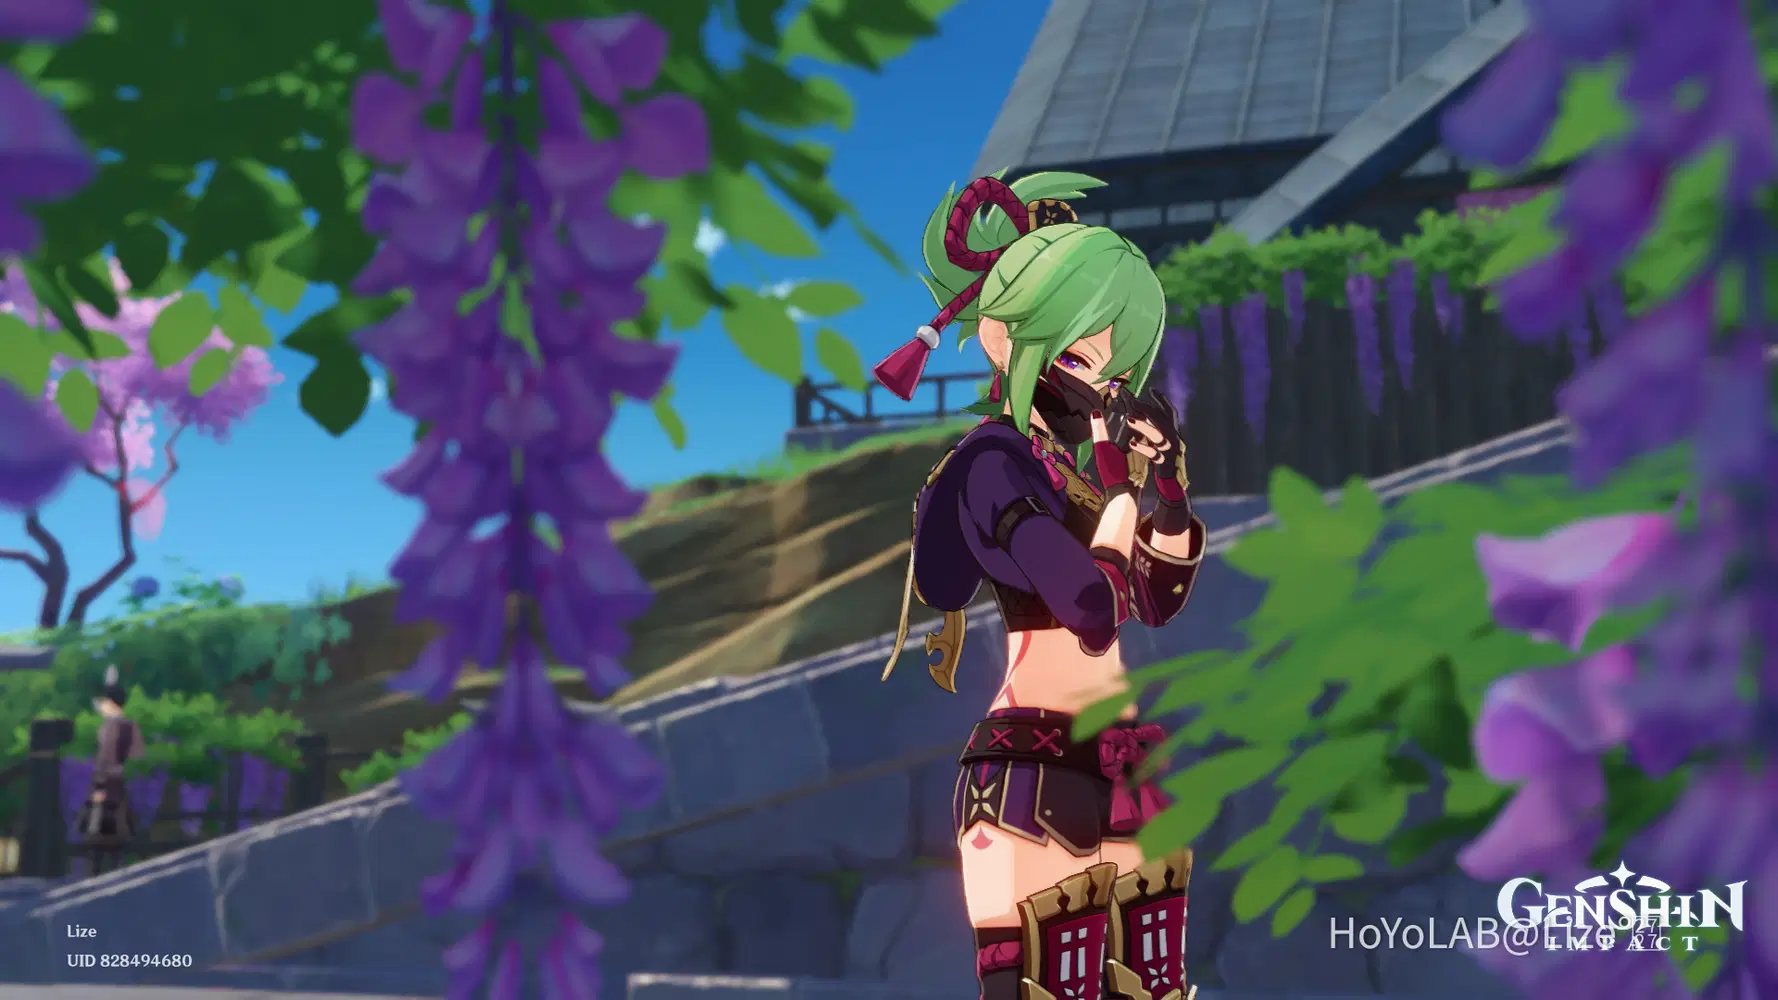
By making use of the foreground and Shino***s idle where she takes of her mask, it looks like you got caught staring at her!
(I would like to say I wasn't but I did stare at her for too long trying to capture this photo)
Anyways, let's go to the pros and cons of this method!

PROS
◈ You can frame it pretty well
Since you're using the camera feature in the game, you can adjust the angle and frame it however you want without worrying about the camera moving!! You just need to wait out for the idle and hit the shutter once the moment comes!!
Just a Tip:
You can stop time when you capture a photo momentarily so you can spam it to make sure you get the perfect moment!! Keep in mind that this only applies if you're not in co op mode though!
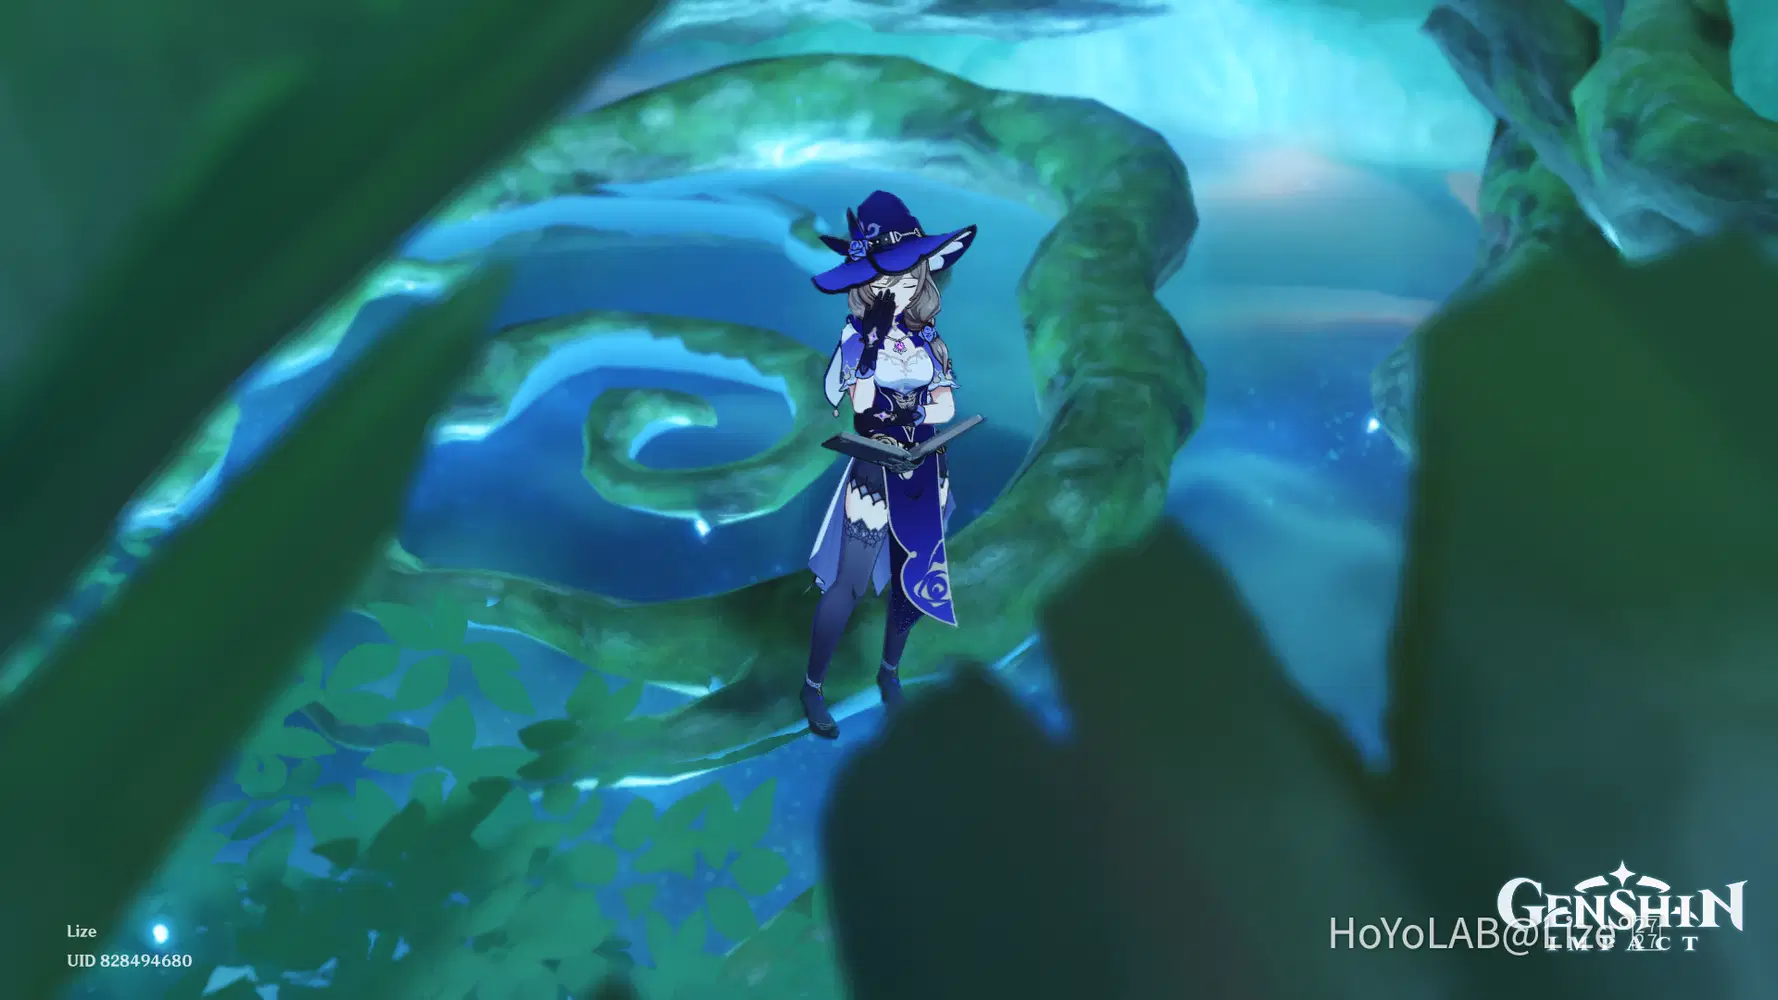
◈ Using blur is easy peasy!!
Since we are using the camera feature, you have access to the blur function!! Through this you can set up the surroundings, like blurring the background and foreground, then wait for the idle to start.
CONS
◈ It takes patience 
Waiting for the character's idle can take a lot of time especially when you need that one specific idle. (Sometimes the same idle gets repeated again and again so more waiting time.)
There are times where voice lines are performed instead of the idle animation so this method does take a lot of your patience and time.
This is even worse if you are taking a picture with your friend and you want to line up the idles of the characters. The timing of the idles doesn't line up most of the time so I do not recommend doing this on coop. (Unless you have a lot of patience to spare that is  )
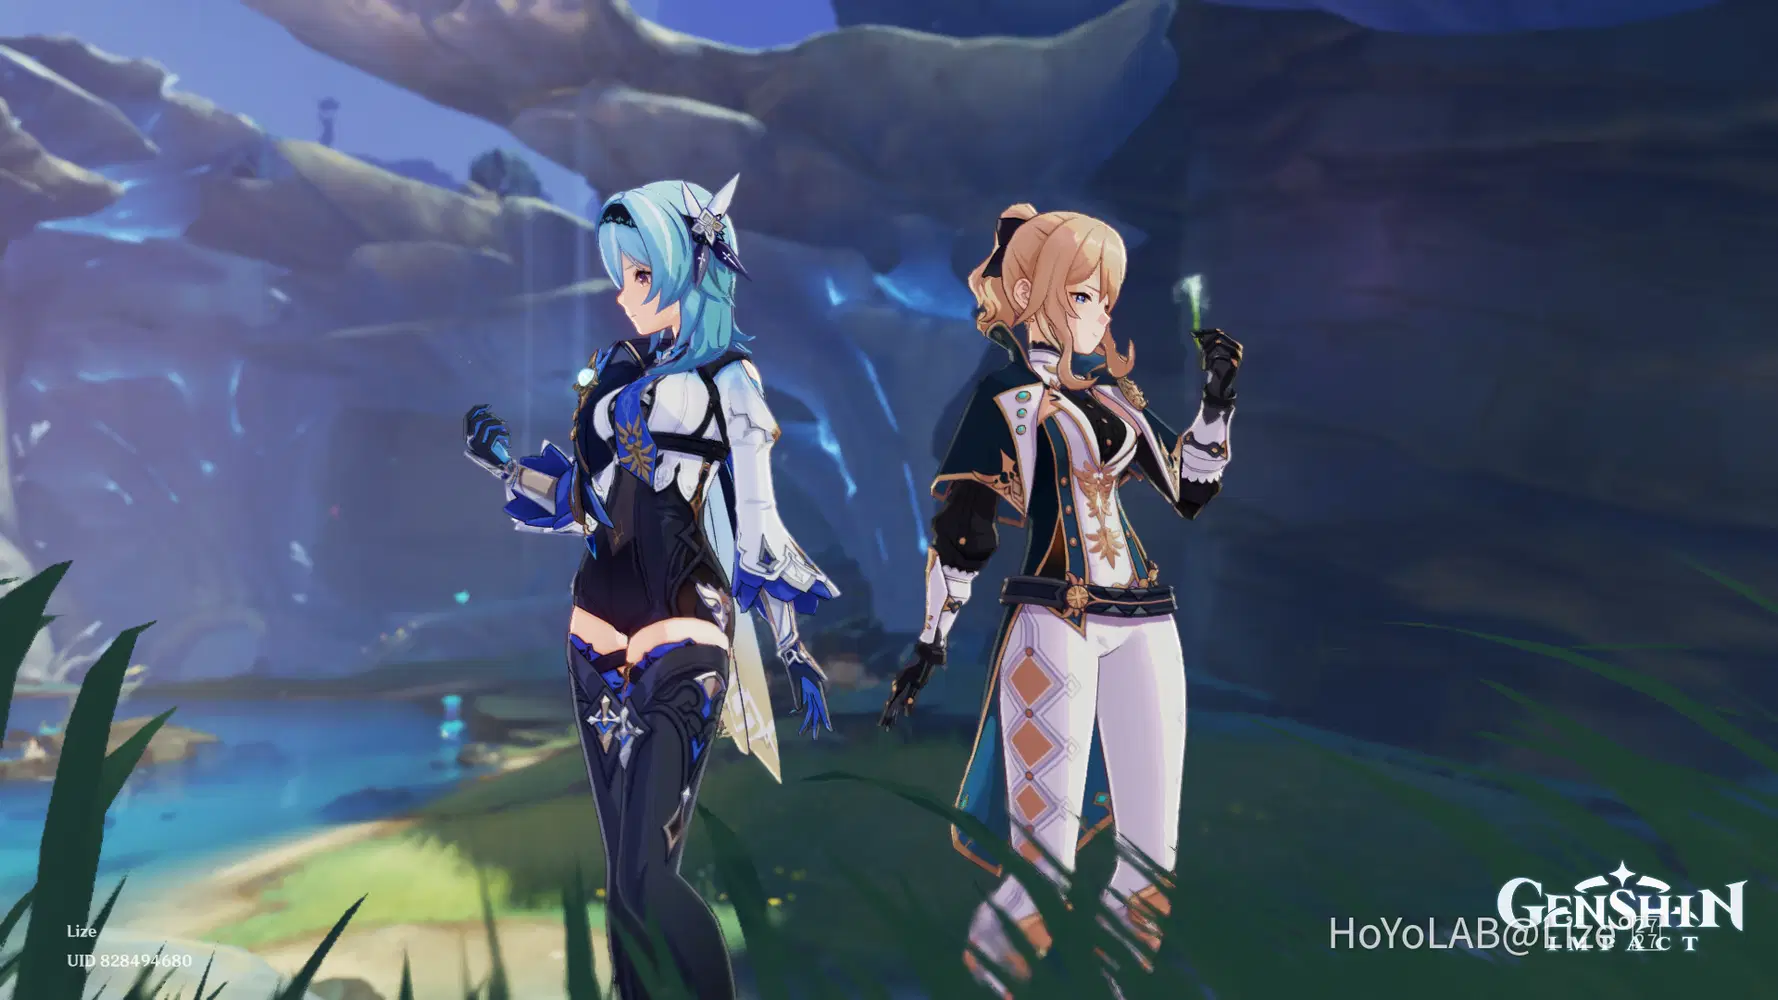
Waiting for Jean and Eula do their respective idles just for this one shot took around 30 minutes or more. Prepare for a longer waiting time if you are planning to do this.
You have been warned 
Another Tip:
One thing we observed when doing these painstakingly long photo sessions with my friends, in order for a better chance to match their idles is to wait for the other character's idle to finish.
Once its done, jump immediately to reset your idle timer before going to camera mode and do your setup.

This is just a theory we've come up with based on our observations so it is not totally ensured. But I hope this can be of help for those who are brave enough to do it.
For those who aren't,
You can make use of the available poses in Camera mode!!
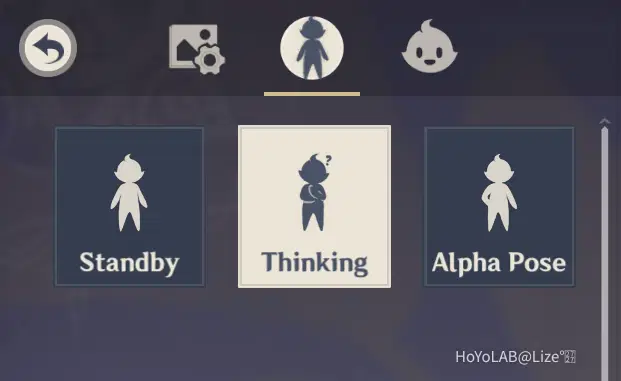
Currently there are two poses you can use to atleast give movement to your character. Although it can still seem a bit stiff, you can use it together with the expressions to make it livelier!!
If only there were more poses.

Can I sign a petition for Hoyoverse to add more of these?
◈ Changing the time is inconvenient 
The lengthy waiting time for idle animations brings another problem.
For instance you wanted to take a picture of the character doing a specific idle during sunset. But then that specific idle won't play out even after the sun went down. So you need to get out of the camera mode and adjust the time once again.

The problem is once you quit the camera mode, your set up will be reset and you need to do it all over again. If only we can change the time while in camera mode. *sigh*
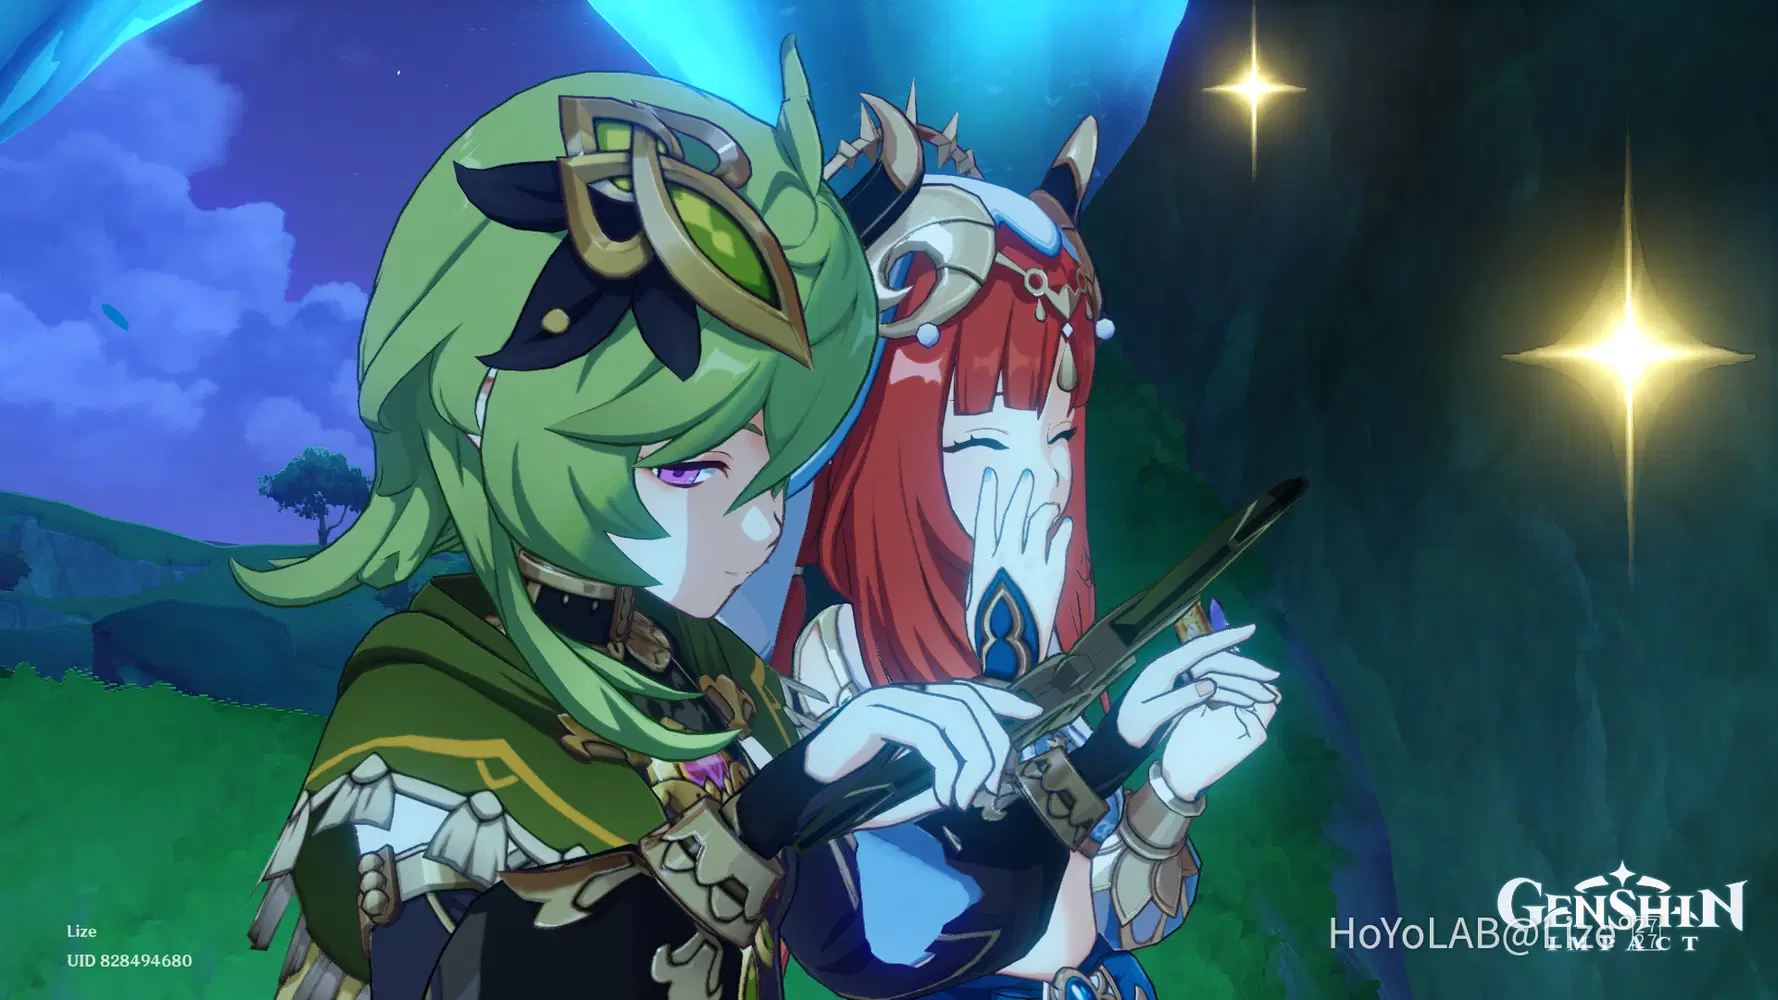
(This was supposed to be taken in the morning but it took so long for them to do their idles at the same time, before we knew it the moon has already risen)
A tip:
One remedy for this is to take pictures in your friend's world so that they can adjust the time for you!! It depends on you if you want to include them in the photo or not though.

◈ The number of Idles are limited
Just like the poses, there are only two idles per character available as of today.
Although you can make the most of the idles (especially the long ones) to take various photos.
Take for instance these two photos:
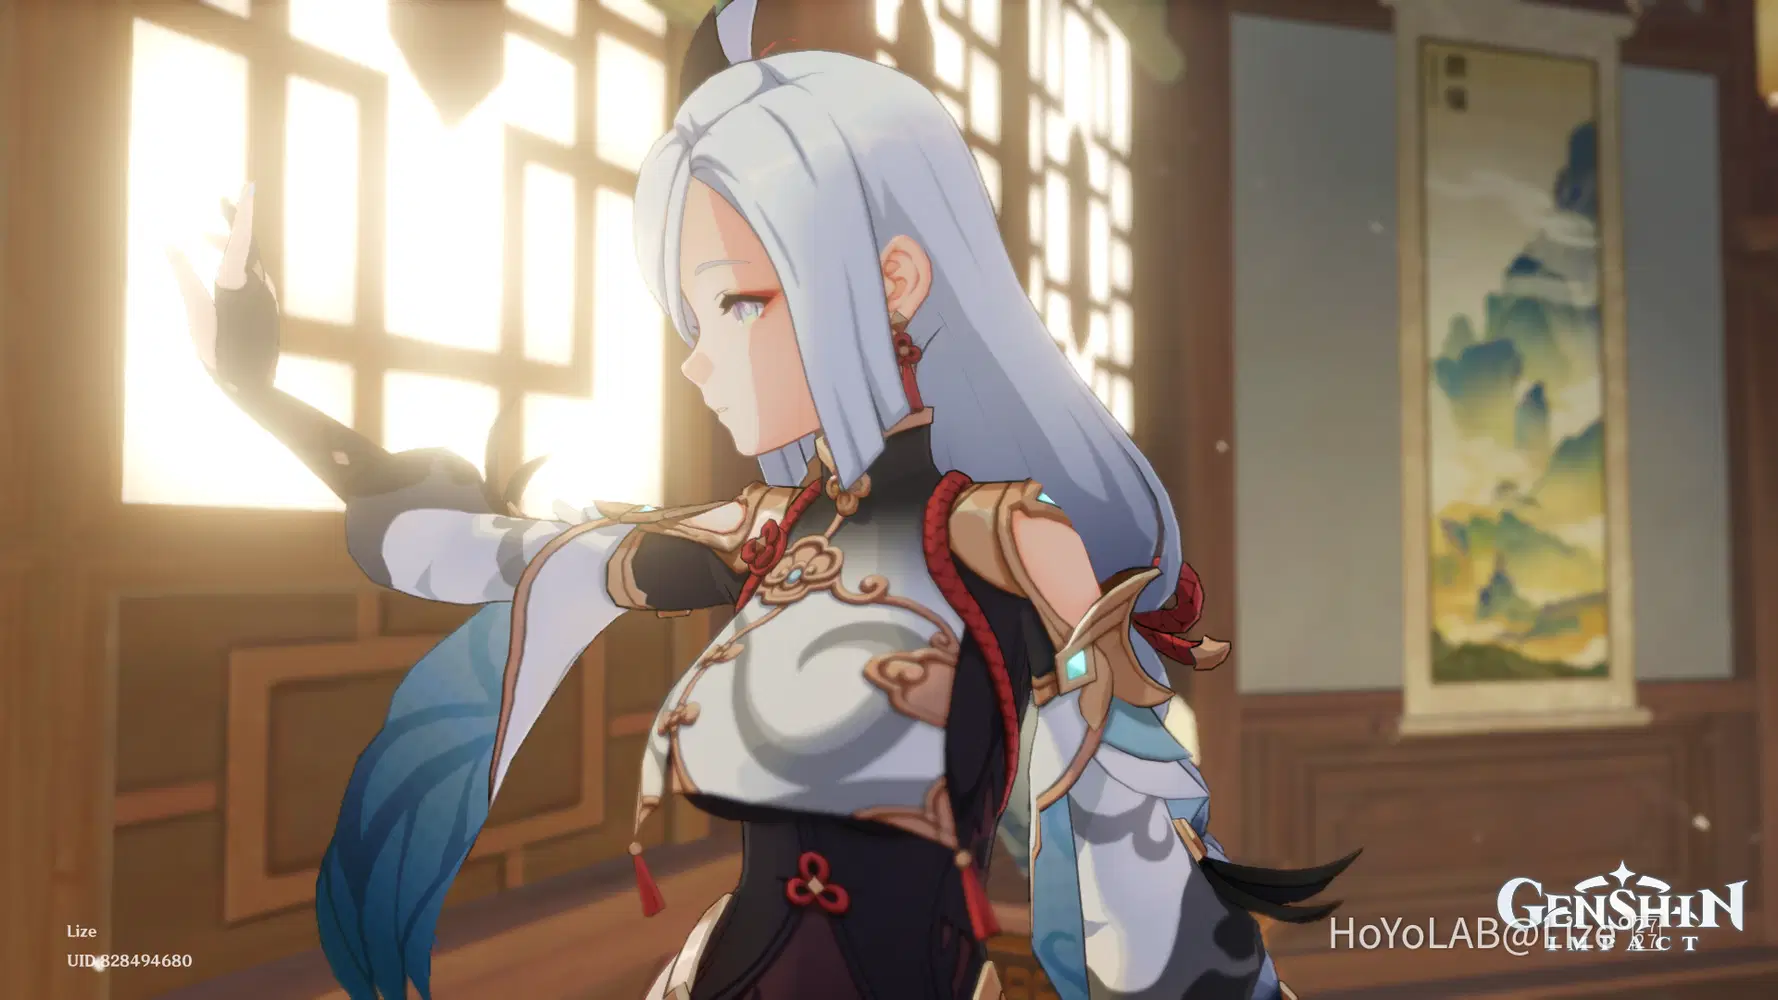
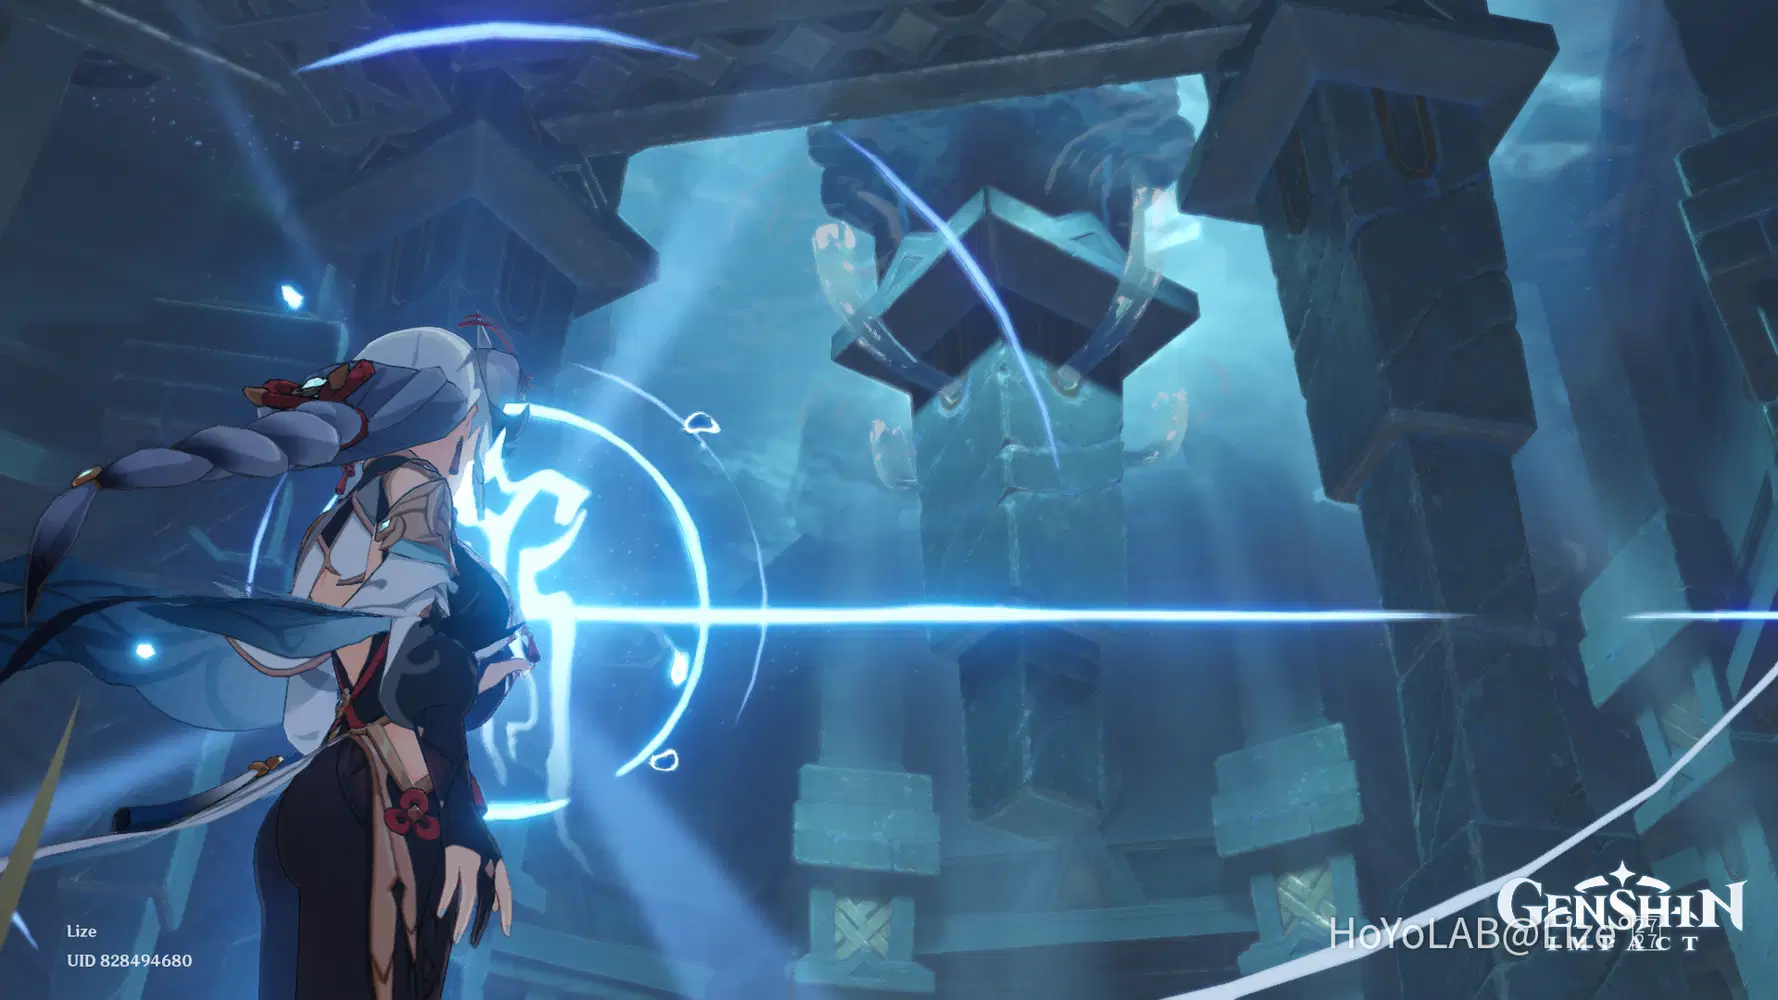
The first one looks like Shenhe gazing outside the window while the second one depicts a scene where Shenhe is sealing a place.
But did you know that idle used for these shots are the same?

You just need to think of the scenery and a good angle to get varying and different shots!!
Attack Animations
The second method is by using attack animations or would it be more accurate to say character animations?
Basically these are the animations that the characters does besides their idle.

Namely, the normal attack sequence, elemental skill, elemental burst and even the sprinting or walking animation.
There is one requirement that is necessary to be able to do this method and that is the Kamera.
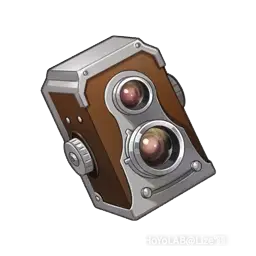
The Kamera is a gadget that you can obtain by doing the world quest, "Snapshots".
Most of us probably has it already but for those who don't, there are plenty of tutorials on the web!!
(Here's one by KyoStinV if you're too lazy to search for it)
In order to use it, just equip the gadget, do the desired attack animation, then use the gadget to take a photo!!

So what are the Pros and Cons of this method?
PROS
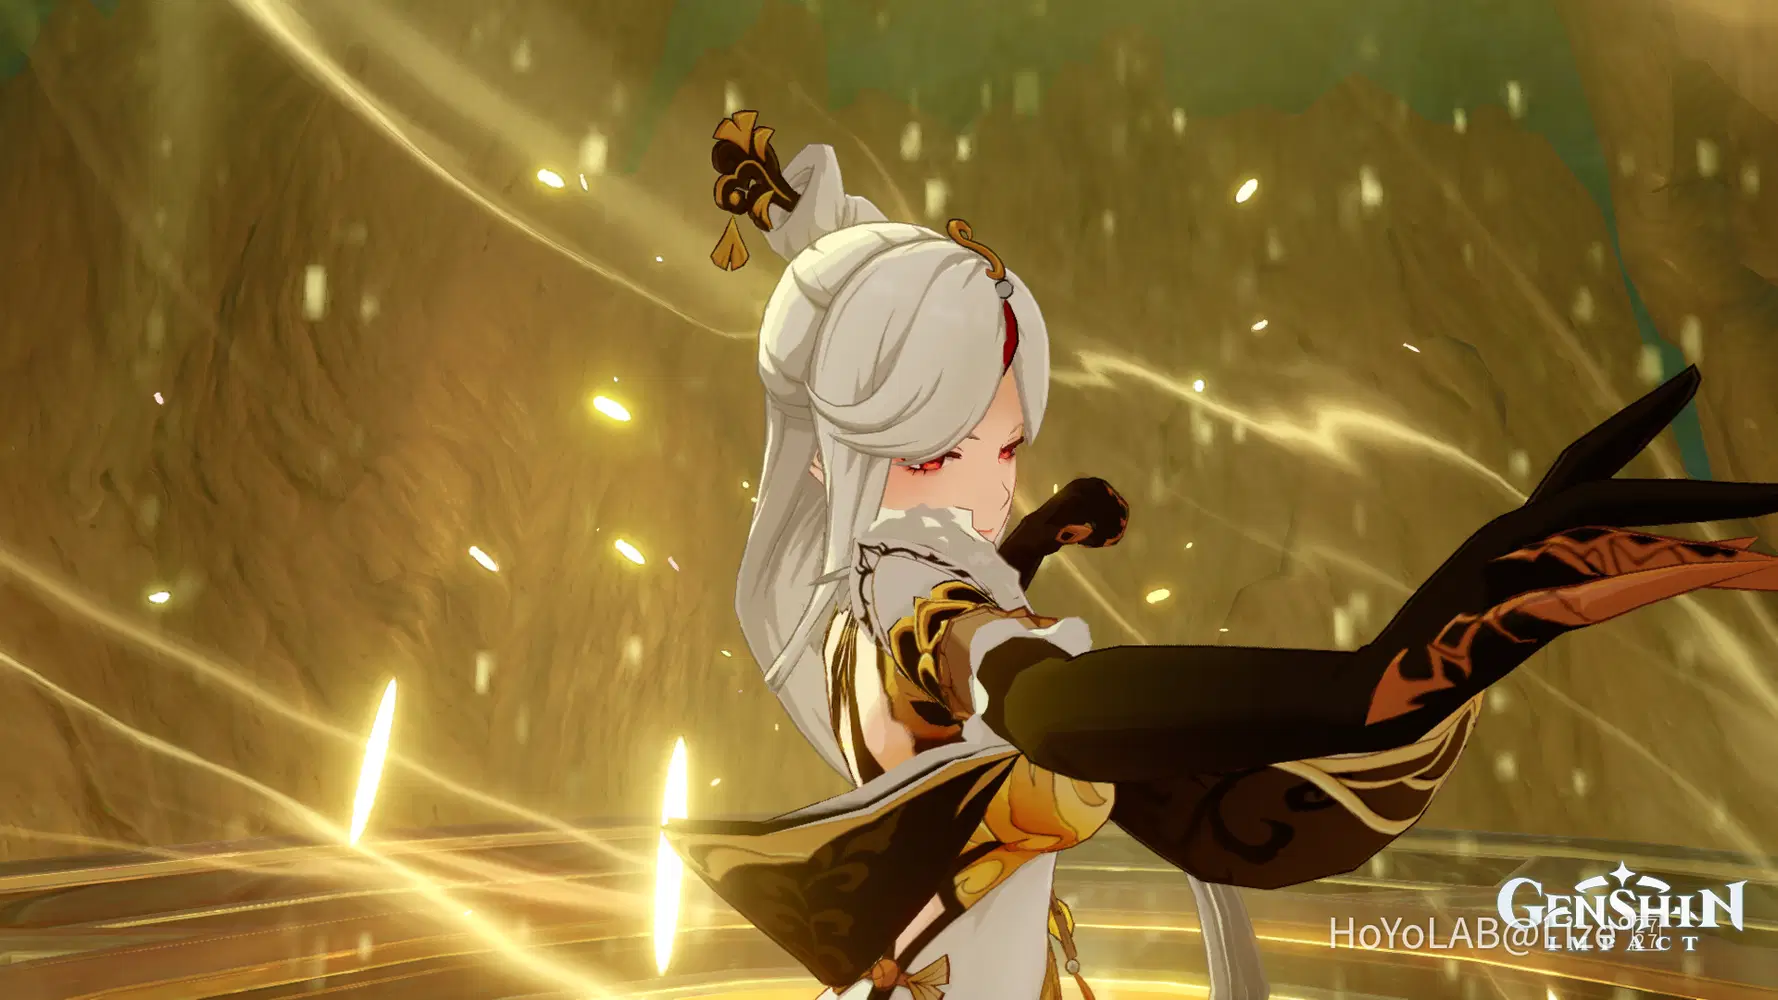
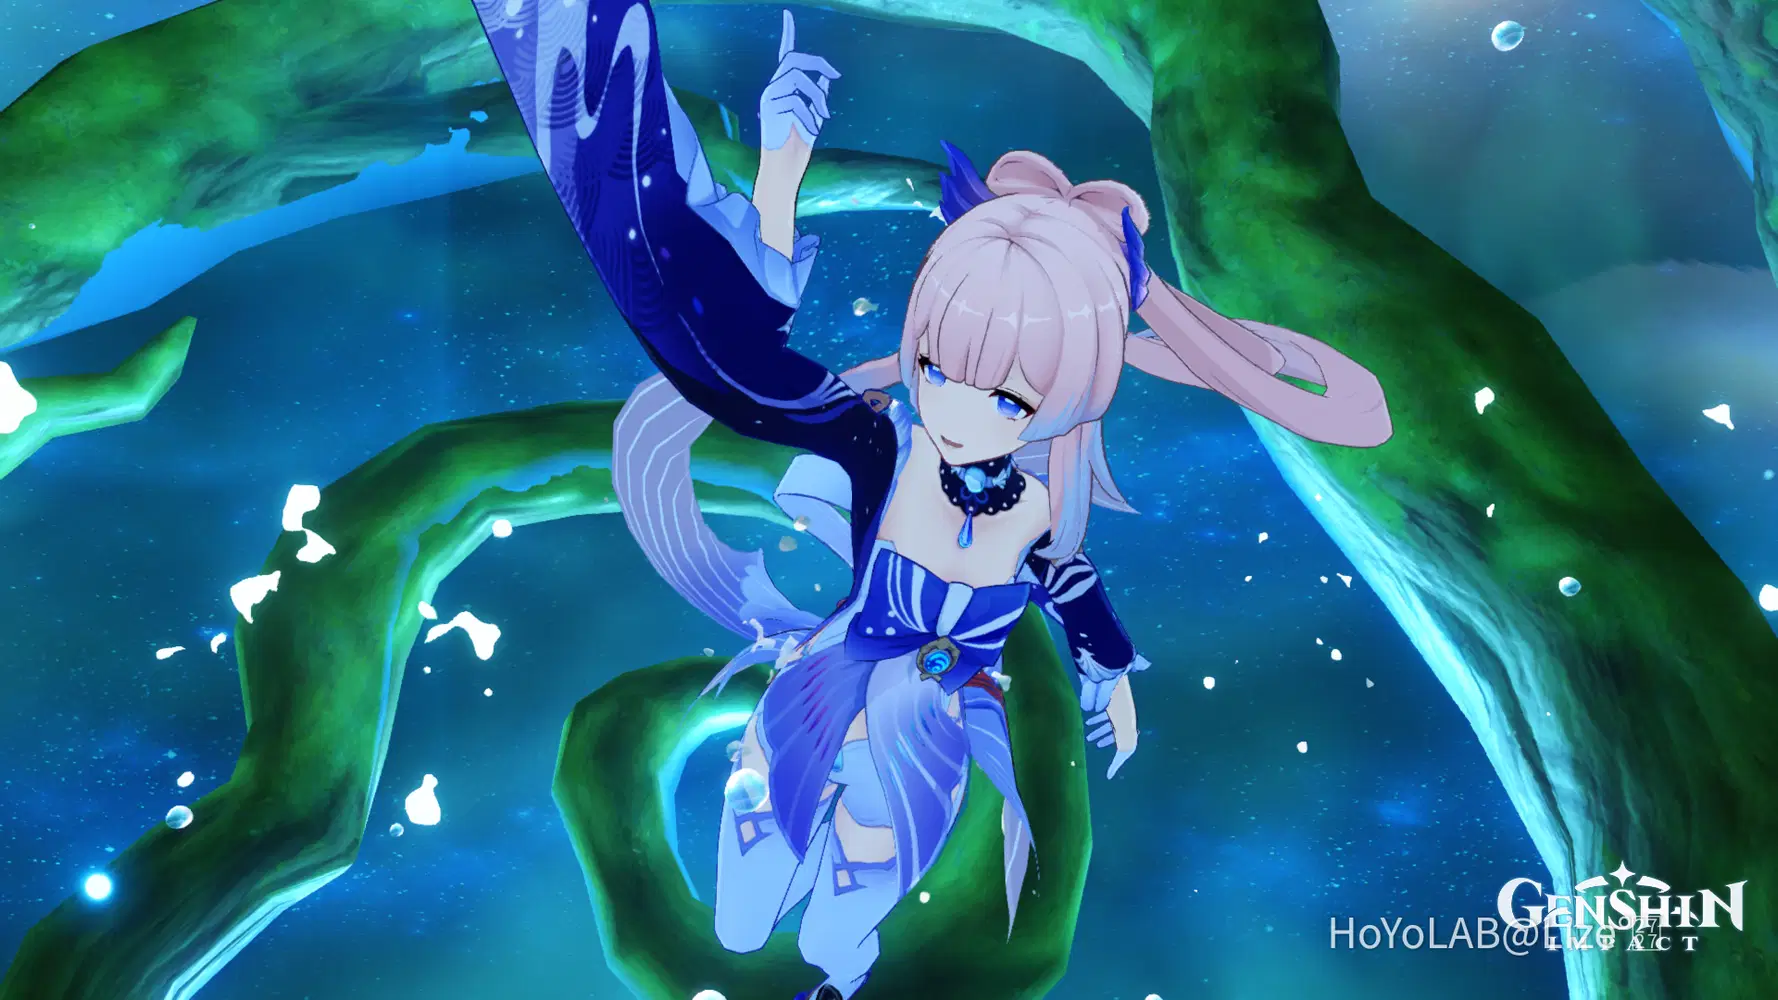
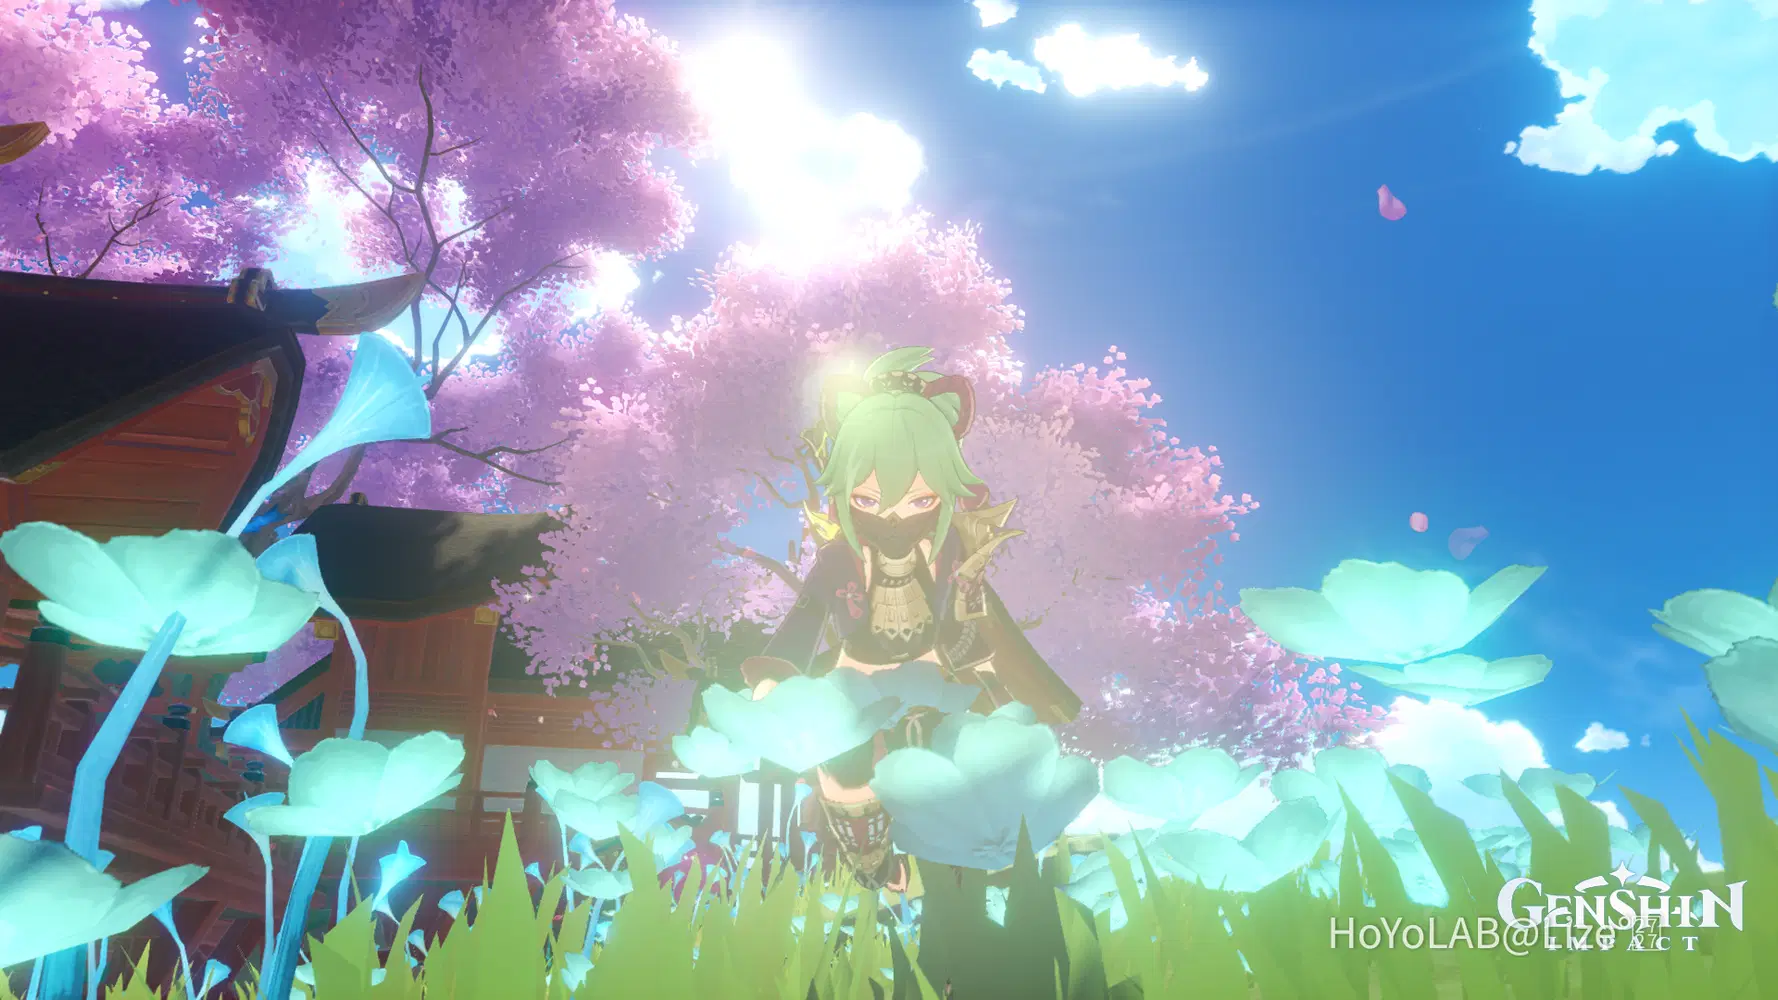
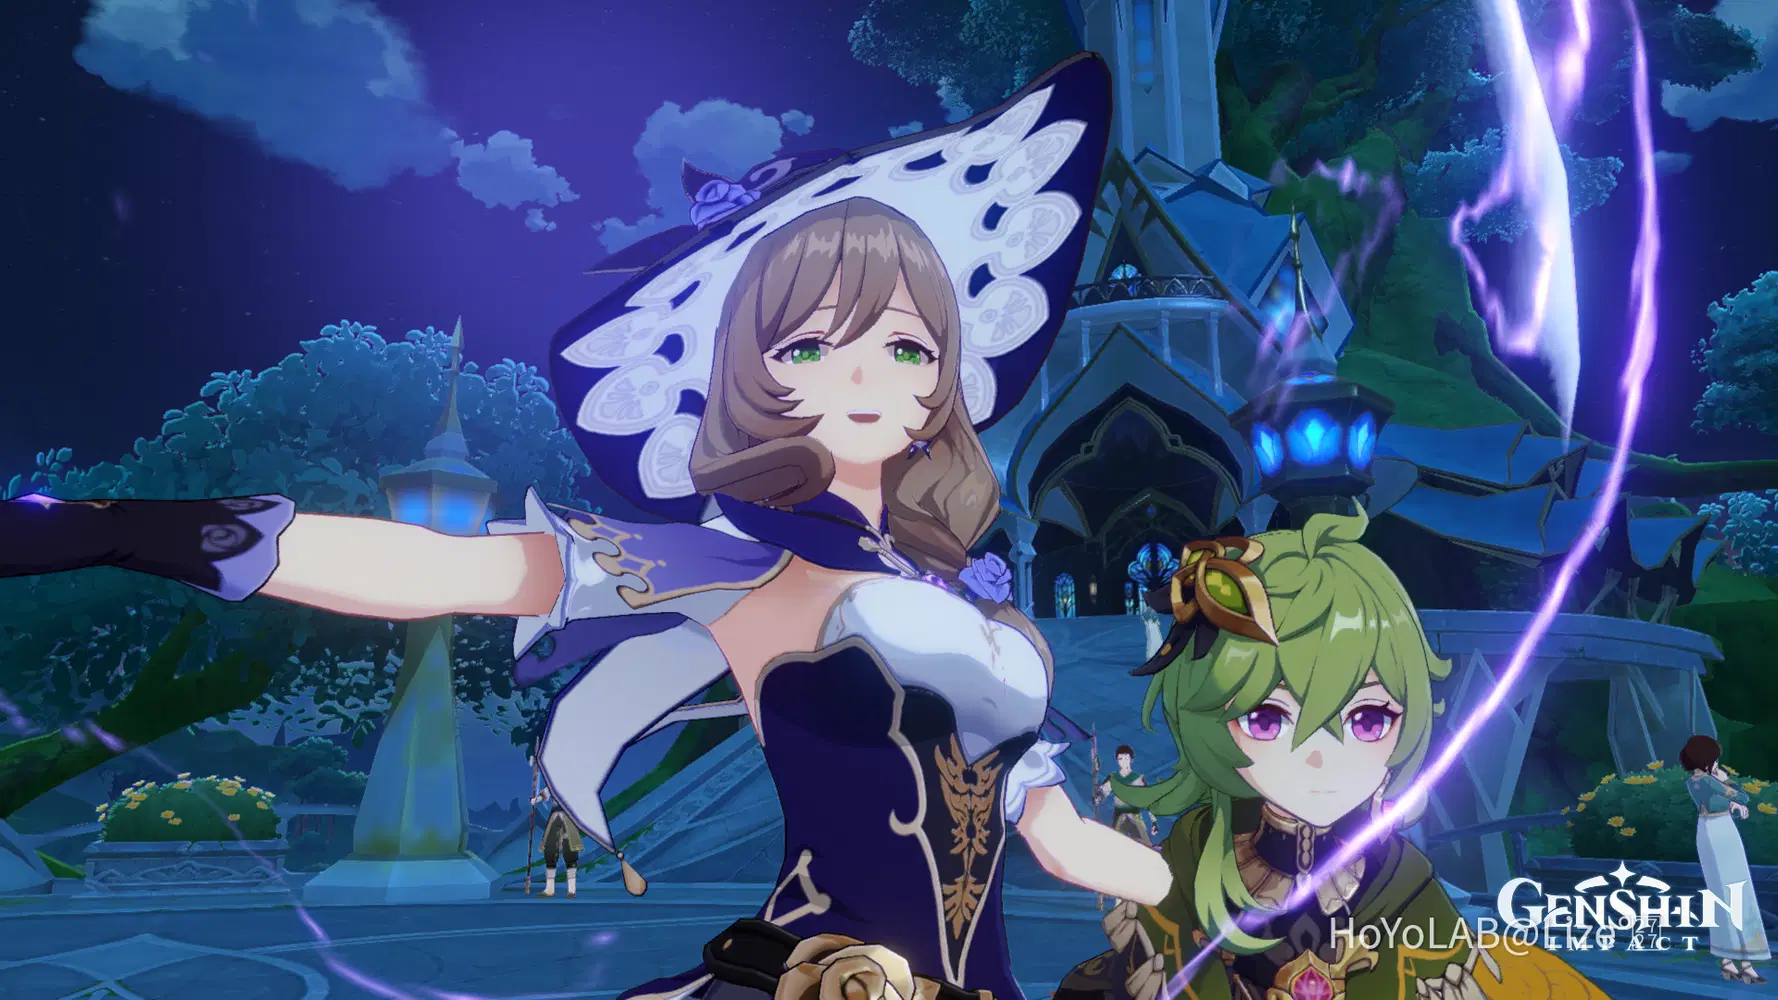
◈ There's a lot of Variety 
Unlike the idles, there's a lot of attack animations that you can make use of.
I'll provide some example shots that I took using each respective animation!!
◇ Normal Attacks
◇ Charged Attacks
◇ Plunging Attacks

◇ Sprint
◇ Elemental Skill
◇ Elemental Burst

A Tip:
For 5 star characters, go near a wall (or zhongli's geo construct) or water (make sure its deep enough) so that your camera angle won't change and you can still use the gadget!!
Also, remember to fix the angle in time because you won't be able to move the camera once you do the burst animation!!
◈ No waiting time needed! 
No need to wait for the animation! Just do the attacks when you are ready and take a shot!!
Well the only waiting needed is to fill up the character's bursts or waiting for the skill's cooldown to end!! But that's a 5 to 20 seconds of cooldown is a piece of cake compared to sitting idly for hours waiting for the idle to start.

Most of the shots takes less than a minute or so, unless it took a lot of tries to attain that shot.
◈ Suitable for Coop 

If you want to take pictures with your friends, I'd suggest relying on these animations instead of the idles to save more time. There are two ways in which you can do this.
First Method:
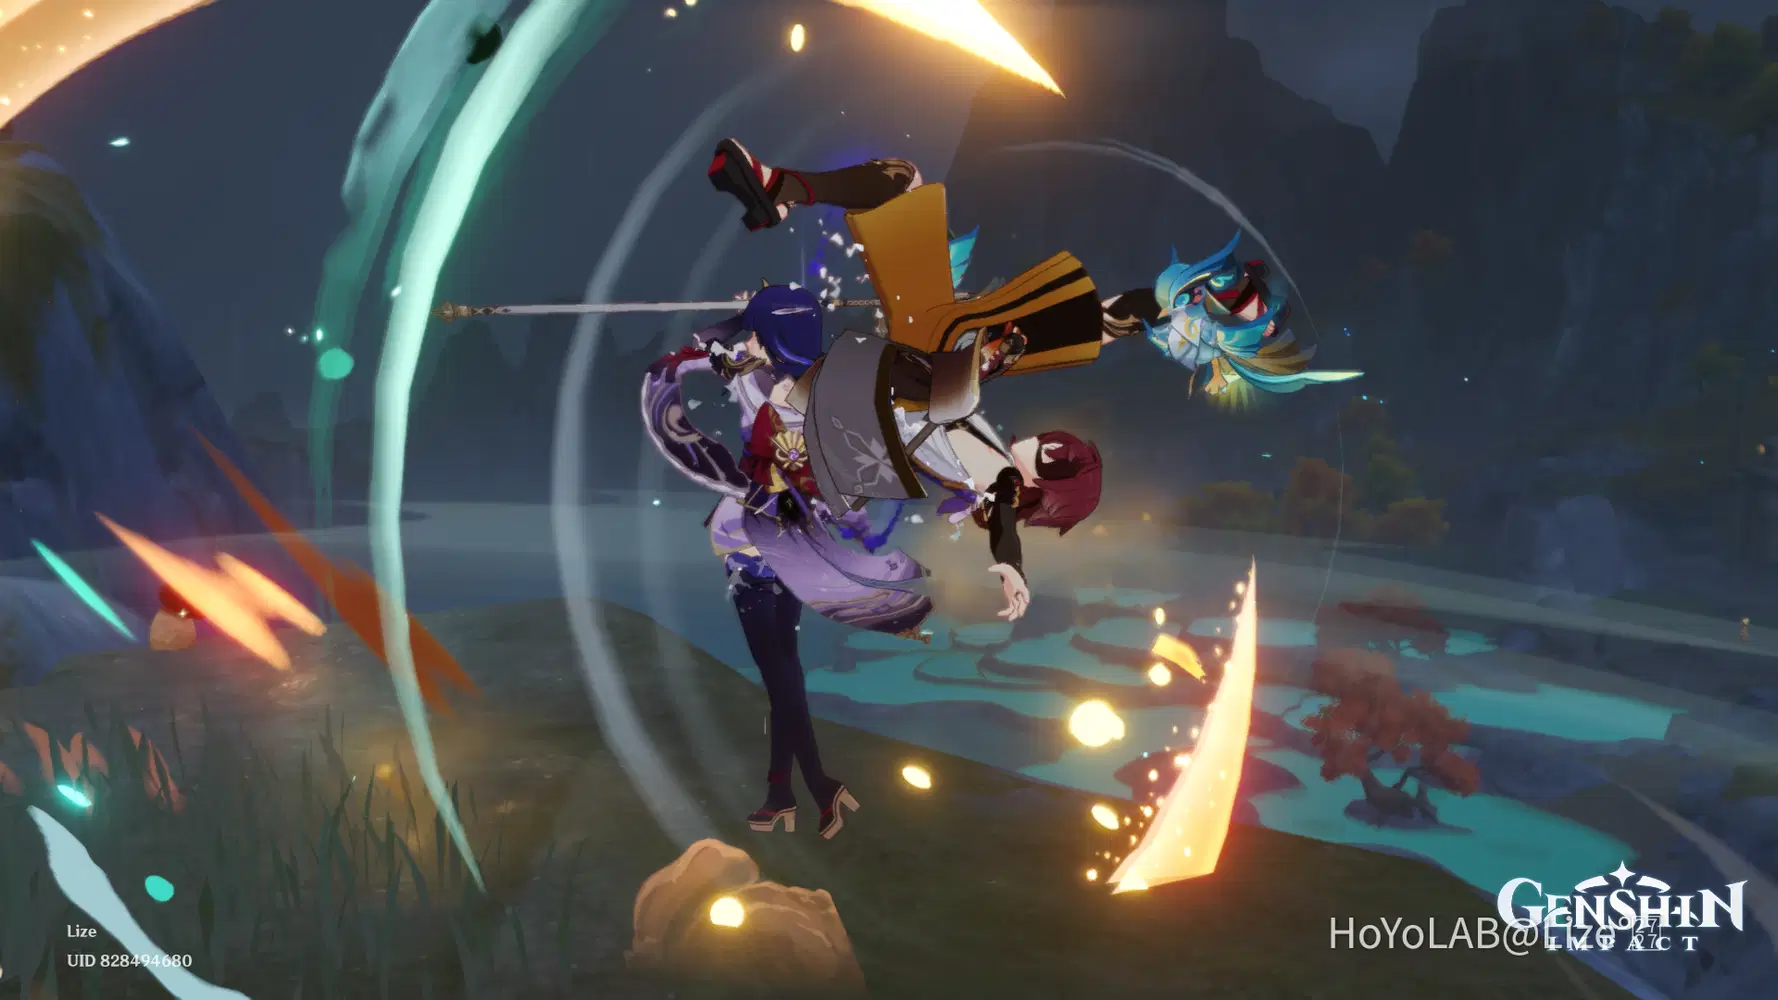
Basically, what will happen is that one of you guys will act as a photographer and hide themselves while you guys attack or use your skills so that the camera would be stable and not move!!

In this shot for instance, I served as the photographer while two of my friends do the attack animations.
Second Method:
They won't hide themselves this time but stay still instead and wait for the idle of their character. Once the idle starts, that will be the signal for the others to start their attack animations!! Unlike the first one, you need to wait for the idle first, but atleast all of you are included in the picture this time!! 
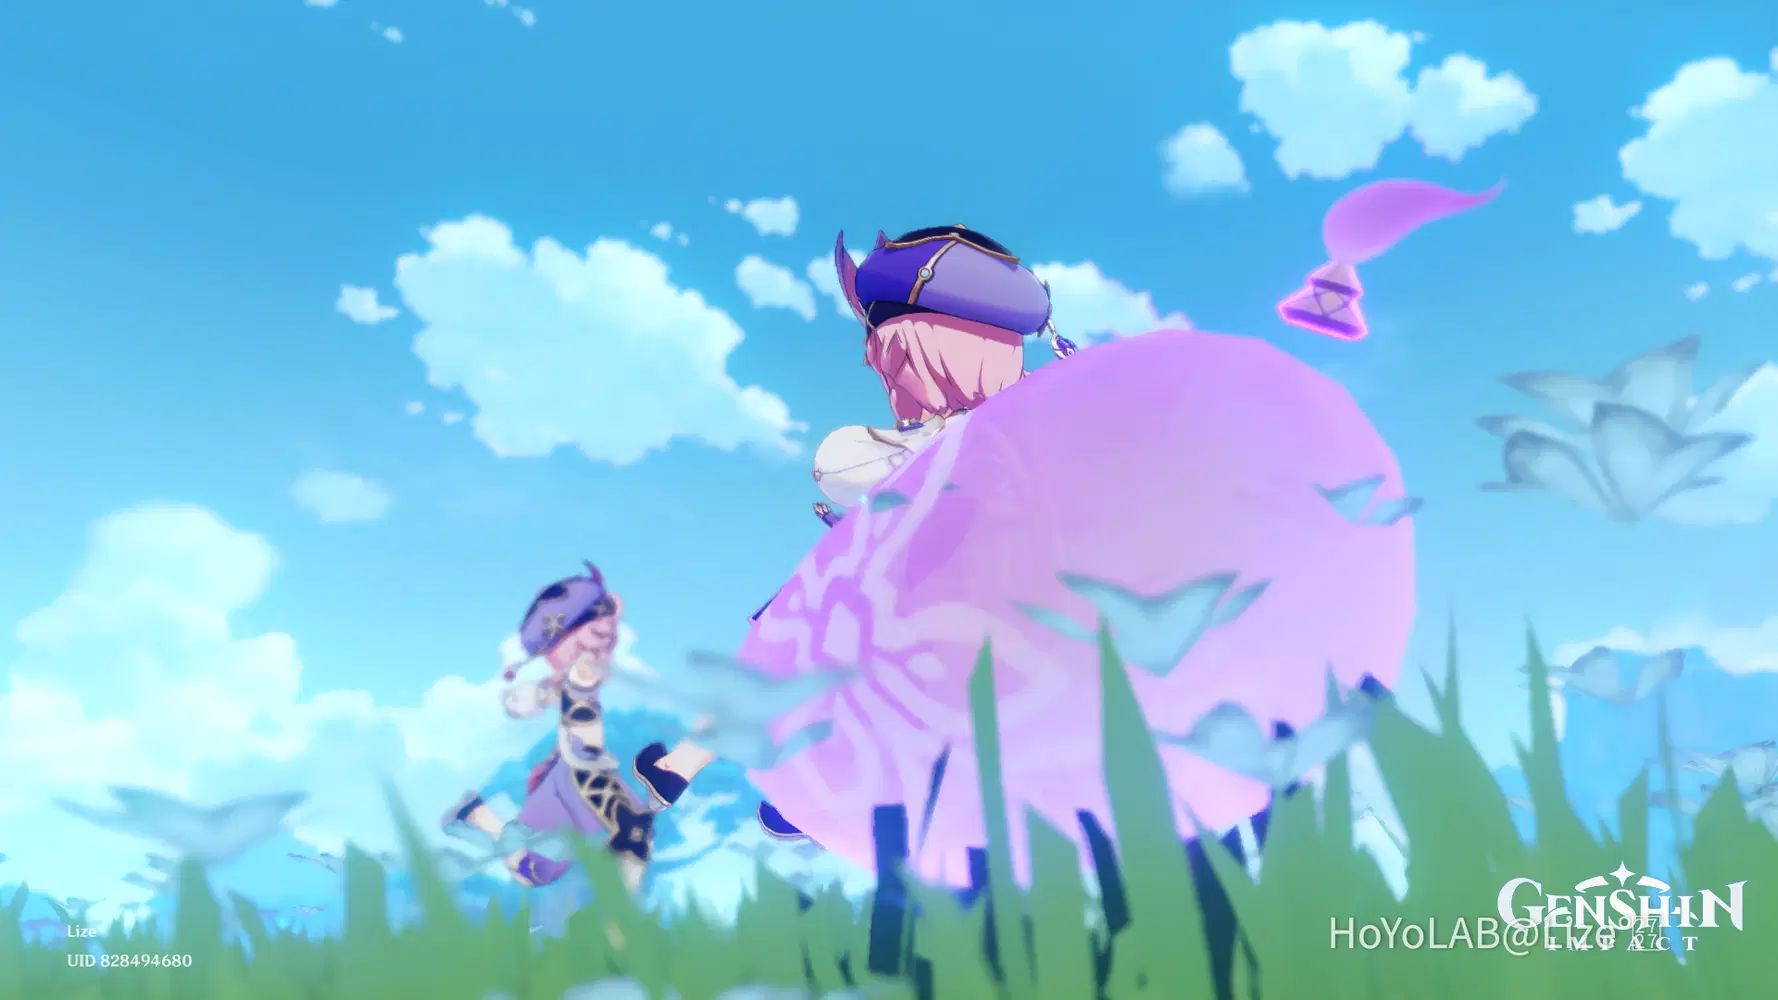
I used this method in this shot showing two Doris playing around.

(I haven't mastered this one yet tbh. But I discovered this from one photographer that I admire in Twitter, 🌊ぷらひる⛩, and they do it perfectly so go check them out!!)
CONS
◈ Framing is quite tricky 
Using the Kamera has a lot of drawbacks. Your character will be on the center of the screen all the time and sure its not a problem if you really want the character to be the sole thing in the screen.

You can still zoom in and out of your characters but you wouldn't be able to move them anywhere.
(The character will always be in the middle.)
But if you want to include a proper foreground, you might struggle a little bit and it may take more preparation to do it. Since you move a lot as you attack, you need to take note of the distance your character travels so that the final position would be just right.

It was a really hard time trying to make Nilou in the middle of these plants at her last attack animation. Sometimes she traveled too far, the plants are blocking her but the pain was worth it.
Its pretty difficult but totally possible!!
Its just a matter of trial and error.

A Solution for this:
As I mentioned earlier, through coop you would be able to frame the shot properly if you serve as a photographer and have another player model for you.
This way, you can have an easier time taking pictures!!
◈ Using blur would be difficult 
You probably noticed that most of the shots I provided that uses attack animations doesn't have blur.
You don't have access to blur because you're using the Kamera gadget not the actual Camera/Screenshot feature in the game.
But there is still hope because of Coop!!
Just like the difficulty in framing, the blur issue can also be solved through coop!
Focus on being the photographer and use the camera mode. Then, you can leave the model part to your friend and just do your thing.
This is also a great way of capturing pictures of characters that you do not own.
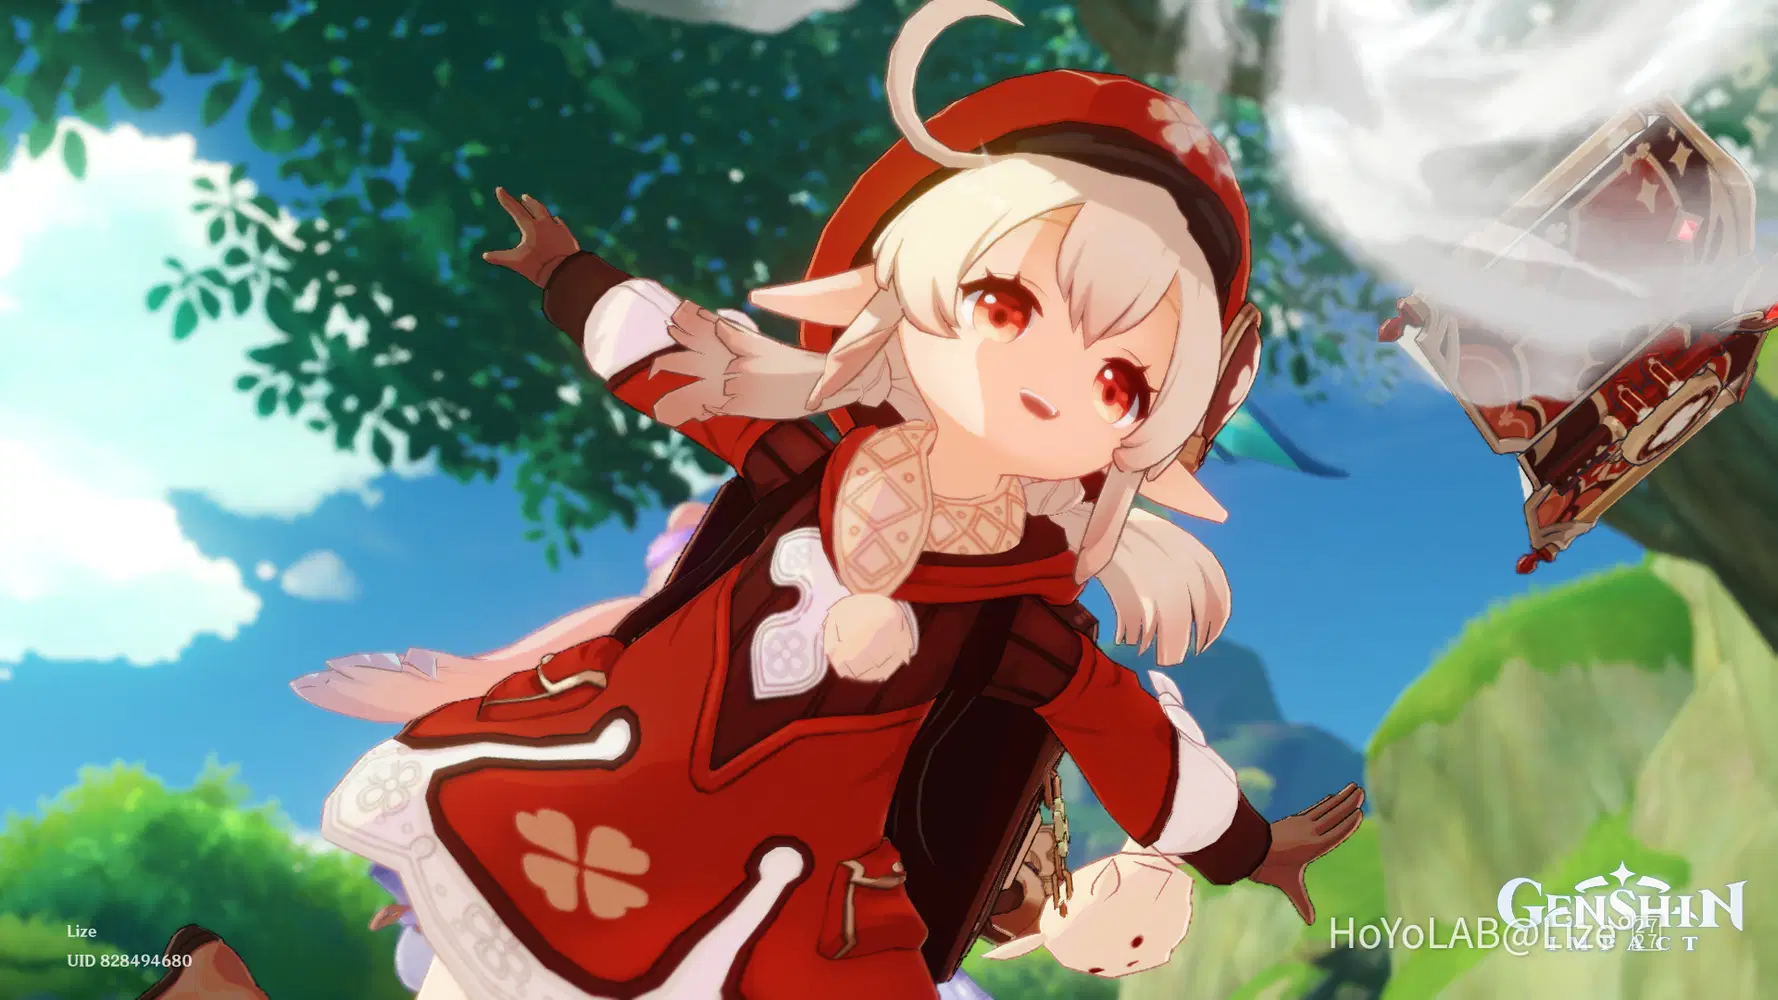
Here's an example of a picture I took with my sister's Klee.
The difficult part in this is.. finding friends to take pictures with. 
And that is it for today!
Thank you for 1k followers!!
I didn't expect that I would make it this far and I was even pretty inactive these days but thank you very much for all of your support!!
This guide took a while because of all the stuff that was going on (And the guide is pretty long too) but its finally finished!!
I hope this guide helped you in taking better photos in Genshin!
I would love to see your improvements and queries are very much welcome as well!!
(Just keep it coming~) 
If you want more photography guides, you can check out the whole collection here,
✧°․ Guide in Teyvat Photography .°✧
And if you missed the guide before this one, just click the right arrow below to see it!
The next one will be about Angles!! (Already done!)
You can check it out using this link ⇒ Lesson 4 : Angles

Have a wonderful day everyone~