


Key Sigil (II) & Seal:[V2.4 Guide] Enkanomiya- Key Sigil (II) & Seal Locations - miHoYo Player Community (hoyolab.com)

Key Sigil (I) [Total: 16]
[To access Enkanomiya, you will need to complete 2 World Quests]
Quests:
'The Moon-Bathed Deep'
Location (World Quest):
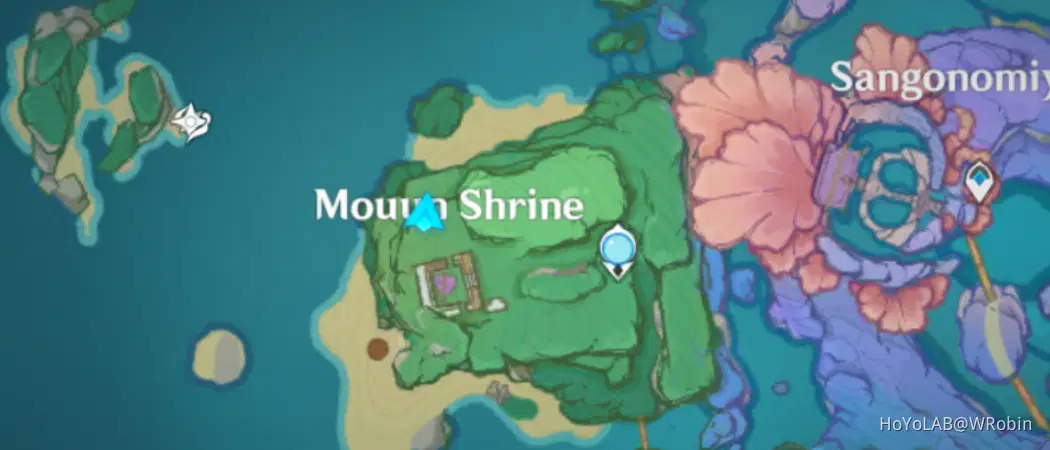
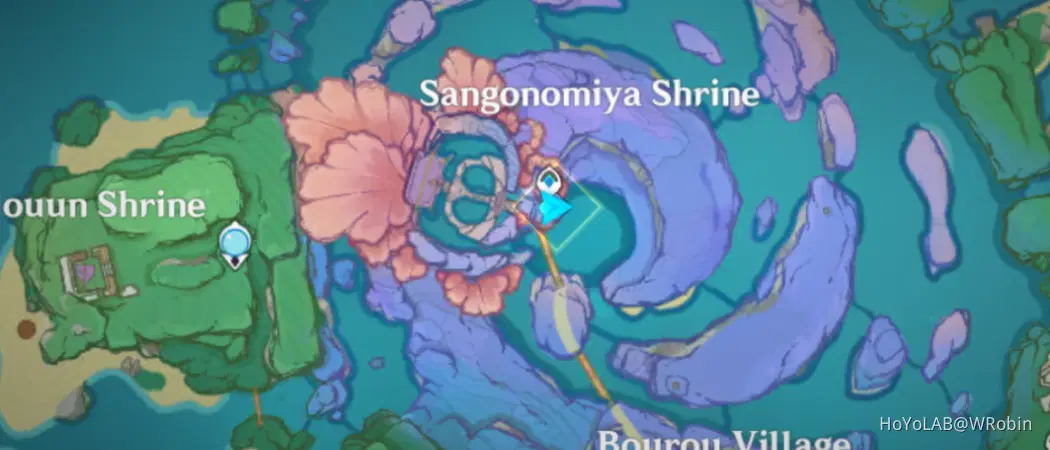
'The Still-Water's Flow'
Location (World Quest):
Key Sigils (I)
Requires Whitenight- #5
Requires Evernight- #11
Requires Both- #13
Key Sigil (I) #1- On top of the broken wall
No requirements needed to access.
Location:

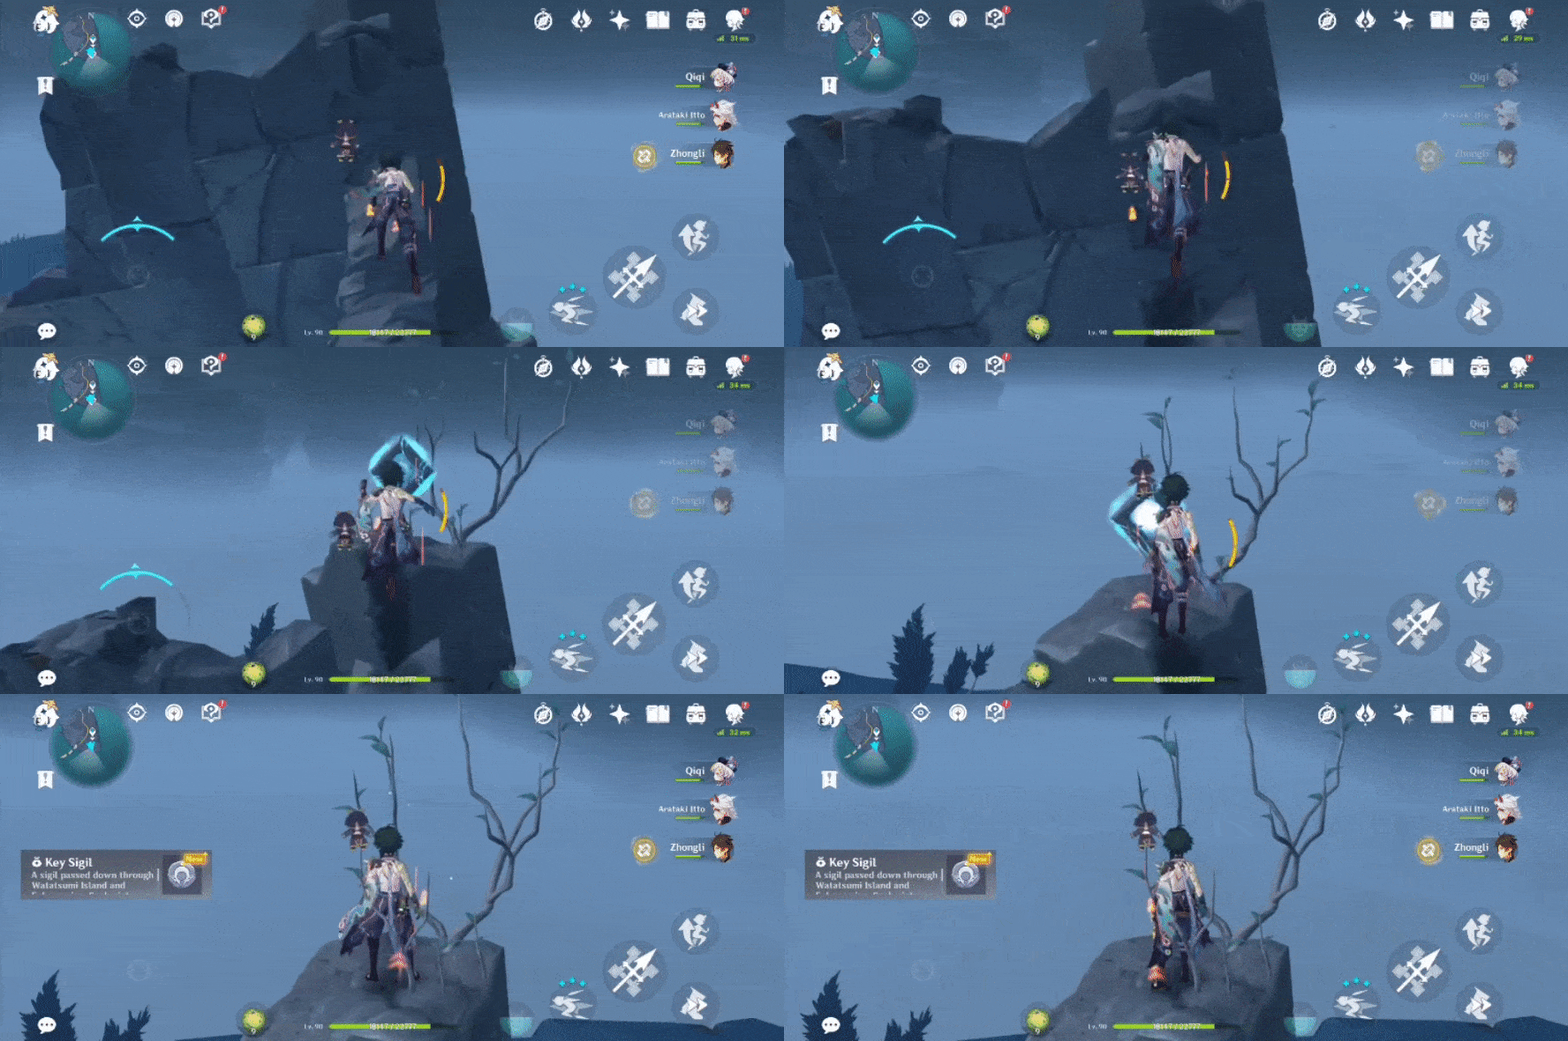
Key Sigil (I) #2- On a lower ledge (edge of the island), by 3 Hilichurls
No requirements needed to access.
Location:
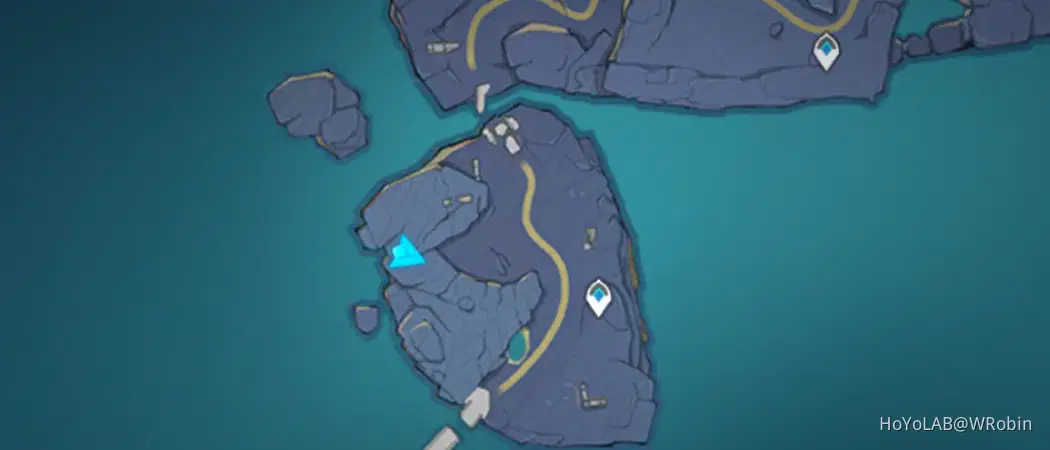
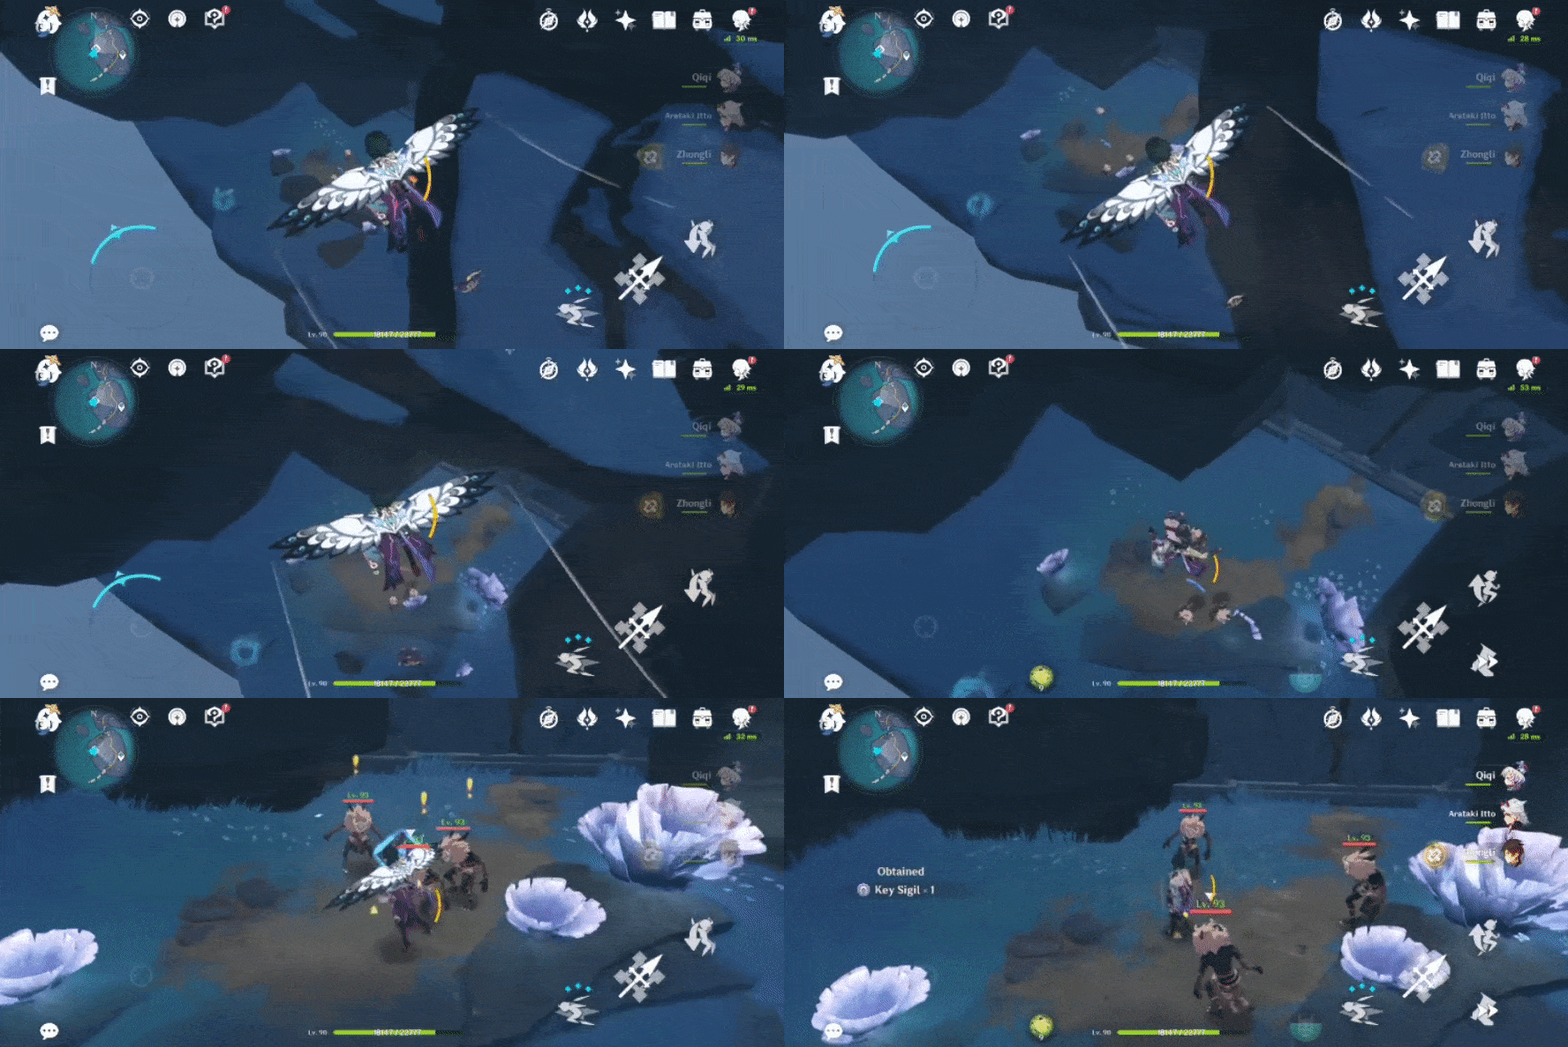
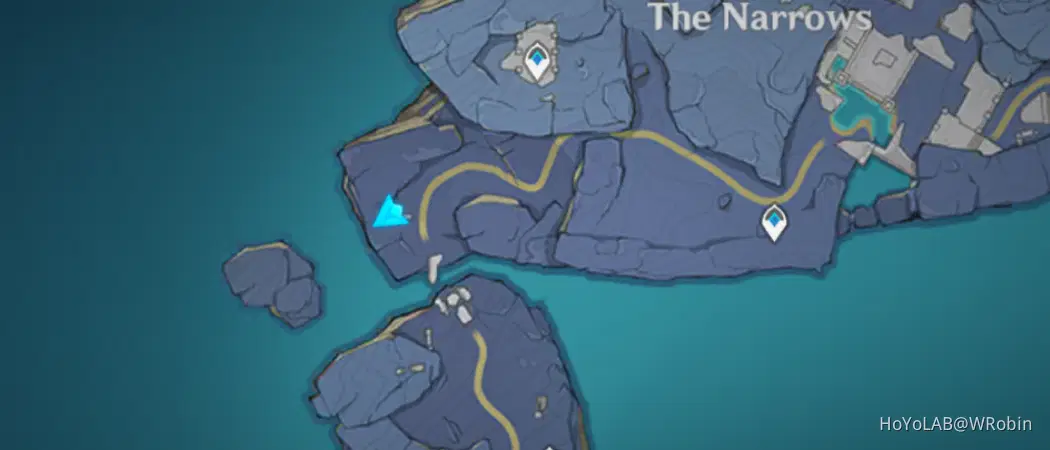
Key Sigil (I) #3- On top of the broken wall
No requirements needed to access.
Location:
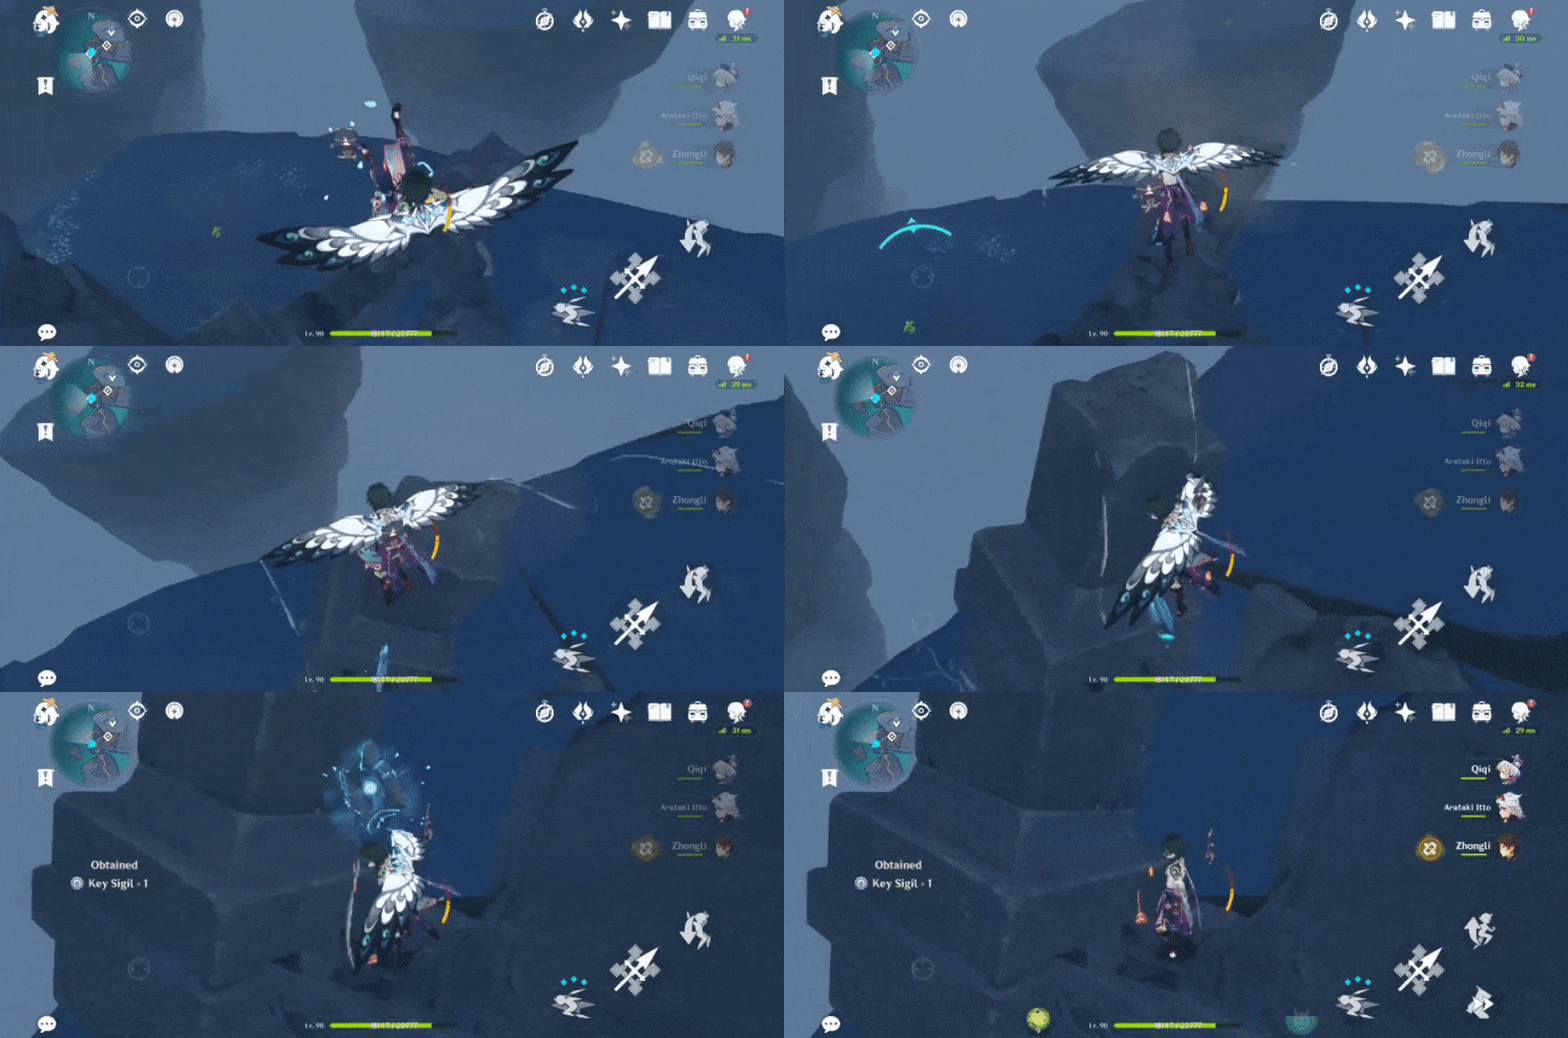
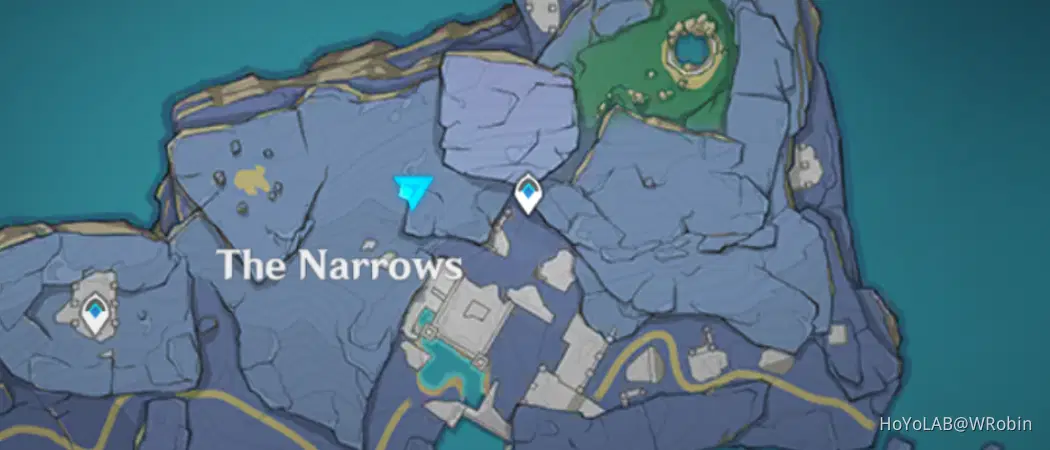
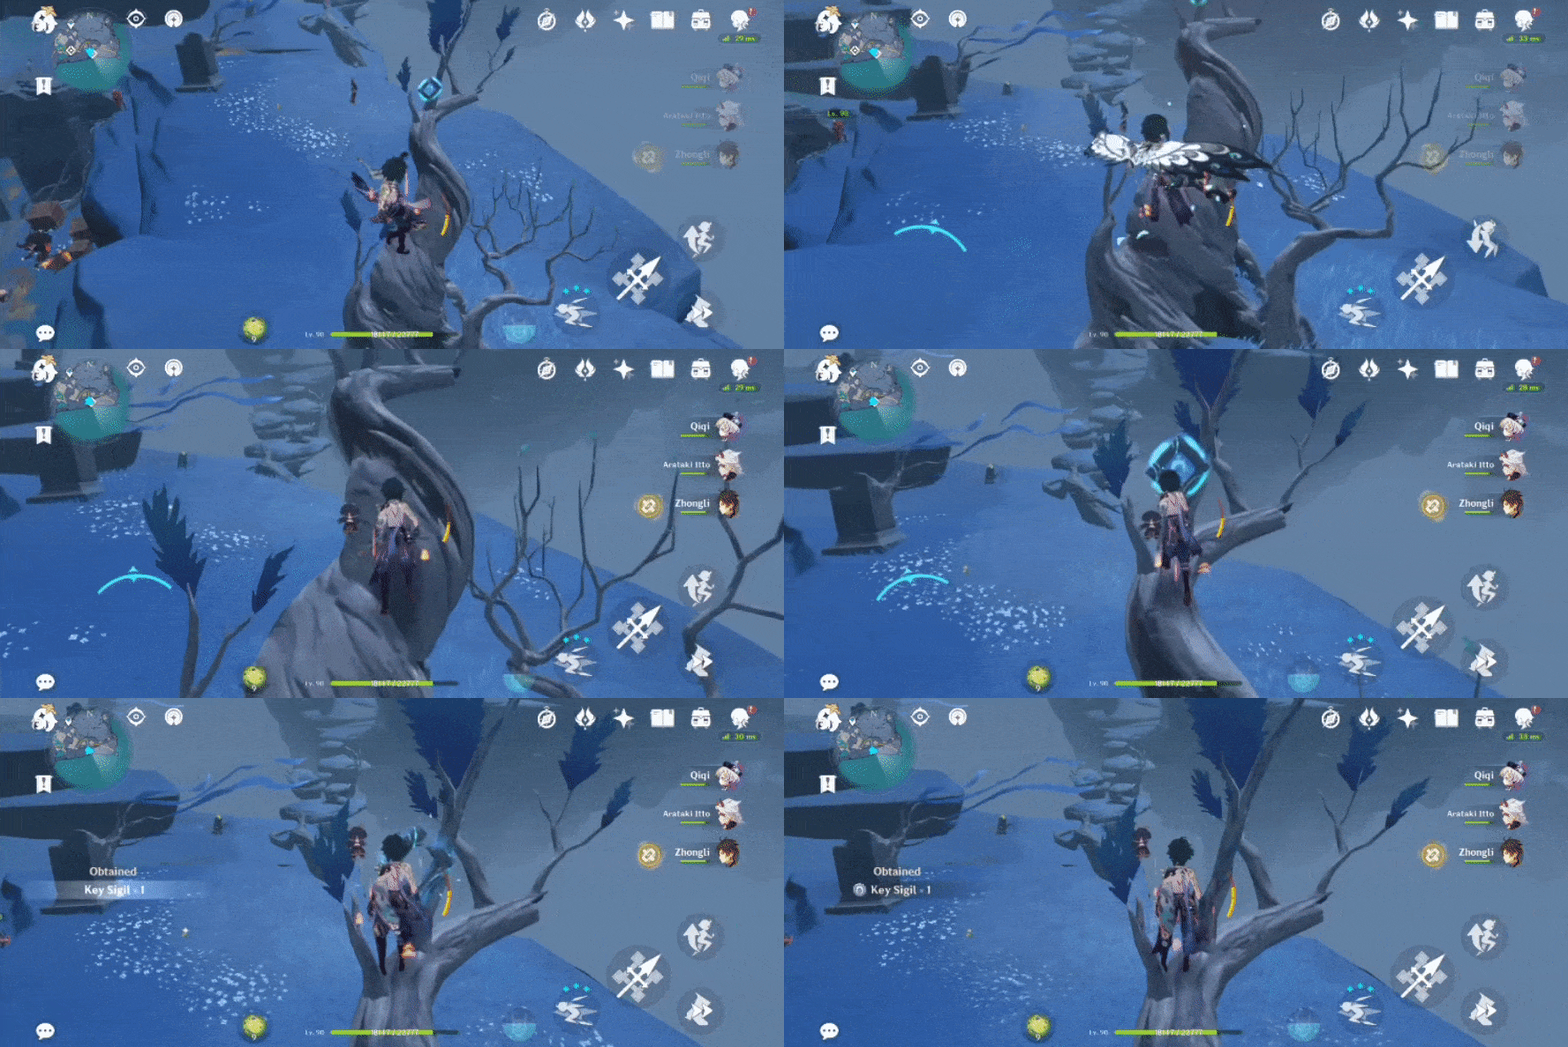
Key Sigil (I) #4- On top of the tree
No requirements needed to access.
Location:
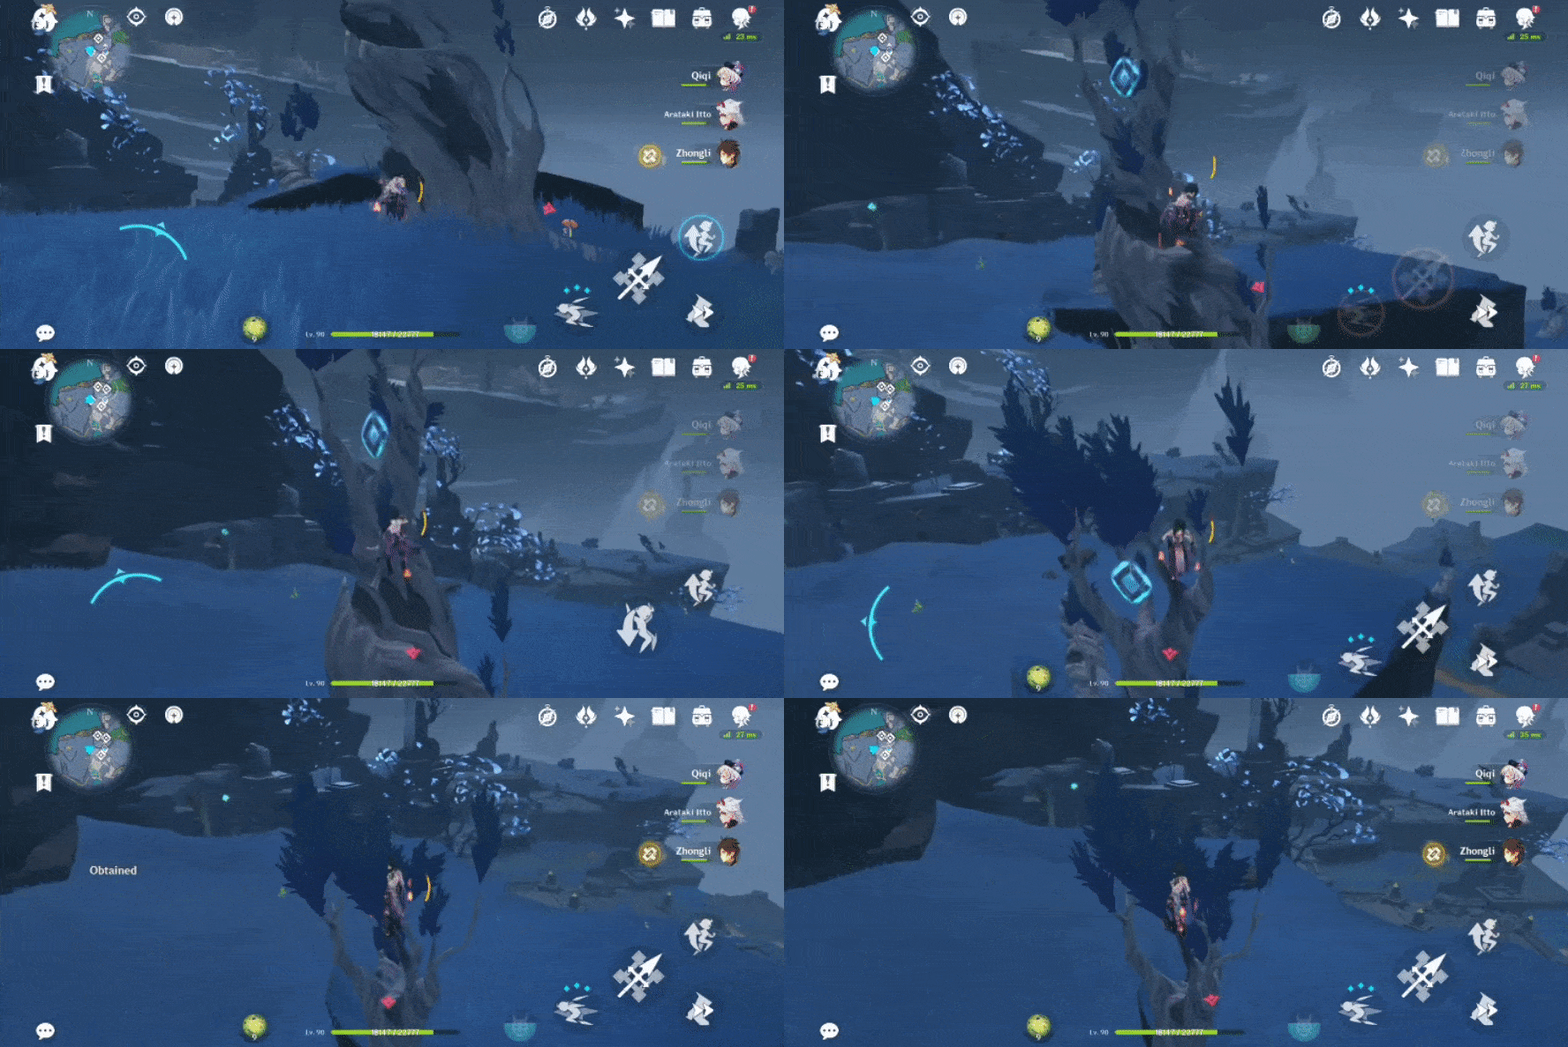
Key Sigil (I) #5- Behind the gate
Switch to Whitenight, and hit the Triangular Mechanism to open the gate.
Location:
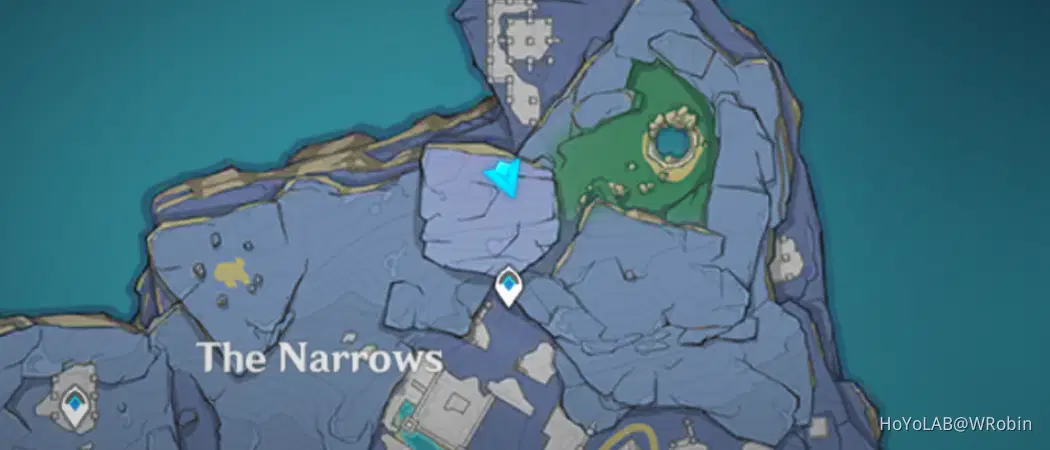
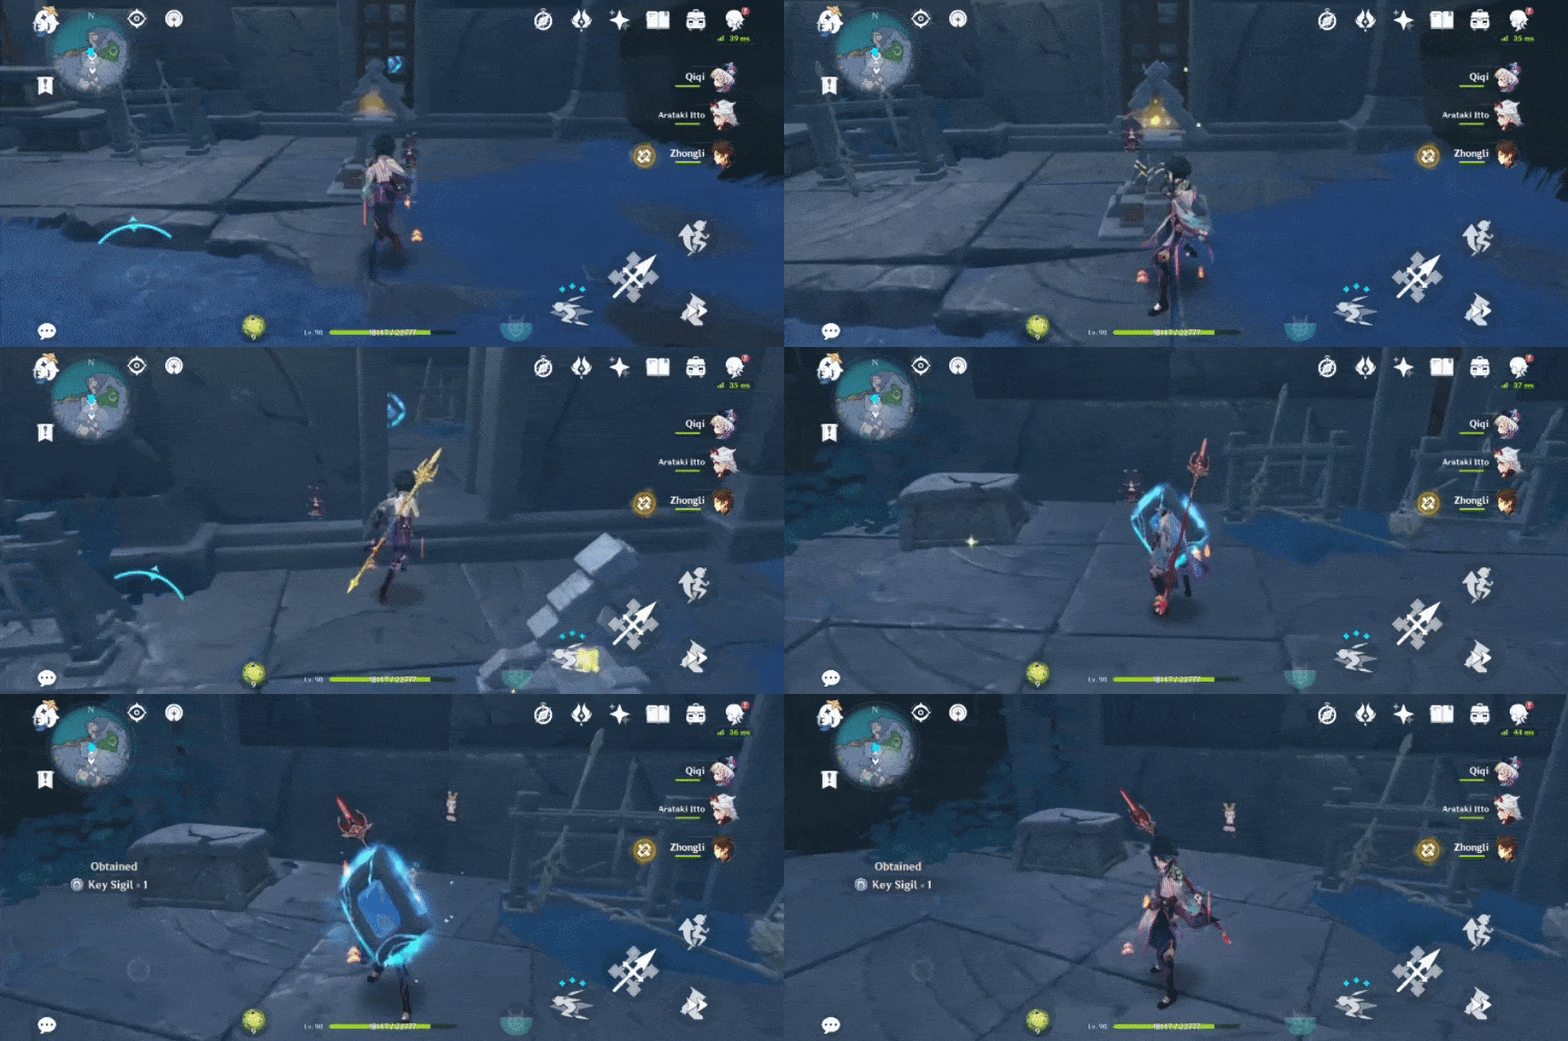
Key Sigil (I) #6- On top of the tree
No requirements needed to access.
Location:
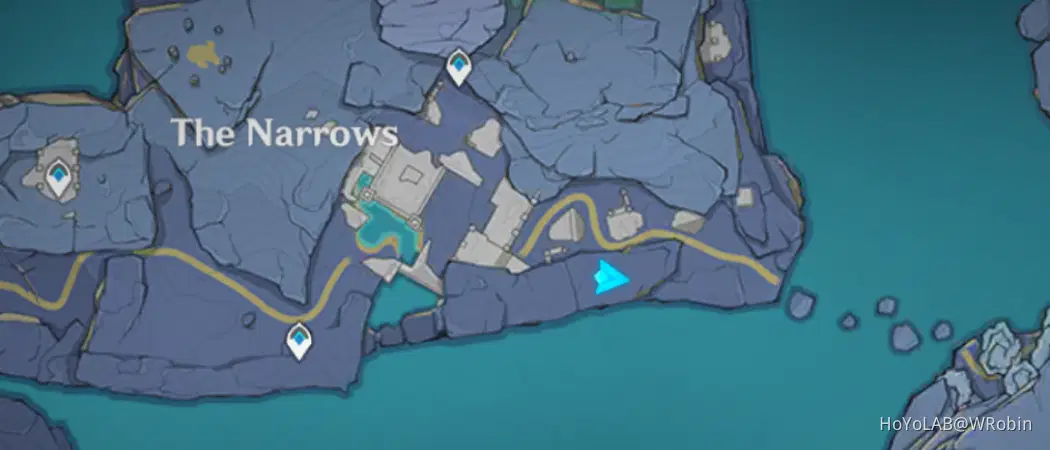
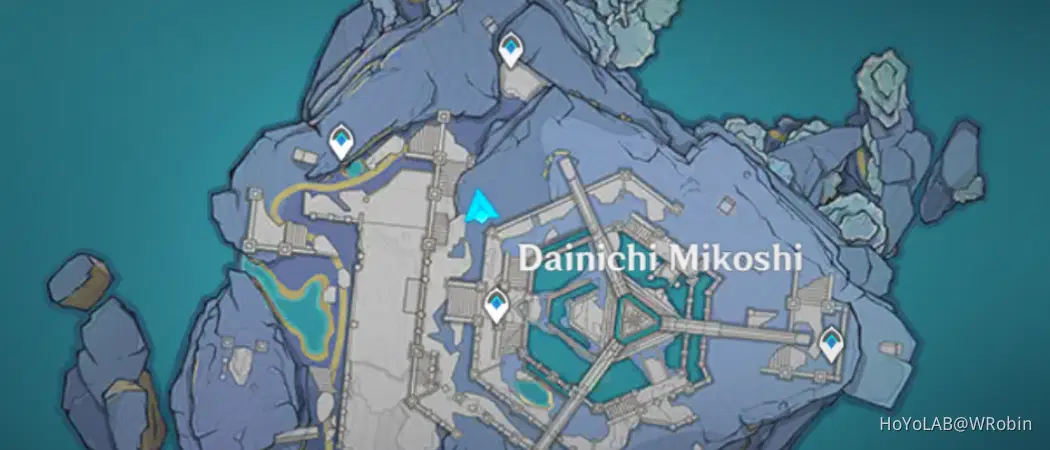
Key Sigil (I) #7- On top of the pillar
No requirements needed to access.
Location:
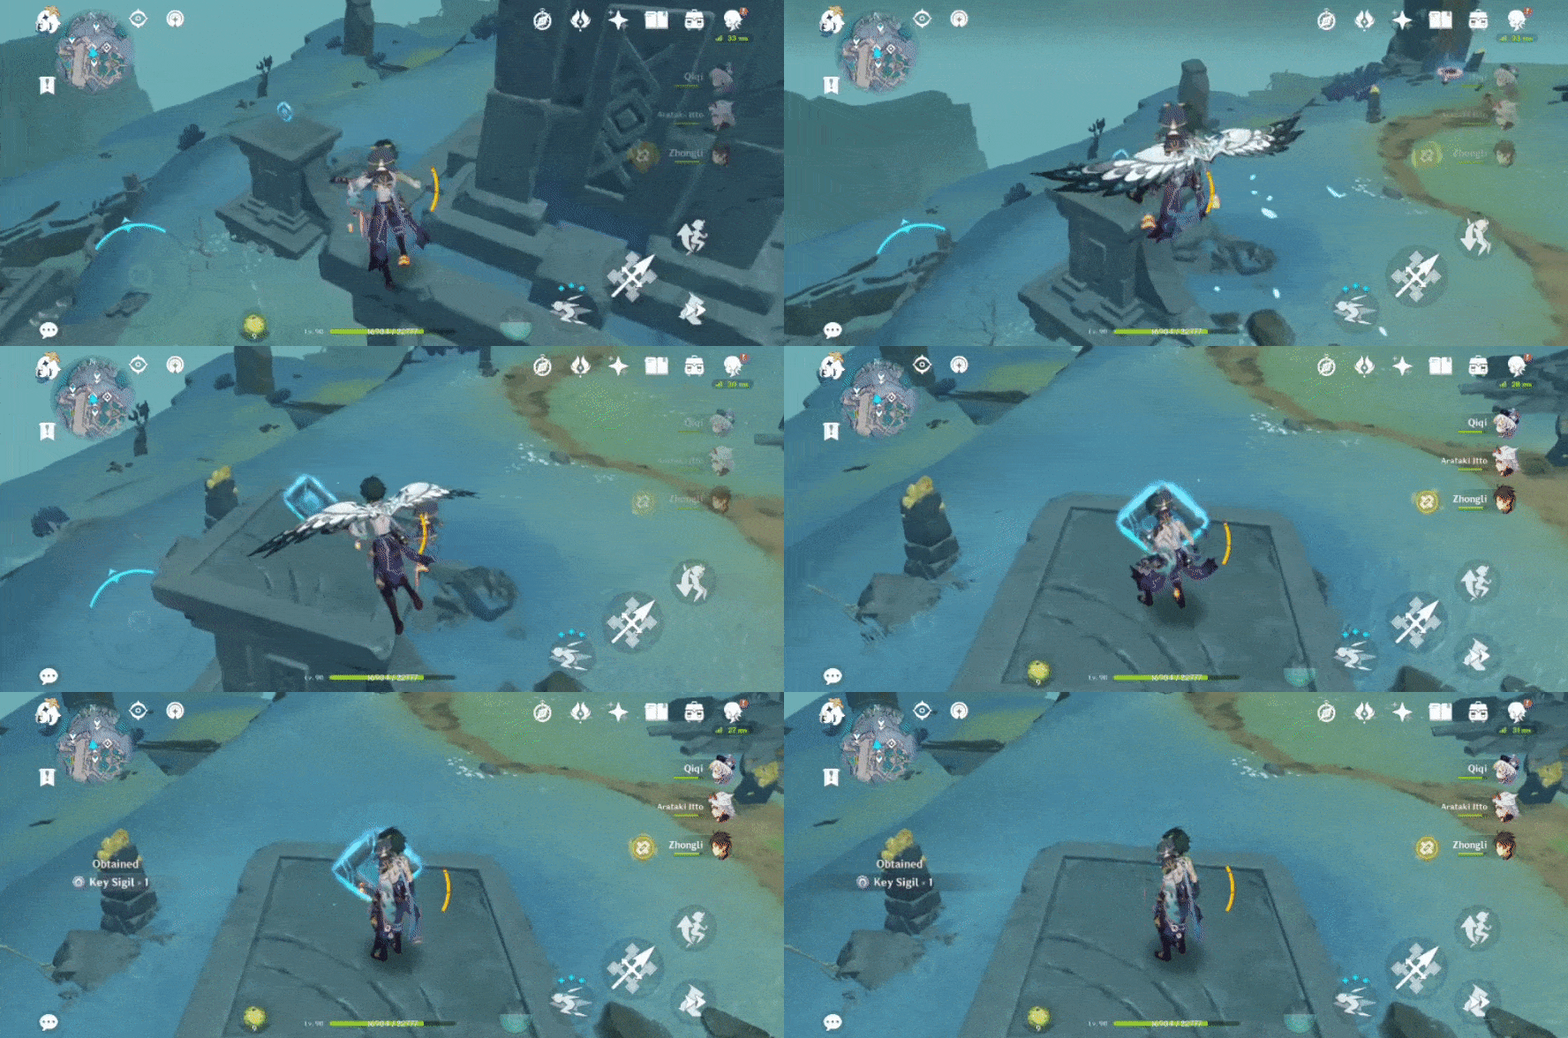
Key Sigil (I) #8- Floating in the archway
Can climb the walls and glide down or use a Geo Construct to access.
Location:
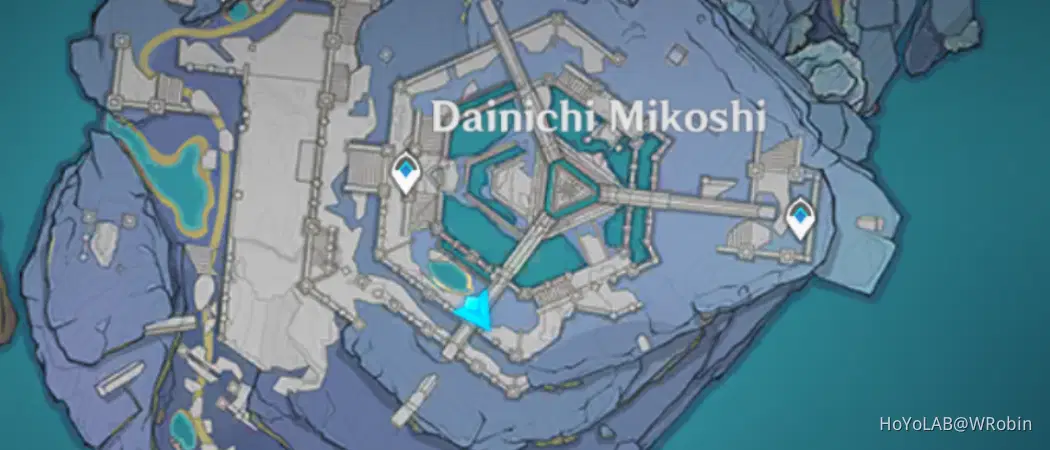
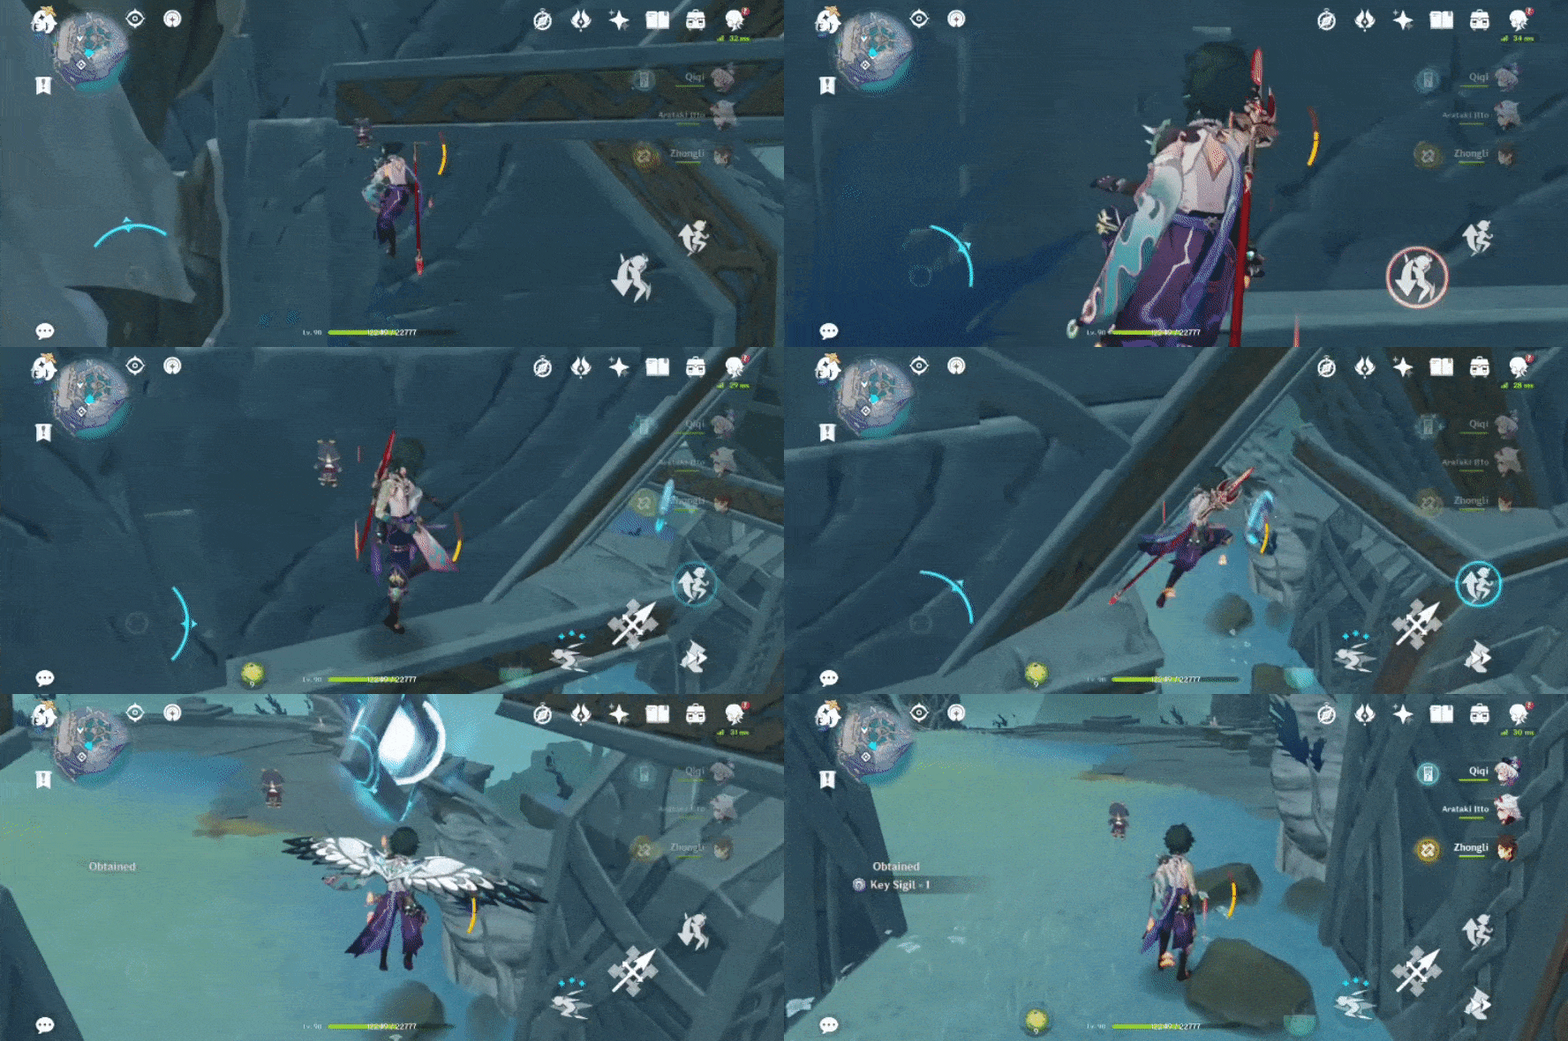
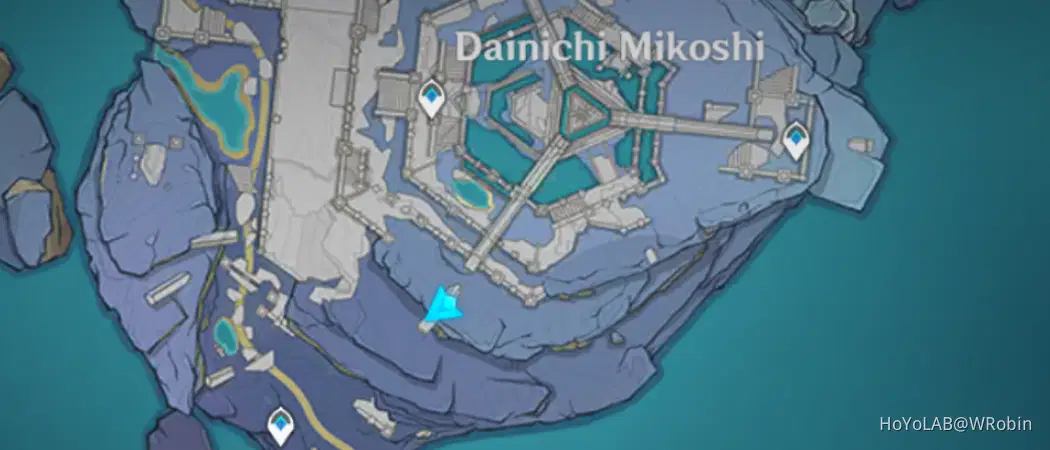
Key Sigil (I) #9- On top of the pillar
No requirements needed to access.
Location:
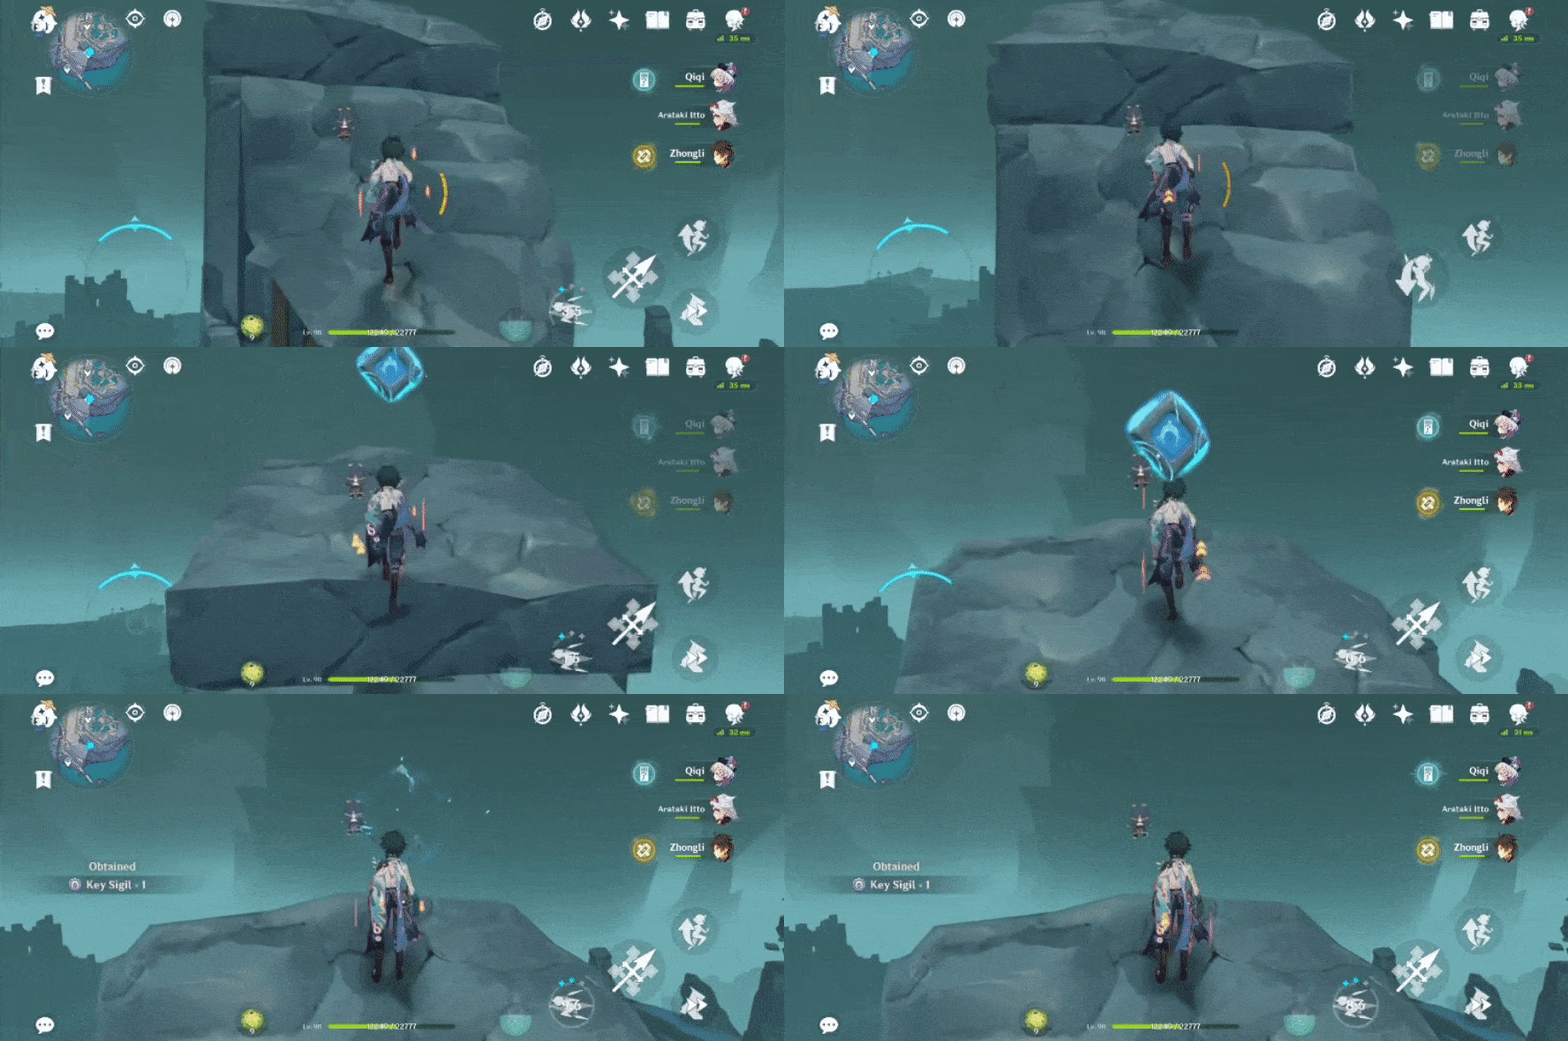
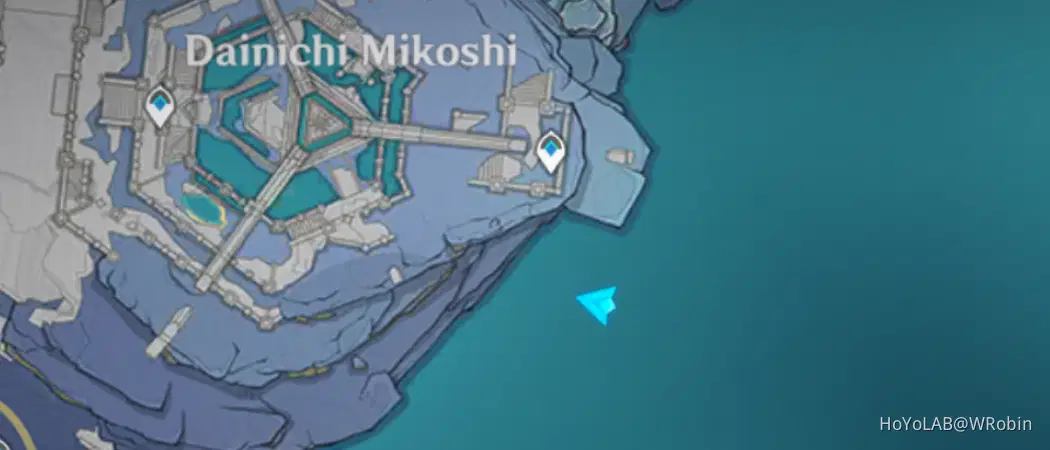
Key Sigil (I) #10- On a lower island
Glide down to access.
Location:
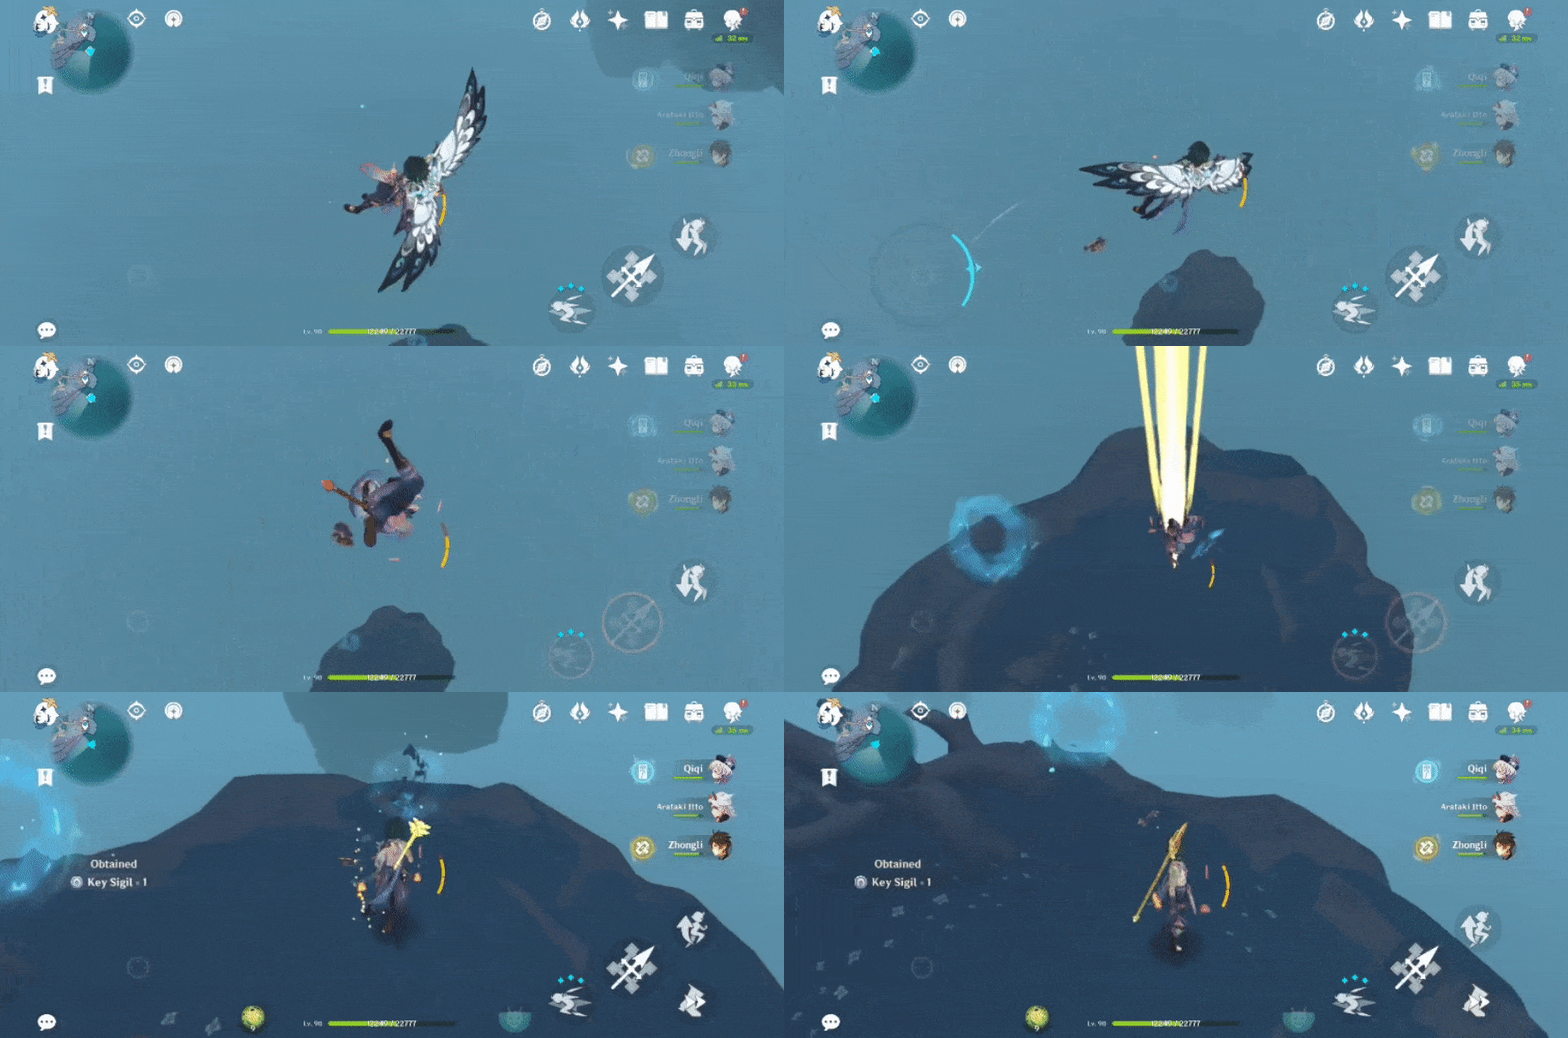
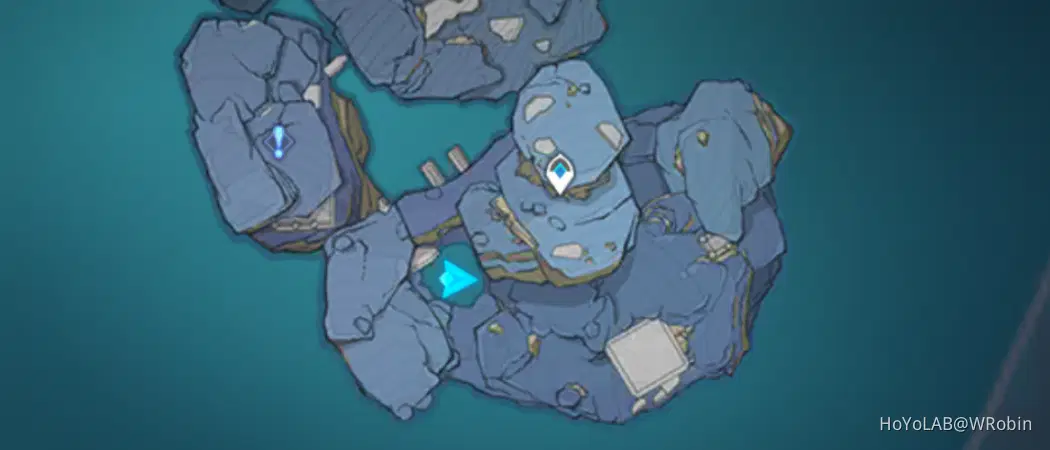
Key Sigil (I) #11- Inside the barrier
Switch to Evernight, and activate 3 Hydro totems with Hydro to remove the barrier.
Location:
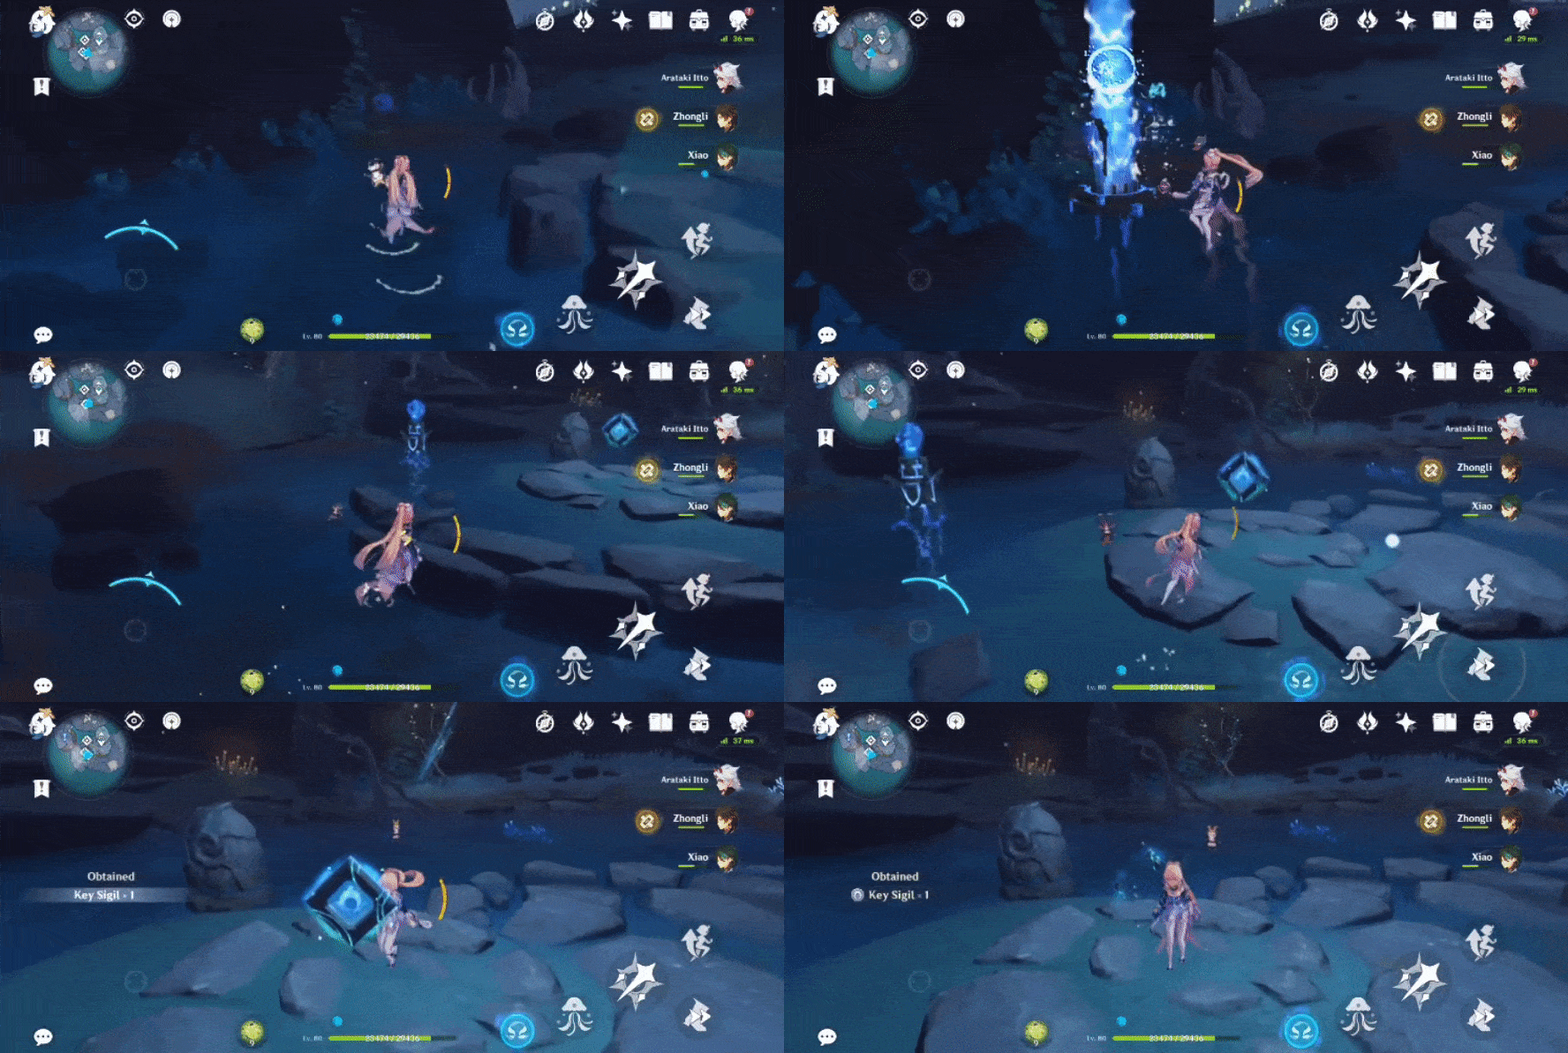
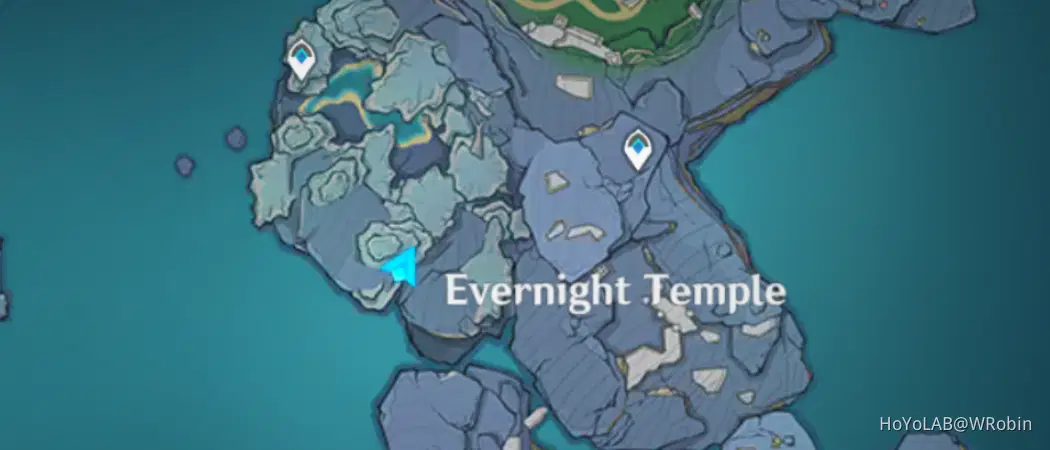
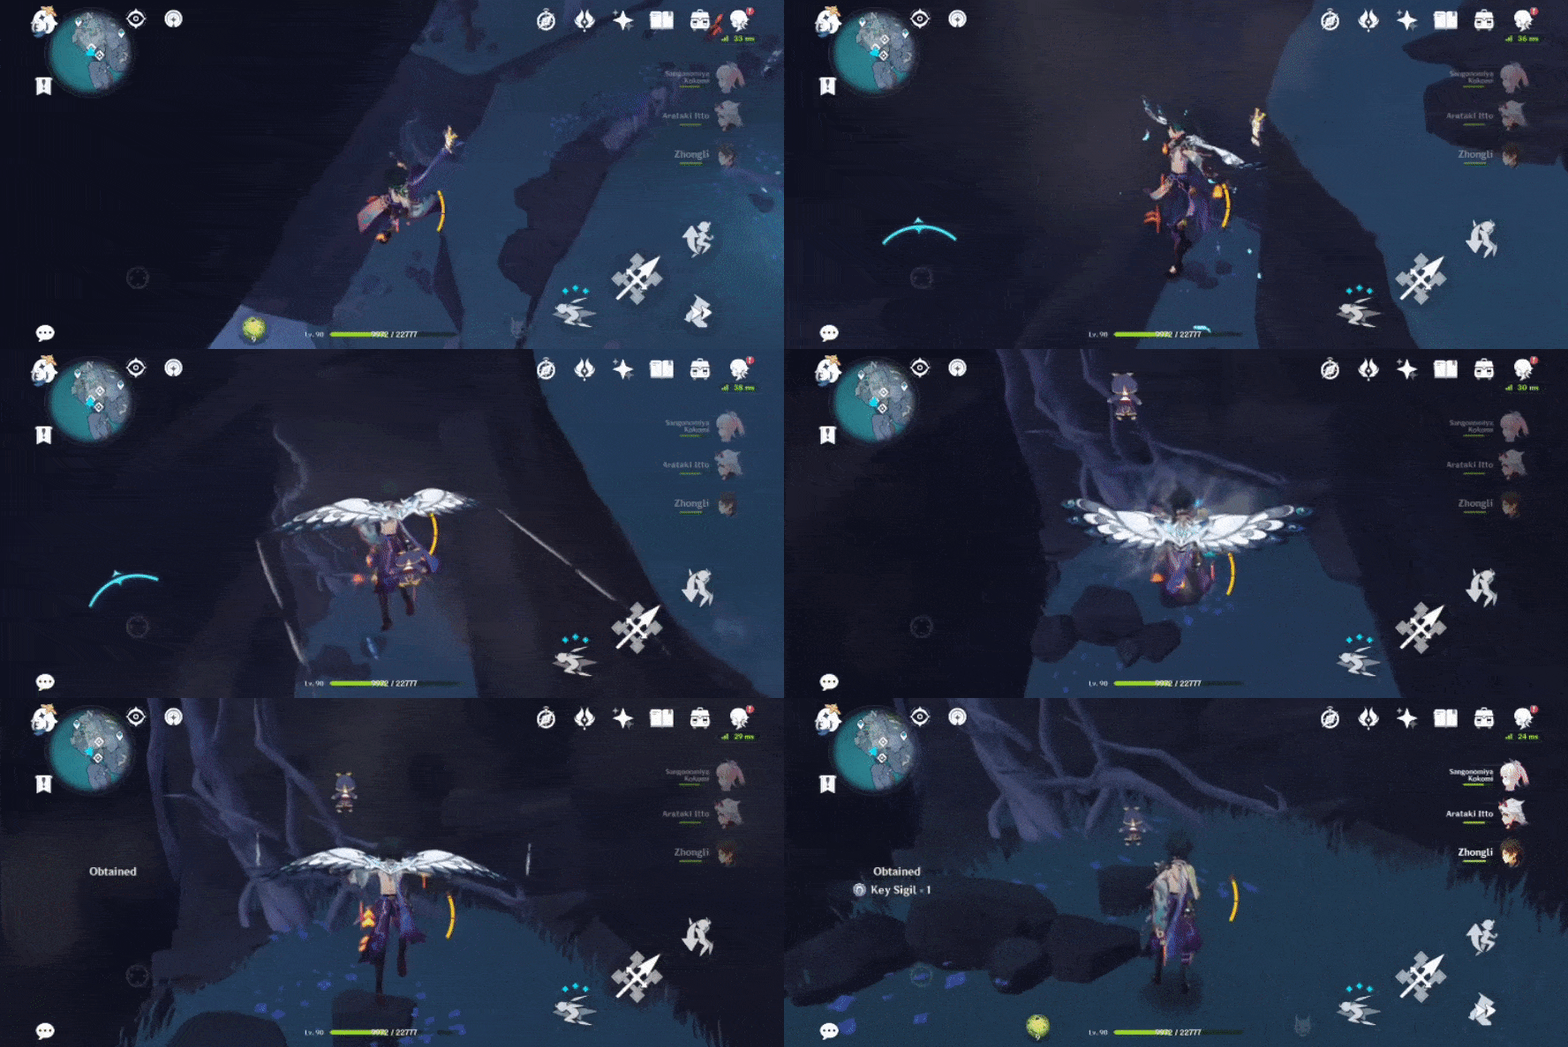
Key Sigil (I) #12- On a lower ledge, floating in midair
Glide down to access.
Location:
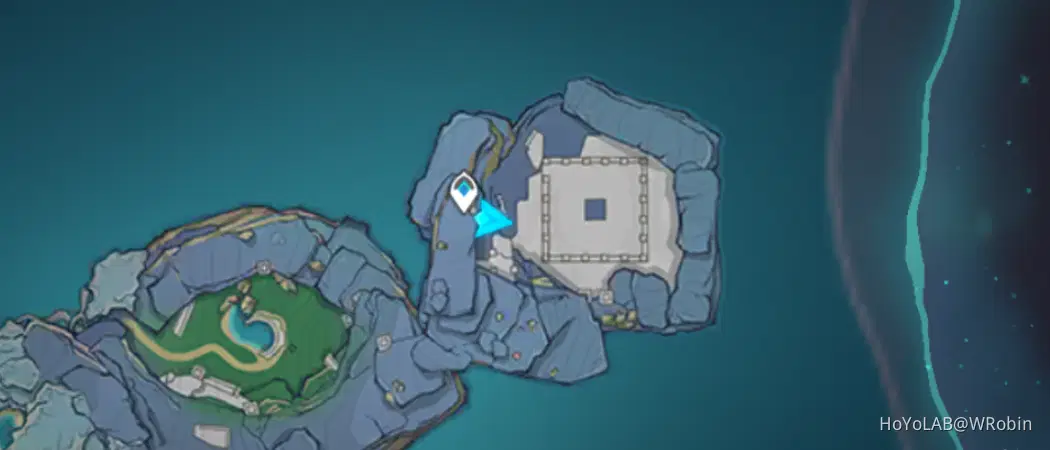
To access #13, you'll need to complete the 2 Labyrinth puzzles to unlock the room (part of the World Quest 'Date's Challenge').
Labyrinth #1
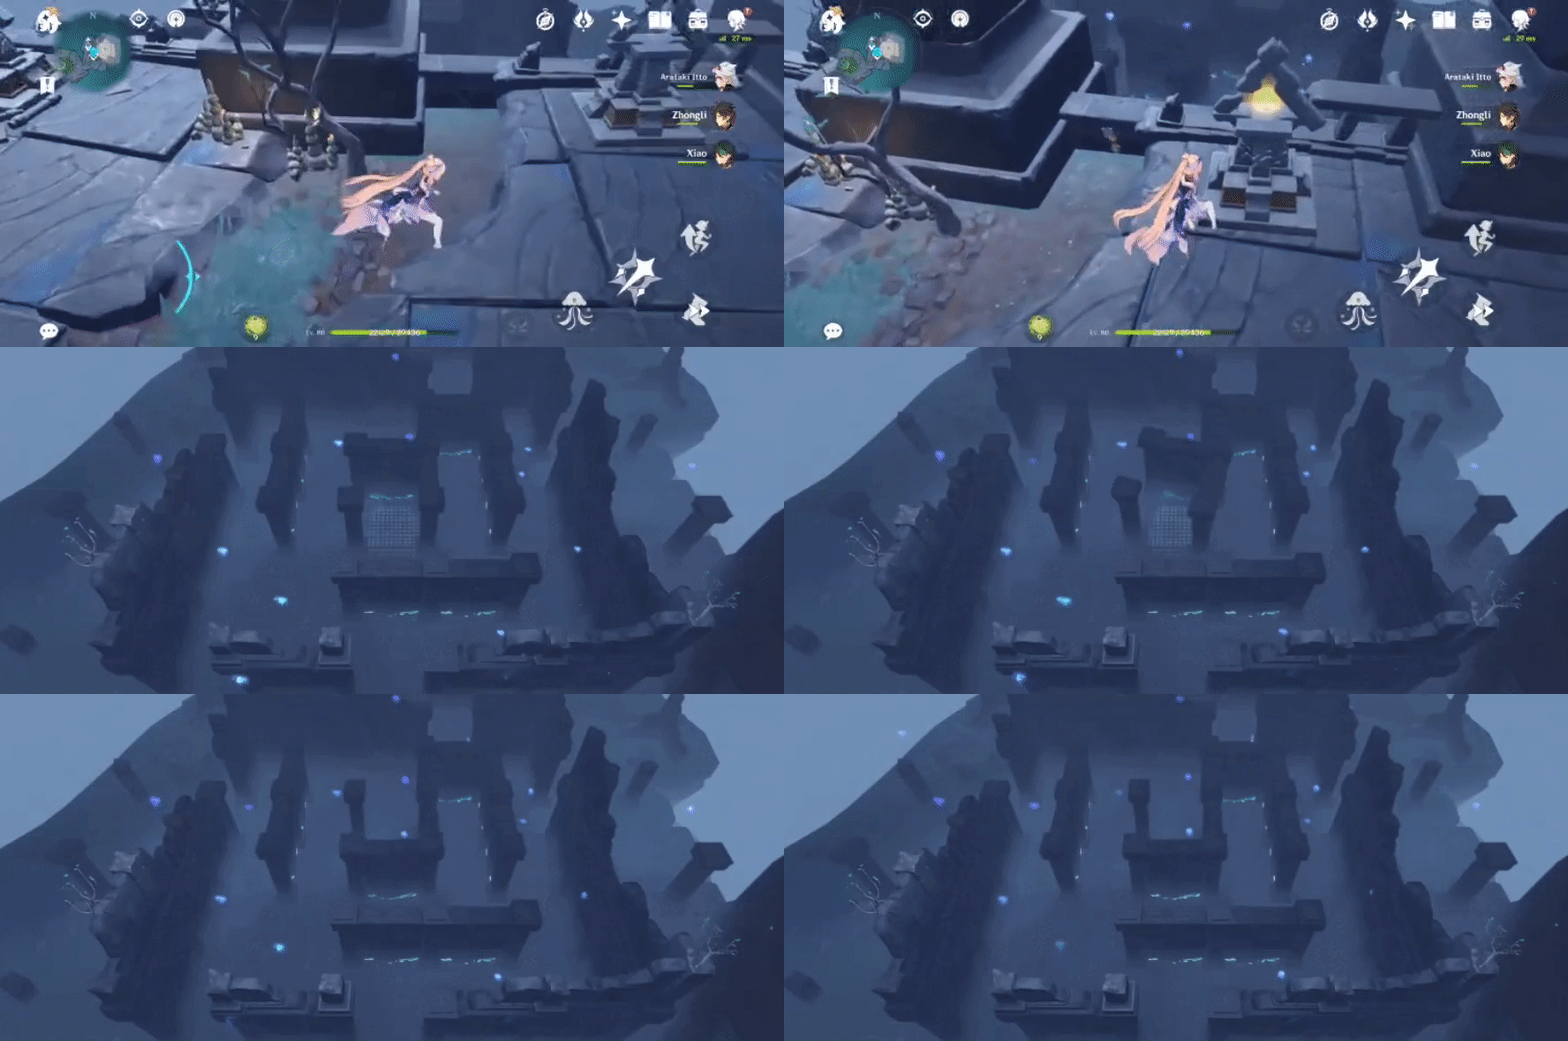
Go to the location below, and the original labyrinth setup will look like this (at Whitenight):
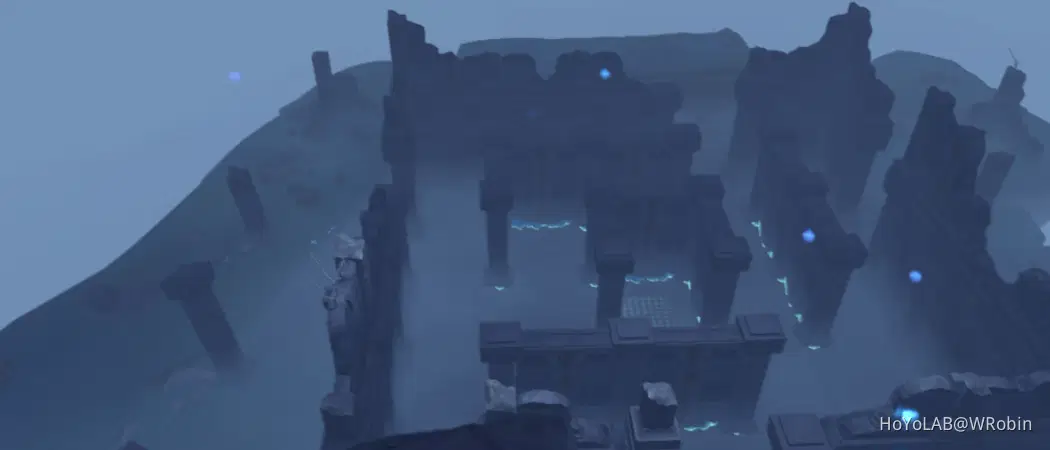
1. Switch to Whitenight in order to interact with the Triangular Mechanisms, and hit each of them once.
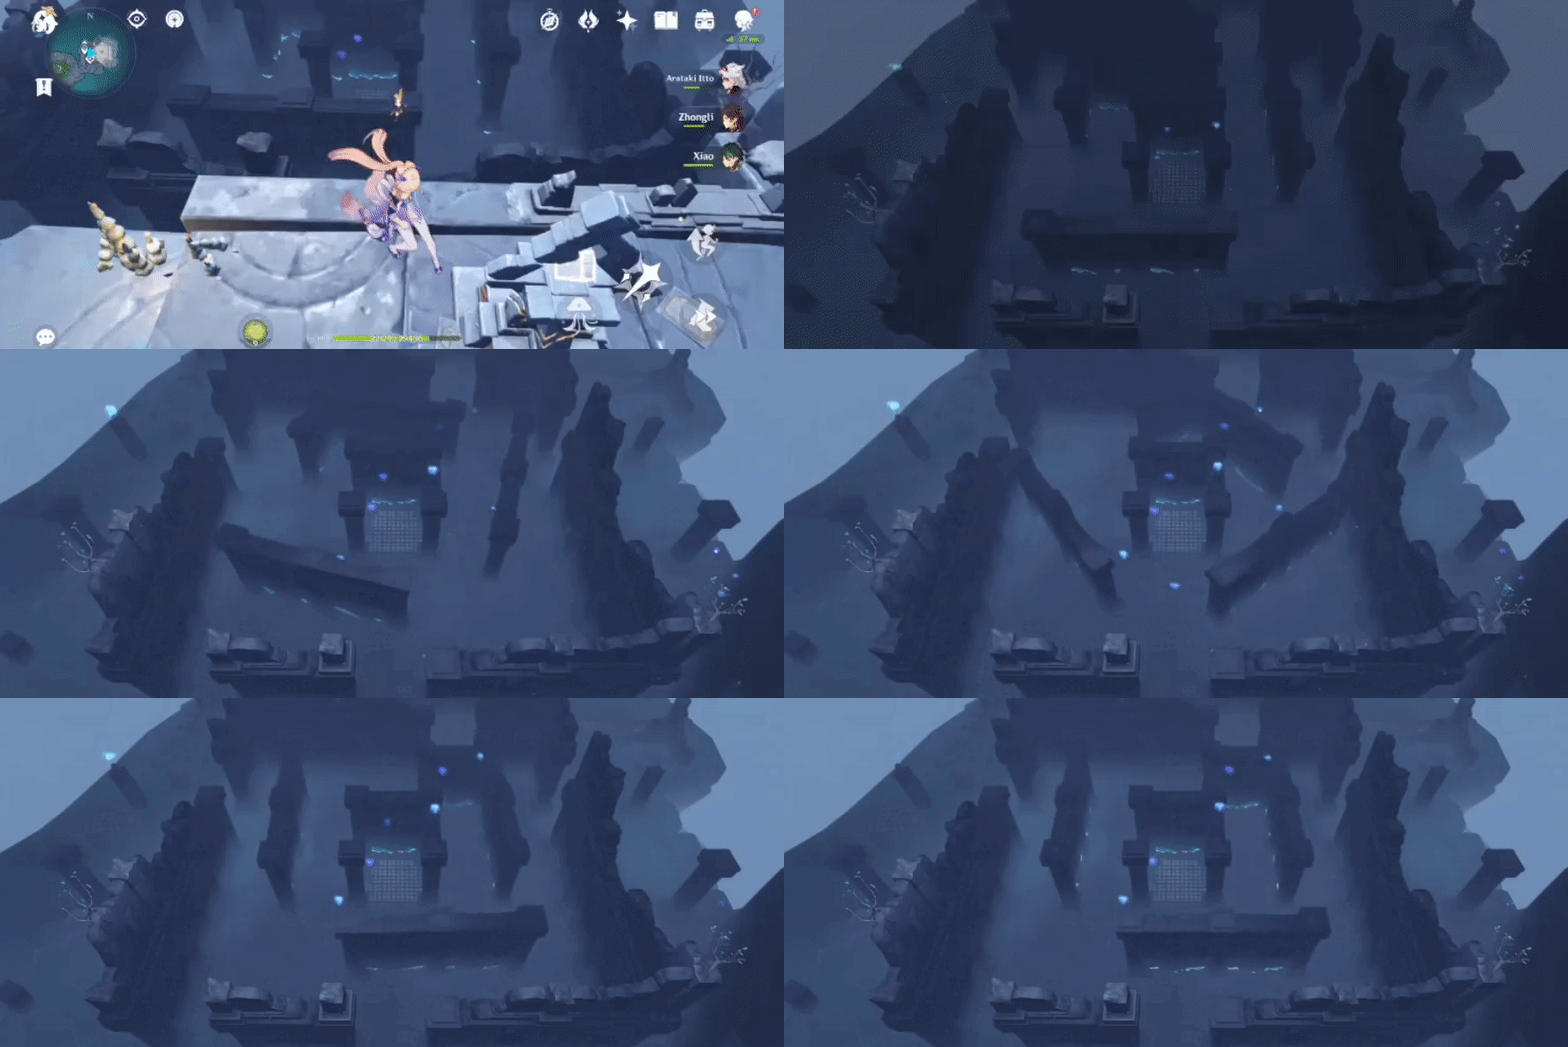
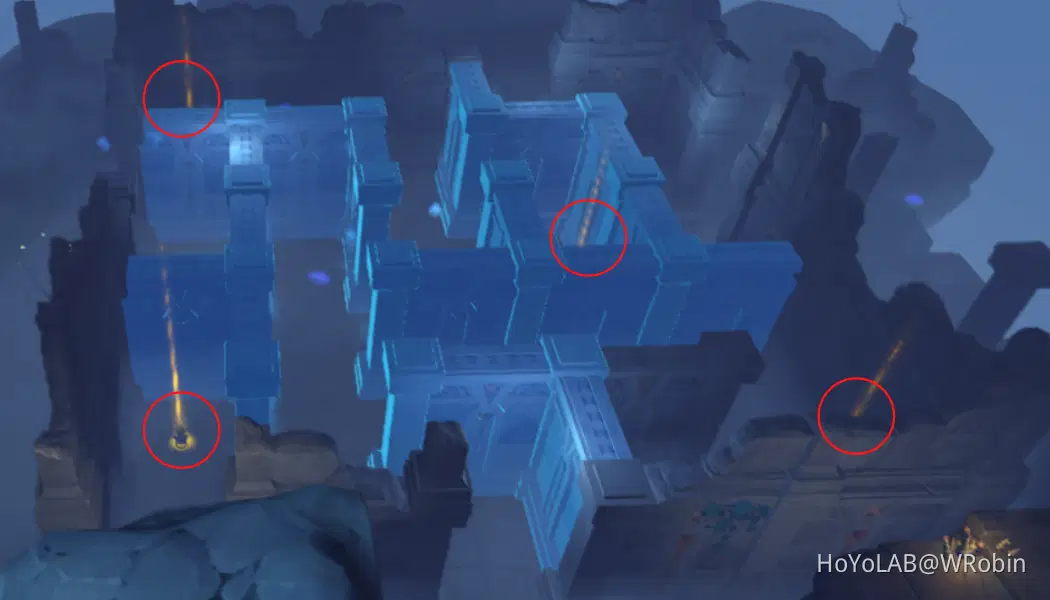
2. Switch to Evernight and a Hydro Character. Glide down and activate 4 Hydro totems with Hydro (unlocking the gate in the centre).
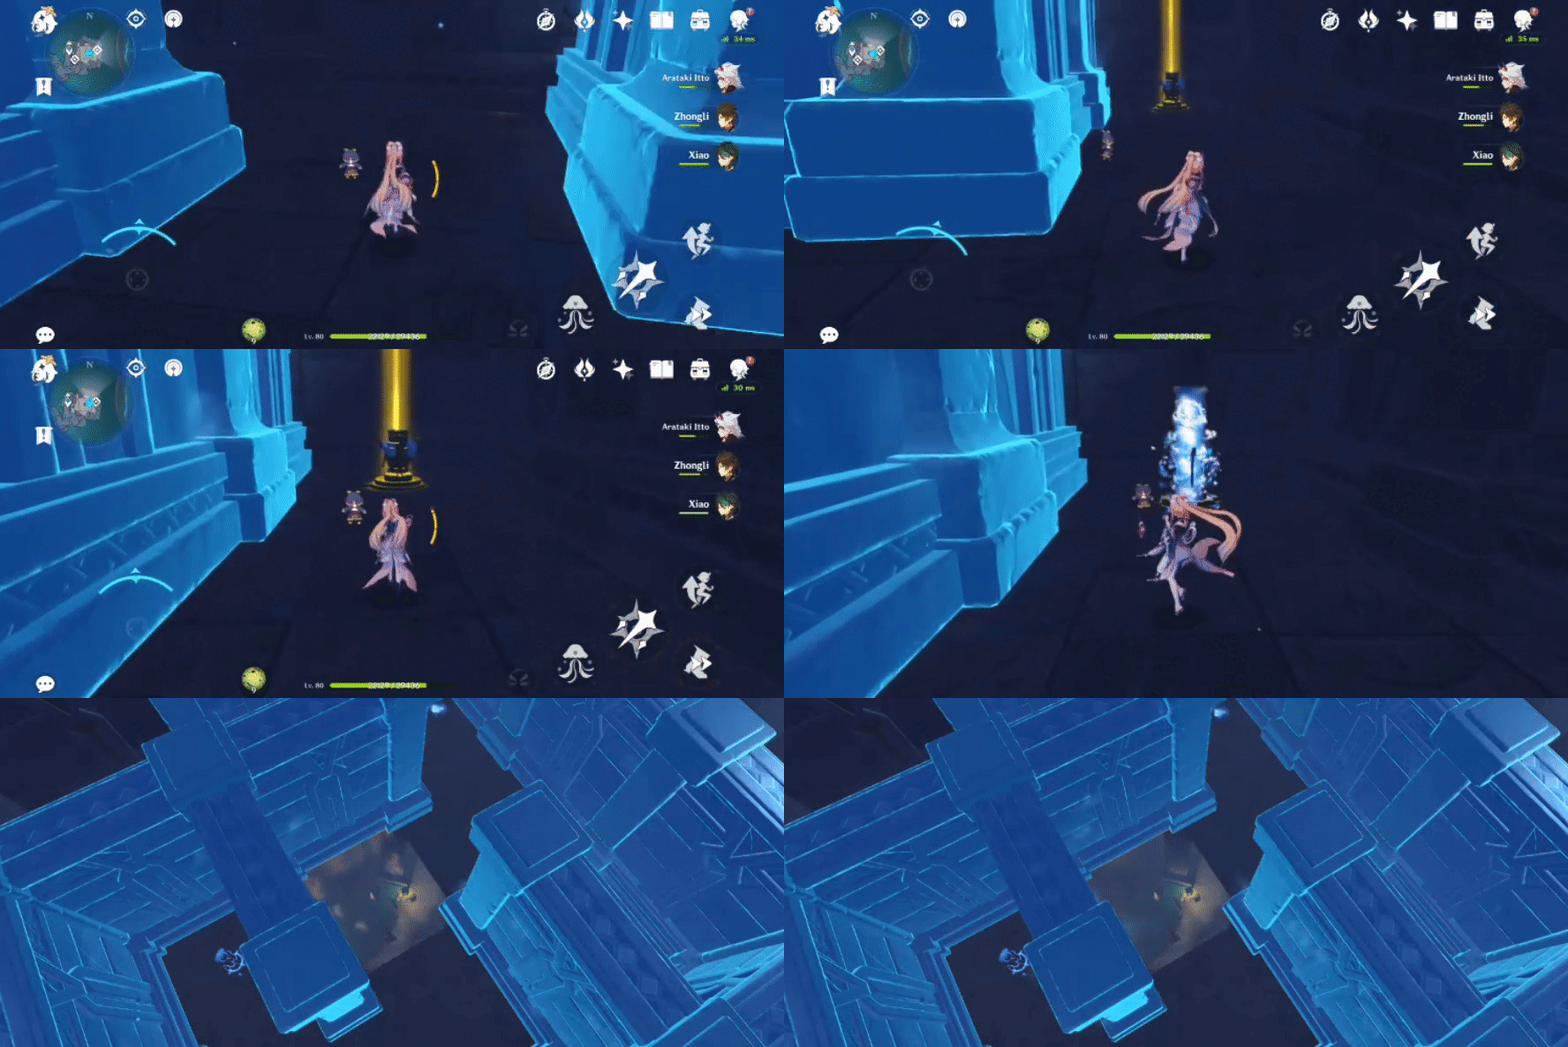
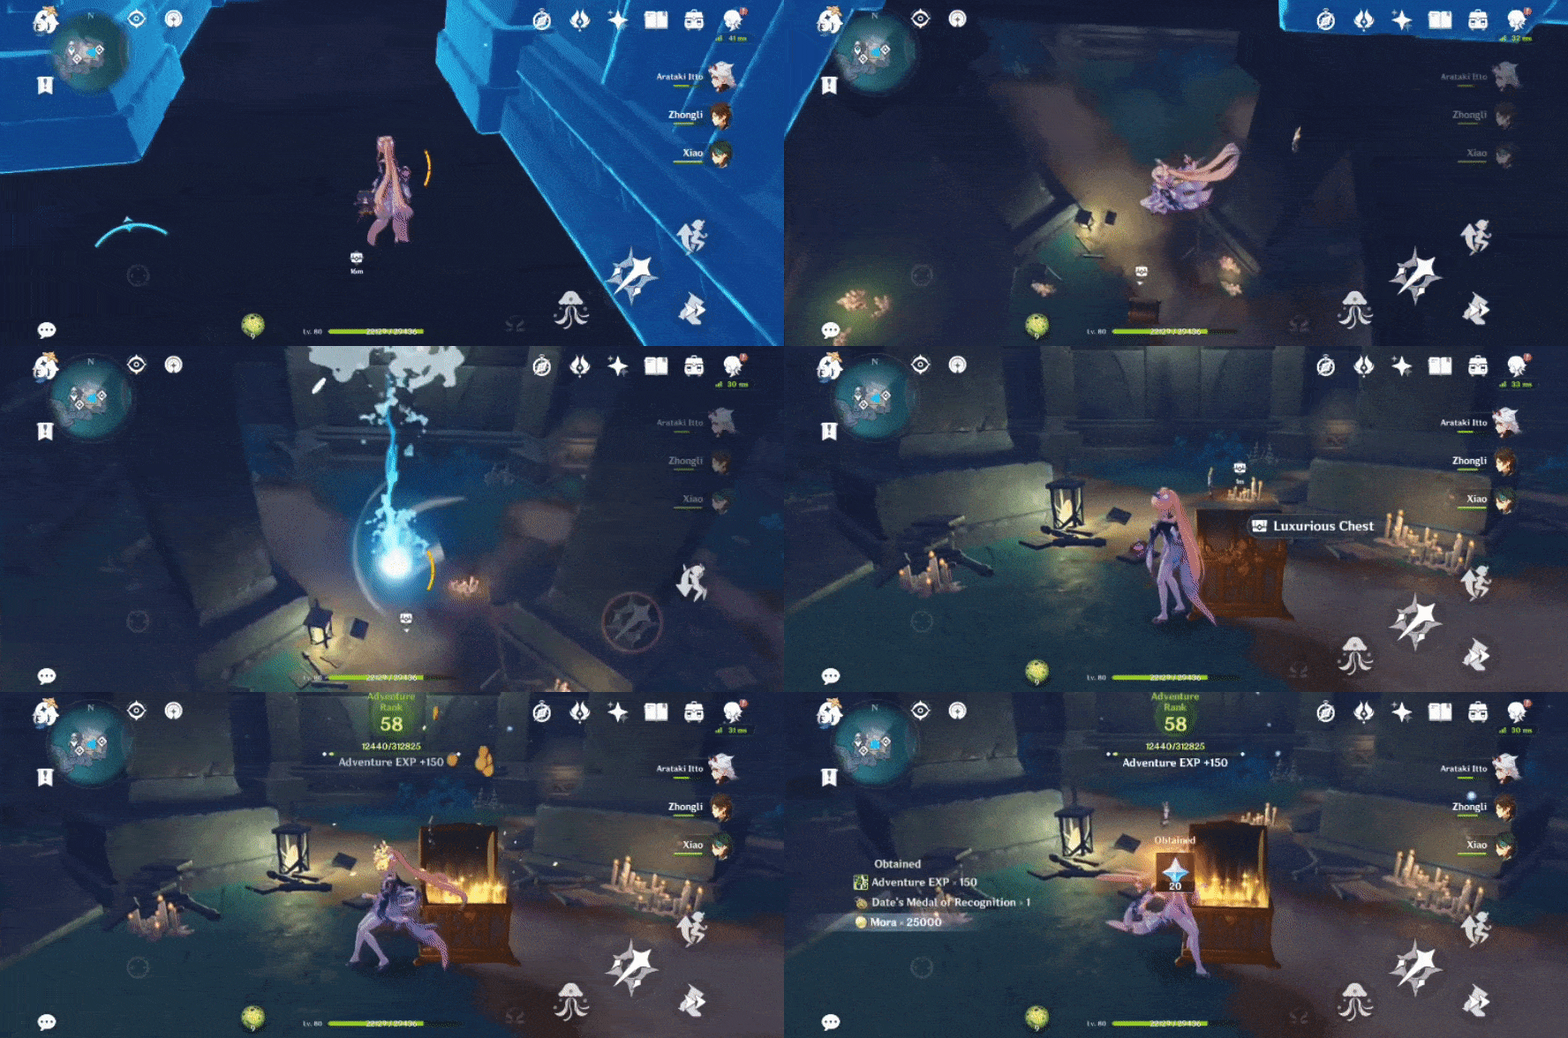
3. Drop down the gate and open the Luxurious Chest to receive 'Date's Medal of Recognition'. Also talk to Date to trigger the World Quest 'Date's Challenge'.
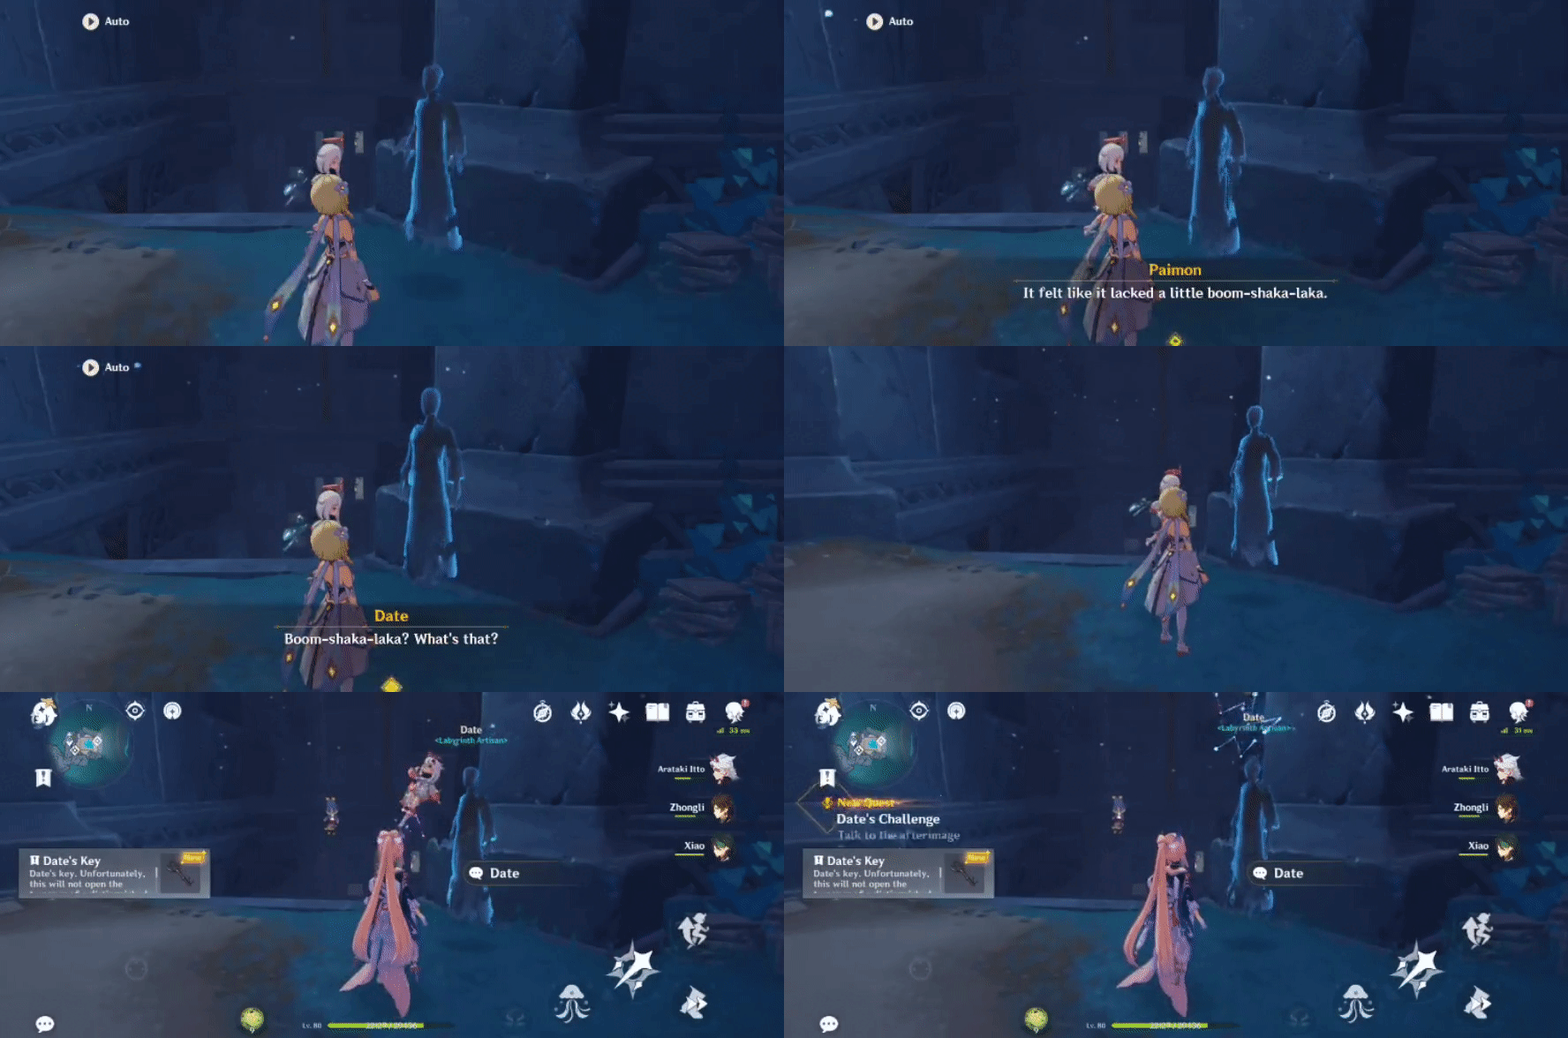
Labyrinth #2
Go to the location below, and the original labyrinth setup will look like this (at Whitenight):
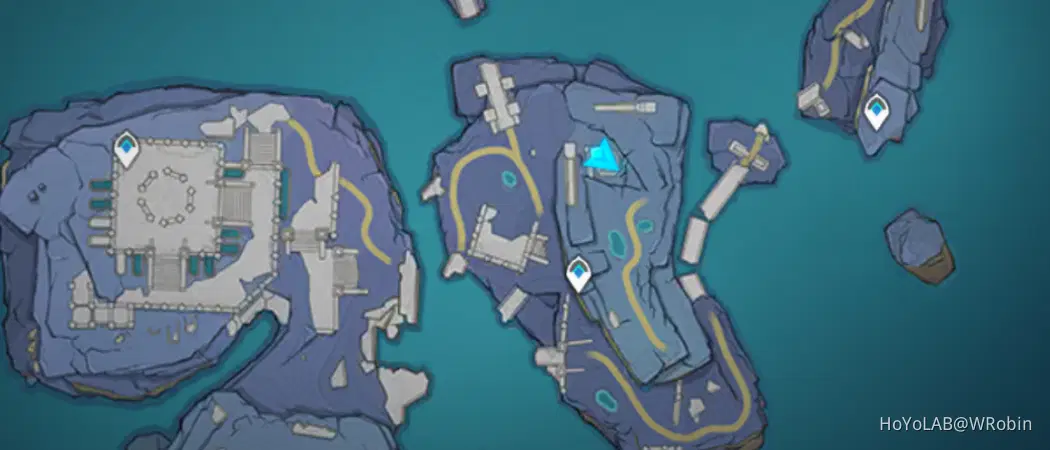
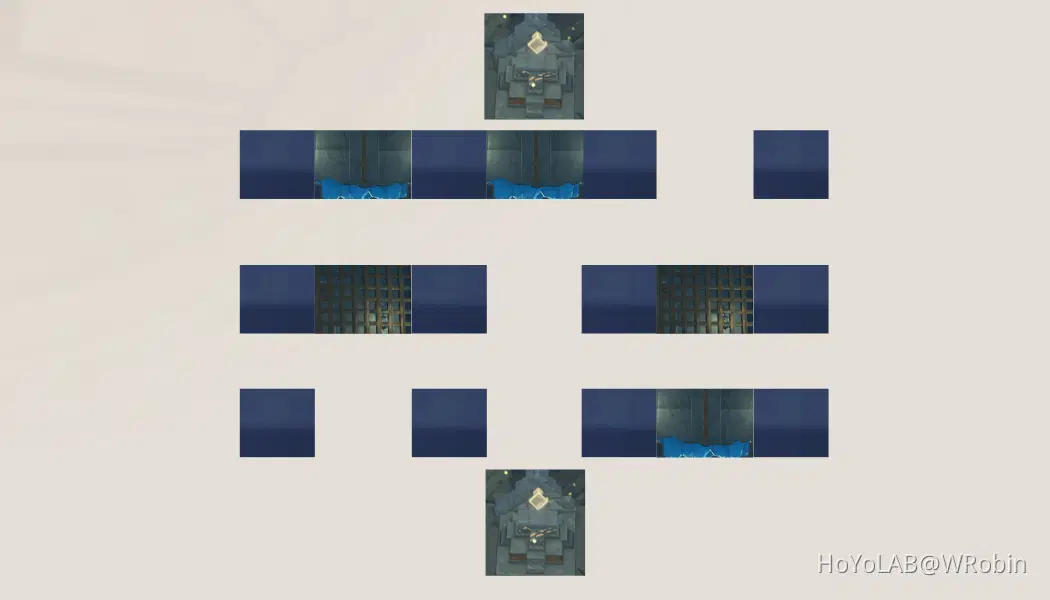
1. Switch to Whitenight in order to interact with the Triangular Mechanisms.
2. Raise the right gate (lever on the pillar right to it) and hit the upper Triangular Mechanism x2. Close the right gate again.
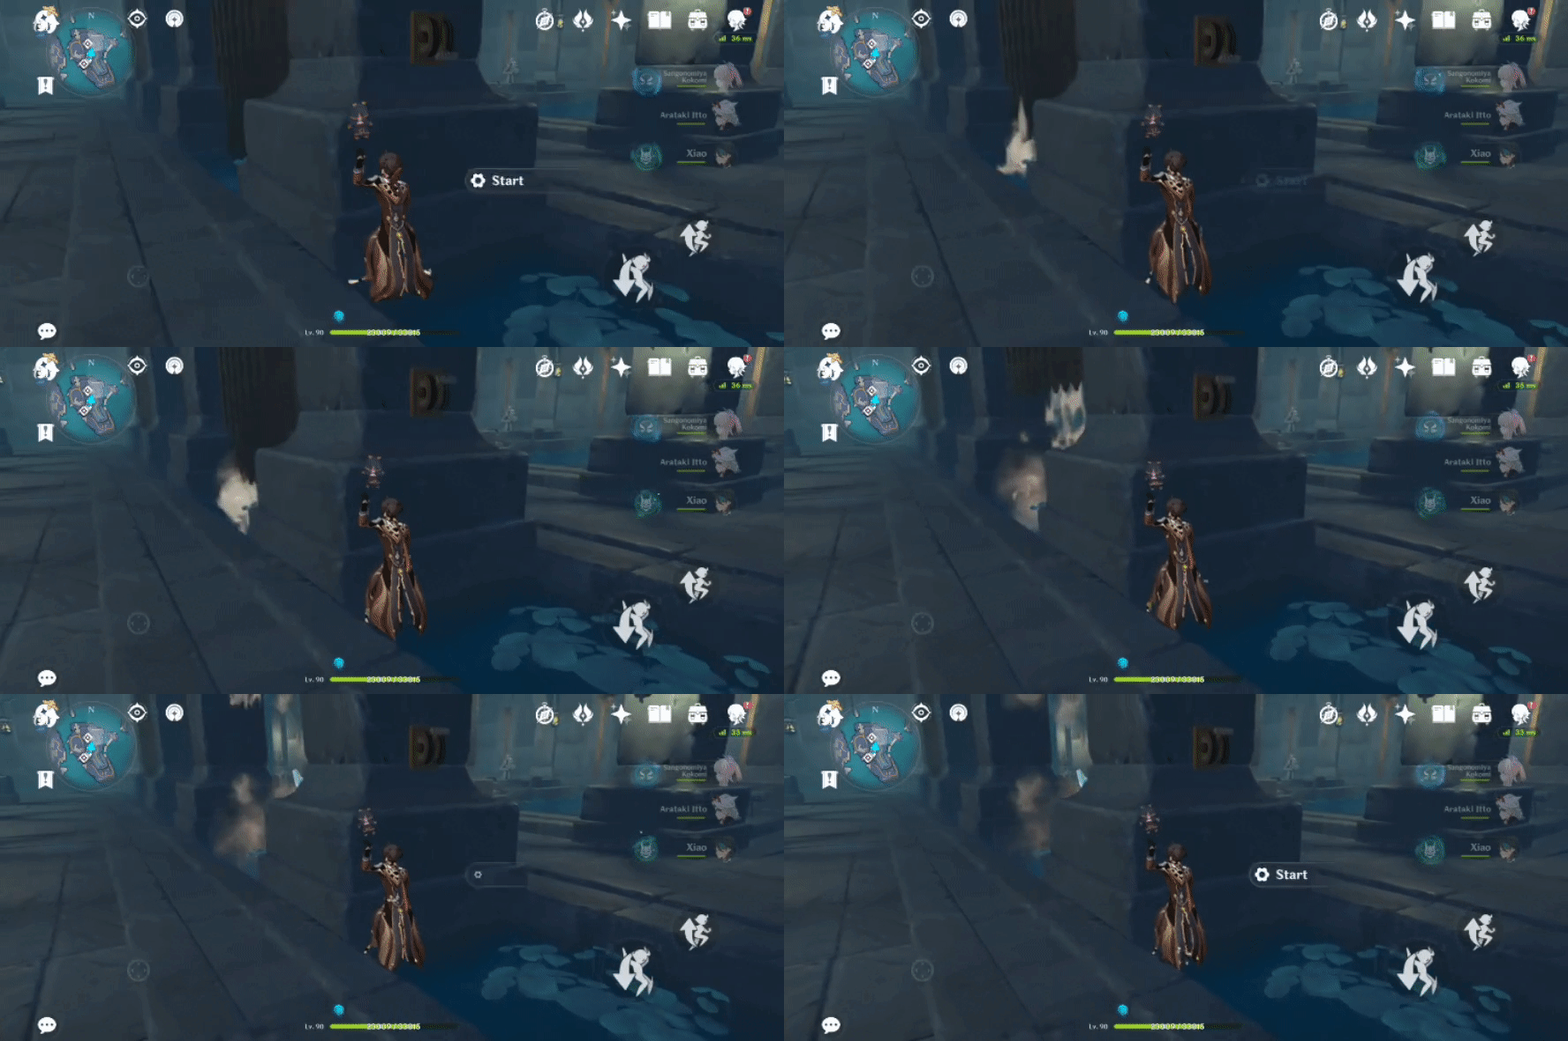
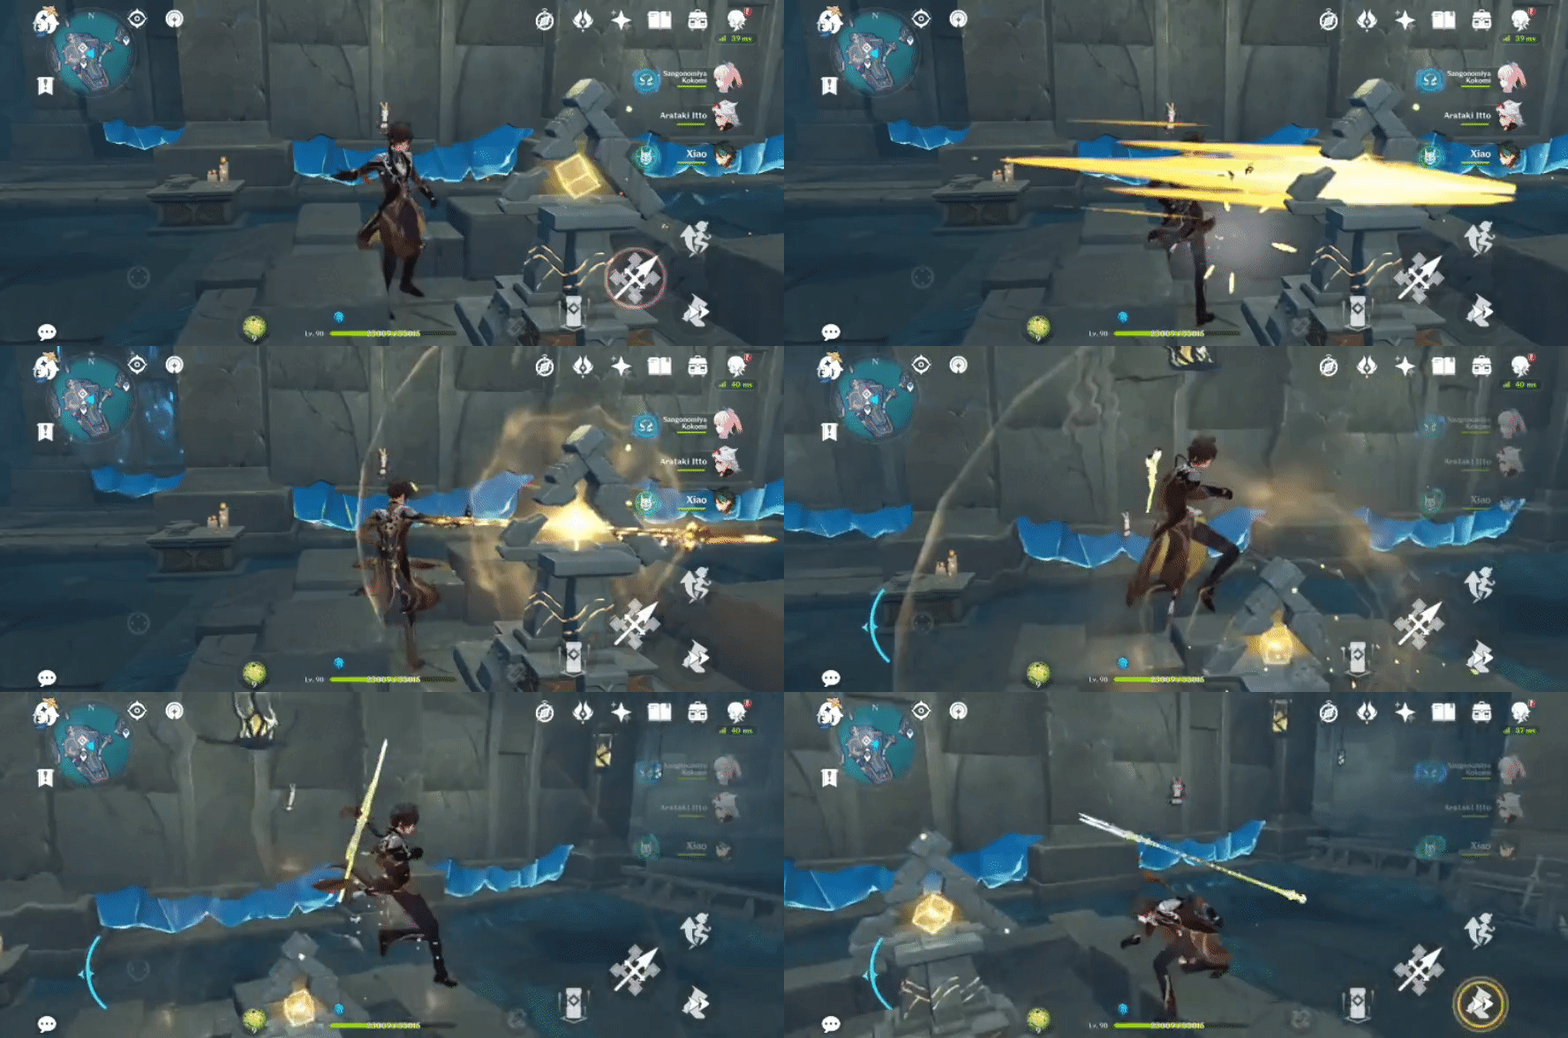
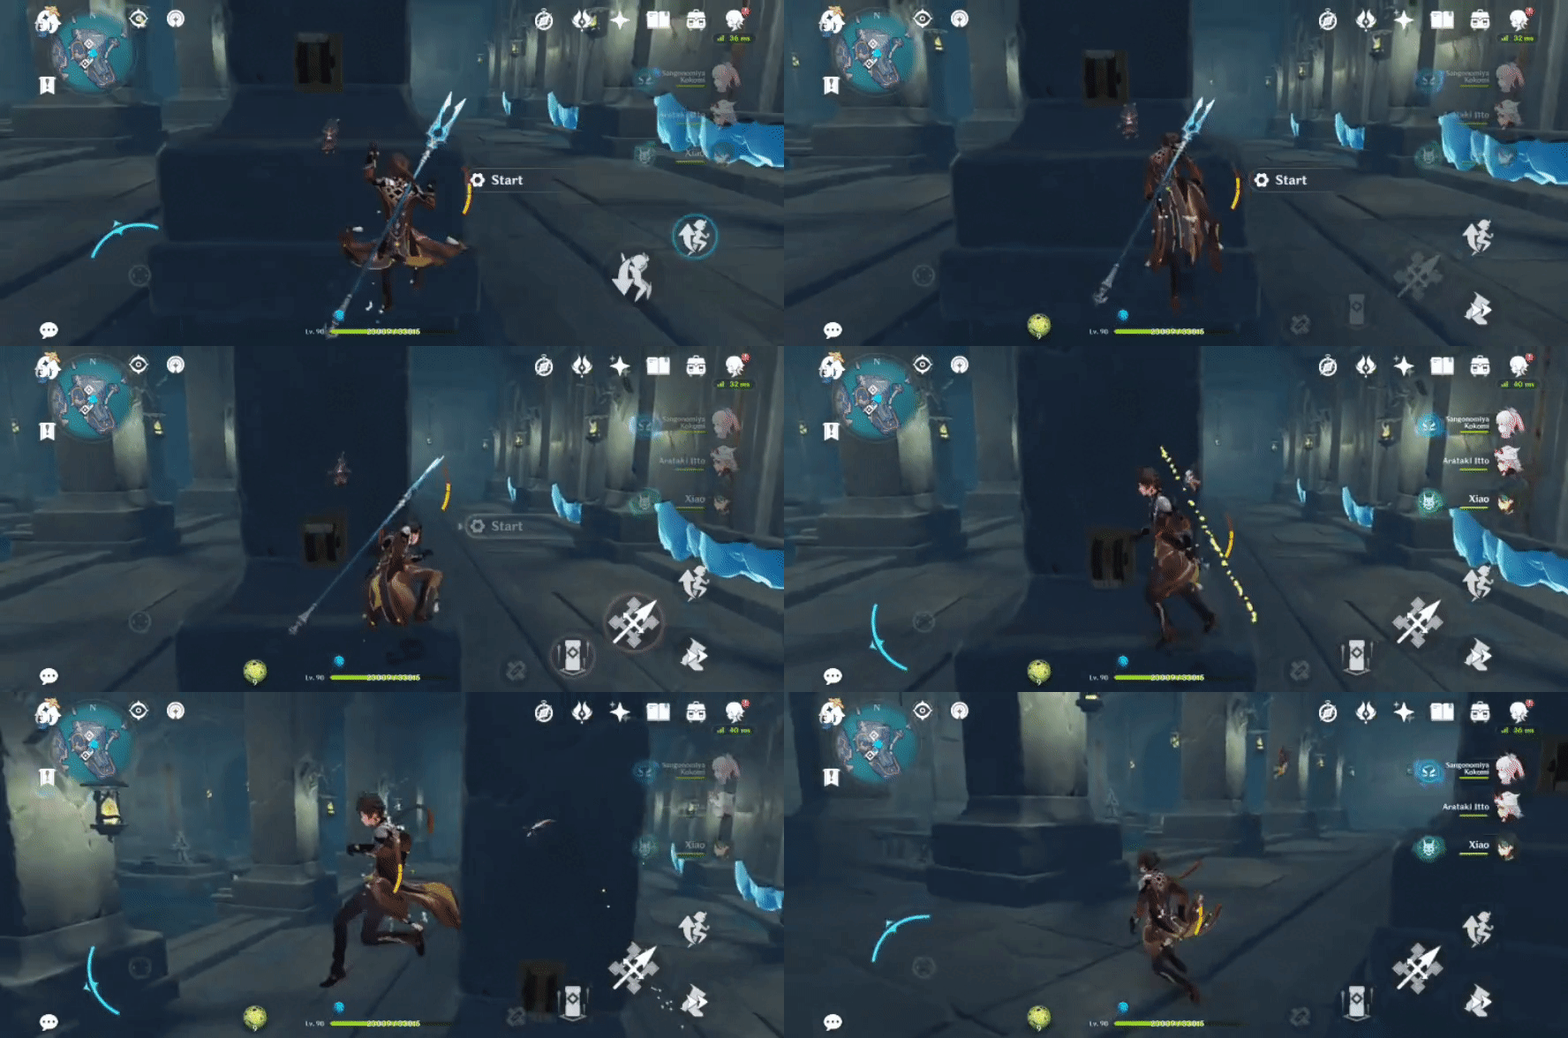
3. Raise the left gate (lever on the pillar left to it) and hit the lower Triangular Mechanism x2. Close the left gate again.
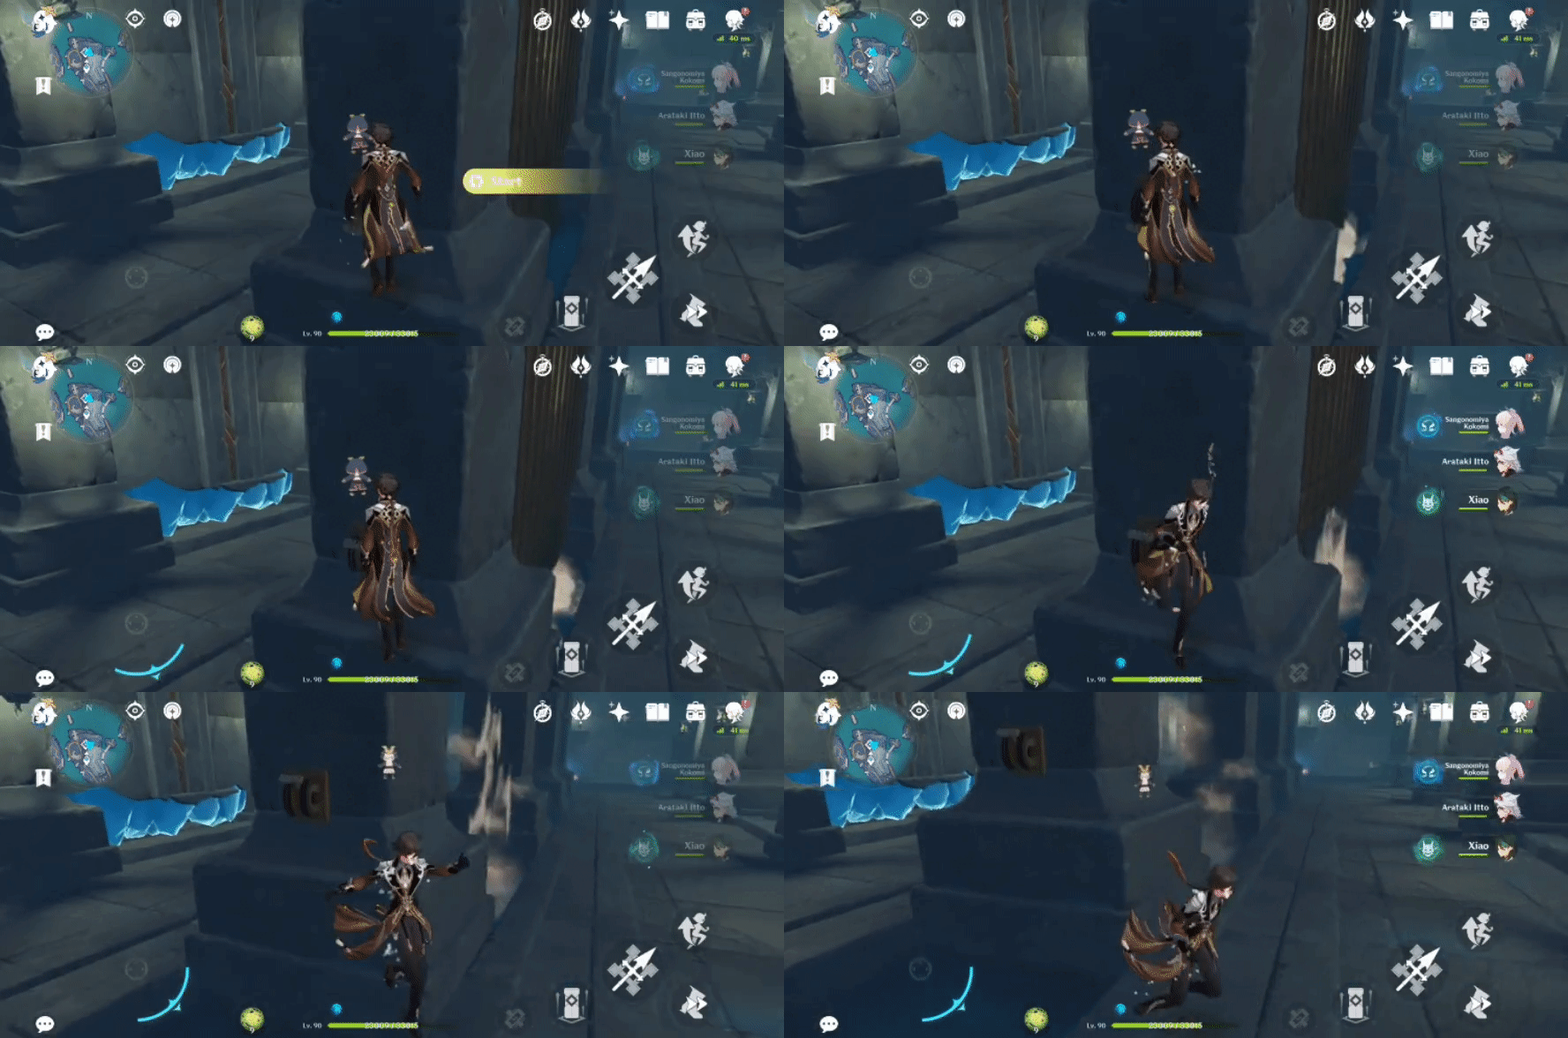
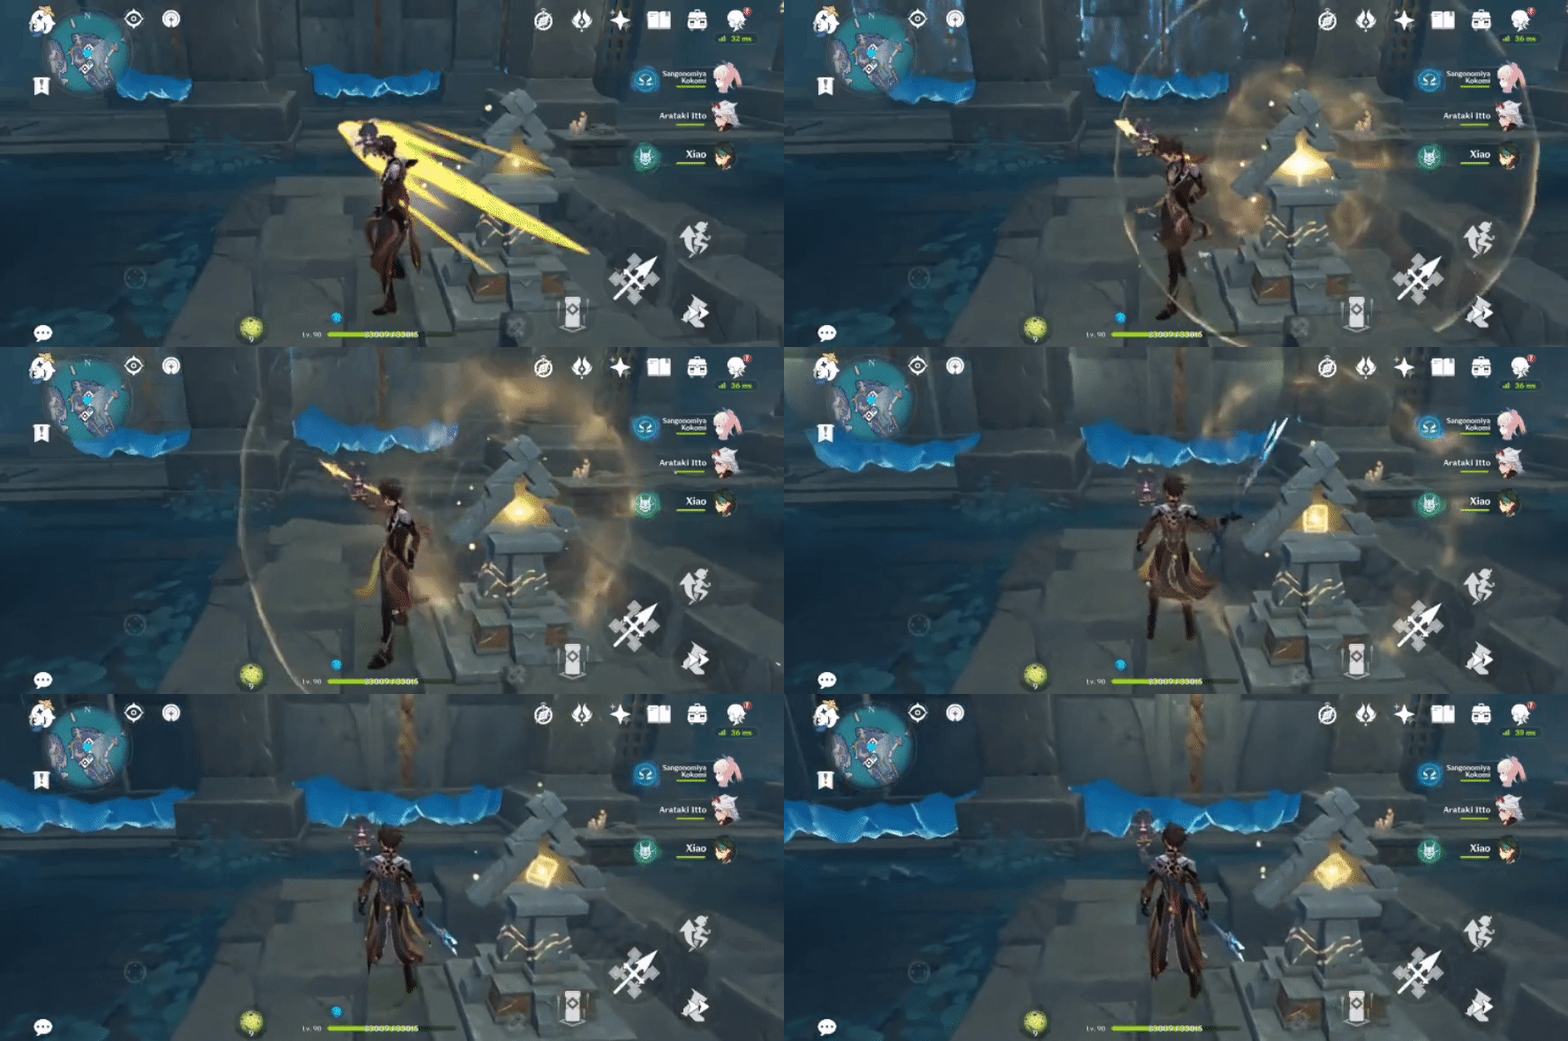
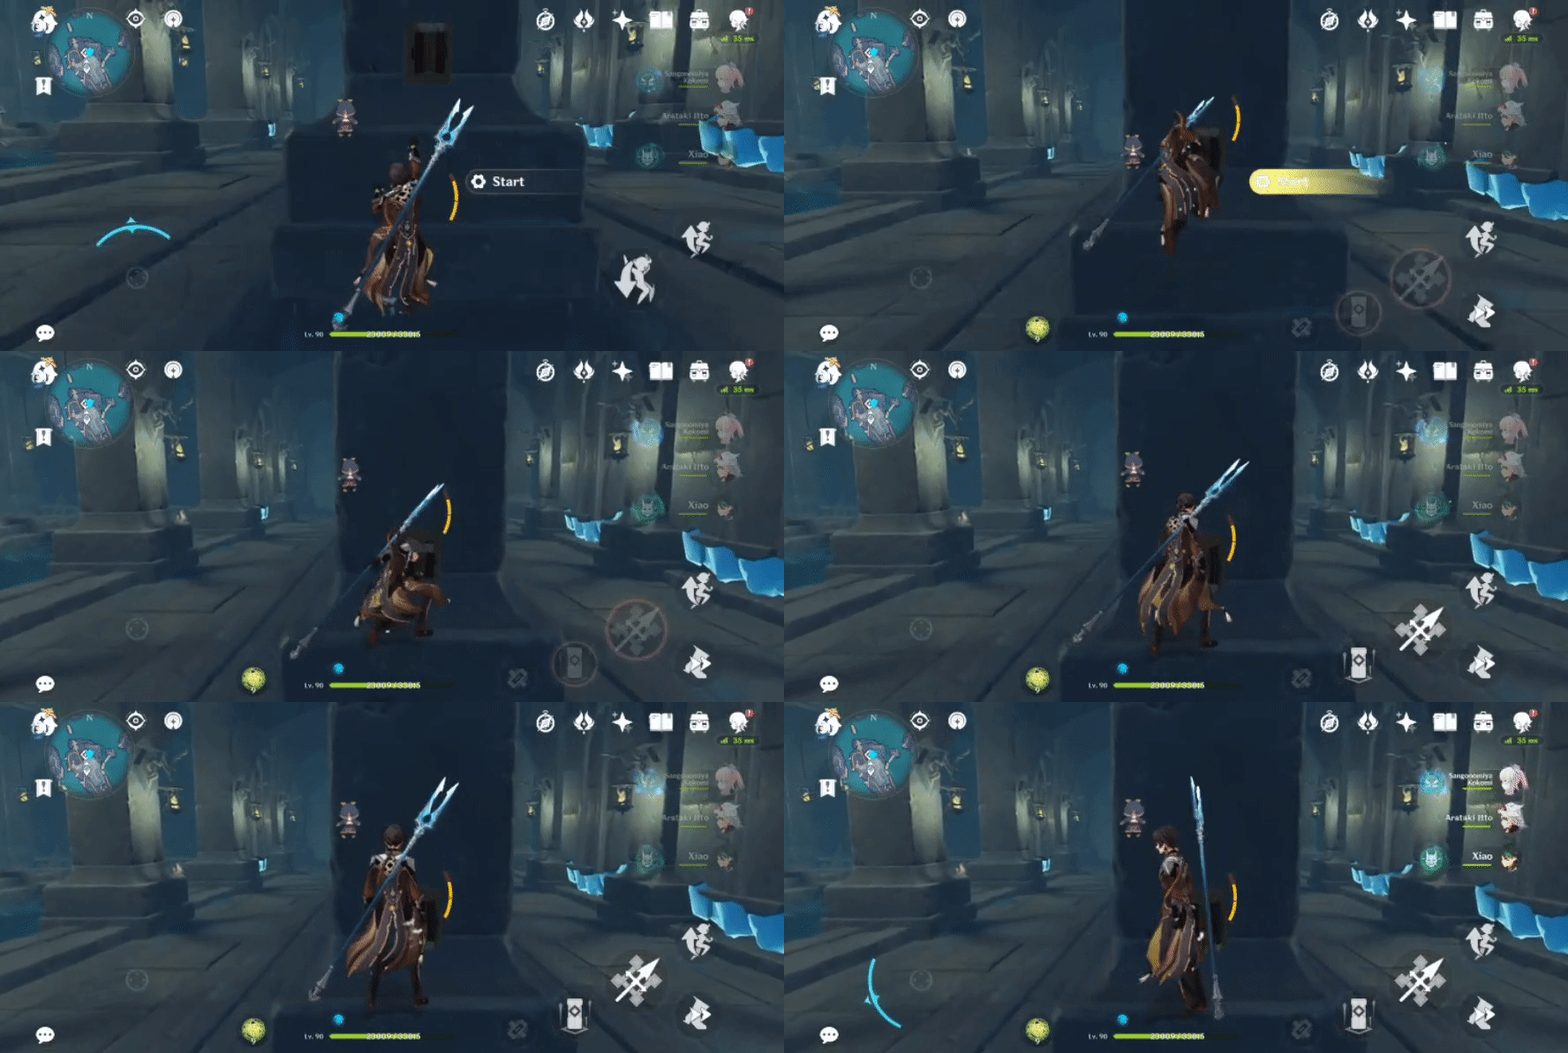
4. Hit the upper Triangular Mechanism x1 and switch to Evernight.
5. Open the Luxurious Chest to receive 'Date's Medal of Recognition'.
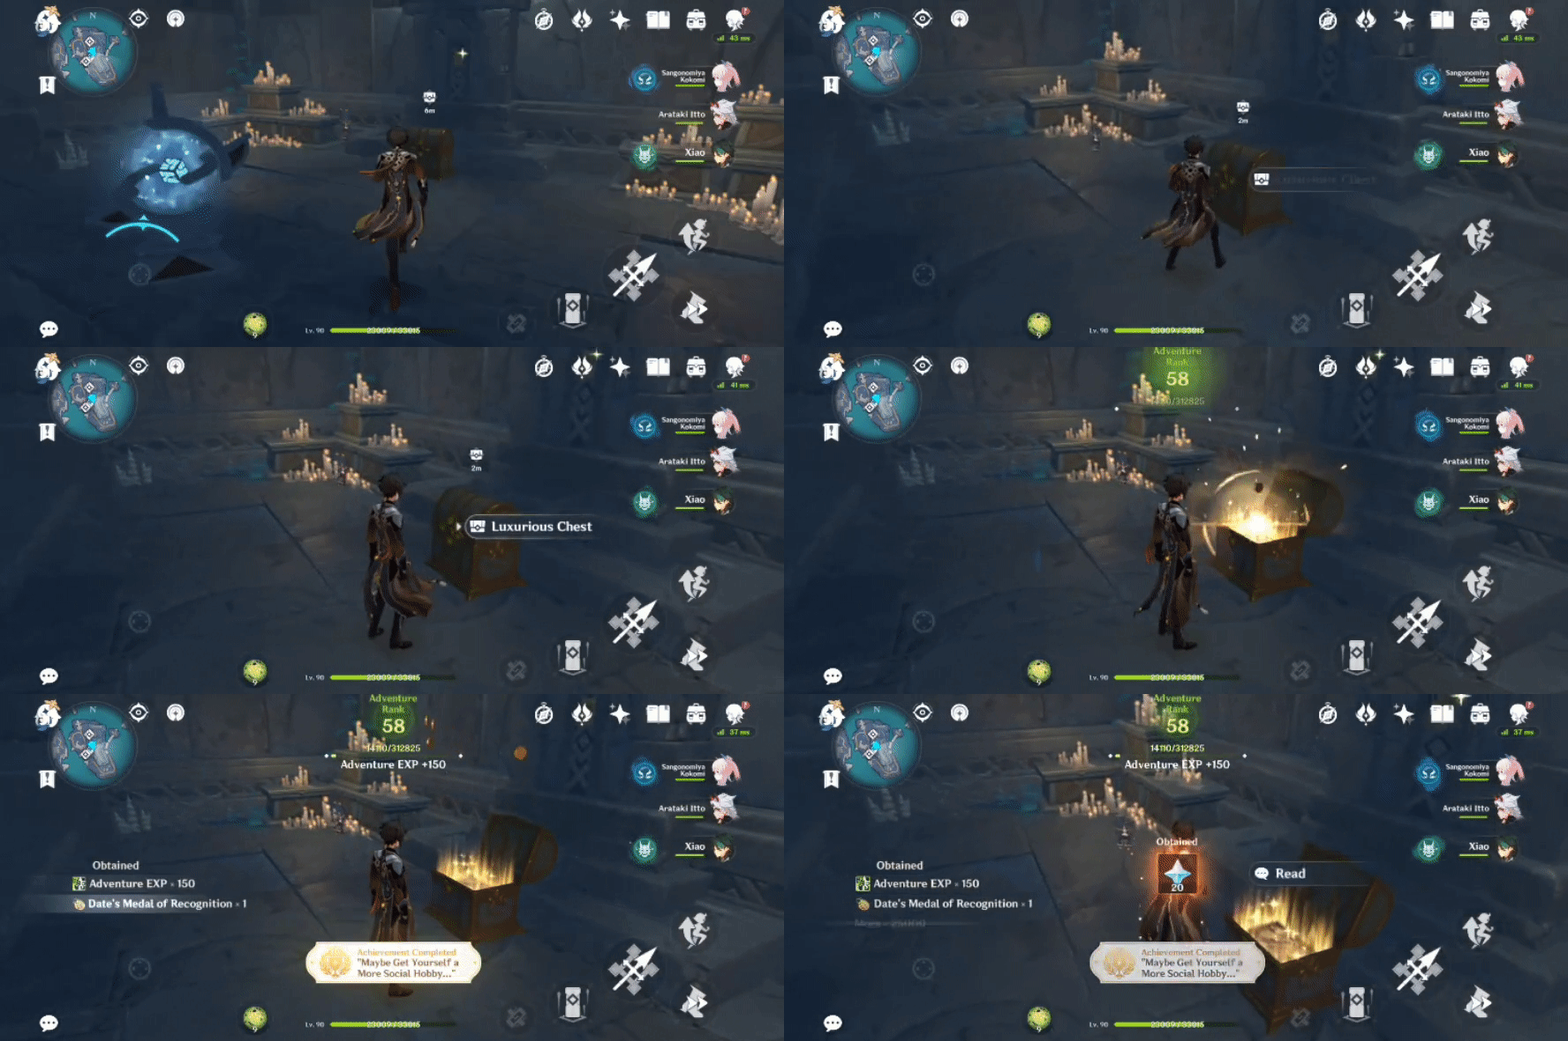
6. Complete the World Quest 'Date's Challenge'.
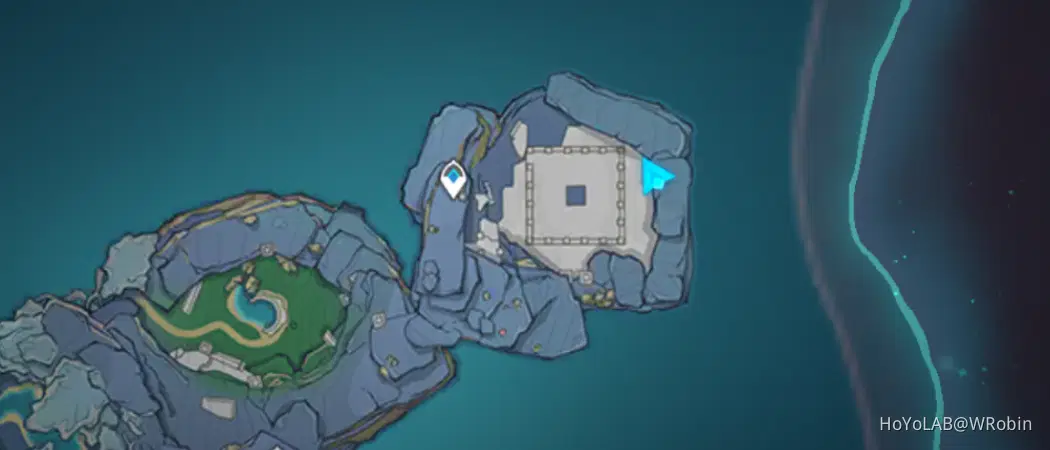
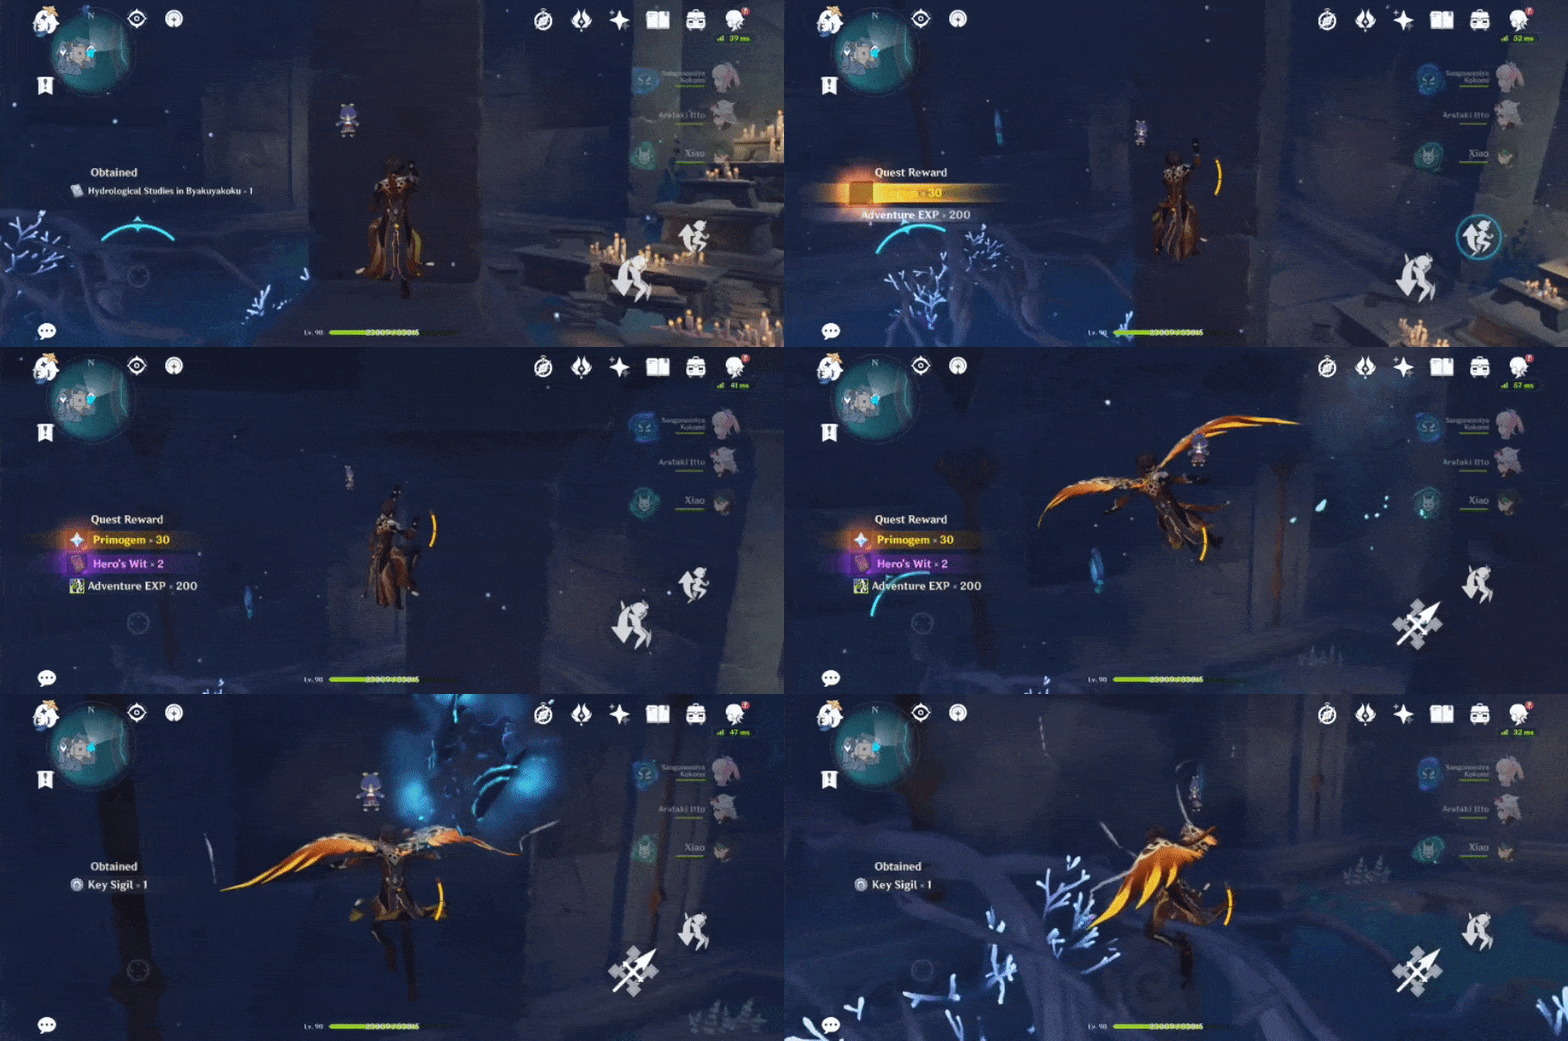
Key Sigil (I) #13- Underground
Complete the World Quest 'Date's Challenge' and unlock the Treasury Room with both Medals of Recognition to access.
Location:
Key Sigil (I) #14- Near the top of the waterfall
Glide down from the ledge above the waterfall to access.
Location:
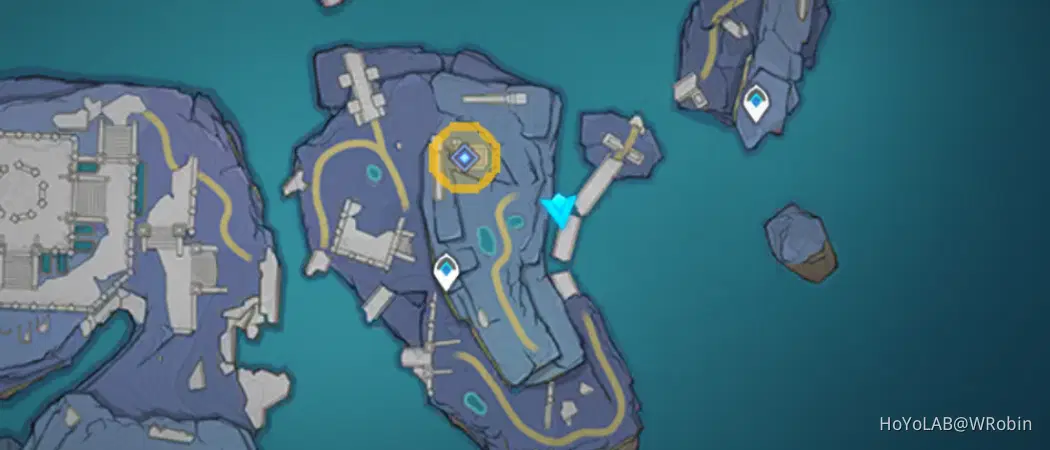
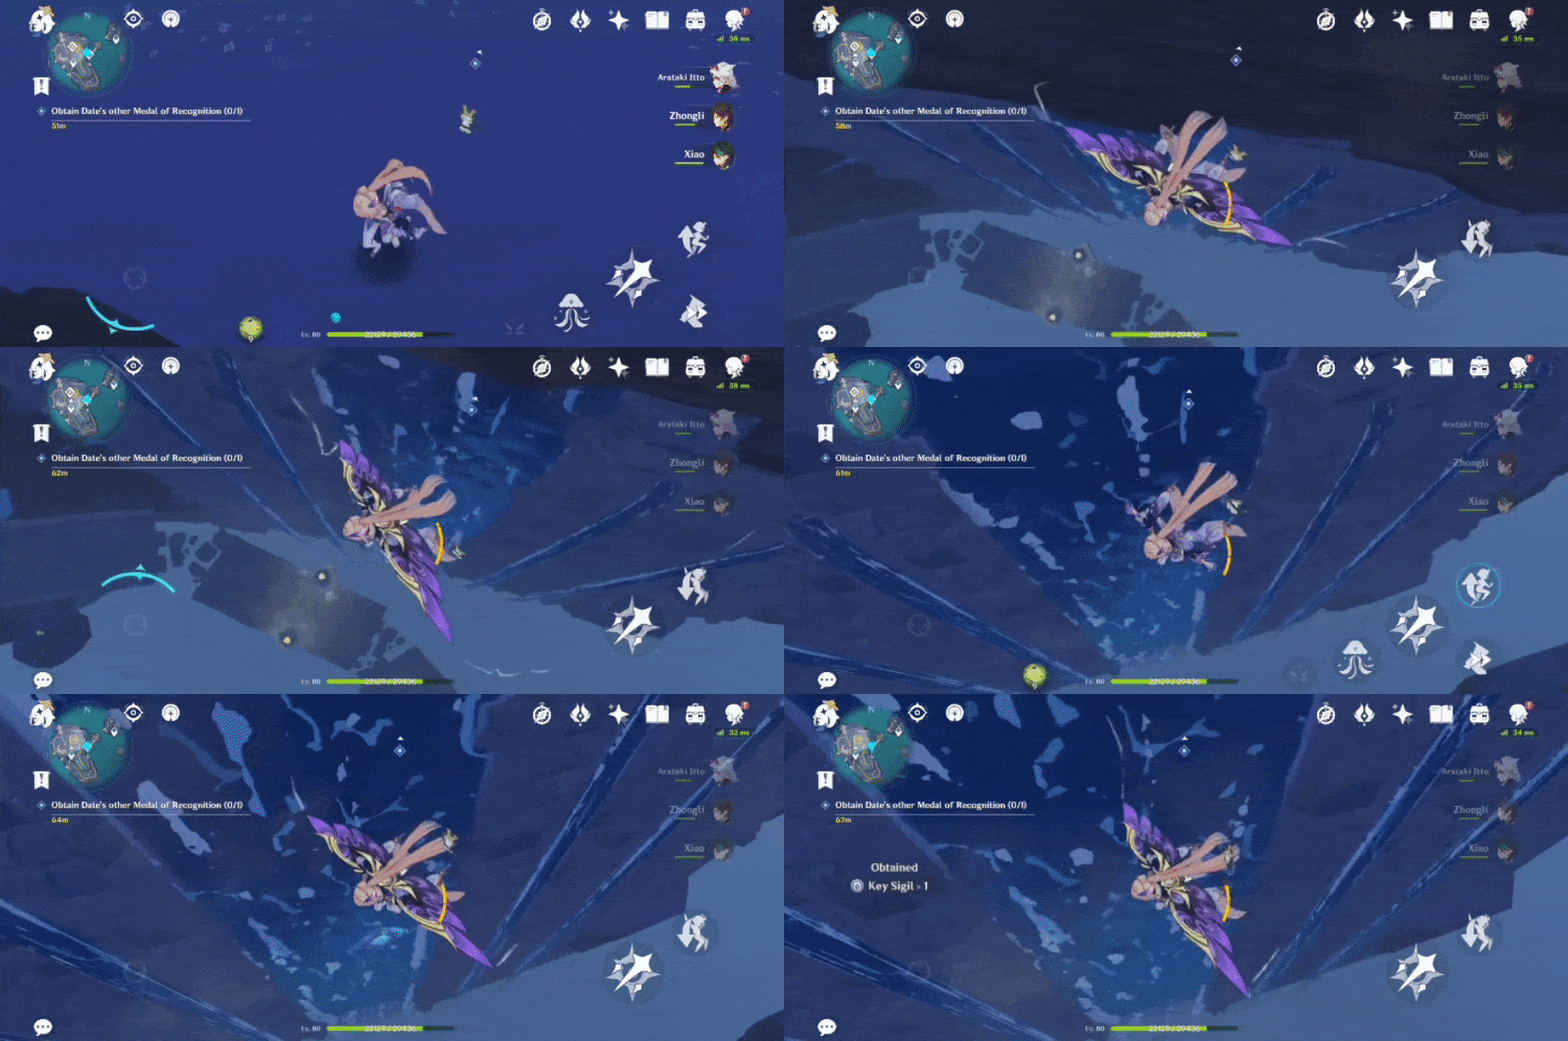
Key Sigil (I) #15- Floating above the cave
Glide down to access.
Location:
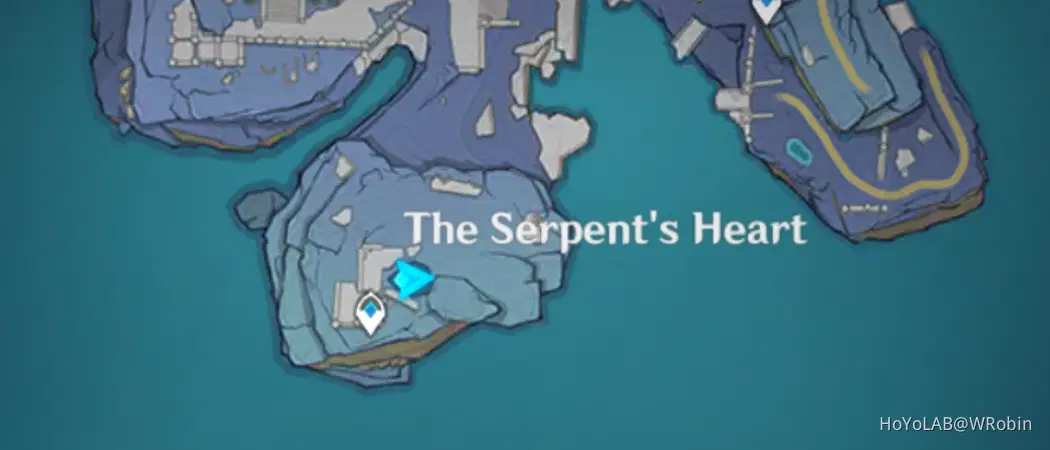
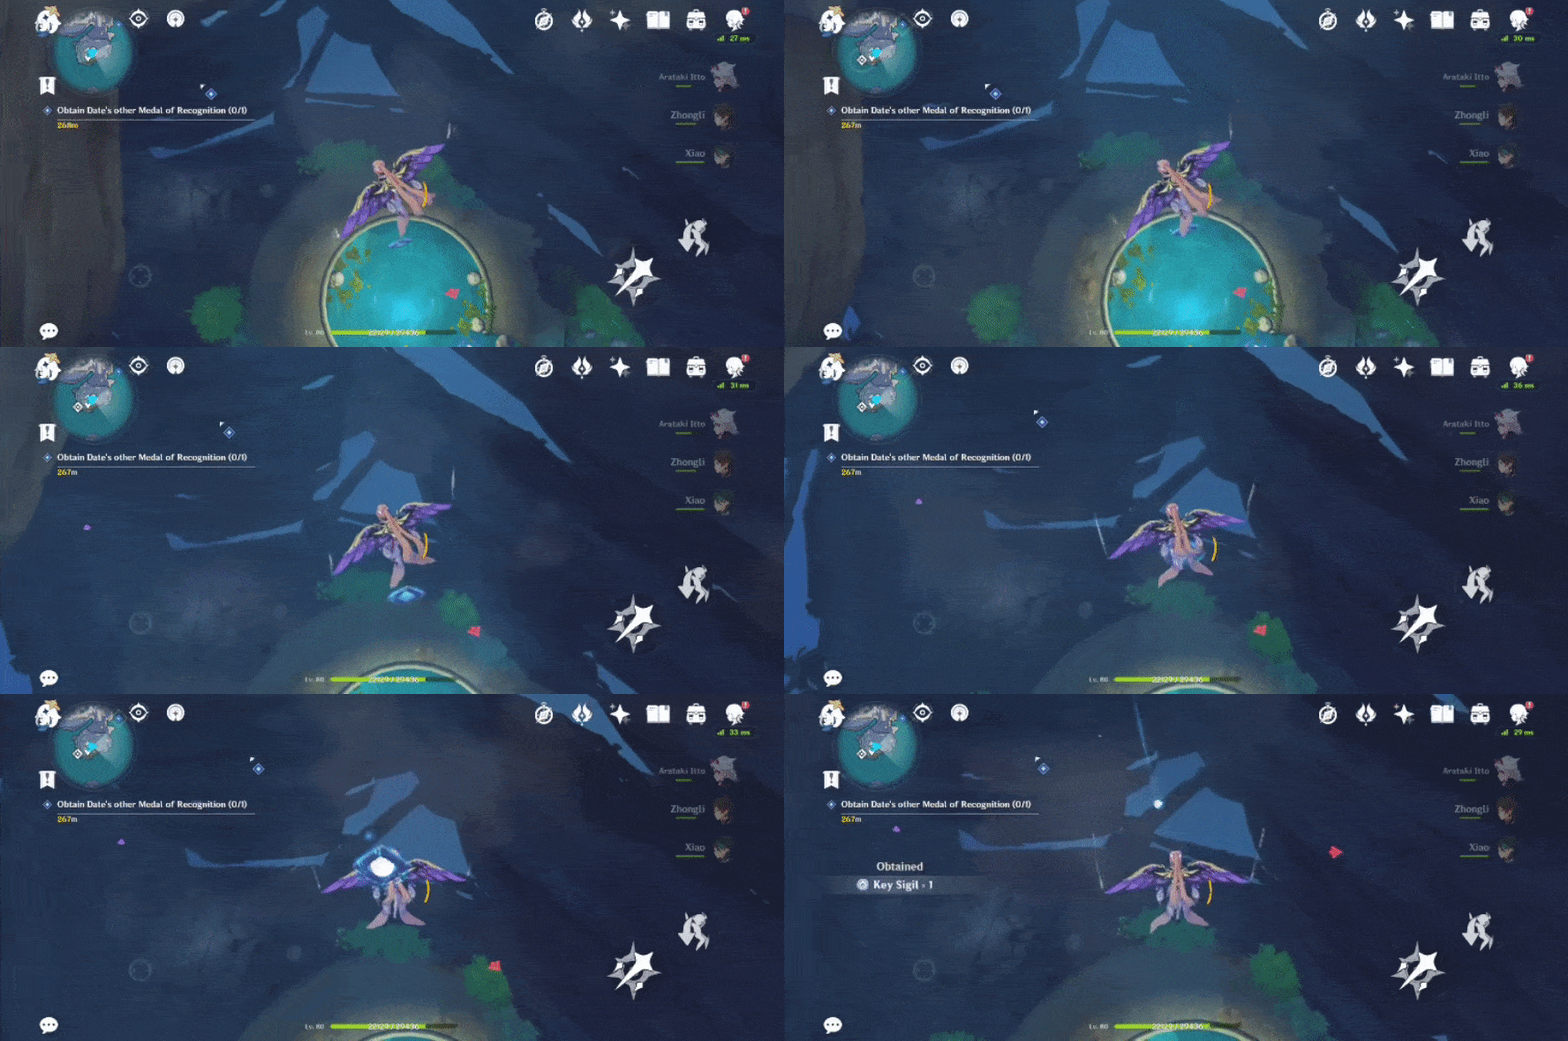
Key Sigil (I) #16- On top of the stone
No requirements needed to access.
Location:
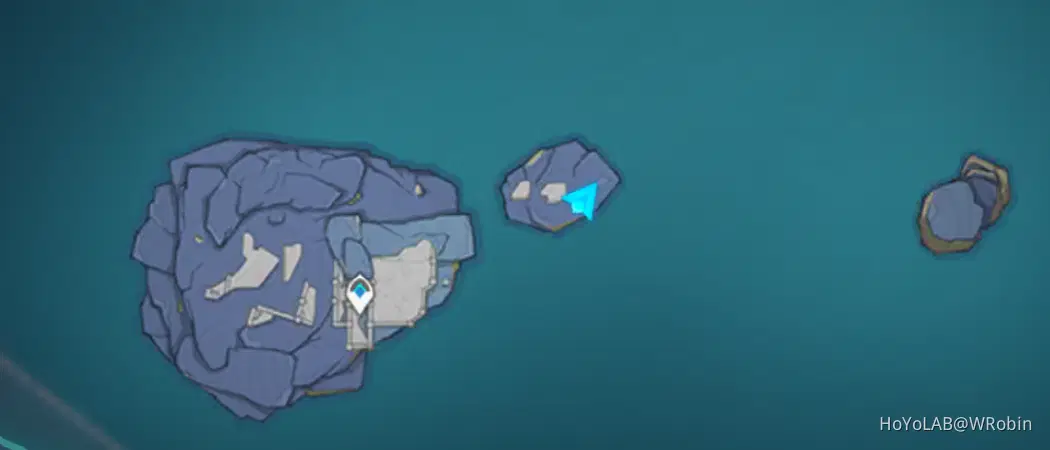
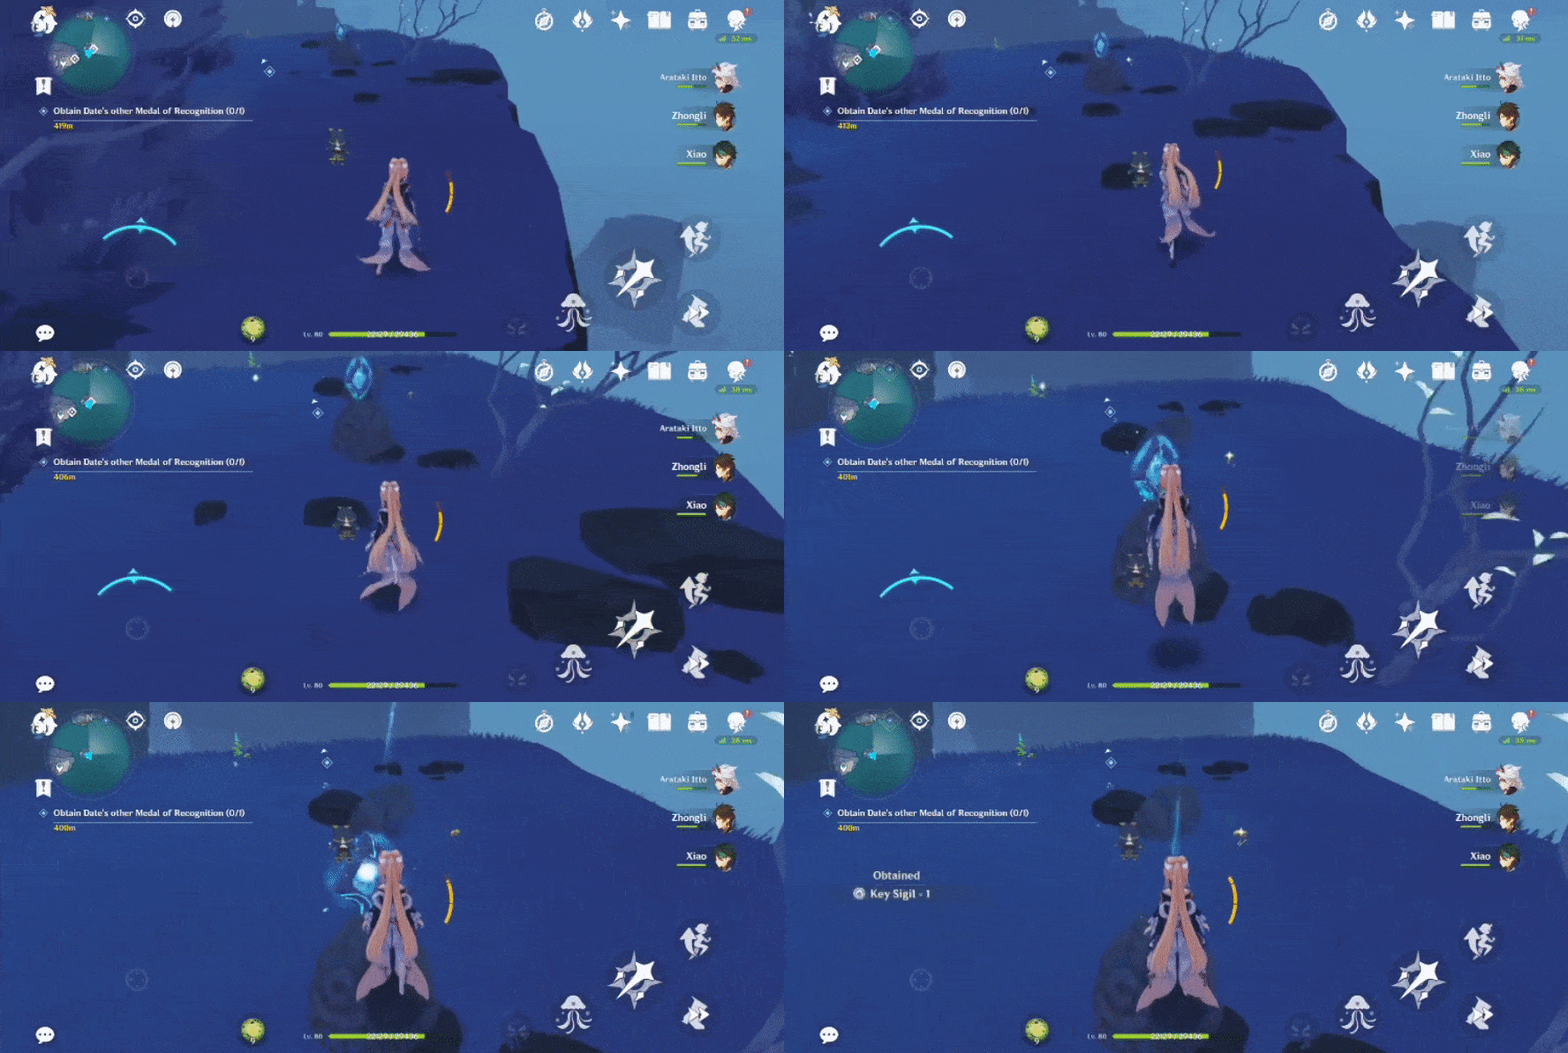
Key Sigil (I) Seals
Requires Whitenight- #1,4,5,10,14
Requires Evernight- #2,3,6,7,8,9,11,12,13,15,16
Key Sigil (I) Seal #1- On the ledge wall
Switch to Whitenight to access.
Location:
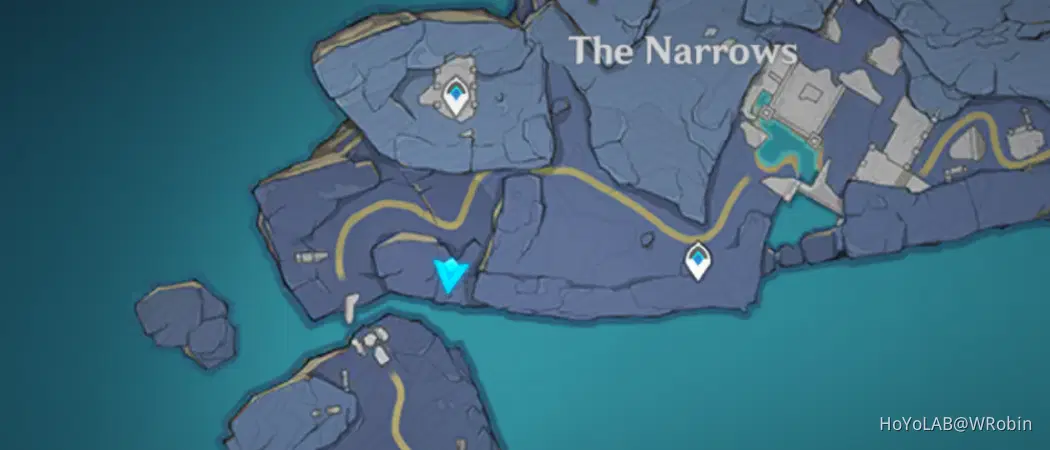
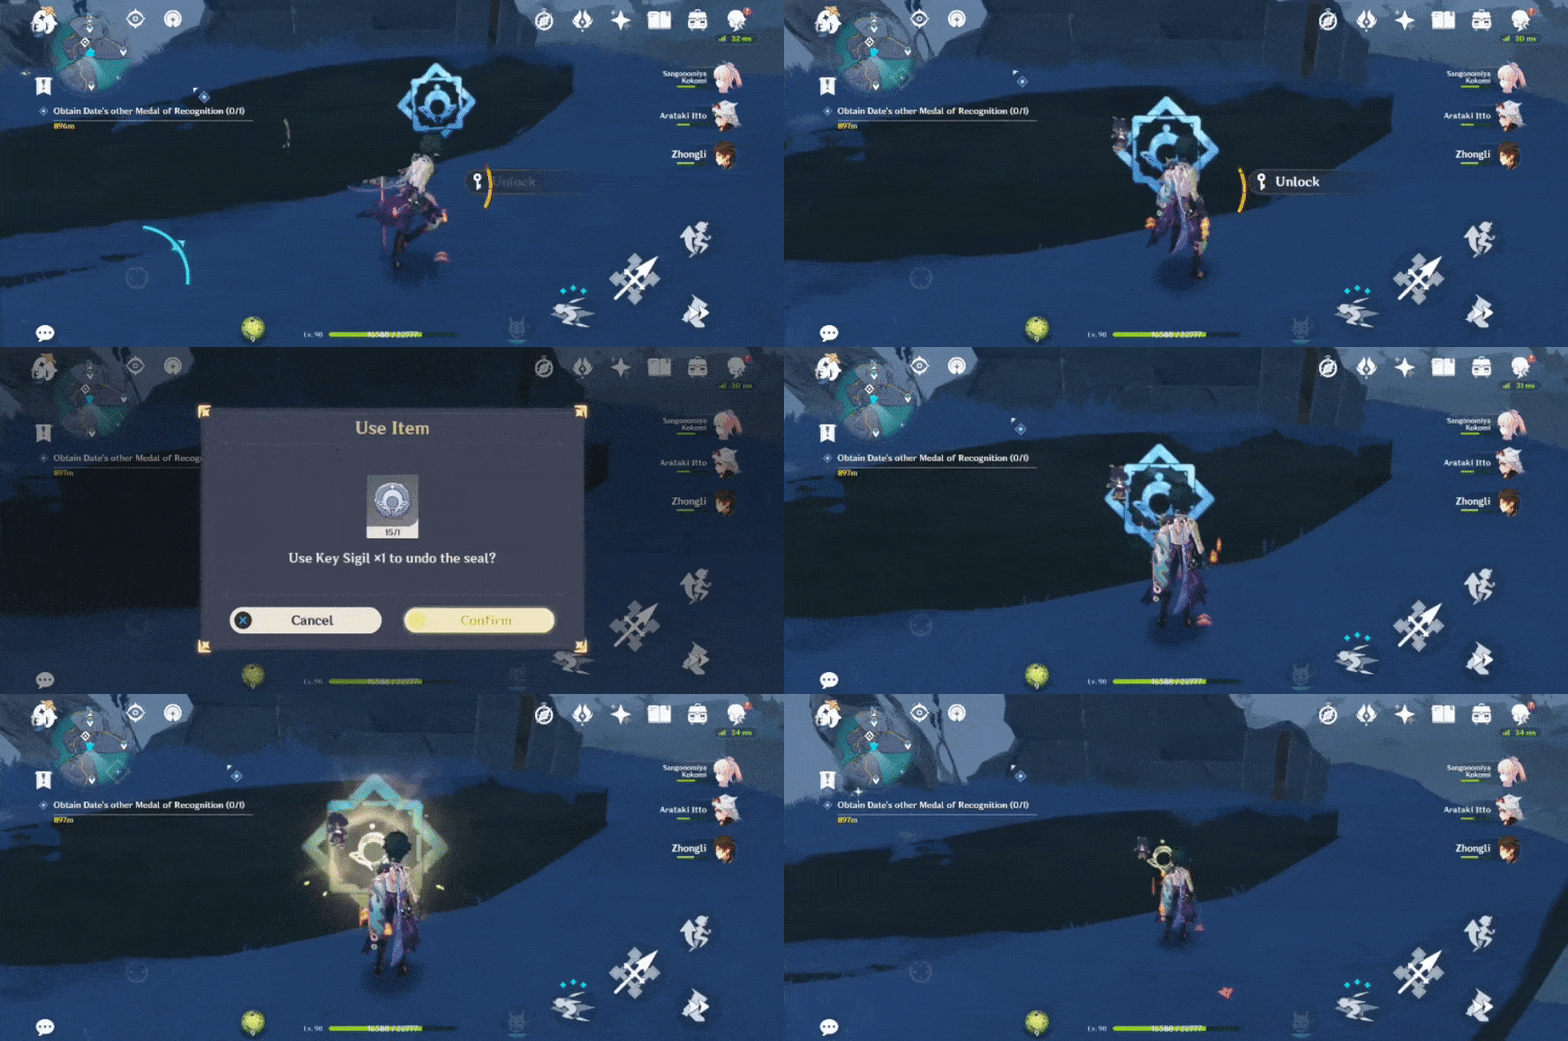
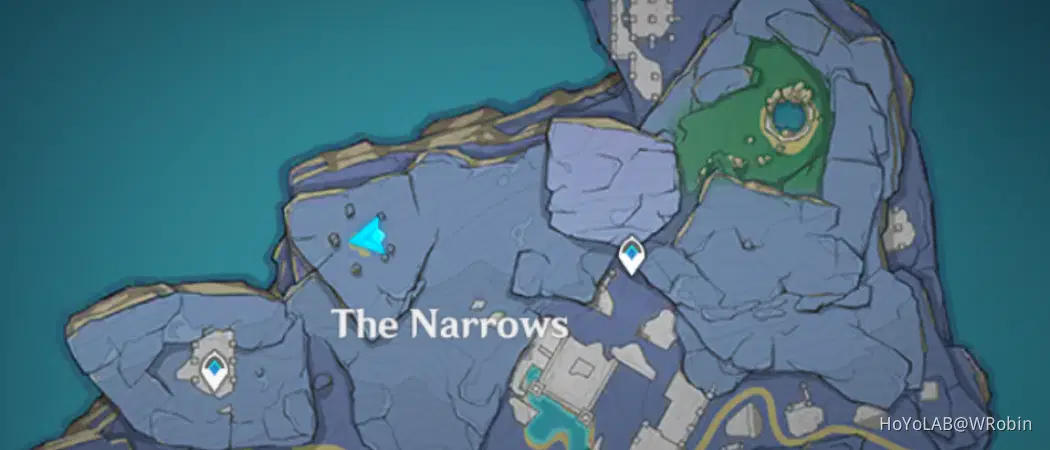
Key Sigil (I) Seal #2+3- On the rocks
Switch to Evernight to access.
Location:
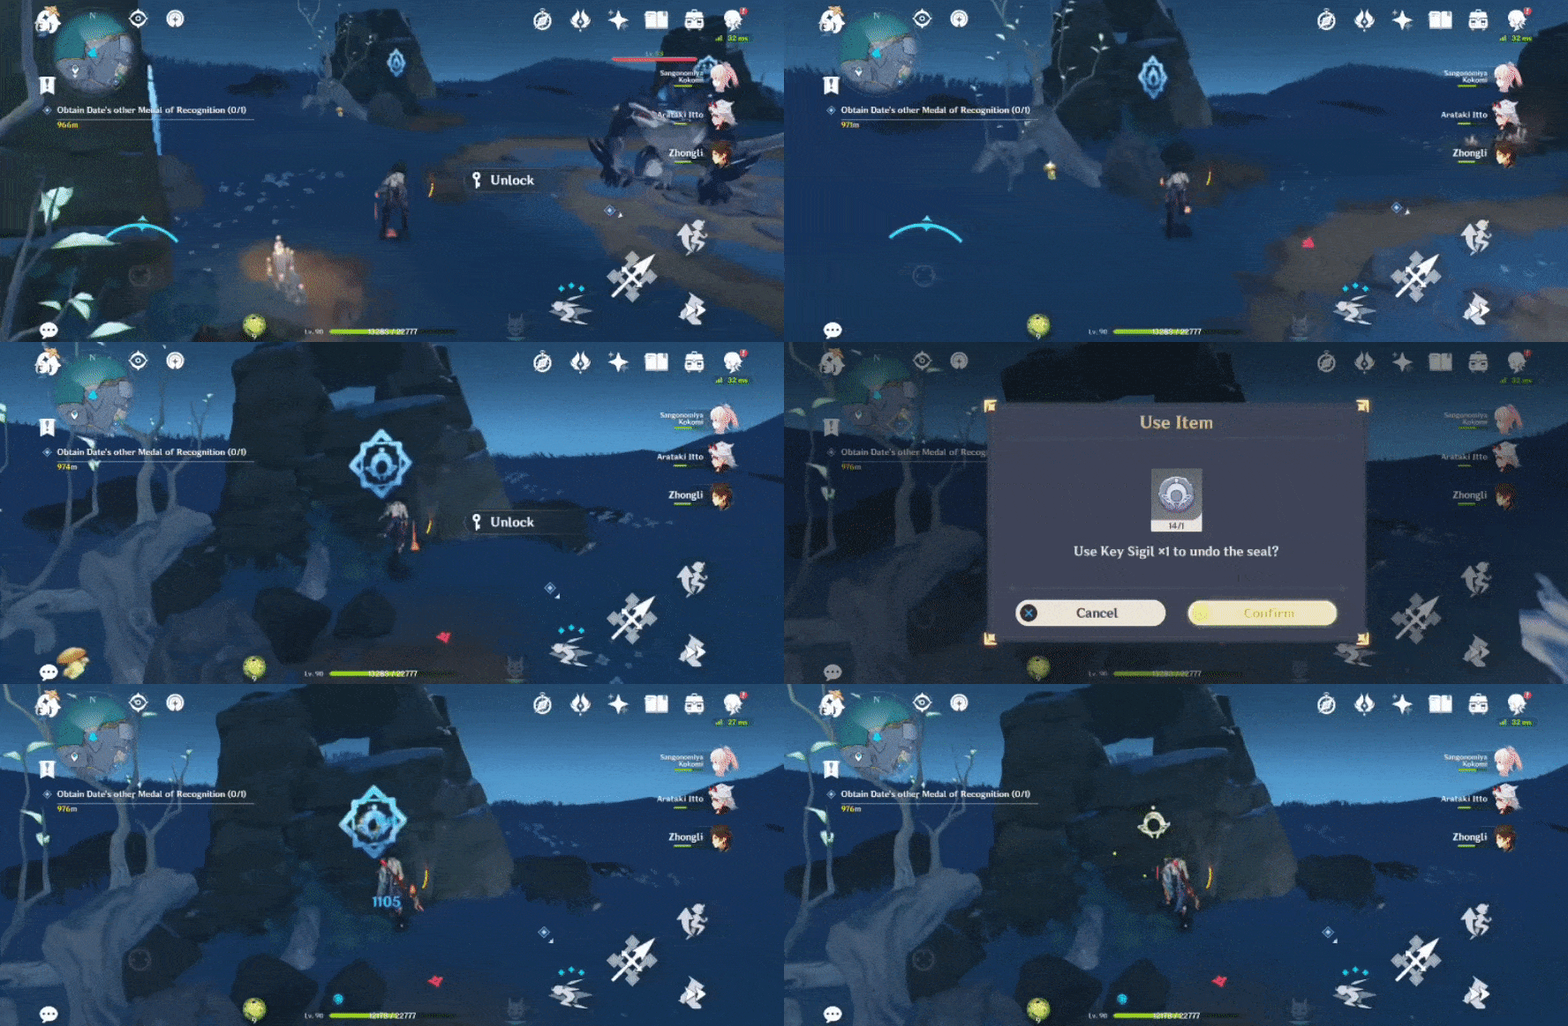
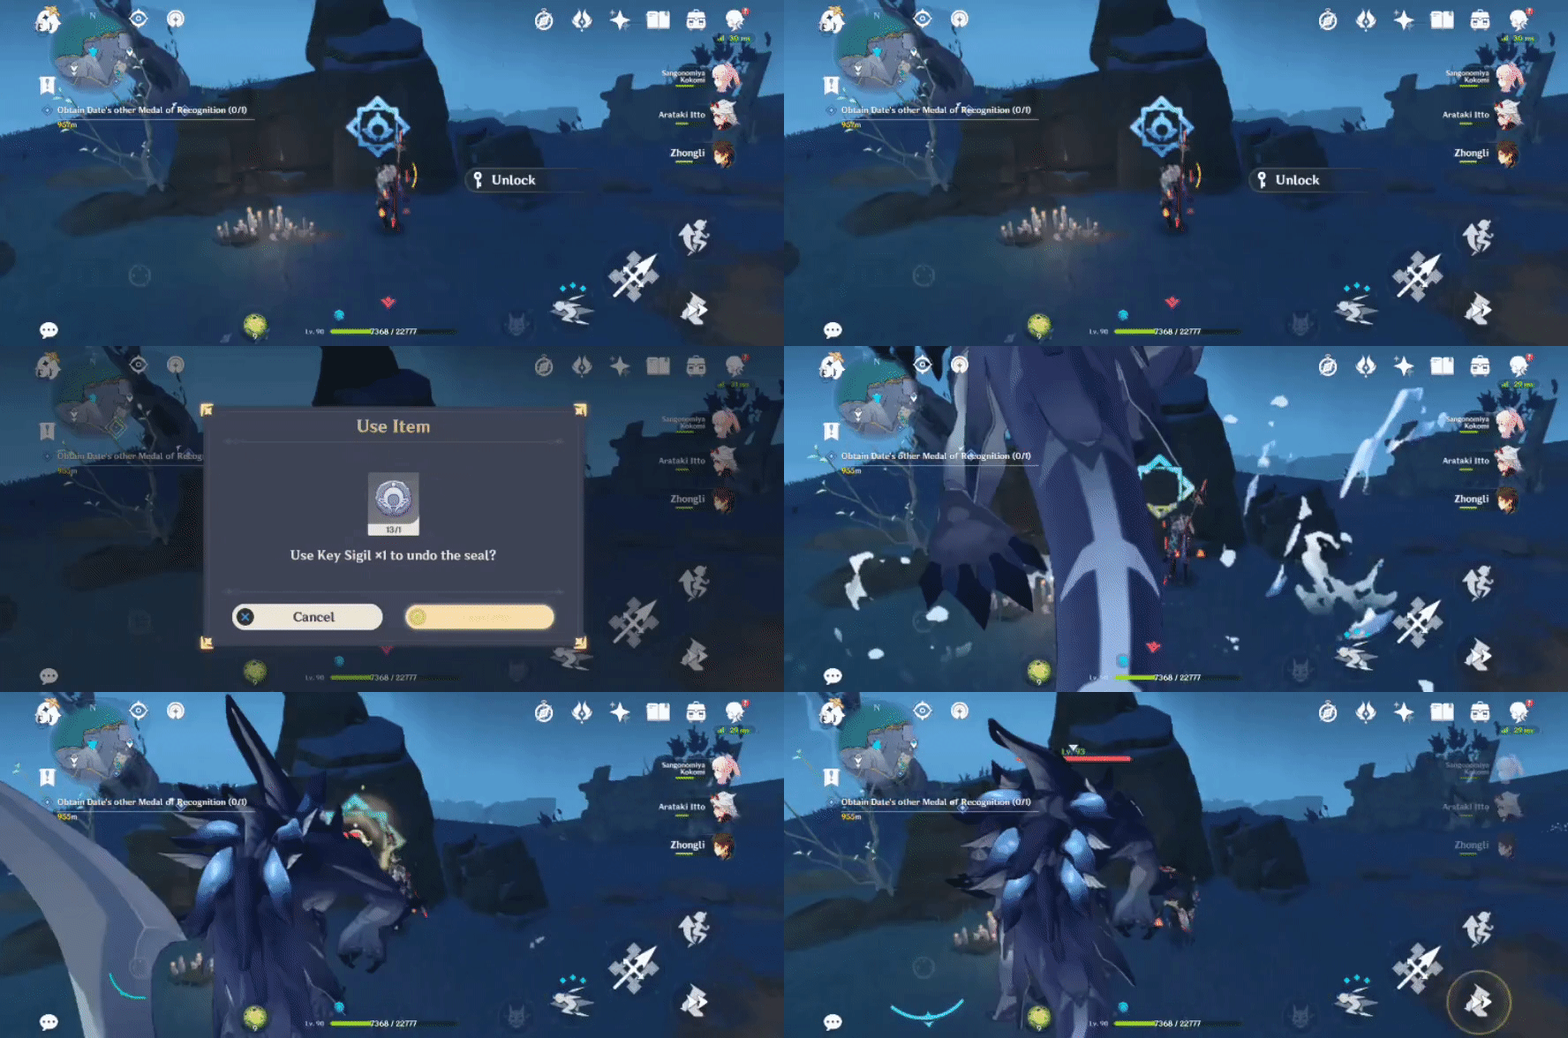
Key Sigil (I) Seal #4- On the stone wall
Switch to Whitenight to access.
Location:
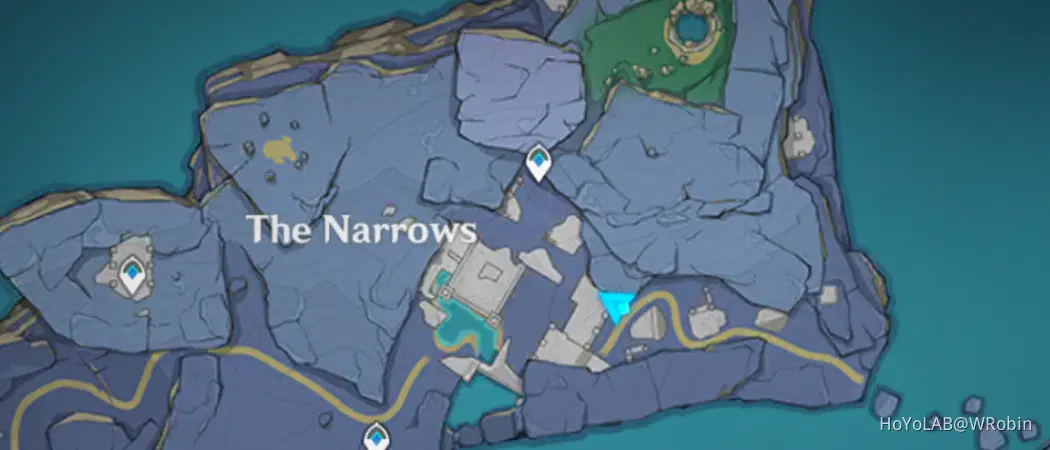
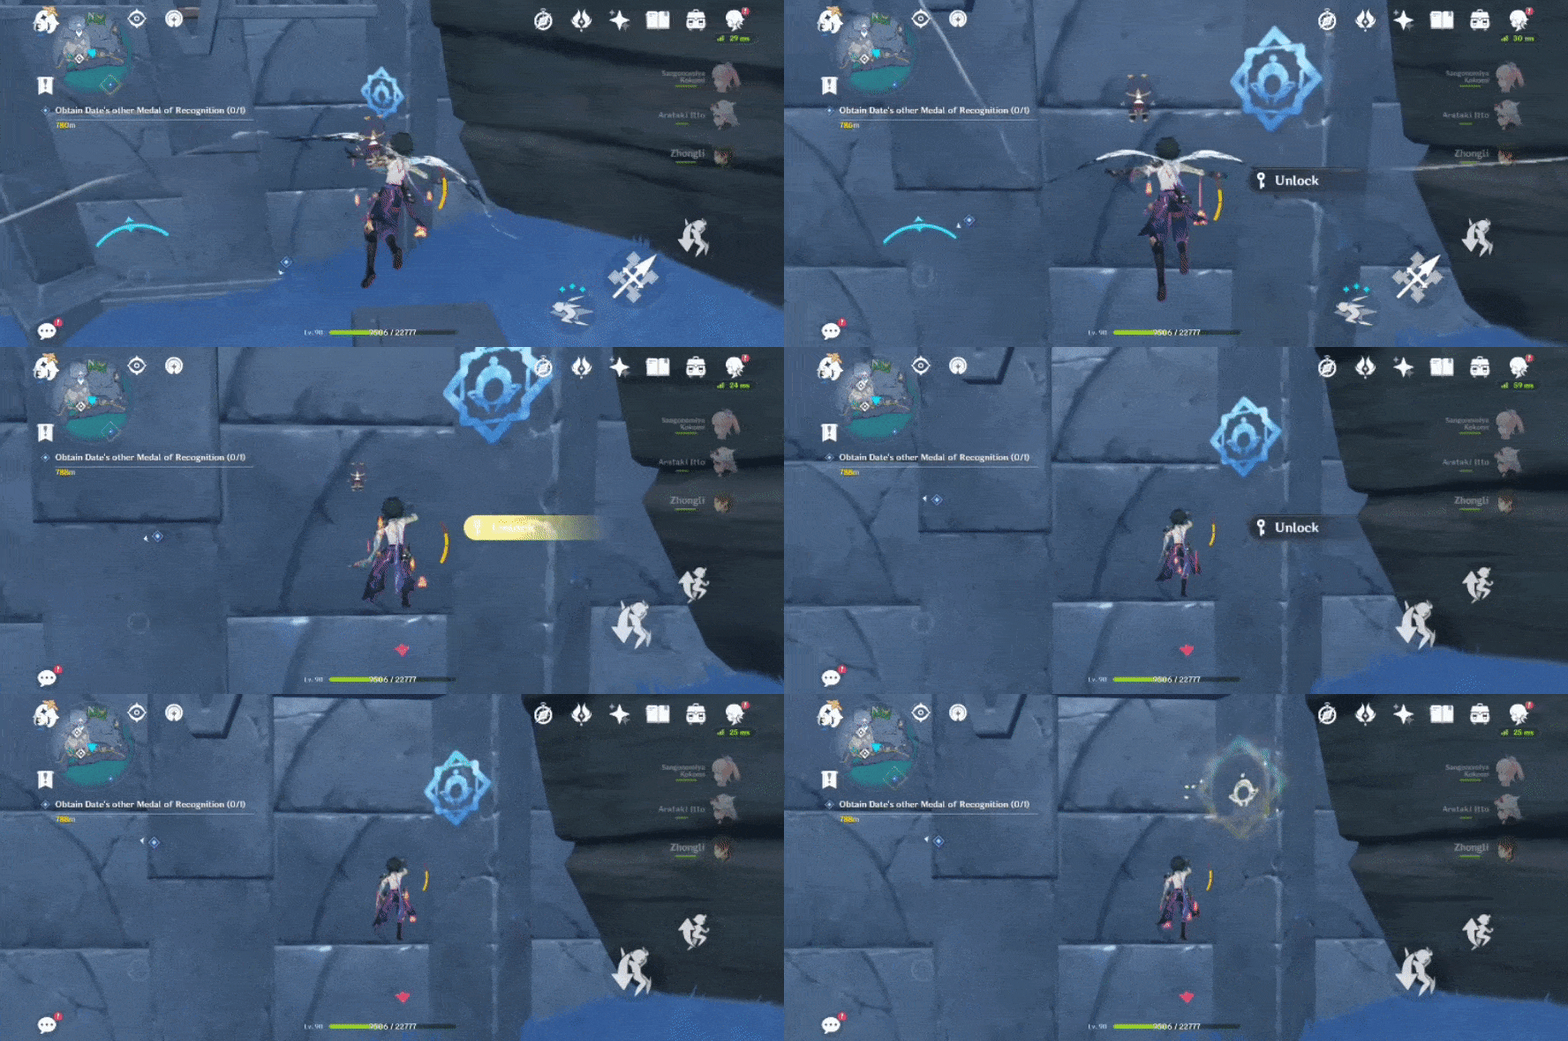
Key Sigil (I) Seal #5- On the wall (high above the Waypoint but still below ground)
Switch to Whitenight to access.
Location:
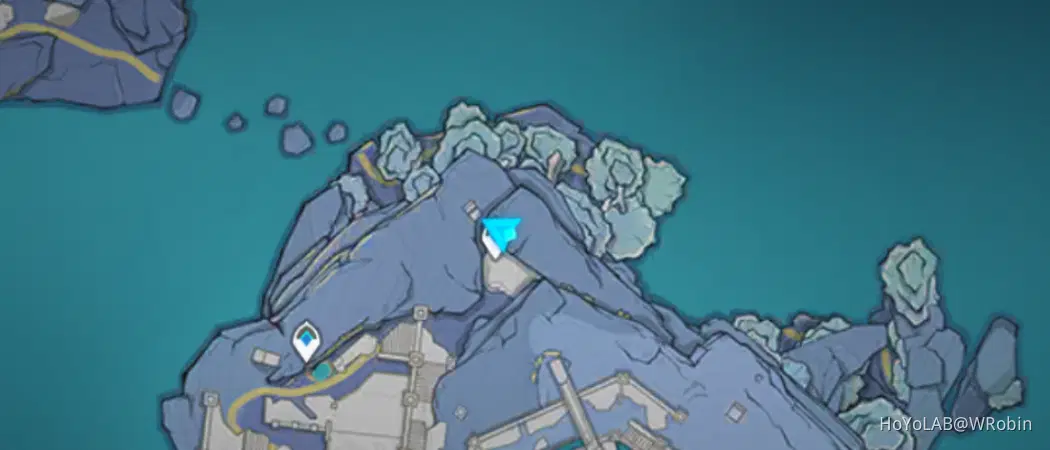
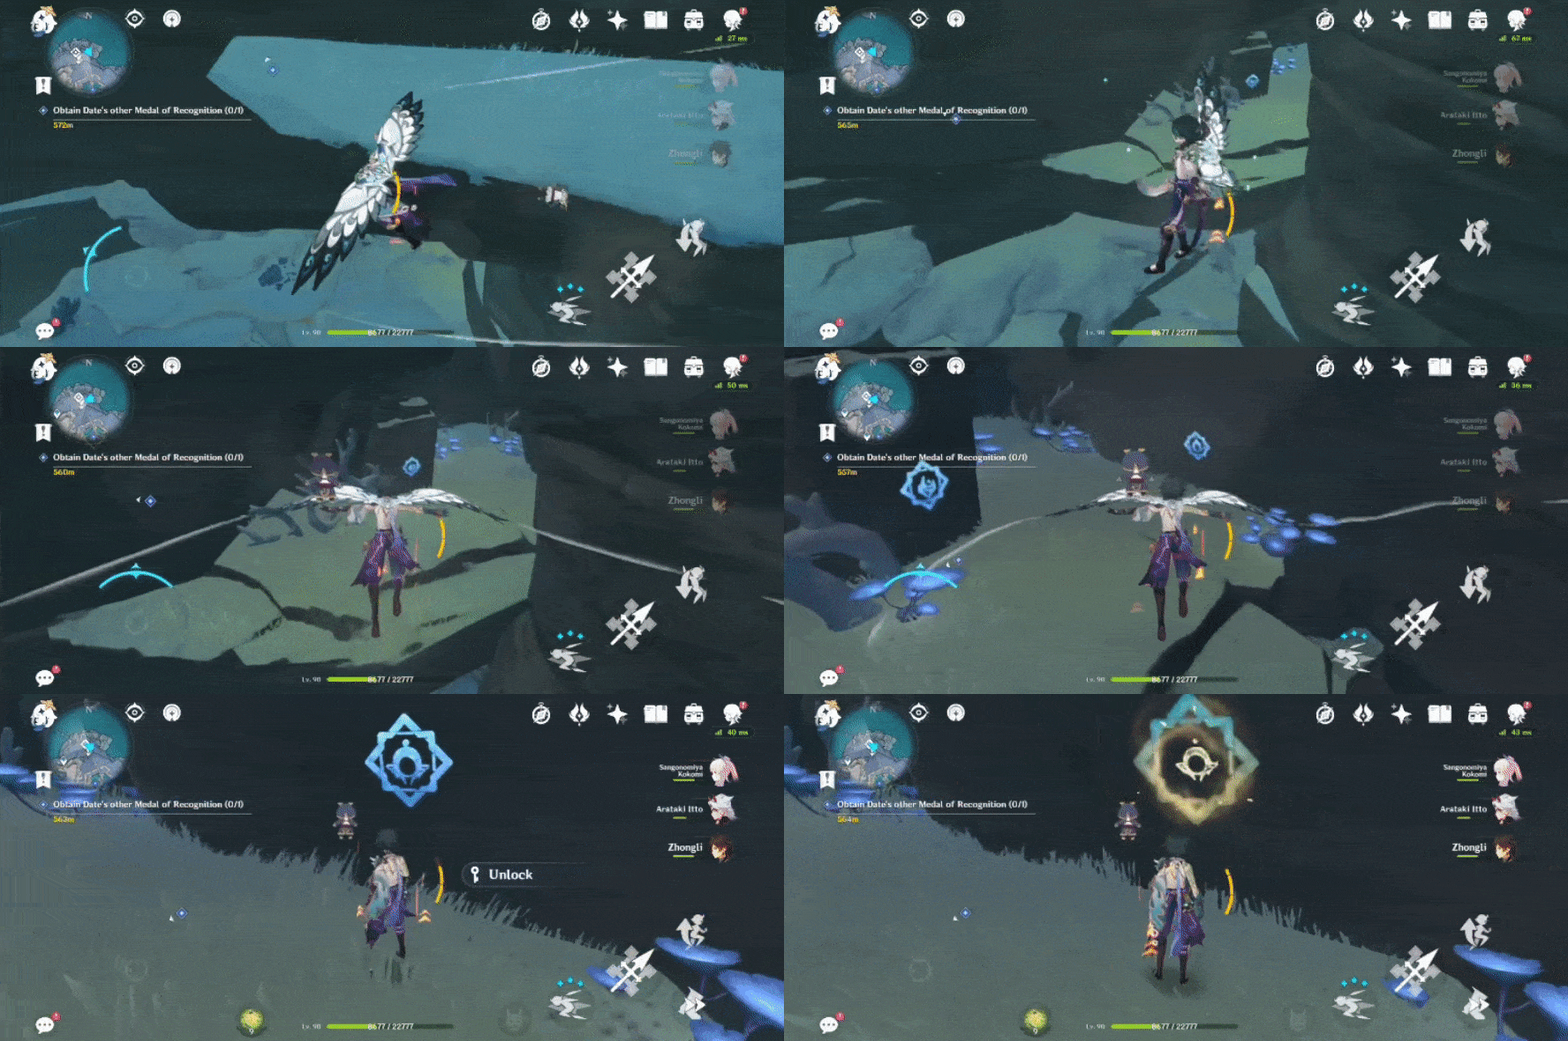
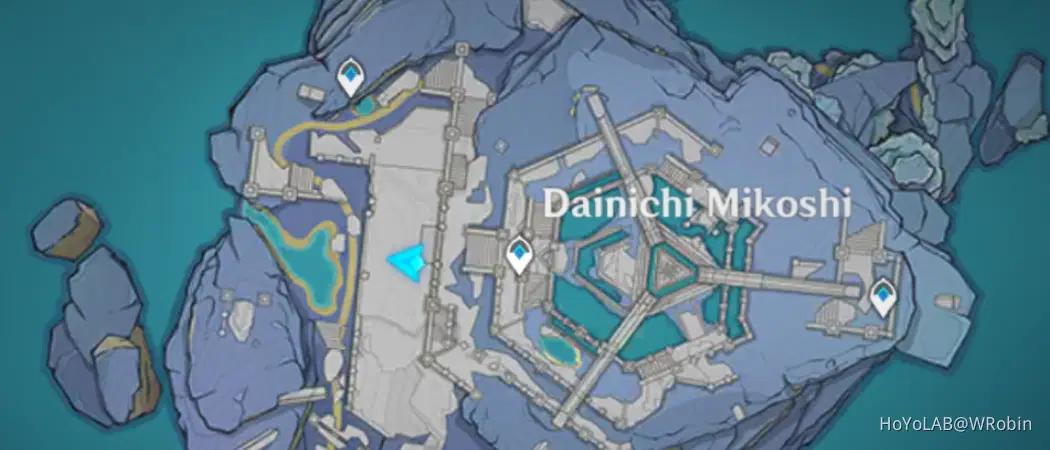
Key Sigil (I) Seal #6- On the far left pillar
Switch to Evernight to access.
Location:
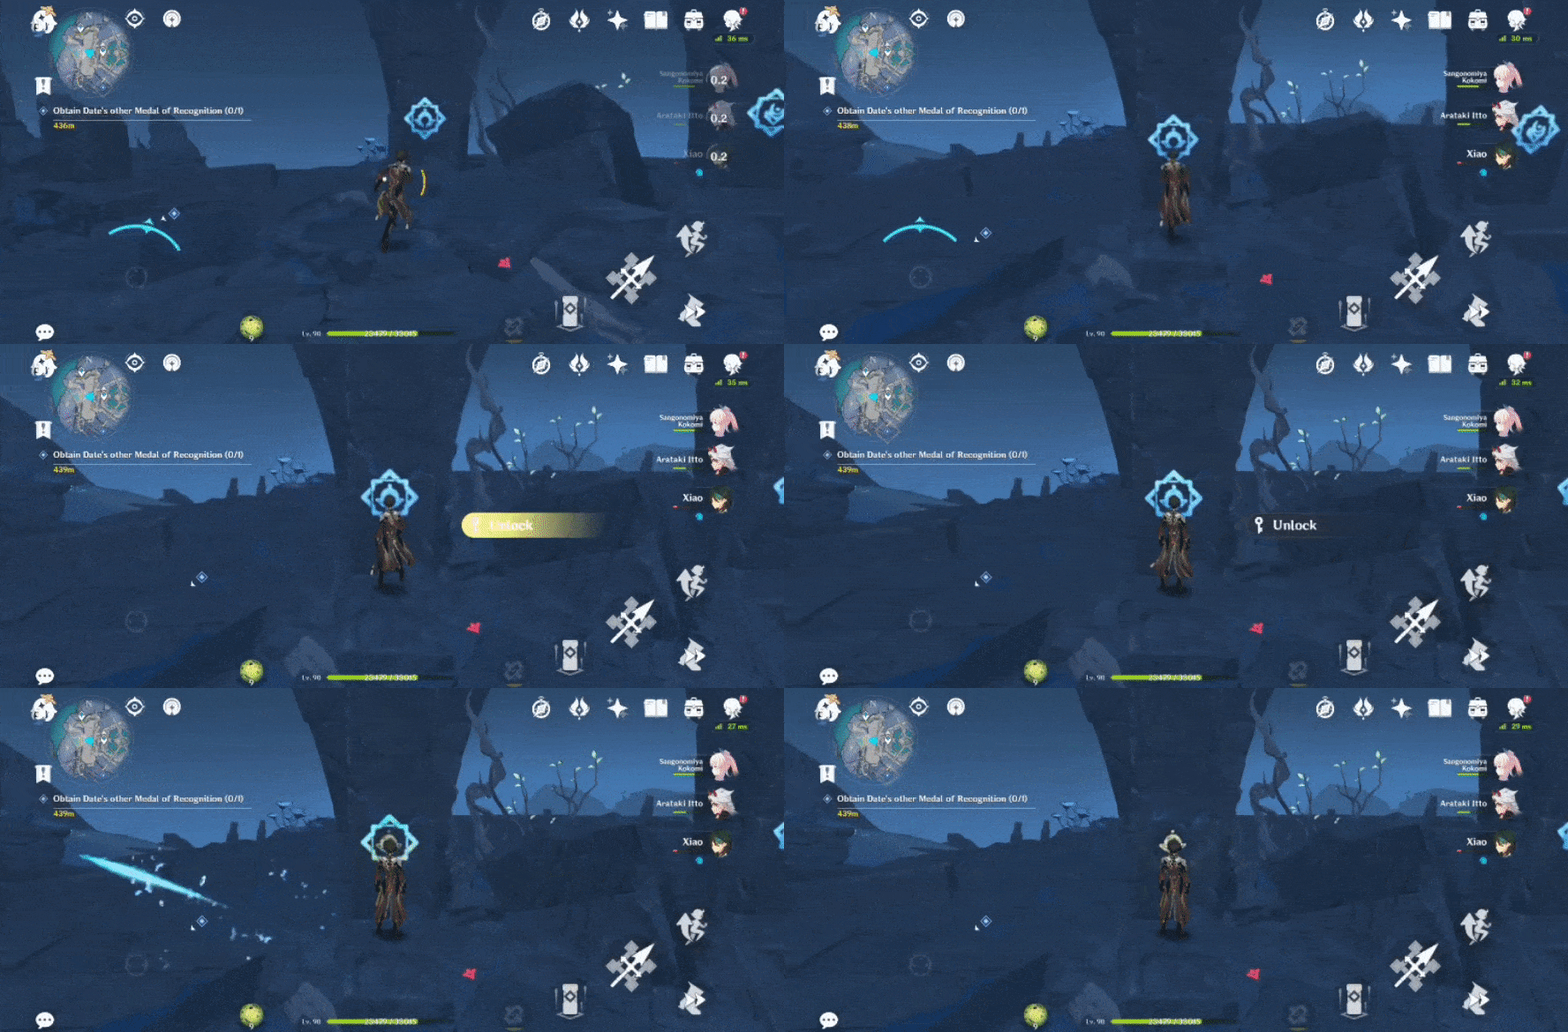
Key Sigil (I) Seal #7- On the rock
Switch to Evernight to access.
Location:
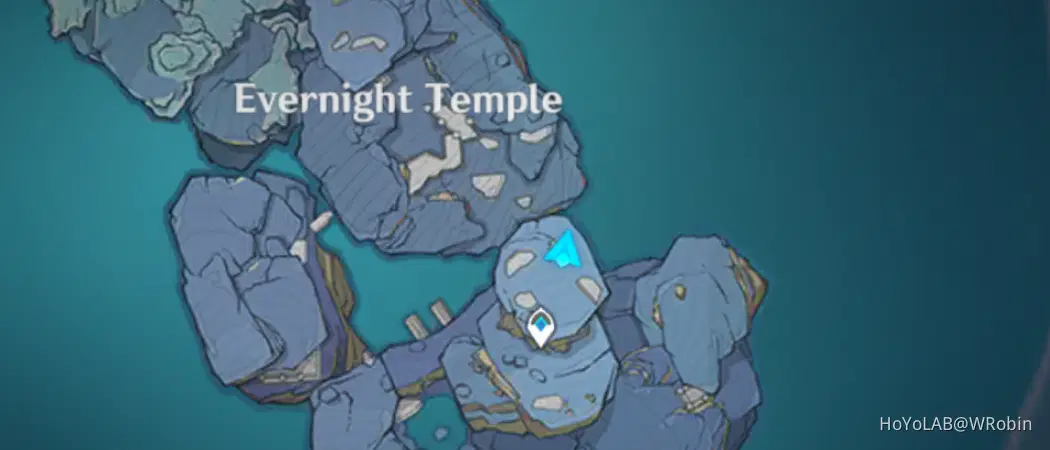
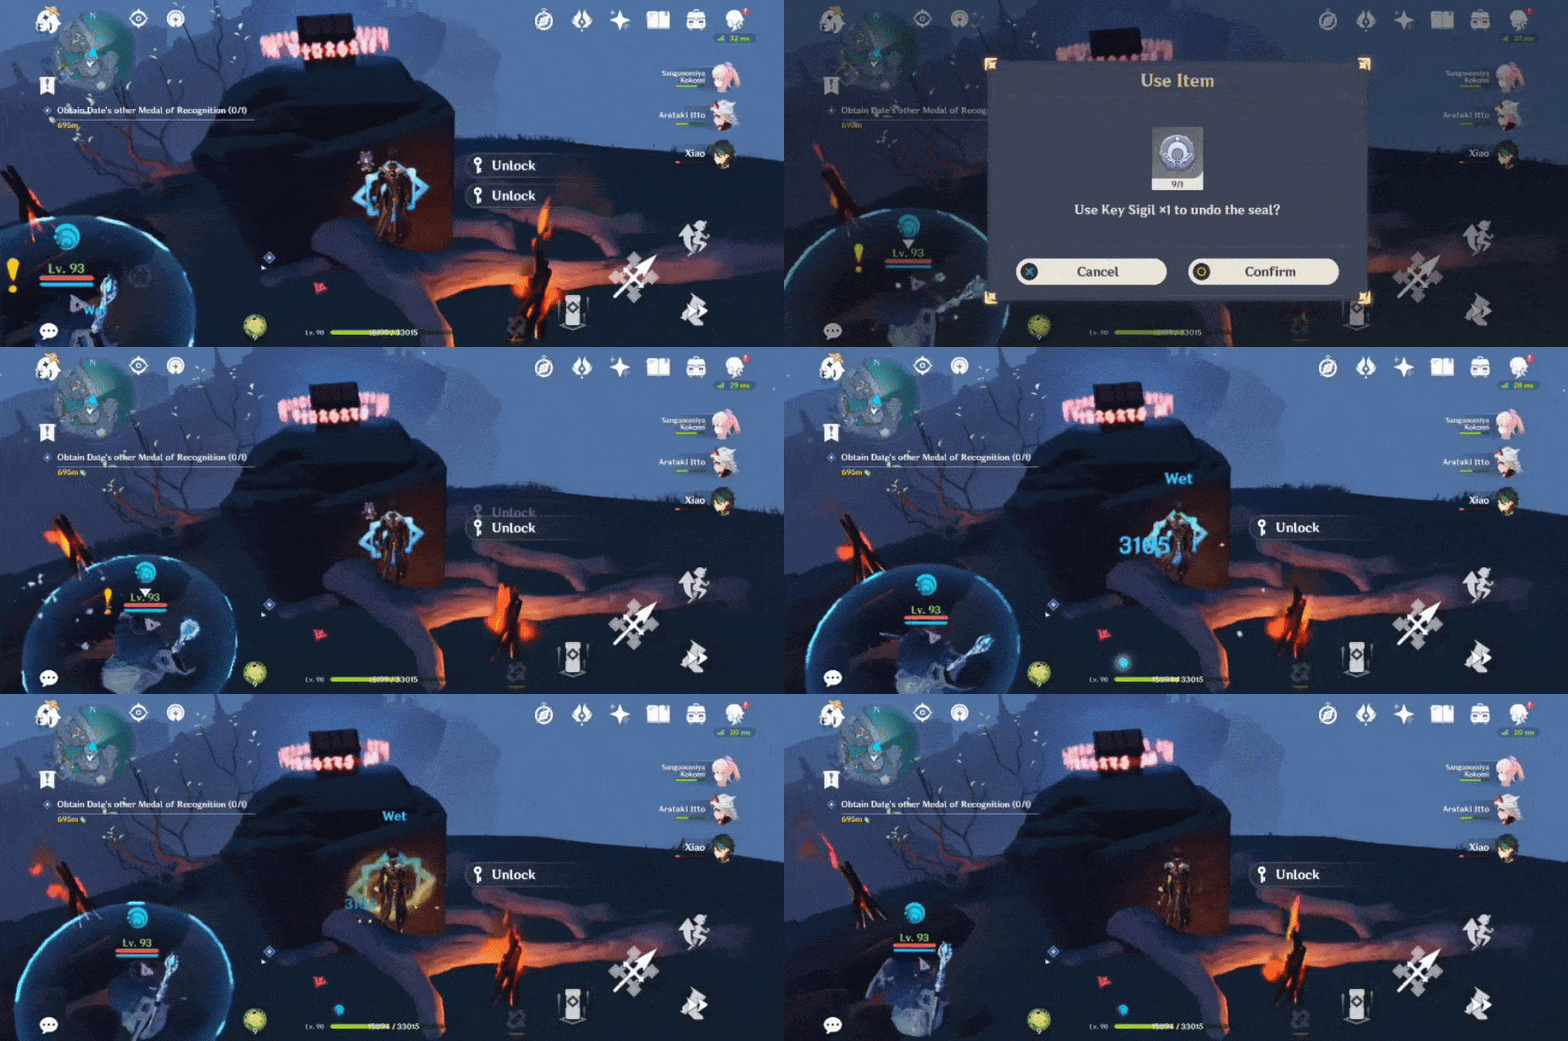
Key Sigil (I) Seal #8- On the rock
Switch to Evernight to access.
Location:
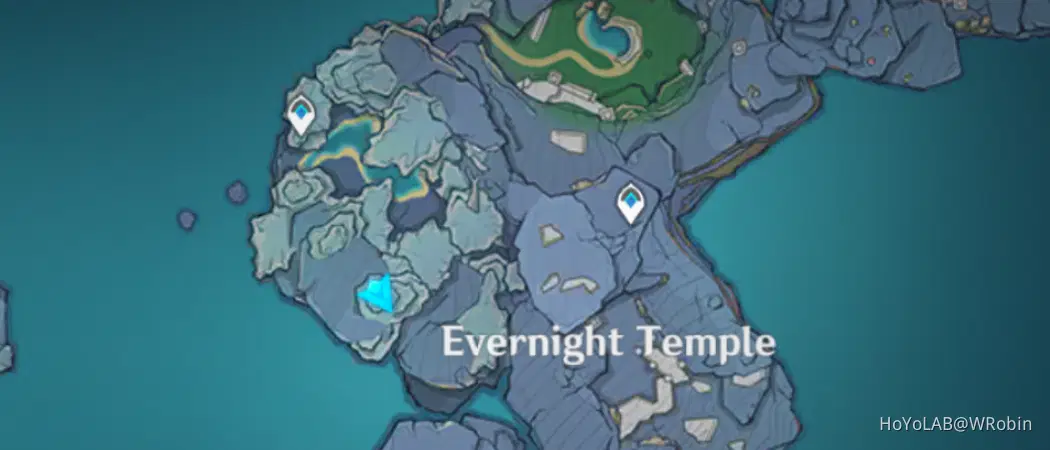
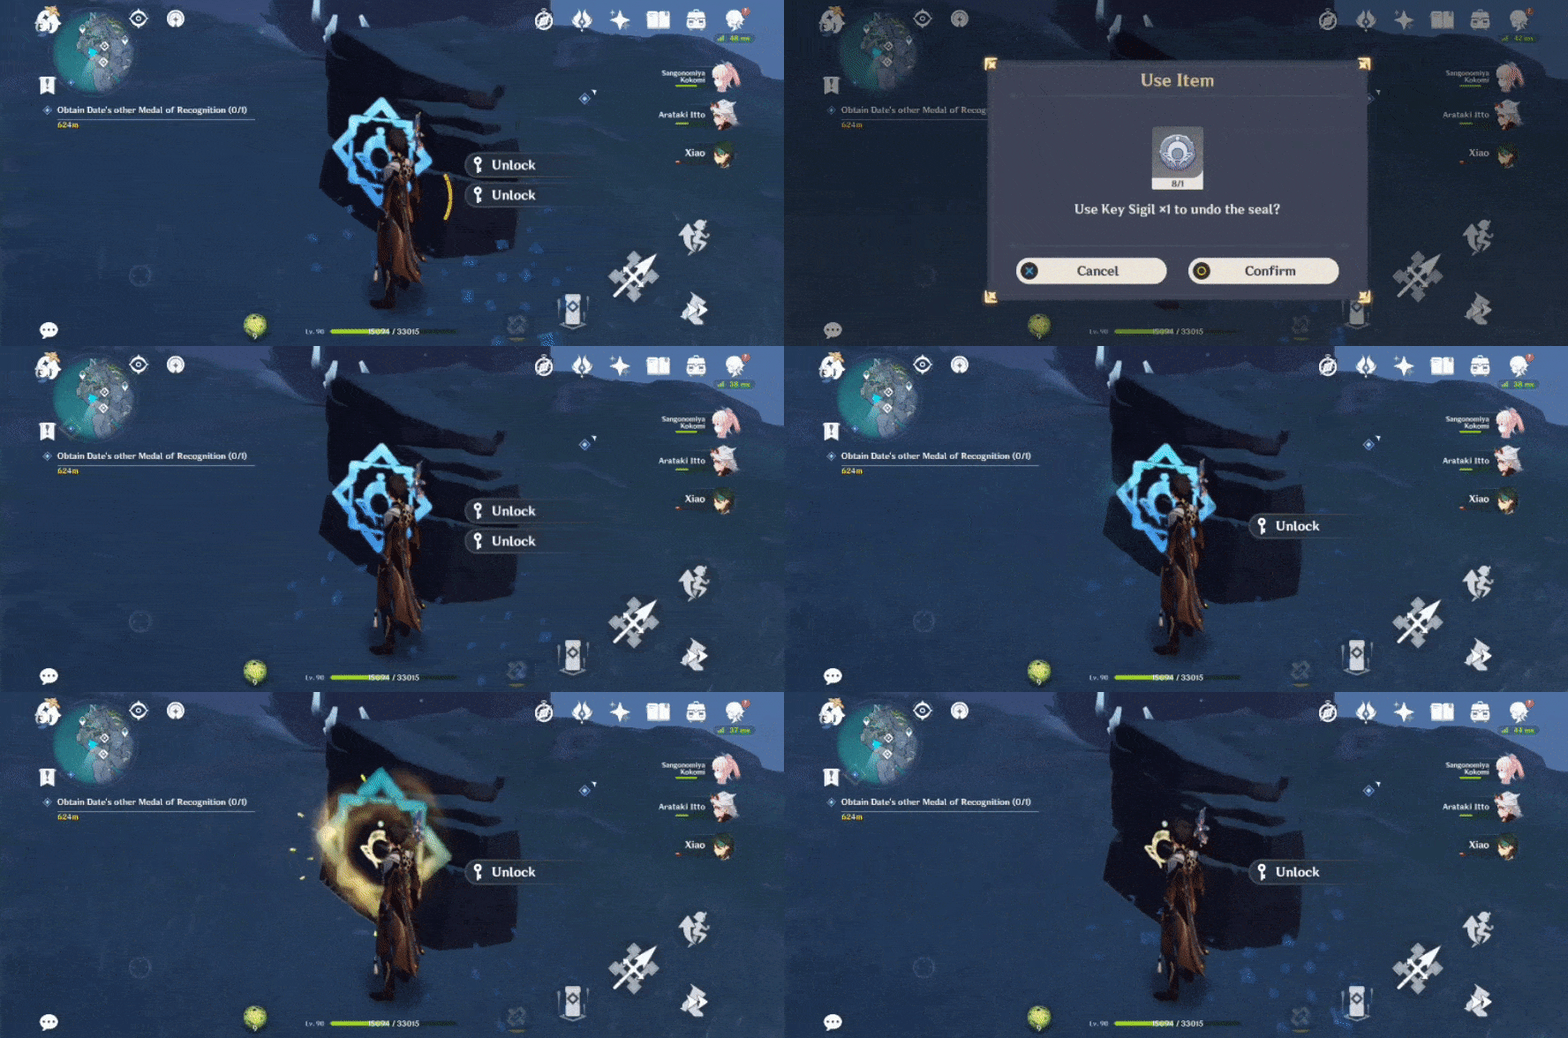
Key Sigil (I) Seal #9- On the rock
Switch to Evernight to access.
Location:
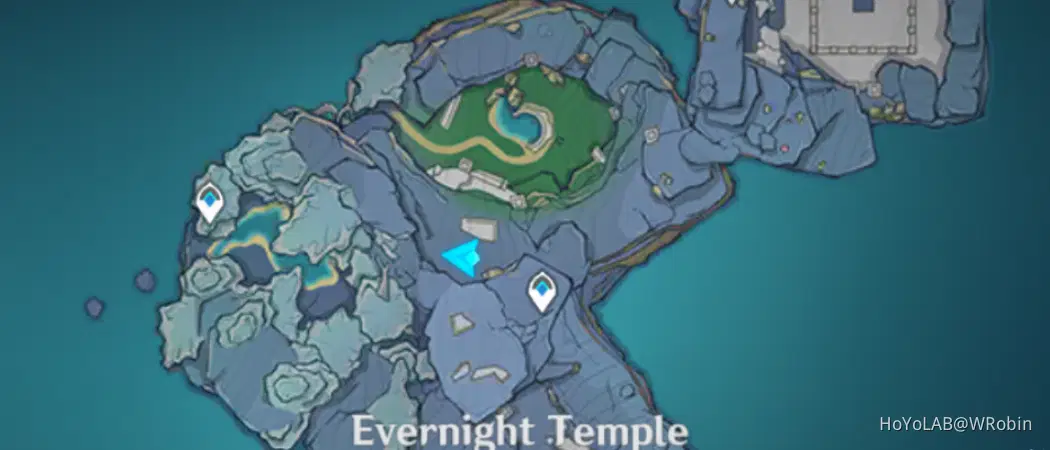
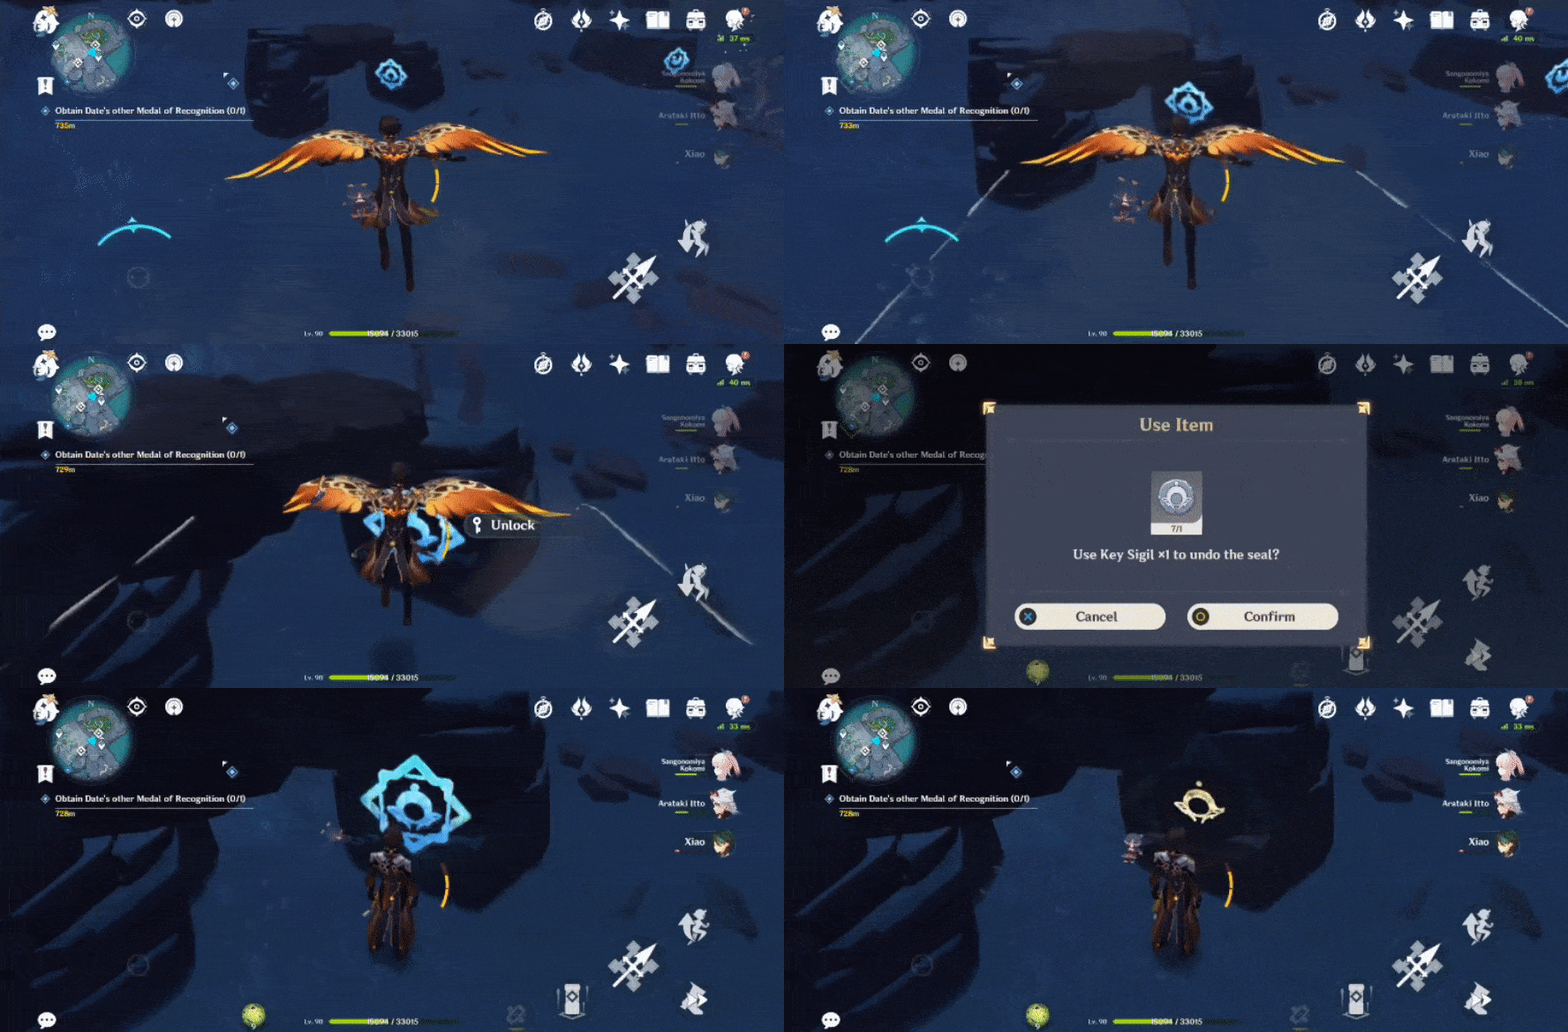
Key Sigil (I) Seal #10- On the ledge wall
Switch to Whitenight to access.
Location:
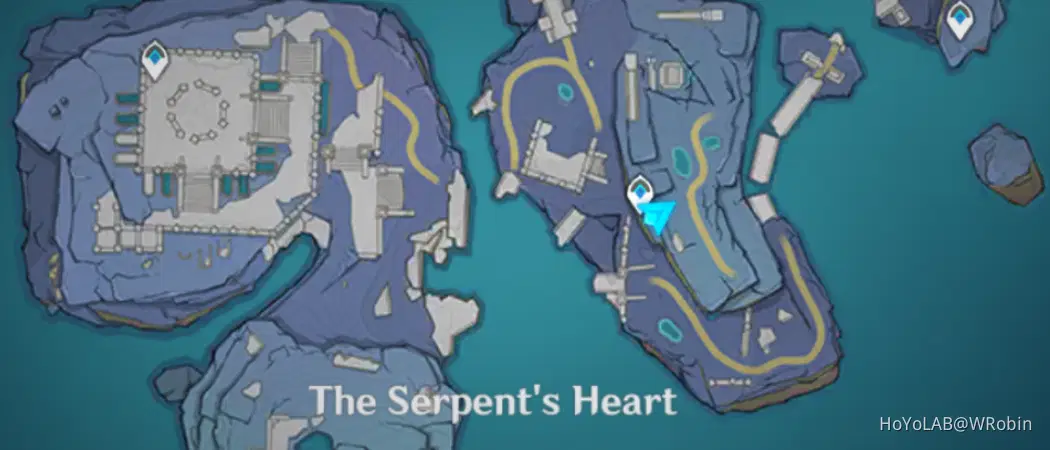
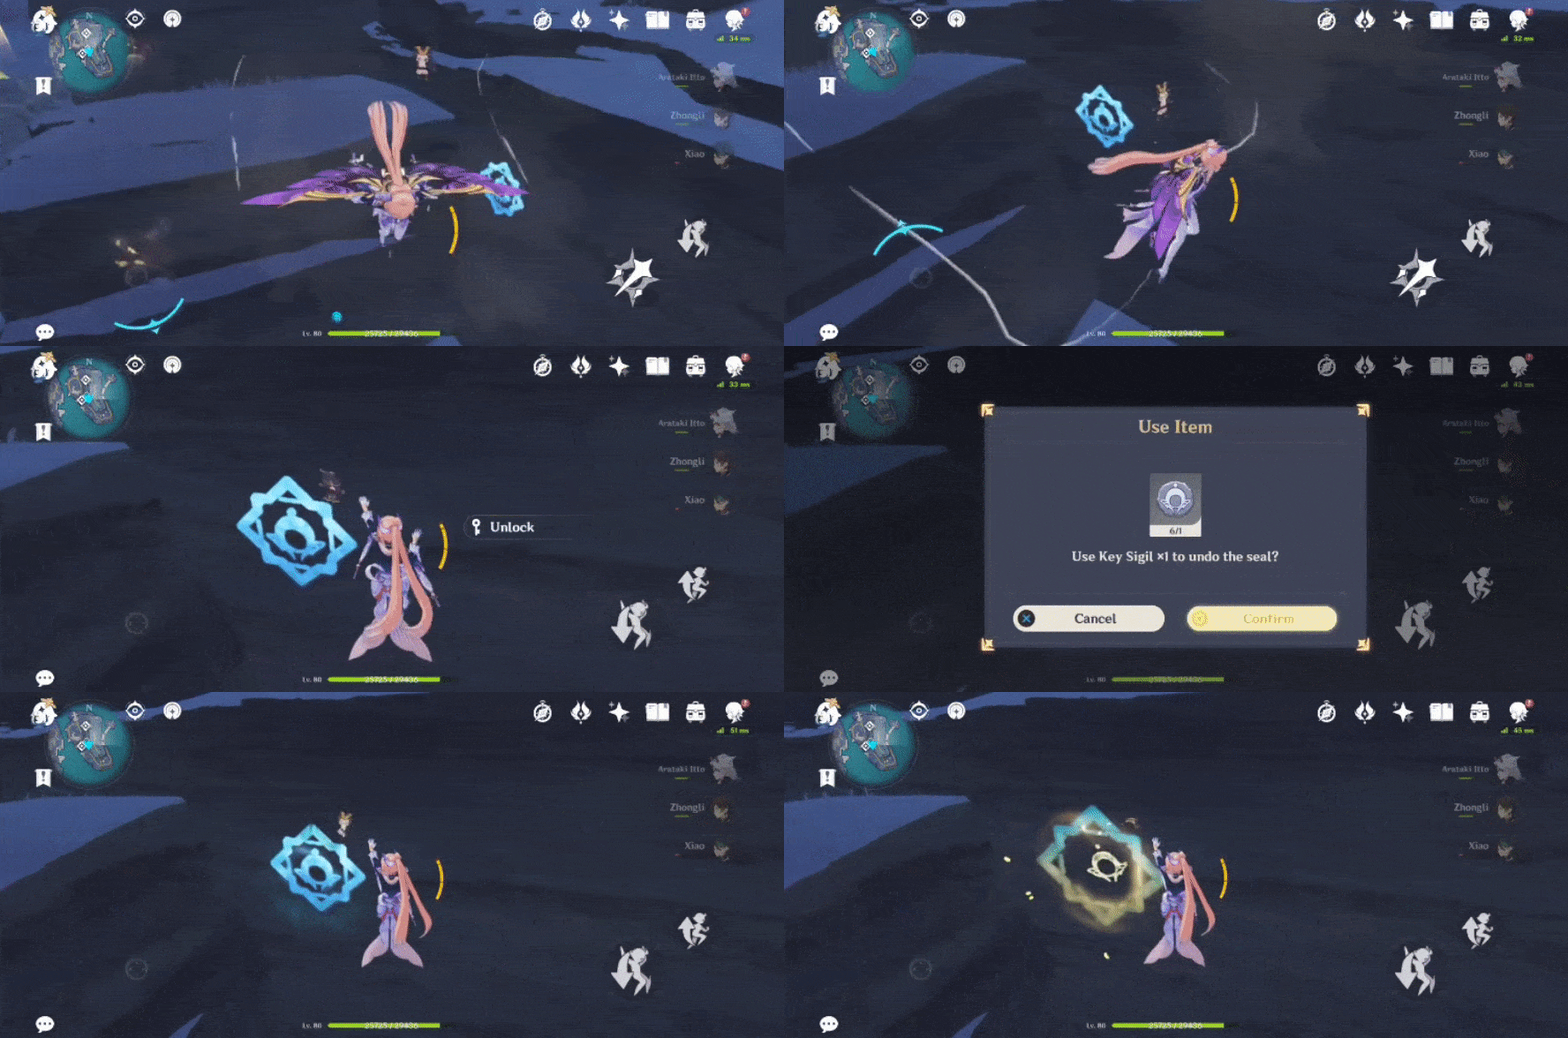
Key Sigil (I) Seal #11- On the cliff wall
Switch to Evernight to access.
Location:
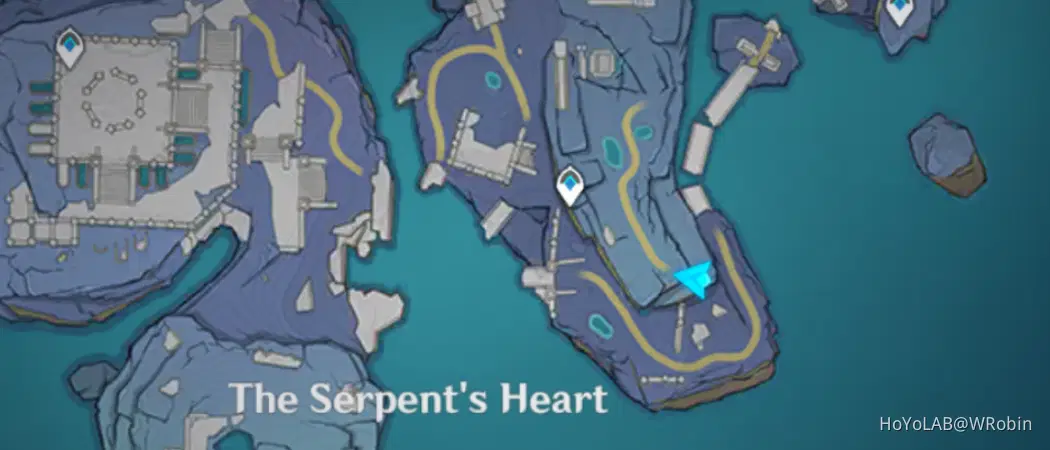
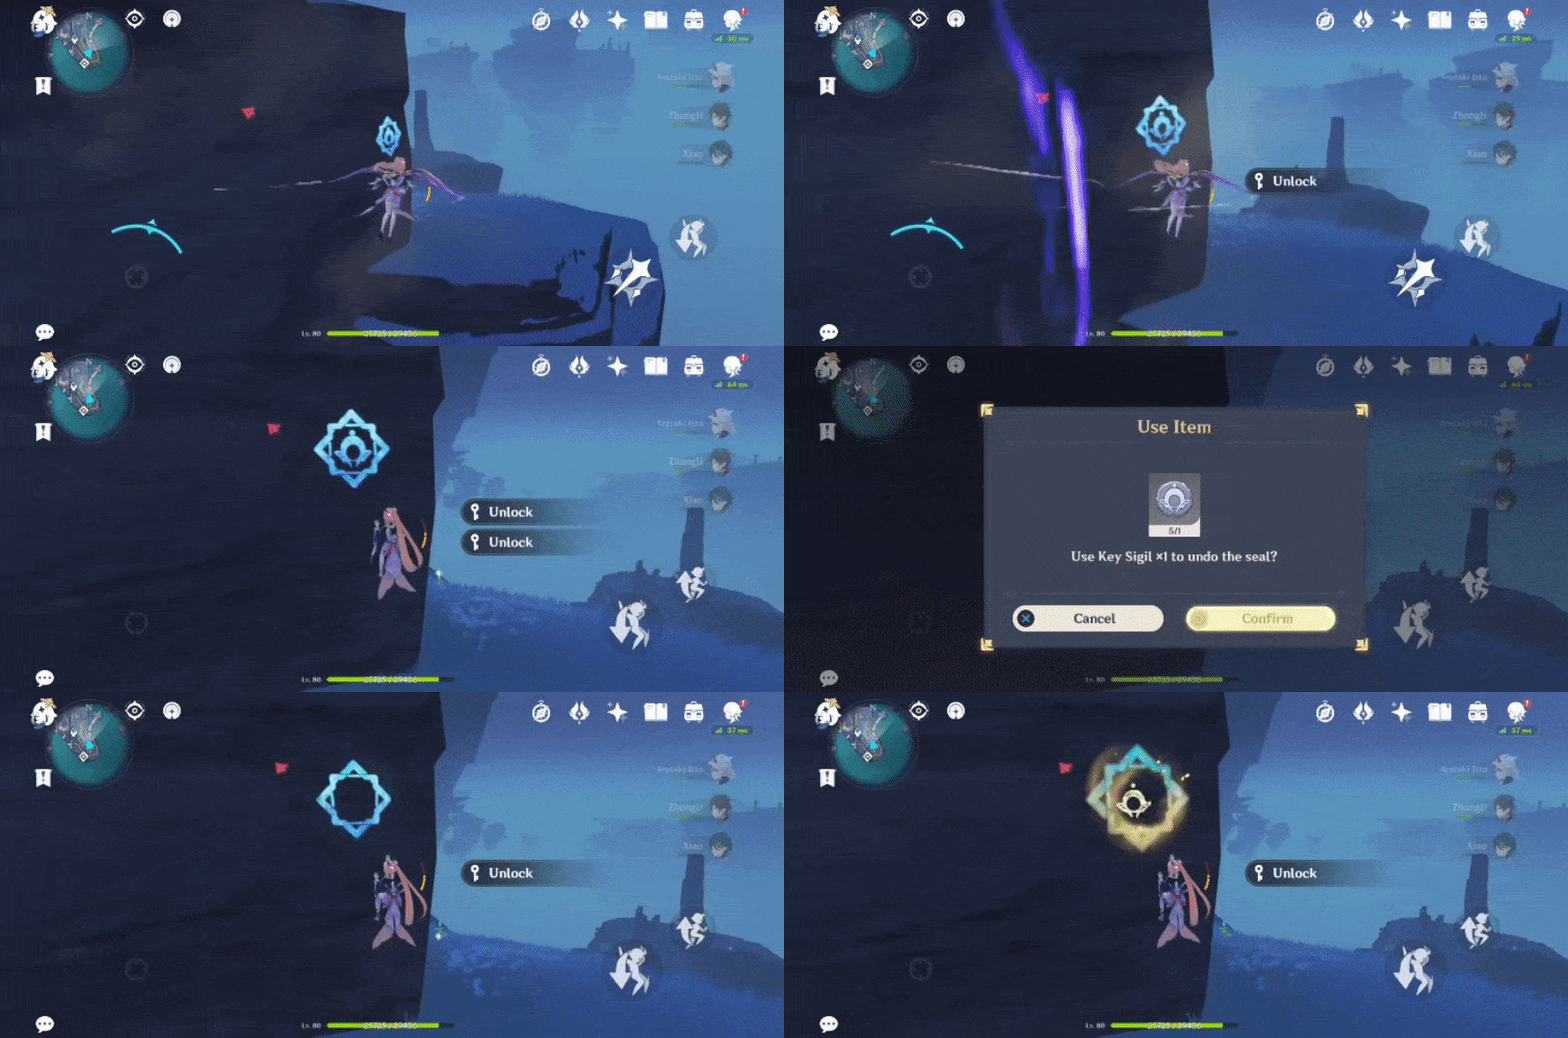
Key Sigil (I) Seal #12+13- In the cave, on the building wall
Switch to Evernight to access.
[To access the cave, jump down to the lower ledge on the edge of the island and go through the hole.]
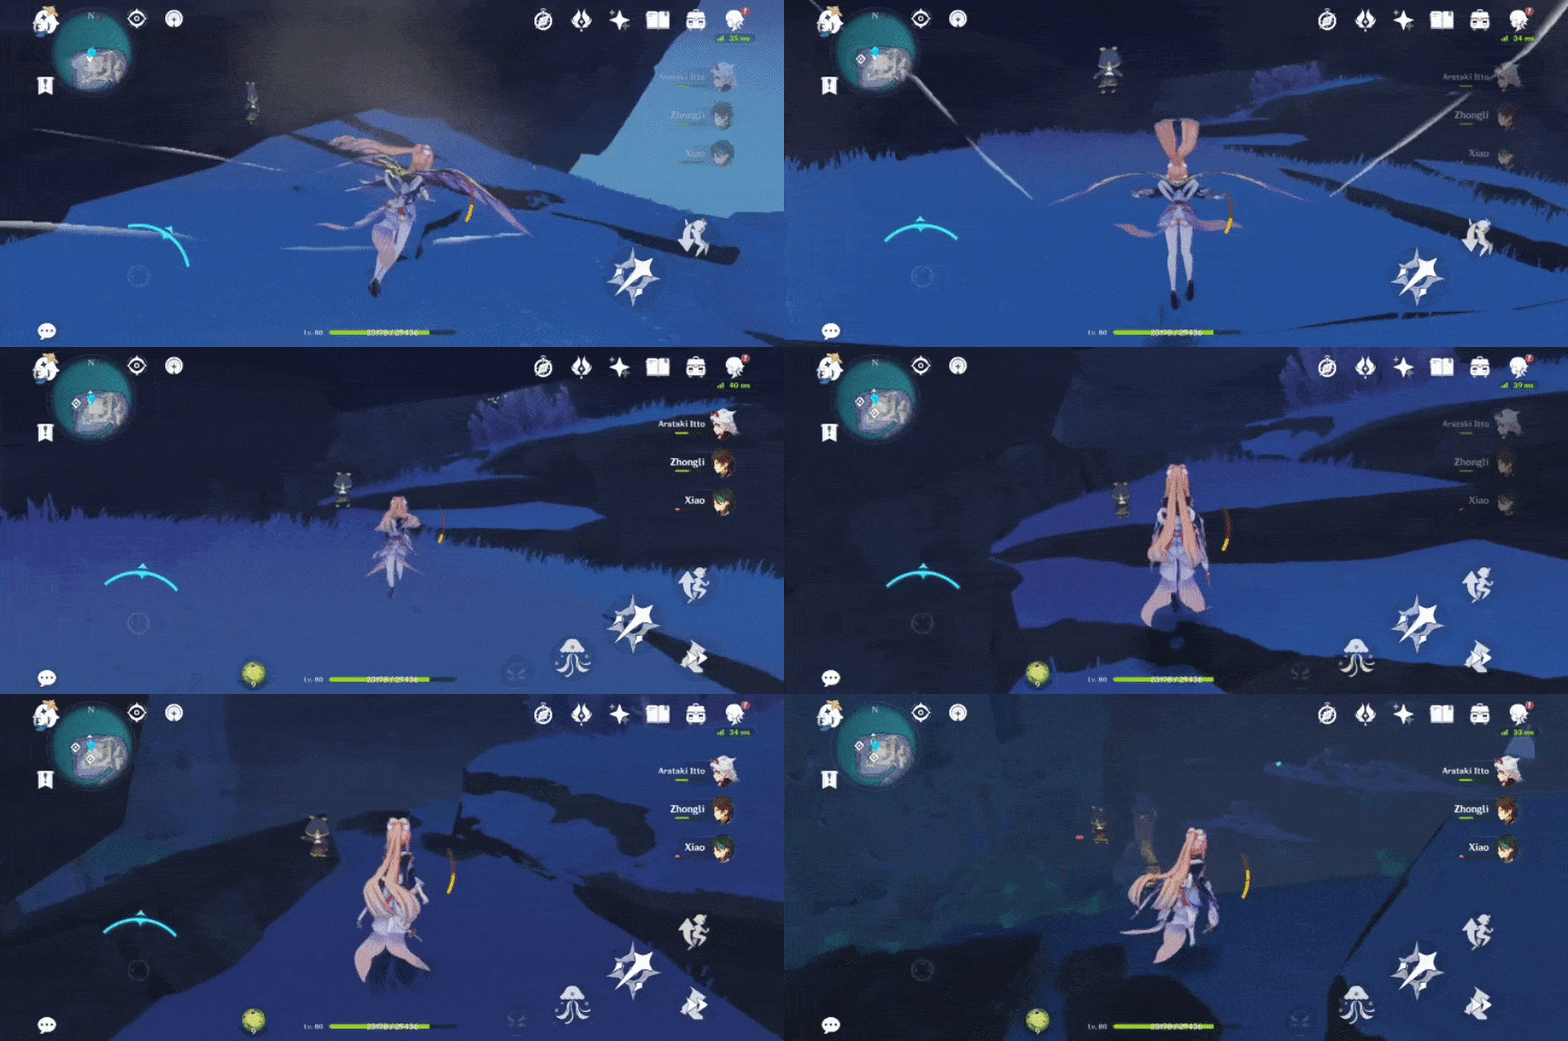
Location:
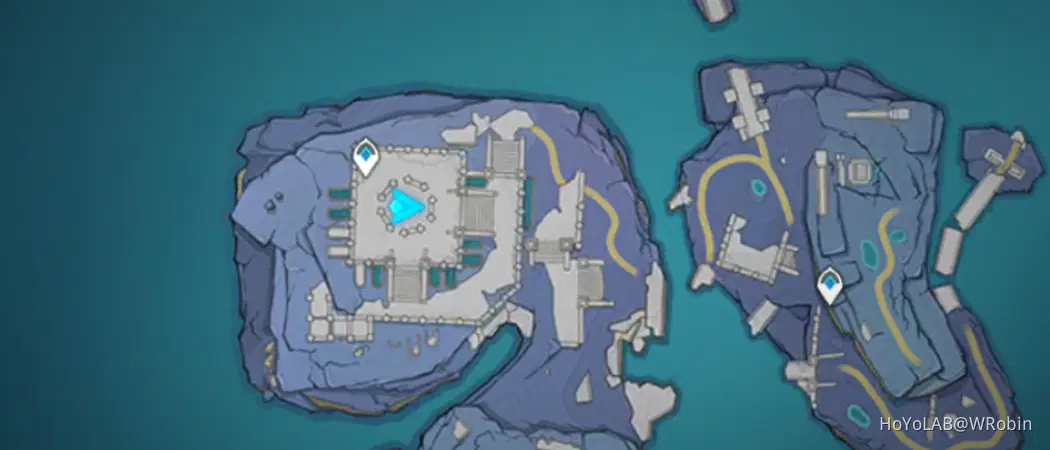
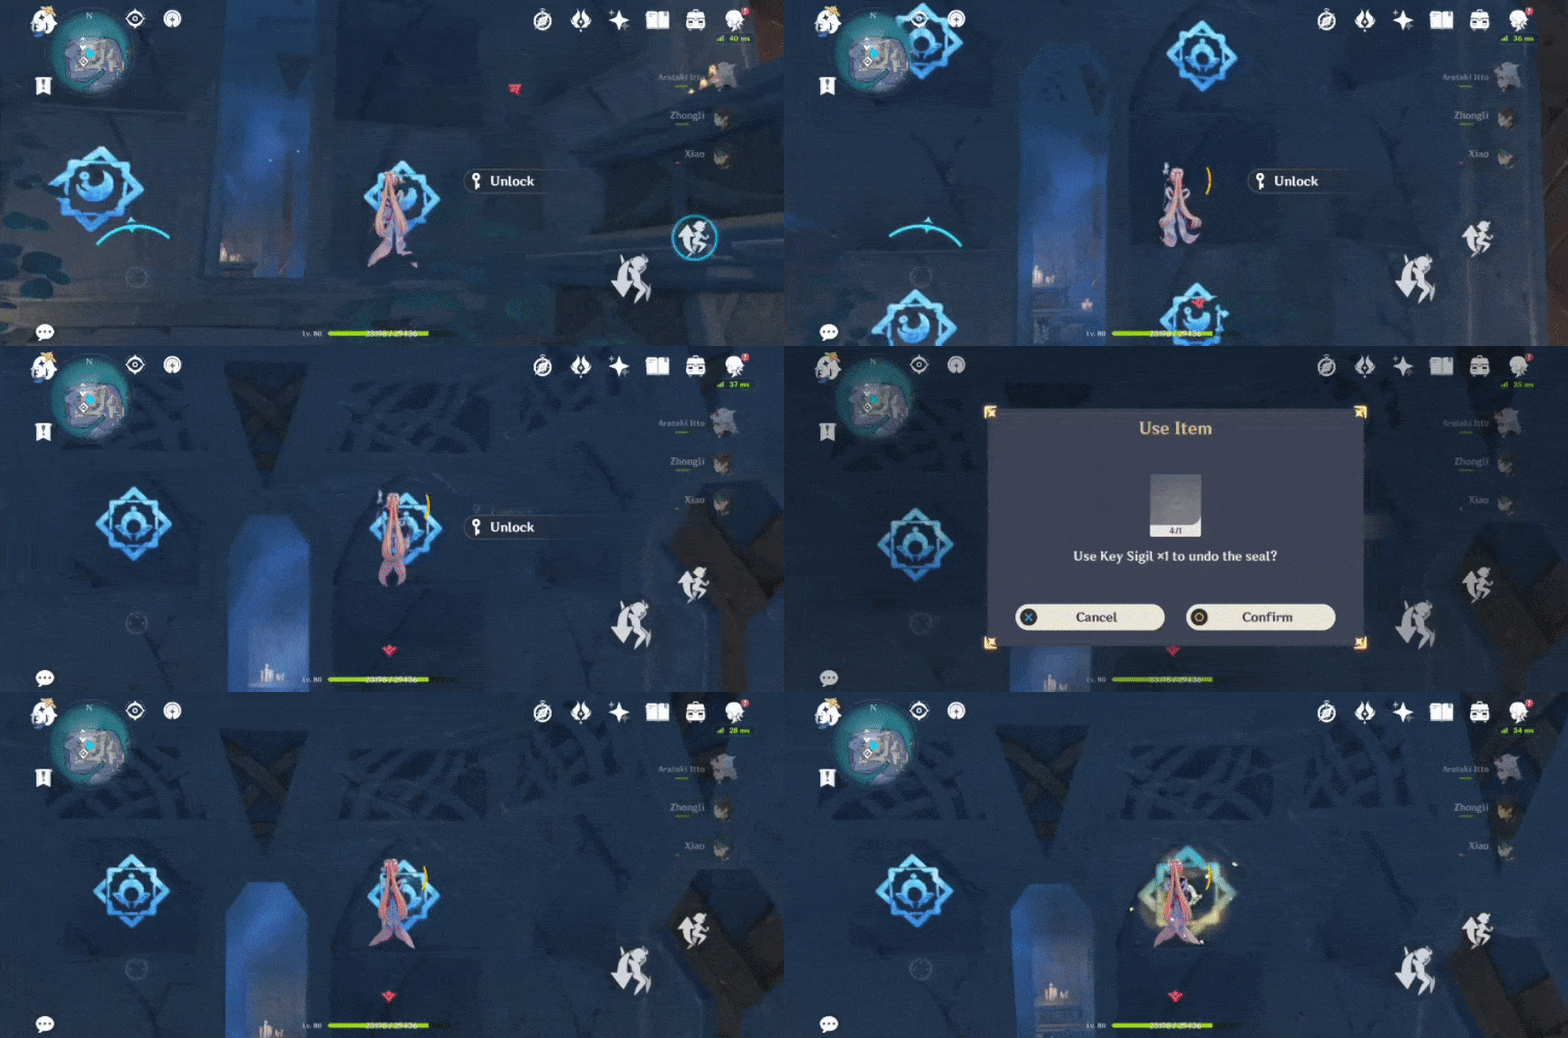
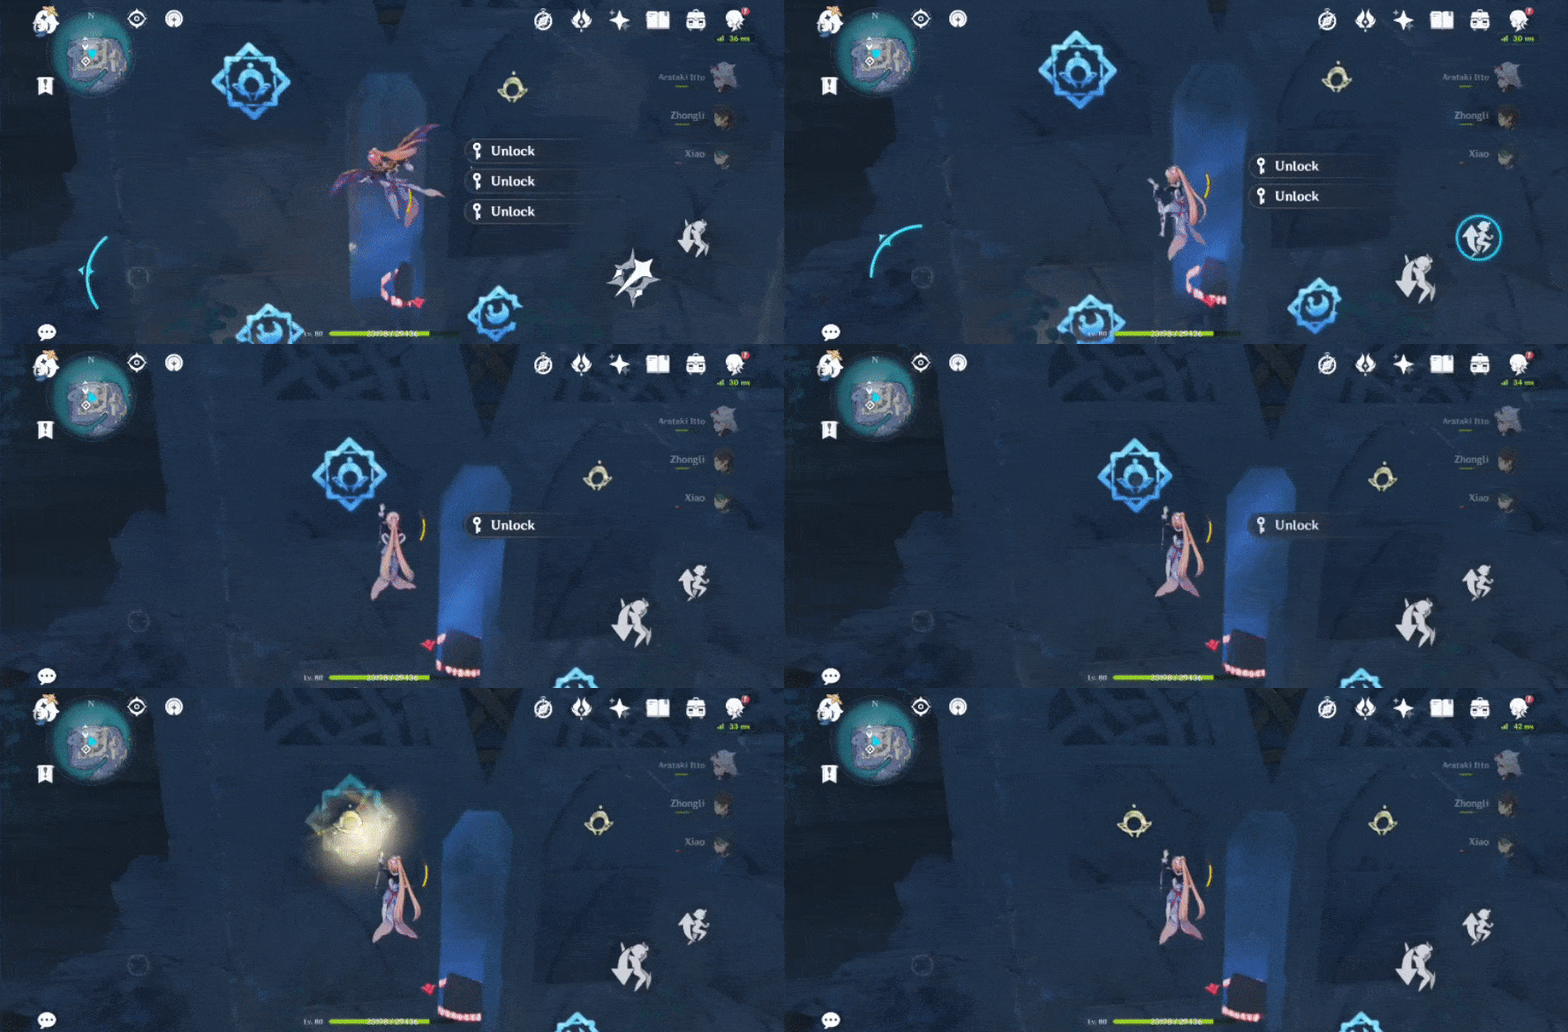
Key Sigil (I) Seal #14- On the ledge wall
Switch to Whitenight to access.
Location:
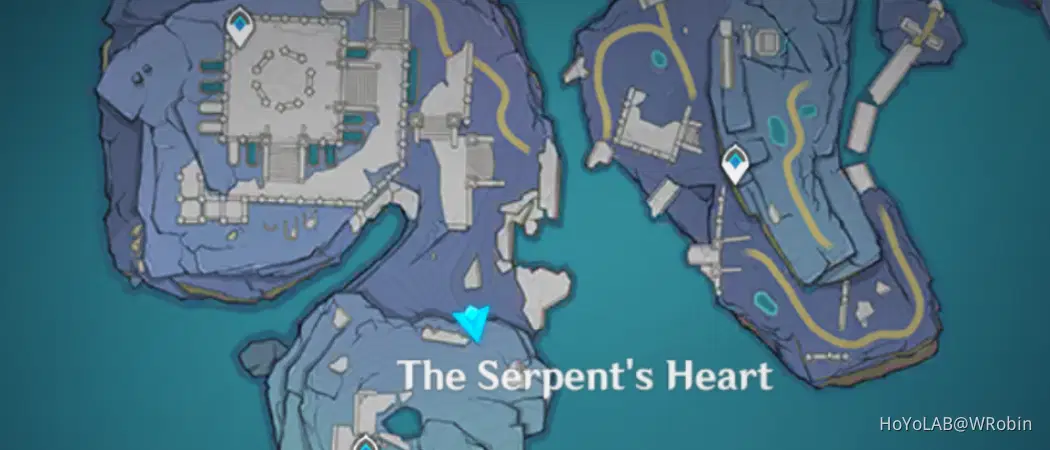
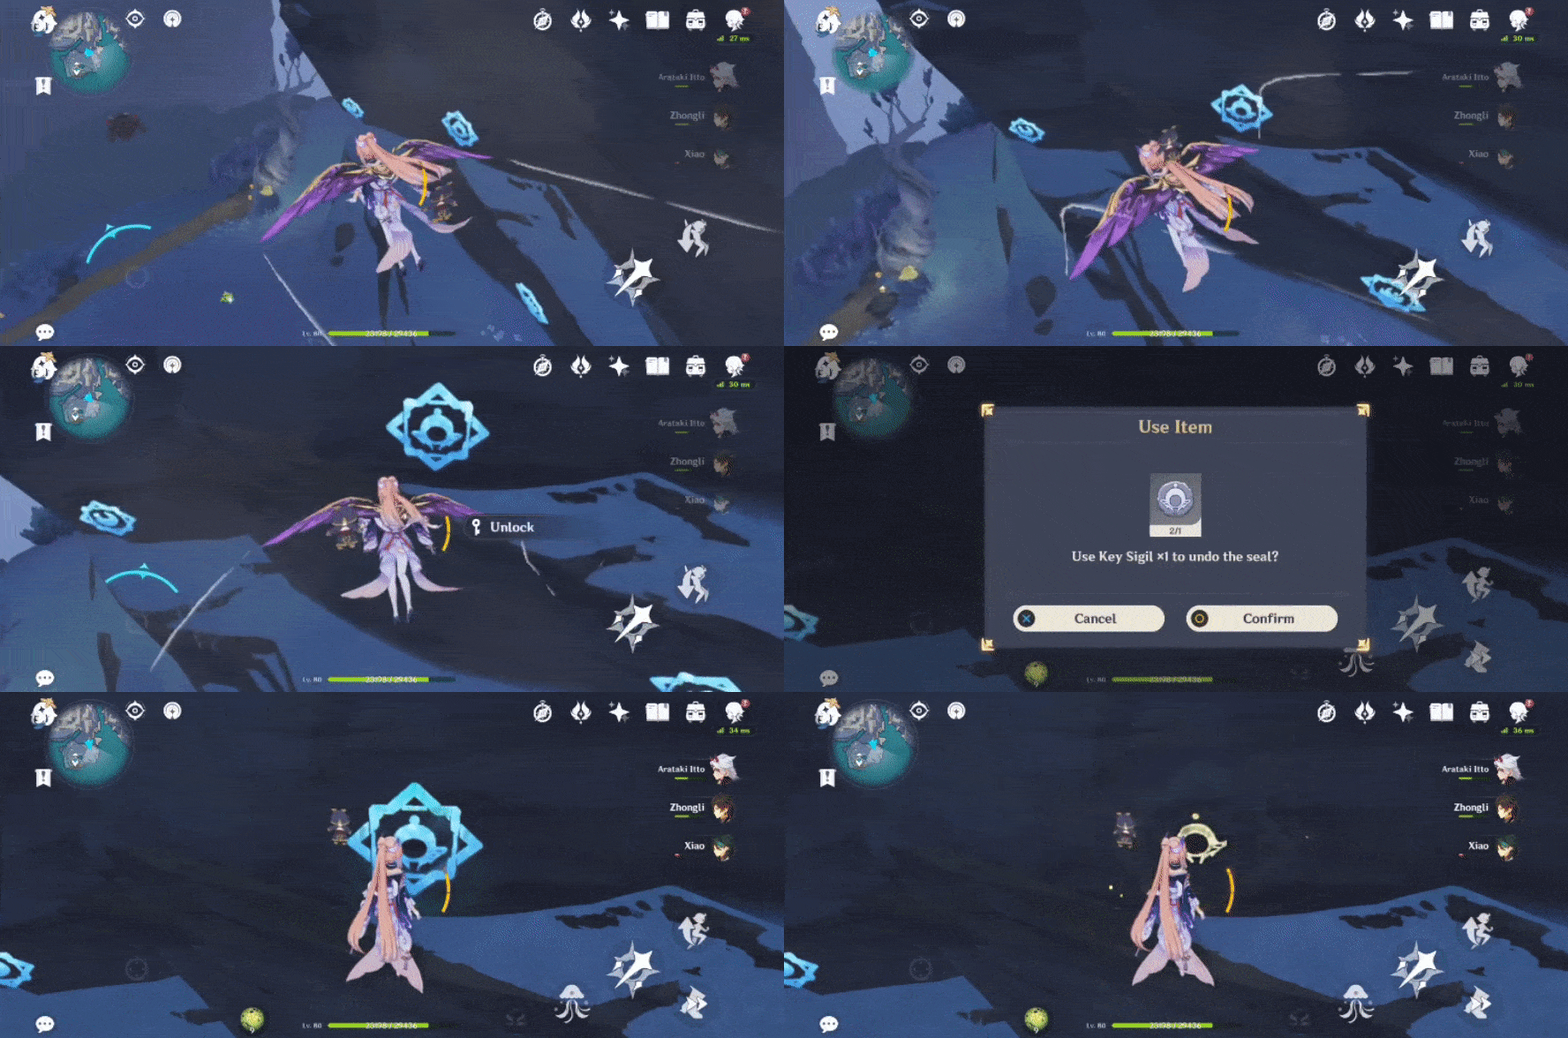
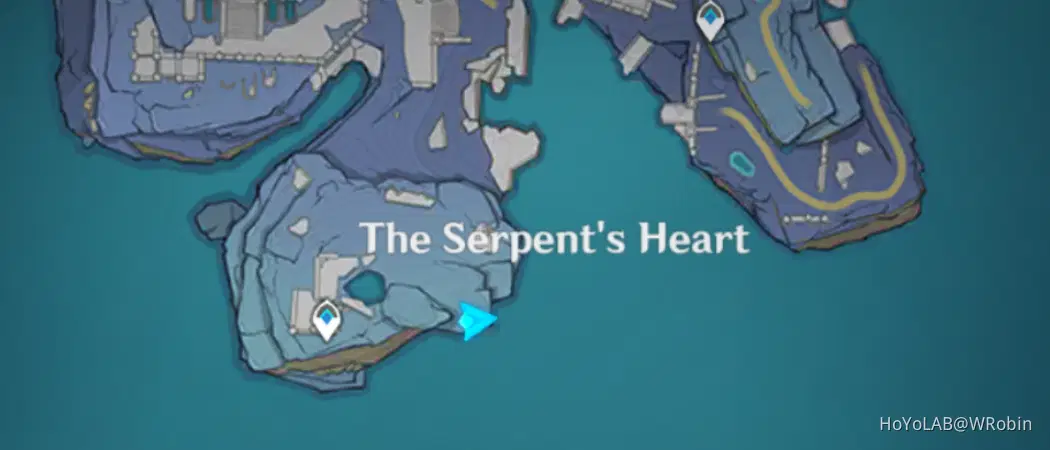
Key Sigil (I) Seal #15- On the rock
Switch to Evernight to access.
Location:
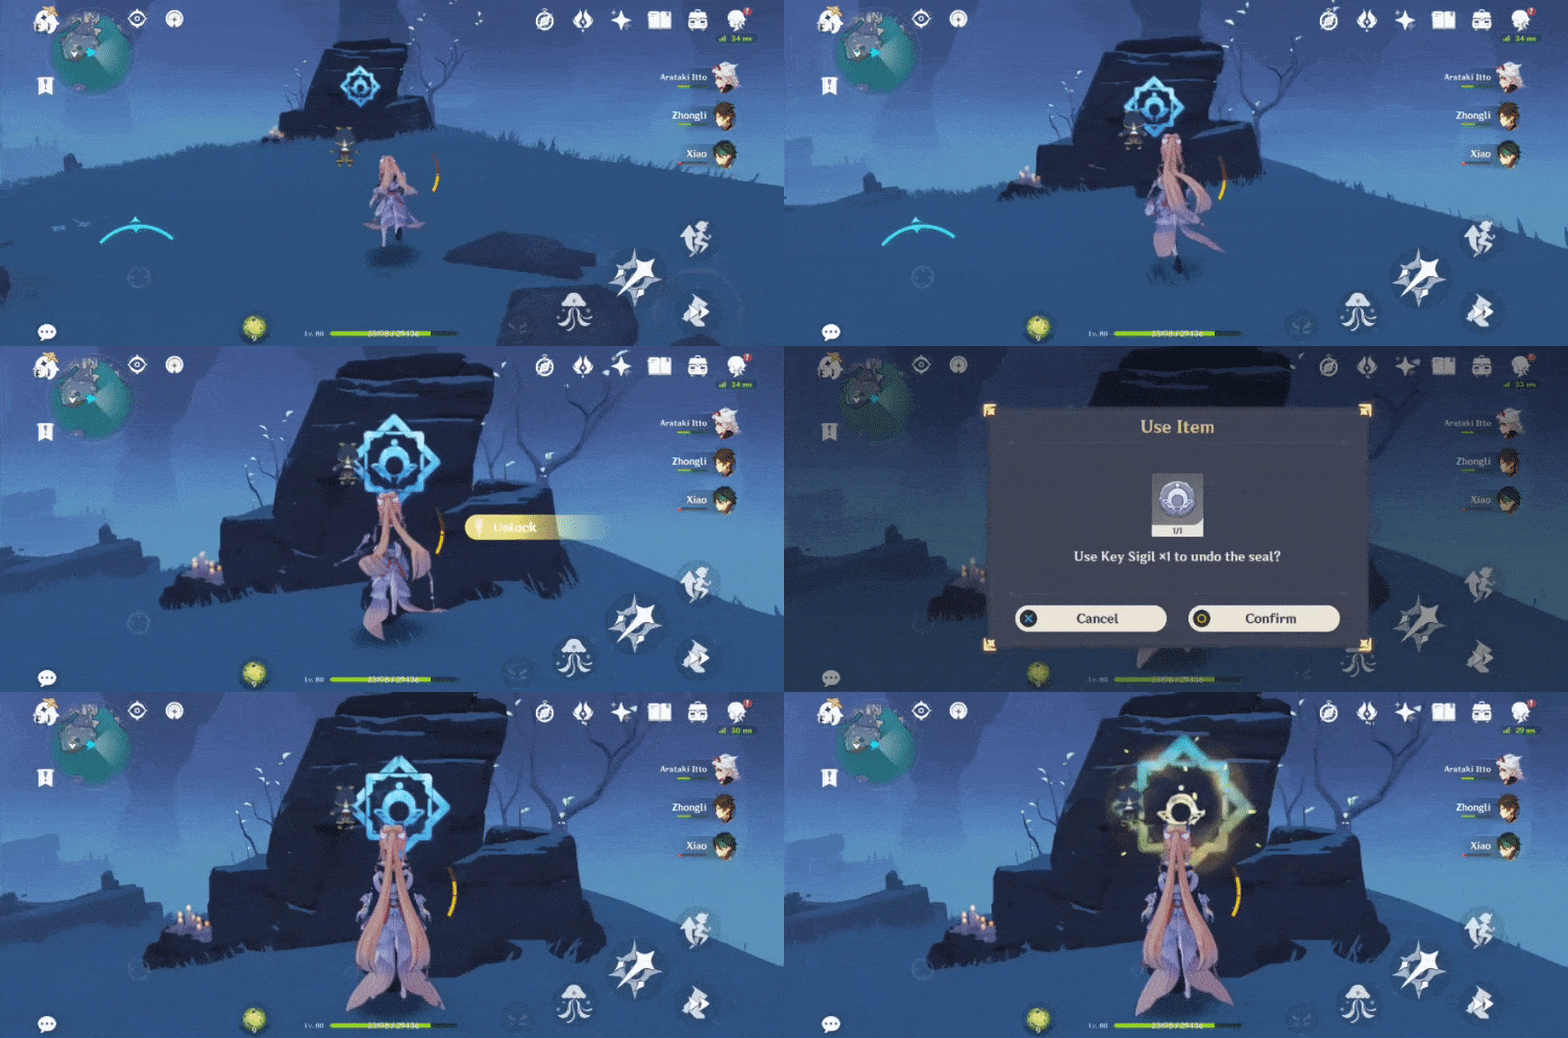
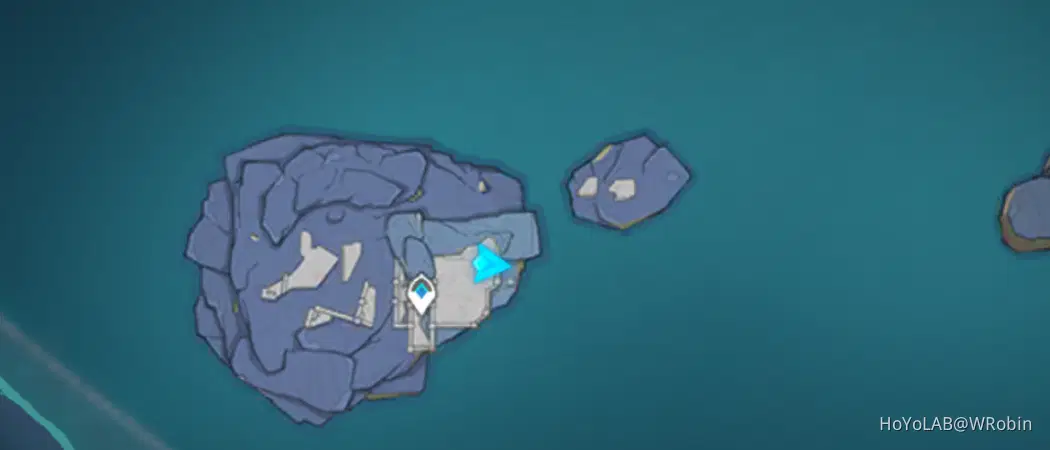
Key Sigil (I) Seal #16- On the wall
Switch to Evernight to access.
Location:
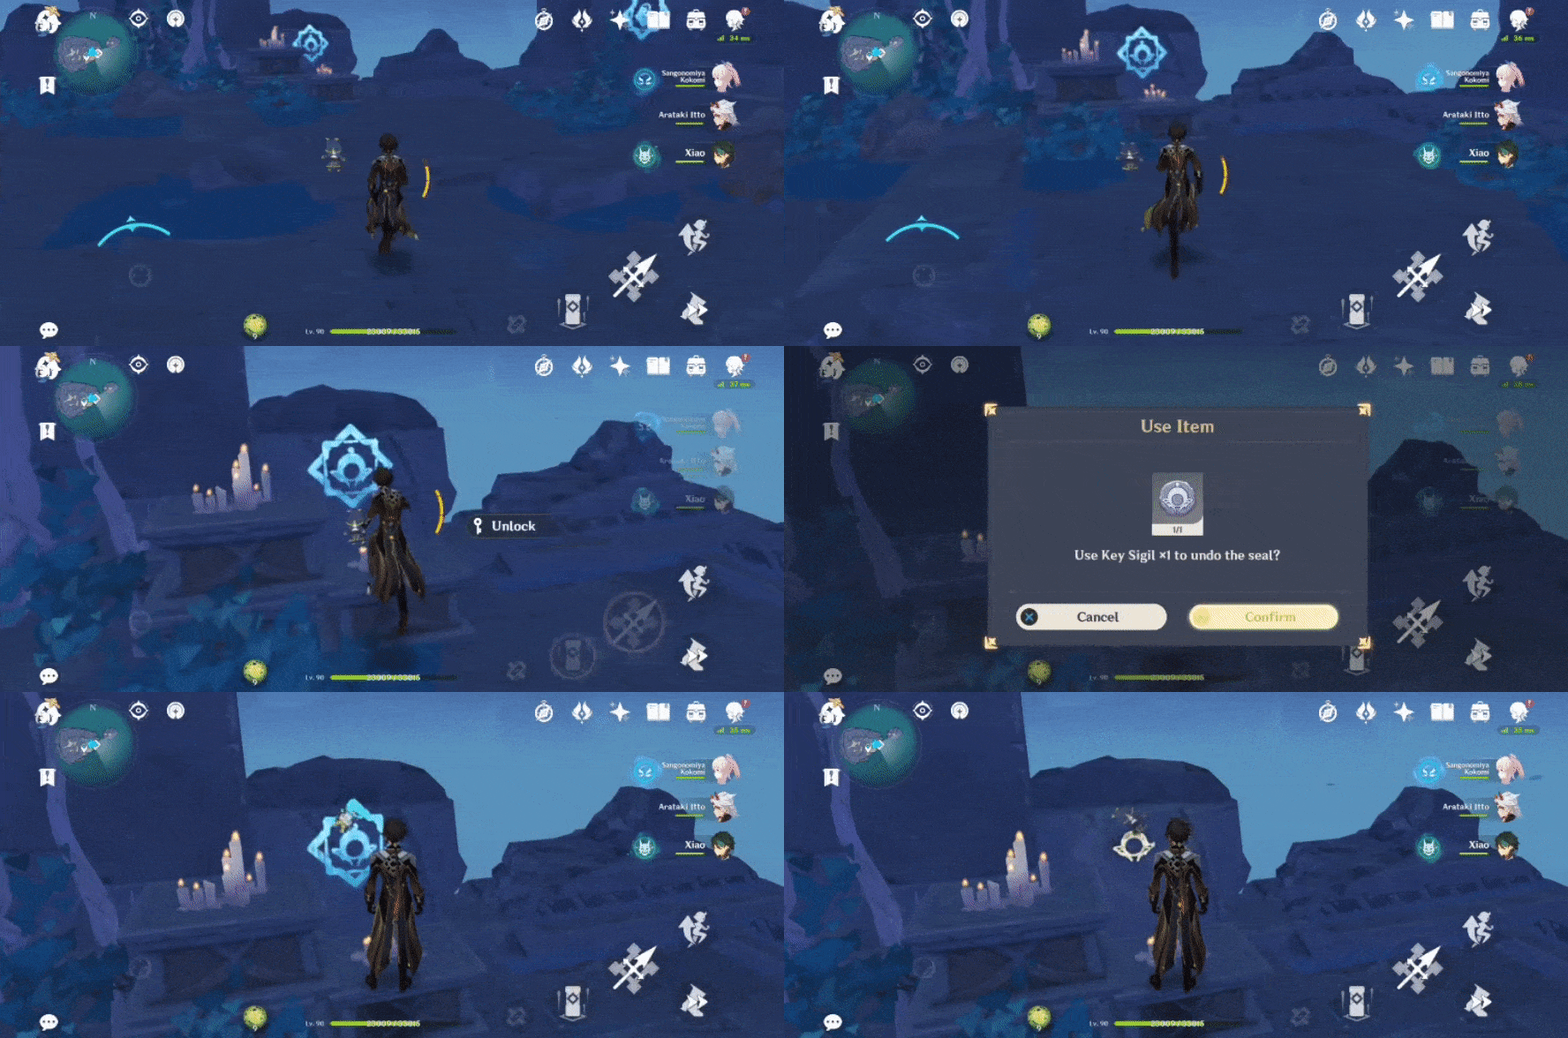
Key Sigil (II) & Seal:[V2.4 Guide] Enkanomiya- Key Sigil (II) & Seal Locations - miHoYo Player Community (hoyolab.com)




