



Herta challenging you to the new Event!
Herta, alongside her Genius Society members, Screwllum, Stephen, and Ruan Mei, figured out a way to simulate the past, before the death of the Aeon of Propagation, Tayzzyronth, the Imperator Insectorum. A whole plethora of new curios, blessings, events appear, on top of a whole new usable path, the propagation path, which is also added to regular simulated universe. In this mode, old paths are revamped, and have brand new features and mechanics to work around, for example, they can now synergize with other paths and gain new resonance powers! We also have a brand new buff tree separate from regular Simulated Universe, and you play on a map now with various Dice to control your path, all in order to buff up and take on the newest Final Boss, The Swarm: True Stings. This is a permanent game mode added to Star Rail, and is massive. It requires strategy, effort, and is a whole lot of fun. This excites me for the future of Star Rail, and I hope you all enjoy it.
( Check out my YouTube video for a more comprehensive / visual format of this guide:
https://youtu.be/eLRUo3X_dz8?si=fjlGsX3FilG5iW1F )
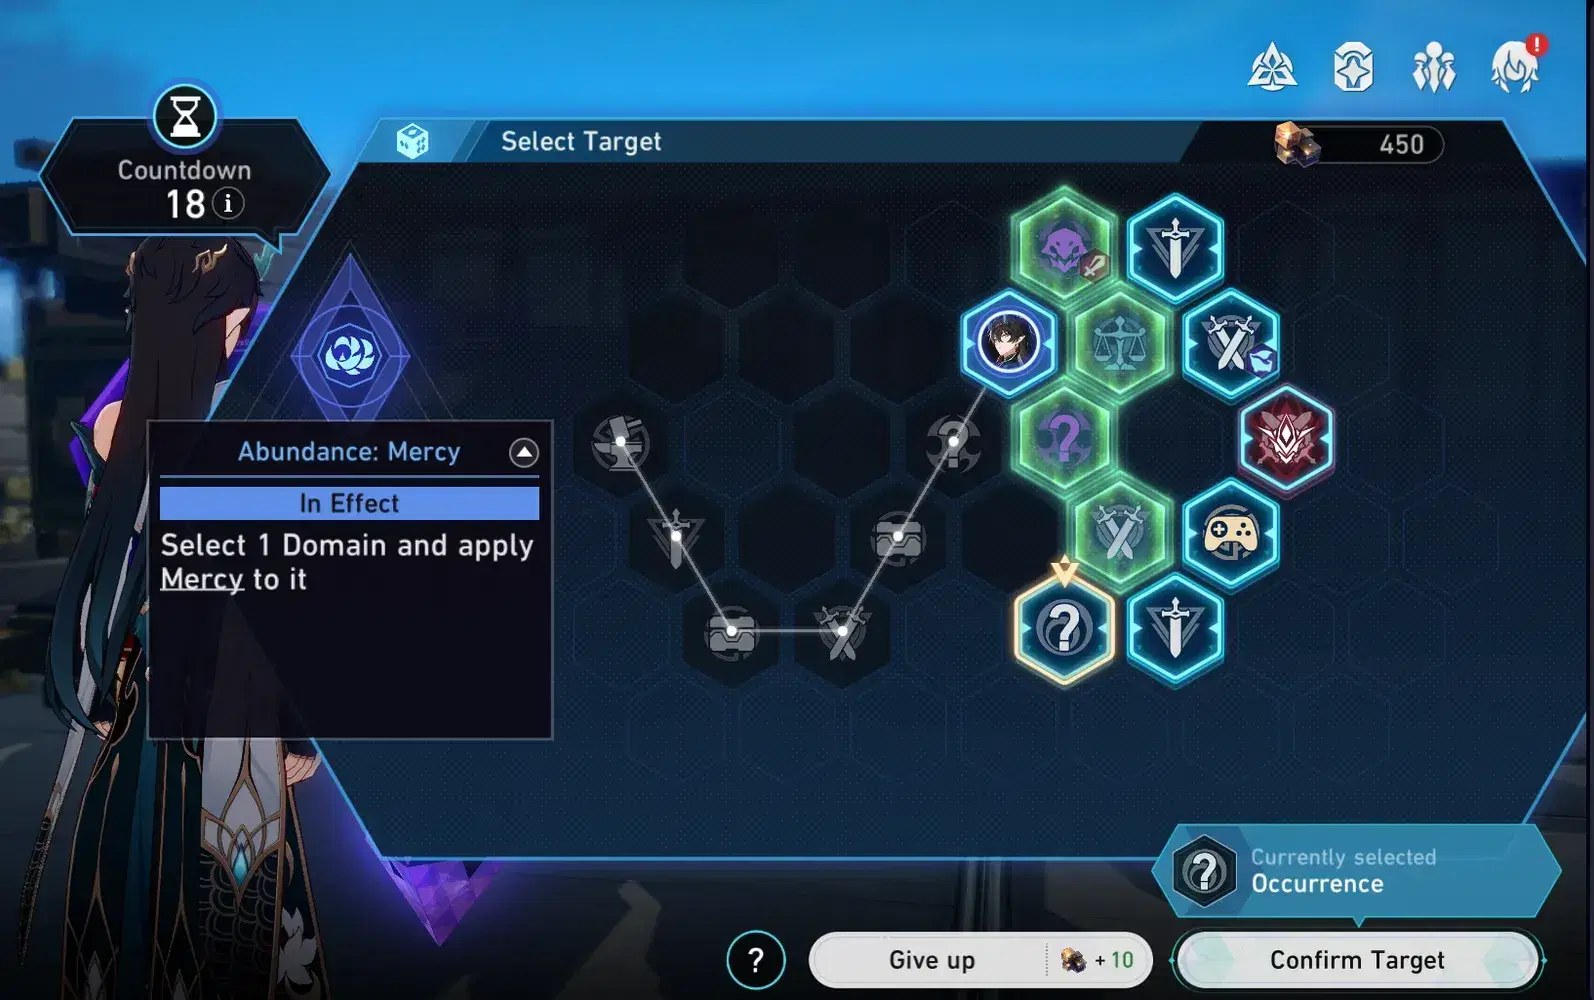
The New Map System for the Swarm Disaster Event
Progression
This new game mode plays out on a map or board now, instead of portals. There are three planes to each run, each with their own procedurally-generated map. You progress from the left to the right, moving from tile to tile, clearing domain by domain. You'll want to make your decisions carefully. You cannot turn back, and past tiles will collapse, so choose a high-value route if you want to beat the bosses. You will face many different domains full of treasures or difficult enemies. It's important to strategically plan your next move in order to maximize buffs in combination with your Path's continuous effect. What's also important to note is the countdown. You have a set number of turns before the enemies start growing weary. Every move will drop the countdown by one turn, and when reaching 0 turns, the Planar Disarray state will take effect, buffing the DMG, tankiness, and speed of ALL enemies.
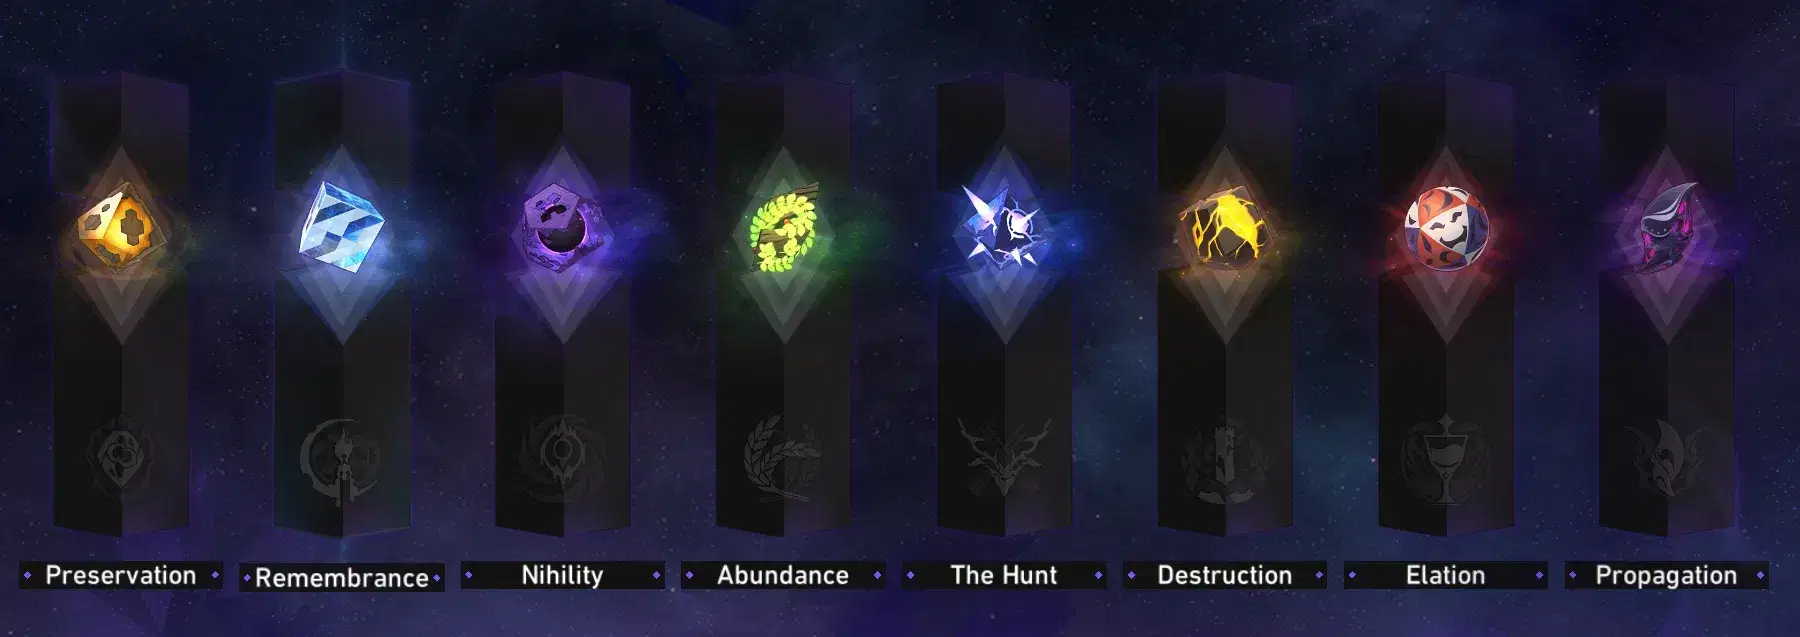
The 8 Aeon Paths in Swarm Disaster
The New Path System
Paths have been revamped! Not only do they have their normal Simulated Universe powers, they now have Interplay powers! These will modify your resonance power, enhancing them with the other path's various effects. You access them by obtaining 3 blessings of the corresponding secondary path, and each path has two interplay resonances for now. All the Interplay Resonances will be listed in the path sections below.
You must choose a path to begin, and they will be locked at the start. They are fairly easy to unlock, except for Propagation, which requires beating the Main Story of the game mode.
Each path has their own Continuous Effect, Dimension Effect, and Audience Die, on top of all having a key mechanic that shifts the game mode in their favour. The Continuous Effect is a permanently stacking buff that will benefit you throughout the run, and stack further if you follow the Path's conditions. This can be for example winning in combat with the Destruction path, which gives you a permanent stacking 8% DMG Boost. The Dimension Effect is a map-changing power that each Path has, like the Propagation, which will convert tiles into Swarm tiles. Each Dimension and Continuous Effect will be listed in the path sections below.

The Die of Aha's Elation Path
To start moving on the board, you clear your current domain, and then roll the brand new Audience Die. Every path has a die with 5-6 possible effects to roll, all unique to the path. These can buff your next battle, or most importantly, affect the map. They can for example let you teleport across the map with the Hunt path, or copy and paste domains with the Remembrance path. This die's effect can be altered however if you don't want it, either by using a Reroll to hope for a new outcome, or a Cheat, letting you select the die's effect that you want. Finally if you don't want your die's effect, you can give it up in exchange for Cosmic Fragments.
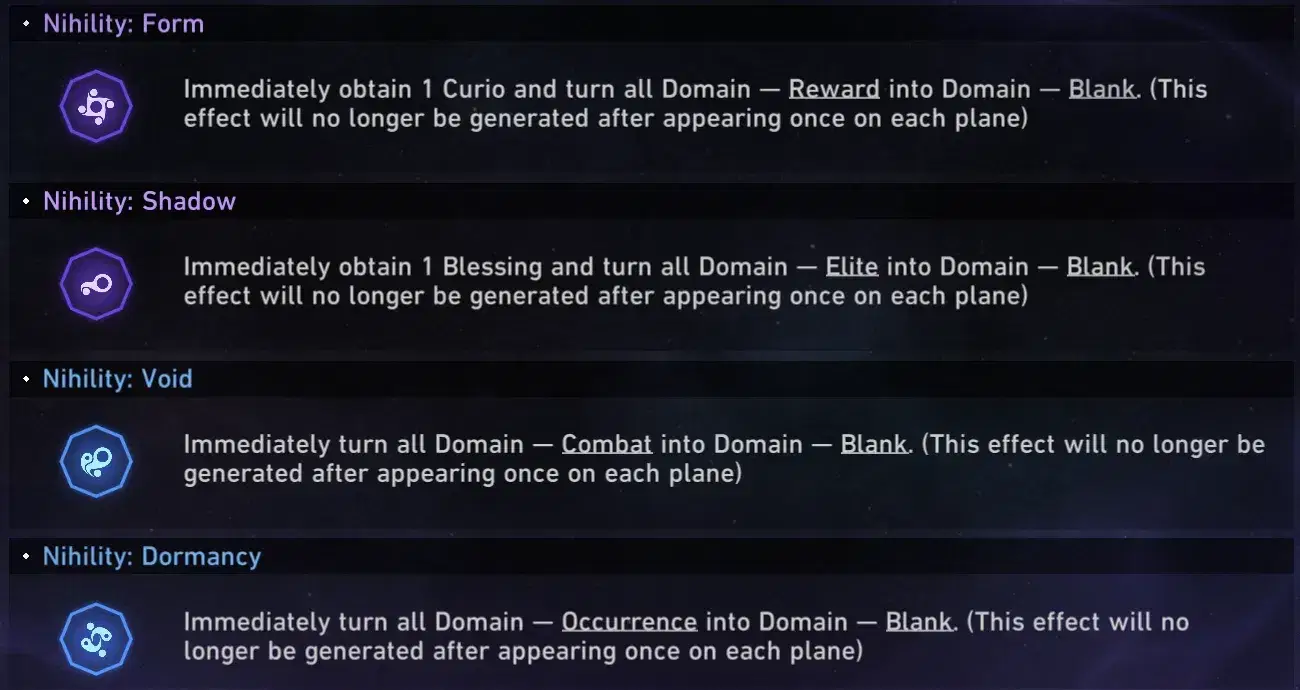
The Nihility path consuming Domains for their benefit!
All Tiles Explained
Once rolled, it's time to move through the map. But what are all these tiles? The Swarm Disaster game mode heavily expands on the base rooms of the regular Simulated Universe. So here's a rundown of each tile in the event!
- Blank: Symbolized by a blank tile with a diagonal line through it, these tiles are empty and may only have a destructible object inside. They are made from consuming domains using various effects, mostly by the Nihility path.
- Combat: Symbolized by a sword. Your regular SU combat domains. You will face 1-3 enemies and obtain Blessings. This has a Swarm variant (Symbolized by a Swarm Monster icon) where you will fight the new True Stings enemy, in exchange for Blessings of Propagation.
- Elite: Symbolized by two swords clashing. Your regular Elite SU domains, except you can fight many throughout a run, unlike SU which is centered around the elite boss stages before the Main Boss.
- Boss: Symbolized by a scary boss icon. The final tile on the Plane. The first plane's boss will be a stronger Elite from SU, and the second plane's boss will be a final boss from regular Simulated Universe. They can beat you just as much as the final boss can at max difficulty! This has a Swarm variant, the boss of the third plane, The Swarm: True Stings. You'll have two bosses to pick from, and they will modify the final Boss fight, so choose the boss wisely.
- Occurrence: Symbolized by a question mark. Your usual occurrence domain, with random events and rewards depending on your decisions! This has a Swarm variant (Symbolized by the purple question mark icons), allowing you to gain more Blessings of Propagation.
- Reward: Symbolized by a treasure chest. A much friendlier and more powerful variant of occurrences, granting lots of big rewards!
Do note that Occurrence domains have new outcomes that can happen depending on your path! You can unlock new options and completely shift the base Occurrence to give you more or different rewards! See below for an example.
- Adventure: Symbolized by a game controller icon. A toss up between two minigames. You either have to catch a number of Trotters using your playable units, or smash a number of destructible objects, with a time limit! Lots of fun, and great rewards if you can beat the challenge's hardest mission.
- Transaction: Symbolized by a pair of scales. A revamp of the regular transaction node. Instead of an occurrence, you now meet Screwllum and Herta with new shops. Screwllum will sell Blessings, and Herta will sell Curios. You can buy multiple at a time!
- Respite: Symbolized by A rest before bosses, regular Respite tile from Simulated Universe, where you can heal up, Download new units, or Revive ones. Herta will have her usual shop, and on the final boss will let you enhance Blessings.
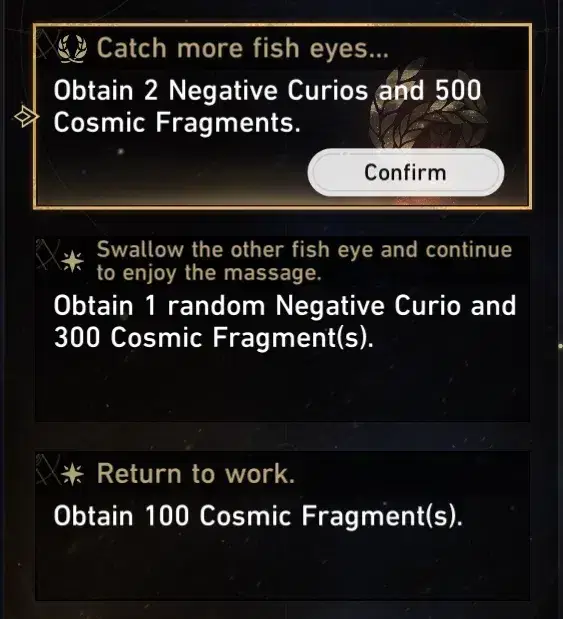
An extra option when using Yaoshi's Path of Abundance!
These tiles can also be enhanced with Beacons! Little icons that appear on the bottom right of a tile.
- Trotter Beacons: (Trotter icon on the bottom right of a tile) Curio / Blessing Trotters can inhabit a domain. Entering it will have your regular tile with a Trotter to defeat on top. Be careful with the Destruction ones! They make tiles higher-value due to the Trotters' extra rewards, but they run away from you on the map by teleporting with other domains.
- Enhance Beacons: (Mini Swords on the bottom right of a tile) These beacons will enhance Combat / Elite domains. The enemies will be much harder, but beating them will let you choose from Blessings that are already enhanced, saving you Cosmic Fragments, and giving you the possibility to earn Enhanced Lv. 3 Blessings!
- Mutation Beacons: Enemies become Errors, and you gain more Cosmic Fragments upon winning.

Using the Remembrance's Recollection Power to have two Respite Domains?!
The Swarm: True Stings
Now that you've cleared the domains and passed through, it might be time to tackle the new enemy, and the final boss of the Swarm Disaster game mode, The Swarm: True Stings. This boss has a high difficulty curve especially in the later difficulties.
Manual play will be required at these stages, and heavy planning, buff usage, and effective path blessings will be necessary.
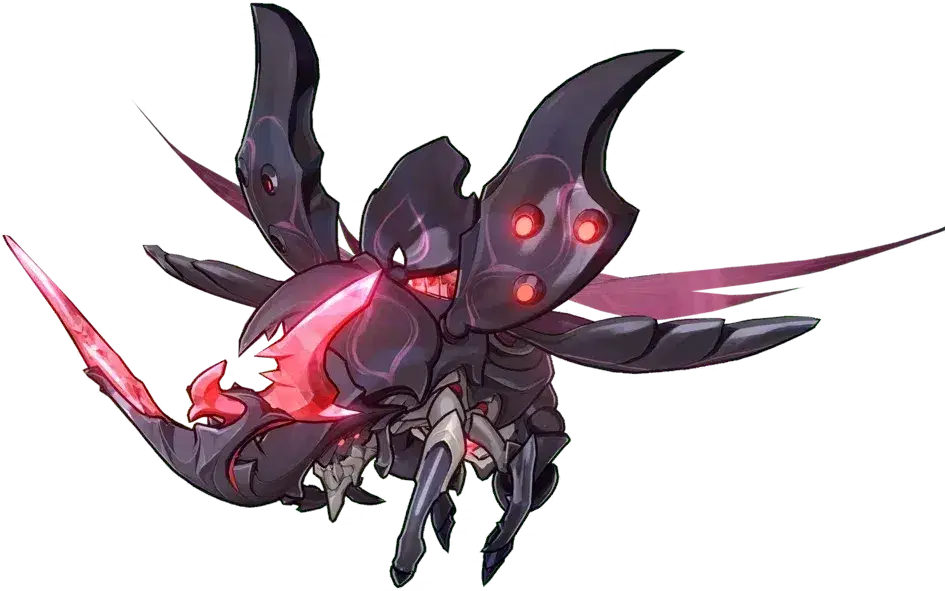
The Swarm: True Stings
This boss has two set weaknesses, Imaginary and Quantum funnily enough, the two elements that hate coinciding. The third element will be determined by your pick of boss during the First Plane. It is RNG, so you may not end up getting your desired Weakness. The boss will also have a secondary effect applied, either a debuff on them, or a buff on your team, depending of your pick of boss during the Second Plane.
The Aeon of Propagation, Tayzzyronth, has blessed this bug with their powers, the power of Duplication. The boss can split and summon Juvenile Stings, Lesser Stings, or even the boss itself. They will all apply stacking and deadly Wind Shear effects, so cleanses are necessary to survive, that or heavy shielding. The main boss can also detonate these Wind Shears.
When any swarm enemy dies, they will explode, dealing large AoE Wind DMG to all of their allies (so the enemies), and applying a Vulnerability debuff, therefore enhancing your damage on the rest of the bugs! It is ideal to clear them in packs to form a large Vulnerability effect on the main boss to kill it easier.
The Three Phases
The boss has 3 phases to beat, all with their own strategy to beat:
- Phase 1: The boss will spawn 2 Juvenile Stings. These Juvenile Stings will duplicate into more Stings if not defeated, and the enemies can have 5 bugs at max at once, including the main bug. You'll want to kill the smaller bugs to avoid Wind Shears, as well doing damage to the main target at the same time. Someone like the new Imbibitor Lunae is perfect for the job.
- Phase 2: The boss will spawn 2 Juvenile Stings, as well as 1 Lesser Sting. The Lesser Sting must be defeated immediately. It will explode into your team and can inflict Outrage to multiple members of your team, dooming your run. Defeat this enemy, before adopting the same approach as before. On top of that, the boss will now have access to their ultimate power, and will warn you before doing so. Break or kill the boss before this happens, or your run is probably over.
- Phase 3: The boss will now split itself, giving you two big bug bosses to deal with. They both share the same kit, and so the second boss entity will summon smaller Stings on top of also having a charge attack. Defeating the smaller stings and causing a chain reaction of damage and vulnerability is an effective way to beat them. Breaking is important, and AoE/Blast damage too.
Strategies
Beating this boss is a tough task, but correct and different gameplay methods exist.
The Abundance Path can let you remove Wind Shears with ease, even automatically once you've unlocked the auto Path Resonance power. It can also cleanse any Outrage effects, and with a big Shield, can make you nearly immortal.
The Remembrance Path will let you perma CC the Boss. Freezing them prevents duplicating as well as their deadly moves, and they aren't Freeze Resistant unlike Cocolia.
The Preservation Path is similar, allowing you to stack up insane shields and stall out the boss. The damage is negligible though at later difficulties, and you'll need other path blessings for damage.
The Hunt Path and Propagation Path are my personal favourites, allowing for turn cycling like never before. It is very risky and a glass cannon build, but a lot of fun and very effective.
How to Gain Buffs
The regular Simulated Universe tree is omitted from The Swarm Disaster, meaning you will have to play through the game mode and complete missions to tackle the hardest content! No easy runs from the get-go unlike World 7.
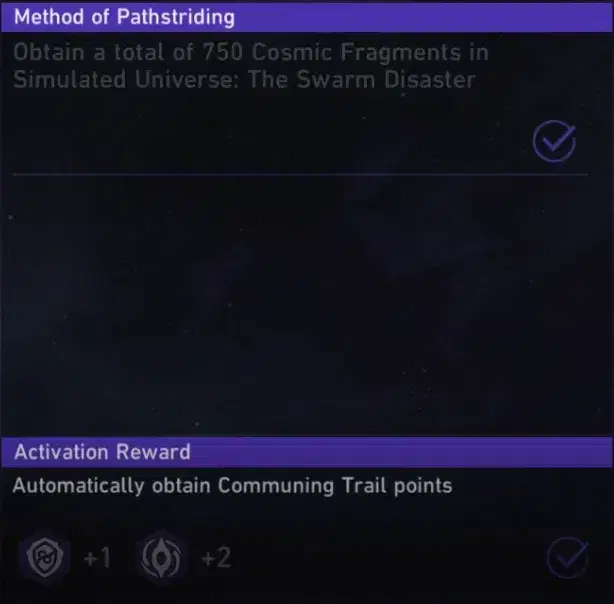
A Pathstrider mission
You'll need to complete Pathstrider missions in order to gain what I call Path Points. These points accumulate, and at certain milestones will grant you buffs for every future run! They will take effect no matter which path you end up choosing for your run, so any Hunt buffs will still occur during a Nihility run. The buffs will correlate to the path, meaning Hunt for instance will grant you Speed and Crit buffs for your runs, whereas Preservation may buff your Defense. They also have extra special buffs at certain milestones, check them out!
You can also gain Path points by choosing their respective options during Story moments throughout your runs (see below).
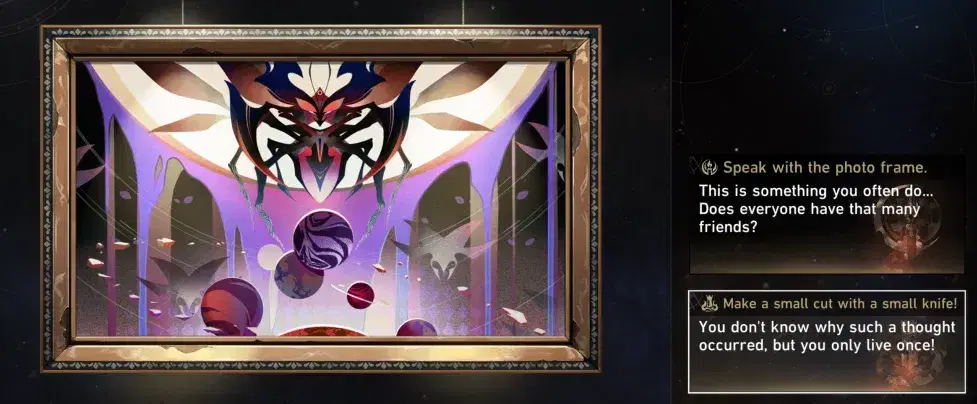
A mysterious event...
The Paths - Explained
Preservation
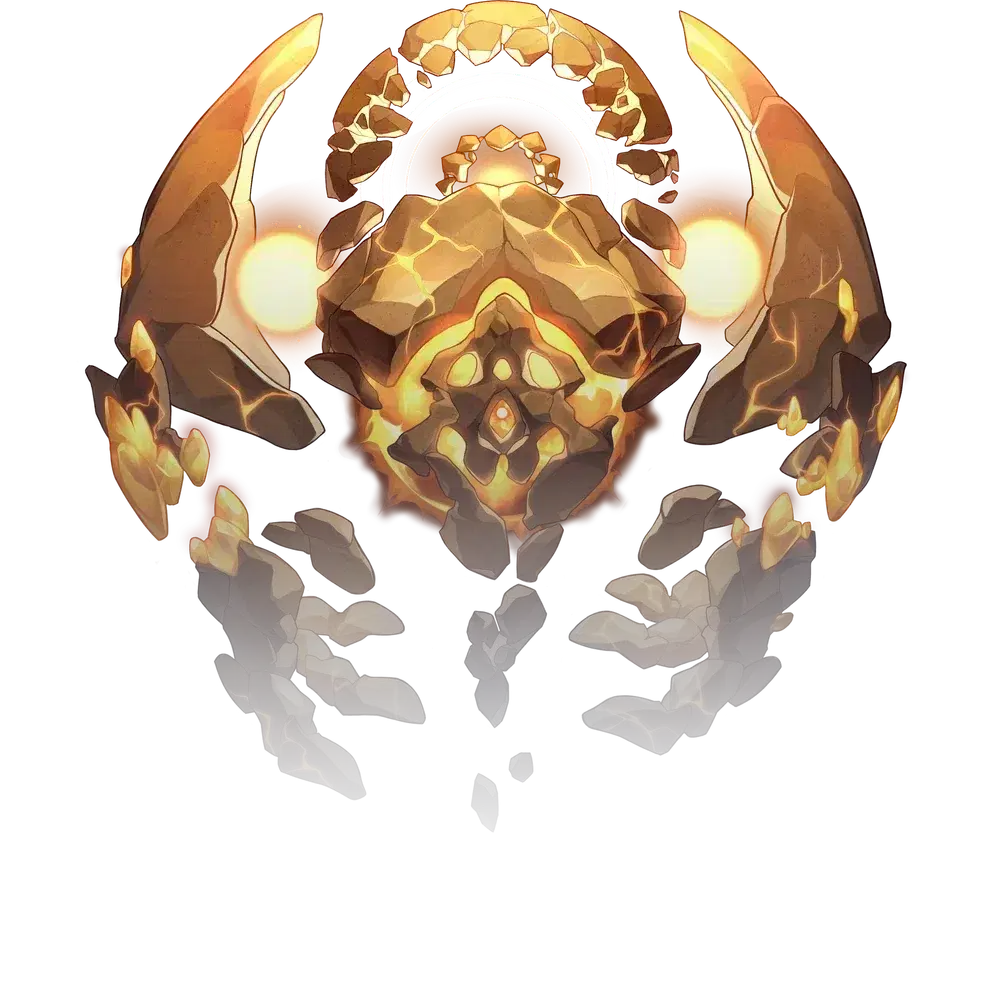
Qlipoth, Aeon of Preservation
Preservation and its die bases itself on the Cornerstone mechanic. It will turn domains into Cornerstone domains, preserving them unless you enter them. When you enter a boss at the end of a plane, you will gain a permanent stacking 4% Shield Strength based on the amount of Cornerstone domains present. You will also gain 1 blessing to choose from for each different type of domain that has Cornerstone applied to it. So you’ll want to make your way through the planes and place your cornerstones strategically whilst avoiding entering them, to maximize your buffs and blessings.
When combined with Nihility, the Resonance power gains the following buff:
There is a 150% base chance for Path Resonance: Preservation to inflict Bleed on the attacked target for 2 turn(s). Bleeding enemies will take Physical DoT equal to 12% of their Max HP at the start of each turn. This DMG cannot exceed 250% of the total amount of Shield effect currently active on all allies.
When combined with Remembrance, the Resonance power gains the following buff:
When attacking Frozen enemy targets with Path Resonance: Preservation, the DMG dealt increases by 80% and the Freeze status on the enemy targets is removed. Dissociation will not be removed by this effect.
This path is safe and good for auto battle, but the damage isn't that great considering the high health pools in Difficulty V at least. You'll want other Path's blessings on top of the bonus survivability this path gives you.
Gepard can abuse this Path.
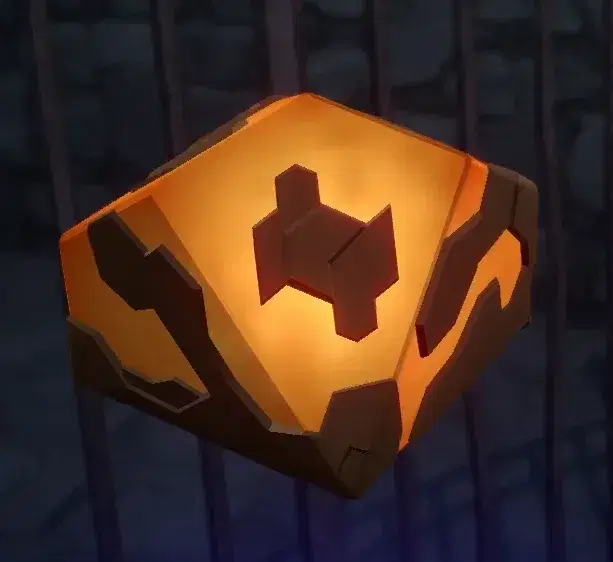
Qlipoth's - the Aeon of Preservation - Die
Remembrance

Fuli, Aeon of Remembrance
Remembrance bases itself on the Recollection effect. It will copy domains and apply recollection, and entering one of these domains will grant you permanently stacking 25% Effect Hit Rate. You’ll want to copy high value domains as much as possible, allowing you to gain back to back nodes full of blessings and curios.
When combined with Hunt, the Resonance power gains the following buff:
When the Freeze effect caused by Path Resonance is dispelled or resisted by enemy targets, there is a 150% base chance of decreasing the target's SPD by 15% for 2 turn(s).
When combined with Destruction, the Resonance power gains the following buff:
When the Freeze effect caused by Path Resonance is dispelled or resisted by enemy targets, there is a 150% base chance of lowering the target's All-Type RES by 15% for 2 turn(s). For every 1% HP that each ally has lost, the target's All-Type RES is additionally lowered by 0.06%.
This path is very safe as you can stall for years, but very slow damage wise until you unlock the Dissociation effect. You can stack buffs to hard CC the swarm disaster, as they are not freeze resistant like Cocolia. Freezing the True Sting enemies will prevent splitting as well as their high damage.
Pela and March 7th can abuse this Path.

Fuli's - the Aeon of Remembrance - Die
Nihility

IX, Aeon of Nihility
Nihility bases itself around the Blank domains in the game mode. You will be transforming rows of domains into blank ones, and traversing them will increase the DoT DMG of all allies by 18%, stacking permanently. The die’s effects will give you bonuses and transform types of tiles into Blank ones. What makes it interesting though is that once you’ve done that for all tiles, you then only have two faces of the die left, a golden side, or a blue side. The golden side can thus be rolled frequently, and will transform your next blank tile into a reward one, so you can effectively have back to back rewards non stop, letting you stack up massive buffs for the boss fights instead of relying on RNG occurrences and combats.
When combined with Hunt, the Resonance power gains the following buff:
After using a Path Resonance, for every type of debuff (out of Burn, Shock, Bleed, and Wind Shear) the enemy target is currently inflicted with, Advance Forward all allies' actions by 4%.
When combined with Propagation, the Resonance power gains the following buff:
A character's Basic ATK can cause all DoTs currently applied on the target via Path Resonance: Nihility to immediately deal DMG equivalent to 40% of these statuses' original DMG.
This path is of course tailor made to DoT units, but you are able to use other units with its various DoT application effects. Kafka is insane with this. It's also really good for survivability once you’ve stacked the attack debuff effects on top of the healing effects.
DoT users, so Kafka, Sampo, Luka, and Serval, can abuse this Path.
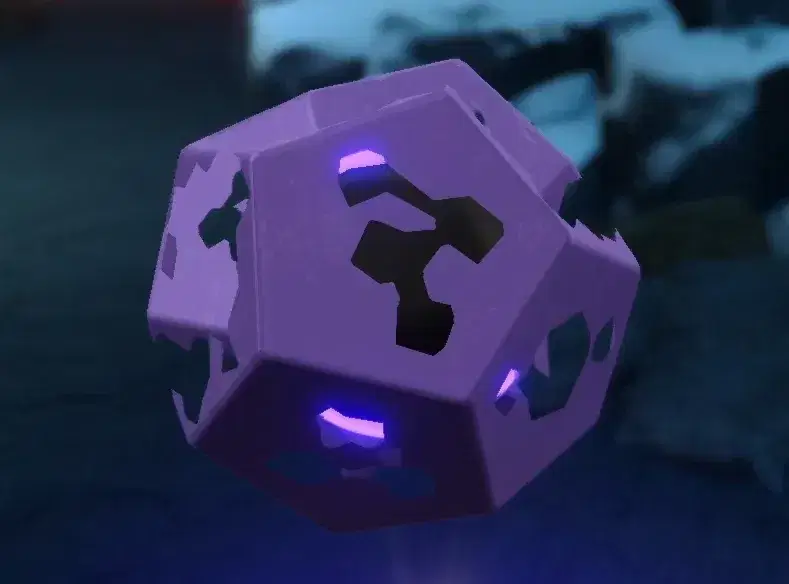
IX's - the Aeon of Nihility - Die
Abundance
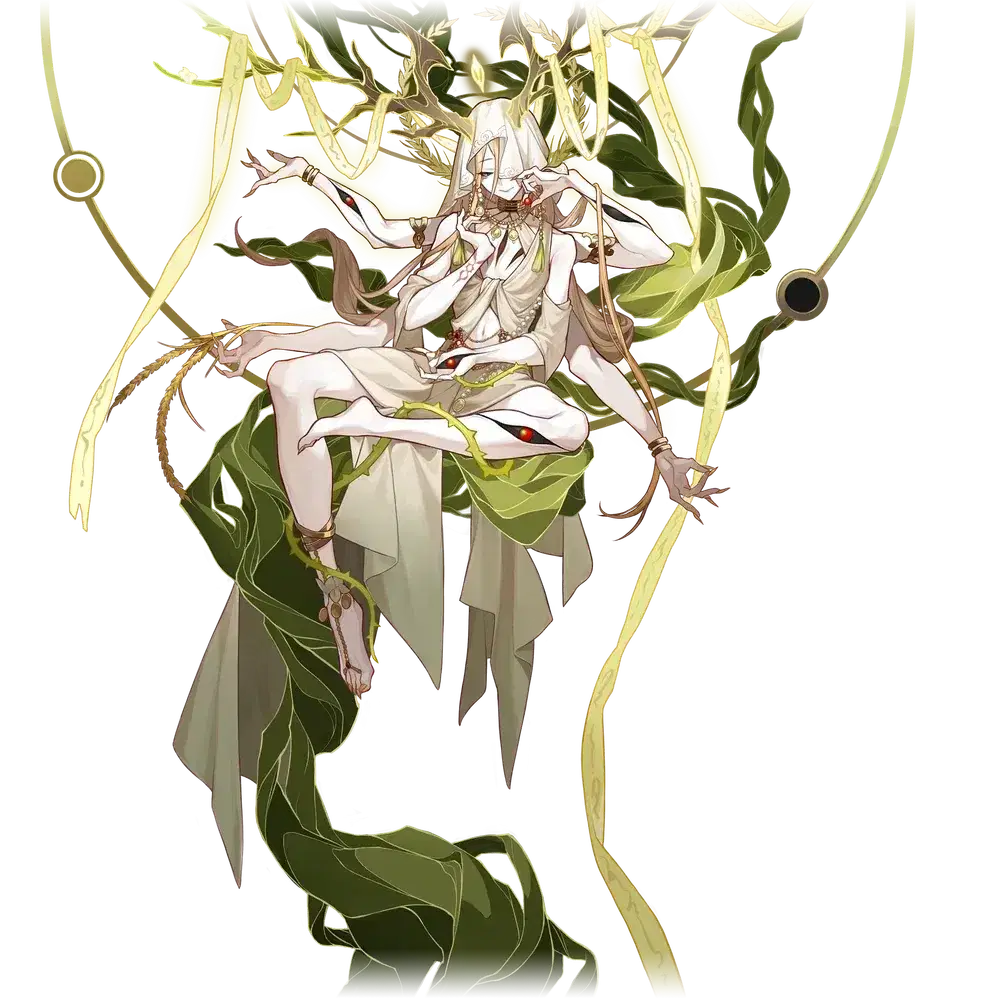
Yaoshi, Aeon of Abundance
The Abundance is based on the Mercy effect. Domains will have this applied to them from the dimension effect as well as the die’s effect. When using this path, the countdown now drops by 3 each move, instead of 1, which is very dangerous. However, if you land on a mercy tile, you instead add 1 to the turn counter instead of losing a turn. On top of that, each turn left on the countdown gives you a 5% stacking outgoing healing boost. You’ll want to apply Mercy to a lot of domains, allowing for a way longer route to the boss. It will take longer, but you’ll be able to complete many more nodes than the rest of the paths, due to the countdown being irrelevant if used right.
When combined with Nihility, the Resonance power gains the following buff:
After using Path Resonance, all allies' Weakness Break Efficiency increases by 15% and Break Effect increases by 50%. This effect lasts for 2 turn(s) and stacks up to 2 time(s).
When combined with Propagation, the Resonance power gains the following buff:
After a character has their HP restored via Path Resonance and if the healing amount exceeds the maximum HP, recover 1 Skill Point. This effect can only trigger 1 time per Path Resonance use. After triggering this effect, all DMG dealt by all allies is increased by 30% for 2 turns. This effect can stack up to 2 time(s).
In combat against the swarm, this path is amazing to remove the windshears, it’s also great for autoplay with the automatic resonance activations. It’s very safe provided the boss doesn’t one shot you, so in combination with a shield, it’s practically immortality (until Difficulty V lol).
Healers, so Bailu, Natasha, and Luocha, can abuse this path.
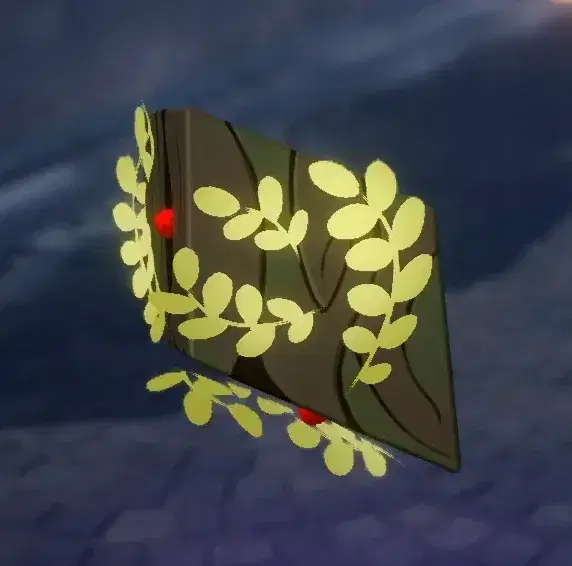
Yaoshi's - the Aeon of Abundance - Die
Hunt

Lan, Aeon of Hunt
The Hunt is all about pigs. Literally. You hunt trotters to succeed. Your dimension effect and die will summon or trap trotters or let you teleport to them. Not only do trotters give great bonus rewards to any path, every trotter defeated with the hunt path gives all allies a permanent stacking 30% crit damage. You’ll want to go and clear high value domains on top of maximizing trotter hunting. Don’t just go for trotters for the crit damage if it’ll lose you a reward domain. Its two teleports are very strong for fast clears, as well as avoiding unwanted domains or swarms, and can save you if the Planar Disarray debuff is getting too strong.
When combined with Abundance, the Resonance power gains the following buff:
After enemy target(s) are defeated by a Path Resonance, restores all allies' HP equal to 50% of their respective Max HP.
When combined with Elation, the Resonance power gains the following buff:
After using Path Resonance, all allies' SPD increases by 25 for 2 turn(s). This effect also applies to units summoned by allies.
This playstyle is high risk high reward, you kill the enemy or you die. And being fast has its downsides if you have 5 wind shears from true stings about to explode you. So you have to play around the pure DPS playstyle, or bring double sustain.
Any DPS can abuse this Path.
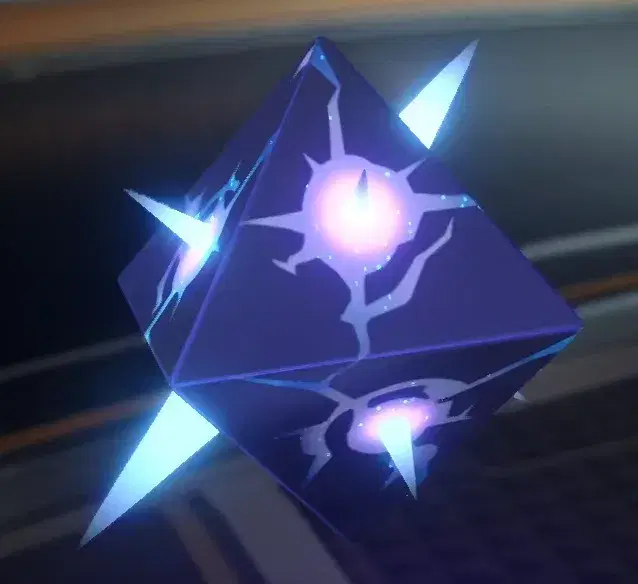
Lan's - the Aeon of Hunt - Die
Destruction

Nanook, the Dude we Gotta Defeat, Aeon of Destruction
Destruction is all about combat tiles. You’ll be converting tiles into combat ones, or elite ones, and even enhancing them, as well as gaining benefits for fighting, for example a permanent stacking 8% DMG buff for every individual battle won. You’ll want to focus on spamming combats for great rewards, and enhancing elites for enhanced level 3 blessing potential. Make sure to not do too many combats though before the Planar Disarray gets you.
When combined with Preservation, the Resonance power gains the following buff:
Using Path Resonance will cause any character with current HP percentage lower than 50% to gain a Shield equal to 40% of their Max HP, lasting for 2 turn(s).
When combined with Elation, the Resonance power gains the following buff:
When a character launches a follow-up attack, regenerates 5% Energy for Path Resonance. If the character's current HP percentage is lower than 50%, additionally regenerates 5% Energy for Path Resonance.
The resonance power like Preservation is weaker in later difficulties, but it's still nice for weaker enemies, and Destruction is still a great survivability path once you get the 3 star blessings. You’ll be very tanky, and have a lot of effect resistance with the right setup. You do want to be low HP though for max damage, which is very scary in combination with the insane damage output the True Stings boss can unleash, on top of the various wind shear effects.
Recommended users are bruiser units, and any standard teams.
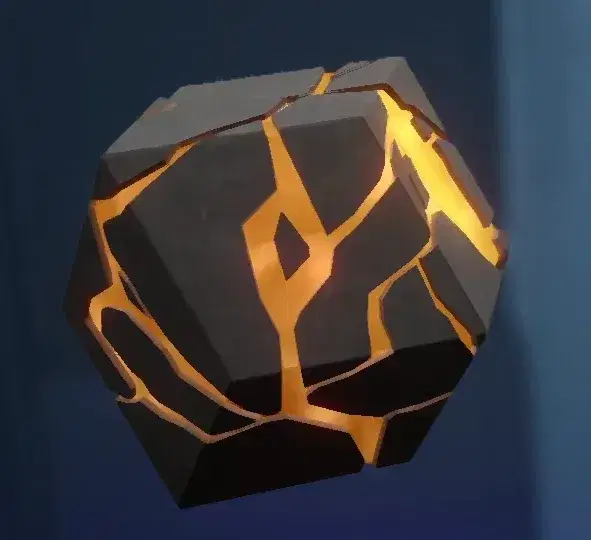
Nanook's - the Aeon of Destruction - Die
Elation
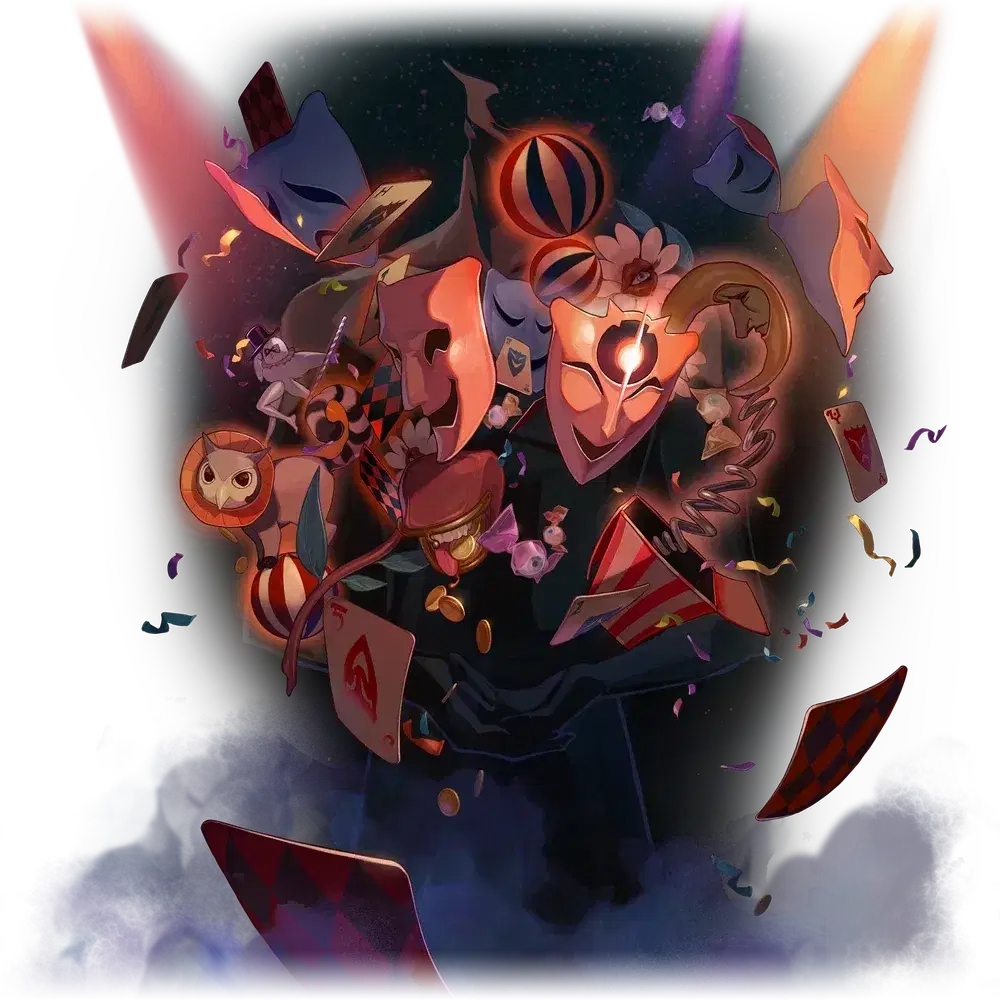
Aha, Master Troll, Aeon of Elation
Our final regular path is Elation. And of course it's all about being random, as well as the Happiness effect. You will be able to apply it to domains, randomizing said domain. This can be anything, and has even used effects from other paths. For every domain you pass through as well, follow up attack damage dealt by allies will have a random stat bonus increase. It’s classic Aha trolling. So you don’t need strategy really, but one thing you can do is transform low value tiles and hope you get some big rewards out of it.
When combined with Remembrance, the Resonance power gains the following buff:
When Path Resonance: Elation deals Ice DMG, there is a 150% base chance to Freeze the enemy target for 1 turn(s).
When combined with Abundance, the Resonance power gains the following buff:
When Path Resonance: Elation deals DMG, randomly dispels 1 debuff on 1 ally.
This is a bunch of fun, and with a follow up user like Clara on board you will be deleting enemies. The 3 star blessings are very strong, and you can even use any DPS, provided you have the right blessings that cheat the system.
Recommended users are Jing Yuan and Clara.

Aha's - the Aeon of Elation - Die
Propagation

Tayzzyronth, the Aeon of Propagation
Propagation is a brand new Path, unlocked from completing the Main Story in the Swarm Disaster game mode. I won't be spoiling stuff on it, but its core mechanic (think Dewdrop for Abundance) is the Spore mechanic, stacking up deadly damage from basic attacks and Skill Point consumption.
As for the Swarm Disaster mode, the Propagation path is all about transforming domains into Swarm domains. So not only will you be able to max out the path’s resonance and get all the blessings you need, you’ll also gain the path’s continuous buff. Every swarm domain you enter, you’ll gain a permanent stacking 20% basic attack damage buff.
The resonance power of the Propagation is the following:
Consumes 100 Energy to resonate with the Path of Propagation and allows a target ally to immediately take action, recovers 2 Skill Point(s) and become affected by Metamorphosis. Metamorphosis lasts for 1 turn and only takes effect on the latest target.
This is insane for Qingque and Imbibitor Lunae, but any DPS can abuse this to take multiple turns!
When combined with Preservation, the Resonance power gains the following buff:
When using Path Resonance, a single target ally gain a Shield equal to 60% of Max HP, lasting for 3 turn(s).
When combined with Destruction, the Resonance power gains the following buff:
After using Path Resonance, nullifies all DMG received by a single target ally except DoT. This status is dispelled after being attacked. If the target ally's current HP percentage is lower than 50% when Path Resonance is used, it will additionally recover 1 Skill Point(s).
This path on Lunae is pretty solid for beating the swarm boss. On top of massive basic attack damage, the spores spreading to all the bugs means they die quite frequently, and start stacking on the boss for a lot of damage. This also synergizes well with the awesome Qingque!
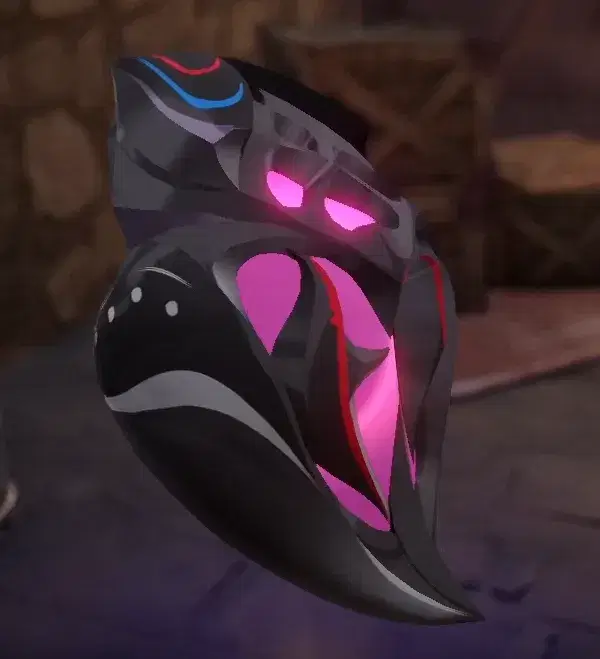
Tayzzyronth's - the Past Aeon of Propagation - Die
That's all for this guide! I hope it helped, and if you did don't forget to follow for character builds, and sub to my Youtube Channel if you're interested <3 Good luck with your Swarm Disaster runs, and have a guoba day!




