


Index:[Index] Wonders of the World- Hidden Achievements - miHoYo Player Community (hoyolab.com)
(A/N: This section will be based on achievements via Quests (or exploration via Quests). There will also be a continuation of achievements for 'Dragonspine Exploration', as Part 4 had reached the picture limit.)
-Footage is from my 2nd & 3rd account-

Index (Part 7)
Mondstadt Quests
🟆"The Best Sword in the Cemetery", "Nothing to Lose But Time", "Gears of Destiny"
Mondstadt Quests (Dragonspine)
🟆"Snow-Stored History", "Towering Achievment", "Glutton for Goulash", "Untellable Tale"
Monstadt Exploration Pt.2 (Dragonspine)
🟆"Priest, Princess and Scribe", "Glacial Steel"
Liyue Quests
🟆"Interview with a Bygone God", "Crouching Dragon, Hidden Chi", "Scourge of the Battlefield", "Shadow Over Luhua Pool", "Ready Player Zero", "Trees Should Blend Their Roots and Shade, For That Is Where the Home Is Made"
◈Mondstadt Quests◈ 3 achievements (Total: 15 primogems)
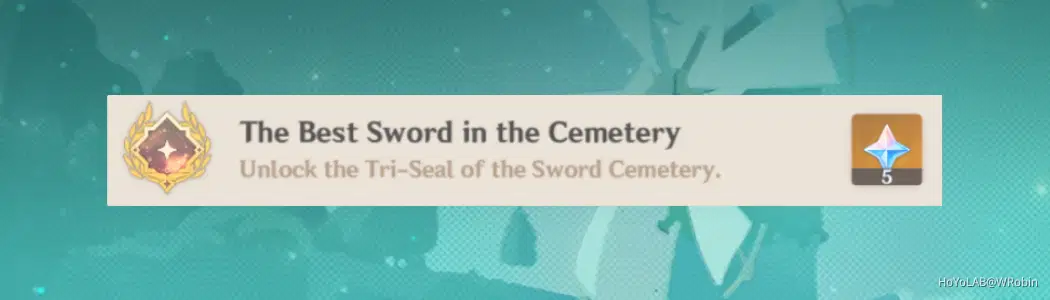
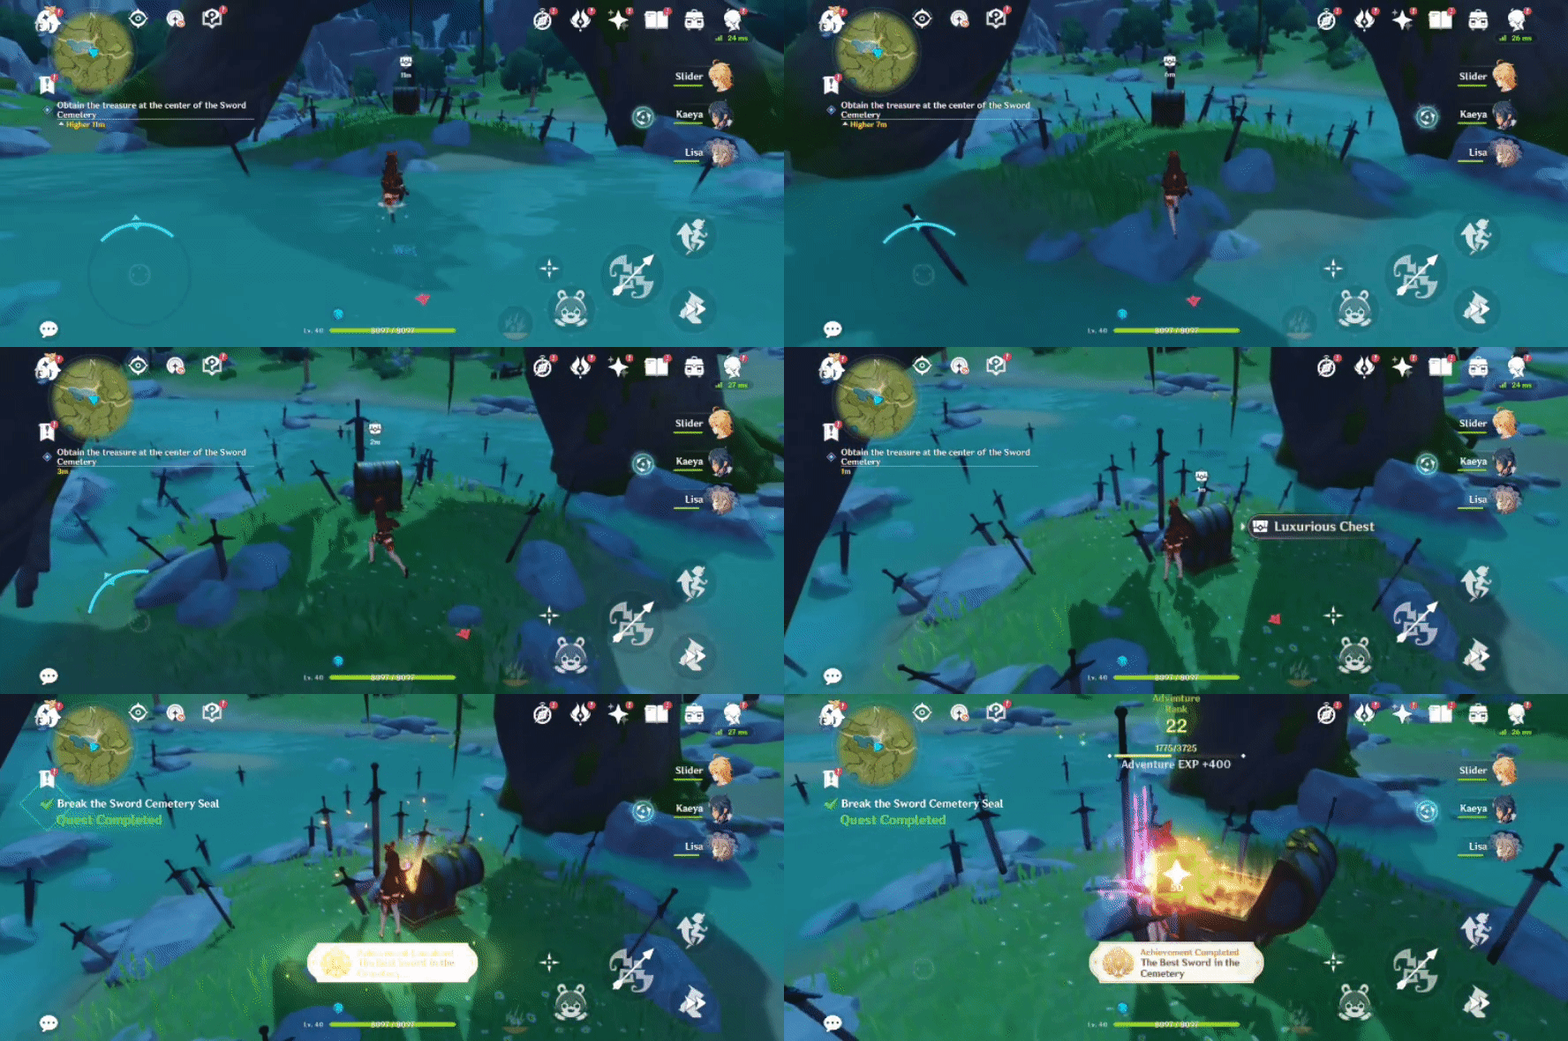
Quest: Break the Sword Cemetery Seal
The quest will start after talking to Dr. Livingstone.
Location:
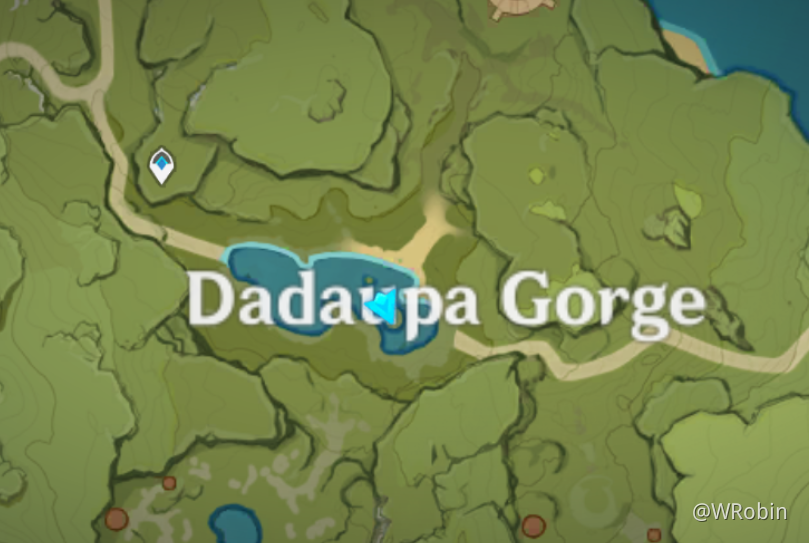
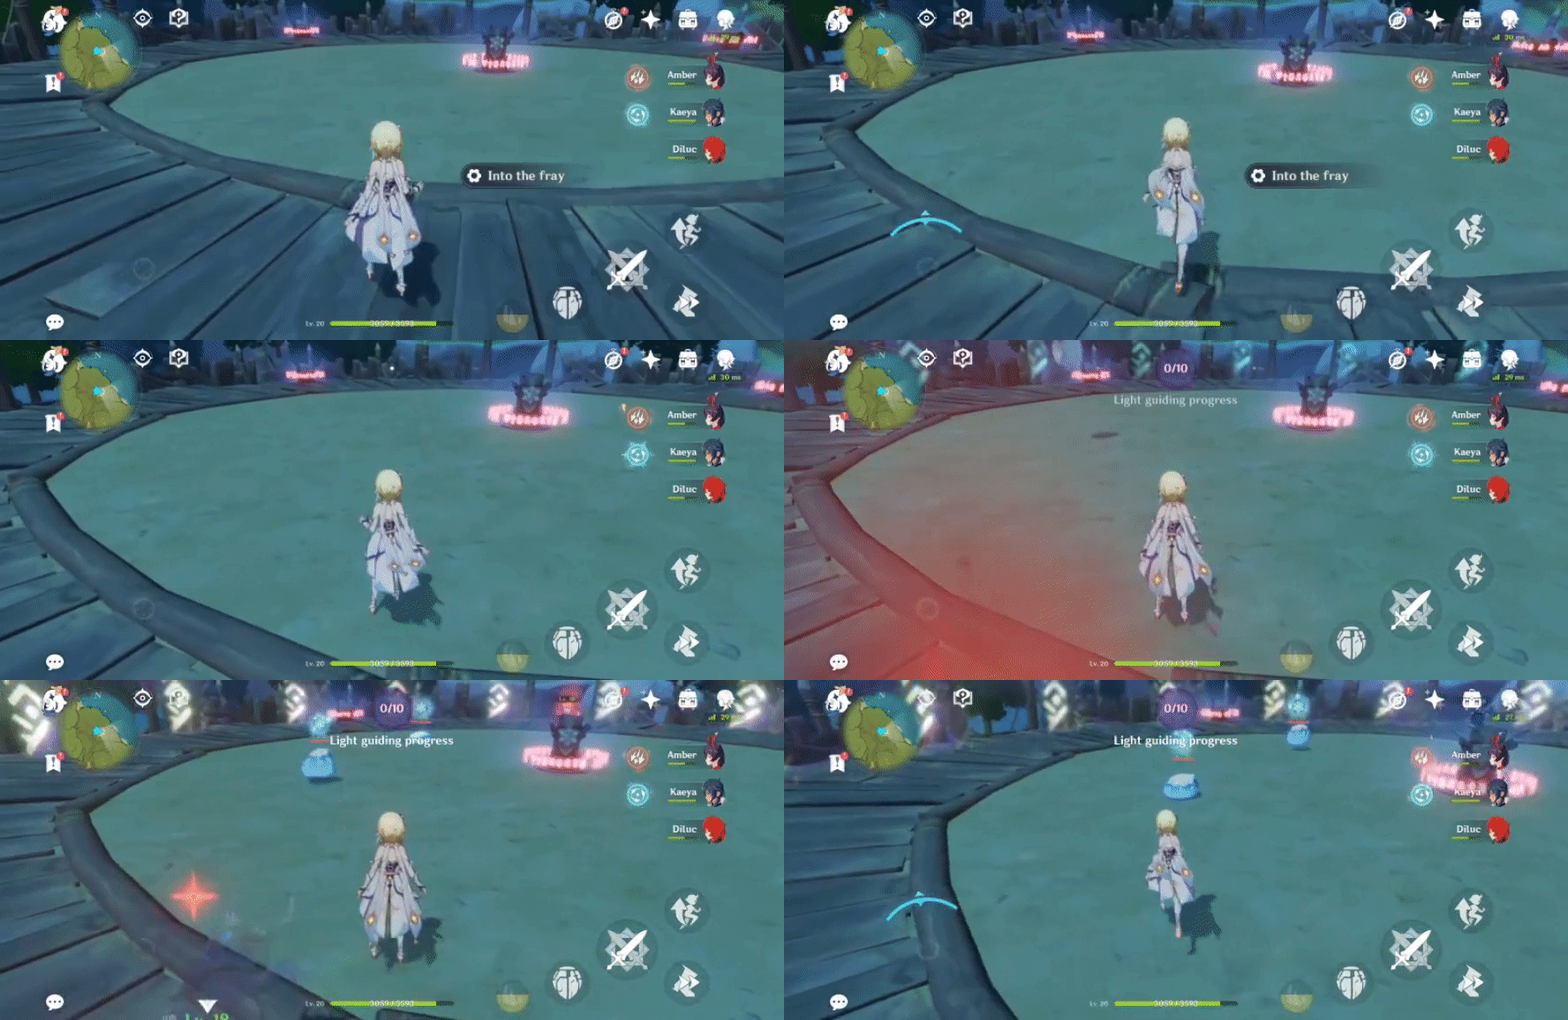
➳Complete the Challenge 'Into the fray', and activate the Cryo totem to remove the 1st Seal (triggering a cutscene).
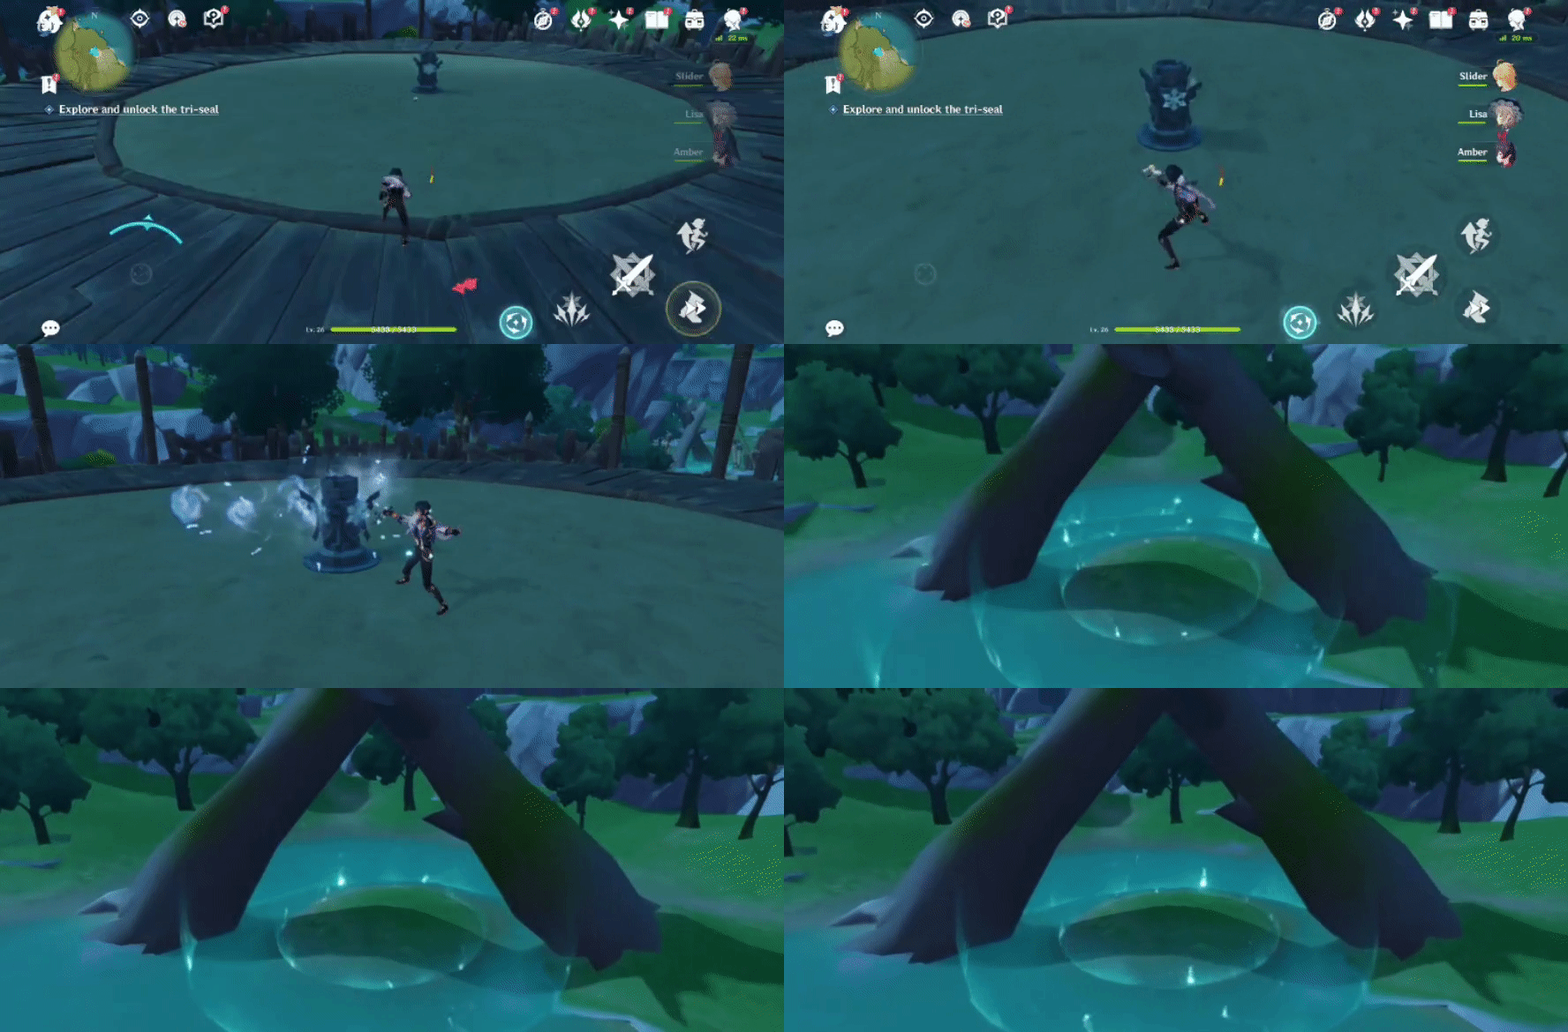
➳Defeat 2 Hilichurls and 1 Mitachurl, and activate the Electro totem to remove the 2nd Seal (triggering a cutscene).
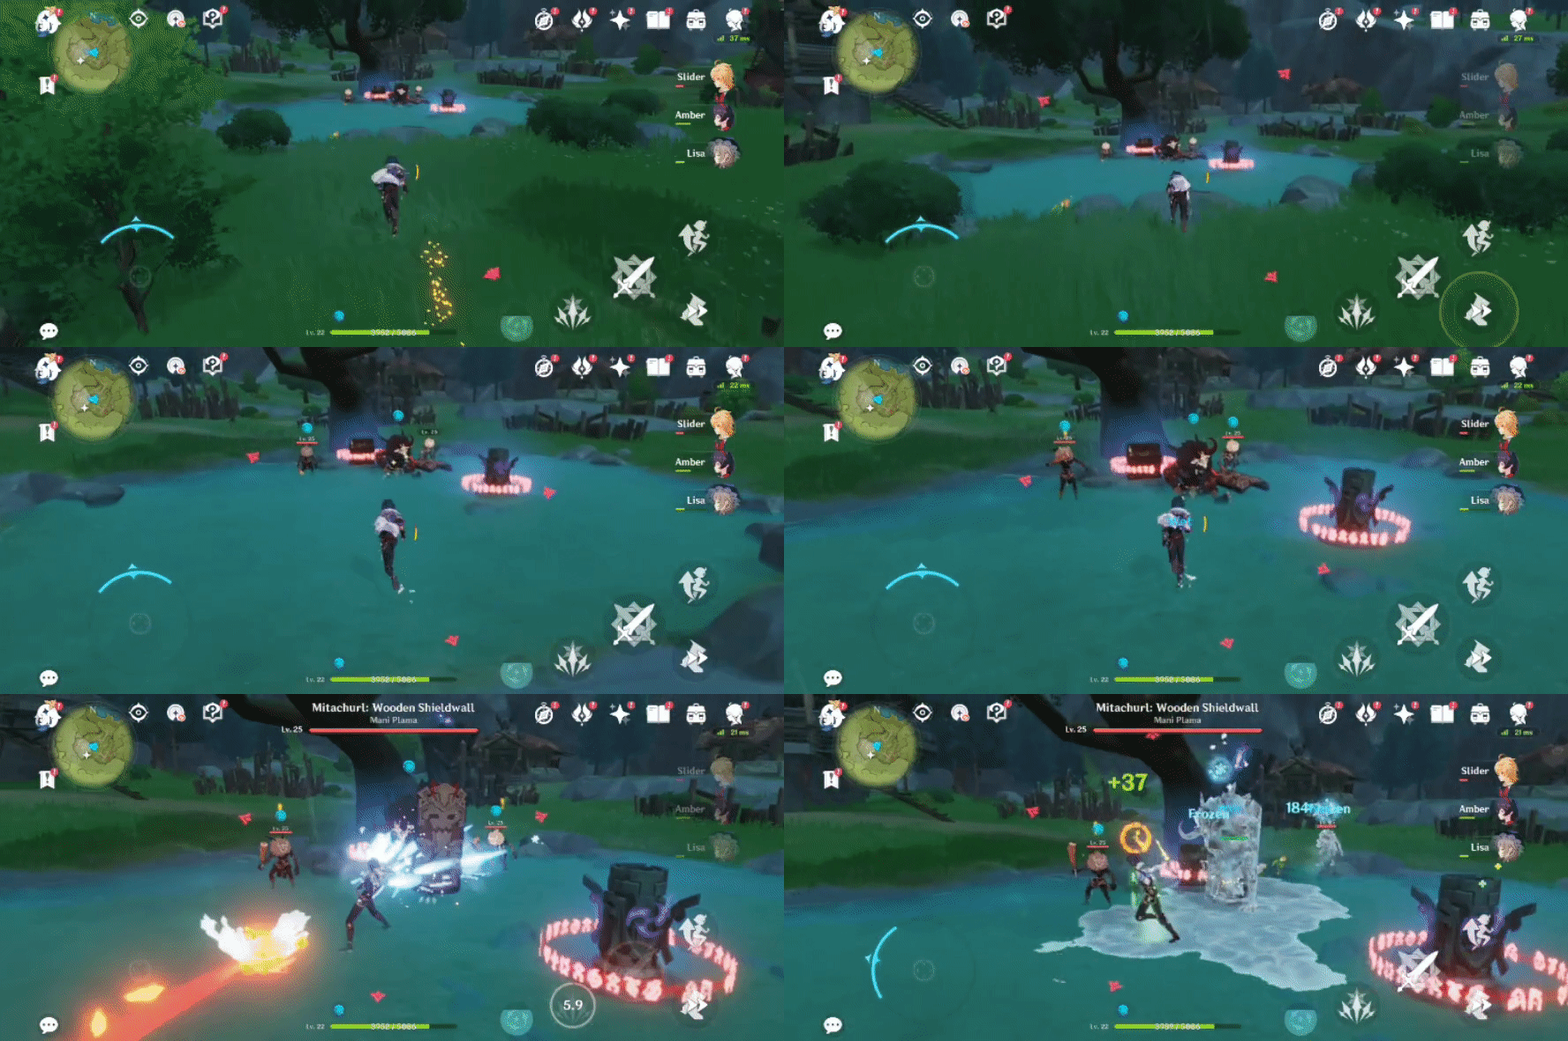
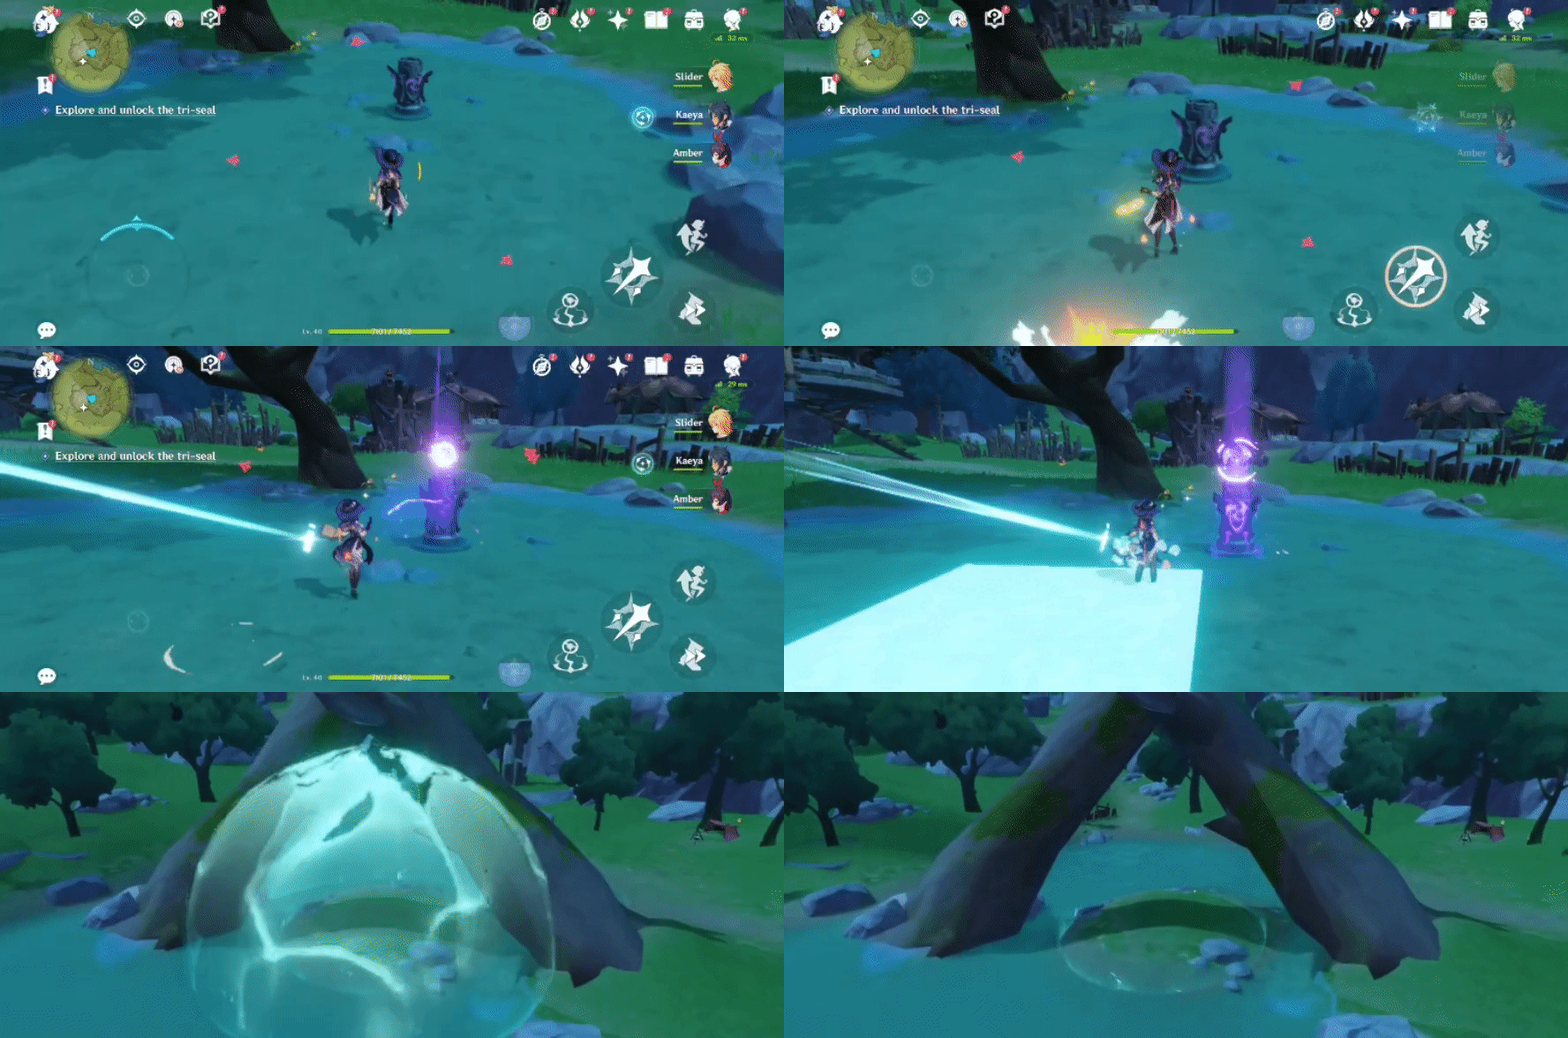
➳Defeat 1 Samachurl, 1 Mitachurl and 1 Cryo Abyss Mage, and activate the Pyro totem to remove the 3rd Seal (triggering a cutscene).
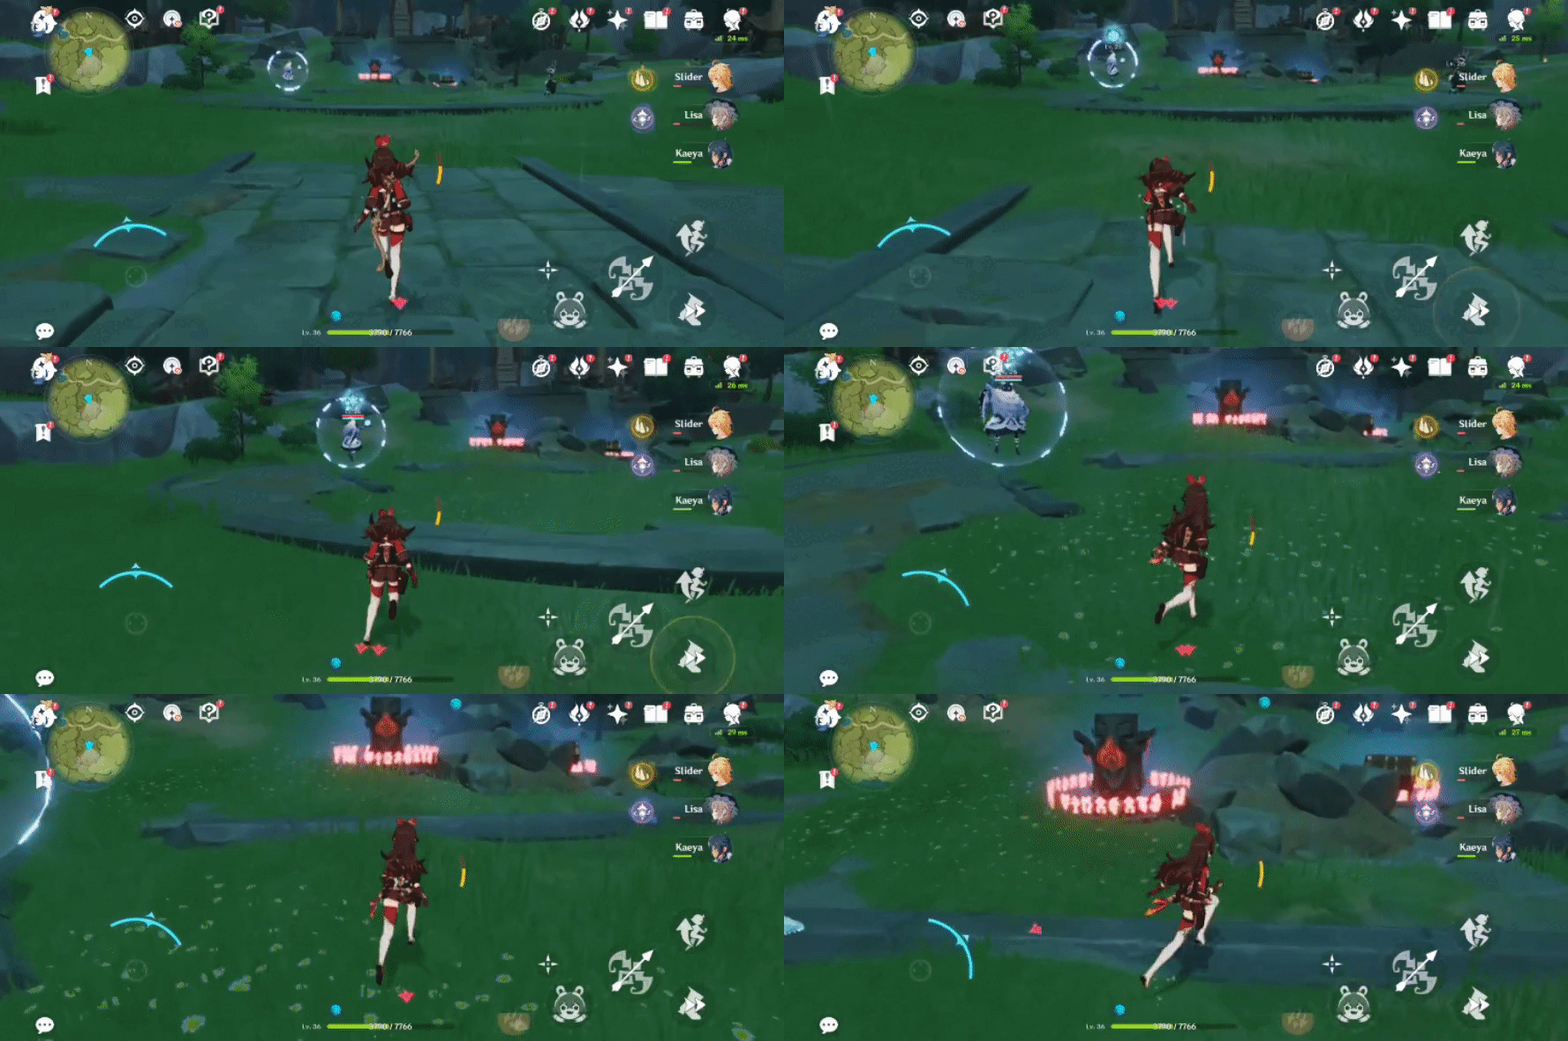
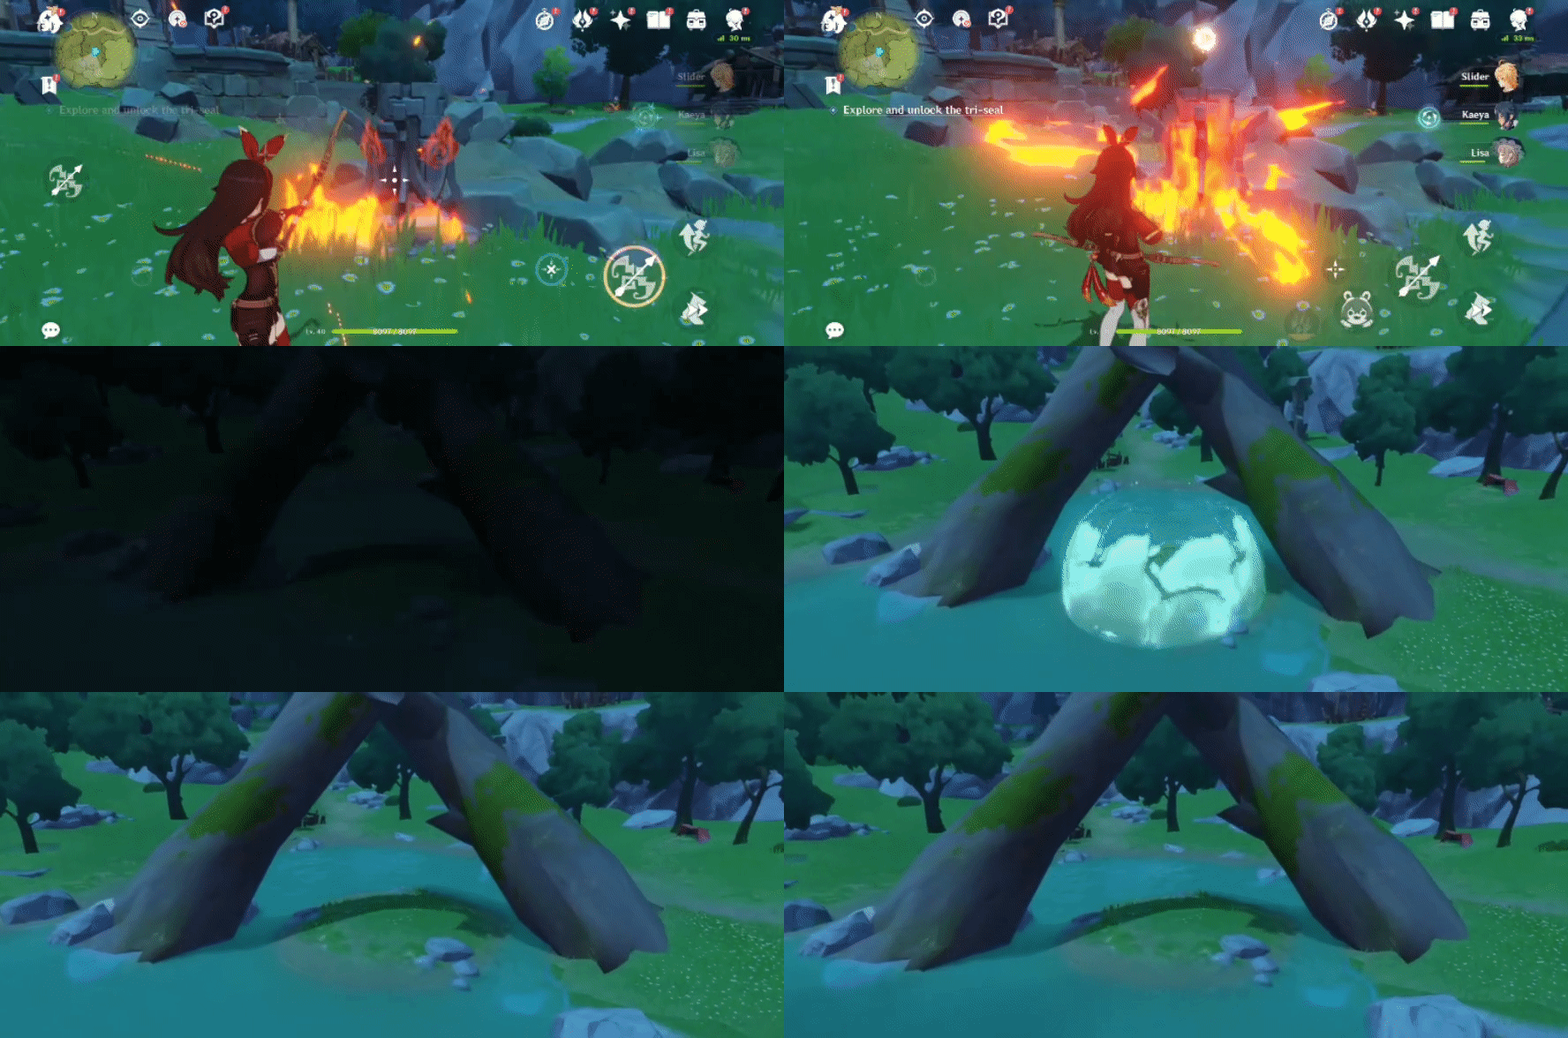
Achievement will issue after opening the Luxurious Chest (originally trapped in the 3 Seals).
Related Quest: Time and the Wind
The quest will trigger after breaking the pile of breakable rocks covering a Ragged Notebook and reading it, on the unmarked island to the east of the first Waypoint unlocked.
Location:
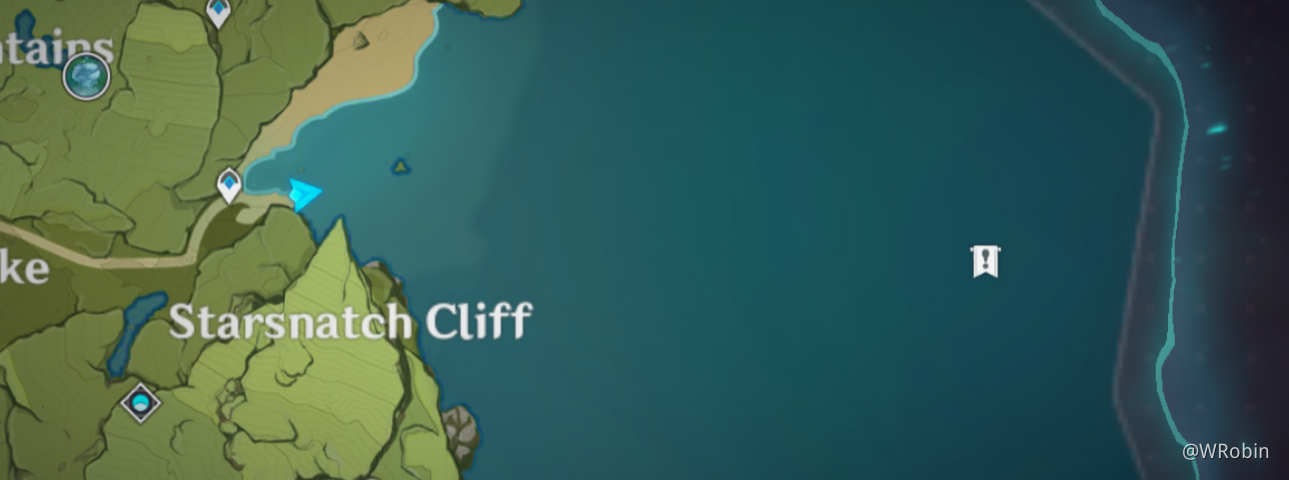
(Use Kaeya to make an ice bridge and repeat until you reach the marked location).
The quest will finish after reporting back to Henry about the solution to the riddle. After the conversation ends, the achievement will be issued.
Related Quest: Bough Keeper: Dainsleif
The beginning of the quest will start with having to talk to Katheryne of the Adventurers' Guild in Mondstadt.
The quest will finish after the cutscene with Dainsleif and the dandelion, with the achievement then being issued.
◈Mondstadt Quests (Dragonspine)◈ 4 achievements (Total: 20 primogems)
Related Quest: A Land Entombed
The quest will trigger after investigating one of the sparkles on the bookcases, giving you the 'Ancient Investigation Journal Part III'.
Location (bookcases/journal):
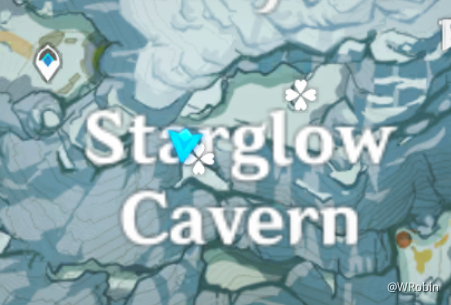
(You can access this location by entering to the left of my cursor (to the right of the Waypoint). Use Scarlet Quartz to break any ice barriers if you haven't done so already. There will be a small gap that will lead to the area, enter through it to reach the bookcases).
The quest will end after collecting all 3 and giving them to Stevens (Researcher) at the camp at the bottom of Dragonspine. The achievement will be given after the conversation with him ends.
Related Quest: In the Mountains
Completing the quest above will allow you to climb the summit. From the Waypoint in the centre, move upwards southeast until you reach the location below with the Anemo totem.
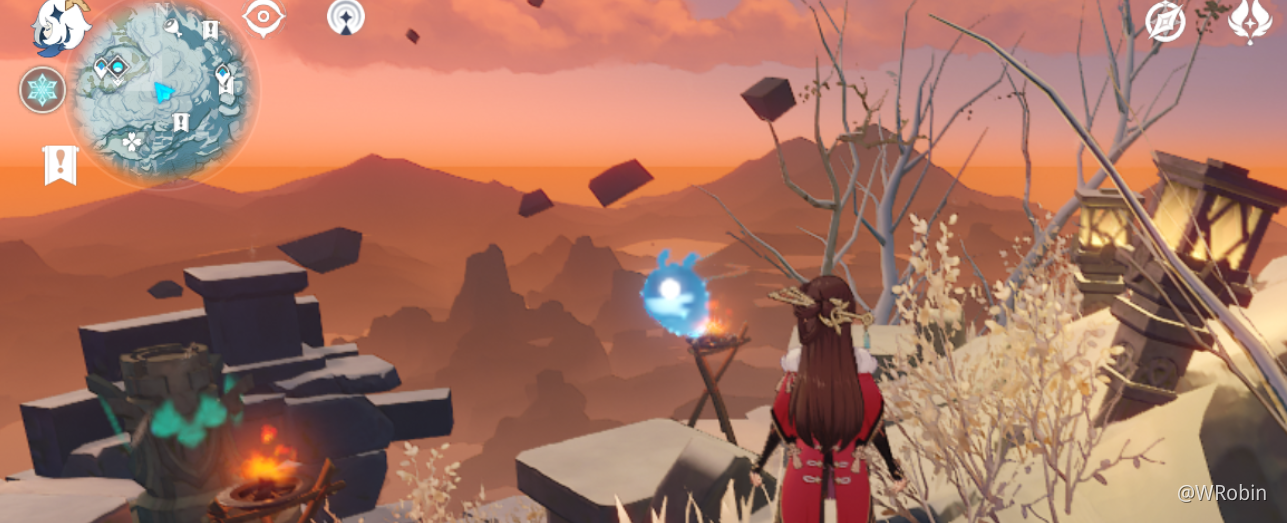
Collect the Crimson Agate there to receive the achievement.
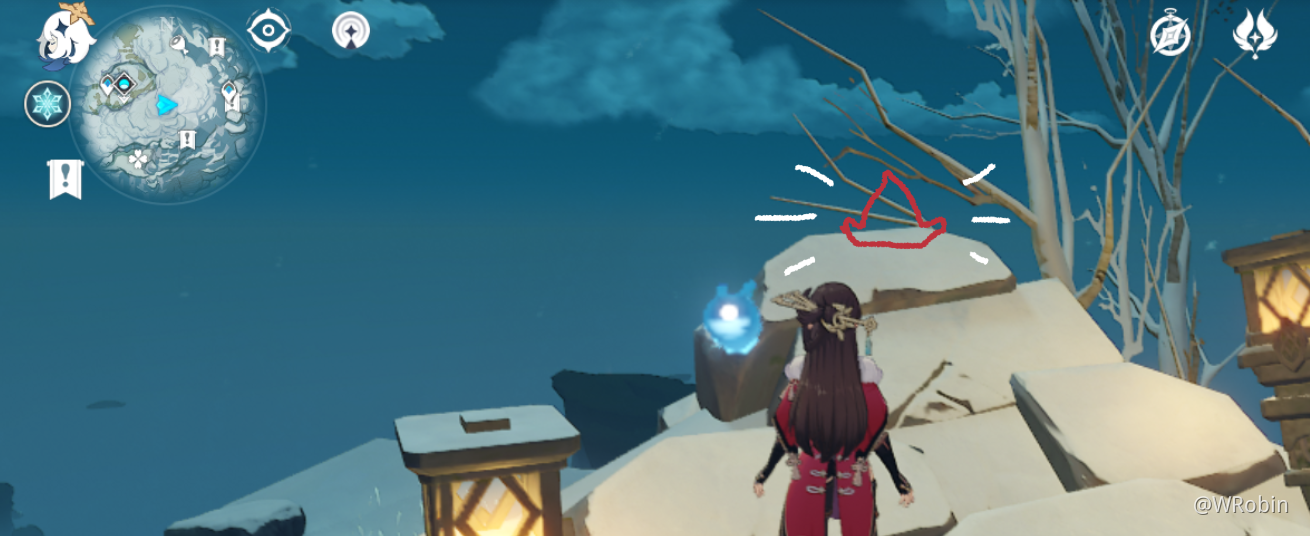
(Originally there would be a Crimson Agate in front of Beidou).
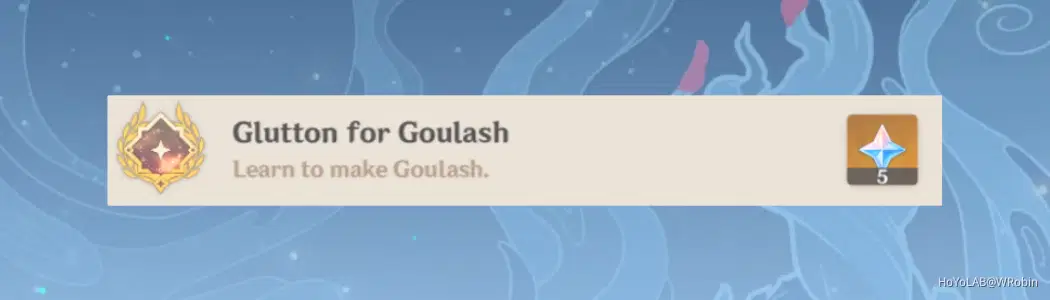
Related Quest: Ah, Fresh Meat!
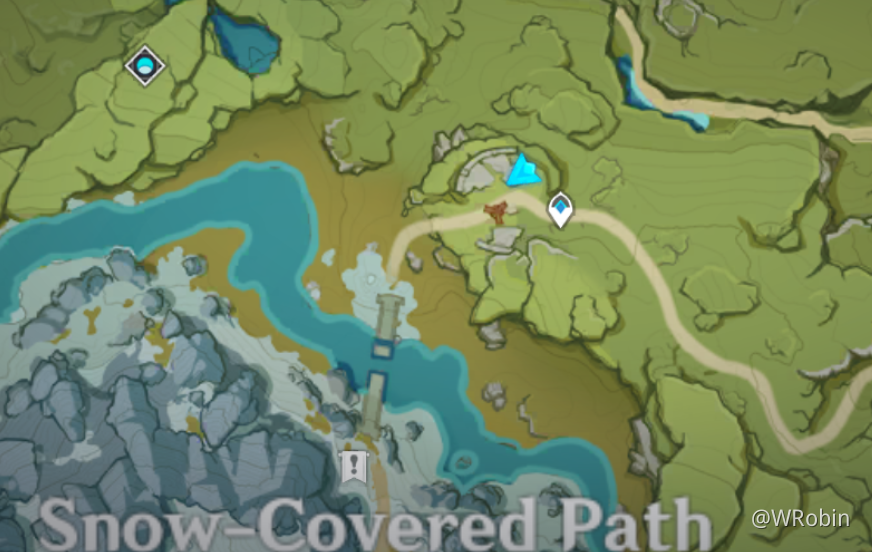
The quest will start after talking to Harris (Chef) in the camp at the bottom of Dragonspine.
Location (Harris):
The achievement will be issued partway through the quest after learning the recipe he has given you (in return for the 10 Chilled Meat).
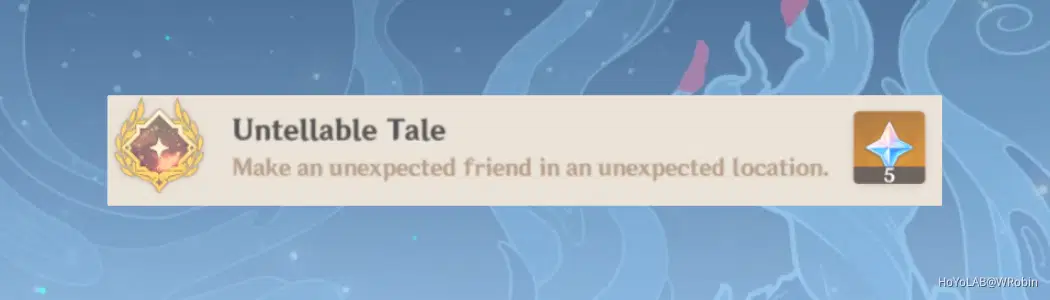
Related Quest: Lost in the Snow
The quest will start after talking to Joel.
The quest will end after reporting back to Joel after finding 3 notes.
Location (Joel):
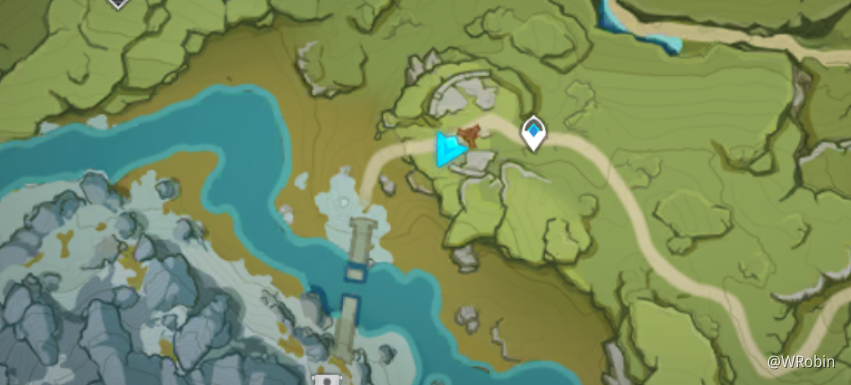
The quest doesn't have to be completed as long as you have found all 3 notes for this achievement.
Go to the location of the 3rd note (a campsite behind a breakable rock wall).
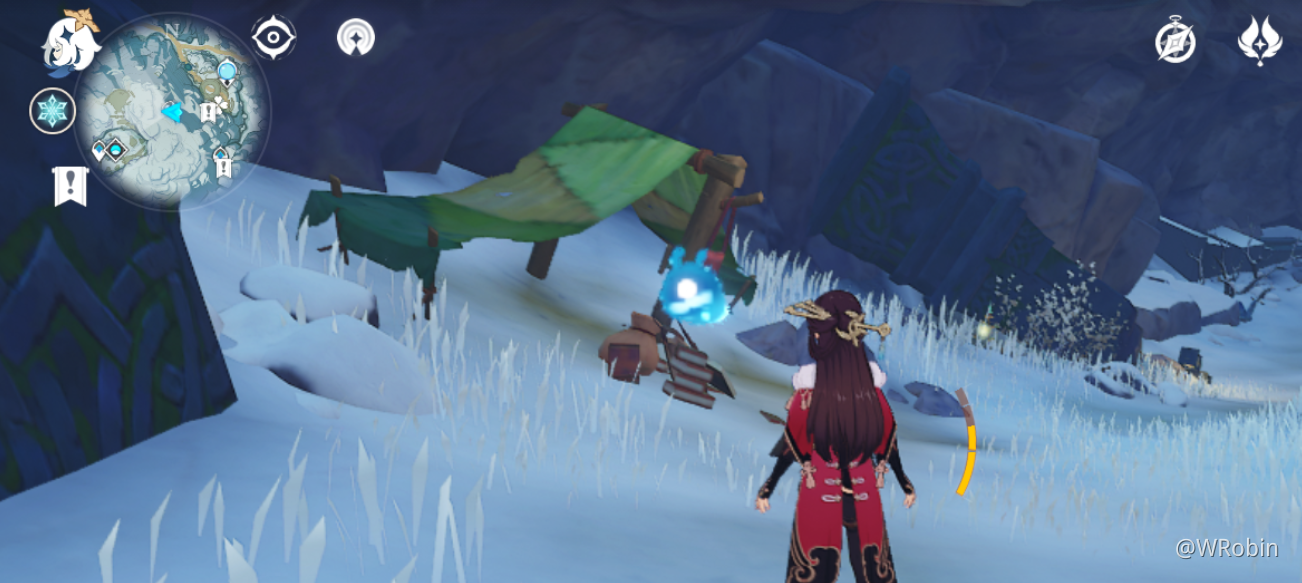
Besides the cooking pot, there will be a bowl that you can place 'Berries' into to feed the foxes mentioned in the note. Do this 5 times (you can only do it once daily) and there will eventually be a Precious Chest alongside 3 foxes. Open the chest to get the achievement.
You will need to place a total of 10 Berries overall to 'Feed' the foxes.
◈Mondstadt Exploration Pt.2 (Dragonspine)◈ 2 achievements (Total: 10 primogems)
Location (Chamber Containing the Treasure):
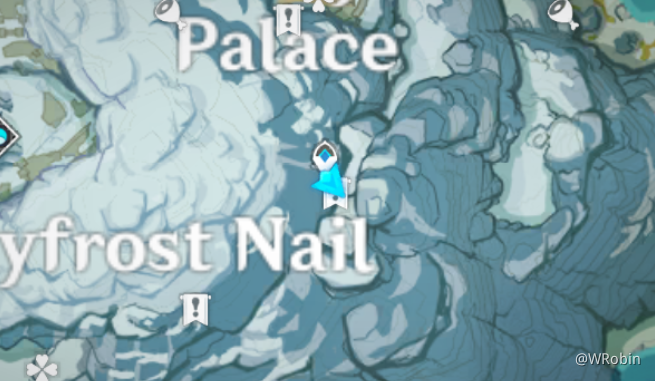
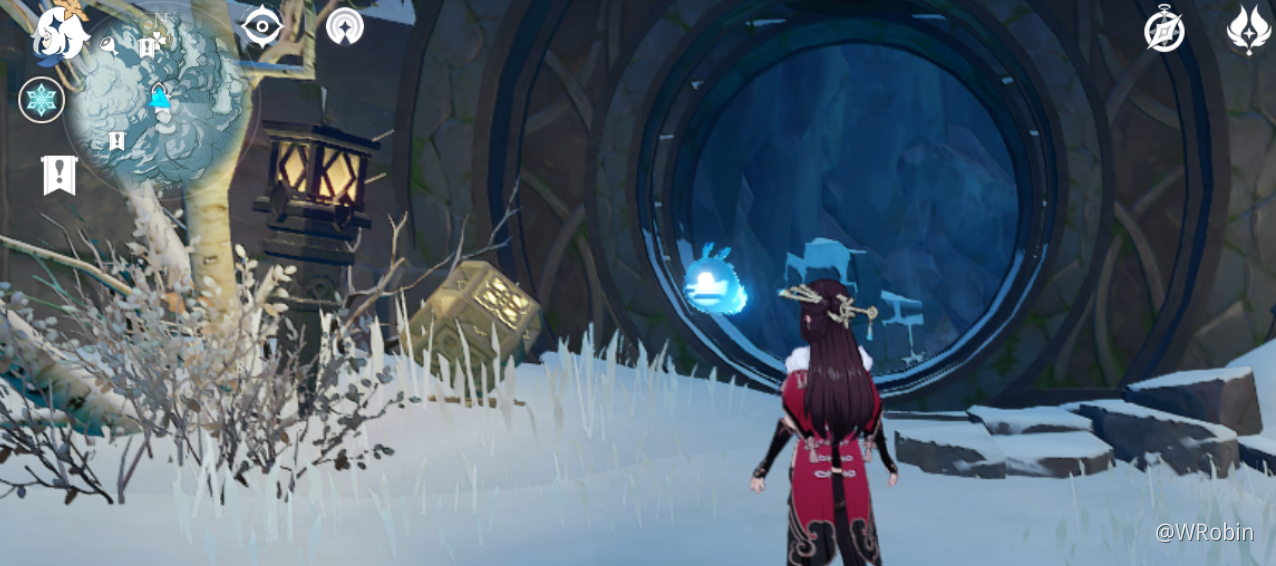
(Originally the door would be locked)
To open it, you need the 3 Boxes belonging to the: Priest, Princess and Scribe.
1st Location (Priest's Box):
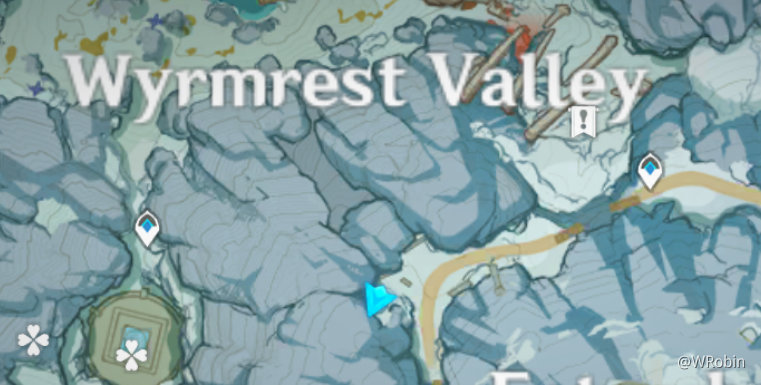
There are no requirements to collecting this Box, it will be there in the broken tower. Climb up and open the Luxurious Chest to receive it.
2nd Location (Princess' Box):
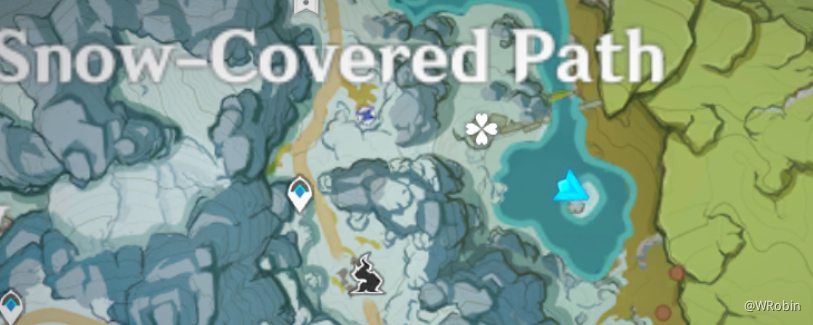
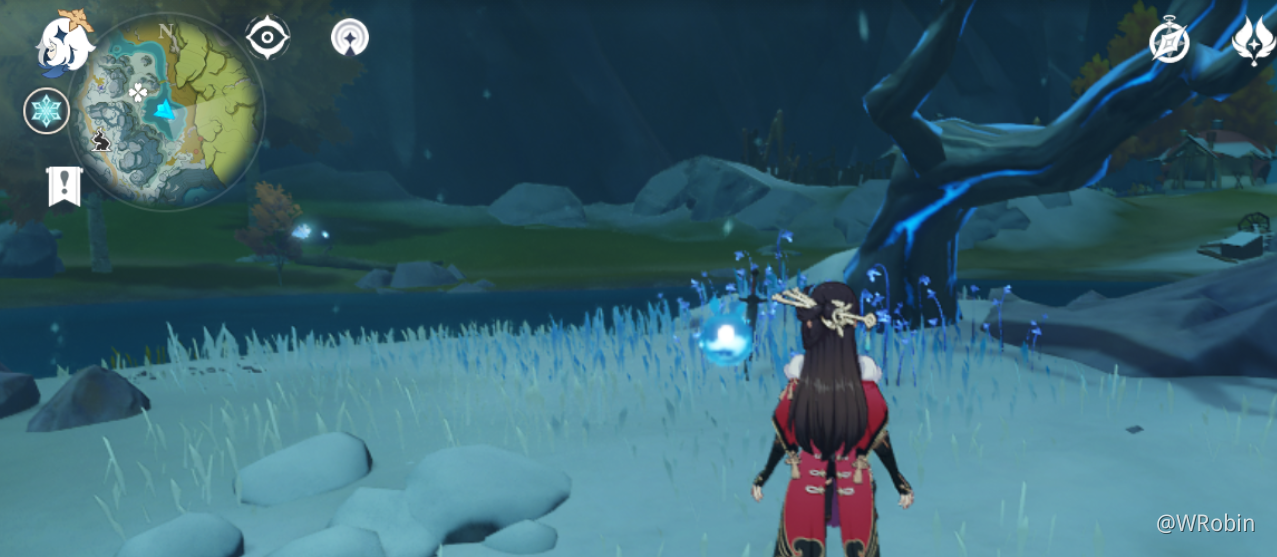
Go to the small island and interact with the sword to start the timed challenge (defeat 3 opponents within 60s).
-A Cryo Abyss Mage will spawn
-Then a Hydro and Cryo Abyss Mage will spawn together
(I recommend equipping your party with a Pyro character for the Cryo Abyss Mages, and an Electro character for the Hydro Abyss Mage. Alternatively, you can use a Cryo character to freeze the Hydro Abyss Mage. As there is a time limit, either use food/potion buffs or invite other players in Co-op mode to help you if you are struggling).
After the challenge is completed, then the Luxurious Chest will spawn by the sword and tree. Open it to receive the Princess' Box.
3rd Location (Scribe's Box):
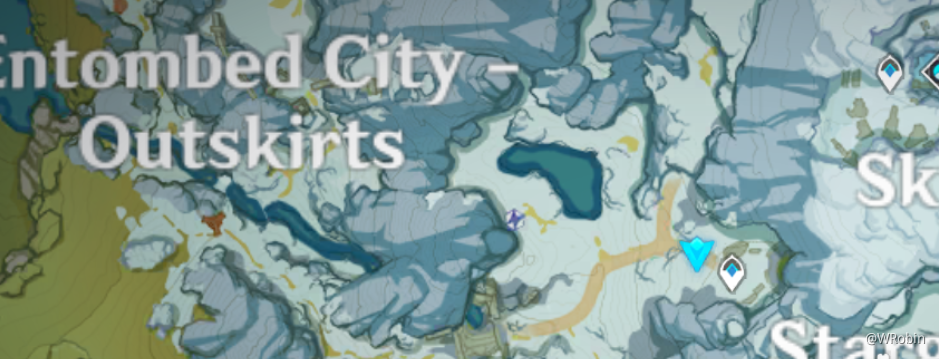
Offer 3 Cecilias to the 'Stone Monument' and open the Luxurious Chest that spawns to receive the Scribe's Box.
Return back to the Chamber location, open the door using the mechanism and open the chest on the centre platform to get the achievement.
[Requirements: For one of the Stone Tablets, the Treasure Chamber for the 'Priest, Princess and Scribe' achievement must be unlocked as it's in there.]
There will be a chamber containing the weapon that needs 8 Stone Tablets activated (by selecting 'Observe' and causing it to light up) in order to be unlocked and opened.
[Please note that the stone tablets below are not in chronological order story-wise regarding the inscription on each tablet.]
Location (Chamber):
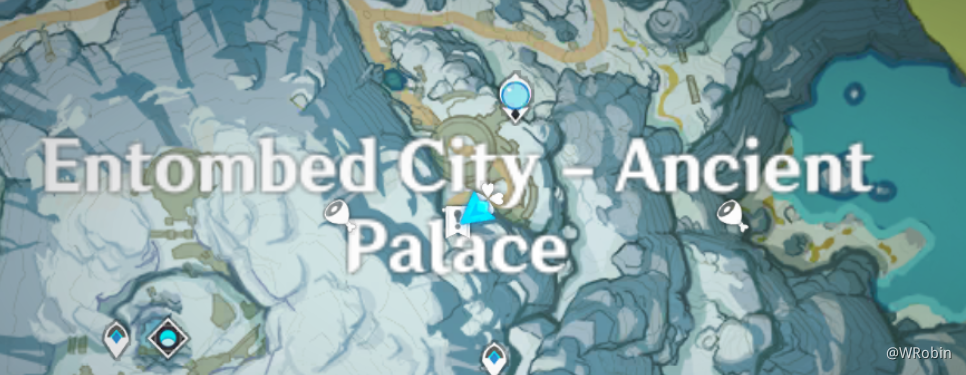
(To access this location, teleport to the Statue of the Seven or come from that general area, drop down into the lower circular platform area and follow the path.)
1st Stone Tablet Location:
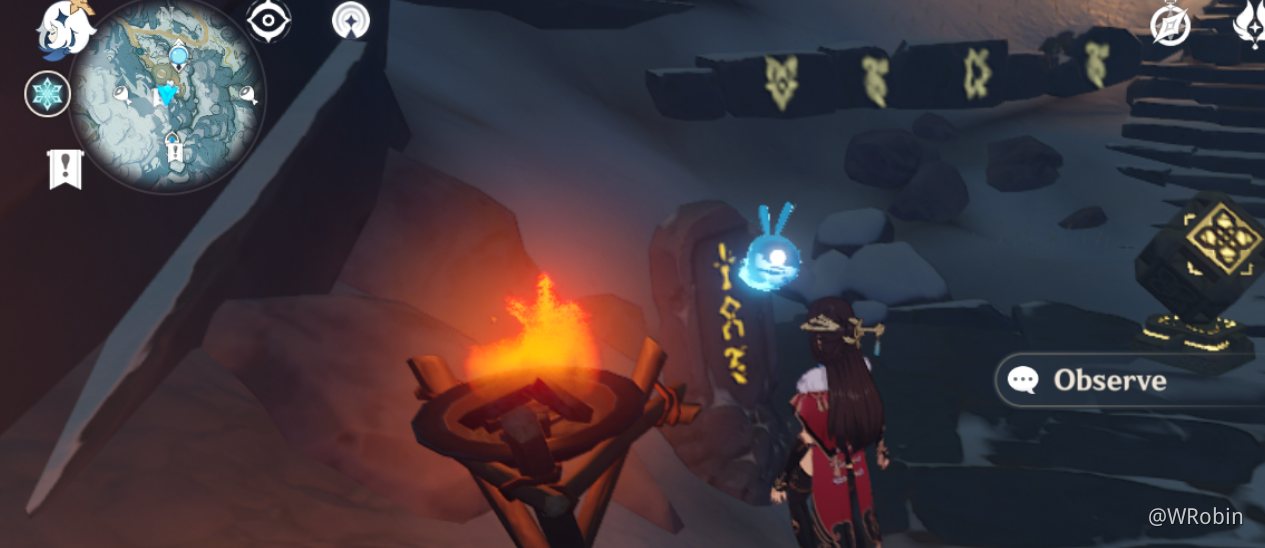
This is outside the door to the chamber, to the left of the mechanism. Go to the Chamber location to find it.
2nd Stone Tablet Location:
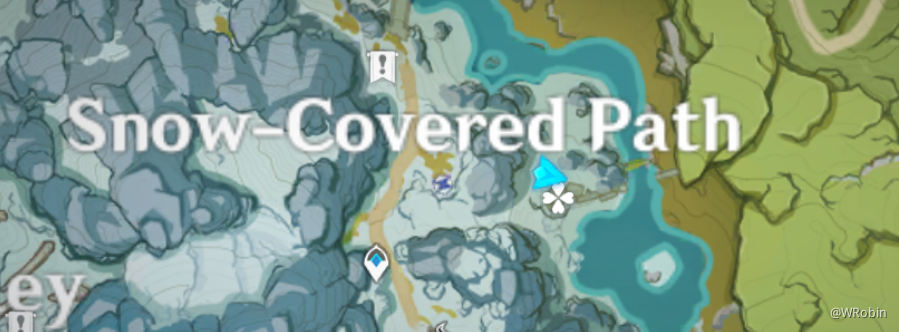
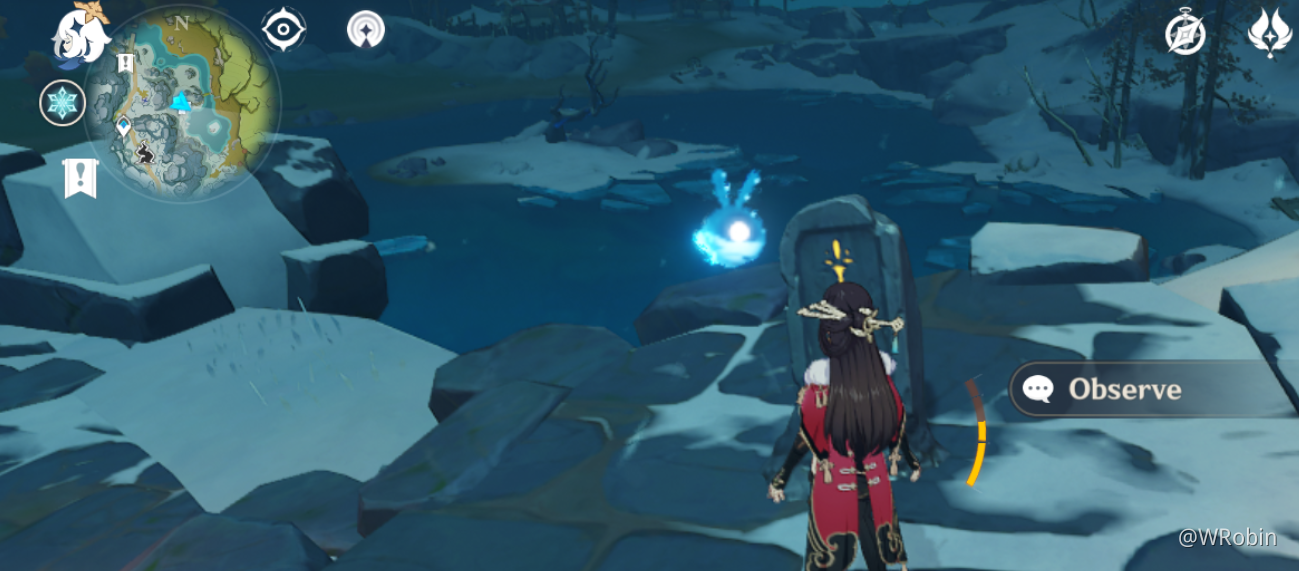
The area will have 4 torches and the tablet will be in the centre, ahead of them.
3rd Stone Tablet Location:
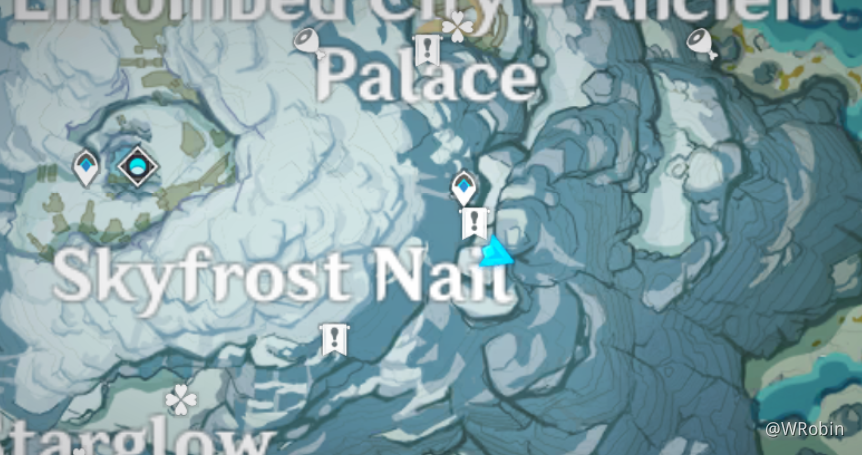
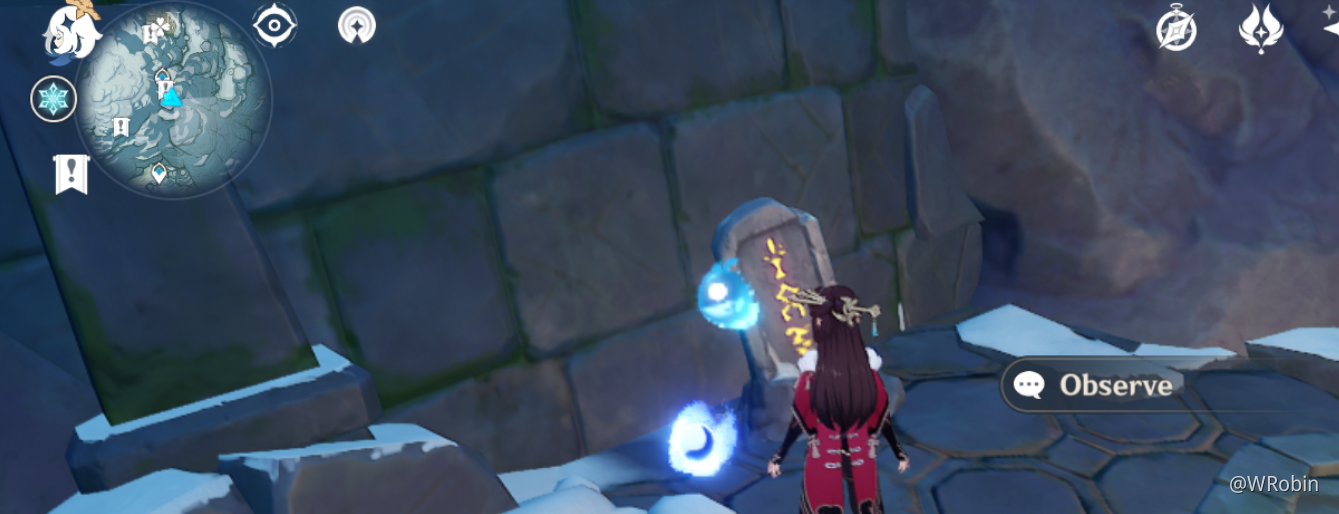
Unlock the Priest, Princess and Scribe Chamber in order to access the tablet. It will be inside to the left of the platform. (Please refer to the 'Princess, Priest and Scribe' achievement in this part for instructions on how to unlock it.)
4th Stone Tablet Location:
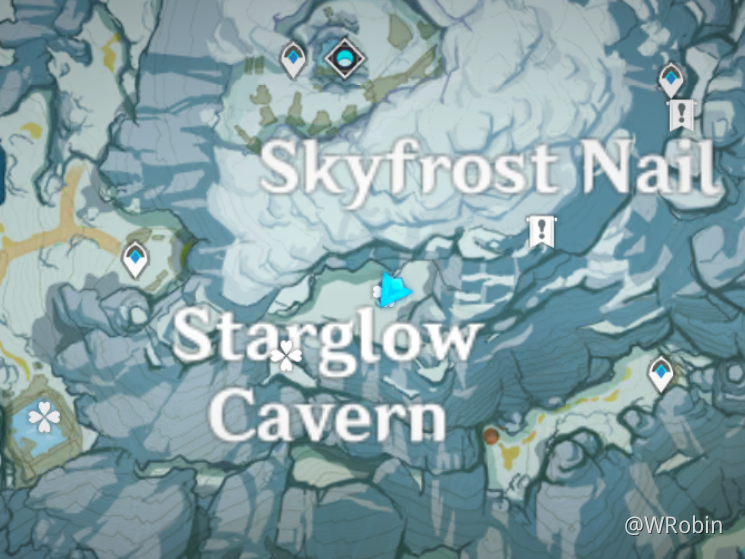
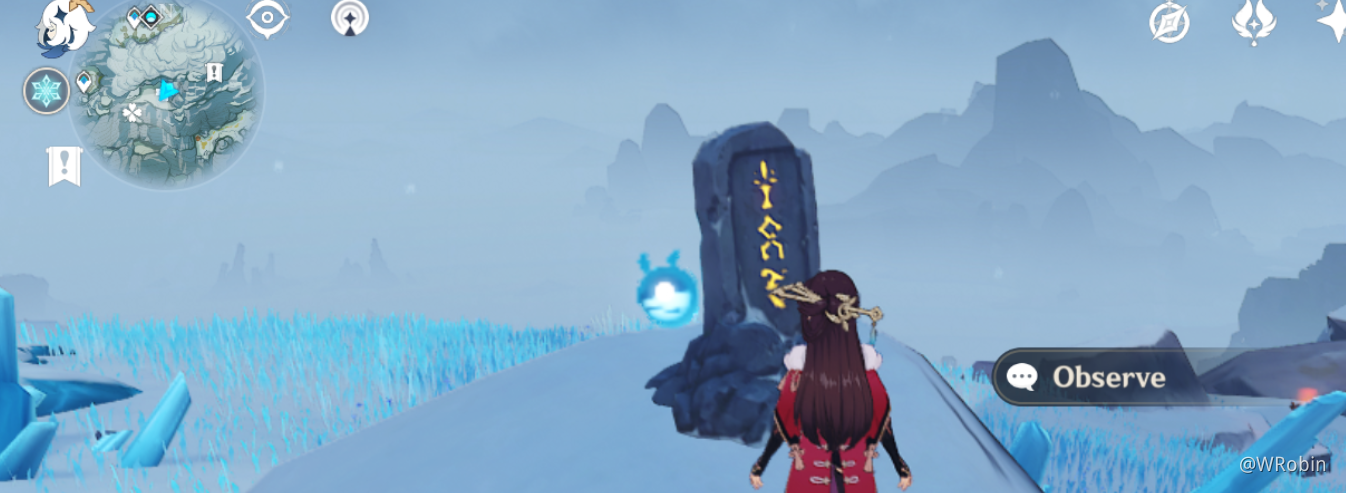
This will be out in the open, and can be accessed by either gliding/climbing to the ledge or by climbing/ascending the ramps in the cave behind the tablet. It will be on a very small hill.
5th Stone Tablet Location:
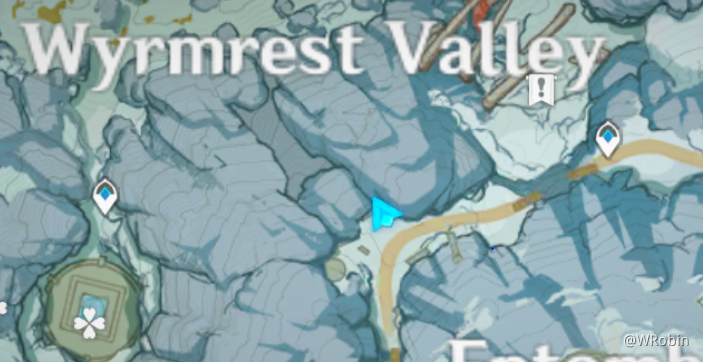
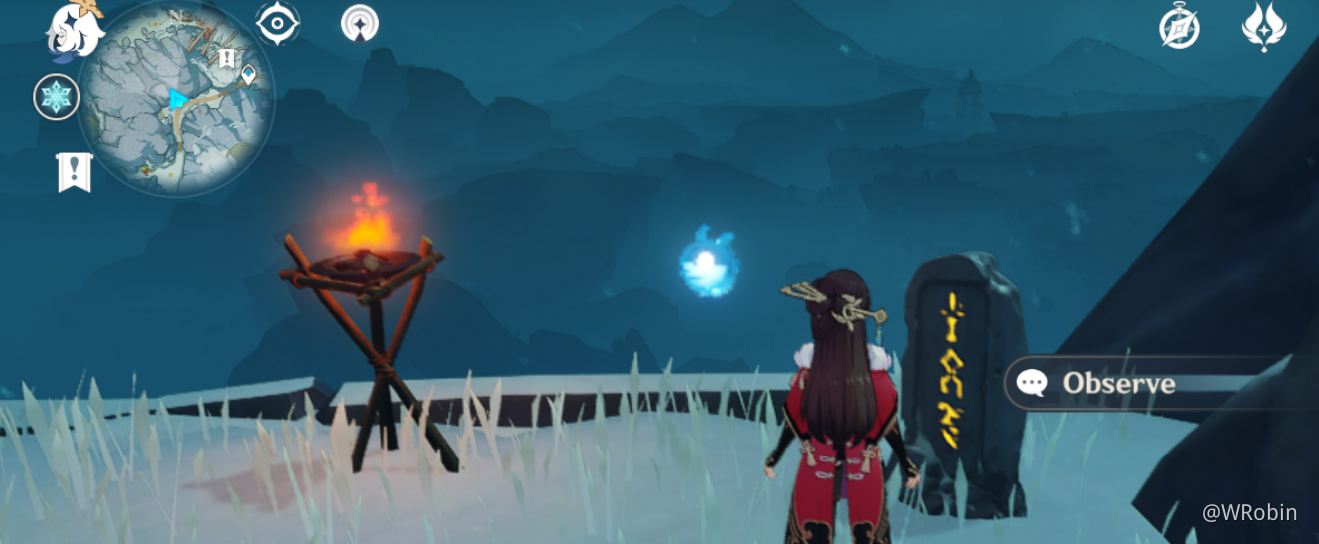
Approaching the area, there will be a Ruin Grader in front of the tablet. Defeat it so it's easier to interact with the tablet.
6th Stone Tablet Location:
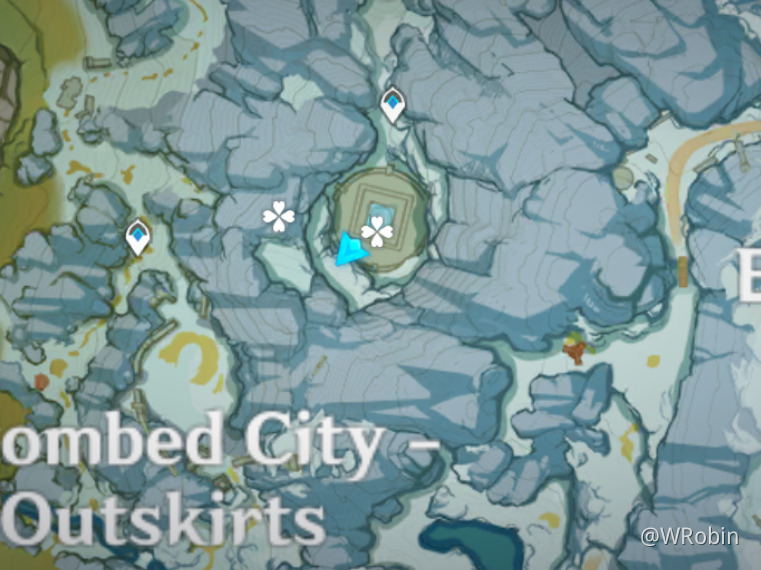
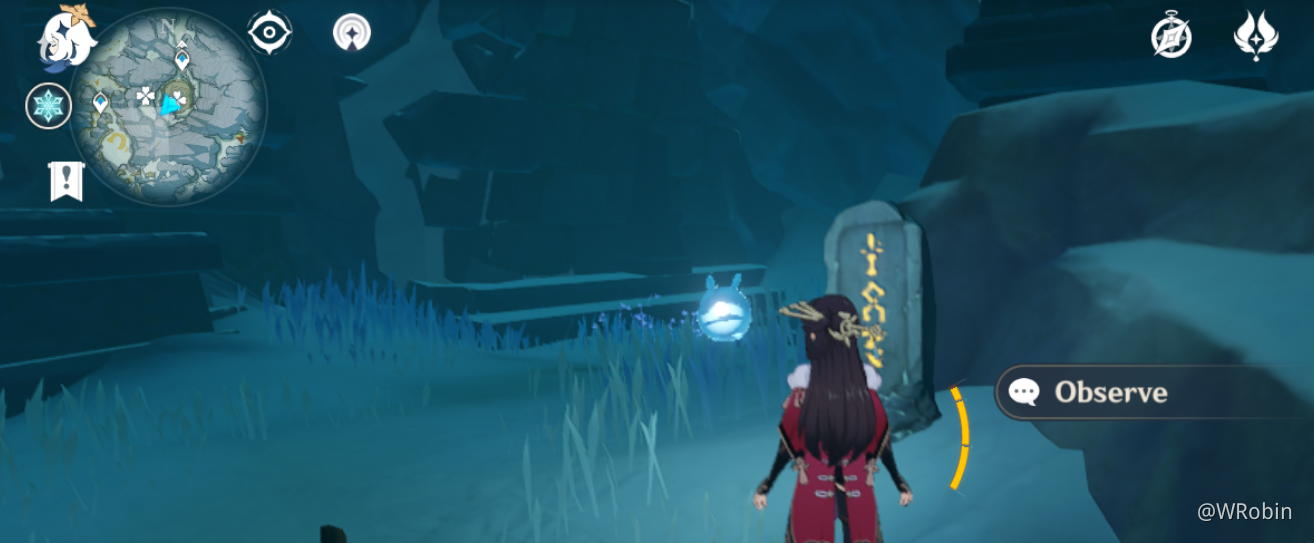
Approaching the area, there will be a circular platform with 5 Cryo totems and heat mechanisms surrounding it. There will also be 2 active Ruin Guards and a Ruin Grader that will activate later.
Solution:
(The heat mechanisms will periodically unlock then relock during your battle and can help eliminate Sheer Cold).
-Before attempting to fight, prepare restorative/revival dishes or equip a healer to your party (as there will be several enemies and Sheer Cold).
-Use your mains to defeat the Ruin Guards (focus on one at a time or go to Co-op mode if it'll be easier for you, with food/potion buffs).
-After defeating them, activate the mechanism and a Warming Seelie will show you the order in which to activate the Cryo totems, with you having to repeat the order after.
(Standing by the mechanism and looking ahead, this is the order, labelled 1-5):
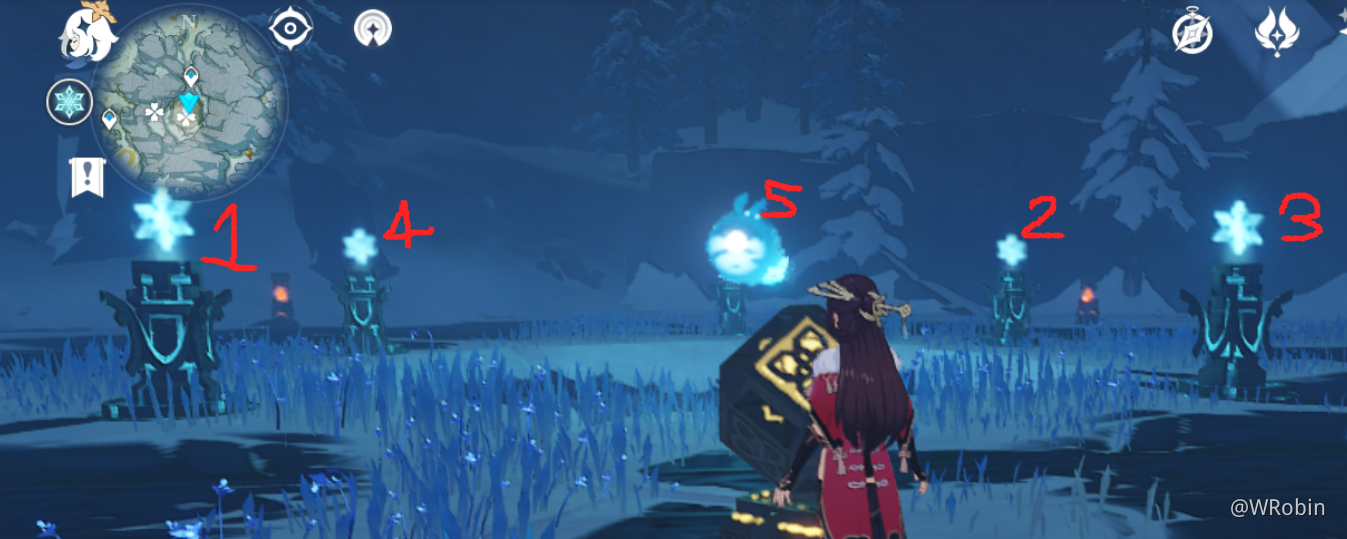
-After doing it successfully, 2 more Ruin Guards will spawn. Defeat them like before.
-Then the Ruin Grader will activate and you will need to defeat it also.
-A cutscene will then show the ice layer breaking, revealing a cave underneath.
Drop down into the area, the tablet will then be accessible.
7th Stone Tablet Location:
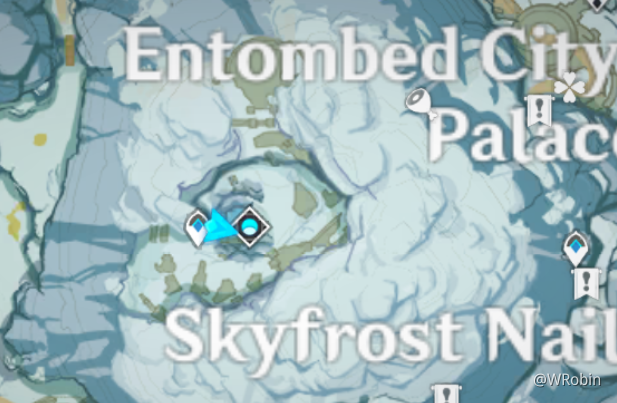
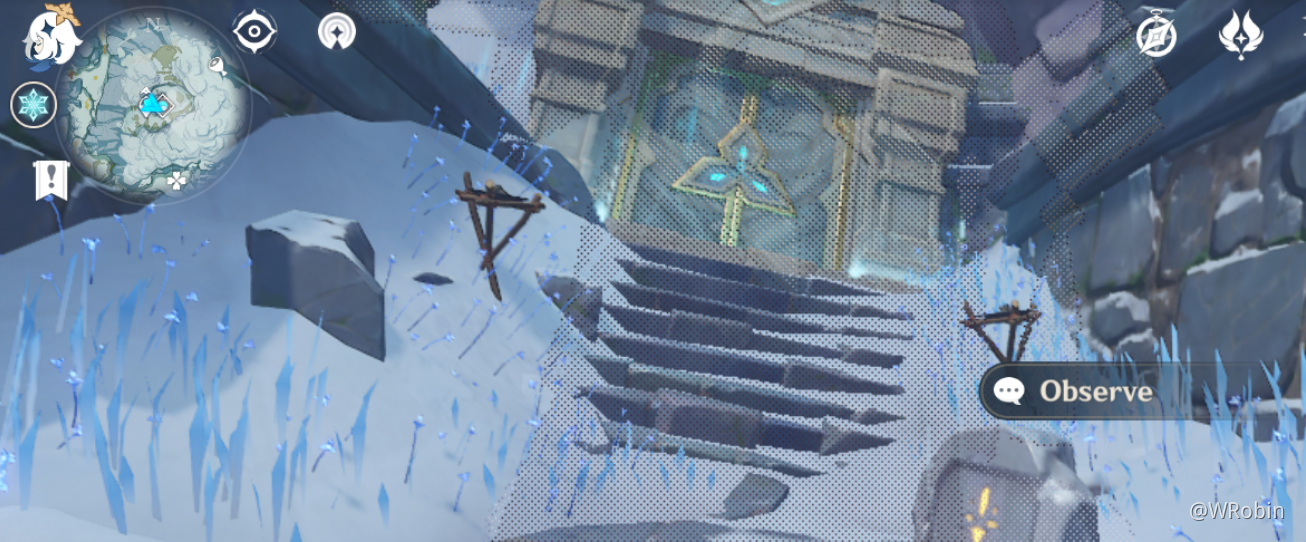
This is directly outside the Peak of Vindagnyr domain (in the small platform below). You will need to unlock the domain first to access this by restoring the nail.
8th Stone Tablet Location:
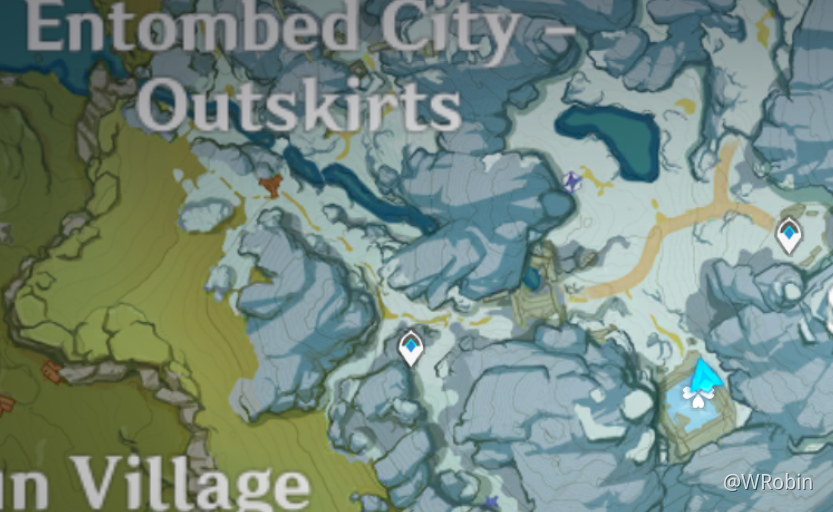
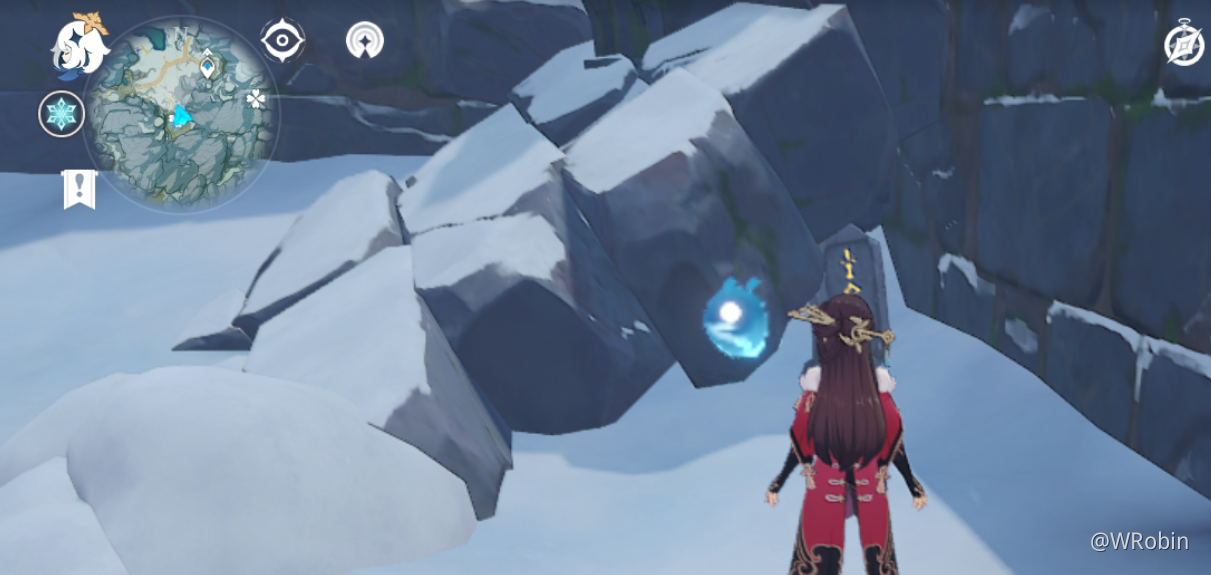
Approaching the location, there will be a layer of ice, 4 locked heat mechanisms and two Warming Seelies.
-The mechanisms will unlock when one of the Warming Seelies will float by it, but after a period of time it will relock itself.
-To make a Warming Seelie move, go up to it.
Puzzle #1 solution:
One Seelie will move counterclockwise while the other will move clockwise.
-Go up to one Seelie to prompt it to move, then follow it as it makes its way round. Keep following it until you reach the other Seelie, prompting that one to move too.
-As they are equal distance away from each other and will be moving in opposite directions at the same time (if you prompt one to move when the other one just passes it), it will cause all the heat mechanisms to unlock in good time.
-If done correctly, there will be a cutscene where the ice layer breaks, revealing a second puzzle and ice hiding the tablet.
Since the second puzzle is not required to read the tablet, climb back up from the bottom layer (if you did drop down) and break a Scarlet Quartz in the nearby area, then drop down and break the ice underneath a structure that looks like a ramp (in the above picture). Then the tablet will be available to access.
Once all 8 Stone Tablets are activated (Paimon will say if you've done so), head back to the Chamber (refer to the Chamber Location above). Go up to the mechanism and press 'Start', then enter through the now opened door.
In order to get the achievement, light up all 4 torches with a Pyro character (in each corner of the room) to trigger a cutscene, and allow the Snow-Tombed Starsilver to spawn. Once collected, the achievement will then be issued.
◈Liyue Quests◈ 6 achievements (Total: 30 primogems)
Related Quest: Treasure Lost, Treasure Found
The quest will start after talking to Soraya (a Researcher).
Location (Soraya):
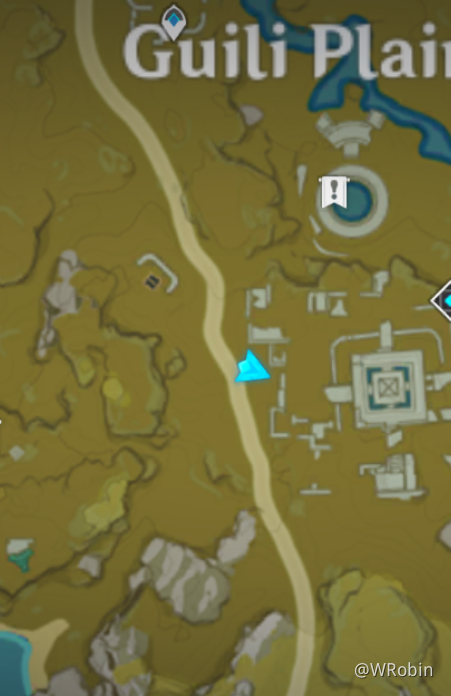
After finding the 'Final Ruin', defeating the 3 Ruin Guards and collecting the chests in the hole, report back to her. After the conversation, the quest will be completed and the achievement will be issued.
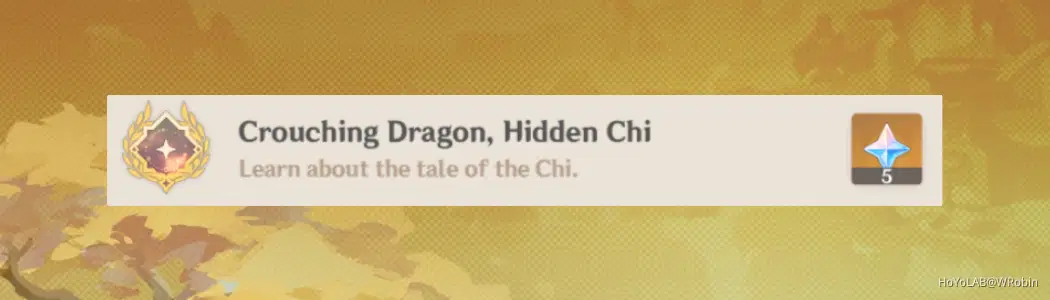
Related Quest: The Chi of Guyun
The quest will start after talking to Yan'er.
Location (Yan'er):
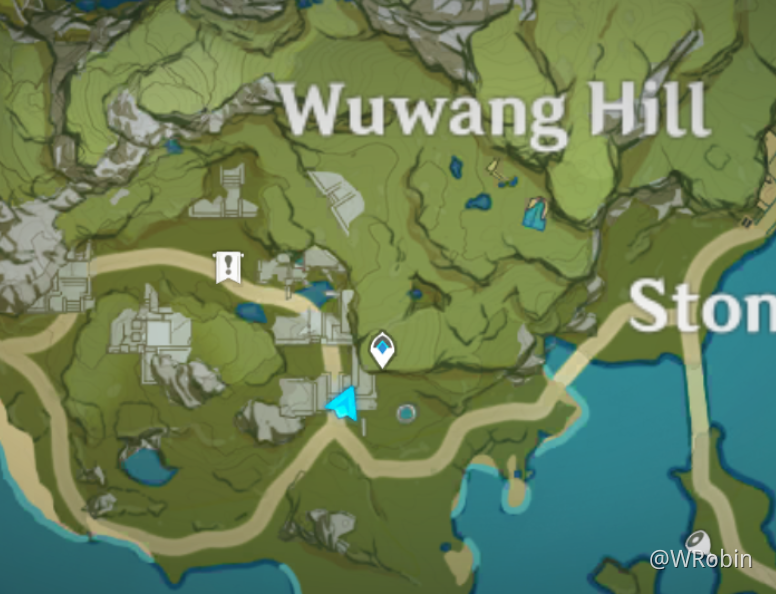
The quest will end after reporting back to Granny Ruoxin about the treasure/monsters. The achievement will be issued after finishing the conversation.
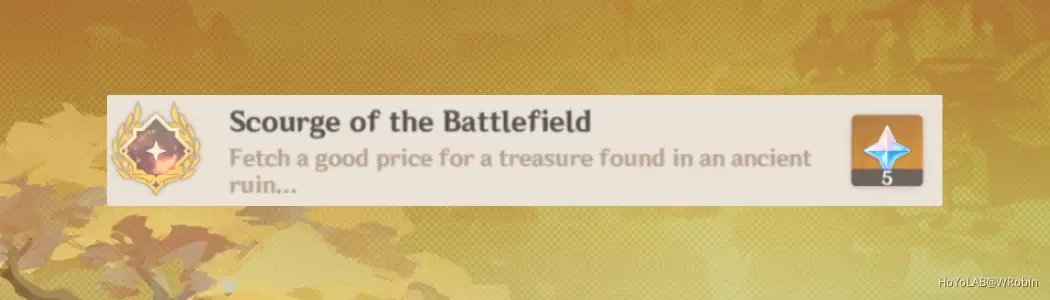
Related Quest: Nine Pillars of Peace
The quest will trigger after placing a Stone of Remembrance in one of the nine pillars.
Location (General area of the Nine Pillars):
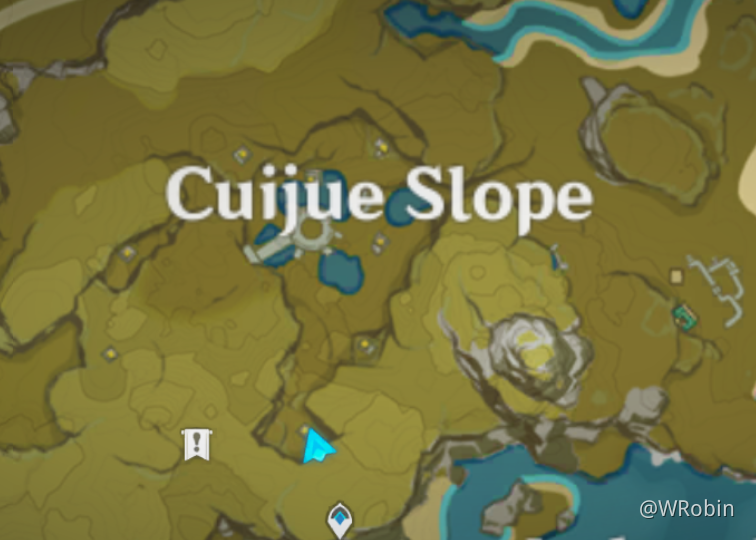
The quest will end after selling the Dull Ring obtained to either Linlang or Bolai (it can only be sold once and to one person only). The achievement will be issued after selling it and receiving the payment.
Offers:
Bolai- 180,000 Mora + Adeptus' Temptation x5
Linlang- 200,000 Mora
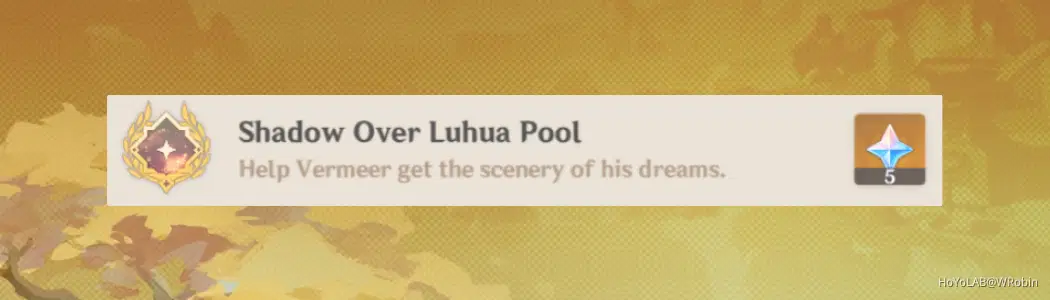
Related Quest: Luhua Landscape
After you've completed the quest with Vermeer, go to the location below:
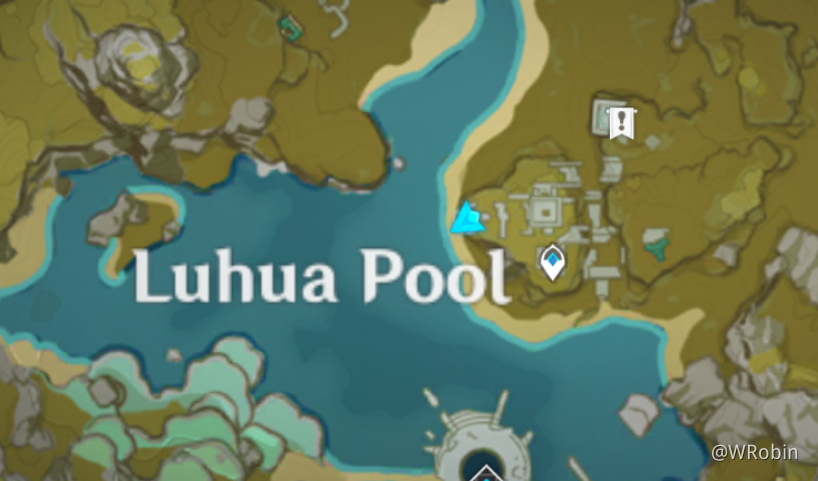
Talk to Vermeer and select 'How's the painting going?'
He'll give you the Nameless Sketch and the achievement will then be issued.
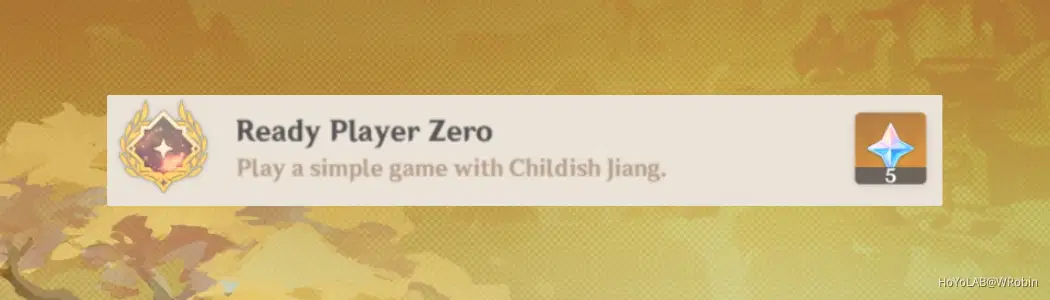
Related Quest: A Little Game
The quest will start after talking to Childish Jiang.
Location (Childish Jiang):
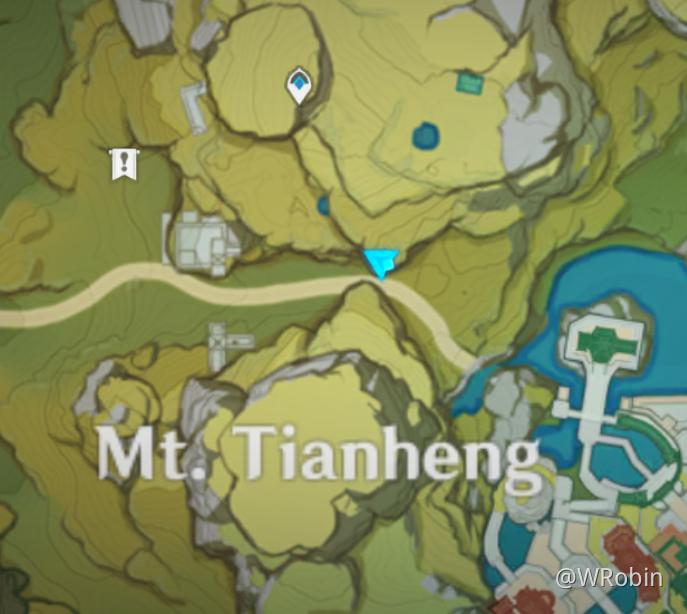
The quest will end after playing 4 games of Hide and Seek with him and listening to his story. The achievement will then be issued.
Related Quest: The Tree who Stands Alone
The quest will trigger after talking to Yuan Hong.
Location (Yuan Hong):
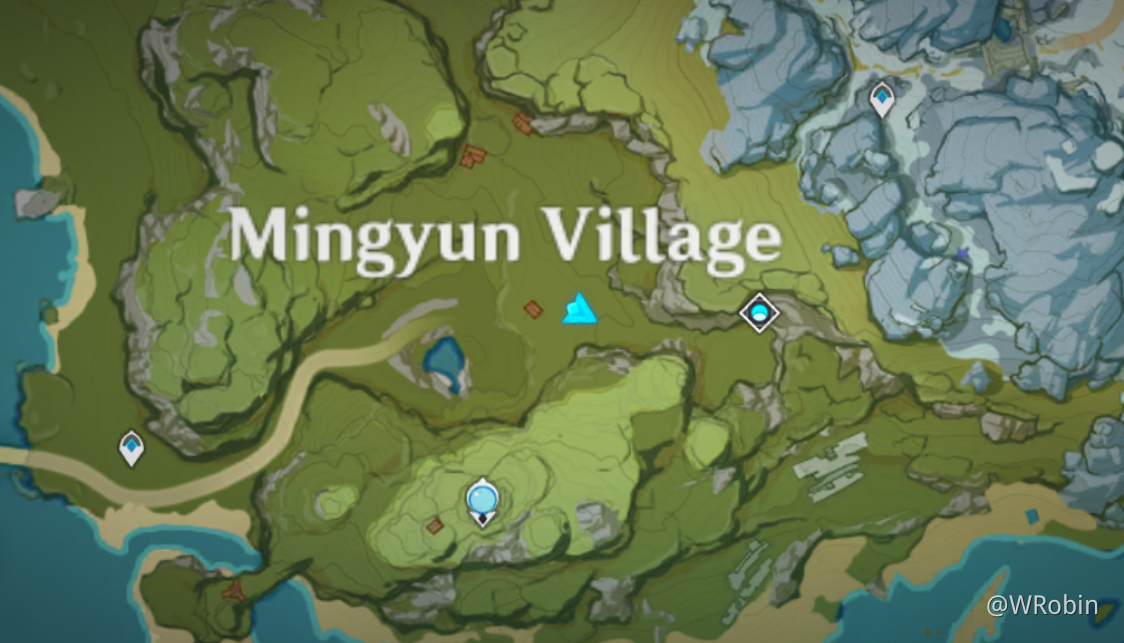
The quest will end after digging up the treasure and a conversation between the family. Once it's done, then the achievement will be issued and you can also open the chest.
Index:[Index] Wonders of the World- Hidden Achievements - miHoYo Player Community (hoyolab.com)



