

- This guide is the 2nd part of my All Chests and Excerpts of Bliss in Simulanka.
- All Chests and Excerpts of Bliss in Simulanka (Phase 1)
- All Chests and Excerpts of Bliss in Simulanka (Phase 2) - You are here!
- All Chests and Excerpts of Bliss in Simulanka (Phase 3)

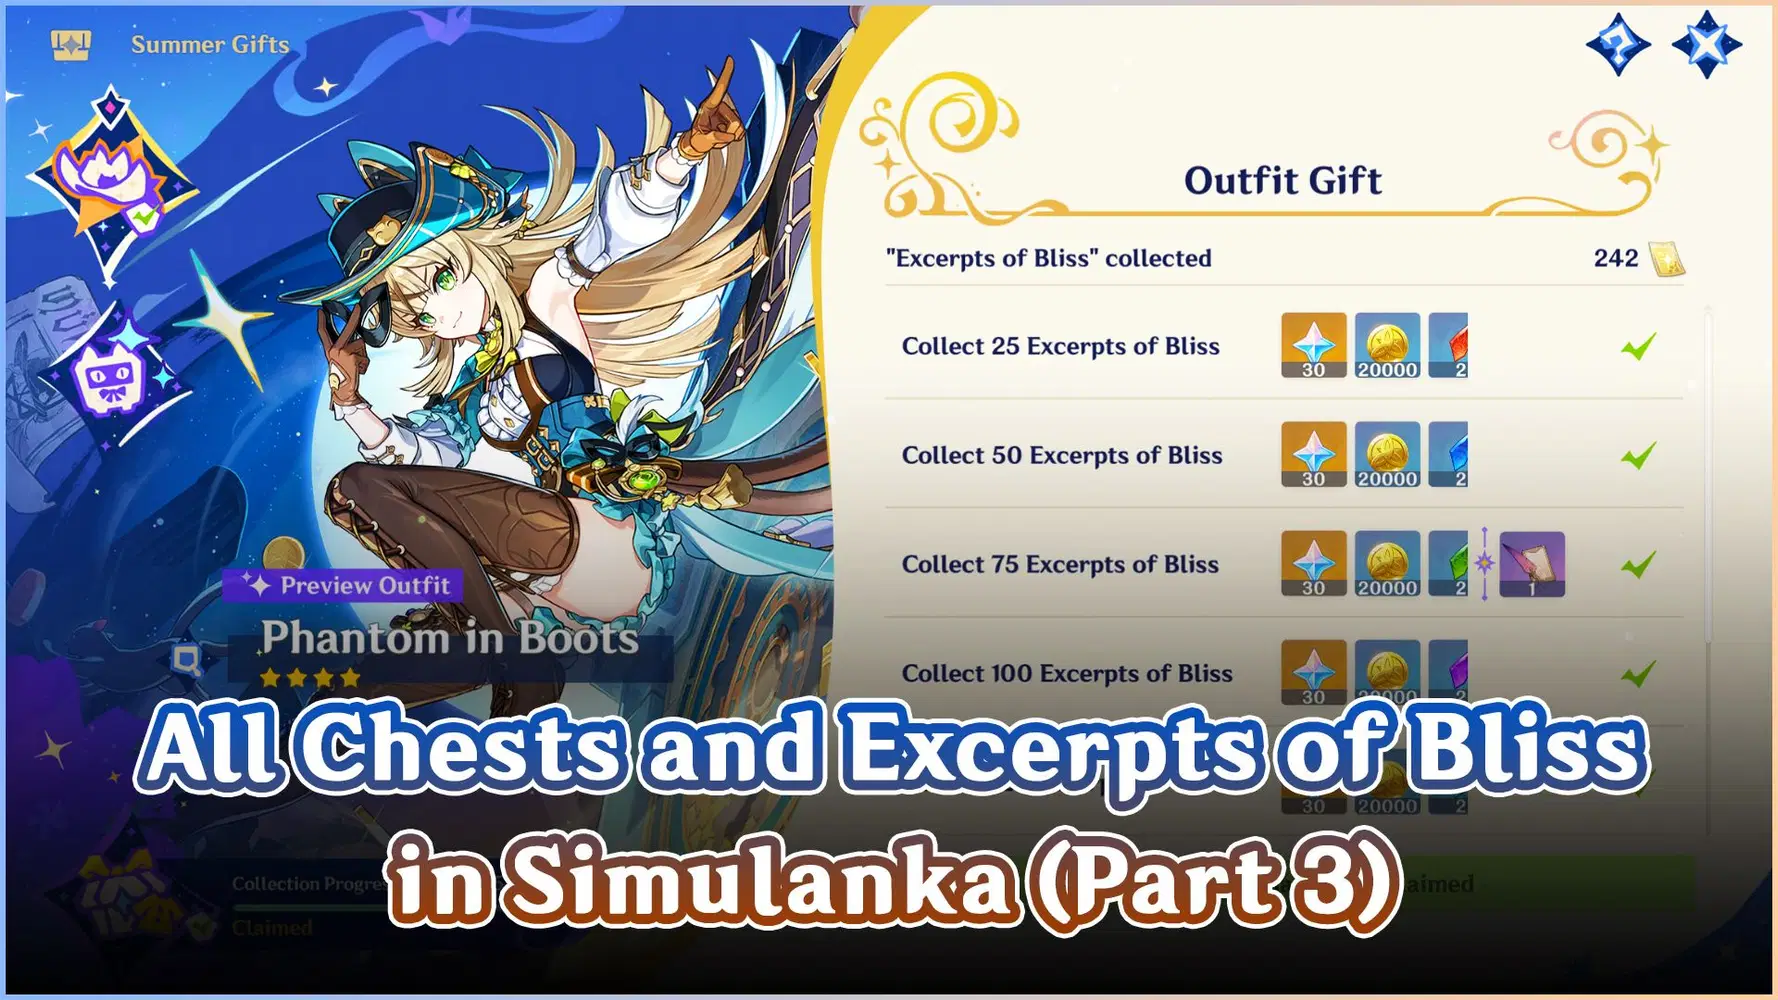
- Remember that there will be 2 gadgets to show the location of treasure chests and Excerpts of Bliss in Simulanka (one is for AoE while another one is for the whole map). So you don’t have to follow my route 100% and you can choose to explore by yourself with the handy gadget to help!
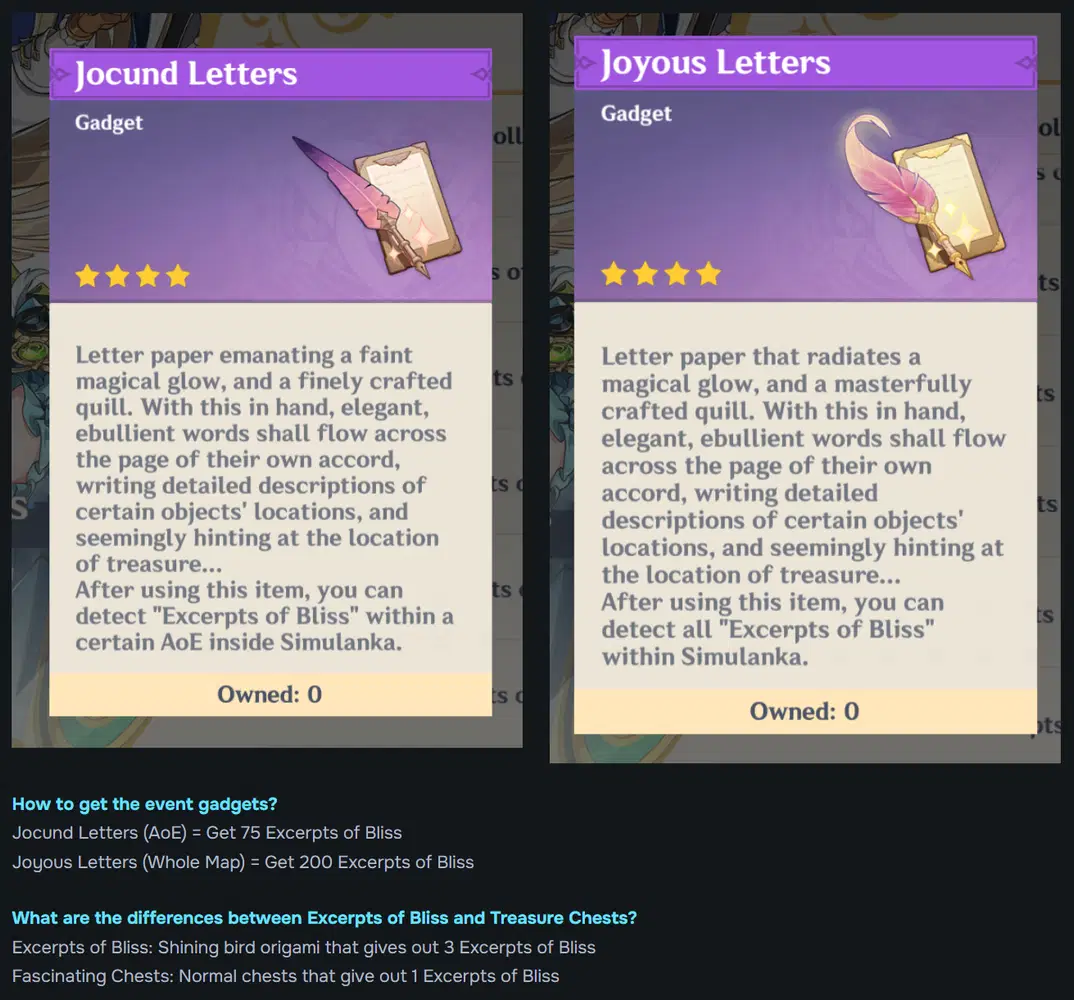

All Chests and Excerpts of Constellation Metropole, Simulanka
You can get a total of 72 Excerpt of Bliss in the second phase!
Initial Notes (Excerpts of Bliss x4)

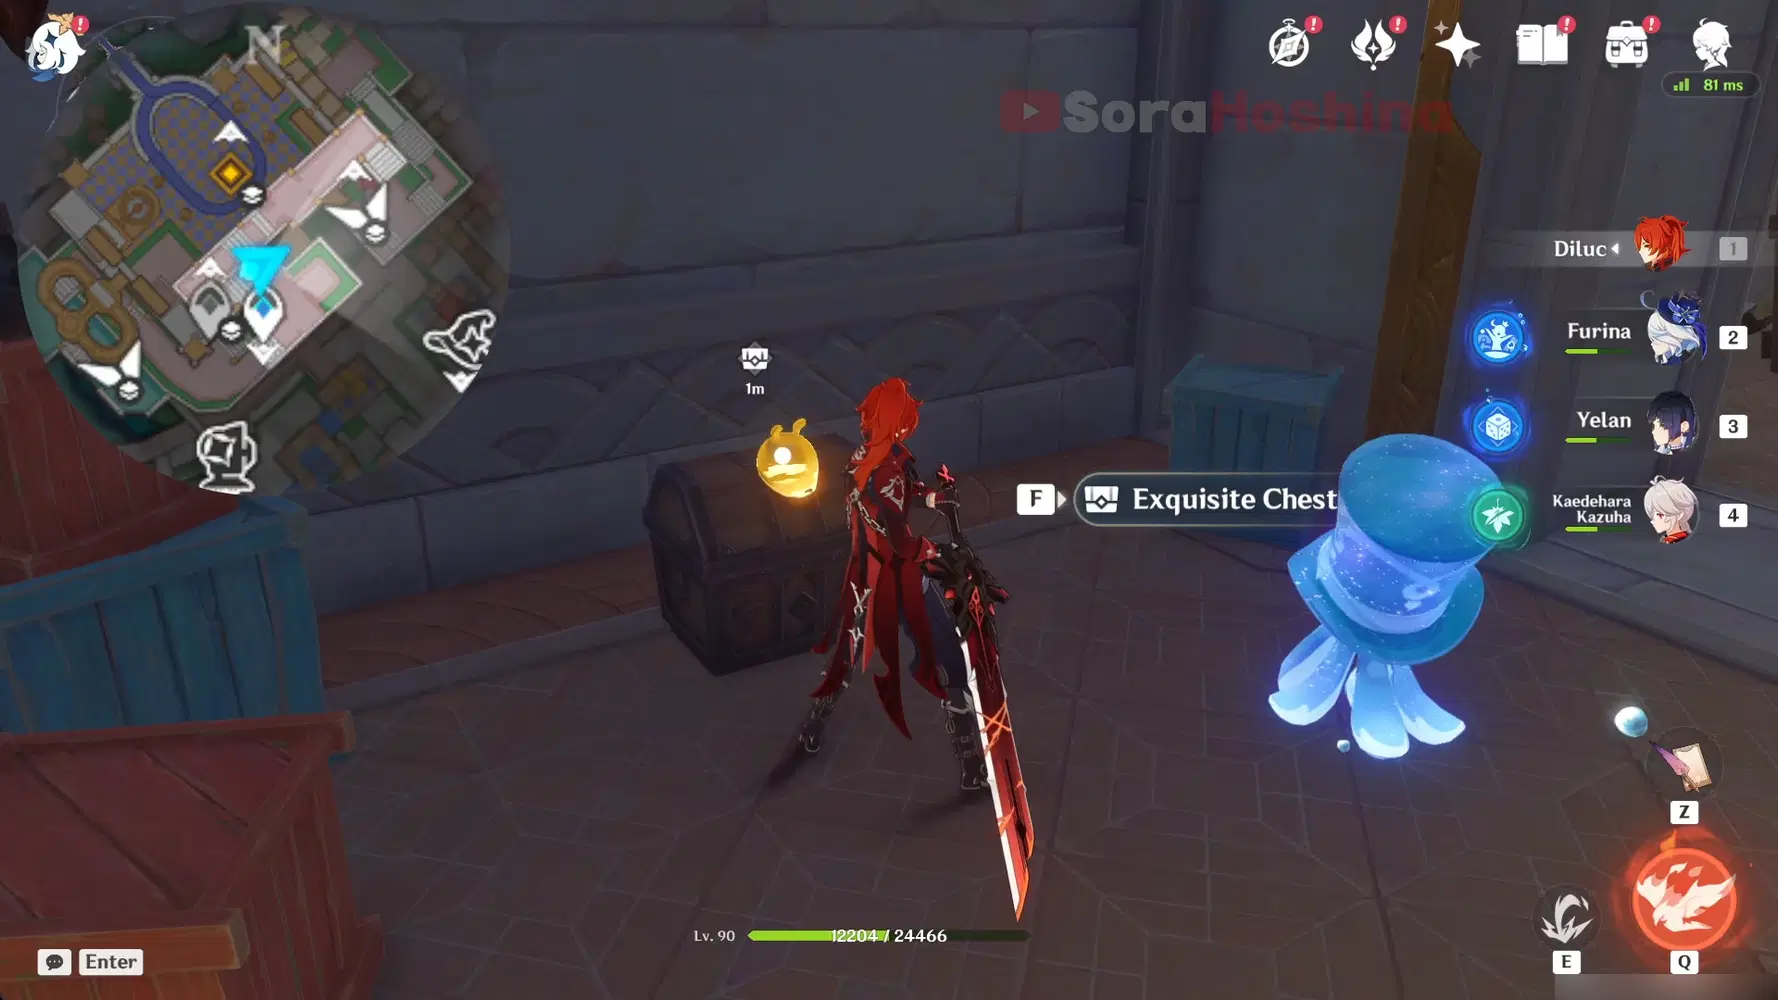


Four of the treasure chests above can be obtained during Summertide Scales and Tales: Page 2 EVENT QUEST (where you meet Navia in Metropole Constellation Metropole). Once you complete the puzzles to continue the quest, the treasure chest will be unlocked too.
In other words, you will obtain 4 Excerpts of Bliss from this quest alone.
Initial Notes 2 (Excerpts of Bliss x6)


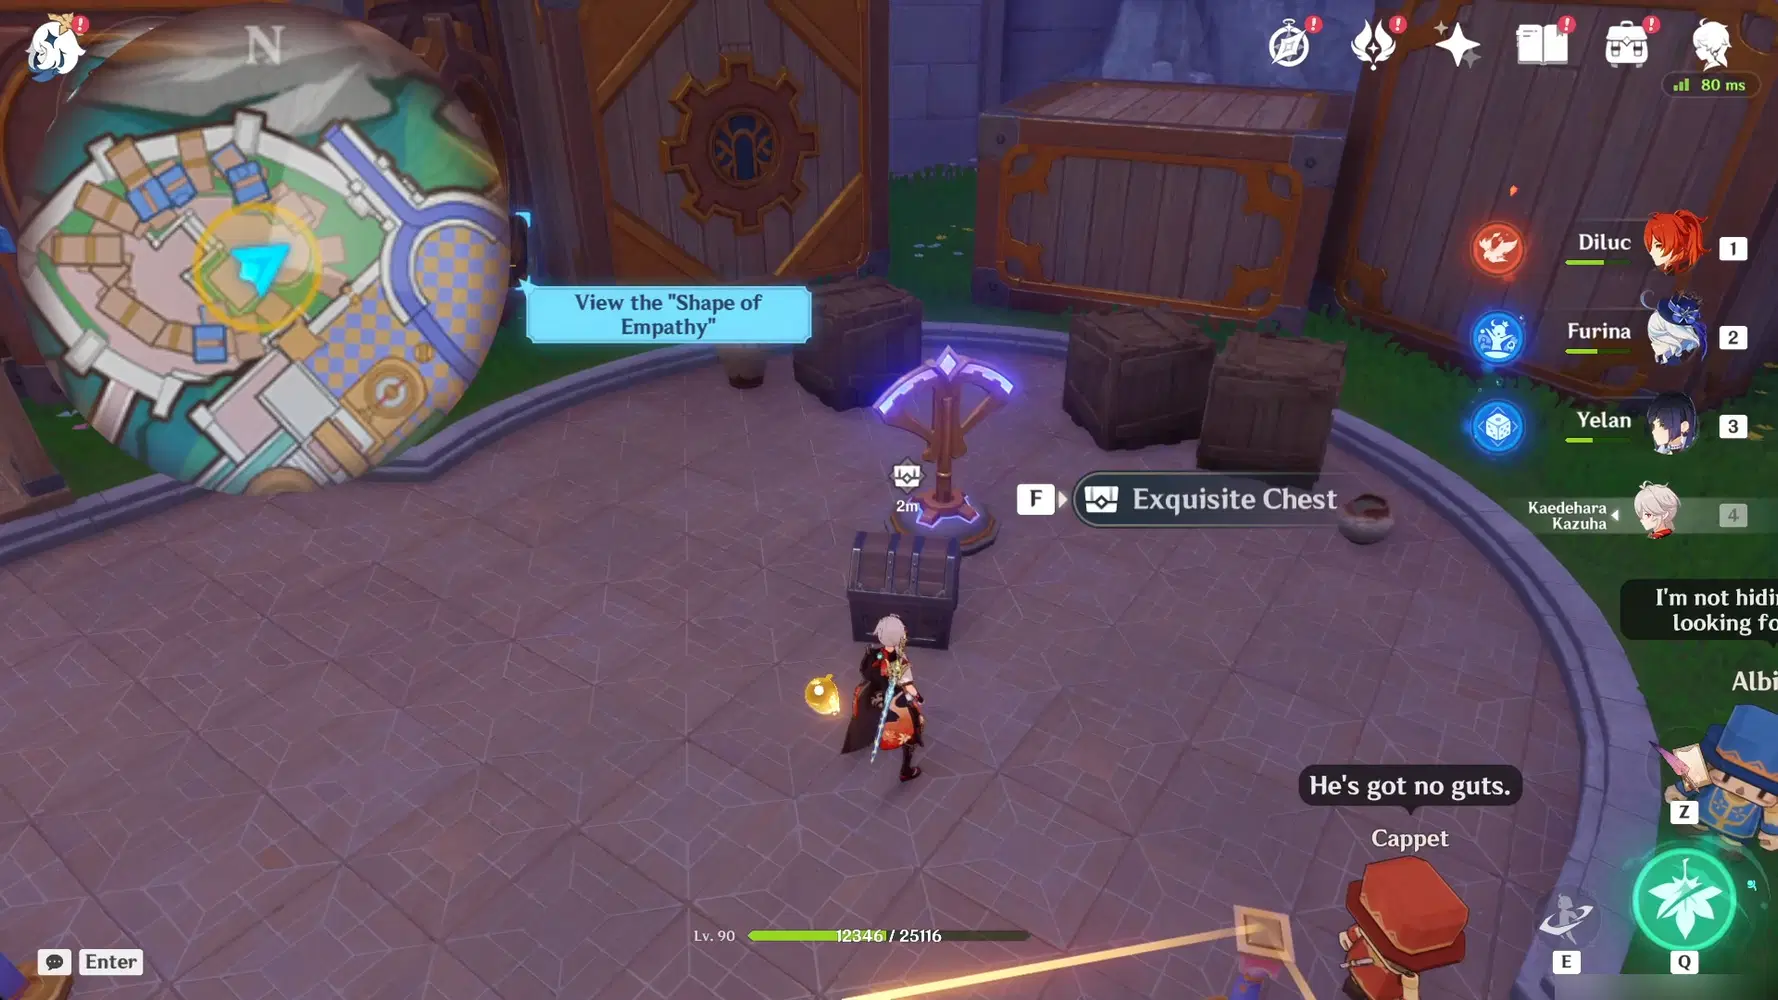
Five of the treasures in the image above can be obtained by completing the Narration Footnotes Quest (click the link for the quest guide). In other words, you will obtain 6 Excerpts of Bliss from this quest alone.
Route 1 (Excerpts of Bliss x6)

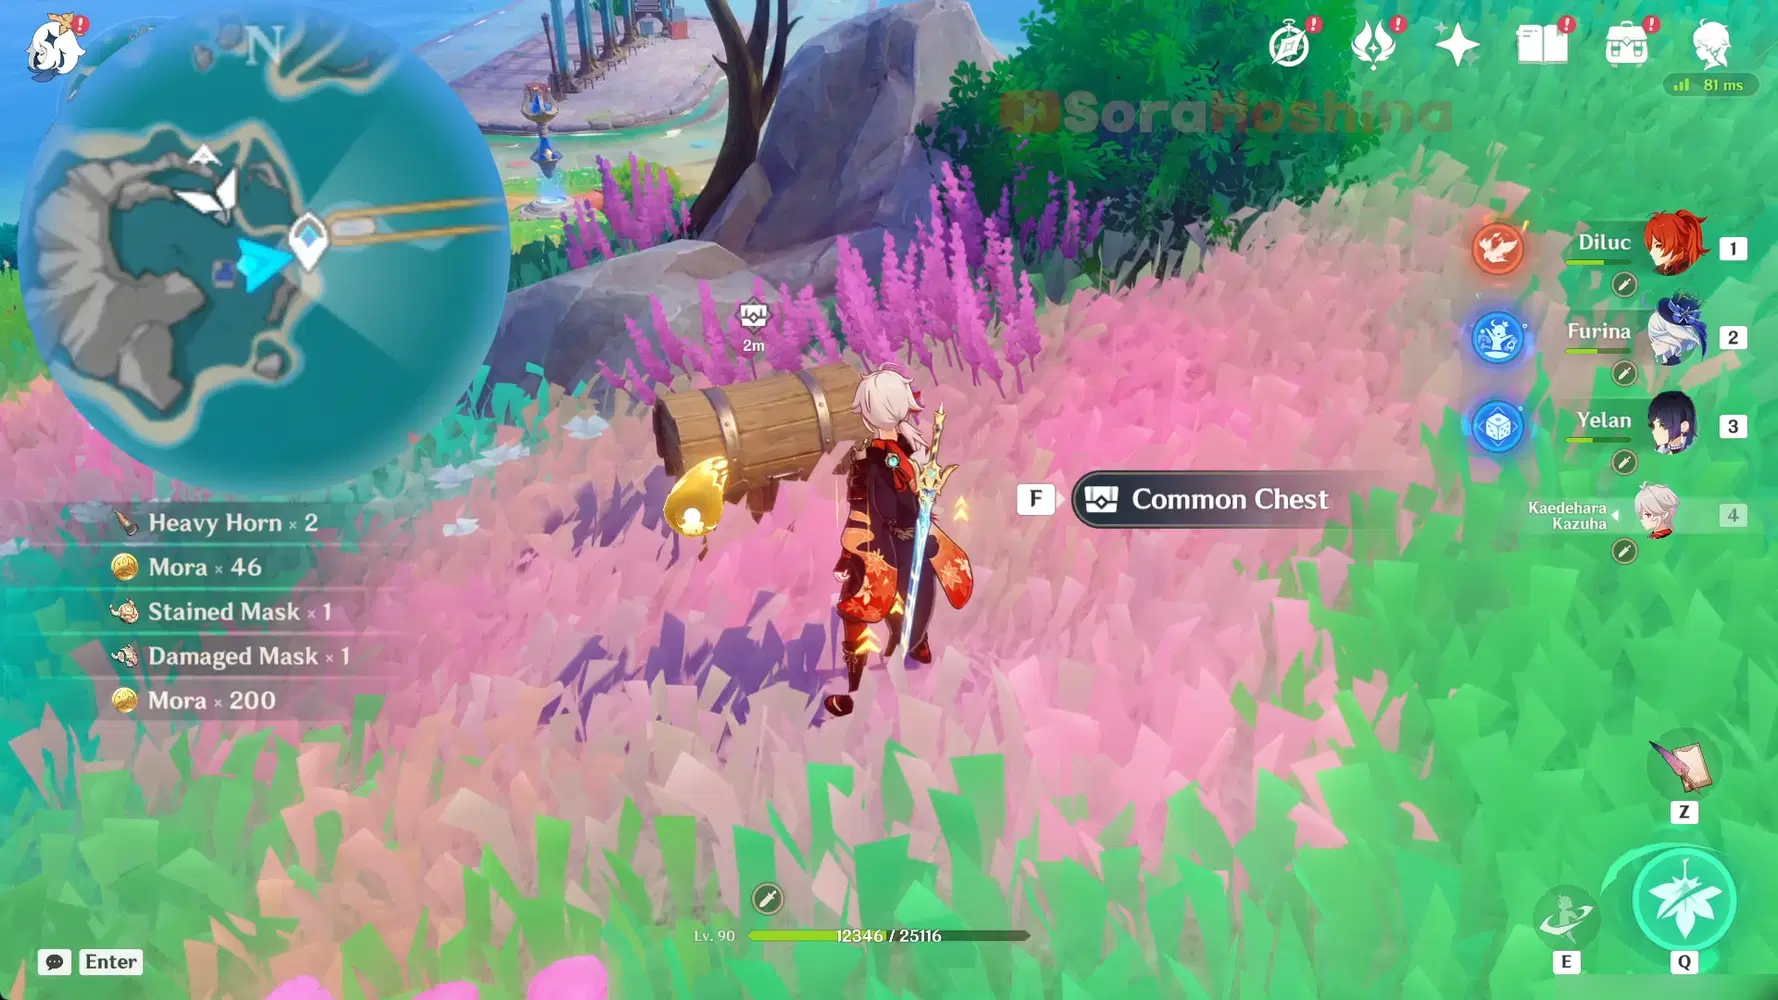
1. Teleport to waypoint 1 and walk to the left side to see a group of Hilichurl guarding a chest. Defeat them.

2. Turn around (to the west) and go to the rooftop for a time-trial challenge; collect 10 Hydro Particles within 60 seconds.
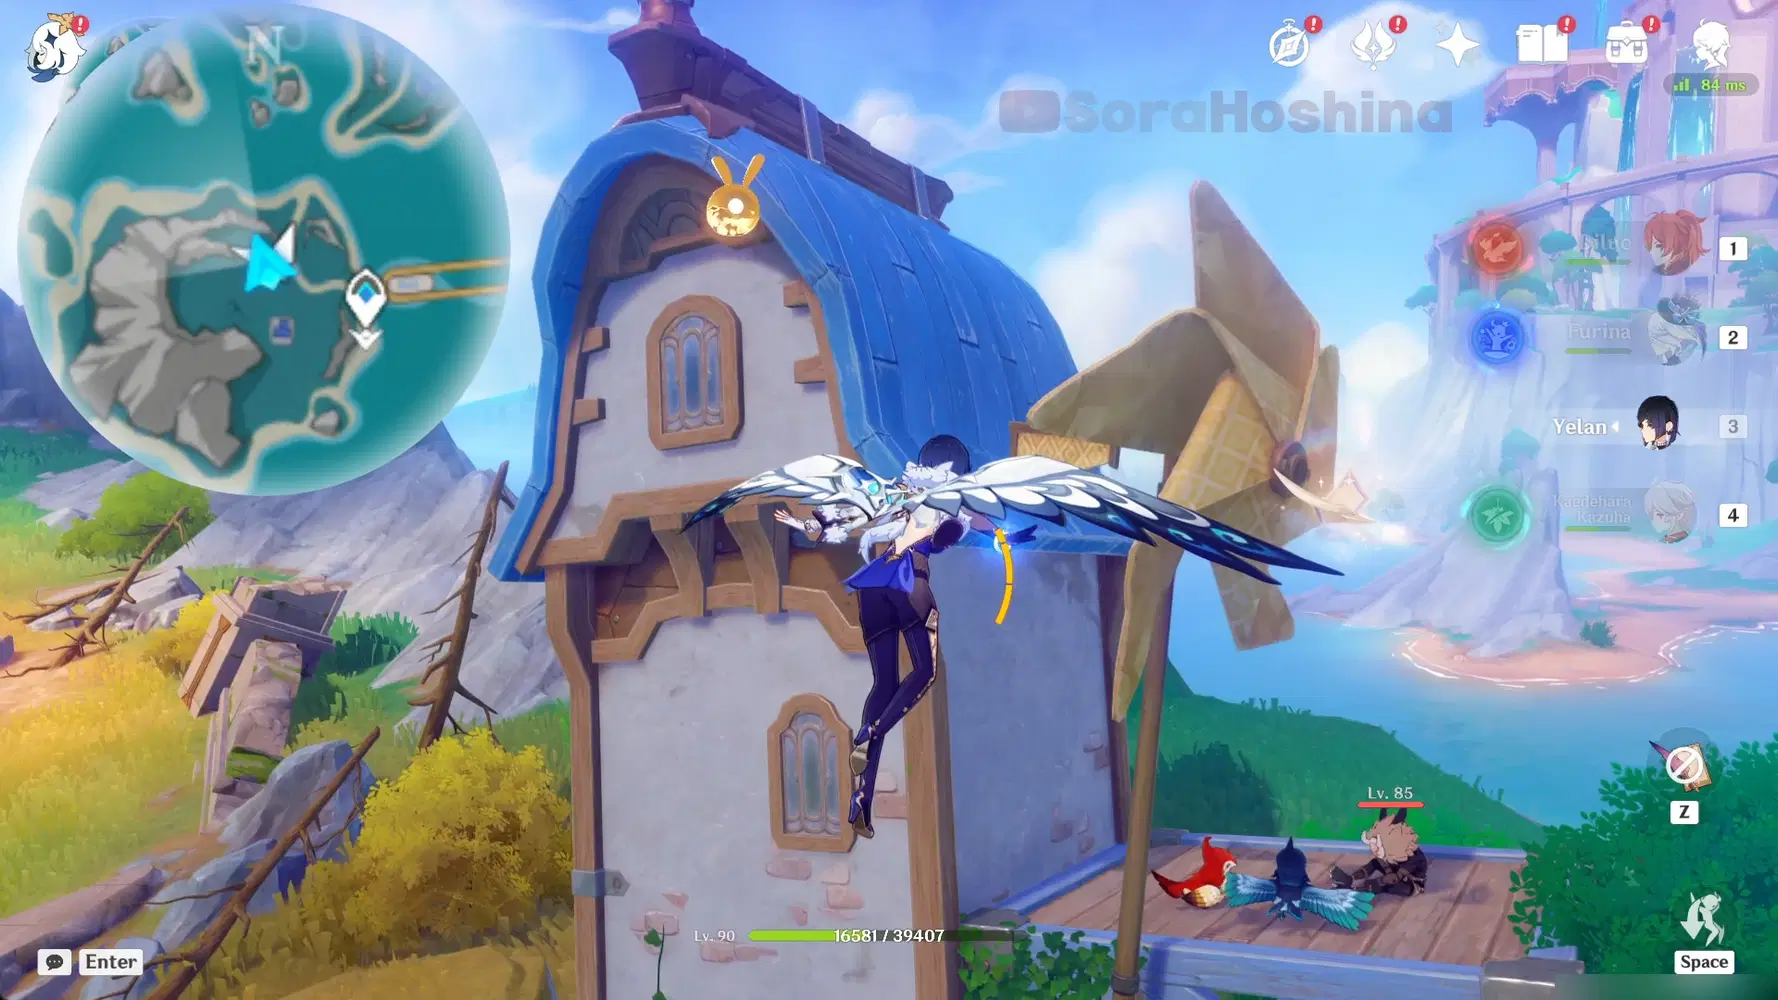
3. Head north to another house and jump up to the windmill for an origami bird.
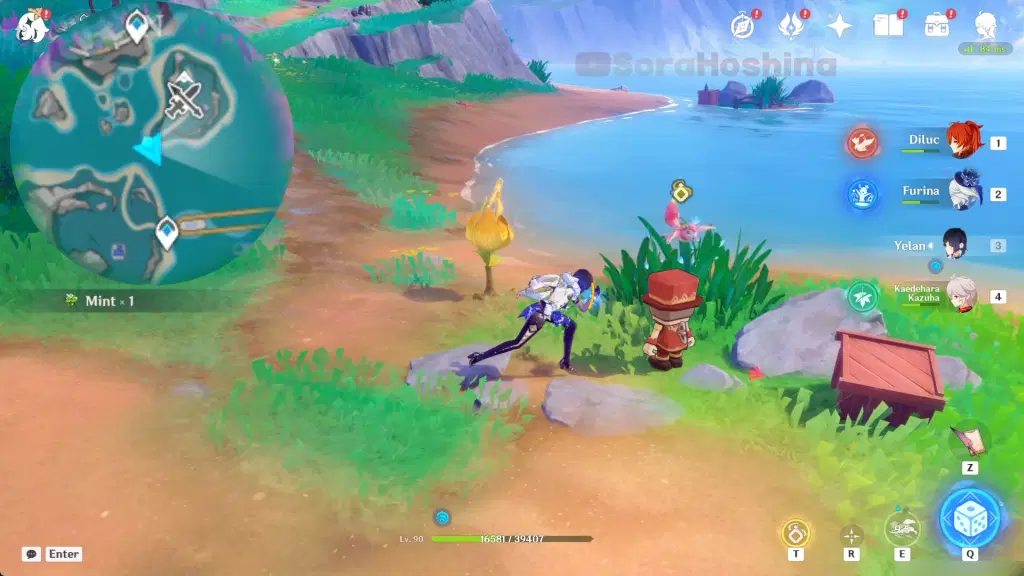
4. Continue heading north to a squirrel on top of the toy man. Complete the flying squirrel challenge to spawn a chest.
Route 2 (Excerpts of Bliss x14)

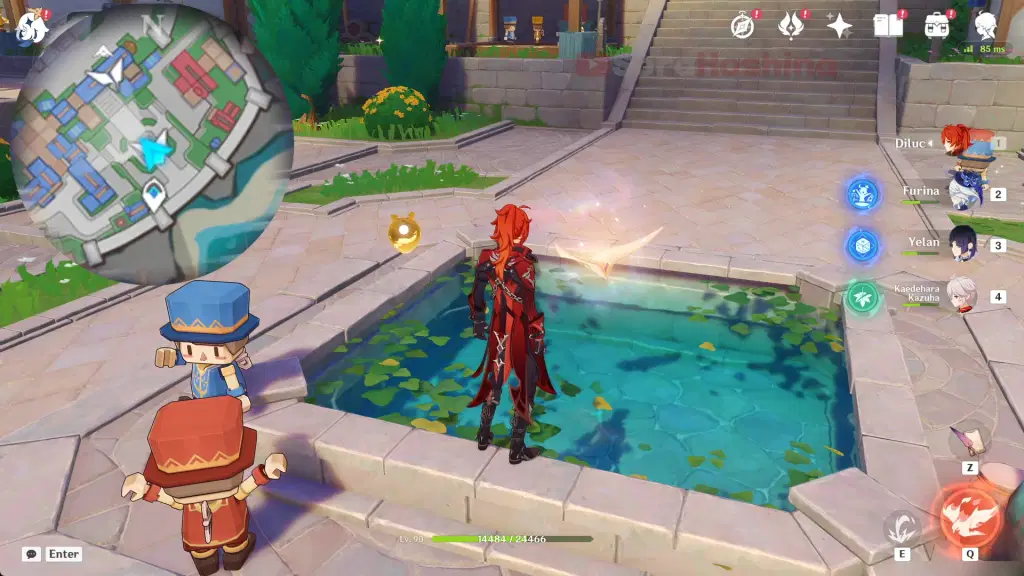
5. Teleport to waypoint 2 and walk forward to the pond in the middle of the plaza.

6. Go northeast to the front of a shop. Complete the clockwork puzzle by connecting the pillars to form a queue line barrier to complete the puzzle.

7. Walk behind the shop for another simple puzzle. Choose the 'For You' option to help the hamster and unlock the chest.
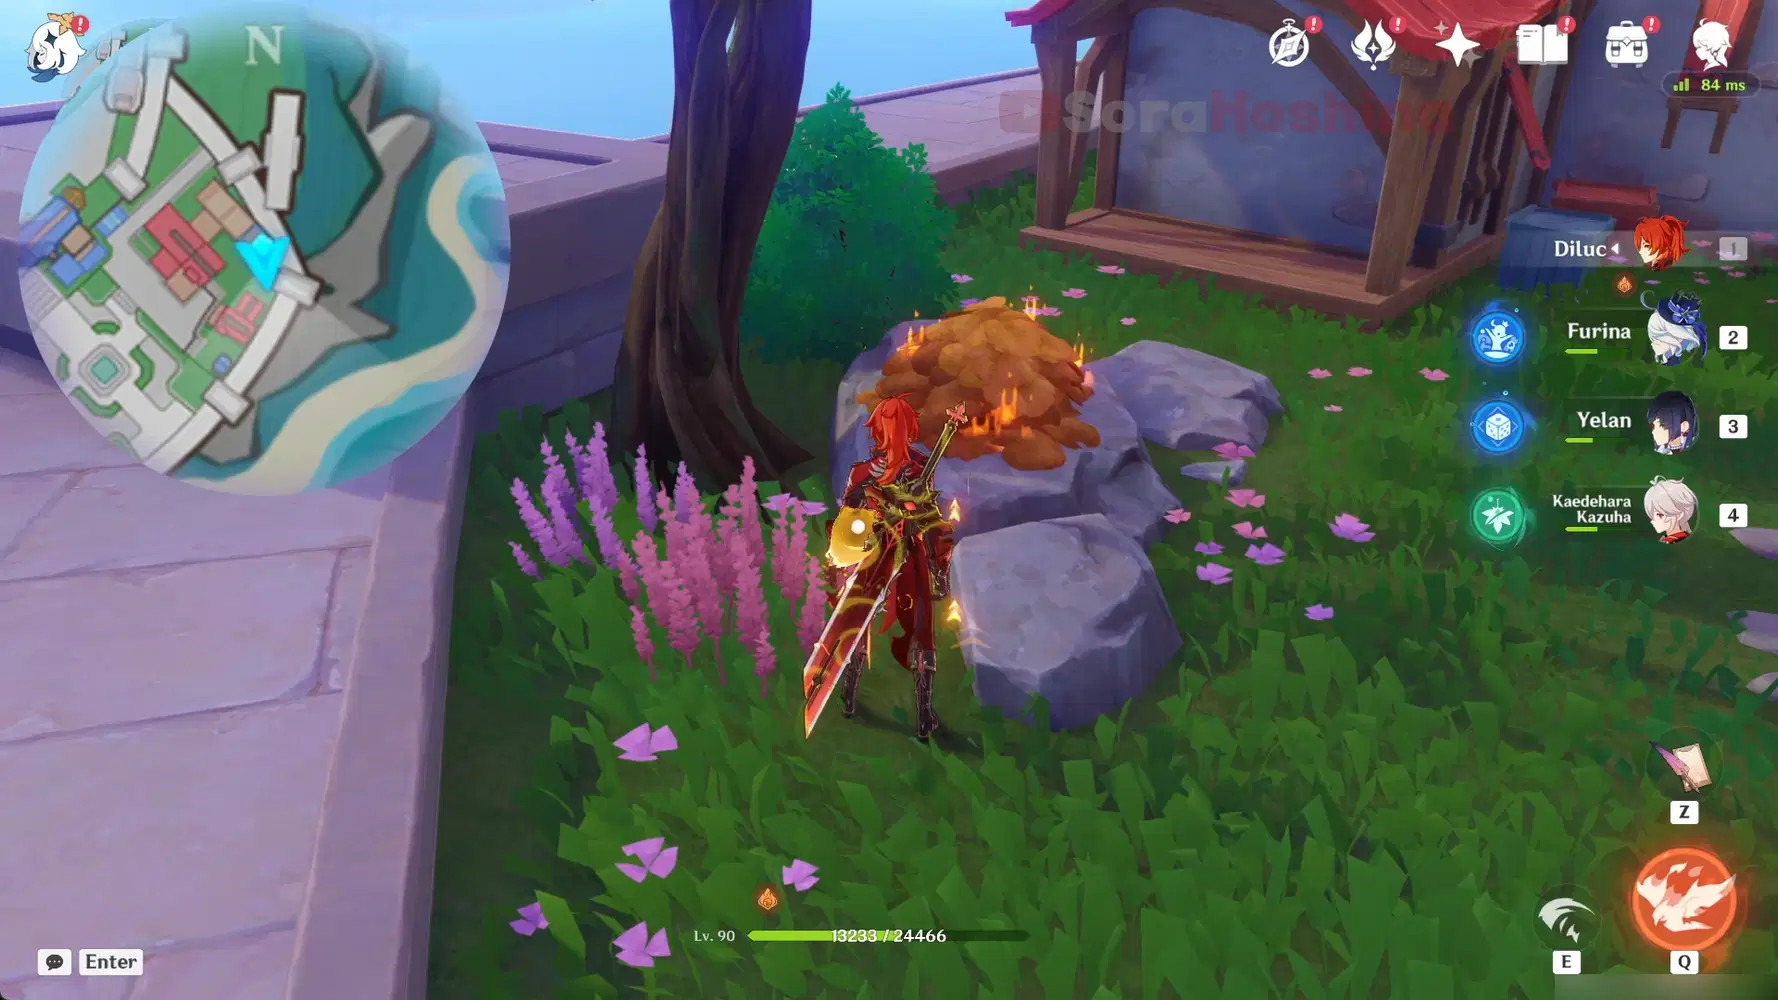
8. Go through the platform until you see a pile of leaves on top of a rock. Use Pyro to burn the leaves and spawn a chest.

9. Turn around and you can see a lift. Hit the clockwork once to activate the lift and go to the second floor. A Common Chest is just chilling there beside the toy man.
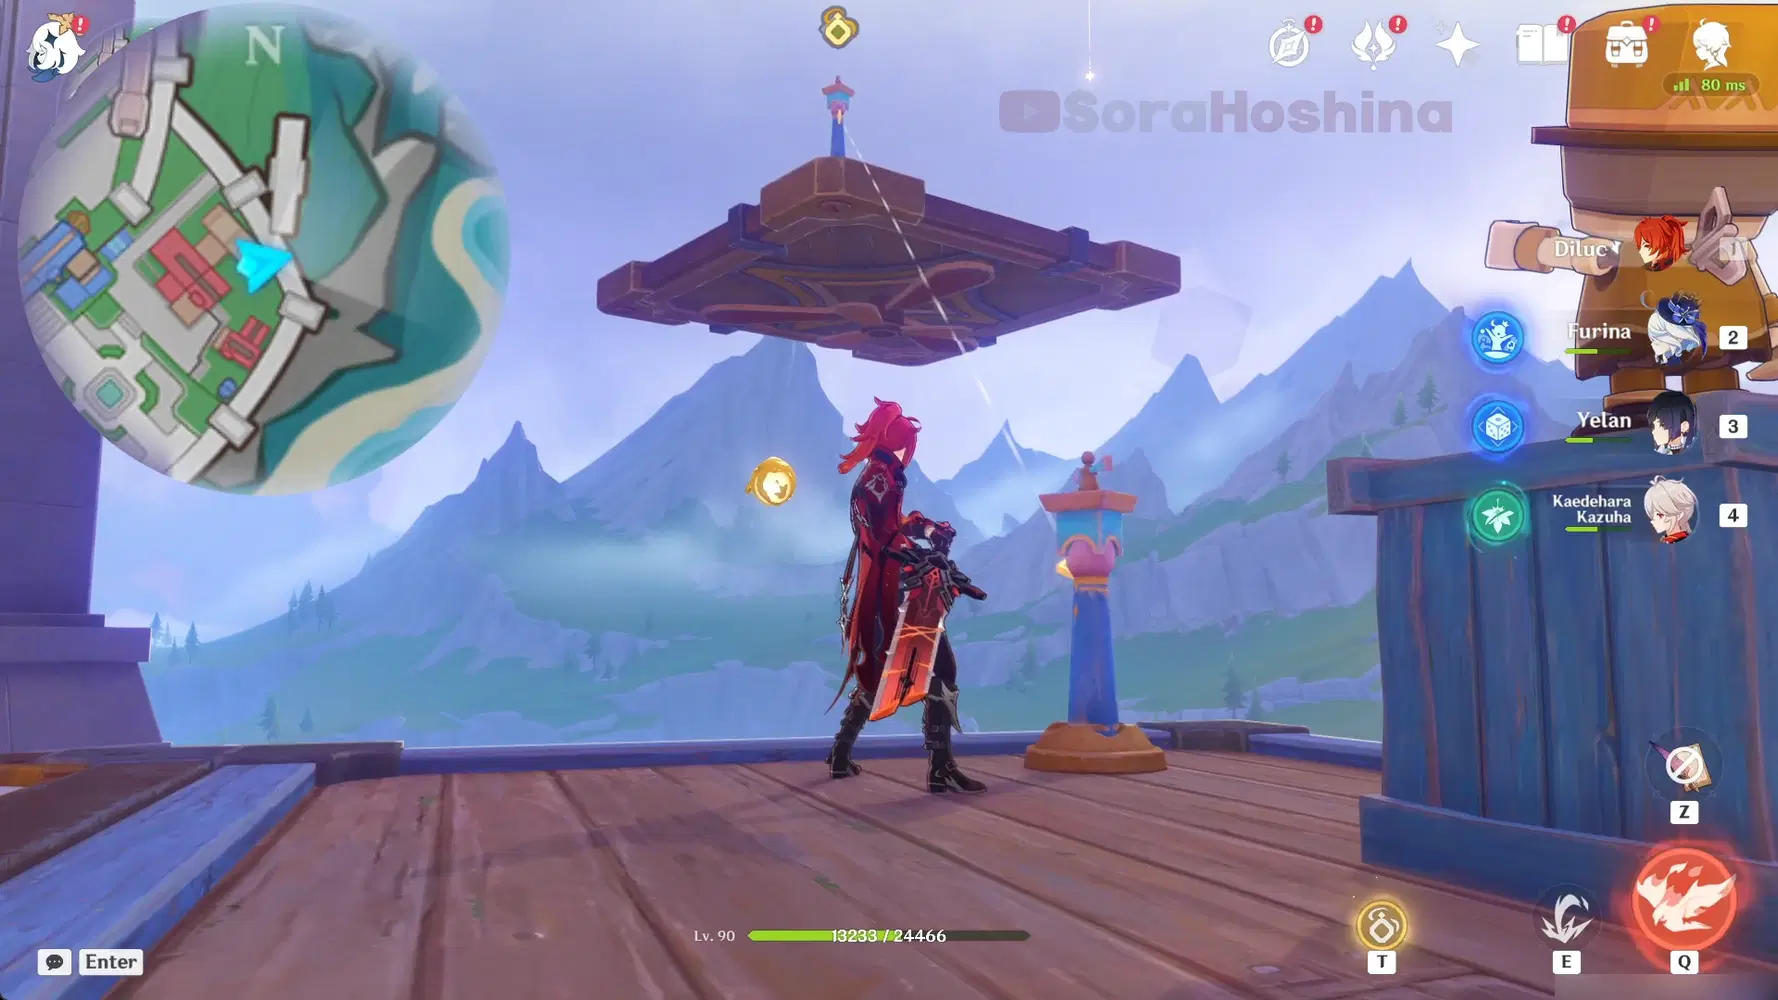
10. Go to the lift once again and hit it twice to reach the third floor for a Magic Thread. Go up the platform for a time-trial challenge.

11. From the previous spot, look to the west and glide slowly to the platform below.
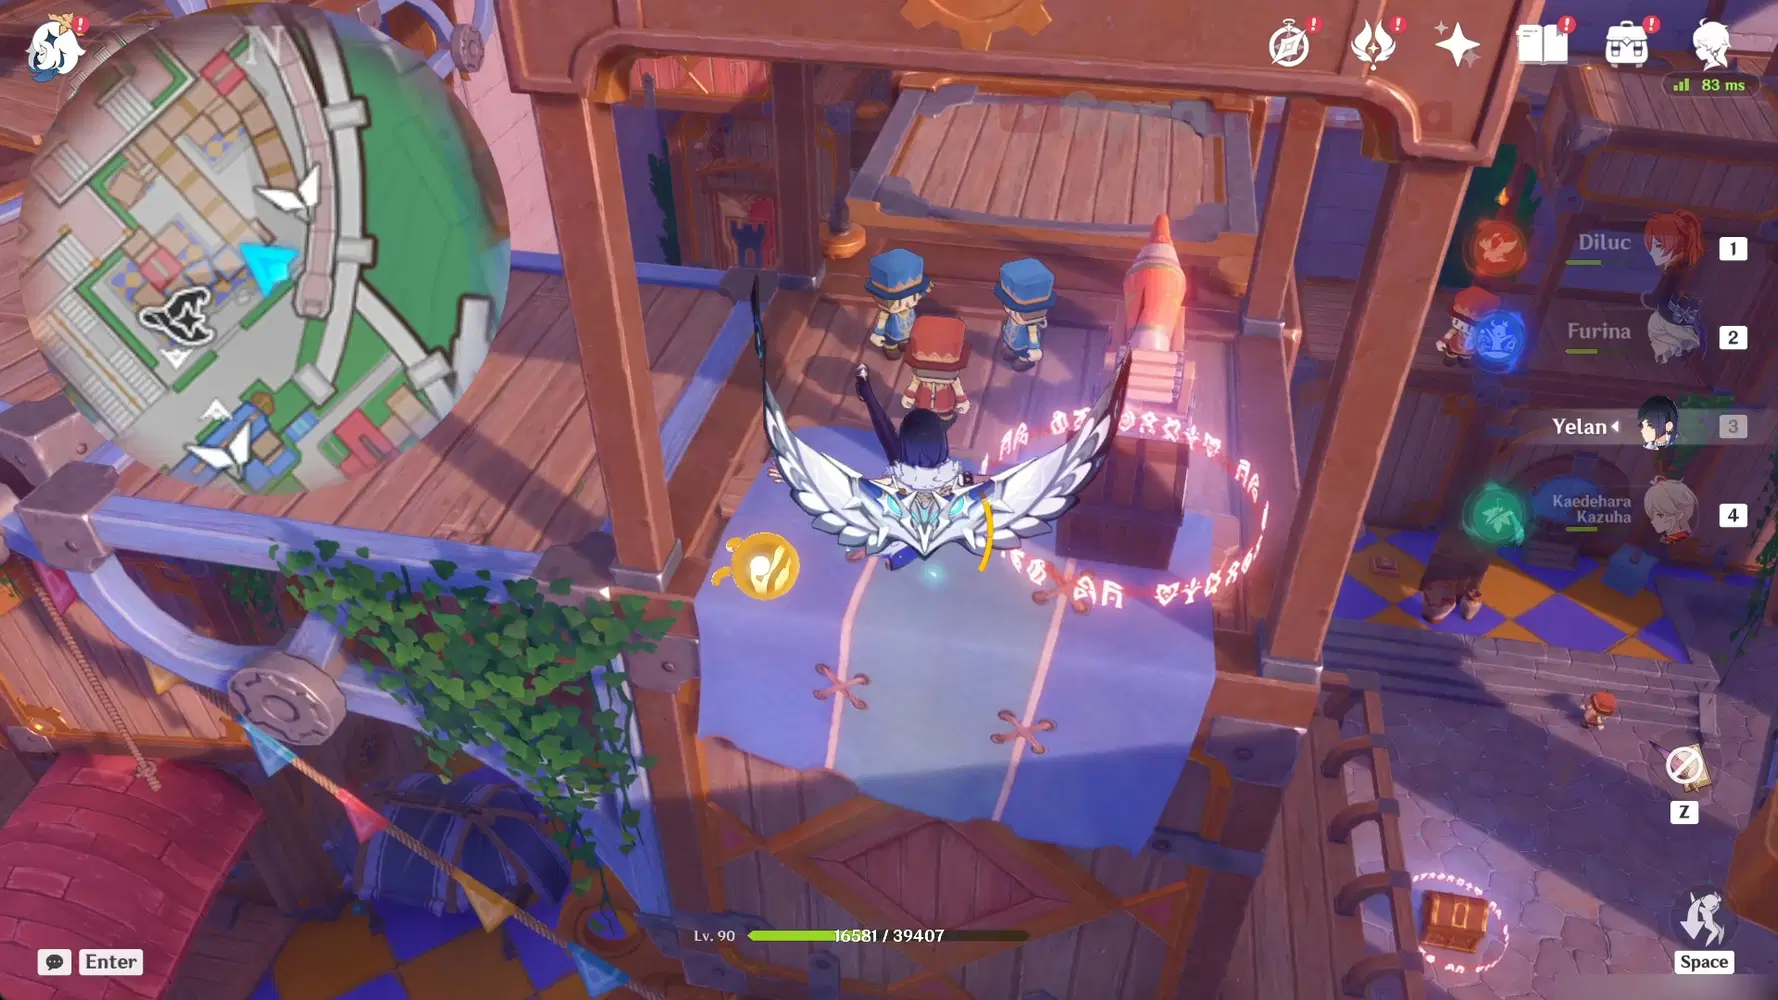
12. Jump onto the platform below for a locked chest. Play a game with those toy guards to unlock the chest.
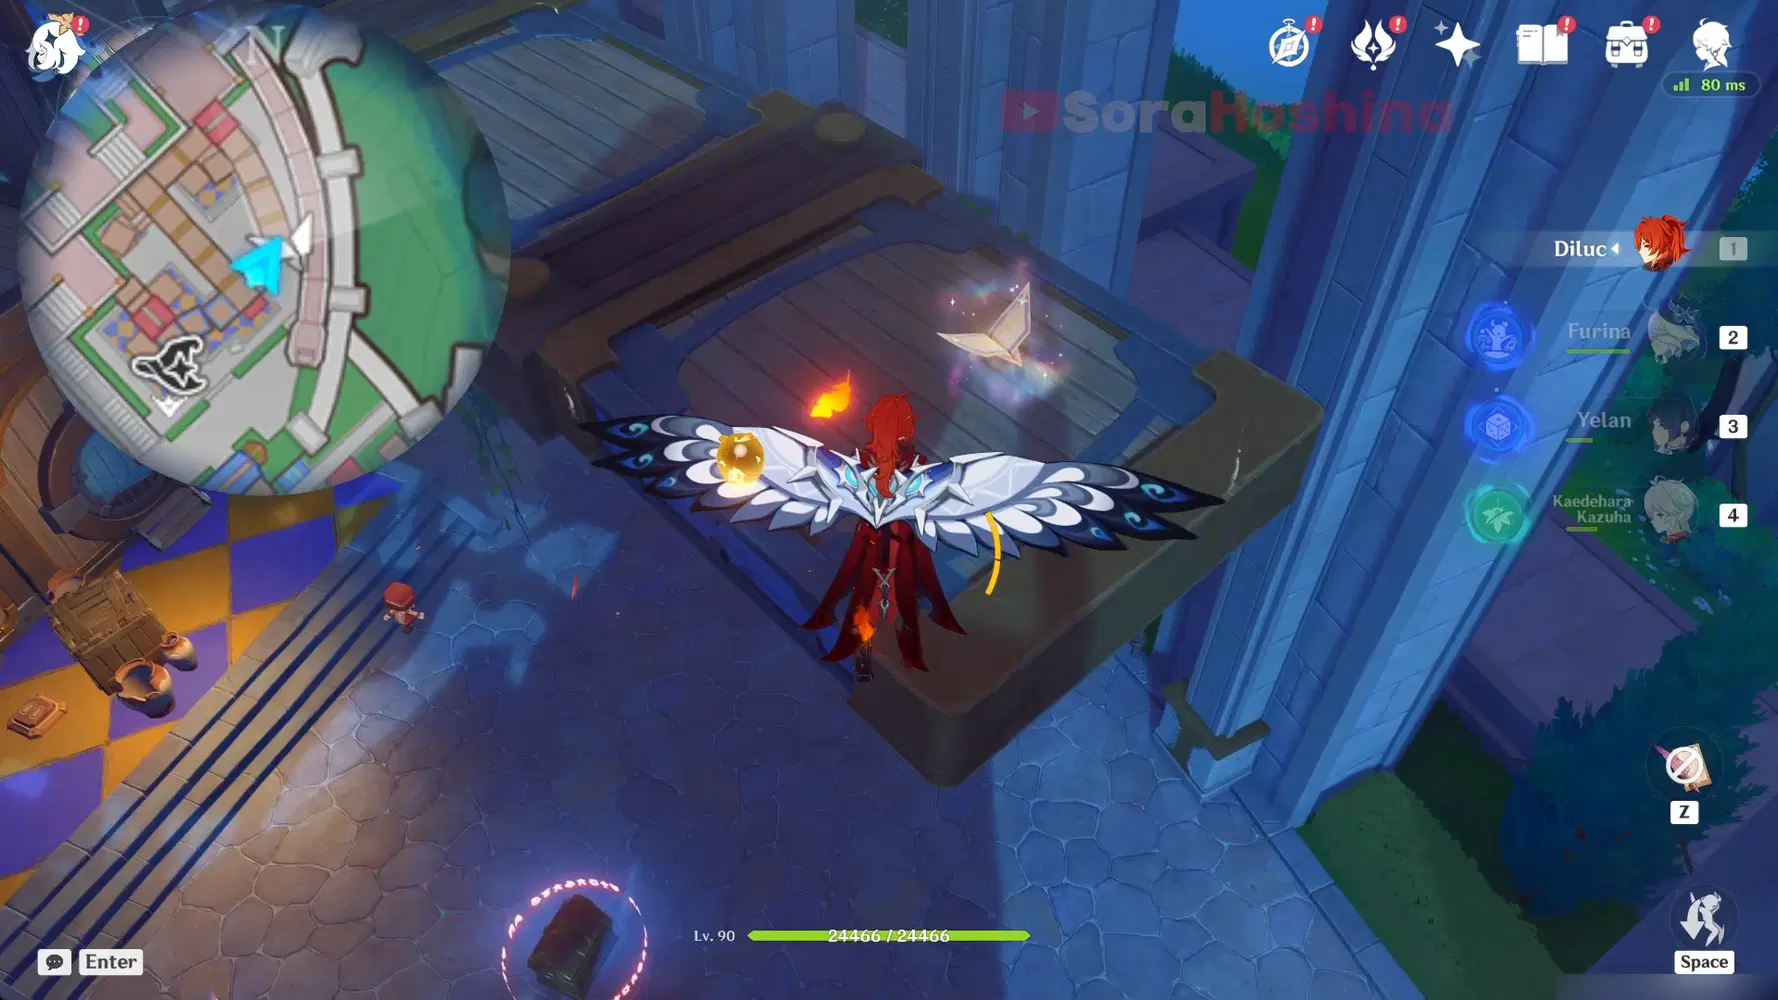
13. Jump onto the next platform for the origami bird.

14. Drop down and solve the clockwork puzzle; rewind the time and destroy the boxes and vases. Then, rewind the time again so when the toy guard is on top of the button, you can attack the super glue to shoot it at the falling box. Rewind for the last time to complete the puzzle.
Route 3 (Excerpts of Bliss x18)


15. Teleport to waypoint 3 and drop down to the middle of the stairs.
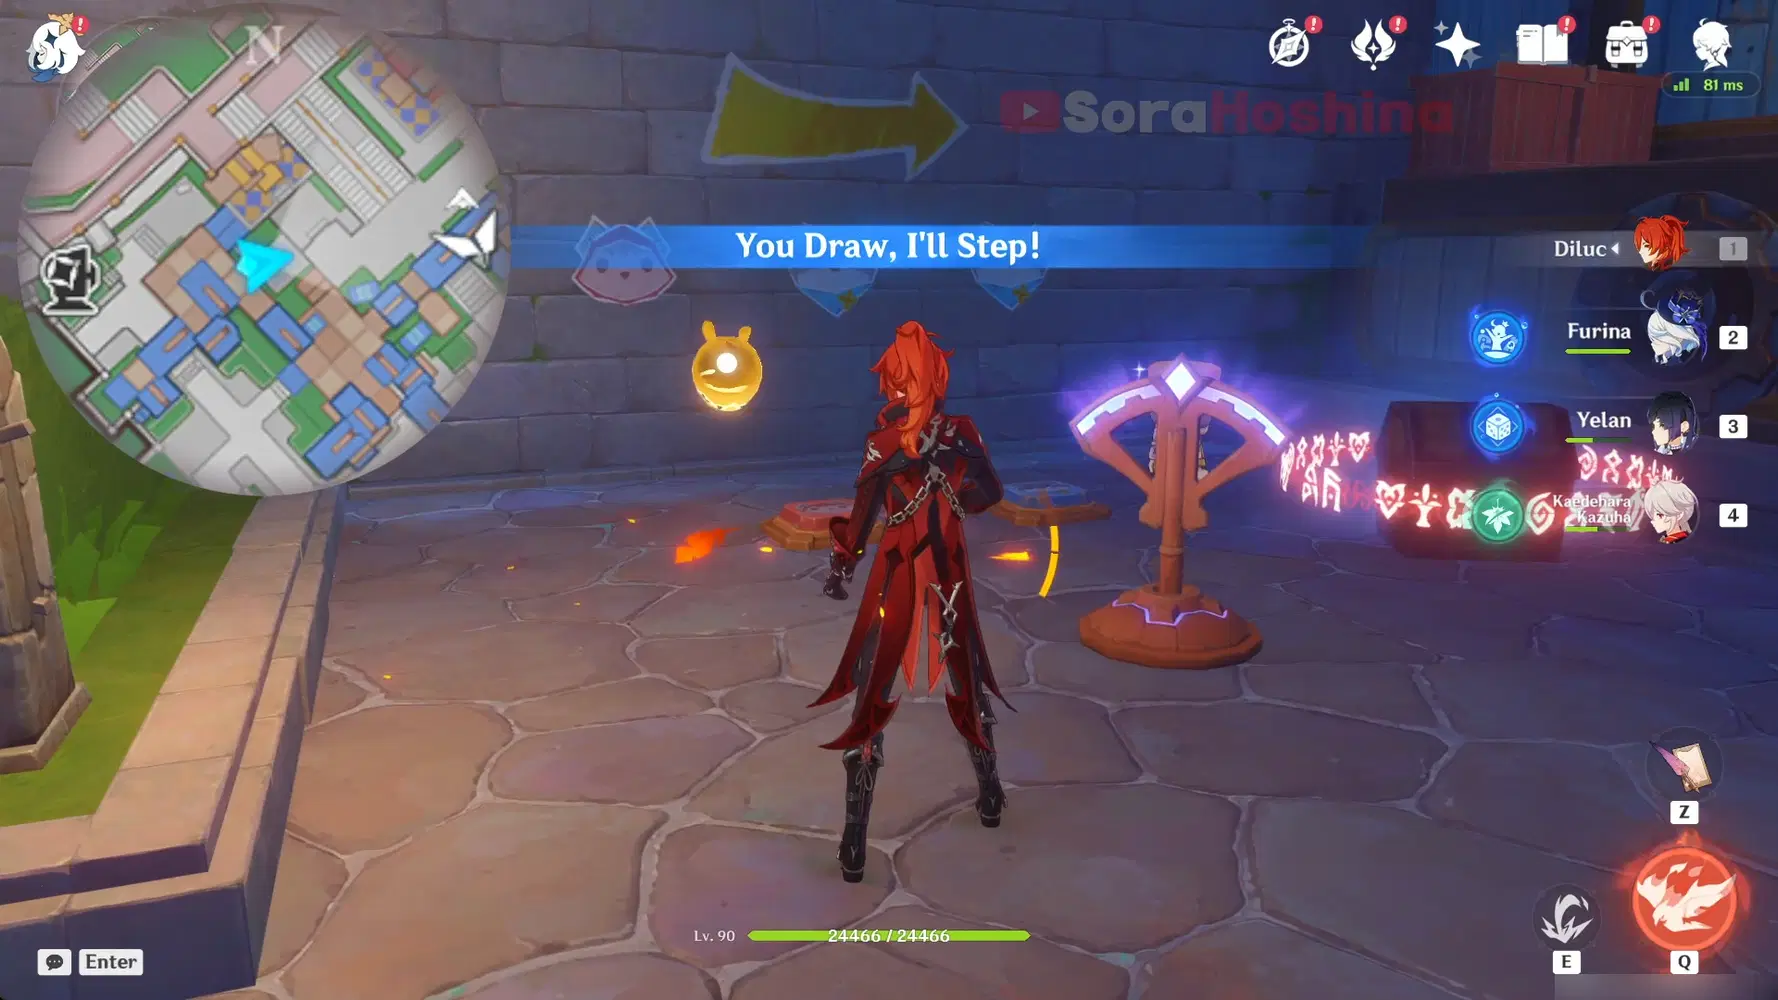
16. Head south to a clockwork puzzle. Make sure the toy steps on the pink button before the blue button twice (use the clockwork puzzle to rewind time).

17. Jump around the blocks to the south for another clockwork puzzle. This time, make sure to attack the superglue multiple times before the giant reach the location.

18. To the left of the Precious Chest is a lift. Use it to reach the 3rd floor and you can see a treasure chest surrounded by the toy guards. Play a game with them to unlock the chest.
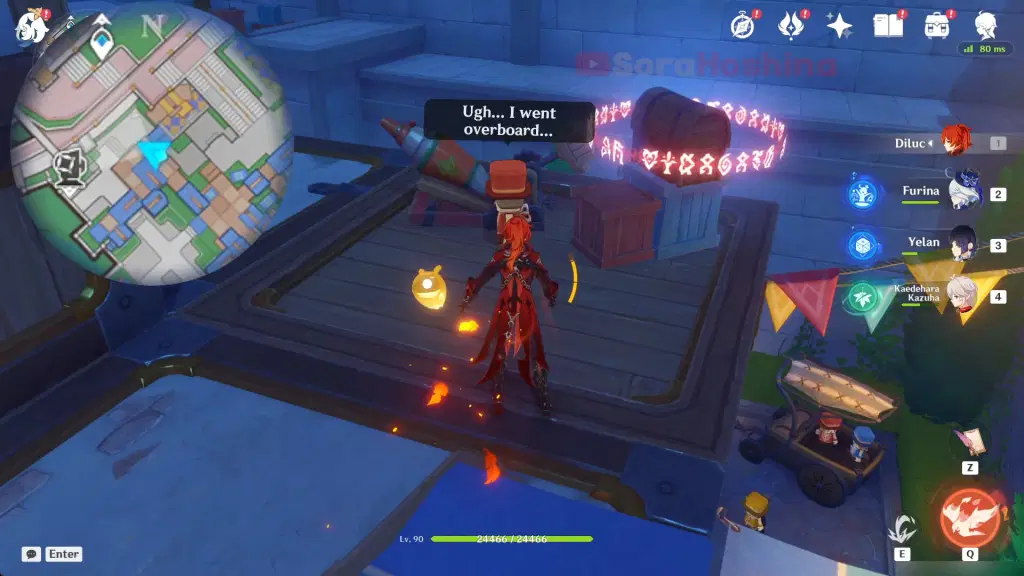
19. From the previous spot, go to another platform for another locked chest. Pulled out all the toy man from the glue to complete the puzzle.

20. Climb from roof to roof for another chest on top of a house.
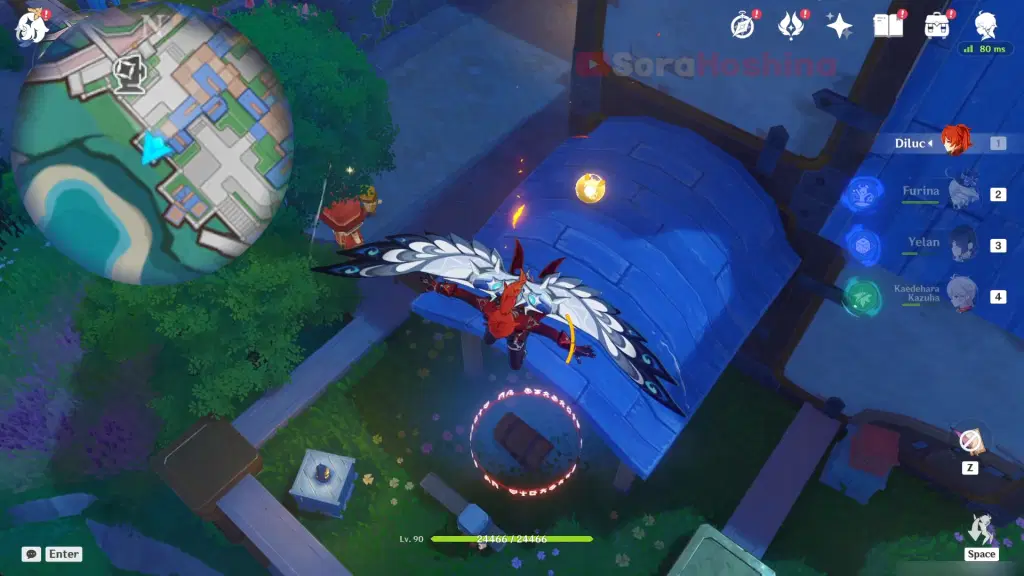
21. Glide down slowly to the west side. Sit down next to the toy man and the treasure chest will be unlocked.


22. Look to the left side and there is a Magic Thread. Use it to reach the top of the building. Ring the bell to start a time-trial challenge; collect Hydro Particles in the right order (from the small number of particles to the big number of particles)
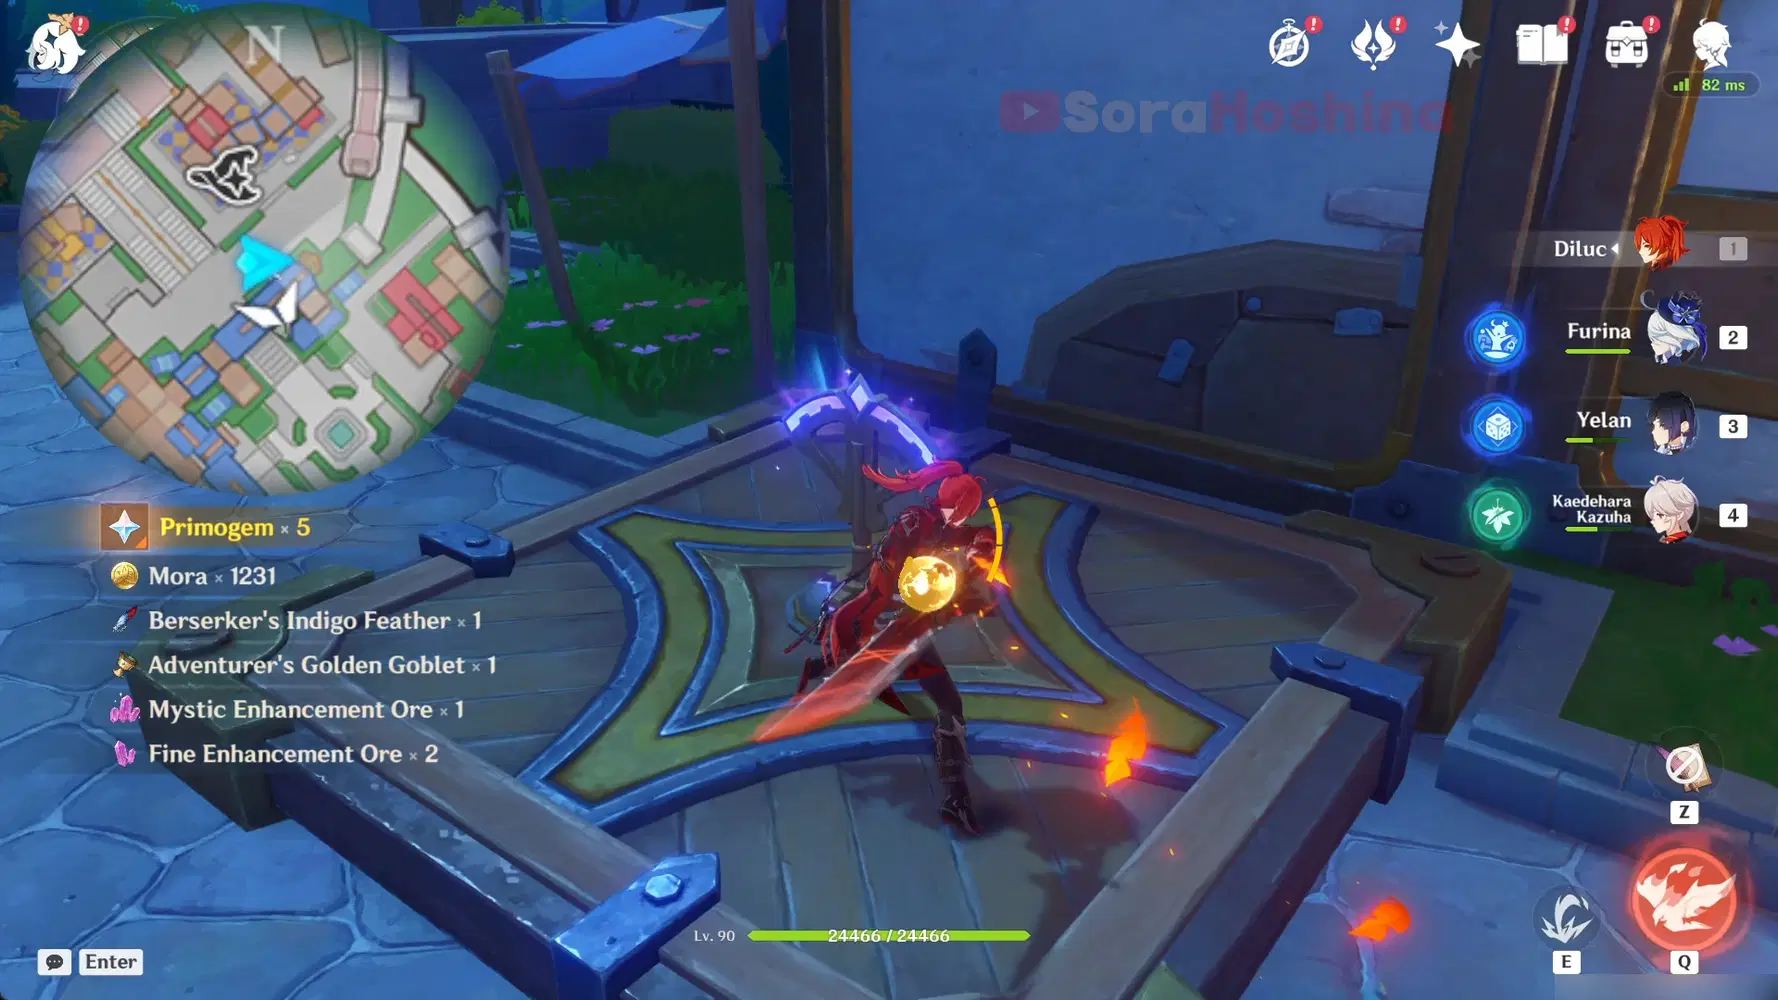

23. Once you claim the previous, walk ahead a little bit and use the lift like in the image above to reach the top of the house. There's an origami bird inside the nest.
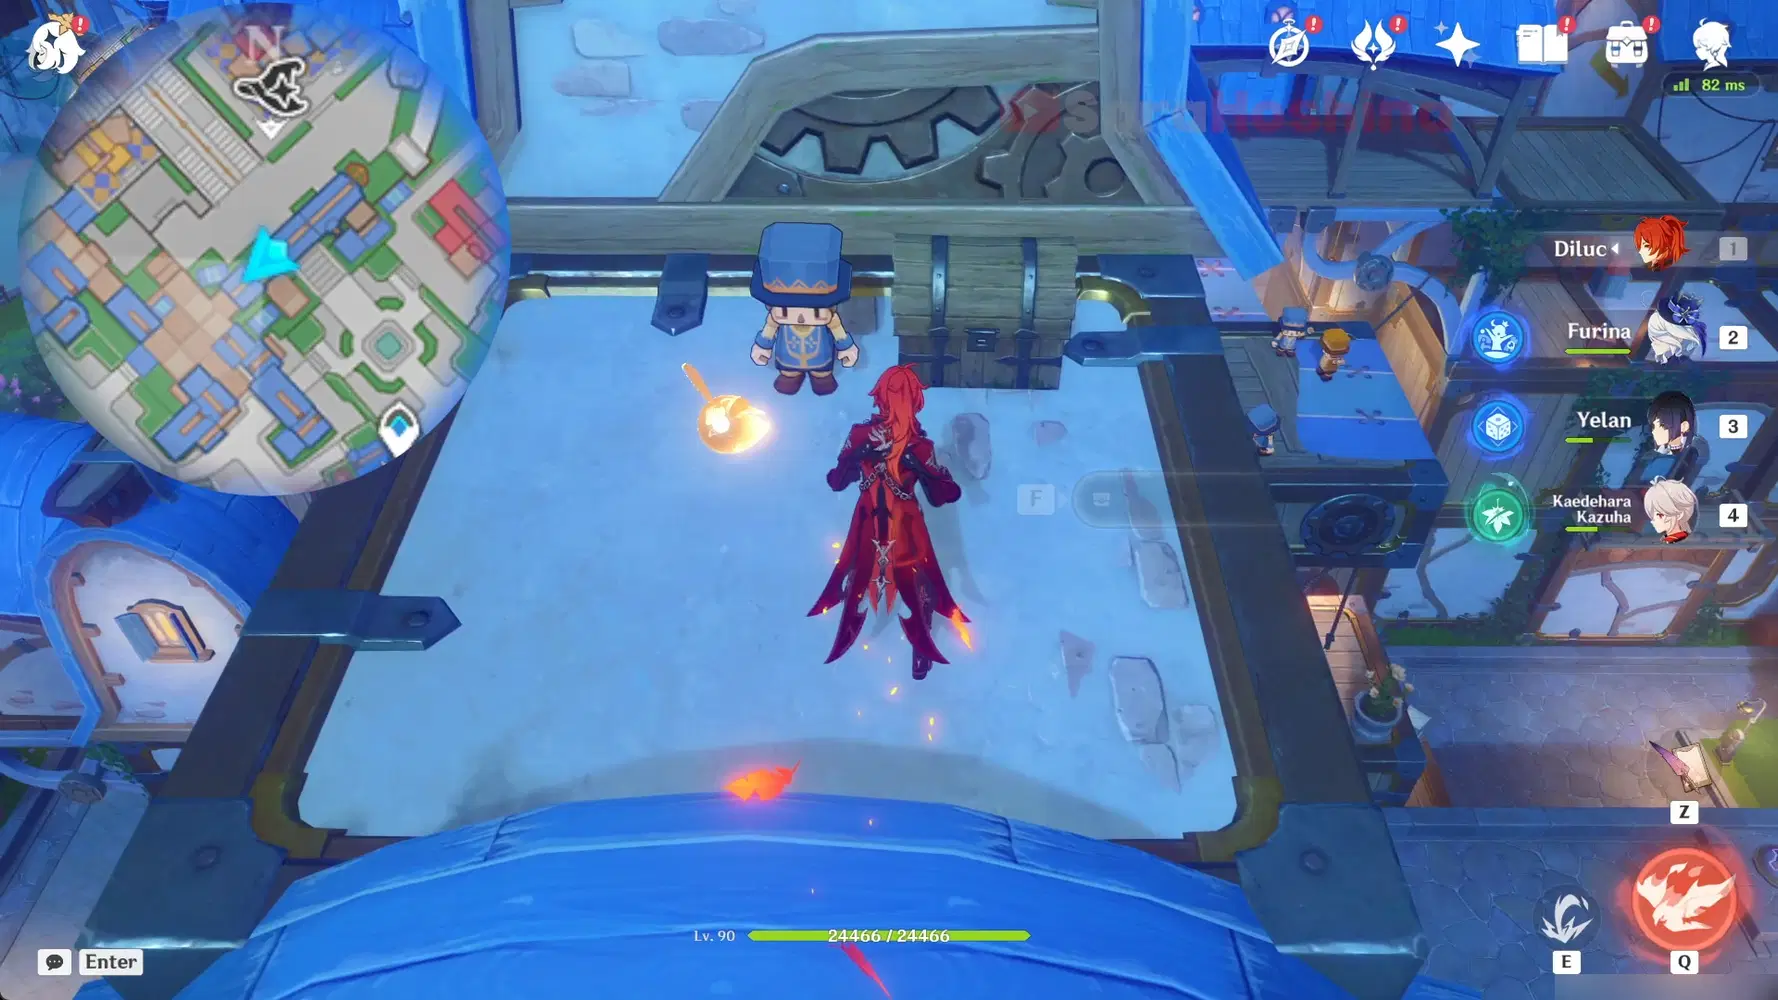
24. Walk forward a little bit for another chest.

25. From the previous spot, climb the house in front of you to reach the Magic Thread and use it to reach the locked chest far ahead. It will automatically unlock once you get near it.

26. From the previous location, glide down slowly to the east on top of a house for another chest.

27. Glide down to the second floor for an origami bird.

28. Drop down from the house and play hide-and-seek with the toy man to unlock the treasure chest.
Route 4 (Excerpts of Bliss x10)

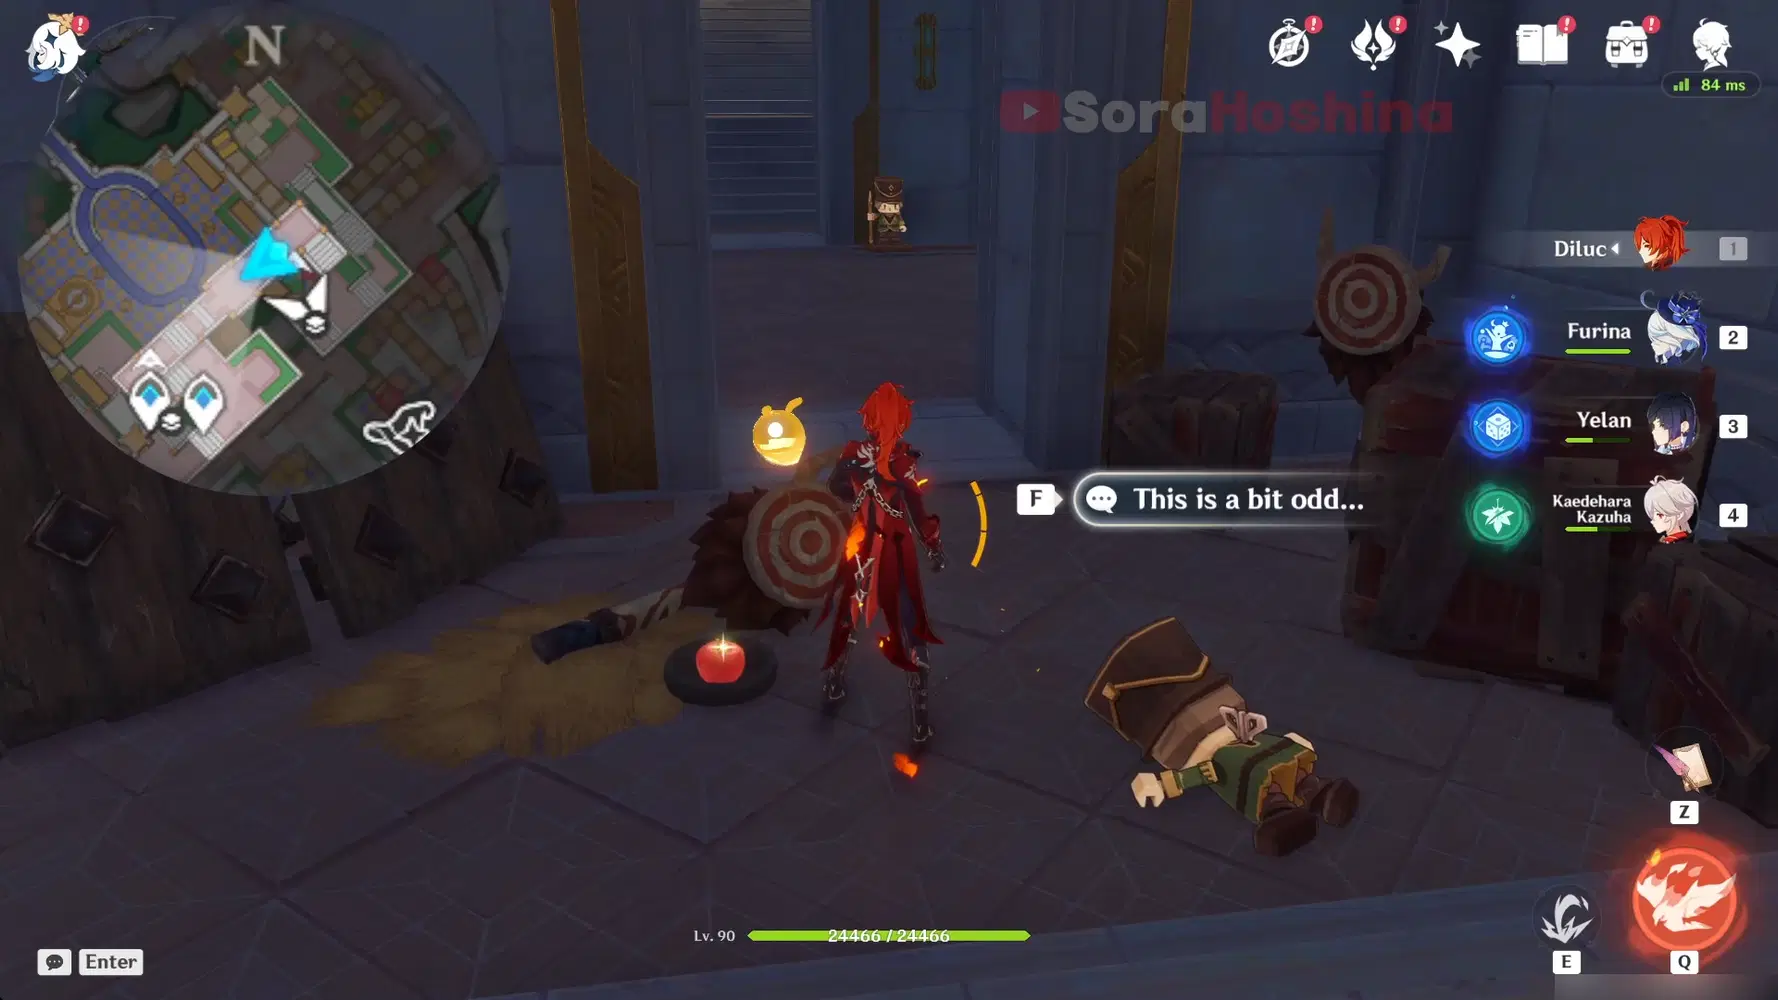
29. Teleport to waypoint 3 and enter the castle (right in front of you, just follow the red arrow). When you see fallen soldiers and some destructible items. Choose the option 'This is a bit odd' to spawn Hilichurls. Defeat them to get a treasure chest.
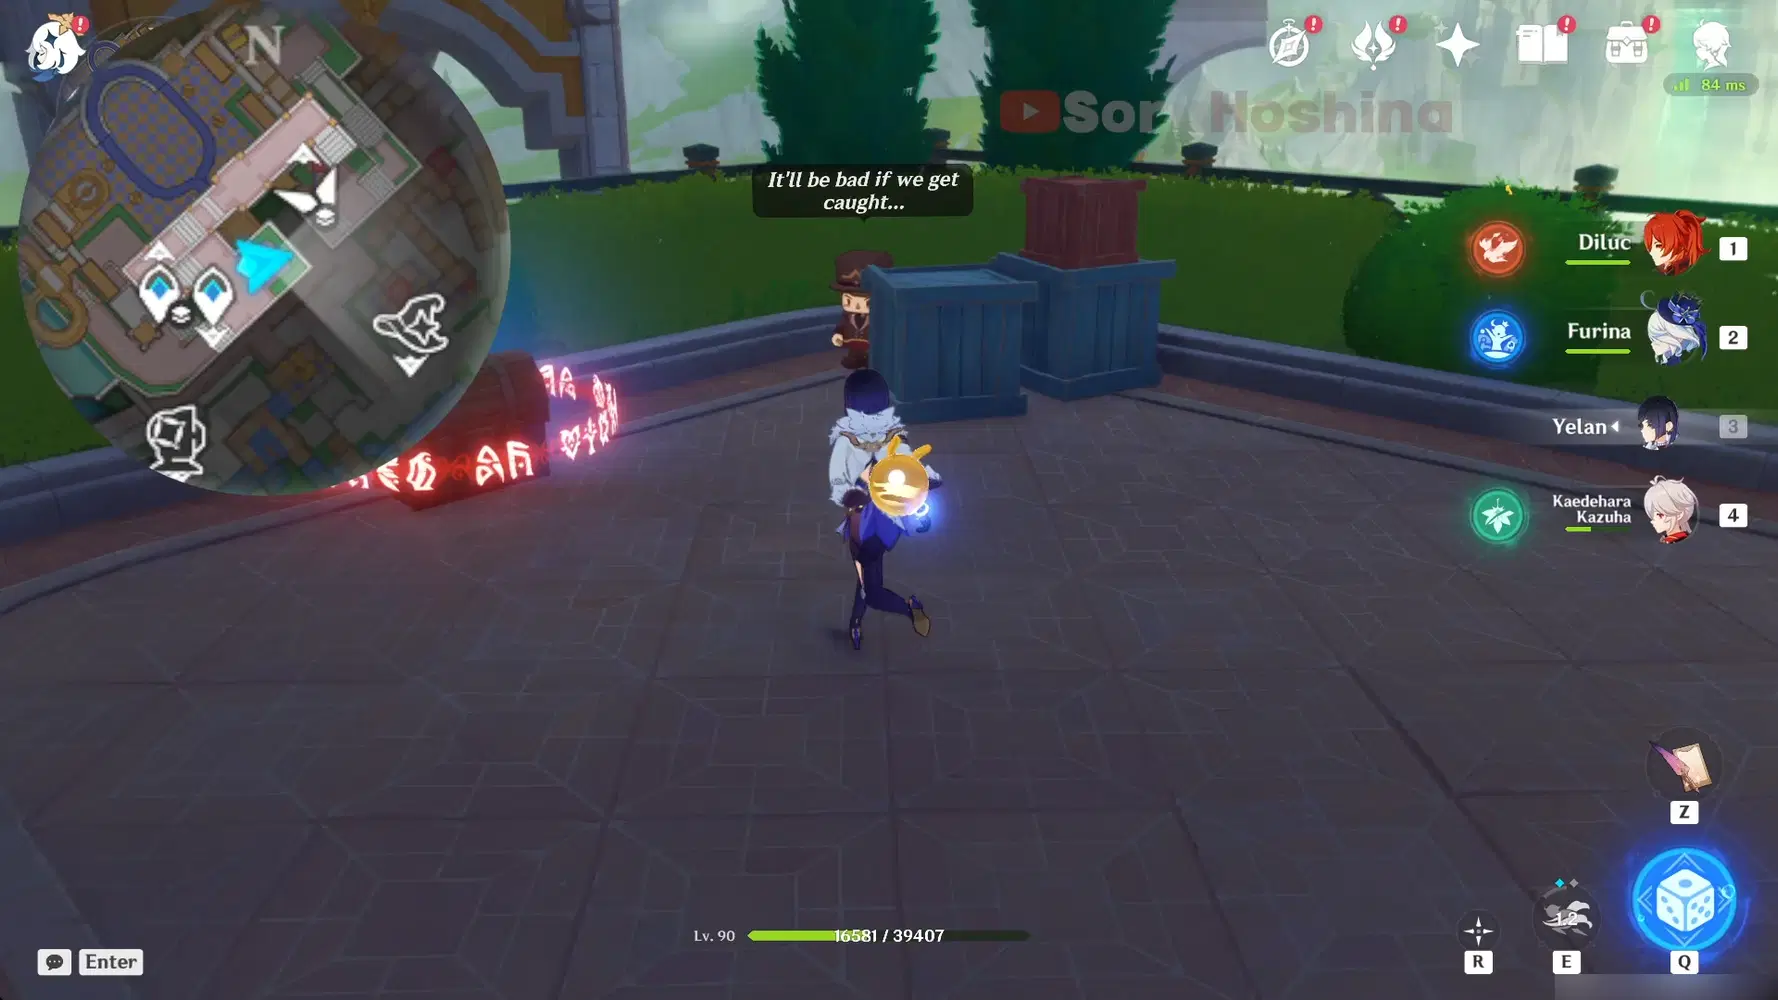
30. Go further upstairs and defeat another Hilichurls. Approach the hiding toy and choose the option 'It's safe now!' to unlock the chest.
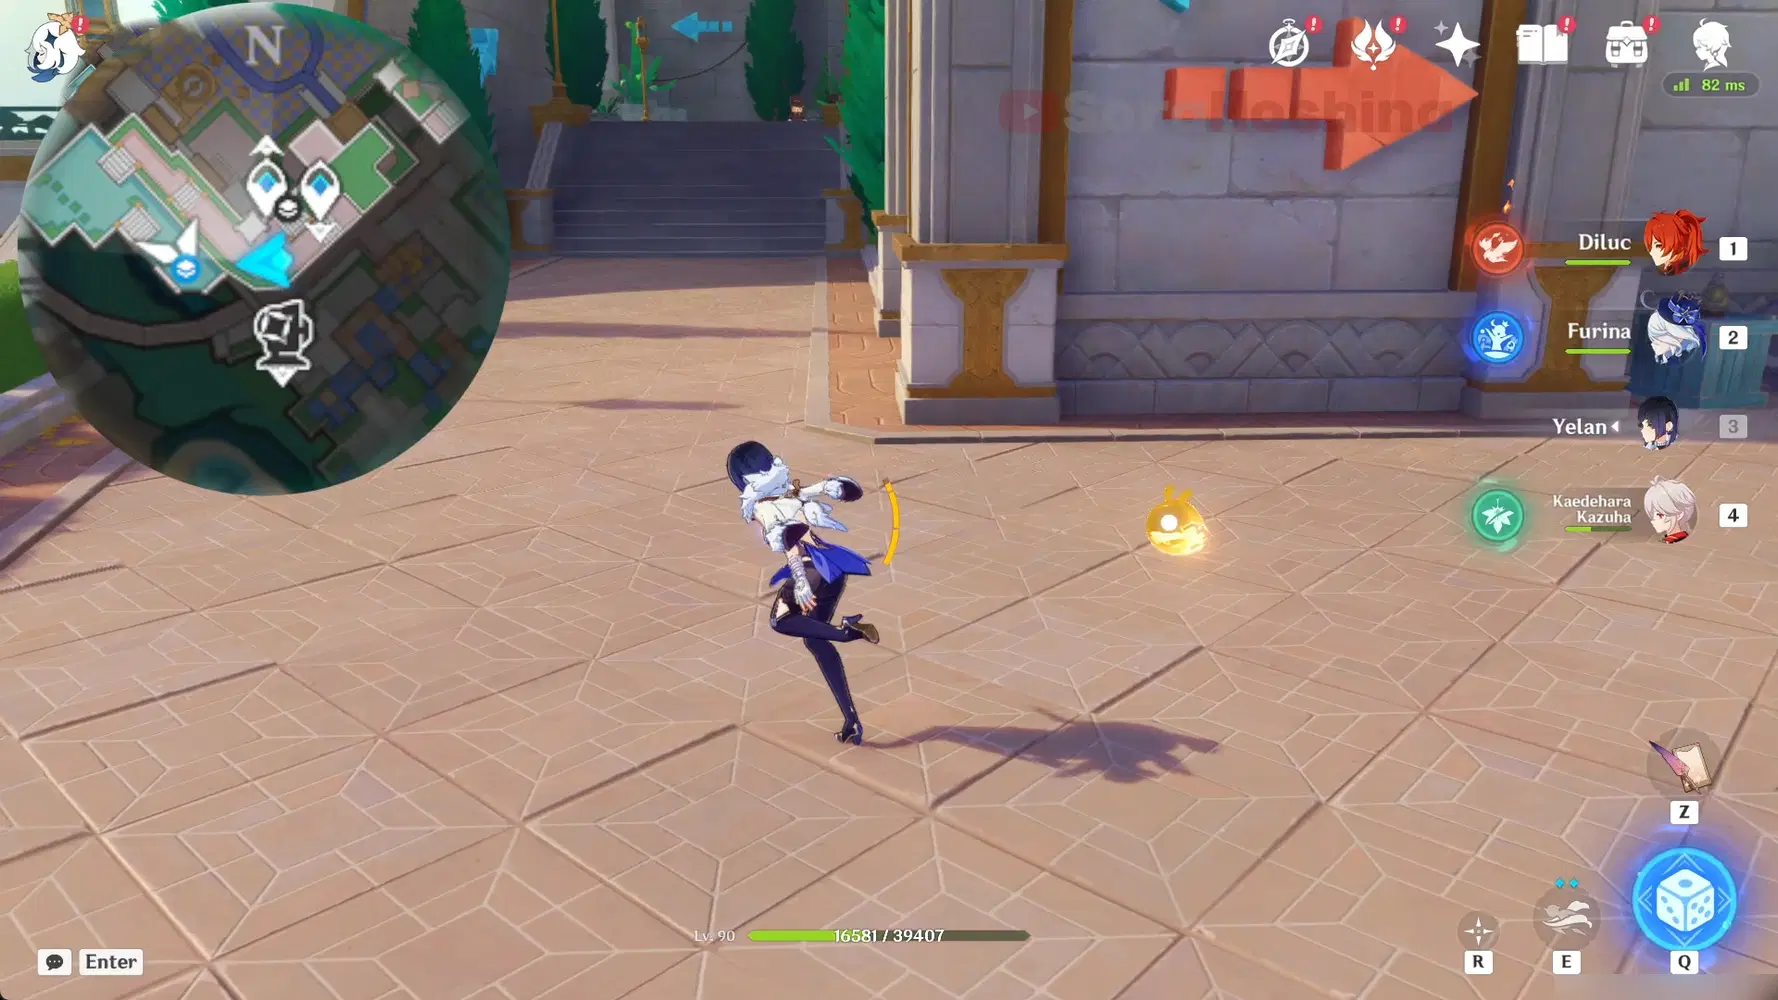

31. Go further upwards before going left (follow the blue arrow on the wall) to reach a pond. Defeat the enemies there before you can start a performance to get the treasure chest.

32. From the previous spot, walk to the southeast a little bit to find an origami bird floating on top of the pond.

33. Use the Magic Thread right in front of the previous origami bird to reach the upper platform and get the locked treasure chest. It will be unlocked automatically once you get near it.

34. Go back to the stairs and go upstairs to the opposite building. Get the origami bird on top of the block.
Route 5 (Excerpts of Bliss x14)

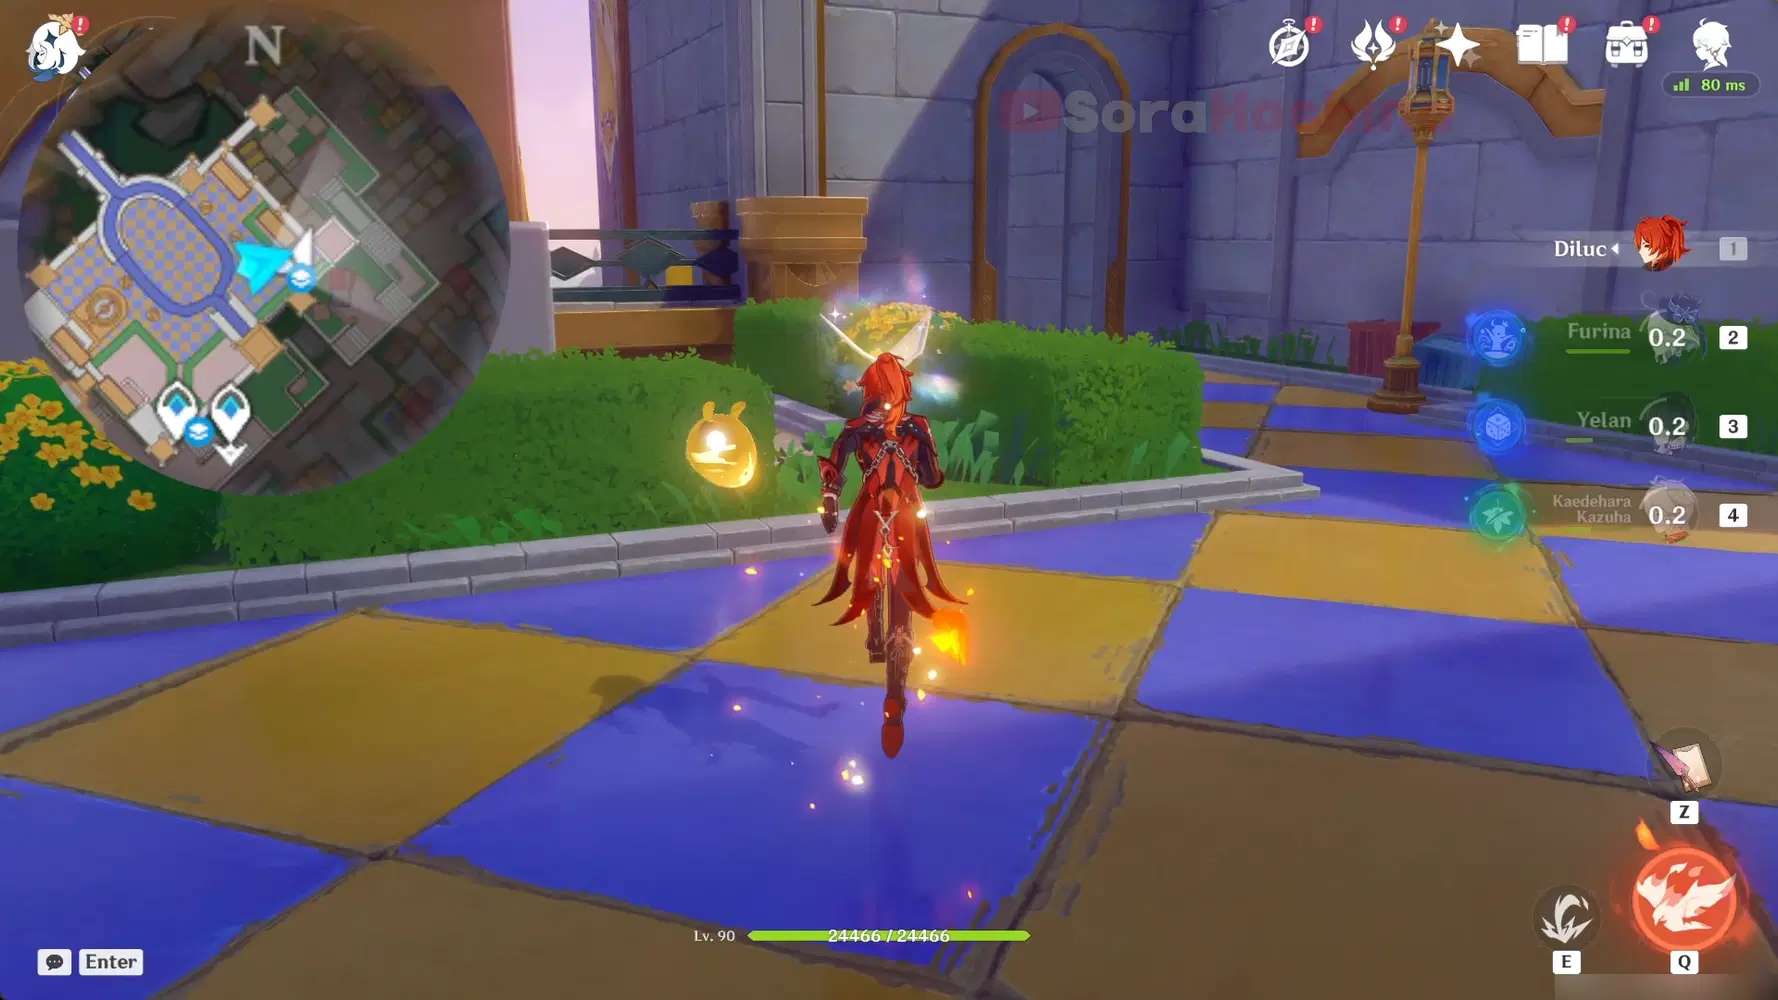
35. Teleport to waypoint 4 and head northeast towards the origami bird.

36. Drop down to the level below and defeat all enemies before saving all the trapped toys to unlock the treasure chest.

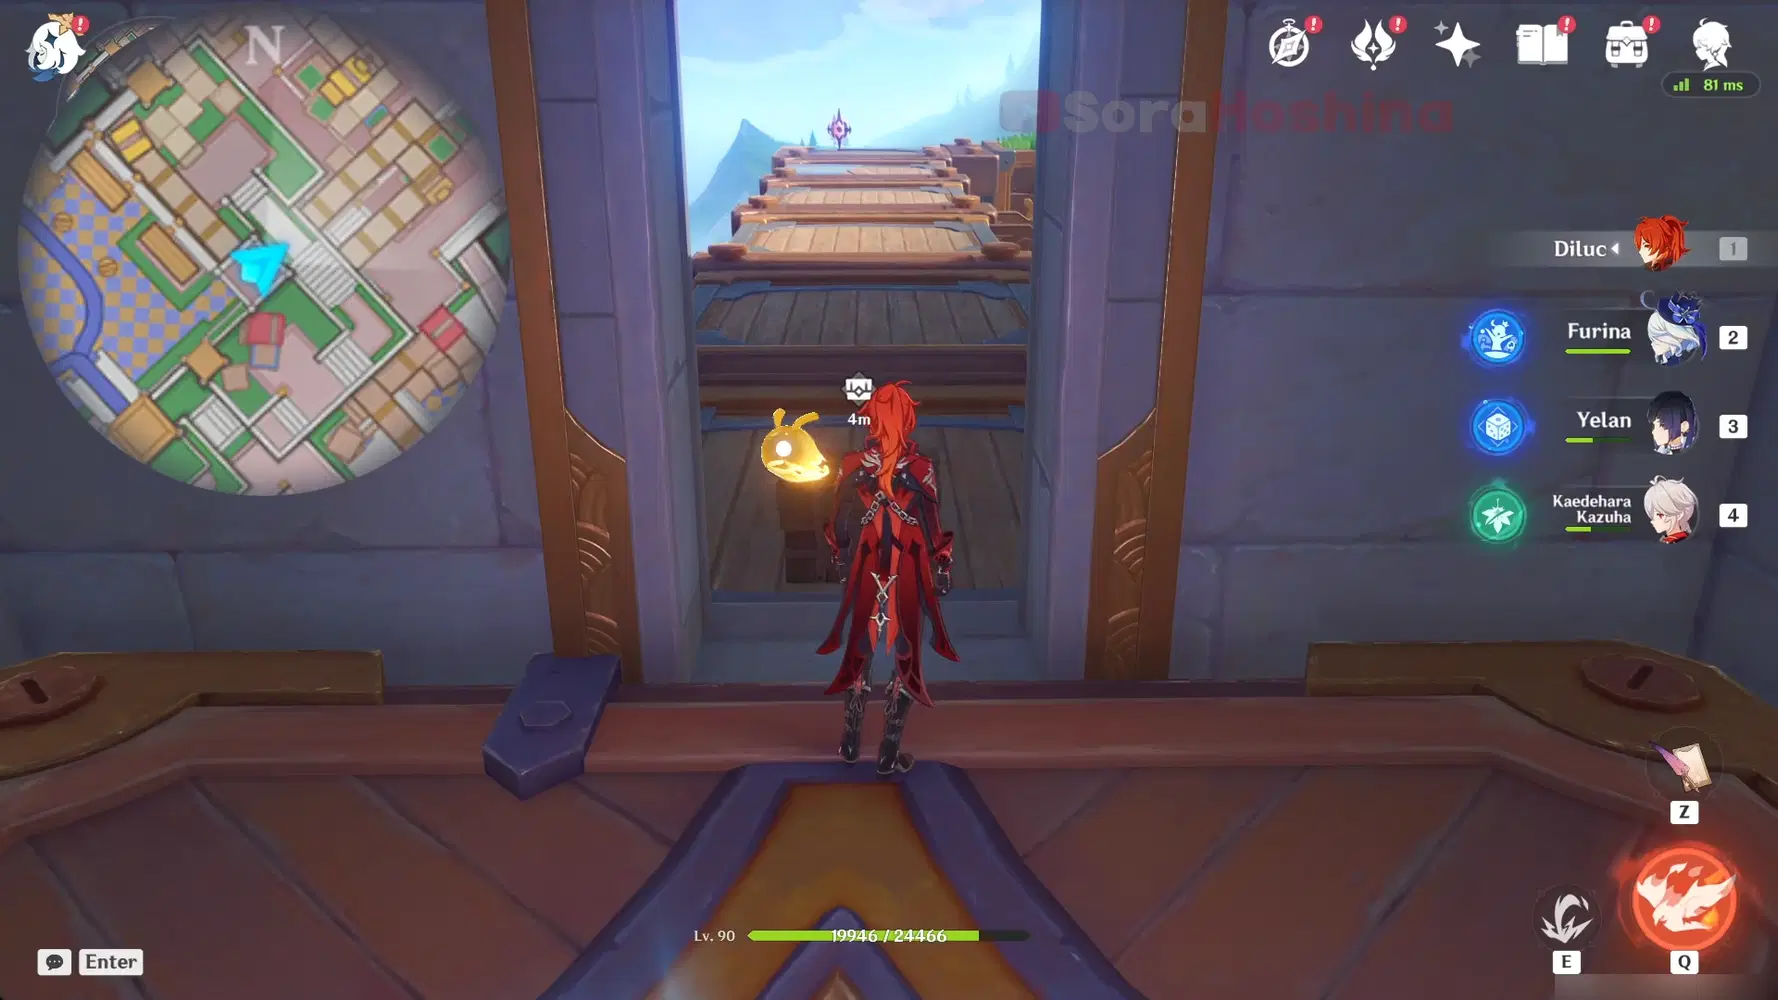
37. Look at the opposite of the previous Lux Chest and defeat the Pyro Slimes in the lift to unlock the area below. After the area is unlocked, open the door and a treasure chest will spawn.
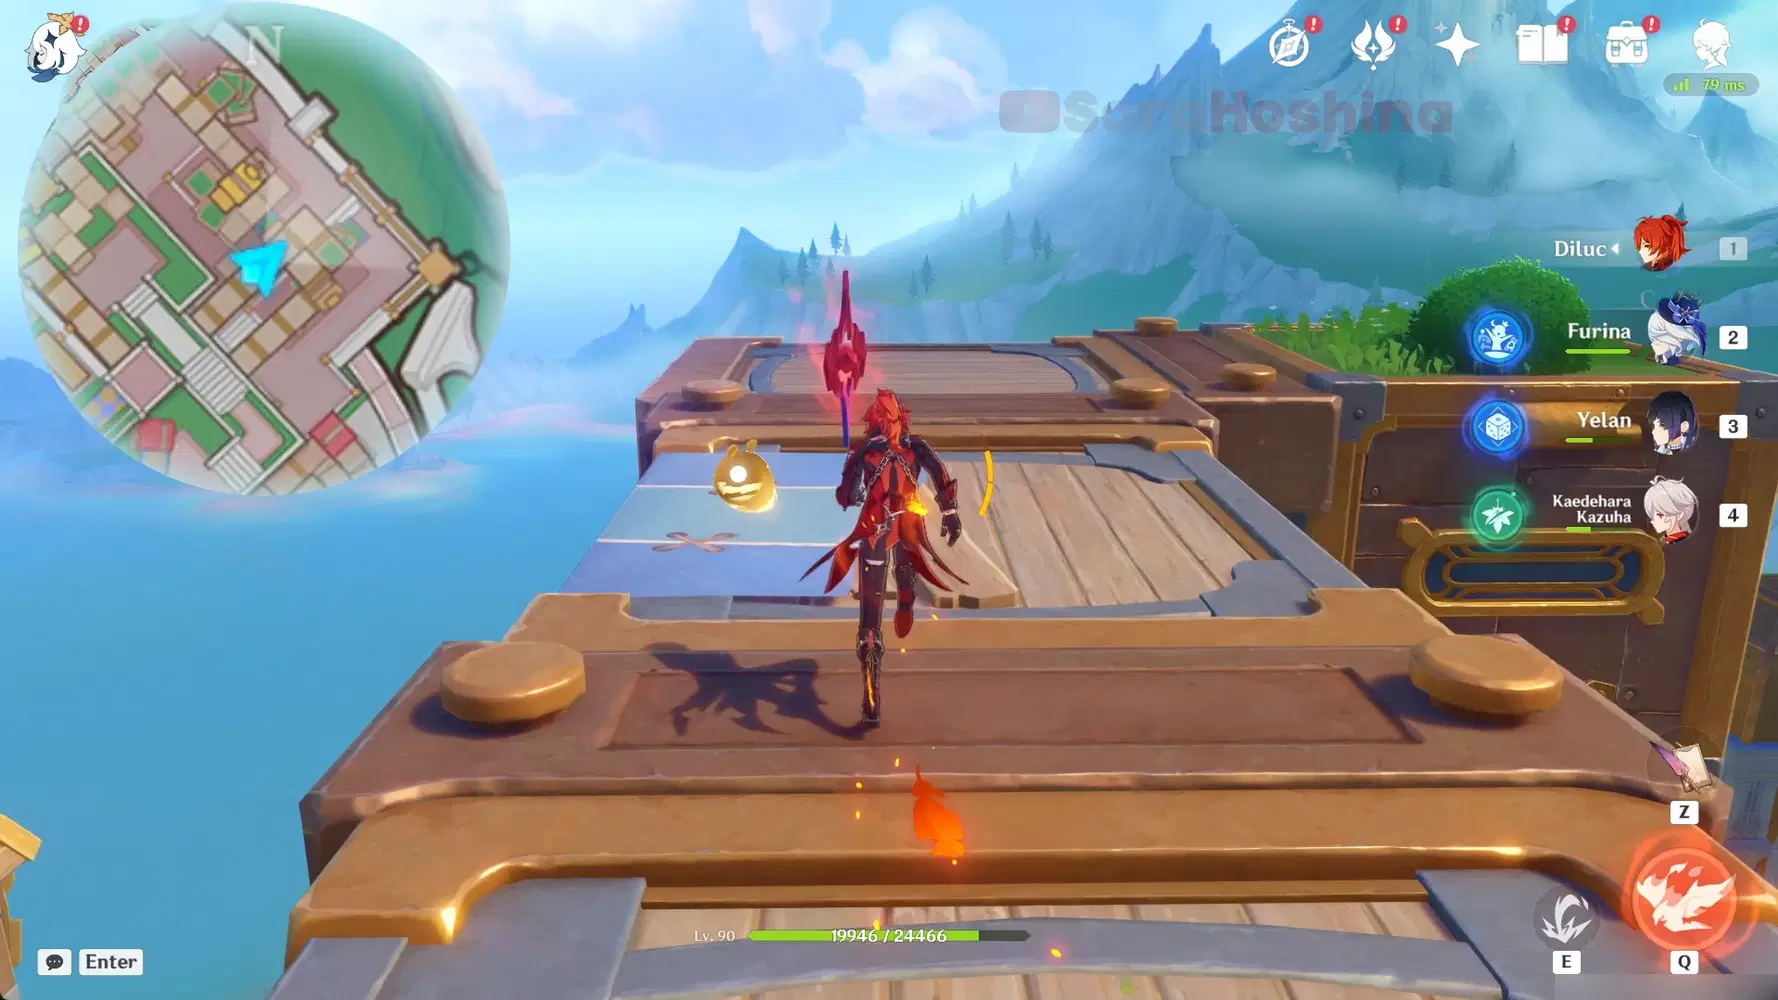
38. Keep walking forward and complete the time-trial challenge.

39. Go to the Magical Thread on top of the floating platform to reach the locked treasure chest. It will be unlocked automatically once you get near it.
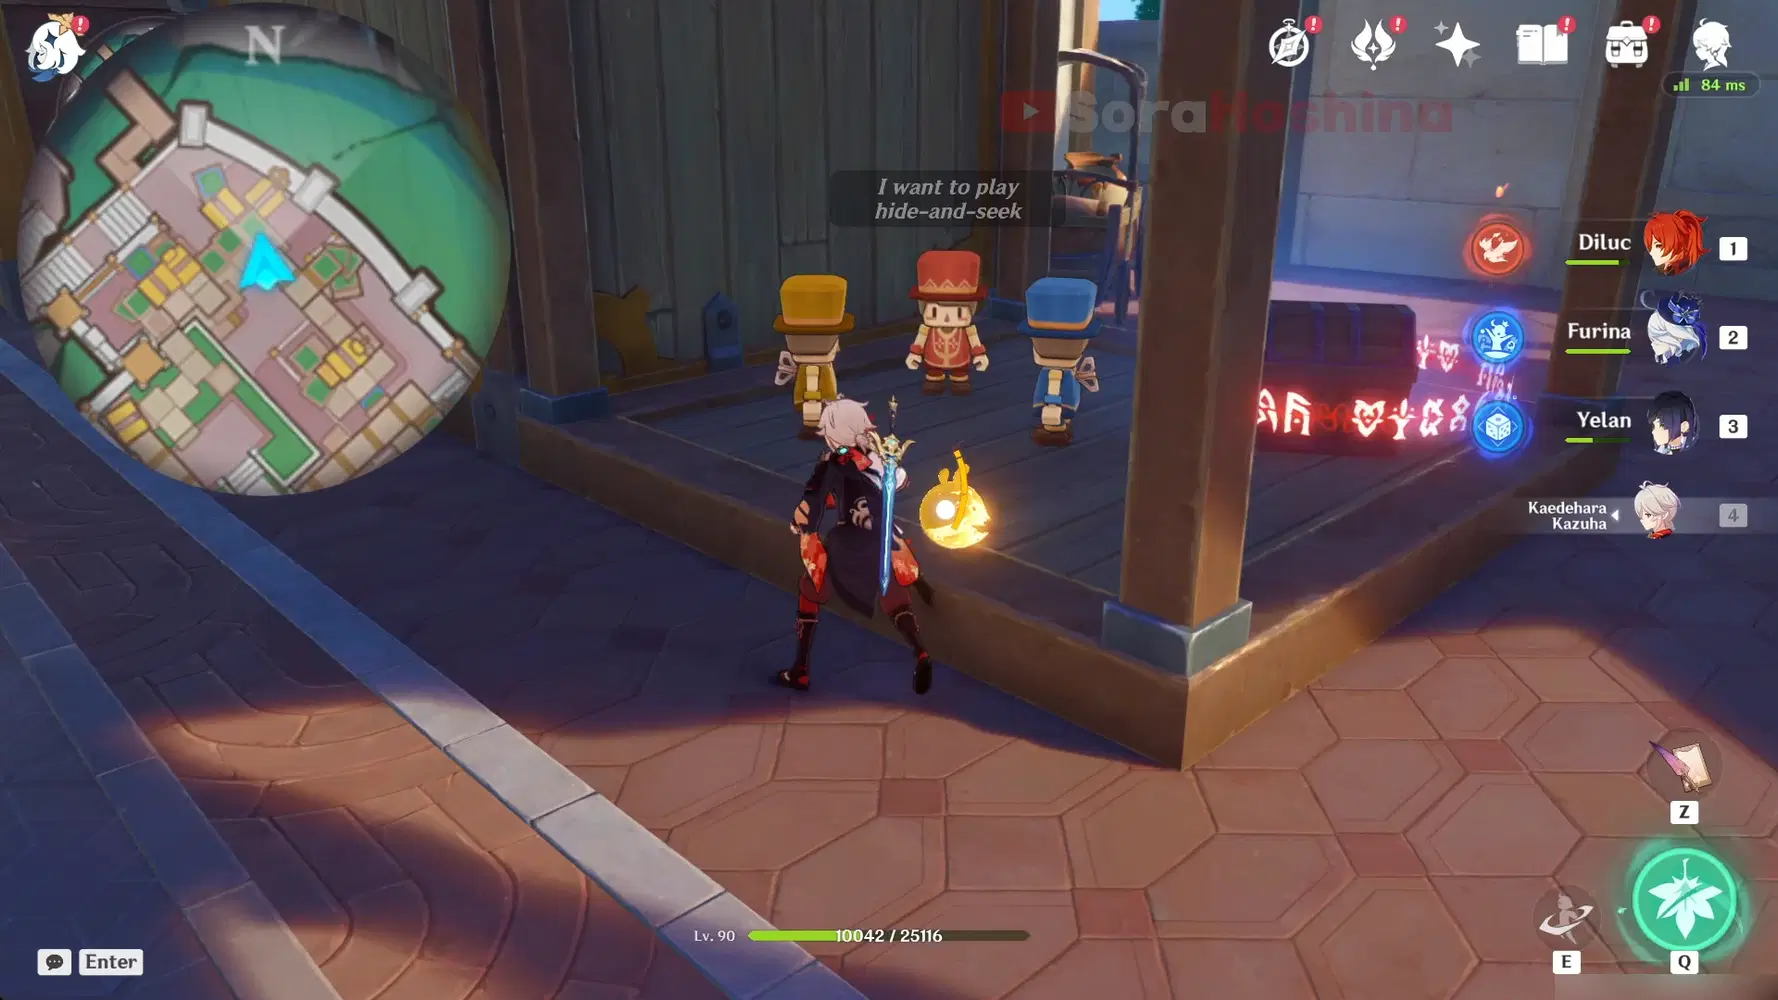
40. Drop down to the lowest level and play hide-and-seek with the toys.
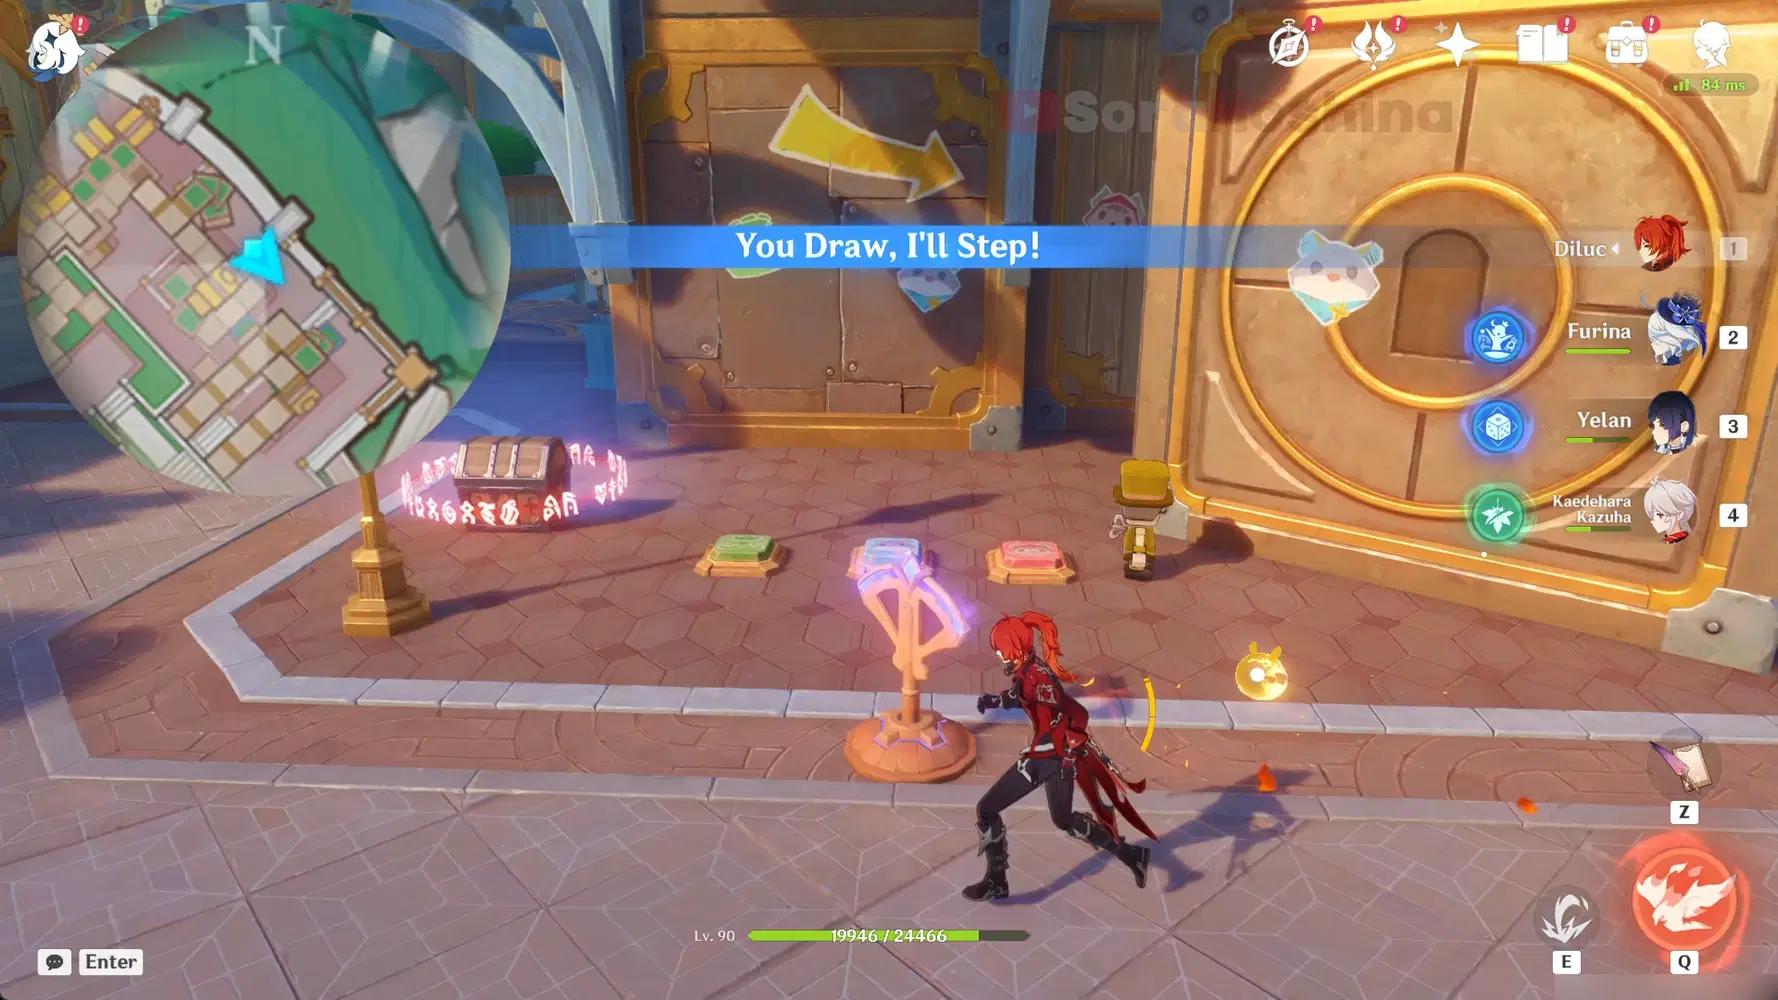
41. Head southeast towards another color puzzle. Let the toy step on the green - blue - pink - blue buttons (use the clockwork to rewind the steps).
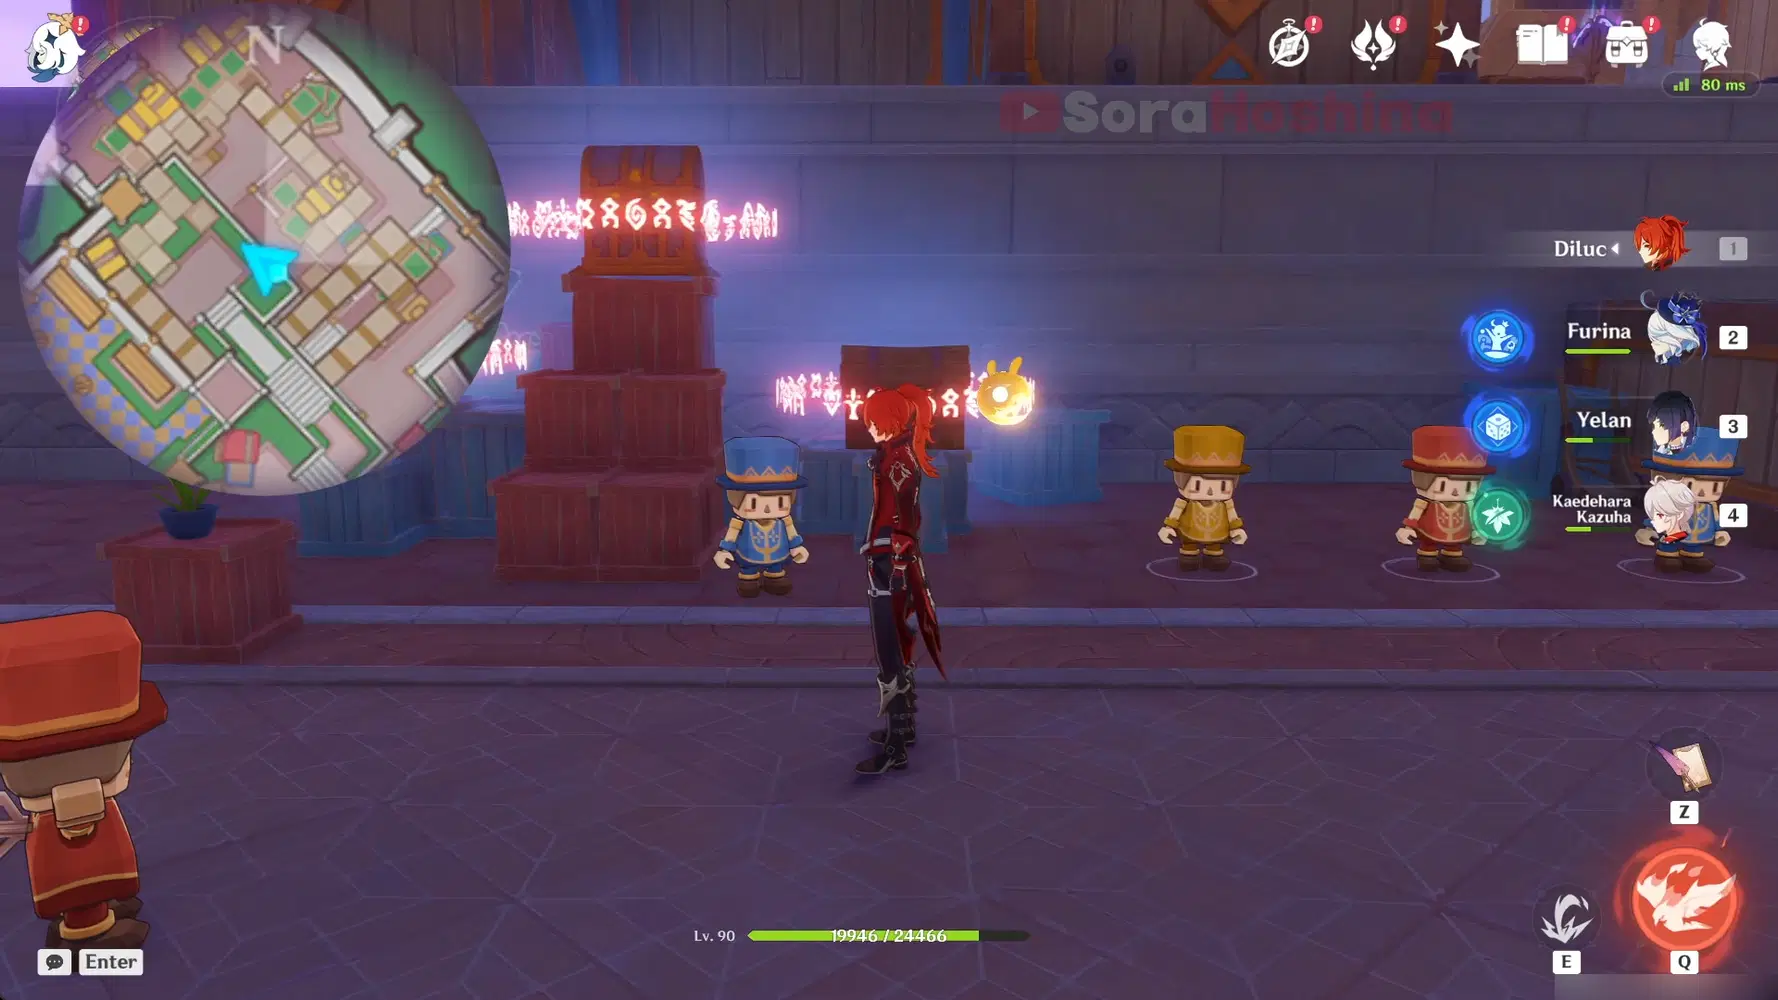
42-44. Go west until you see three locked treasure chests. Interact with all the toys inside the white circle to start different challenges and unlock the chests.

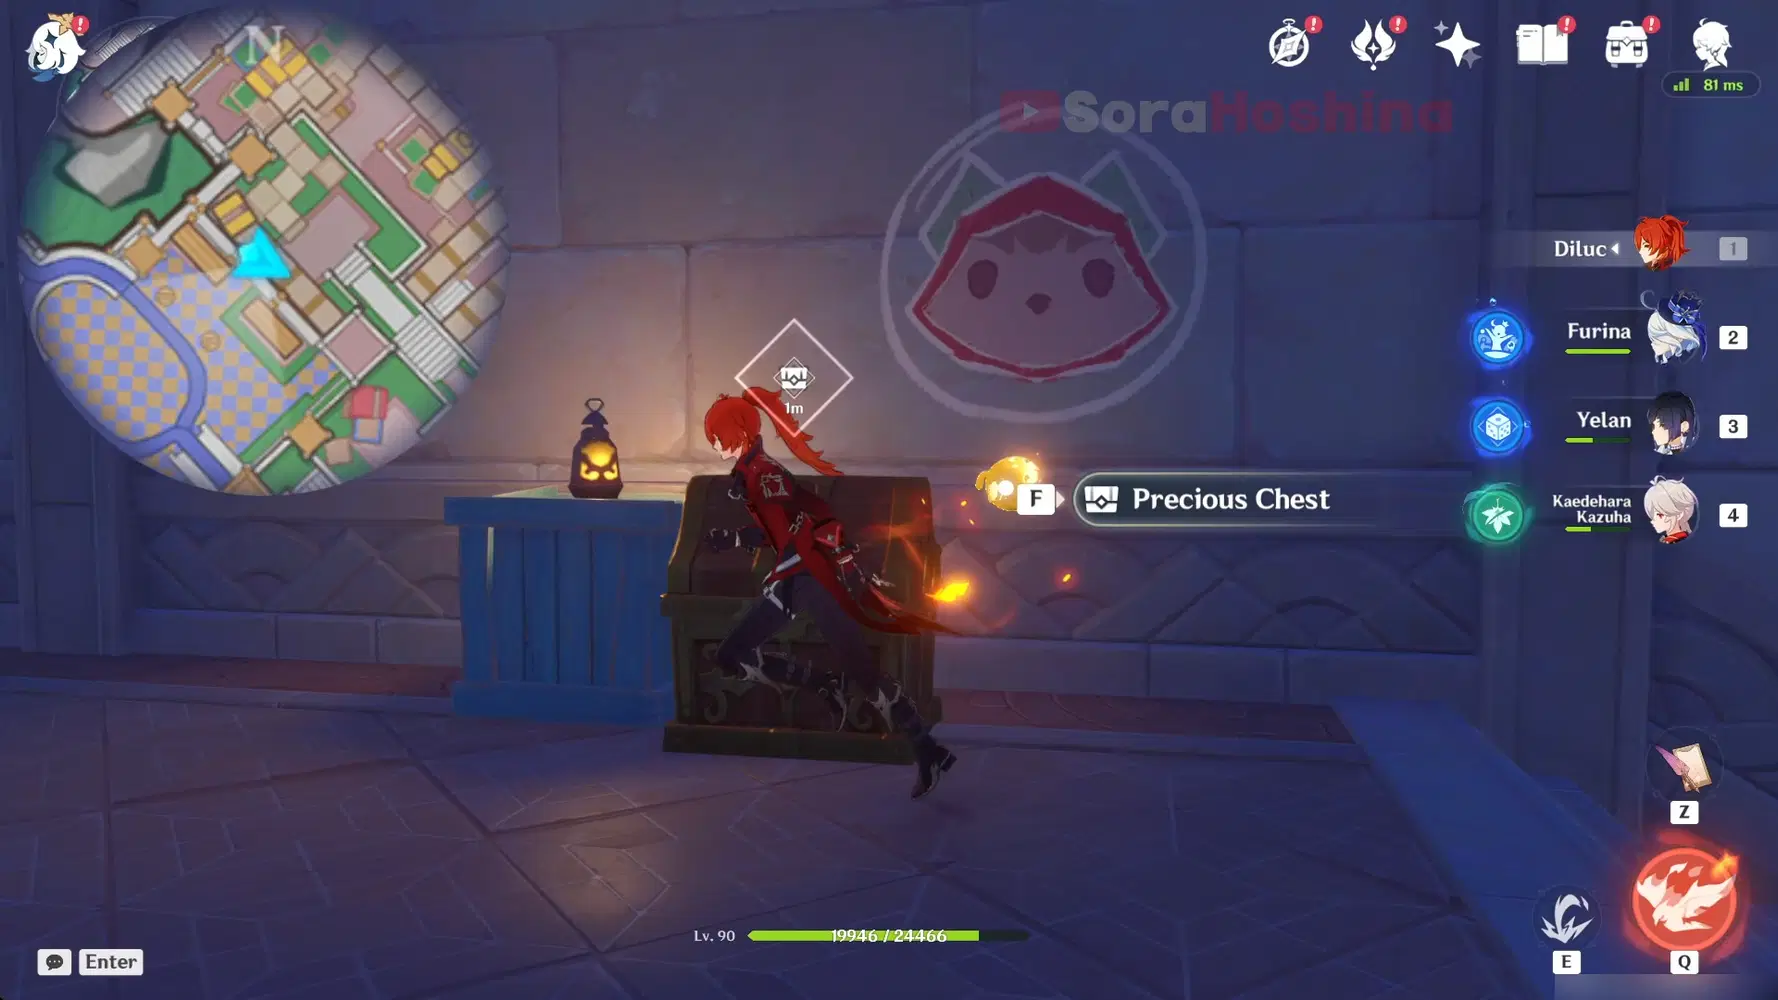
45. Go to the steps and there are 2 white circles. The first one should be 'draw a little frog...' while the second one is 'draw a little flying squirrel...' After that, a treasure chest will spawn.

46. The last one is near waypoint 5. Burn the leaves to spawn a treasure chest.
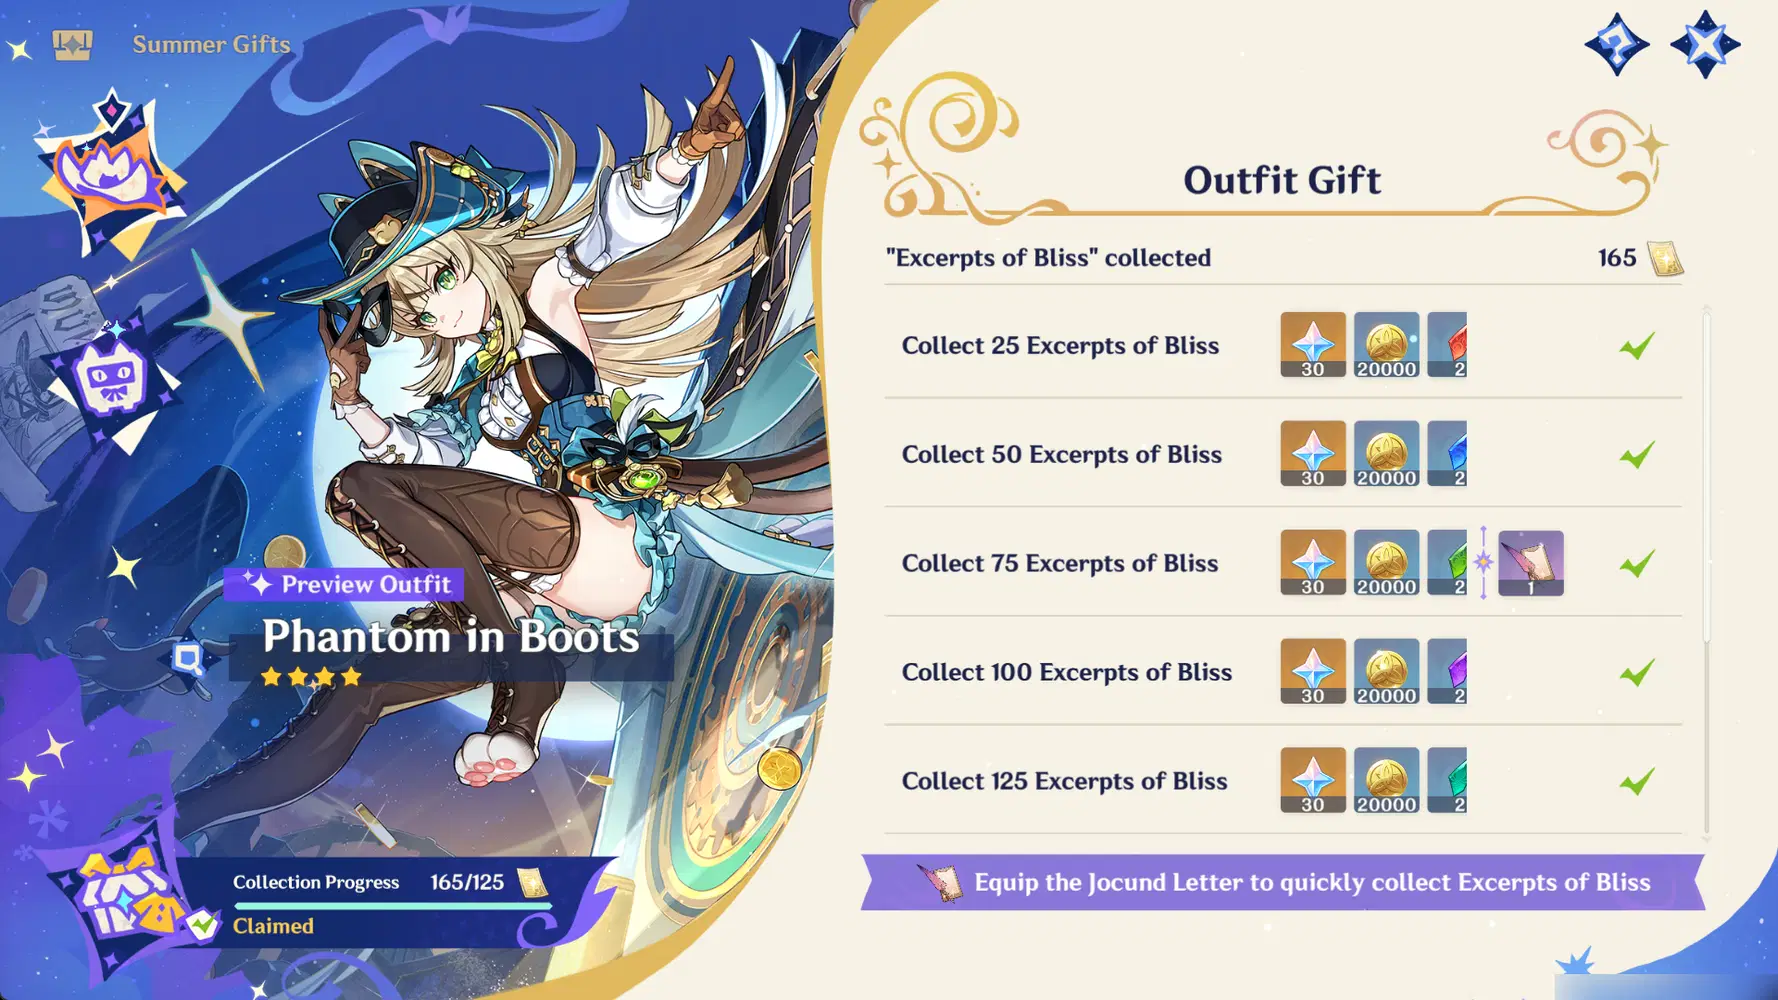
With that, you should have 165 Excerpts of Bliss! Don't worry if you're missing some of them. Instead of searching all of them one by one, you can just wait until you can get the Joyous Letter gadget to locate all the remaining Excerpts of Bliss.
Click here to skip the guide and go to comment
~ This heading is for Table of Content navigation ~

【 Like my works? Support me on Ko-Fi ❤ >>> Ko-Fi 】
【 All my social media >>> SoraHoshina's Carrd 】