


I recommend to read this post in dark mode.
Hello and welcome to this Jovial Deception: Shadowdimmer - Songque Elysian Realm Guide!
Time to throw fishes on the enemies 
Note: This guide is based on the BETA. Officially released content might differ.


✦ Table of contents ✦
Skill explanations
Special Adjustments
Ego Signets
Gears
Big Fish Build
Phantom Build
Fish vs Phantom build
Summary
Closing statement
✦ Skill explanations ✦
I'll quickly go over parts of her kit that are important for her Elysian Realm gameplay.
For detailed information, look up a Battlesuit Guide please!
*mine will be posted soon
I'll just call her Songque in the following.

- Special Bar 1 - Shadow Frames/Odd Thoughts -
Songque has a Special Bar above her HP bar, showing her current Shadow Frames.
It starts at 0 and caps at 3. With her signature weapon, it caps at 6.
Shadow Frames are gained by Basic ATK, QTE and Ultimate Evasion.
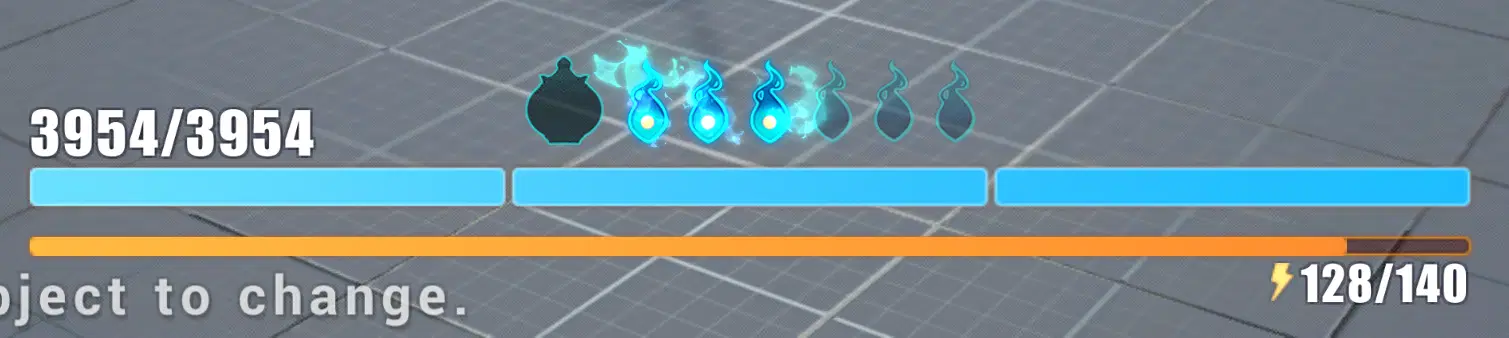
3 stacks
During Stellar Outburst these are replaced with "Odd Thoughts"
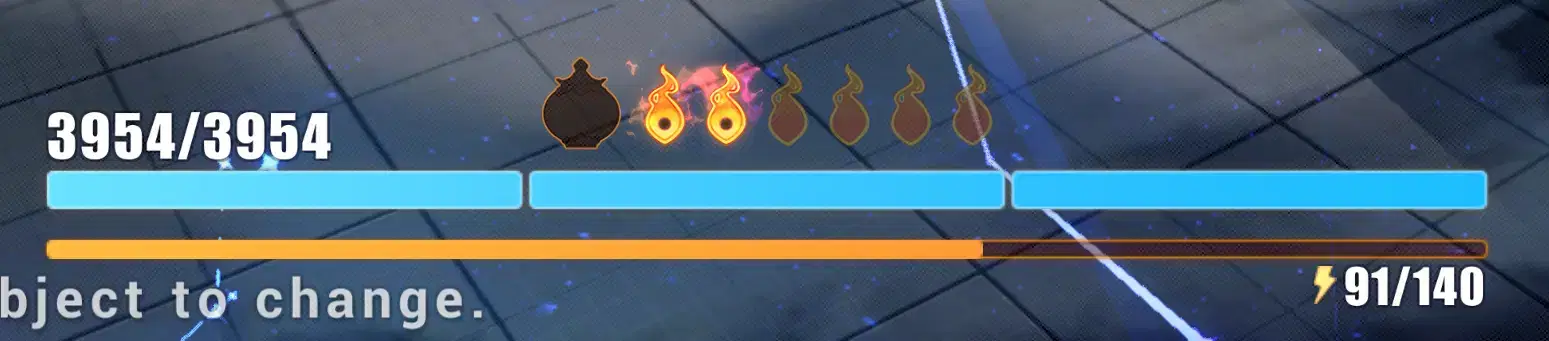
- Weapon Active -
Outside of Stellar Outburst tap [WA] at at least 3 Shadow Frames to consume 3 (6 when available) Shadow Frames and restore 10 Combo KE for each Shadow Frame recalled.

- Special Bar 2 - Combo KE -
On the left side of Songque's Shadow Frame bar you can see her current Combo KE.
It starts at 0 and maxes out at 60.
Combo KE is used to unleash Songque's Combo ATK.

60 Combo KE
- Combo ATK -
At 60 Combo KE, hold [ATK] to throw big fish for big dmg
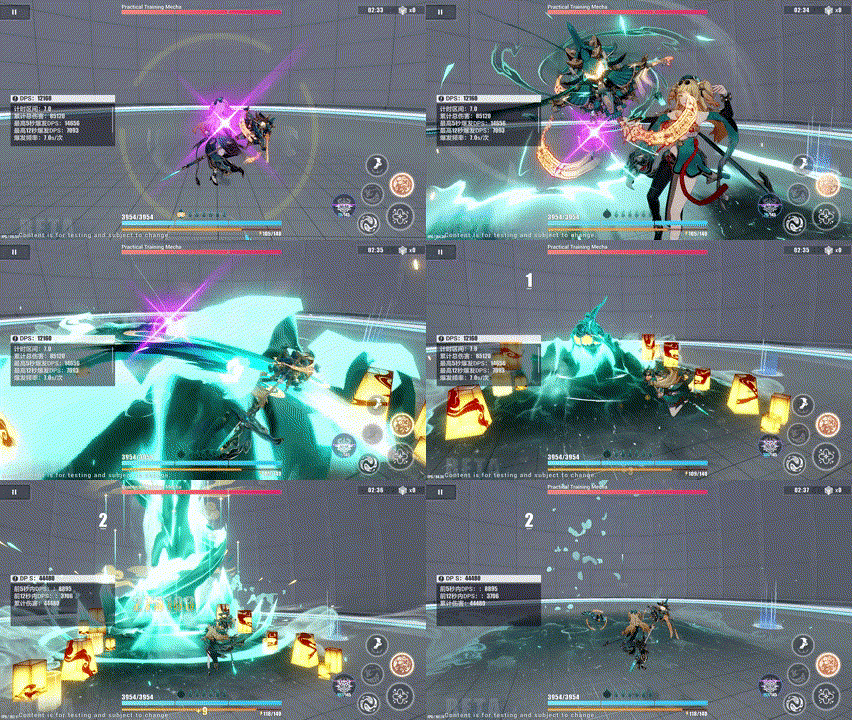
- Stellar Outburst -
Songque is protected by Wheel of Destiny and therefore can use Phantoms.
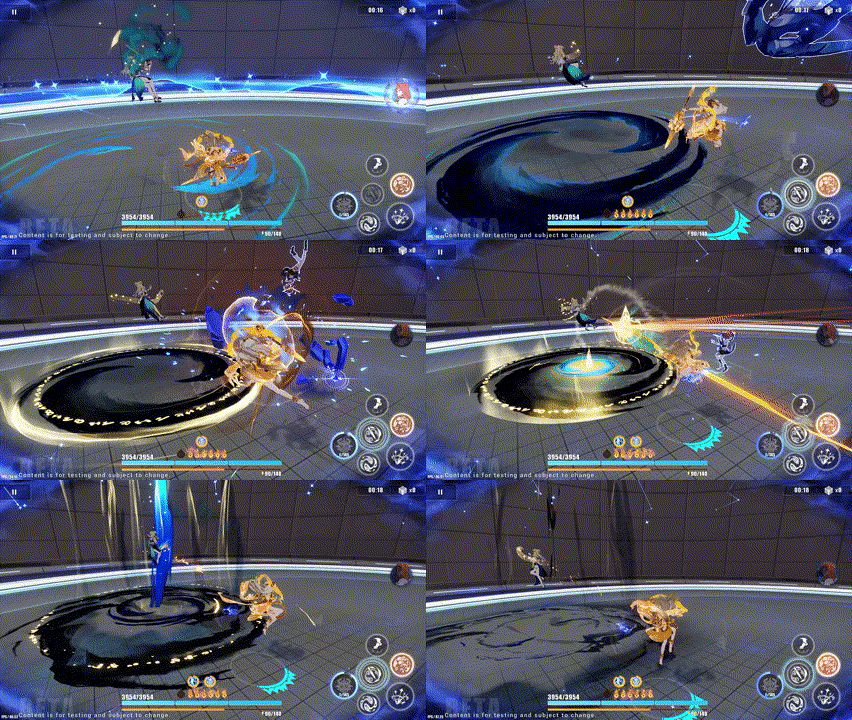
At 60 Combo KE in Stellar Outburst, hold [ATK] to unleash a special Combo ATK.
- Ultimate -
Songque's Ultimate consumes all of her SP and deals DMG based on the SP consumed.
Ultimate ends Stellar Outburst and restores Intensity based on the time that was left.
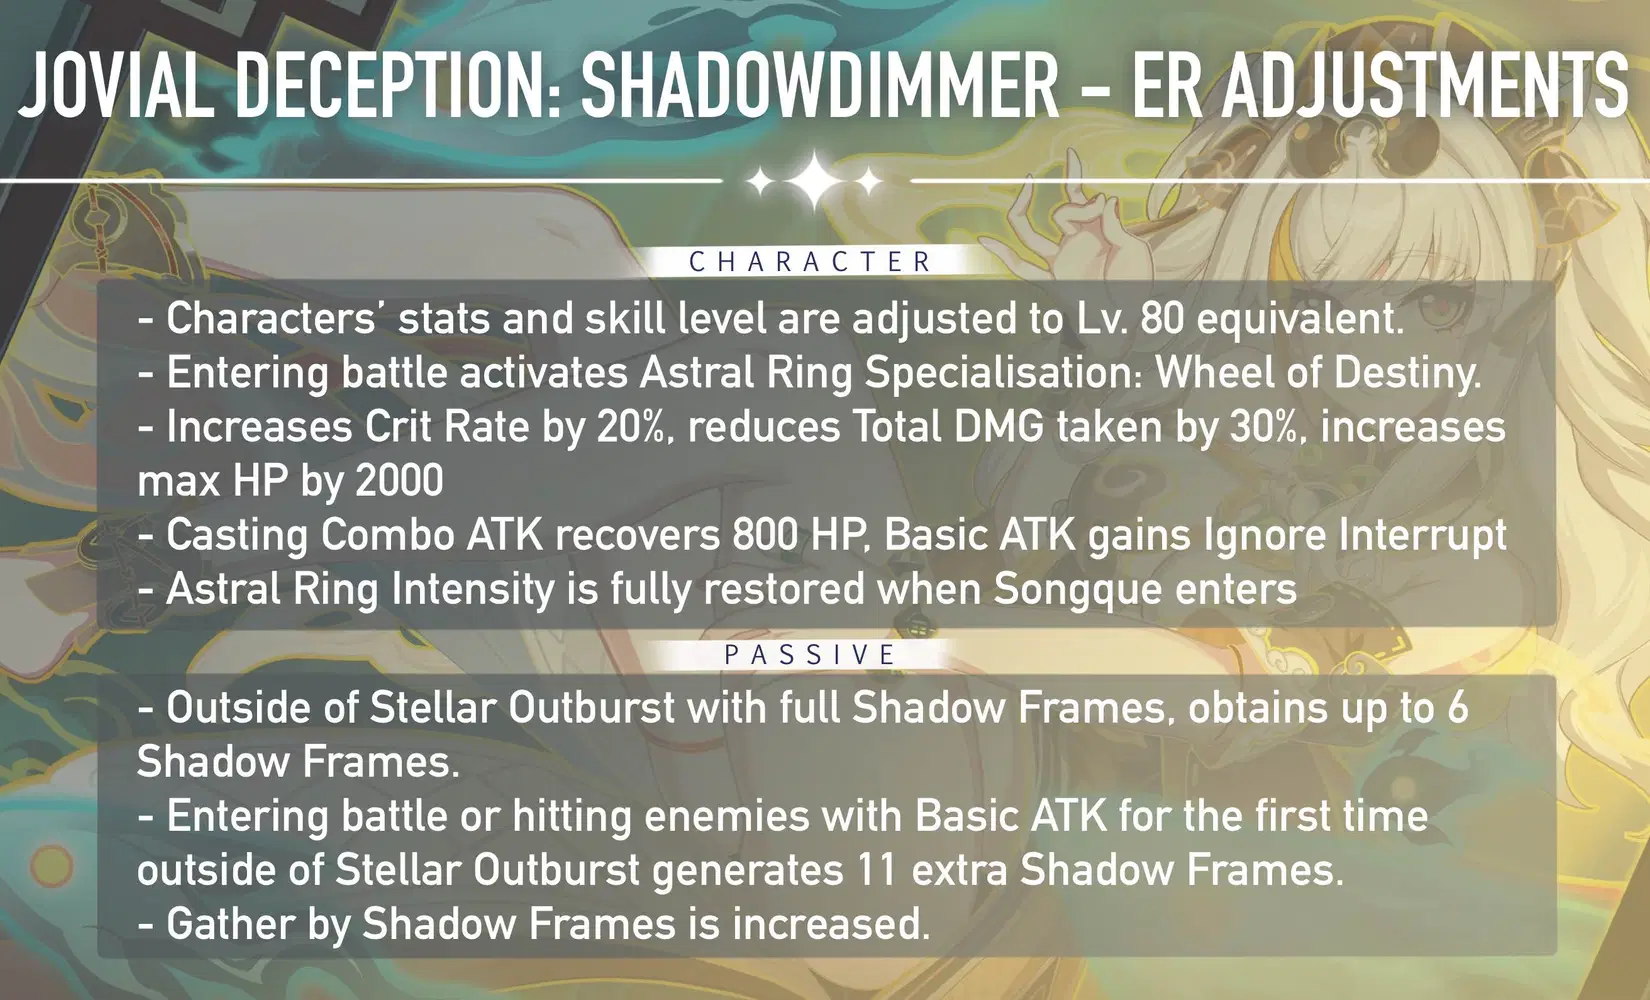
✦ Special Adjustments ✦
✦ Ego Signets ✦
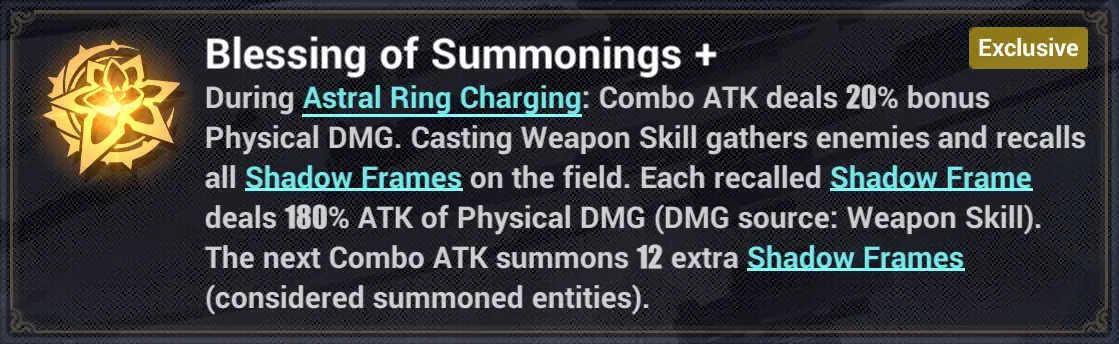
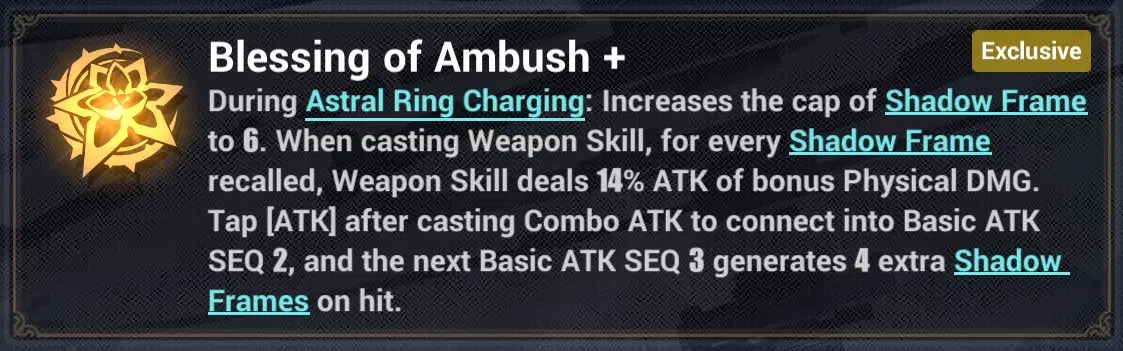
✧ Astral Ring Charging Signets ✧

✧ Stellar Outburst Signets ✧

✦ Big Fish Build ✦
✧ Rotation ✧
1 Ego:
Start with one Basic ATK
Then repeat: Weapon Active ➔ Combo ATK
Use Ultimate when available.
2 Ego:
Basic ATK ➔ Weapon Active ➔ Combo ATK ➔ Repeat
Use Ultimate when available
✧ Signets ✧
➤ Ego Signets

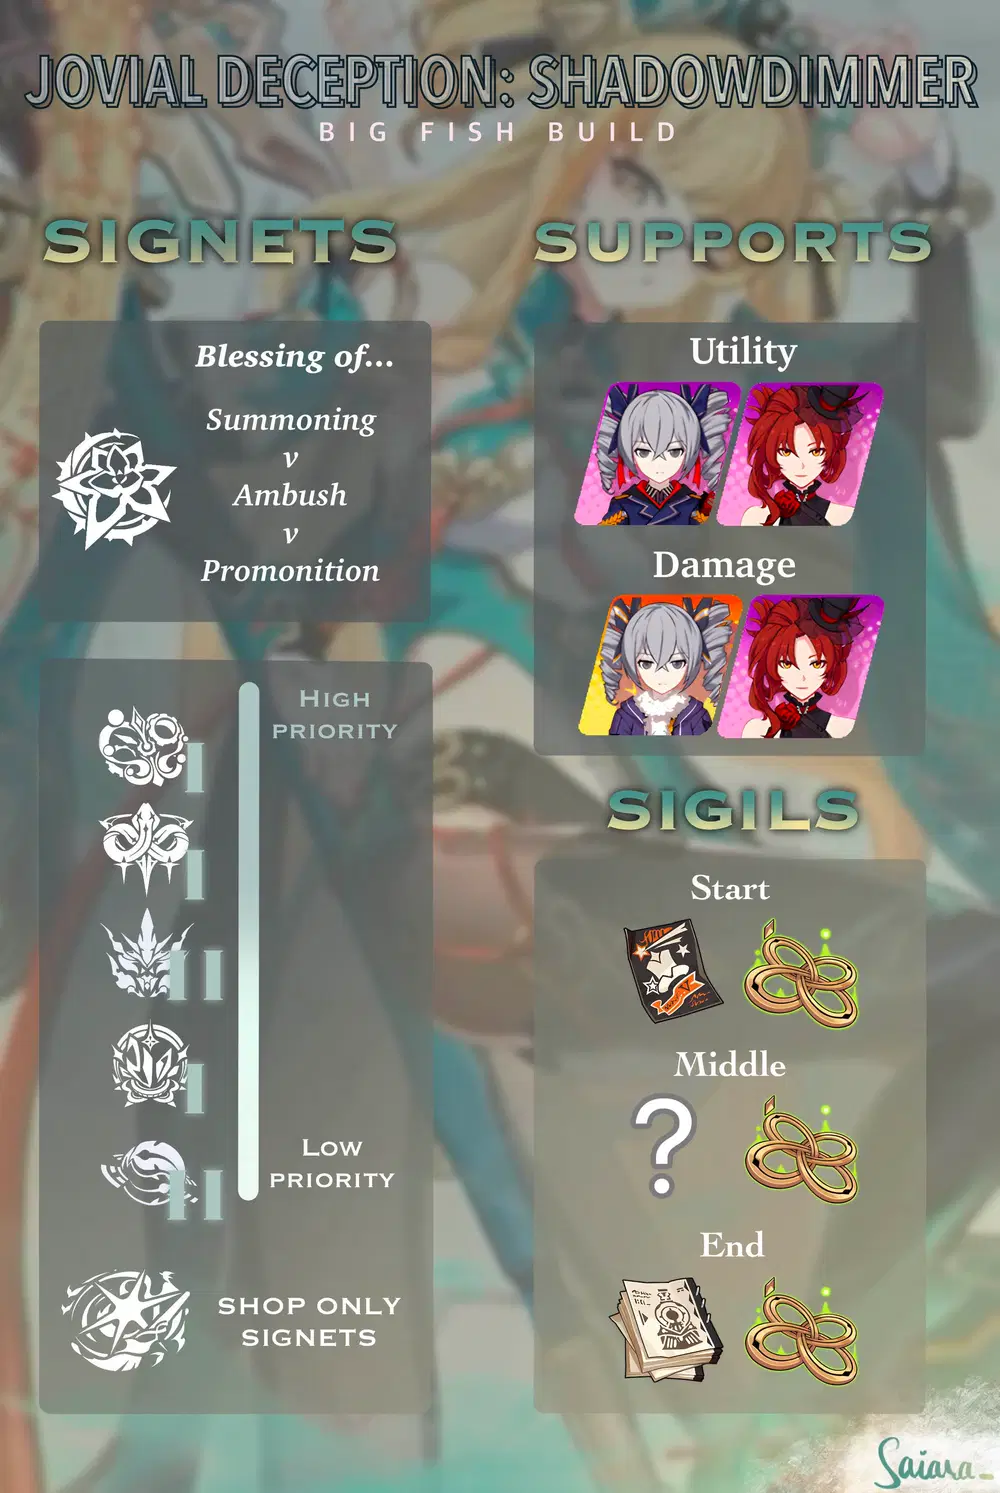
START: Blessing of Summonings
OPTIONAL: Blessing of Ambush
➤ General Signets
How I'll visualise it
In order to make the Signet list more clear, let me show how I'll list the Signets:
Signet of [Signet name] - flamechaser
First priority Signet
Second priority Signet
Third priority Signet
(Fourth priority Signet...)
core (core1/2)
First priority Enhanced
Second priority Enhanced
(Third priority Enhanced...)
(Note:...)
I'll mark Signets that should only be taken if you have no better choices currently with (optional) and add a short explanation behind the Signets in case you don't know the names (like tdmg, SP, and so on)
High priority Signets
Signet of Helix - Vill-V
Act II: Pendulum (Total DMG taken)
Act V: Spider Web (Ranged DMG)
Act III: Conflict (Total DMG)
Act I: Magic (WA DMG) (optional)
Core 1 - Interlude: Reversed Spiral
Signet of Infinity - Mobius
Entwined [P] (Total DMG taken)
Rodent [V] (Total DMG)
Lip Poison [E] (Summoned entity DMG)
Core 1 - Infinite [X]
Newborn [X] (Physical Breach)
Dead [X] (Total DMG)
Note: Dead [X] might take priority over Newborn when having 30%+ Physical Breach already.
Low priority Signets
Signet of Decimation - Kalpas
Blade, Grave, and Scar (Total DMG)
Bone, Blood, and Ribbon (Elemental DMG)
Path, Misfortune, and Written Fate (Max HP)
Core 2 - Soldiers, Scissors, Spoils, and Slaughter
Note: Can get Core 1 in speedruns. In longer runs the heal is too big, fast runs can't properly heal to use Core 2 well though.

Signet of Reverie - Pardofelis
Neighborhoot Chatters (max HP/SP)
Motto of Meow (Total DMG)
Back-Curled Tail (Elemental DMG)
Core 1 - Empty Dreams, Self, Set, and Joy
Note: When getting a Signet providing additional coins early in Shop, can take it

Signet of Vicissitude - Fu Hua
No One To Share (Physical Breach)
Long Trip (Total DMG)
Days Gone (Physical DMG)
Core 2 - Suffering Mass
Broken Dreams (max stacks) (optional)
Note: Don't enter Hua doors hoping to get Broken Dreams, chances are too low. Ideal way to get Hua Signets is getting 1/2 in Shop when you can finish the core next floor to avoid stand alone Signets. Hua NEEDS her core.
Shop Signets

Signet of Stars - Griseo
Red & Hot
Note: +3 it.
✧ Supports ✧
F1-16: Valyrie Chariot / Blood Rose
F17+: Snow Sniper / Blood Rose
✧ Remembrance Sigils ✧
Start: Pseudo Miracle / Boundless Logos
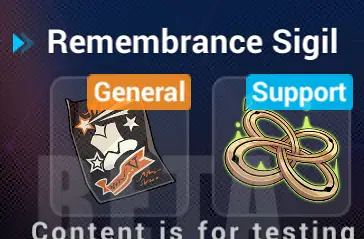
Middle: 2* Sigil needed / Boundless Logos
F16+: Faraway Ship / Boundless Logos
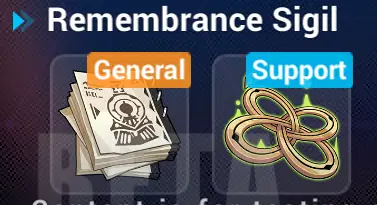
Note: At low DMG, use Falling in Past Light to make up for it.
✧ Video example ✧
✦ Phantom Build ✦
✧ Rotation ✧
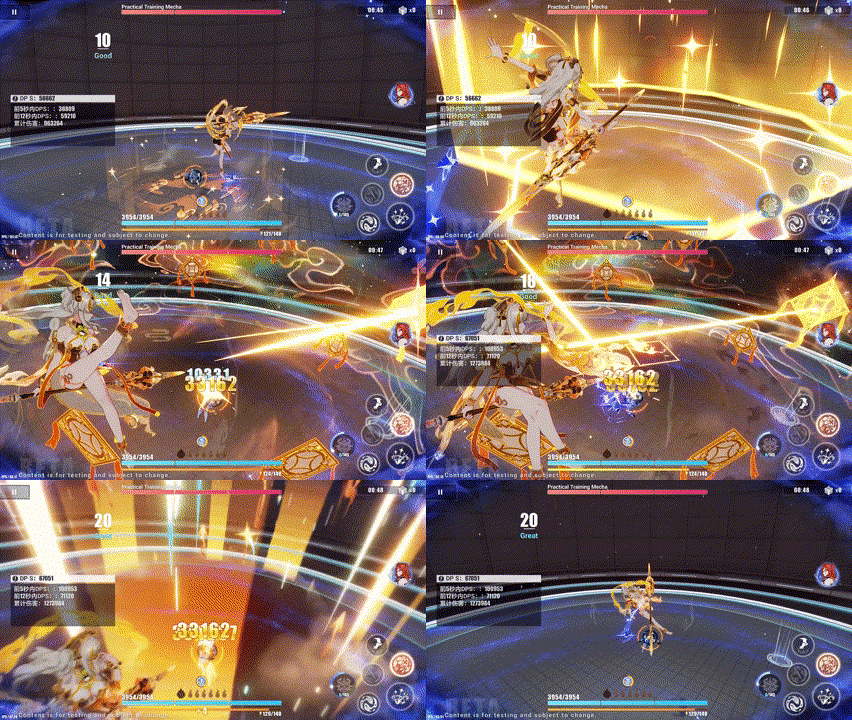
Tap Supports ➔ Stellar Outburst
➔ JDS Phantom ➔ Basic ATK until all "Odd Thought"s are used up
➔ FL Phantom ➔ Basic ATK until all "Odd Thoughts" are used up ➔ Combo ATK ➔ Basic ATK until all "Odd Thoughts" are used up ➔ Ultimate
Do whatever until Stellar Outburst is off CD ➔ REPEAT
Note: If you struggle in boss floors, her SO Combo ATK doesn't take any time. You can add [Combo ATK -> WA] before the JDS Phantom to get some extra DMG and stacks for Falling in Past Light barely using any time.
✧ Signets ✧
➤ Ego Signets
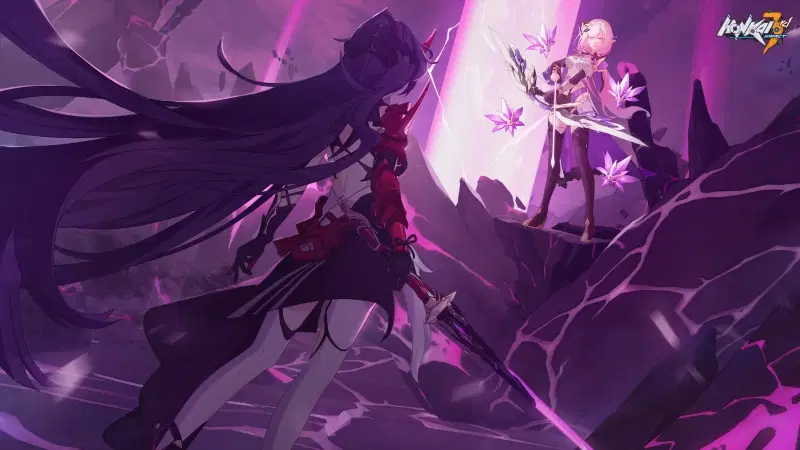
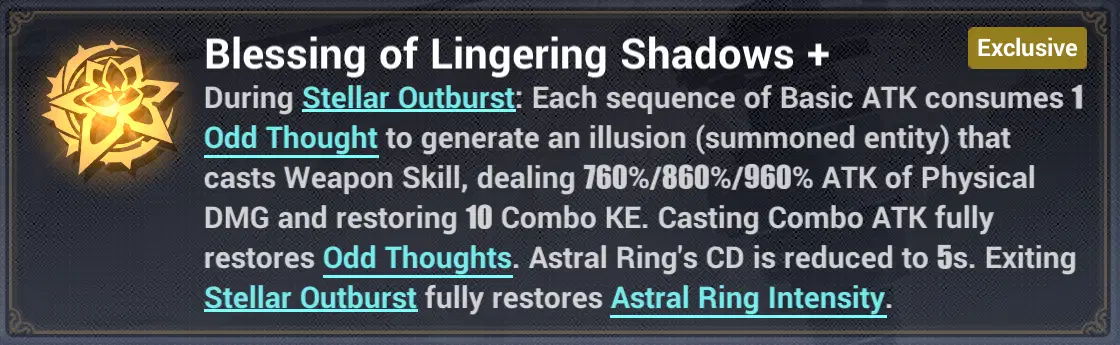
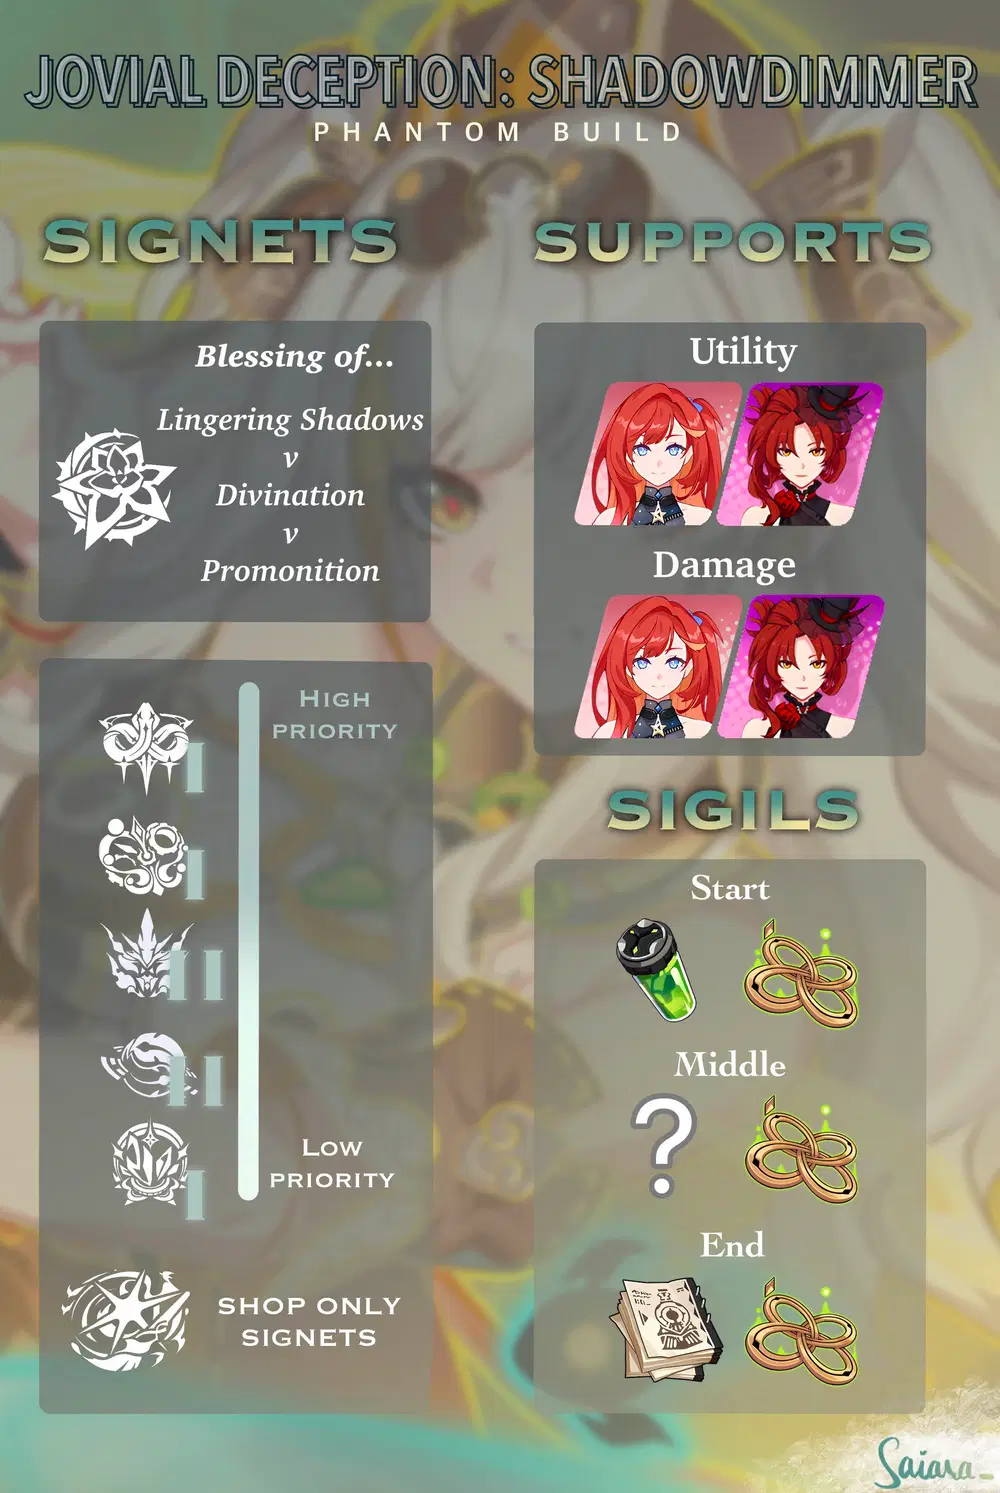
START: Blessing of Lingering Shadows
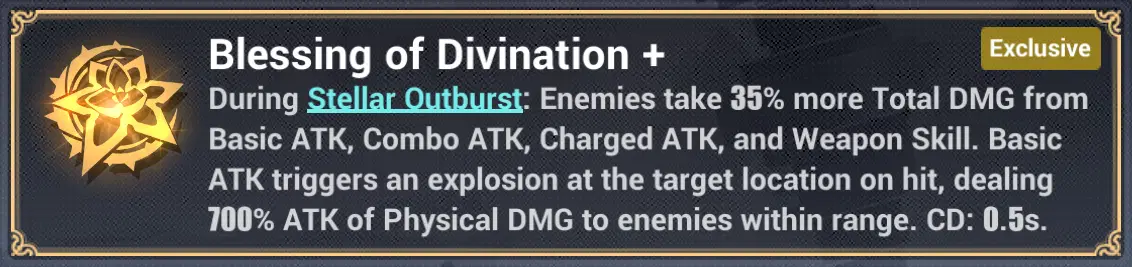
PRIORITY: Blessing of Divination
OPTIONAL: Blessing of Premotion
➤ General Signets
High priority Signets

Signet of Infinity - Mobius
Lip Poison [E] (Summoned entity DMG)
Entwined [P] (Total DMG taken)
Rodent [V] (Total DMG)
Core 1 - Infinite [X]
Newborn [X] (Physical Breach)
Dead [X] (Total DMG)
Note: Dead [X] might take priority over Newborn when having 30%+ Physical Breach already.
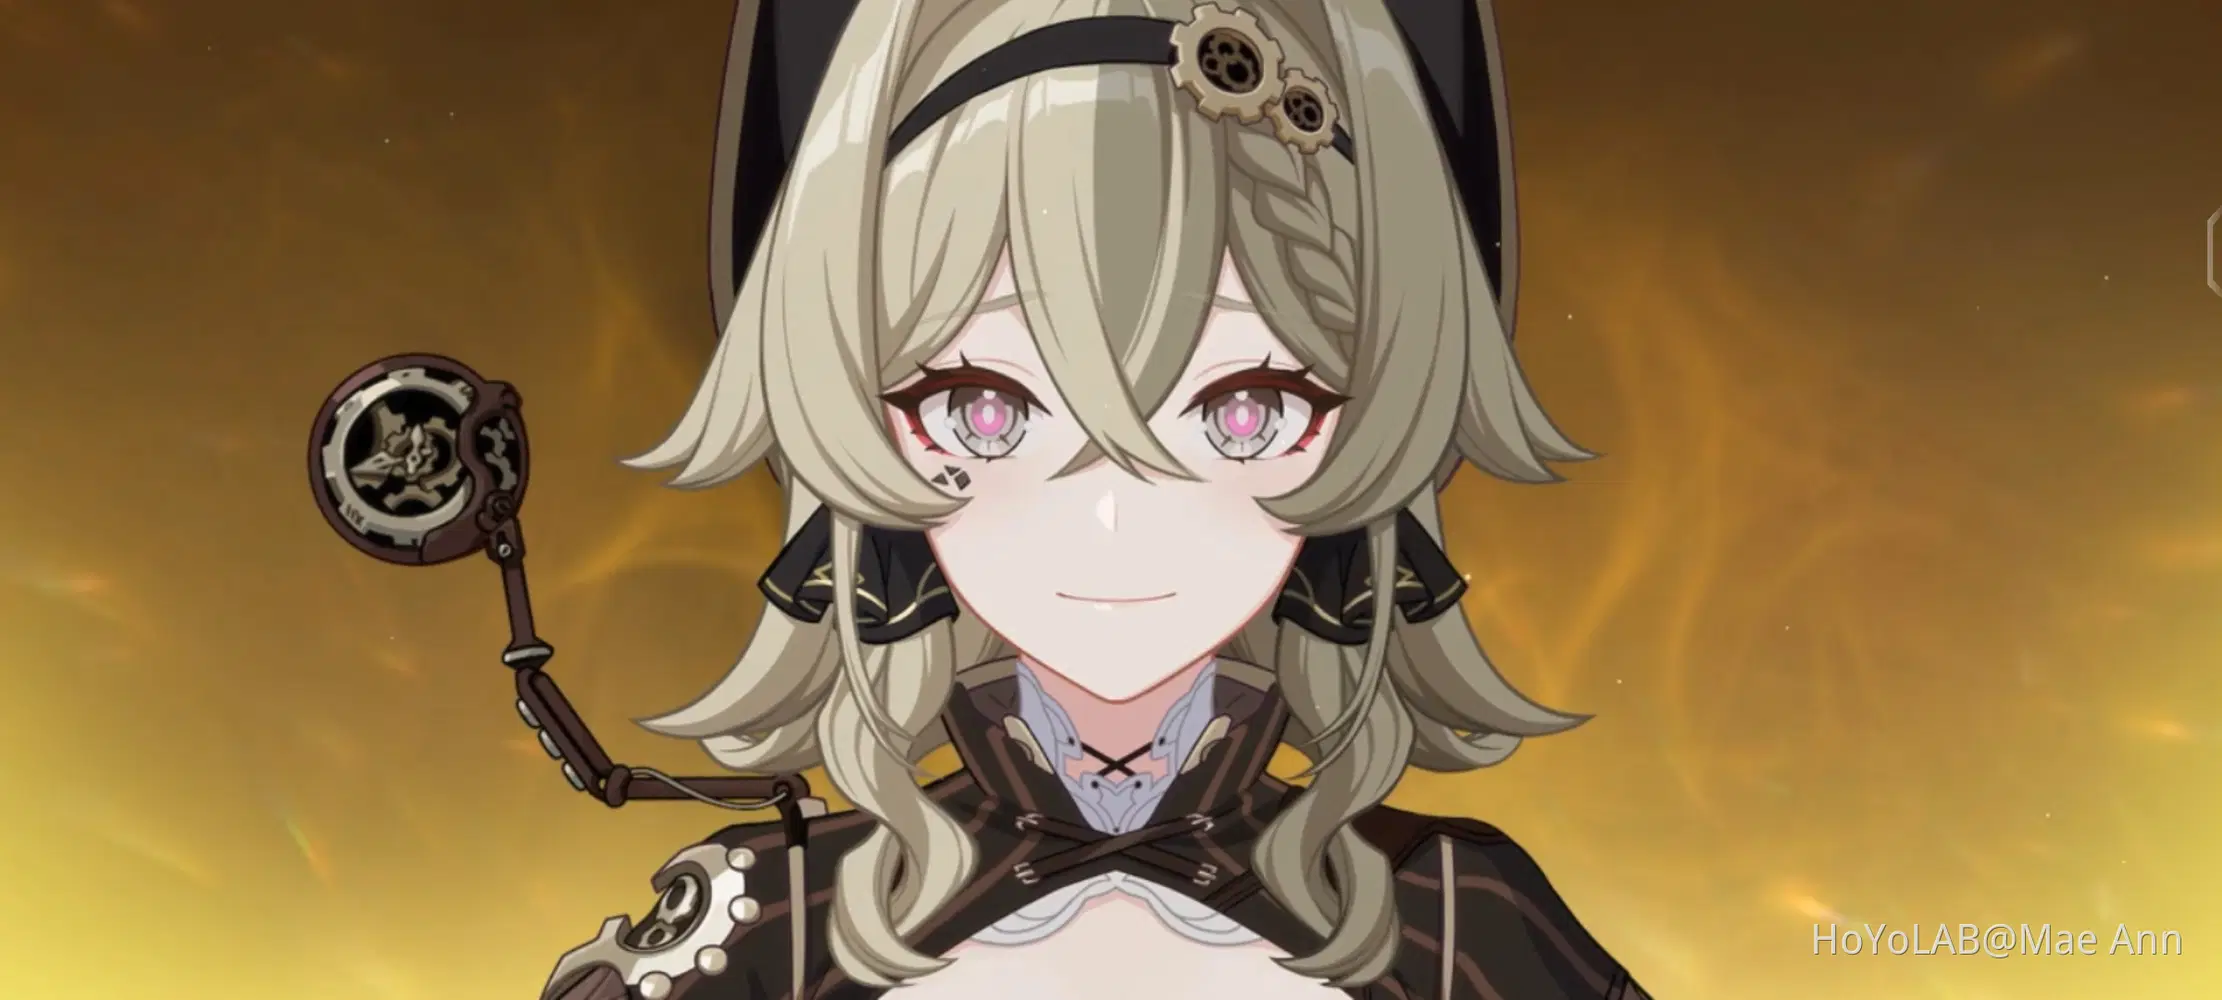
Signet of Helix - Vill-V
Act II: Pendulum (Total DMG taken)
Act V: Spider Web (Ranged DMG)
Act I: Magic (WA DMG)
Act III: Conflict (Total DMG) (optional)
Core 1 - Interlude: Reversed Spiral
Low priority Signets

Signet of Decimation - Kalpas
Blade, Grave, and Scar (Total DMG)
Bone, Blood, and Ribbon (Elemental DMG)
Path, Misfortune, and Written Fate (Max HP)
Core 2 - Soldiers, Scissors, Spoils, and Slaughter
Note: Can get Core 1 in speedruns. In longer runs the heal is too big, fast runs can't properly heal to use Core 2 well though.

Signet of Vicissitude - Fu Hua
Old Dreams Again (Elemental Breach)
Long Trip (Total DMG)
Dark Garb No More (Elemental DMG)
Core 2 - Suffering Mass
Broken Dreams (max stacks) (optional)
Note: Don't enter Hua doors hoping to get Broken Dreams, chances are too low. Ideal way to get Hua Signets is getting 1/2 in Shop when you can finish the core next floor to avoid stand alone Signets. Hua NEEDS her core.
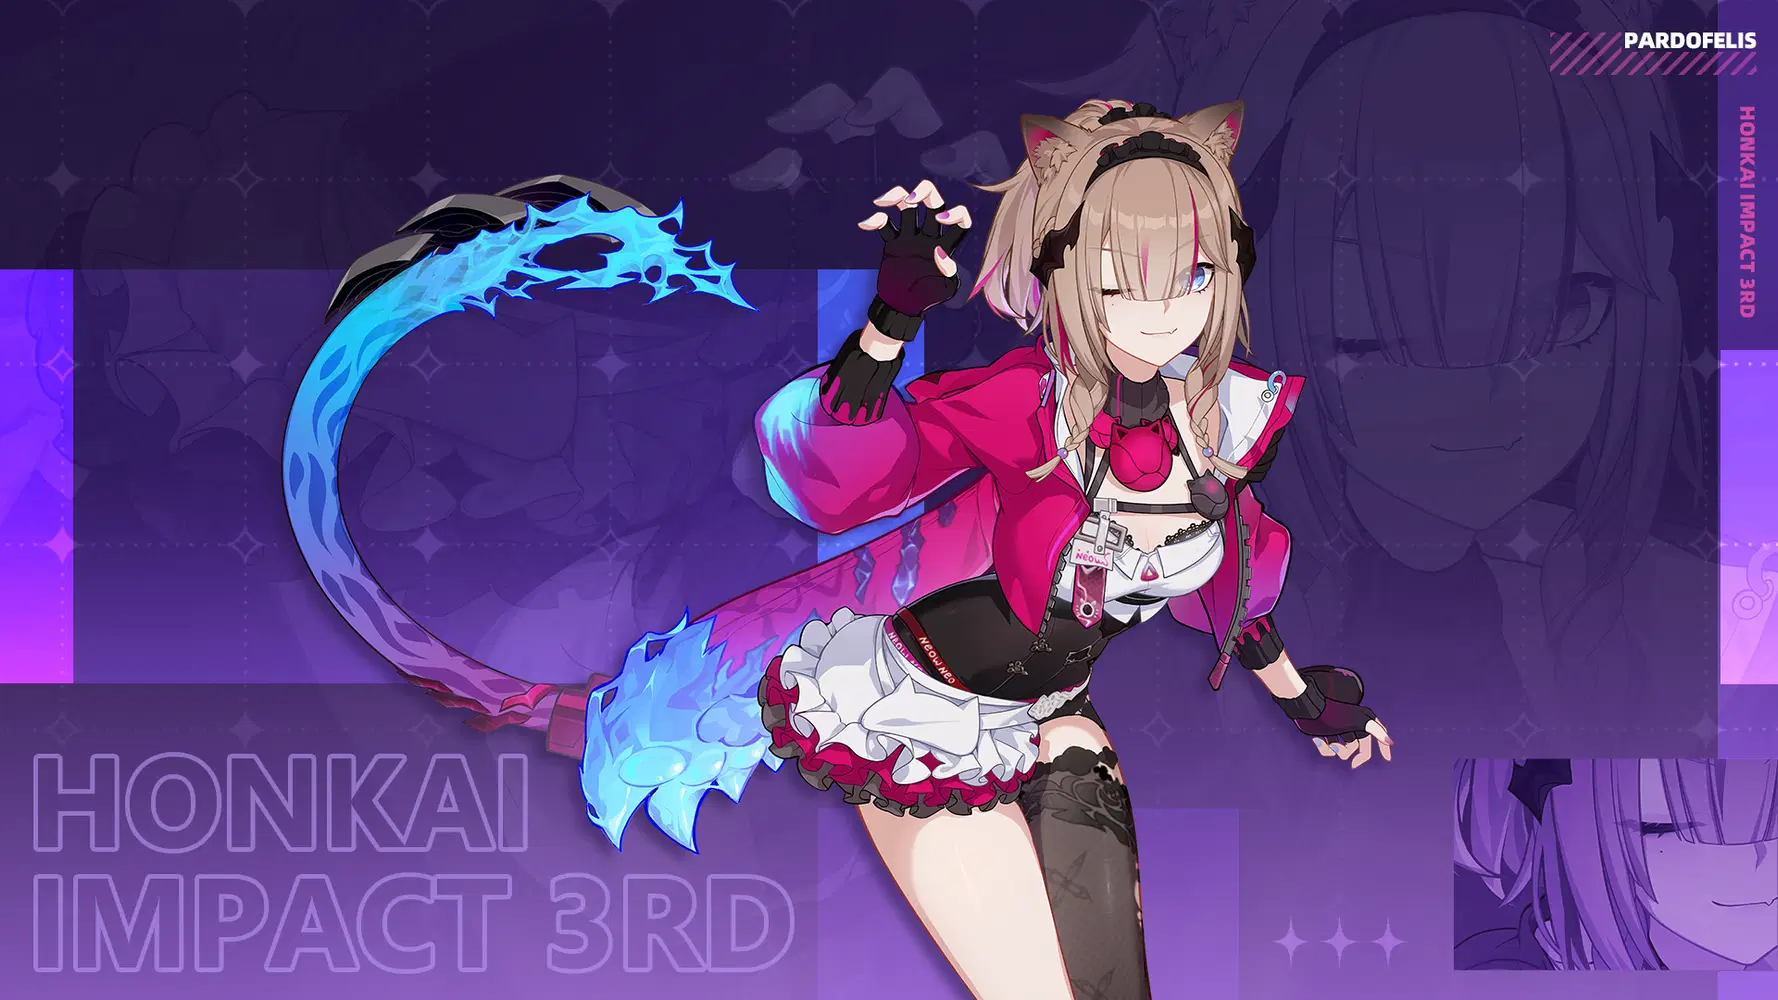
Signet of Reverie - Pardofelis
Neighborhoot Chatters (max HP/SP)
Motto of Meow (Total DMG)
Back-Curled Tail (Elemental DMG)
Core 1 - Empty Dreams, Self, Set, and Joy
Note: When getting a Signet providing additional coins early in Shop, can take it
Shop Signets

Signet of Stars - Griseo
Red & Hot
Note: +3 it.
✧ Supports ✧
F1-18: Deepspace Anchor: First Light / Blood Rose
✧ Remembrance Sigils ✧
Start: Forbidden Seed / Boundless Logos
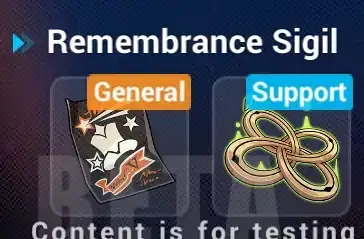
Middle: 2* Sigil needed / Boundless Logos
F16+: Faraway Ship / Boundless Logos
✧ Video example ✧
✦ Fish vs Phantom build ✦
Overall the Phantom build just is stronger.
At low gear the Fish build will feel more comfortable though due to the Stellar Outburst Cooldown.
But overall I recommend the Phantom build.
✦ Summary ✦
✧ Big Fish Build ✧
✧ Phantom Build ✧
✦ Closing Statement ✦
Did you know JDS loses 60% of her DMG when going for Elysia TMB? haha... it's painful
Reflects in Elysian Realm
Overall fun though... but even after reading through her skills 10 times I still don't know what causes this weird healing when entering a new floor.
Credits
- Thanks to Cyxo and Alpaca for the pictures of Valkyrie icons and such!
- Thanks to my friend Rikutakuto for doing the cover design for me! Check her out:>
Love to Inari 
That's it, I hope I was able to help you!
Have a great day and fun with Songque
EU/UID: 203184518




