
Foreword
Hello fellow Proxies! The purpose of this guide is to provide insight to the node layout for the Shiyu Critical Nodes. This is to help Proxies clear this content and/or improve their timings for the rank rewards.
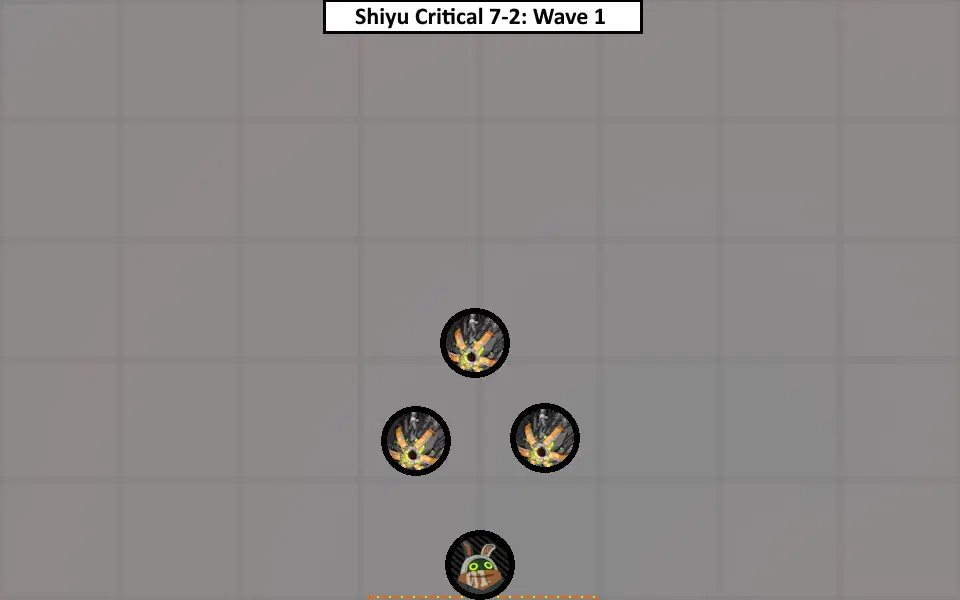
Layouts will be from the perspective of the entrance to the Node. Do not be fixated on the exact location of the spawns, as in combat the camera changes may cause you to lose your orientation. There are arbitrary gridlines to give a general idea of the area of the spawns. The gridlines don’t actually exist in-game, nor are they representative of anything.
I hope the information presented helps you plan your teams and strategies when tackling this content.
Special Effect
This cycle's special effect is the Irresistible Force.

The Irresistible Force is an effect that promotes Stunning and/or triggering an Attribute Anomaly. The effect heavily benefits Anomaly characters since they can trigger Attribute Anomaly faster than other character types. Additionally multiple Attribute Anomalies can be triggered more often in a fight than Stuns. So to benefit from the Irresistible Force effect, it is highly encouraged to take teams that include Jane, Grace, and Piper (as at this time these are the only Anomaly Agents). Other Agents and team compositions can also trigger Attribute Anomaly effects as well.

Irresistible Force details under Effect Details in the pause menu

Irresistible Force buff icon under active Agent

Critical Nodes
First Frontier
1-1
Weaknesses: Fire
Resistances: Electric
Format: 4 Waves
- Wave 1: 3 Vicious Striker
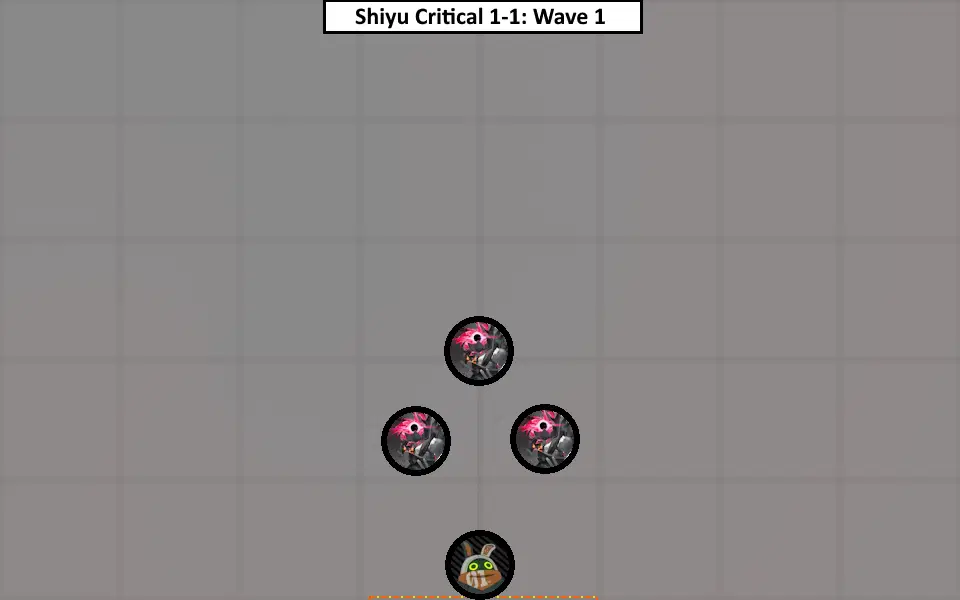
- Wave 2: 1 Frenzied Maniac

- Wave 3: 2 Vicious Striker, 2 Greedy Ranger
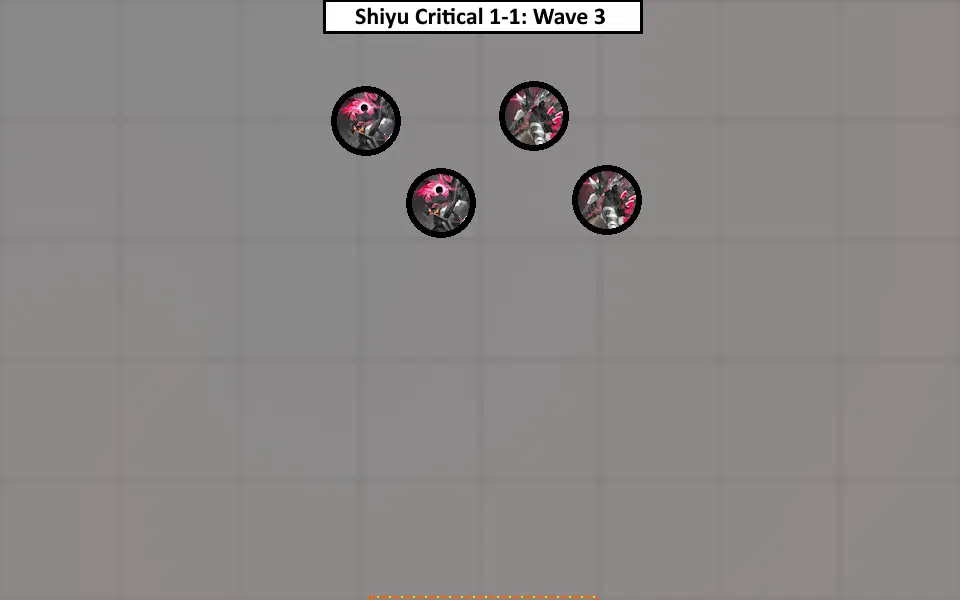
- Wave 4: 1 Wicked Wraith
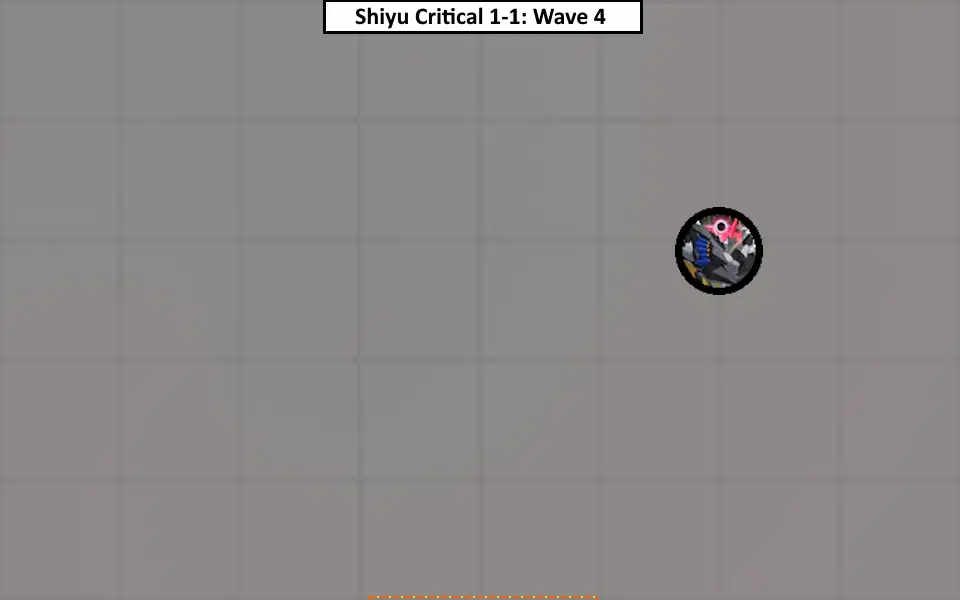
1-2
Weaknesses: Electric
Resistances: Fire
Format: 3 Waves
- Wave 1: 2 Patrol Jaeger, 2 Scout Jaeger
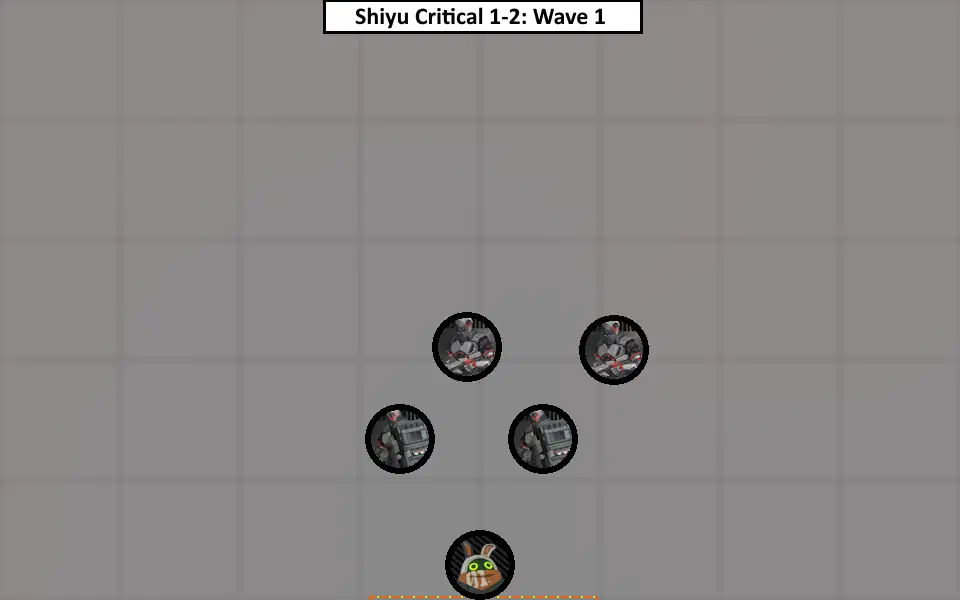
- Wave 2: 1 Assault Gunner

- Wave 3: 1 Lightfoot Rover MK II
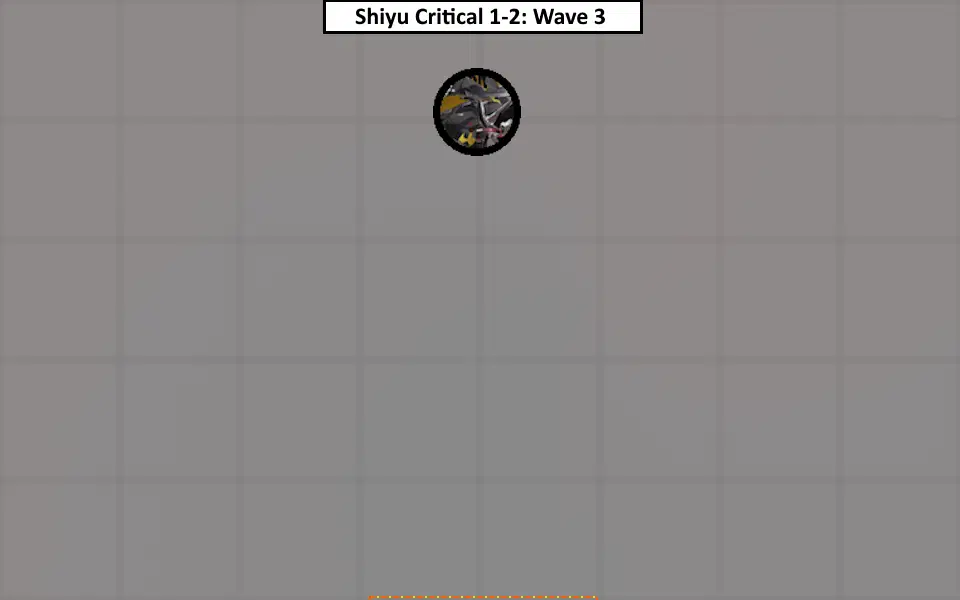
In Wave 1, I recommend focusing on the Scout Jaegers as they are ranged attackers. The Patrol Jaegers are melee attackers that have front facing shields. The shield will reduce front damage they take from the front, so it is best to attack them from the side or the back; which can be hard since they are always trying to face their fronts towards you. So when dealing with the Patrol Jaegers, I recommend to build up their Daze to Stun them.

Focus the ranged attackers and the melee attackers may get hit too

Second Frontier
2-1
Weaknesses: Fire, Physical
Resistances: Ether
Format: 4 Waves
- Wave 1: 3 Strike Jaeger

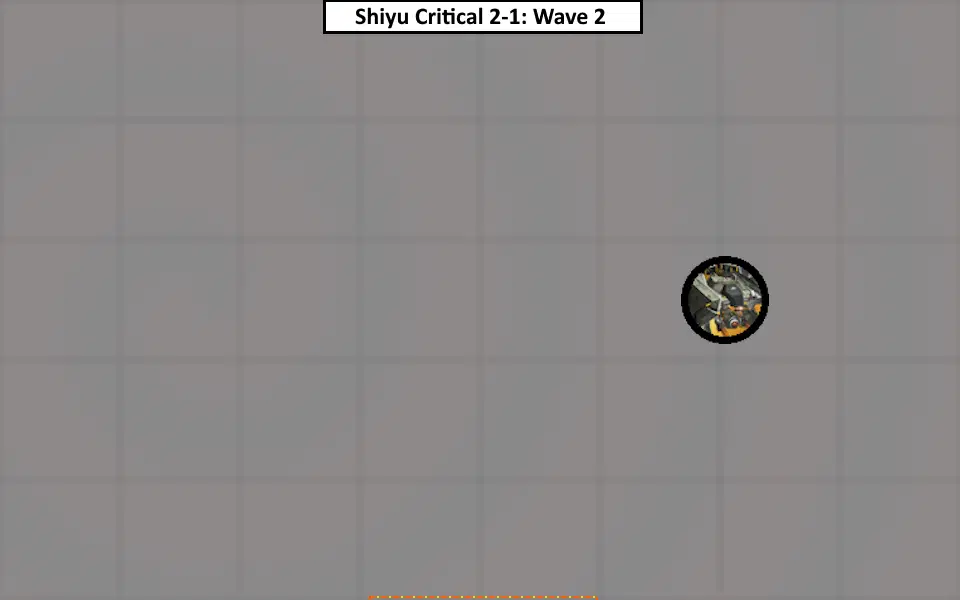
- Wave 2: 1 Heavy Striker
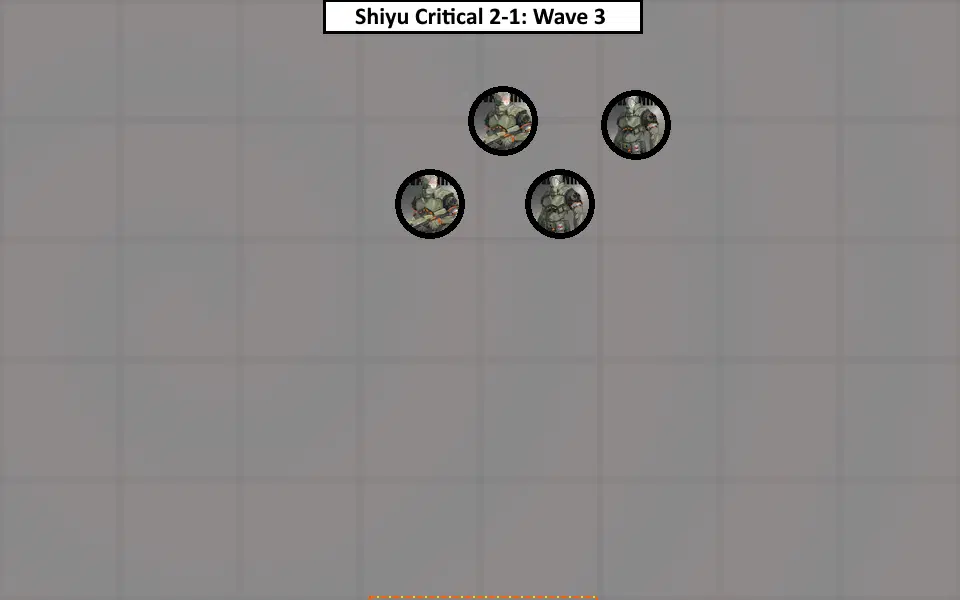
- Wave 3: 2 Strike Jaeger, 2 Light Jaeger
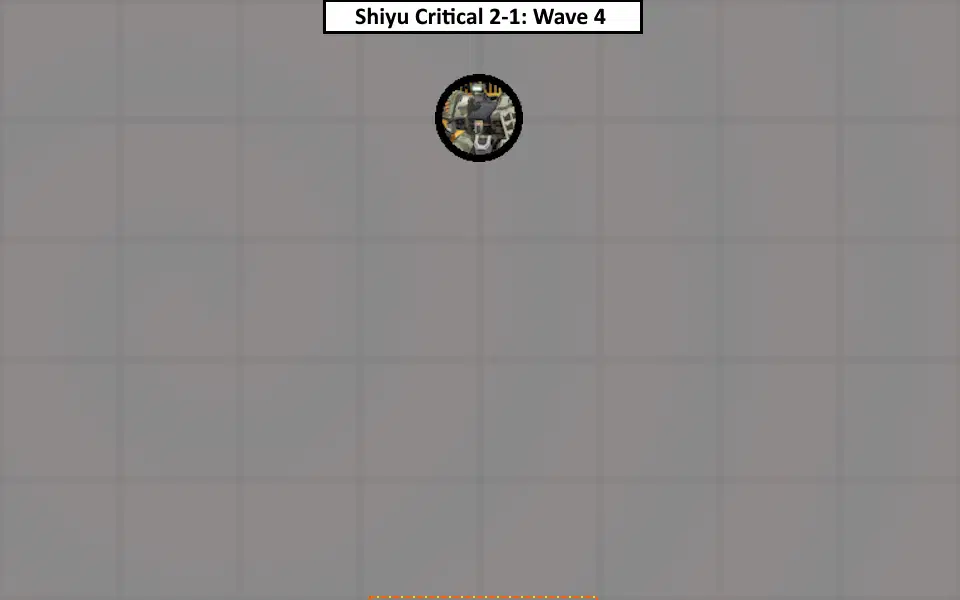
- Wave 4: 1 Guardian
2-2
Weaknesses: Ether
Resistances: Ice
Format: 3 Waves
- Wave 1: 2 Ionized - Cyrtoidea, 2 Ionized - Nassellaria

- Wave 2: 1 Ionized Farbauti

- Wave 3: 1 Ionized - Dullahan
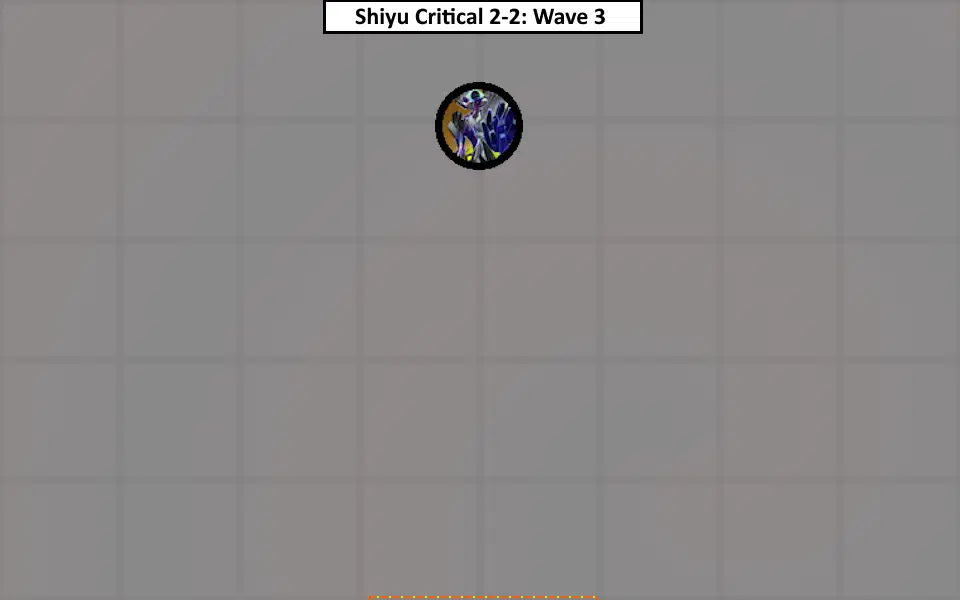
In Wave 1, I recommend focusing on the Nassellarias, the stationary bomb charging enemies. They will remain stationary so grouping them together and dealing with them will be advantageous. The Cyrtoideas are melee attackers that will come to you with a diving-lunge-like attack So the Cyrtoidea may inadvertently get caught in the crossfire as you deal with the Nassellarias.

Focus the ranged attackers and the melee attackers may get hit too
Third Frontier
3-1
Weaknesses: Ice, Physical
Resistances: (none)
Format: 4 Waves
- Wave 1: 3 Assaulter
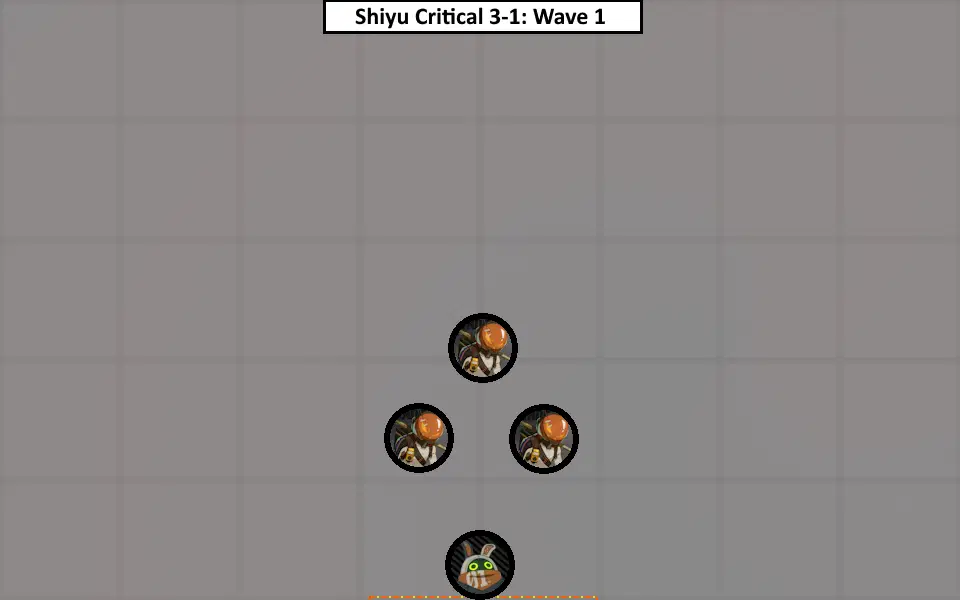
- Wave 2: 1 Bulky Intimidator
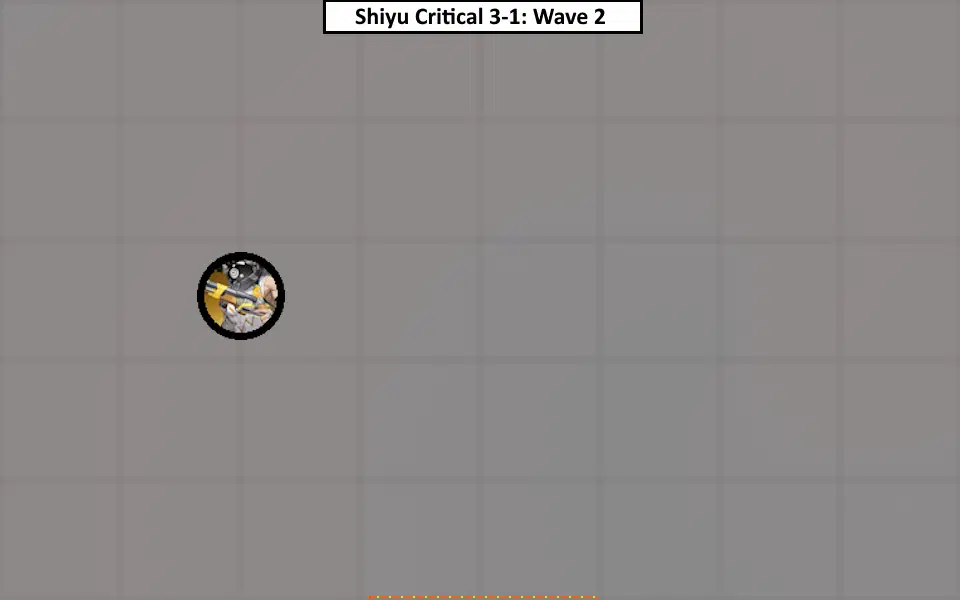
- Wave 3: 2 Assaulter, 2 Pyromaniac
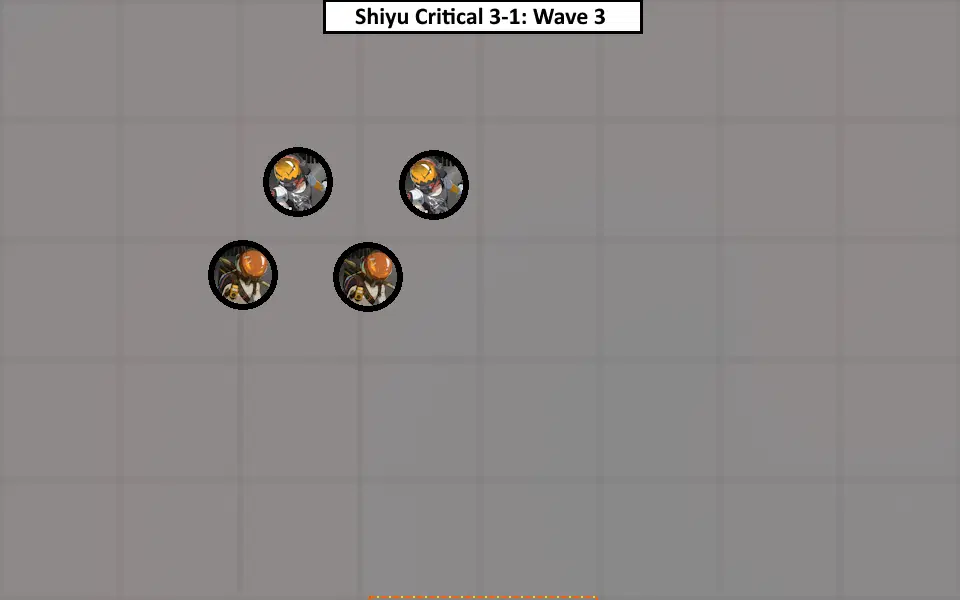
- Wave 4: 1 Bulky Enforcer
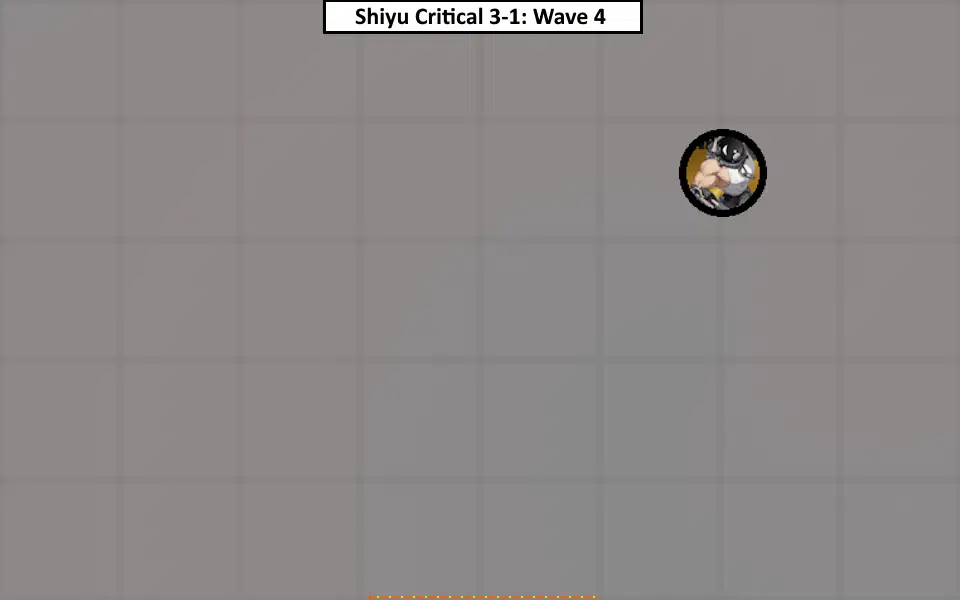
3-2
Weaknesses: Electric
Resistances: Fire
Format: 4 Waves
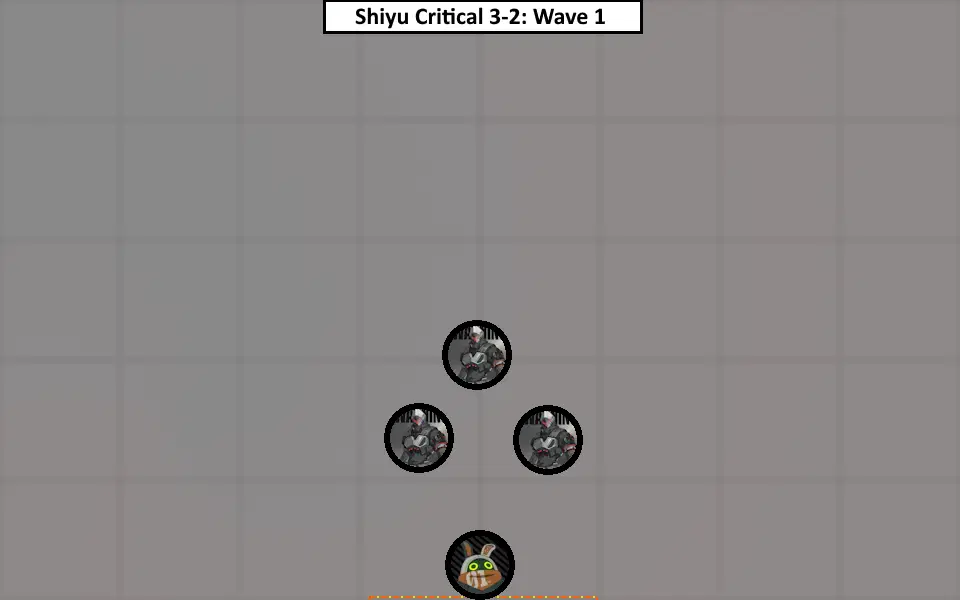
- Wave 1: 3 Private Jaeger
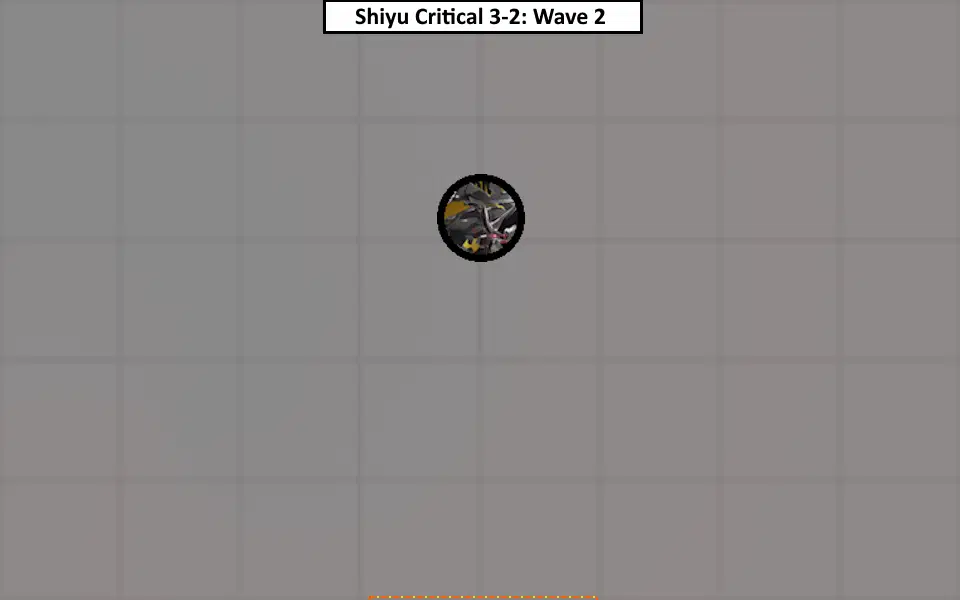
- Wave 2: 1 Lightfoot Rover MK II
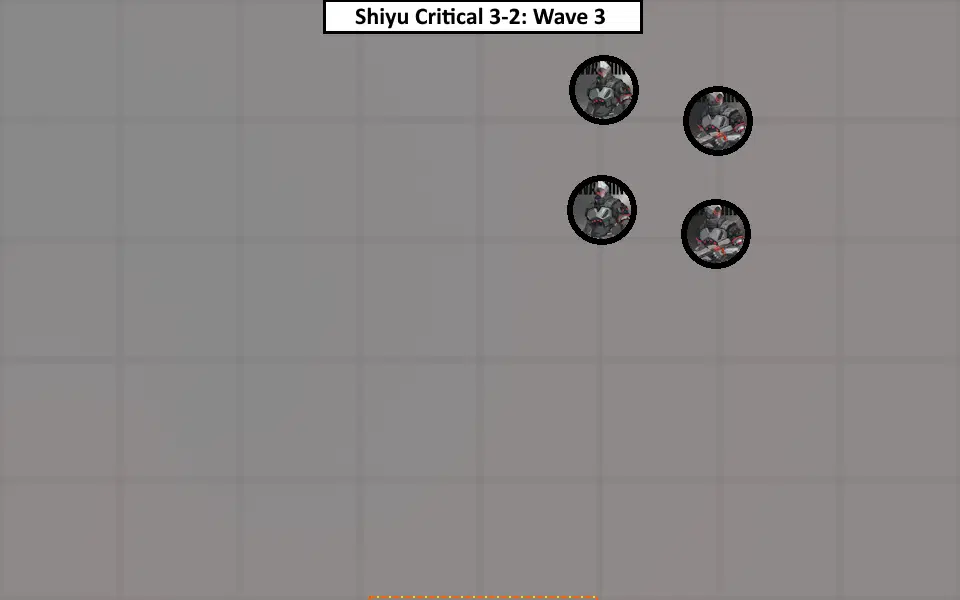
- Wave 3: 2 Private Jaeger, 2 Scout Jaeger
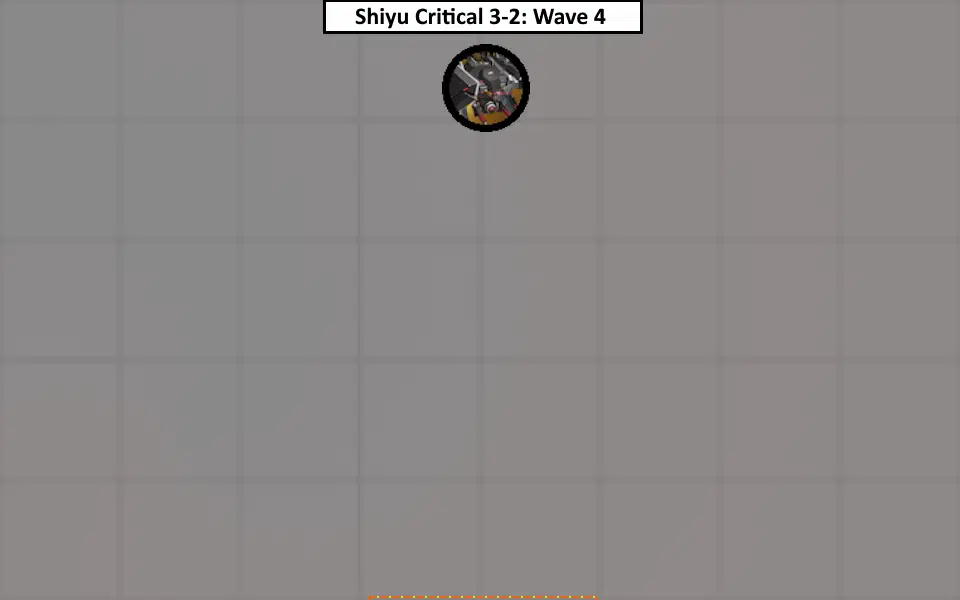
- Wave 4: 1 Heavy Striker MK II
Fourth Frontier
4-1
Weaknesses: Ice, Ether
Resistances: (none)
Format: 4 Waves
- Wave 1: 1 (Red) Mandrake, 2 Hoplitai

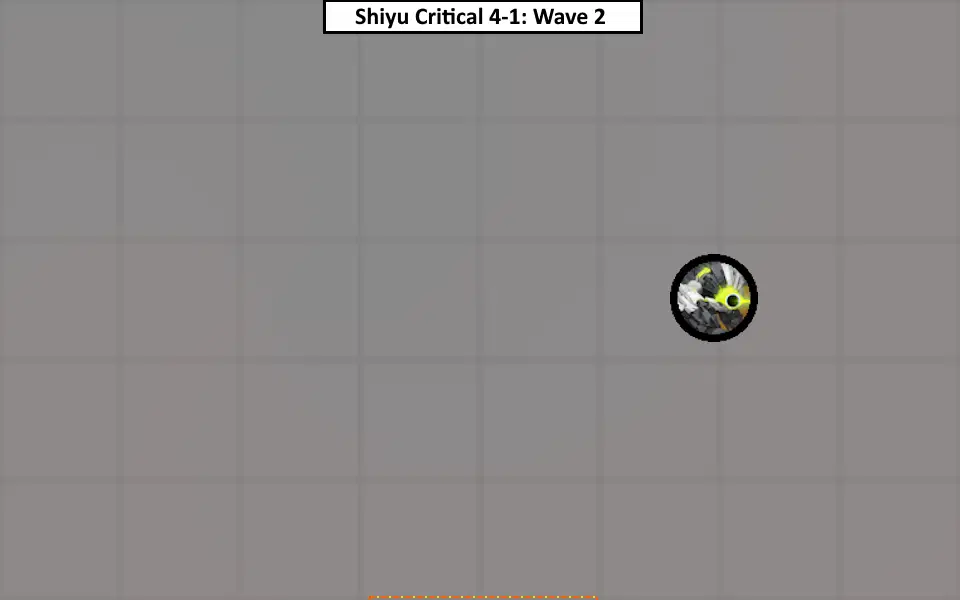
- Wave 2: 1 Farbauti
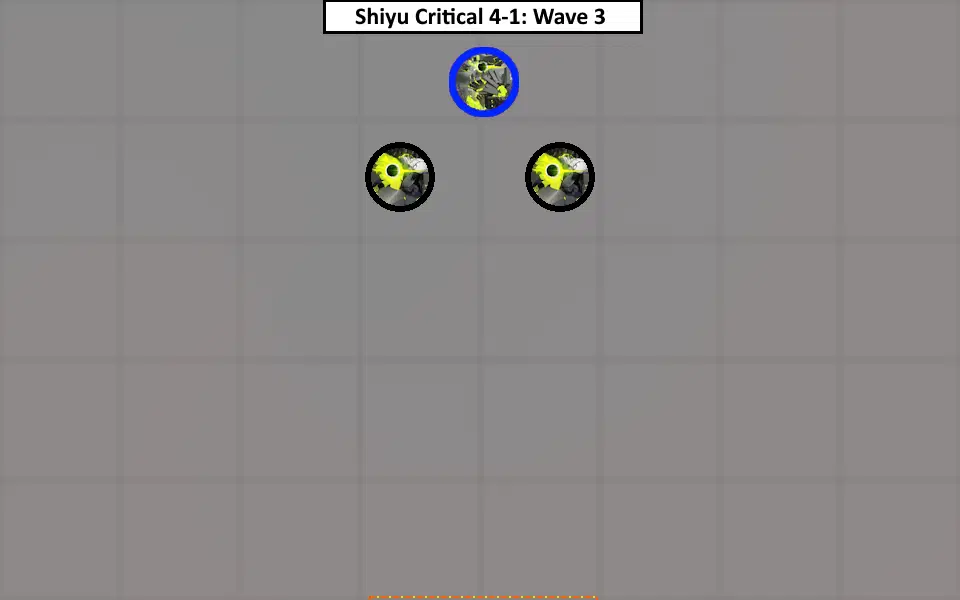
- Wave 3: 1 (Blue) Mandrake, 2 Alpeca
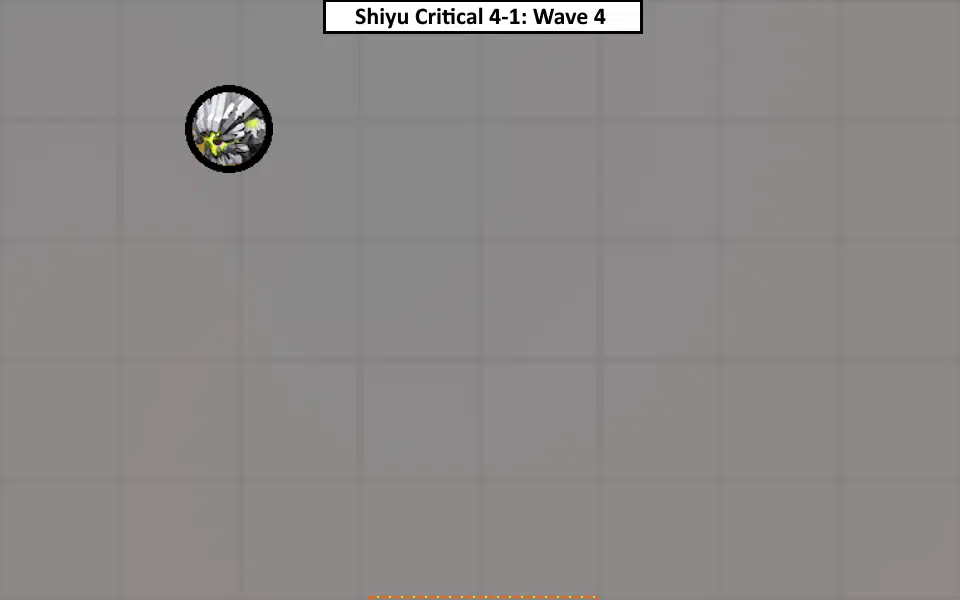
- Wave 4: 1 Armored Hati
In Wave 1, you will face 1 Red Mandrake with 2 Hoplitais. The Red Mandrake will provide a damage buff to its allies, which it will shortly apply after it spawns.
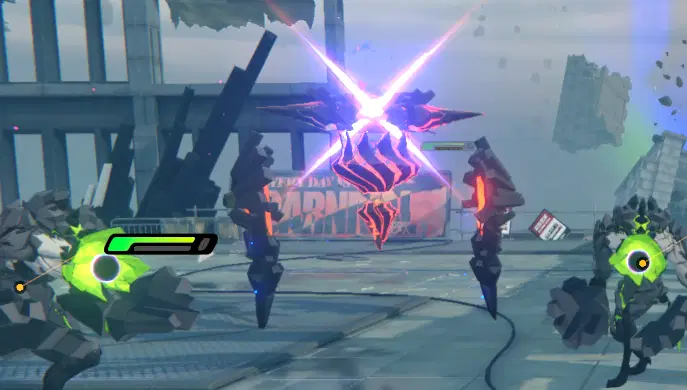
Red Mandrake's body has red highlights
The Mandrake is an annoyance as it cannot build Daze (therefore cannot be Stunned) and it cannot accumulate any Attribute Anomaly buildup. So various character abilities are rendered ineffective against it (cannot deal bonus damage via Stunning it, Zhu Yuan and Soldier 11 cannot deal bonus damage since it cannot be stunned, Anomaly Agents cannot trigger Attribute Anomaly damage, etc.). I recommend first focusing on the Red Mandrake as the Hoplitais will come to you as you are attacking the Mandrake. You can power through its spin attack by executing abilities that have invincibility frames (e.g. EX Specials and Defensive/Evasive Assists). I find the best way is to have well timed Dodge Counters when it does its spin attack and weaving EX Specials when available.
In Wave 3, you will face 1 Blue Mandrake with 2 Alpecas. The Blue Mandrake will provide a shield buff to its allies, which it will shortly apply after it spawns.

Blue Mandrake's body has blue highlights
Similarly, I recommend first focusing on the Blue Mandrake as the shield buff will make the Alpecas have more health than normal. Same tactic as in Wave 1, use well-timed Dodge Counters and some EX Specials will make taking the Mandrake out easier.
4-2
Weaknesses: Ether
Resistances: Ice
Format: 3 Waves
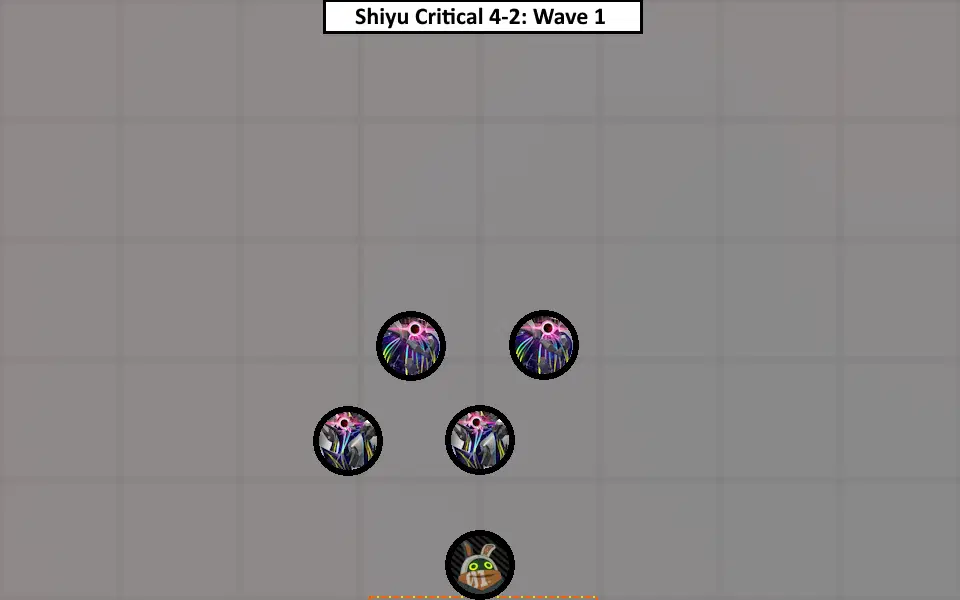
- Wave 1: 2 Ionized - Cyrtoidea, 2 Ionized - Nassellaria
- Wave 2: 1 Ionized - Dullahan

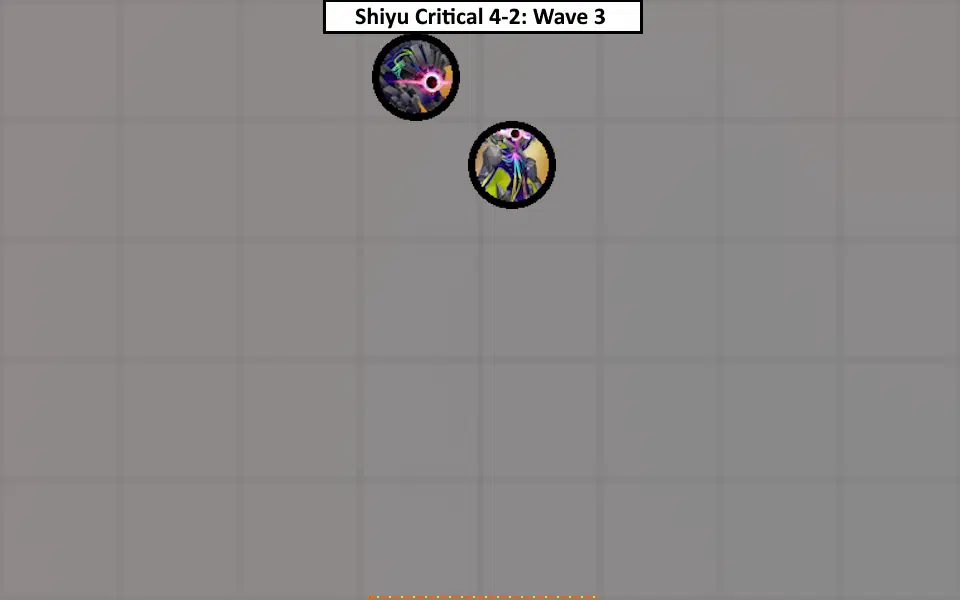
- Wave 3: 1 Ionized - Farbauti, 1 Ionized - Thanatos
In Wave 1, similar to 2-2’s Wave 1, I recommend focusing on the Nassellarias. Then take out the Cyrtoideas.
In Wave 3, you will be dealing with a Thanatos and a Farbauti. The Thanatos is the biggest threat due to its elusive nature. Which is compounded when it is paired with another enemy. I recommend focusing on the Thanatos and trying to Stun it as soon as possible. The Farbauti will be trying to get your attention while you are doing this, but its attacks are very telegraphed and obvious when you see them.

The Thanatos is the biggest threat (although being smaller than the Farbauti)
Fifth Frontier
5-1
Weaknesses: Ice, Physical
Resistances: (none)
Format: 3 Waves
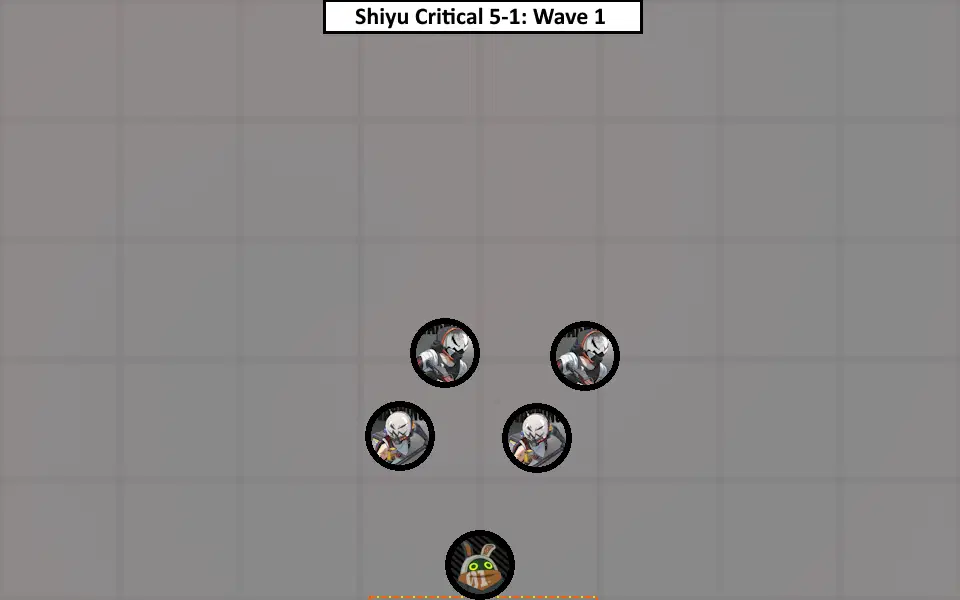
- Wave 1: 2 Raider, 2 Poacher
- Wave 2: 1 Bulky Intimidator
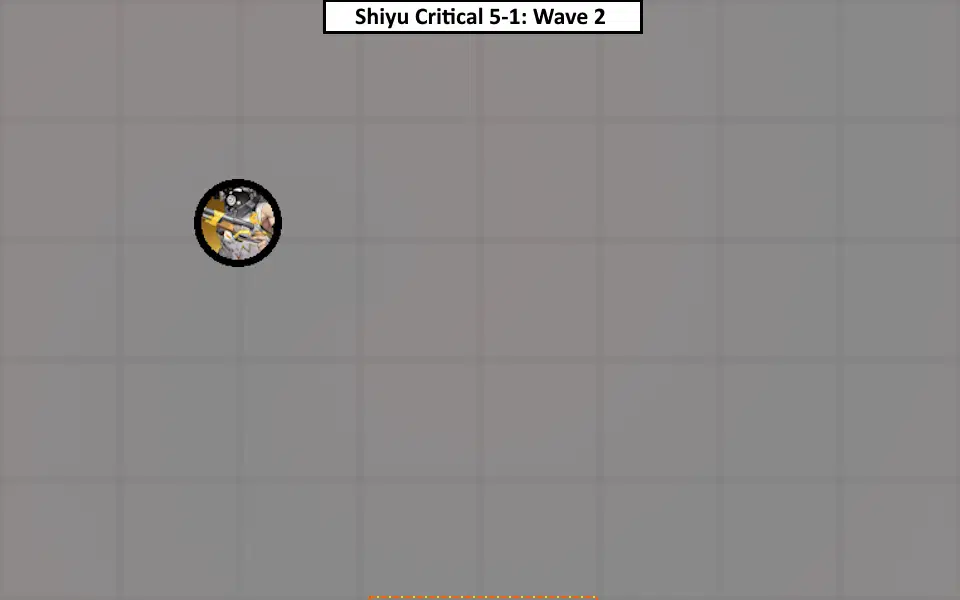
- Wave 3: 1 Bulky Enforcer, 1 Bulky Intimidator
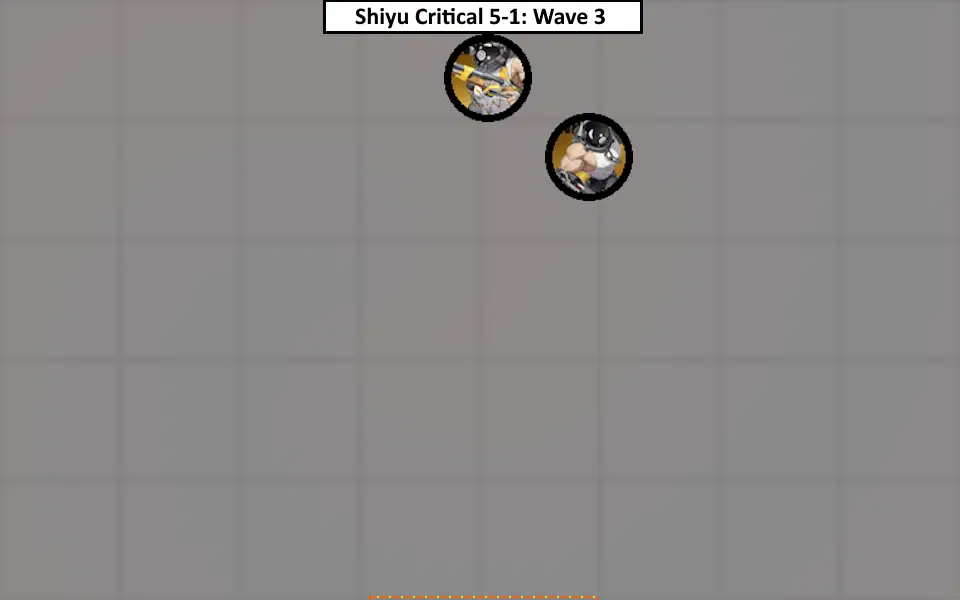
5-2
Weaknesses: Electric
Resistances: Fire, Physical
Format: 3 Waves
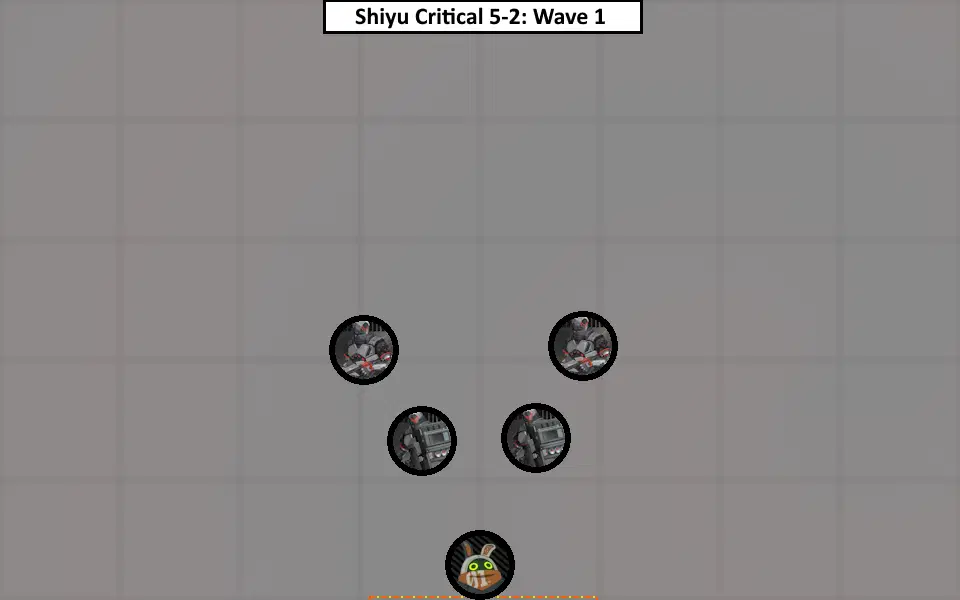
- Wave 1: 2 Patrol Jaeger, 2 Scout Jaeger
- Wave 2: 1 Enraged Sweeper

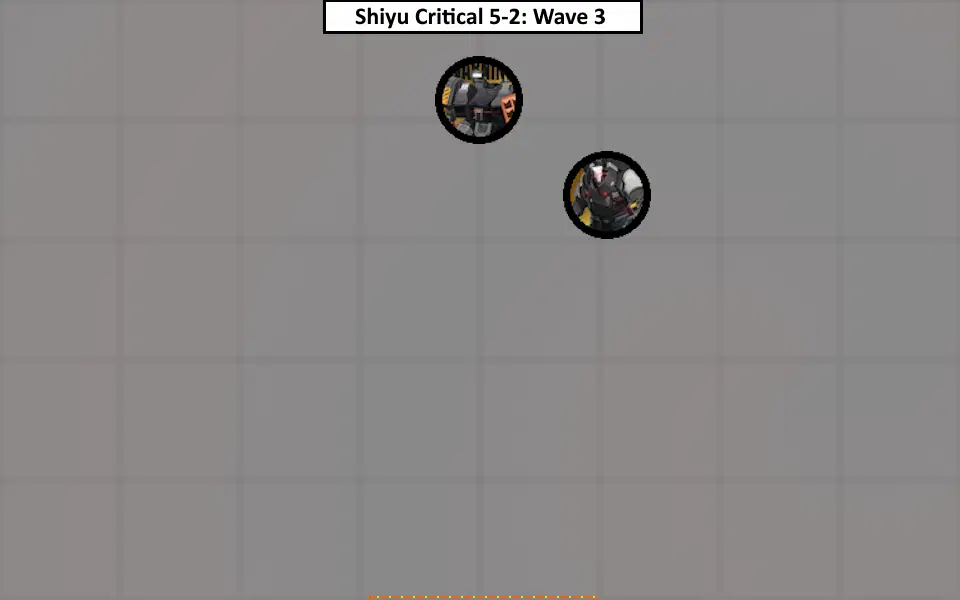
- Wave 3: 1 Guardian MK II, 1 Assault Gunner
In Wave 1, similar to 1-2’s Wave 1, I recommend focusing on the Scout Jaegers as they are ranged attackers. And then build up Daze to Stun the Patrol Jaegers afterwards.
Sixth Frontier
6-1
Weaknesses: Ice, Ether
Resistances: (none)
Format: 2 Waves
- Wave 1: 2 Hoplitai, 2 Alpeca
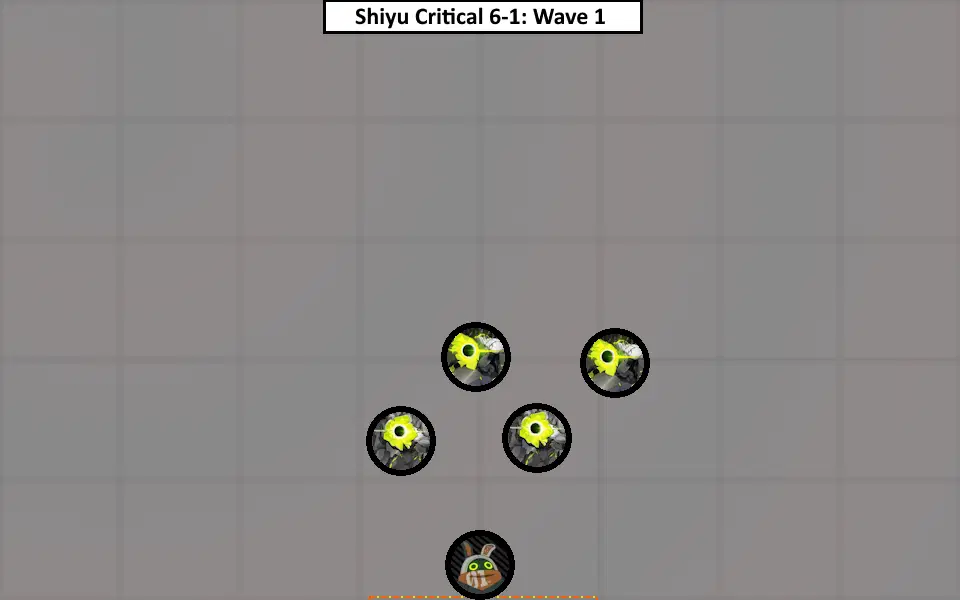
- Wave 2: 1 Notorious - Dullahan

6-2
Weaknesses: Ether
Resistances: Physical
Format: 2 Waves
- Wave 1: 2 Ionized - Cyrtoidea, 2 Ionized - Nassellaria
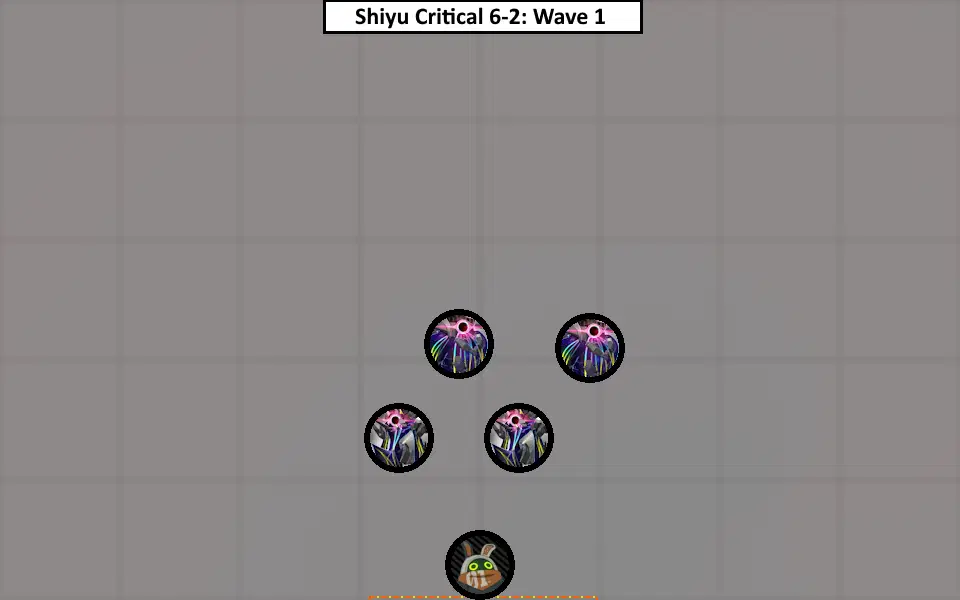
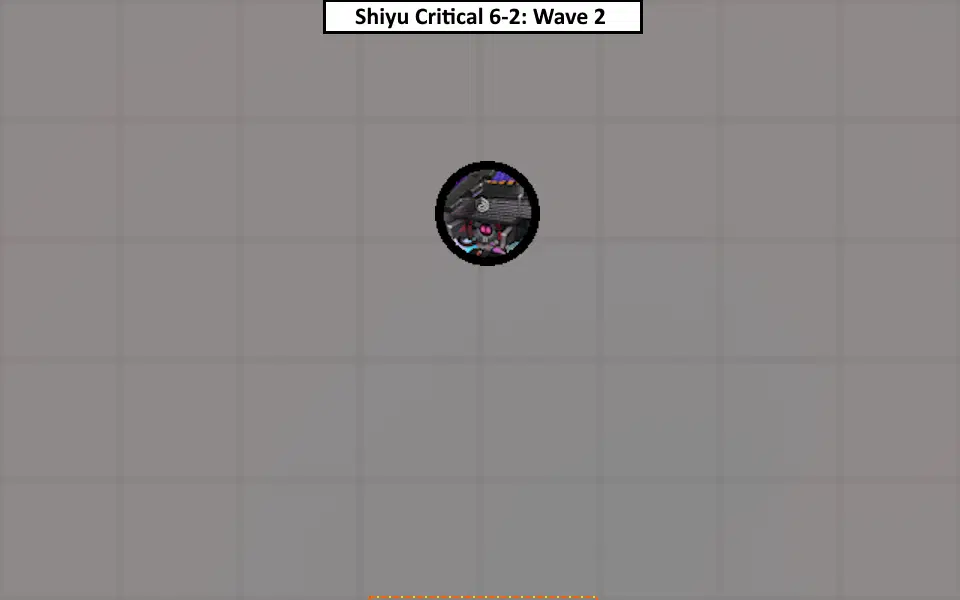
- Wave 2: 1 Greta - Overclocked
In Wave 1, similar to 2-2’s Wave 1 and 4-2’s Wave 1, I recommend focusing on the Nassellarias. Then take out the Cyrtoideas.
In Wave 2, Greta from the Belobog Story commissions in Chapter 2 makes its debut in Shiyu Critical. Similar to the other Belobog Construction Machines, Greta has legs that can be Impaired/Destroyed if enough damage is dealt to the given leg. The Impairment/Destruction of a leg will deal significant damage, cause Greta to stop attacking momentarily, and increase your damage to Greta by ~+35%. Impairment/Destruction of a leg cannot occur if Greta is Stunned. I strongly recommend focusing on 1 of its legs to cause Impairment/Destruction to it while building up its Daze. Move onto another leg once the Impairment/Destruction is successful.

Impair multiple legs to do more damage!
Seventh Frontier
7-1
Weaknesses: Fire, Physical
Resistances: Ice
Format: 2 Waves
- Wave 1: 2 Ambusher, 2 Rustler
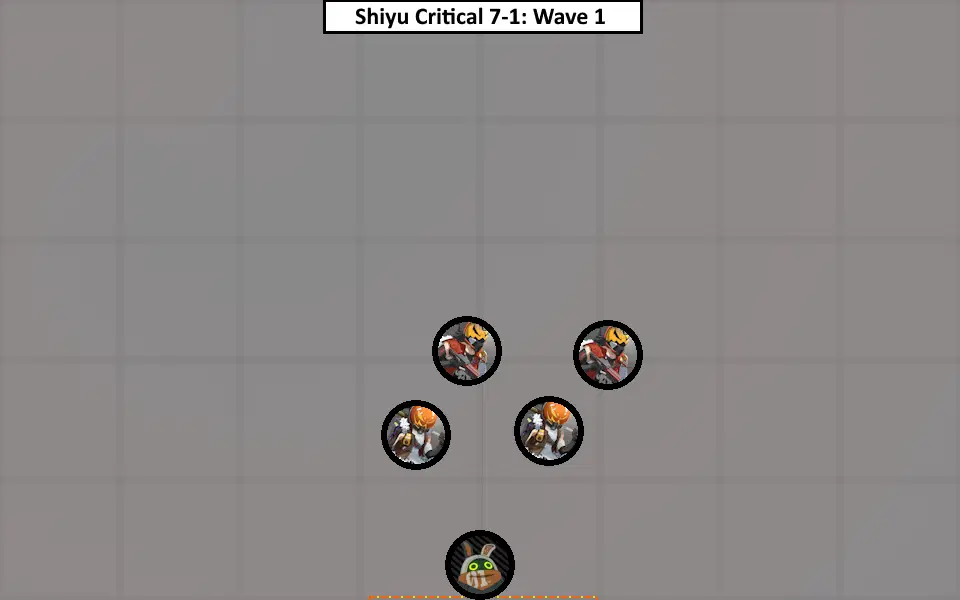
- Wave 2: 1 Troublemaker - Wanted Enforcer

In Wave 2, you will fight a Wanted Enforcer, which fights the same as a Bulky Enforcer. So the Wanted Enforcer will be doing a lot of bobs and weaves to set up his attacks onto you. I recommend using Dodge Counters whenever you can instead of Assist Points. This is because since the enemy is level 70 his Daze meter may not be filled up by the time you run out depending on your team levels and composition.
7-2
Weaknesses: Electric
Resistances: Physical
Format: 2 Waves
- Wave 1: 3 Beholder Engine
- Wave 2: 1 Hans
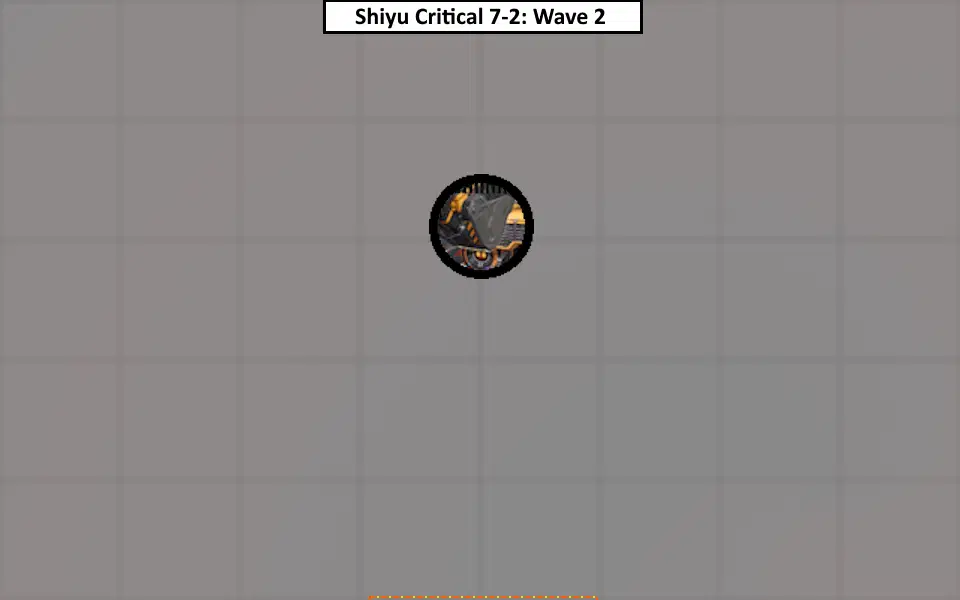
In Wave 2, you will fight Hans, another Belobog Construction Machine. Similar to Greta, Hans has legs that can be Impaired/Destroyed if enough damage is dealt to the given leg. Similar to Greta, I recommend focusing on 1 of its legs to cause Impairment/Destruction to it while building up its Daze. Move onto another leg once the Impairment/Destruction is successful.

Impairing Hans's legs provides same benefits as it does with Greta
Afterword
Thank you for taking the time to go through this guide. I hope it provides some aid to your attempts through the Critical Nodes this Cycle. While the Critical Nodes (timed attack) style may not be for everyone, it does help provide an indication of your Agent’s and account progression in the game. (And a source of limited resources (Polychromes and Investigation Merits))
For those that need advice for clearing or getting better rankings in Shiyu Critical is a goal for you, my general advice is focus on 2 primary Attack and/or Anomaly characters (for 2 different teams). This is due to the limited Agents and resources that we have since the launch of v1.0 and any persons who just started in v1.1. Trying to level up every Agent is going to run your resources thin across the board. Get those 2 Attackers/Anomaly Agents to level 60 and improve their skill levels. Additionally fully level up a set of their preferred Drive Discs, as the main stats of those Discs will significantly improve an Agent’s strength. The other characters in the team composition can be level 50 (Impact Agents, secondary Anomaly Agents) and/or level 40 (Supports Agents, Defenders Agents). Then leveling up others accordingly.
And as always, best of luck to those that attempt in clearing Shiyu Critical.