Foreword
Hey Proxies, the purpose of this guide is to provide insight to the node layout for the Shiyu Critical Node. This is to help fellow Proxies clear this content and/or improve their timings for the rank rewards.
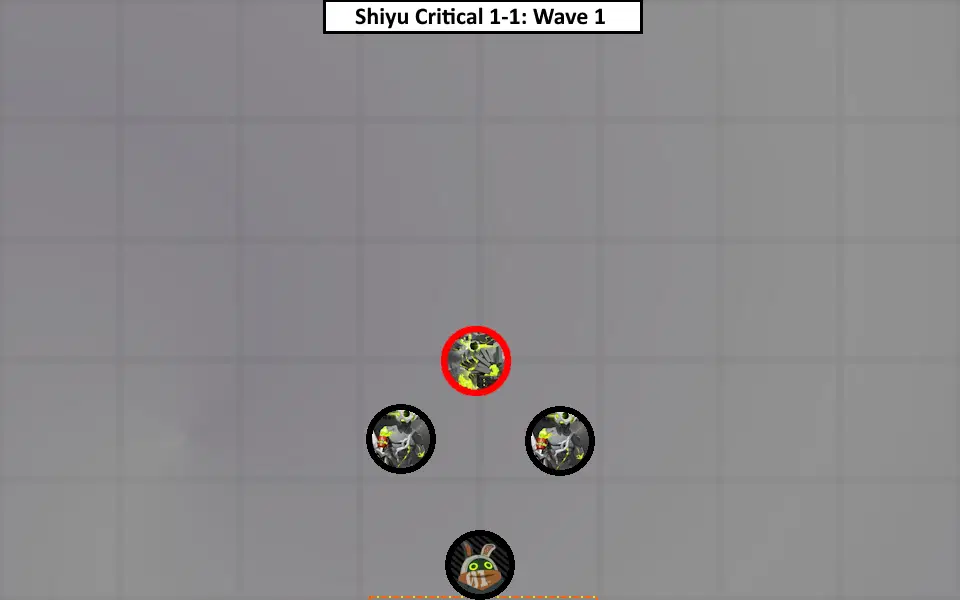
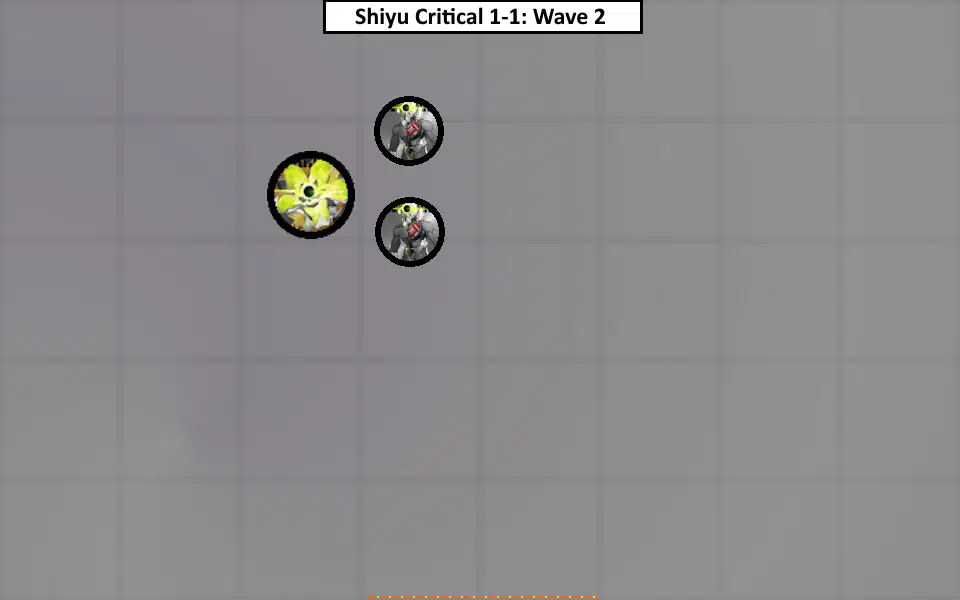
Layouts will be from the perspective of the entrance to the Node. Do not be fixated on the exact location of the spawns, as in combat the camera changes may cause you to lose your orientation. There are arbitrary gridlines to give a general idea of the area of the spawns. The gridlines don’t actually exist in-game, nor are they representative of anything.
I hope the information presented helps you plan your teams and strategies when tackling this content. I wish everyone luck on their attempts on Shiyu Critical!
Special Effect
This cycle's special effect is the Close Quarters Combat effect.
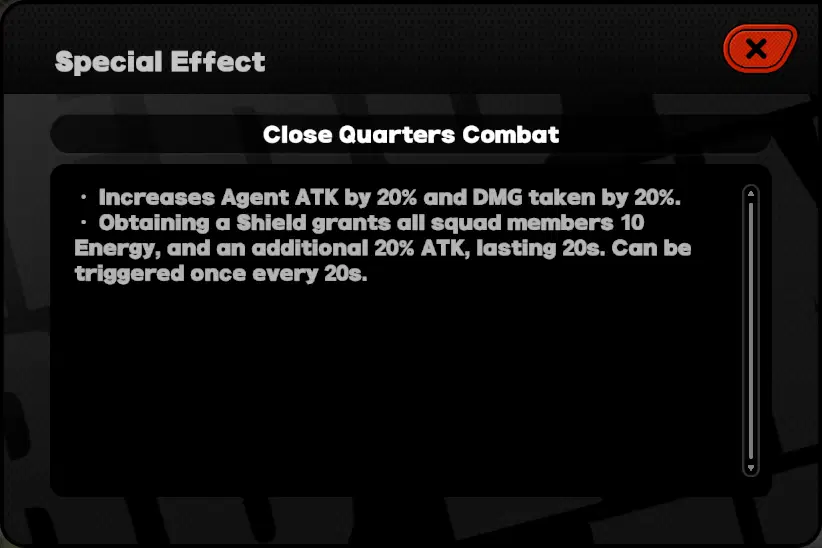
The Close Quarters Combat’s initial effect provides a benefit (increasing the attack stat) at the cost of a detriment (taking increased damage). The initial effect promotes dodging and attacking with invincibility (e.g. EX Specials). In the later Frontiers, the damage can be significant if you get hit. The secondary effect is triggered when you gain a shield, which Defense Agents can provide.
Overall the Special Effect incentivizes Dodging attacks and using the abilities of Defense Agents. While you can use the shields provided by Defense Agents to take hits instead of Dodging, I recommend not depending on the shields provided and always be ready to Dodge or avoid attacks.

Critical Node
First Frontier
1-1
Weaknesses: Ice, Ether
Resistances: (none)
Format: 4 Waves
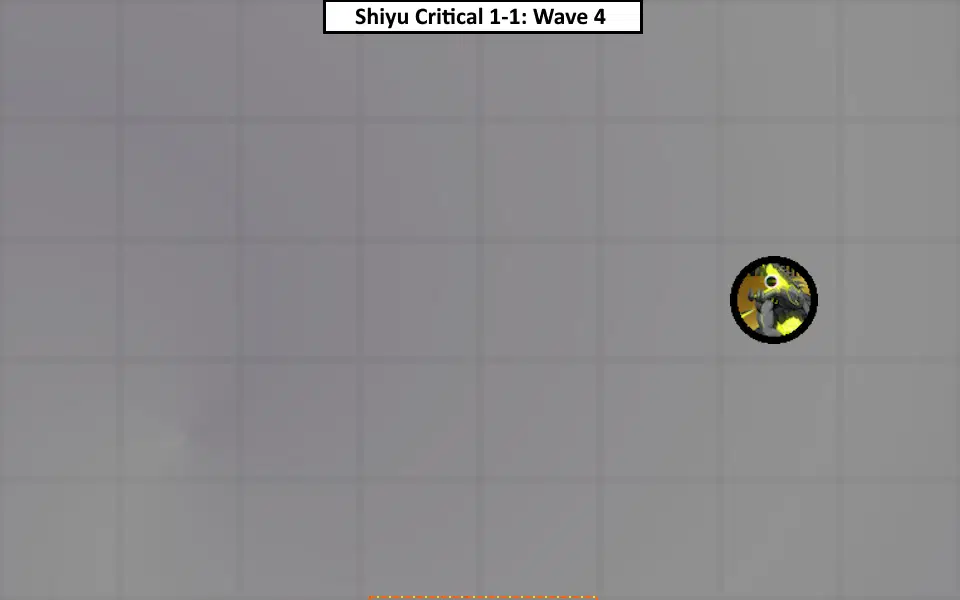
- Wave 1: 1 (Red) Mandrake, 2 Sordidus
- Wave 2: 1 Arlaune, 2 Fossor
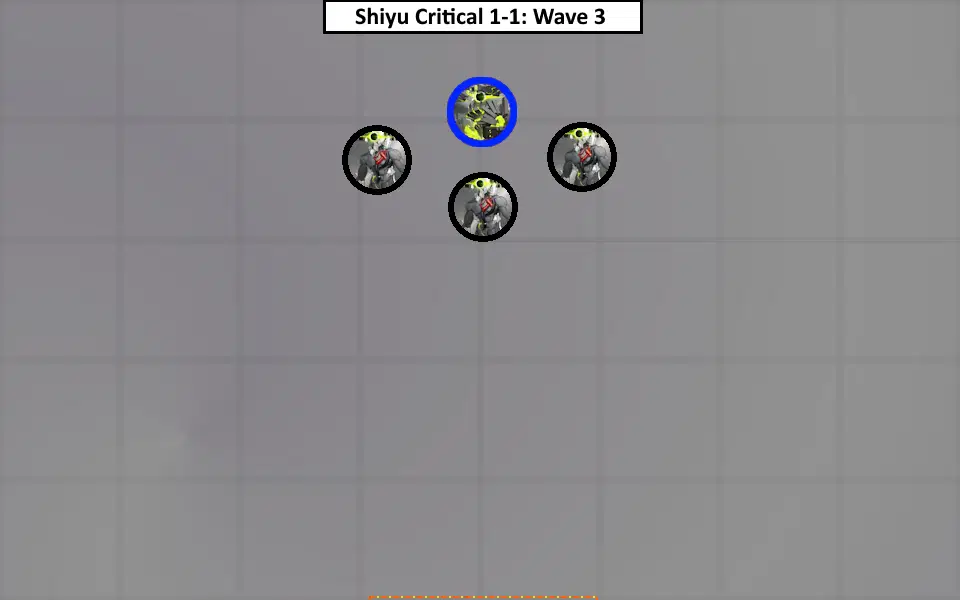
- Wave 3: 1 (Blue) Mandrake, 3 Fossor
- Wave 4: 1 Hati
In Wave 1, you will face 1 Red Mandrake along with some of the newer enemies, 2 Sordidus. The Red Mandrake will provide a damage buff to its allies shortly after it spawns. The Sordidus can attack using its tendrils to attack you at close range or mid-range.

Red Mandrake buffing its allies with an attack buff
The Mandrake cannot be stunned since its Daze cannot be built up, nor can it accumulate any Attribute Anomaly buildup. So various Agent abilities are ineffective against it. In addition, it has a disruptive spin attack that has no Assist cues. I recommend first focusing on the Red Mandrake before the other enemies. You can power through its spin attack by executing abilities that have invincibility frames (e.g. Dodge Counters, EX Specials, and Defensive/Evasive Assists).
In Wave 3, you will face 1 Blue Mandrake. The Blue Mandrake will provide a shield buff to its allies shortly after it spawns.
Similarly, I recommend first focusing on the Blue Mandrake as the shield buff will make the enemies have more effective health than normal. Both Mandrakes have the same attack (well, just one; the spin attack), so approach it with a similar strategy as mentioned above.
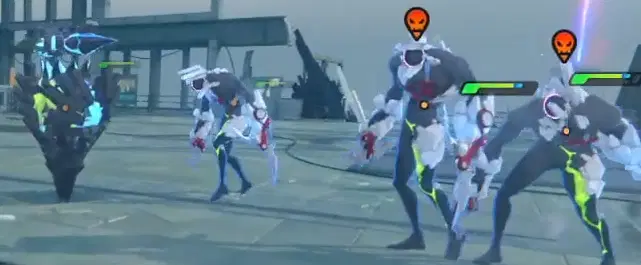
Blue Mandrake buffing its allies with a shield buff
1-2
Weaknesses: Fire, Physical
Resistances: Ice
Format: 4 Waves
- Wave 1: 3 Looter

- Wave 2: 1 Wanted Enforcer
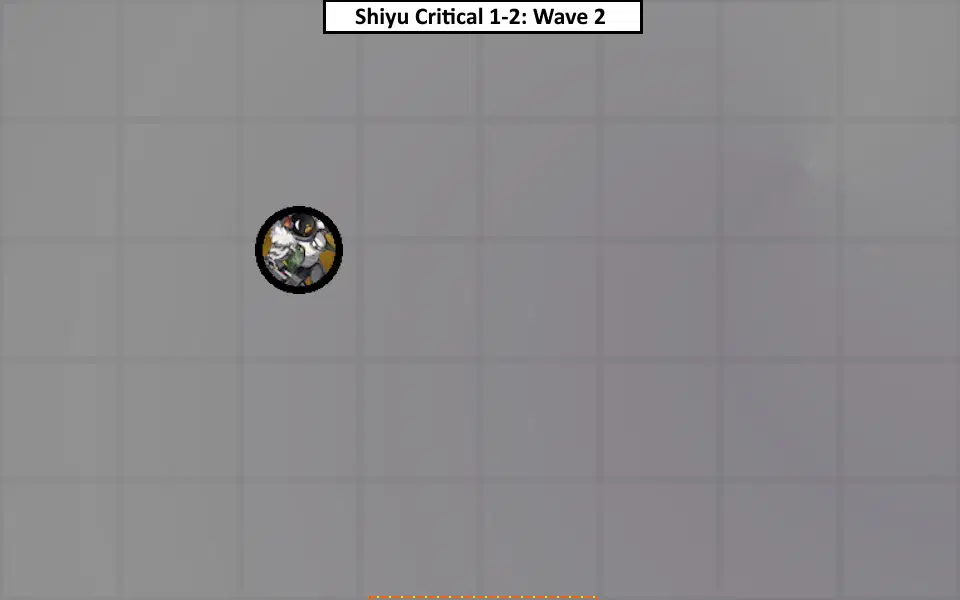
- Wave 3: 2 Looter, 2 Rustler
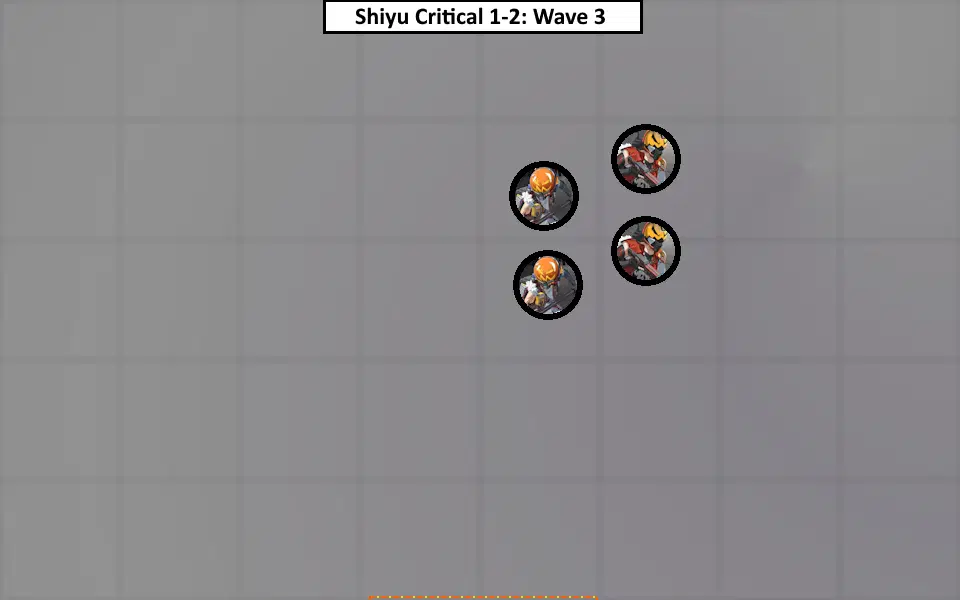
- Wave 4: 1 Doppelganger - Bellum

In Wave 3, when the 2 Rustlers spawn, they will immediately fire a volley of their ranged attack at you. So prepare to Evade Assist or Dodge them immediately.
In Wave 4, you will face Shadow Bellum (and most likely for the first time in his Doppelganger form). Shadow Bellum mainly uses melee attacks against you, but he has a few other tricks as well. There are 3 notable attacks to look out for.
- Triple Slam

Shadow Bellum lunges at you three times
- The Triple Slam happens very quickly and a Defensive Assist does not prevent any remaining slams.
- Counter Shield

His shield lights up blue when he is ready to counter you
- Shadow Bellum also has a Counter Shield. When he slams his shield in front and it glows blue, he is in his Counterstance.

He will counterattack if anything hits him while his blue shield is up
- Any and all attacks (including Bangboo attacks) against him while this shield is blue will cause him to counter attack.
- Flamethrower

He can turn and walk a little bit while firing his Flamethrower
- Shadow Bellum has 1 mid-range attack which is using his Flamethrower. He will fire his Flamethrower at you for a few seconds. Move to the right or dodge out of the way to avoid the damage.

Second Frontier
2-1
Weaknesses: Electric
Resistances: Fire
Format: 4 Waves
- Wave 1: 3 Patrol Jaeger

- Wave 2: 1 Assault Gunner
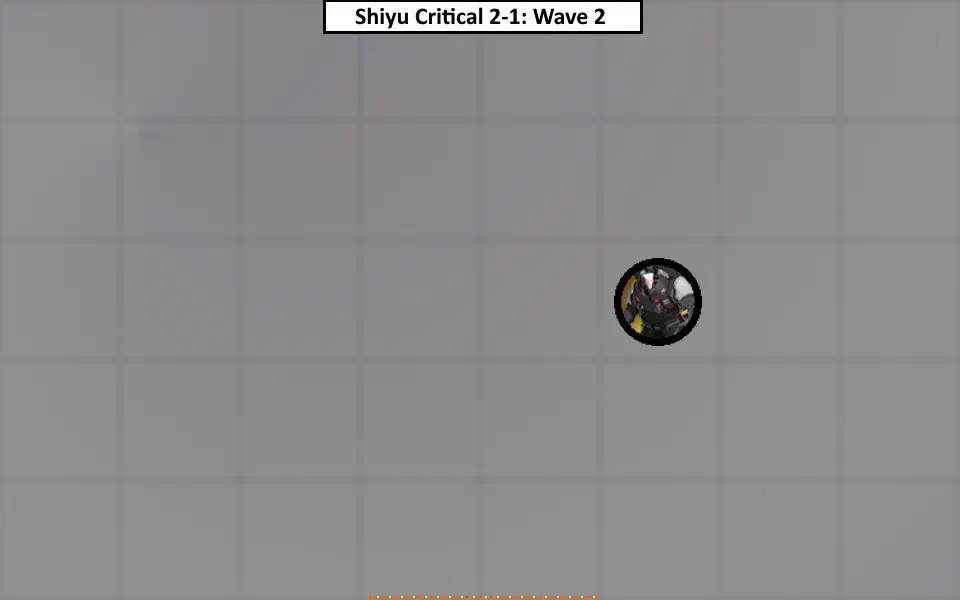
- Wave 3: 2 Patrol Jaeger, 2 Scout Jaeger
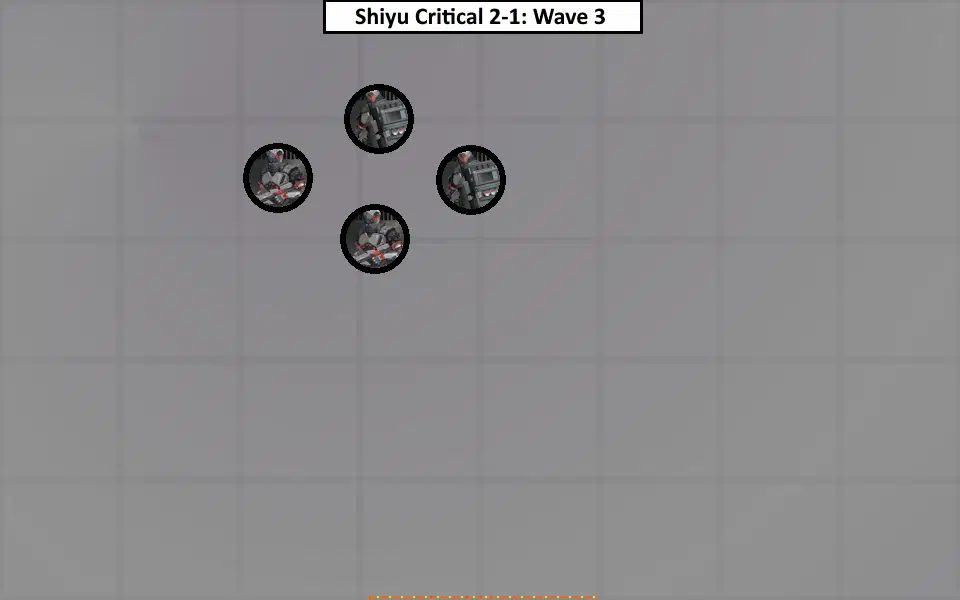
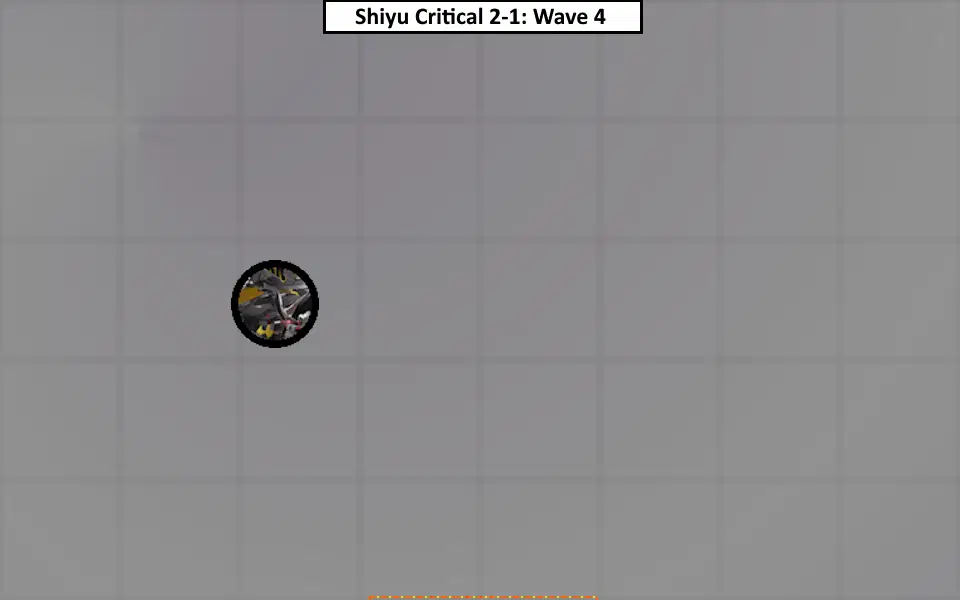
- Wave 4: 1 Lightfoot Rover MK II
2-2
Weaknesses: Fire, Physical
Resistances: Ice
Format: 4 Waves
- Wave 1: 3 Ambusher

- Wave 2: 1 Doppelganger - Mors
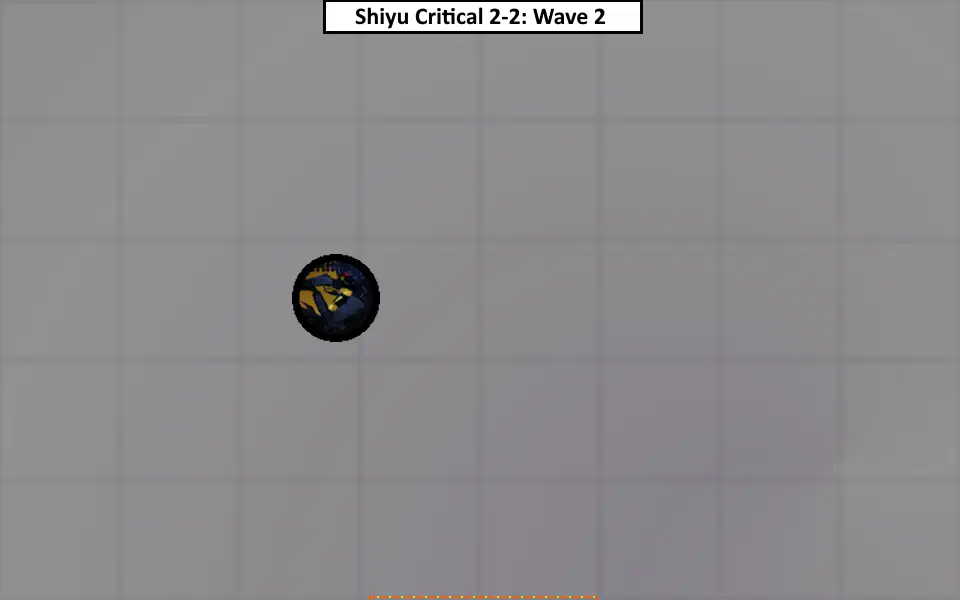
- Wave 3: 2 Ambusher, 2 Arsonist

- Wave 4: 1 Doppelganger - Pulchra

In Wave 2, you will face Shadow Mors. You may have encountered his Doppelganger form in the Ambush Node. In this case you will fight him by himself; so you can use this time to familiarize yourself with his attack animations. Shadow Mors has both melee and ranged attacks. There are three notable attacks to look out for.
- Two Shotgun Shots

The first shot has a Evasive Assist cue, but the second shot does not
- Shadow Mors fires his Shotgun twice with a 1 second delay between the two shots. The second shot can come as a surprise since it fires off 1 second after the first shot. Because of this you may get hit and take heavy damage if you aren’t prepared.
- Rolling Shotgun Shot

Make sure you have Shadow Mors locked on so you can prepare for this better
- Shadow Mors will quickly roll to your side, trying to get to your blind spot. Then he’ll proceed to shoot you with his shotgun. Him rolling to your side may prevent you seeing and from reacting to his shot at the end. The main indicator is when he rolls that you should prepare to react (probably Dodge) accordingly.
- Left Claw Backhand

There is no Assist cue on the first hit
- This one is notable due to the fact the first hit has no Assist cue, so it can come rather suddenly. But the second hit does have an Assist cue that you can leverage.
In Wave 4, you will face Shadow Pulchra. Again, you may have encountered her Doppelganger form in the Ambush Node. In this case you will fight him by himself; so you can use this time to familiarize yourself with his attack animations. There are two notable attacks to look out for, both of which when she enhances herself with Electric.
- Three Electric Grenades

The Electric puddles hurt, dodge out of them if you need to
- Shadow Pulchra will jump into the air and enhance herself. Then toss three Electric grenades in front of her before landing. The grenades will each leave behind an Electric puddle for a few moments. When she lands her enhanced state is removed. The Electric puddles deal high damage if you stand in them so avoid them at all costs. The puddles will dissipate shortly after she lands.
- Electric Enhanced Reflexes.

Do not waste your EX Special or Ultimate while she is in this state (as it'll miss)
- Shadow Pulchra will enhance herself with Electric for ~7 seconds. While enhanced she will dodge all incoming attacks from you. This includes EX Specials and Ultimates. Wait out for her enhanced state to wear off before fully engaging her.
Third Frontier
3-1
Weaknesses: Ice, Ether
Resistances: (none)
Format: 4 Waves
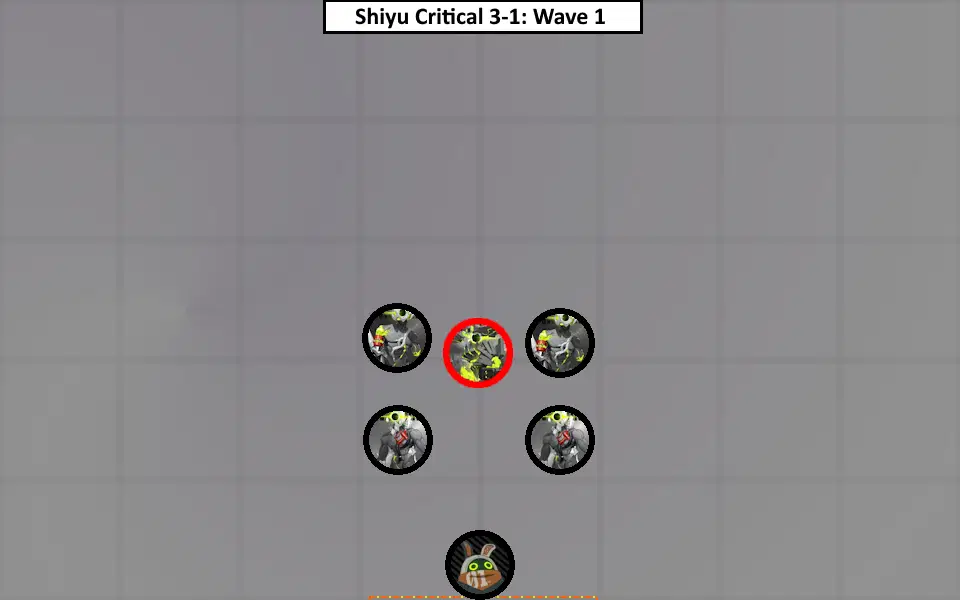
- Wave 1: 1 (Red) Mandrake, 2 Fossor, 2 Sordidus
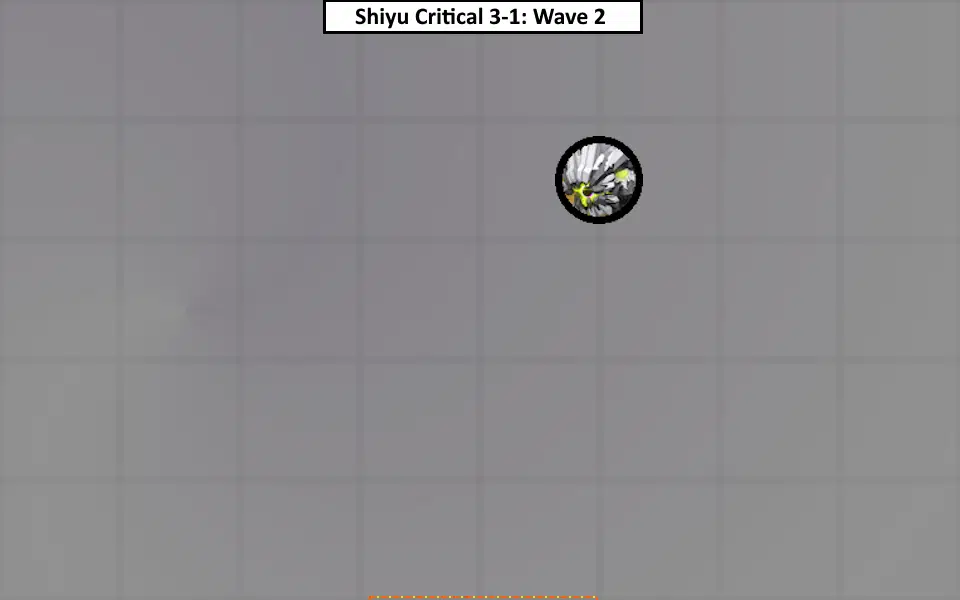
- Wave 2: 1 Armored Hati
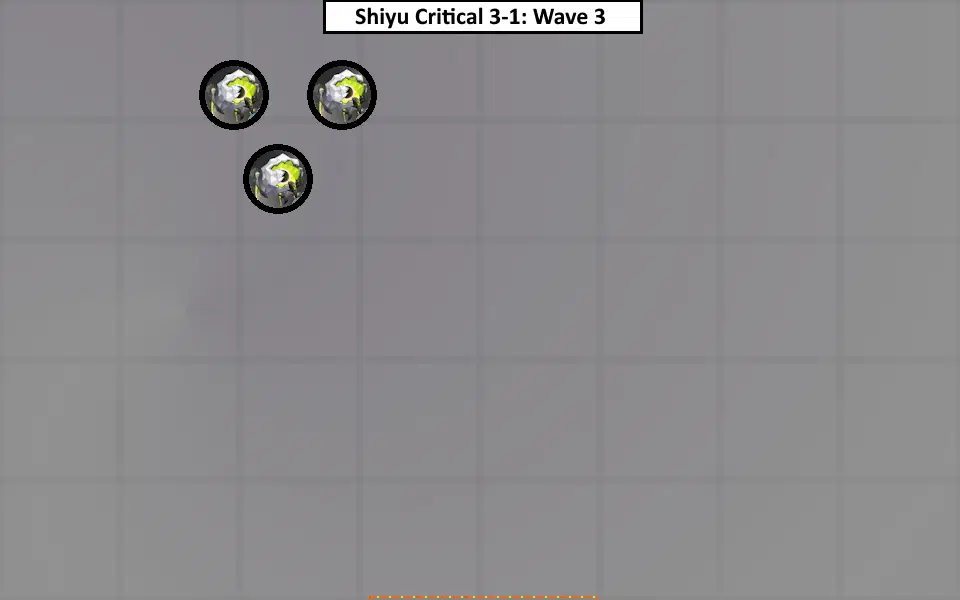
- Wave 3: 3 Blastcrawler
- Wave 4: 1 Goblin, 3 Fossor
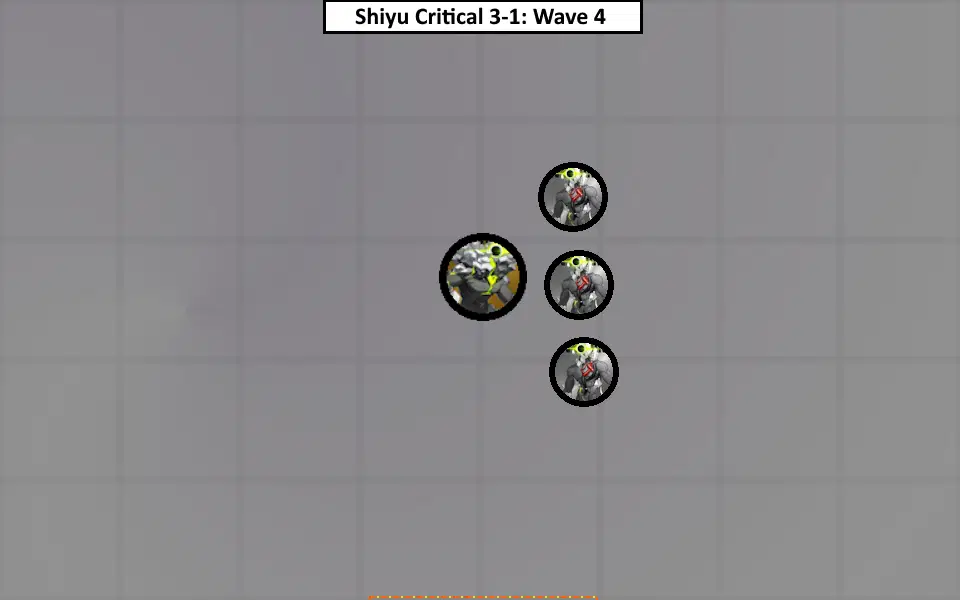
In Wave 1, you will face 1 Red Mandrake and enemies alongside it
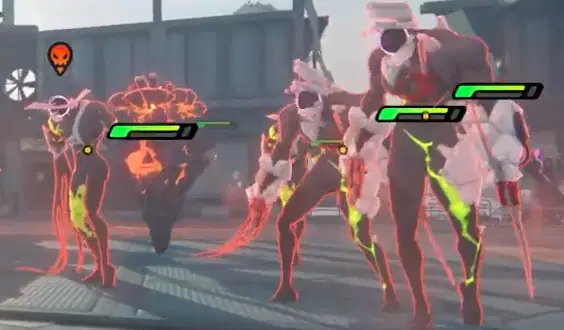
Red Mandrake buffing its allies with an attack buff
I recommend focusing the Red Mandrake as its attack buff can make the other enemies more threatening if they land their hits on you.
In Wave 3, you will face 3 Blastcrawlers. You may have encountered these enemies in other content; in which they would attempt to kamikaze and explode onto you. Unfortunately, the Shiyu Defense variation of the Blastcrawlers does not attempt to explode onto you to automatically kill themselves. In fact they do nothing but run around and waste your time. Quickly take them out when they spawn, otherwise they will run away and around the stage, forcing you to chase them down.
3-2
Weaknesses: Fire, Physical
Resistances: Ether
Format: 4 Waves
- Wave 1: 3 Strike Jaeger
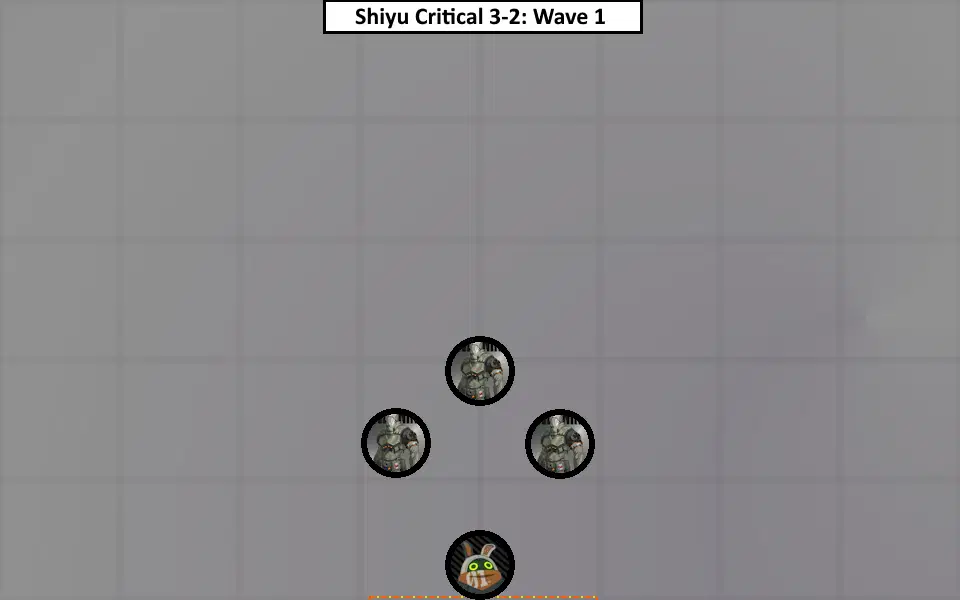
- Wave 2: 1 Lightfoot Rover

- Wave 3: 2 Striker Jaeger, 2 Light Jaeger
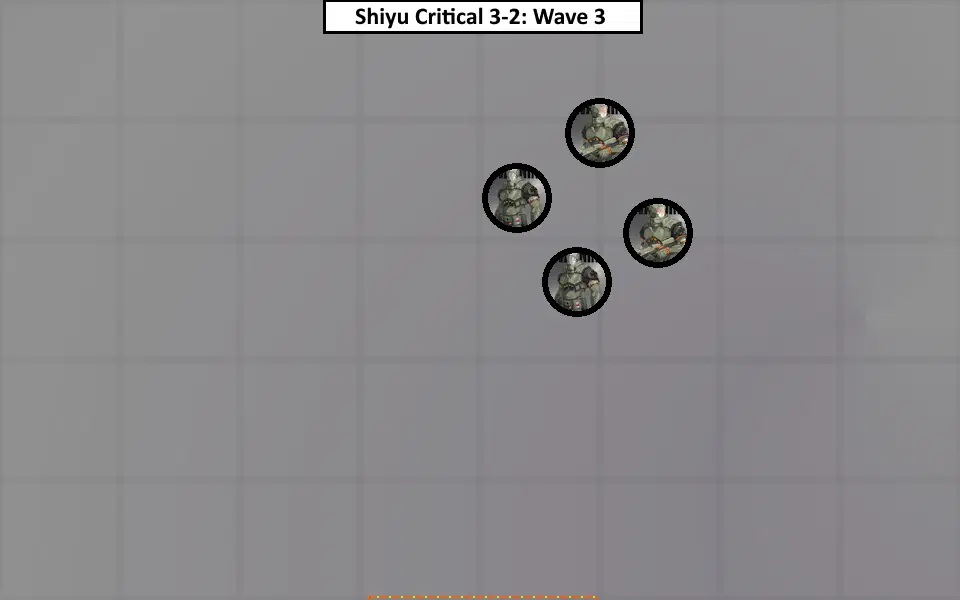
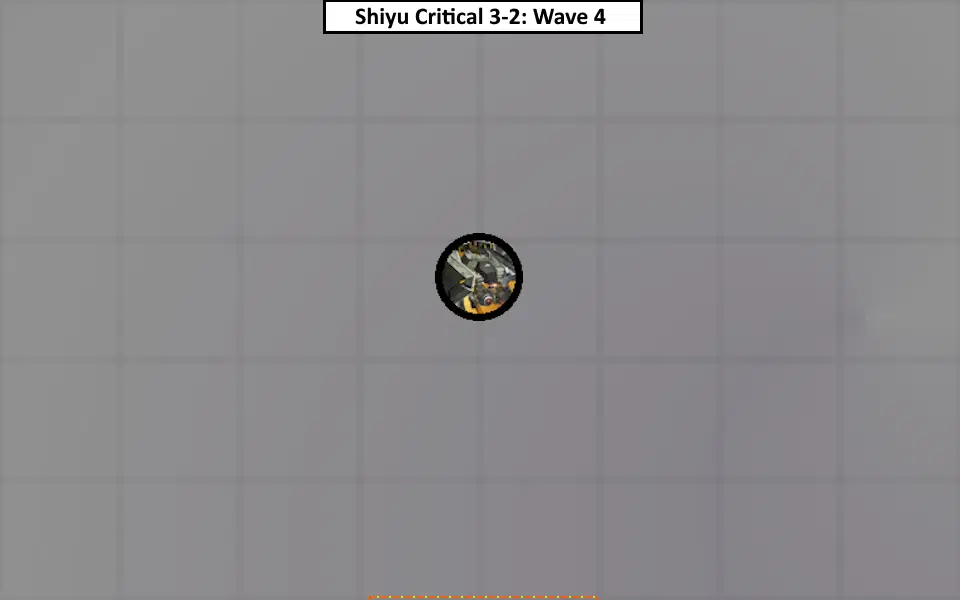
- Wave 4: 1 Heavy Striker
Fourth Frontier
4-1
Weaknesses: Ether
Resistances: Ice
Format: 3 Waves
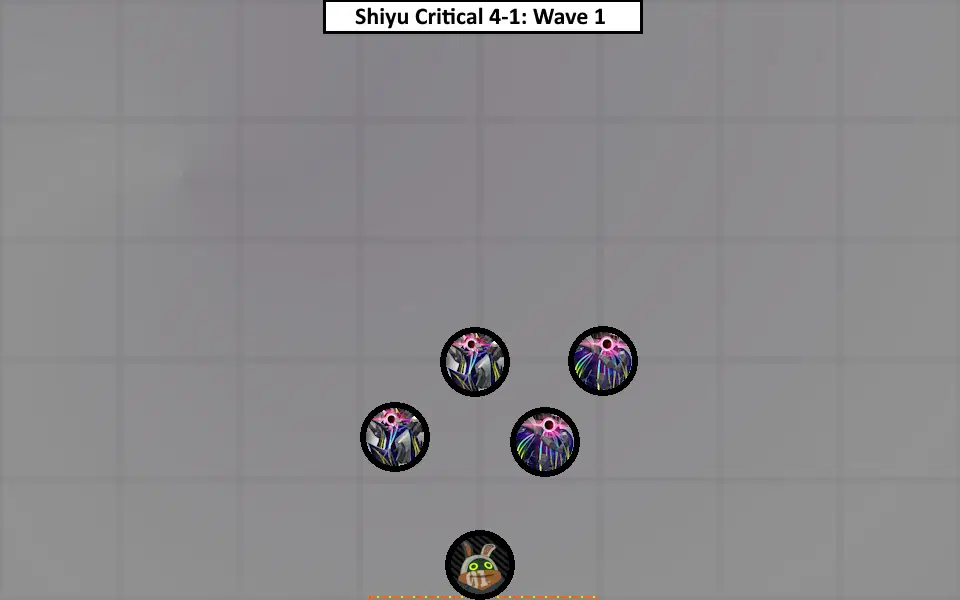
- Wave 1: 2 Ionized - Cyrtoidea, 2 Ionized - Nassellaria
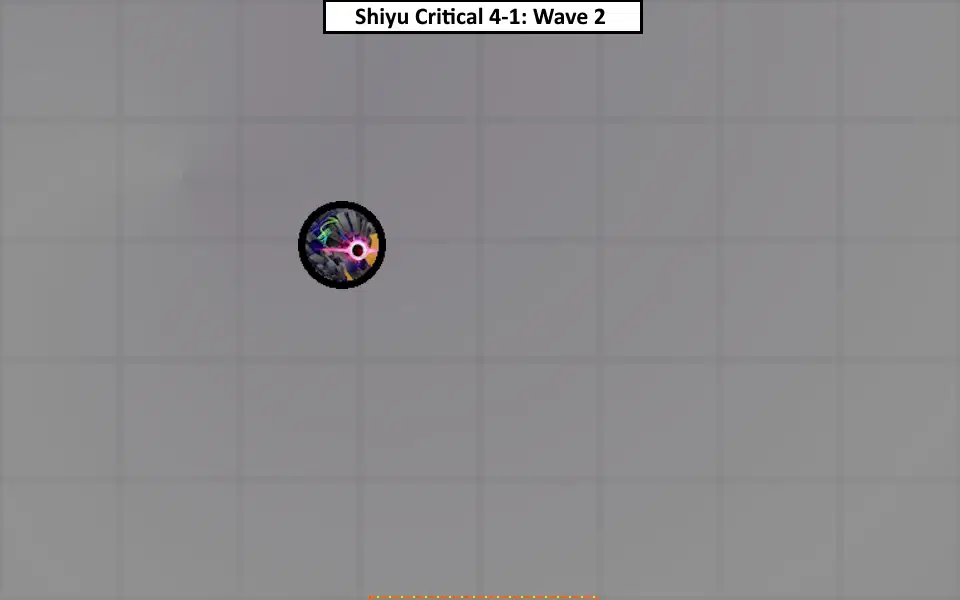
- Wave 2: 1 Ionized - Farbauti
- Wave 3: 1 Ionized - Dullahan, 1 Ionized - Thanatos

4-2
Weaknesses: Ice, Physical
Resistances: (none)
Format: 3 Waves
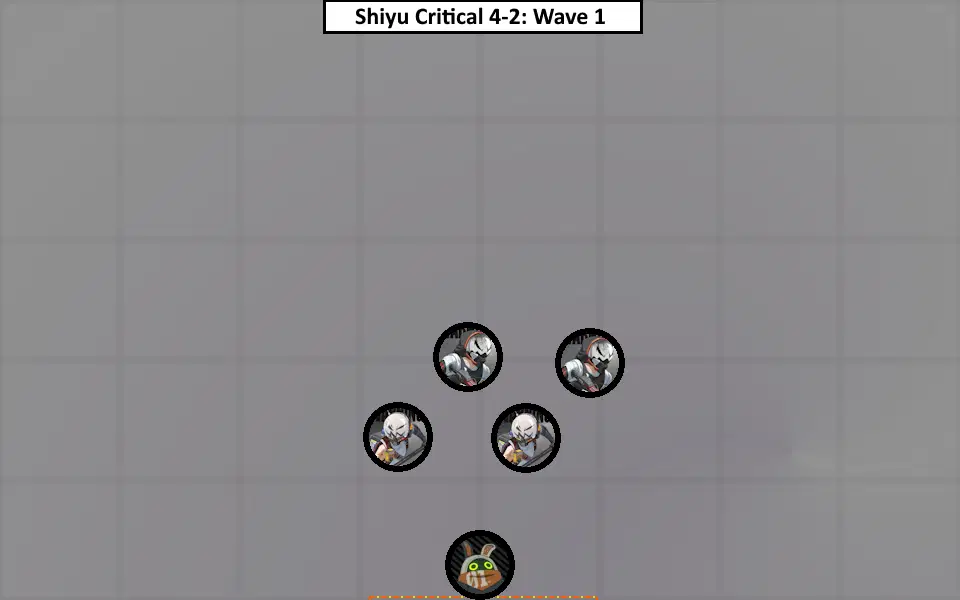
- Wave 1: 2 Raider, 2 Poacher
- Wave 2: 1 Bulky Intimidator
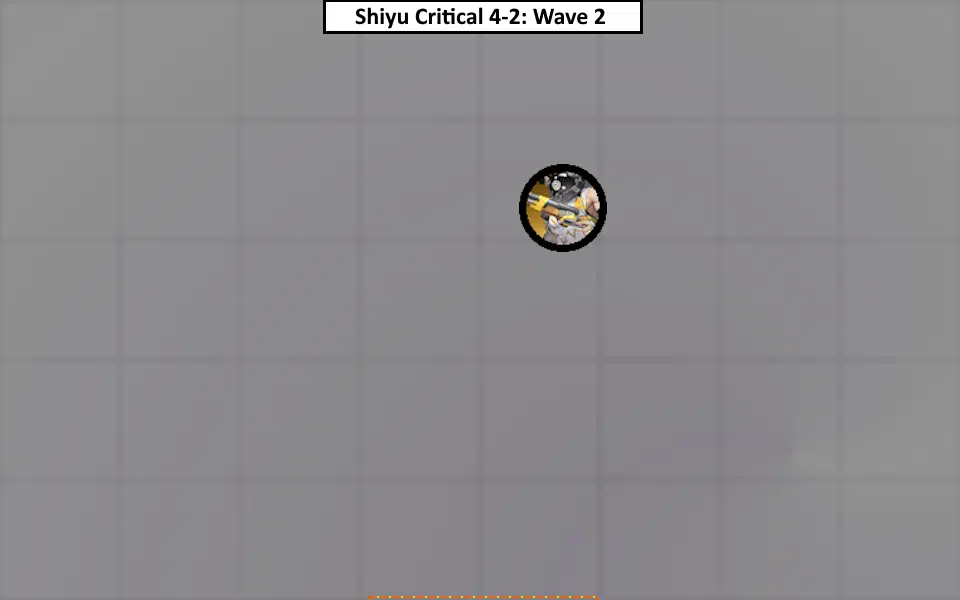
- Wave 3: 1 Bulky Enforcer, 1 Bulky Intimidator
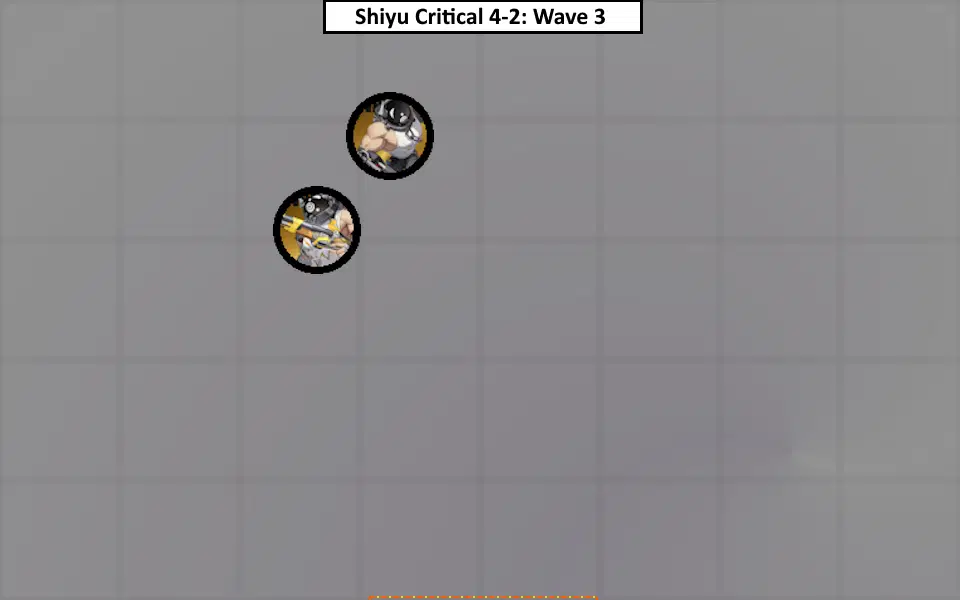
In Wave 1, when the 2 Poachers spawn, they will immediately fire a volley of their ranged attack at you. So prepare to Evade Assist or Dodge them immediately.
Fifth Frontier
5-1
Weaknesses: Electric
Resistances: Fire, Physical
Format: 3 Waves
- Wave 1: 2 Patrol Jaeger, 2 Harrier Jaeger
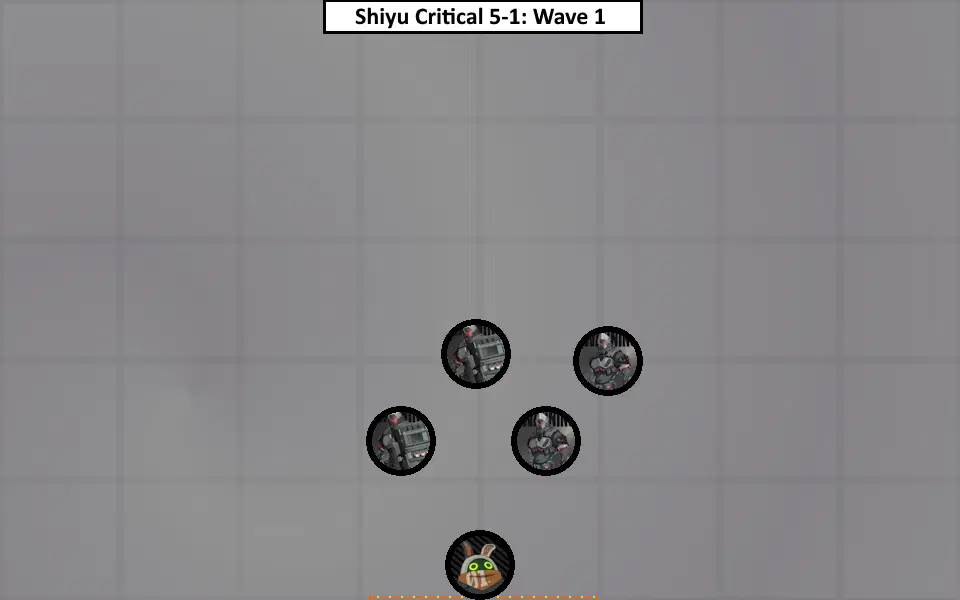
- Wave 2: 1 Enraged Sweeper

- Wave 3: 1 Lightfoot Rover MK II, 1 Guardian MK II
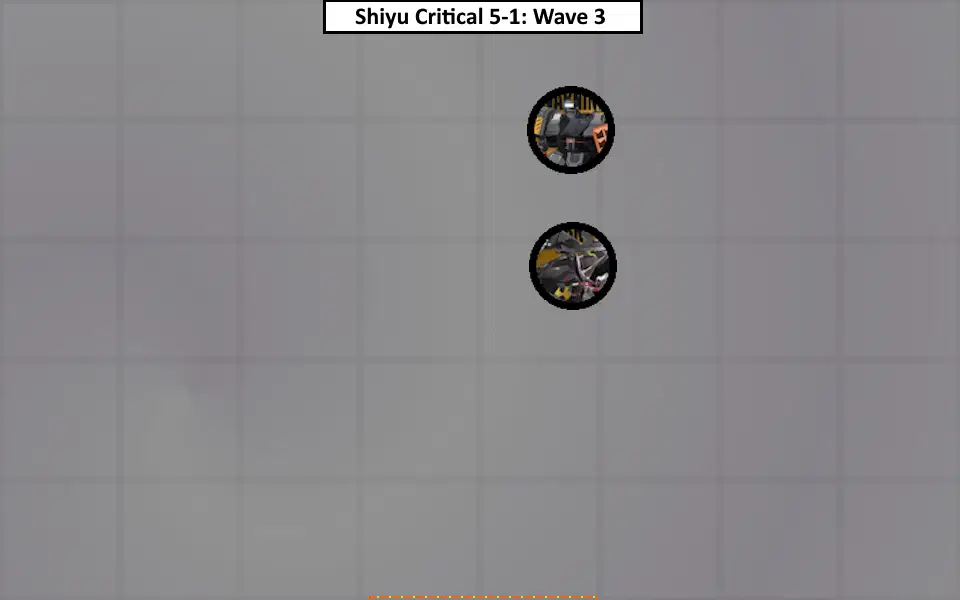
5-2
Weaknesses: Fire, Physical
Resistances: Ice
Format: 3 Waves
- Wave 1: 2 Ambusher, 2 Arsonist

- Wave 2: 1 Doppelganger - Pulchra
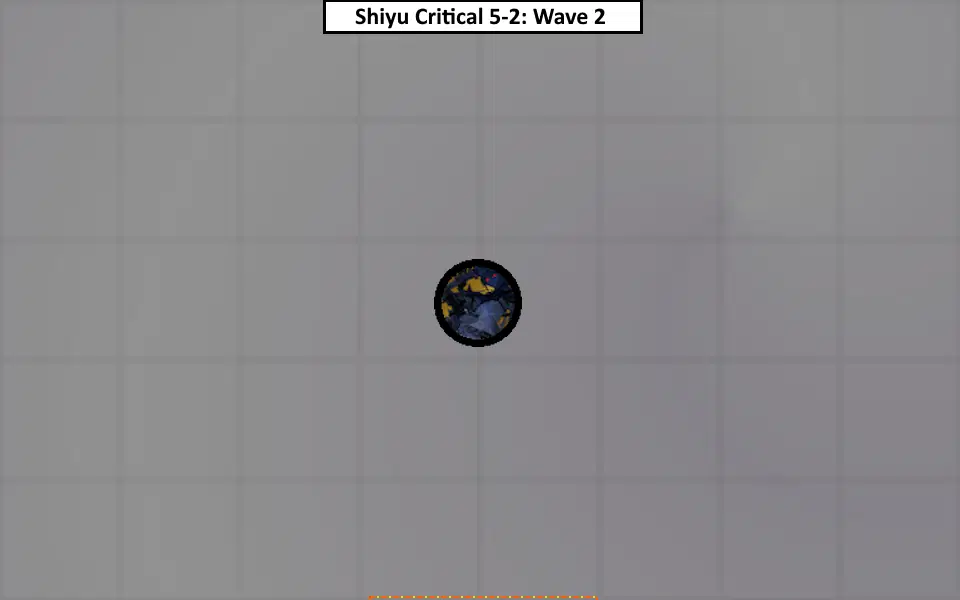
- Wave 3: 1 Doppelganger - Mors, 1 Doppelganger - Bellum

In Wave 2, you will face Shadow Pulchra again. See 2-2 Wave 4 comments for further info.
In Wave 3, you will face both Shadow Mors and Shadow Bellum. See 1-2 Wave 4 for Shadow Bellum comments and 2-2 Wave 2 for Shadow Mors comments. Due to Shadow Bellum’s melee attack patterns (e.g. his Triple Slam), you will be more-or-less forced to deal with Shadow Bellum first. Be wary of Shadow Mors’s incoming attacks while doing so, so prepare to Dodge or use Assists accordingly.
Sixth Frontier
6-1
Weaknesses: Electric
Resistances: Fire
Format: 2 Waves
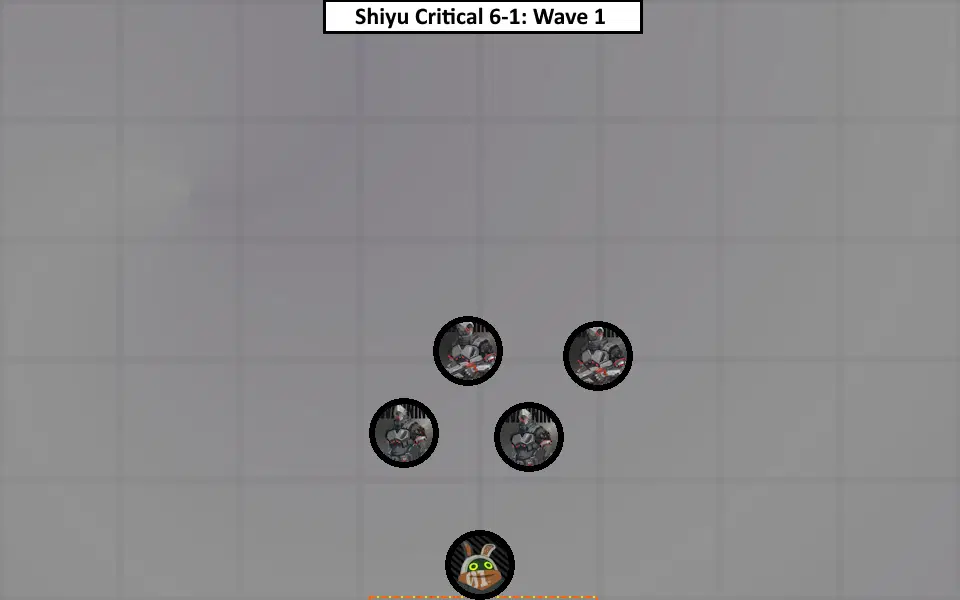
- Wave 1: 2 Harrier Jaeger, 2 Scout Jaeger
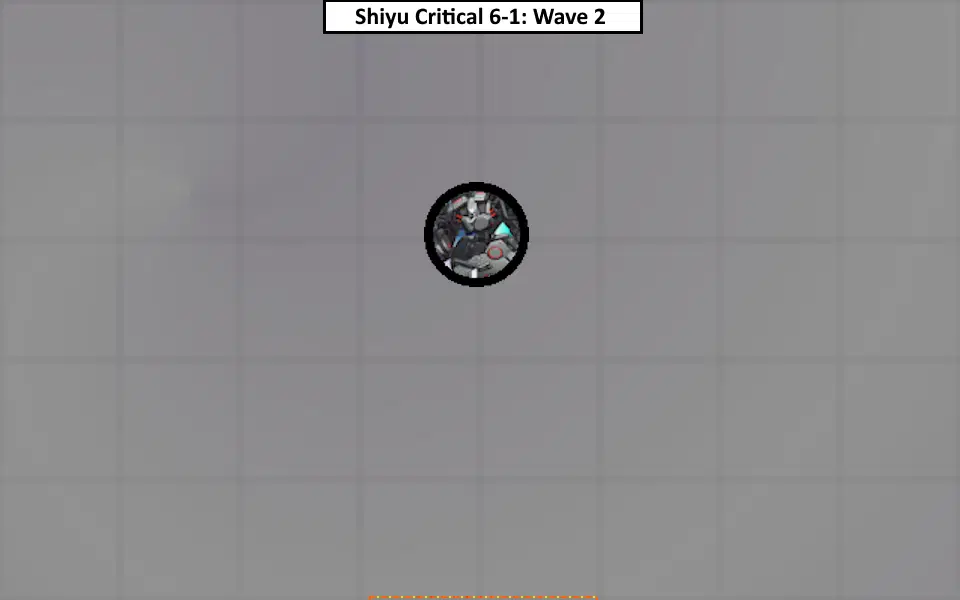
- Wave 2: 1 Typhon Slugger
6-2
Weaknesses: Fire, Physical
Resistances: Ice
Format: 2 Waves
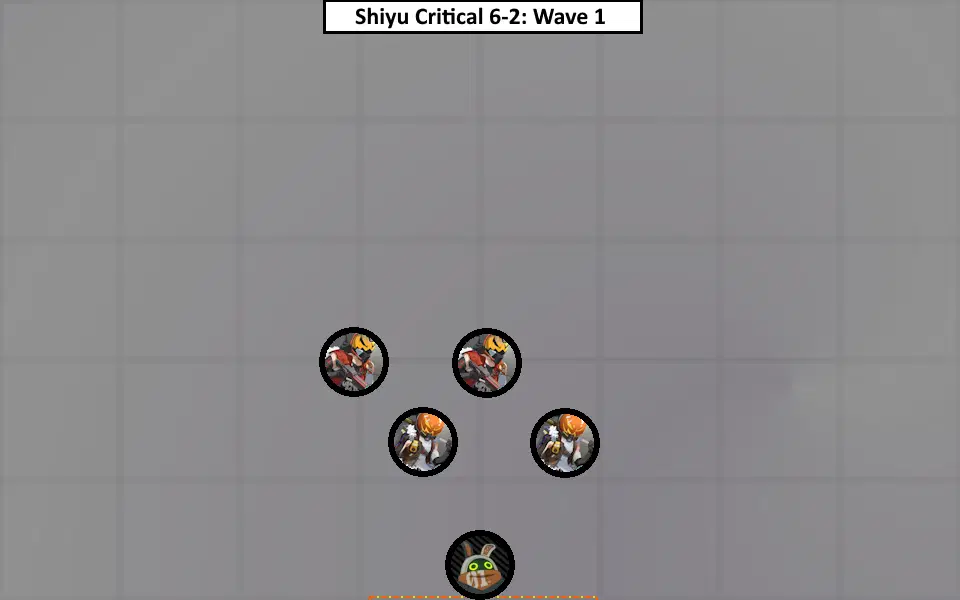
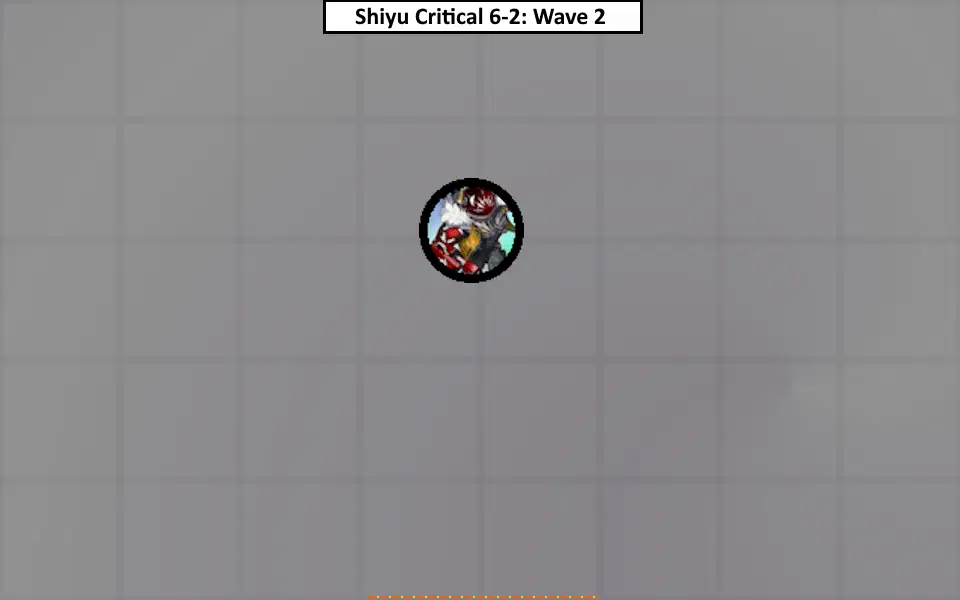
- Wave 1: 2 Ambusher, 2 Rustler
- Wave 2: 1 Troublemaker - Wanted Enforcer
Seventh Frontier
7-1
Weaknesses: Ether
Resistances: Physical
Format: 2 Waves
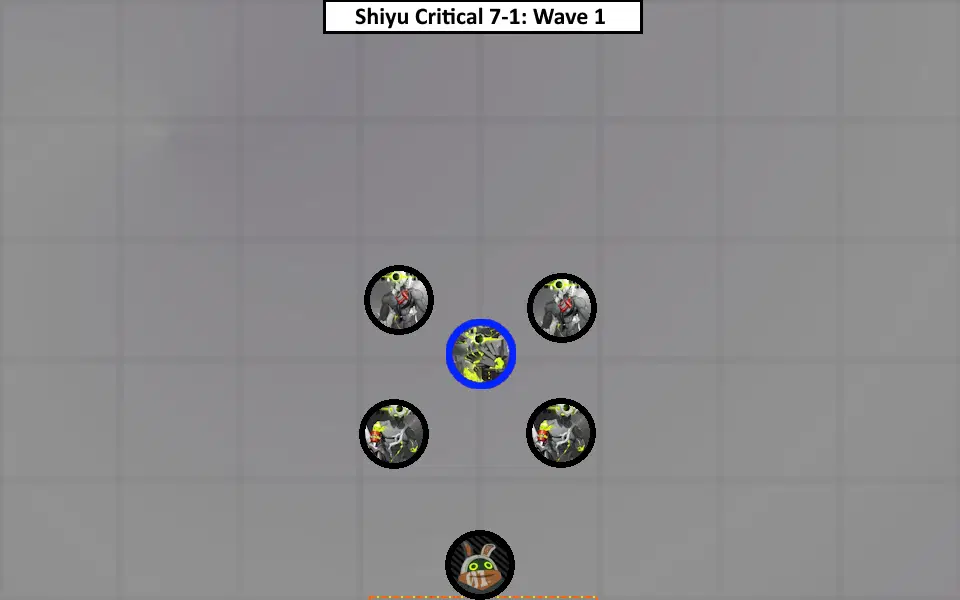
- Wave 1: 1 (Blue Mandrake), 2 Fossor, 2 Sordidus
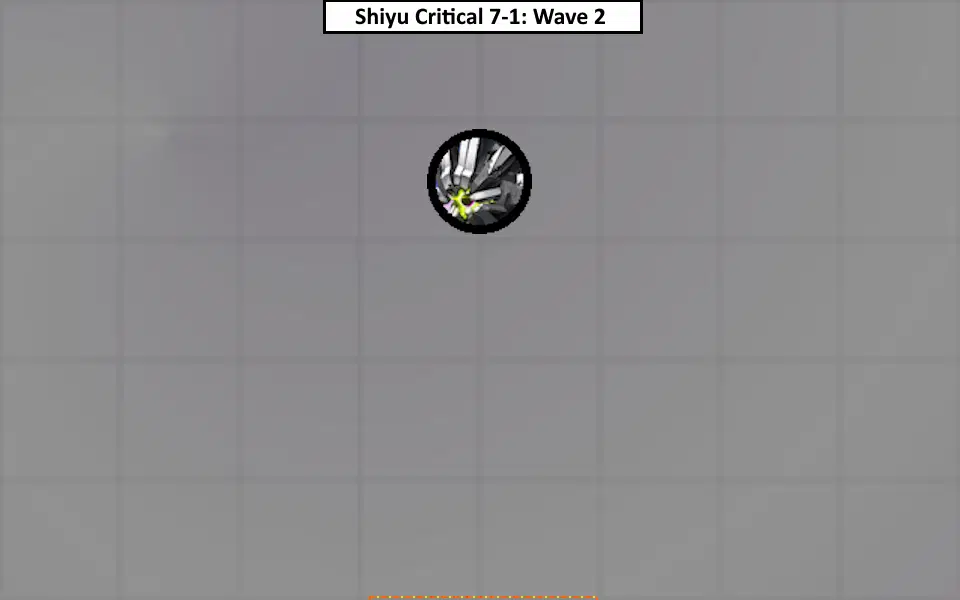
- Wave 2: 1 Notorious - Armored Hati
In Wave 1, you will face 1 Blue Mandrake and enemies alongside it

Blue Mandrake buffing its allies with a shield buff
I recommend focusing the Blue Mandrake as its shield buff can make the other enemies more tanky and require more time to dispatch.
7-2
Weaknesses: Fire, Physical
Resistances: Ice
Format: 2 Waves
- Wave 1: 3 Looter, 2 Arsonist
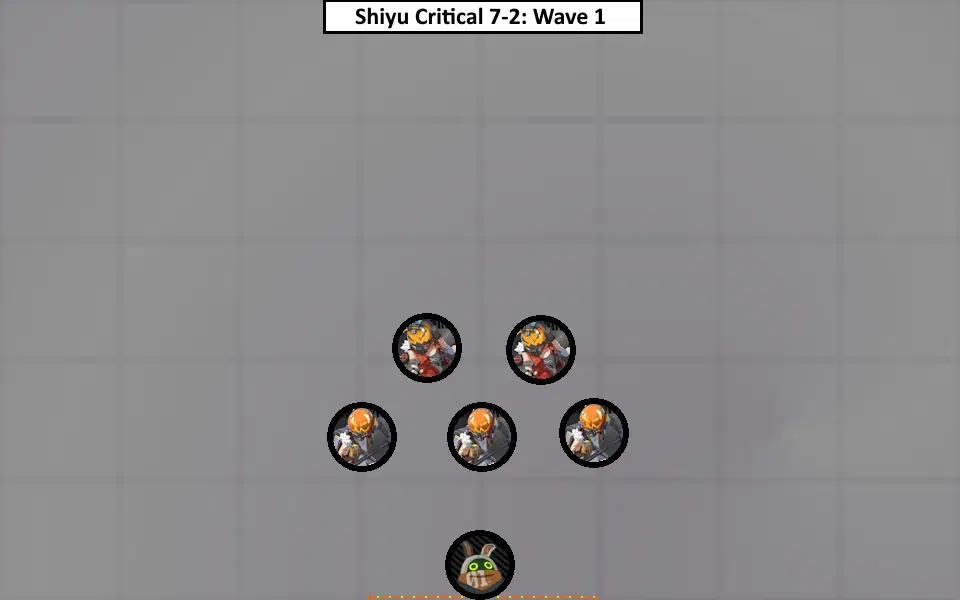
- Wave 2: 1 Doppelganger - Jane

In Wave 2, you will face Shadow Jane. You may have faced Shadow Jane in the “Opposing the Hollow II” mission or the Ambush Node. Shadow Jane is a very aggressive evasive enemy. She has a fast paced attack cadence that will prompt many Assist cues. Because this is the Seventh Frontier, she will be level 70; so be wary of her attacks.
Every fight she will start with a Counterstance, which you can wait until she stops, attack her with an invulnerable attack (e.g. EX Special), or attack her normal and react to her Counterattack with an Assist. Her Counterstance animation has her waving her hand and tail at you to come attack her while having her eyes blink red briefly. The animation ends when her hands return in front of her.

Shadow Jane beckons you to attack her

You can use an EX Special to not trigger her Counterattack

If you trigger her Counterattack, you can use an Assist or Dodge
The Counterstance can occur during the fight as well. The same animation will occur when she does it. The problem is looking for the animation during the middle of fighting her is not trivial since the fight is rather fast paced. The indicator I look for is when she stops attacking and no Assist cues prompt (due to no attacks occurring). When there is a pause to her attack cadence is a sign that she might be in her Counterstance.
The other move to look out for is her Triple Dash attack, which has no Assist cues available to it.

Her Triple Dash does high damage if it hits you

Her Triple Dash can be fully Dodged
She will crouch over and go into a one legged stance. The area around her will start charging up which is accompanied with an audio cue of something charging up. When she is done charging, her eyes will blink red right before she dashes to attack you. She'll dash into you 3 times before jumping into the air and ending with a foot dive. Try your best to Dodge the dashes or use EX Special to be invulnerable through them. Do not attempt to Dodge Counter as her dashes are so quick that you most likely won’t land the hit.
Afterword
Thank you for taking the time to go through this guide. I hope it provides some aid to your attempts through this cycle of the Critical Nodes. The new Doppelganger enemies are tricky and can be painful if their attacks land on you. But with enough attempts at fighting them, you can minimize the damage taken from them.
I wish everyone the best of luck in their attempts in clearing Shiyu Critical!