


I recommend to read this guide in dark mode.
Hello and welcome to this Lone Planetfarer - Vita Elysian Realm Guide! Time to launch a laser at ER
Click here to see a collection of all my guides~

Note: This guide is based on the BETA. Officially released content might differ.

✦ Table of contents ✦
Skill explanations
Special Adjustments
Intelligence Resonance Build
Laser spam Build
Build Comparison
Summary
Closing statement
✦ Skill explanations ✦
I'll quickly go over parts of her kit that are important for her Elysian Realm gameplay.
For detailed information, look up a Battlesuit Guide please!
I'll just call her Vita in the following.

Form switch
Tap [ULT] to switch to Planet Quaker form
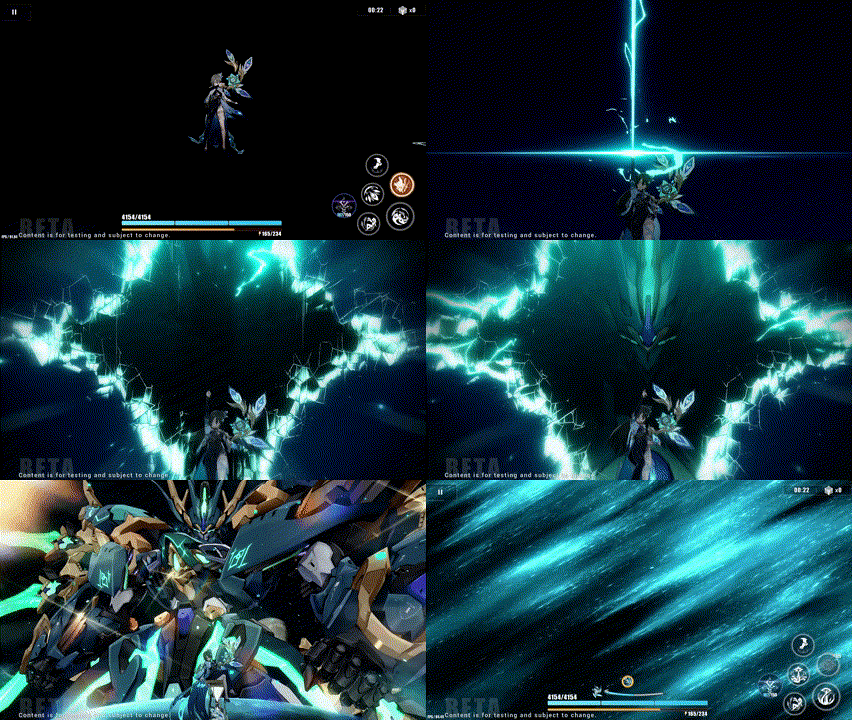
stay in Planet Quaker form for 19 seconds after that.
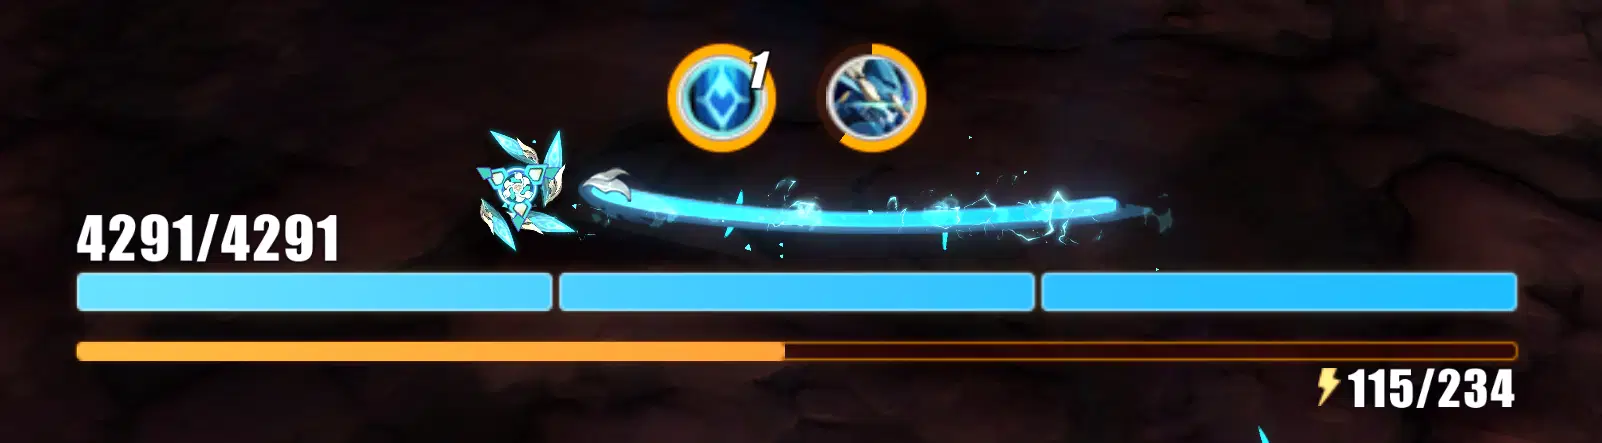
Special Bar - Intelligence
Once entering Planet Quaker form, Vita gains a bar above her HP bar showing her current Intelligence.
It starts at 200 and caps at 400.
Intelligence is gained by hitting Basic ATKs and Weapon Skills.
It is used to launch her Combo ATK.
Visuals:
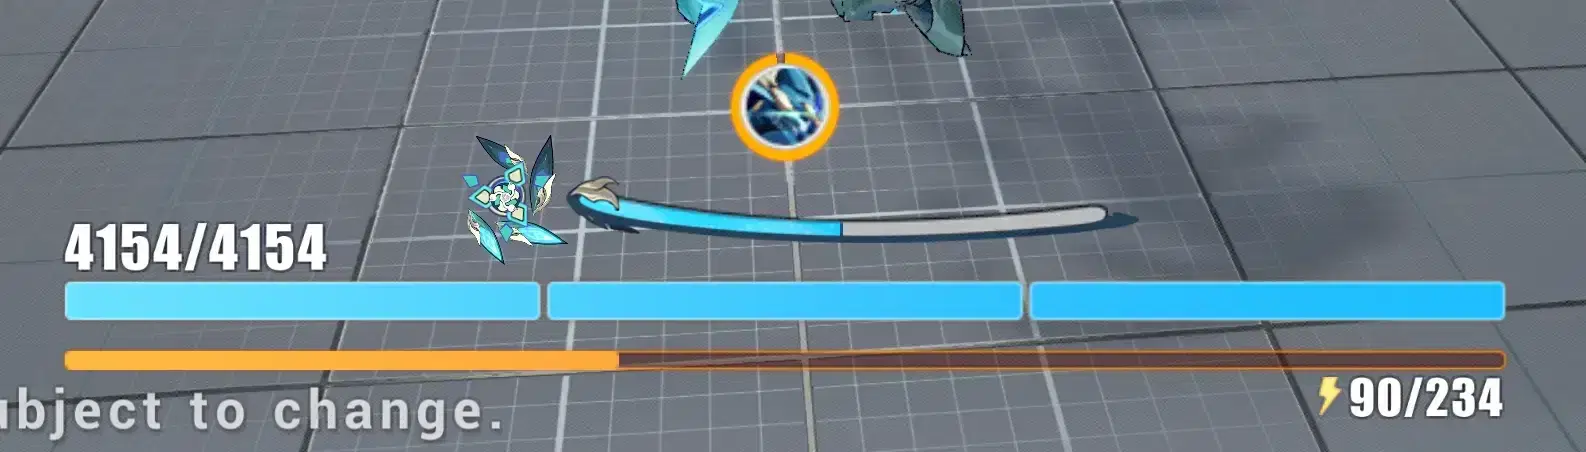
200 Charge
400 Charge
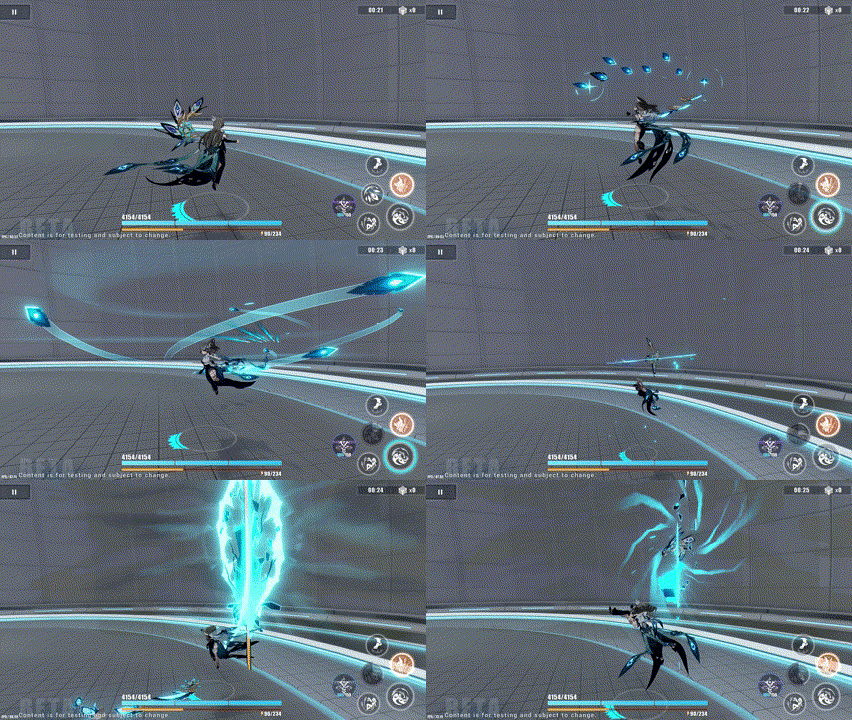
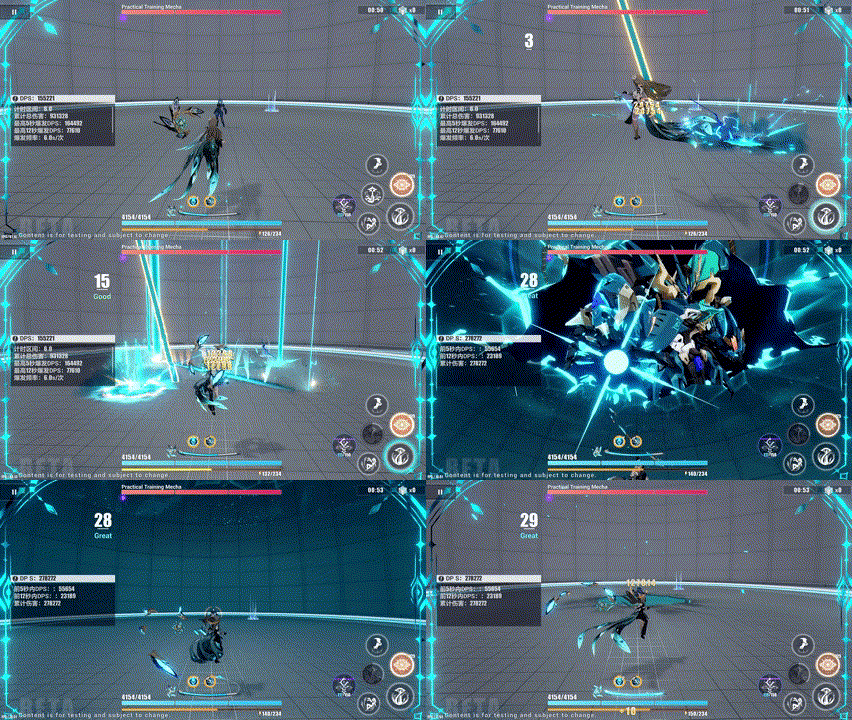
Weapon Skill & Enhanced Basic ATK
*works in both forms
Tap or hold [ATK] after her Weapon Skill to connect to Vita's enhanced Basic ATK 3 and 4
Combo ATK
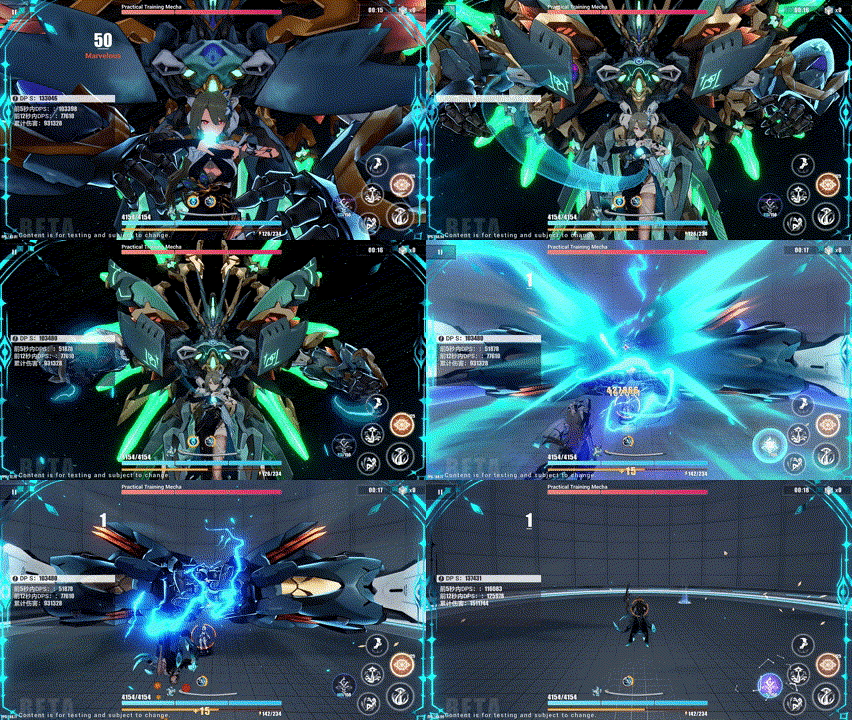
At 400 Intelligence hold [ATK] to use Vita's Combo ATK
*Vita is incincible during this animation
Stellar Outburst
Stellar Outburst causes Vita to enter Intelligence Unleashed Mode

In Intelligence Unleashed Mode, tap [ATK] to launch a special Combo ATK
This special Combo ATK has 3 Sequences
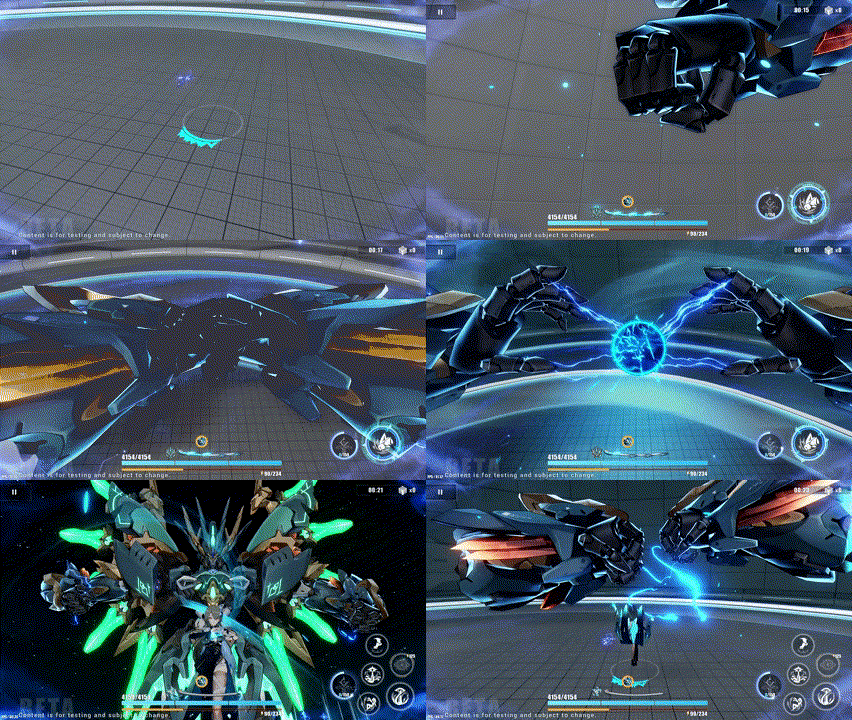
After this, tap [ATK] again to consume the final Quantum Mech Energy and lauch Vita's normal Combo ATK
✦ Special Adjustments ✦
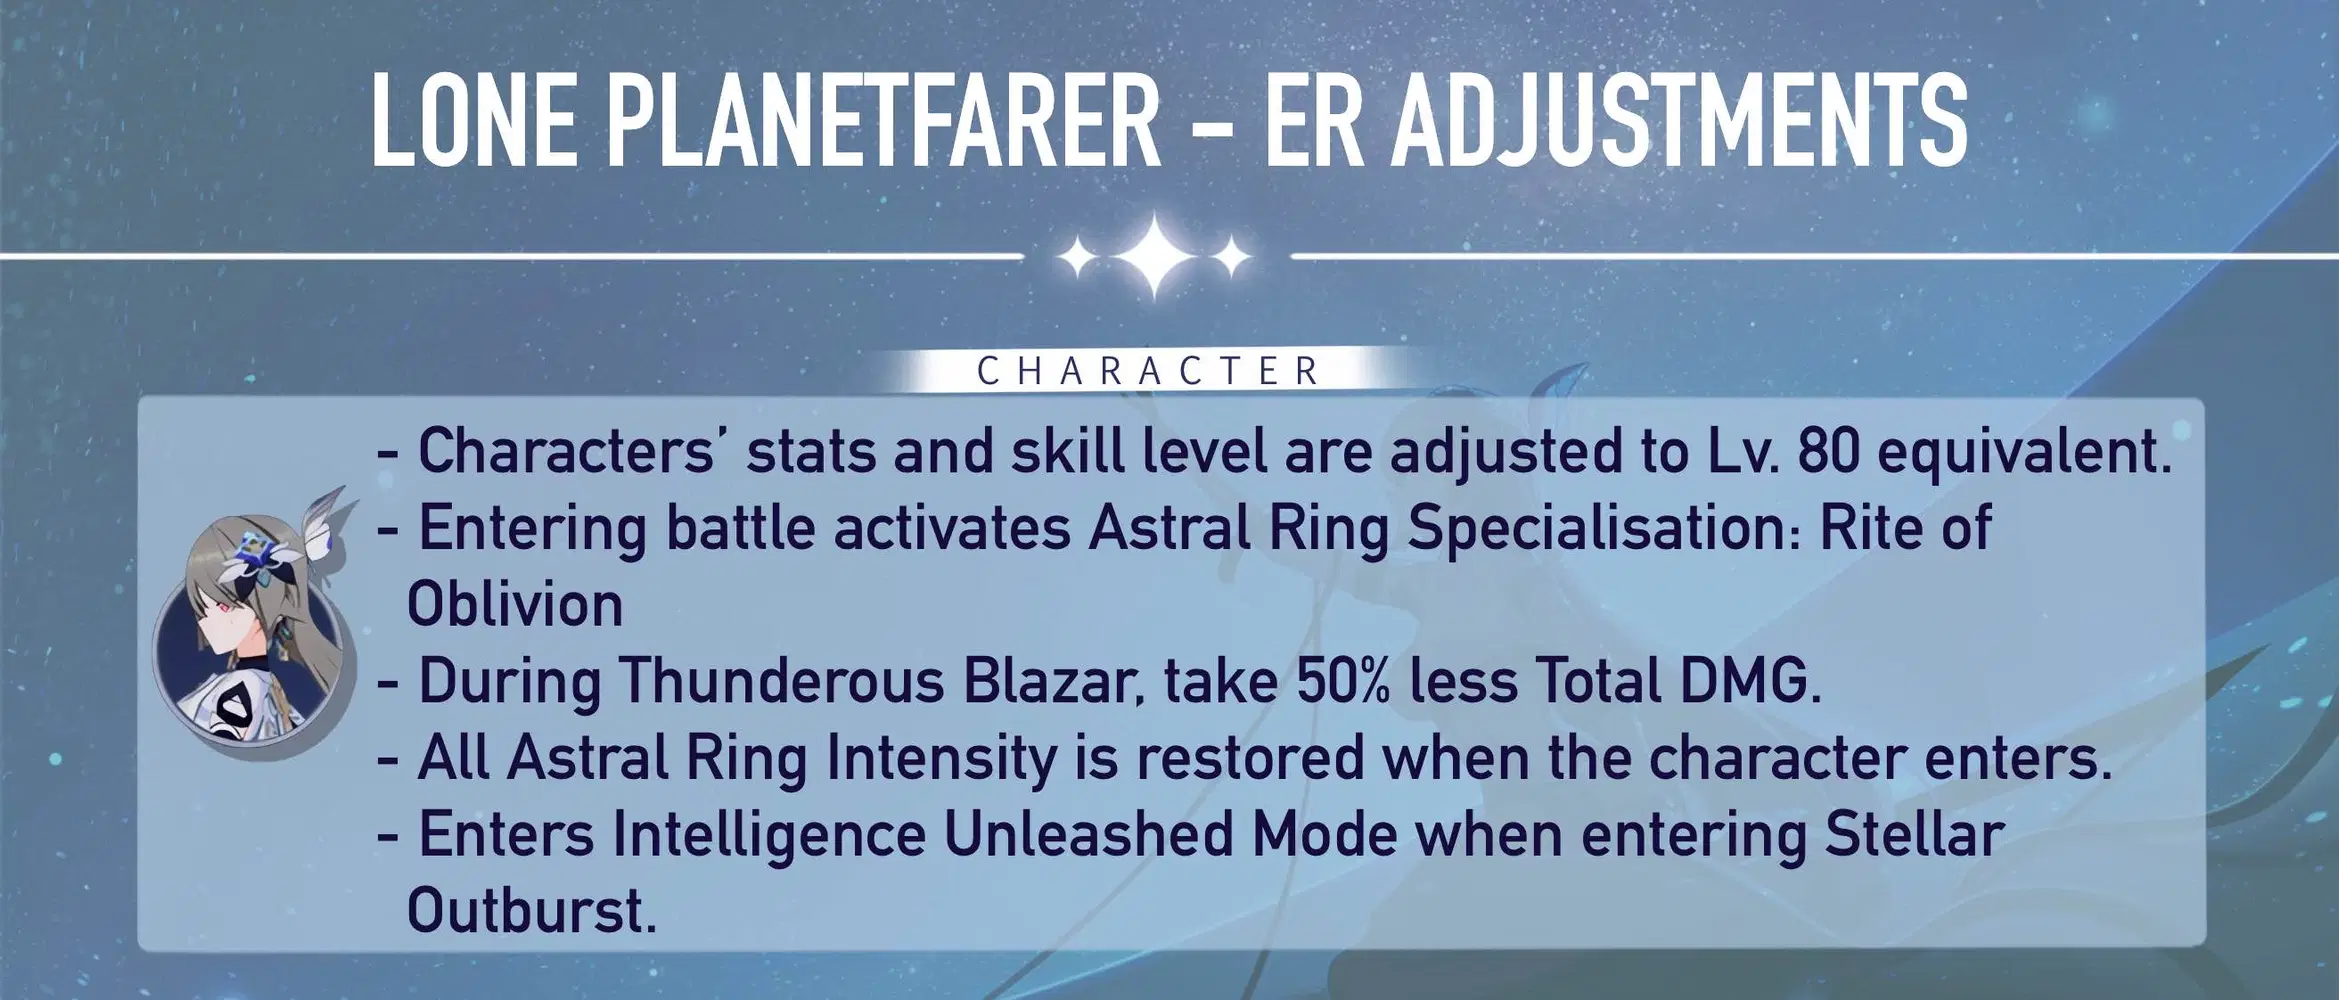
Finally a character that doesn't have an entire book of adjustments...
✦ Intelligence Resonance Build ✦


✧ Rotation ✧
Enter Stellar Outburst ➔ tap support battlesuits ➔ Special ATK ➔ WA ➔ Basic ATK x2 ➔ Combo ATK ➔ finish Special ATK ➔ repeat at WA until Stellar Outburst ends
try to fit in as many robot punches as possible, combo ATK enters Intelligence Resonance form and allows you to keep punching.
✧ Signets ✧
➤ Ego Signets

*Vita works really well with one Ego. Both additional Ego Signets are a great buff nonetheless.
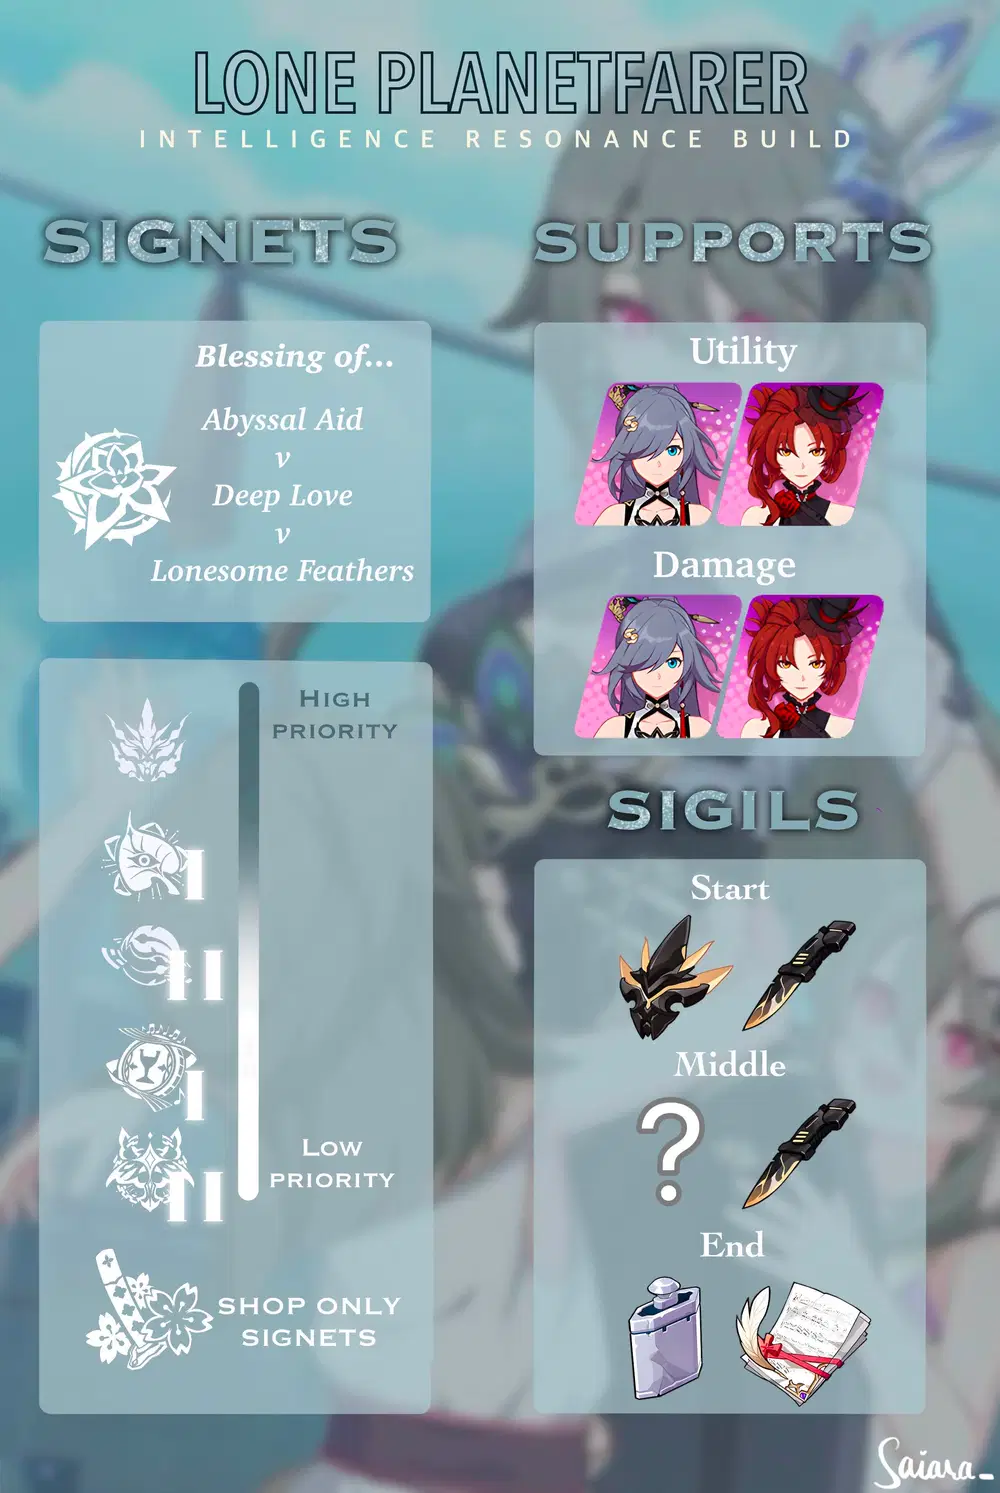
START: Blessing of Abyssal Aid
PRIORITY: Blessing of Deep Love
OPTIONAL: Blessing of Lonesome Feathers
➤ General Signets
How I'll visualise it
In order to make the Signet list more clear, let me show how I'll list the Signets:
Signet of [Signet name] - flamechaser
First priority Signet
Second priority Signet
Third priority Signet
(Fourth priority Signet...)
core (core1/2)
First priority Enhanced
Second priority Enhanced
(Third priority Enhanced...)
(Note:...)
I'll mark Signets that should only be taken if you have no better choices currently with (optional) and add a short explanation behind the Signets in case you don't know the names (like tdmg, SP, and so on)
High priority Signets
Signet of Decimation - Kalpas
Blade, Grave, and Scar (Total DMG)
Bone, Blood, and Ribbon (Elemental DMG)
Path, Misfortune, and Written Fate (Max HP)
Core 2 - Soldiers, Scissors, Spoils, and Slaughter
Note: Core 1 is absolutely viable in faster runs (for reference: should work if you can clear F3 in 25s or faster). In that case, drain HP with Blood Rose in Shop floors and the floor before boss floors. Entering the shop interface resets the CD on Support Battlesuits. When choosing Core 1, all Enhanced Signets are pretty good.
Signet of Bodhi - Su
Motto of Dibba-Cakkhu (Total DMG taken)
Motto of Pubbe-Nivasnussati (Total DMG)
Motto of Asavakkhaya (+25 Combo hits)
Motto of Iddhi-Vidha (+60 Combo hits) (optional)
Core 1 - Motto of Bodhi
Maxim of Anatman (Total DMG taken) (optional)
Low priority Signets

Signet of Vicissitude - Fu Hua
Old Dreams Again (Elemental Breach)
Long Trip (Total DMG)
Dark Garb No More (Elemental DMG)
Core 2 - Suffering Mass
Broken Dreams (max stacks) (optional)
Note: Fu Hua can be skipped when going for Aponia's Breach Enhanced.
Ideal way to get Hua Signets is getting 1/2 in Shop when you can finish the core next floor to avoid stand alone Signets. Hua NEEDS her core. Can level Elemental Breach to +2 when you get Broken Dreams.
With the Signet reset function it is fine to enter Hua doors for Broken Dreams if it is your best choice.

Signet of Gold - Eden
Recitatif of Creeks (Elemental DMG)
Recitatif of Eden (Total DMG)
Recitatif of Fine Jade (Initial/Max SP)
Core 1 - Aria of Gold
Signet of Discipline - Aponia
First, No Betrayal (Basic ATK)
Third, No Brutality (SP Regeneration)
Fifth, No Falsehood (Initial Exhortation)
Core 2 - You Shall Receive Disciplines' Blessing
You Shall Follow Good (Elemental Breach) (optional)
You Shall Answer Prayers (Penance state) (optional)
Note: Do not get more than one Enhanced Signet. If you didn't get a Fu Hua's core take the Breach Enhanced, otherwise the other ones mostly are better.
Shop Signets

Signet of Setsuna - Sakura
Bountiful Blossom: Koyo (Total DMG taken)
Bountifull Blossom: Botan (Total DMG)
Bountiful Blossom: Fuji (+1 UE Skill) (optional)
Core 1 - Setsuna Blade: Sakura ni Maku (optional)
Note: Fast runs might prefer Core 2.
✧ Supports ✧
Full run: Azure Empyrea / Blood Rose

✧ Remembrance Sigils ✧
Start: Mad King's Mask / An Old Pal's Legacy
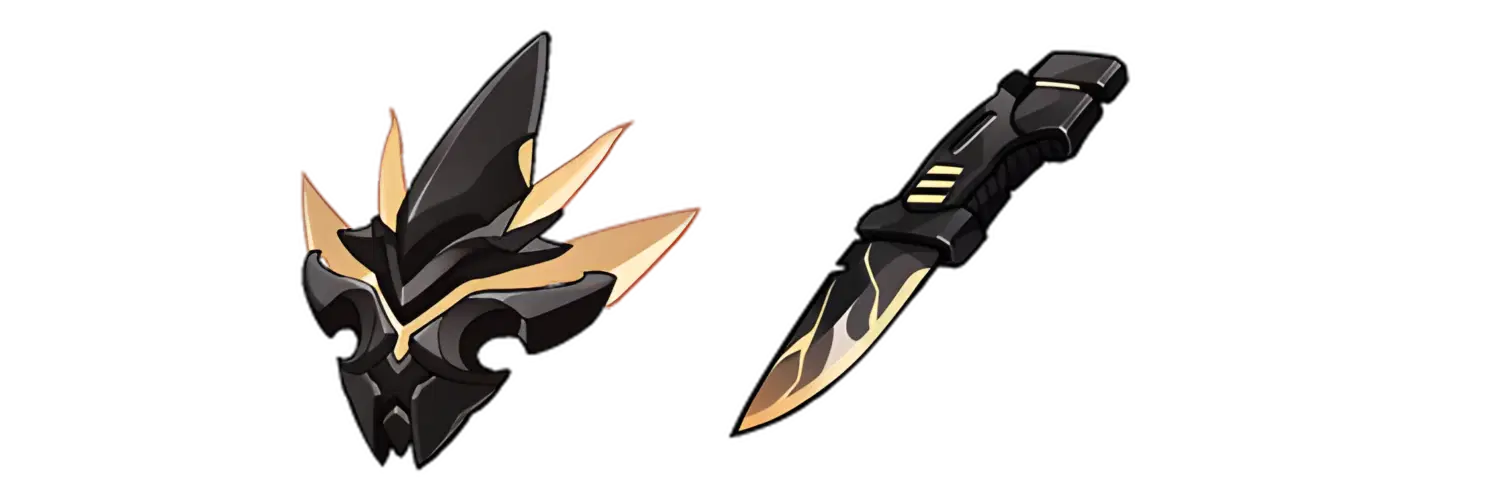
Middle: 2* Sigil needed / An Old Pal's Legacy

End: Tin Flask / Dreamful Gold

Note: When going for Eden in F9 or later, you can change to Dreamful Gold early.
✧ Video example ✧
✦ Laser Spam Build ✦
✧ Rotation ✧
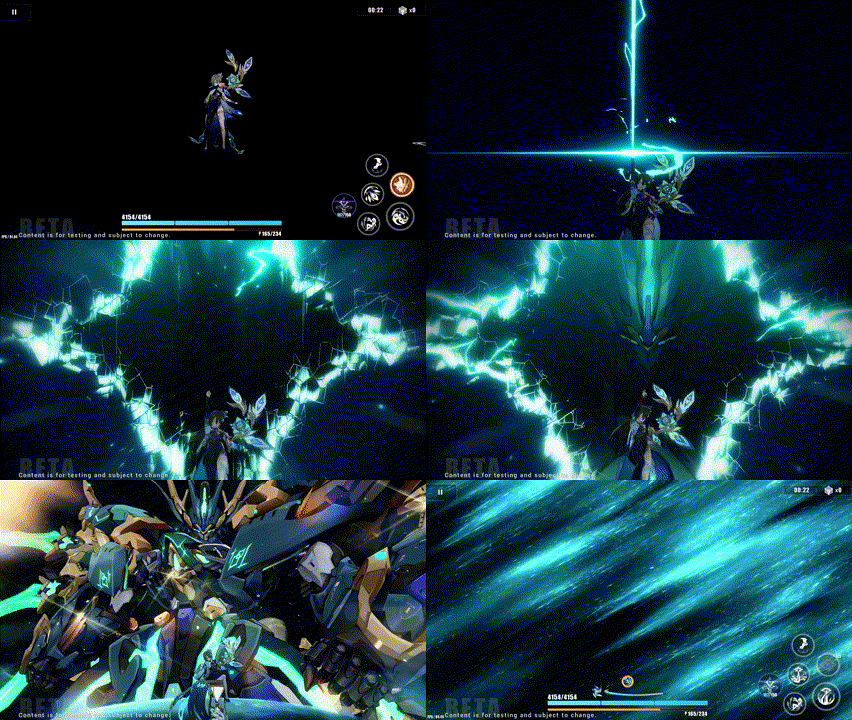
Tap [ULT] to switch forms
WA ➔ Basic ATK x2 ➔ Combo ATK ➔ repeat from [WA]
Make sure to use both Basic ATKs even in the first rotation when only one Basic ATK is needed to launch a Combo ATK. It deals significant DMG and you generally wouldn't wanna skip it.
✧ Signets ✧
➤ Ego Signets

*Vita works really well with one Ego. Both additional Ego Signets are a great buff nonetheless.
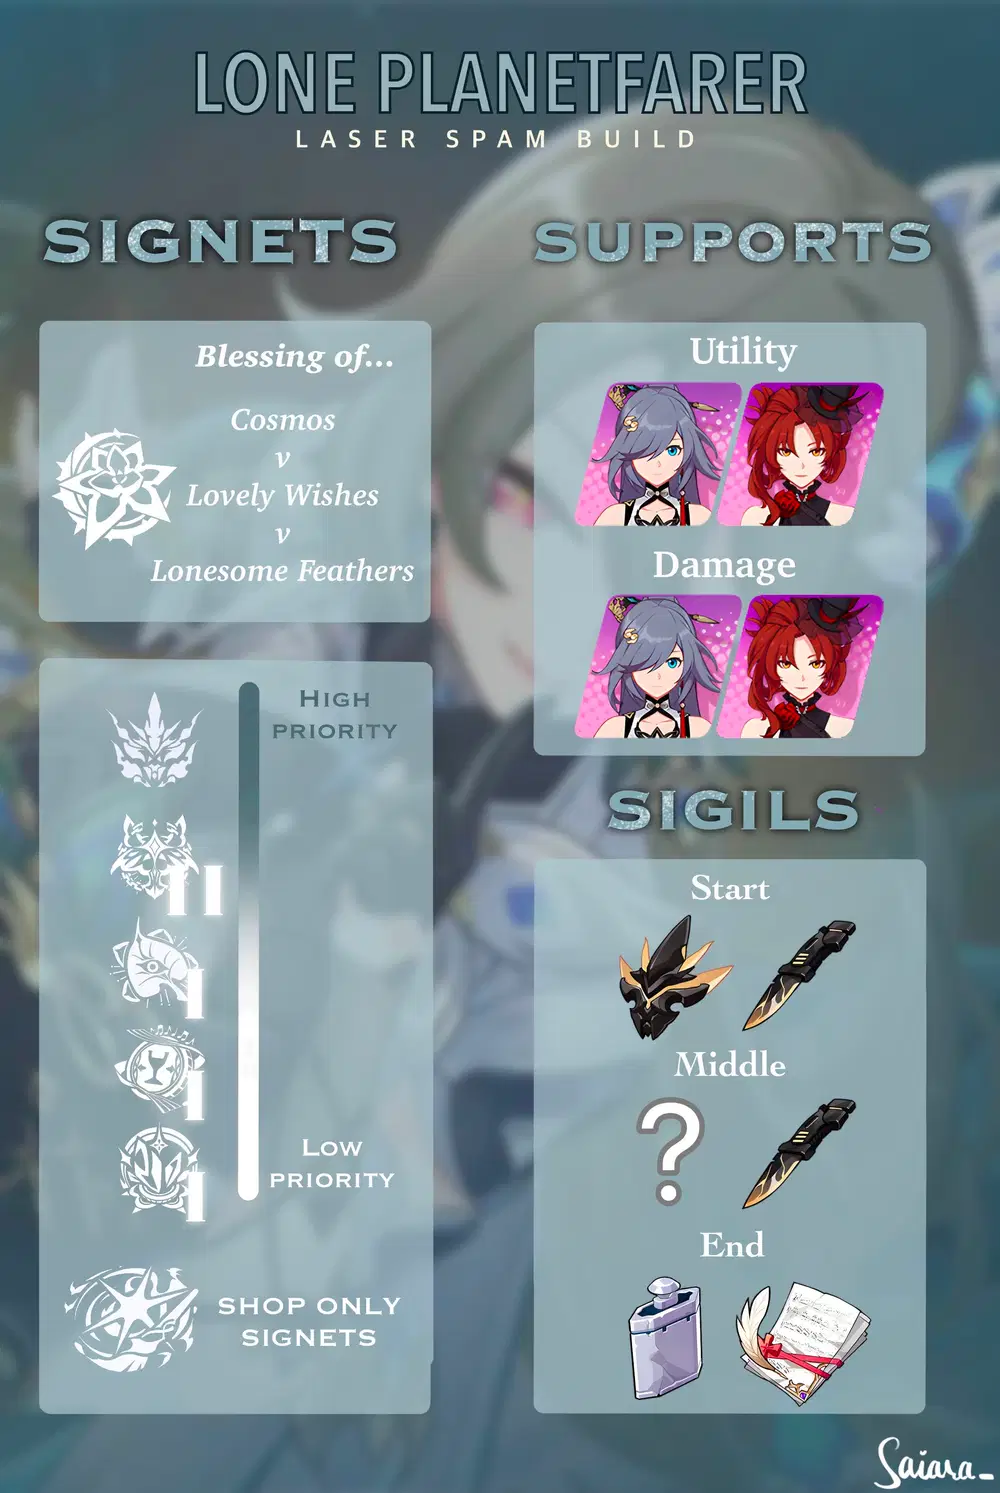
START: Blessing of Cosmos
PRIORITY: Blessing of Lovely WIshes
OPTIONAL: Blessing of Lonesome Feathers
➤ General Signets
High priority Signets
Signet of Decimation - Kalpas
Blade, Grave, and Scar (Total DMG)
Bone, Blood, and Ribbon (Elemental DMG)
Path, Misfortune, and Written Fate (Max HP)
Core 2 - Soldiers, Scissors, Spoils, and Slaughter
Note: Core 1 is absolutely viable in faster runs (for reference: should work if you can clear F3 in 25s or faster). In that case, drain HP with Blood Rose in Shop floors and the floor before boss floors. Entering the shop interface resets the CD on Support Battlesuits. When choosing Core 1, all Enhanced Signets are pretty good.
Signet of Discipline - Aponia
First, No Betrayal (Basic ATK)
Fourth, No Insolence (Ultimate)
Fifth, No Falsehood (Initial Exhortation)
Third, No Brutality (SP Regeneration) (optional)
Core 2 - You Shall Receive Disciplines' Blessing
You Shall Answer Prayers (Penance state) (optional)
You Shall Follow Good (Elemental Breach) (optional)
Note: Do not get more than one Enhanced Signet. Breach should be the best choice if you don't have any other Breach Signets, otherwise take the Penance state.
Low priority Signets

Signet of Bodhi - Su
Motto of Dibba-Cakkhu (Total DMG taken)
Motto of Pubbe-Nivasnussati (Total DMG)
Motto of Asavakkhaya (+25 Combo hits)
Motto of Iddhi-Vidha (+60 Combo hits) (optional)
Core 1 - Motto of Bodhi
Maxim of Anatman (Total DMG taken) (optional)

Signet of Gold - Eden
Recitatif of Creeks (Elemental DMG)
Recitatif of Eden (Total DMG)
Recitatif of Fine Jade (Initial/Max SP)
Core 1 - Aria of Gold
Note: Can get Fu Hua 2 instead of Eden (or Pardofelis) to get Breach. Worth it when it is +2 especially.

Signet of Reverie - Pardofelis
Neighborhoot Chatters (max HP/SP)
Motto of Meow (Total DMG)
Back-Curled Tail (Elemental DMG)
Core 1 - Empty Dreams, Self, Set, and Joy
Note: When getting a Signet providing additional coins early in Shop, can take it
Shop Signets

Signet of Stars - Griseo
Red & Hot
Black & Dark (Elemental DMG) (optional)
Note: +3 Red. While the Stage effects give Signet resets going into Griseo door is an option, even though not generally recommended.
✧ Supports ✧
Full run: Azure Empyrea / Blood Rose

✧ Remembrance Sigils ✧
Start: Mad King's Mask / An Old Pal's Legacy
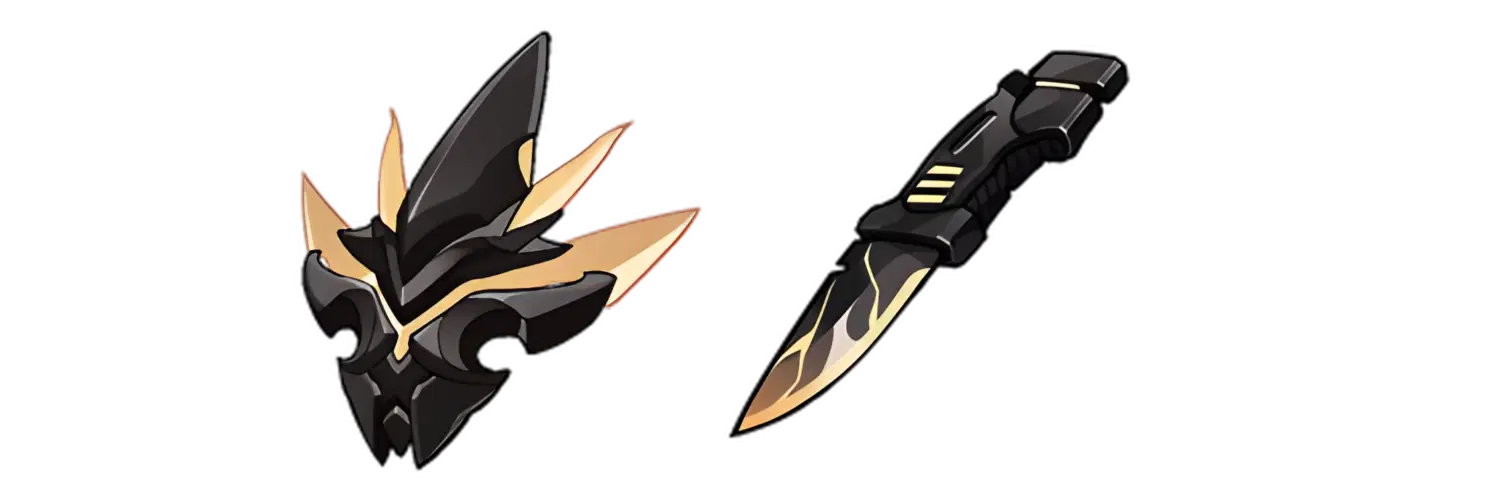
Middle: 2* Sigil needed / An Old Pal's Legacy

End: Tin Flask / Dreamful Gold

Note: When going for Eden in F9 or later, you can change to Dreamful Gold early.
✧ Video example ✧
✦ Build Comparison ✦
Both are absolutely usable and good.
The Laser Build is faster overall, especially in slower runs due to the Astral Ring CD.
Overall I recommend you to just go for the build you have more fun with.
✦ Summary ✦
✧ Infinite Resonance Build ✧
✧ Laser Spam Build ✧
✦ Closing Statement ✦
Go full in with Su for a lore accurate Vita
(I love Su)
(I also love Vita)
Anyway, fun valk, I can recommend using her to get your weekly ER rewards!
Credits
- Thanks to Cyxo and Alpaca for the pictures of Valkyrie icons and such!
- Thanks to my friend Rikutakuto for doing the cover design for me! Check her out:>
Love to Inari 
That's it, I hope I was able to help you!
Have a great day and fun with Vita 
EU/UID: 203184518




