



I recommend to read this guide in dark mode.
Hello and welcome to this Reign Solaris - Durandal Elysian Realm Guide! Time to surf through ER
Click here to see a collection of all my guides~

Note: This guide is based on the BETA. Officially released content might differ.

✦ Table of contents ✦
Skill explanations
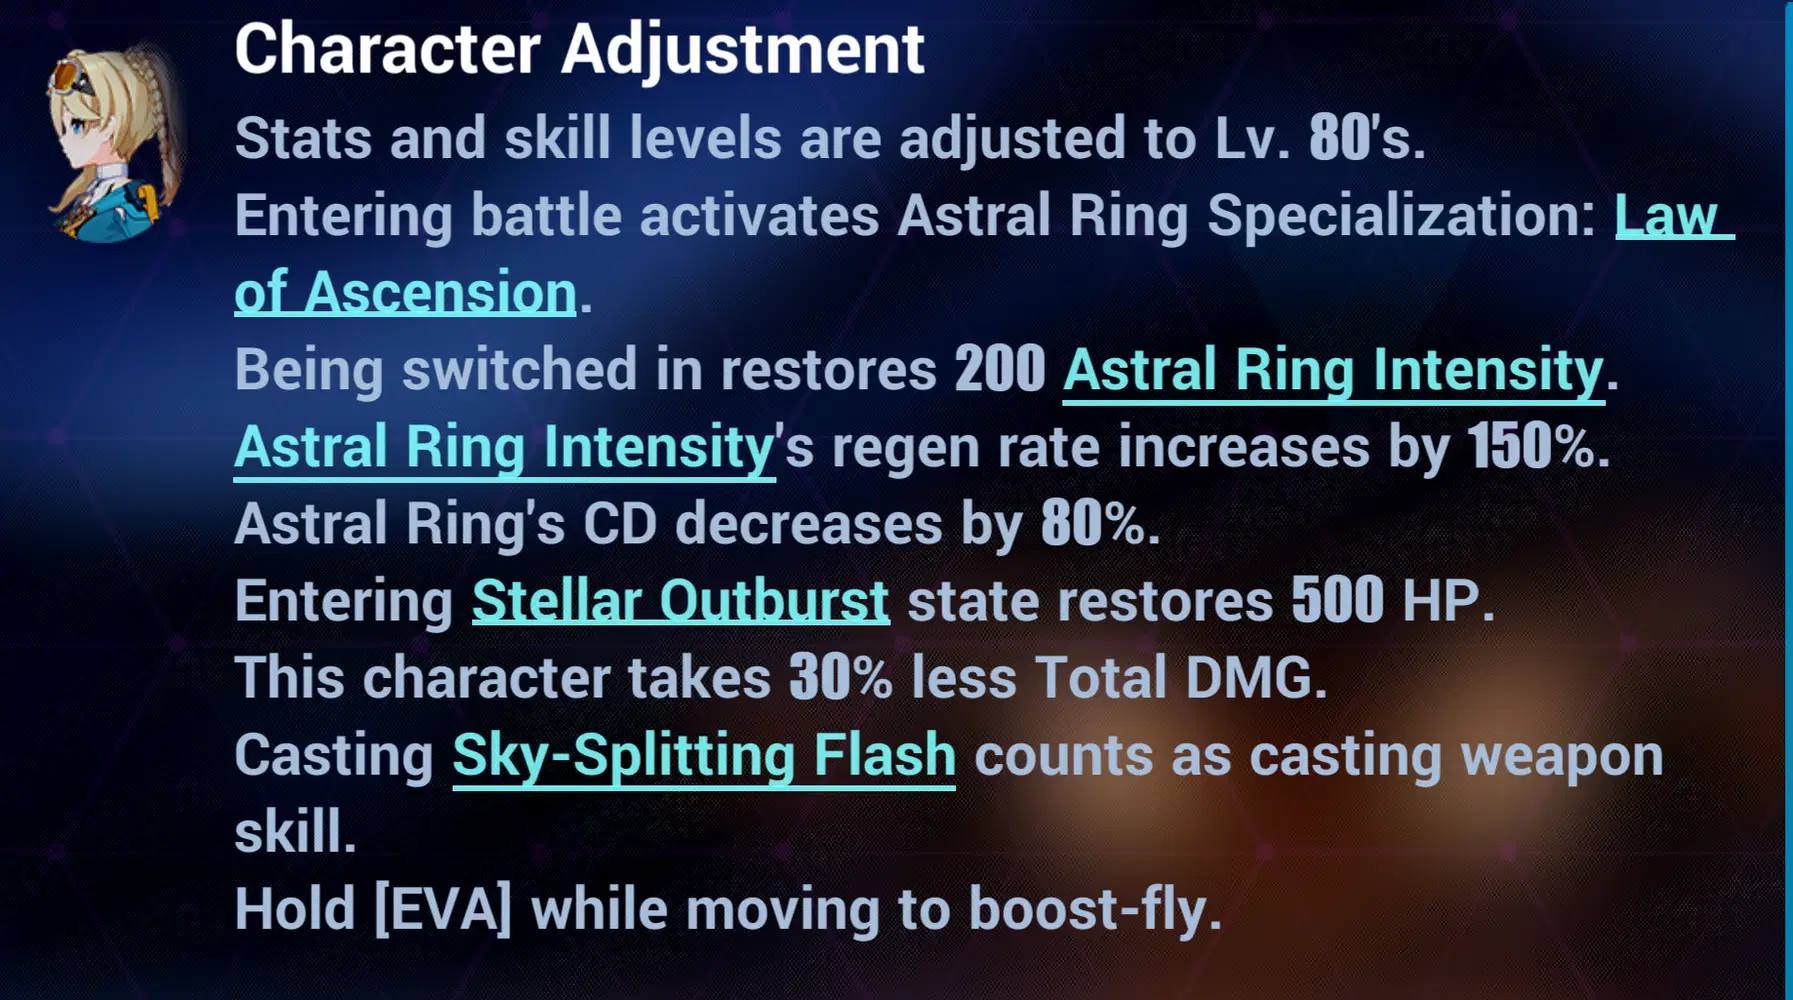
Special Adjustments
Combo spam Build
Surfing Build
Build Comparison
Summary
Closing statement
✦ Skill explanations ✦
This summary will only cover skills relevant for her Elysian Realm gameplay that might cause confusion.

Special Bar - Sunlight
Durandal has a bar above her HP bar showing her current Sunlight.
It starts at 0 and caps at 100. It's reset to 0 upon exiting.
Sunlight is gained by hitting Basic ATKs, Weapon Skills and QTE.
It is used to quickly launch her Combo ATKs.
Visuals:
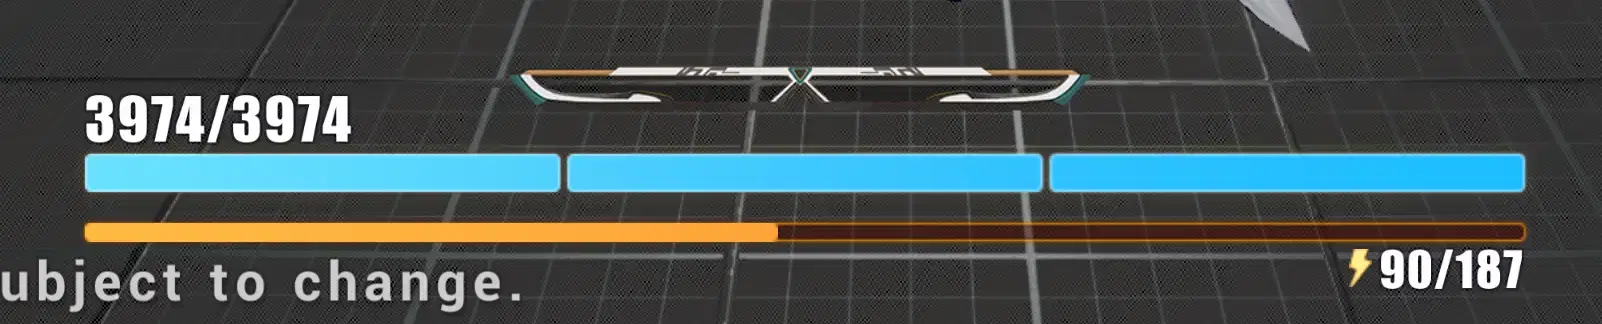
0 Sunlight
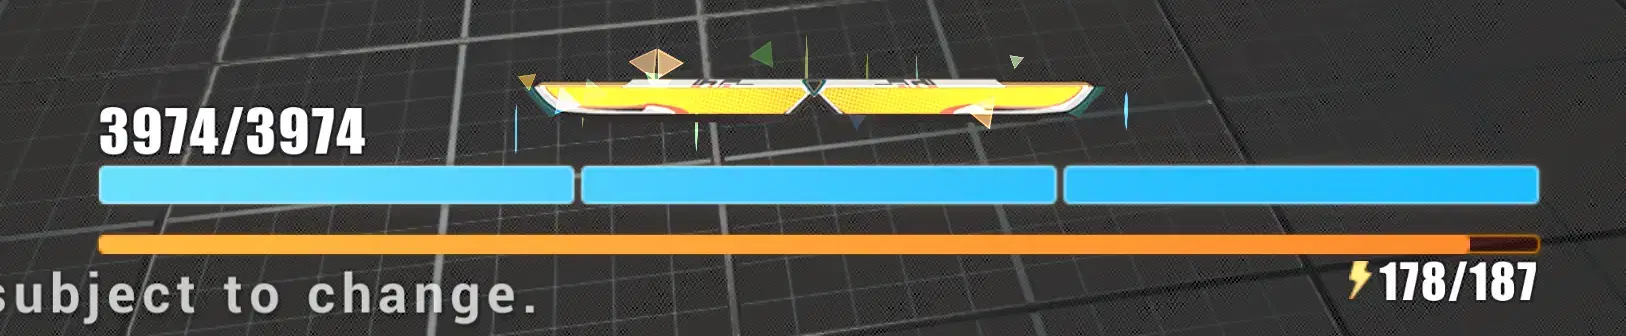
100 Sunlight
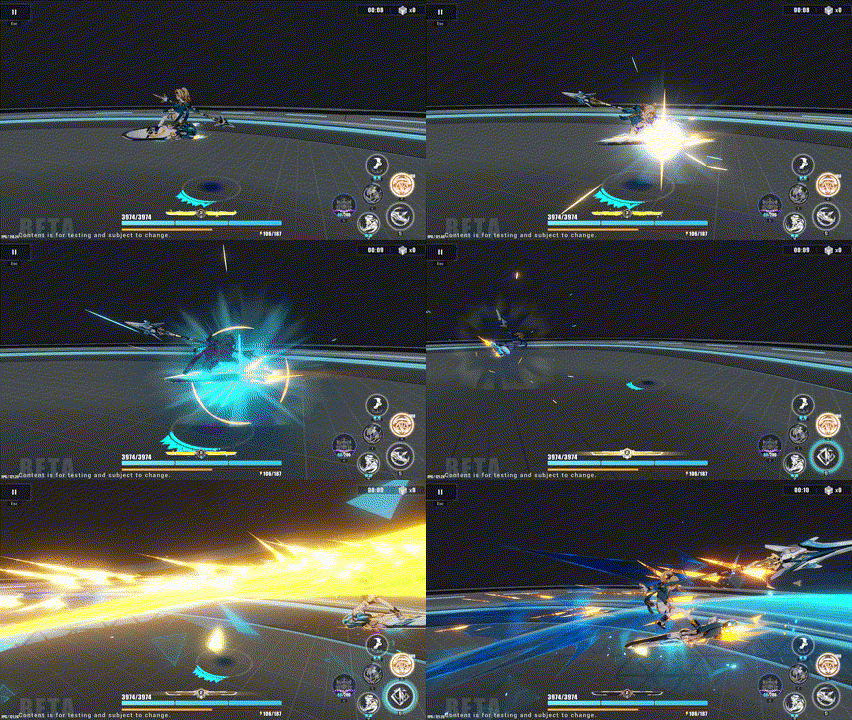
Rampager / Skyrider form
Battle is entered in Rampager form.
By using Weapon Skill or Stellar Outburst, she enters Skyrider form and gains 3 Skylight Brilliance stacks. Skylight Brilliance stacks are consumed by performing an L3 Charged ATK.
When all Skylight Brilliance stacks are consumed or Durandal is switched out, Skyrider form ends.

Rampager form

Skyrider form (3 Skylight Brilliance stacks)
excuse the low quality, my PC also wants to survive 
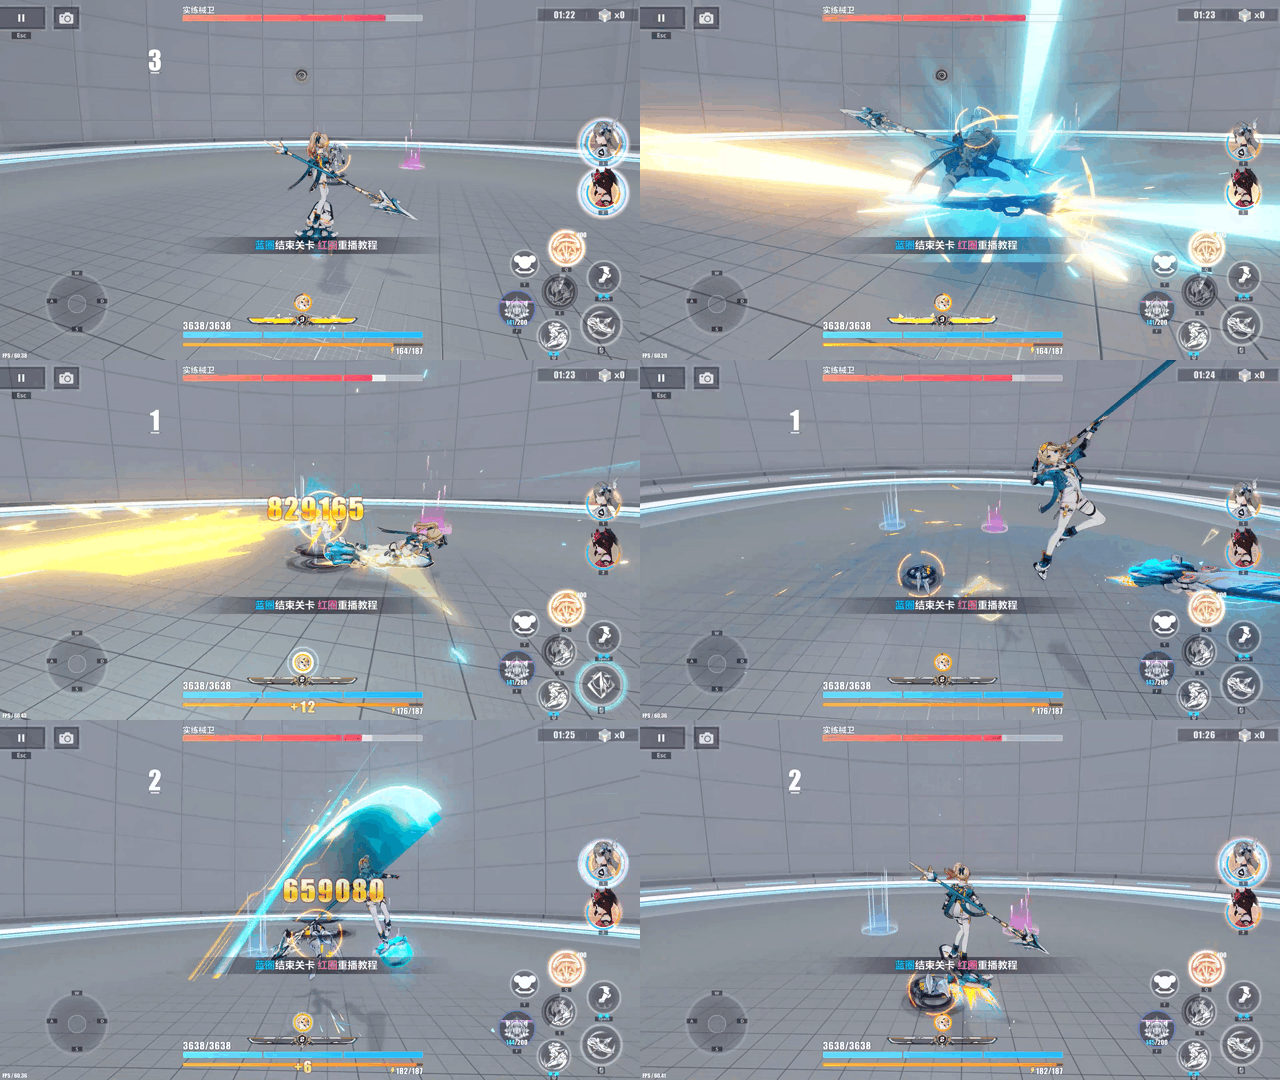
Charged ATK
hold [ATK] to launch a Combo ATK with 3 Charge levels. The longer you hold ATK, the stronger the Charged ATK becomes.
At maxed out Sunlight, consume all Sunlight to quickly launch a Level 3 Charged ATK.
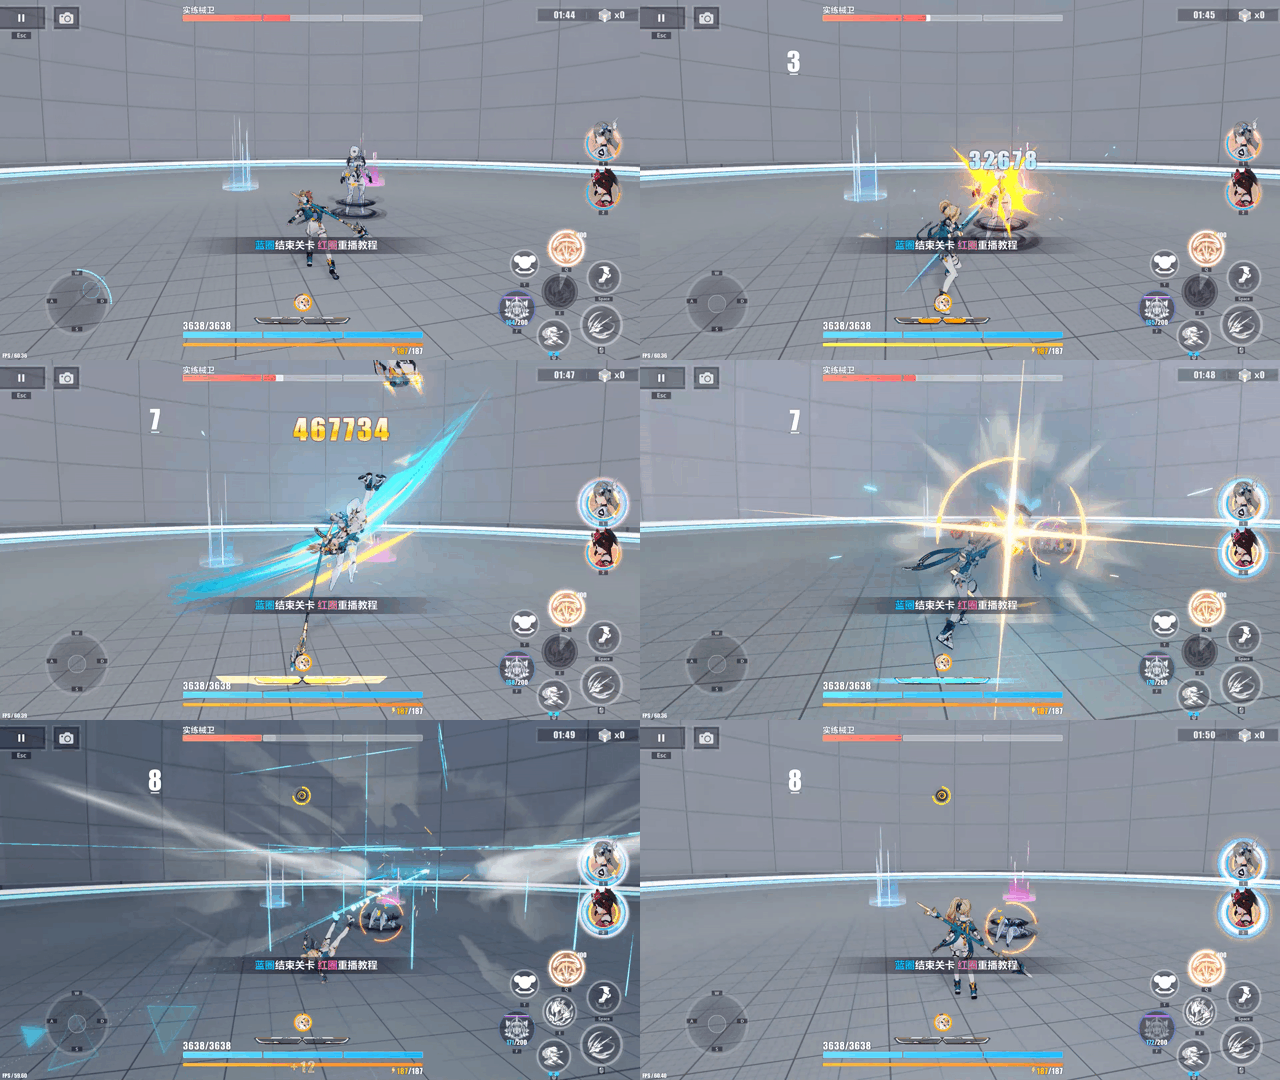
Rampager form
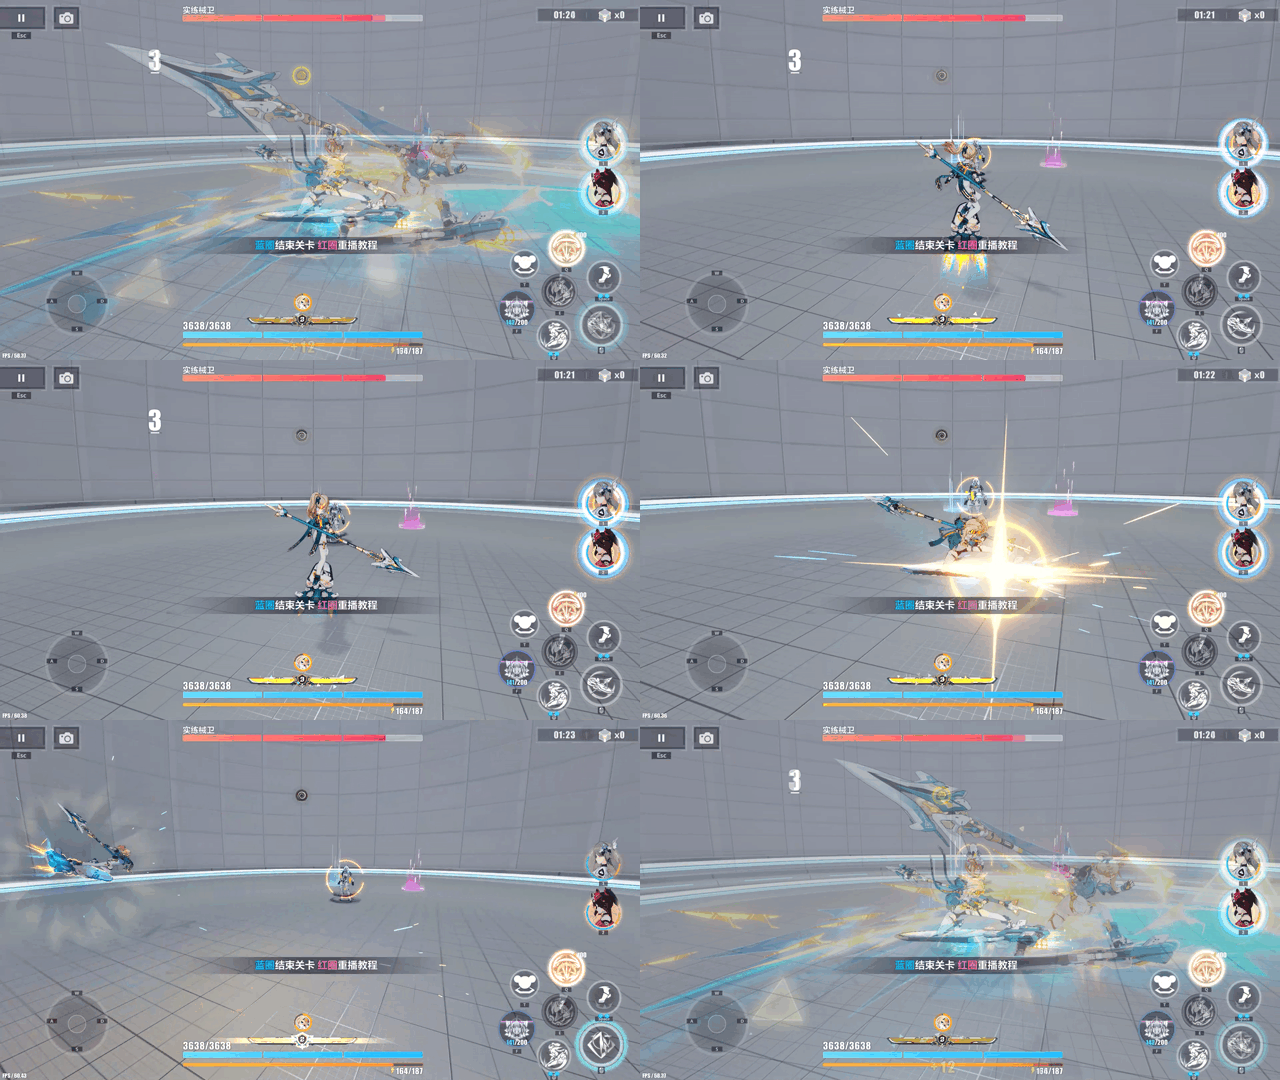
Skyrider form
(GIFs by Cyxo, thank you for your help)
follow-up ATK
After Charged ATK in Skyrider form, tap [ATK] to launch a follow-up ATK
✦ Special Adjustments ✦
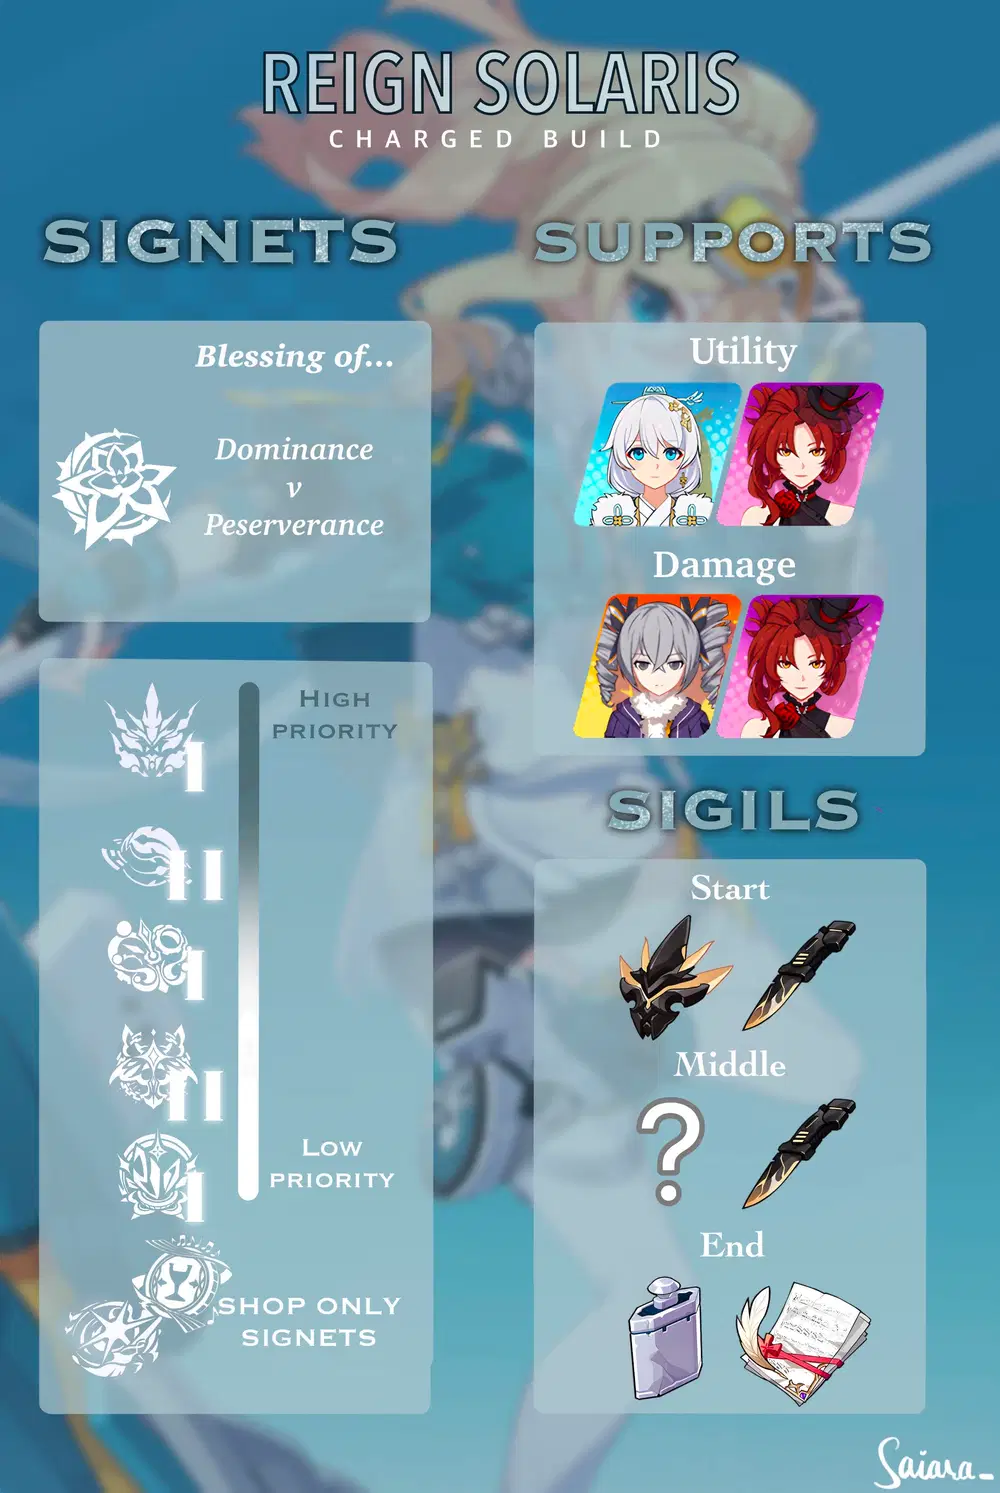
✦ Charged spam build ✦
✧ Rotation ✧
Weapon Skill ➔ Charged ATK (max Charge) ➔ tap ATK ➔ REPEAT
Use Ultimate when available. If you have Eden Signets, use Ultimate only at the end of floors.
✧ Signets ✧
➤ Ego Signets

START: Blessing of Dominance +
OPTIONAL: Blessing of Perseverance +
Note: One Ego works out well.
➤ General Signets
How I'll visualise it
In order to make the Signet list more clear, let me show how I'll list the Signets:
Signet of [Signet name] - flamechaser
First priority Signet
Second priority Signet
Third priority Signet
(Fourth priority Signet...)
core (core1/2)
First priority Enhanced
Second priority Enhanced
(Third priority Enhanced...)
(Note:...)
I'll mark Signets that should only be taken if you have no better choices currently with (optional) and add a short explanation behind the Signets in case you don't know the names (like tdmg, SP, and so on)
High priority Signets
Signet of Decimation - Kalpas
Blade, Grave, and Scar (Total DMG)
Bone, Blood, and Ribbon (Physical DMG)
Path, Misfortune, and Written Fate (Max HP)
Desireless, Mindless, and Homeless (Total DMG taken)
Core 1 - Fight, Struggle, and Decimation
Burden, Difficulty, and Calamity (Blood Boil costs HP)
Man, Mask, and Contract (Total DMG)
Note: Don't use Serapeum as AstralOP.
Use Blood Rose to drain your HP. In Shop floors entering the Shop menu and closing it again resets Support CDs, use this to quickly get down to ~1k HP, she barely heals so some BR triggers once will be enough.

Signet of Vicissitude - Fu Hua
No One to Share (Physical Breach)
Long Trip (Total DMG)
Days Gone (Physical DMG)
Core 2 - Suffering Mass
Broken Dreams (max stacks) (optional)
Low priority Signets

Signet of Helix - Vill-V
Act II: Pendulum (Total DMG taken)
Act III: Conflict (Total DMG)
Act IV: Spoon (Charged DMG)
Core 1 - Interlude: Reversed Spiral

Signet of Discipline - Aponia
First, No Betrayal (Basic ATK)
Third, No Brutality (SP Regeneration)
Sixth, No Decadence (QTE prevents decrease)
Core 2 - You Shall Receive Disciplines' Blessing

Signet of Reverie - Pardofelis
Neighborhoot Chatters (max HP/SP)
Motto of Meow (Total DMG)
Back-Curled Tail (Physical DMG)
Core 1 - Empty Dreams, Self, Set, and Joy
Note: When getting a Signet providing additional coins early in Shop, can take it
Shop Signets

Signet of Stars - Griseo
Red & Hot
Black & Dark (Elemental DMG) (optional)

Signet of Gold - Eden
Recitatif of Creeks (Physical DMG)
Recitatif of Eden (Total DMG)
Core 1 - Aria of Gold (optional)

✧ Supports ✧
F1-16: Starlit Astrologos / Blood Rose

F16+: Snowy Sniper / Blood Rose

✧ Remembrance Sigils ✧
Start: Mad King's Mask / An Old Pal's Legacy
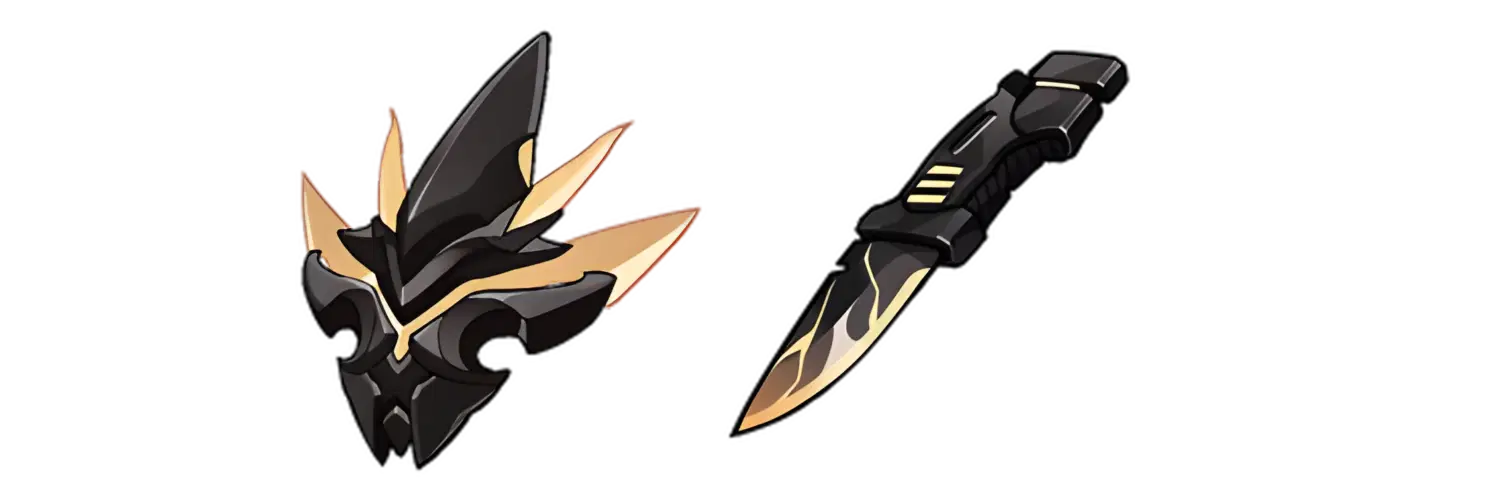
Middle: 2* Sigil needed / An Old Pal's Legacy

End: Tin Flask / Falling in Past Light

Note: If you struggle with low DMG can switch to Falling in Past Light once finishing Kalpas' core.
✧ Video example ✧
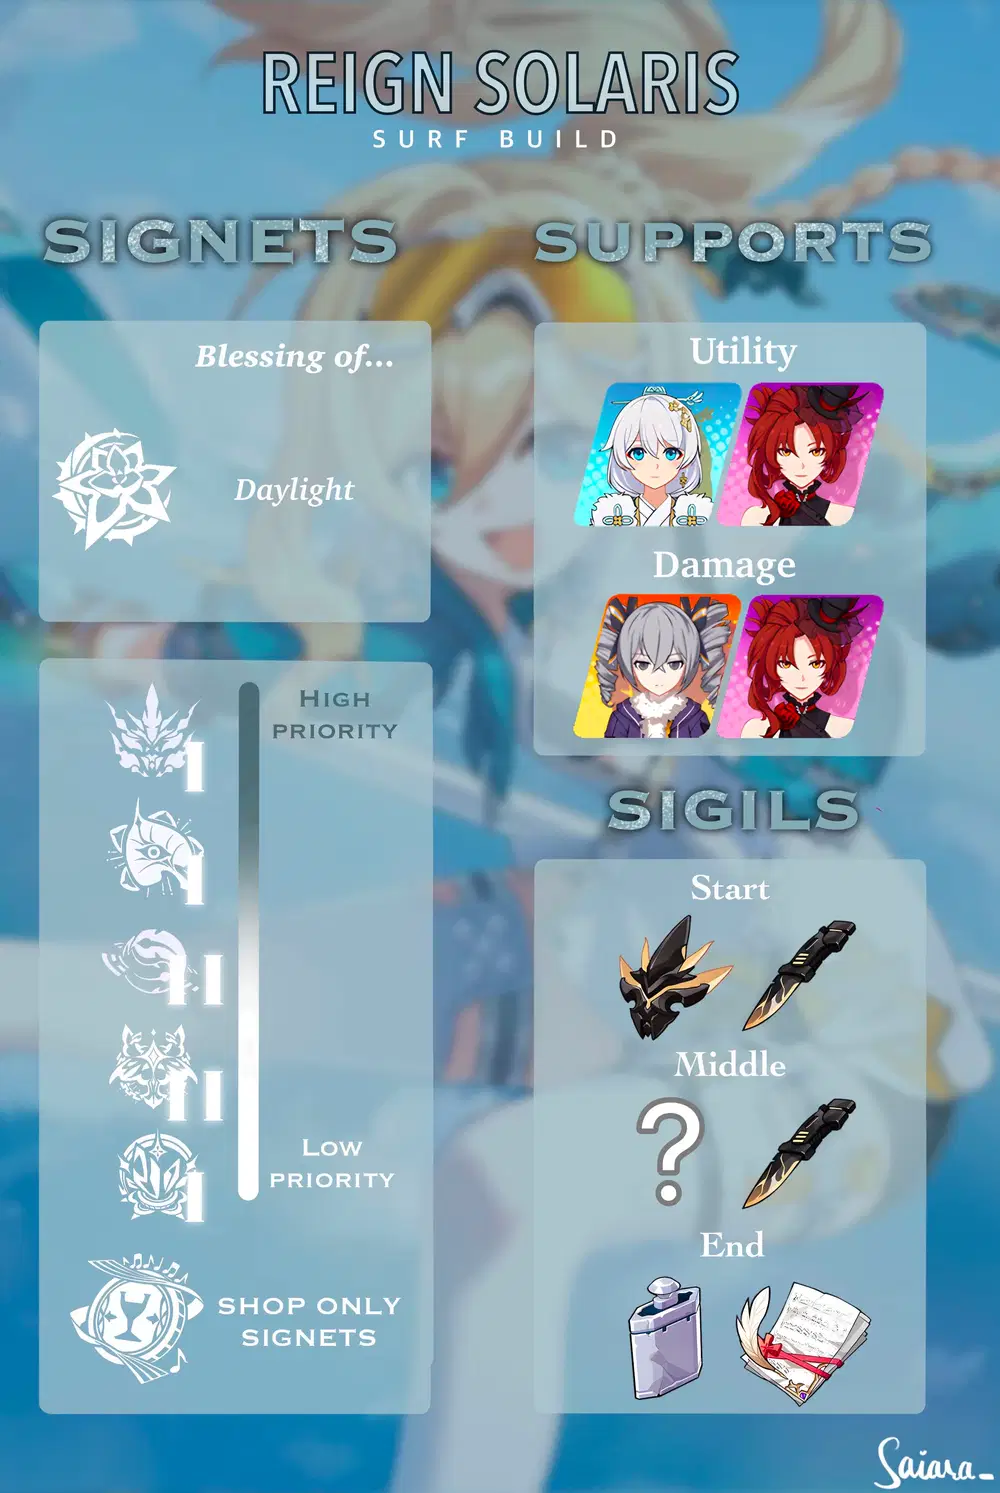
✦ Surfing Build ✦
✧ Rotation ✧
Weapon Skill ➔ just move around
Use Ultimate when available. If you have Eden Signets, use Ultimate only at the end of floors.
✧ Signets ✧
➤ Ego Signets

START: Blessing of Daylight +
No need to get any more.
➤ General Signets
High priority Signets
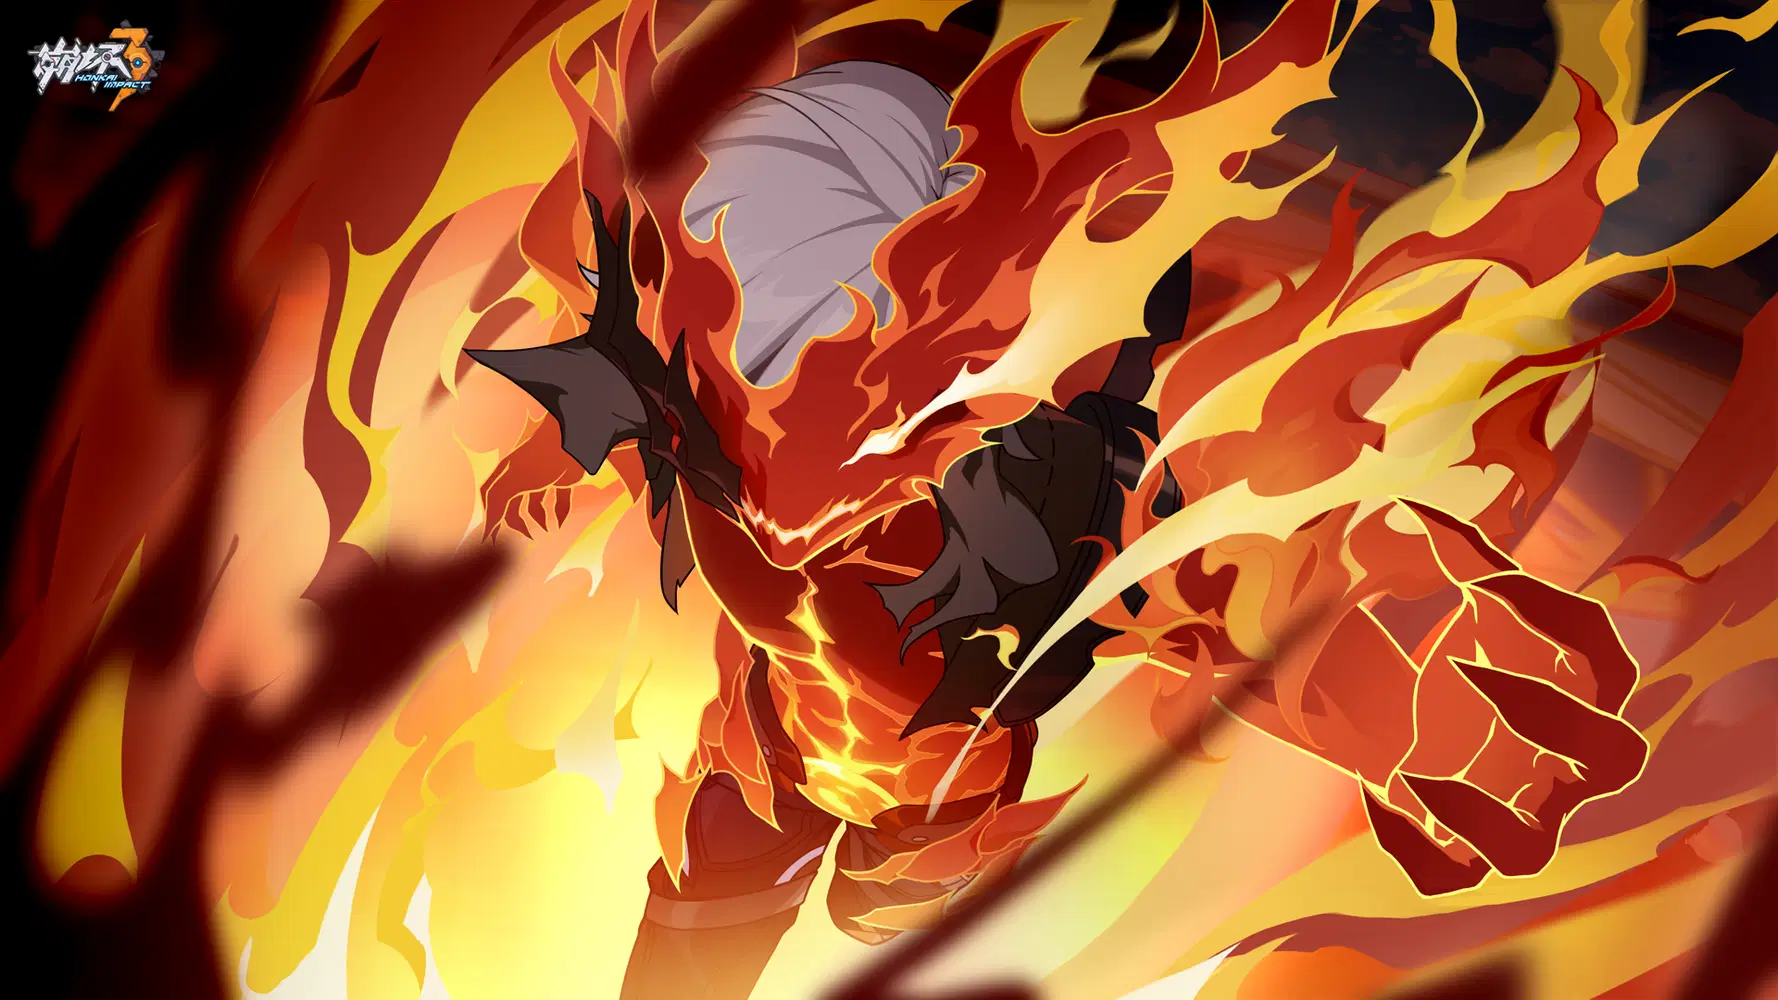
Signet of Decimation - Kalpas
Blade, Grave, and Scar (Total DMG)
Bone, Blood, and Ribbon (Physical DMG)
Path, Misfortune, and Written Fate (Max HP)
Desireless, Mindless, and Homeless (Total DMG taken)
Core 1 - Fight, Struggle, and Decimation
Burden, Difficulty, and Calamity (Blood Boil costs HP)
Man, Mask, and Contract (Total DMG)
Note: Don't use Serapeum as AstralOP.
Use Blood Rose to drain your HP. In Shop floors entering the Shop menu and closing it again resets Support CDs, use this to quickly get down to ~1k HP, she barely heals so some BR triggers once will be enough.
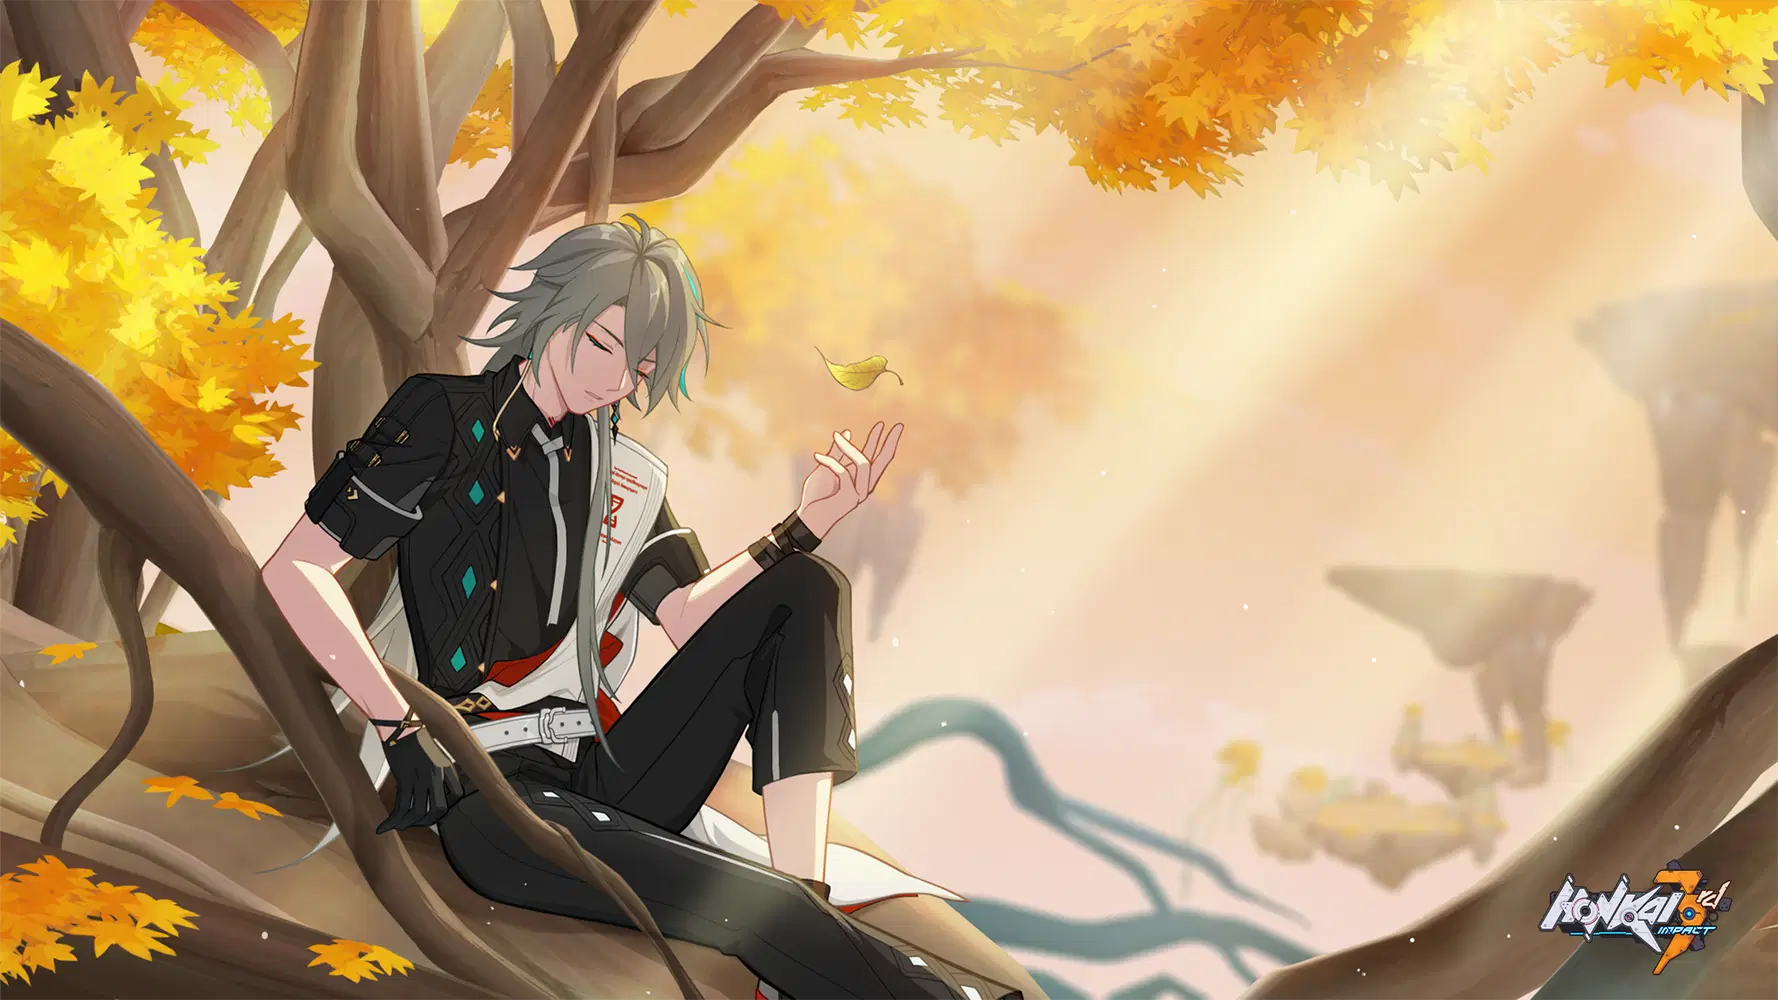
Signet of Bodhi - Su
Motto of Dibba-Cakkhu (Total DMG taken)
Motto of Pubbe-Nivas****sati (Total DMG)
Motto of Iddhi-Vidha (+60 Combo hits)
Core 1 - Motto of Bodhi
Maxim of Anatman (Total DMG taken) (optional)
Low priority Signets

Signet of Vicissitude - Fu Hua
No One to Share (Physical Breach)
Long Trip (Total DMG)
Days Gone (Physical DMG)
Core 2 - Suffering Mass
Broken Dreams (max stacks) (optional)

Signet of Discipline - Aponia
First, No Betrayal (Basic ATK)
Third, No Brutality (SP Regeneration)
Sixth, No Decadence (QTE prevents decrease)
Core 2 - You Shall Receive Disciplines' Blessing

Signet of Reverie - Pardofelis
Neighborhoot Chatters (max HP/SP)
Motto of Meow (Total DMG)
Back-Curled Tail (Physical DMG)
Core 1 - Empty Dreams, Self, Set, and Joy
Note: When getting a Signet providing additional coins early in Shop, can take it
Shop Signets

Signet of Gold - Eden
Recitatif of Creeks (Physical DMG)
Recitatif of Eden (Total DMG)
Core 1 - Aria of Gold (optional)
Note: When taking Eden's core because it is your best option, can get Su's SP regeneration from Shop.
✧ Supports ✧
F1-16: Starlit Astrologos / Blood Rose

F16+: Snowy Sniper / Blood Rose
✧ Remembrance Sigils ✧
Start: Mad King's Mask / An Old Pal's Legacy
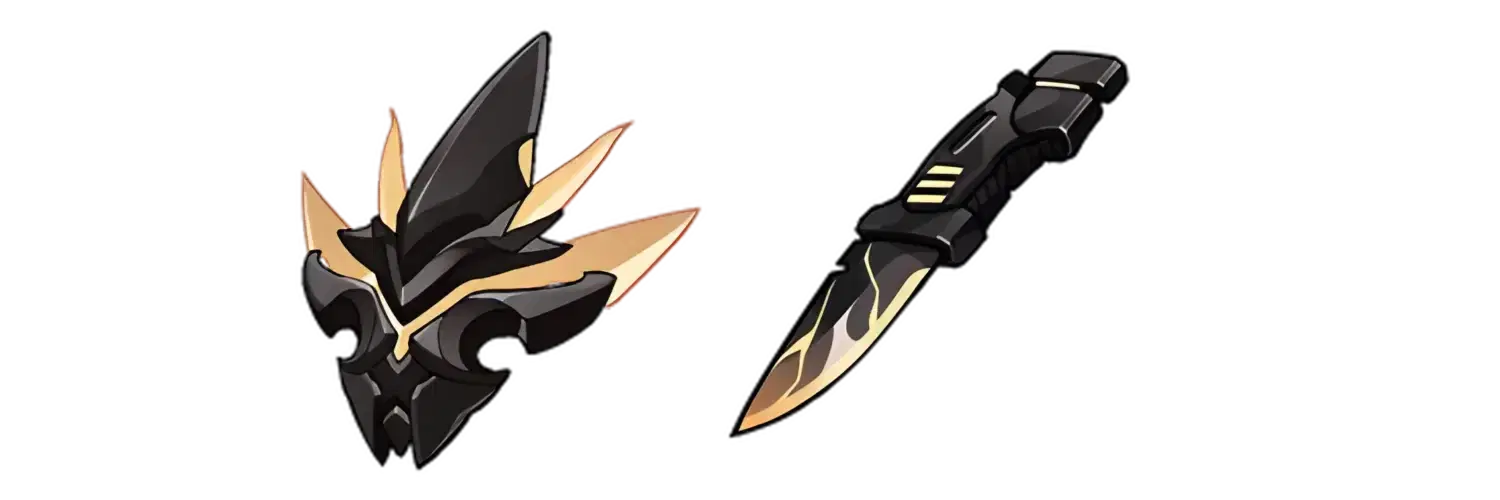
Middle: 2* Sigil needed / An Old Pal's Legacy

End: Tin Flask / Dreamful Gold

✧ Video examples ✧
✦ Build Comparison ✦
Surfing build is a little faster, Charged spam is more consistent
Honestly there's not much more I can say about that, I didn't see any major differences and both cleared just fine.
✦ Summary ✦
✧ Charged Spam Build ✧
✧ Surfing Build ✧
✦ Closing statement ✦
Dudu is stronk in ER 
Just have fun surfing around Elysian Realm, hehe... (hope I'll have time to try her at SSS in ER towards the end of the beta)
Credits
- Thanks to Cyxo and Alpaca for the pictures of Valkyrie icons and such!
- Thanks to my friend Rikutakuto for doing the cover design for me! Check her out:>
- Love to Inari

That's it, I hope I was able to help you!
Have a great day and fun with Dudu
EU/UID: 203184518




