
A new Echo is available in version 5.7, and the characters are for Shenhe and Raiden. Here's the guide to completing their puzzles in Envisaged Echoes.
Guides for previous characters:


Envisaged Echoes Challenge Details
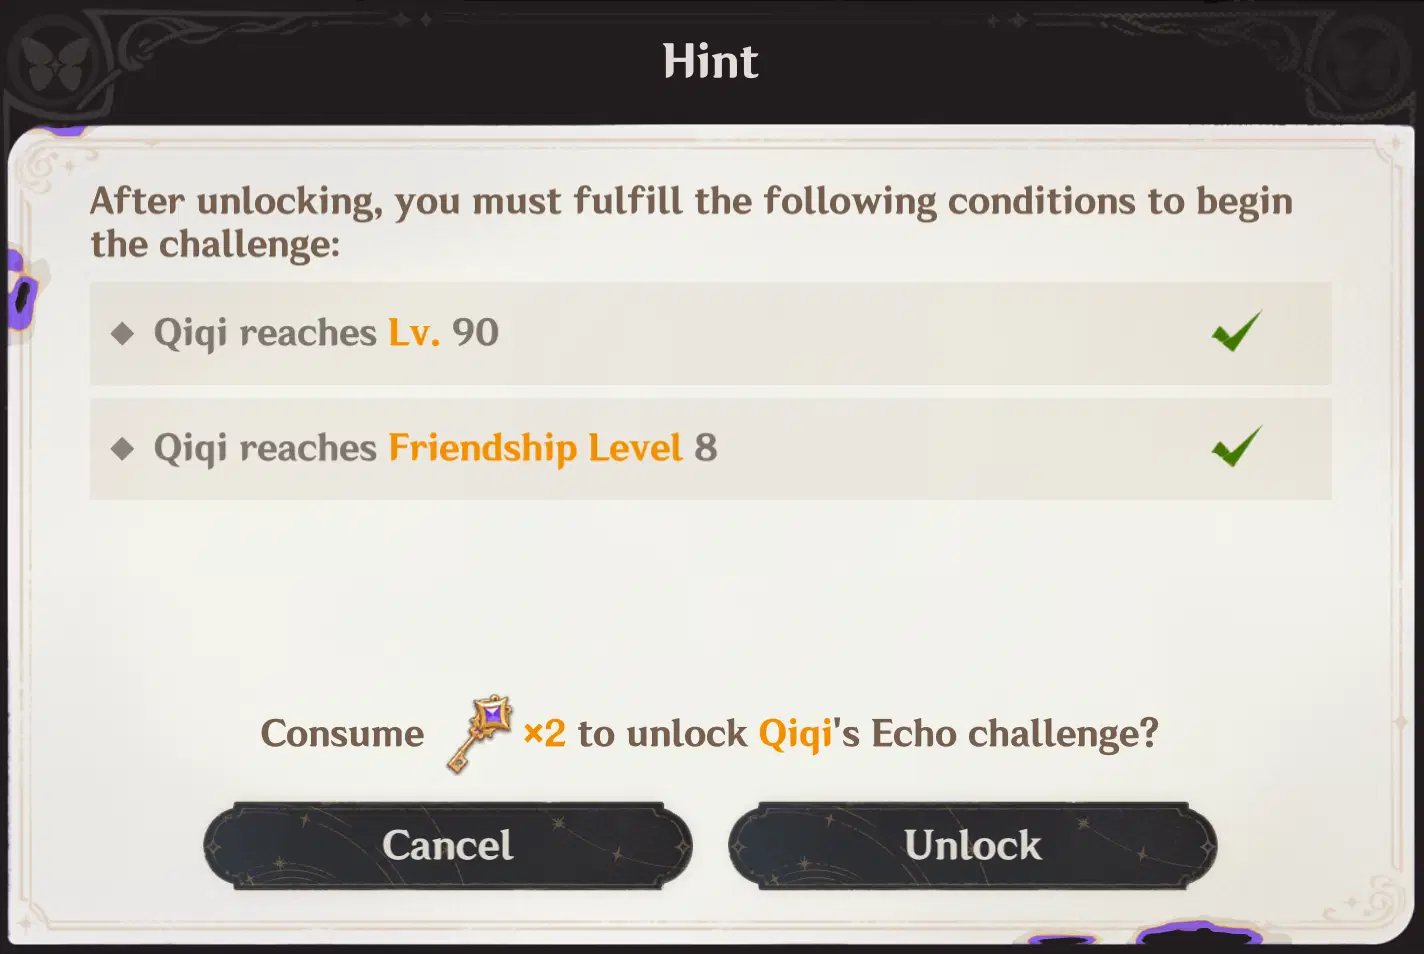
To unlock a character challenge stage, you MUST fulfill the following requirements to begin the challenge:
- Character must be Level 90
- Character's Friendship Level must be at least 8
You can have up to 4 Keys of Echoes at once, but you will not be able to claim more keys at the limit. To avoid not being able to claim more Keys of Echoes, you can unlock character challenge stages first, then complete the challenges once you meet the requirements. After a challenge stage has been unlocked, you can challenge it multiple times.
How to get Key of Echoes
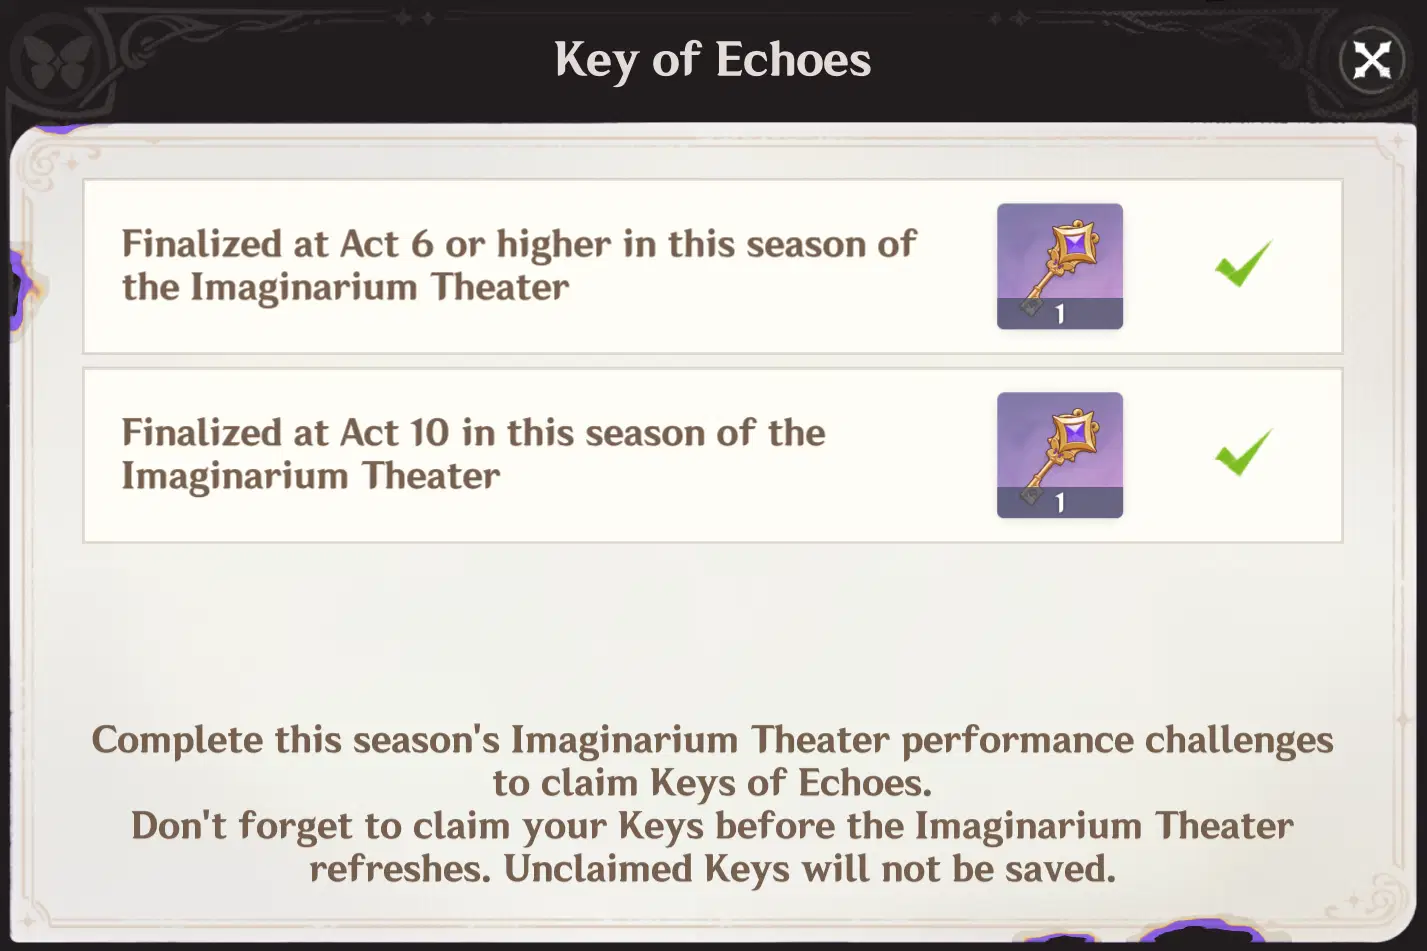
You can get up to 2 Key of Echoes per month by completing Imaginarium Theater challenges. Hard Mode will only give you 1 Key as it has 8 acts, while the hardest mode - Visionary Mode - has 10 acts and will give you both 2 Keys.
Envisaged Echoes Raiden Shogun Guide
Video Playthrough
Recommended Raiden Build
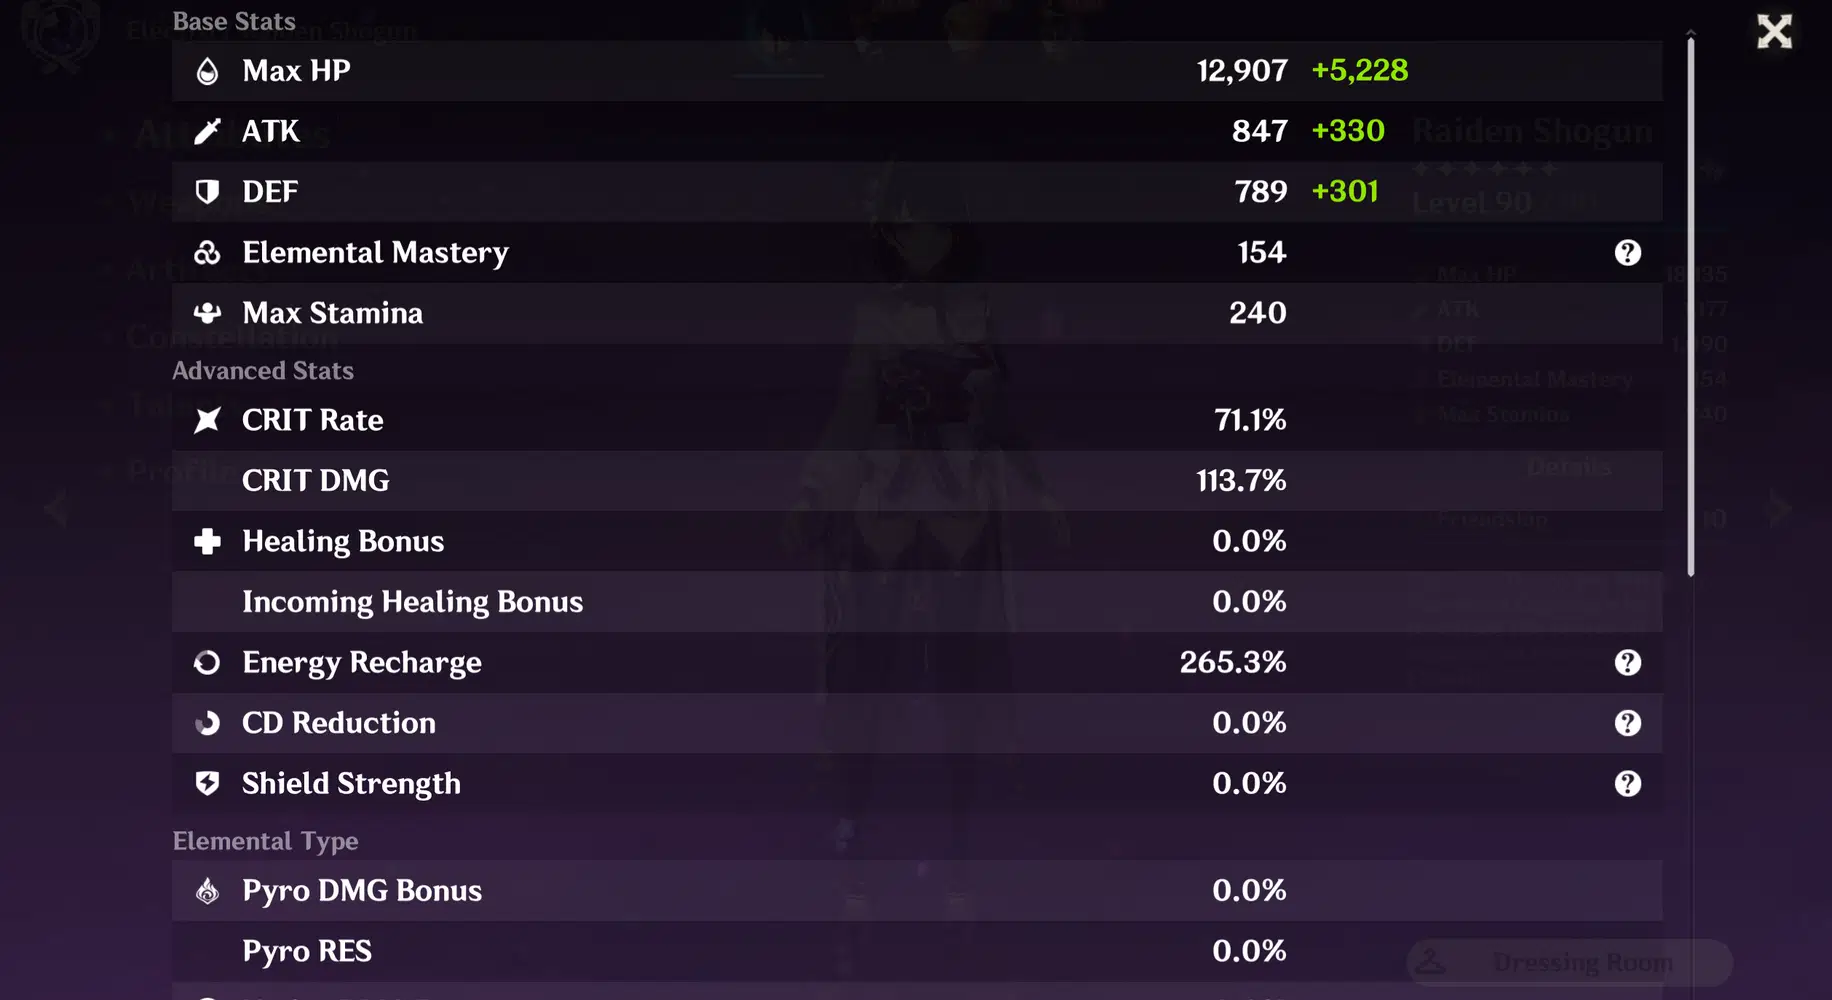
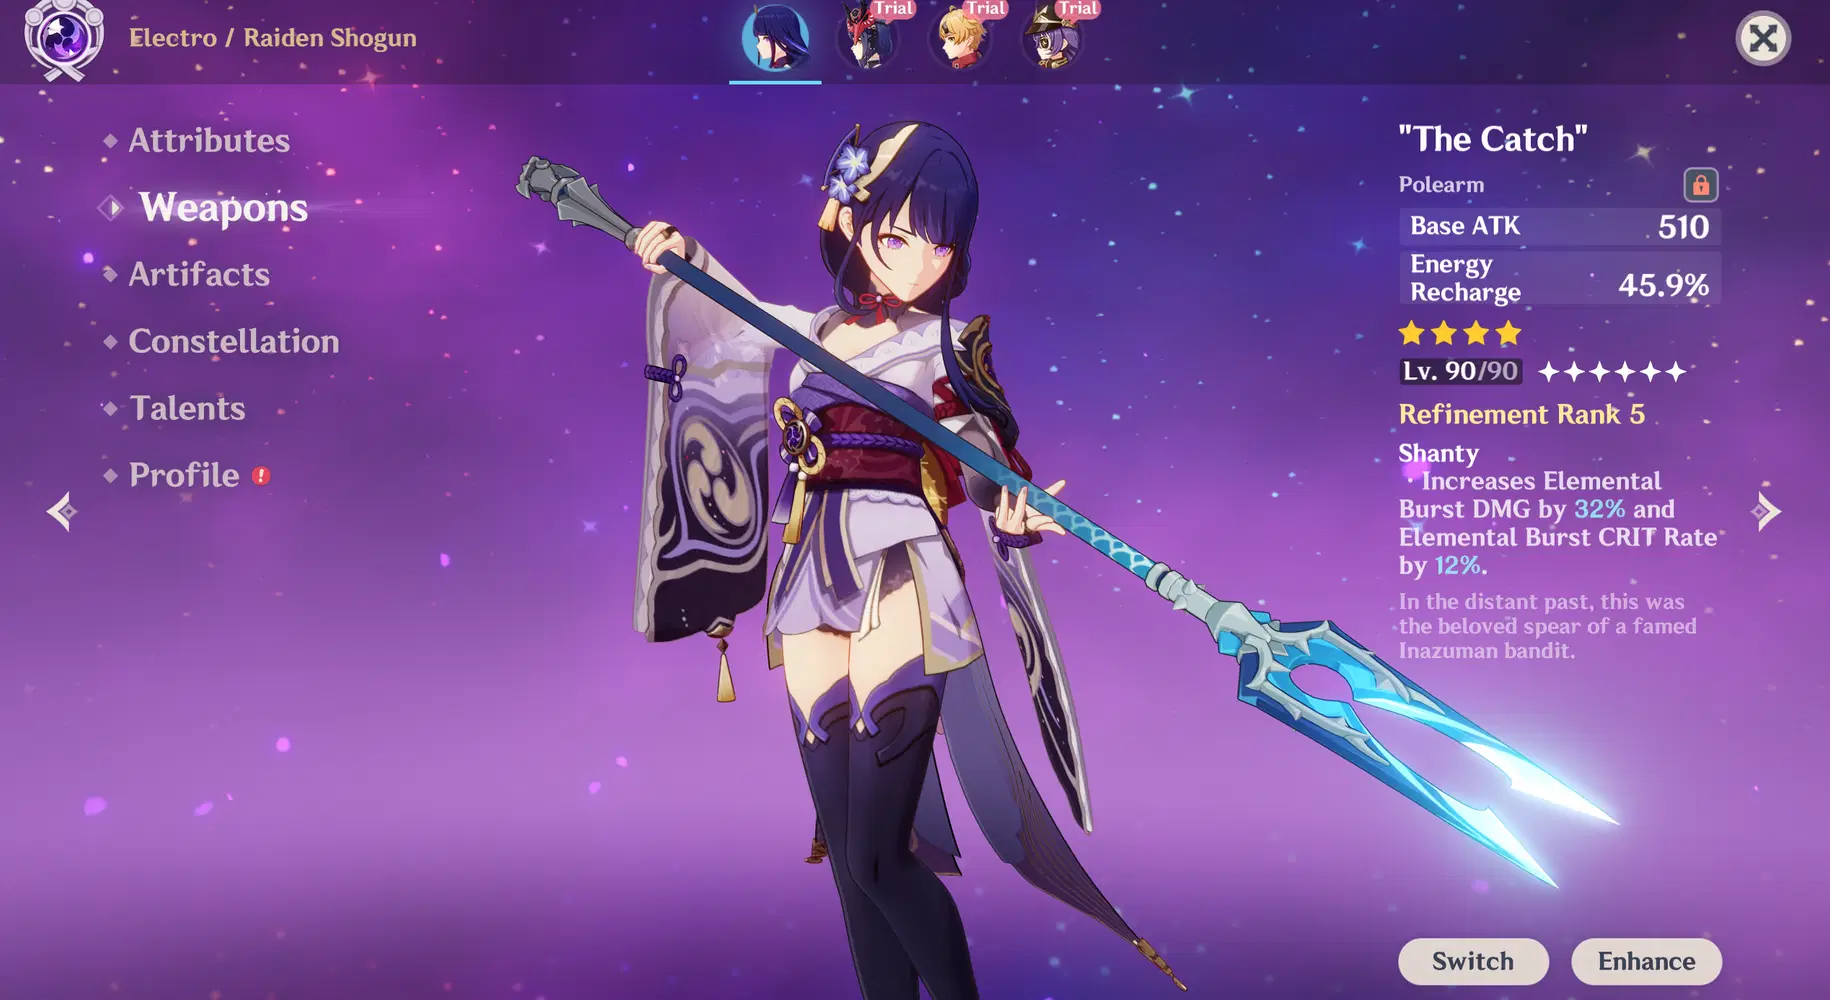
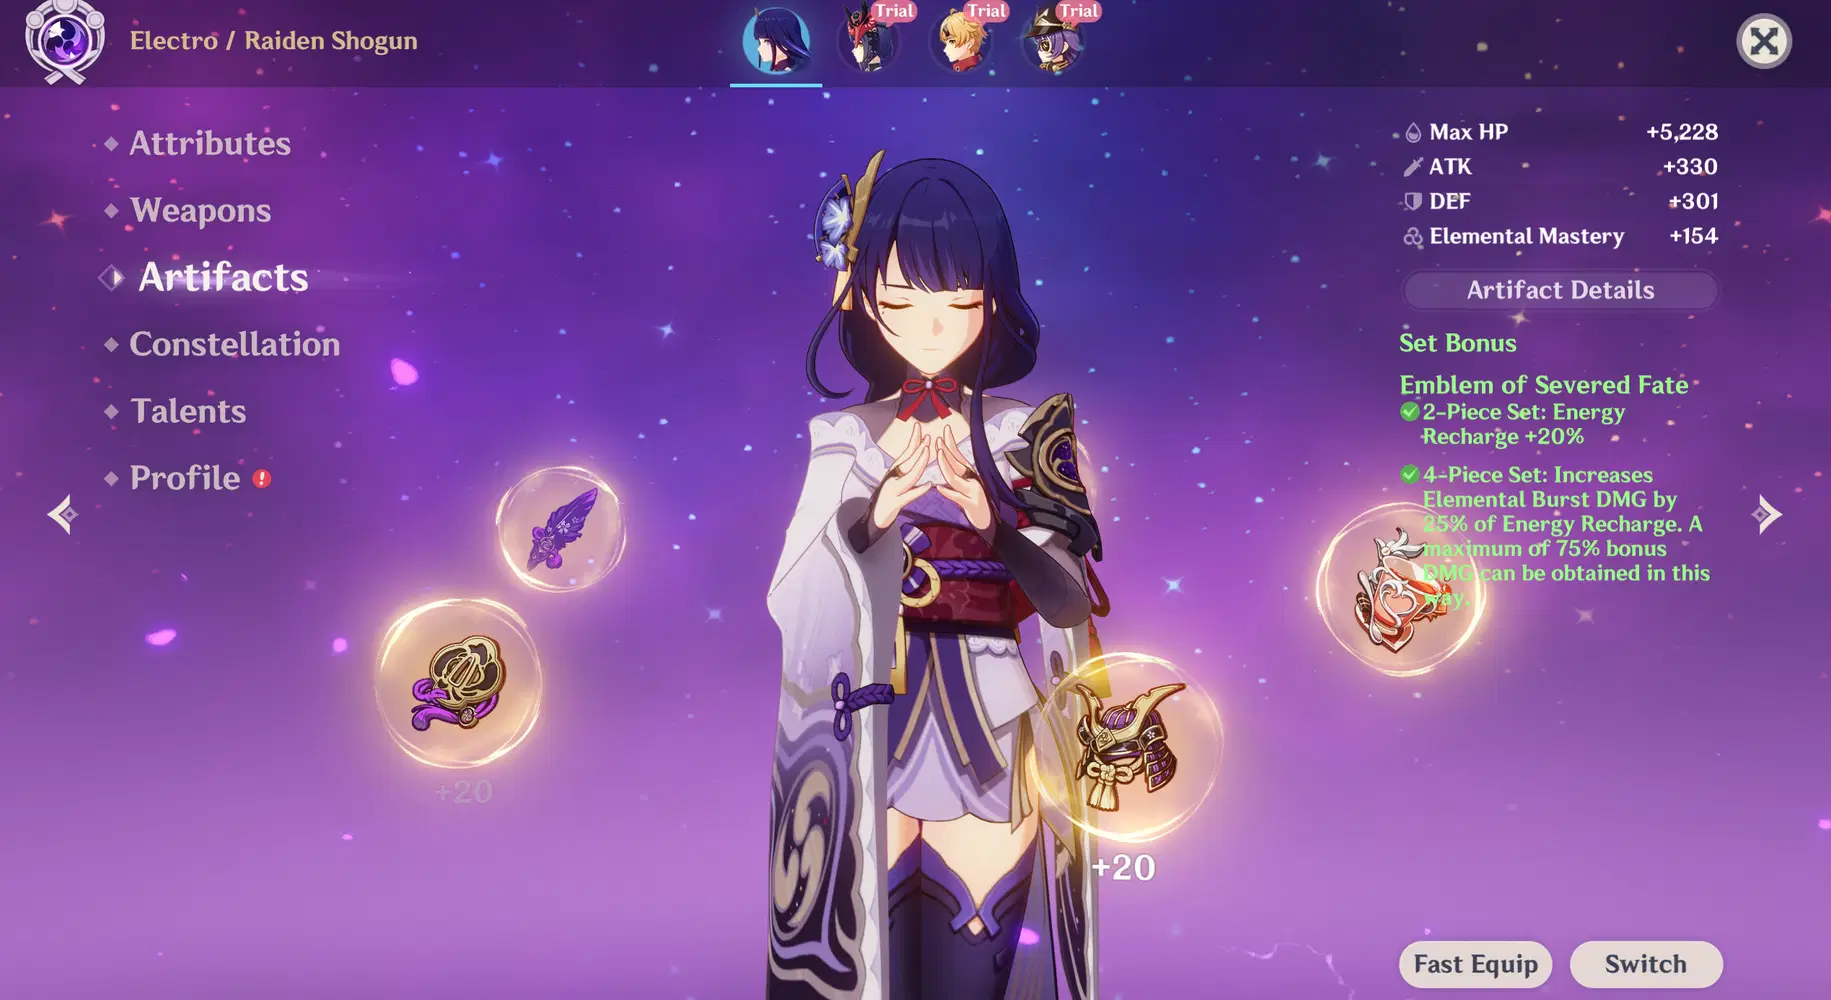
As an archon, Raiden gets a whole team of Trial Characters at her disposal in the challenge. Still, Raiden Shogun will be your main DPS, and you should focus on building her. After all, you can't change the Trial Characters to your own. If you used her for a long time, she should have a decent build already.
- Weapon: Engulfing Lightning (5⭐) > "The Catch" (4⭐)
- Artifact: Emblem of Severed Fate
- Stat: Energy Recharge | Electro | Crit - At best, make sure her ER is above 260%, while her Crit Rate is above 60/70%. You will get Crit DMG bonus from the stage buff
- Talent: Prioritize Elemental Burst > Elemental Skill > Normal Attack
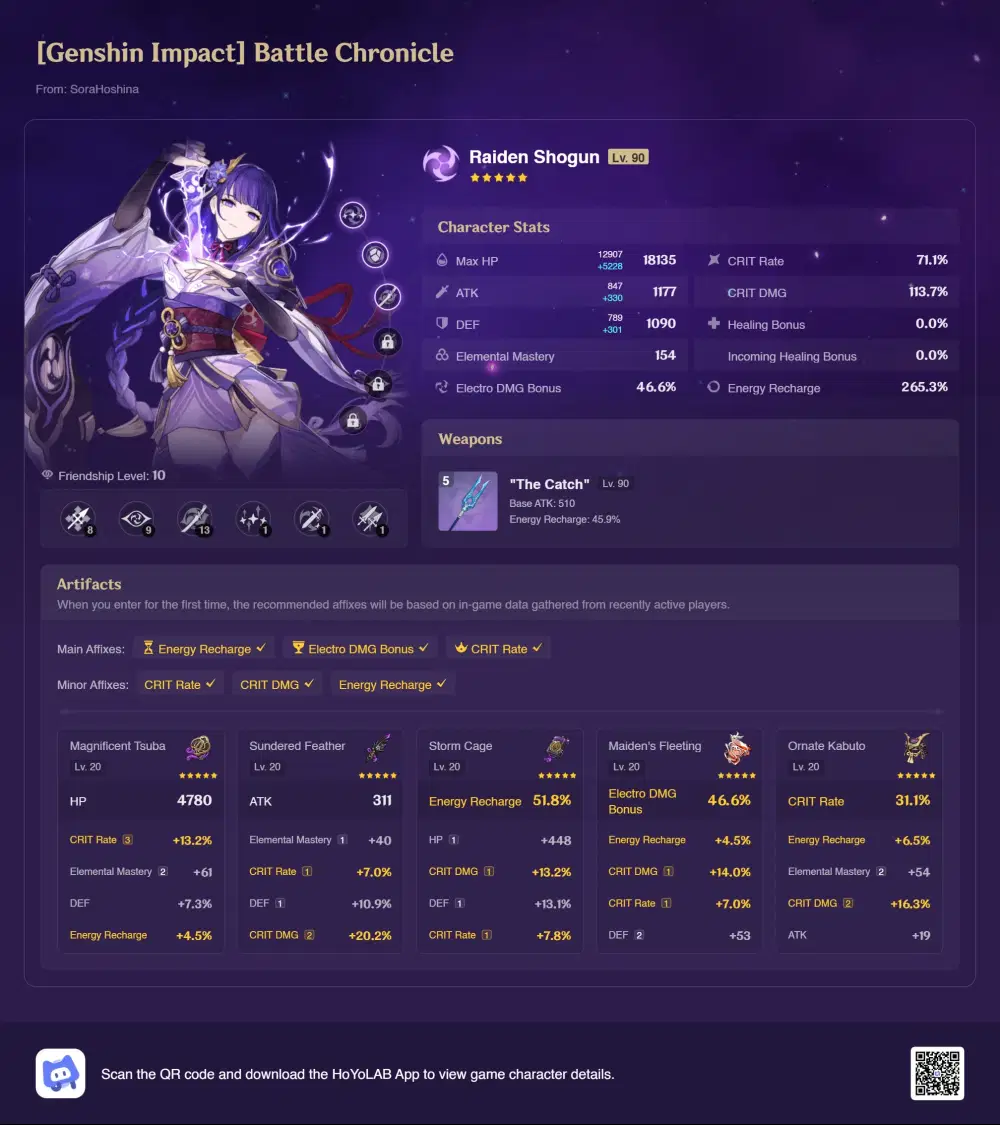
The following is my Raiden build that completes the challenge (in the video above), so you can use it as a reference to build an even better Raiden:
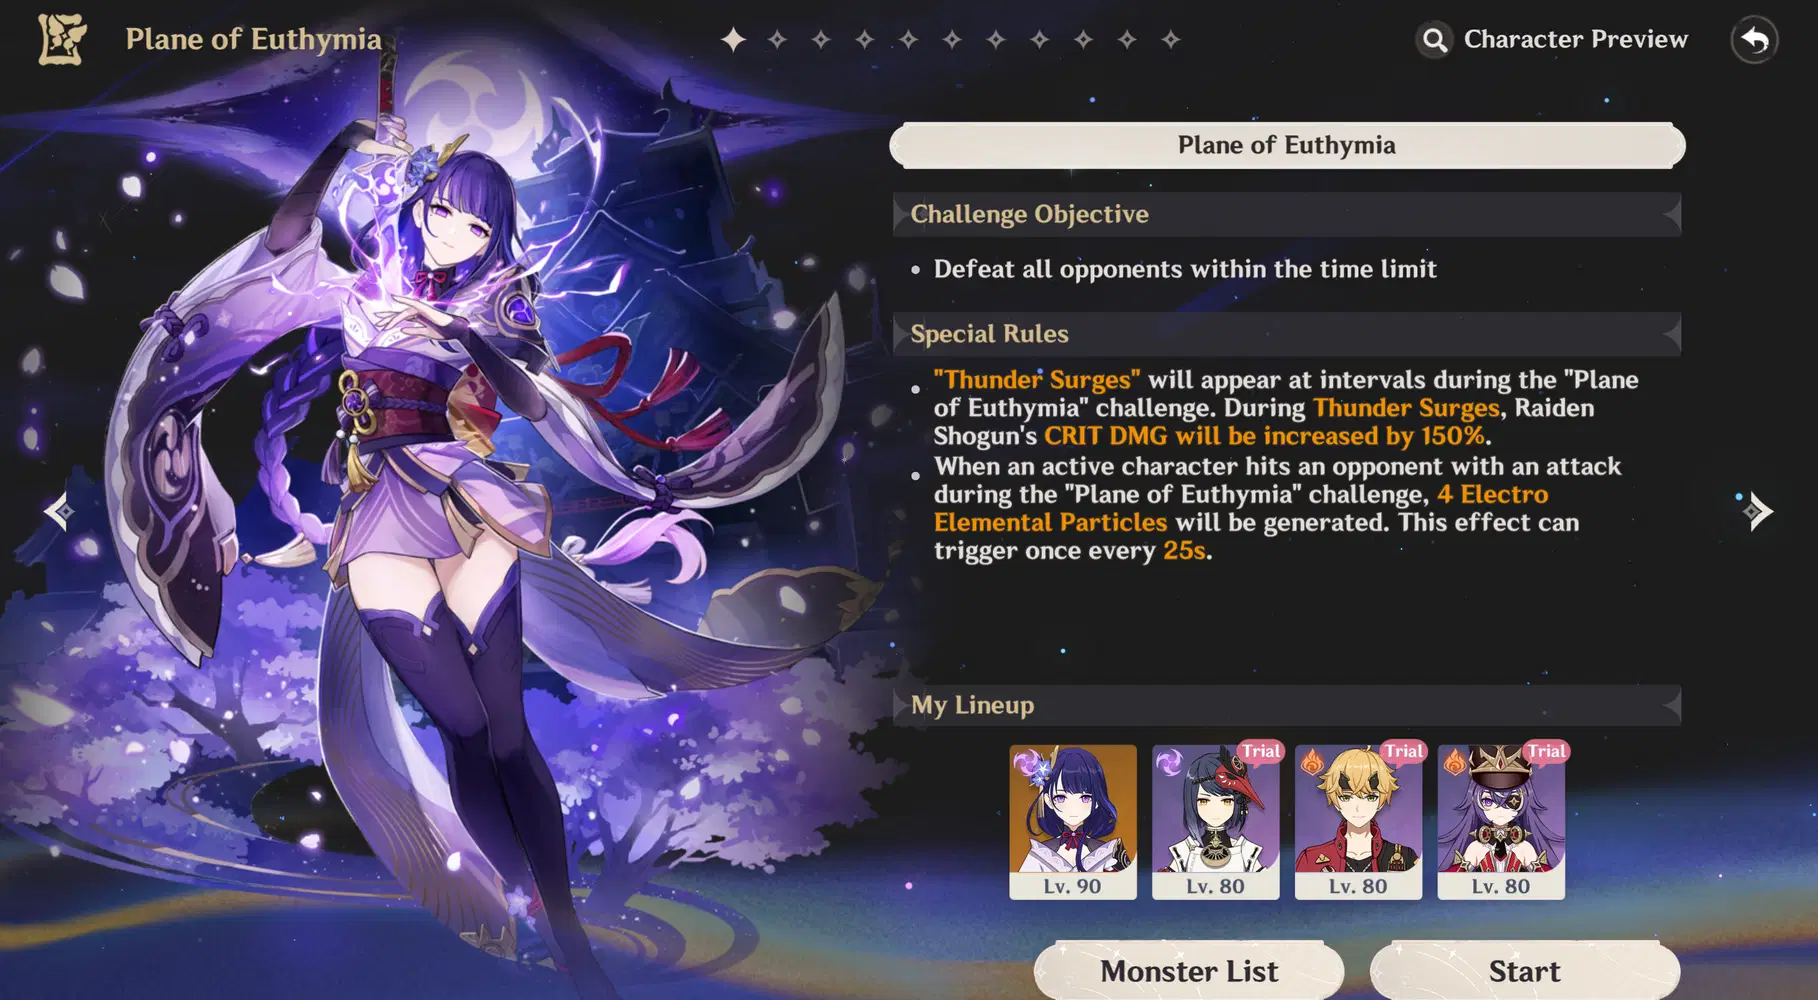
Plane of Euthymia
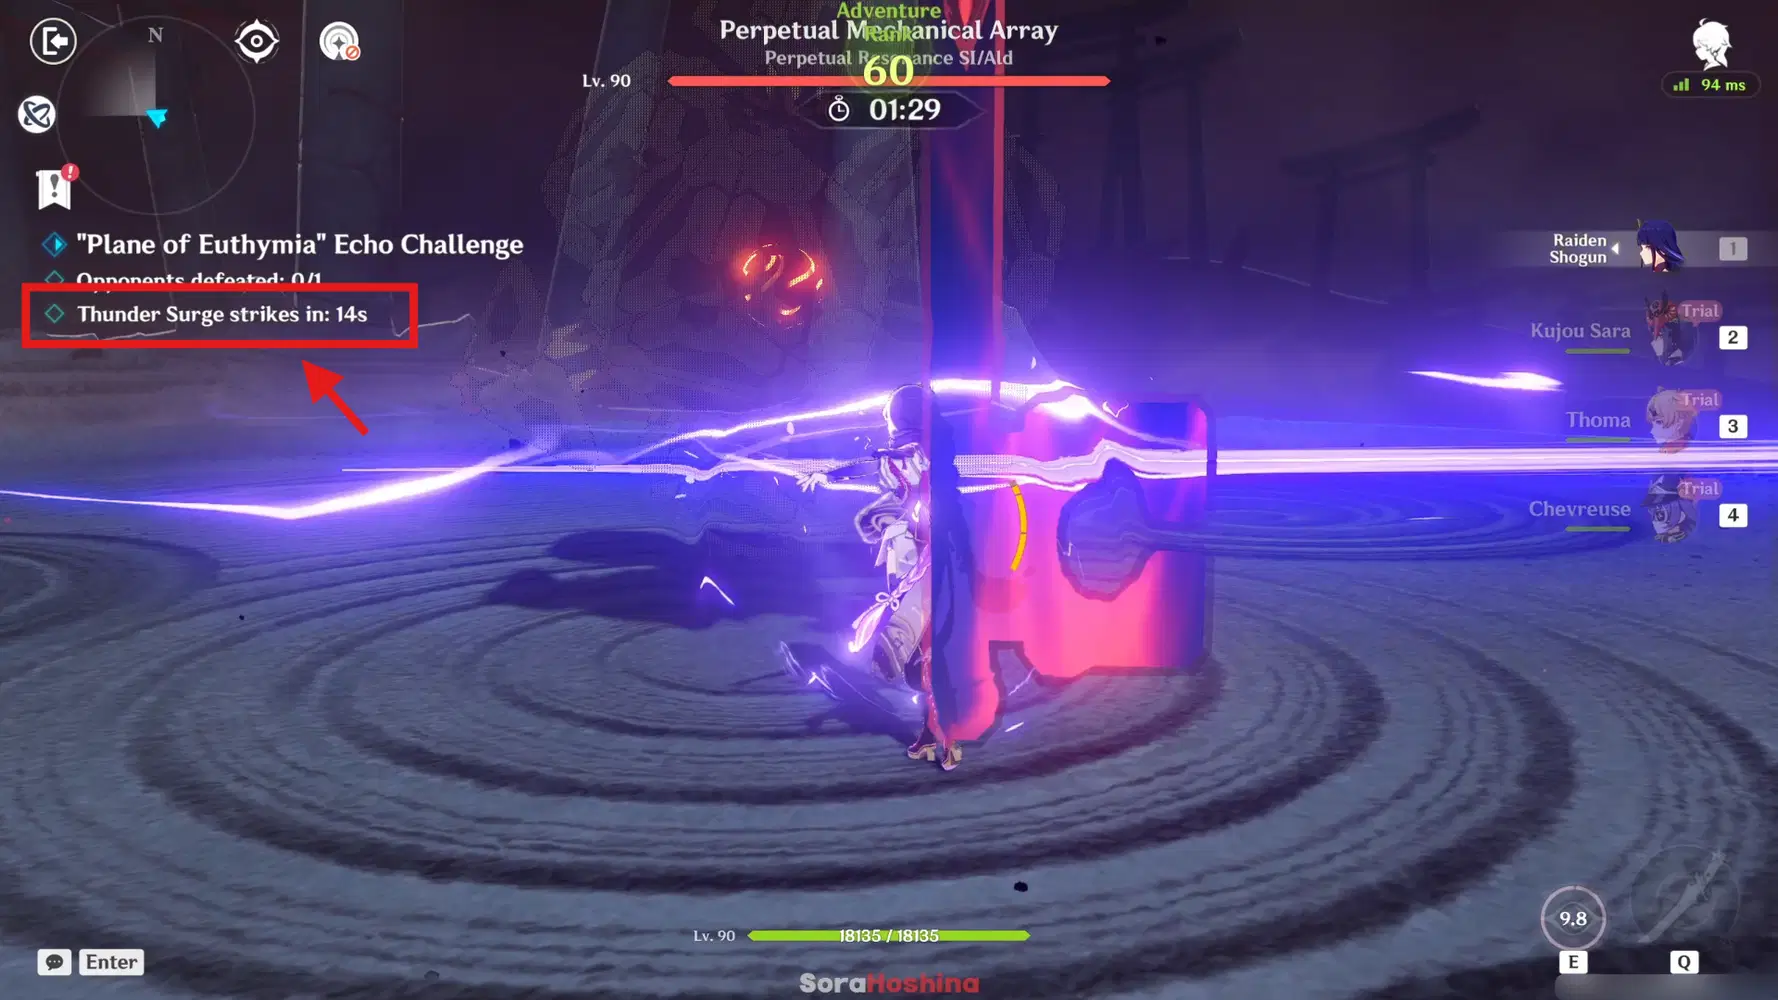
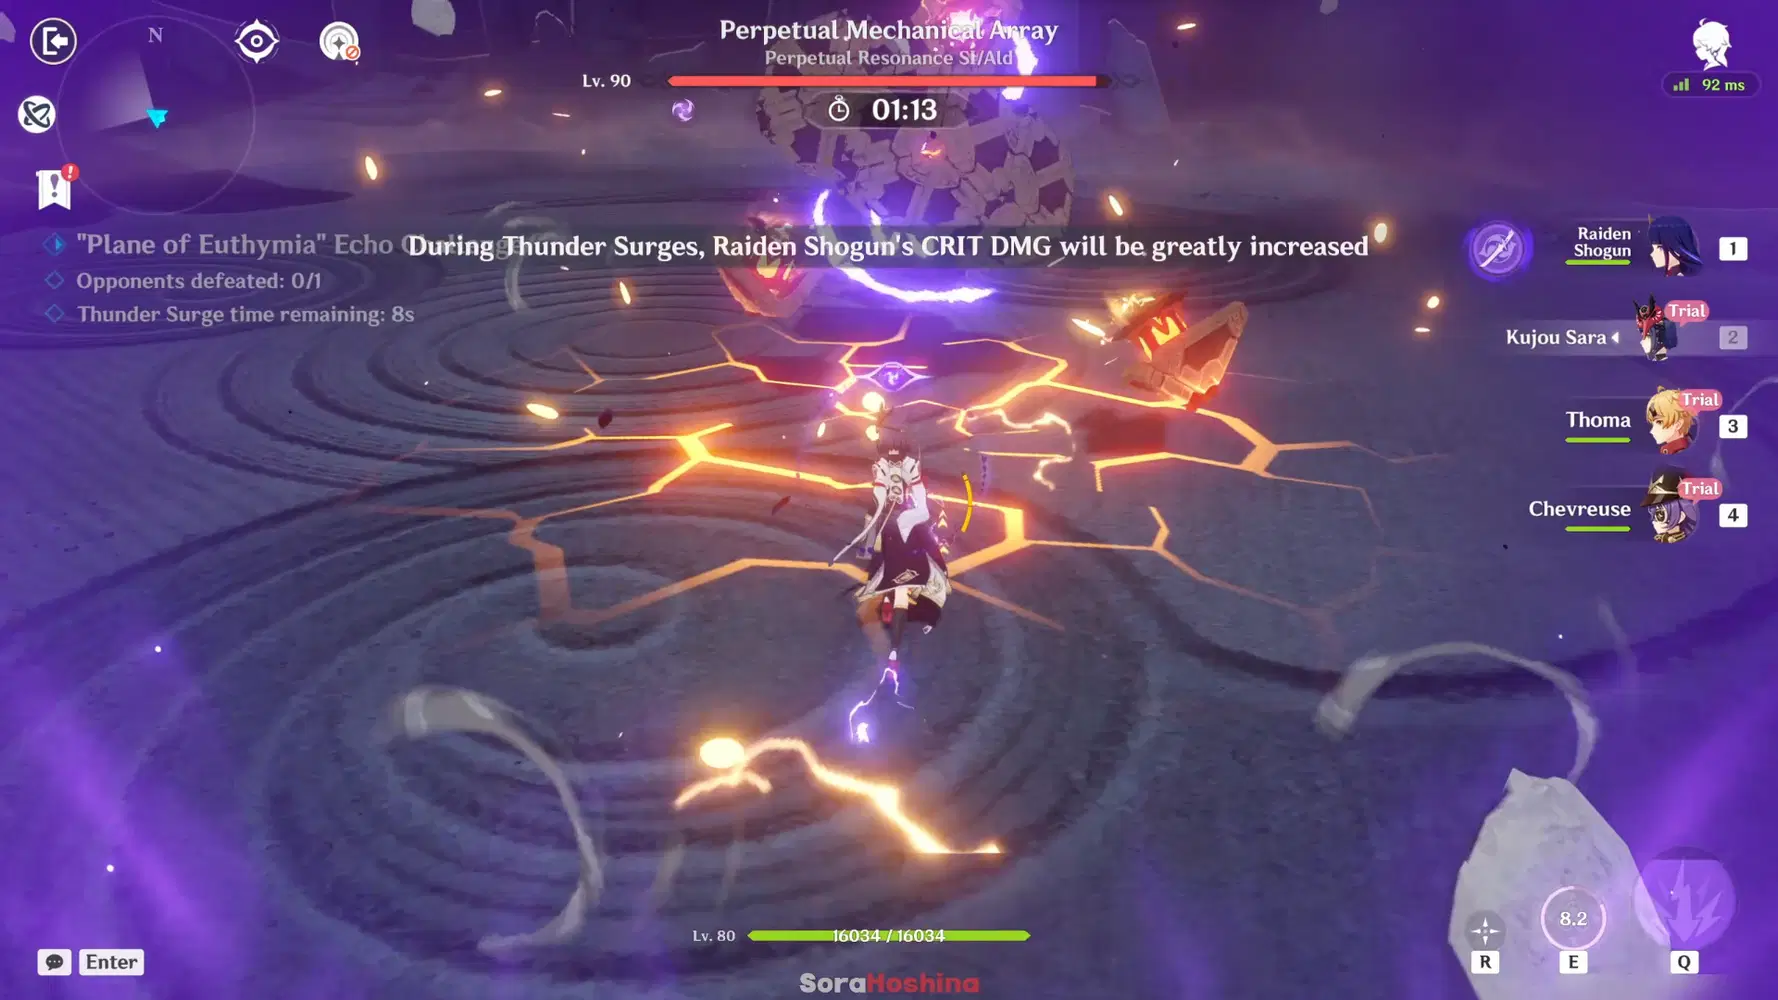
The purple aura around the screen shows that Thunder Surge is active!
- In this challenge, you need to defeat Perpetual Mechanical Array within 1 minute and 30 seconds. To help you, the stage will have a Thunder Surge mechanism, where Raiden Shogun's Crit DMG will be increased by 150%. This is why Crit Rate is important, to make sure Raiden's attack Crit most of the time.
- The Thunder Surge will appear at intervals every 10 seconds, and you can check the remaining time and duration on the left side of the screen. Once Thunder Surge is activated, your screen will glow purple.
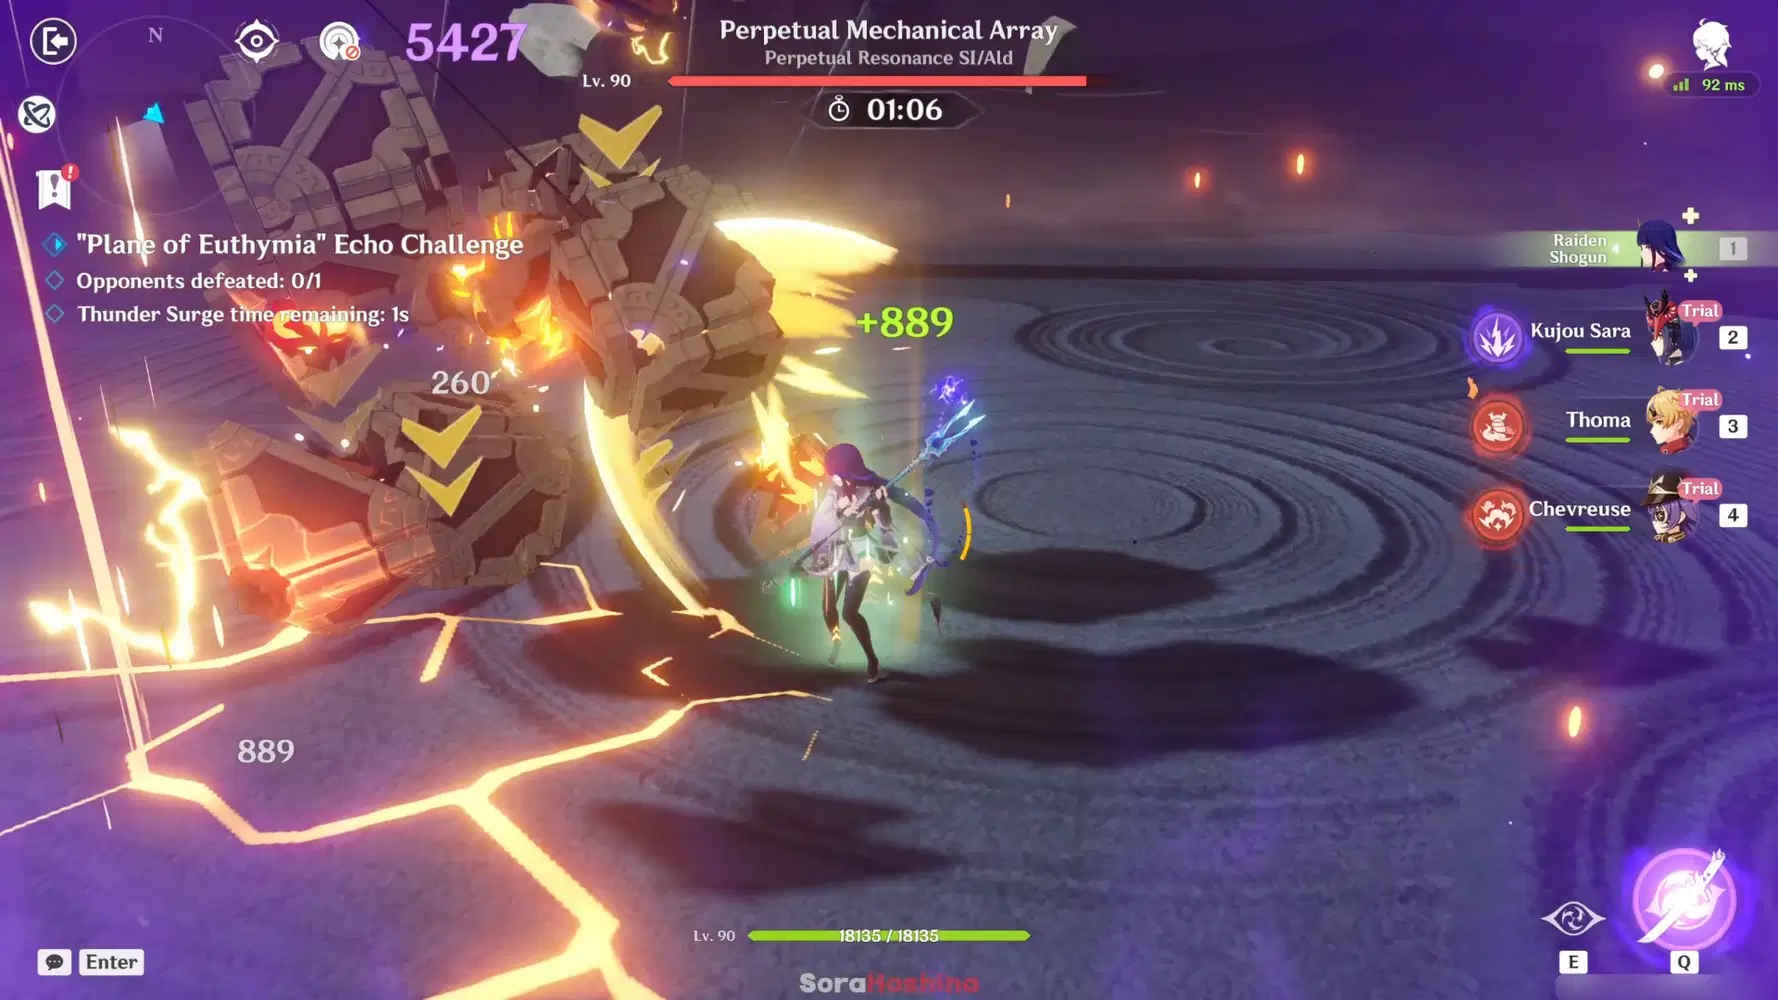
- Since the stage does not give you full Energy right from the start, this is why ER is the most important for Raiden. Once you start the challenge, do the following rotation for 20 seconds: Raiden Skill > Sara Skill & Charged ATK > Thoma Skill > Chevreuse Hold Skill > Raiden NA & Repeat. Ignore the first Thunder Surge duration because you will not have enough Energy to activate all characters' Ultimate.
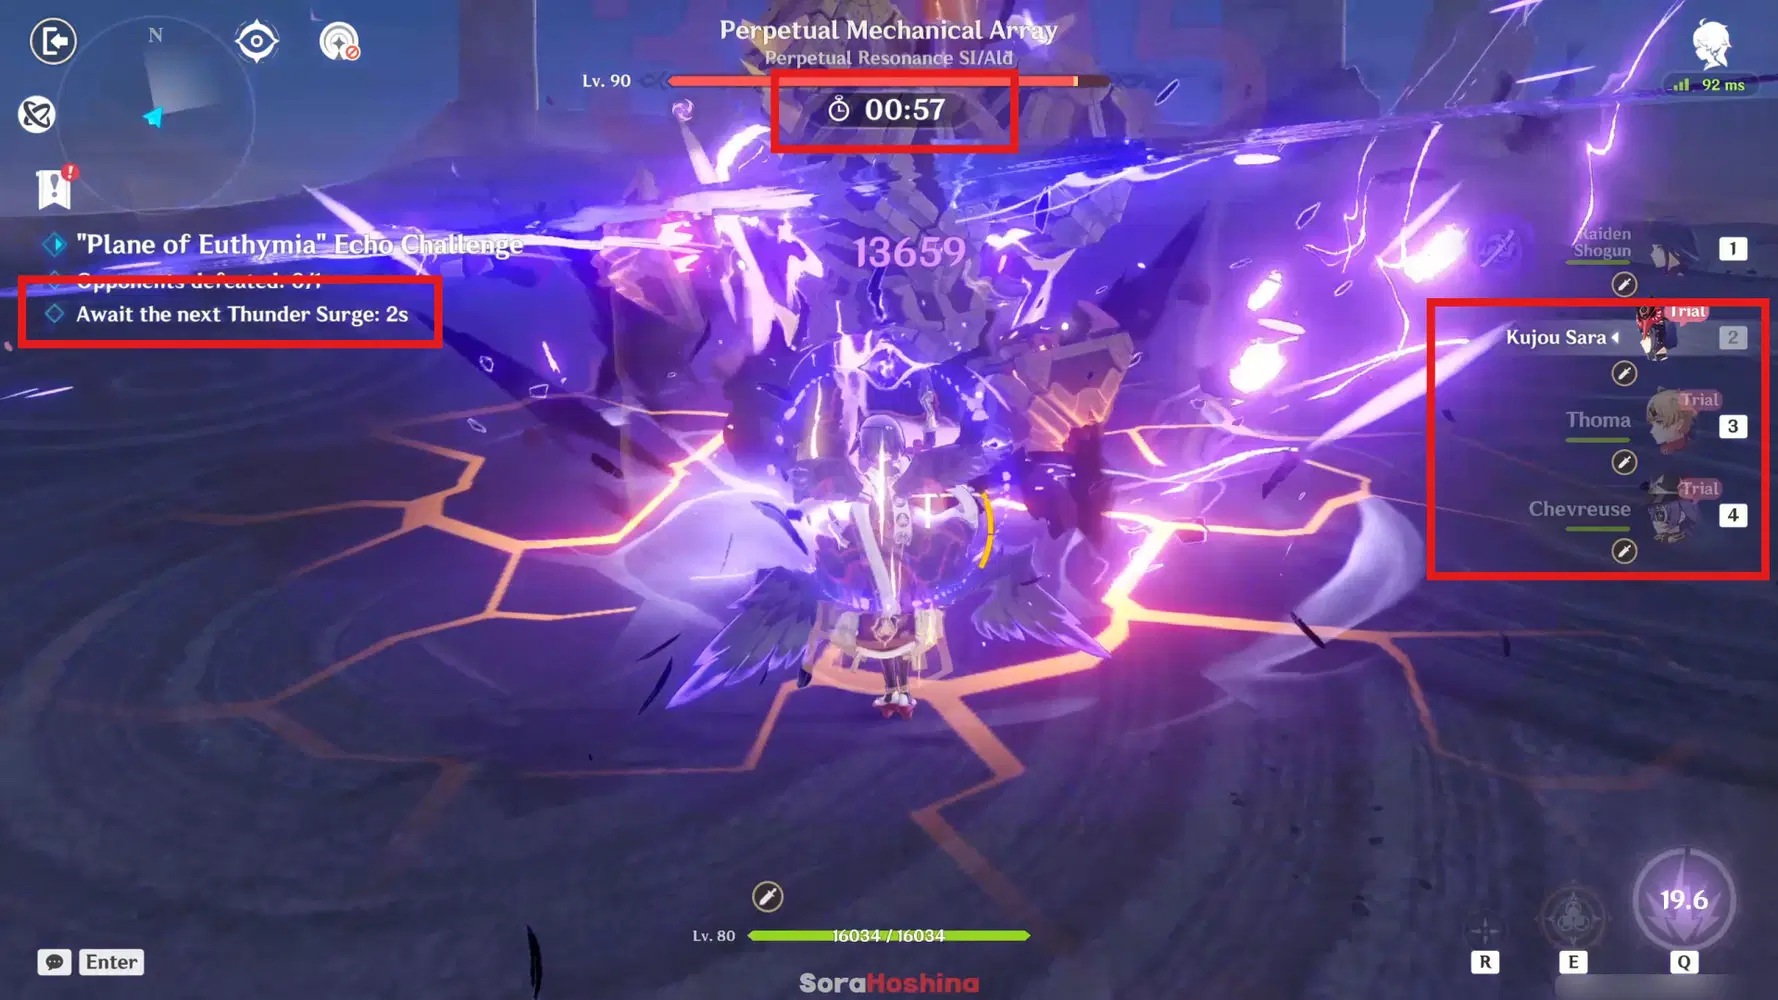
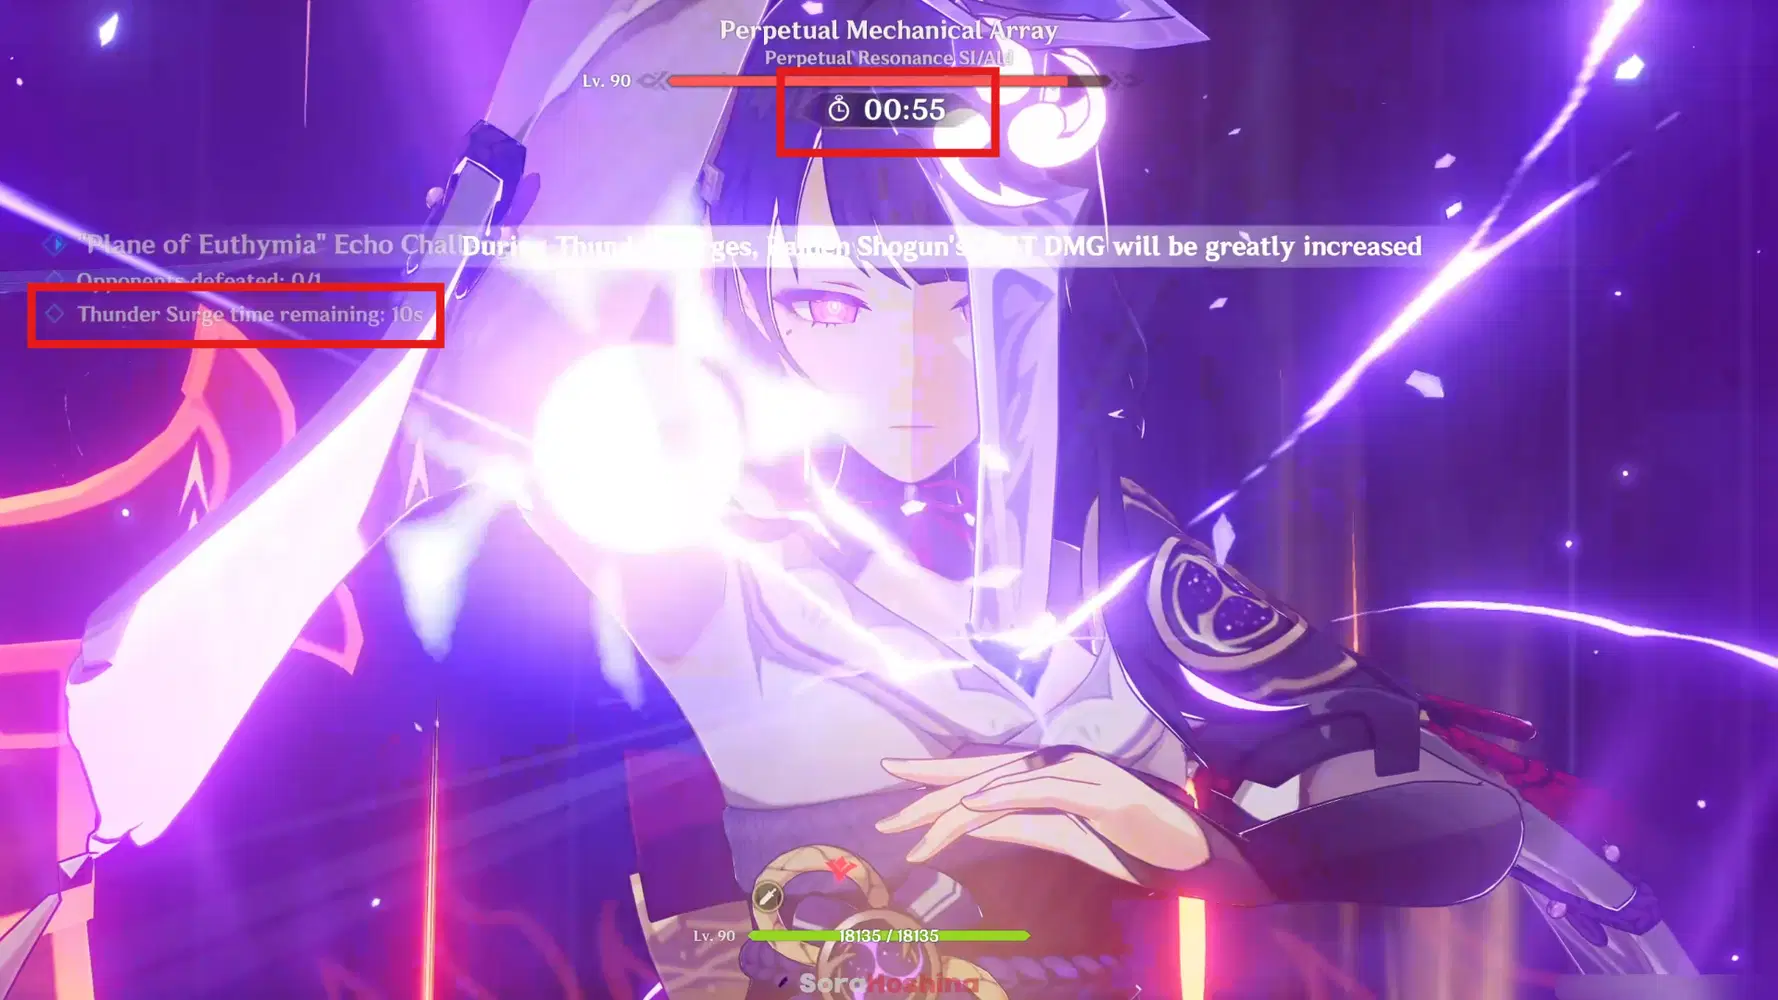
- Then, 5 seconds before the second Thunder Surge is activated (precisely at 1:00 timer on the top screen), use all the supports' Ultimate.
- Afterwards, precisely at 0:55 timer, use Raiden's Ultimate to take full advantage of the Crit DMG bonus from the Thunder Surge and spam her Normal ATK. It's imperative to have Thoma's Burst to be activated beforehand so Raiden's NA will trigger Overload (Of course, and all other characters' Bursts).
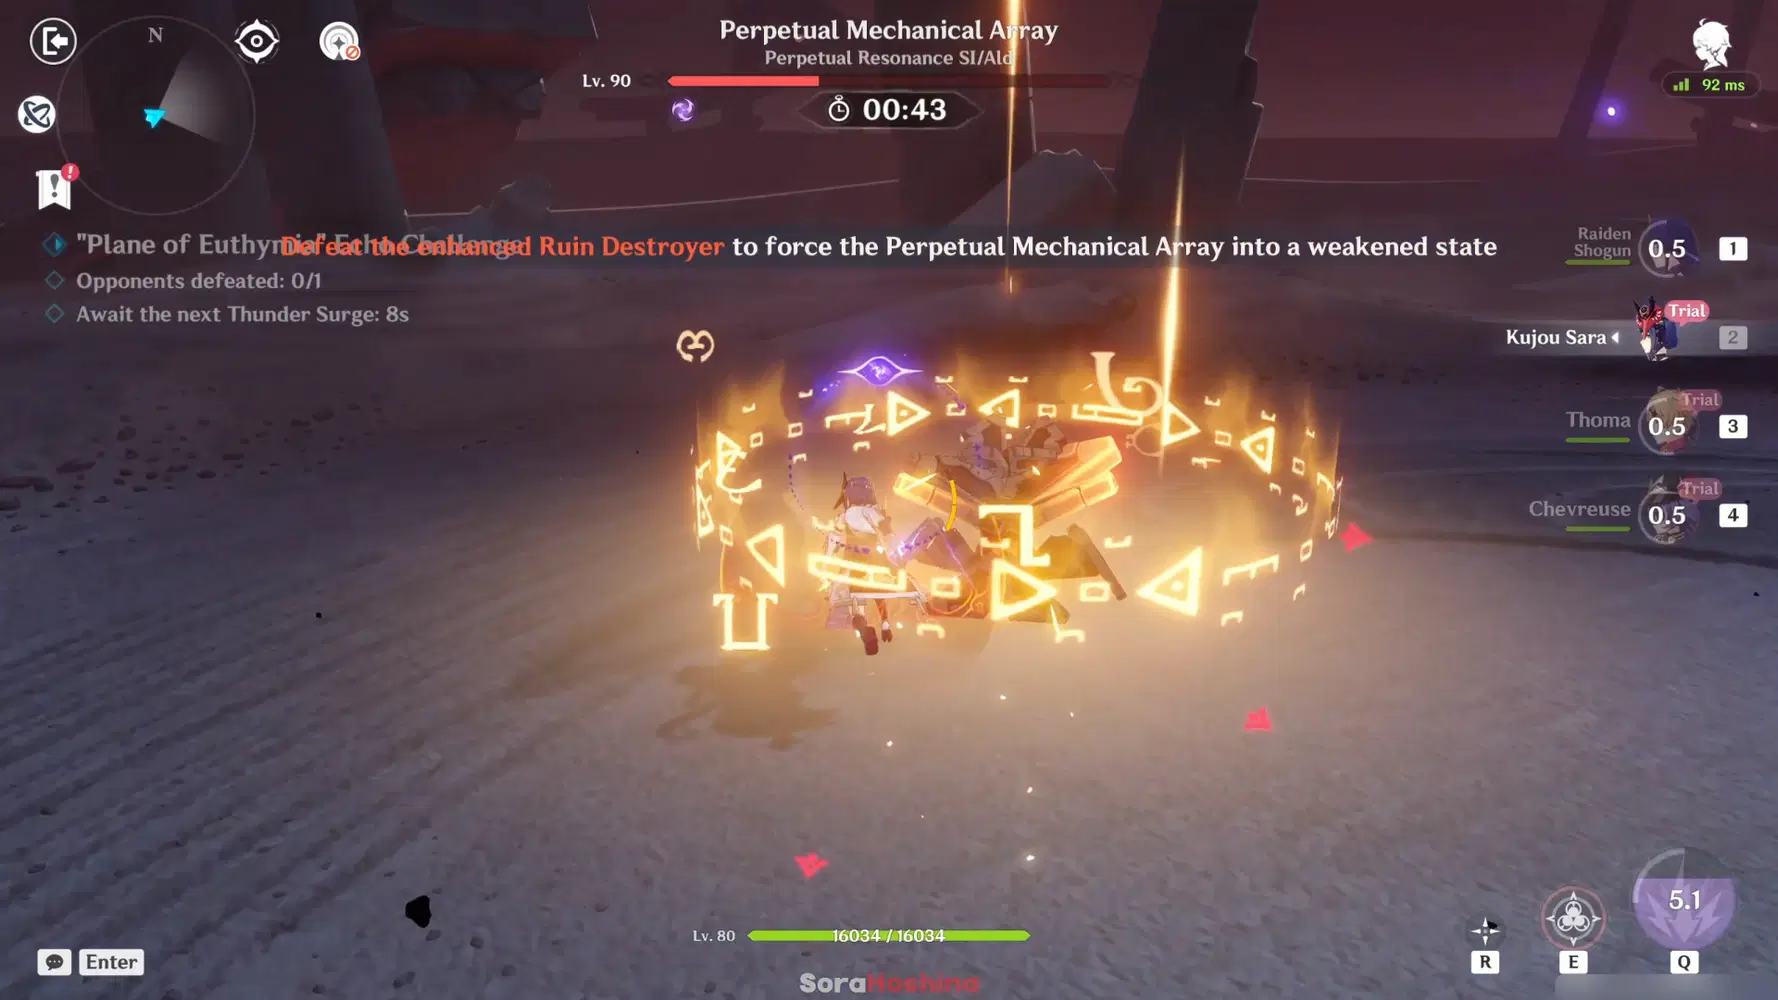
- Once the Burst ends, usually the boss will enter Defensive Mode, where it will launch four Ruin Sentinels. Like the normal boss counterattack, you only need to attack the highlighted Ruin Sentinel.
- Here, your Raiden Ult should be over, so restart the rotation to get back all the Energy.
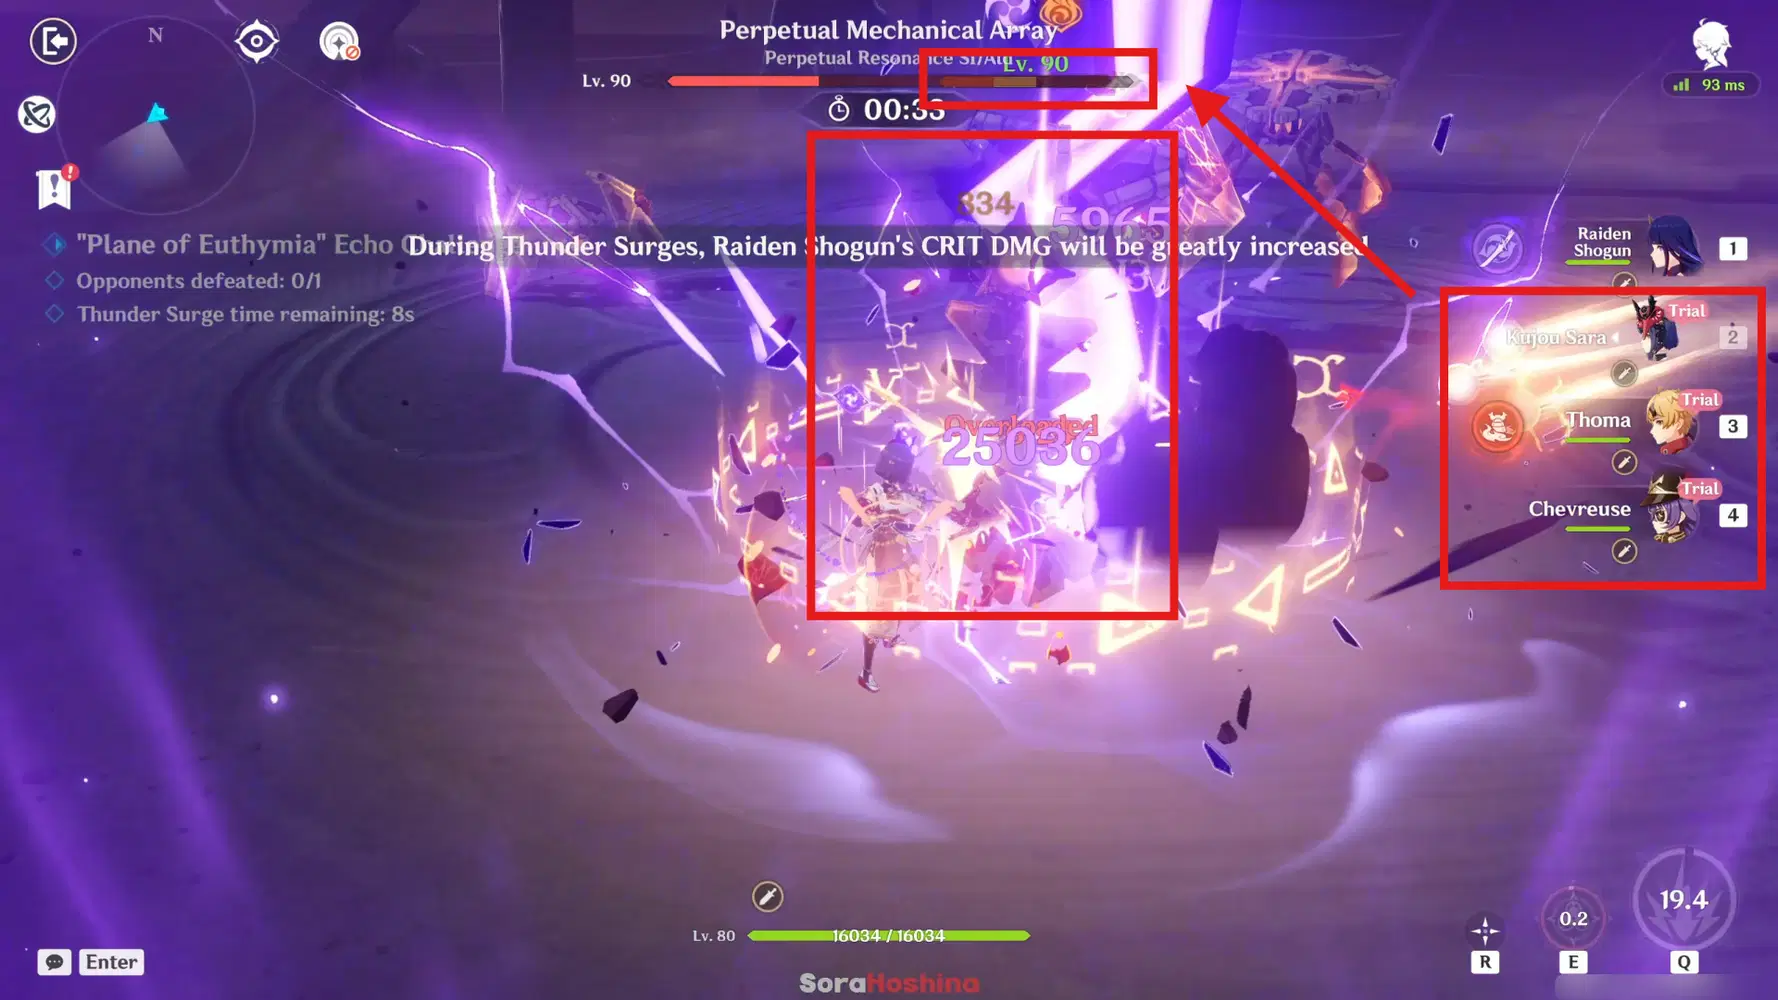
Use support's character Burst to defeat the highlighted Sentinel
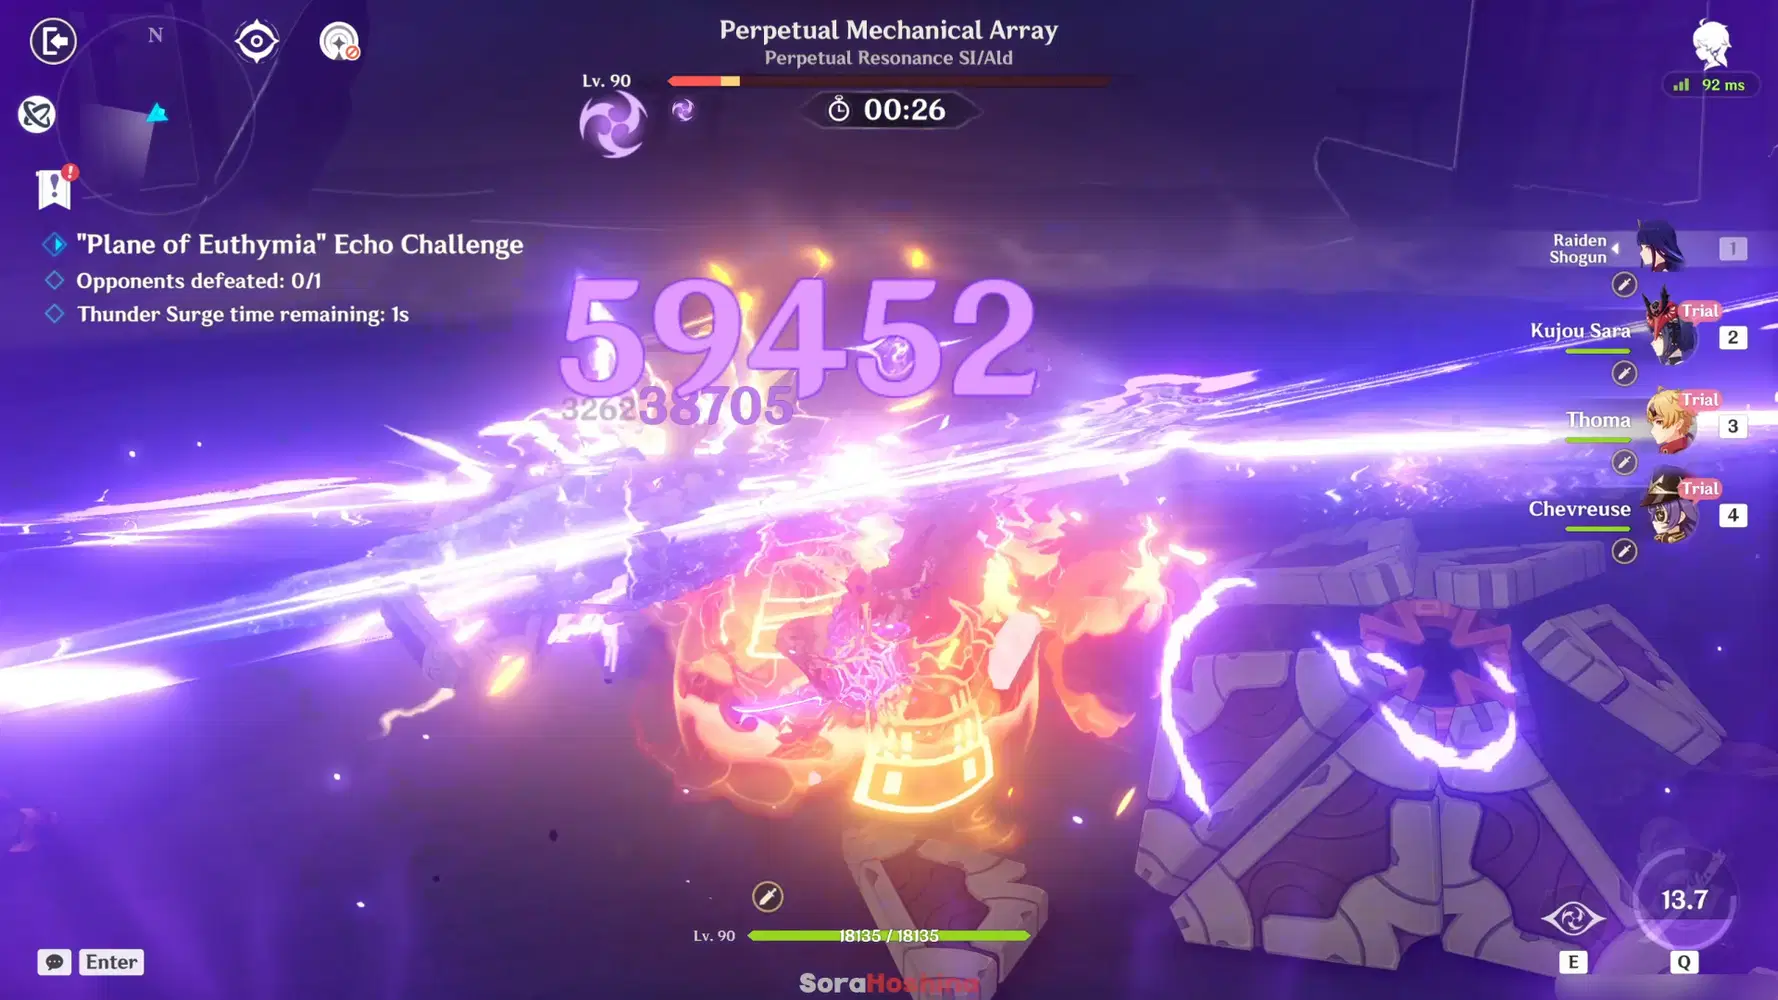
Use Raiden's Burst on the boss main body
- If possible, use all your supports' Burst on the highlighted Ruin Sentinel until its HP reaches 0 (which is possible as Sara's Burst deals quite huge damage), and only use Raiden's Burst near the main body of the boss so you don't waste her huge first hit damage. Of course, this is not easy to do as you need to consider the ER issue and the timing of the Thunder Surge. So please watch my video above to see the walkthrough of this challenge!
Envisaged Echoes Shenhe Guide
Video Playthrough
Recommended Shenhe Build
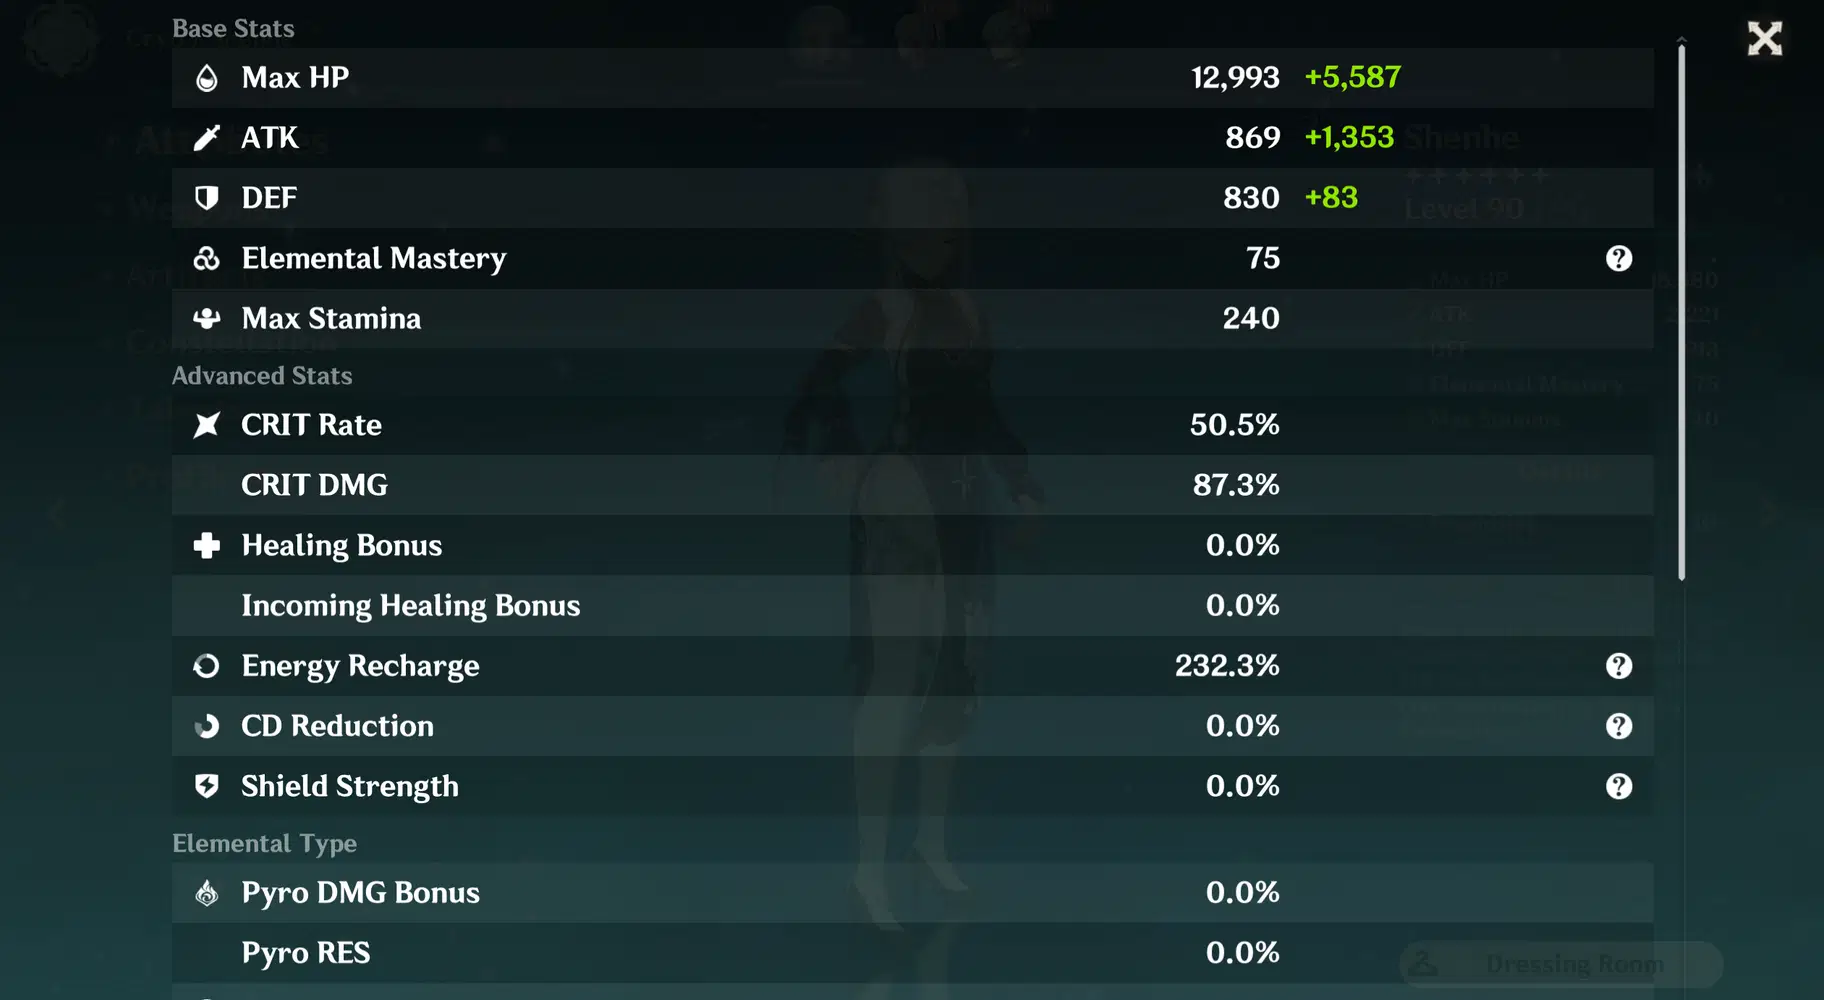
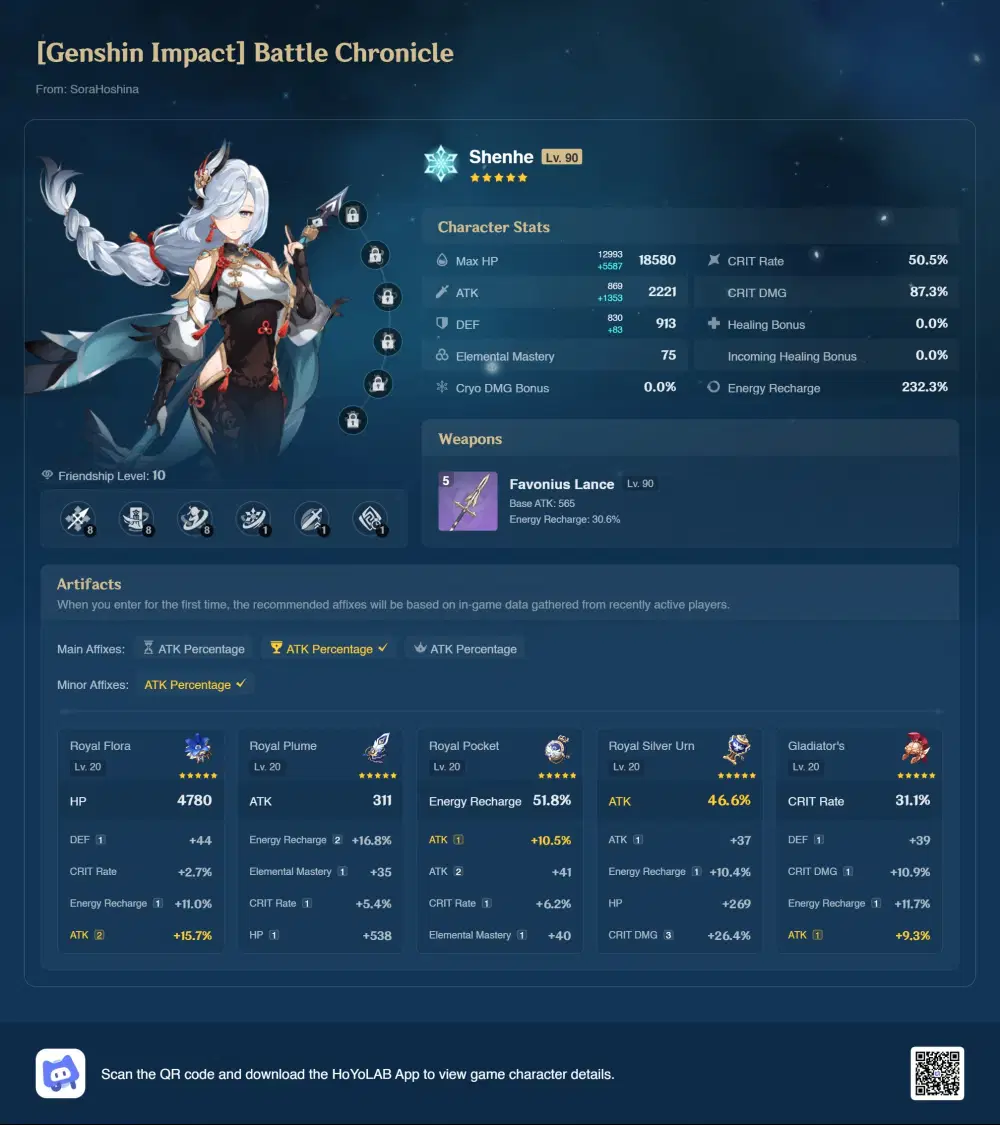
Shenhe will be the support character in this challenge, and you will be given Trial Ayaka and Trial Chongyun as the main DPS. You can't change the Trial Characters to your own characters, so focus only on Shenhe's build. If you already used her for a long time, she should have a decent build.
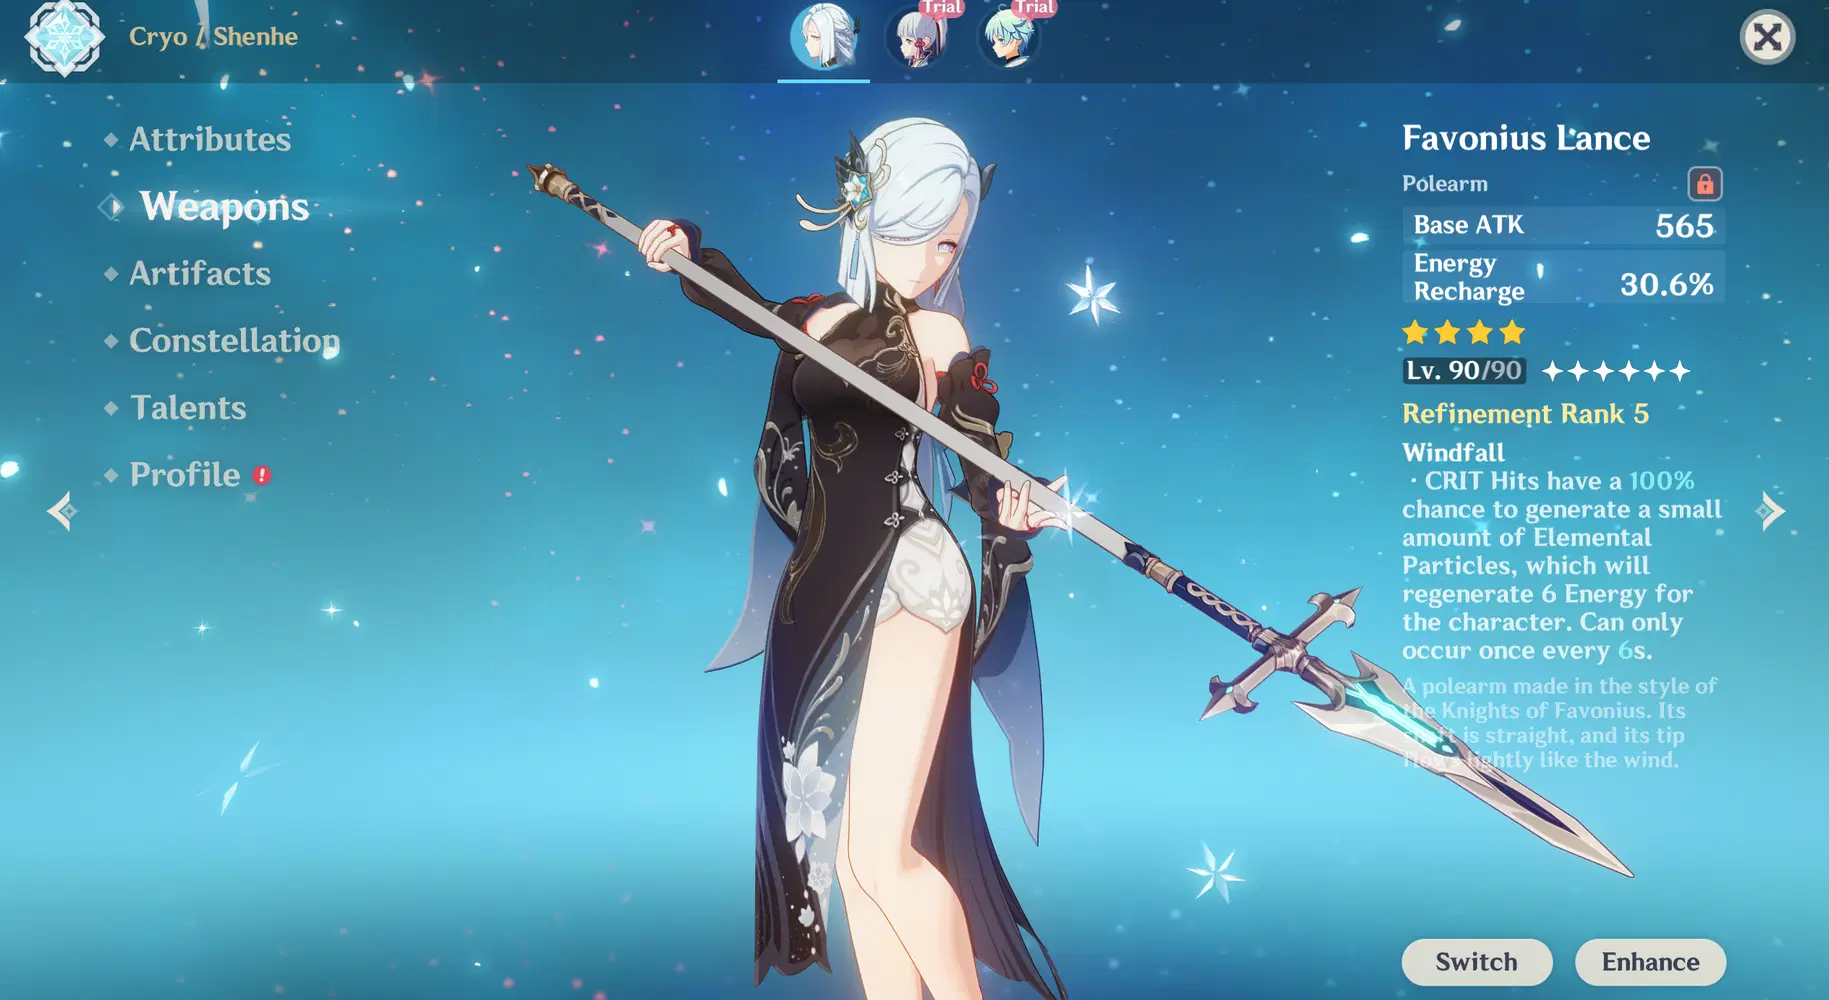
- Weapon: Calamity Queller (5⭐) > Favonius Lance (4⭐)
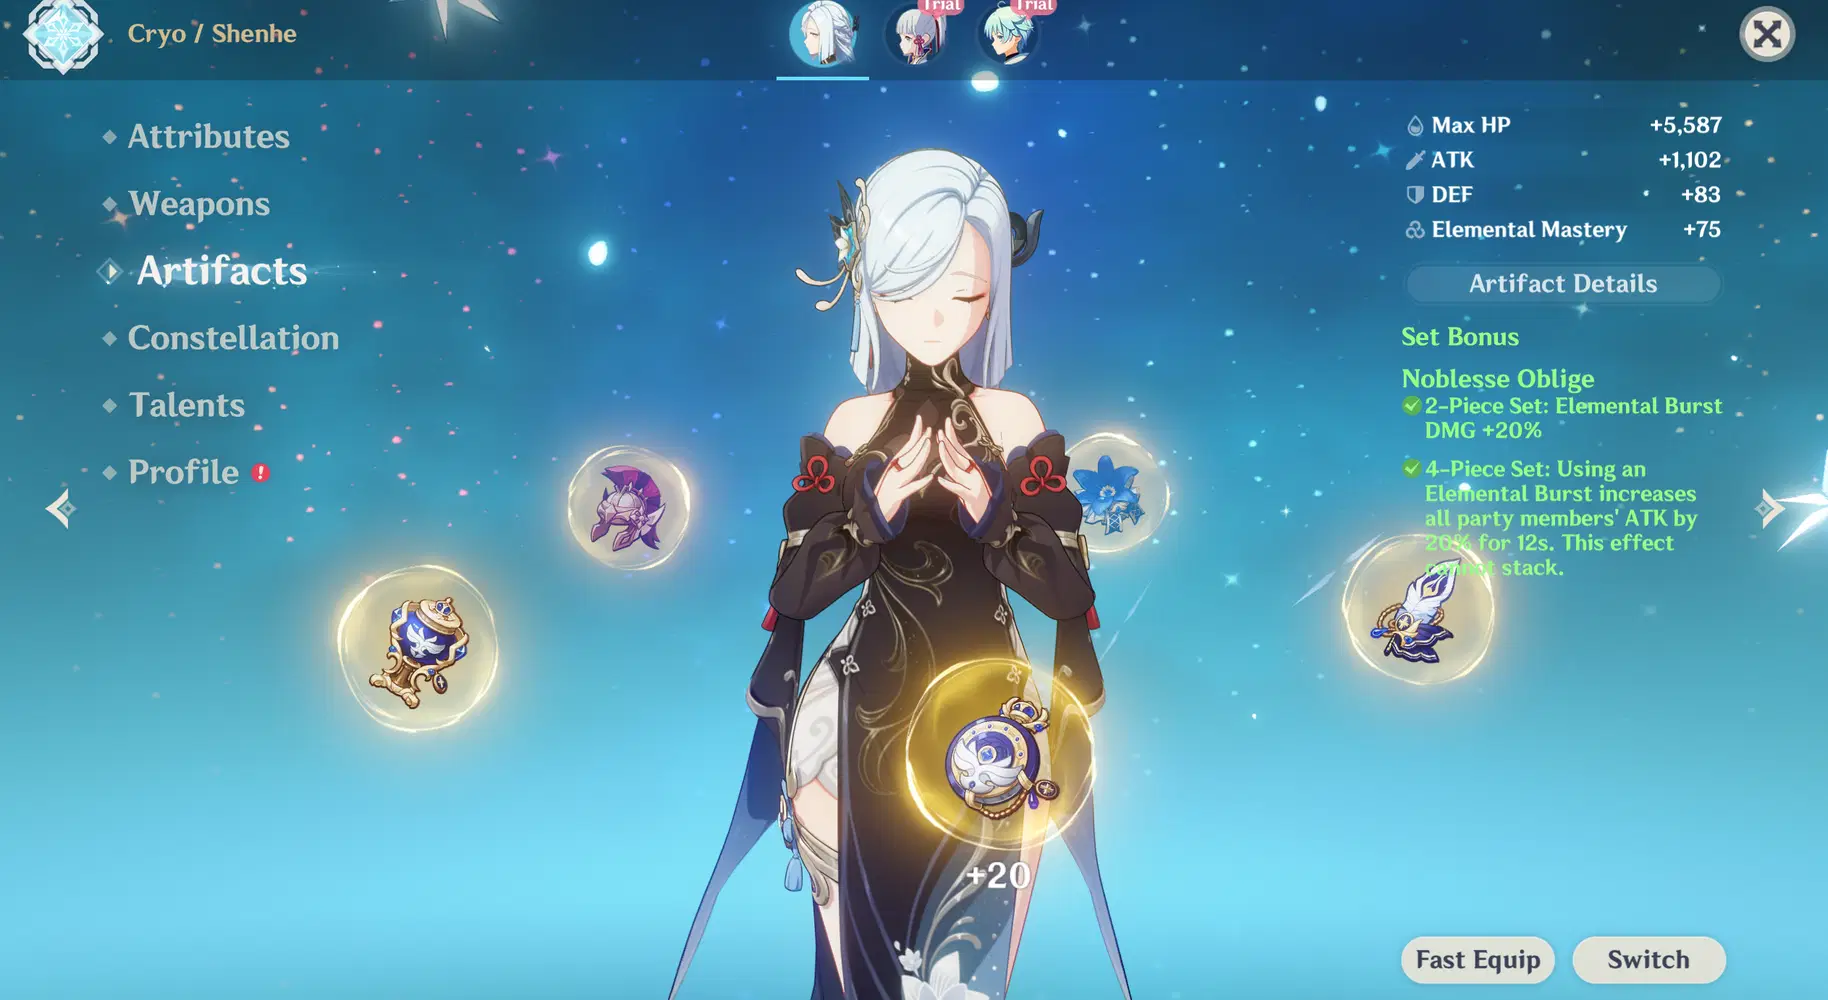
- Artifact: Noblesse Oblige or 2PC ATK+ATK set
- Stat: (ATK | ATK | ATK) or (Energy | ATK | Crit) - If you're using Fav Lance, make sure to get enough Crit to proc the weapon's passive
- Talent: Prioritize Elemental Burst > Elemental Skill > Normal Attack
The following is my Shenhe build that completes the challenge (in the video above), so you can use it as a reference to build an even better Shenhe:
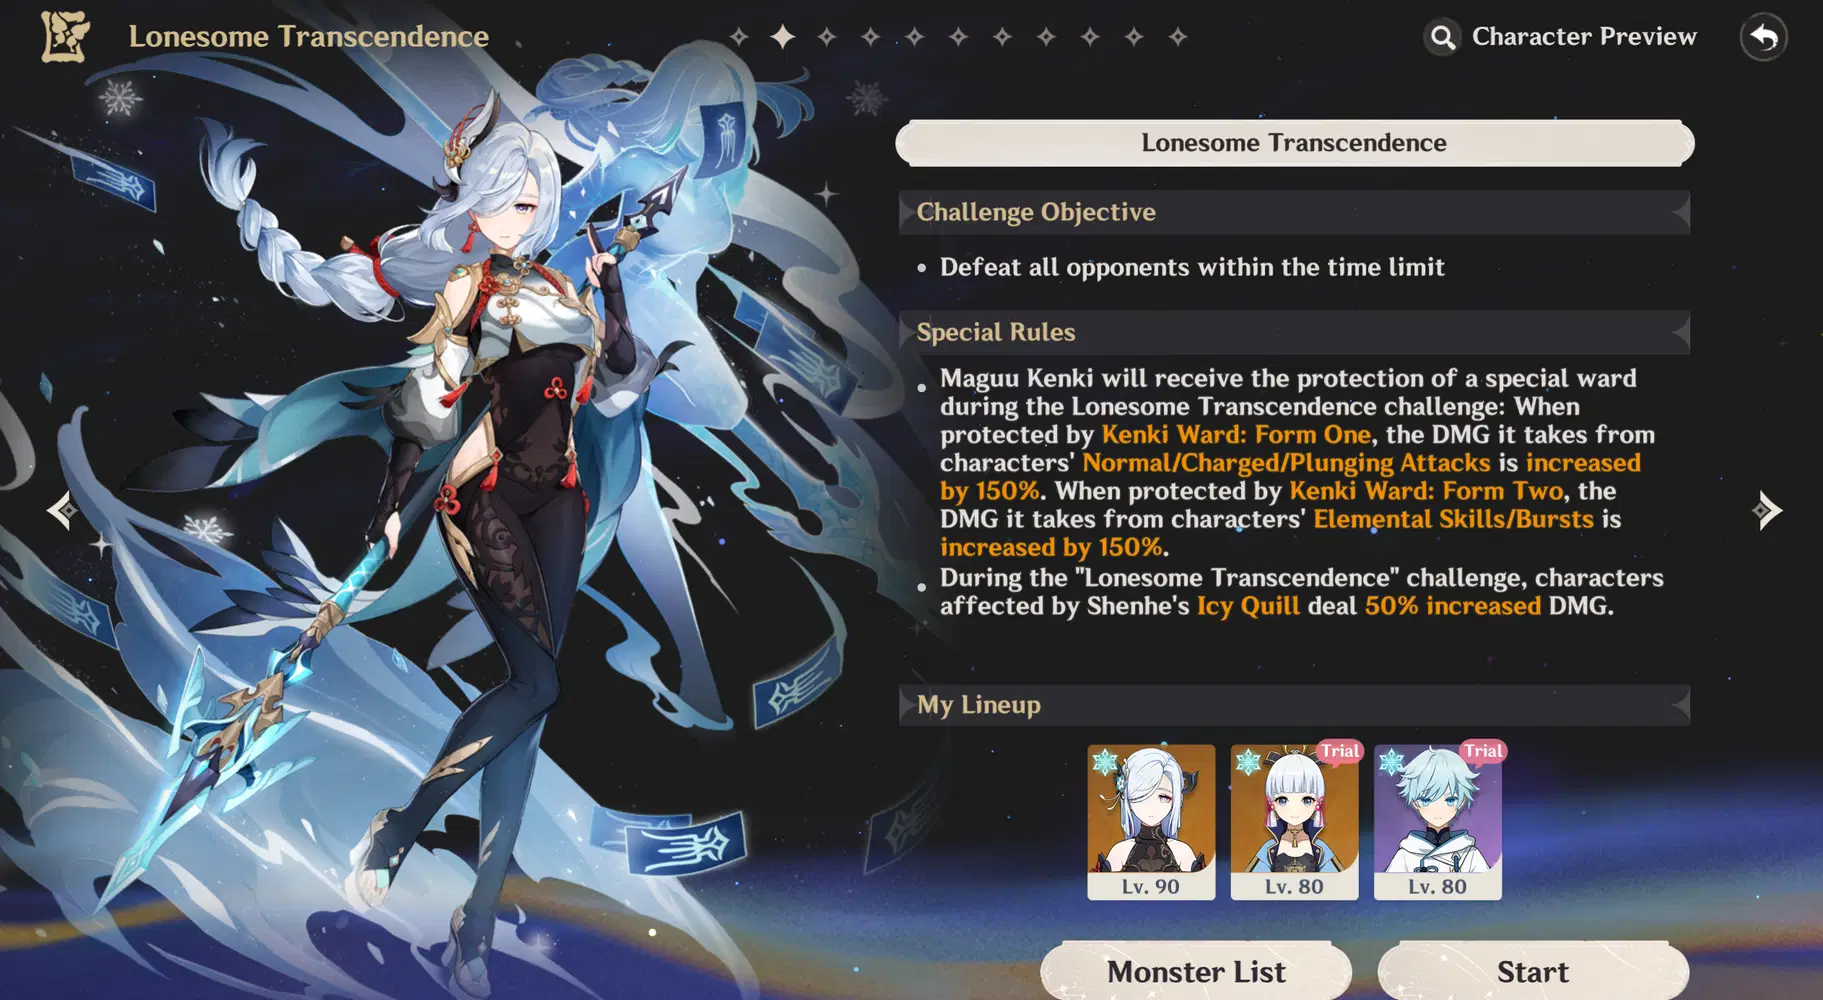
Lonesome Transcendence
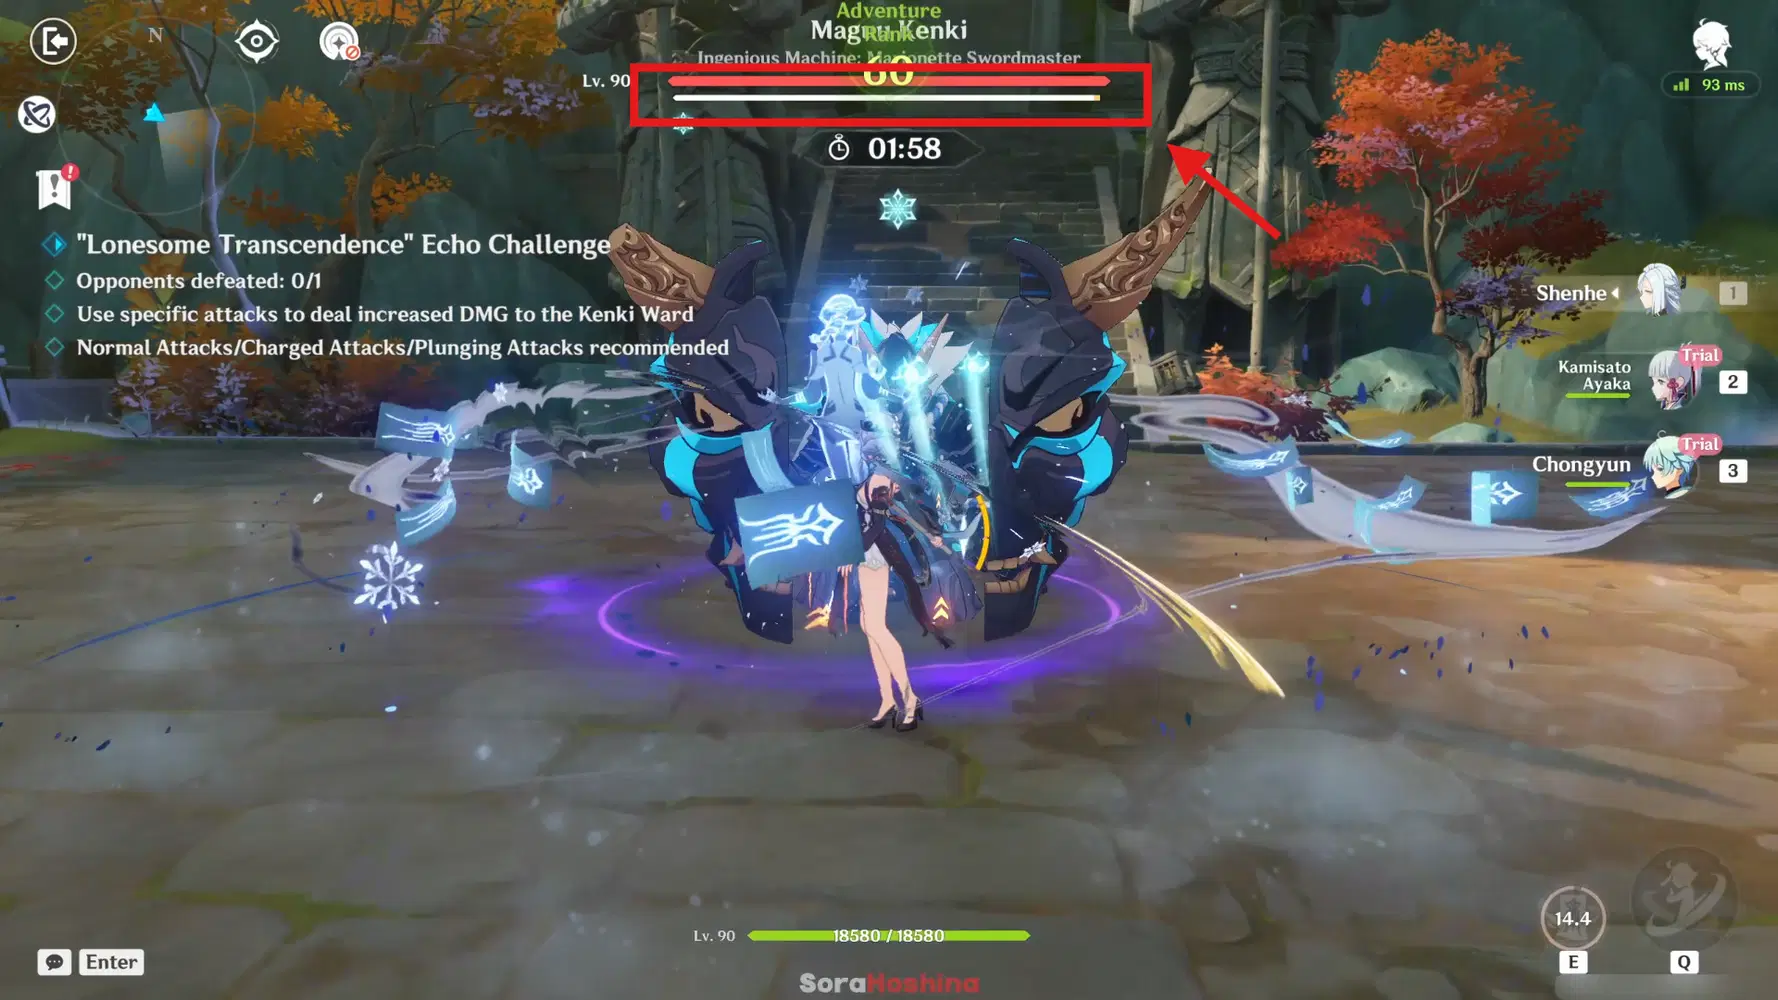
- The first and only wave here is Maguu Kenki, but the stage has a special mechanism. Maguu Kenki will have a special shield during the whole challenge. By depleting the shield, you will automatically deplete its HP, so focus only on its shield.
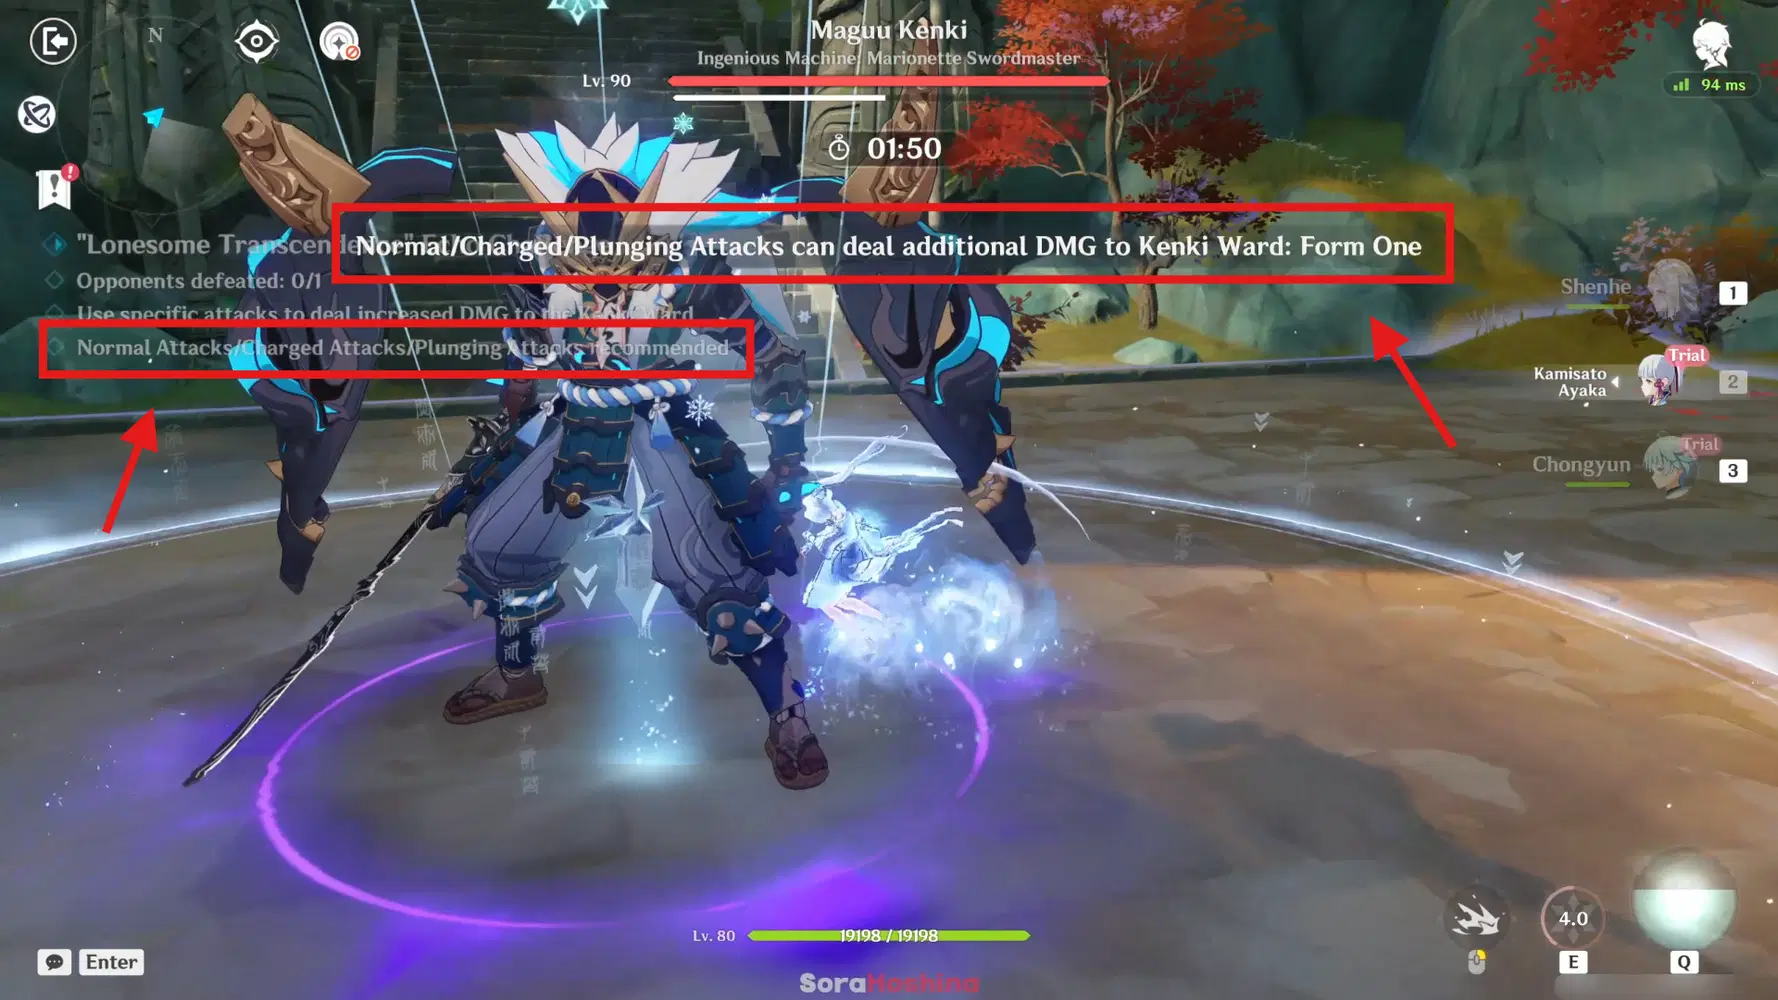
- Now, Maguu Kenki has two forms. In the first form, it will take more DMG from Normal/Charged/Plunging ATK by 150%. While in the second form, it will take more DMG from Elemental Skill/Burst by 150%.To check which form Maguu Kenki is currently on, you can see it on the left side of the screen, and you will also receive a notification on which kind of attacks will deal additional damage.
- But within the 2 minutes, Maguu Kenki's form will be Form 1 > Form 2 > Form 1 > Form 2. Maguu Kenki uses his usual kit in the open world.
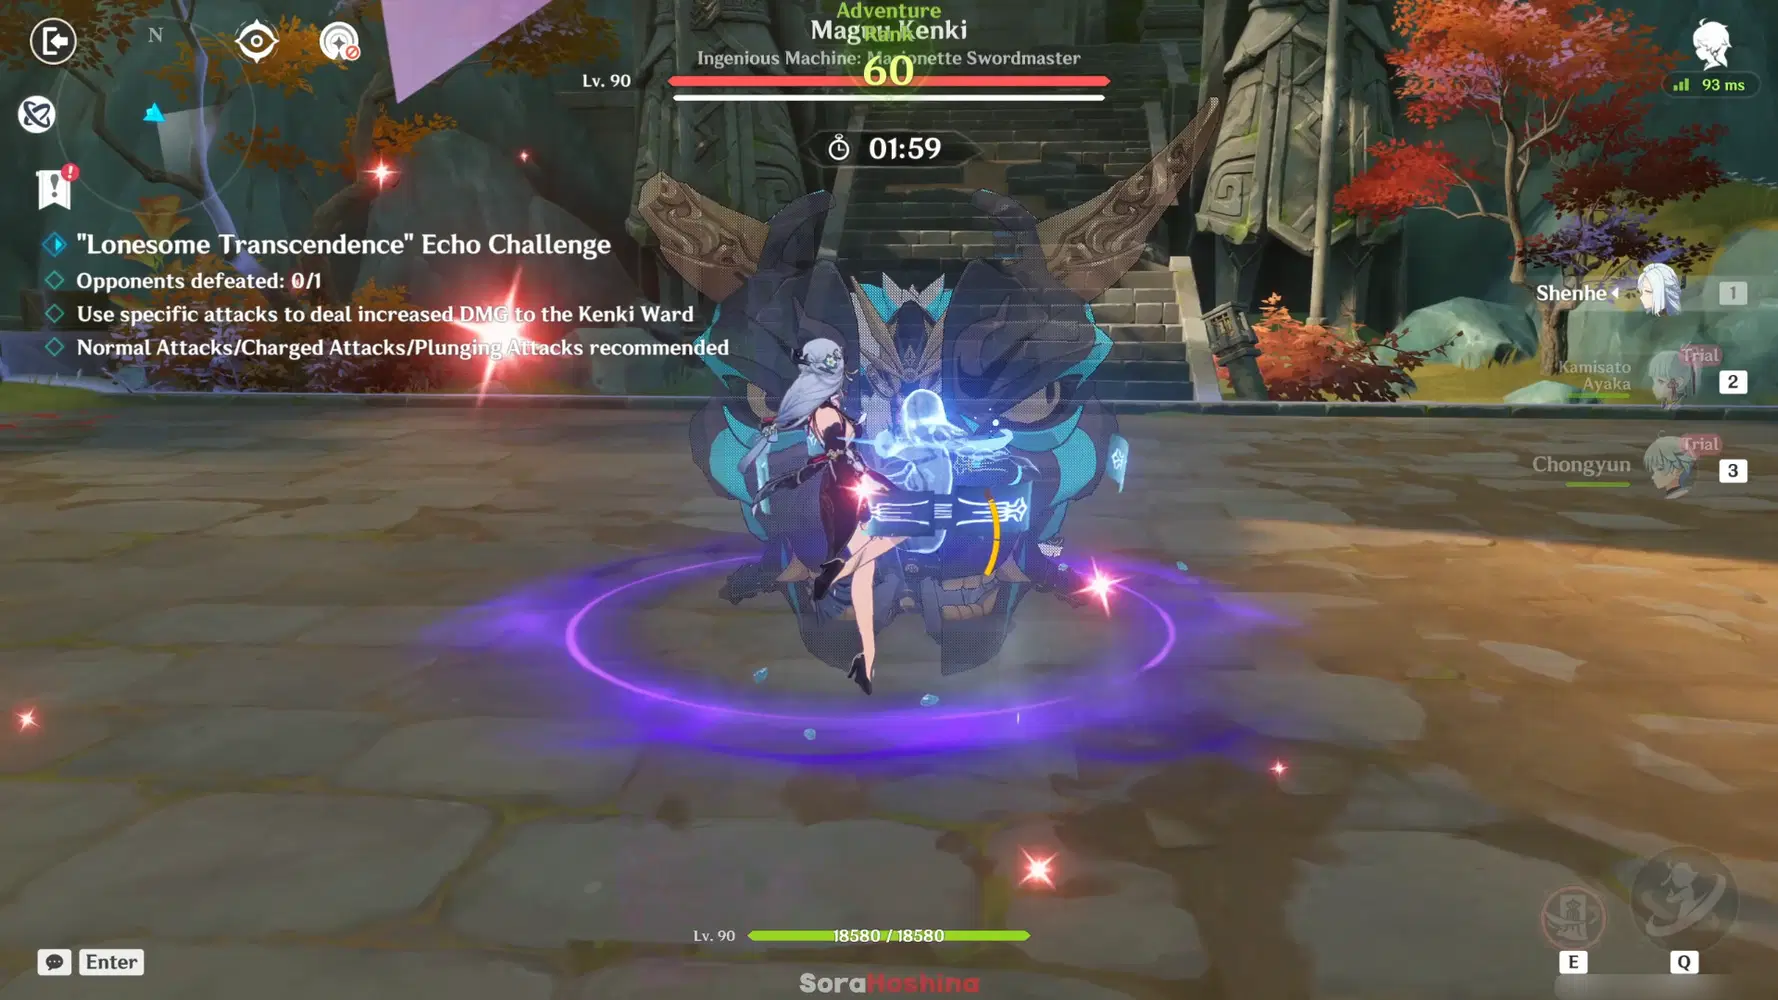
- Starting the battle, you will face Maguu Kenki in Form 1, where you need to focus on Normal/Charged ATK. You don't have full Energy from the start anyway, so you need to collect it. The best rotation here will be: Shenhe Hold Skill > Chongyun Skill > Ayaka Skill, Dash, Normal ATK. Try not to use Ayaka's Charged ATK since it consumes a lot of Stamina, and you want that stamina to avoid the boss's attacks.
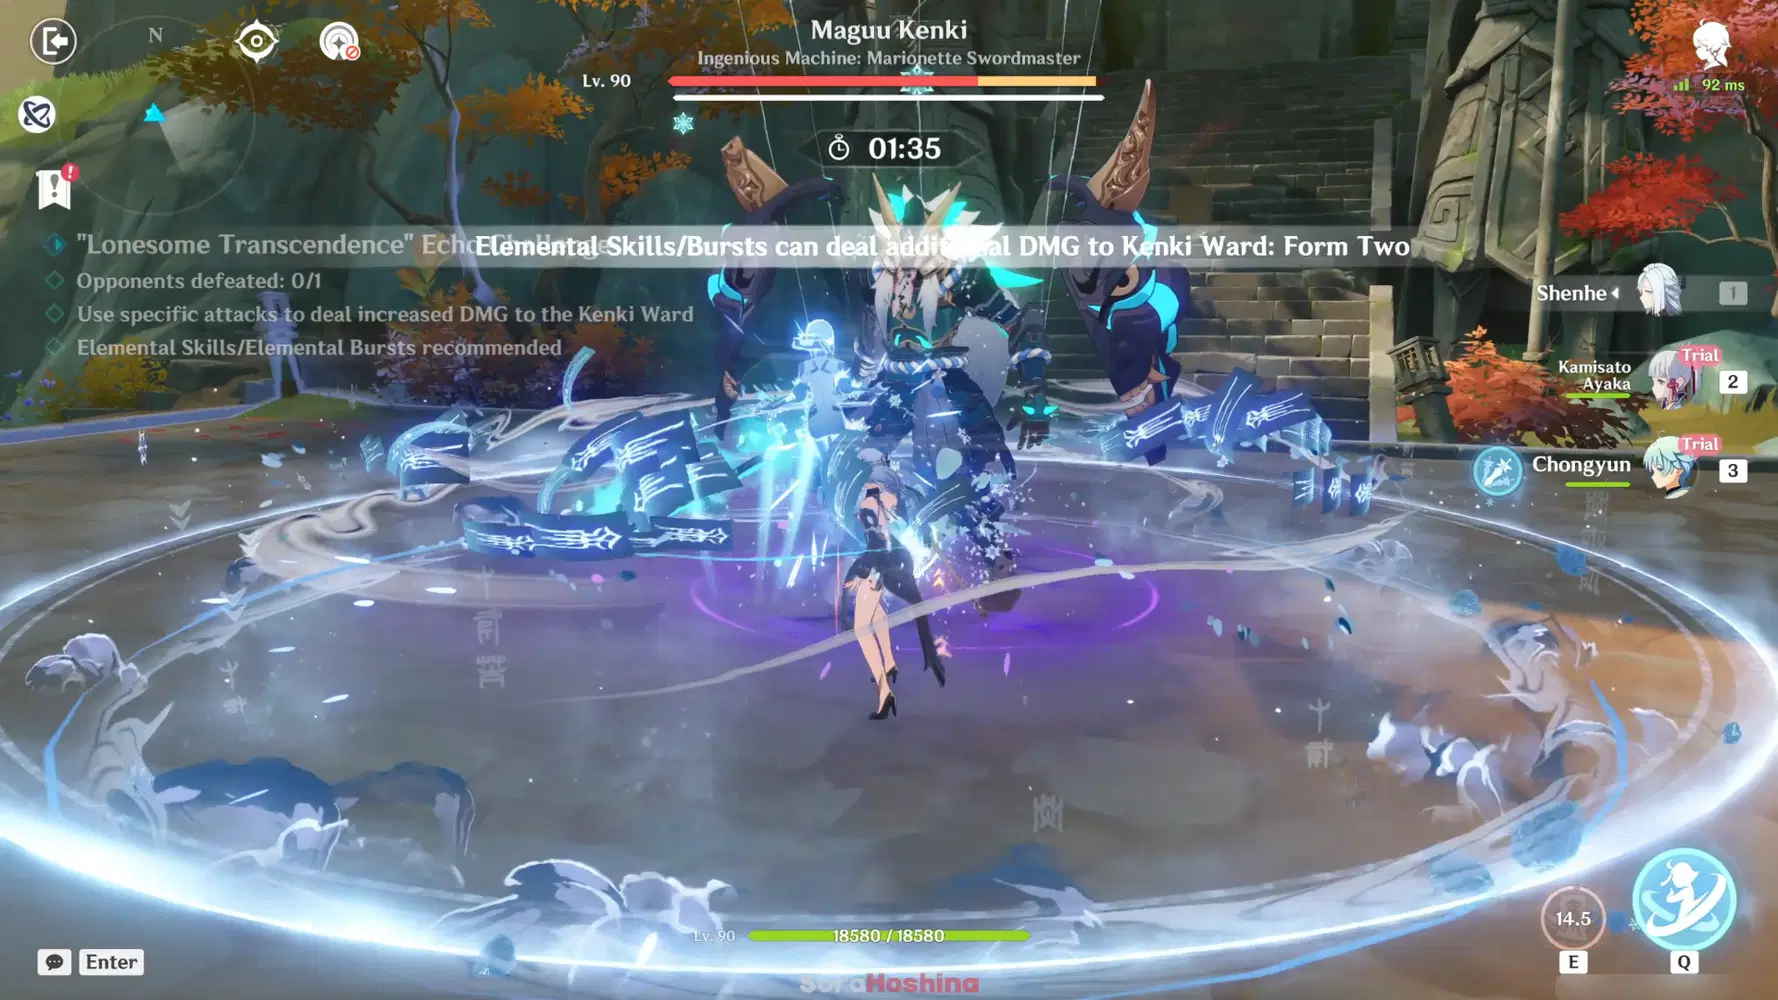
- Once the shield is almost at zero, swap to Shenhe, use Hold Skill and Ultimate (Hold because you want to keep using the team's NA after using their Burst). Maguu Kenki will enter Form 2 and recover the shield to full again. After that, use Chongyun's Ult to deplete its shield.
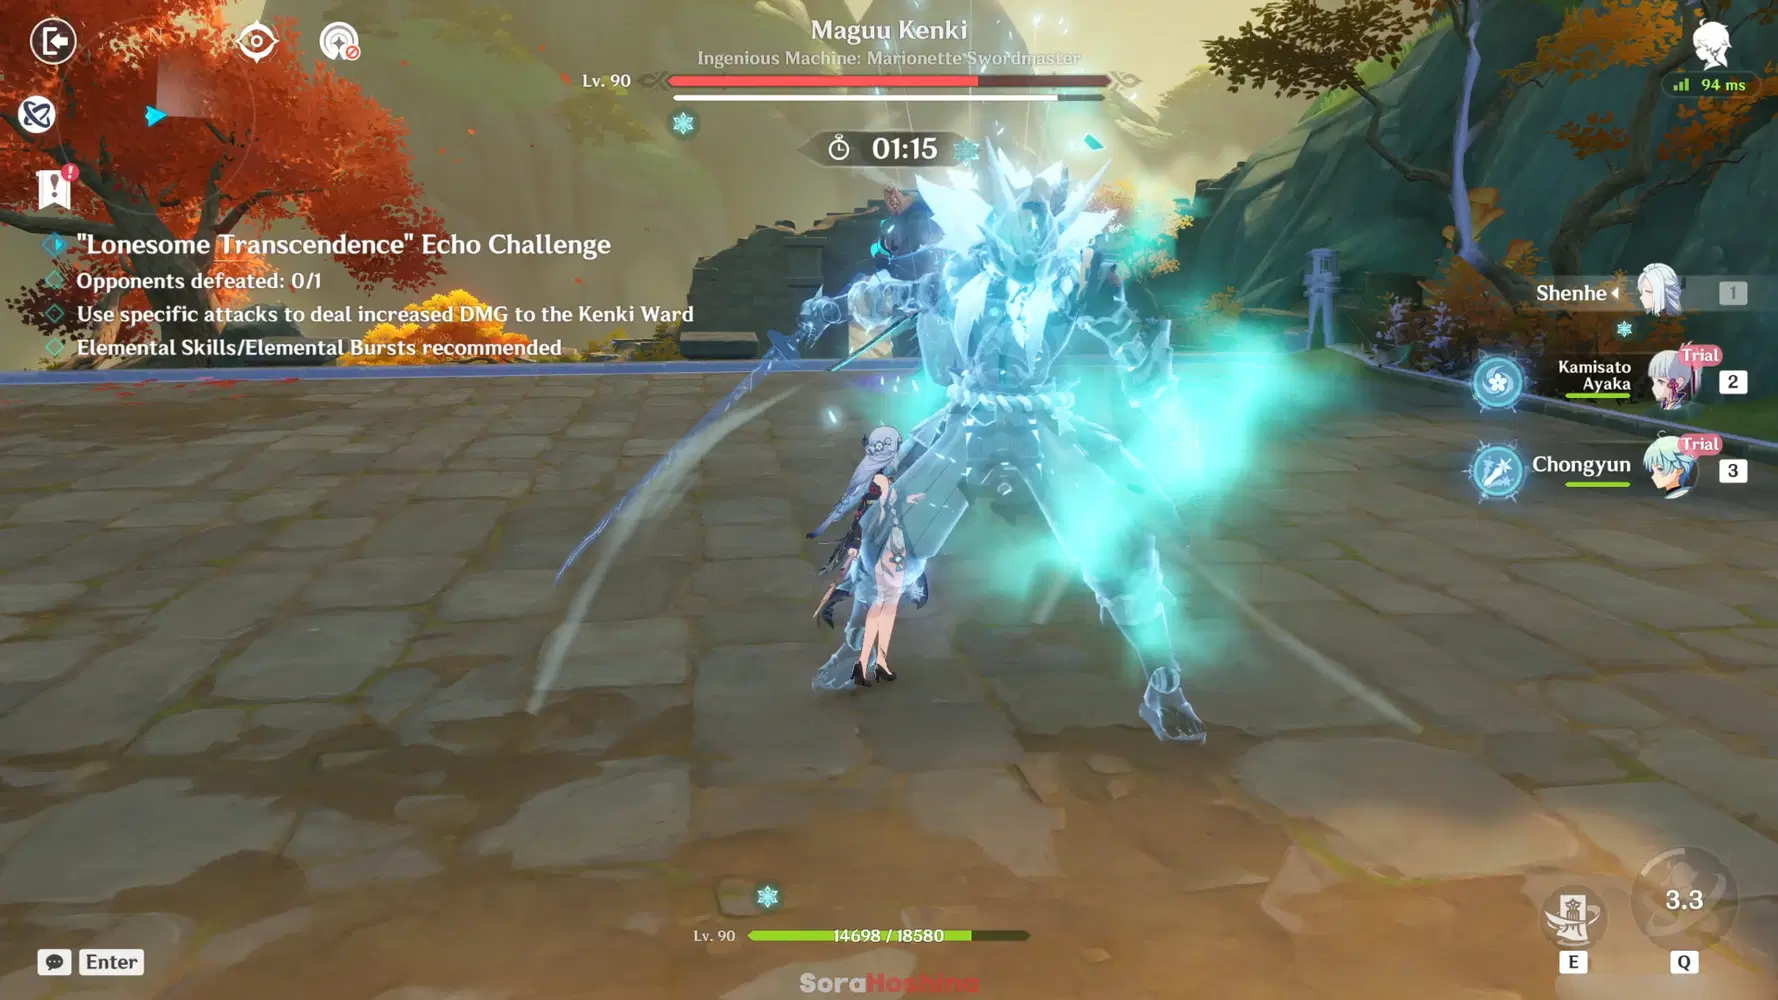
- After entering Form 2, wait a little bit and see whether Maguu Kenki will teleport back and summon a shadow to attack you (It will do this more often than not). Once it's done teleporting, only now should you chase it and use Ayaka's Ult (If you use Ayaka's Ult beforehand, where Maguu might teleport, she might miss and waste the whole Energy). Once the shield from Form 2 is completely destroyed, Maguu Kenki will return to Form 1 again, and the shield will be restored.
- Afterwards, if your Shenhe provides enough Energy, you can still use Ayaka and Chongyun's Ult even in Form 1 to help reduce the shield faster. But only if you're confident they can get back those Energy before or immediately after Maguu enters Form 2! All this talk may sound confusing, so please check out my video above for the walkthrough!
Envisaged Echoes Dehya Guide
Video Playthrough
Recommended Dehya Build
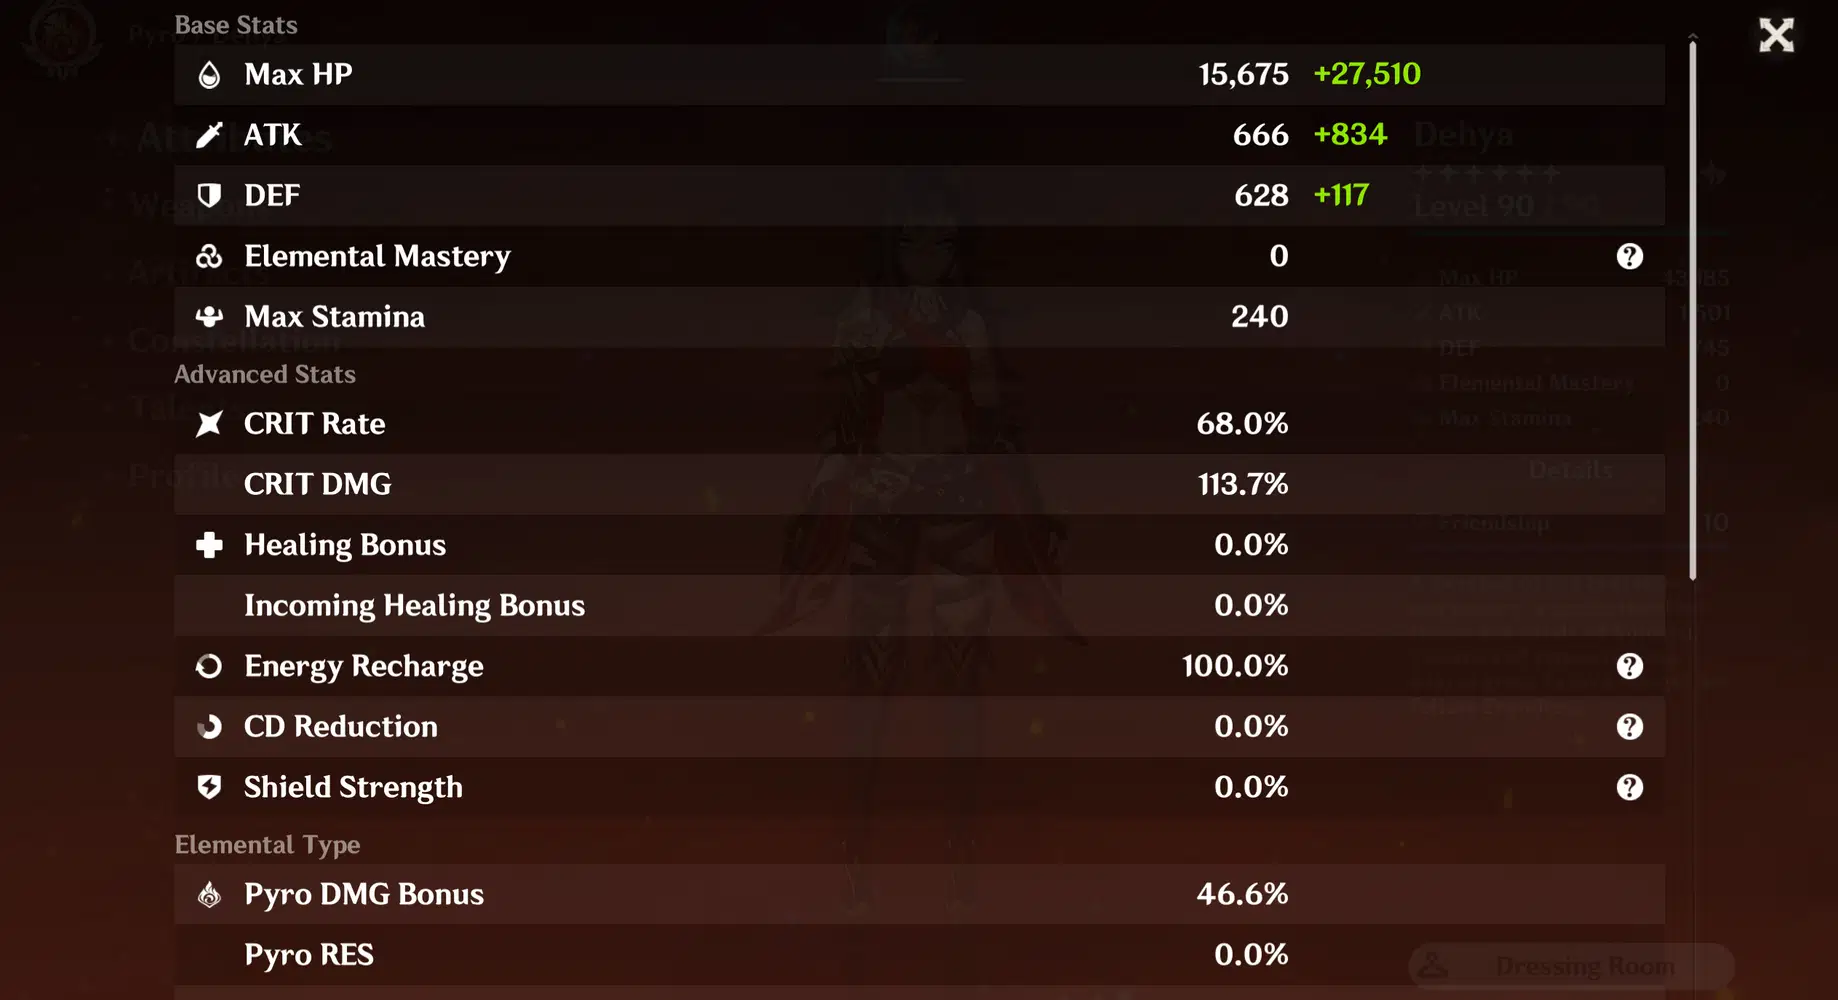
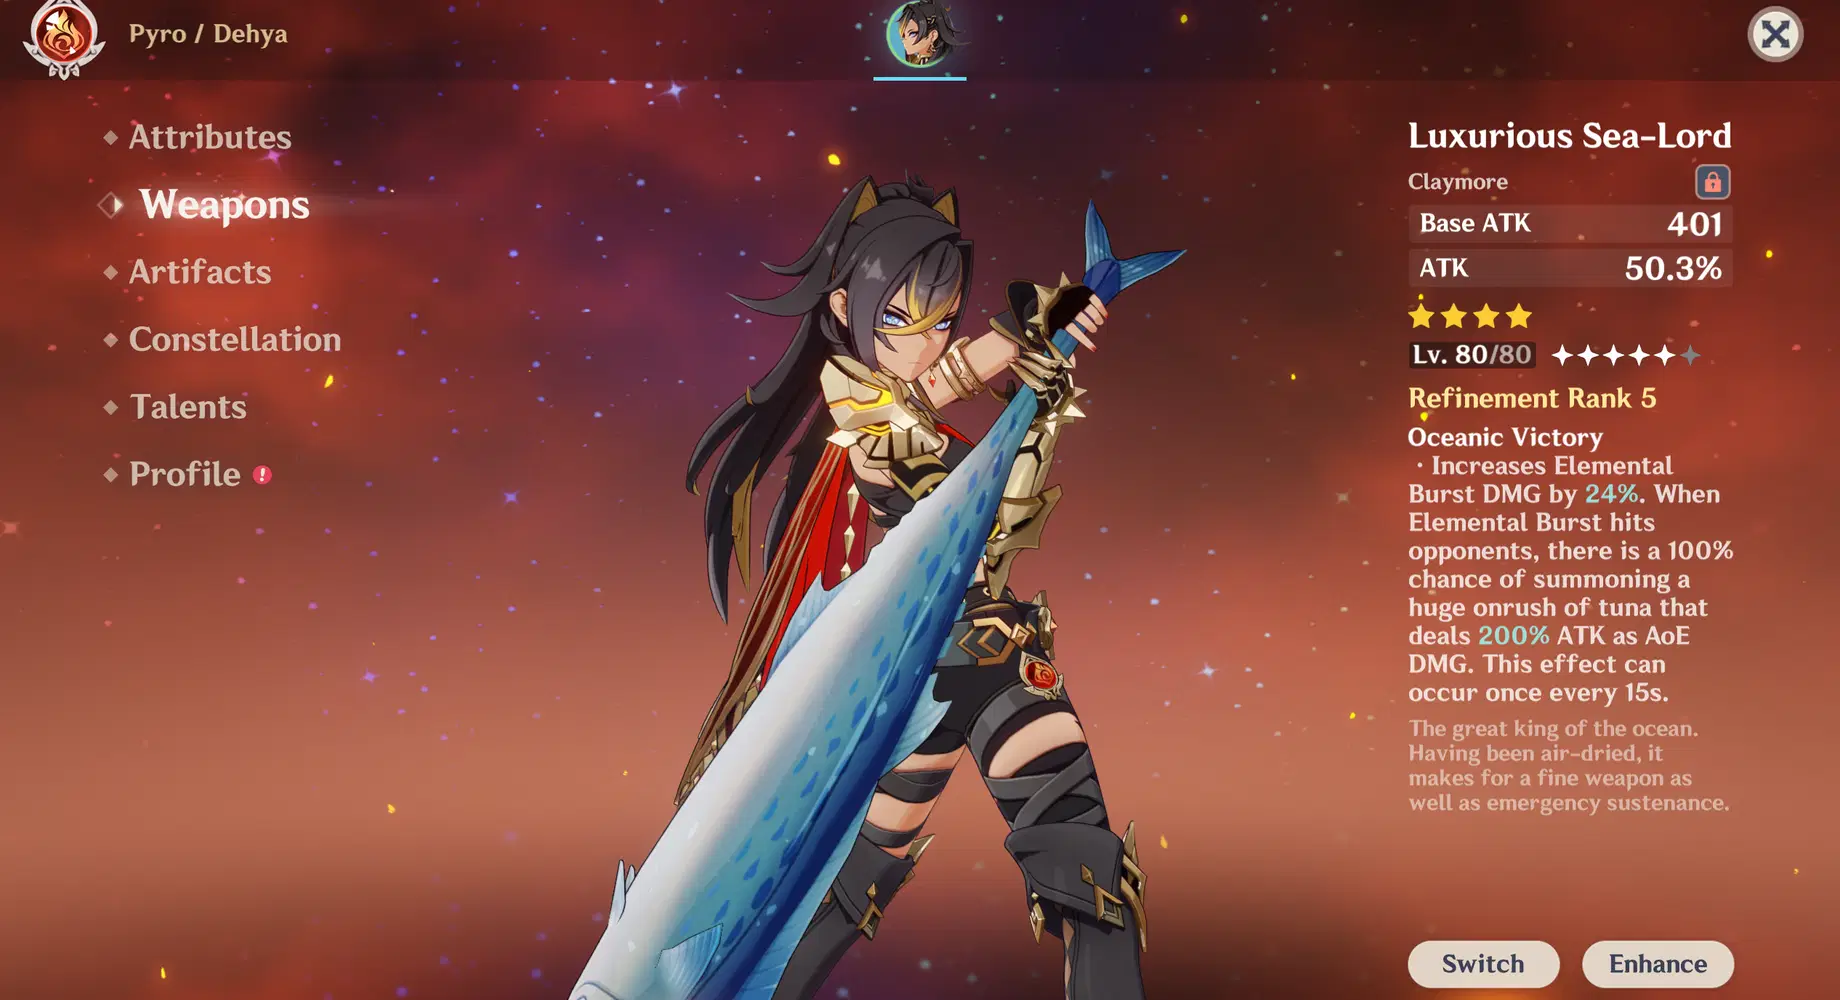
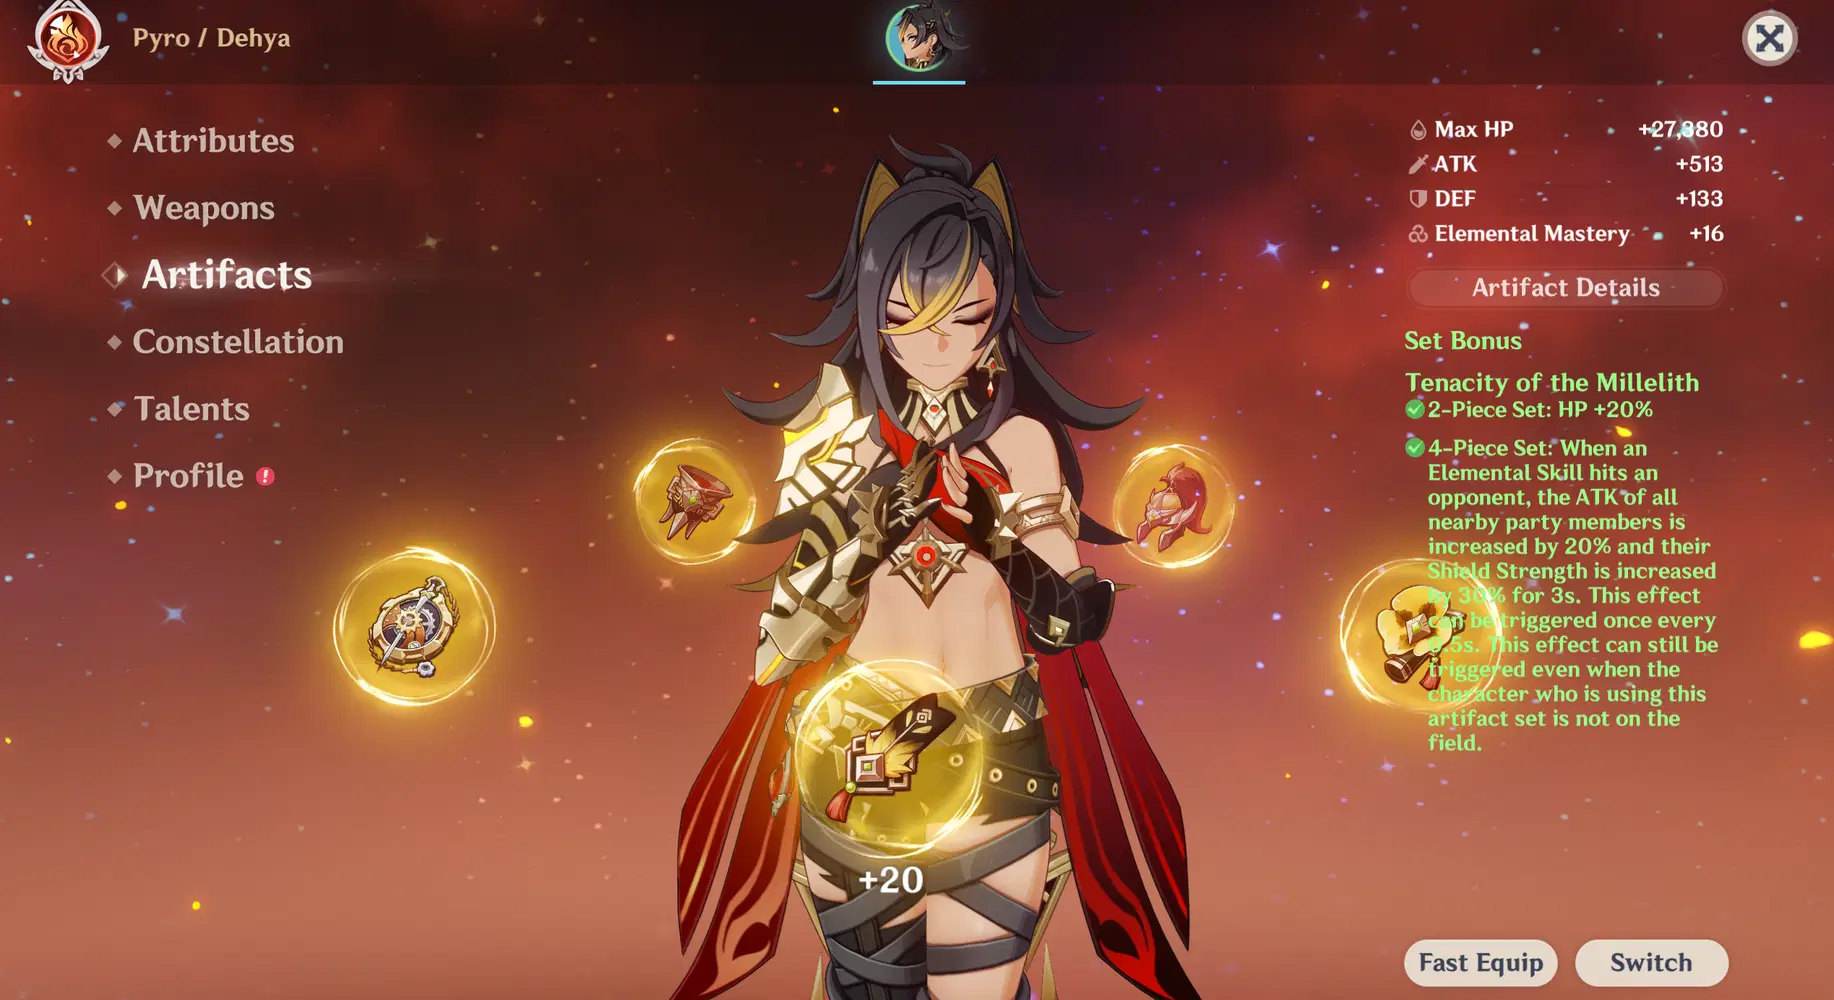
There is only one wave of challenge, and Dehya will be the solo main DPS here. Most people would build her as a sub-DPS in the end-game, so look back at your Dehya build and see if she can be revamped with more Crit Rate and Crit DMG for this challenge. Don't worry too much about Energy, as the stage buff will make Dehya gain Energy periodically.
- Weapon: Beacon of the Reed Sea (5⭐) > Wolf's Gravestone (5⭐) > Serpent Spine (4⭐) > Ultimate Overlord's Mega Magic Sword (4⭐) > Luxurious Sea-Lord (4⭐)
- Artifact: Vourukasha's Glow or Any 2PC that is suitable will do as long as you get good sub-stats
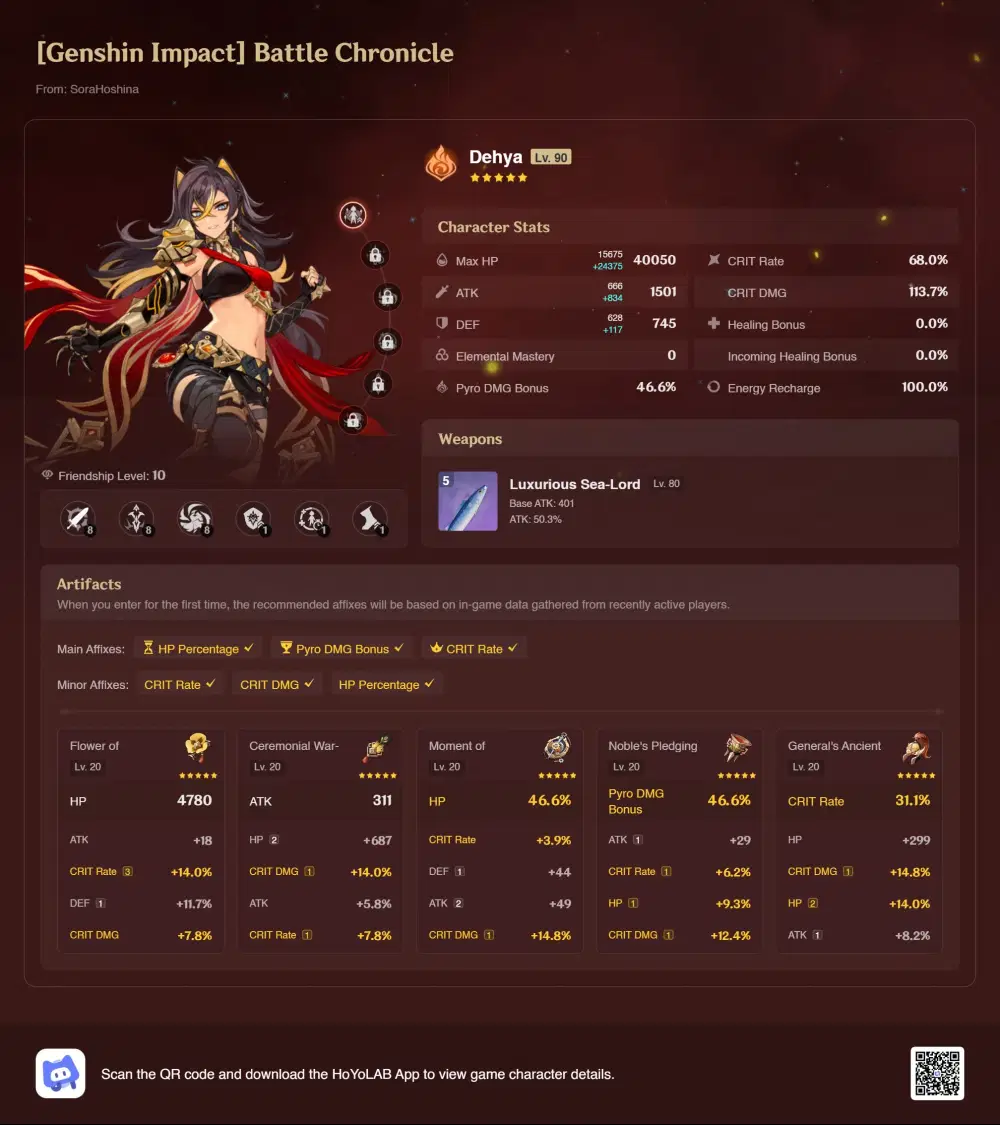
- Stat: HP | Pyro | Crit - As long as you have enough Crit Rate to confirm getting a Crit Hit in the battle
- Talent: Prioritize Elemental Burst > Elemental Skill > Normal Attack
The following is my Dehya build that completes the challenge (in the video above), so you can use it as a reference to build an even better Dehya:
Flame-Mane
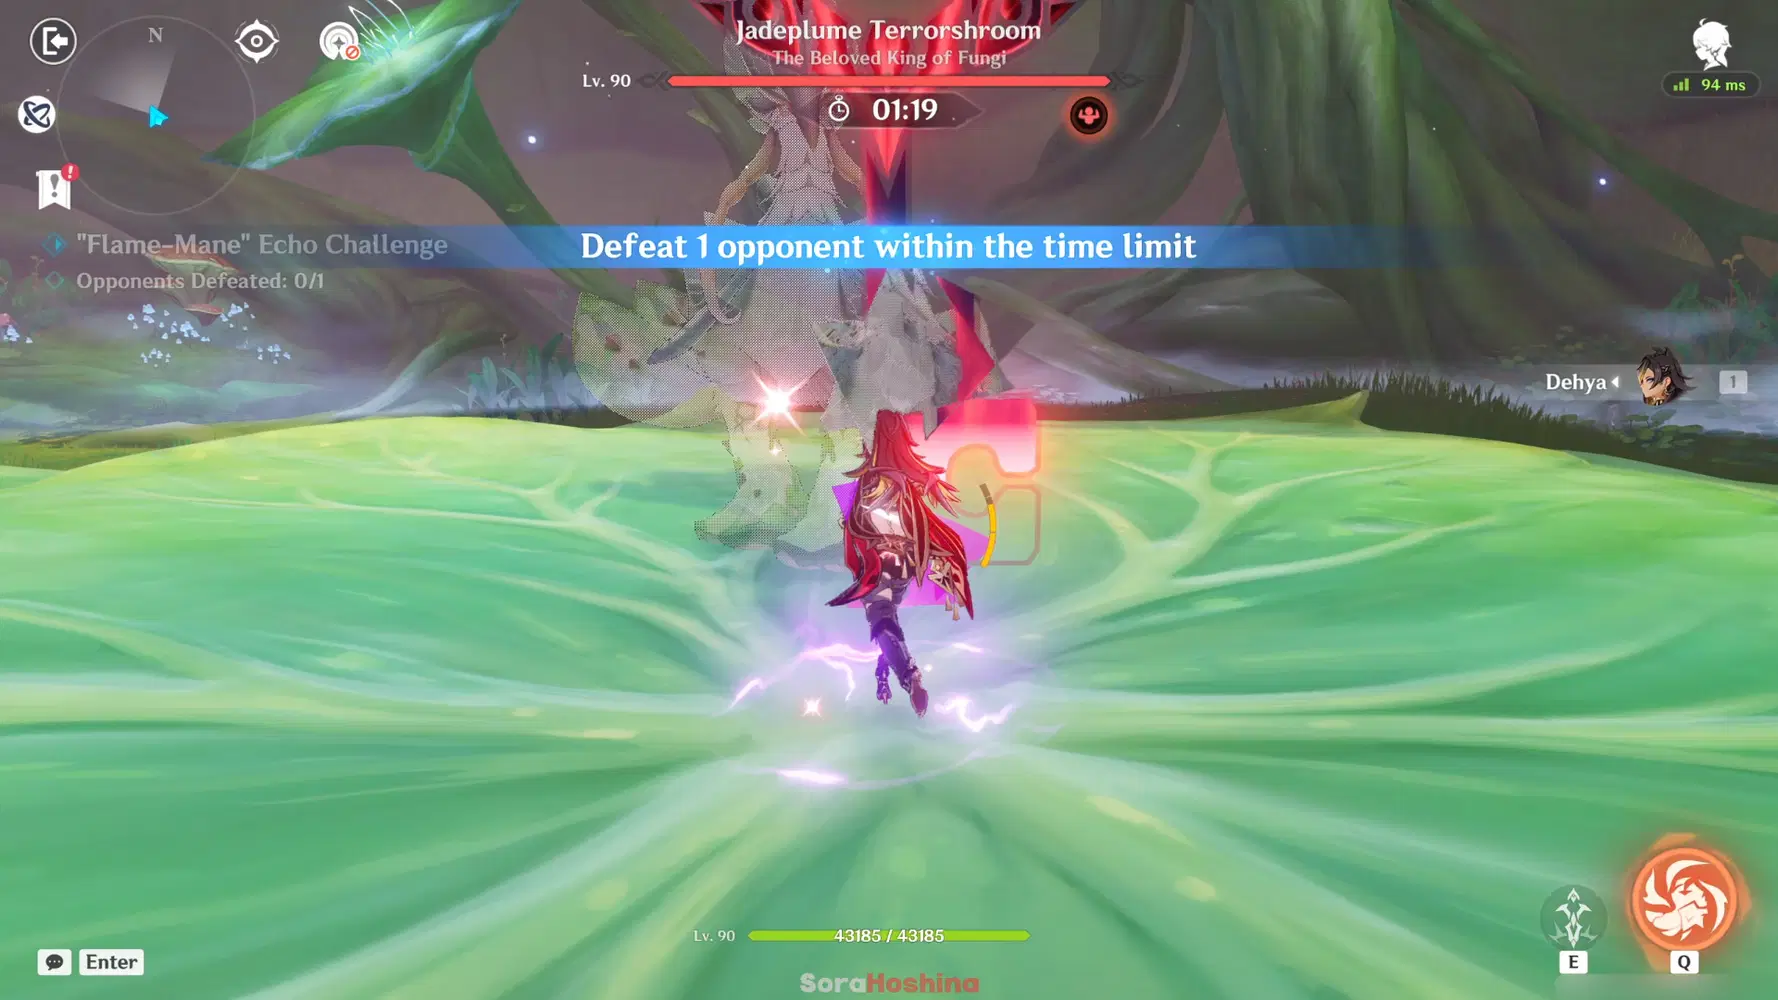
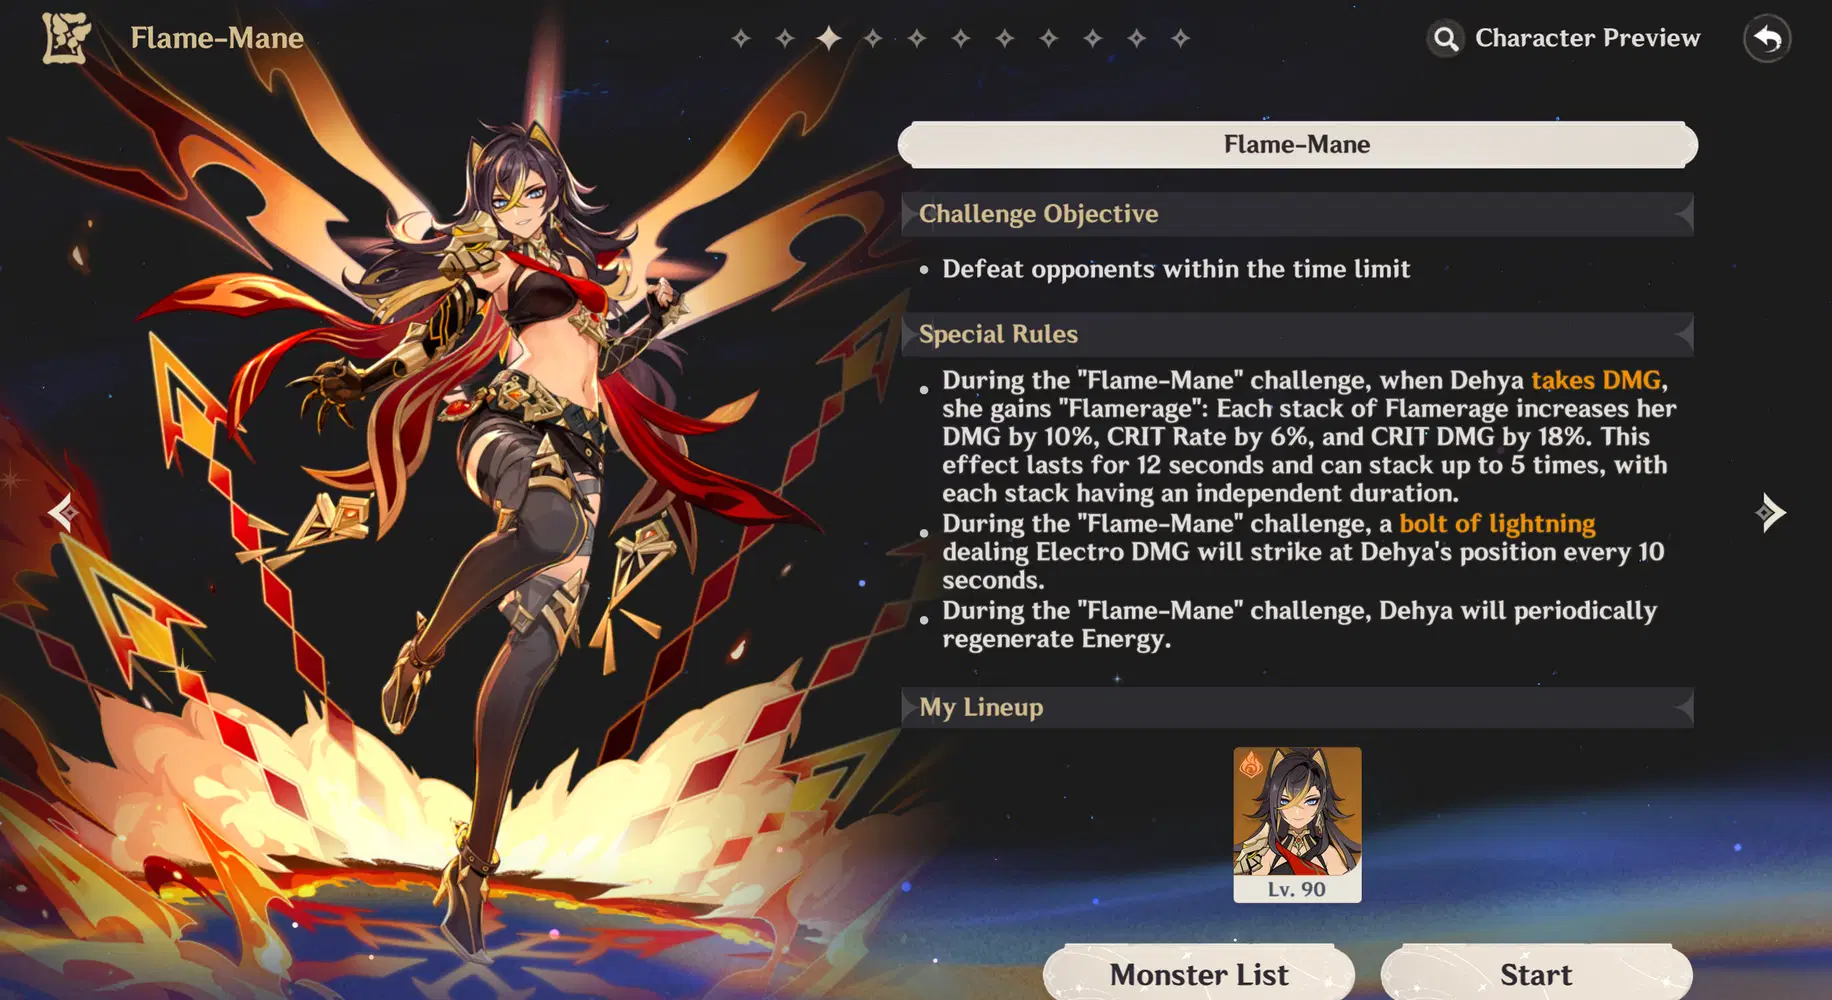
- The challenge here is to defeat Jadeplume Terrorshroom in 1 minute and 20 seconds. During the challenge, when Dehya takes damage, she gains Flamerage: Each stack of Flamerage increases her DMG by 10%, Crit Rate by 6%, and Crit DMG by 18%. This effect lasts for 12 seconds and can stack up to 5 times, with each stack having an independent duration.
- Getting hit by the boss is not the only method to gain Flamerage stack, as there will be a bolt of lightning that will strike Dehya's position every 10 seconds. So if you're a master at avoiding the enemy's attack, you will still get the buff by being hit by the lightning.
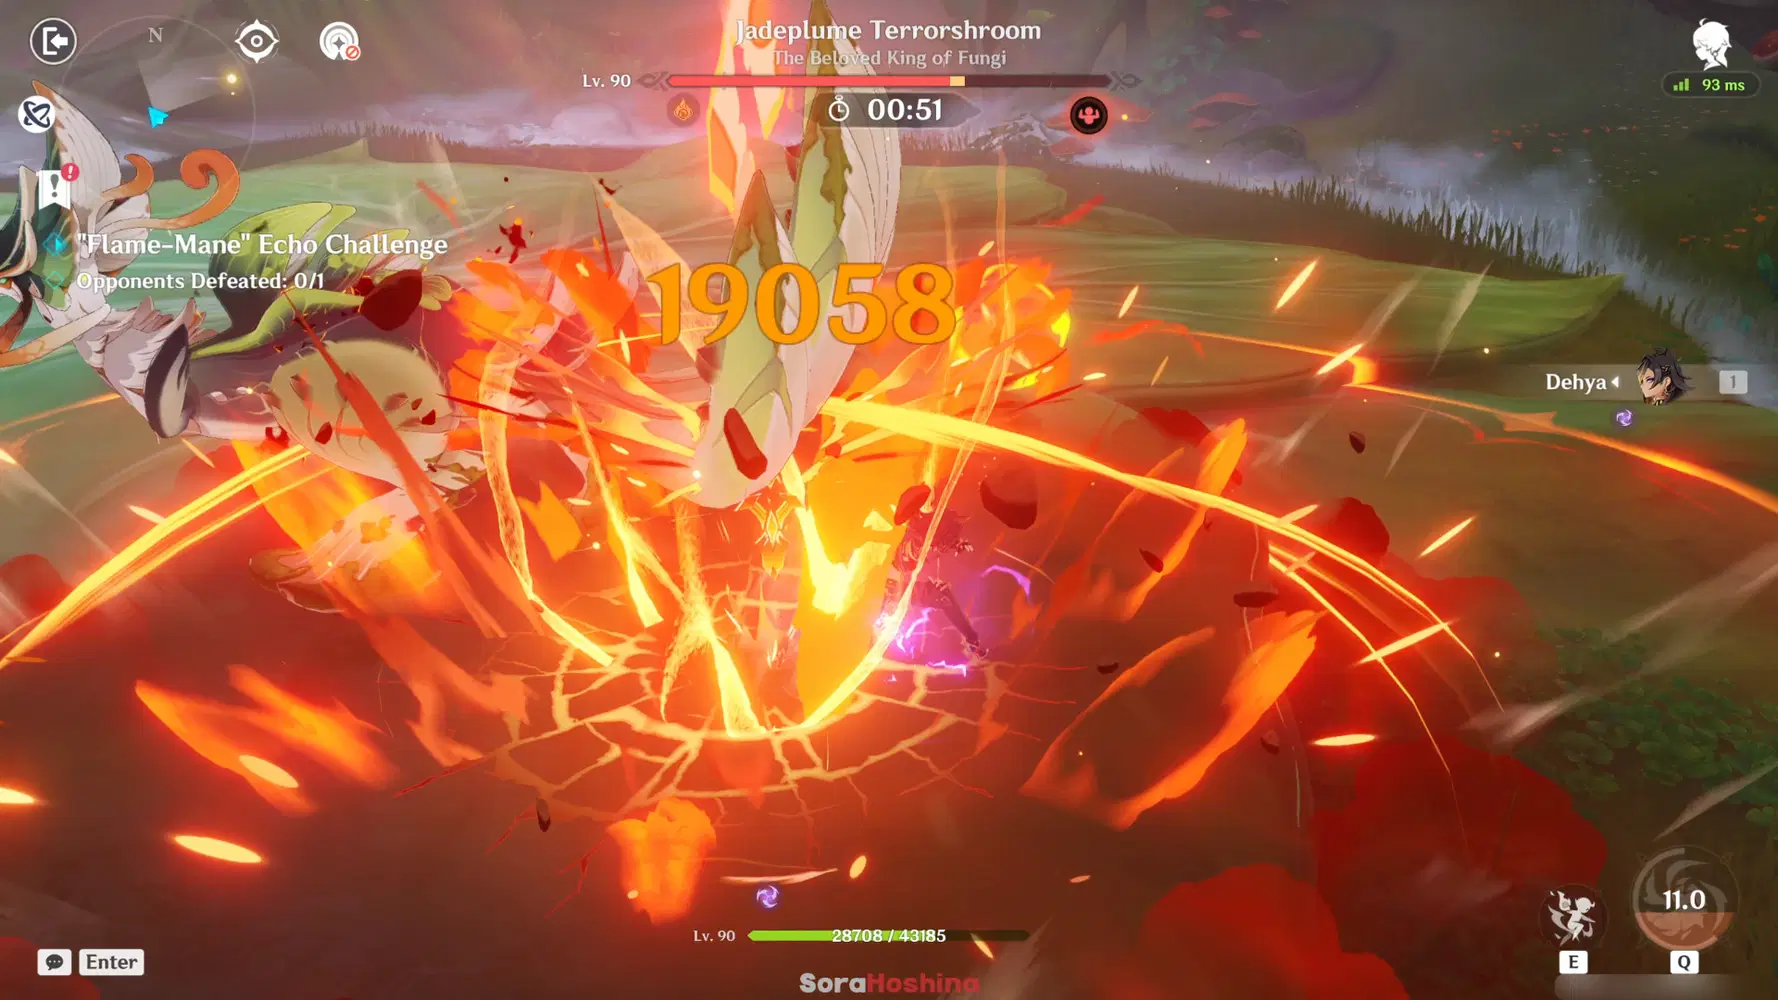
- The best combo with Dehya is Skill > Burst > Skill > Normal Attacks. Once the CD for both Skill and Burst ends, repeat the rotation. If your damage is not enough, rebuild your Dehya until you get at least 15000+ DMG per Crit hit (this number includes the buff from the challenge).
- Some of the boss's attacks can stun and interrupt Dehya, so try to avoid any heavy attacks from the Jadeplume Terrorshroom so you won't waste any time.
Envisaged Echoes Venti Guide
Video Playthrough
Recommended Venti Build
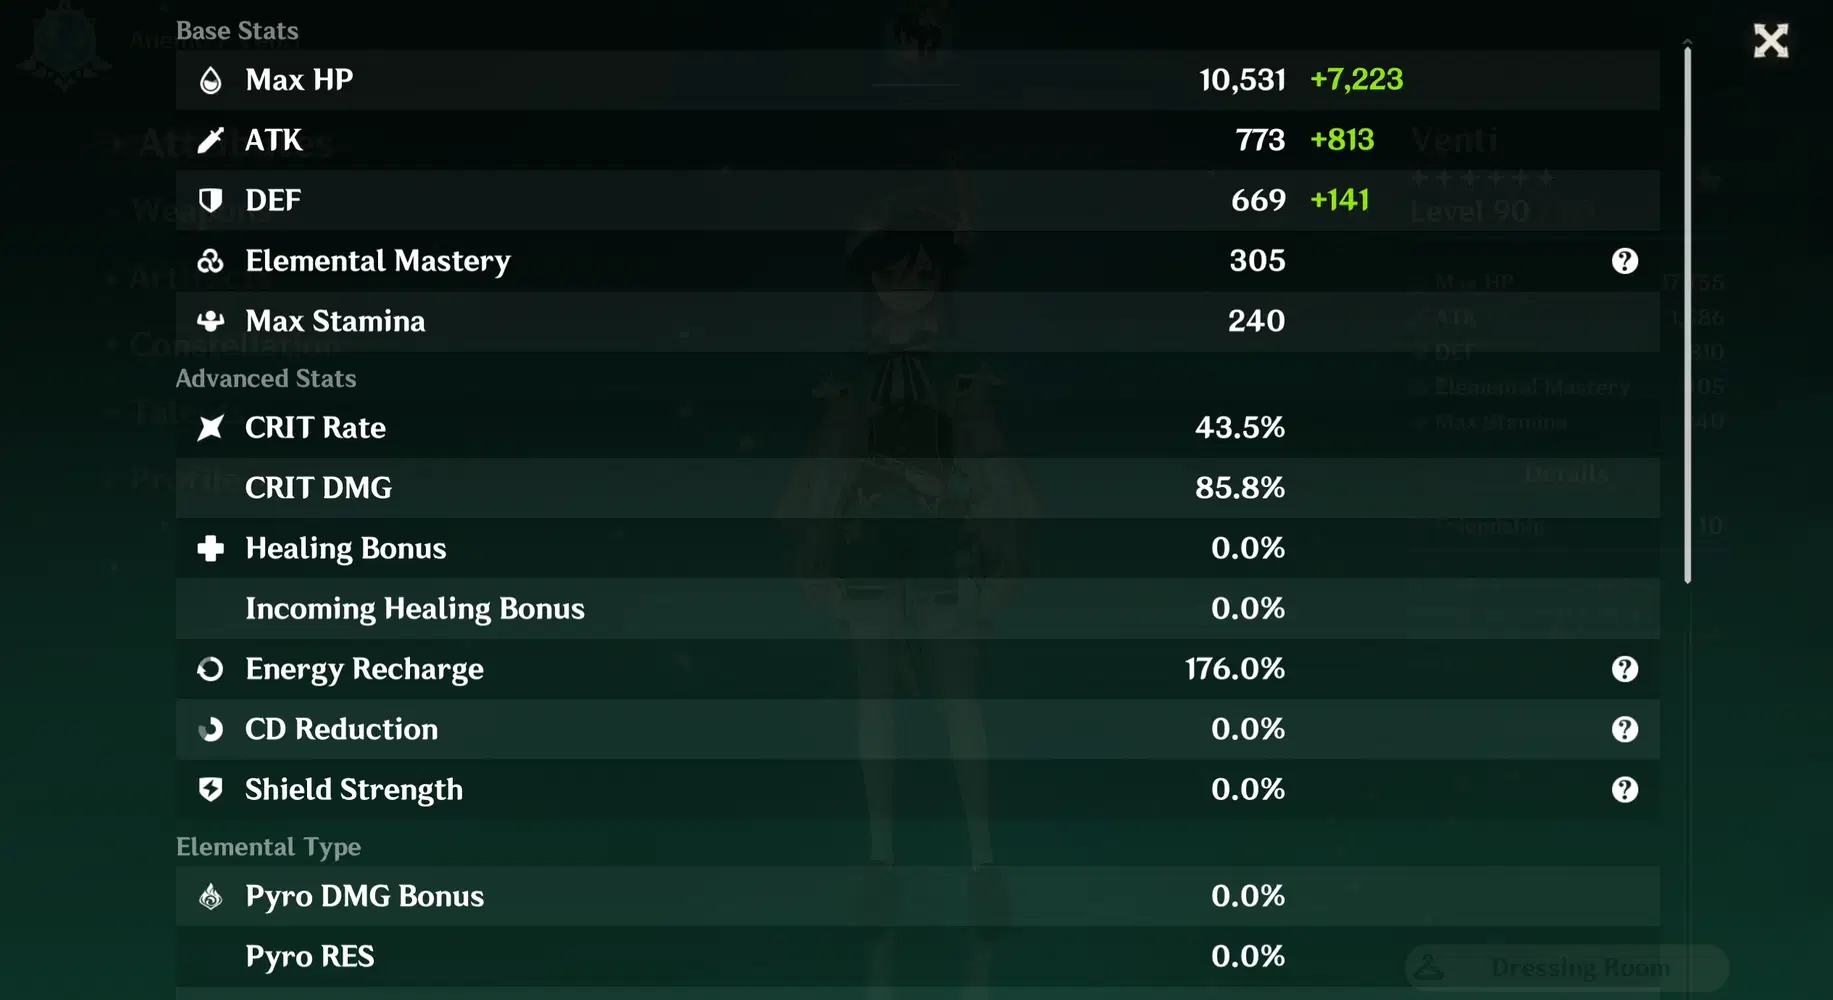
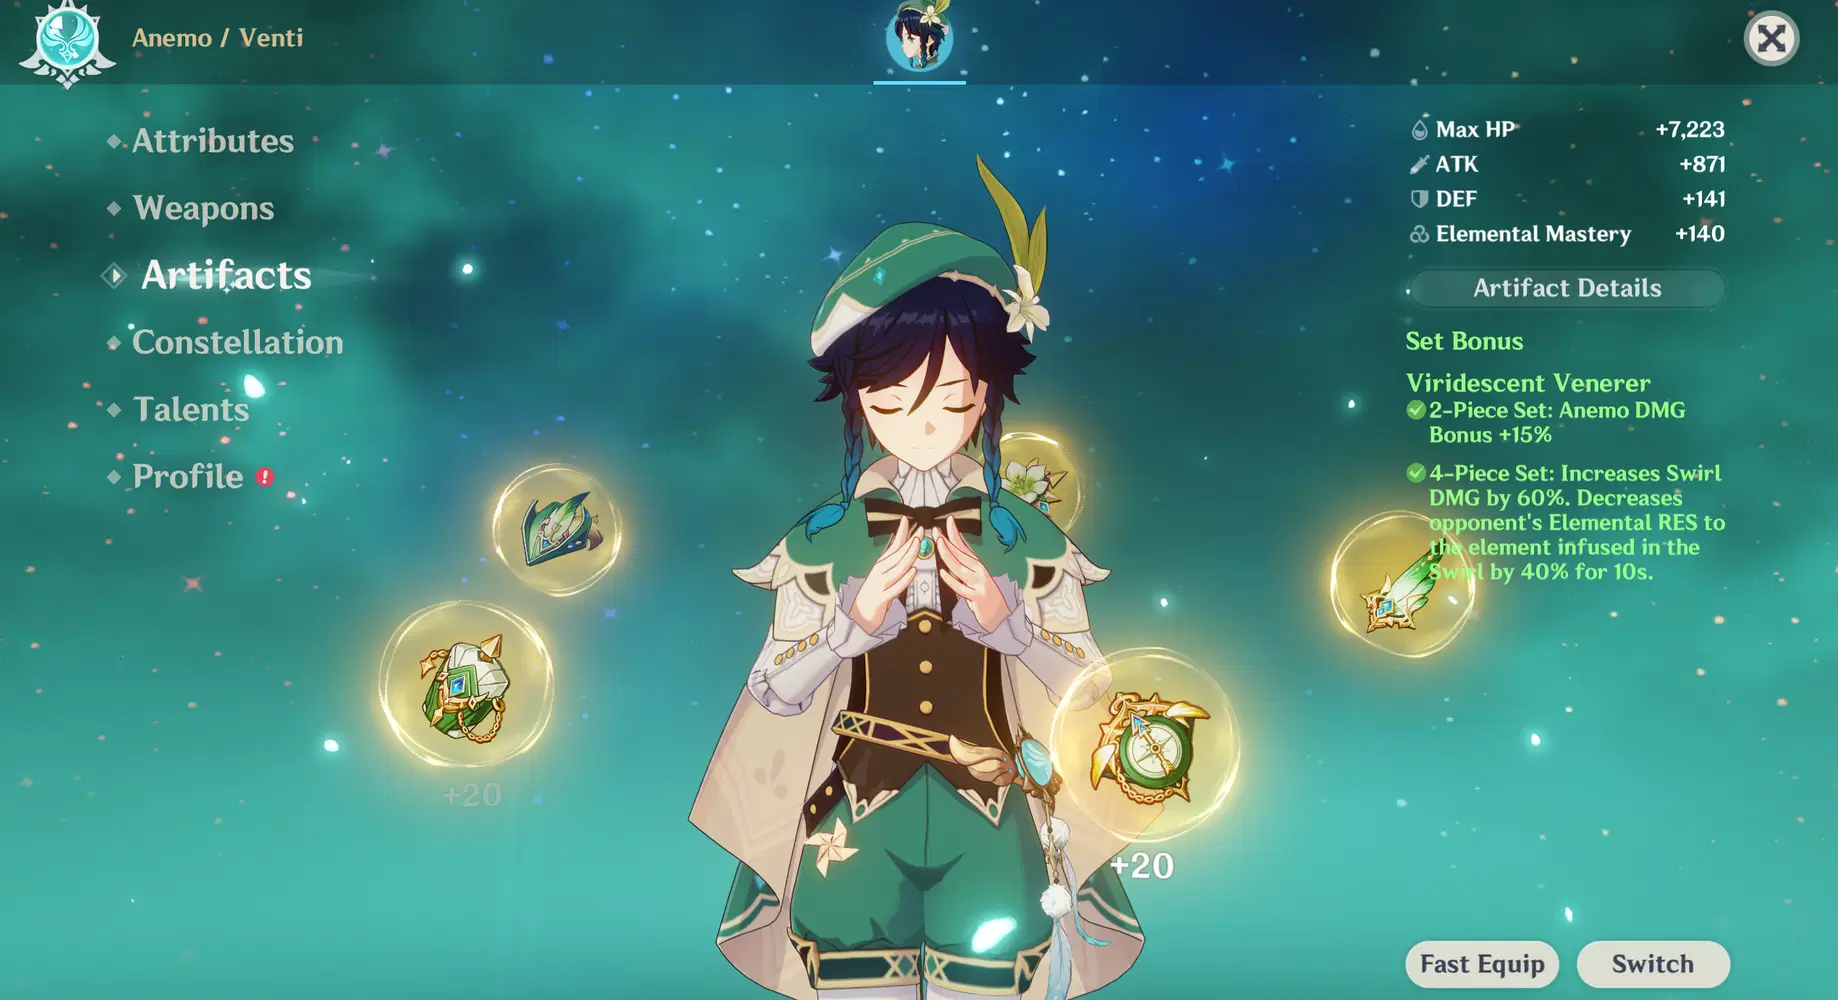
Venti is alone in this challenge and will act as the DPS. He depends on Burst, so make sure its level is high and you have enough Energy for every wave (around 170% and above).
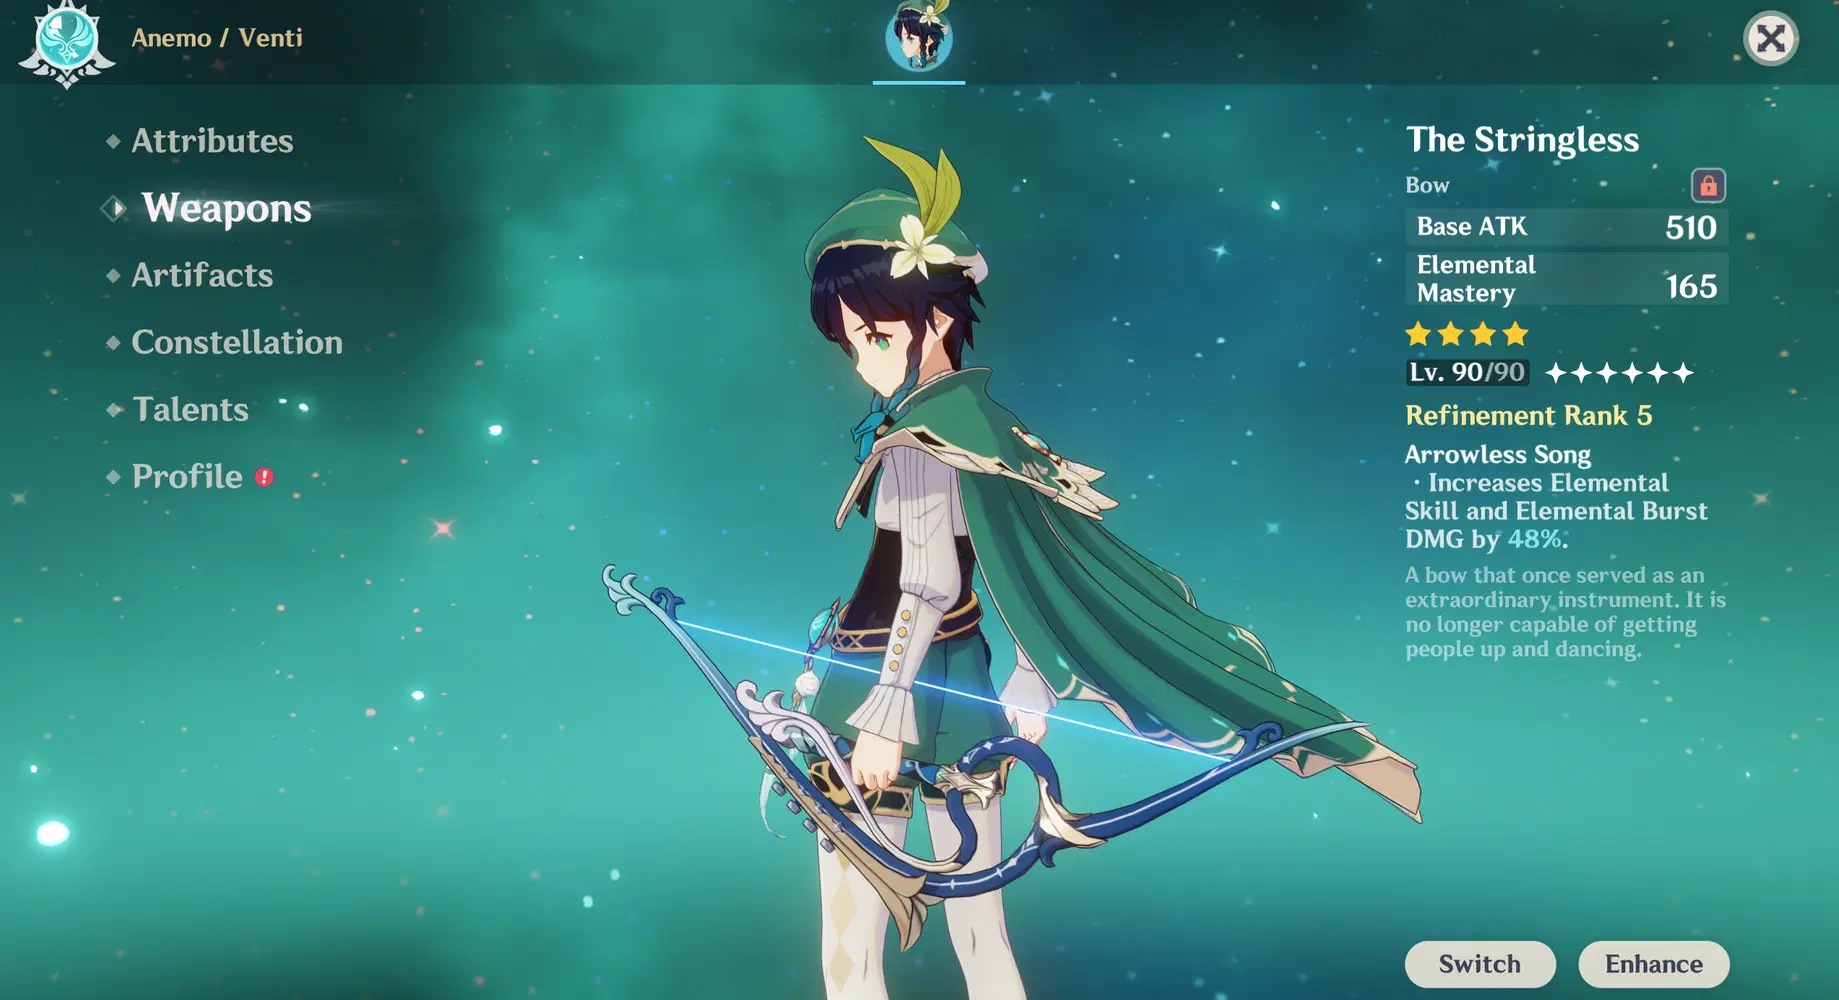
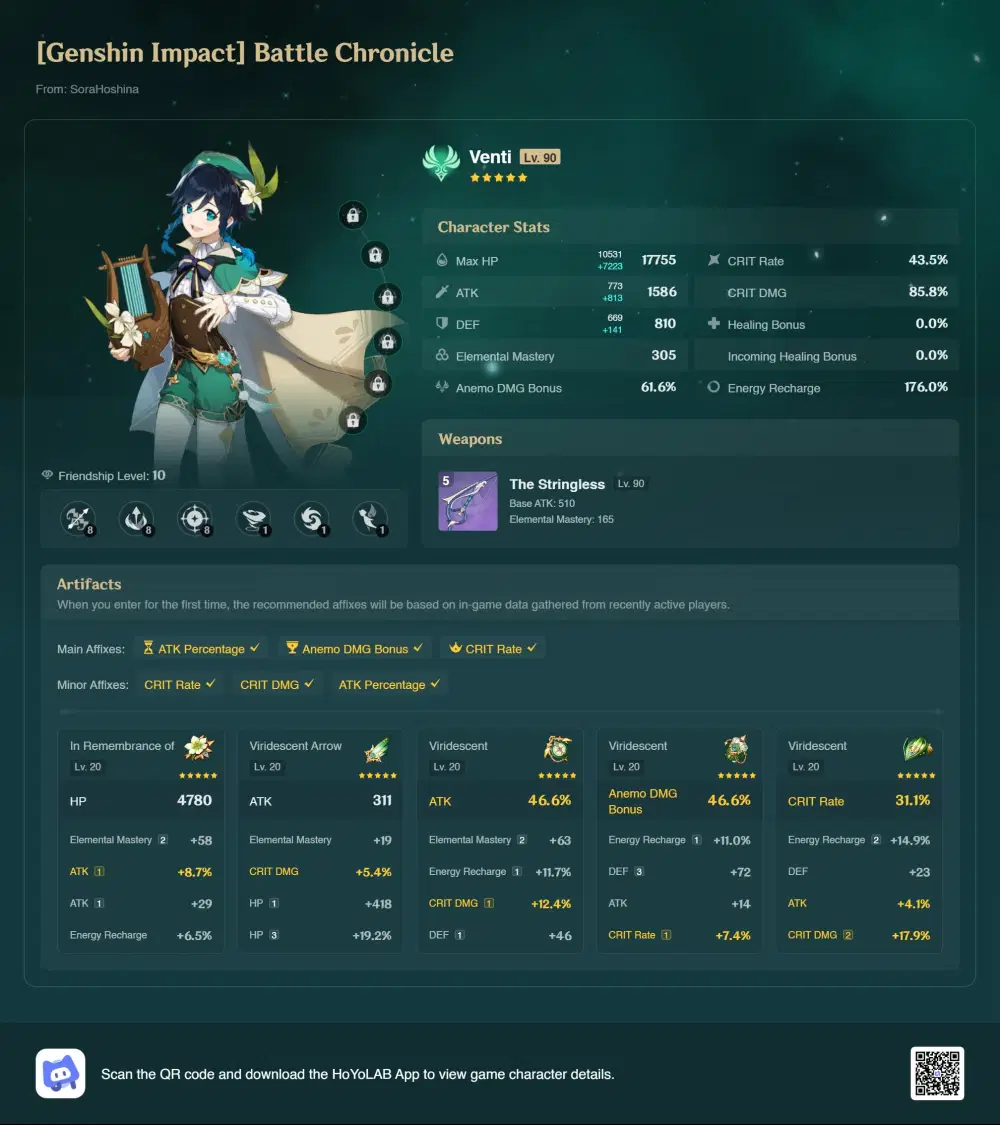
- Weapon: Elegy for the End (5⭐) > The Stringless (4⭐) > Sacrificial Bow (4⭐) > Favonius Warbow (4⭐)
- Artifact: Viridescent Venerer
- Stat: (ATK | Anemo | Crit) or (EM | EM | EM) - Make sure to get enough Energy for every wave, around 170% ER and more is recommended
- Talent: Prioritize Elemental Burst > Elemental Skill > Normal Attack
The following is my Venti build that completes the challenge (in the video above), so you can use it as a reference to build an even better Venti:
Windborne Bard Phase I
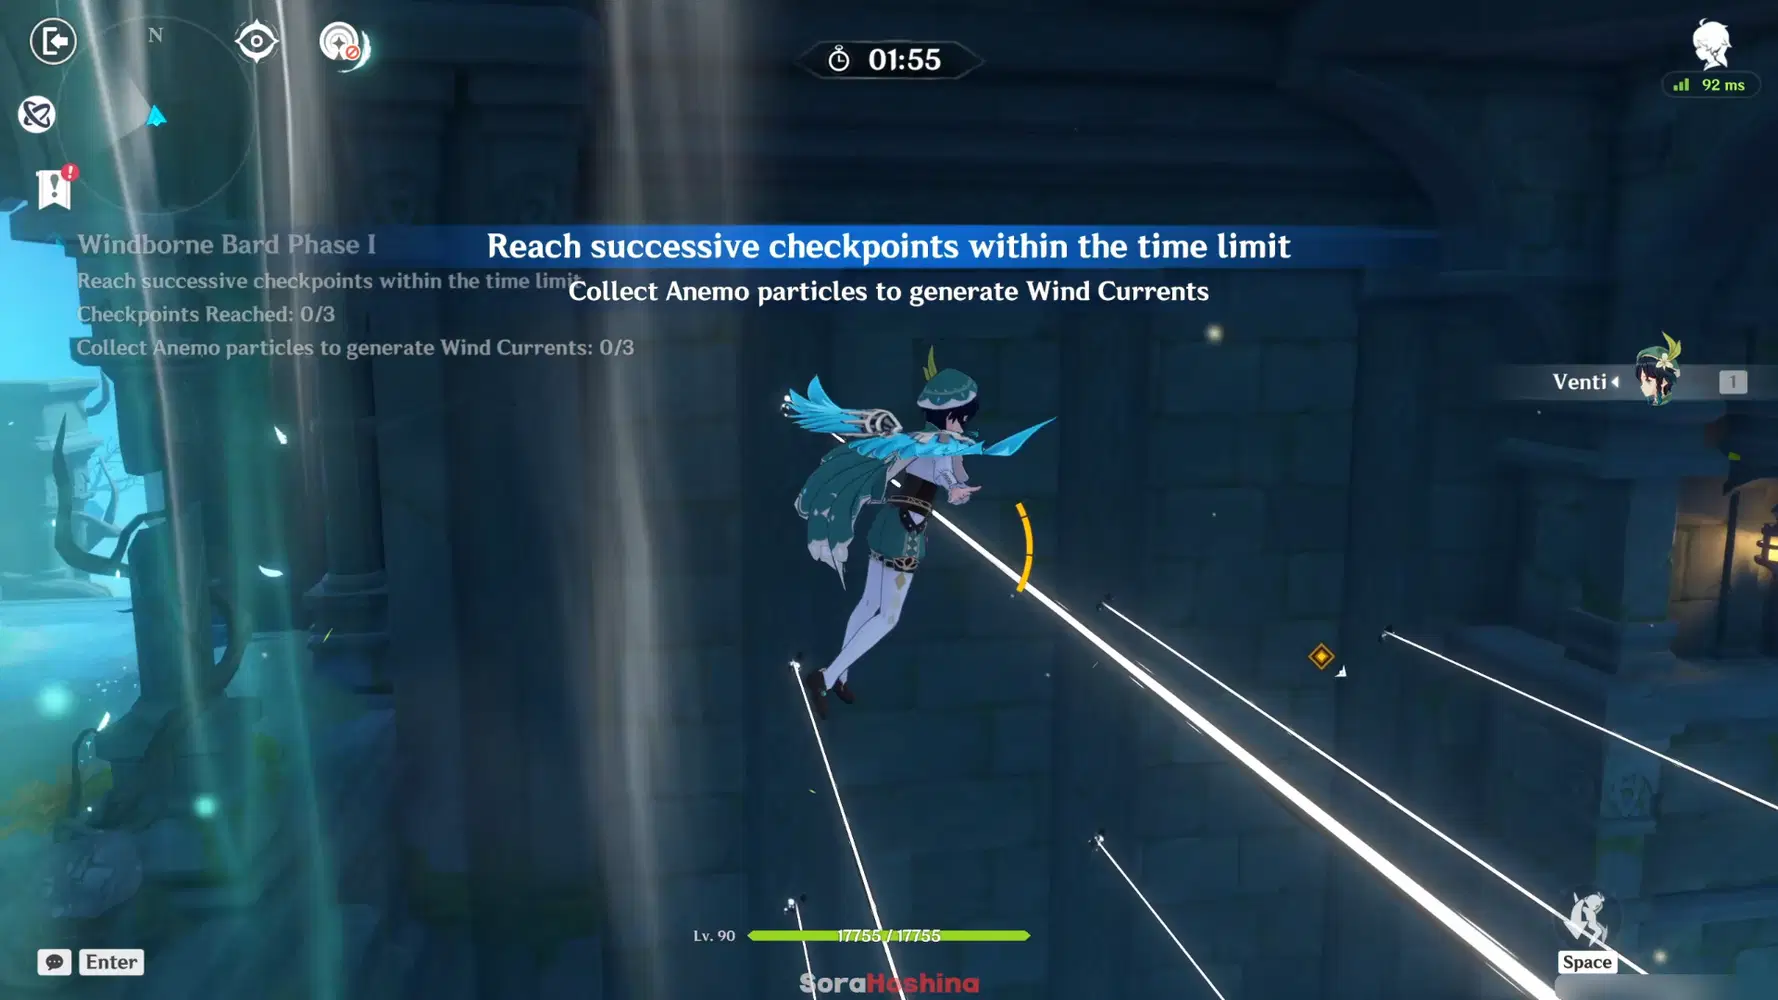
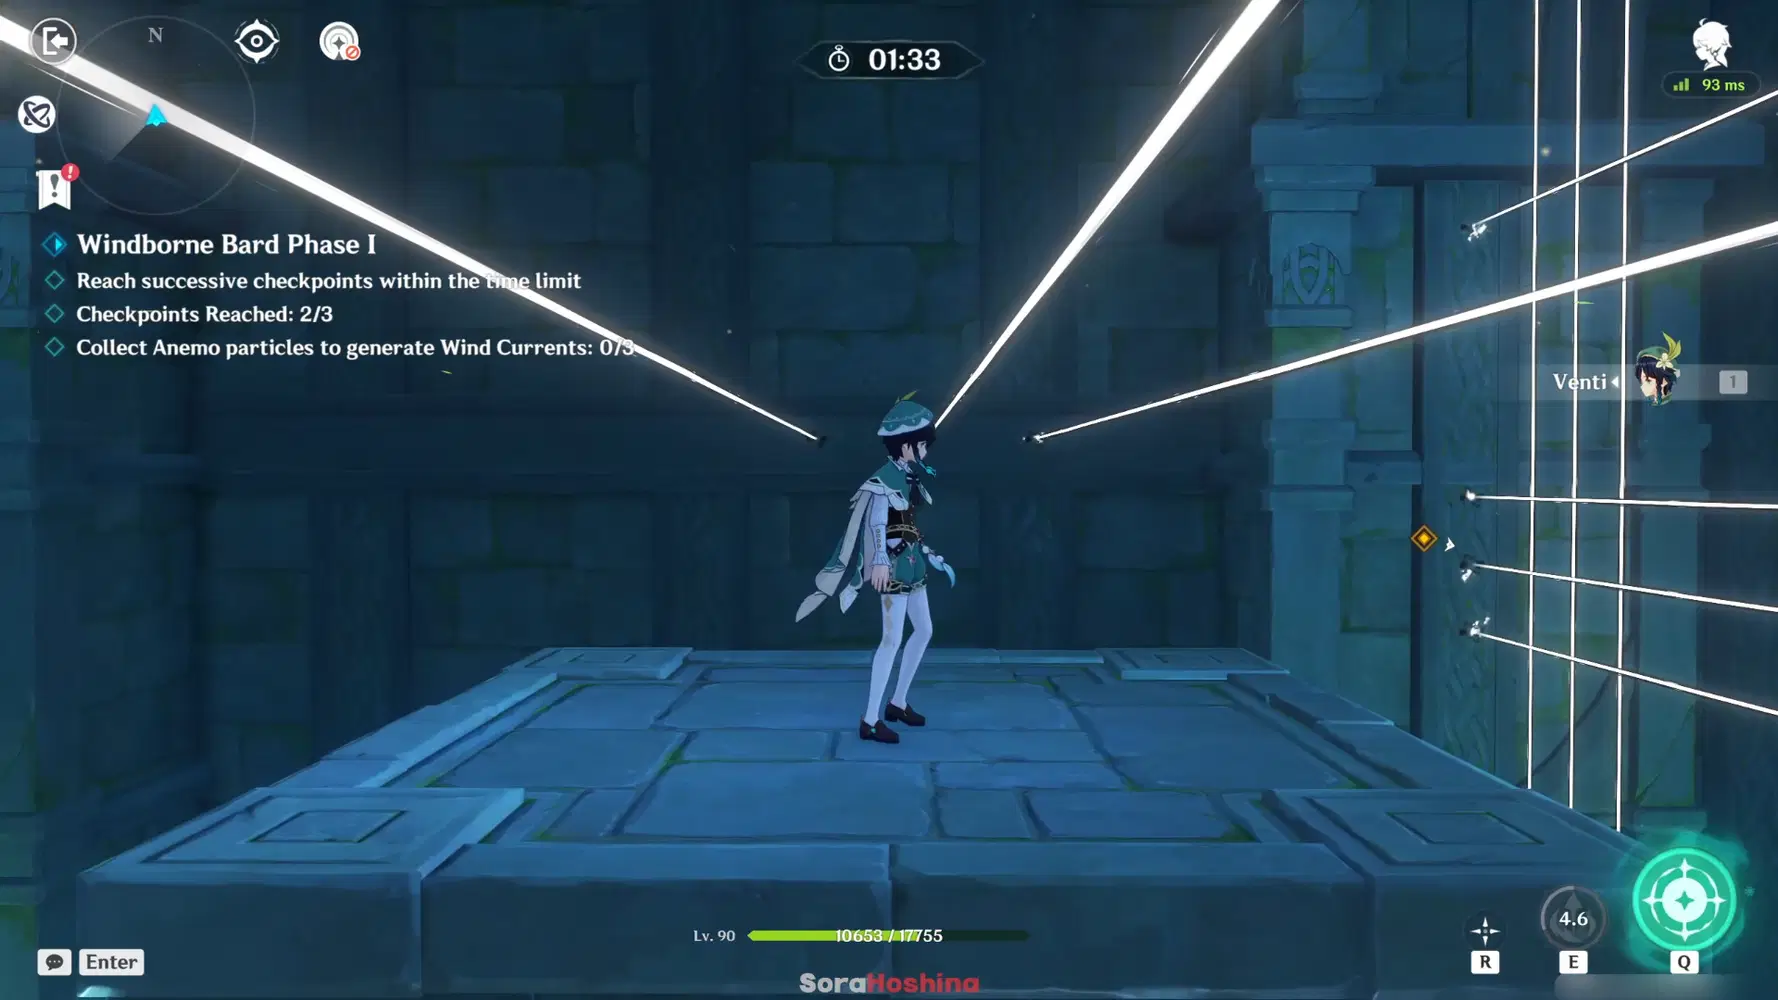
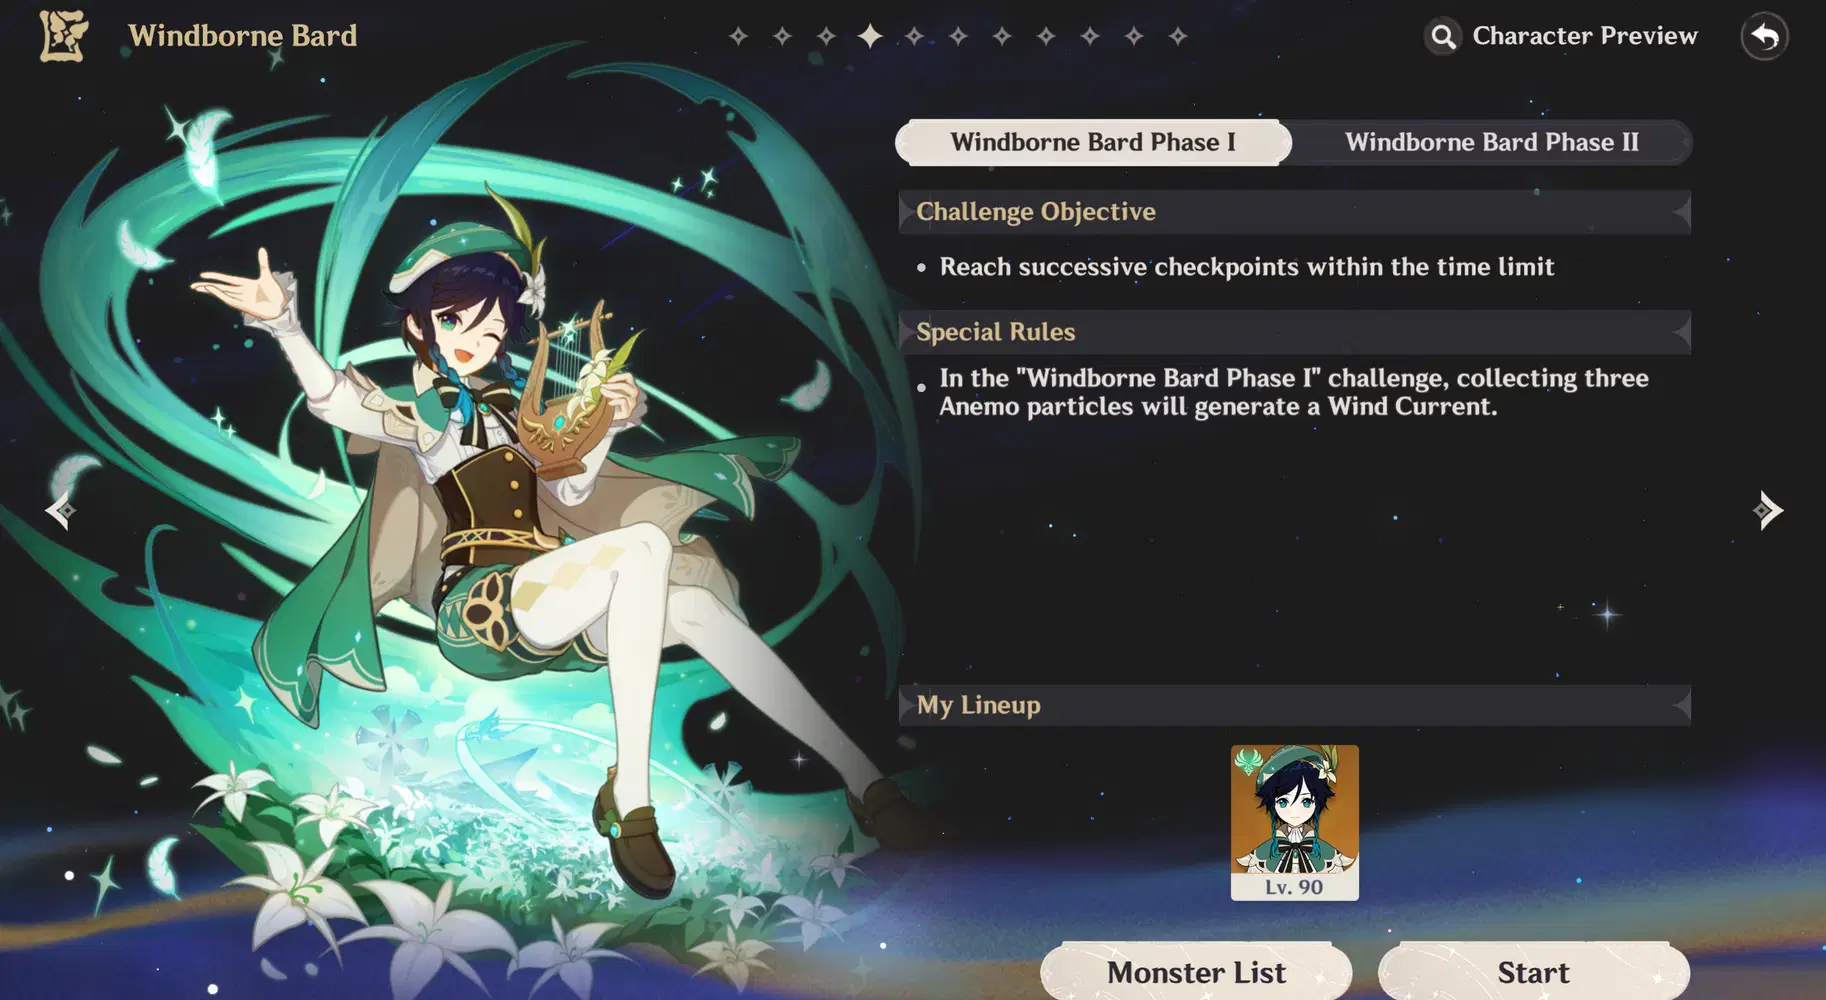
- In the first phase, you need to use Venti's Hold Skill to create a wind current so you can glide over to the checkpoints. Once you're gliding, turn your camera to the side to see the position of the laser more clearly. Then, control Venti to avoid as much laser as you can, as the damage is quite high.
- In each checkpoint, wait until Venti's Skill CD is over before you use it again to glide (you have plenty of time, don't worry).
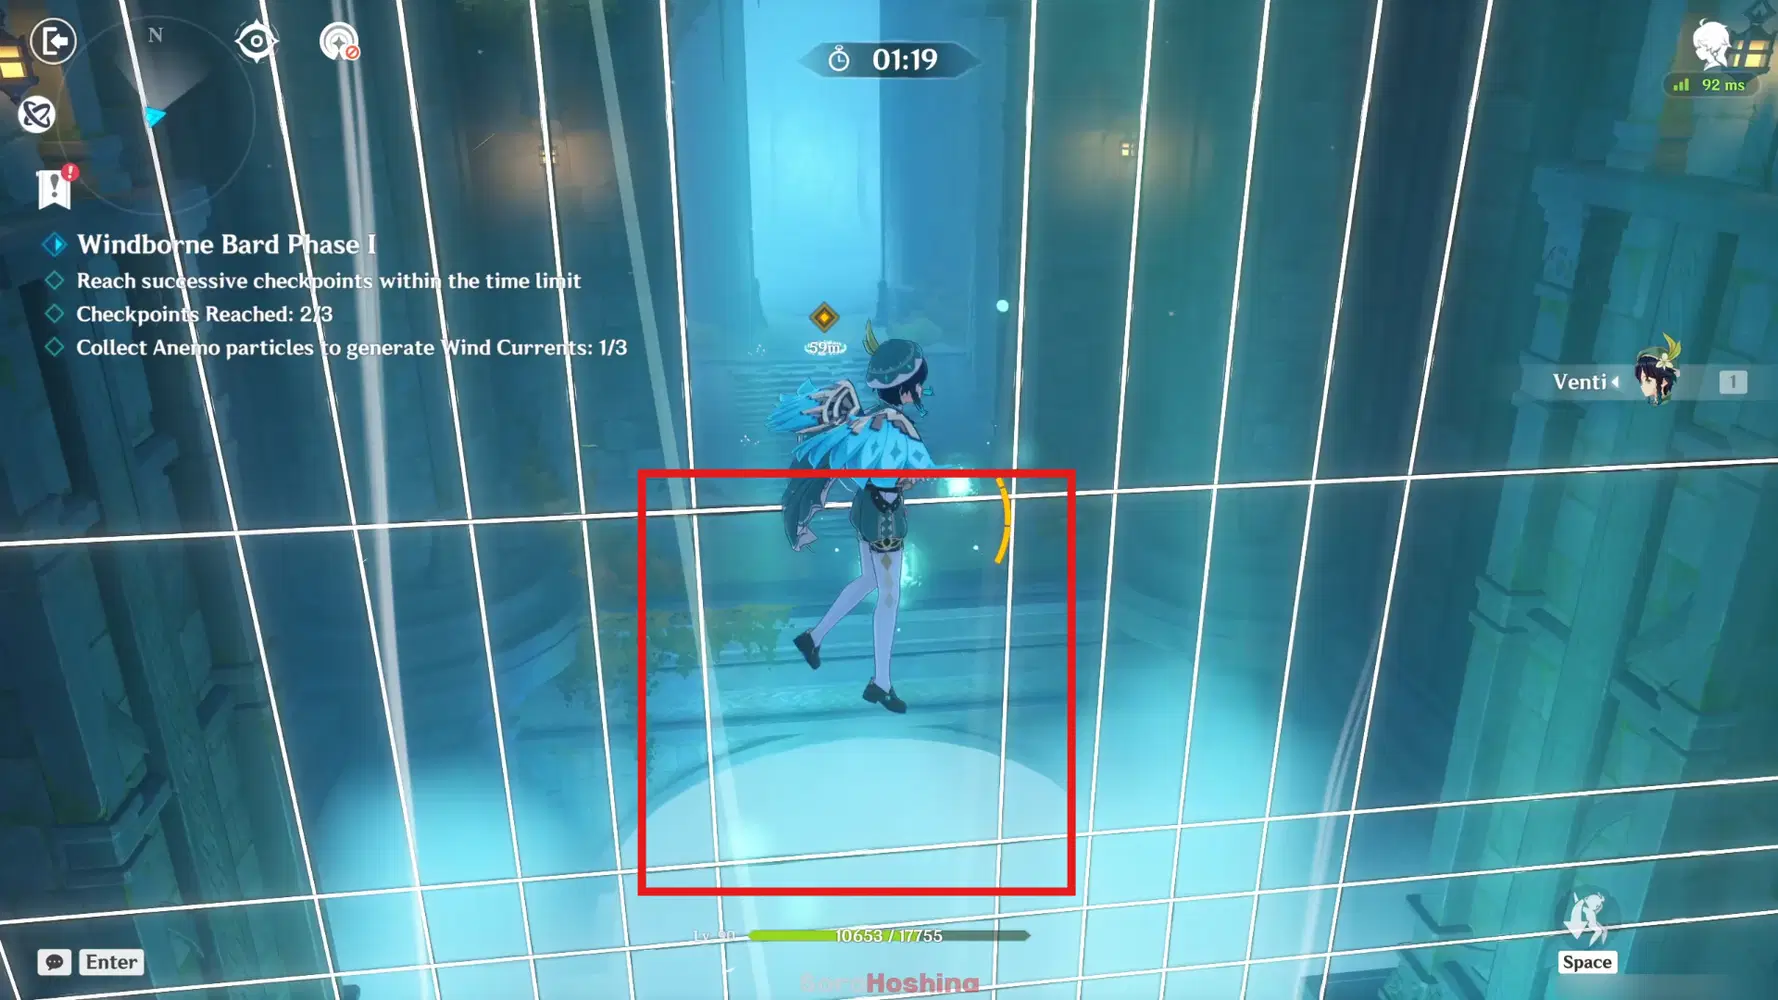
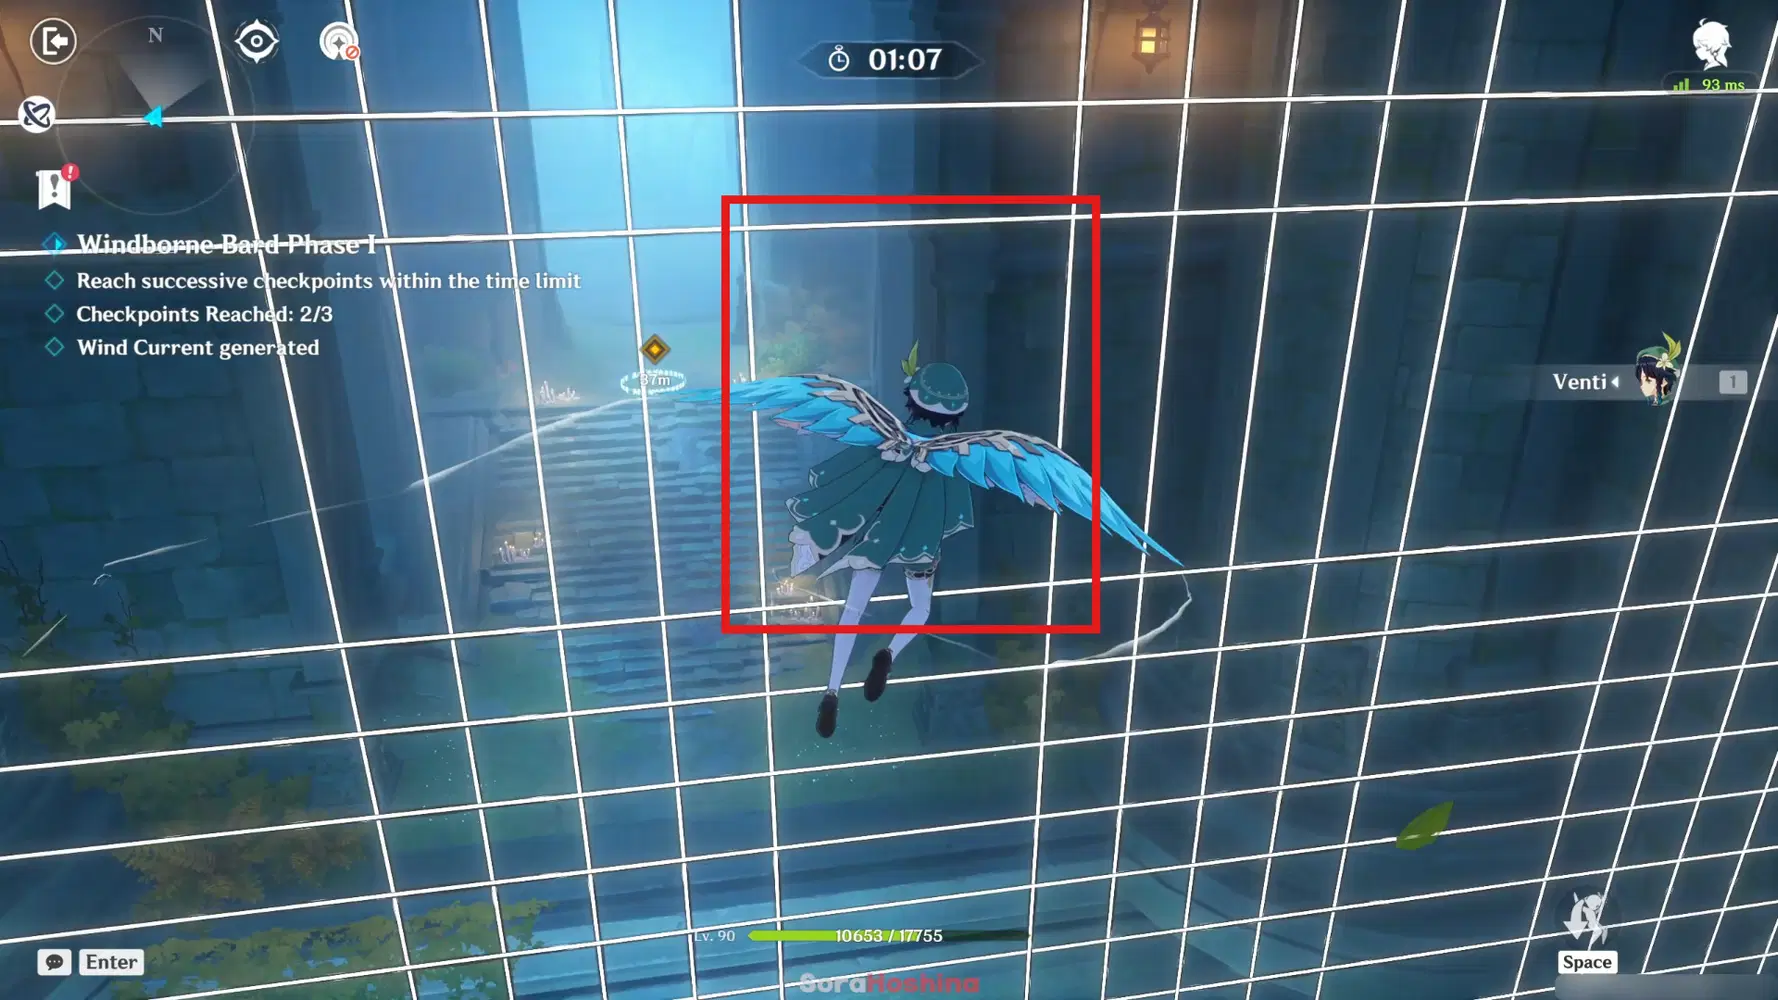
- Once you're halfway and the laser starts doing Resident Evil laser grid, WAIT for a few seconds until the laser moves and creates a rectangular shape for you to glide through. Don't forget to get the Anemo Particles.
- After the challenges end, pick up all the health orbs on the ground to heal your Venti.
Windborne Bard Phase II
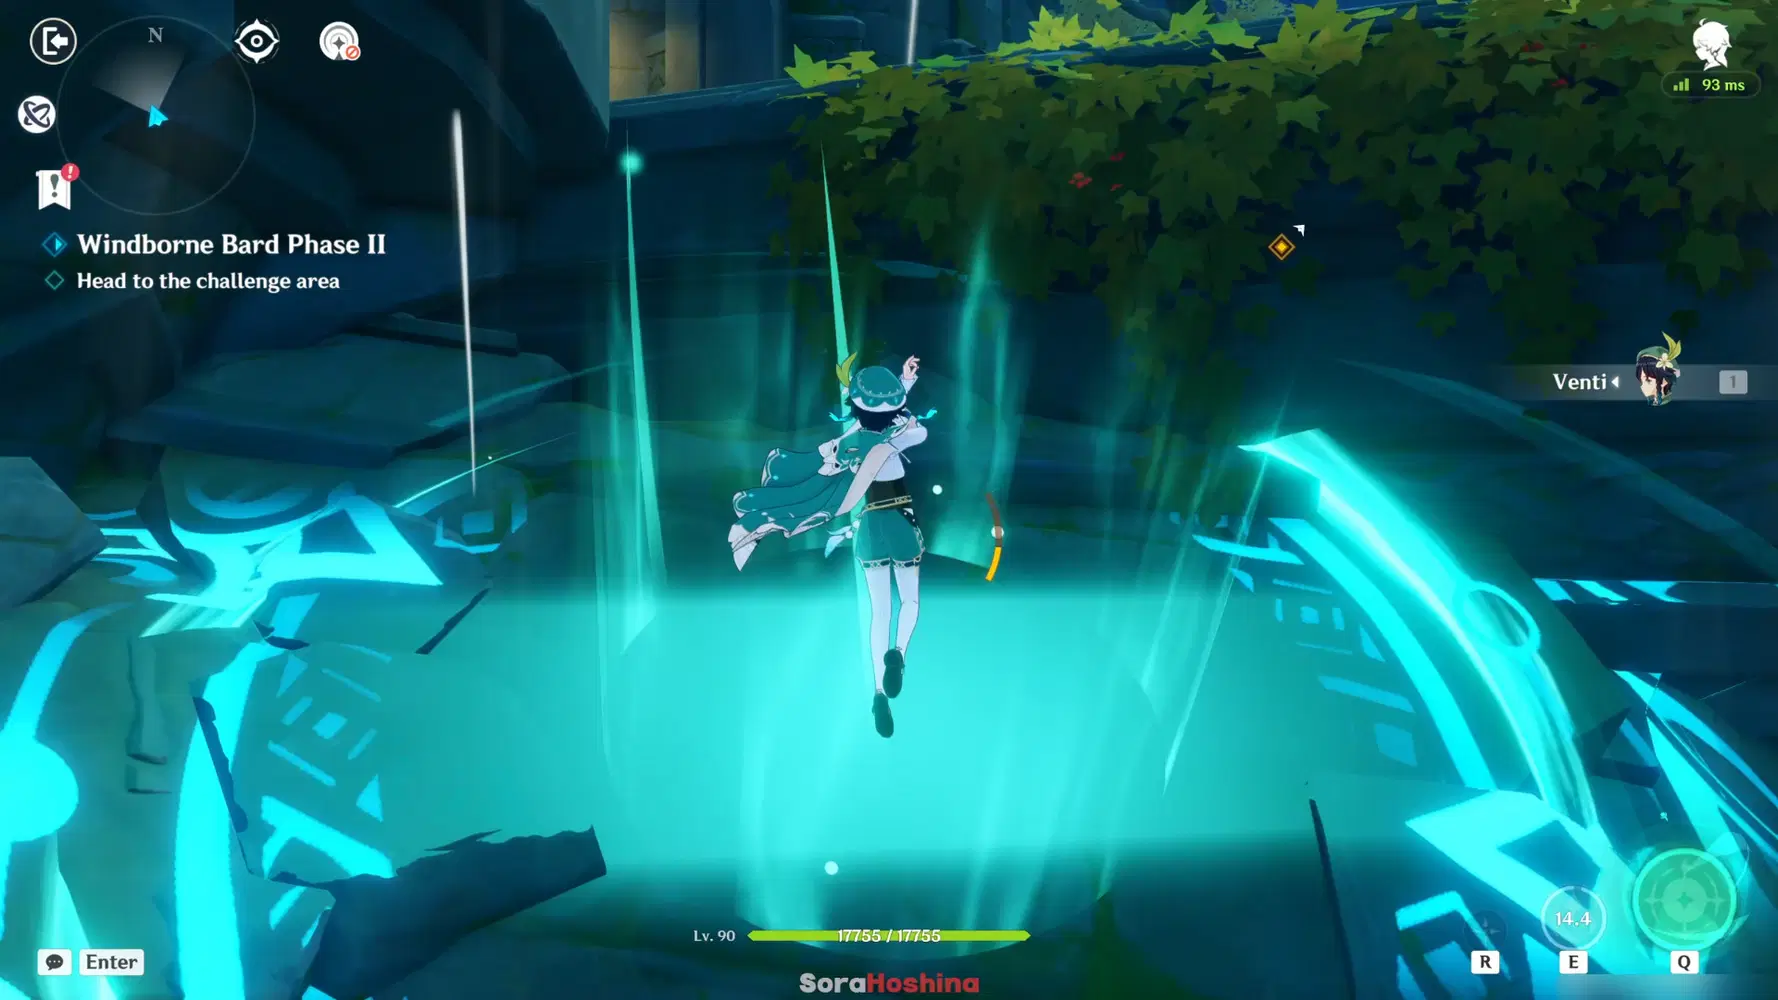
- On the way to the second phase area, there will be a platform that you can't climb. Use Venti's Skill to reach the platform above.
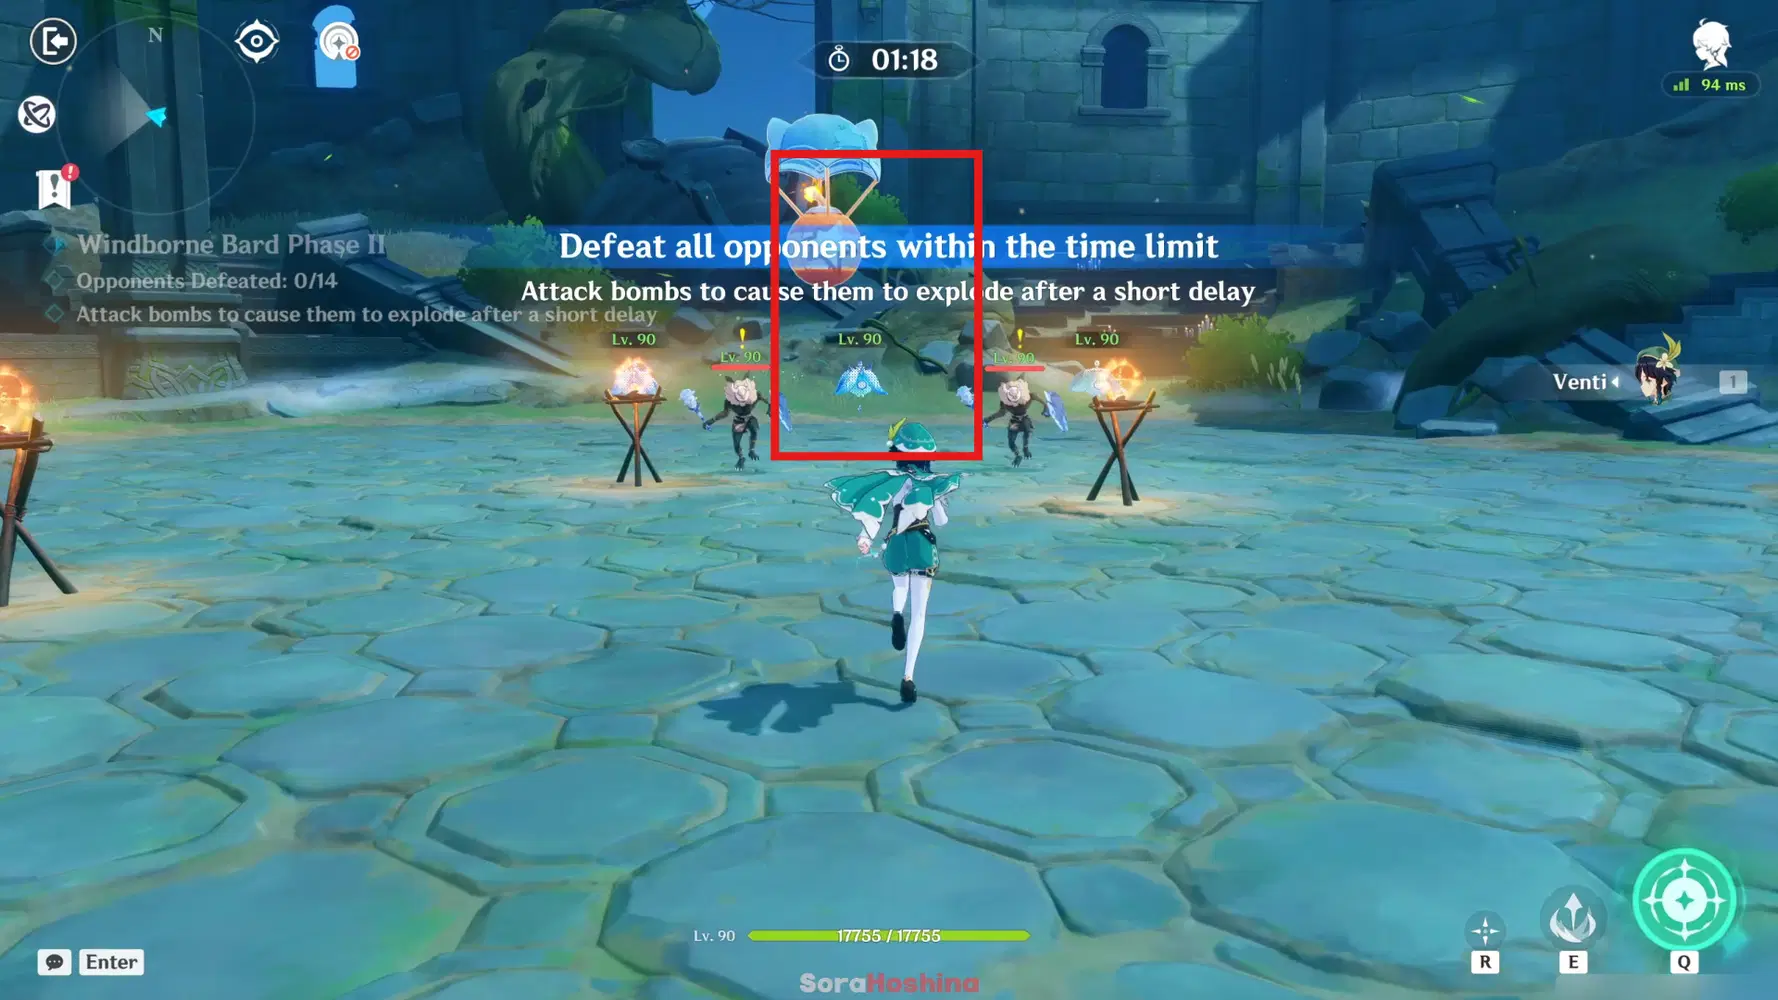
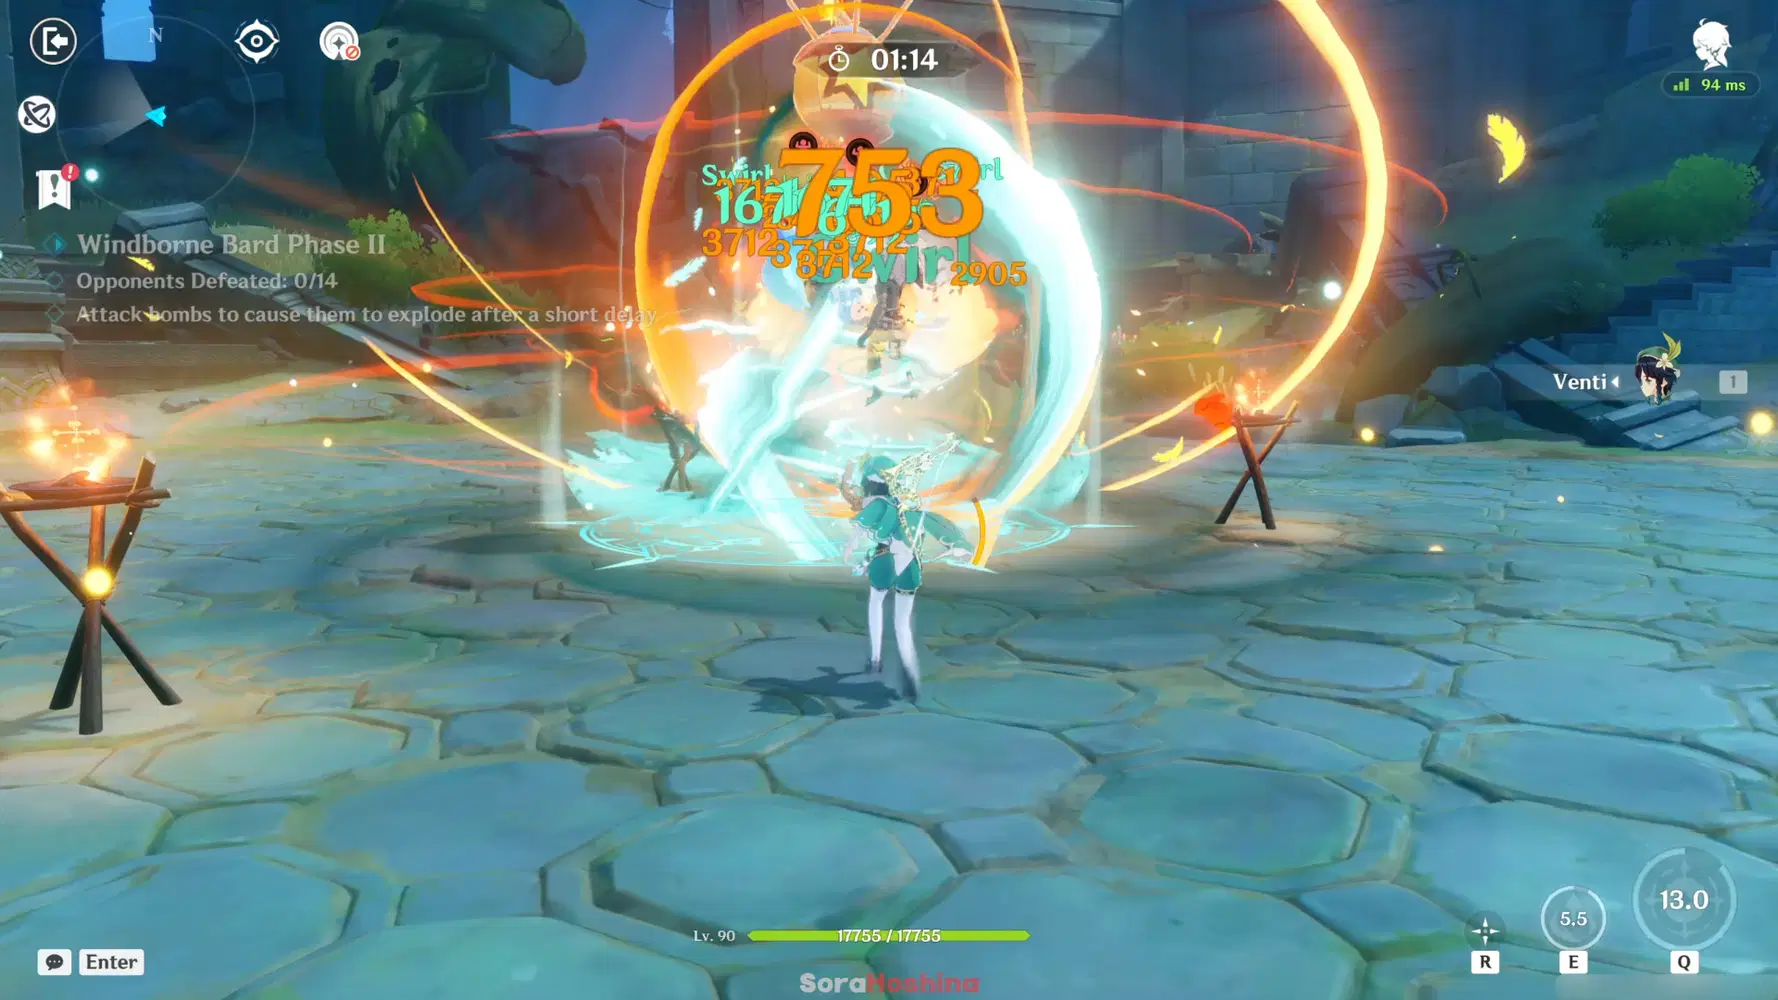
- Now, for the 2nd phase challenge, you need to defeat all opponents within the time limit. Once you start the challenge, step back a little bit and use Venti's Burst in between the two torches. This will more often than not make his Swirl changes to Pyro (in addition to pulling the floating Pyro bombs inside the vortex). Use Skill to get Energy and then Charged ATK on the torches to trigger more Swirls on the enemies.
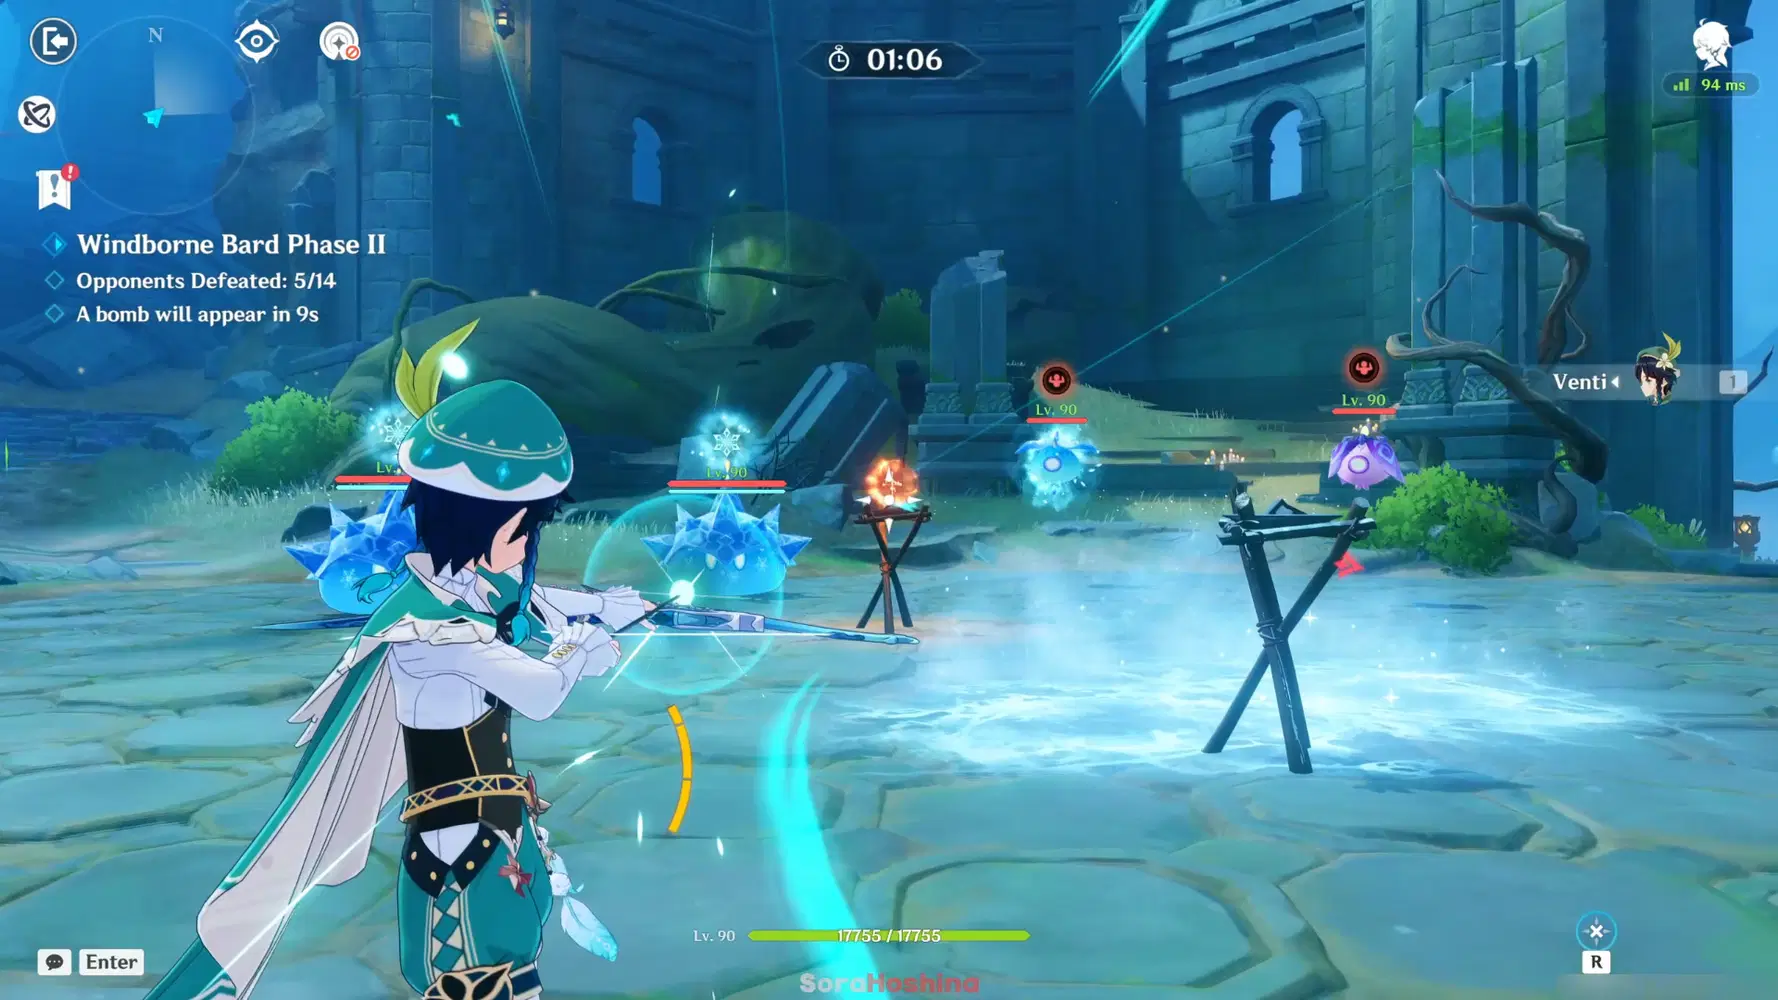
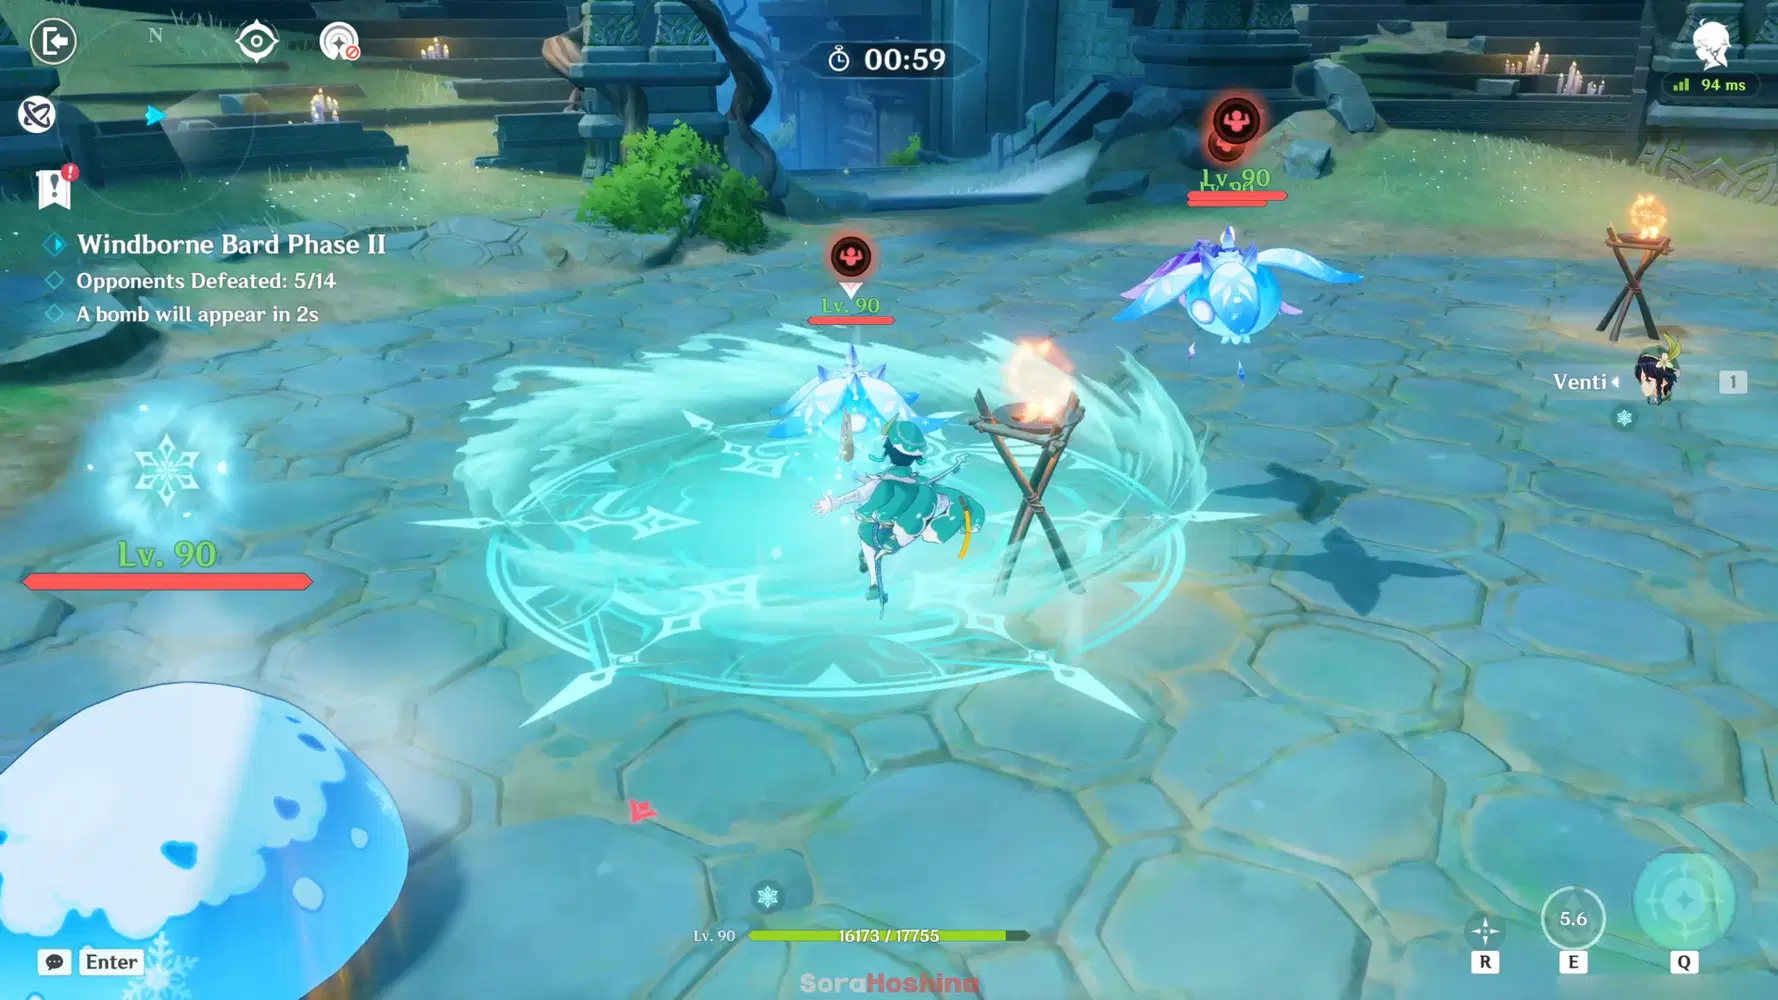
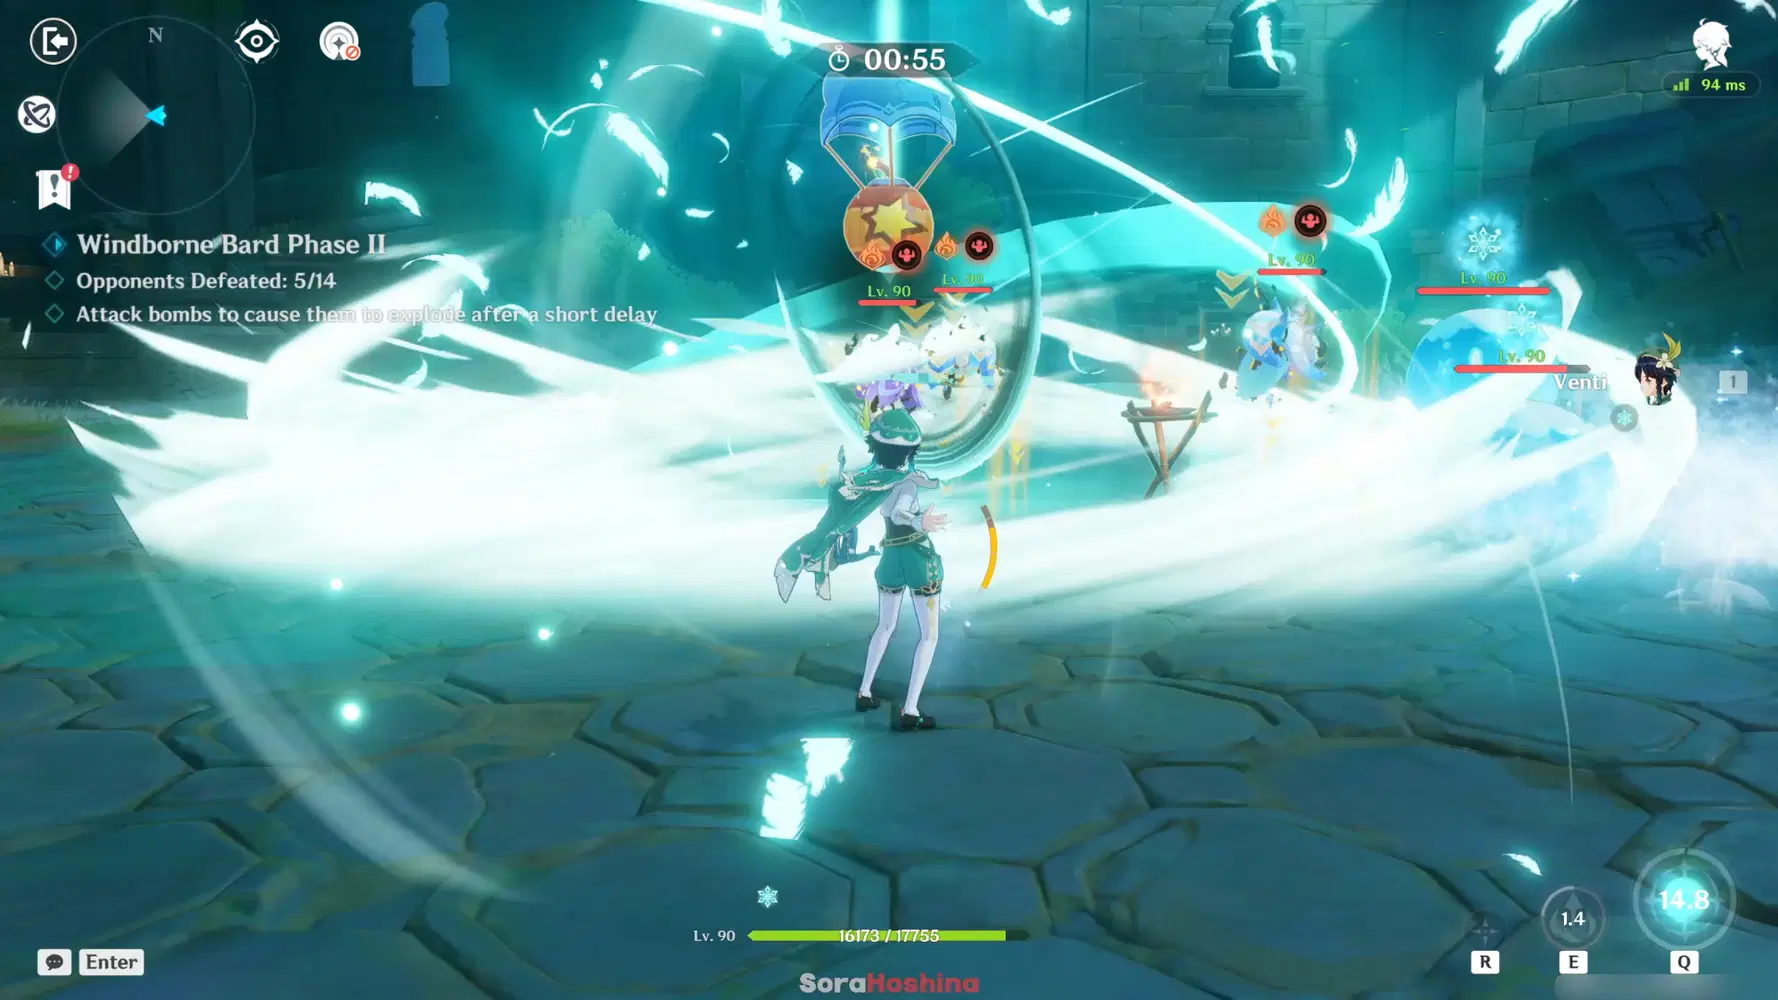
- In the second wave, use Charged ATK and Skill on the torches first so (some) of the enemies around it will be affected by Pyro.
- Then, once the Burst CD ends, use it and try to make the Burst land near the torches to Swirl Pyro. Afterward, use Skill on the vortex to get Energy back for the next wave.
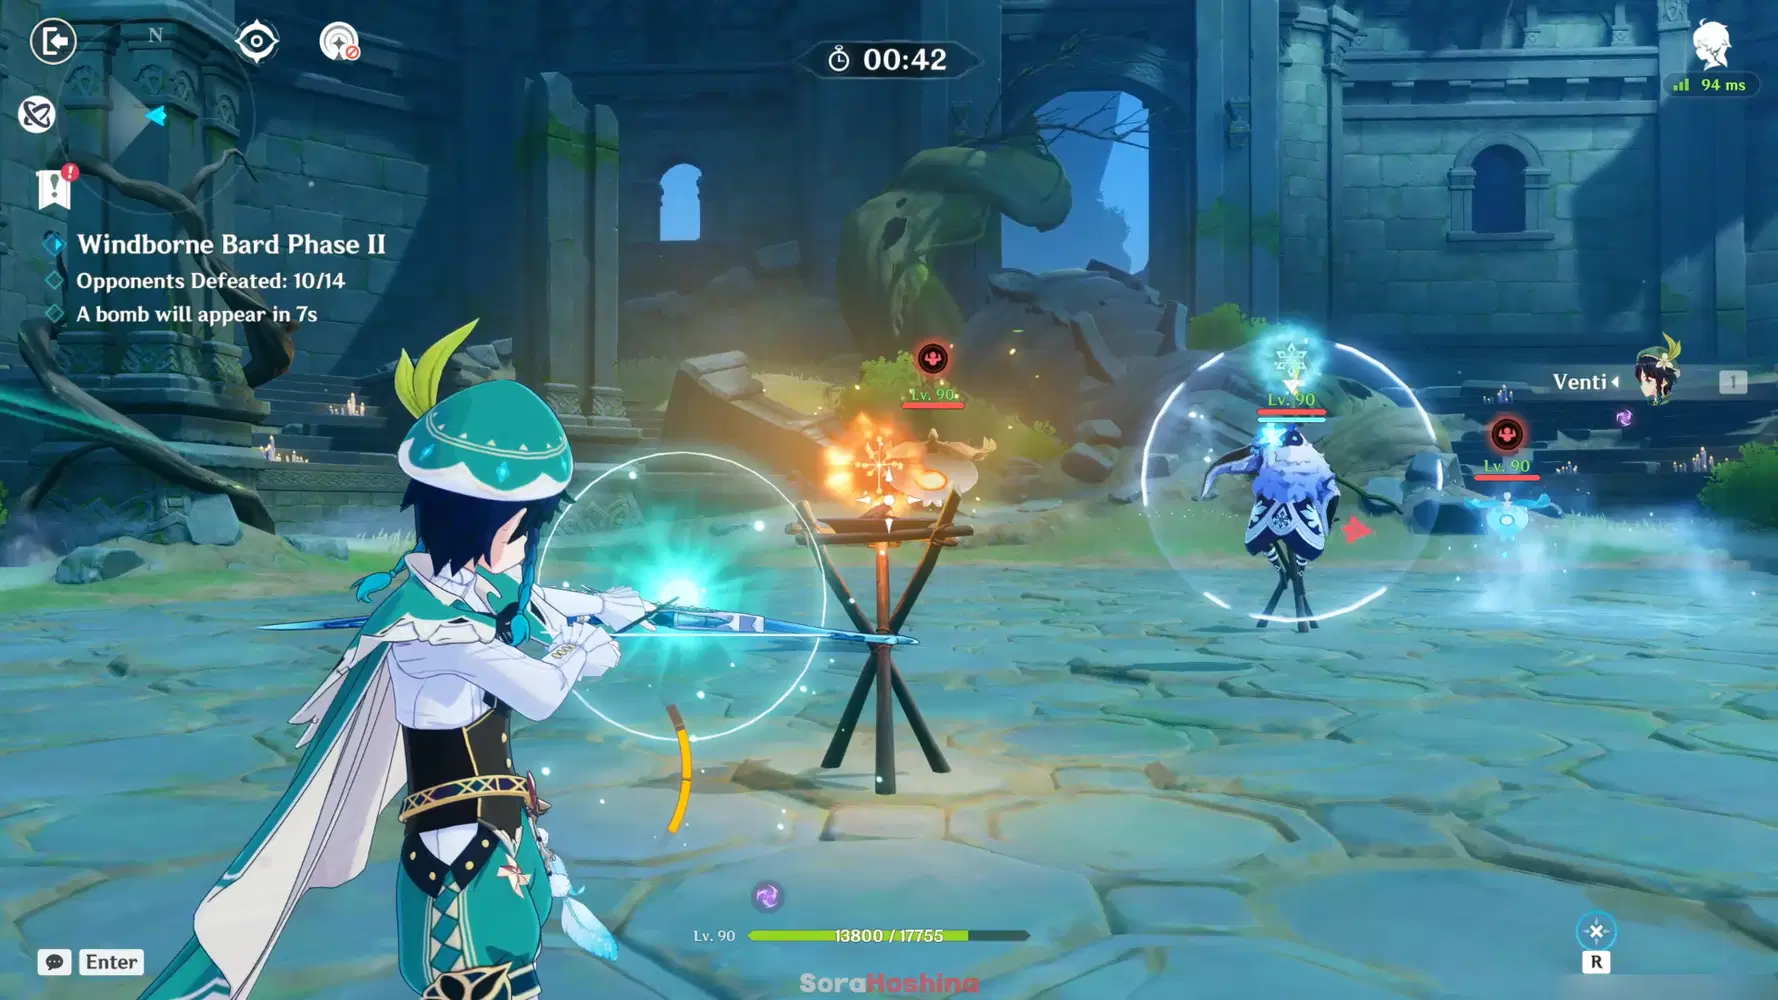
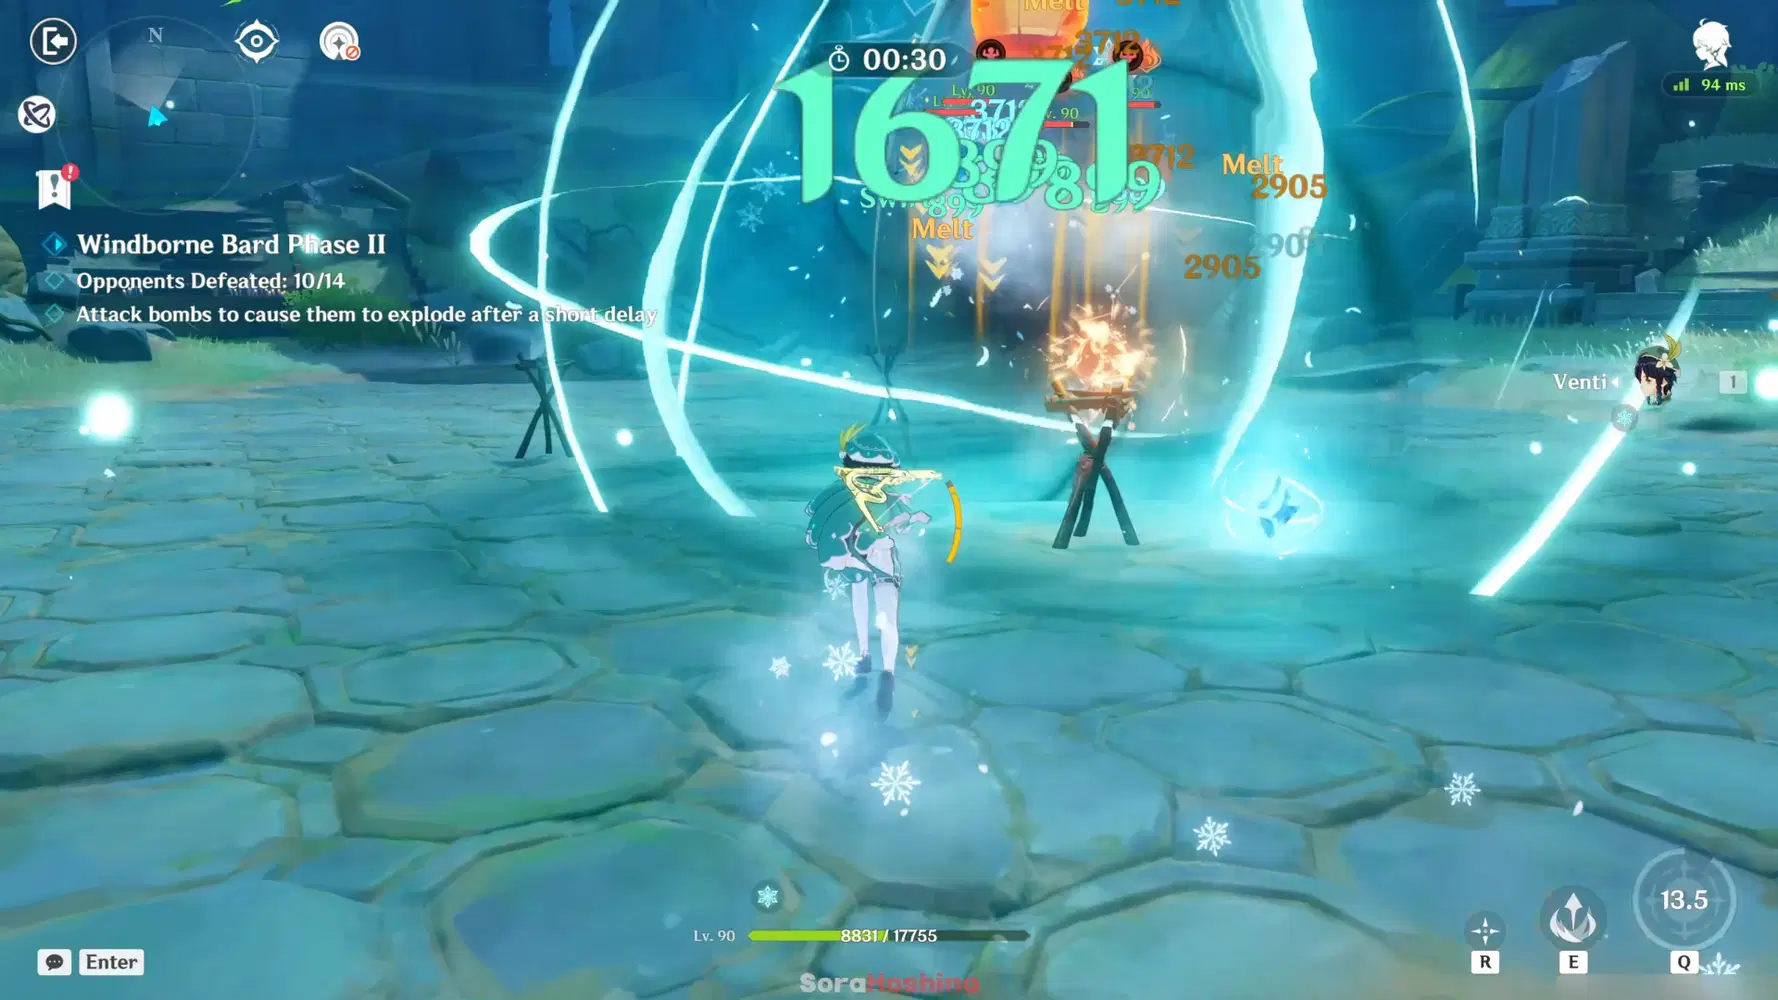
- In the last wave, the trick is the same as before, use Charged ATK and Skill on the torches to affect enemies around it with Pyro, while also depleting the Cryo Abyss Mage's shield.
- If the vortex turns Cryo, it's not so bad if the torch is nearby and the floating Pyro bomb is also pulled inside it. Just make sure to keep using Skill and Charged ATK after the Burst.