There are a total of five continuous World Quests you need to complete to fully unlock both the surface and underground mines of The Chasm. This guide will show you how complete each of them:
1. Surreptitious Seven-Star Seal Sundering
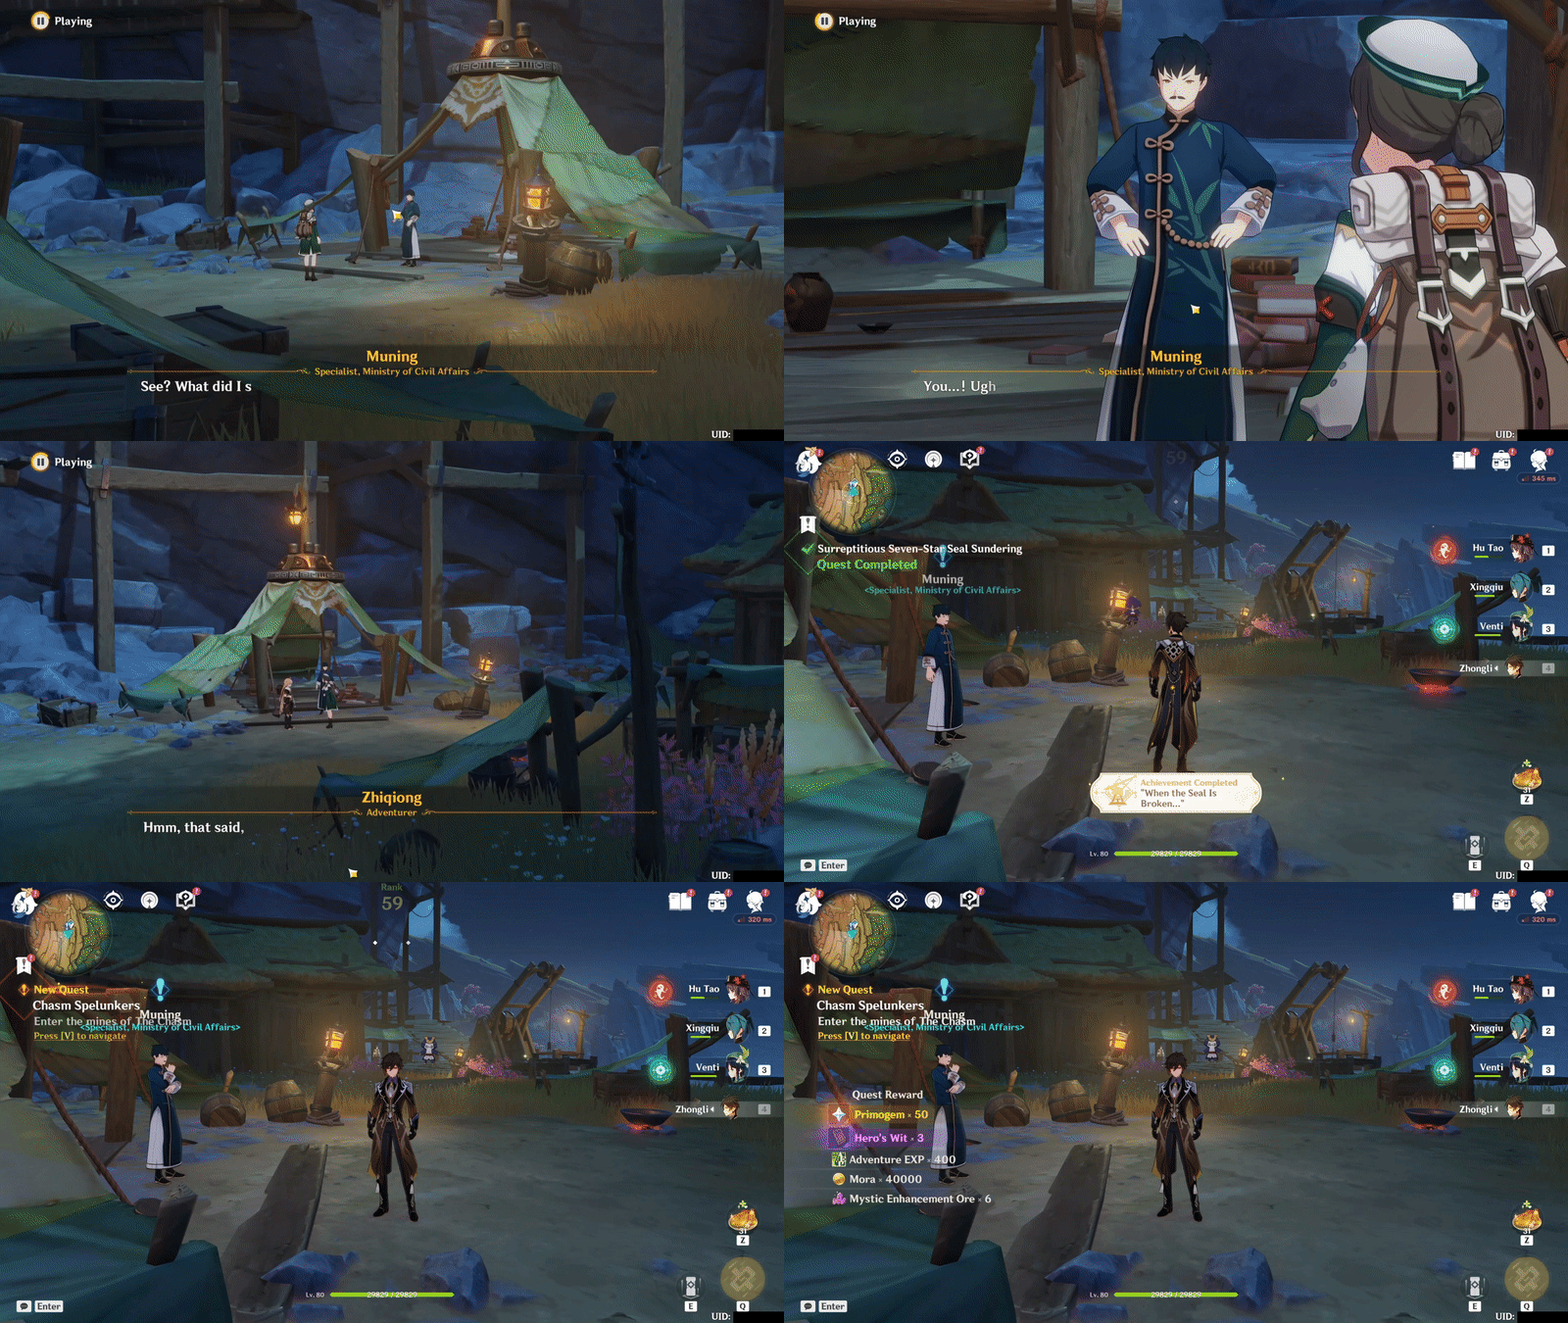
2. Chasm Spelunkers
3. The Heavenly Stone's Debris
4. Perils in the Dark
5. Wherefore Did the Spiritstone Descend?

✦ HoYoLAB post thumbnail ✦


✦ Surreptitious Seven-Star Seal Sundering
1. Start the Quest
▸ There are two methods to unlock this quest:
1) Talk to Liyue Katheryne and start the Archon Quest (This is only for those who had completed previous Archon Quest). Then, you can talk to Muning to get the Surreptitious Seven-Star Seal Sundering quest.

2) Talk to Lan near Liyue Katheryne to start The Chasm Charters quest. Follow the navigation and you will automatically get the Surreptitious Seven-Star Seal Sundering quest.

2. Destroy all Bedrock Keys
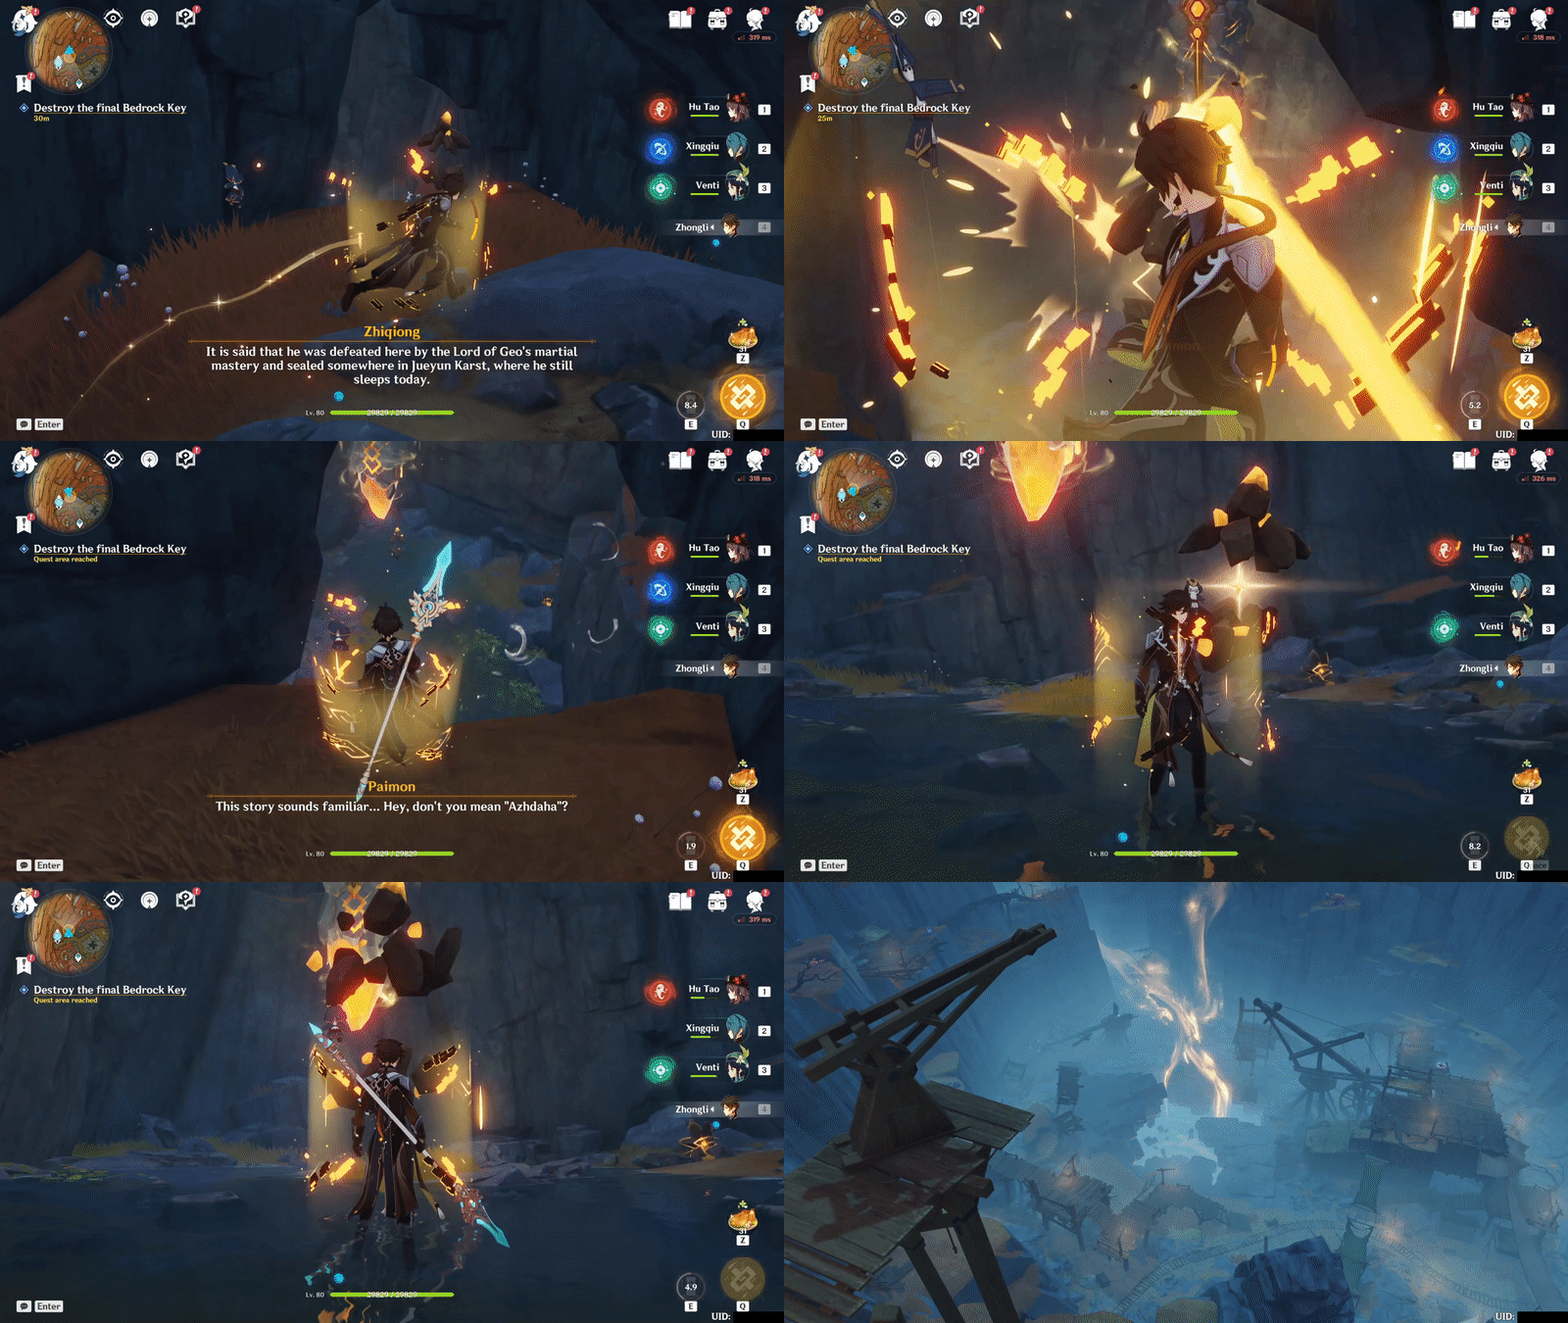
▸ Follow the quest navigation until you find Zhiqiong and the Lumenstone. Then, she will ask you to destroy all 5 Bedrock Keys. Make sure to unlock all the Waypoints and Statue of the Seven along the way.

(#1 and #5 are in different sub-quest)
1) The first Bedrock Keys - Hit using Cage-Shaped Geo Formations twice ▼
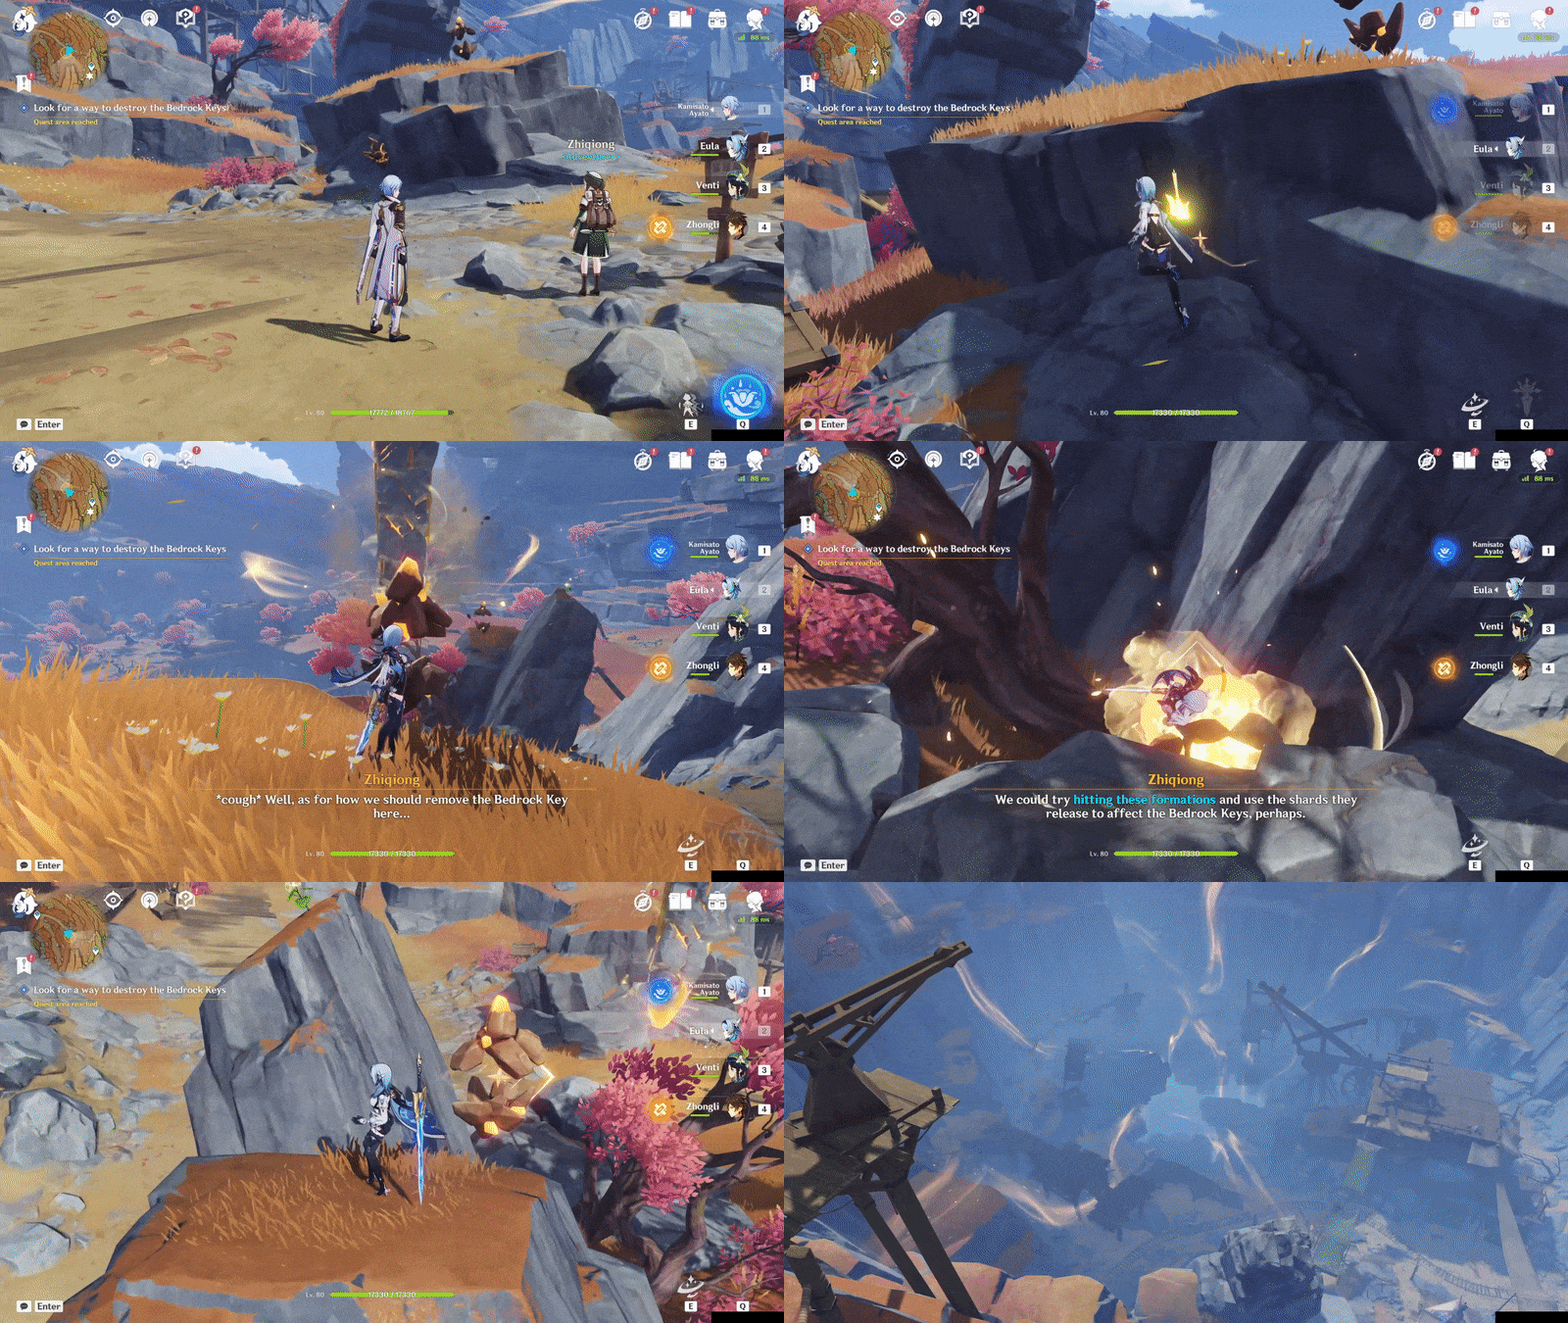
2) The second Bedrock Keys - Hit using Cage-Shaped Geo Formations three times ▼
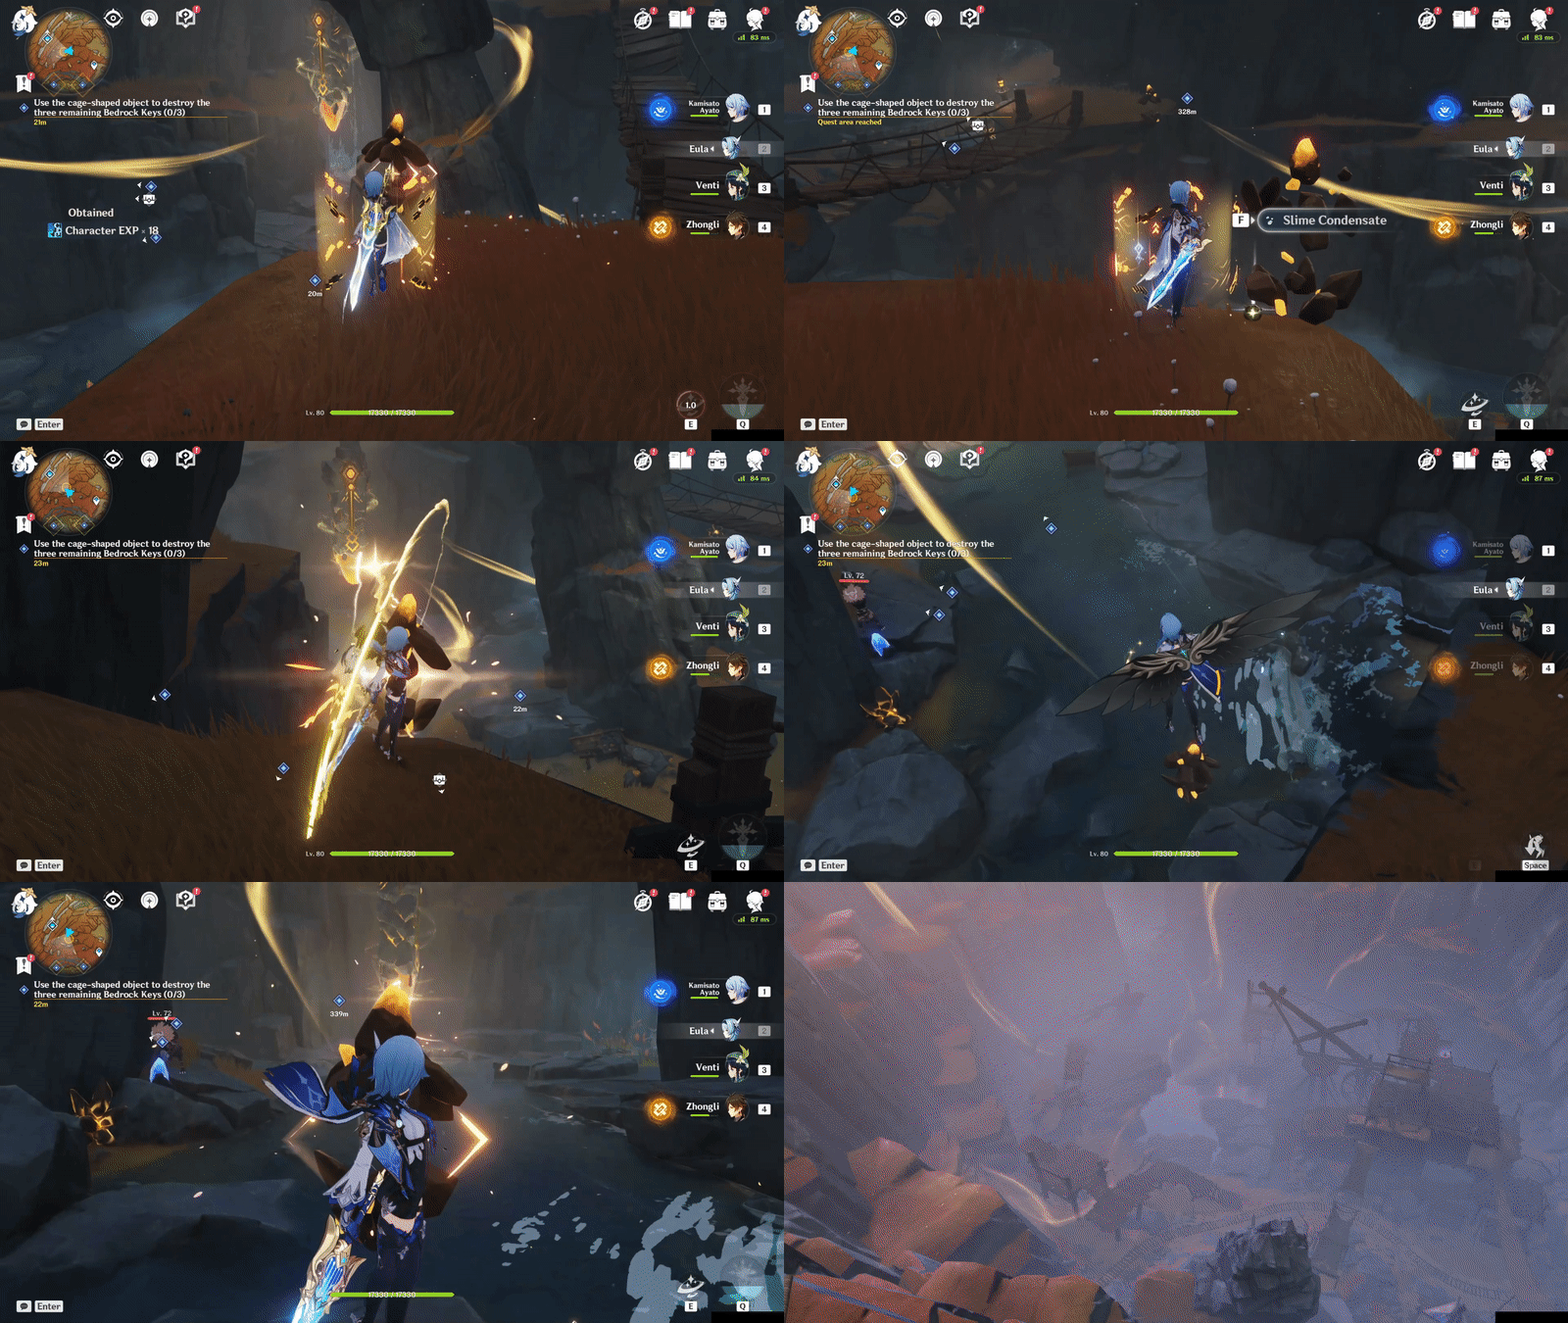
3) The third Bedrock Keys - Hit using Cage-Shaped Geo Formations four times ▼
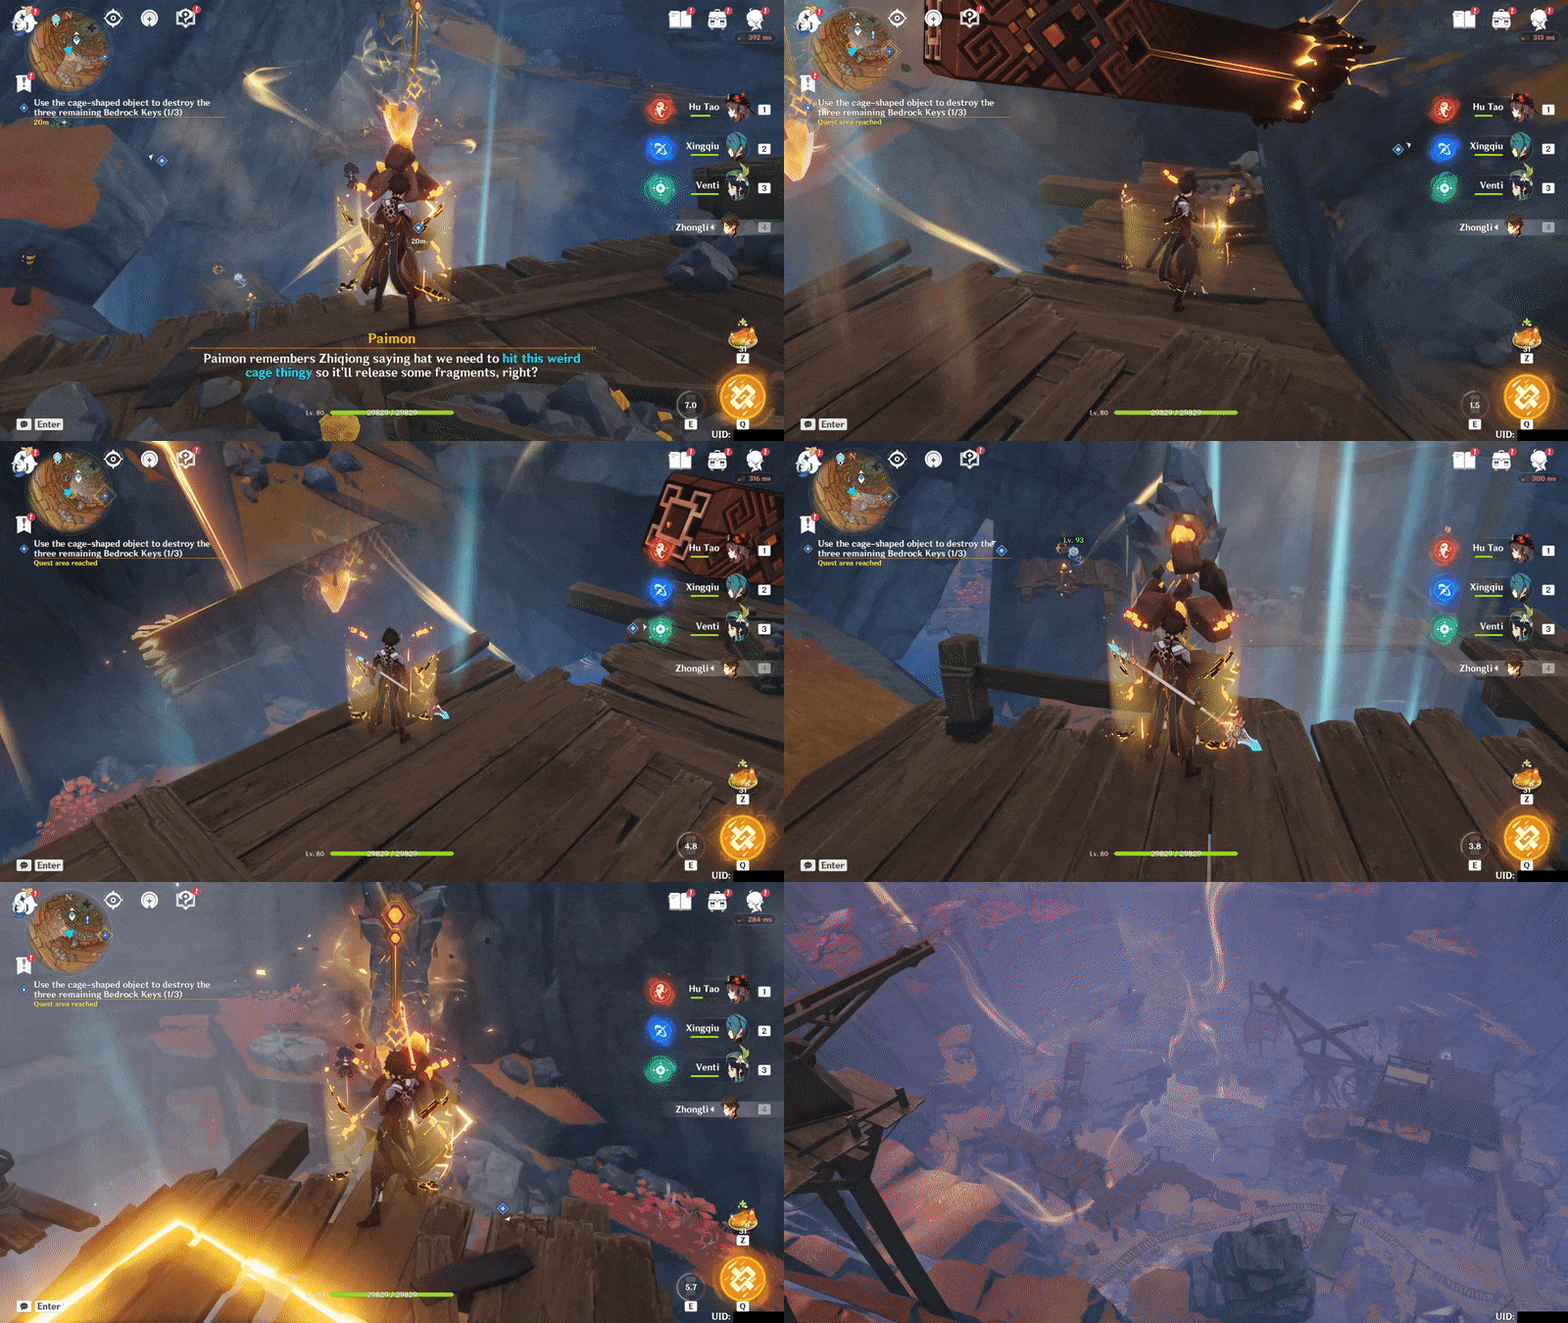
4) The fourth Bedrock Keys - Hit using Cage-Shaped Geo Formations three times ▼
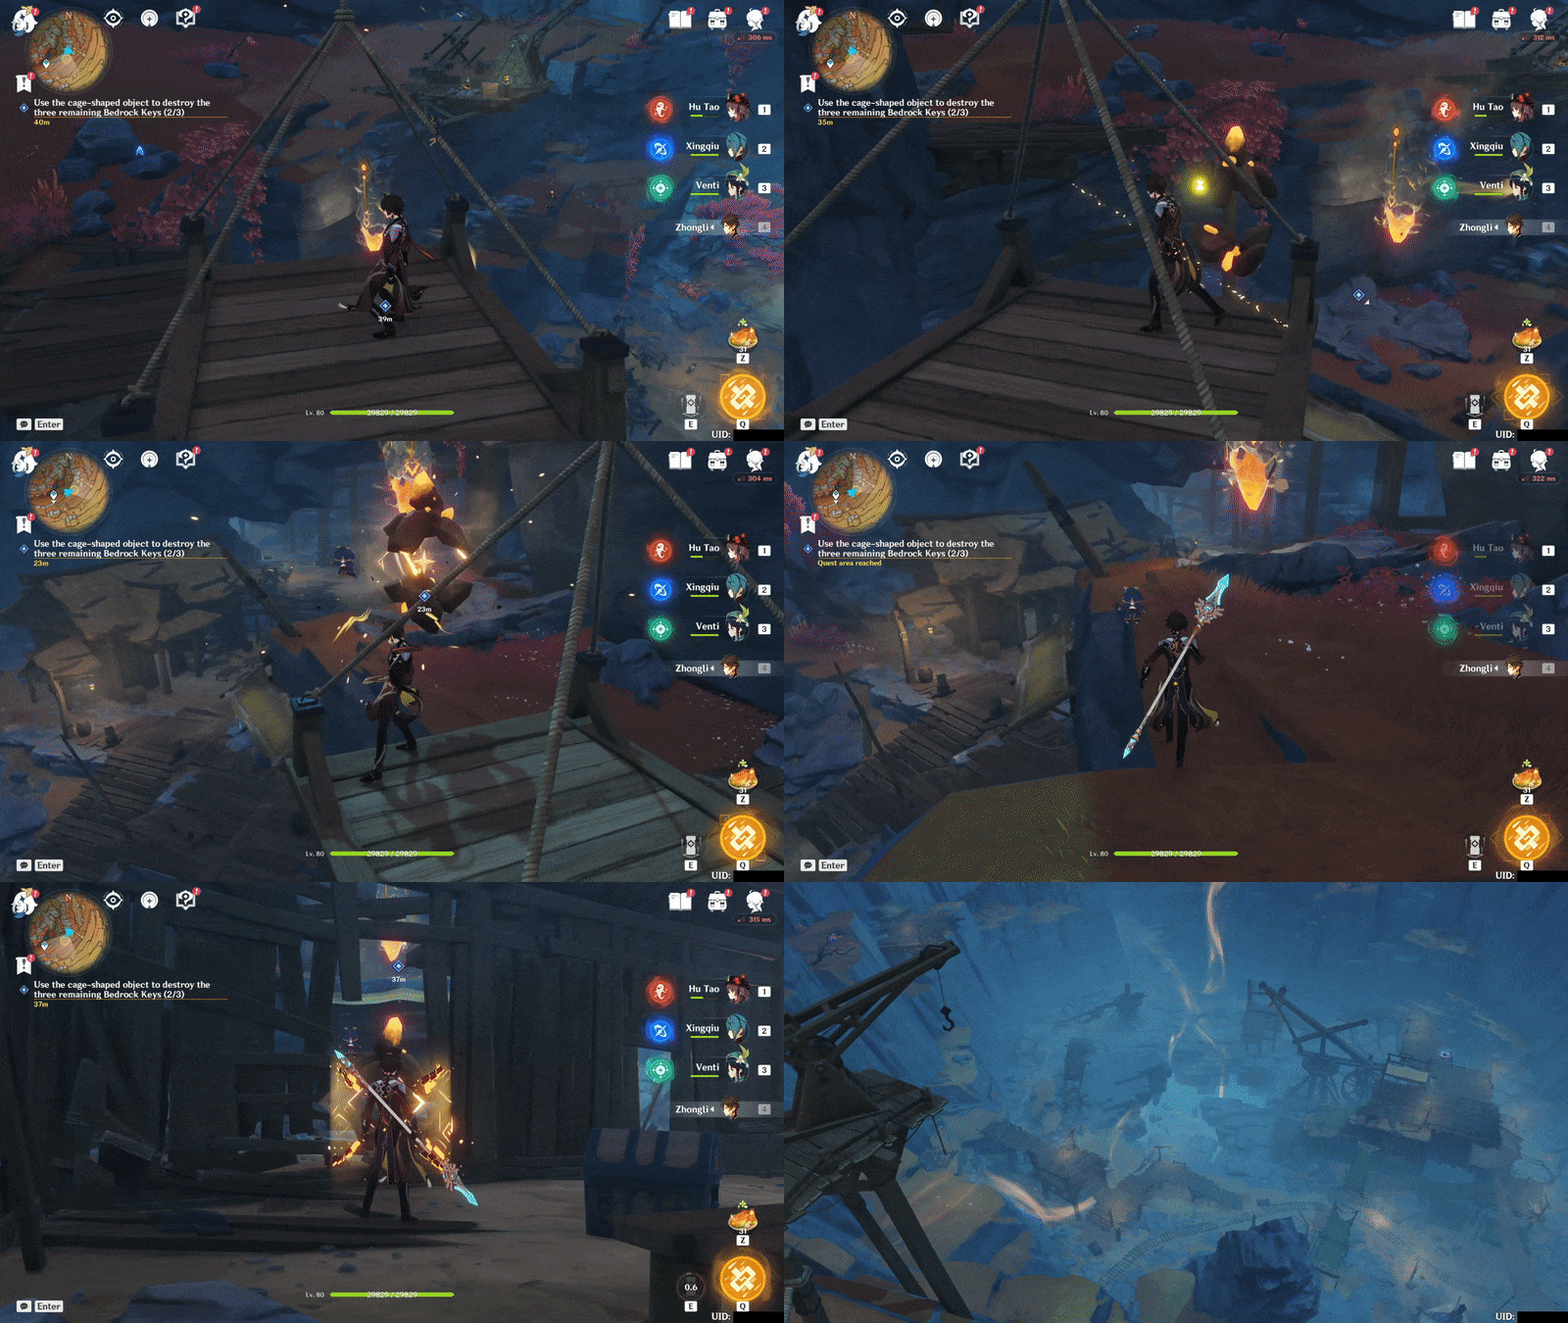
5) The fifth Bedrock Keys - Hit using Cage-Shaped Geo Formations twice ▼
▸ Follow the quest navigation to talk to Zhiqiong first before she will bring you to the last Bedrock Key.
3. Report to Muning
▸ Follow the quest navigation to report back to Muning.
✦ Chasm Spelunkers ✦
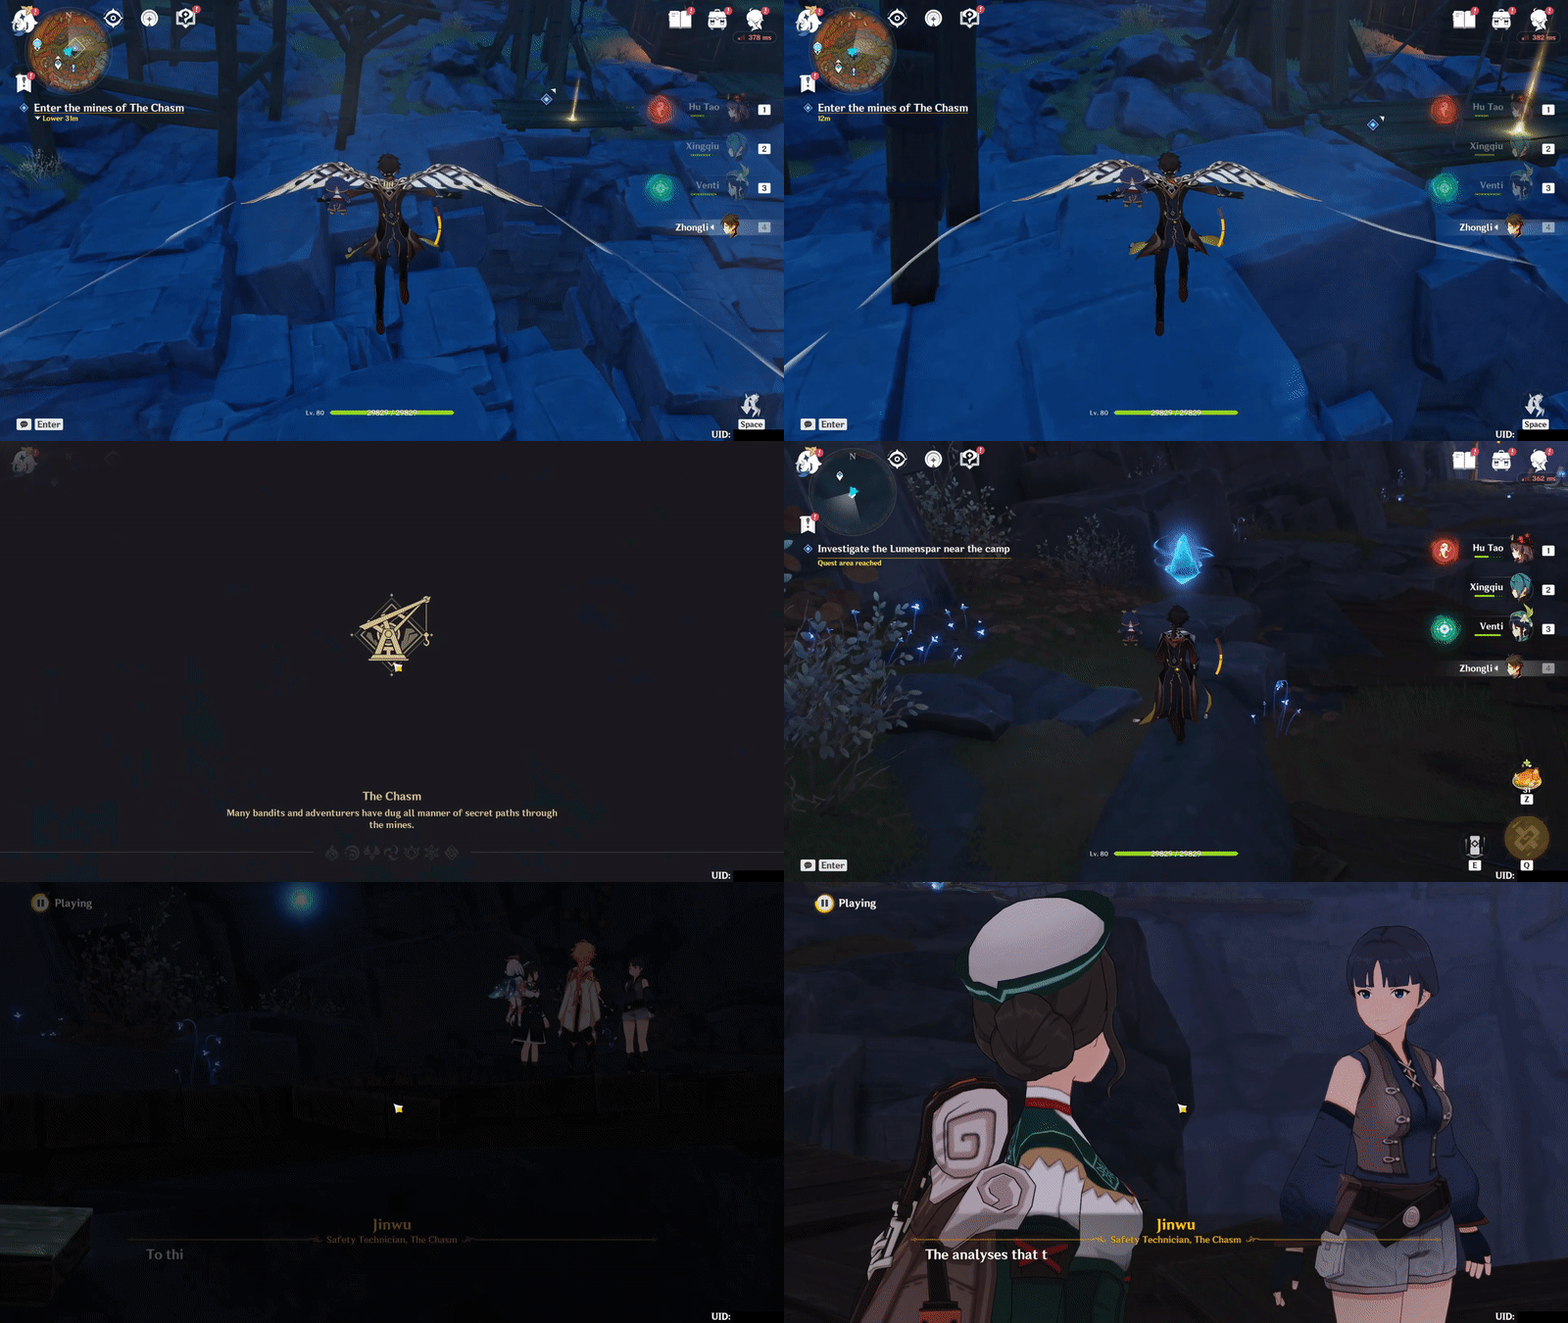
1. Enter the underground mine
▸ Follow the quest navigation and enter the underground mine and obtain the first Lumenspar. You will find that the map will be bare without any hint of waypoints' location.
▸ This is because you need to complete this quest storyline to unlock the map bit-by-bit. Make sure to at least collect 16 Lumenspar in your inventory so you can proceed in the next World Quest.
2. Look for 3 clues to Uncle He's whereabouts

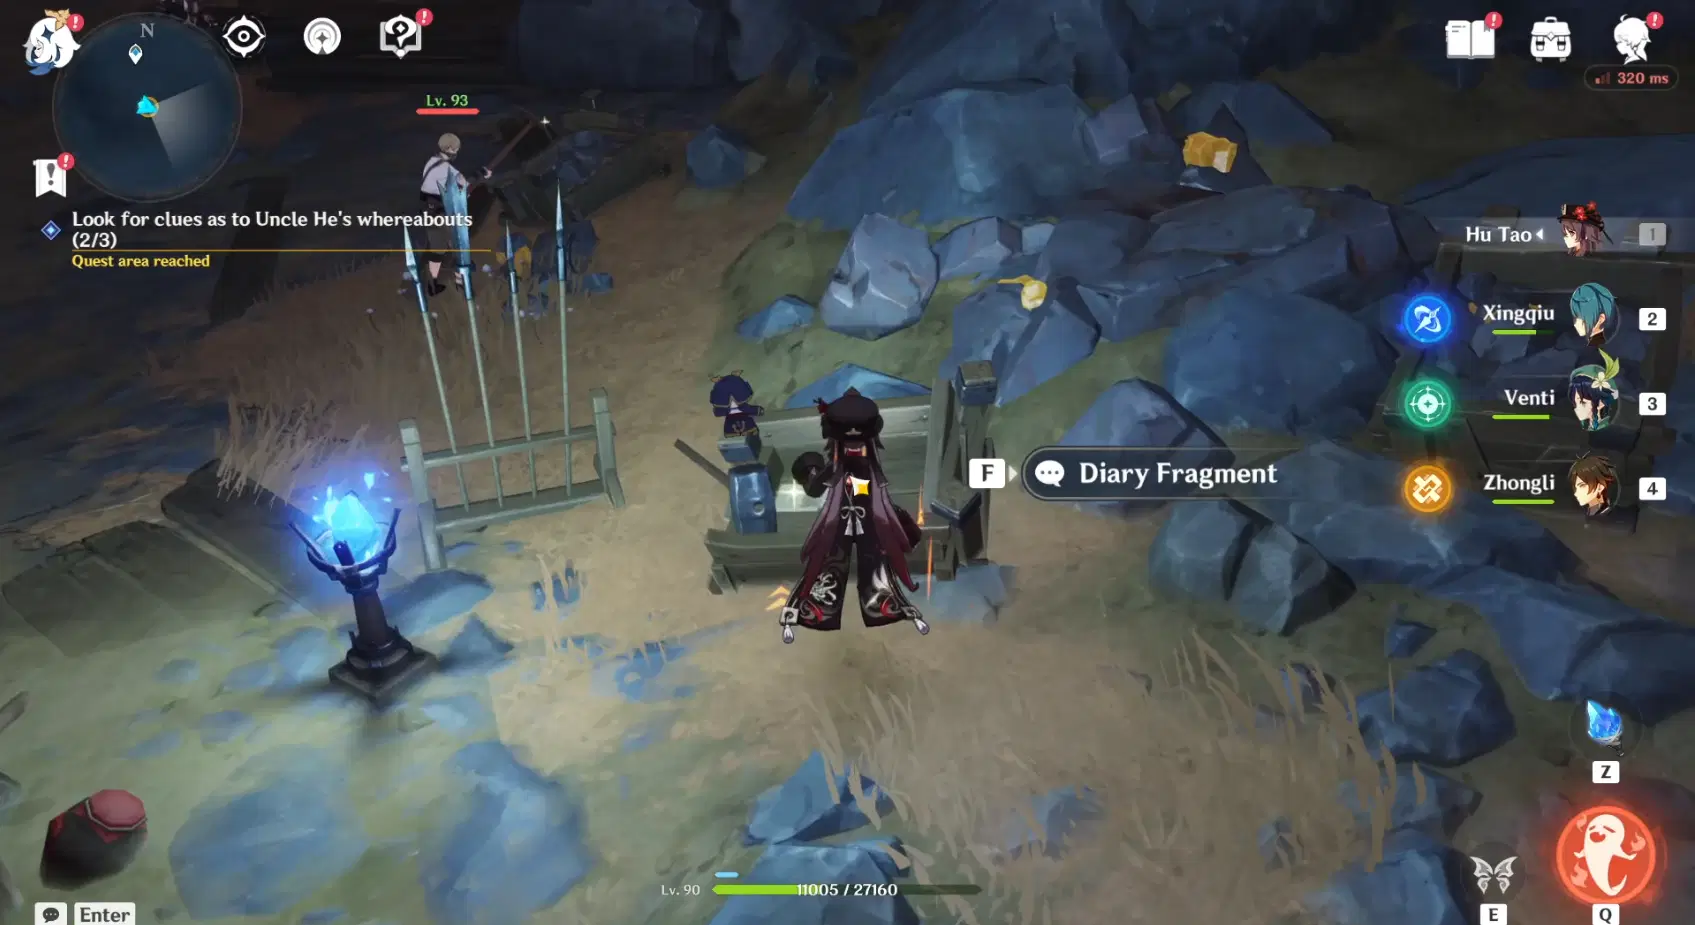
1) The first clue - Diary Fragment on top of a crate
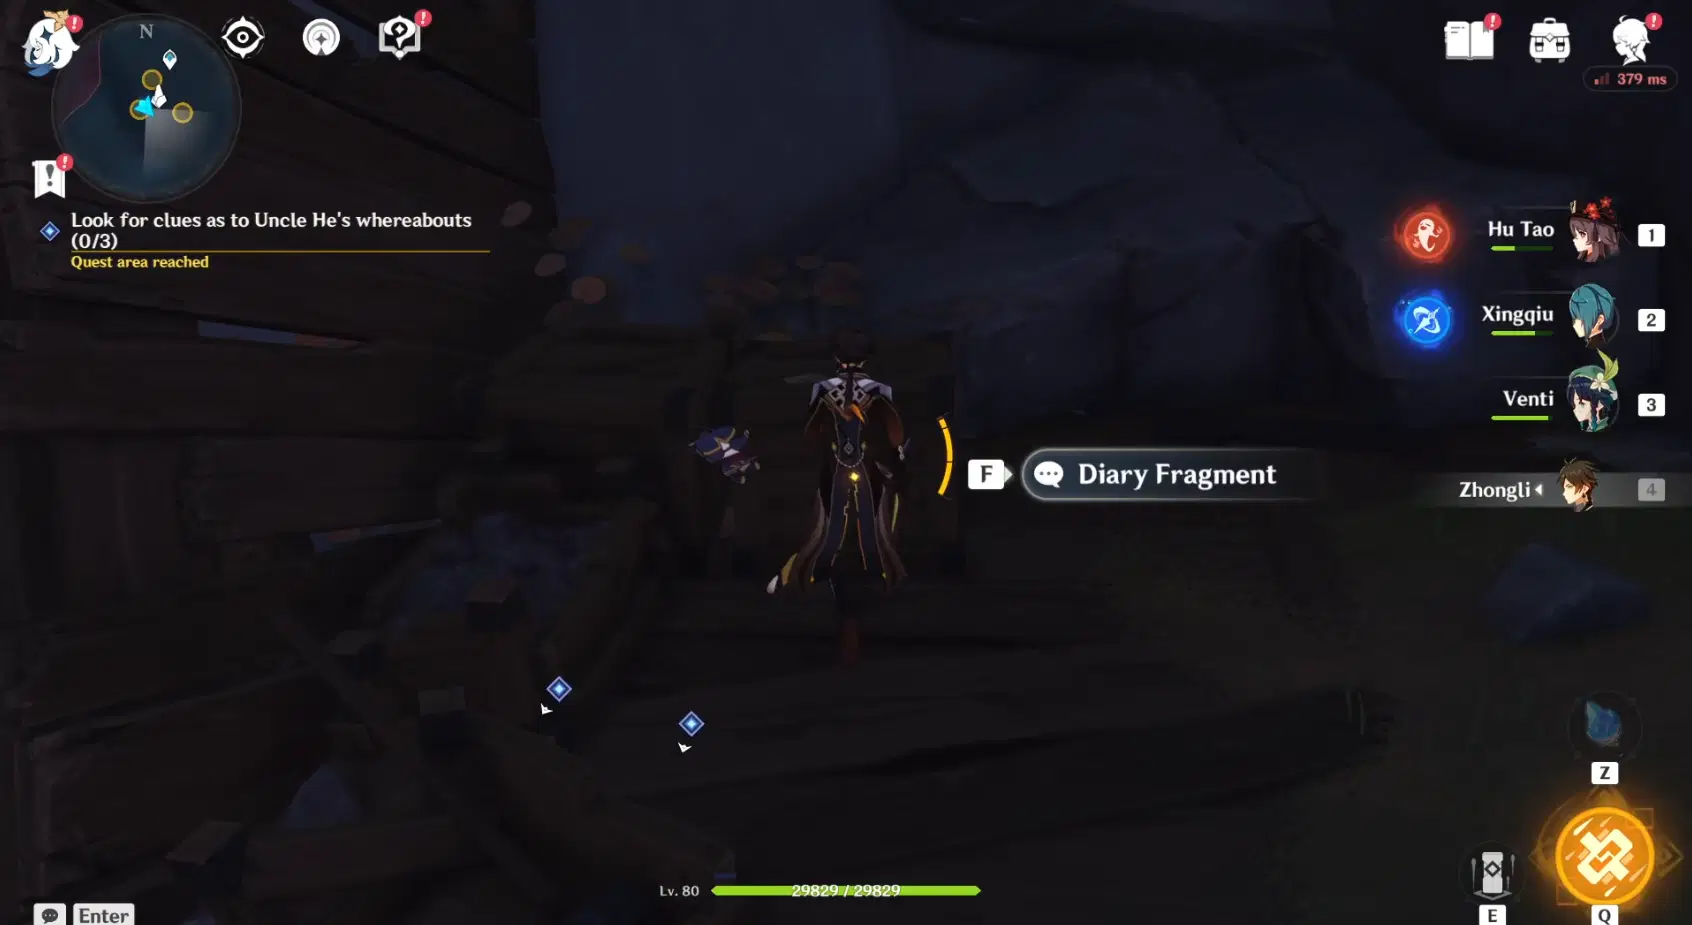
2) The second clue - Diary Fragment pasted beside a box on a shelf

3) The third clue - Diary Fragment inside a box
3. Complete Zhiqiong's commissions
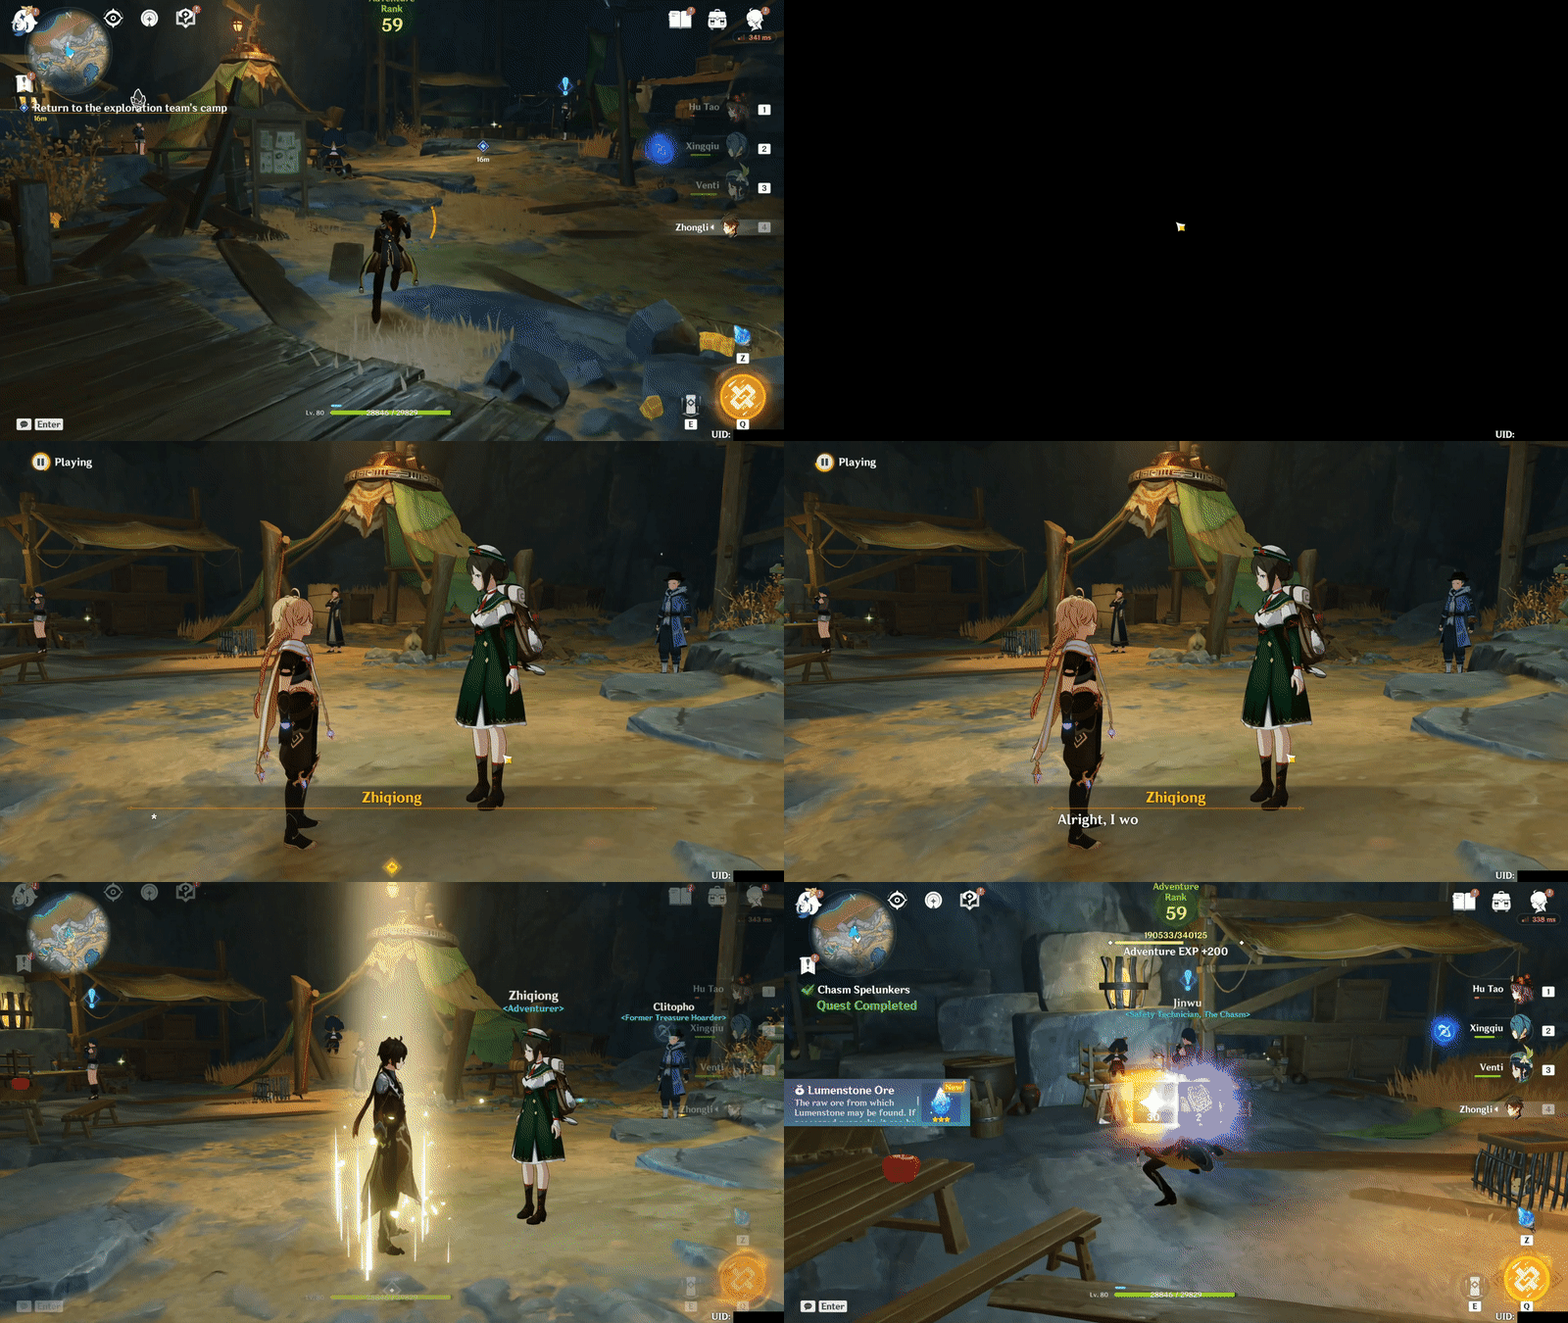
▸ Follow the quest navigation until you reach the exploration team's camp. You will unlock the first part of the map. Then, look for Zhiqiong to obtain the next 3 tasks.
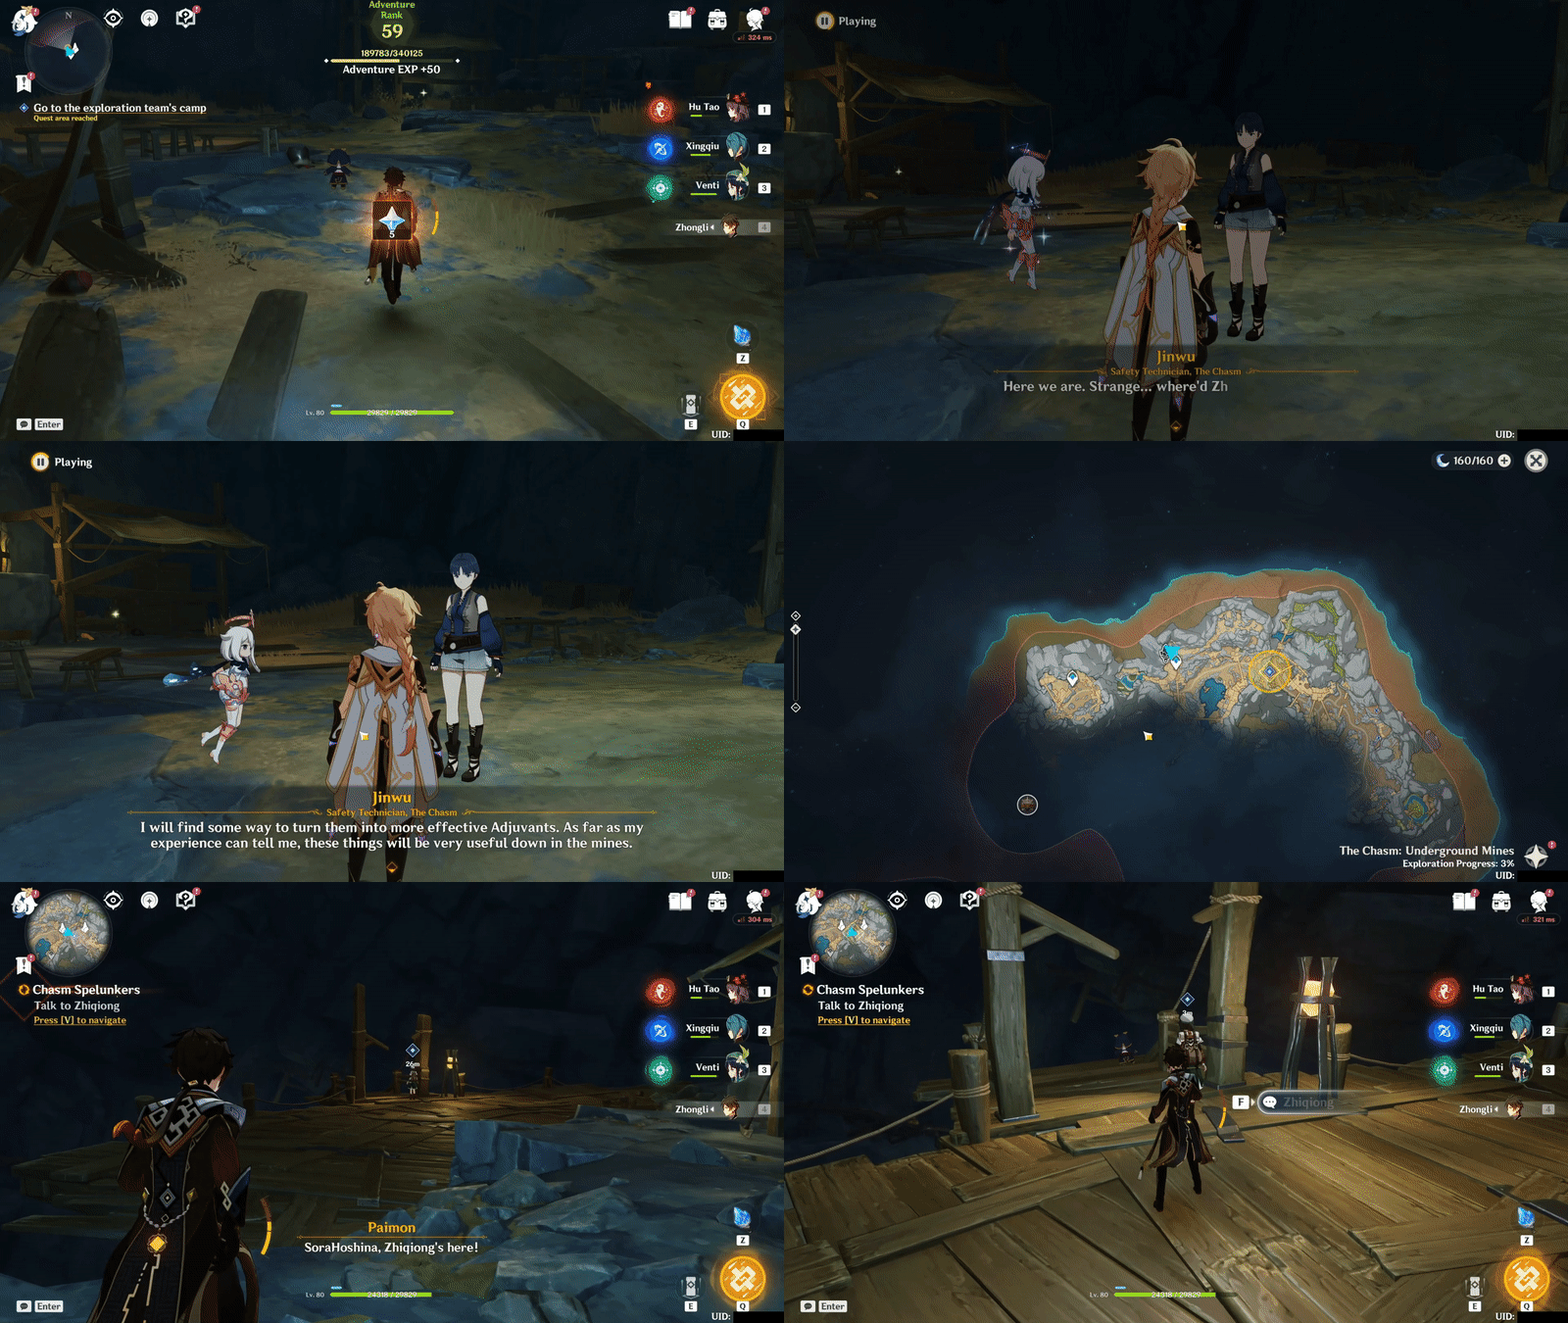
1) Go to the Treasure Hoarders' campsite
- Go to the first campsite and save Clitopho
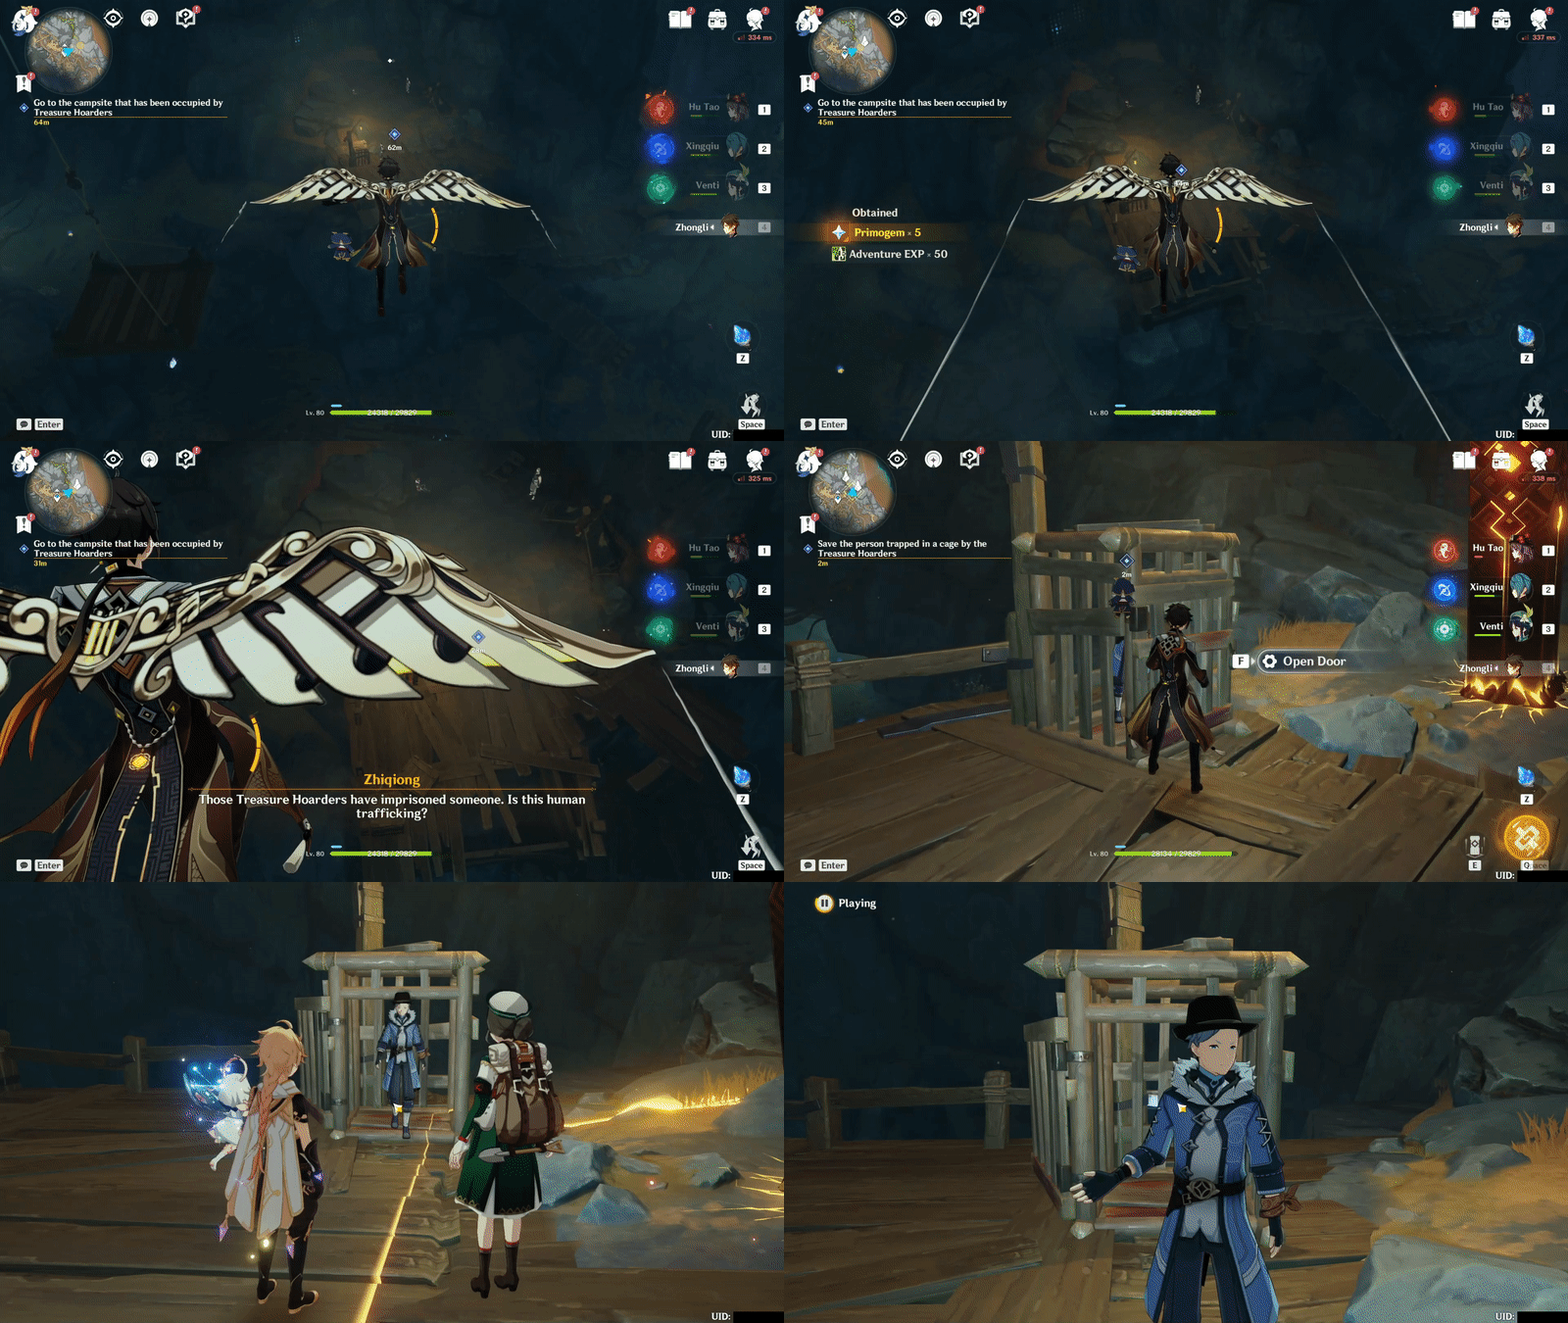
- Go to the second campsite and examine the giant cannon
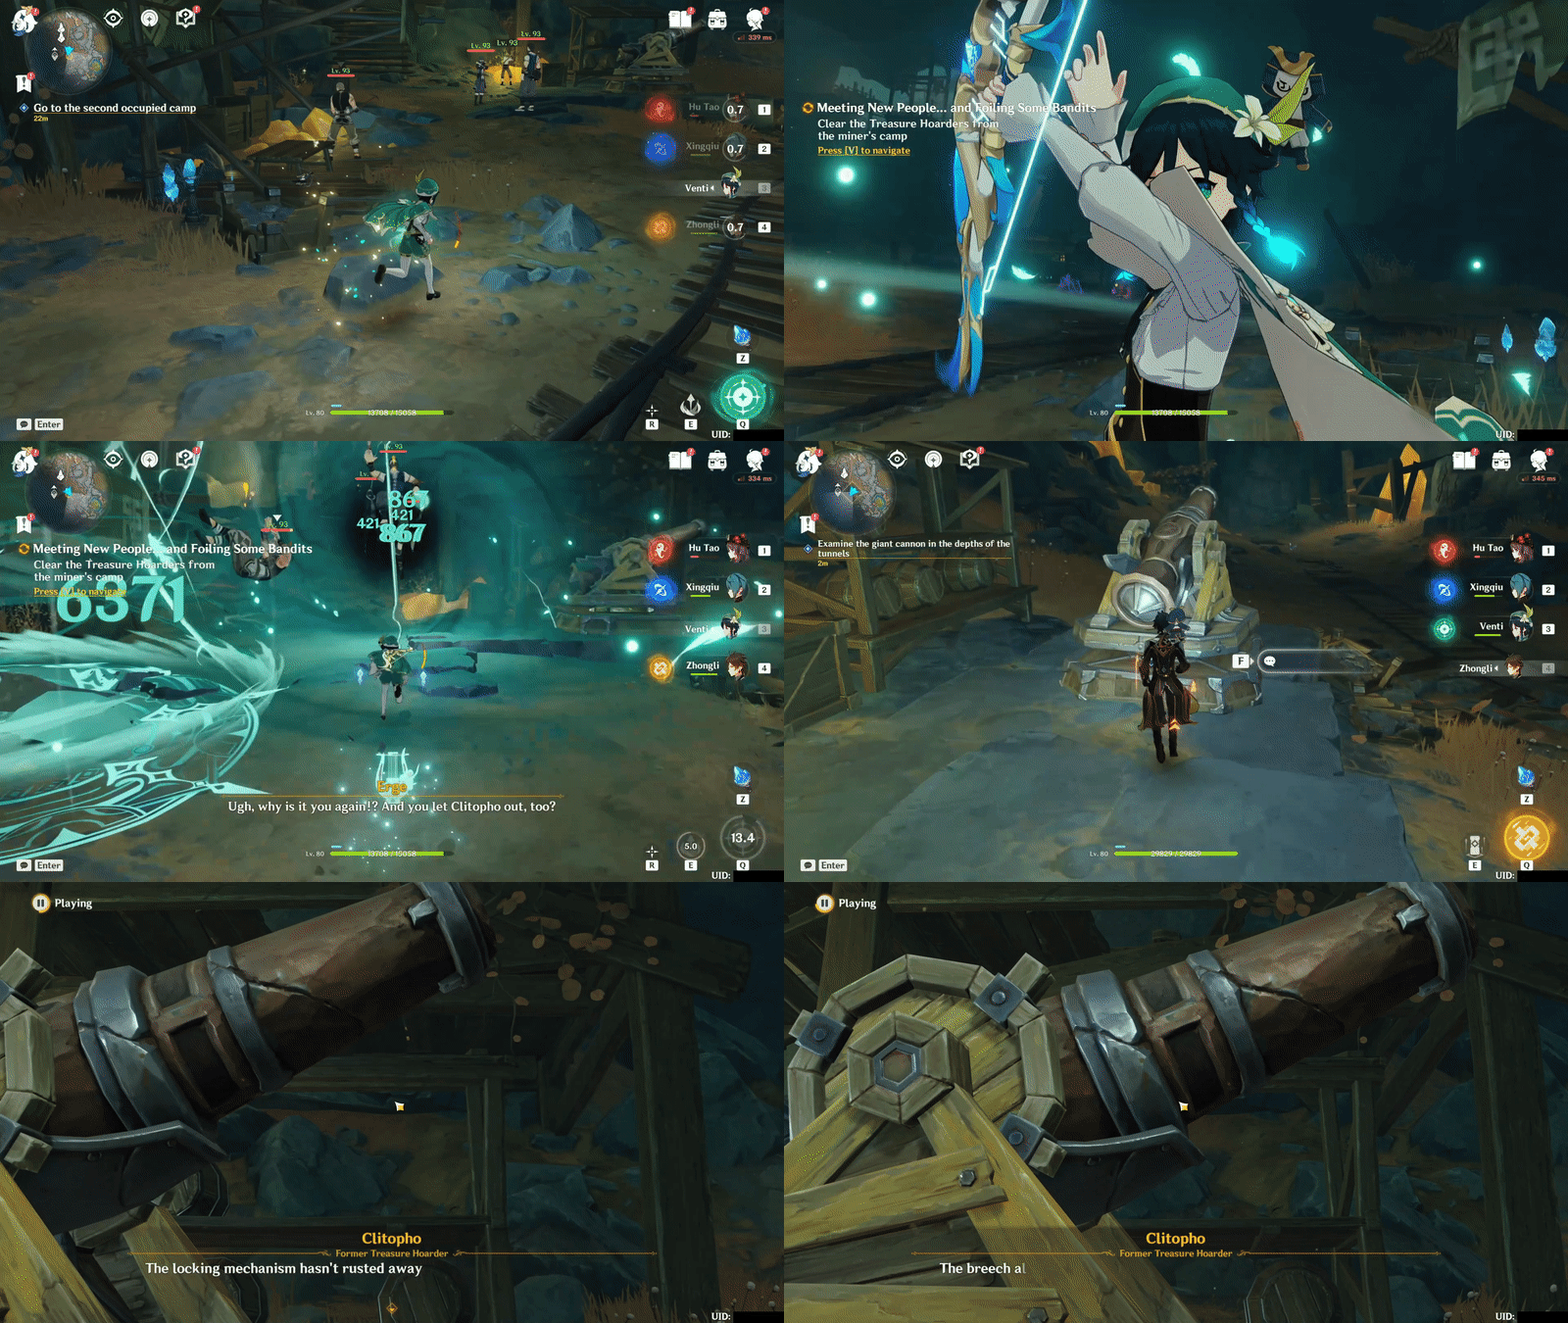
- Go to the storehouse
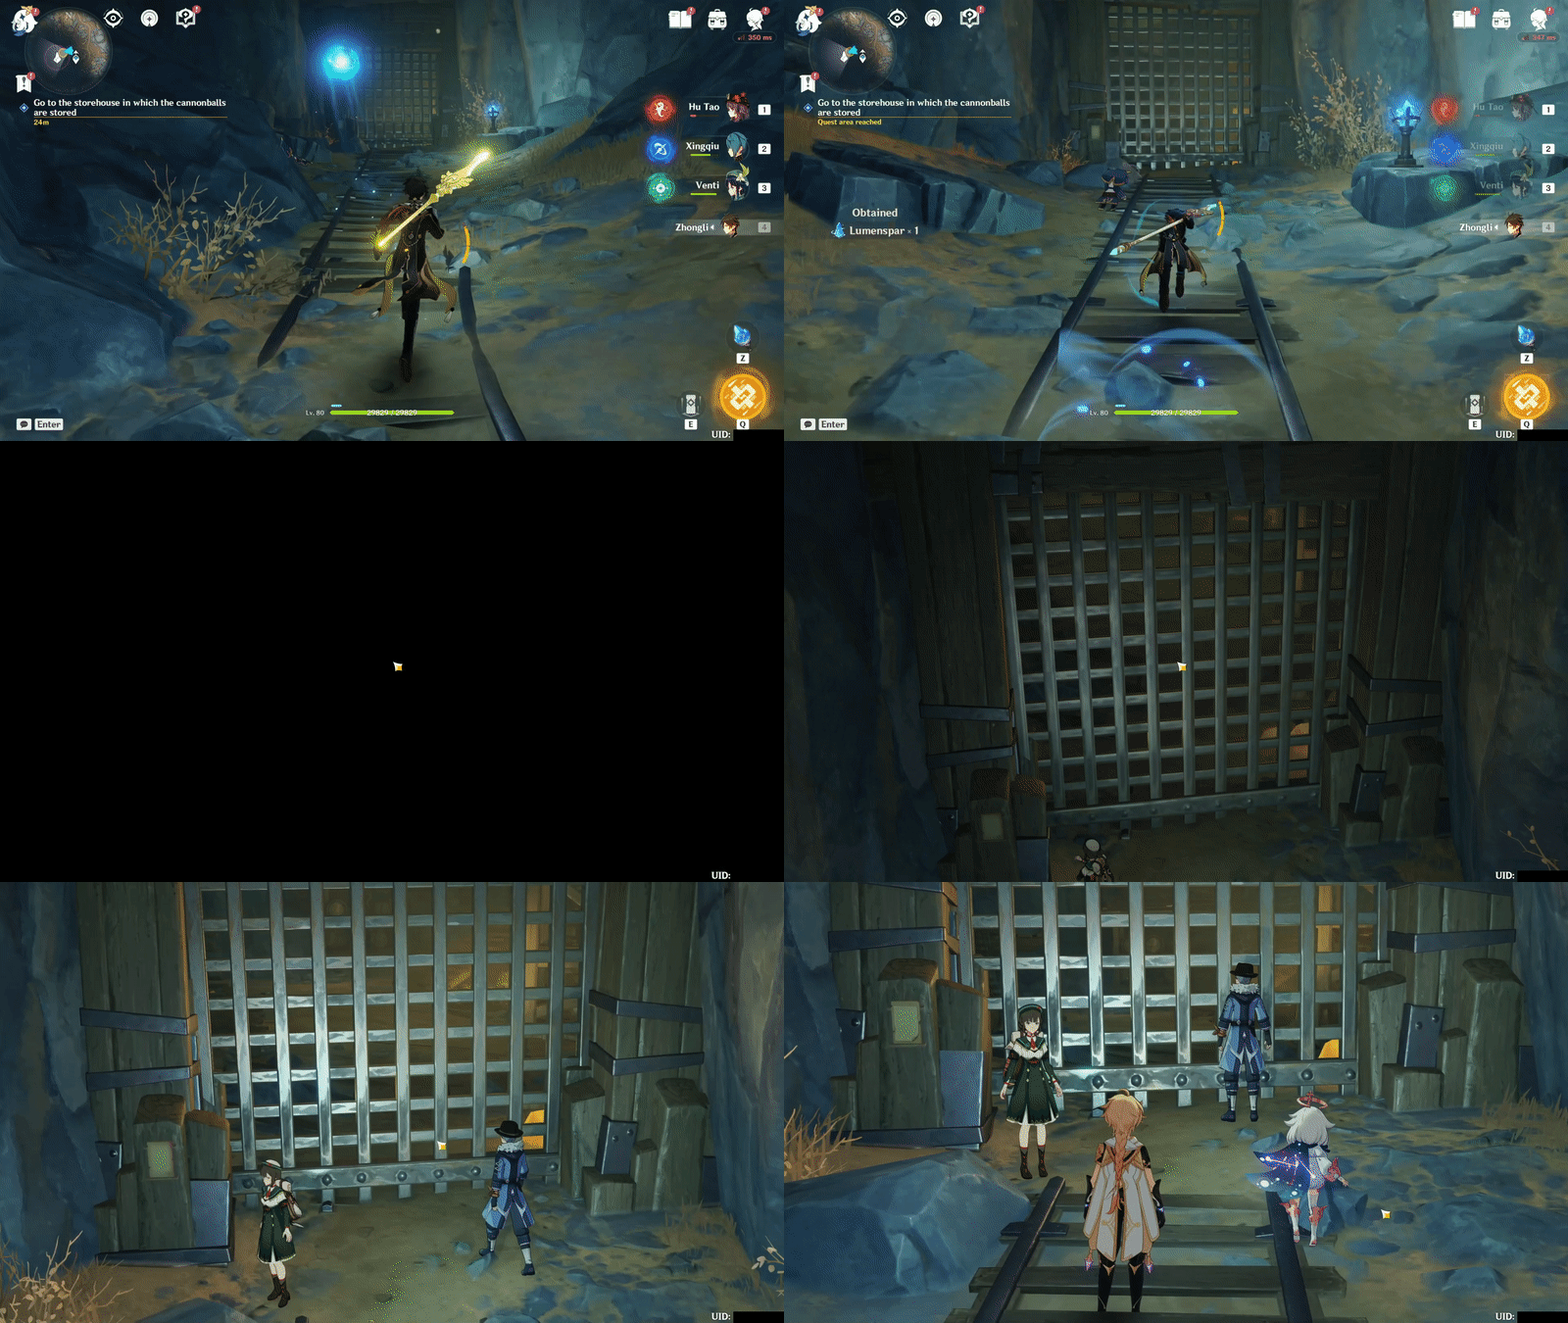
2) Investigate site of anomalies
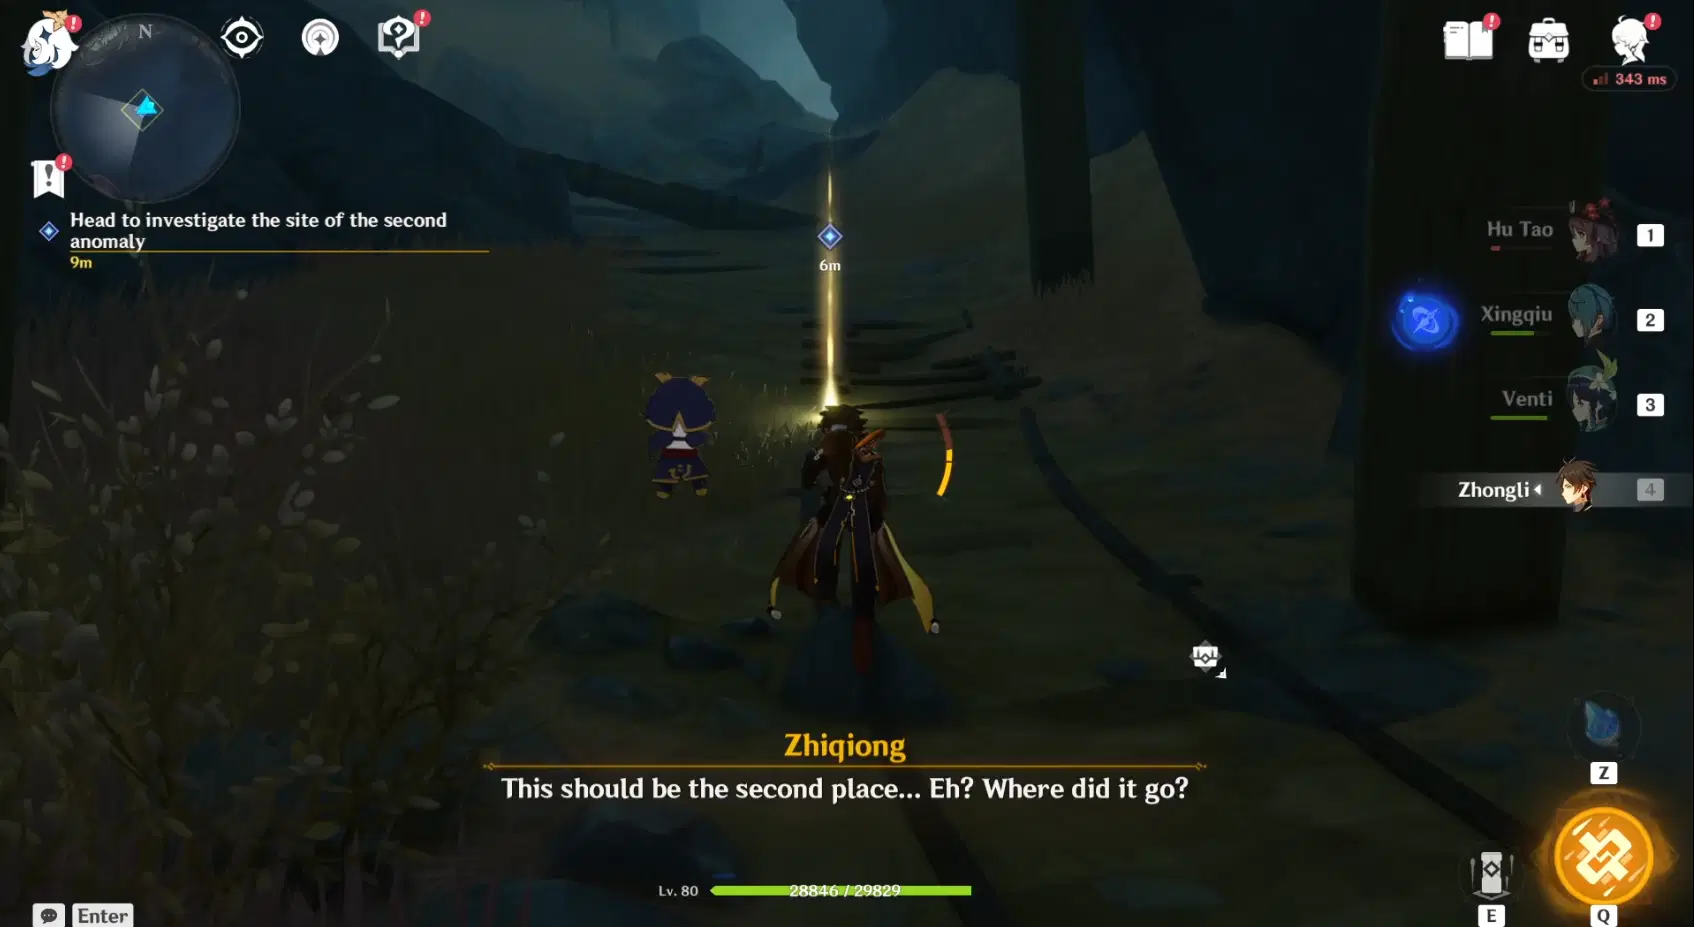
- The site of the first anomaly: Take a picture and defeat Abyss Mages
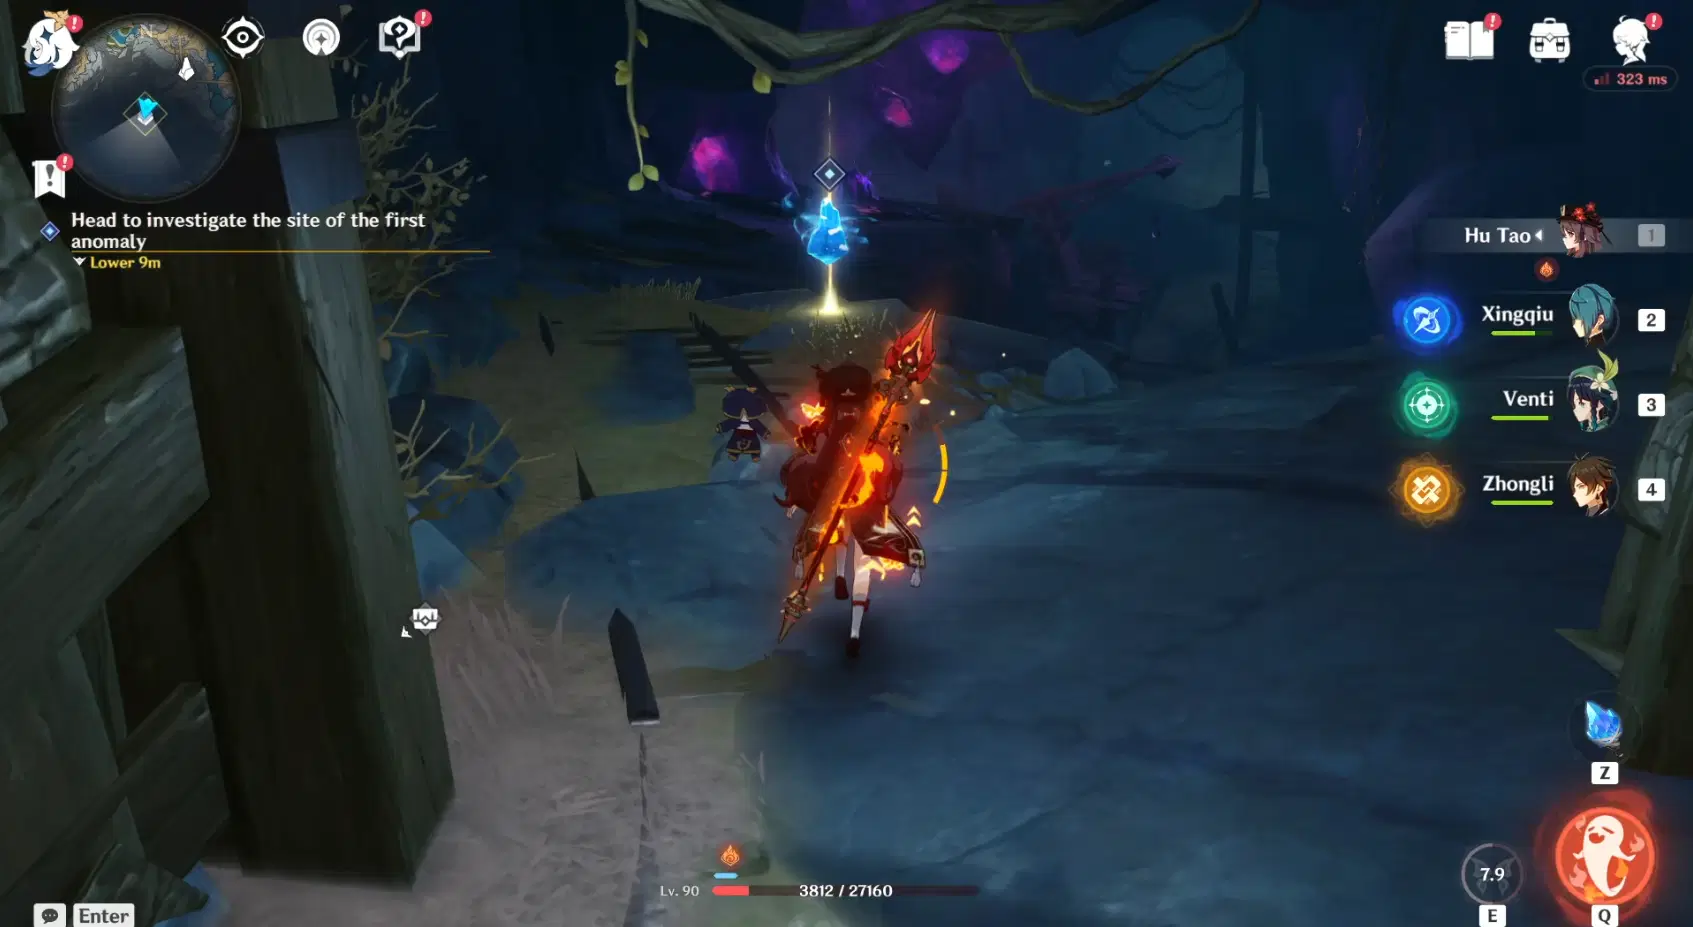
- The site of the second anomaly
3) Return to the exploration team's camp
✦ The Heavenly Stone's Debris ✦
1. Look for two keys
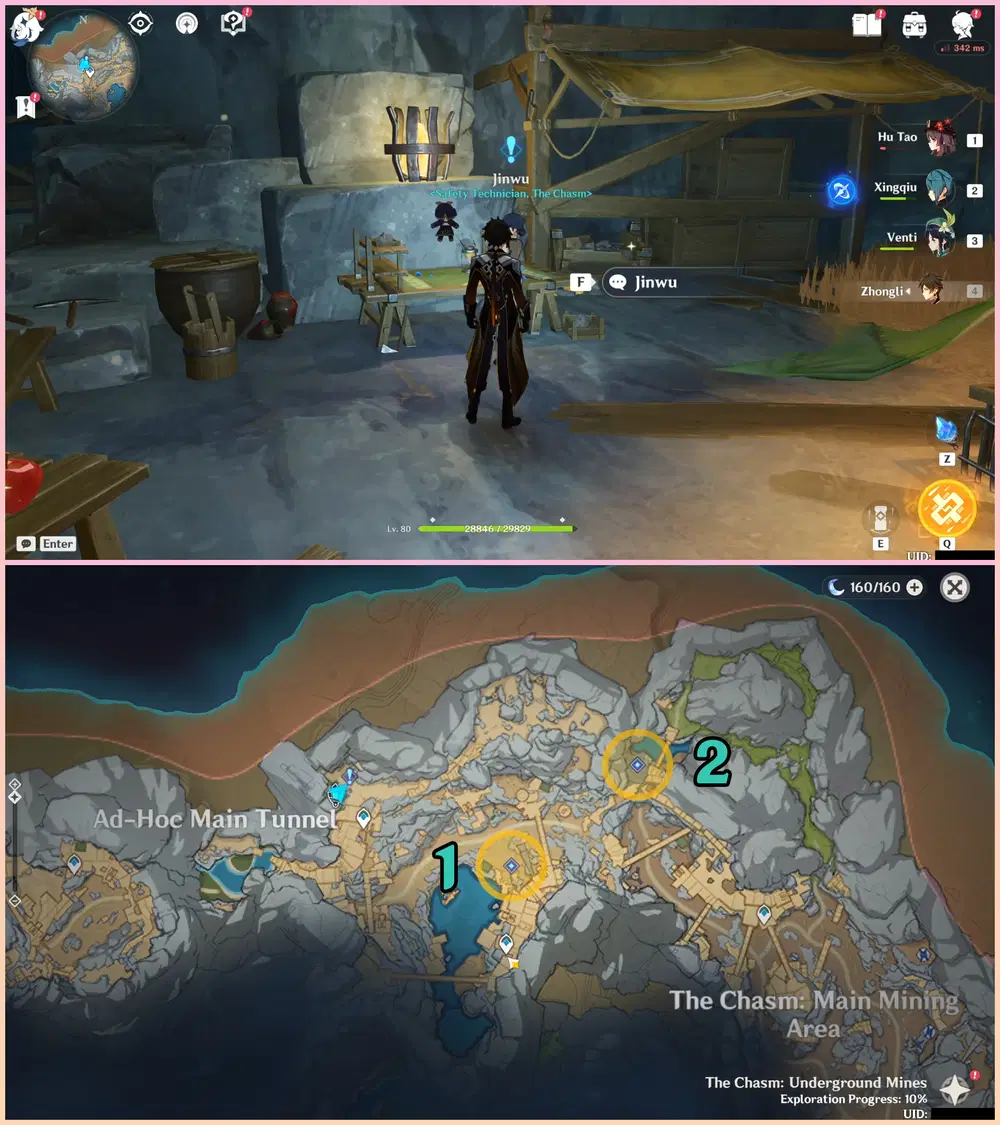
▸ Talk to Jinwu to start the World Quest. The first task you need to do is find 2 keys to unlock the gunpowder storehouse.
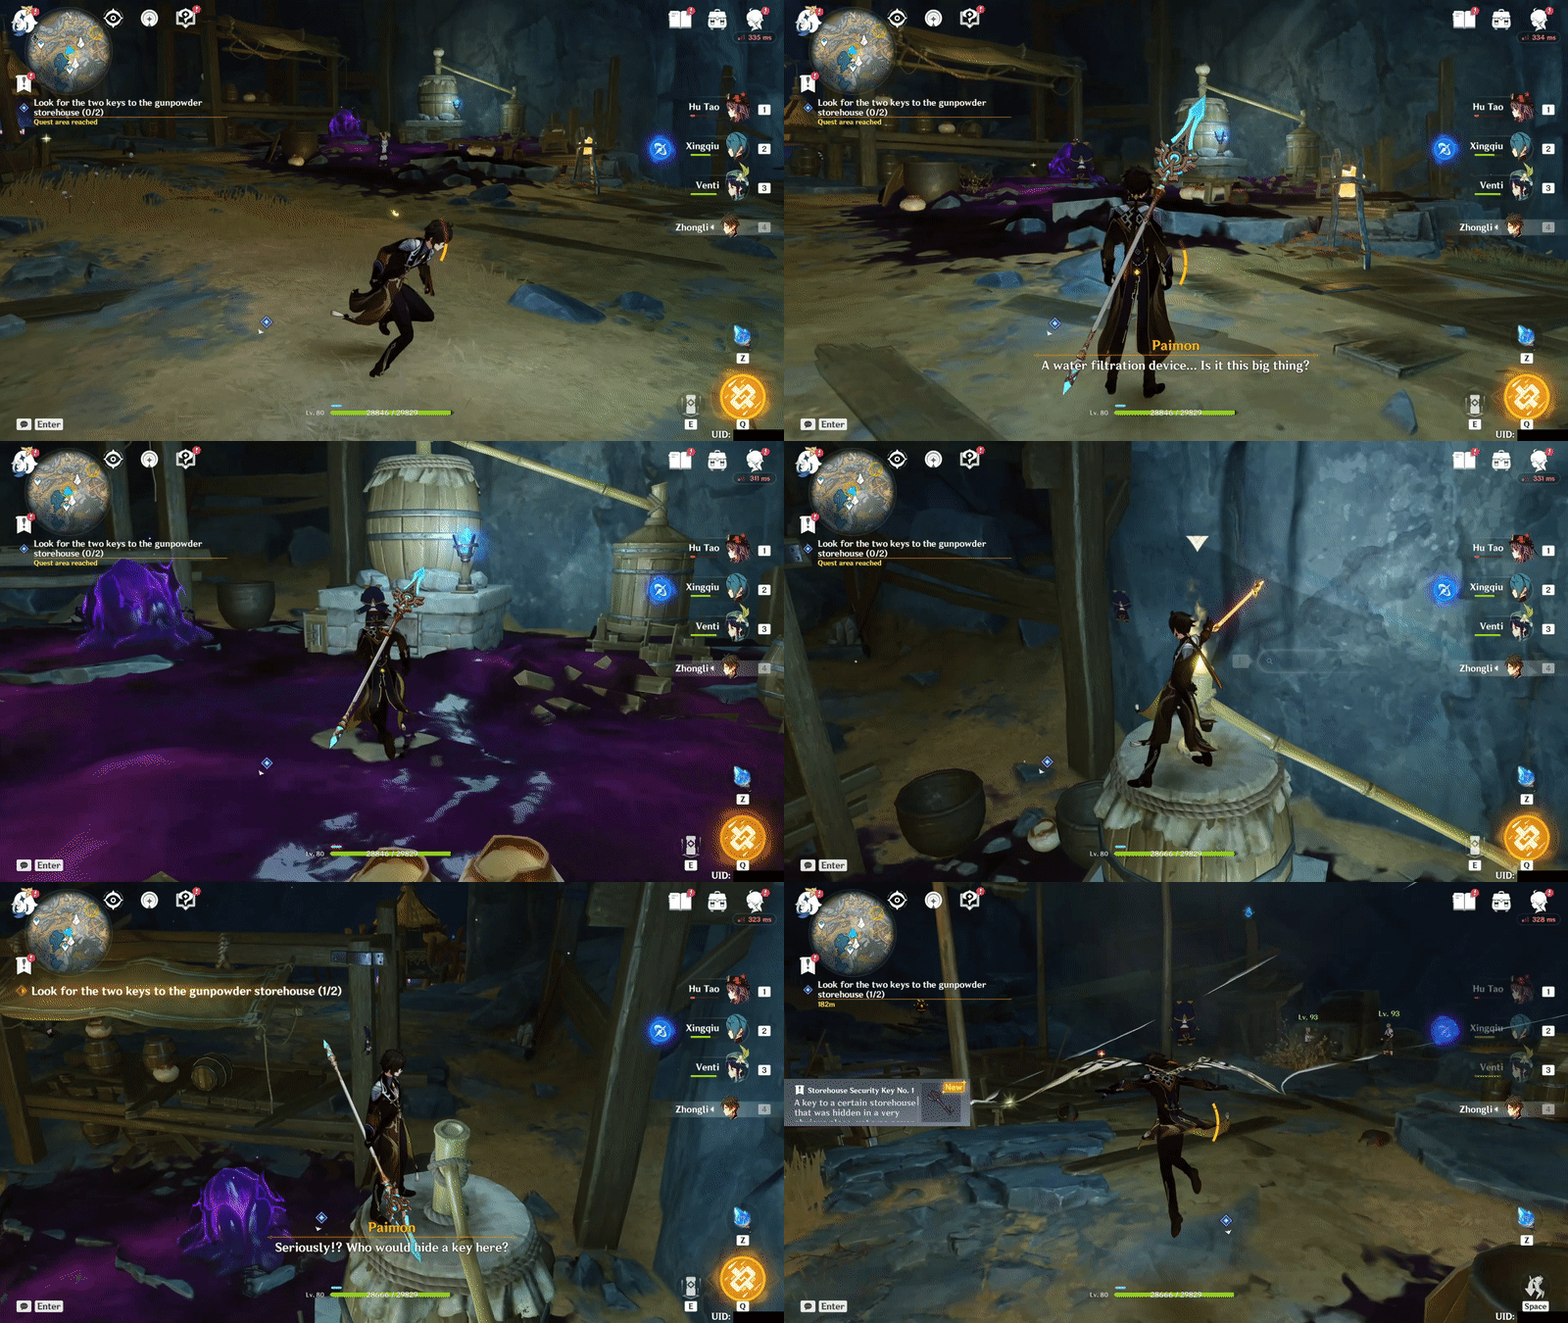
1) The first key - On top of a water filtration device
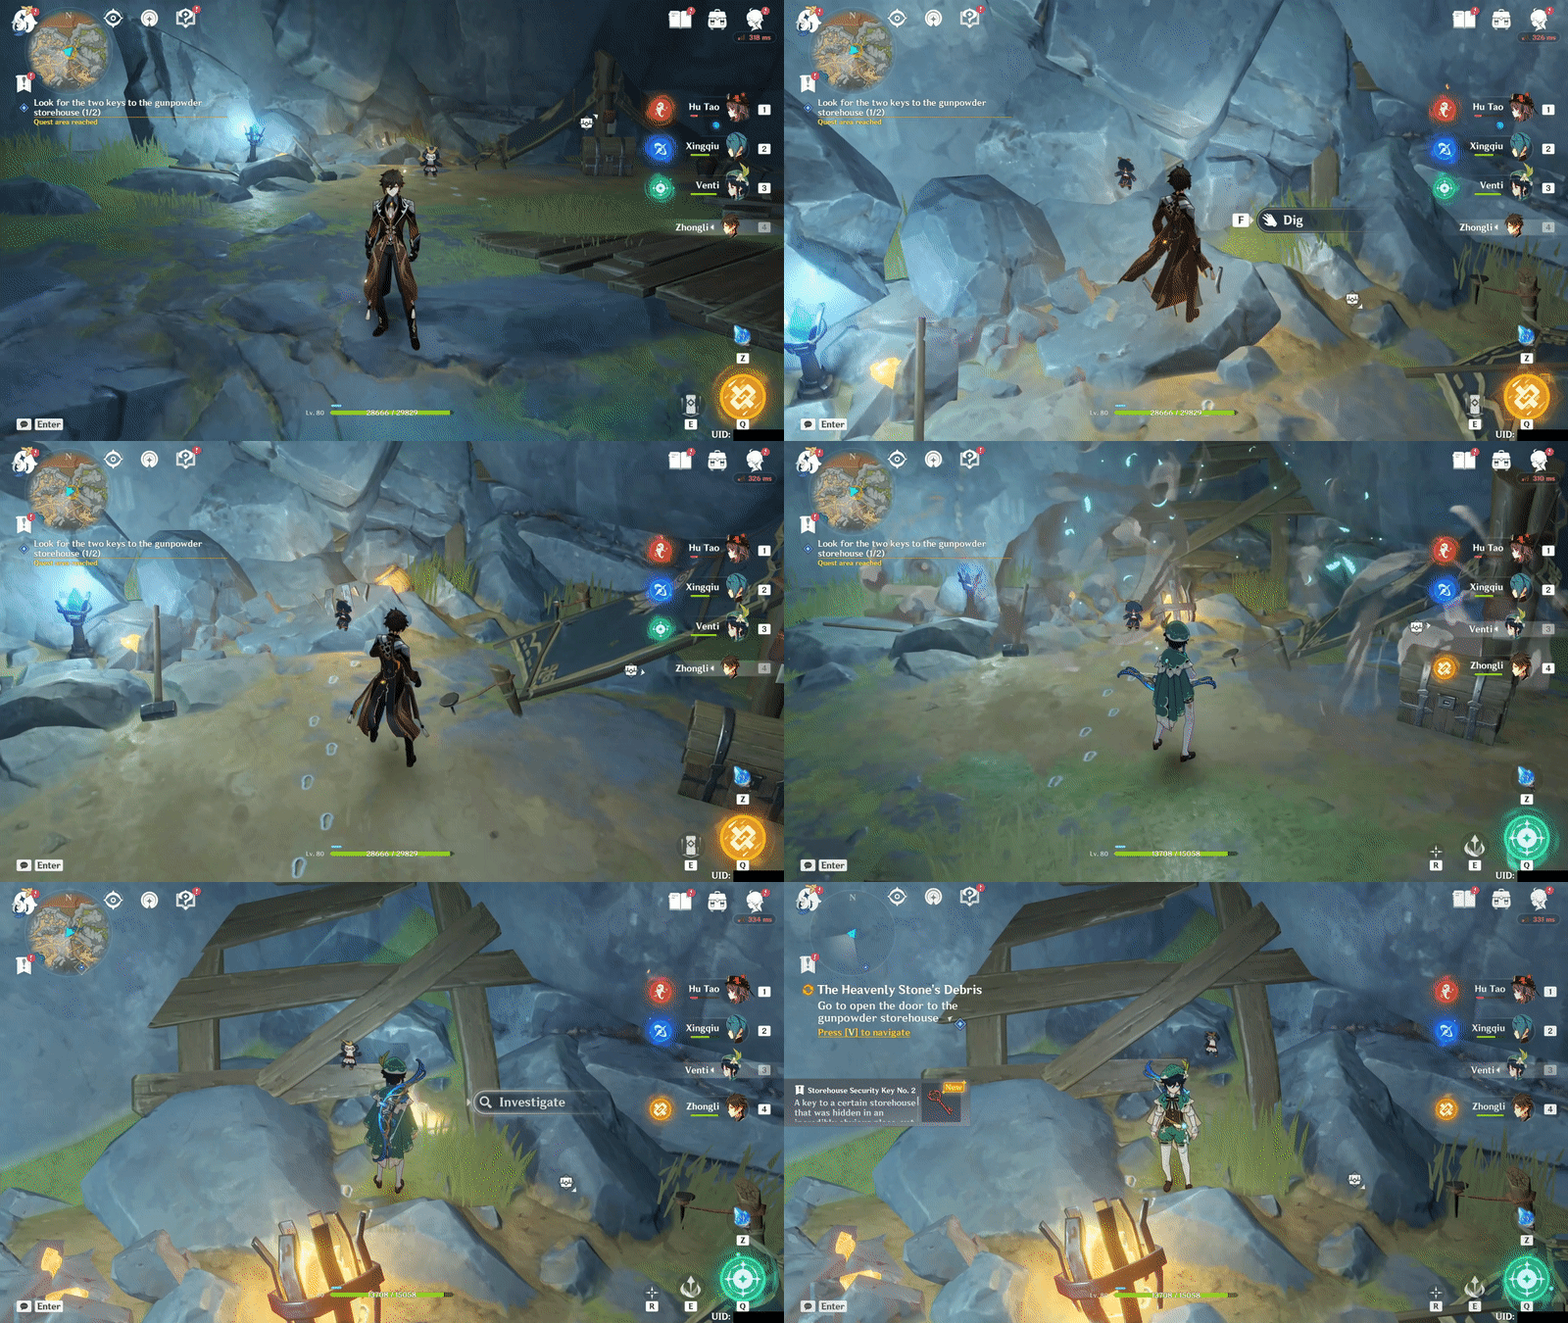
2) The second key - Dig the ground to reveal a bomb and blow it up
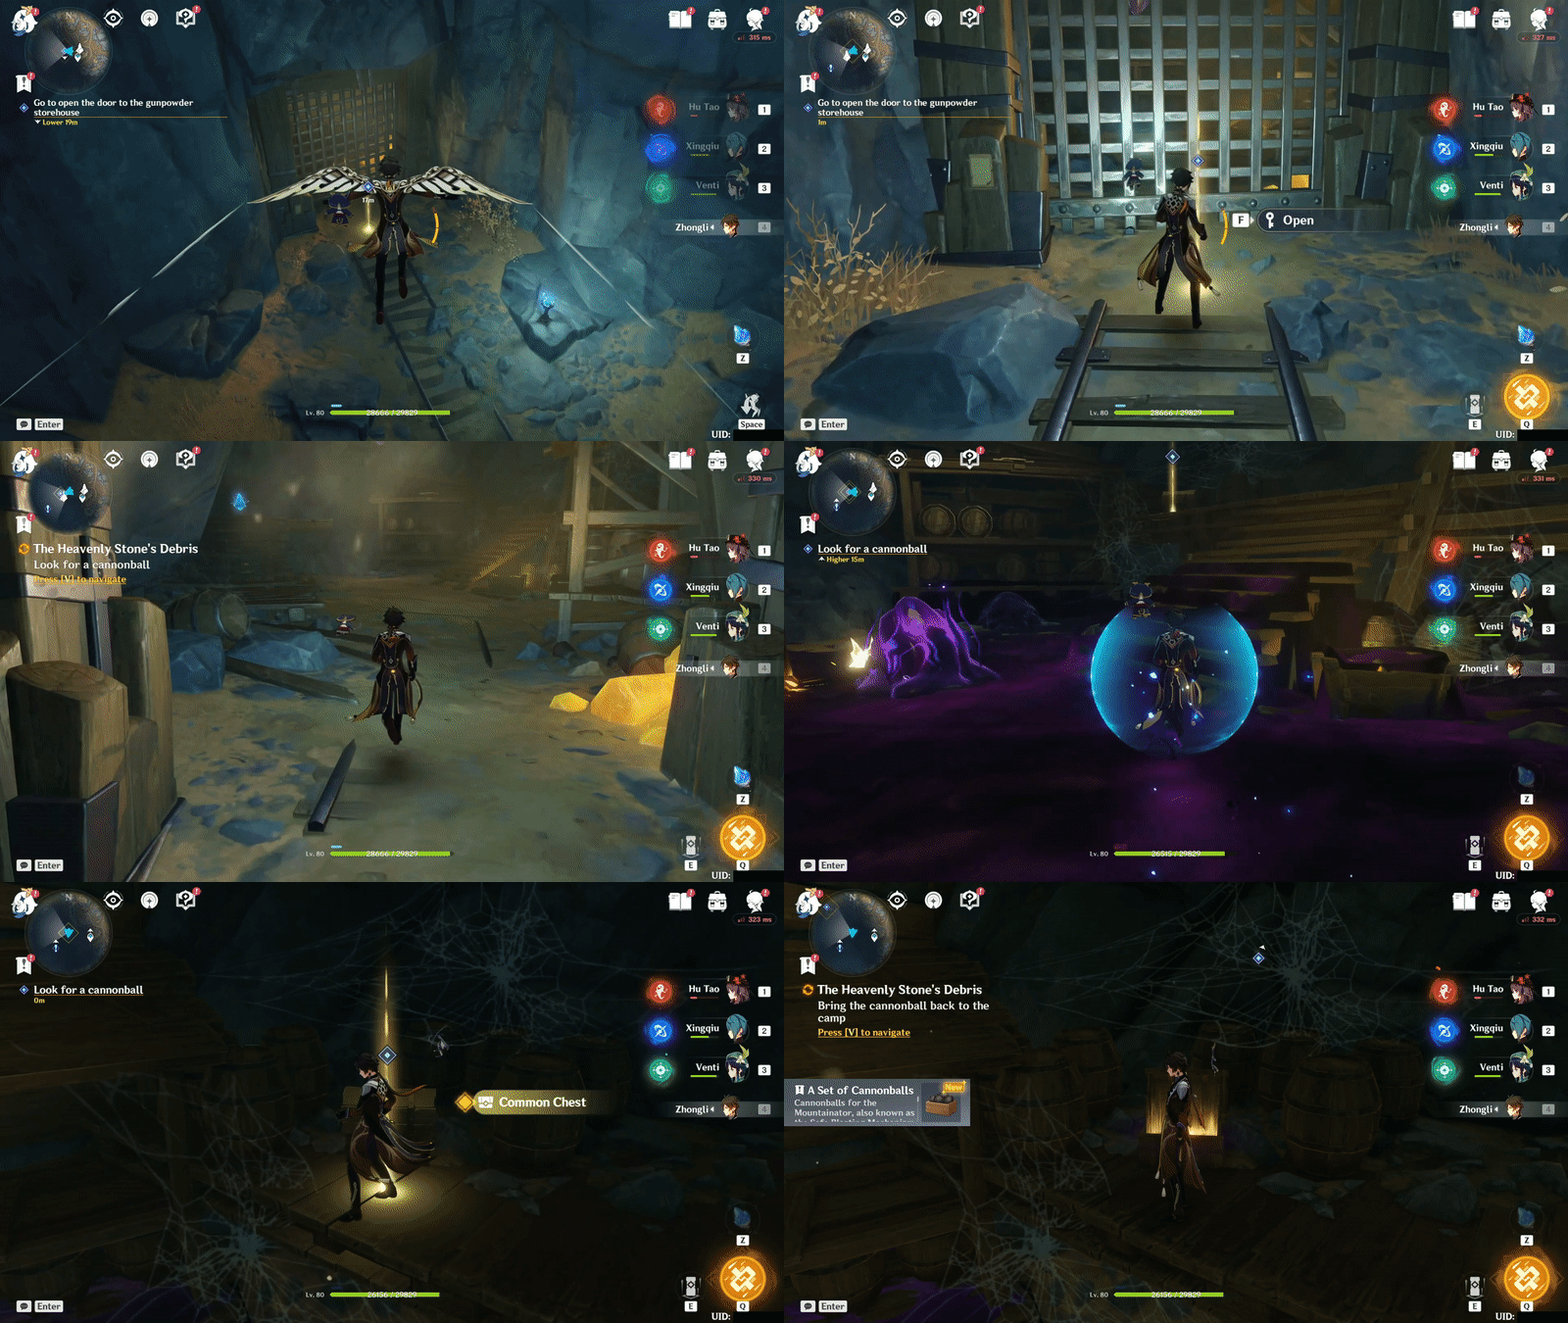
2. Obtain the cannonball and craft items
▸ Open the gunpowder storehouse using the 2 keys above and take the cannonball inside a Common Chest
▸ Talk to Clitopho and craft 3 Special Unmoving Essential Oil. The second part of the map will be unlocked after this.
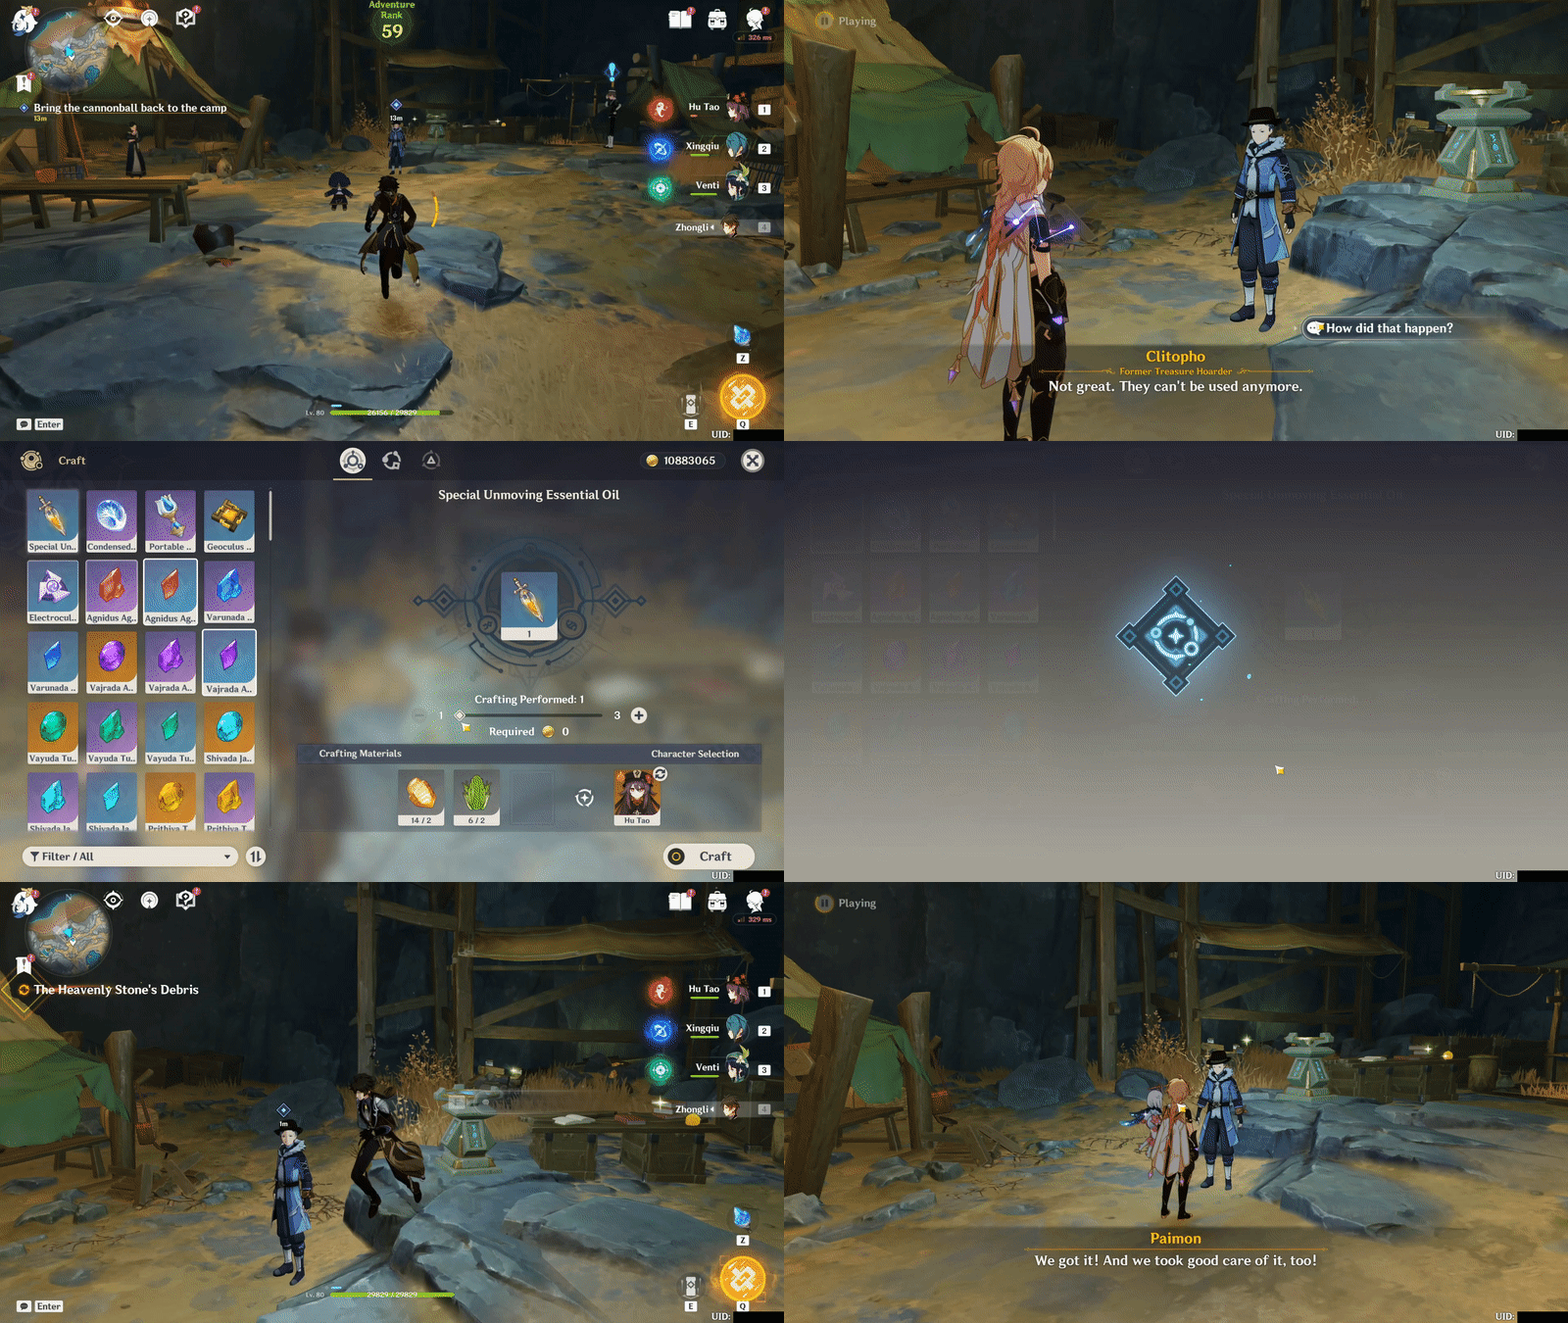
3. Release the safety on the cannon's breech
▸ You need to read a signalling guide to release the safety on the cannon's breech. Then, observe the positions of all three lamp posts.

1) High lamp post - Low-frequency flicker (Activate once)
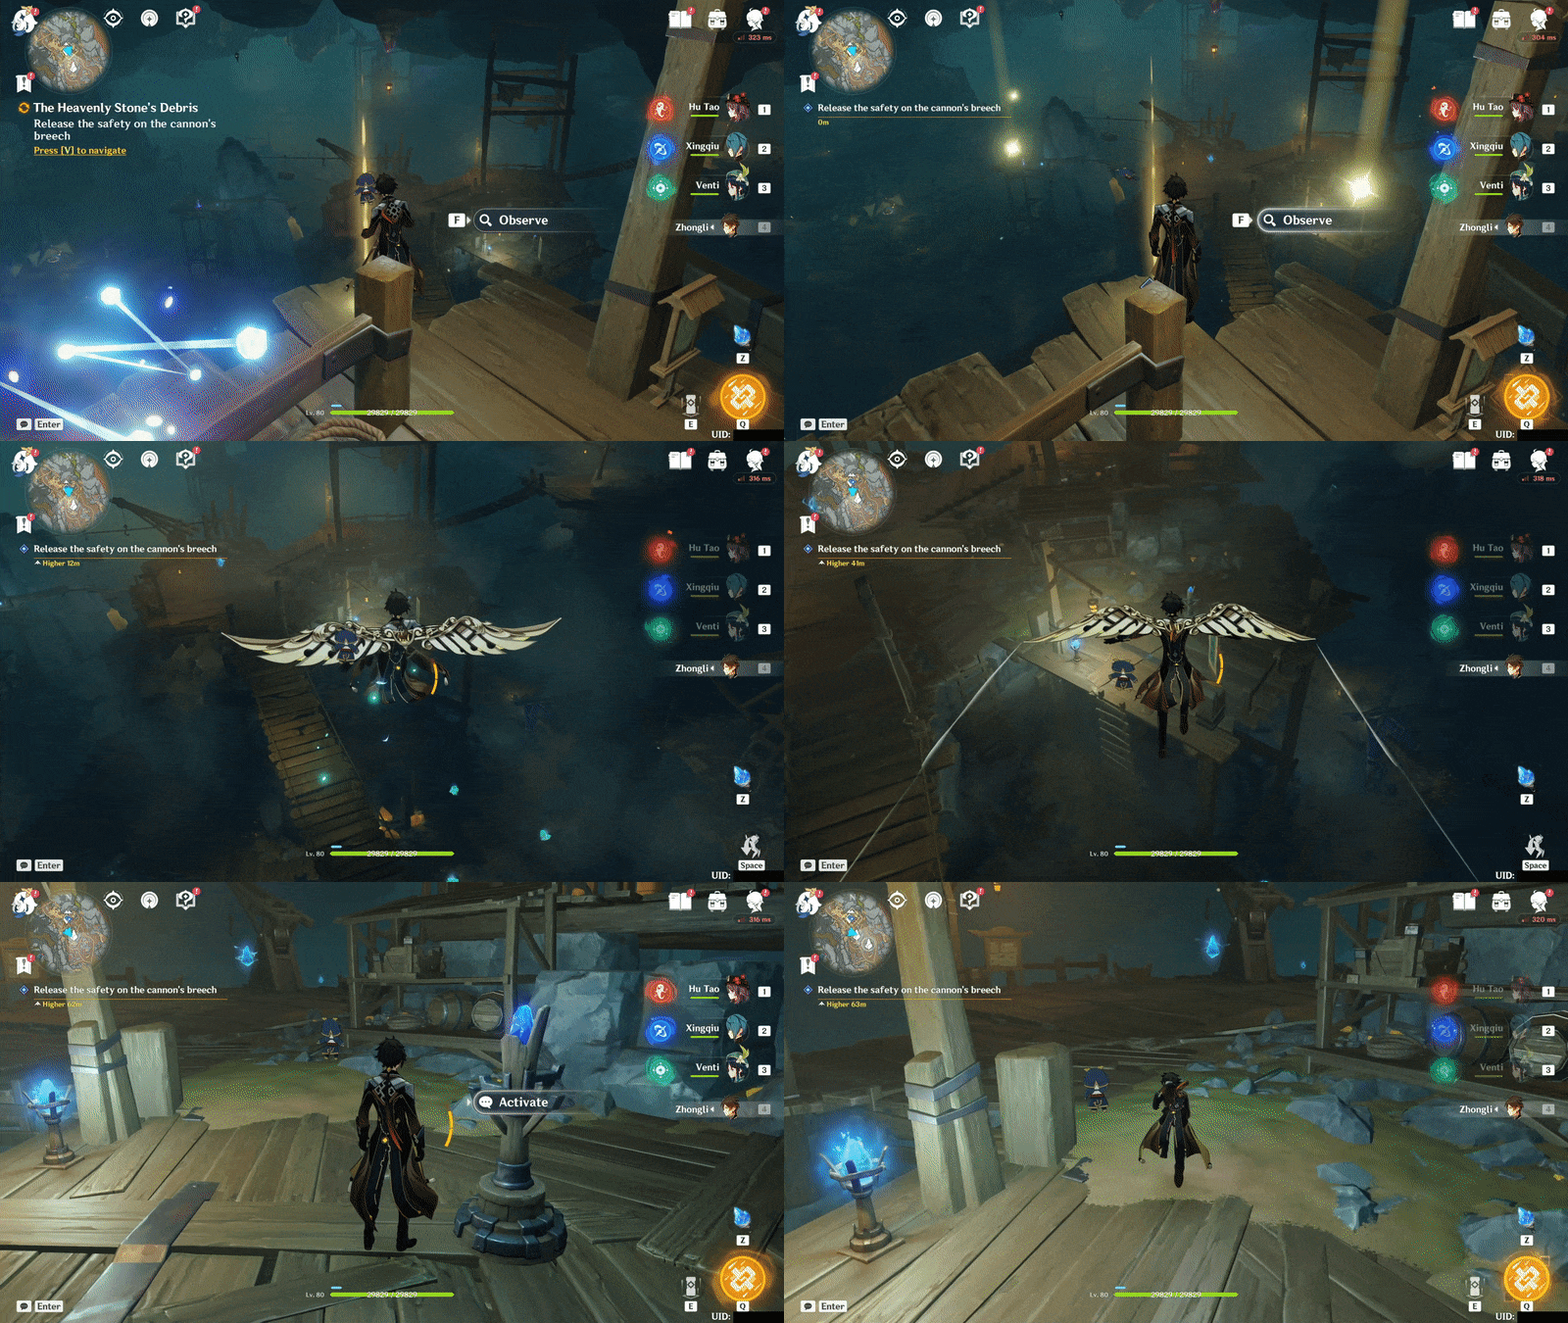
2) Middle lamp post - Low-frequency flicker (Activate once)
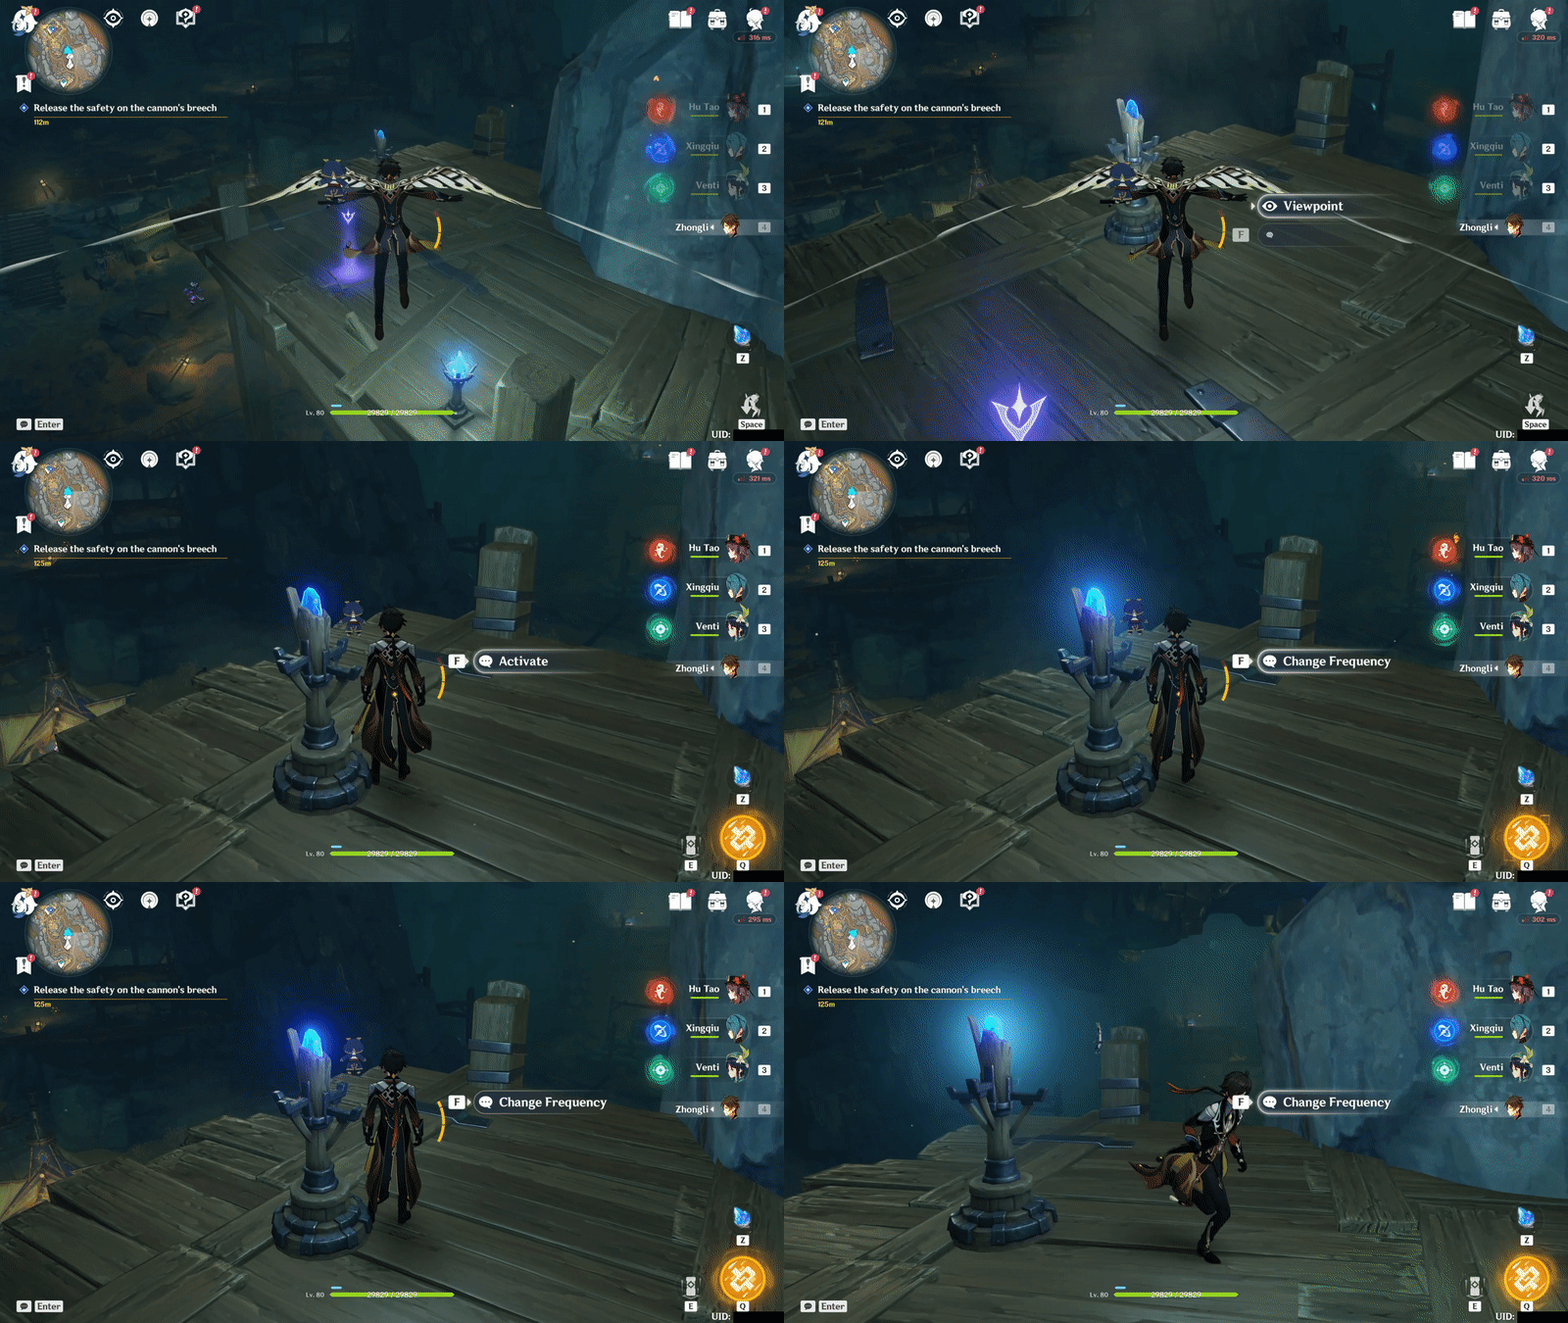
3) Low lamp post - High-frequency flicker (Activate > Change Frequency once)
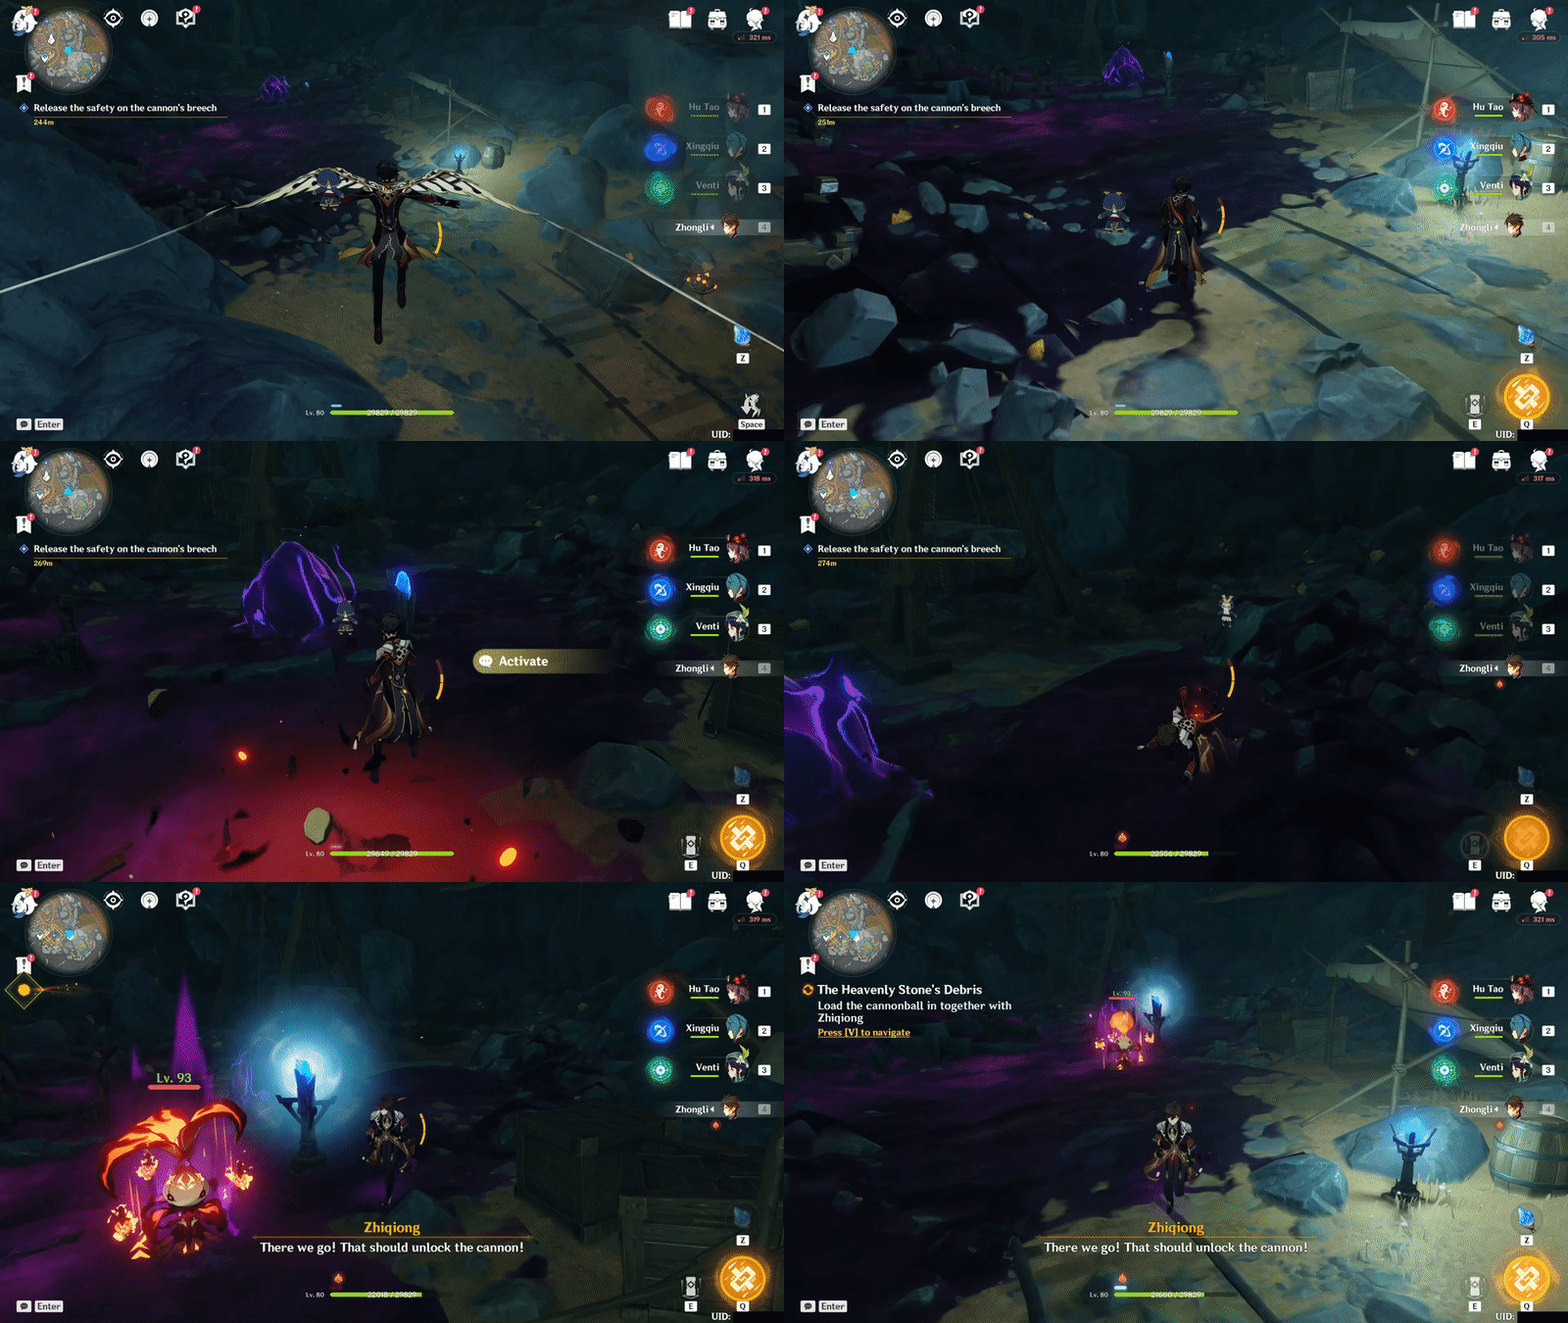
4. Load the cannon and fire it
▸ Follow the quest navigation until you load a cannonball into the cannon. Then, align the Mountainator as follow: Left > Down > Down. Then, fire the cannon! Head further into the cave and you will unlock the third part of the map.
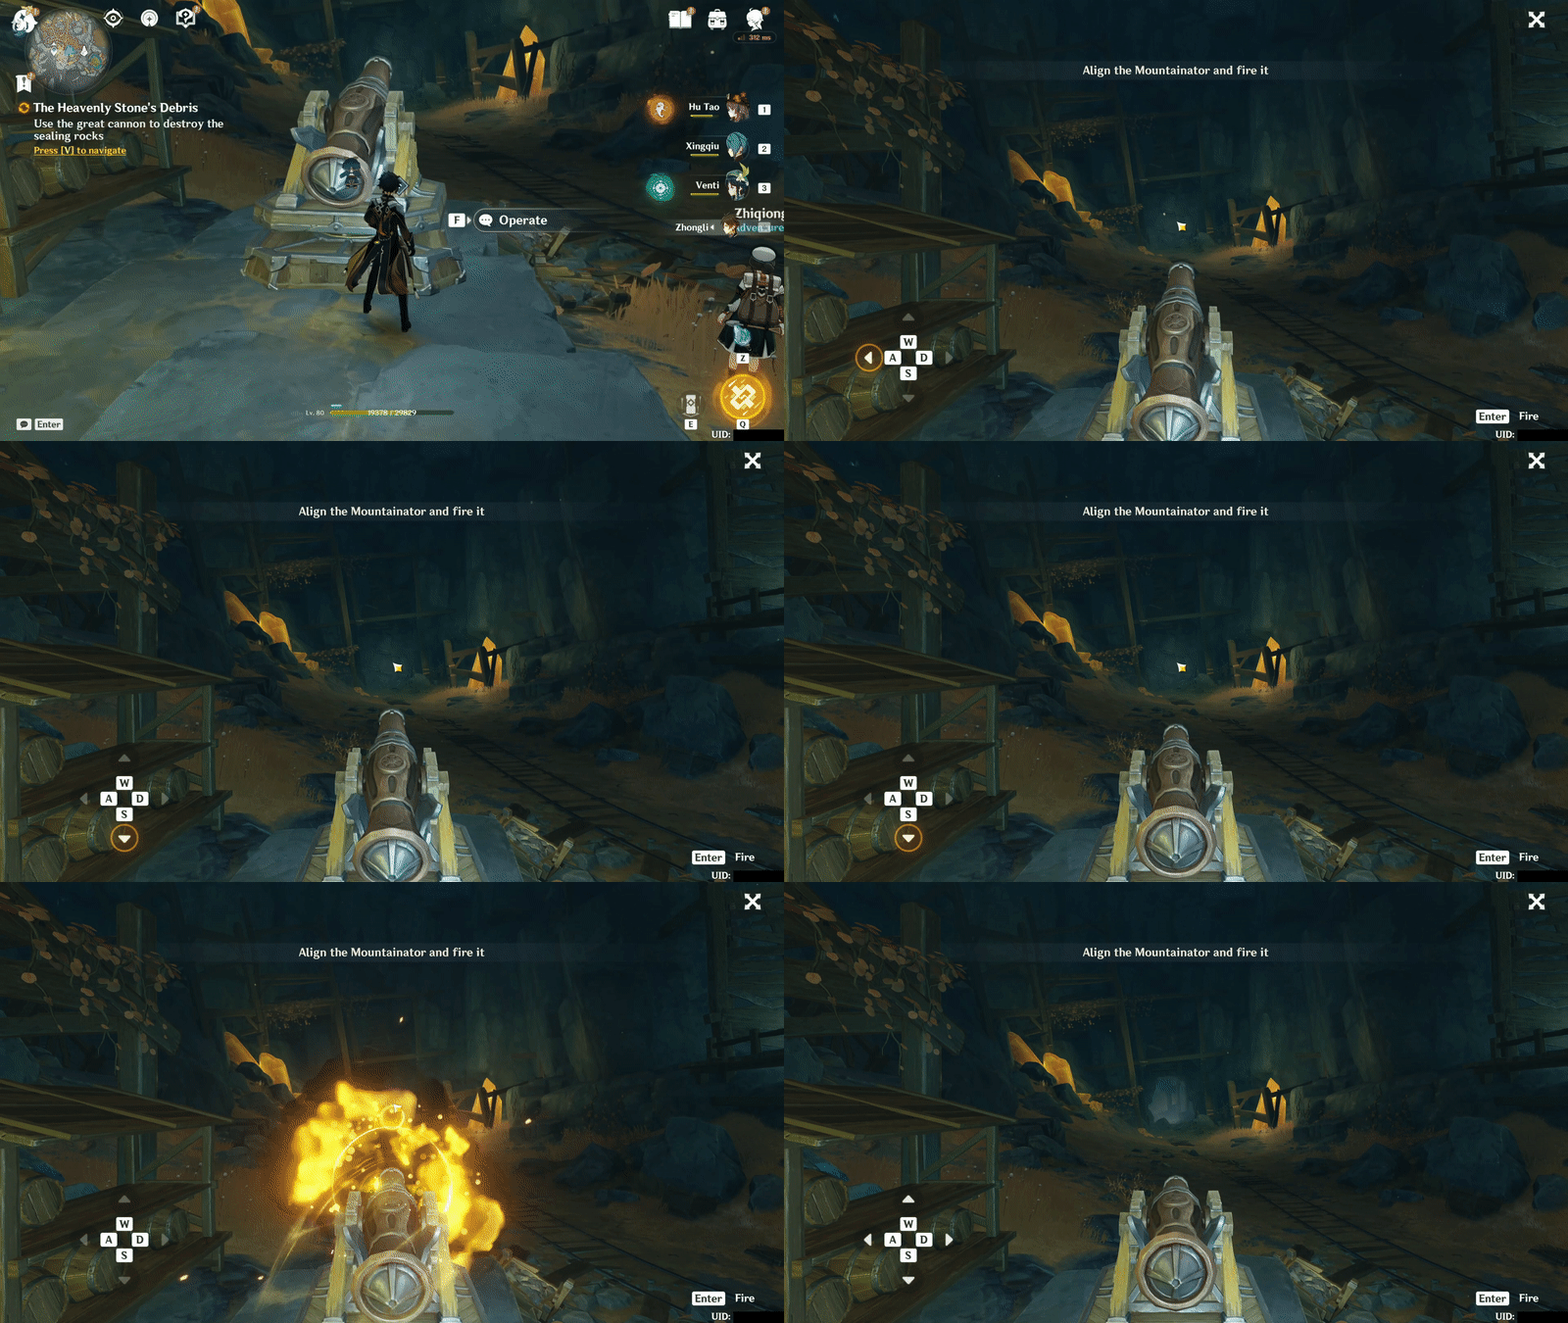
5. Activate the mechanisms
▸ Make sure you have at least 16 Lumenspars and 1 Lumenstone Ore before continuing this step! Go back to Jinwu in the camp and enhance your Lumenstone Adjuvant to Level 2. You will need the Blooming Light to activate the 3 mechanisms below.

1) The first mechanism
- Destroy the Oozing Concretions with 1 Energy.
- Recharge the mechanism with 3 Energy (You can recharge your Lumenstone gadget by absorbing nearby energy).
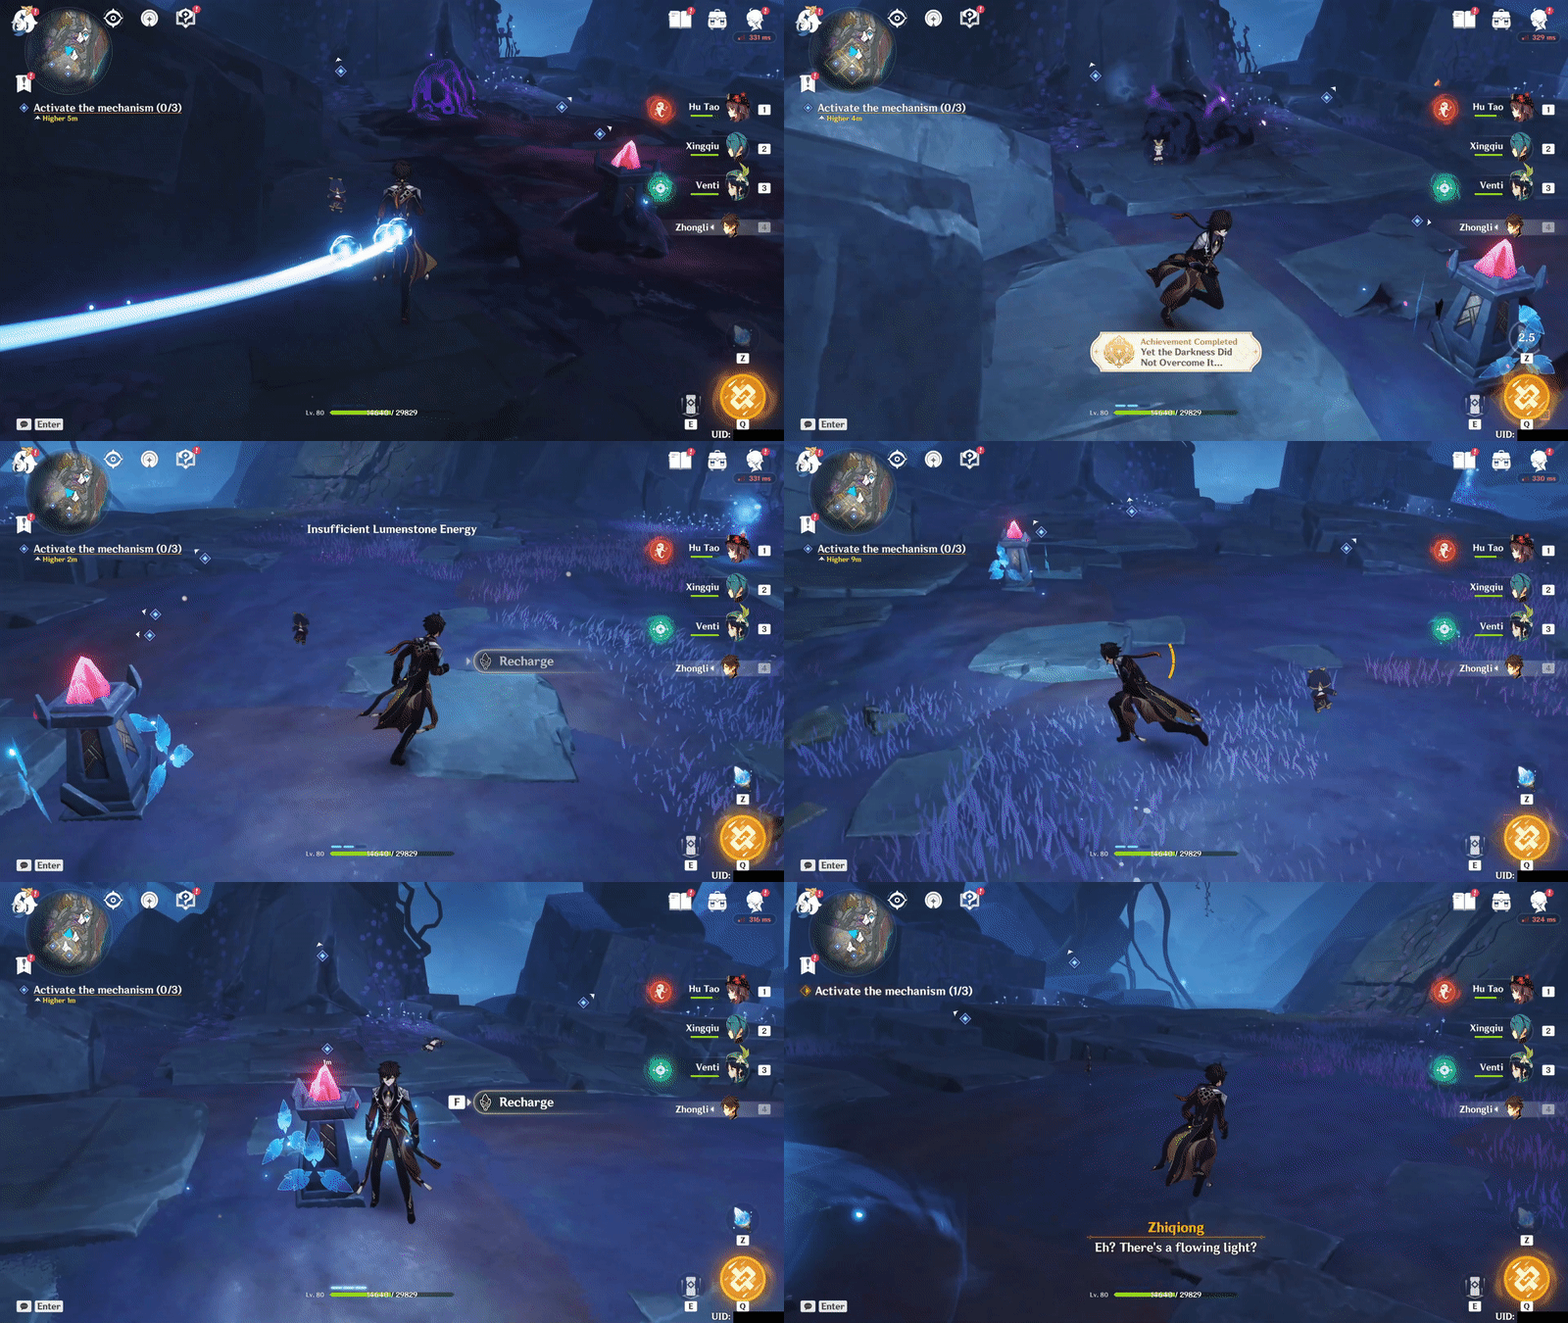
2) The second mechanism
- Destroy 2 Oozing Concretions with 1 Energy each.
- Recharge the mechanism with 3 Energy.
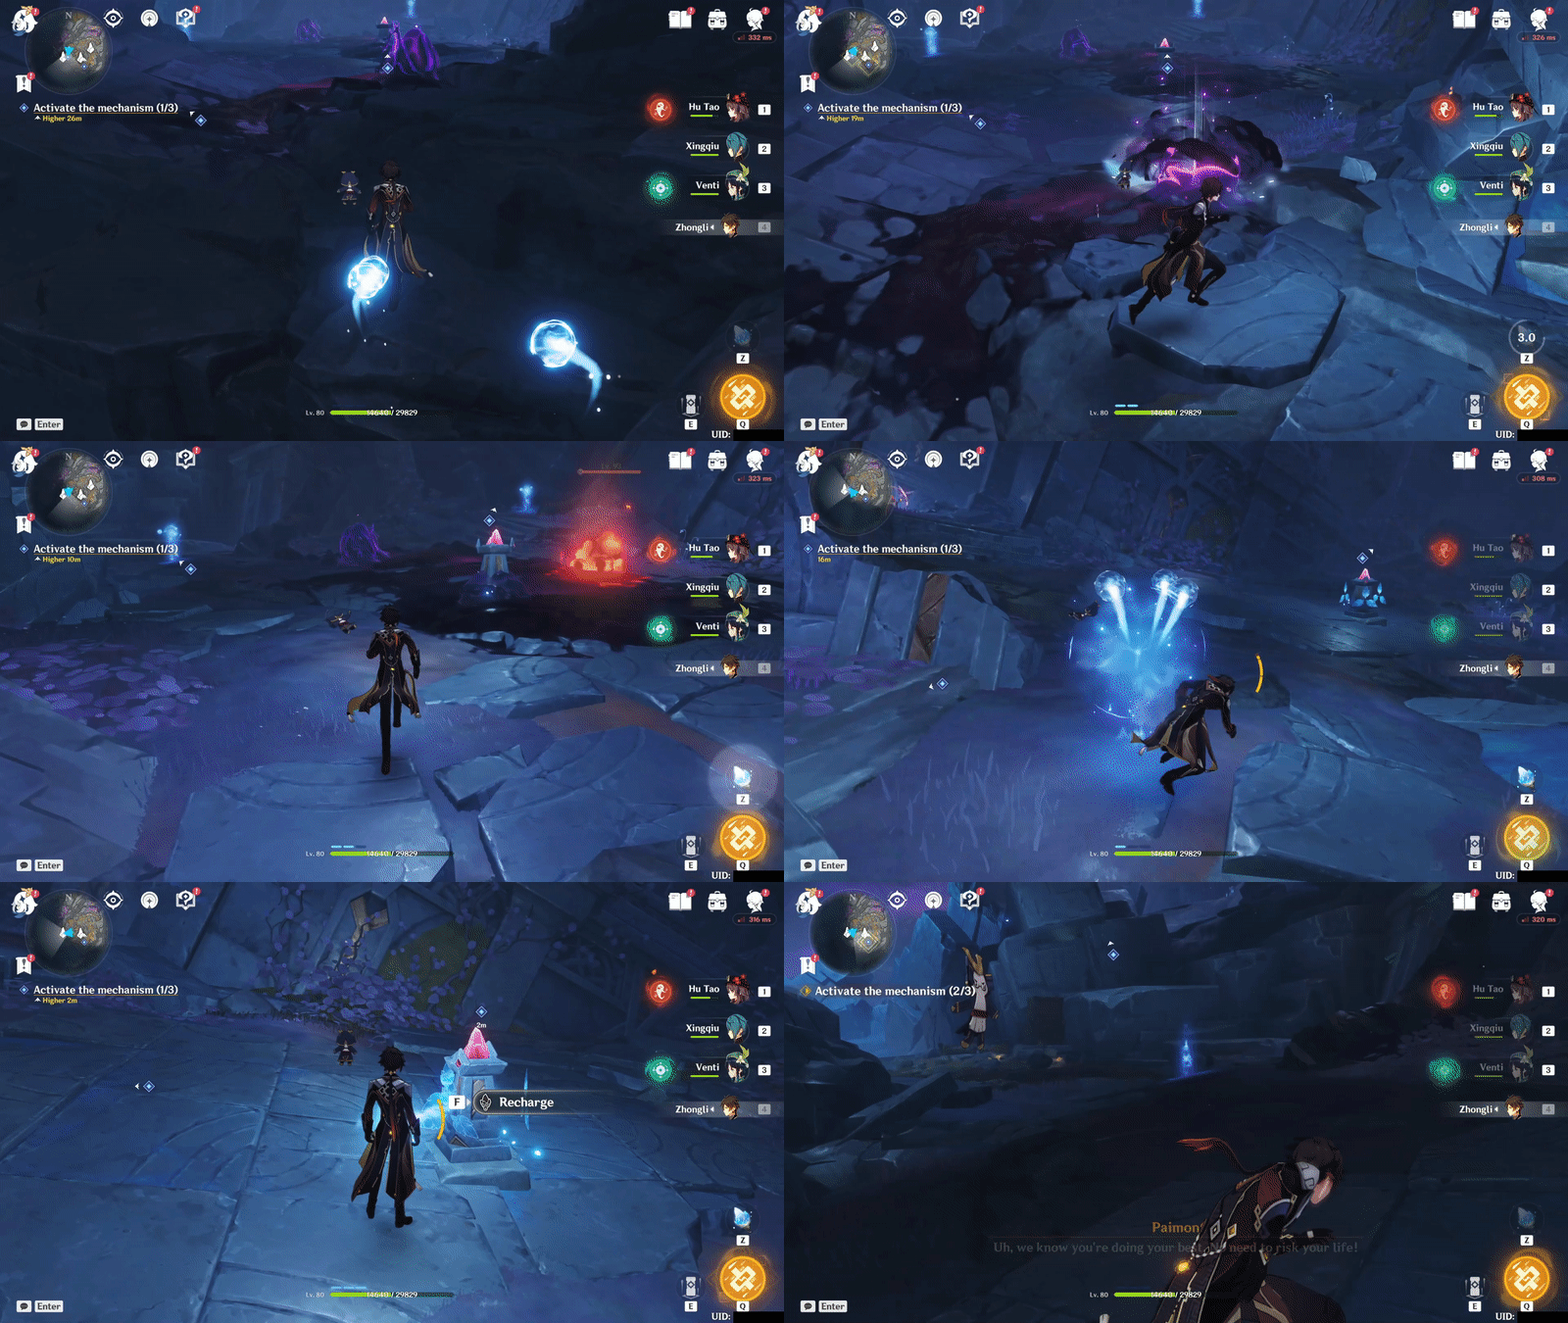
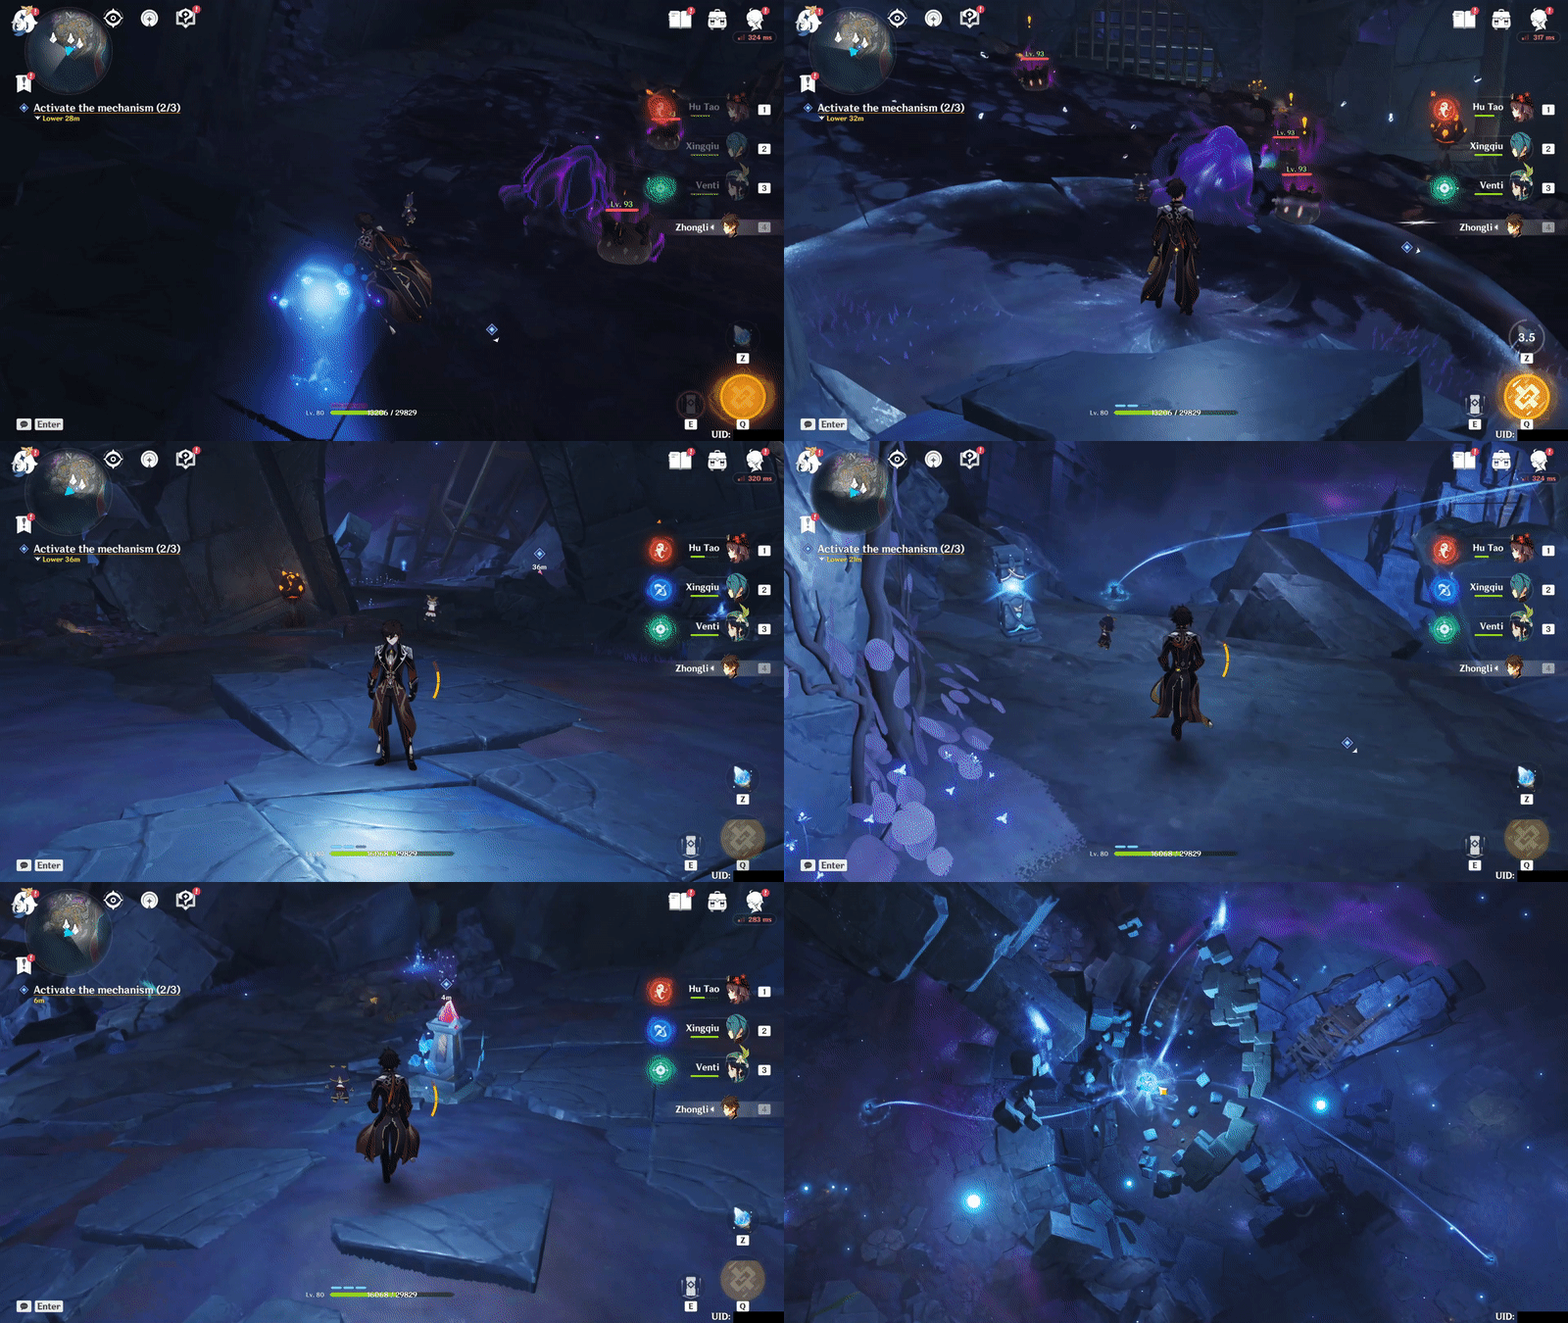
3) The third mechanism
- Destroy the Oozing Concretions with 1 Energy.
- Recharge the mechanism with 3 Energy.
- Defeat the emerged Abyss Herald
✦ Perils in the Dark ✦
1. Examine the dark fog and clues
▸ You will obtain this quest automatically after completing the previous World Quest. Follow the quest navigation until you find a 'Fatuus' Journal' inside a Dark Mud. You will unlock the fourth part of the map after examining the journal.

2. Ring 2 bells
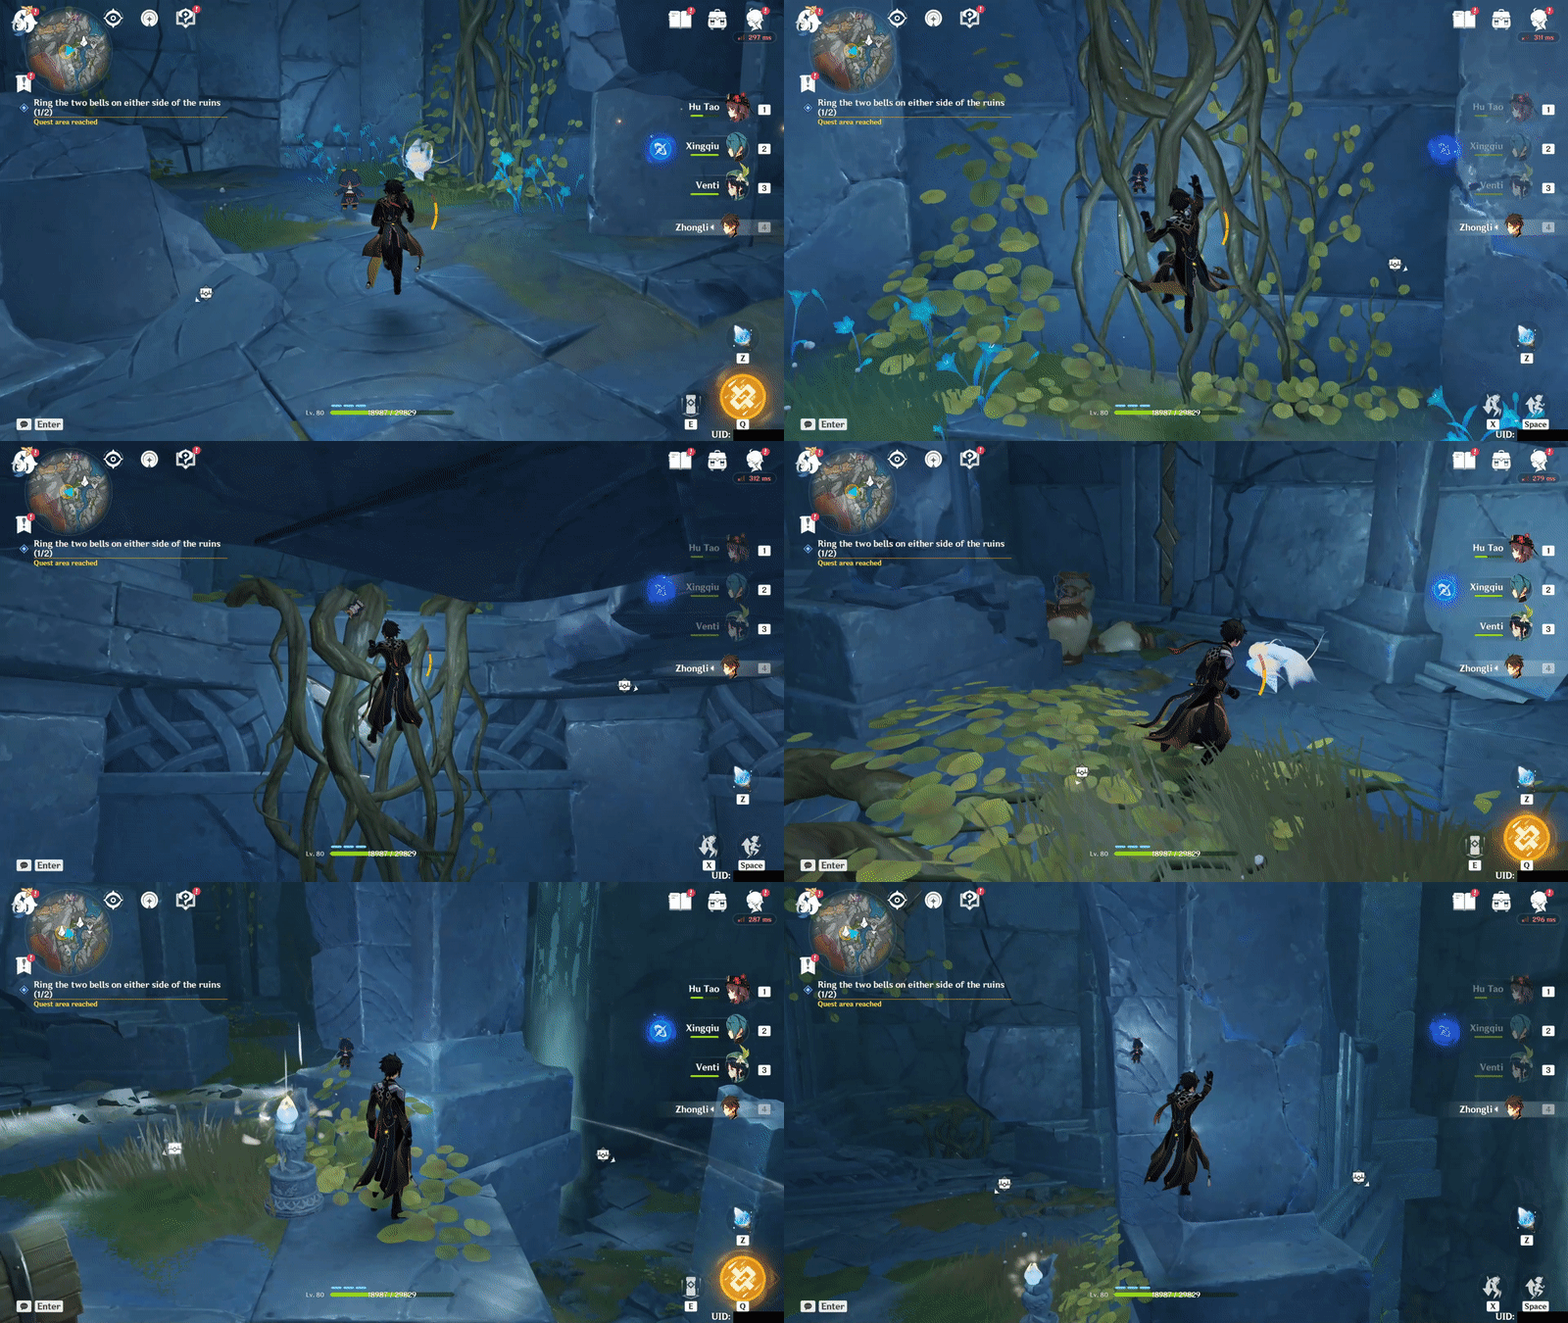
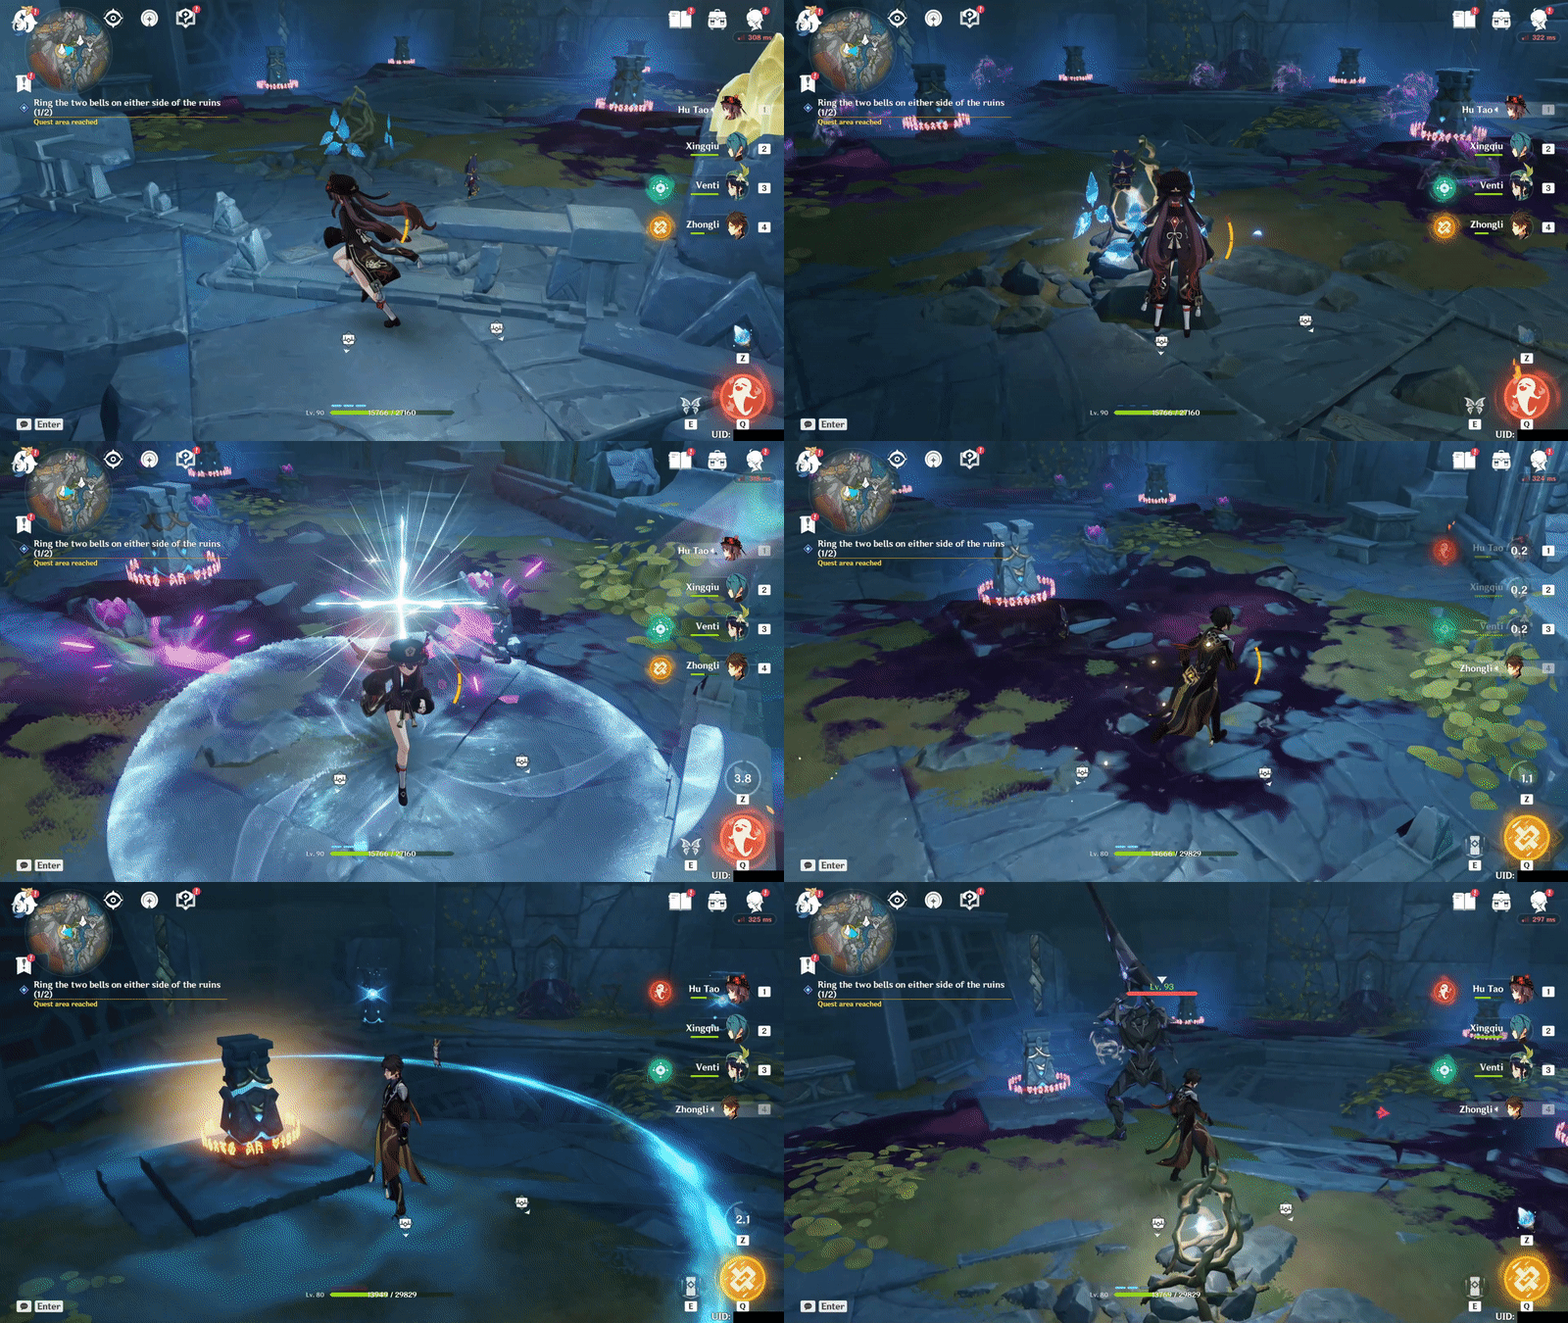
1) The first bell (Southwest of Underground Waterway)
- First, follow the Seelie until it reaches their garden. This Seelie will help you with the puzzle later.
- Next, recharge the mechanism with 3 Energy, if you're insufficient Energy, you can go to the previous Seelie to recharge your Lumenstone gadget. Now, you need to remove all the Dark Muds. Defeat all enemies so all mechanisms are free from mud and ring the bell.
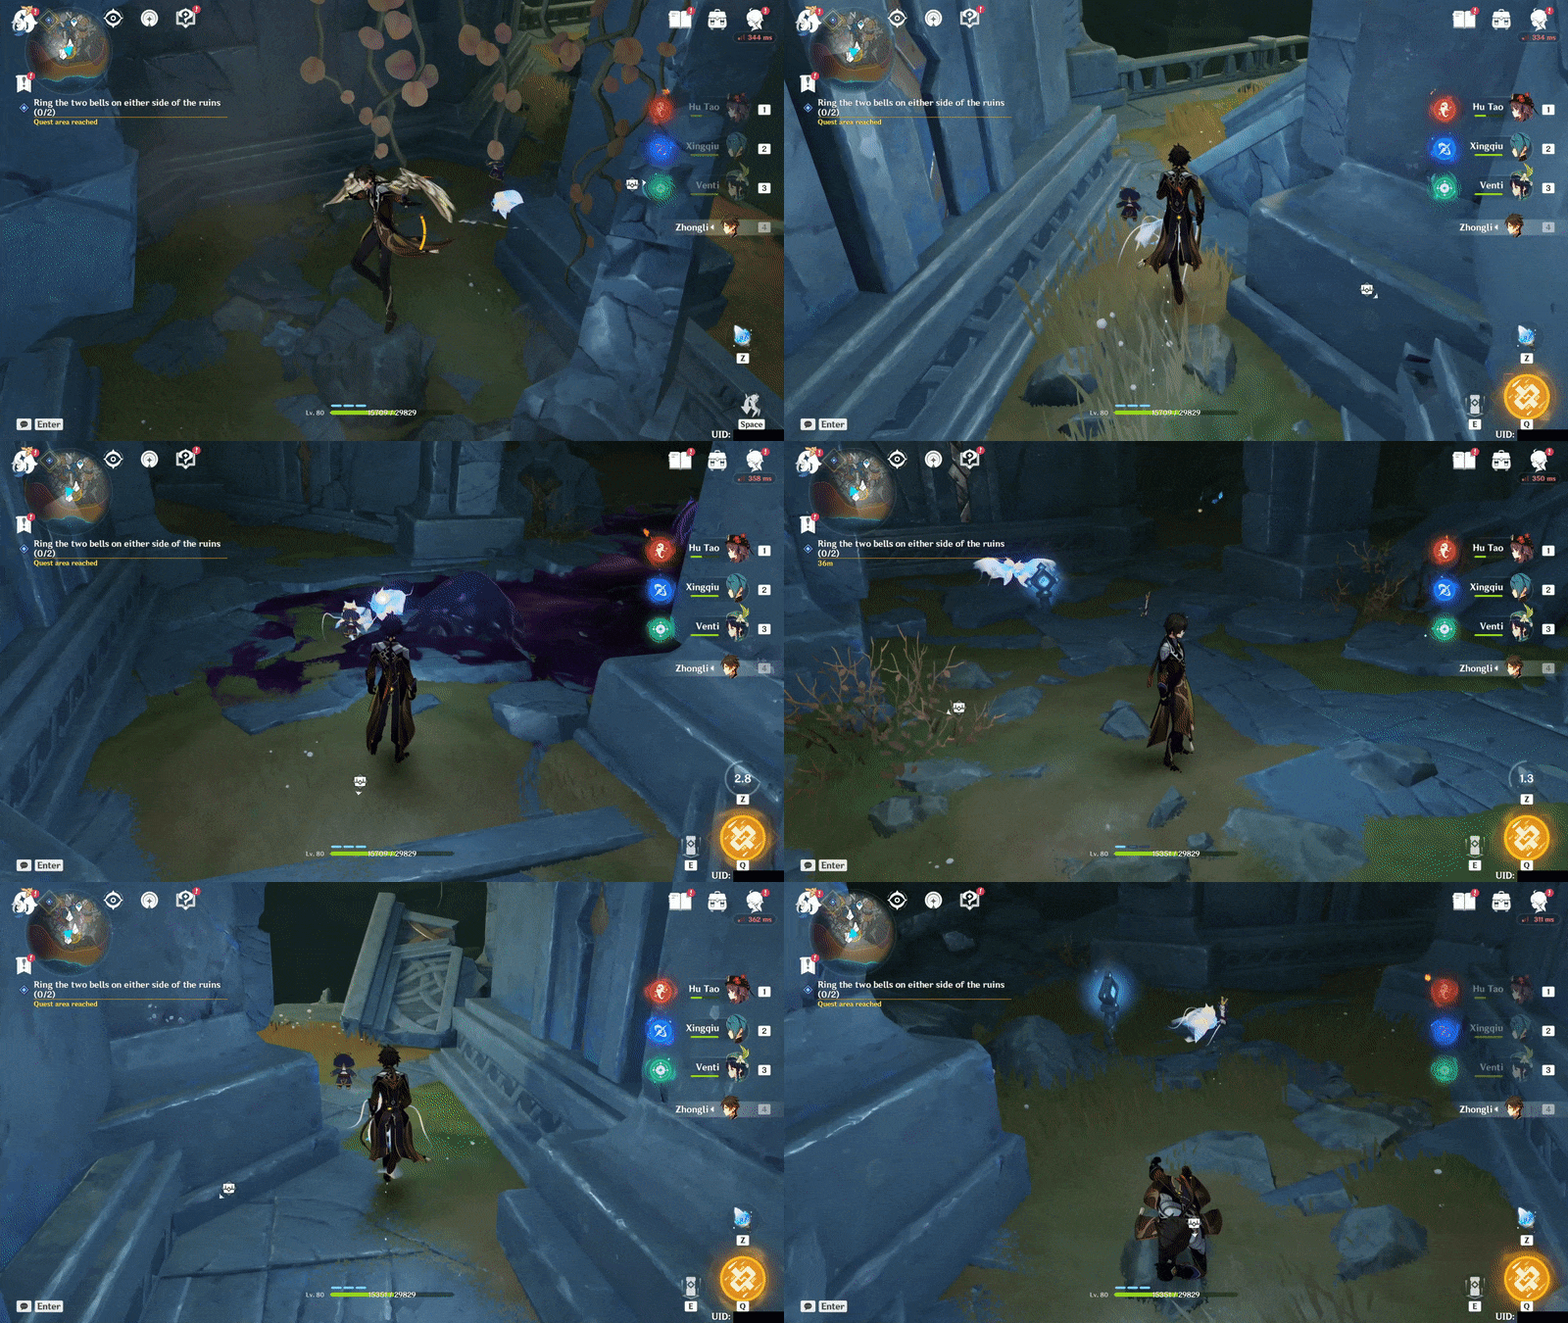
2) The second bell (South of Stony Halls)
- First, you need to light up all lamps inside the broken tower.
First & Second lamp: Follow two Seelies until each of them is floating beside a lamp.
The third lamp: Recharge the Lumenlamps
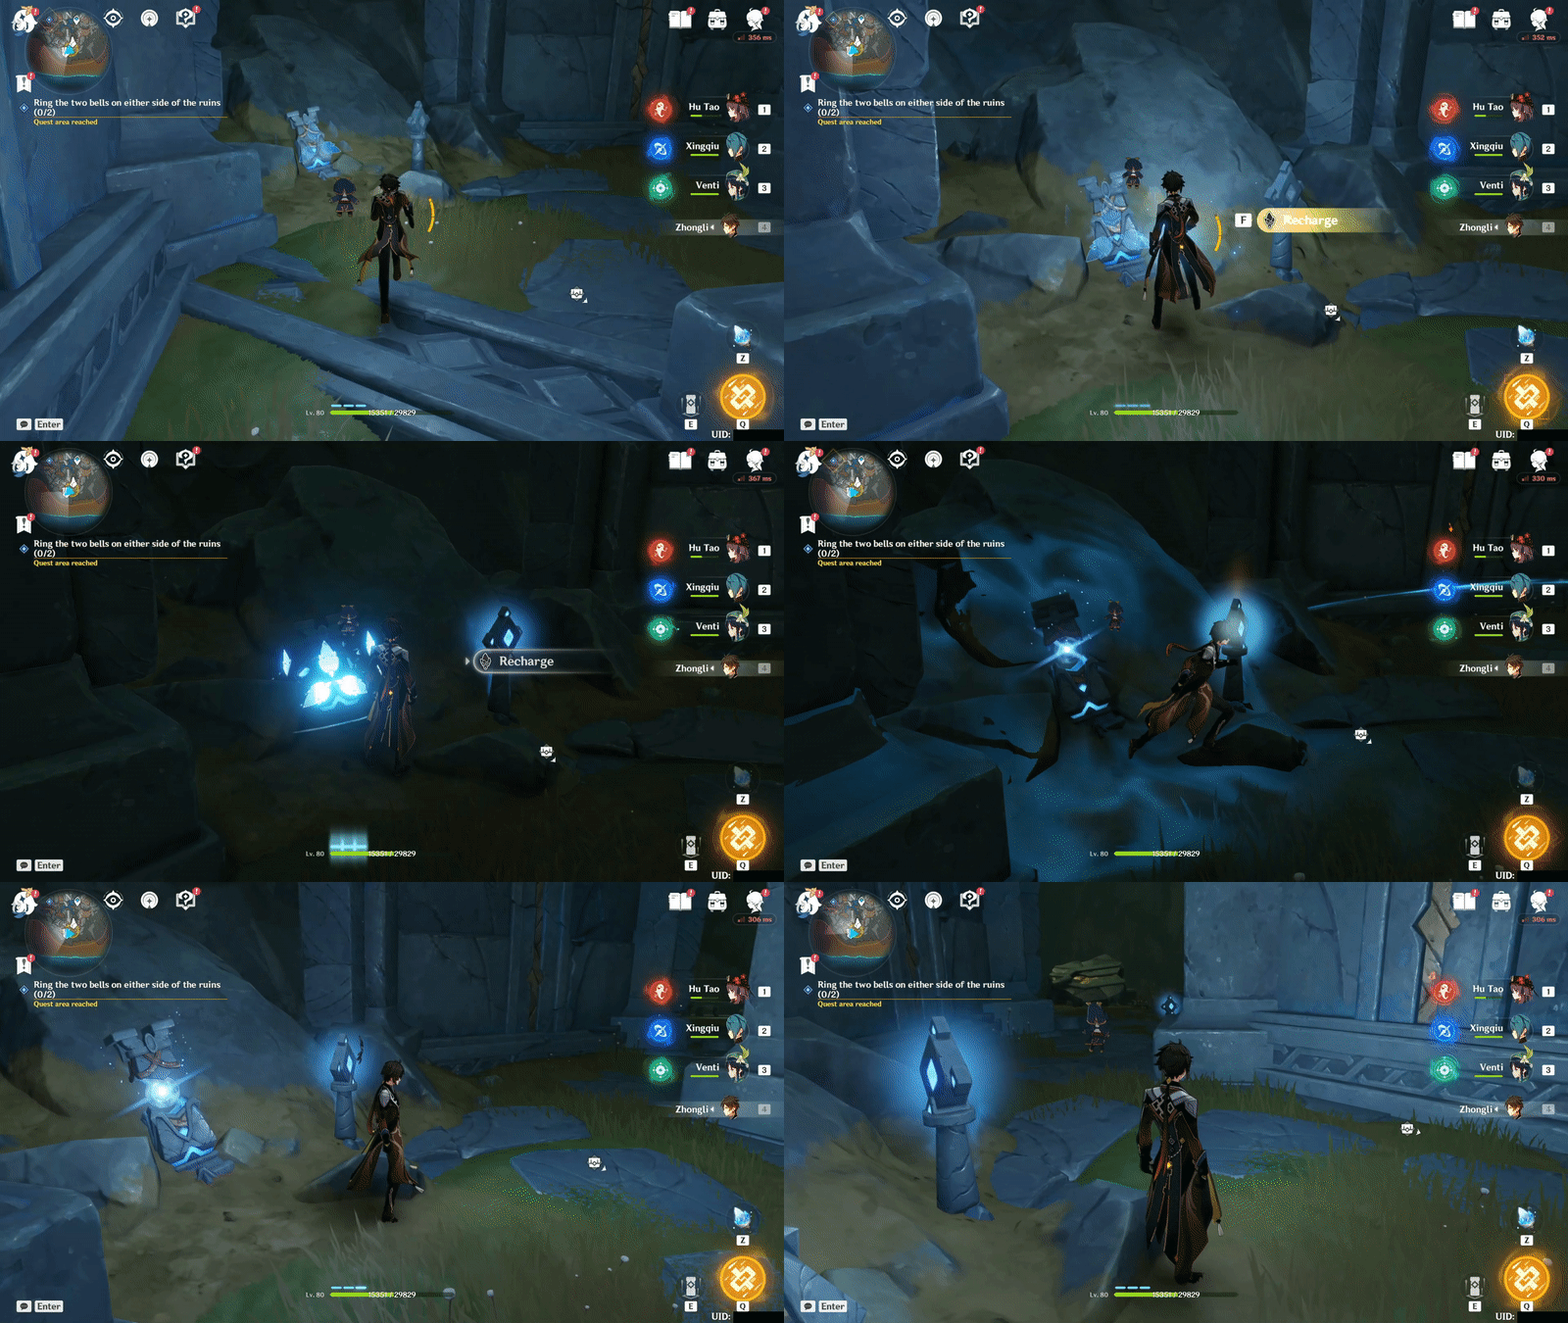
Fourth Lamp: You need to stand beside the last lamp (While equipping the Lumenstone gadget).
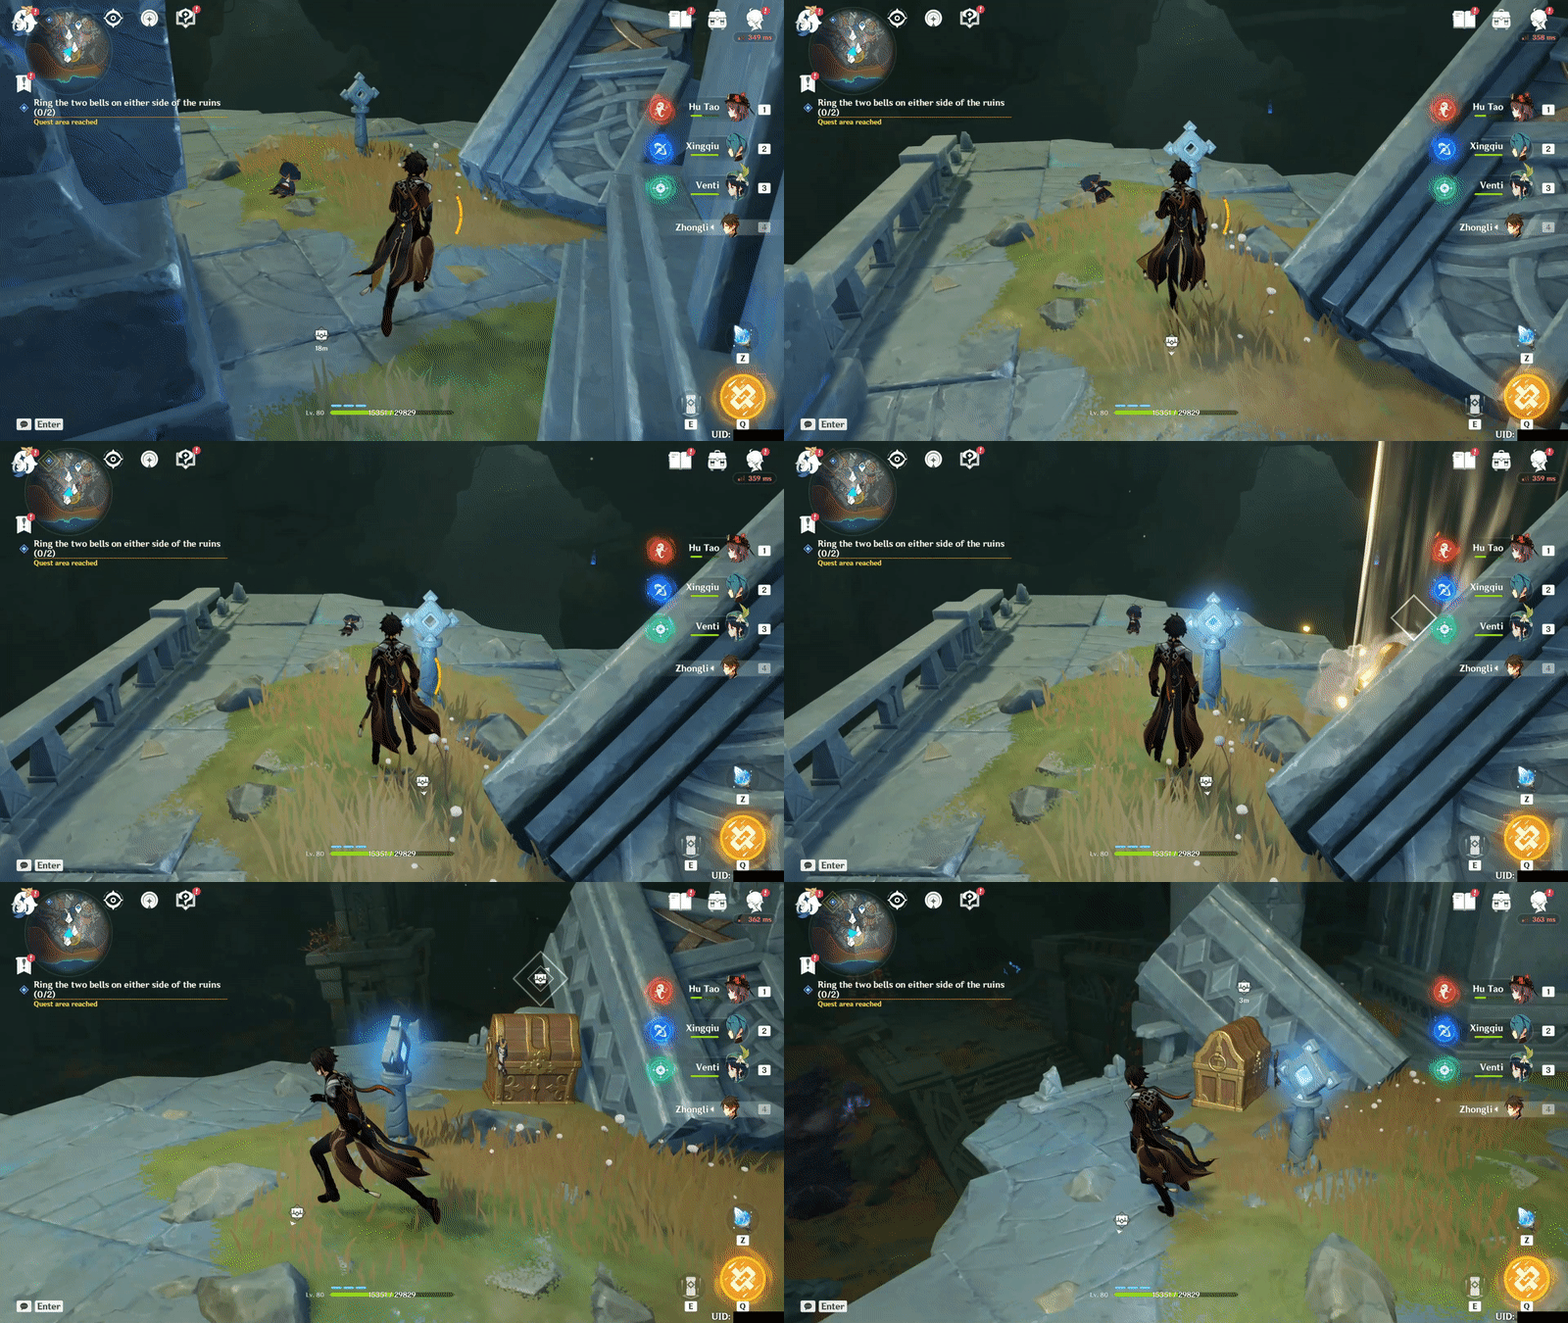
- Next, open the Precious Chest and follow the new Seelie to the top of the tower. Stand on the lamp opposite side of Seelie's lamp.
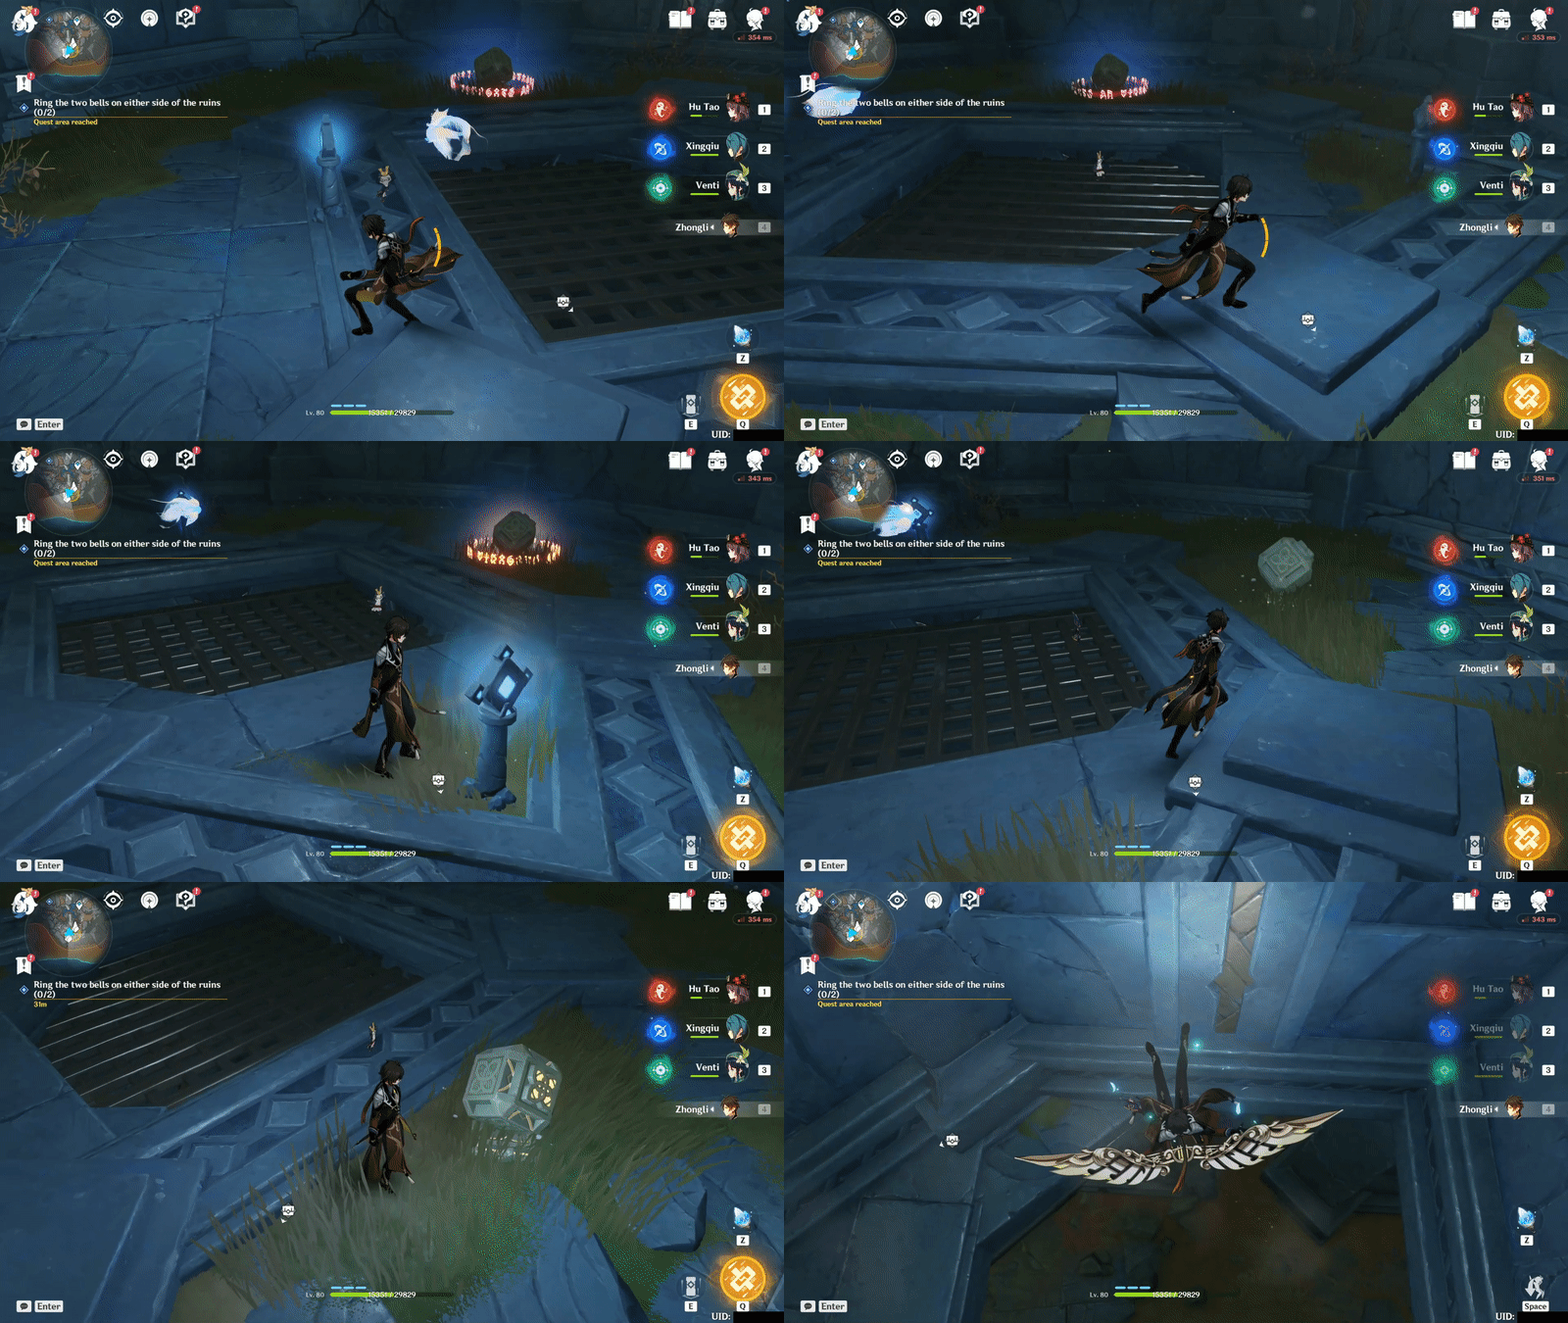
- Lastly, use the device to unlock the gate and ring the bell behind Ruin Grader.
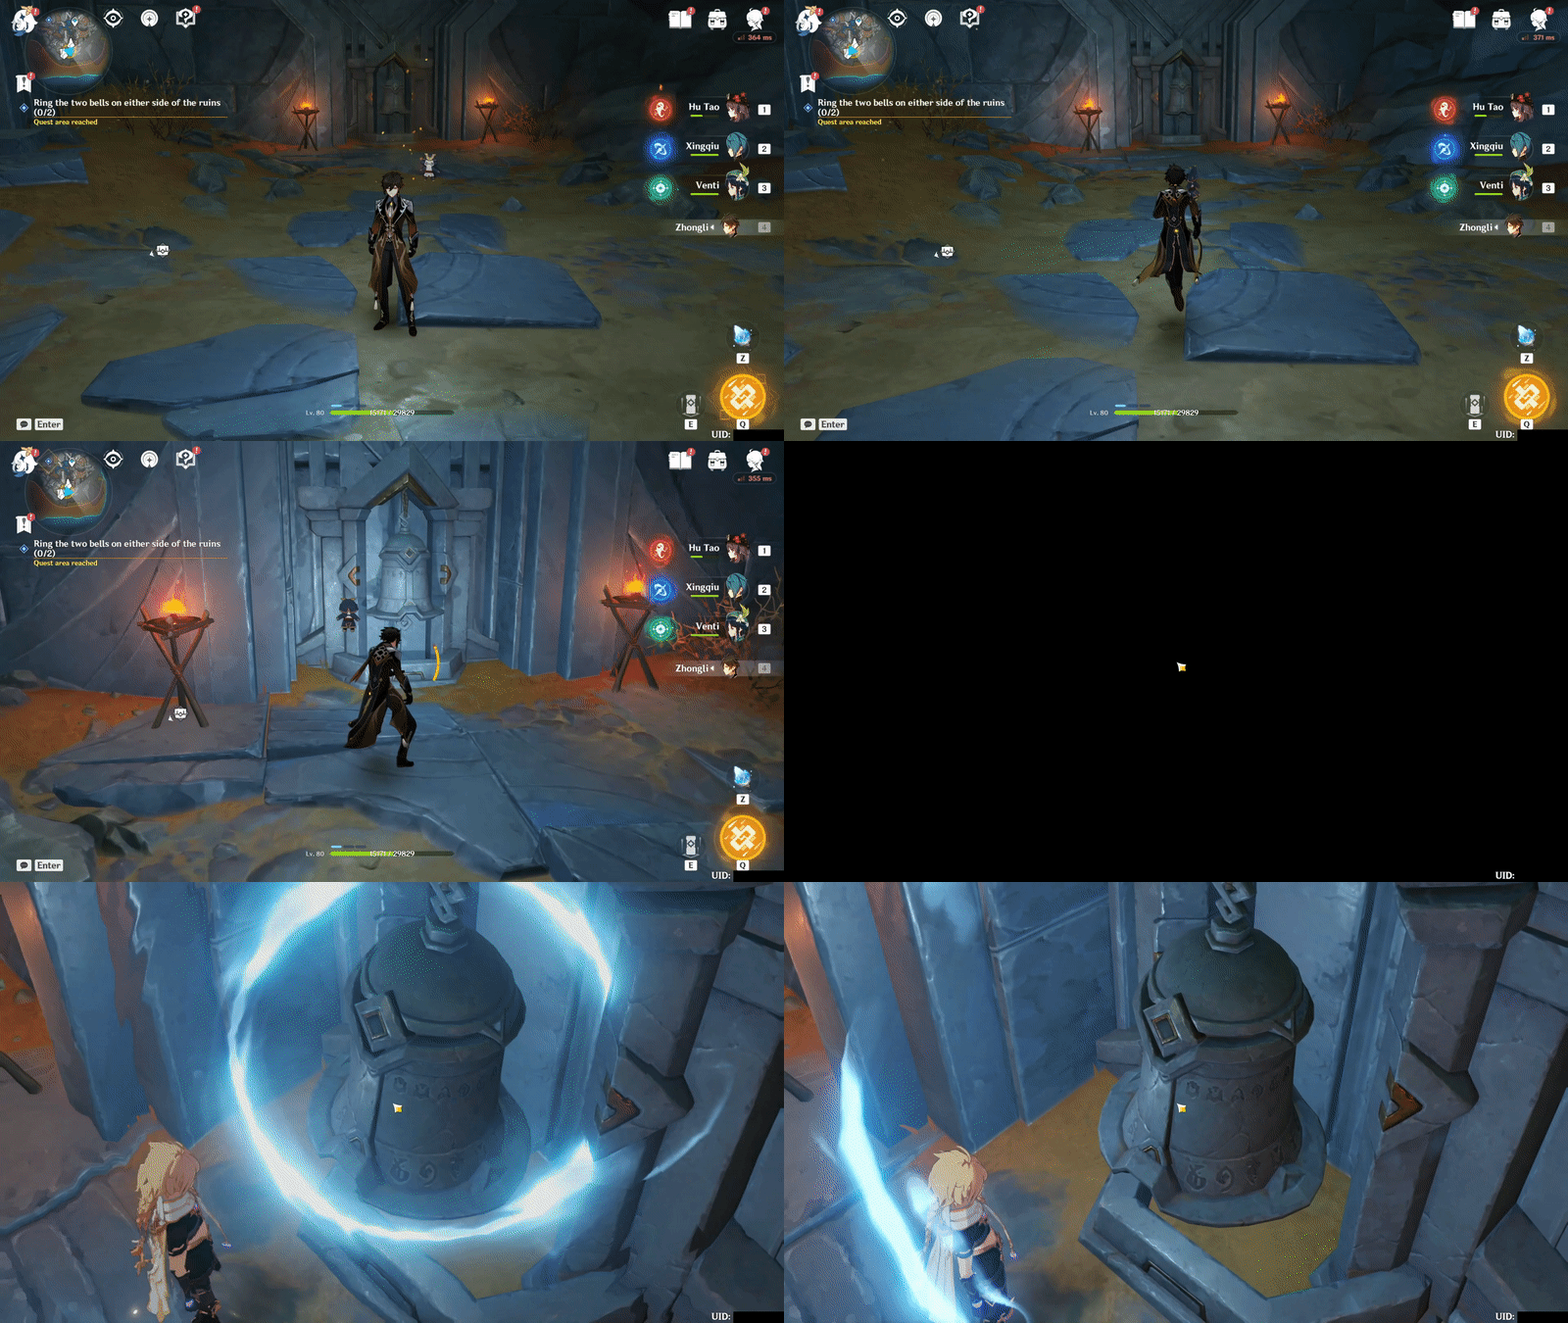
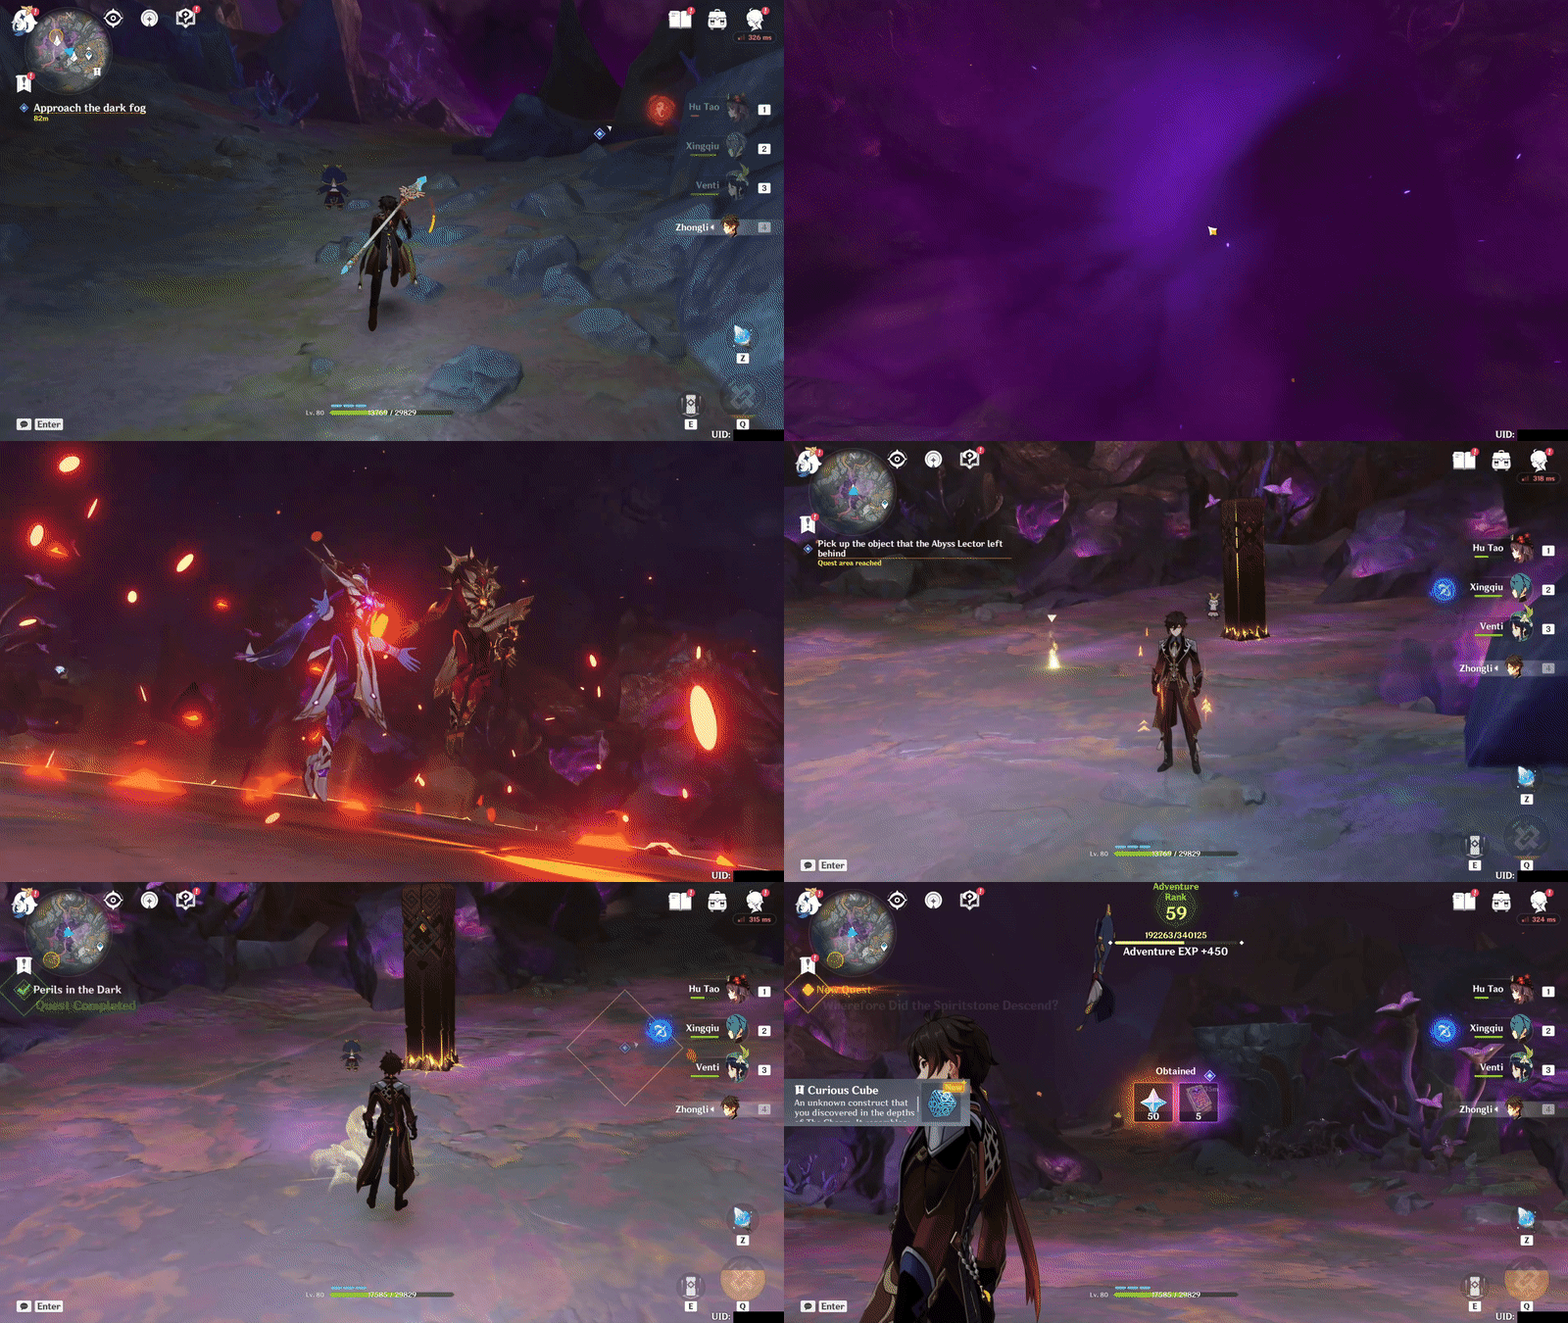
3. Approach the dark fog
▸ Go back to the dark fog and it will disappear. Instead, two Abyss Lectors will spawn and you need to defeat them to continue the quest by picking up the Curious Cube.
✦ Wherefore Did the Spiritstone Descend? ✦
1. Head to the new exploration team's camp
▸ Follow the quest navigation until you reach the new exploration team's camp. After the conversation ends, you will unlock the fifth part of the map!

2. Go to the gate with Curious Cube
▸ Use the Curious Cube to unlock the gate and head further inside.
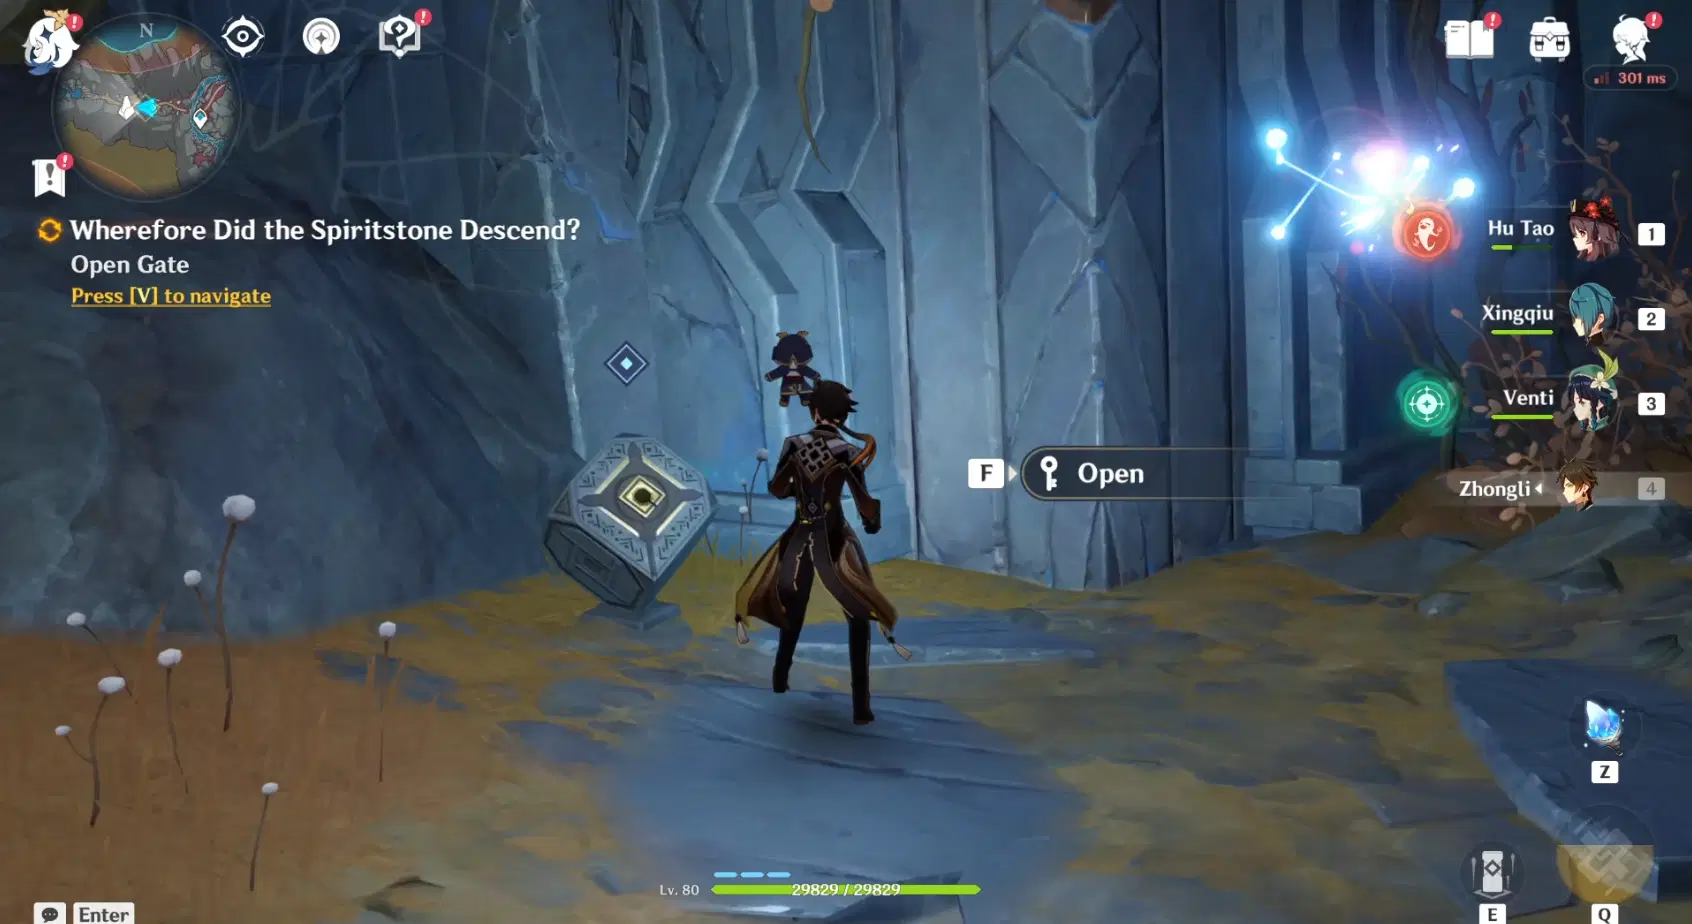
3. Purify the large crystal
▸ Once the cutscene with Paimon ends, you will completely unlock the whole map of the Underground Mine in The Chasm! Now just a little bit further and you will complete the World Quest. Your task now is to purify a large crystal by activating 5 mechanisms.
▸ You need to use the light from the Lumenstone gadget to keep the mechanism brightly lit until it is fully charged.

1) The first mechanism

2) The second mechanism
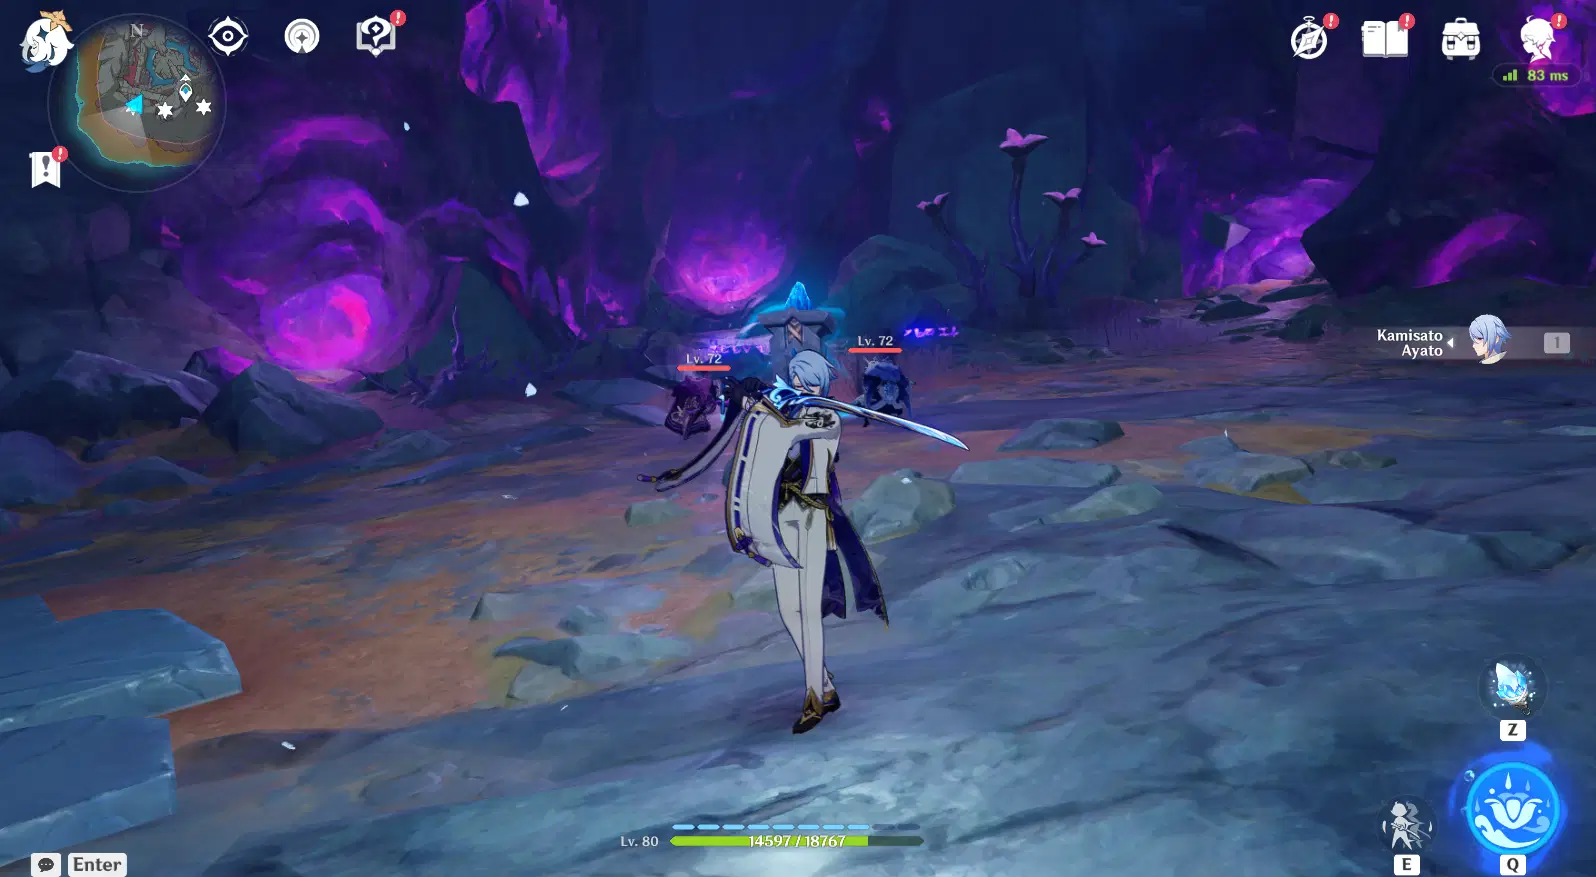
3) The third mechanism

4) The fourth mechanism
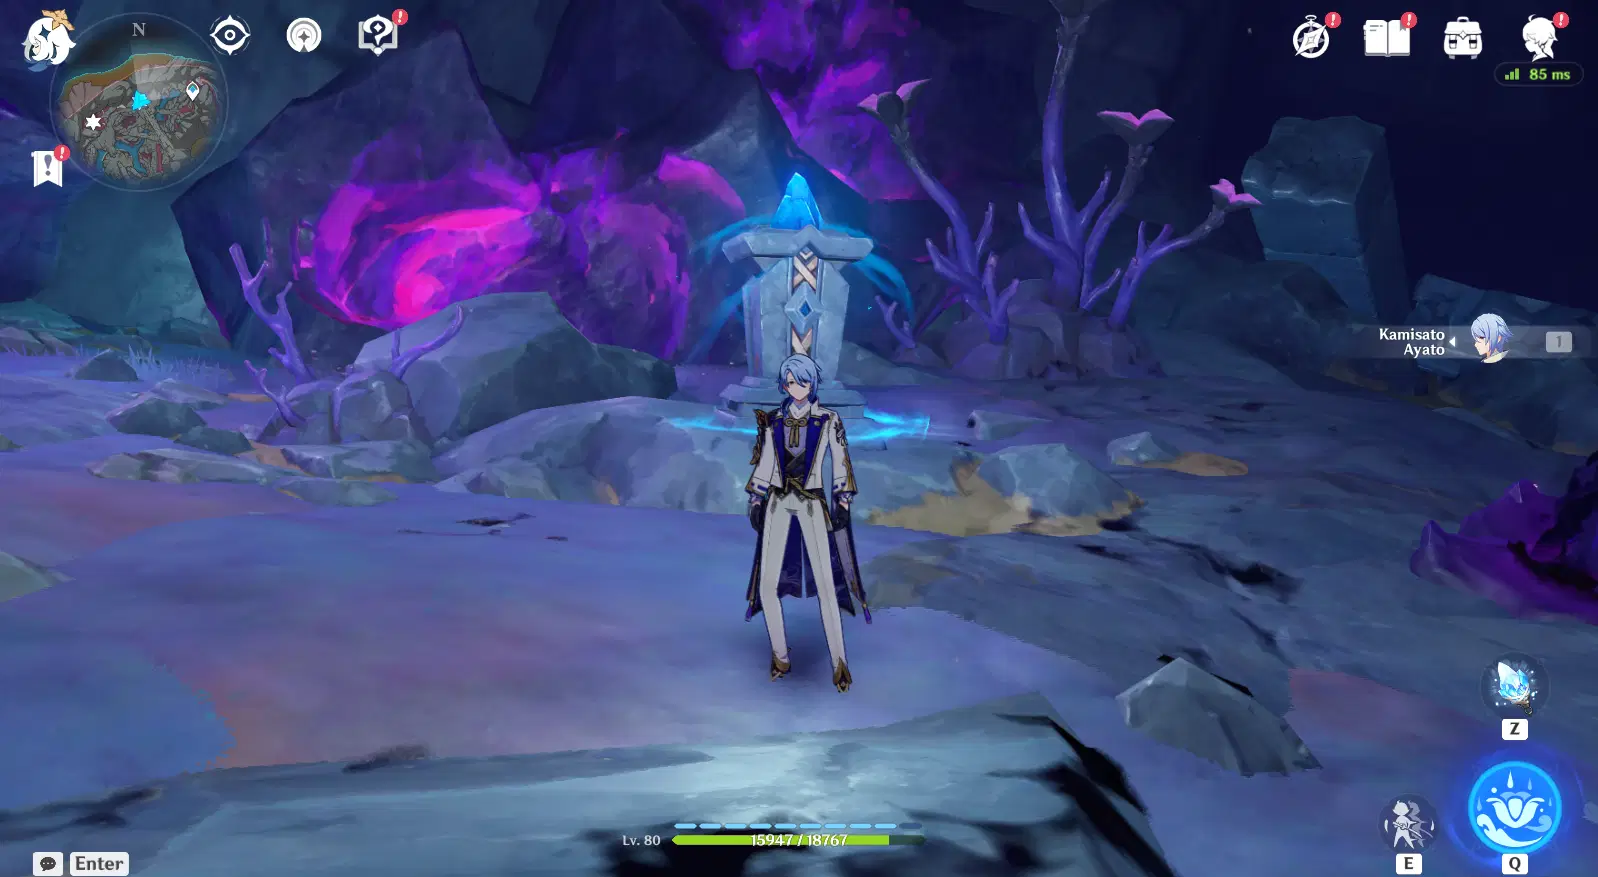
5) The fifth mechanism
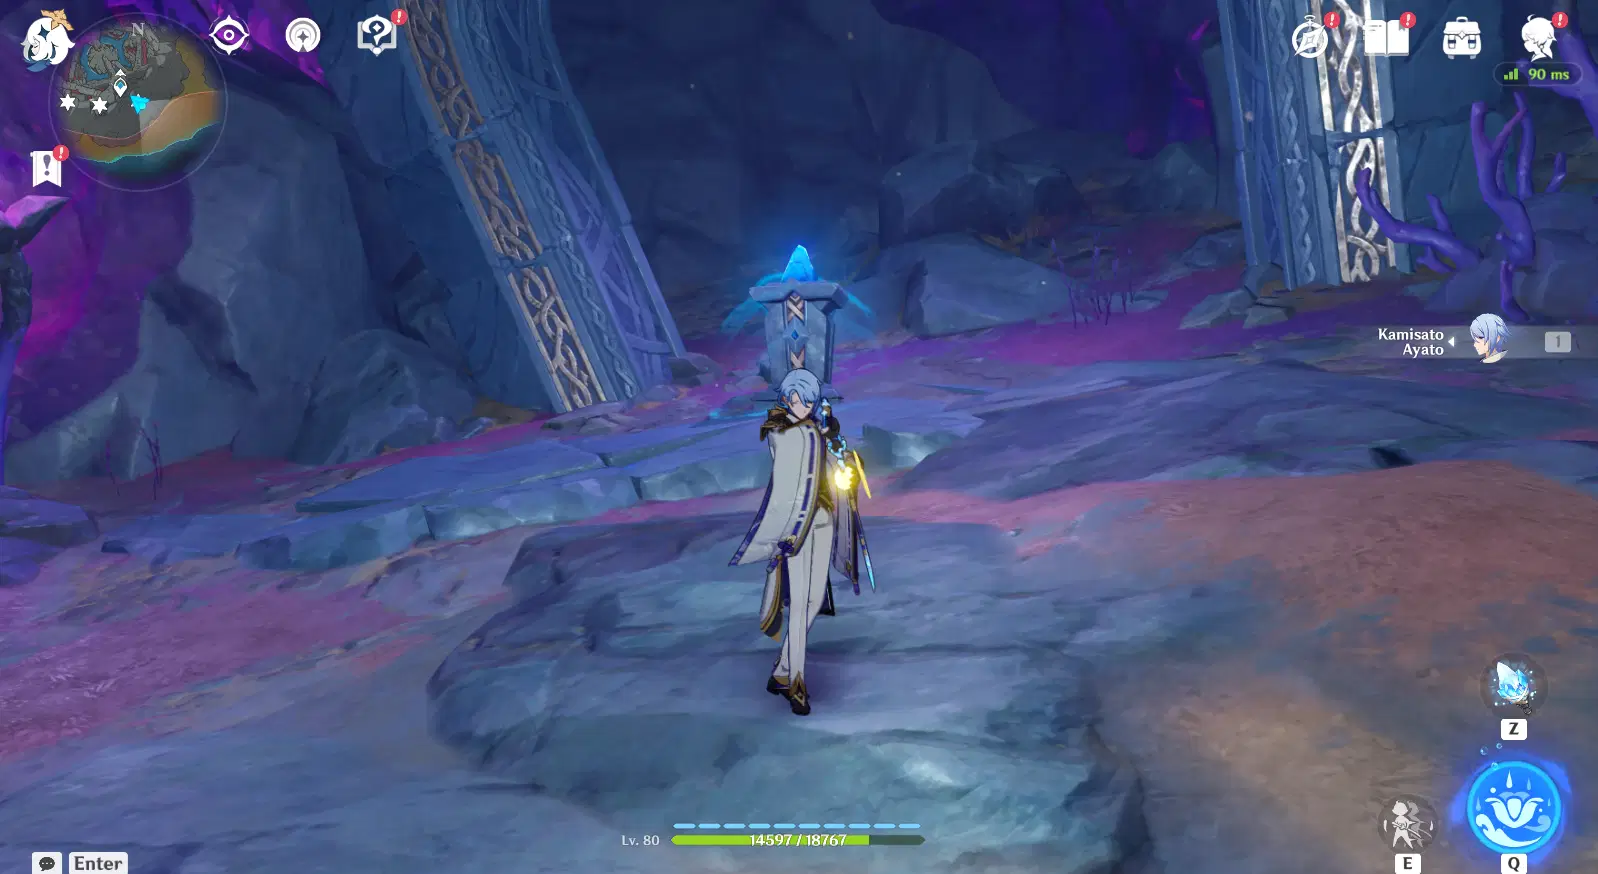
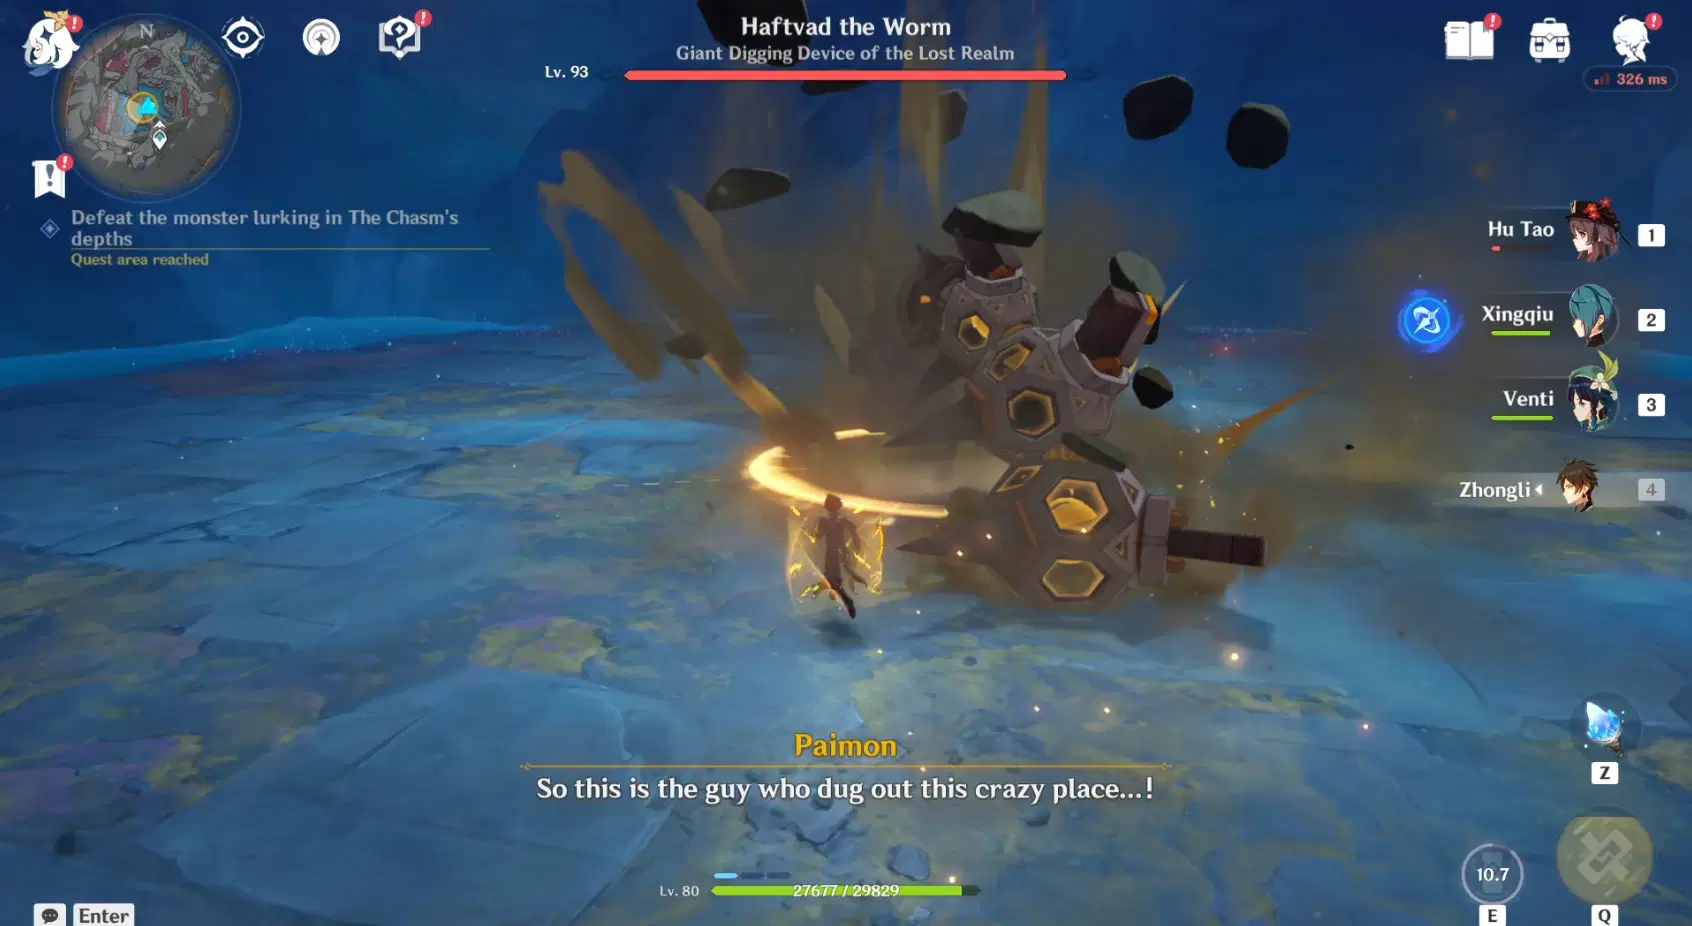
6. Fight the Ruin Serpent
▸ The goal here is to fight the Serpent until their HP is 20% left. Once it reaches that threshold, its HP won't deplete anymore and you need to wait for a cutscene.
7. Return to camp and report to Muning
▸ From now, just follow the quest navigation until you reach the surface of The Chasm and complete the World Quest.
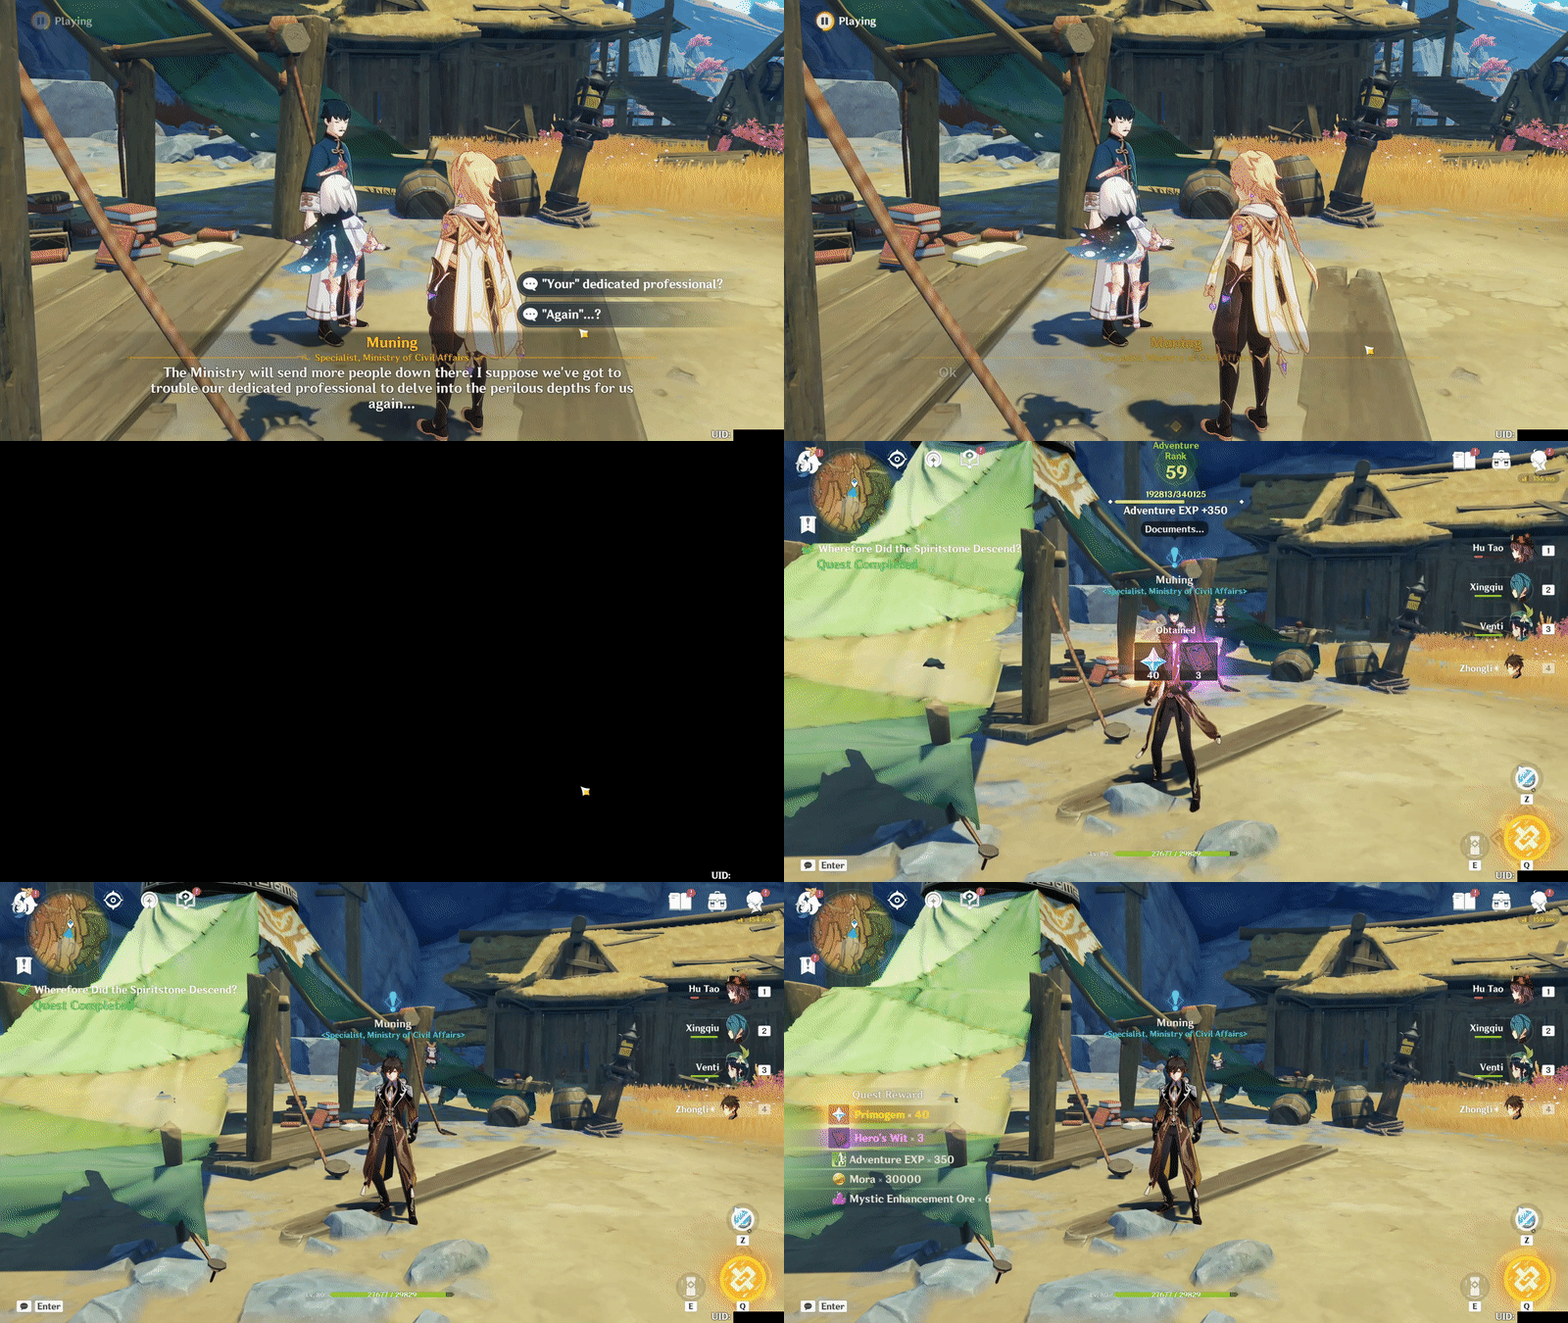
Congratulations! You'd complete all the World Quest to unlock the surface and the underground mine of The Chasm~
There are a lot more World Quests that I will cover, and you can check out my profile to follow them!