


Index:[Index] Common Chests - HoYoverse Player Community (hoyolab.com)

-Footage & Location photos are from my 1st account-
If there is anything you're unsure about, feel free to ask!
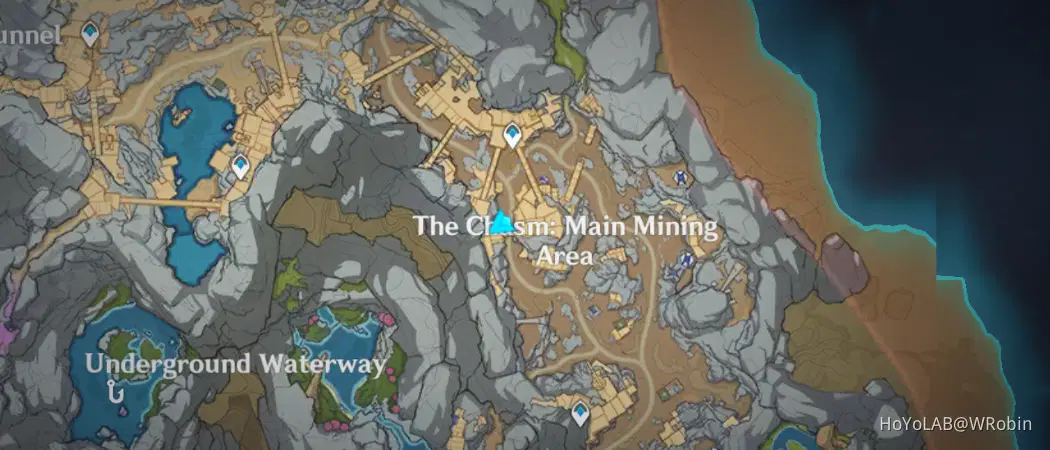
41. [Locked Chest] At the bottom
Will unlock after defeating 1 Fatui Pyro Agent that spawns when close enough.
Location:
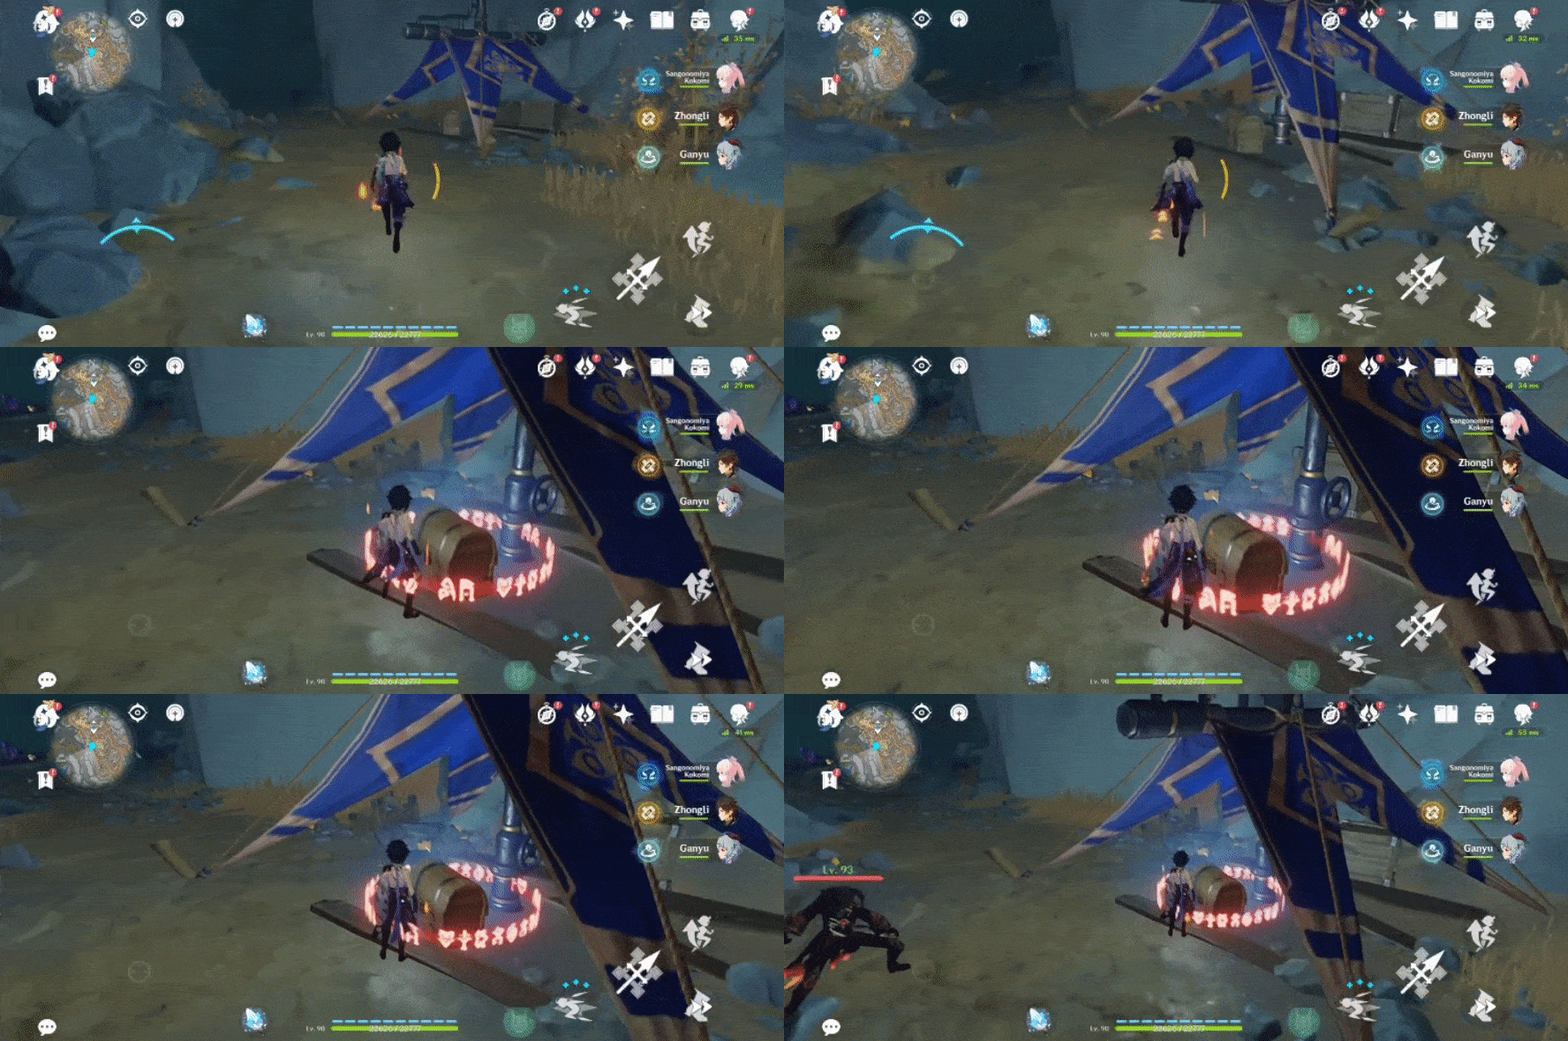
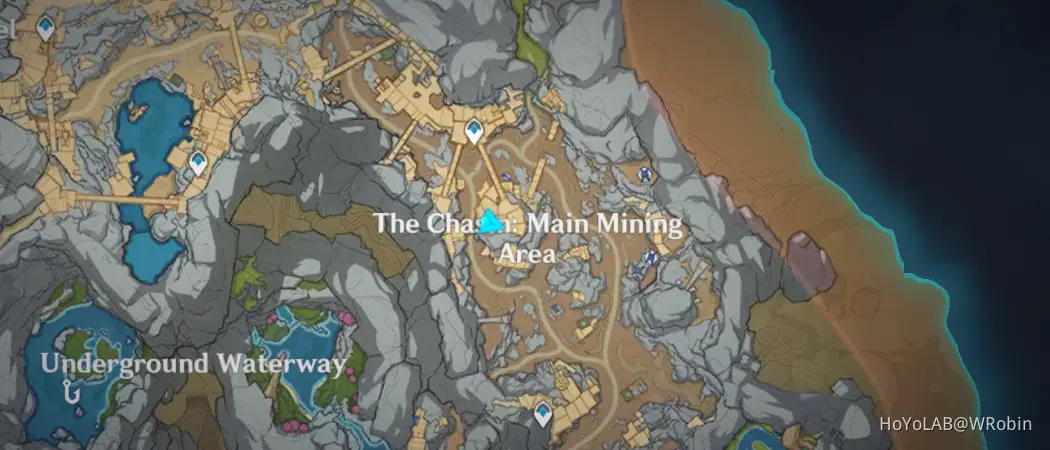
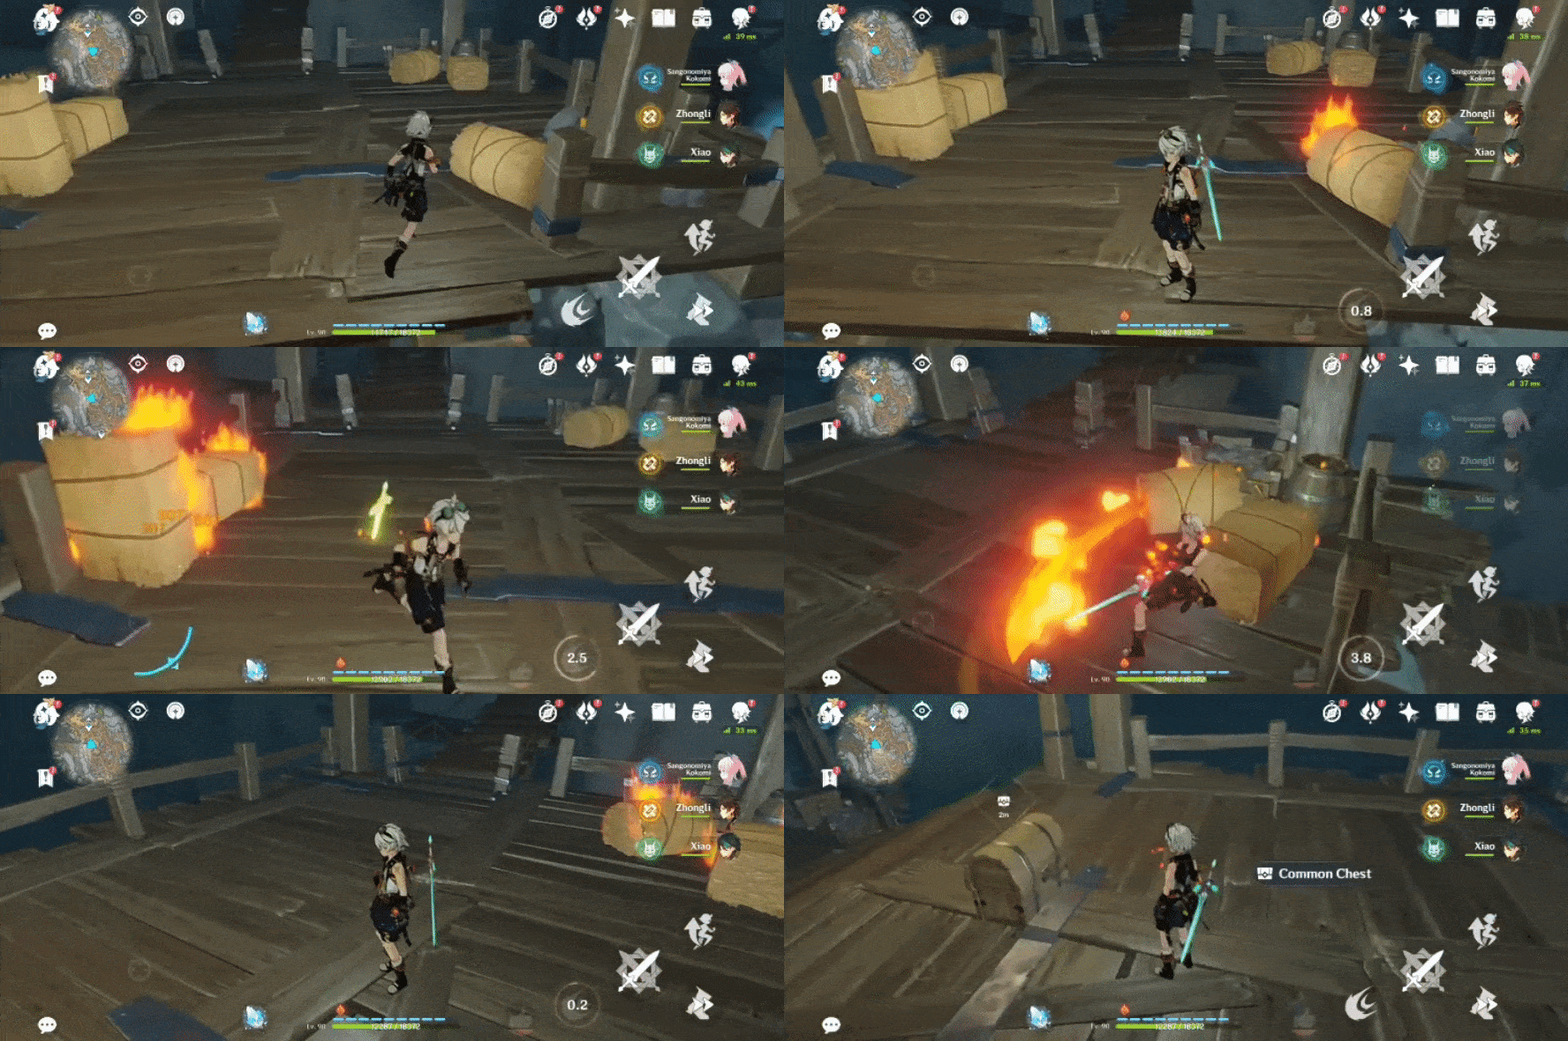
42. [Spawned Chest]
Will spawn after burning the 3 sets of hay bale with Pyro.
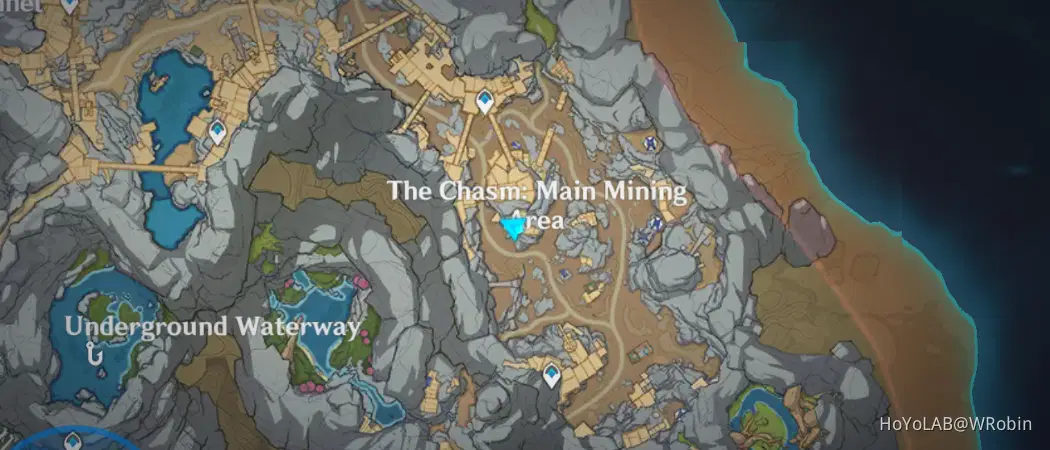
Location:
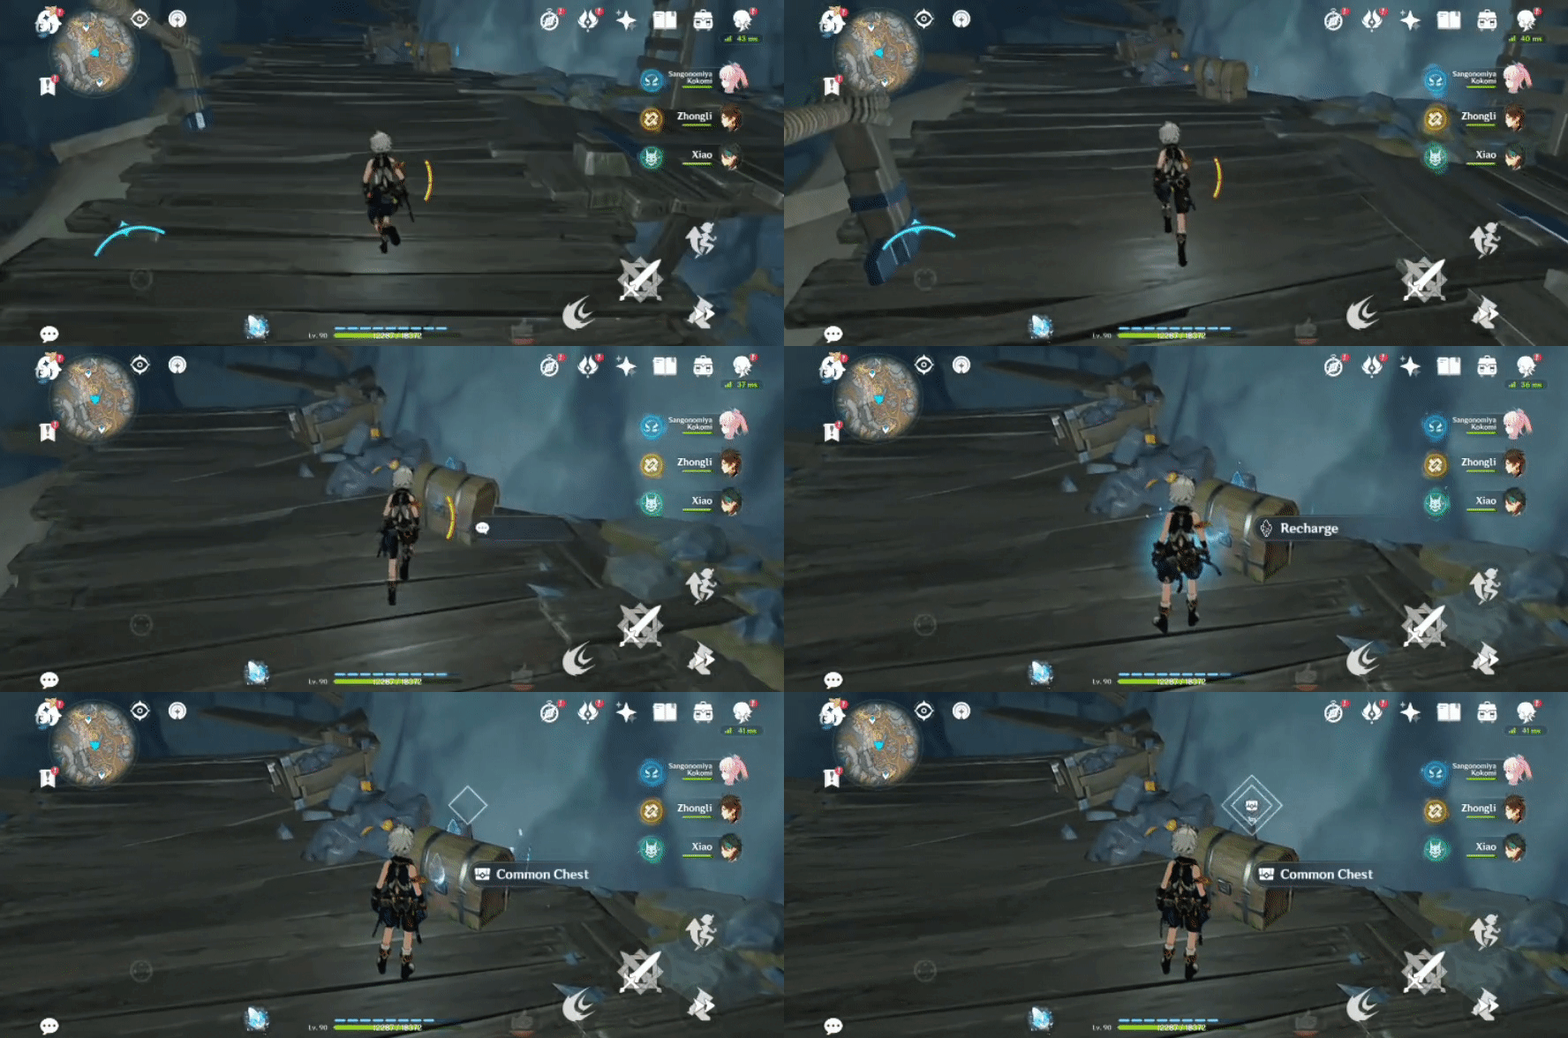
43. [Trapped Chest]
Use the Lumenstone Adjuvant (at least Lv.1) and press 'Recharge' to remove the Seals to access.
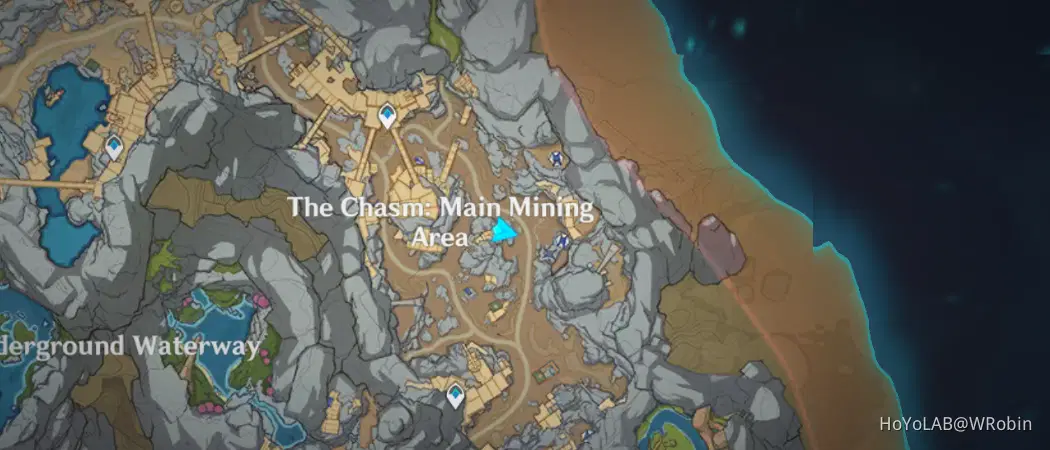
Location:
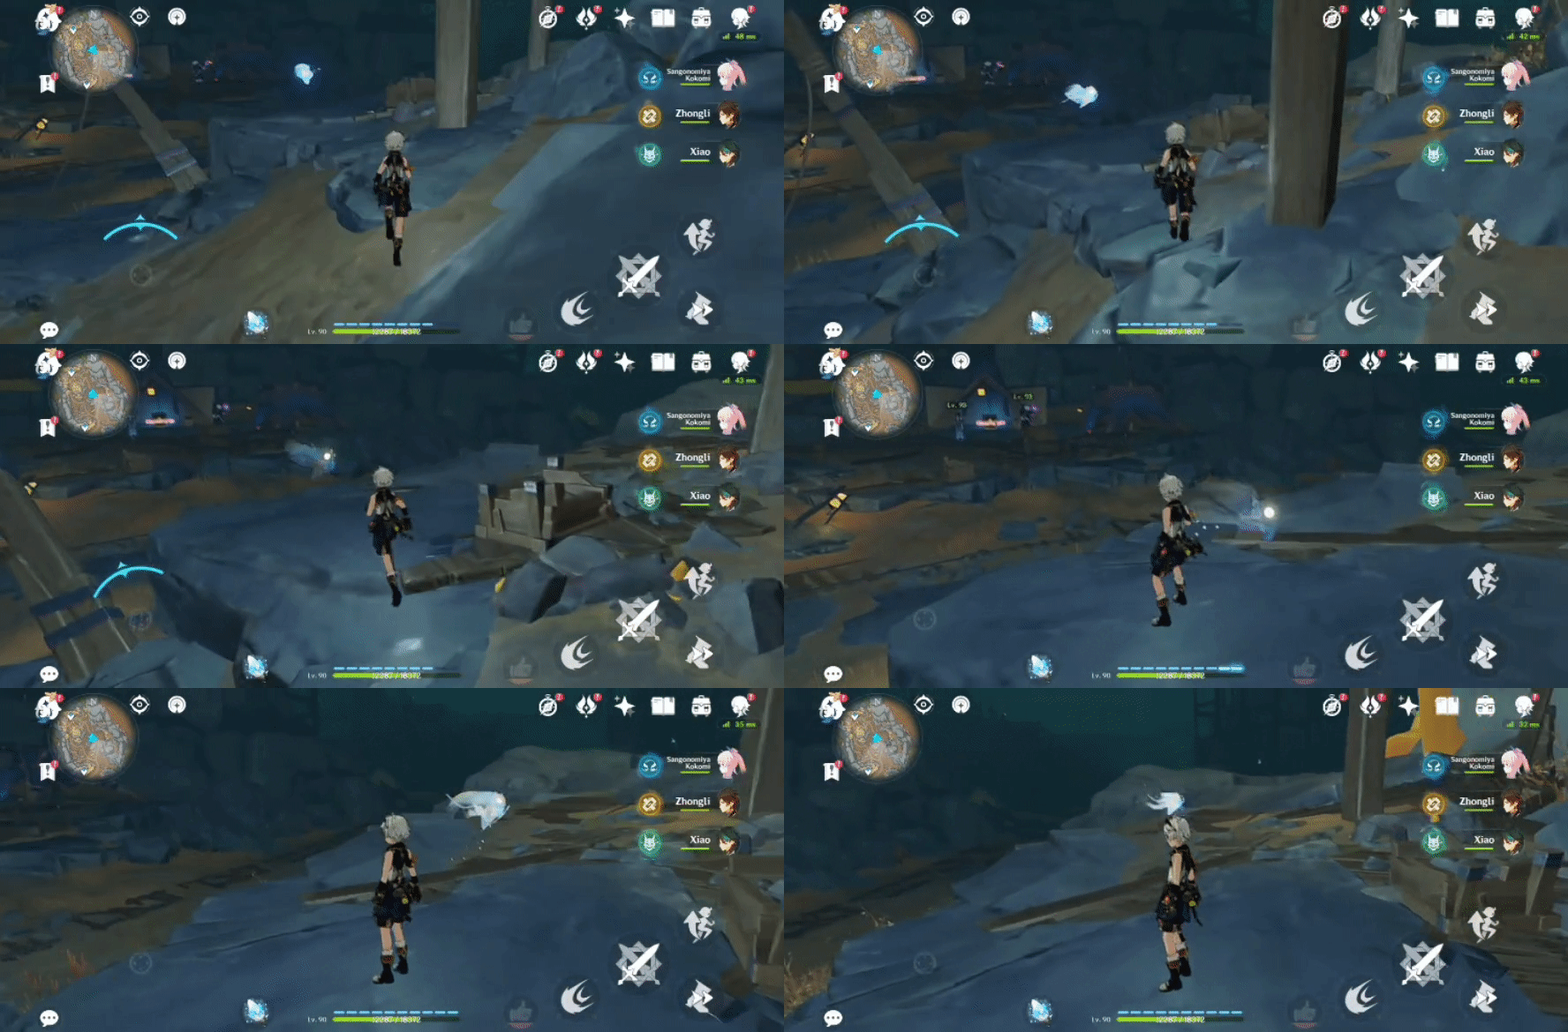
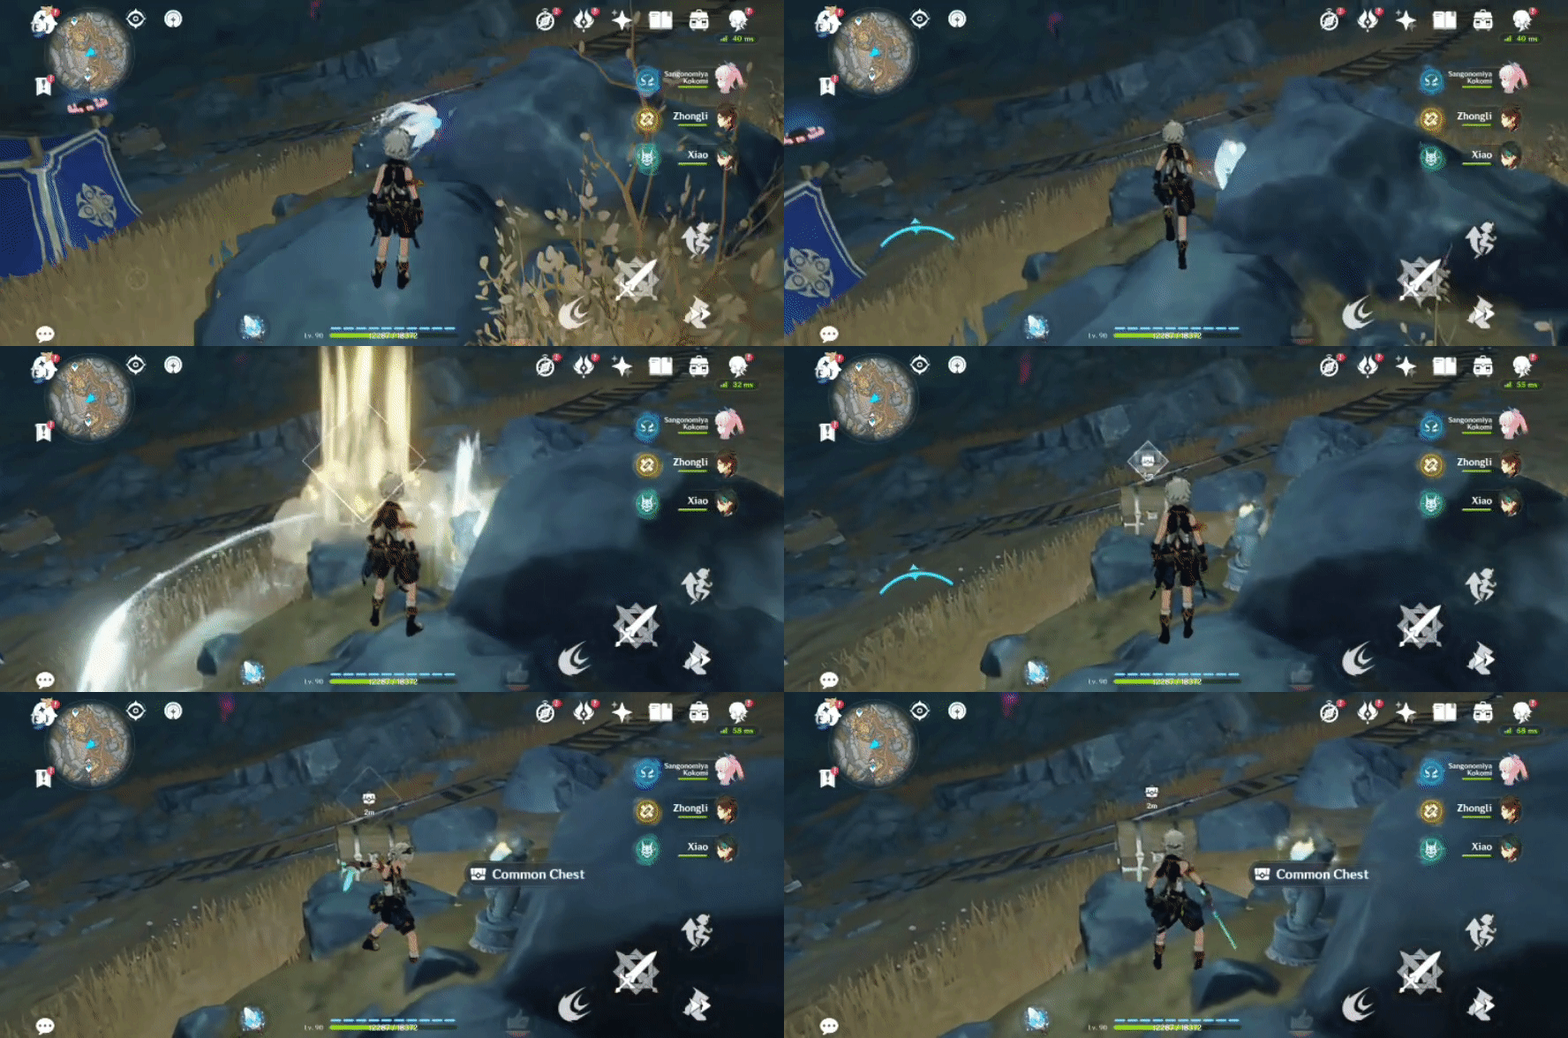
44. [Spawned Chest] At the bottom
Will spawn after the Luminous Seelie returns to its Statue.
Location (Luminous Seelie):
Location (Luminous Seelie Statue):

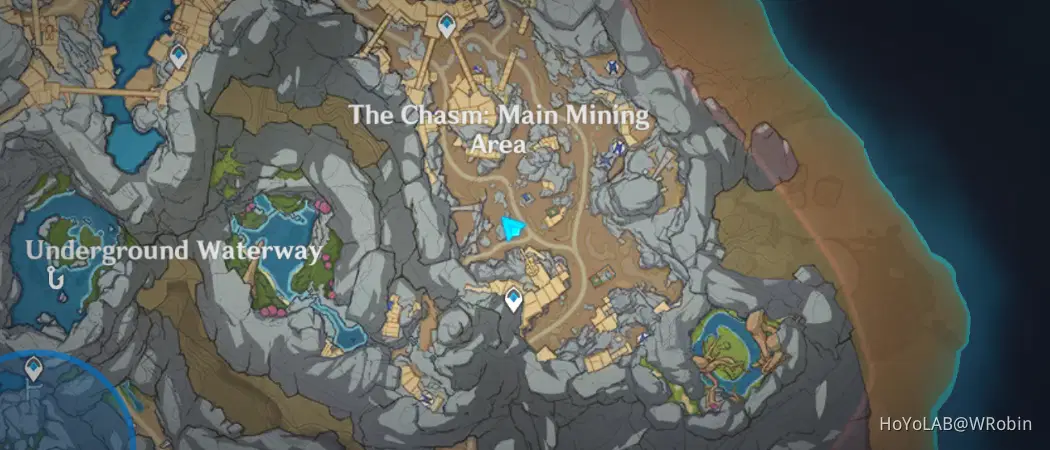
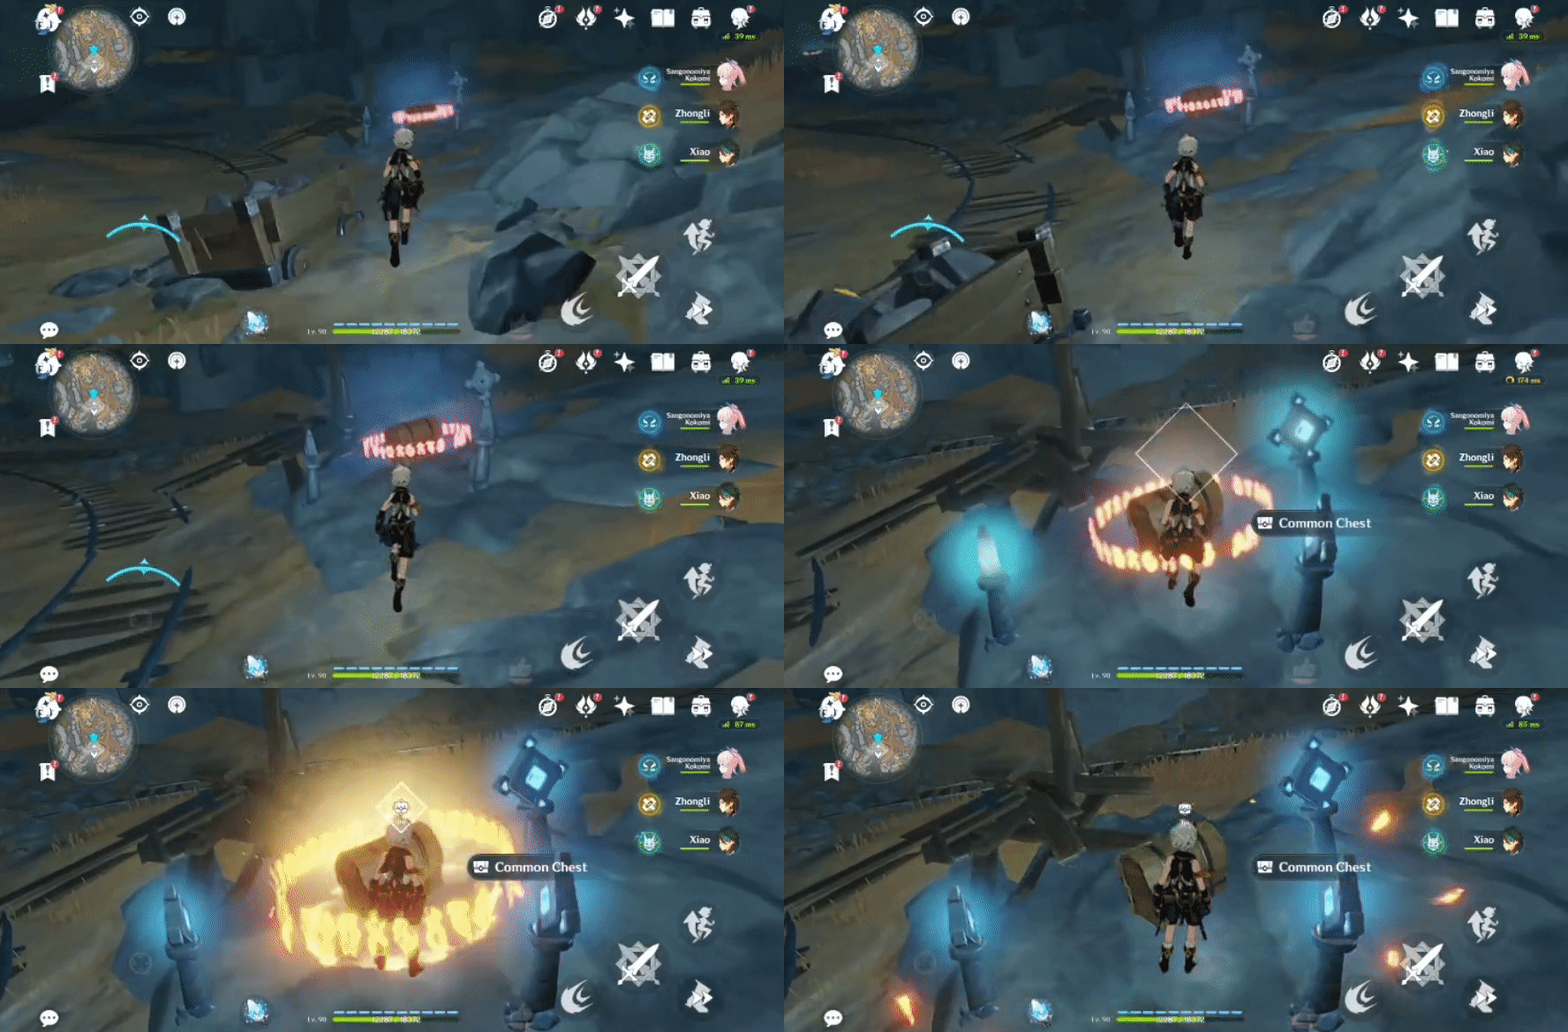
45. [Locked Chest]
Equip the Lumenstone Adjuvant (at least Lv.1) and stand next to the 3 Lights to unlock.
Location:
46. [Spawned Chest] On a high rock
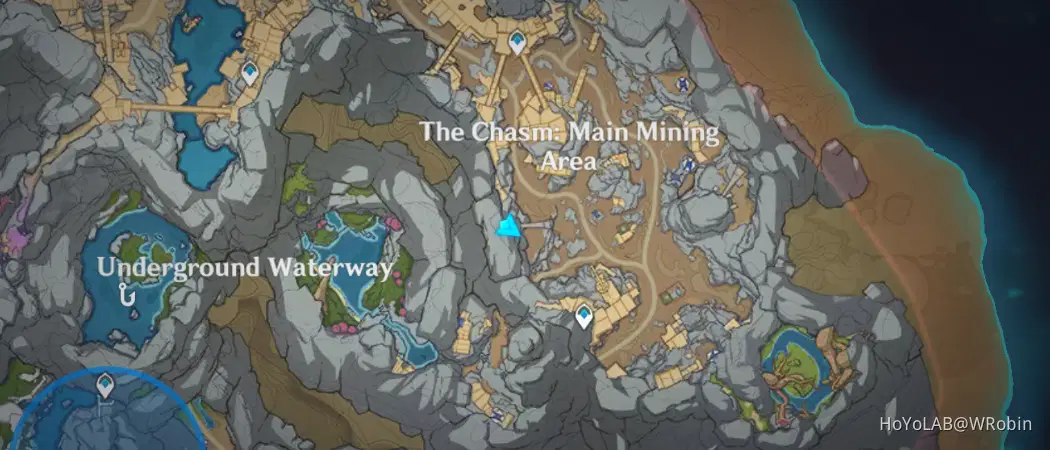
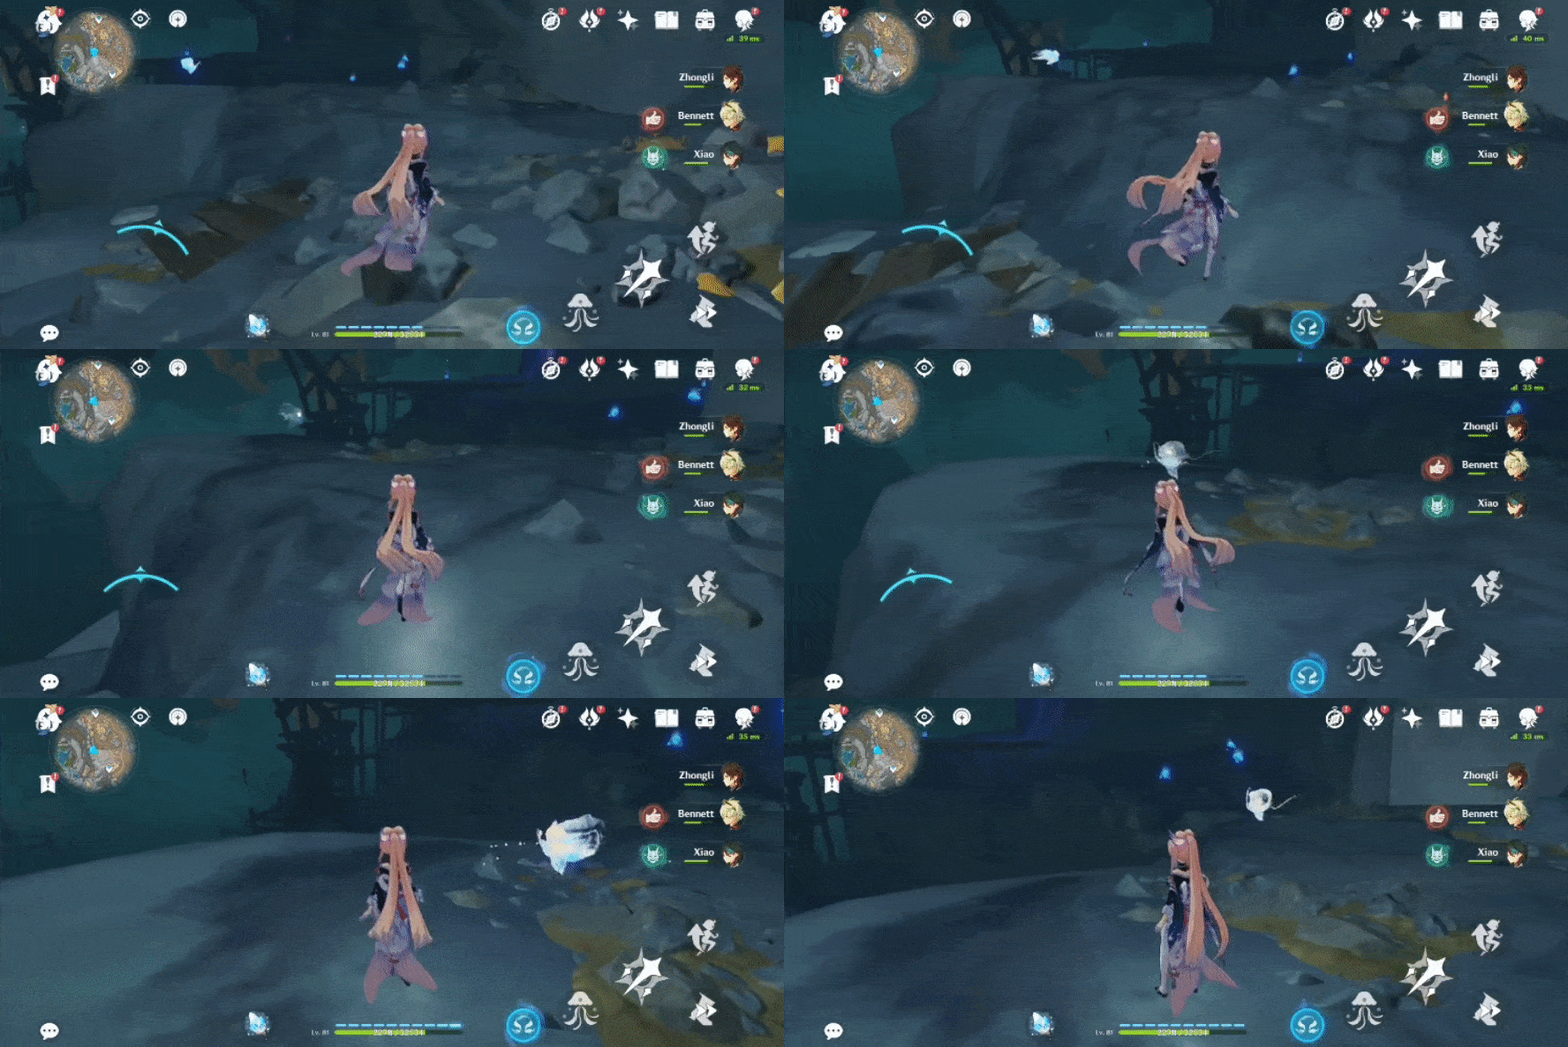
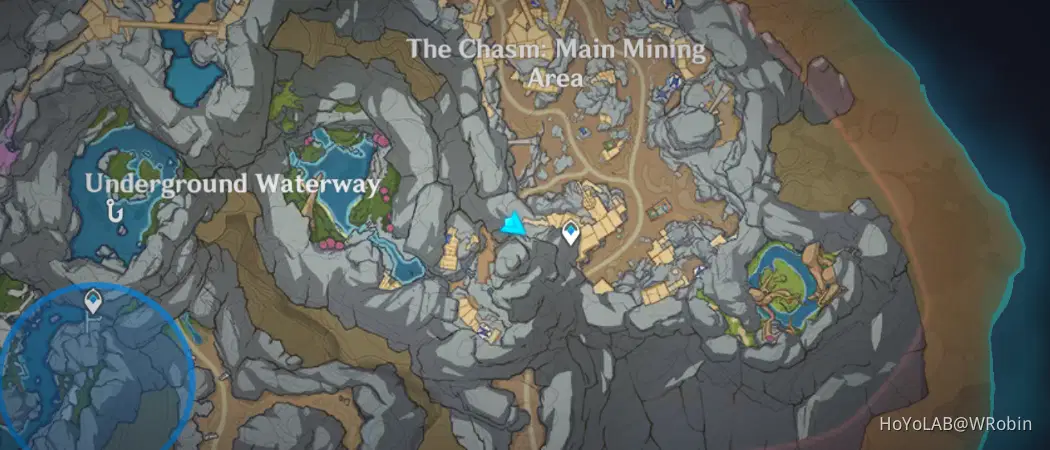
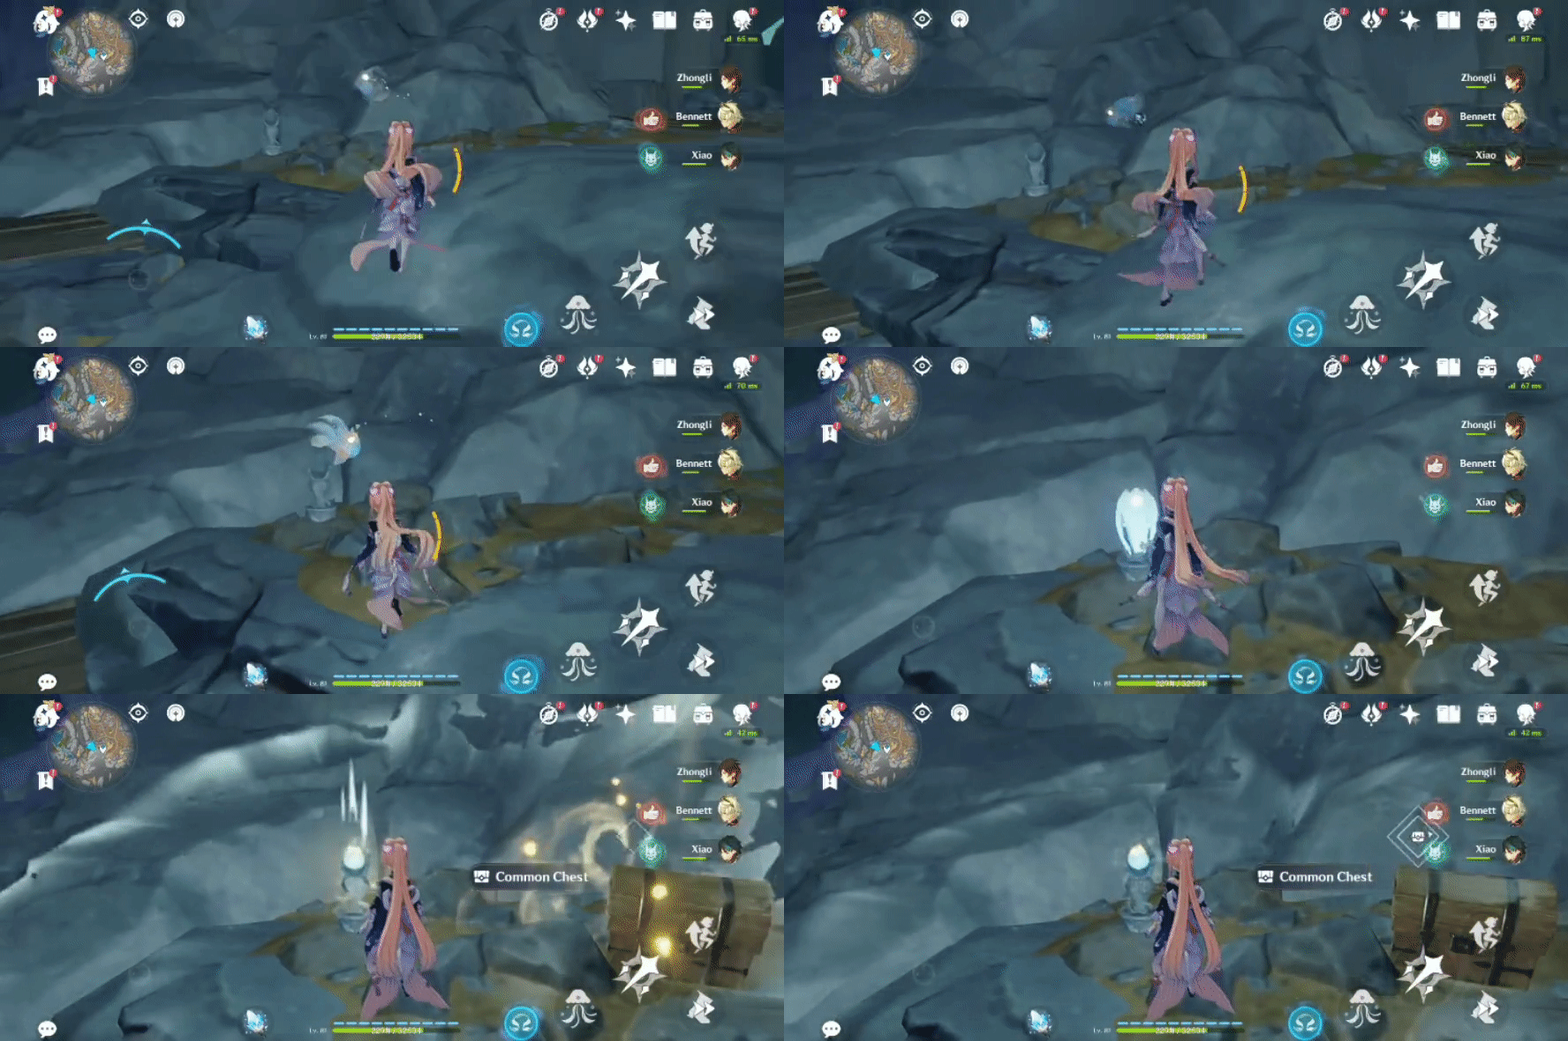
Will spawn after the Luminous Seelie returns to its Statue.
Location (Luminous Seelie):
Location (Luminous Seelie Statue):
47. [Spawned Chest]
Location:
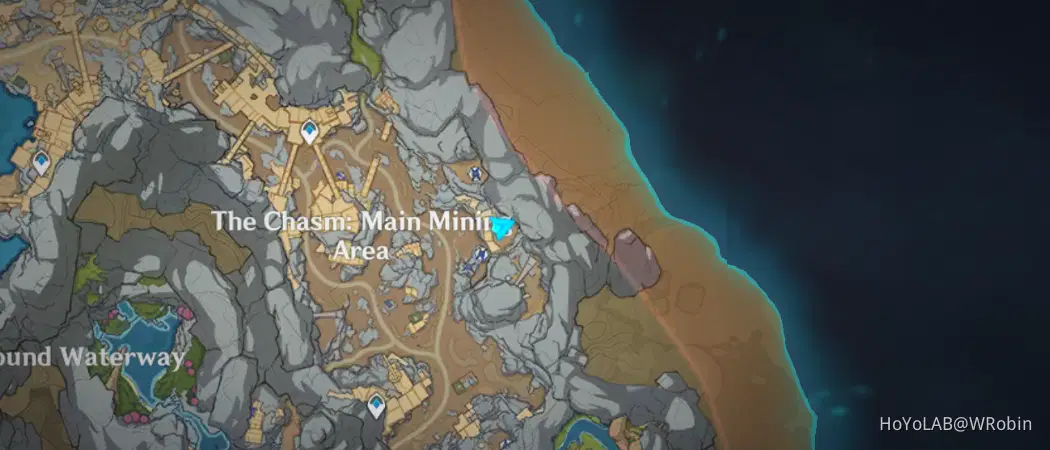
1. Use the Lumenstone Adjuvant and press 'Recharge' on the Lumenvine to spawn the 3 Oozing Concretions.
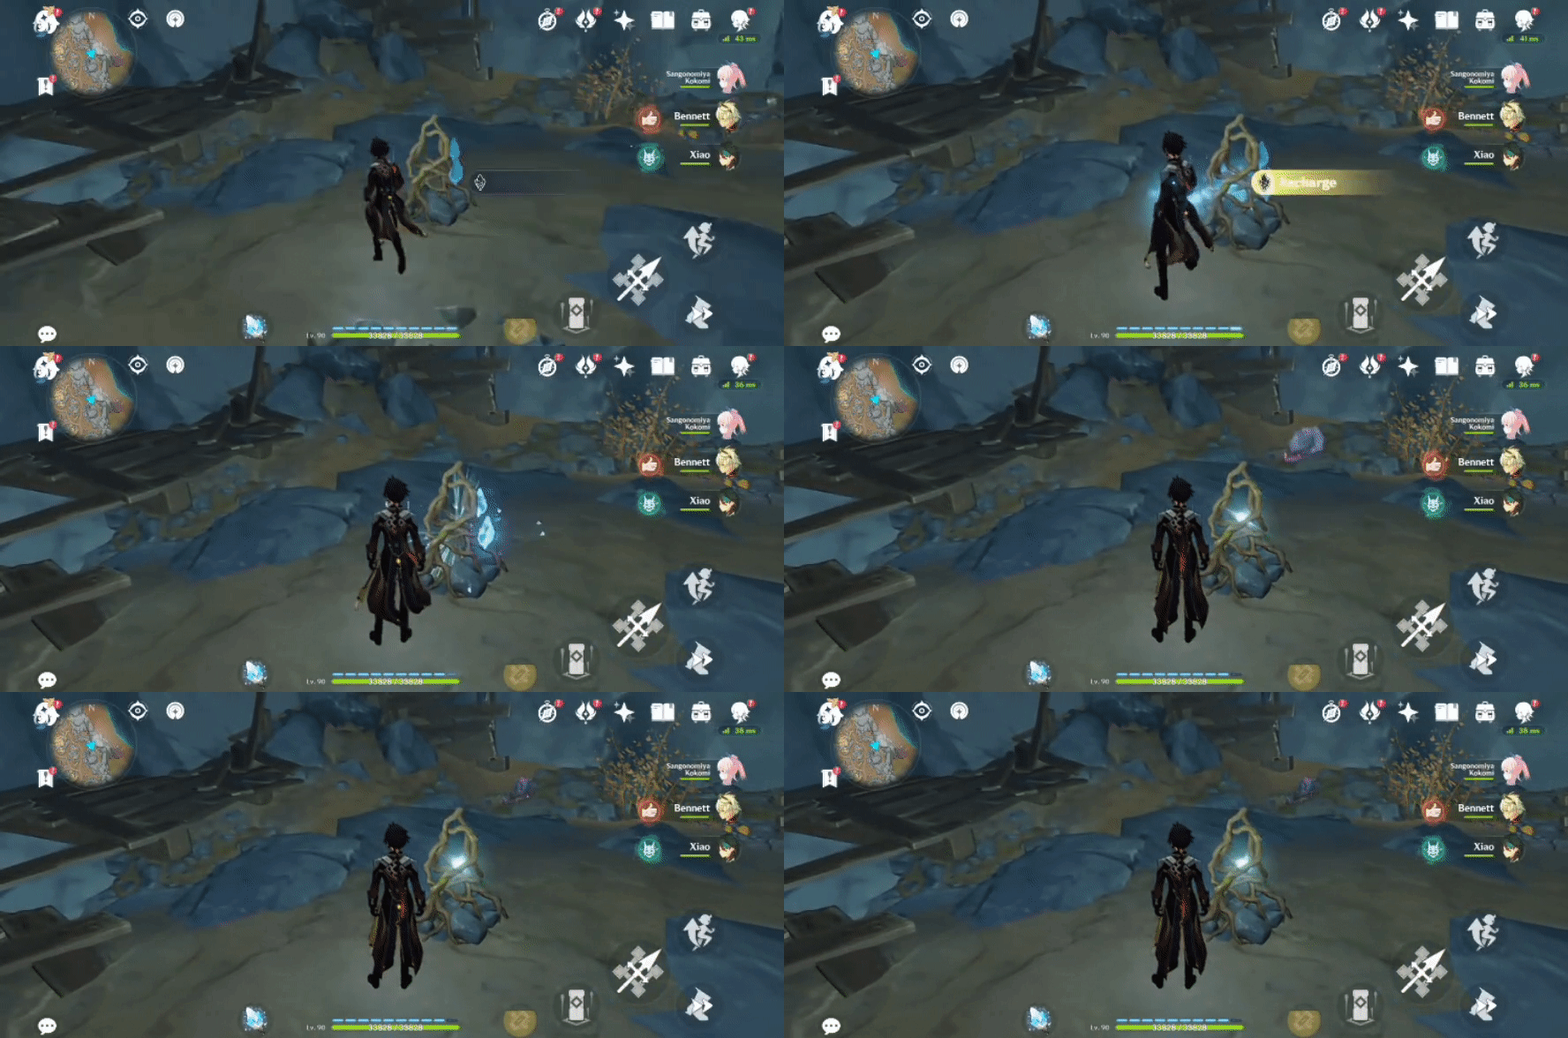
2. Clear the 3 Oozing Concretions (at least Lv.2) to spawn the chest.
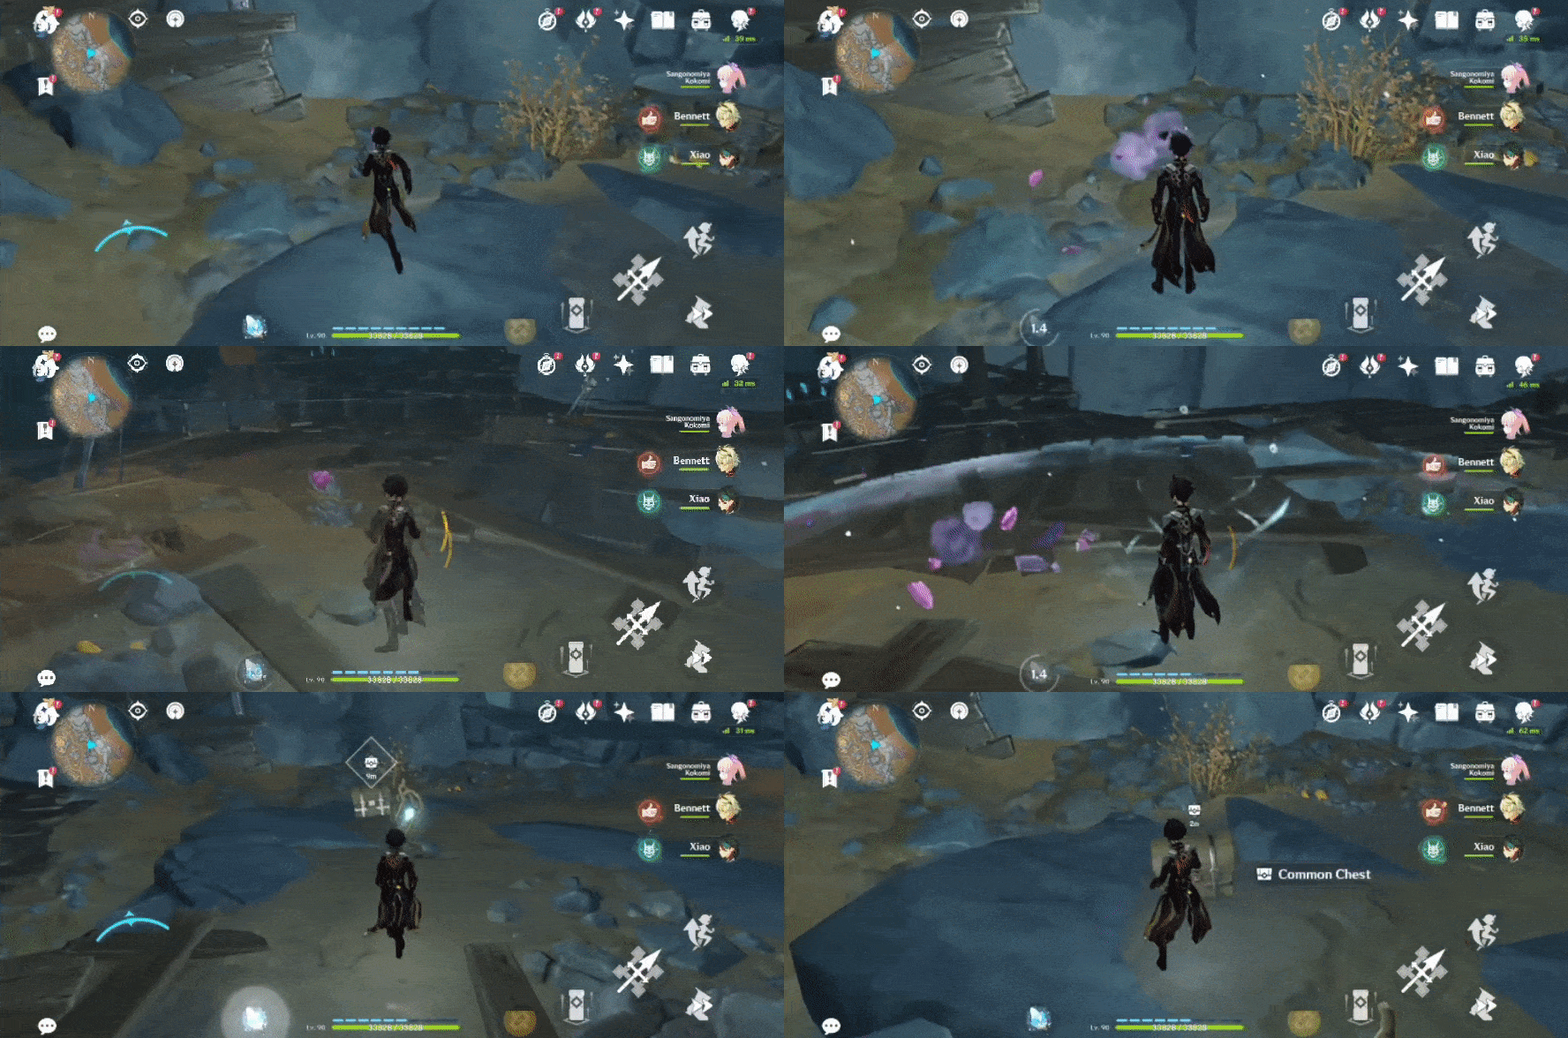
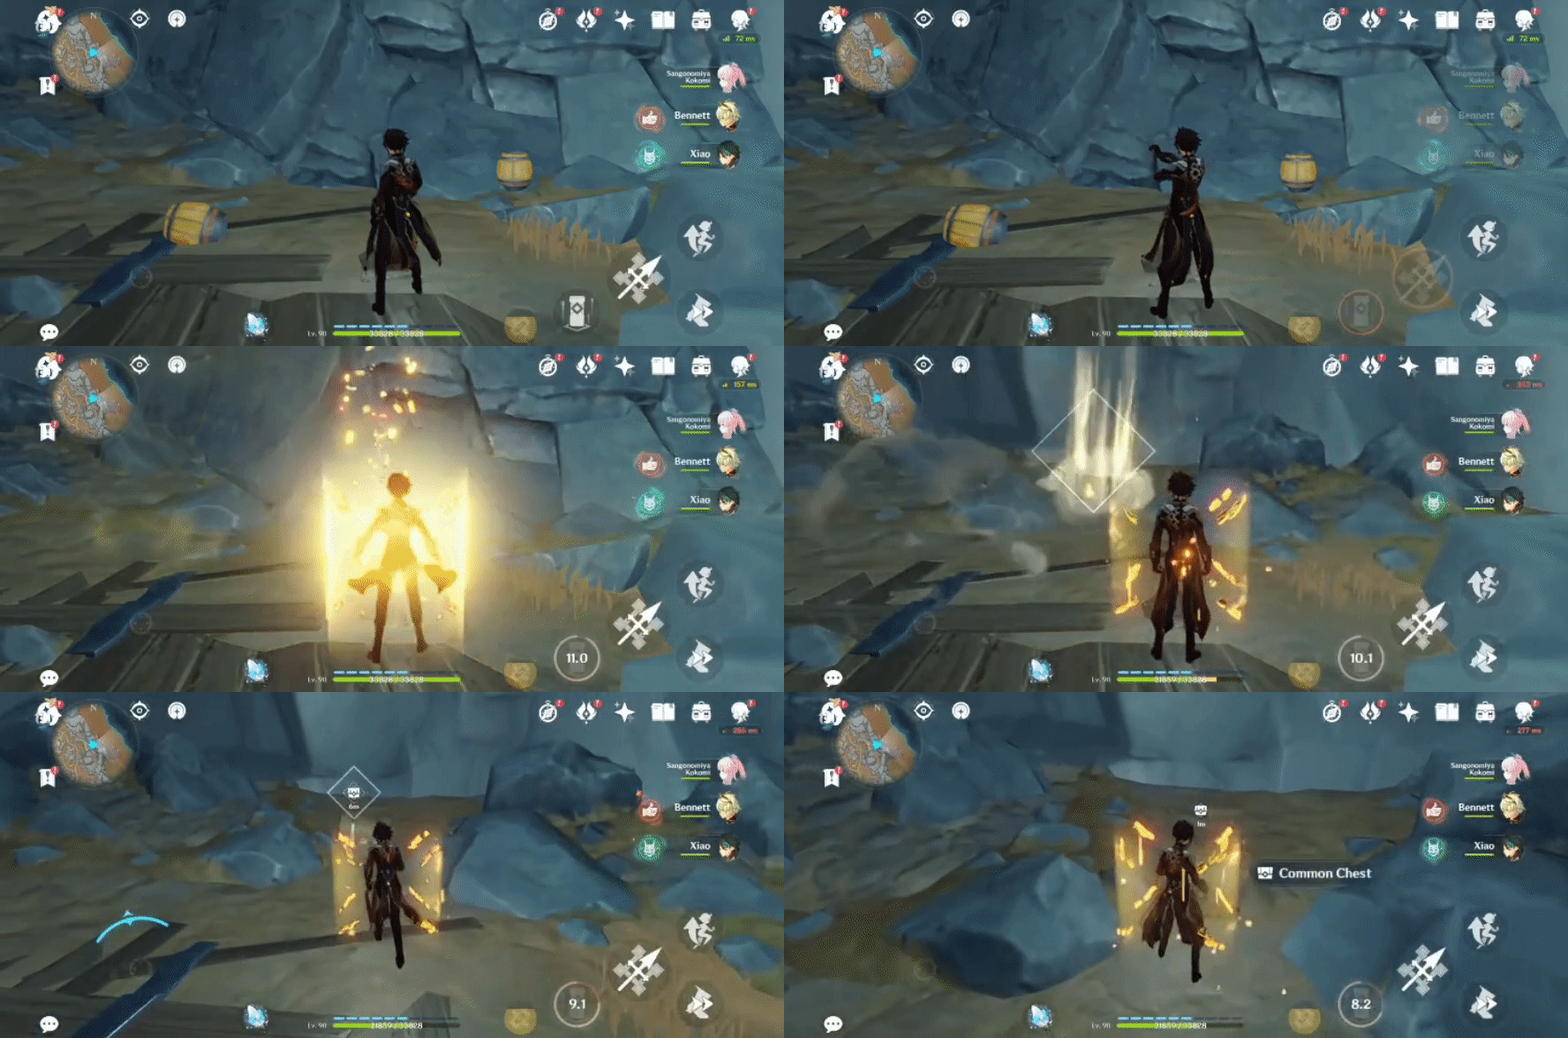
48. [Spawned Chest]
Destroy the Exploding Barrels to break the wall of rocks, spawning the chest.
Location:
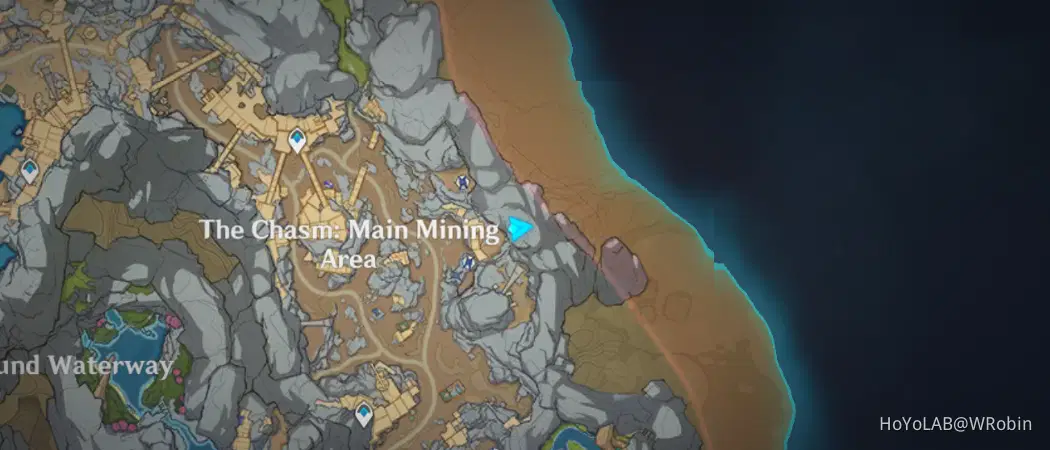
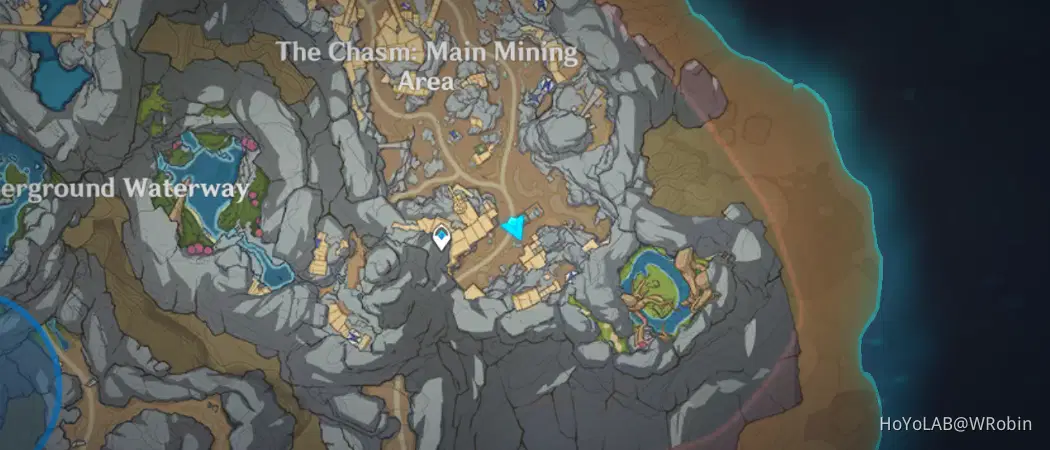
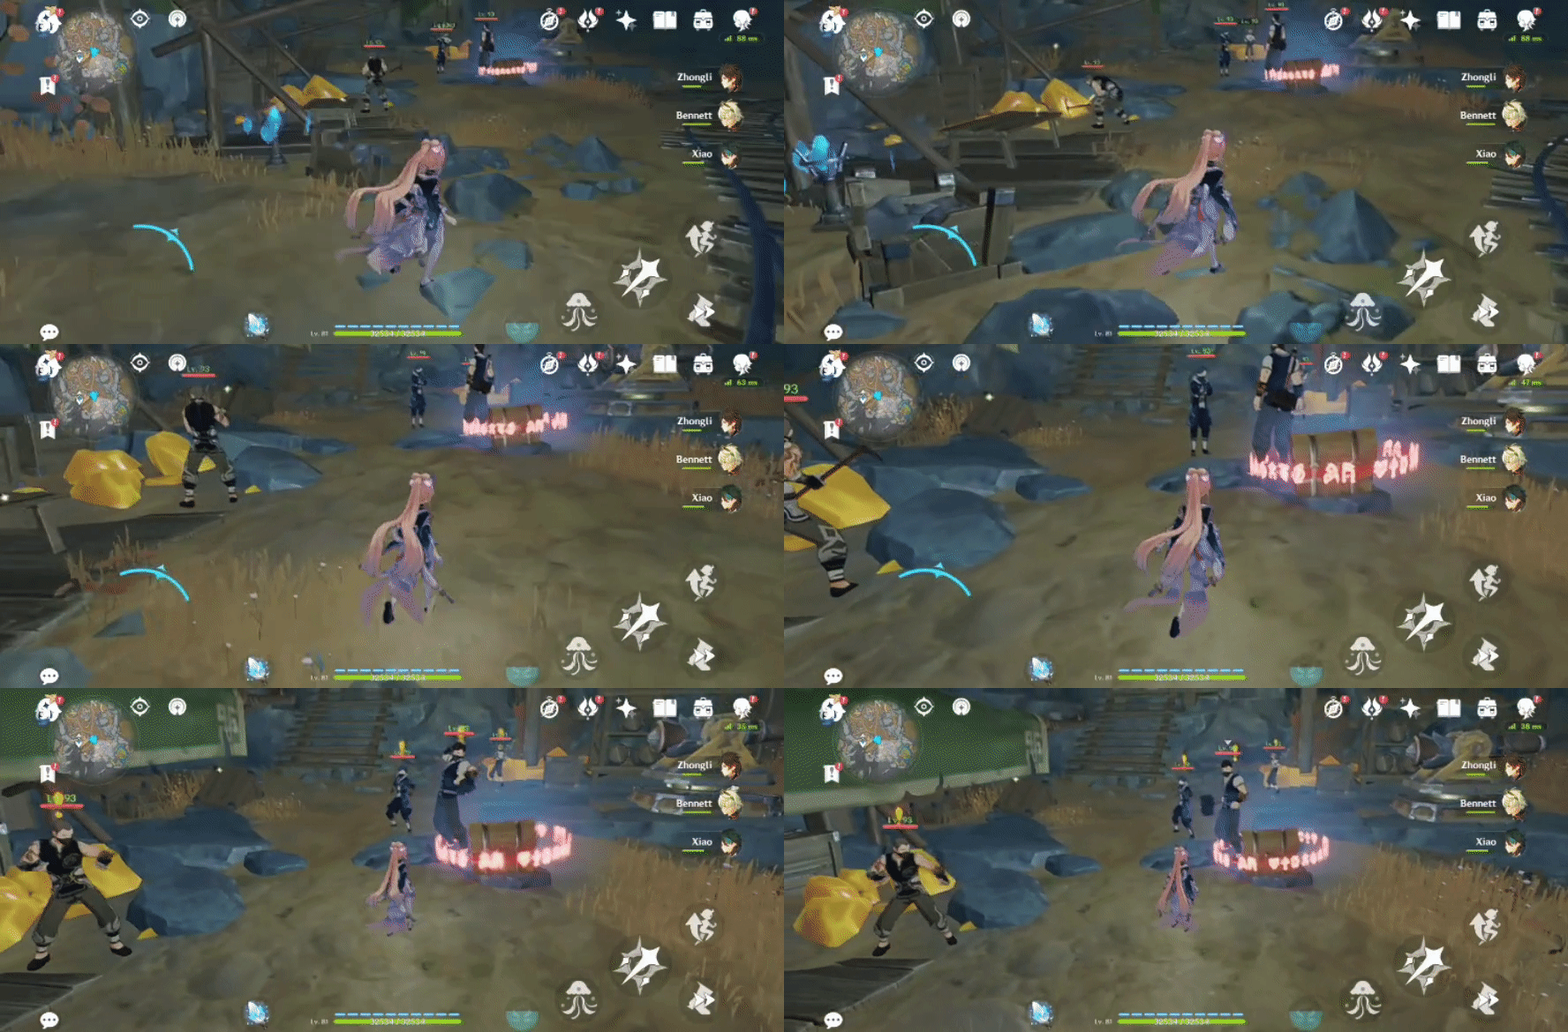
49. [Locked Chest]
Will unlock after defeating 4 Treasure Hoarders.
Location:
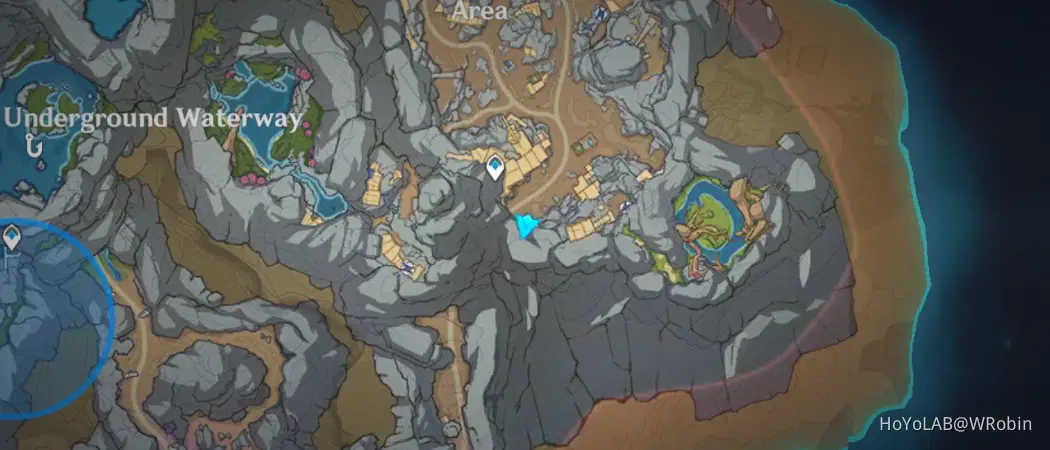
50. [Open Chest] On the platform
No requirements needed to access.
Location:
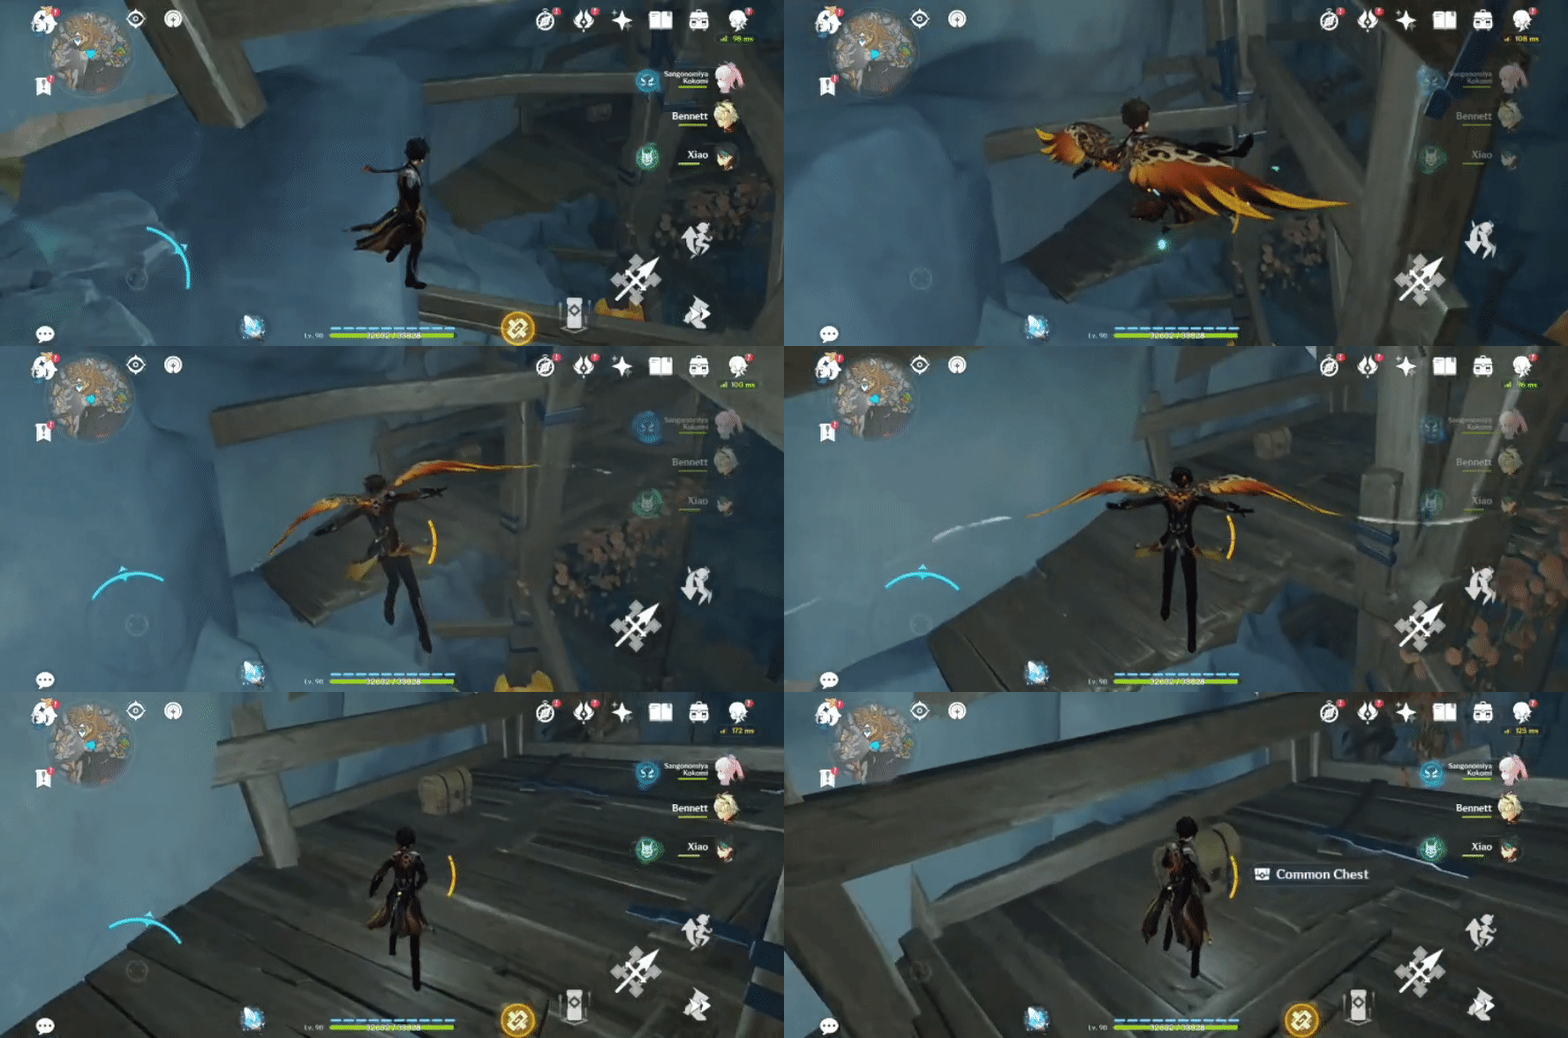
51. [Spawned Chest]
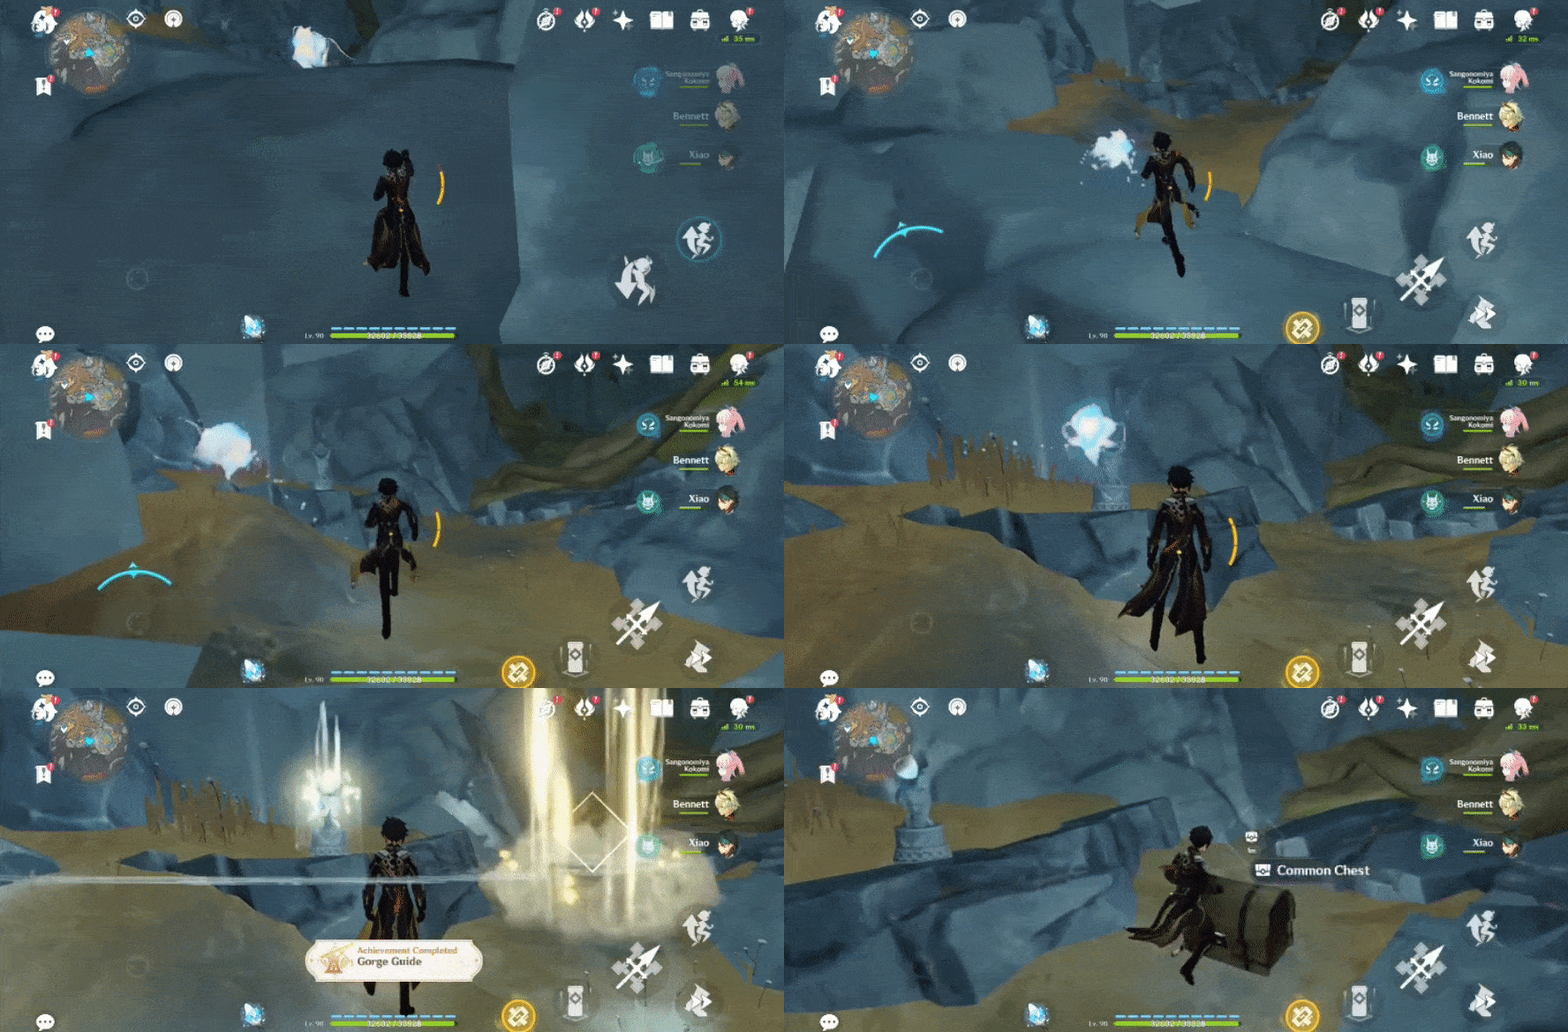
Will spawn after the Luminous Seelie returns to its Statue.
Location (Luminous Seelie):

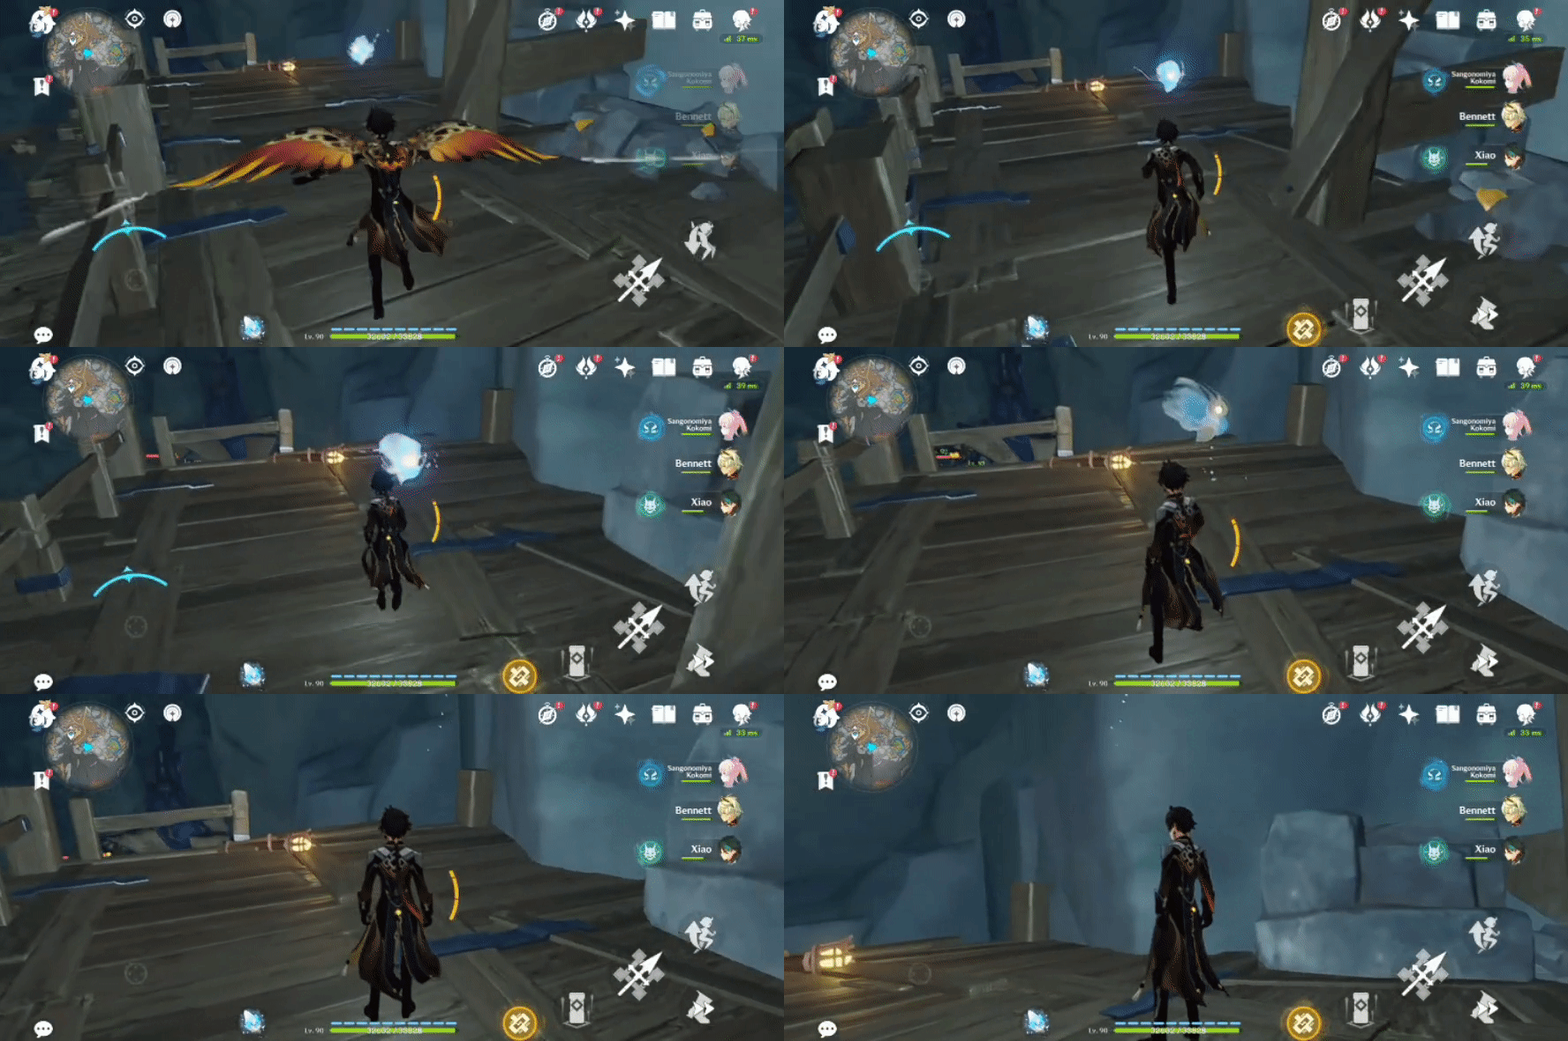
Location (Luminous Seelie Statue):

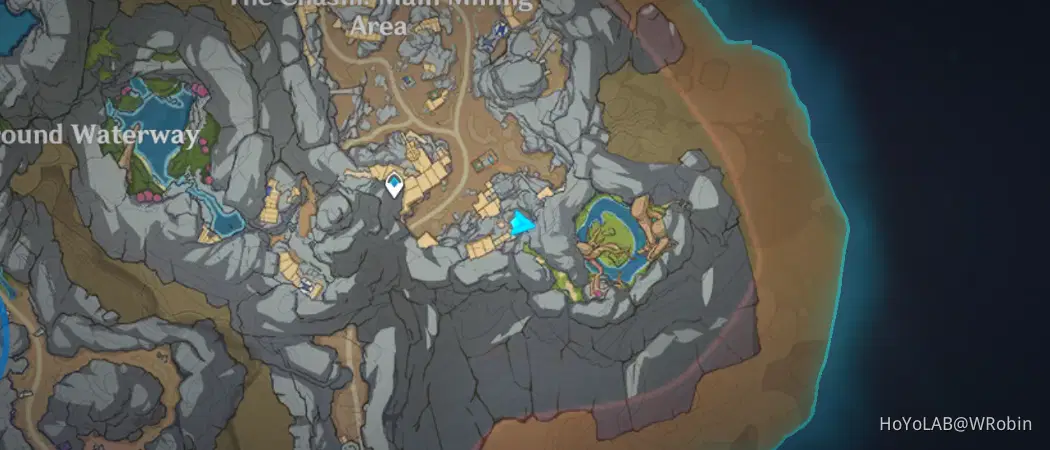
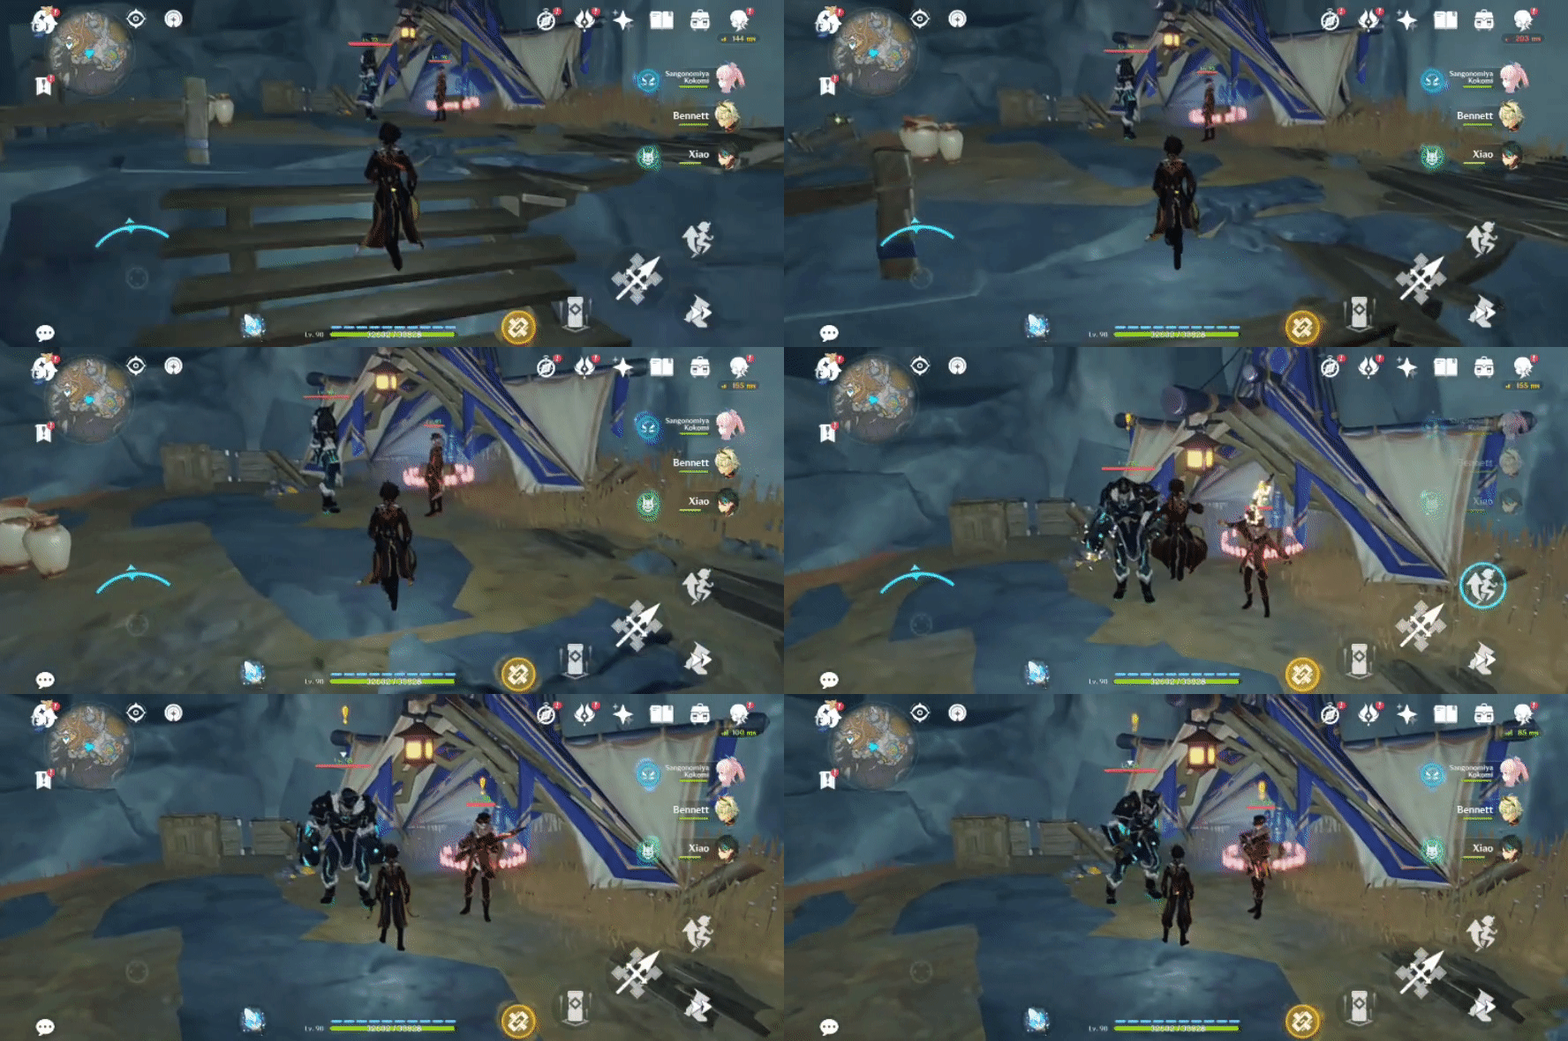
52. [Locked Chest] In the tent
Will unlock after defeating 1 Fatui Skirmisher- Anemoboxer Vanguard and 1 Fatui Skirmisher- Pyroslinger Bracer.
Location:
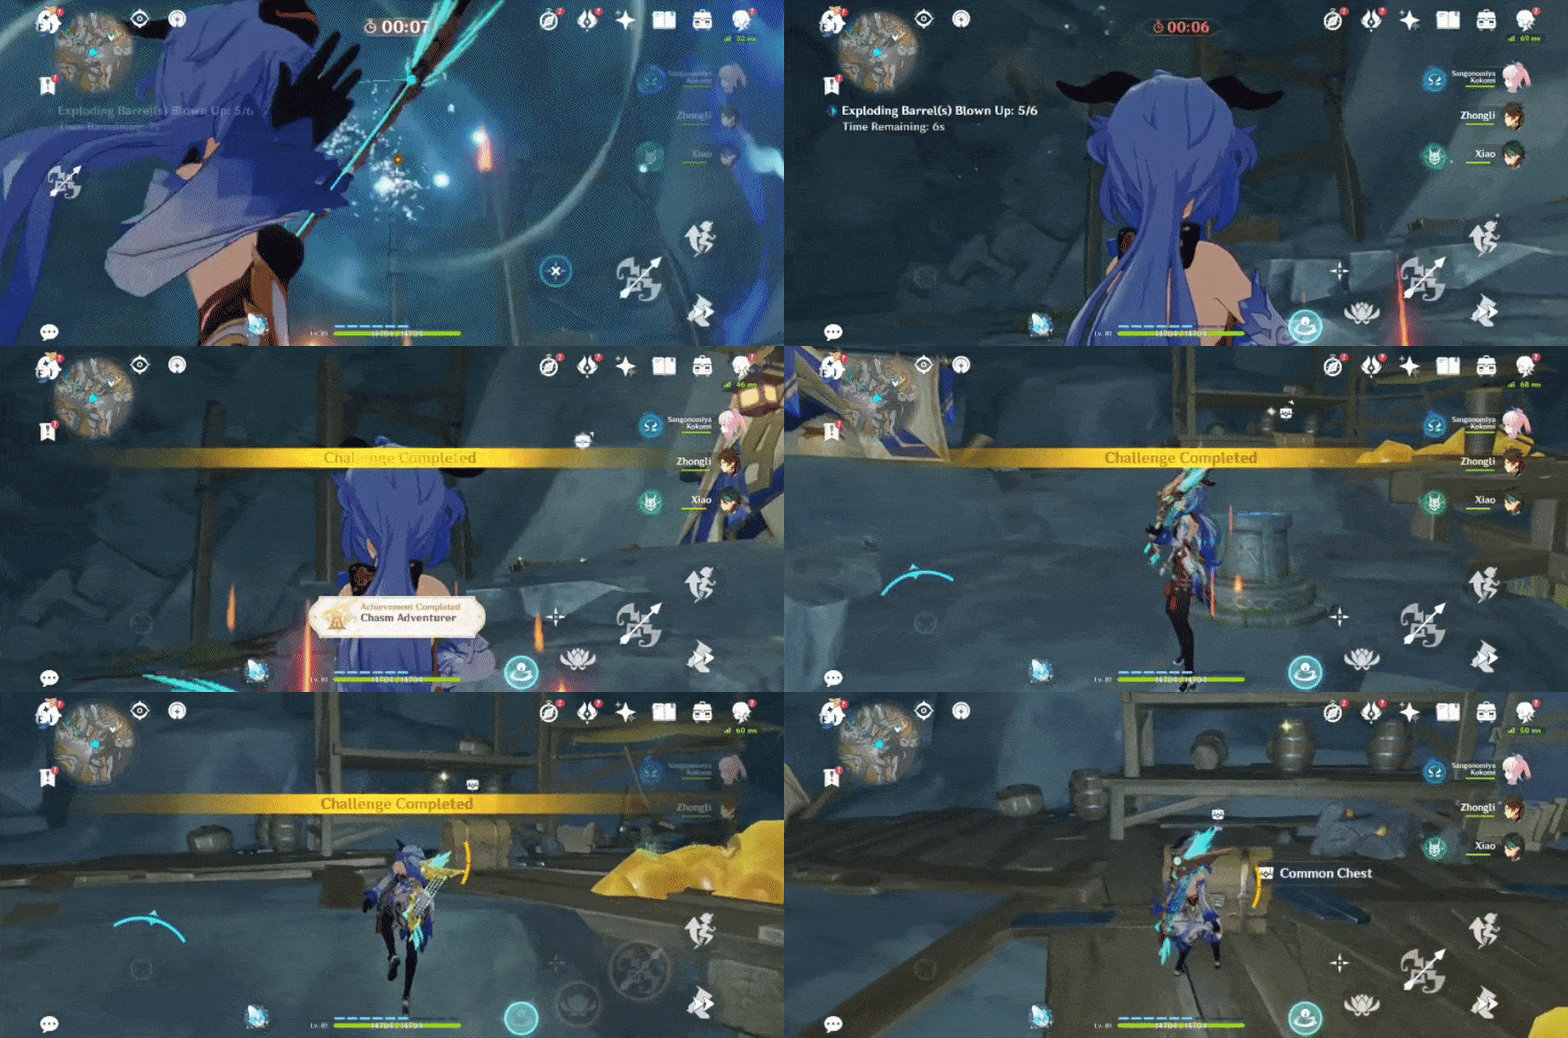
53. [Spawned Chest] Top level
Will spawn after completing the Time Trial Challenge ('Blow up 6 Exploding Barrels within 30s'). Equip the Lumenstone Adjuvant (at least Lv.1) and press 'Recharge' to start.
Location (Challenge Marker):

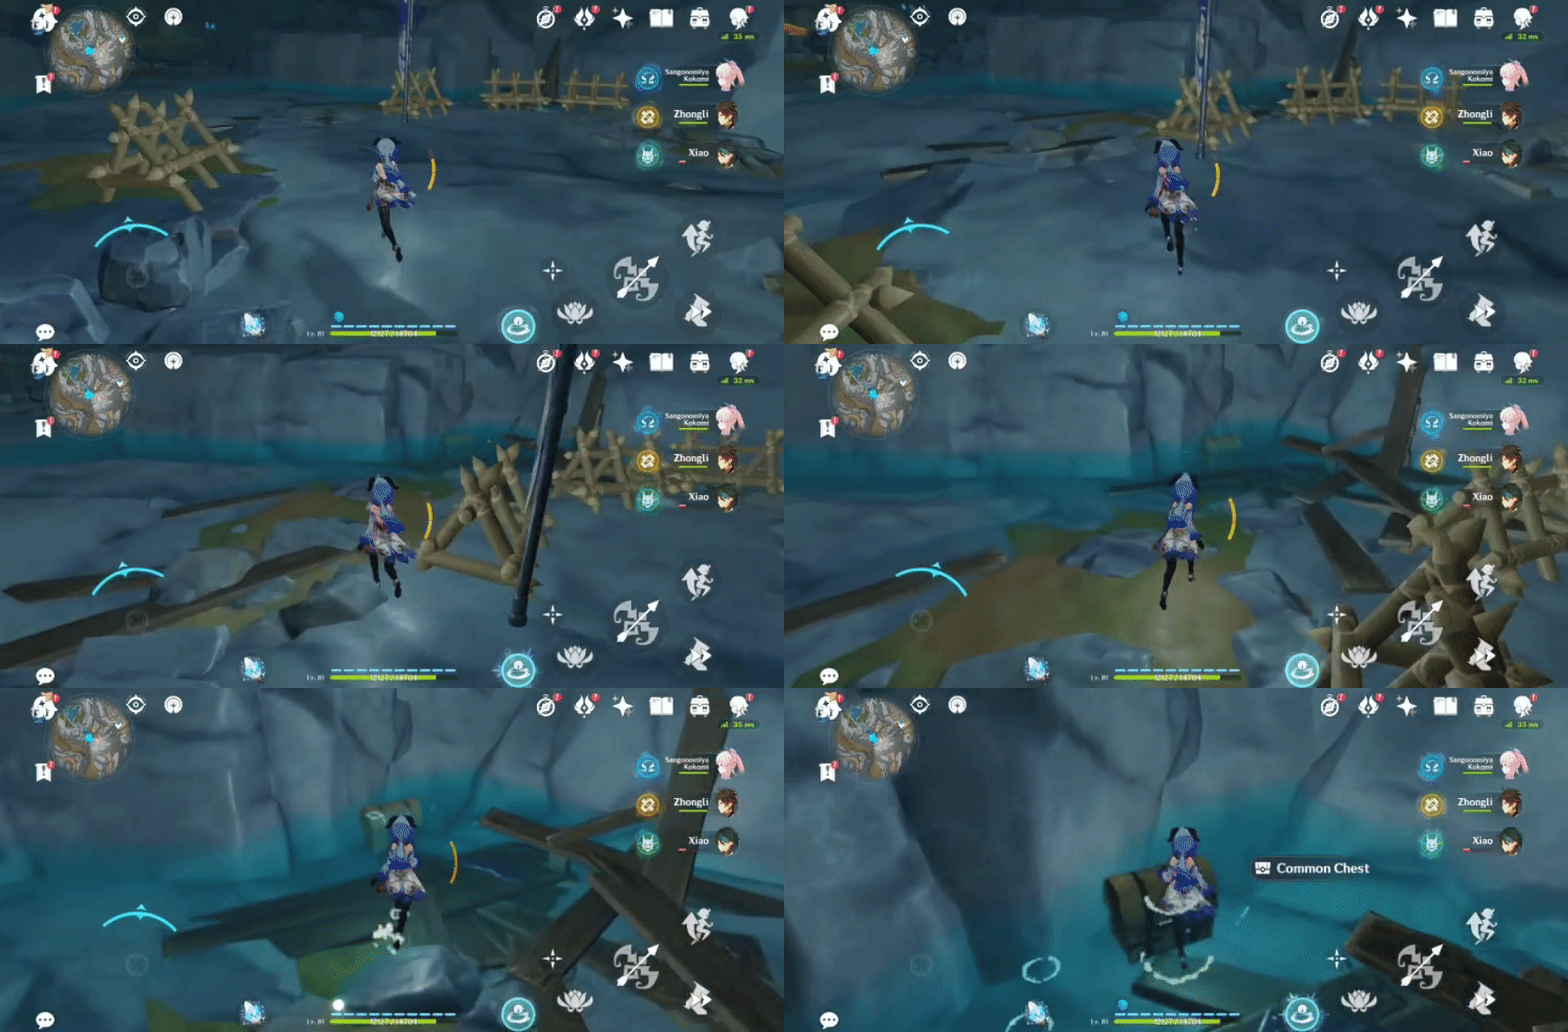
54. [Open Chest] Near the tent, in the water (top level)
No requirements needed to access.
Location:

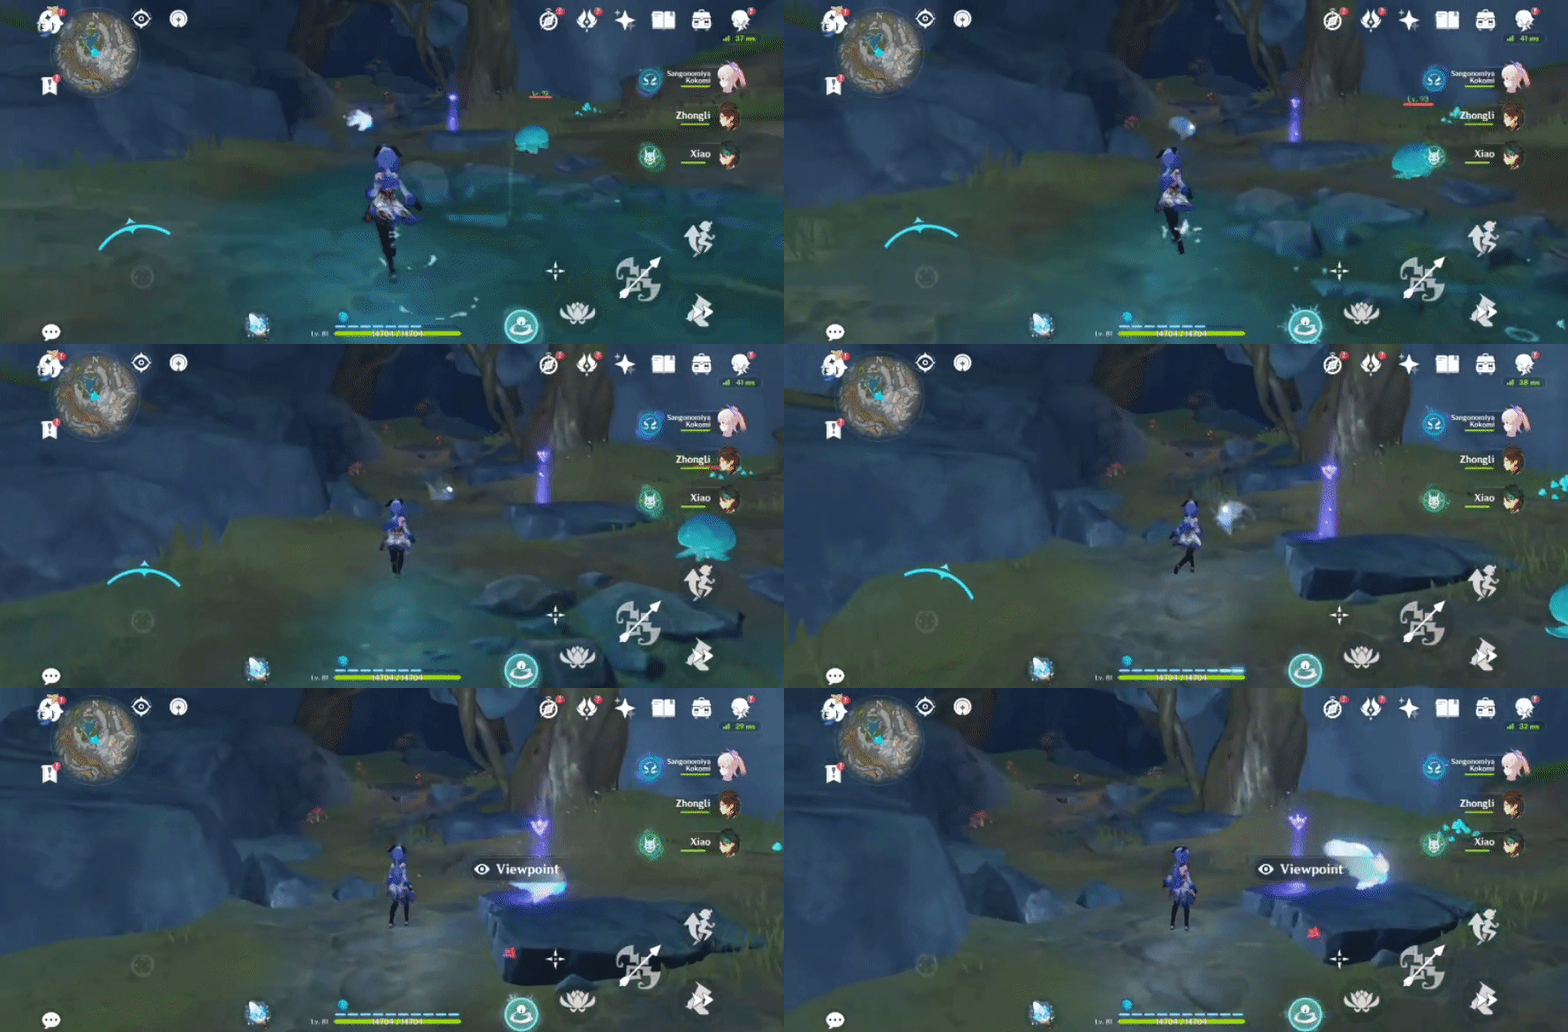
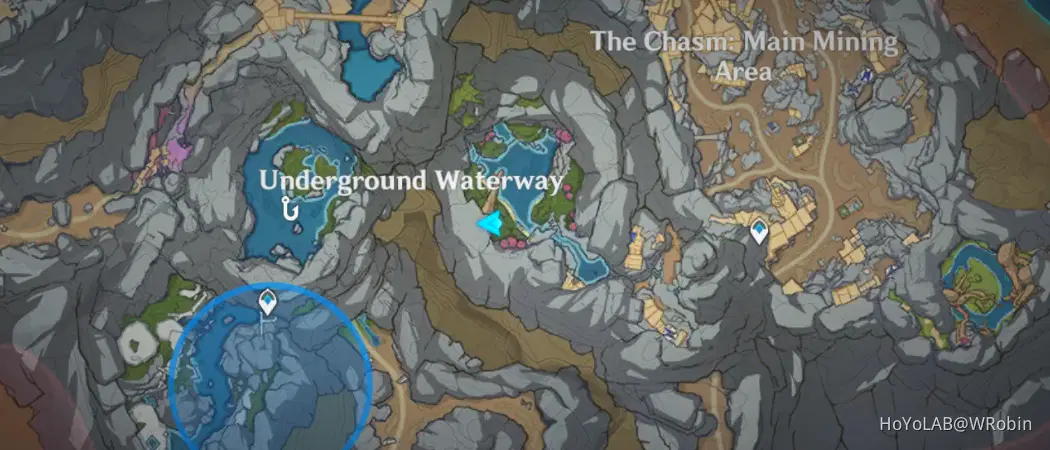
55. [Spawned Chest] Bottom level
Will spawn after the Luminous Seelie returns to its Statue.
Location (Luminous Seelie):
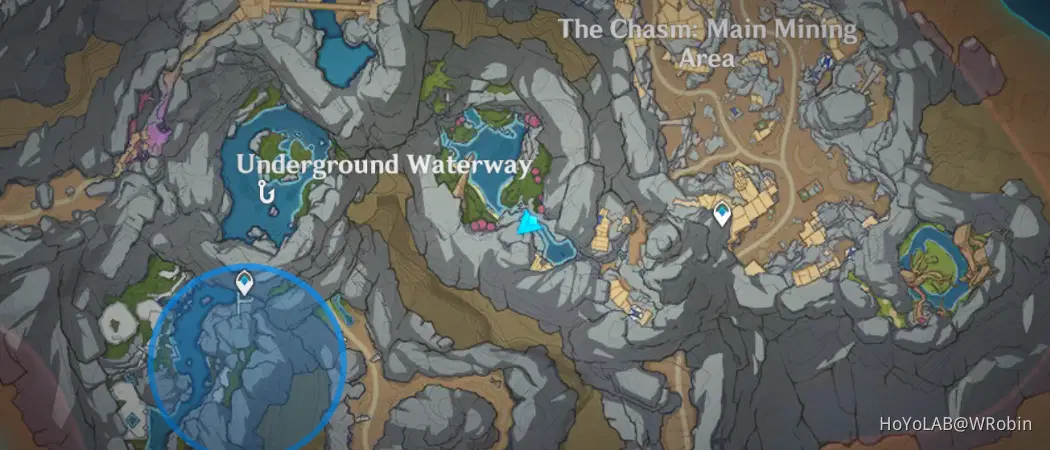
Location (Luminous Seelie Statue):
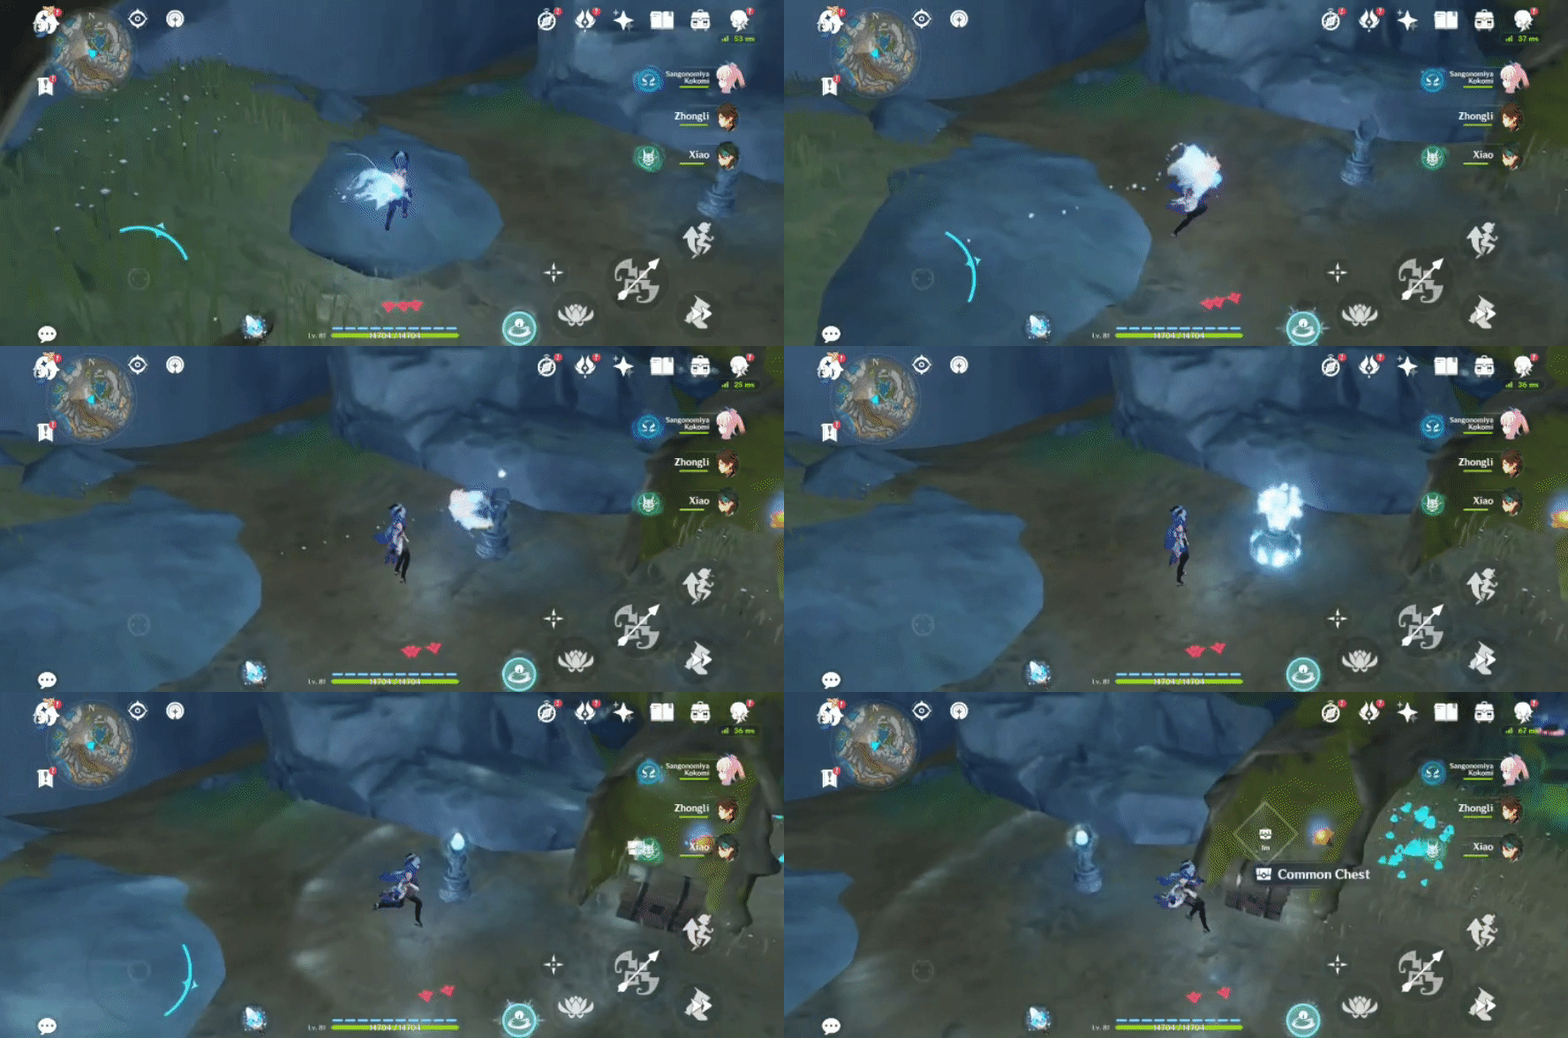
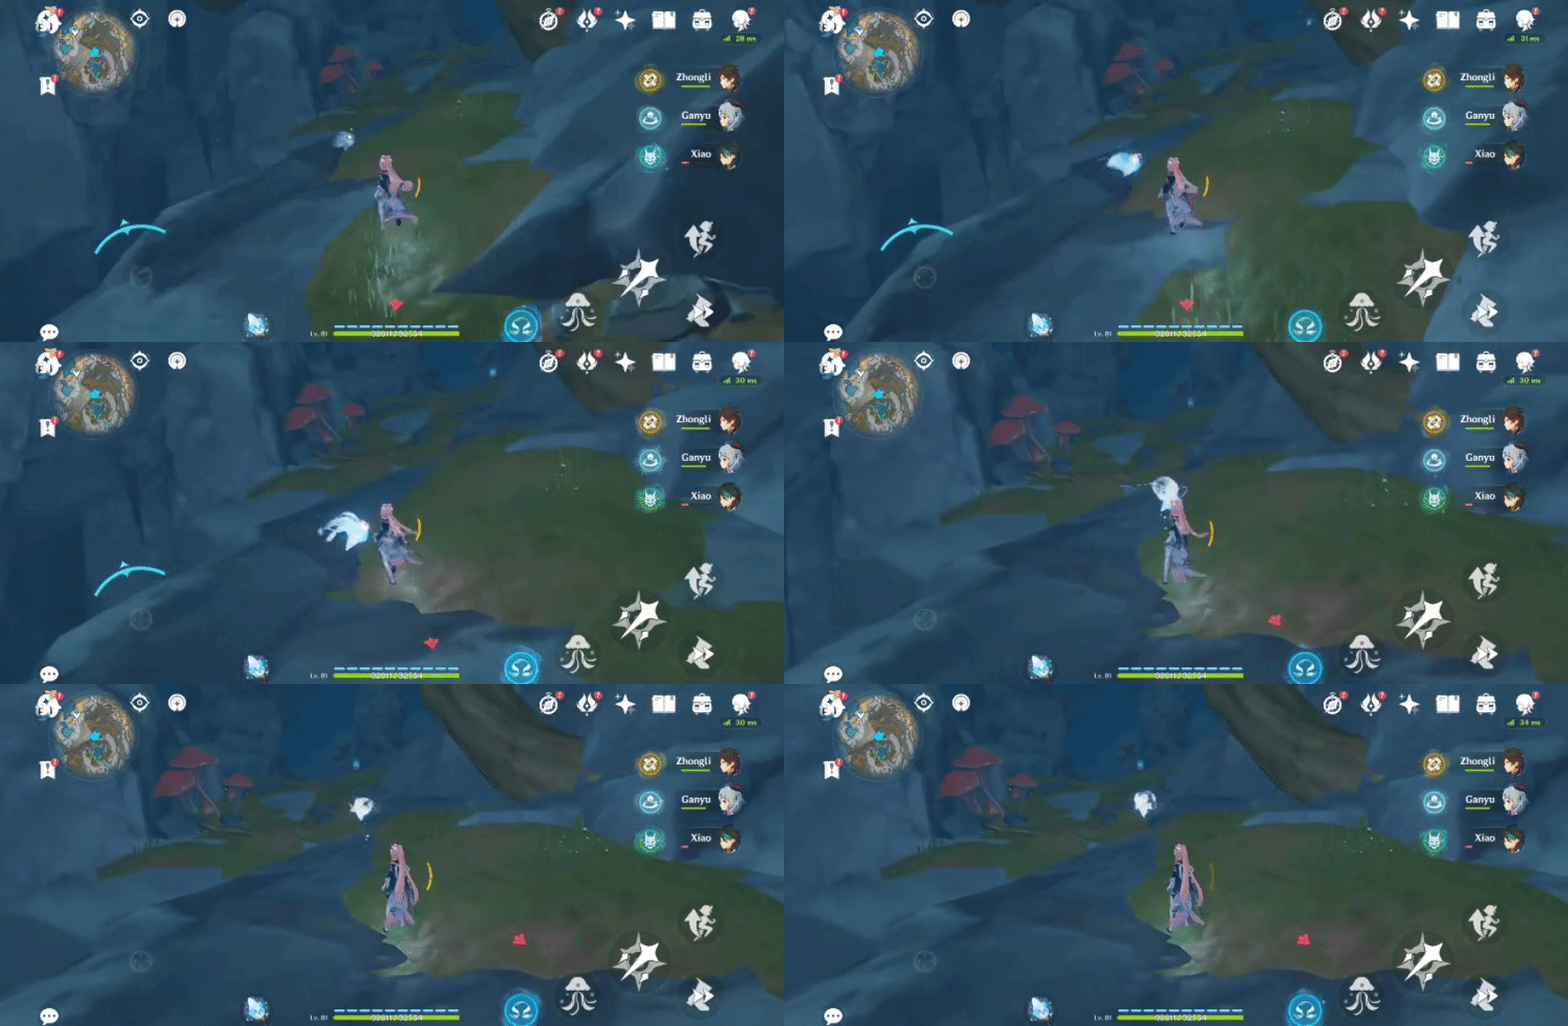
56. [Spawned Chest] On a high ledge
Will spawn after the Luminous Seelie returns to its Statue.
Location (Luminous Seelie):
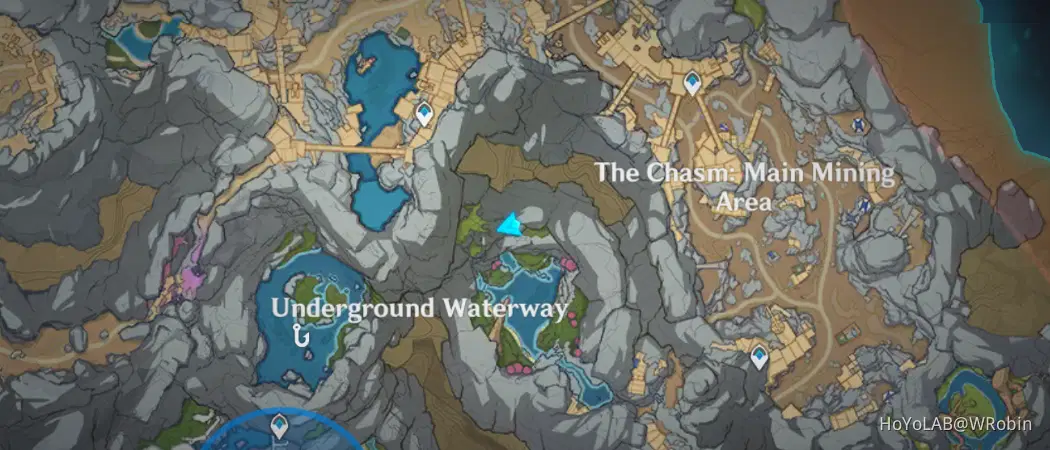
Location (Luminous Seelie Statue):
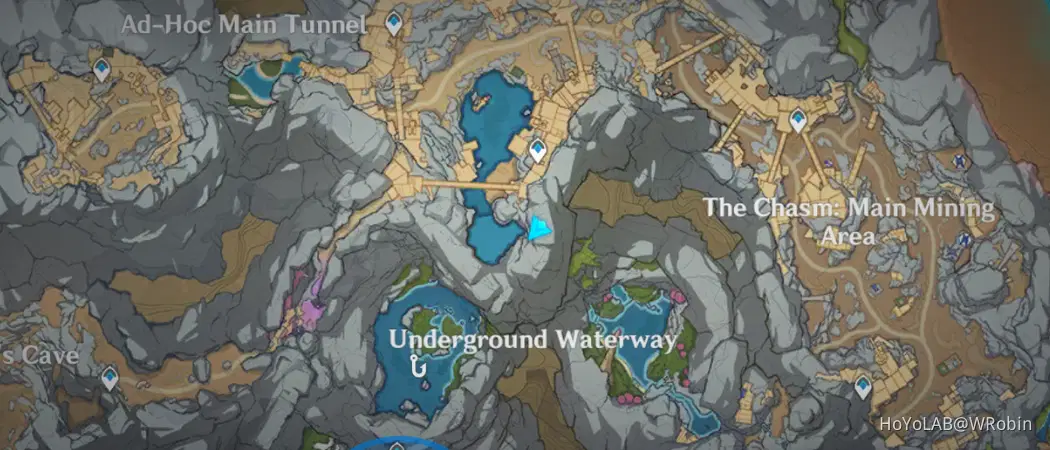
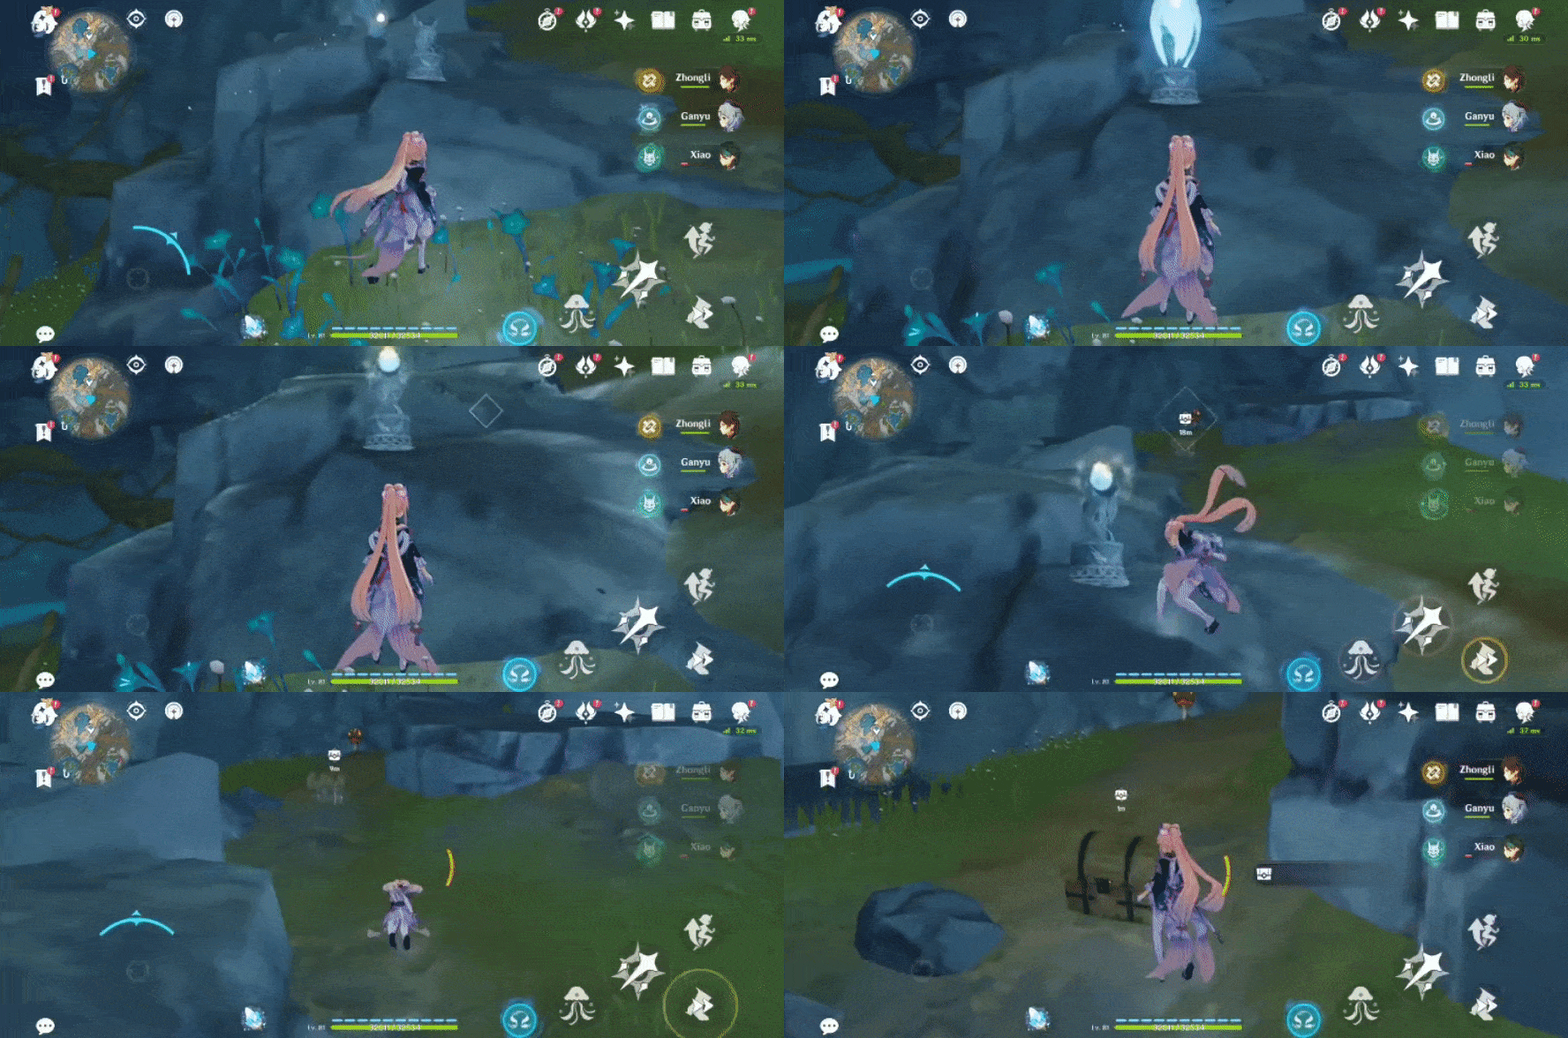
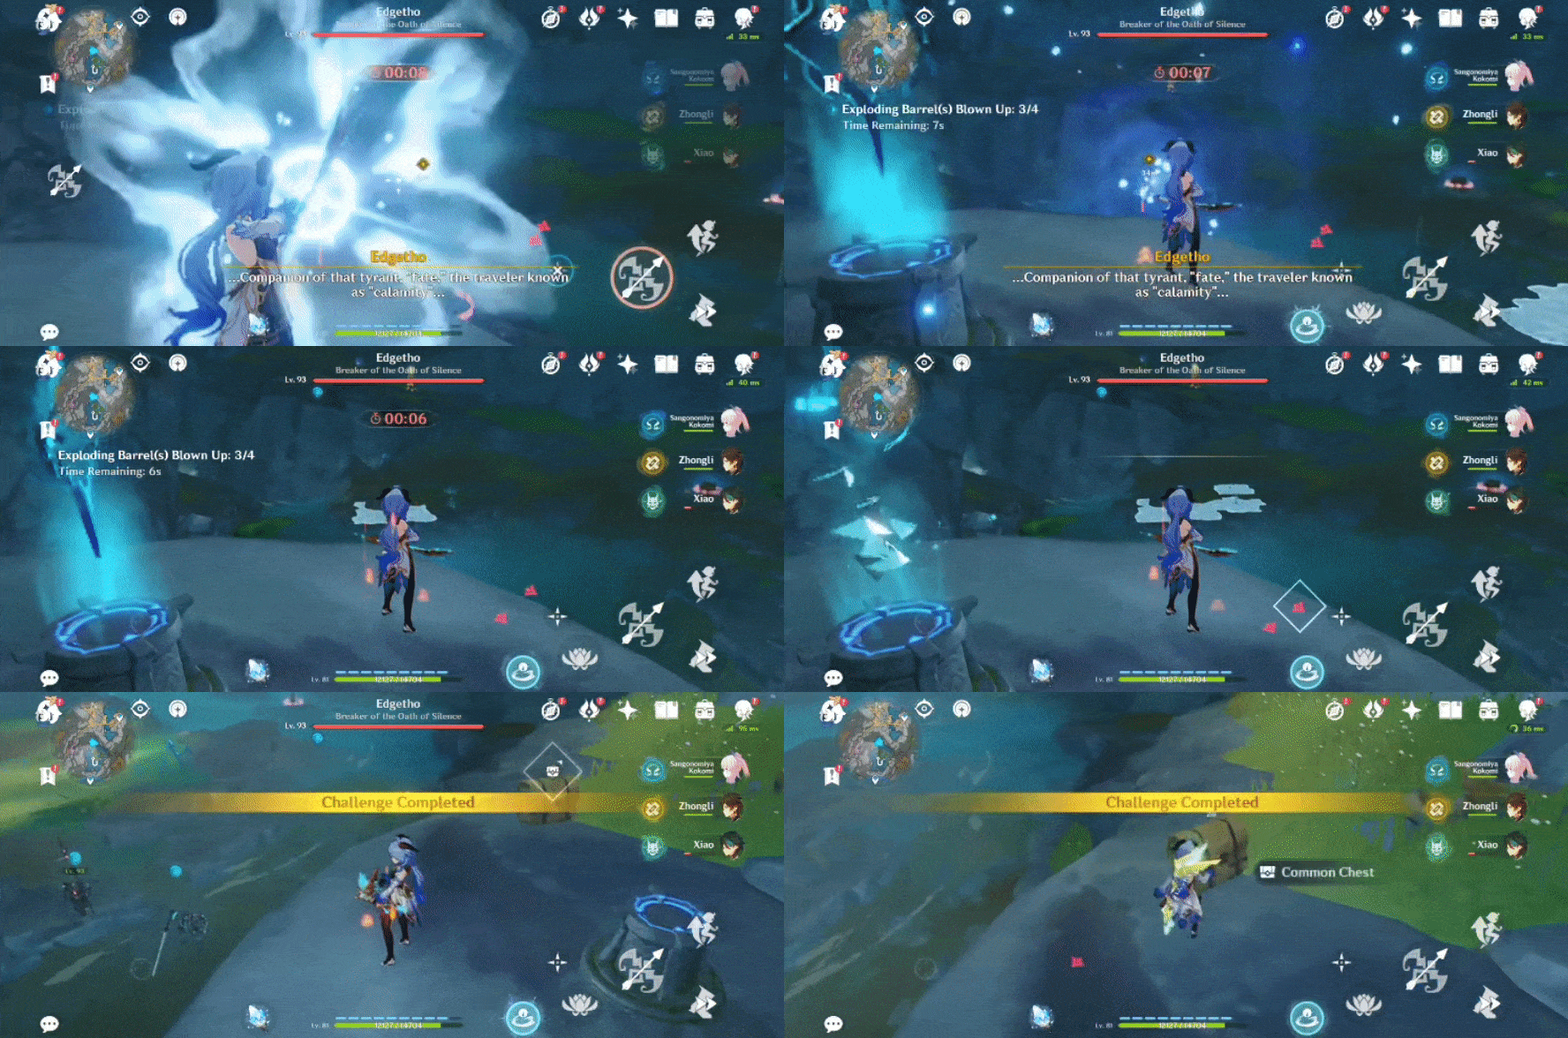
57. [Spawned Chest]
Will spawn after completing the Time Trial Challenge ('Blow up 4 Exploding Barrels within 30s'). Equip the Lumenstone Adjuvant (at least Lv.1) and press 'Recharge' to start.
Location (Challenge Marker):

58. [Spawned Chest]
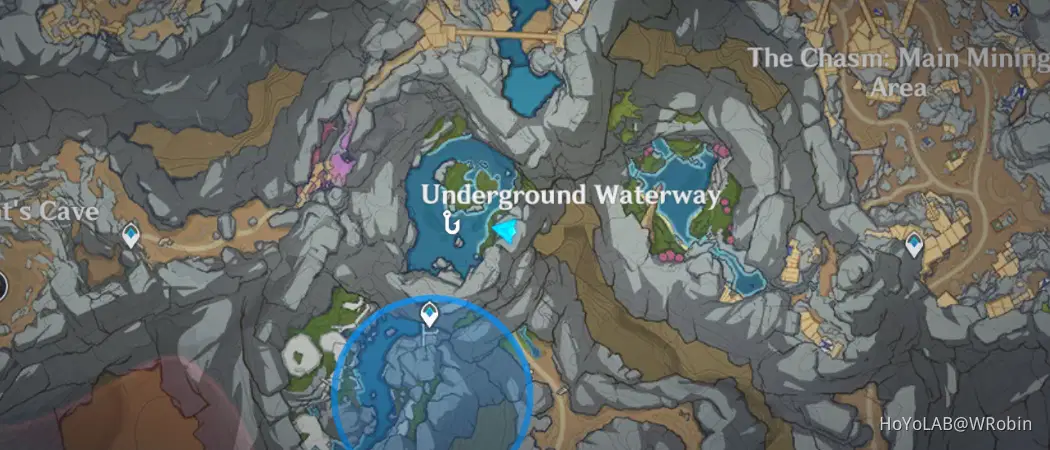
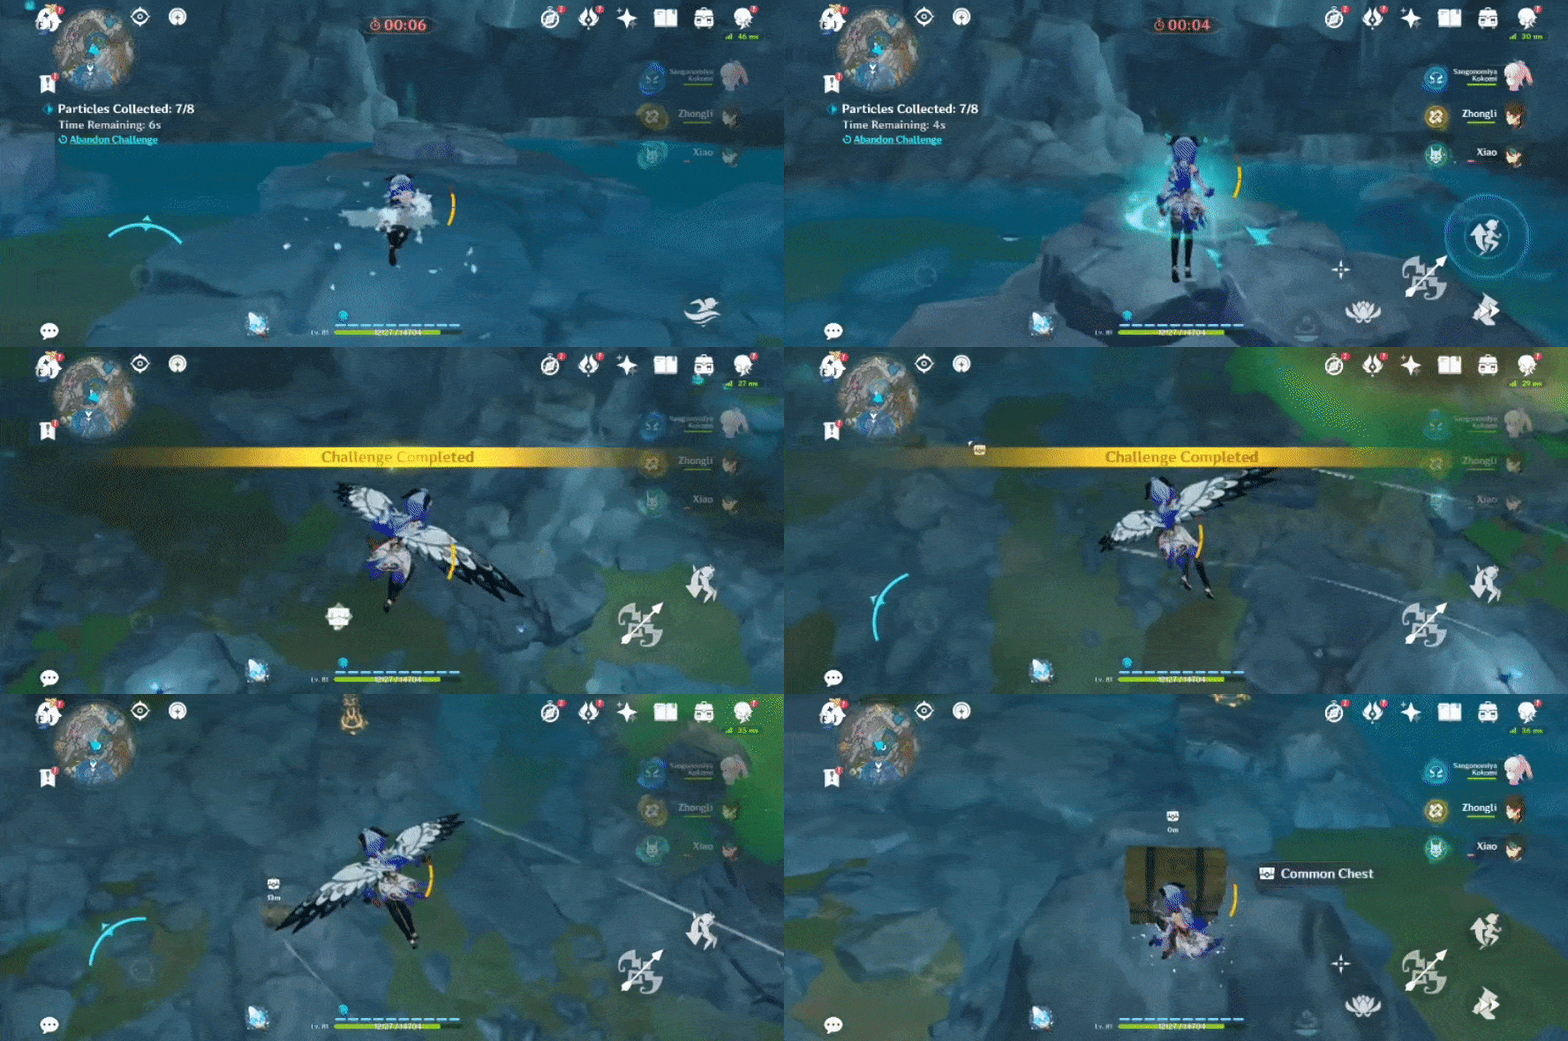
Will spawn after completing the Time Trial Challenge ('Collect 8 Geo Particles within 40s'). Equip the Lumenstone Adjuvant (at least Lv.1) and press 'Recharge' to start.
Location (Challenge Marker):
59. [Spawned Chest] Bottom level
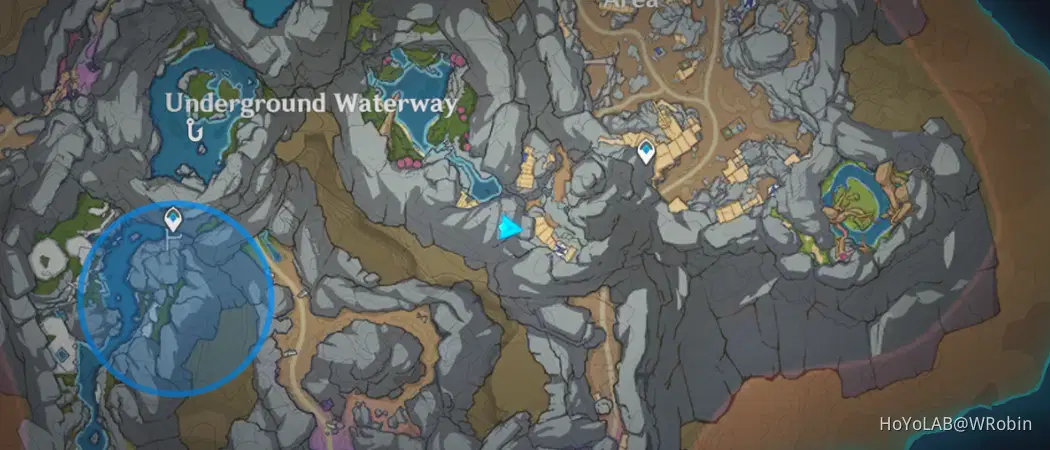
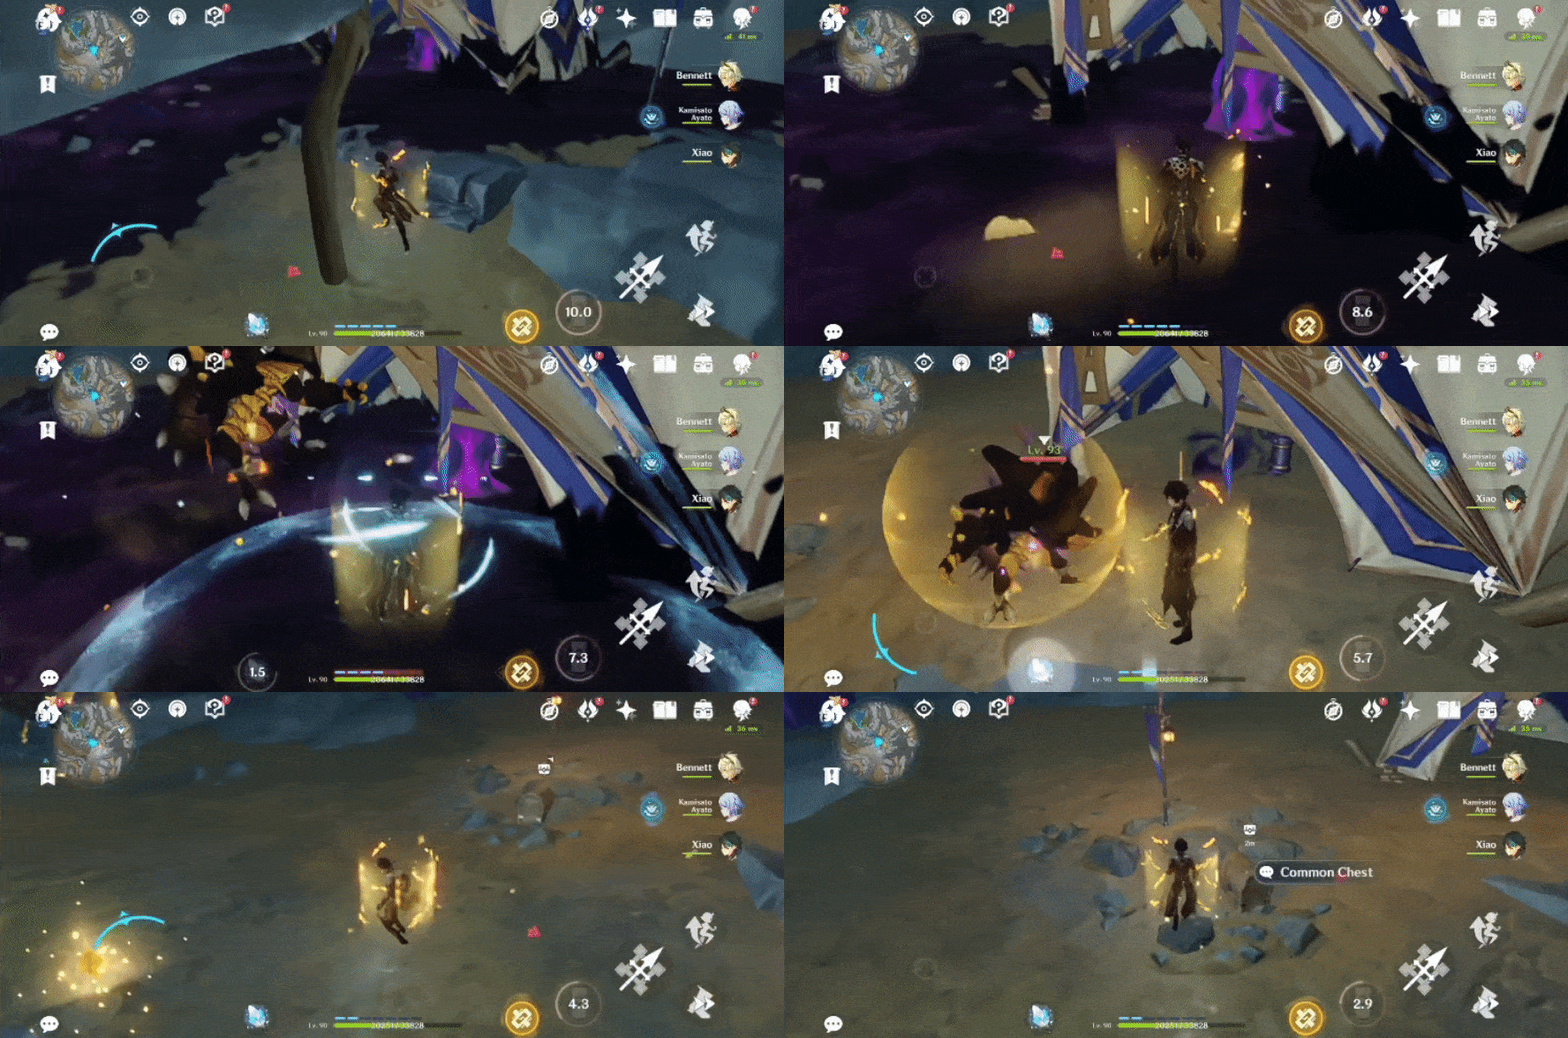
Use the Lumenstone Adjuvant's Blooming Light (at least Lv.6) to clear the Oozing Concretion.
Location:
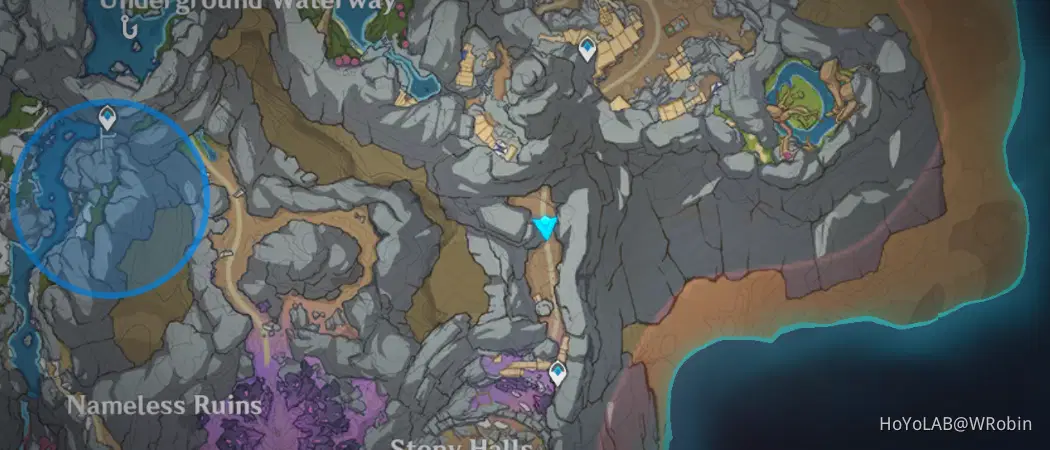
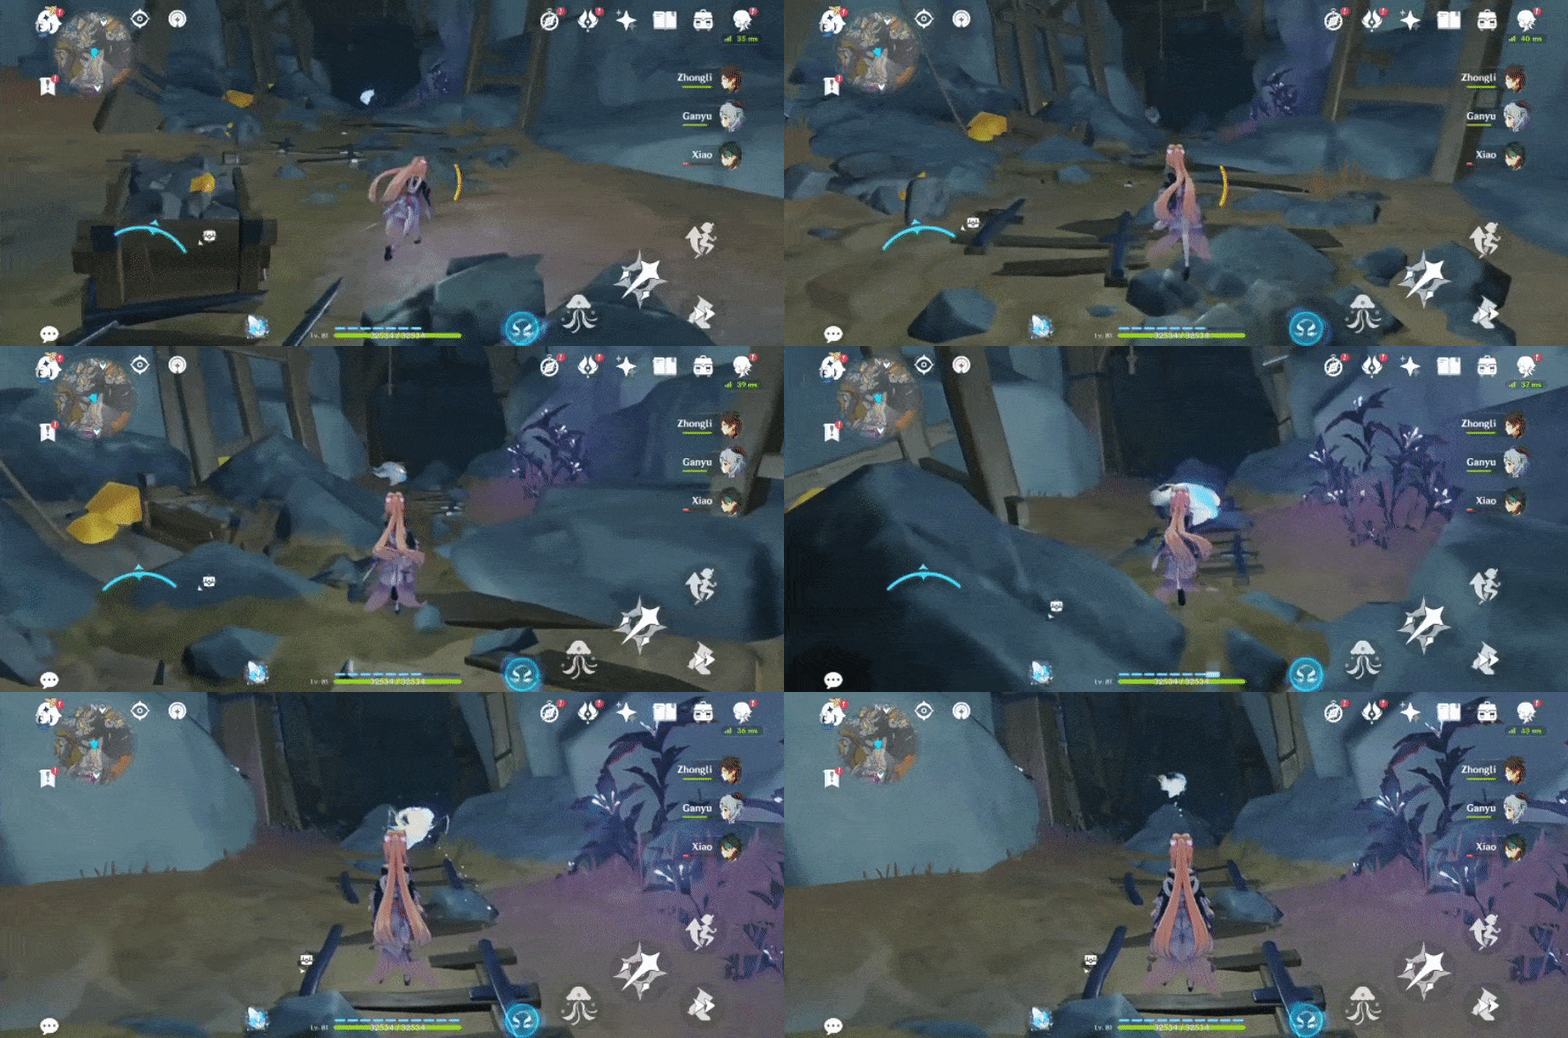
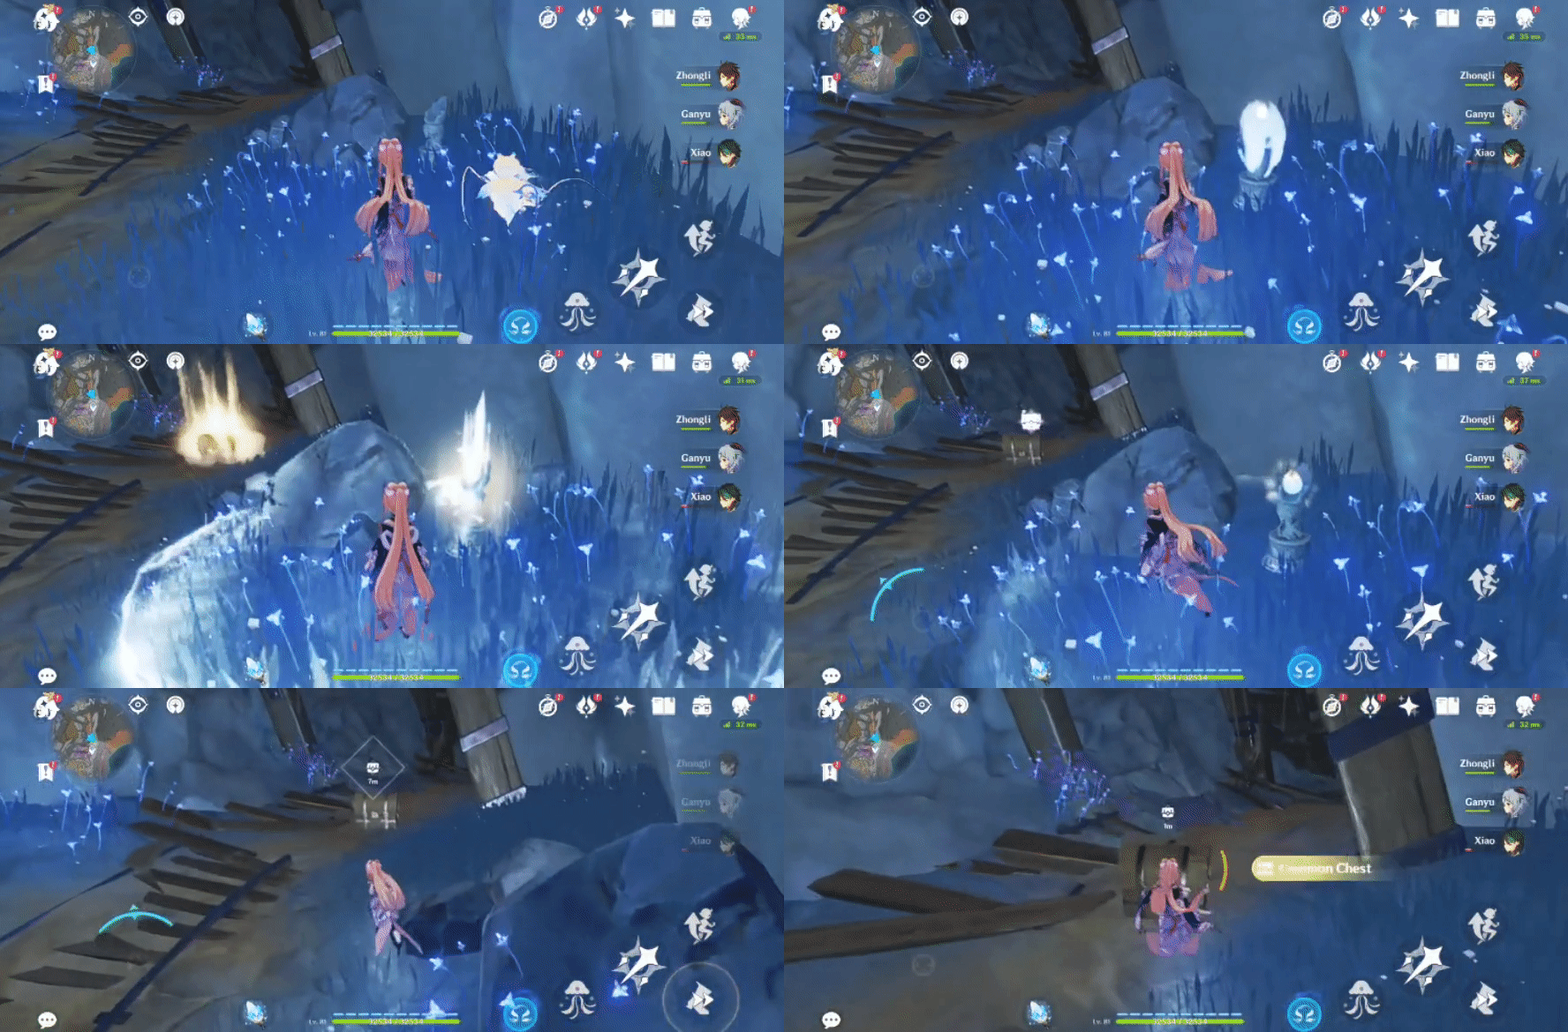
60. [Spawned Chest]
Will spawn after the Luminous Seelie returns to its Statue.
Location (Luminous Seelie):
Location (Luminous Seelie Statue):

Index:[Index] Common Chests - HoYoverse Player Community (hoyolab.com)



