Final Day (Day 6) added.


〓Day 1〓

✦ Teams ✦
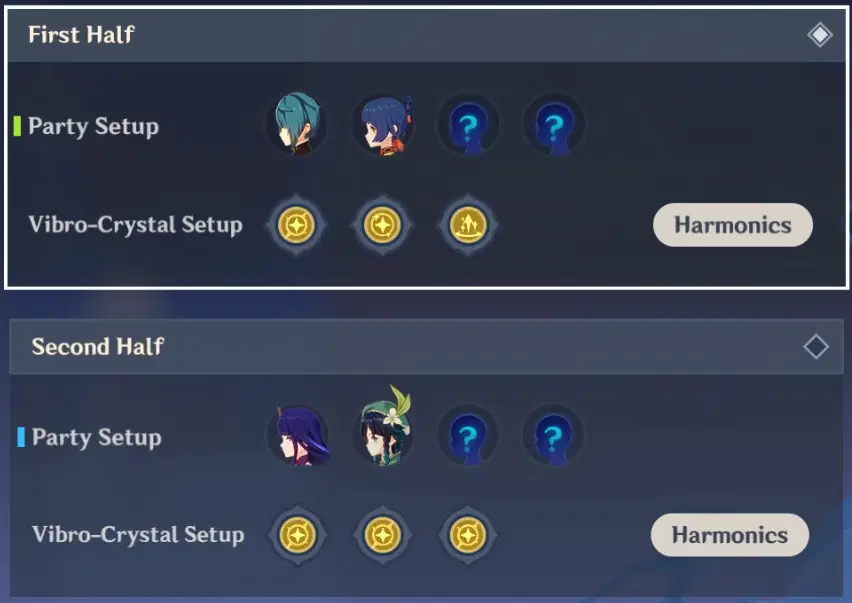
You can reach 2K points today with just the trial characters on any difficulty.
However, I’d recommend adding any sub-dps and support people to your teams that you have lying around as it should make things a little easier.
✦ Vibro-Crystal Setup ✦
✦ Gameplay ✦
I’d recommend doing this on either Normal or Extreme difficulty. Hard difficulty today seems a bit harder than Normal and Extreme for gaining points.
If you added extra characters to help up your damage, then Extreme difficulty should treat you better than Normal.
Team 1:
▸Use Xingqiu’s skill and then immediately burst to collect the energy.
▸Switch to Xiangling and burst.
▸Use Xiangling’s skill whenever it is up.
▸Switch back to Xingqiu when Xiangling’s burst is around 3 seconds from coming off of cooldown.
▸Repeat from beginning.
Team 2:
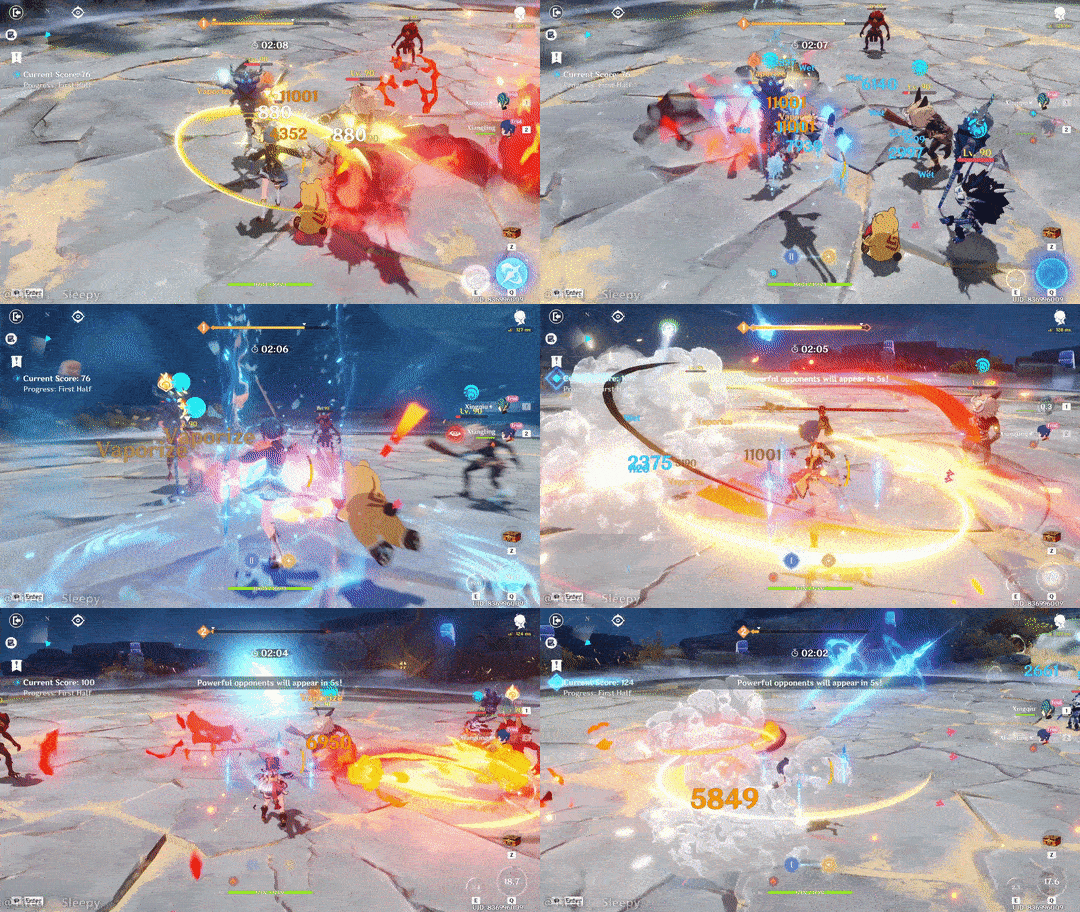
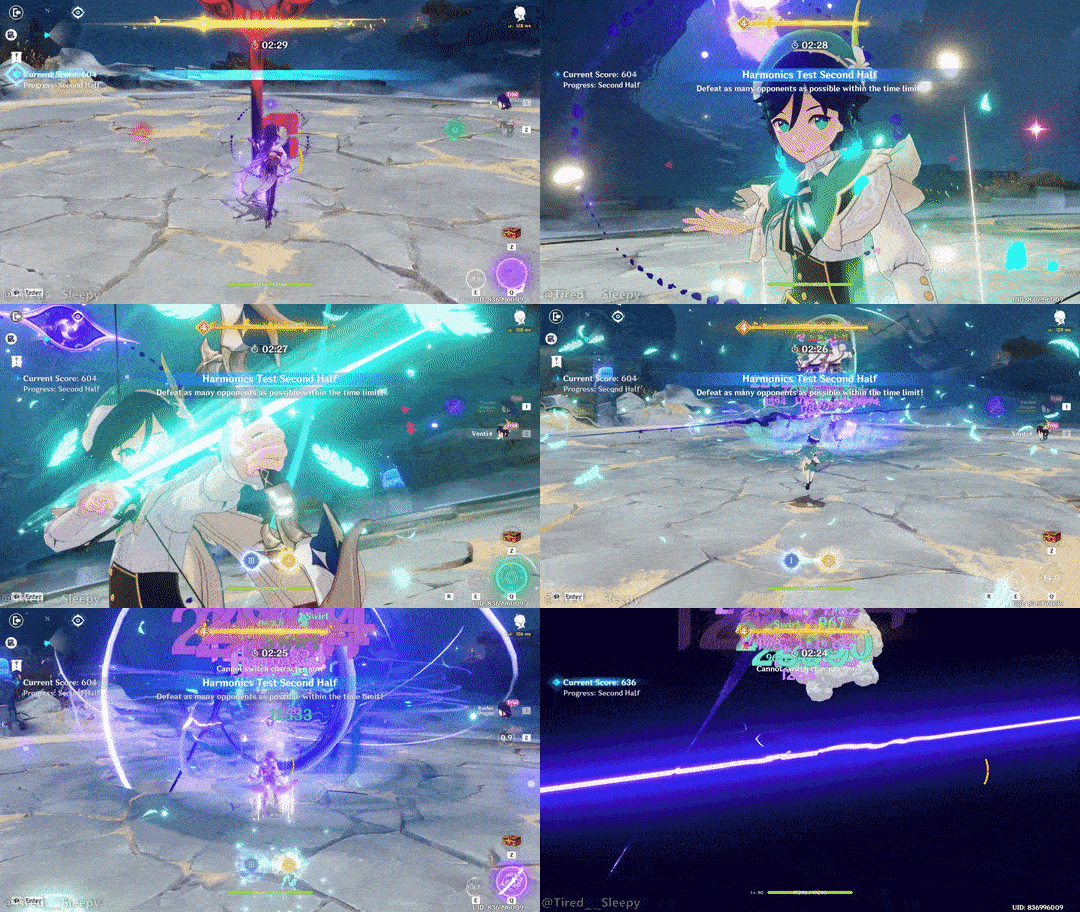
▸Before starting, use Raiden Shogun’s skill.
▸Switch to Venti and use his skill + burst.
▸Switch to Raiden Shogun whenever her burst is off of cooldown, burst, and go to town.
▸Use Shogun's skill if it comes off of cooldown.
▸Switch to Venti immediately when his burst is off cooldown and then repeat the pattern.
✦ Notes ✦
Venti’s burst holds a much higher priority than Raiden Shogun’s burst.
Make sure Venti’s burst targets the middle of the area where the enemies are spawning.
Venti’s burst will usually point in the direction of the closest enemy (if one is close enough to make Venti auto-target).
Venti’s burst will also go a certain distance out, so shooting at point blank range on where you want the burst to be won’t work. You’ll need to be a little bit away from your target point.
If you are far enough away (but not too far), you can just aim where you want the burst to go without worrying about auto-targeting.
If you are too close, you’ll need to align yourself so that the auto target will shoot where you want.
One way to accomplish a good Venti burst is to go directly against the side of the line of enemies and then burst.
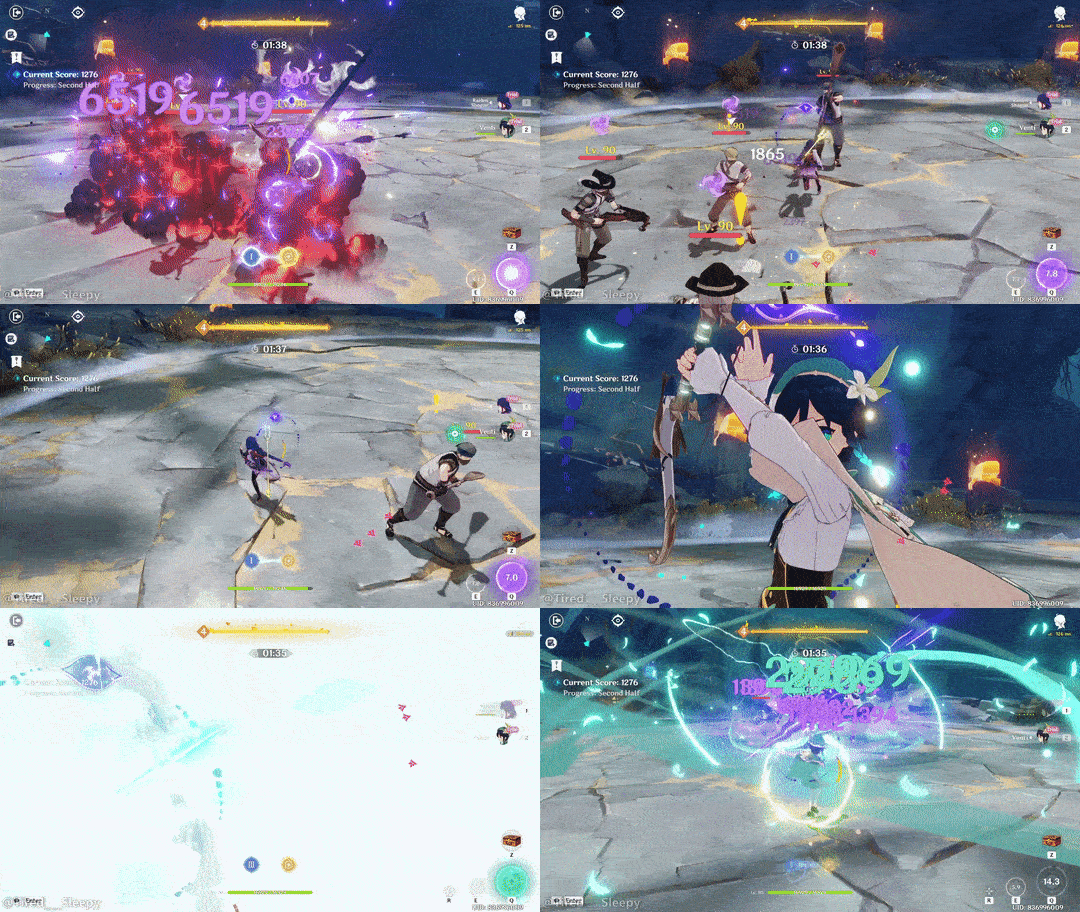
As a rule of thumb, you’ll want to stay around the middle of things except when you are cleaning up. That way you do the most AoE damage. Whenever a “nemesis” enemy shows up (such as the mitachurl and ruin guards), stay in the middle of the normal enemies, but focus your attacks on the nemesis enemy once they get close to you.
✦ Video Guide ✦
〓Day 2〓

✦ Teams ✦
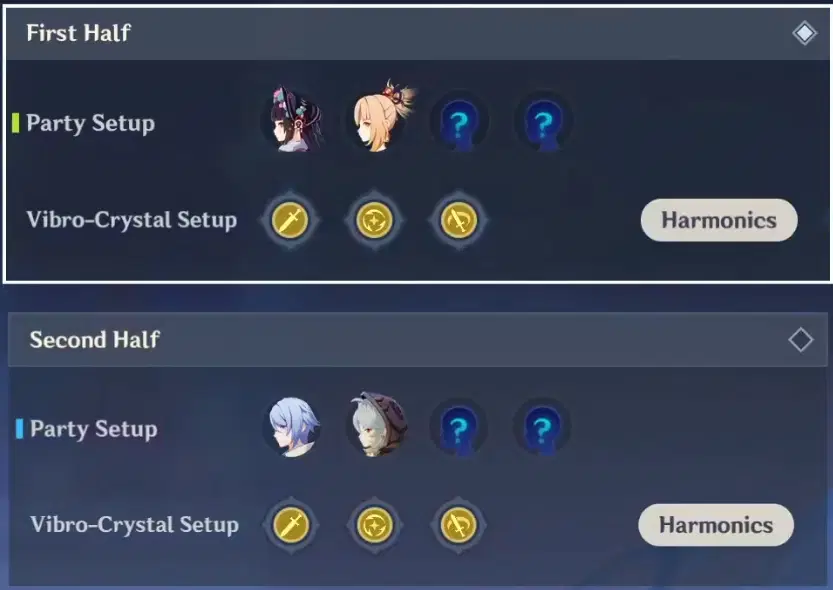
You can easily reach 2K points today with just the trial characters on any difficulty. I hit 4K+ on Normal difficulty while 2K+ on the other difficulties.
✦ Vibro-Crystal Setup for Both Teams ✦

✦ Gameplay ✦
Do Normal difficulty today.
Team 1:
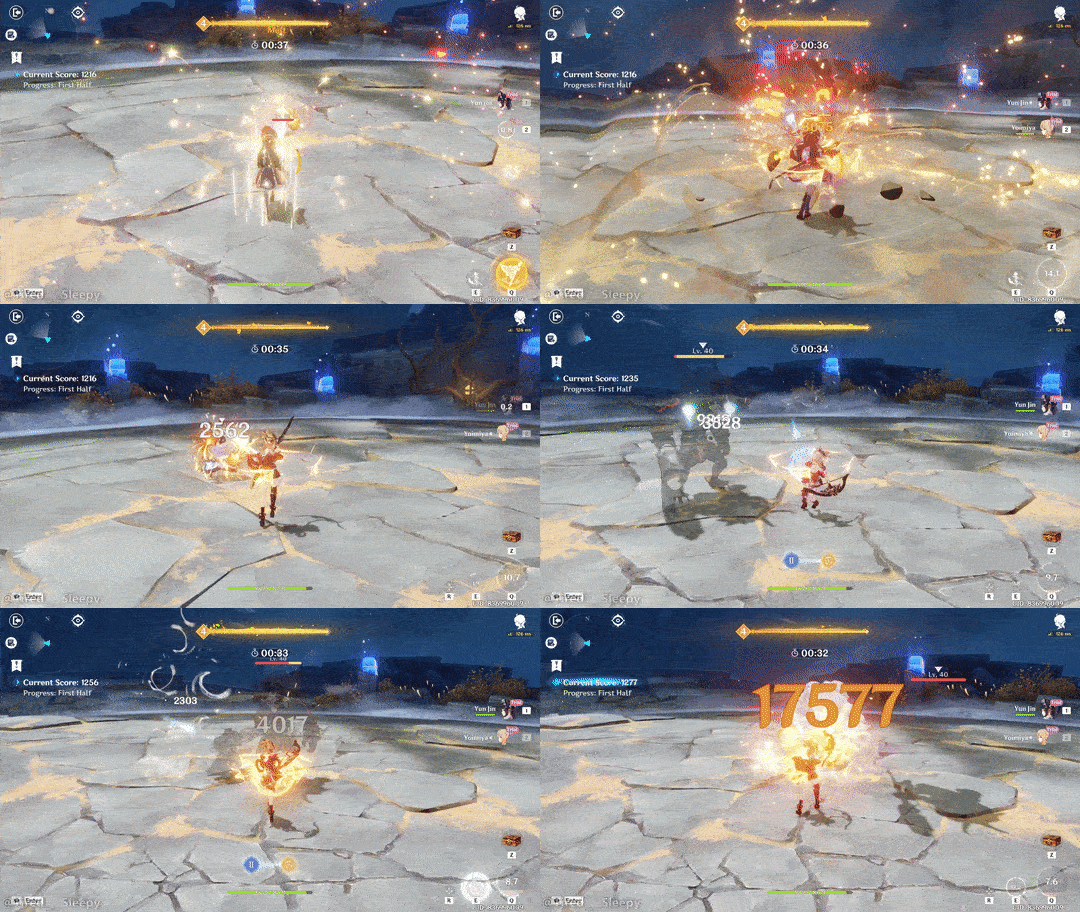
▸Use Yun Jin's burst and switch.
▸Use Yoimiya's normal attacks.
▸Switch to Yun Jin when her burst is available.
▸Repeat from the beginning.
Team 2:
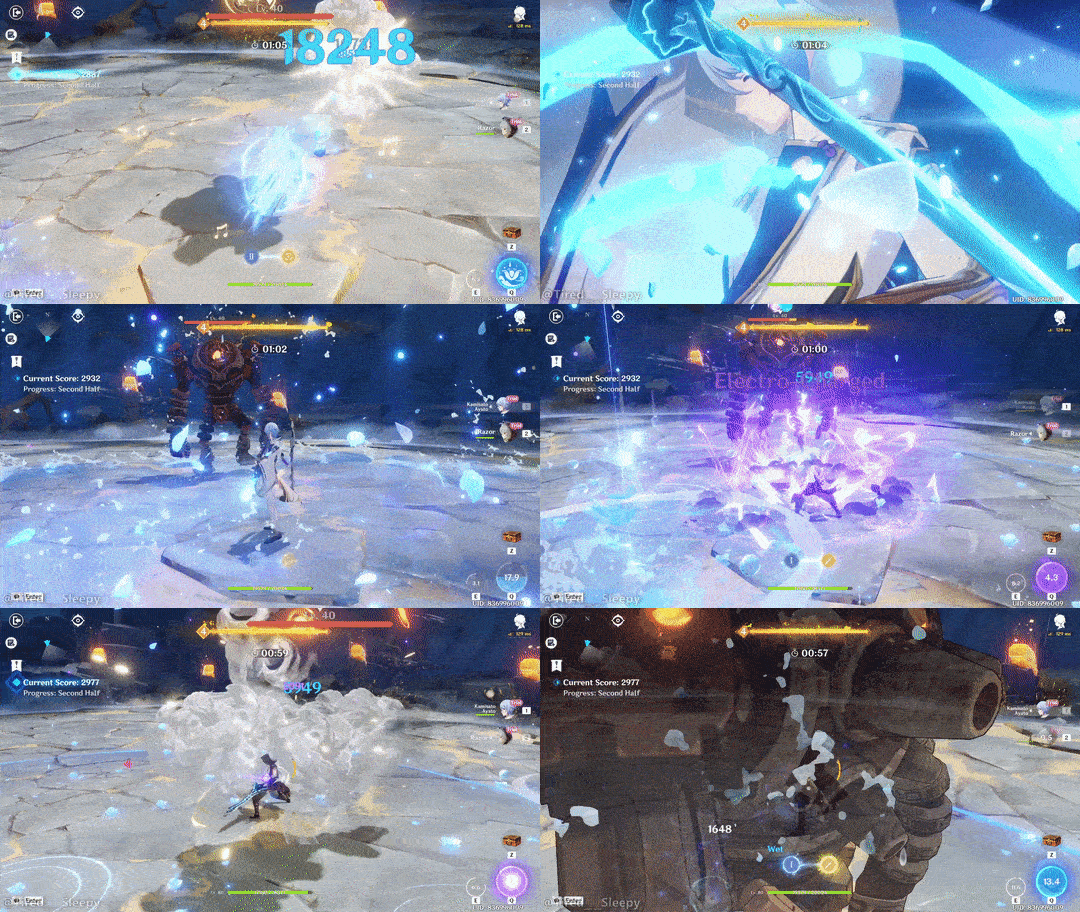
▸Use Ayato's skill and then normal attack. When the skill is at 5.5 seconds for cooldown, use Ayato's burst (if available), and then switch to Razor.
▸Use Razor's skill, burst, and then maybe normal attacks till Ayato's skill is off of cooldown. This will be fast. Switch to Ayato.
▸Repeat from the beginning.
✦ Video Guide ✦
〓Day 3〓

✦ Teams ✦
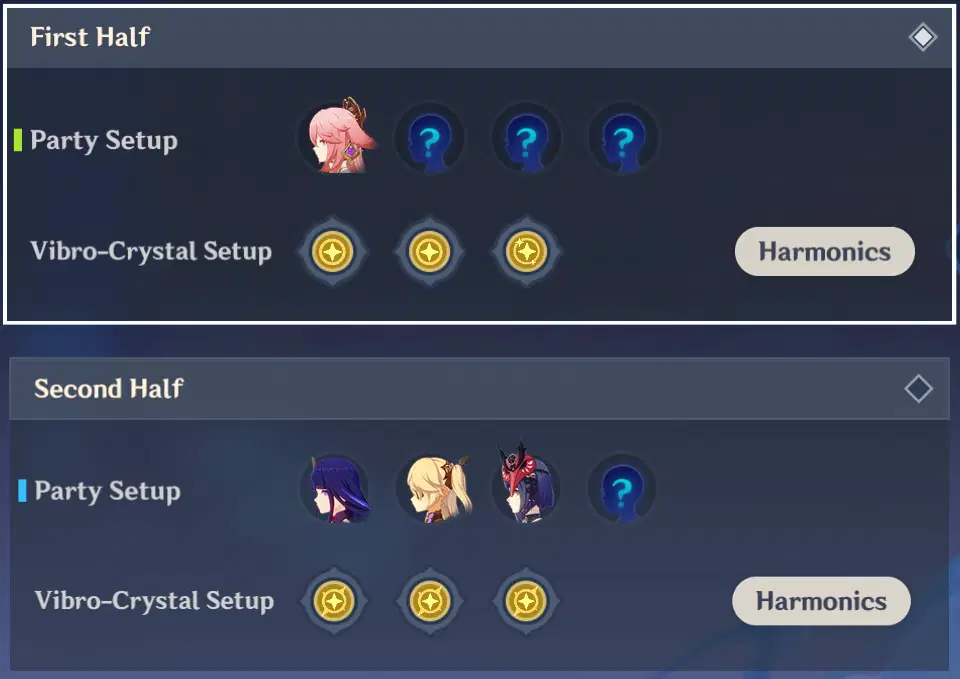
No bow charged shots are required. Yay!
You can reach 2K points today with just the trial characters on any difficulty.
Normal difficulty is recommended today.
✦ Vibro-Crystal Setup ✦
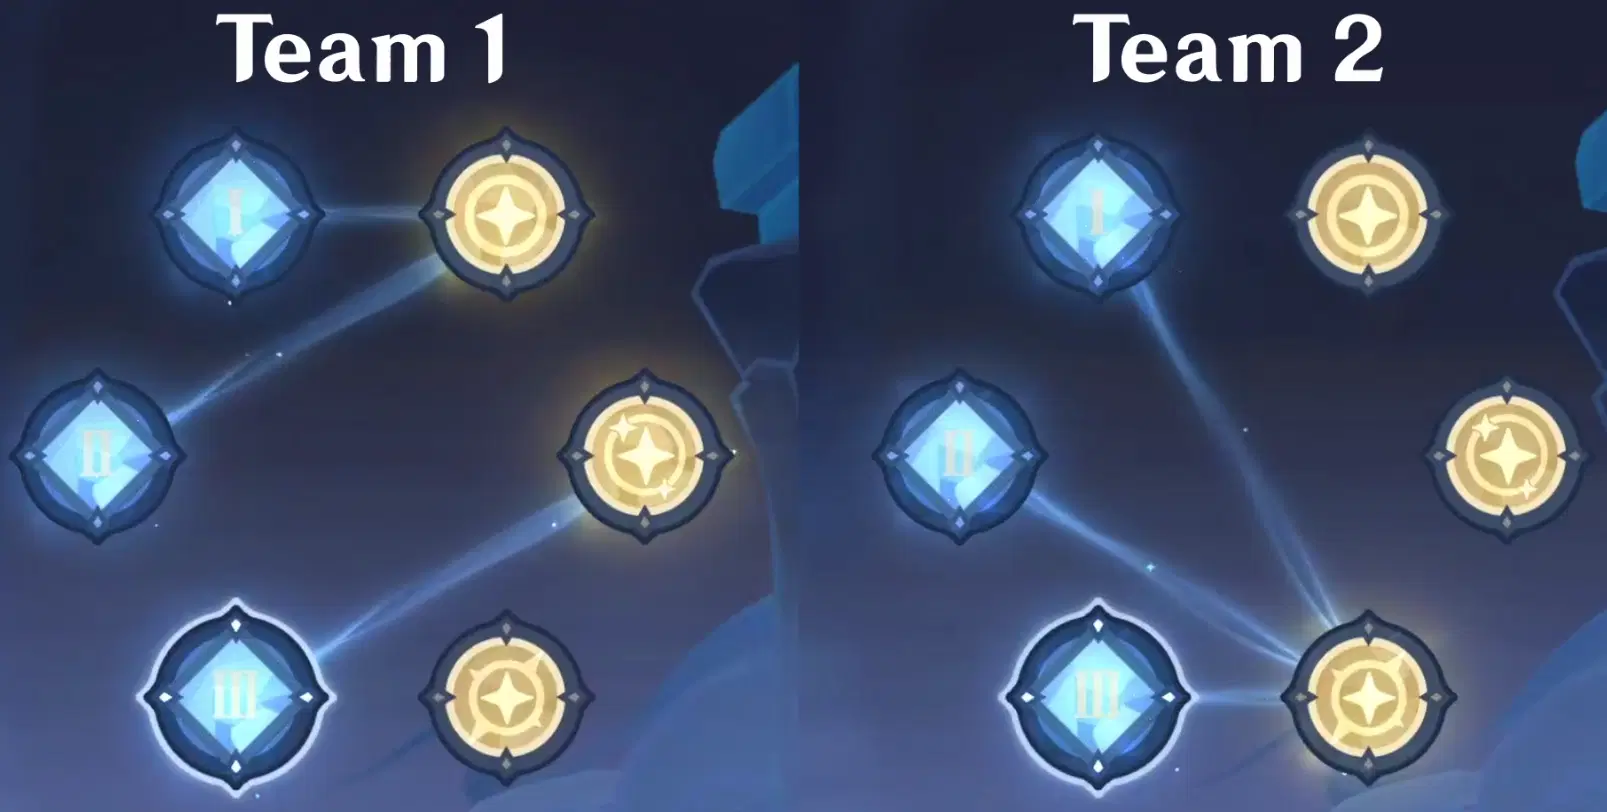
✦ Gameplay ✦
Do Normal difficulty today.
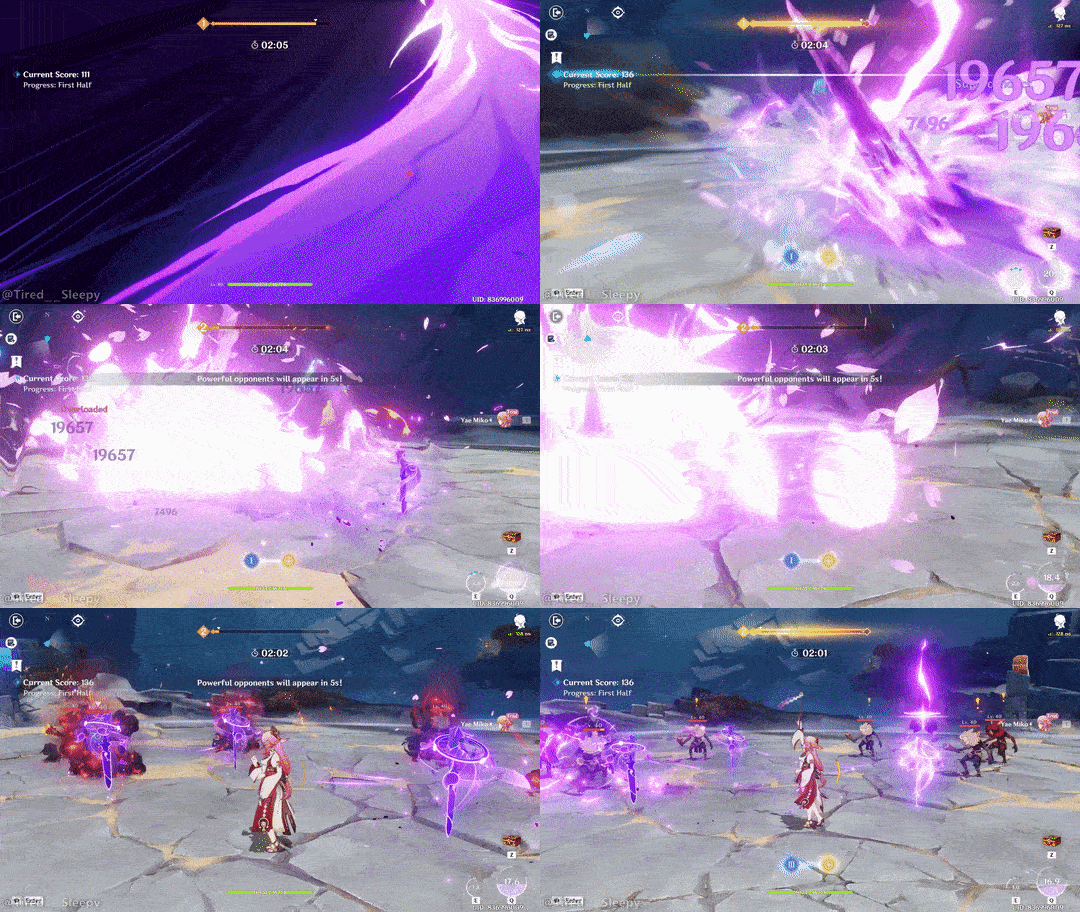
Team 1:
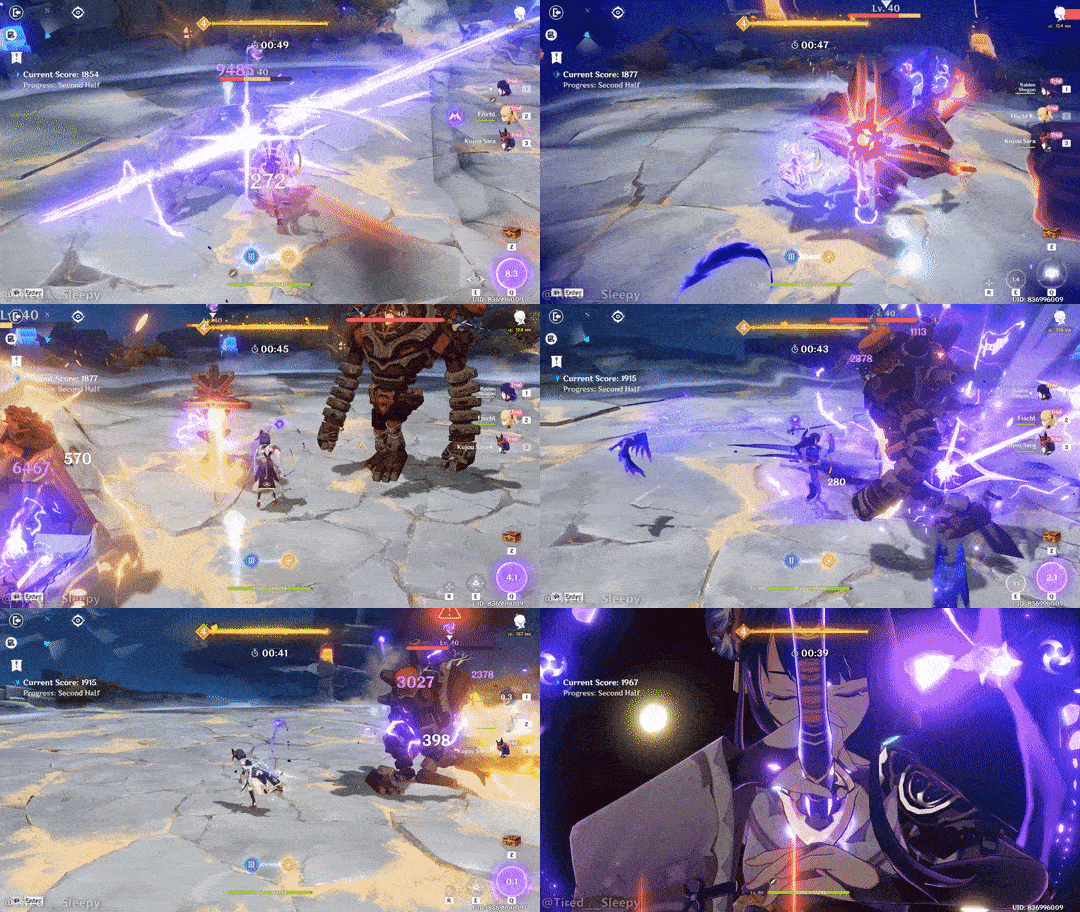
▸Before starting, place all 3 of Yae Miko's "turrets" out on the field with her skill. Upon starting, use burst immediately.
▸Right after activating burst, use Yae Miko's skill to place 3 "turrets" on the field again.
▸Normal attack spam.
▸Use Yae Miko's skill to replace the "turrets" with 3 new "turrets" whenever the skill is almost at 3 charges.
▸Activate burst whenever it is available. Repeat back from the 2nd step.
Team 2:
▸Use Shogun's skill whenever you are on Shogun so that the skill is always active. So Shogun's skill will be used before starting the round. Switch to Fischl.
▸Use Fischl's burst and maybe run over a few enemies. Switch to Sara when Sara's burst is off cooldown.
▸Use Sara's burst. Switch to Shogun immediately.
▸Use Shogun's burst and hit things until there is ~8.5 seconds on the burst cooldown. Switch to Fischl
▸Repeat back from the 2nd step.
✦ Notes ✦
Keep Yae Miko's "turrets" near the middle of everything and within close distance of each other. When the turrets are connected to each other, they receive a damage buff.
You can end Fischl's burst early by switching to another character while her burst is going on.
After the first round of switches for Team 2, you can switch to Shogun instead of Sara right after using Fischl's burst. Then you can hit things with Shogun and switch to Sara right before Shogun's burst is off cooldown. Sara's burst should be available or shortly available. Doing it this way can help with timing the switch to Sara better and also use Shogun's multi-target swing instead of the single target bow shots.
✦ Video Guide ✦
〓Day 4〓

Trial Character Only Scores for Recommended Difficulties
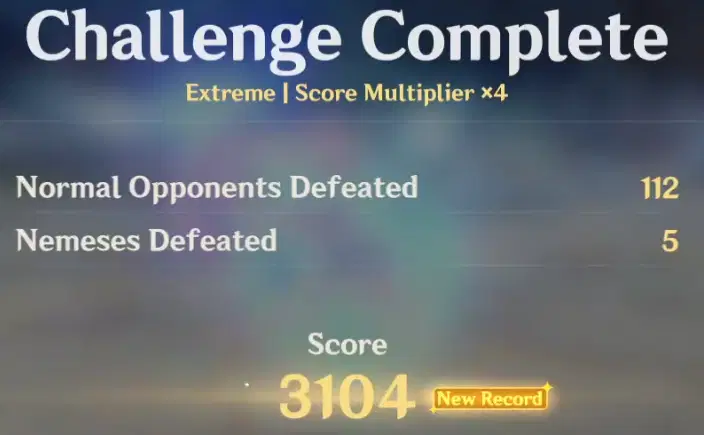
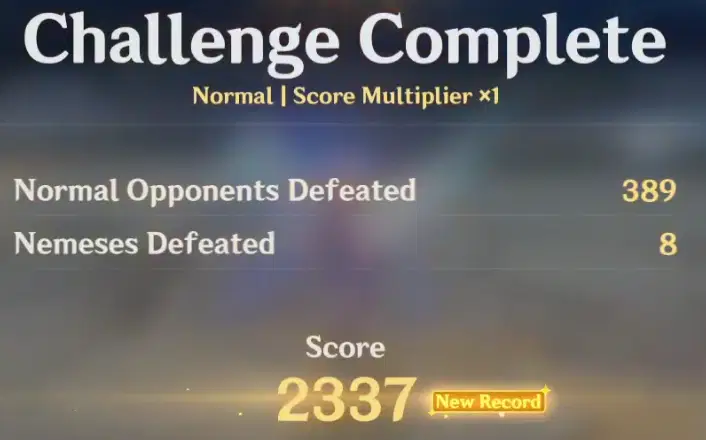
Normal difficulty is recommended when using trial characters only.
Extreme difficulty is recommended if you add Barbara. I beat Extreme on the first try with that score without Barbara, but it was a pain in the butt. My Rosaria died because I'm bad.
We can get 2K points with Hard difficulty as well today, but as with the other days, hard is the hardest difficulty to get 2K points on.
When I played with my level 64 Barbara included, I actually scored lower by about 100 points for both of these two difficulties. However, I was also making a lot more mistakes due to being much more relaxed from Barbara's gentle healing touch.
✦ Teams ✦
Trial Characters Only
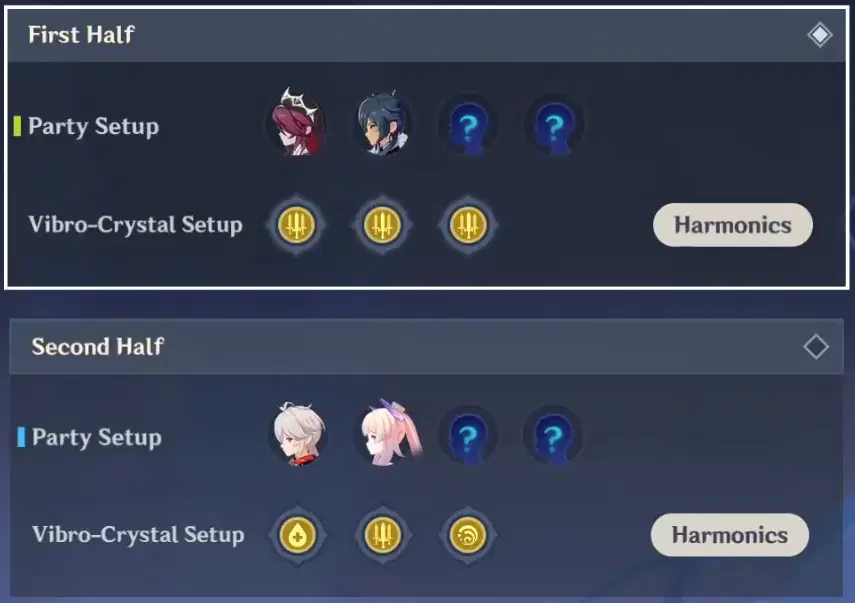
With Barbara Added
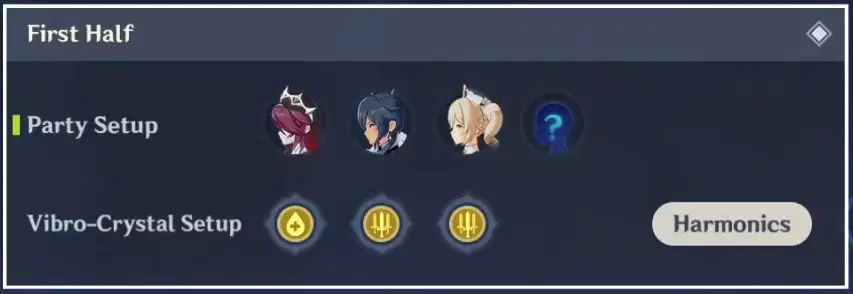
✦ Vibro-Crystal Setup ✦


✦ Gameplay ✦
As mentioned above, do Normal difficulty when using trial characters only.
If you add Barbara, Extreme difficulty is recommended, though you can do Normal with Barbara as well.
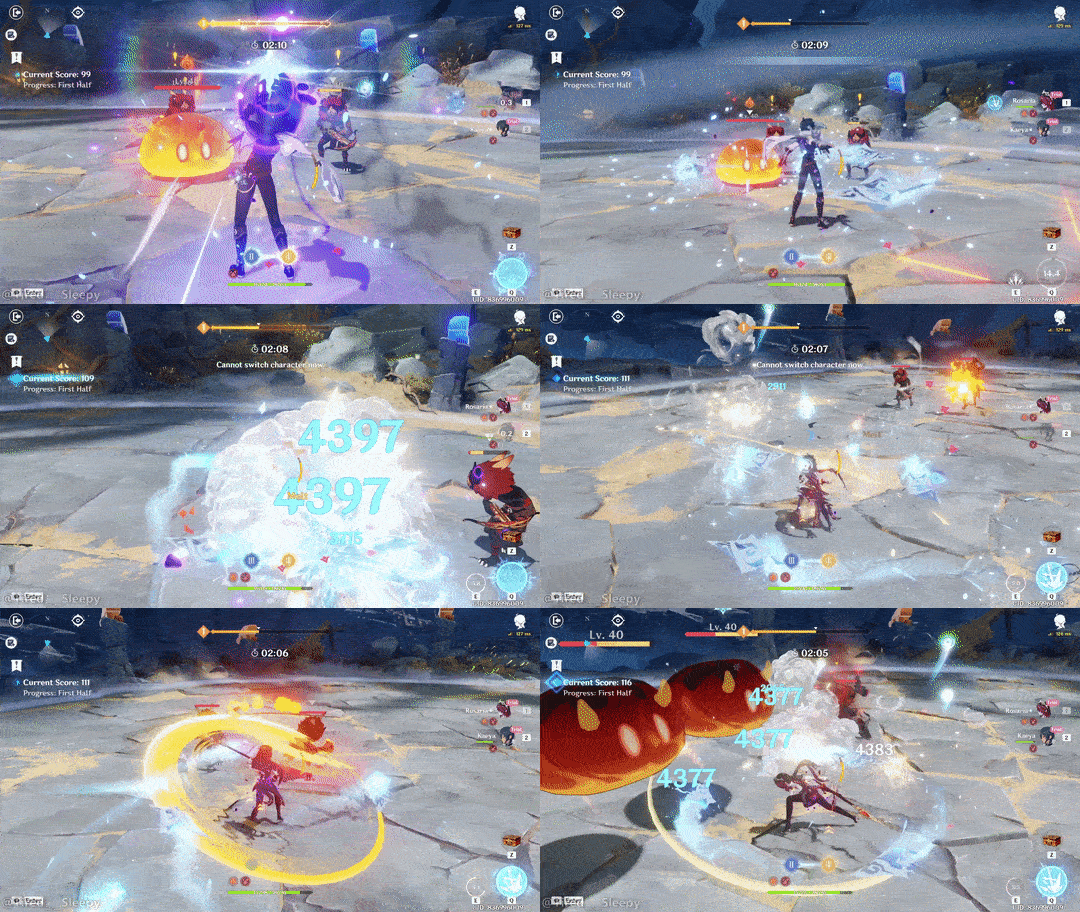
Team 1 without Barbara:
▸Normal attack spam with Rosaria.
▸Use Kaeya's burst whenever it is available.
▸Use Rosaria's skill only once after each of Kaeya's bursts.
▸Use all skills and bursts on the Abyss Mages to make quick work of them.
Team 1 including Barbara:
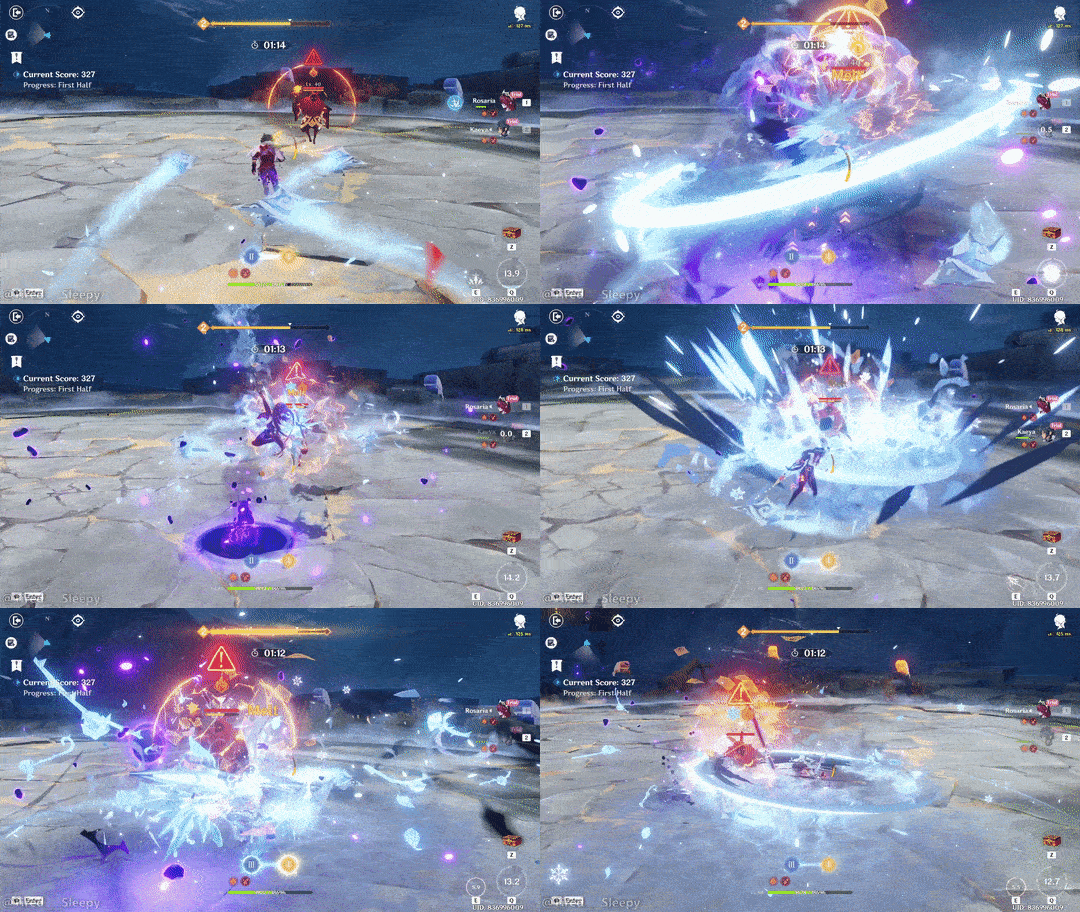
▸Spam Kaeya and Rosaria's bursts and skills.
▸Normal attack with Rosaria whenever every characters' skill is on cooldown.
▸Heal with Barbara whenever you feel like it.
Team 2:
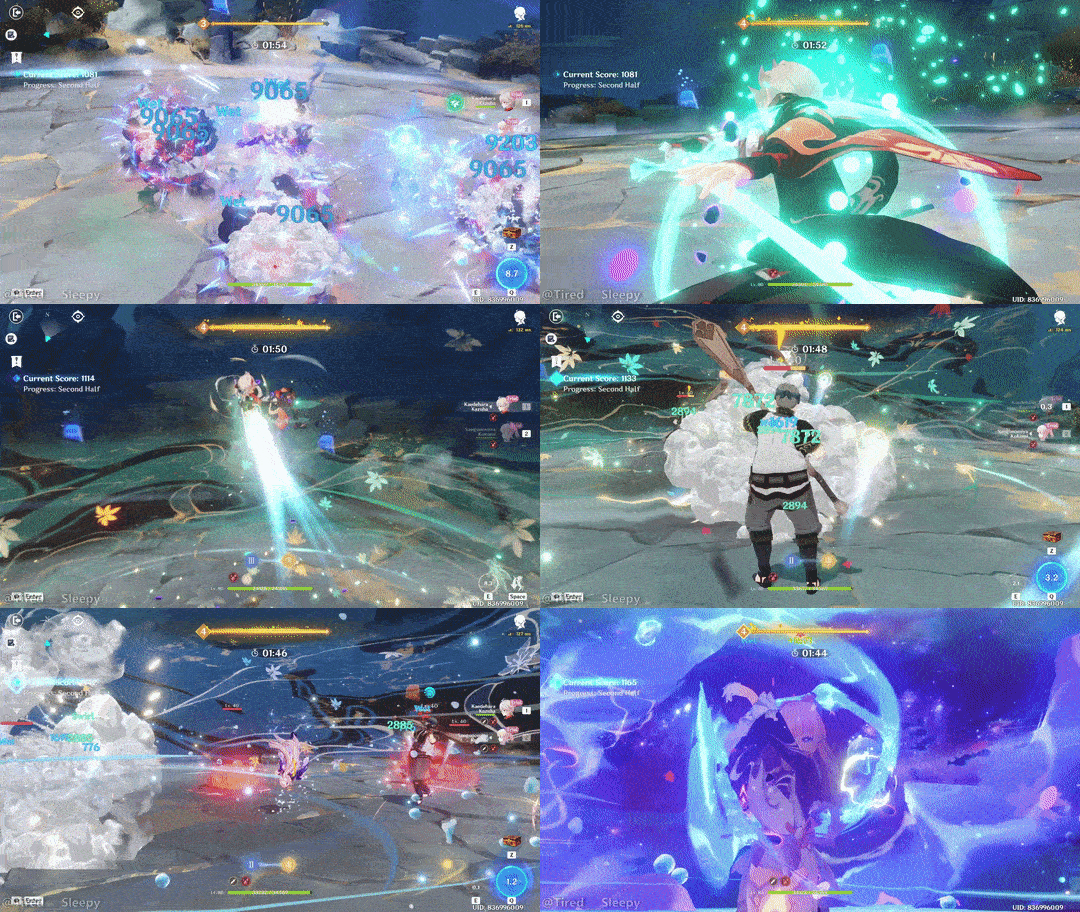
▸When you have Kokomi out, always have Kokomi's skill on the field. This includes before beginning the round.
▸Use Kazuha's hold skill, burst, and then hold skill again (if available). Switch to Kokomi.
▸Normal attack with Kokomi until her burst is available.
▸Use Kokomi's burst and then normal attack while in the middle of the enemies.
▸When there are 8 seconds displayed on Kokomi's burst cooldown, switch to Kazuha.
▸Repeat from the beginning.
✦ Notes ✦
For Team 1, start off with Rosaria's burst. If you don't have Barbara on the team, you'll never use Rosaria's burst again. When playing with just the trial characters, the reason we use Rosaria's skill only once after each of Kaeya's bursts is to activate a vibro-crystal buff without hurting ourselves too much from the damage over time. You can use the skills and bursts freely near the end of the round when you feel confident about Kaeya and Rosaria's remaining health.
For Team 2, every action is done in the middle of the enemies.
✦ Video Guide ✦
〓Day 5〓

✦ Teams ✦

We can get 2K points with any difficulty today. Normal is yet again recommended today.
No charged attacks are required today. Yay!
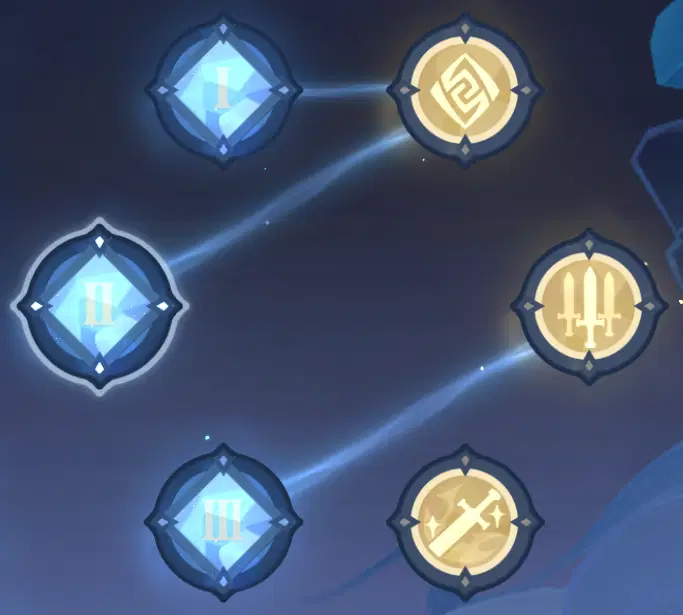
✦ Vibro-Crystal Setup for Both Teams ✦
✦ Gameplay ✦
Do Normal difficulty today.
The instructions below will be the incorrect way to do damage, but it will also be the easiest way to do damage today.
I obtained the score of 3431 by doing damage the incorrect way on Normal difficulty.
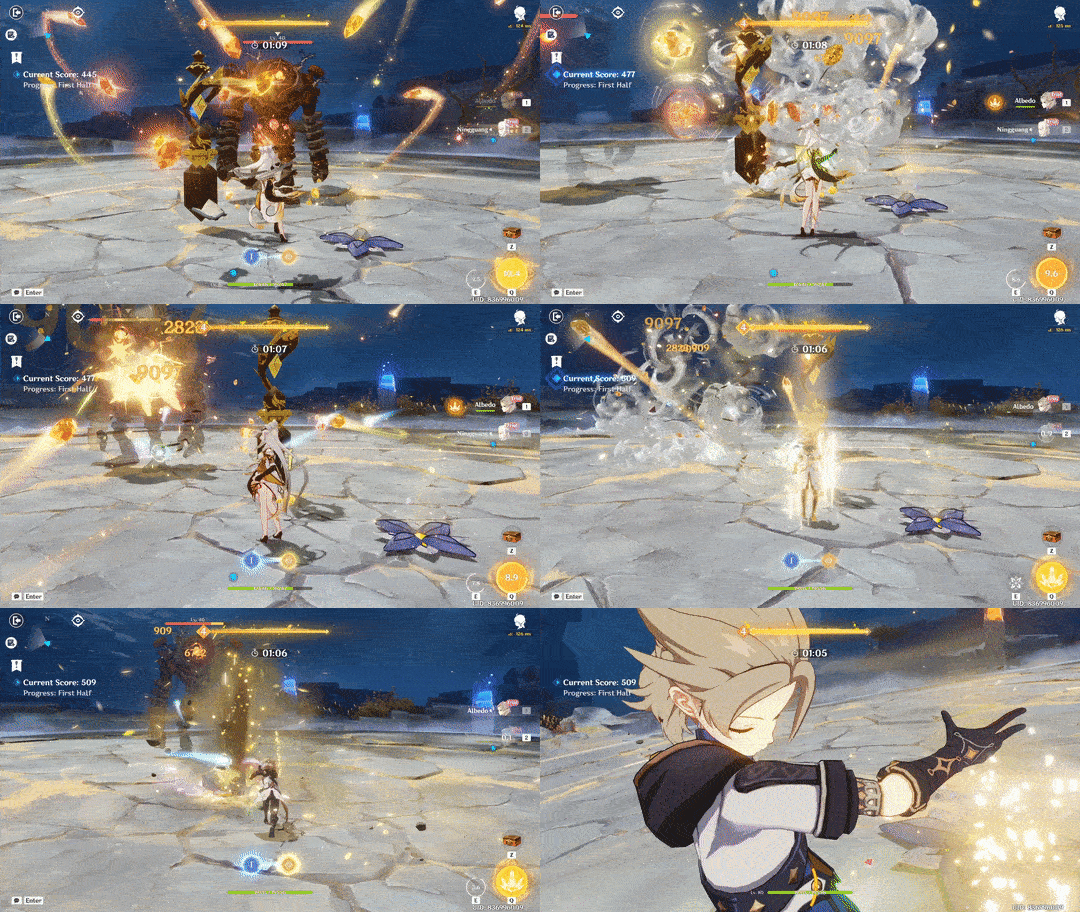
Team 1:
▸Open up with Albedo's skill and burst. Switch to Ningguang.
▸Spam normal attacks with Ningguang, but always use Ningguang's skill and burst when they are available.
▸When Albedo's burst is available, switch to him and use his skill plus burst. Switch back to Ningguang.
▸Repeat from step 2 beginning.
Team 2:
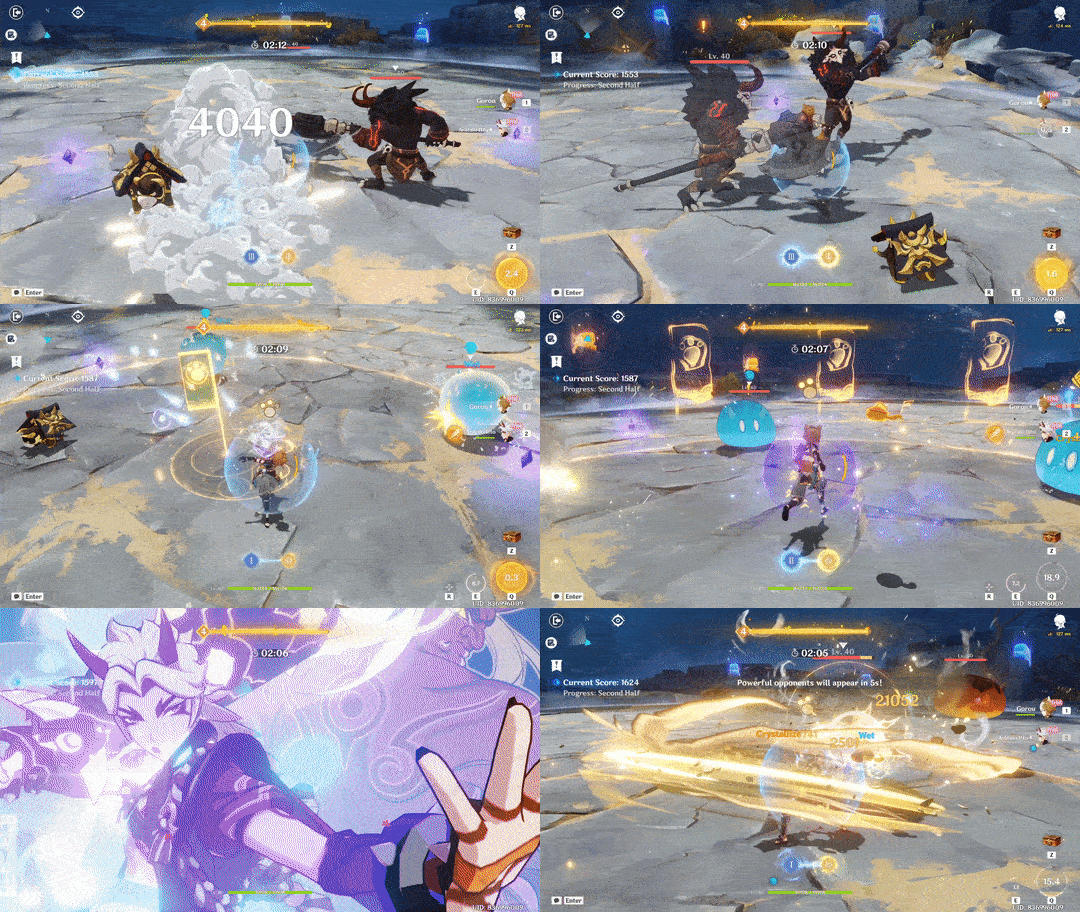
▸Use Gorou's skill and then burst. Switch to Itto.
▸Use Itto's burst. Use Itto's skill whenever it is available. Normal attack spam with Itto.
▸When Itto's burst is almost off cooldown, switch to Gorou.
▸Repeat from the beginning.
✦ Notes ✦
For Team 1, have Albedo's skill placed so that the enemies are in the circle when Ningguang attacks them.
If you pick up a crystal for a shield, you'll gain an attack buff. It's not required to get them though.
✦ Video Guide ✦
〓Day 6〓

You can reach 2K points today with just the trial characters on any difficulty, but Normal and Hard will be a huge pain to do with just the trial characters. I barely managed to hit 2K points on those first two difficulties, so I recommend doing this on Extreme difficulty where I comfortably passed 2K points despite Chongyun dying. I do recommend adding Kaeya and Barbara to Team 1 though. With adding my disappointingly bad Kaeya and Barbara, I was able to get ~300 more points without Chongyun ever in threat of dying.
✦ Teams ✦
Trial Characters Only
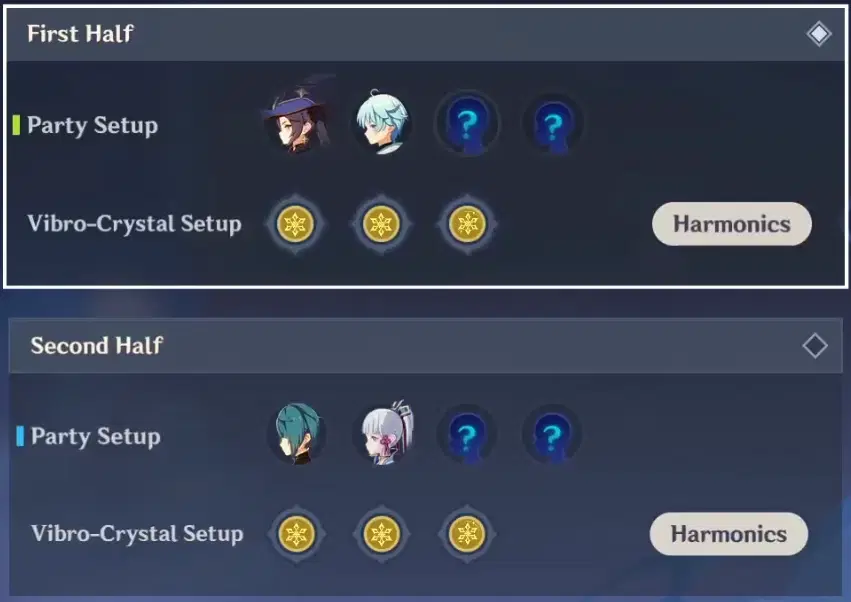
With Kaeya & Barbara Added

✦ Vibro-Crystal Setup for Both Teams ✦

✦ Gameplay ✦
Do Extreme Difficulty today.
Today's rotations are the most complex compared to the other days. Not that complex, but definitely more complex compared to previous days.
Team 1 TLDR Version:
▸Spam Chongyun skills/bursts (& Kaeya's)
▸Spam normal attacks with Chongyun.
▸Use Mona (and Barbara's skill) sparingly.
Team 1 without extra characters:
▸Before starting, place Mona's skill on the field and then switch to Chongyun. Start the round.
▸Use Chongyun's burst whenever you feel like it, especially if you can hit a group of enemies or a Hydro Abyss Mage shield.
▸Anytime there are at least 3 hilichurls and/or samachurls that can be caught in Mona's burst, use Mona's burst and then switch back to Chongyun.
▸Use Chongyun's skill and then spam normal attacks within the circle.
▸When Chongyun's skill duration ends and there are hilichurls, then use Mona's skill. Otherwise keep on normal attacking with Chongyun.
▸Repeat from step 2.
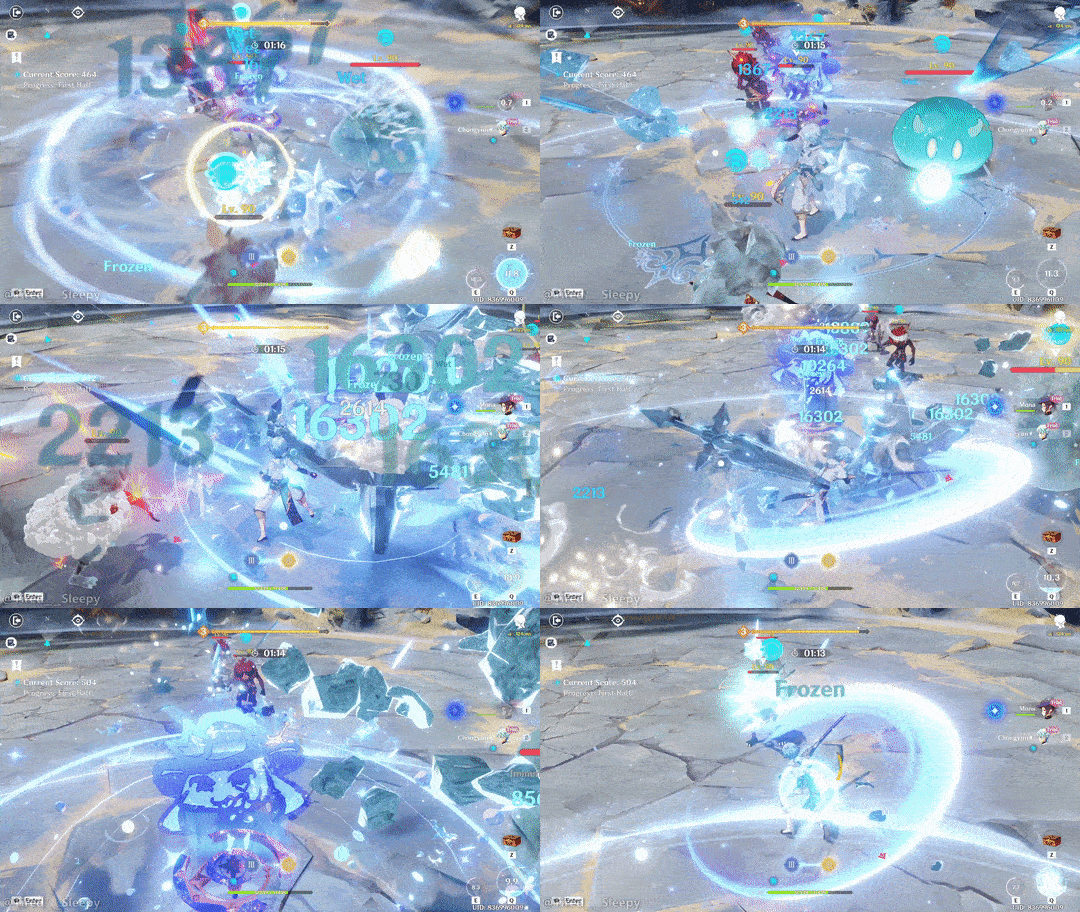
Team 1 including Kaeya and Barbara:
▸Before starting, place Mona's skill on the field, use Barbara's skill, use Kaeya's burst, and then switch to Chongyun. Start the round.
▸Use Chongyun's skill and then spam normal attacks within the circle.
▸Switch to Kaeya every so often to use his skill to feed Chongyun or himself energy. Switch back to Chongyun.
▸Use Kaeya and Chongyun's bursts anytime they are available.
▸Use Barbara's skill once in a while to keep Chongyun healed.
▸If both Kaeya and Chongyun's skills and bursts are on not available, then switch to Mona and use her skill. Switch back to Chongyun.
▸Repeat from step 2.
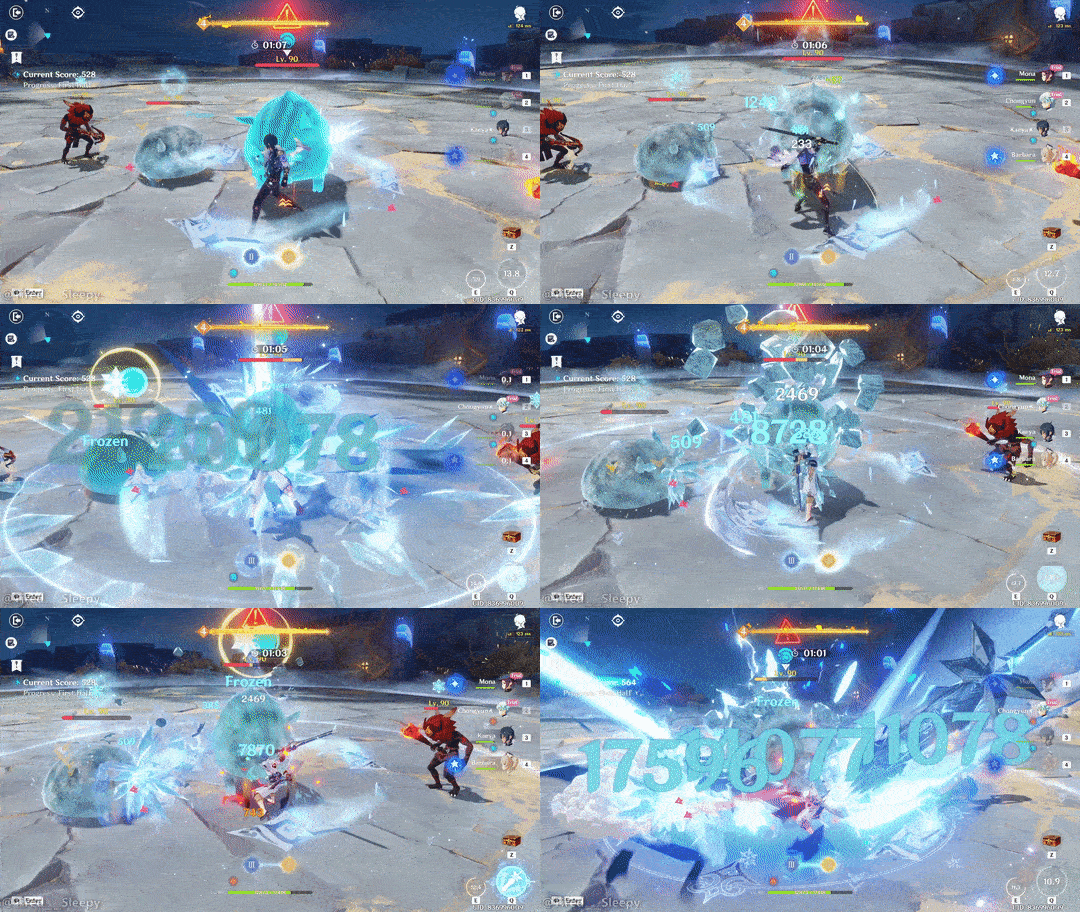
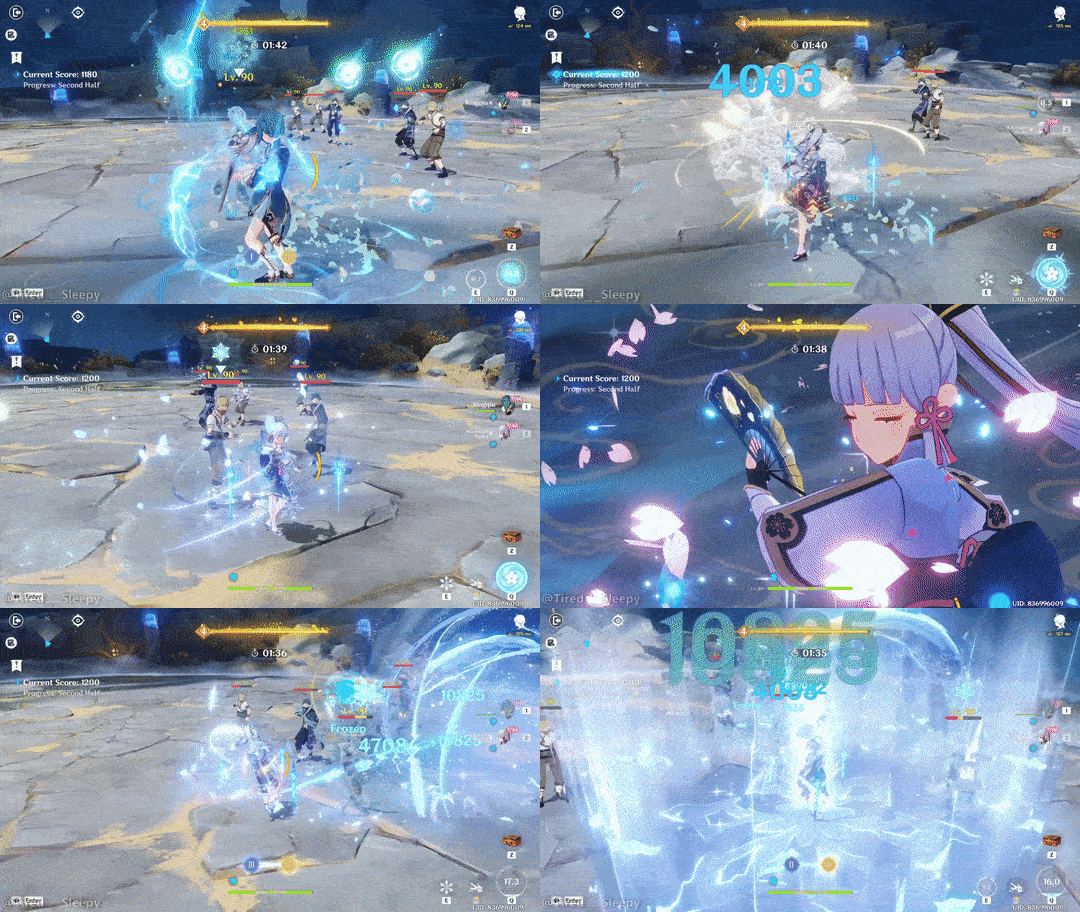
Team 2:
▸Whenever Xingqiu's burst is available, use Xingqiu's skill and then burst. Switch to Ayaka.
▸Dash often to keep Ayaka's cryo-imbuement active.
▸Use Ayaka's skill in the middle of multiple enemies.
▸Use Ayaka's burst on the side of enemies so that enemies that spawn in get caught in it.
▸If you have enough stamina, use Ayaka's charged attacks against groups of enemies.
▸Otherwise, normal attack with Ayaka.
▸Focus on Fatui Pyro Agents whenever they appear. Use everything on them if you have to.
✦ Notes ✦
Try to have Chongyun place his skill close to the middle of the enemy spawns, though it will almost always be skewed a bit. Or skewed a lot. You can let the enemies come to you in the circle while you attack the enemies that are already in there.
Your Kaeya and Barbara do not need to be built at all, though giving Kaeya damage and energy regeneration items will definitely help for getting a higher score.
If a hydro samachurl spawns, you’ll need to take them out as soon as possible so that they don’t heal your opponents.
When you leave Chongyun's skill circle, cryo-imbuement will be active for a very short period of time. You can take advantage of this to deal cryo damage to an enemy that is just outside of your reach.
The crab water mimics are really annoying to try to attack with Chongyun. You can only get them with Chongyun when they stop moving around or get stuck. A Chongyun burst aimed at the crabs will miss them if they are moving. Kaeya can easily make them stop moving though.
Mona can only do Hydro damage, so don’t use her if there are only hydro-immune enemies nearby.
When using trial characters only:
While waiting for Chongyun’s cooldowns during the water mimic phase, you can switch to Mona so that she takes damage instead. If Chongyun dies, just run away with Mona until the round ends.
If a hydro abyss mage is about to spawn, save Chongyun’s burst and use it on the mage when it appears. Keep whacking away at the shield and use your skill if it is available. More waves of enemies won’t spawn if an elite enemy such as the mage is alive.
✦ Video Guide ✦
I hope this helped you out.
Have fun with vibrating those crystals.