Keep in mind that the team example is merely that, an example. After all, you need to take different artifacts and weapons to the calculation. You don't have to follow my team comp and use the characters that you are more comfortable with and completely built. In fact, do share your lineup in the comment section! It may help other Travelers who also struggle in creating a comp.
If you want to skip to the comment section, go look at the Table of Contents and click on the last point~ 

Blessing of the Abyssal Moon
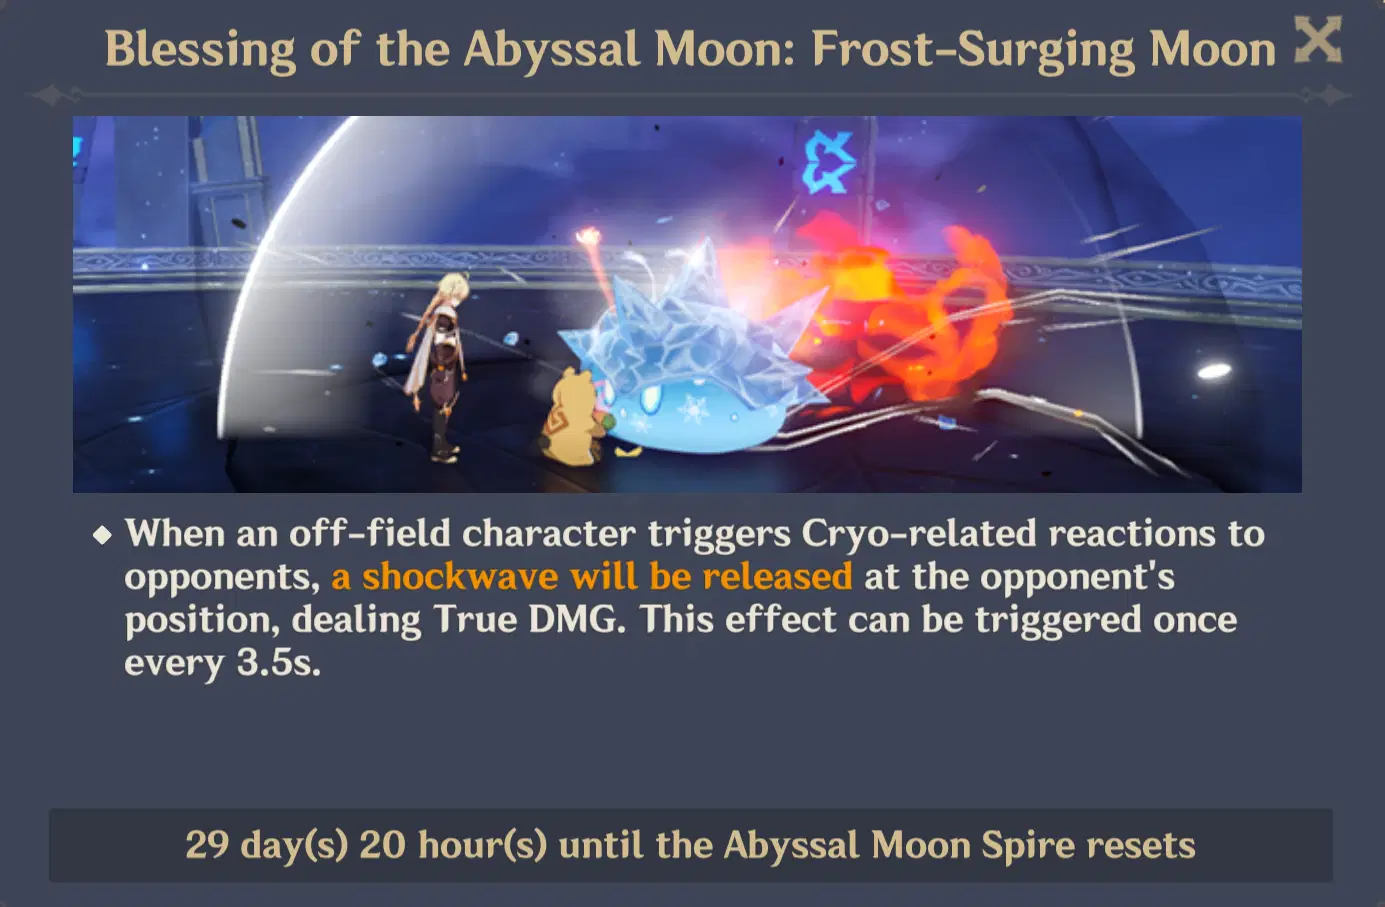
When an off-field character triggers Cryo-related reactions to opponents, a shockwave will be released at the opponent's position, dealing True DMG. This effect can be triggered once every 3.5s.
Floor 11
Ley Line Disorder
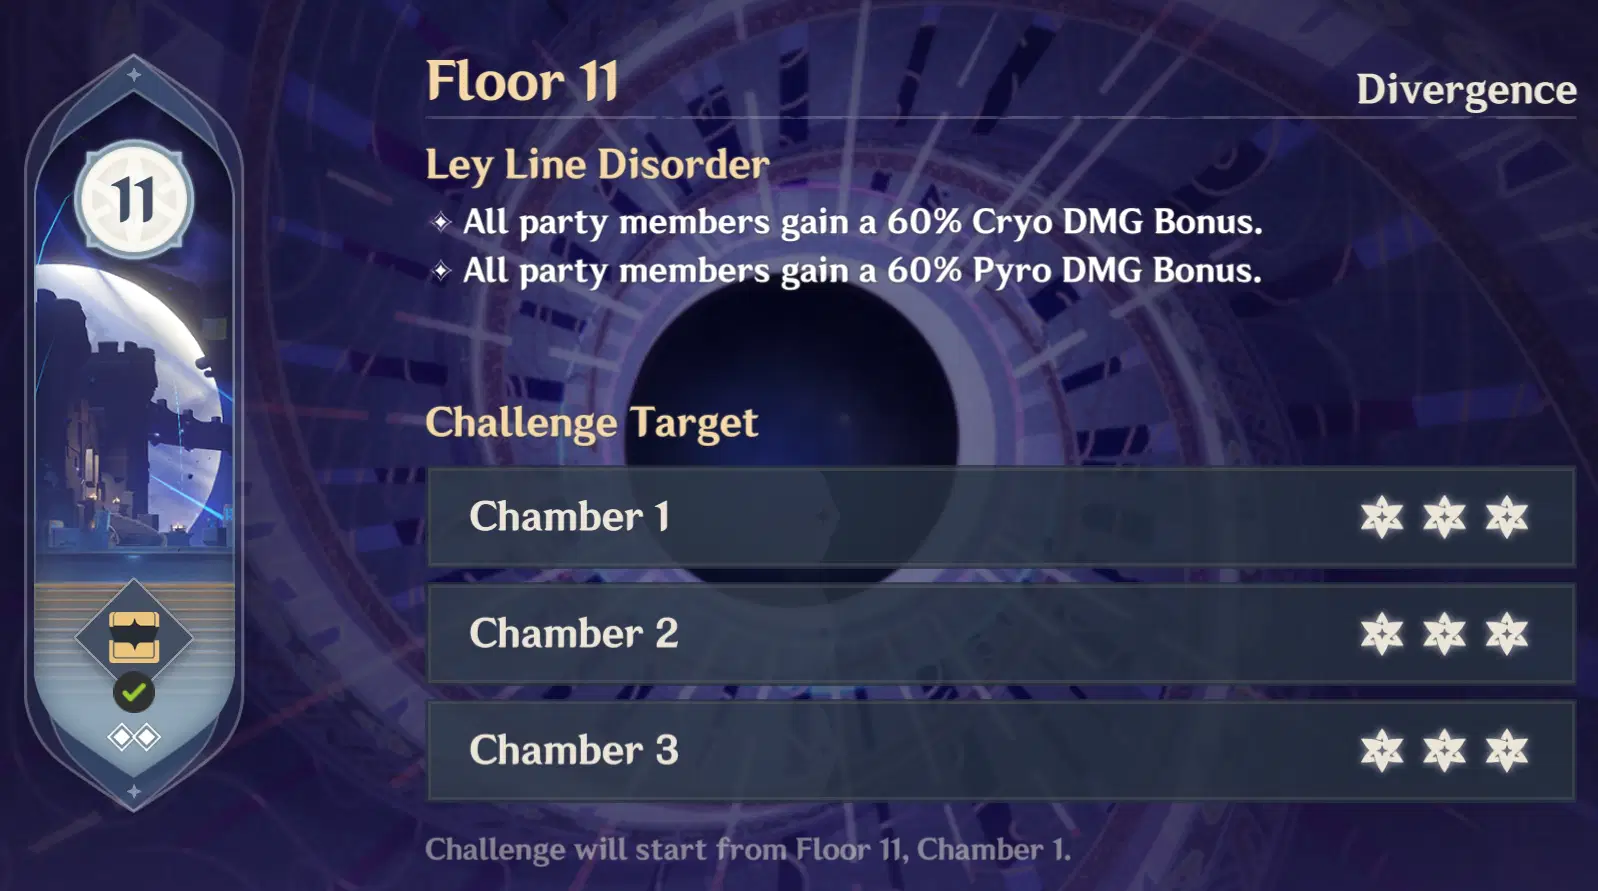
Floor 11 Buff 1 - All party members gain a 60% Cryo DMG Bonus.
Floor 11 Buff 2 - All party members gain a 60% Pyro DMG Bonus.
Team Recommendations
Abyss Showcase
Team Recommendations for the First Half
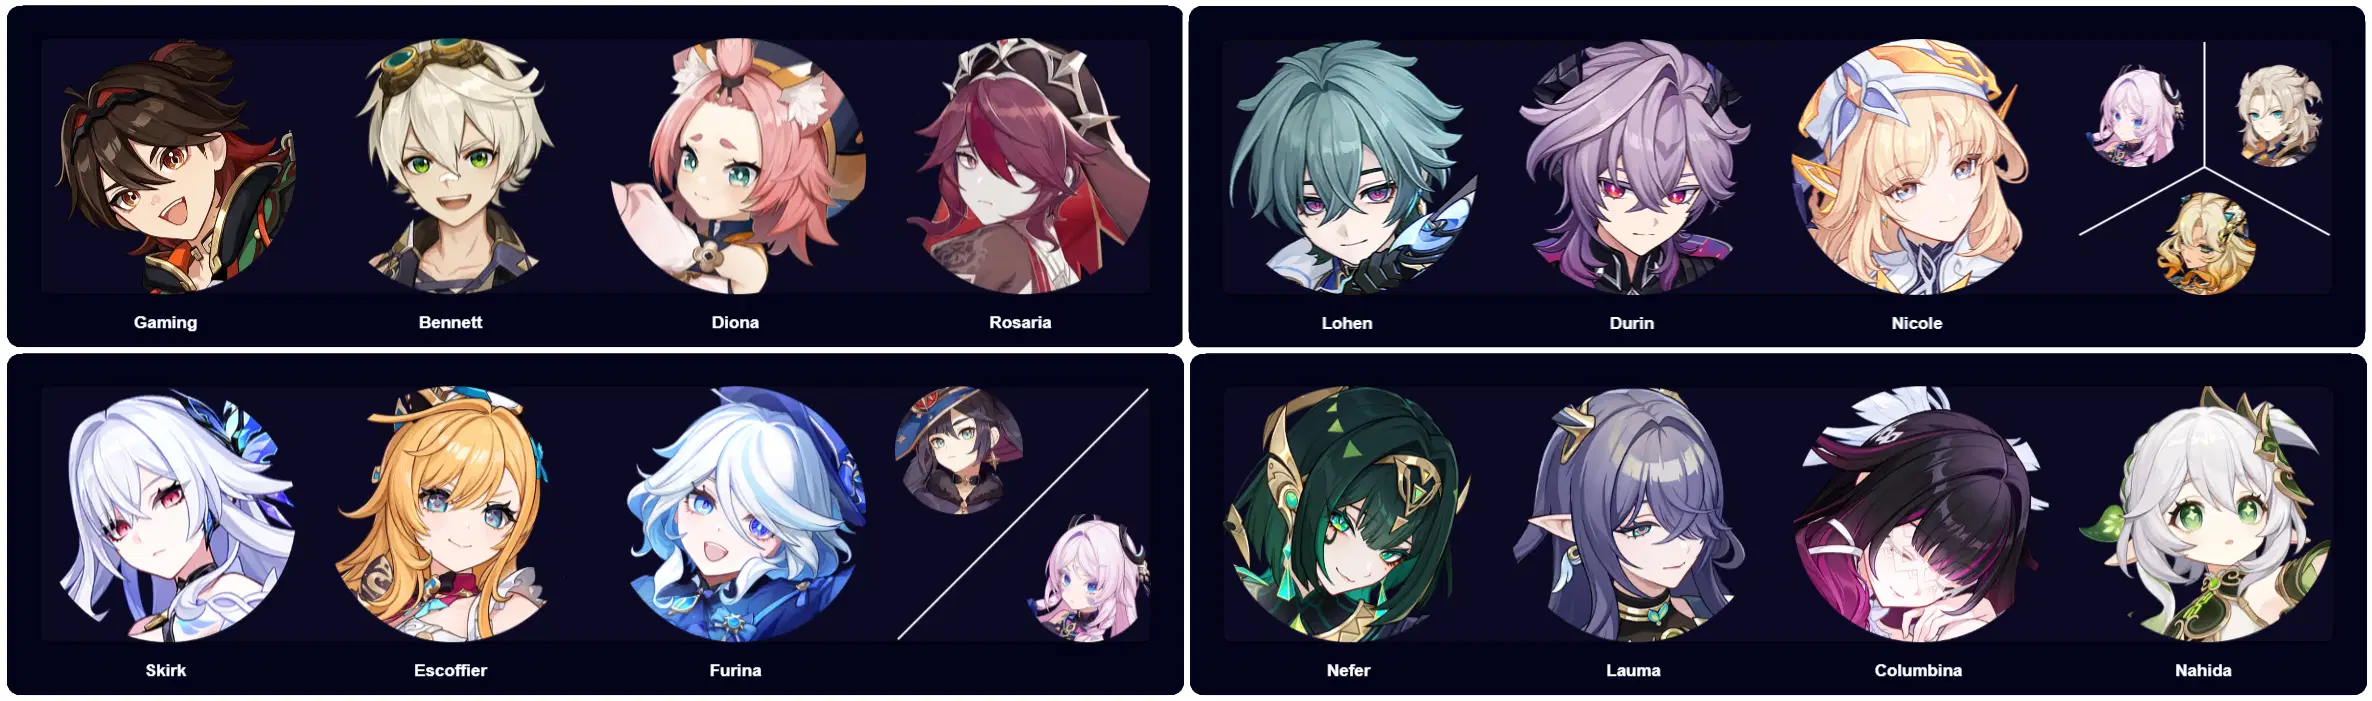
- While both halves get the same 60% Cryo and Pyro DMG Bonus, the Cryo characters are more suited for this half because you want to bring Pyro characters in the second half.
- Anemo CC doesn't matter too much because the enemies are easy to gather here, so even if you don't bring any, you should still be able to clear it! But if you have to choose which half to bring an Anemo CC, it's definitely this one because there are 2 chambers that benefit having the CC.
Team Recommendations for the Second Half
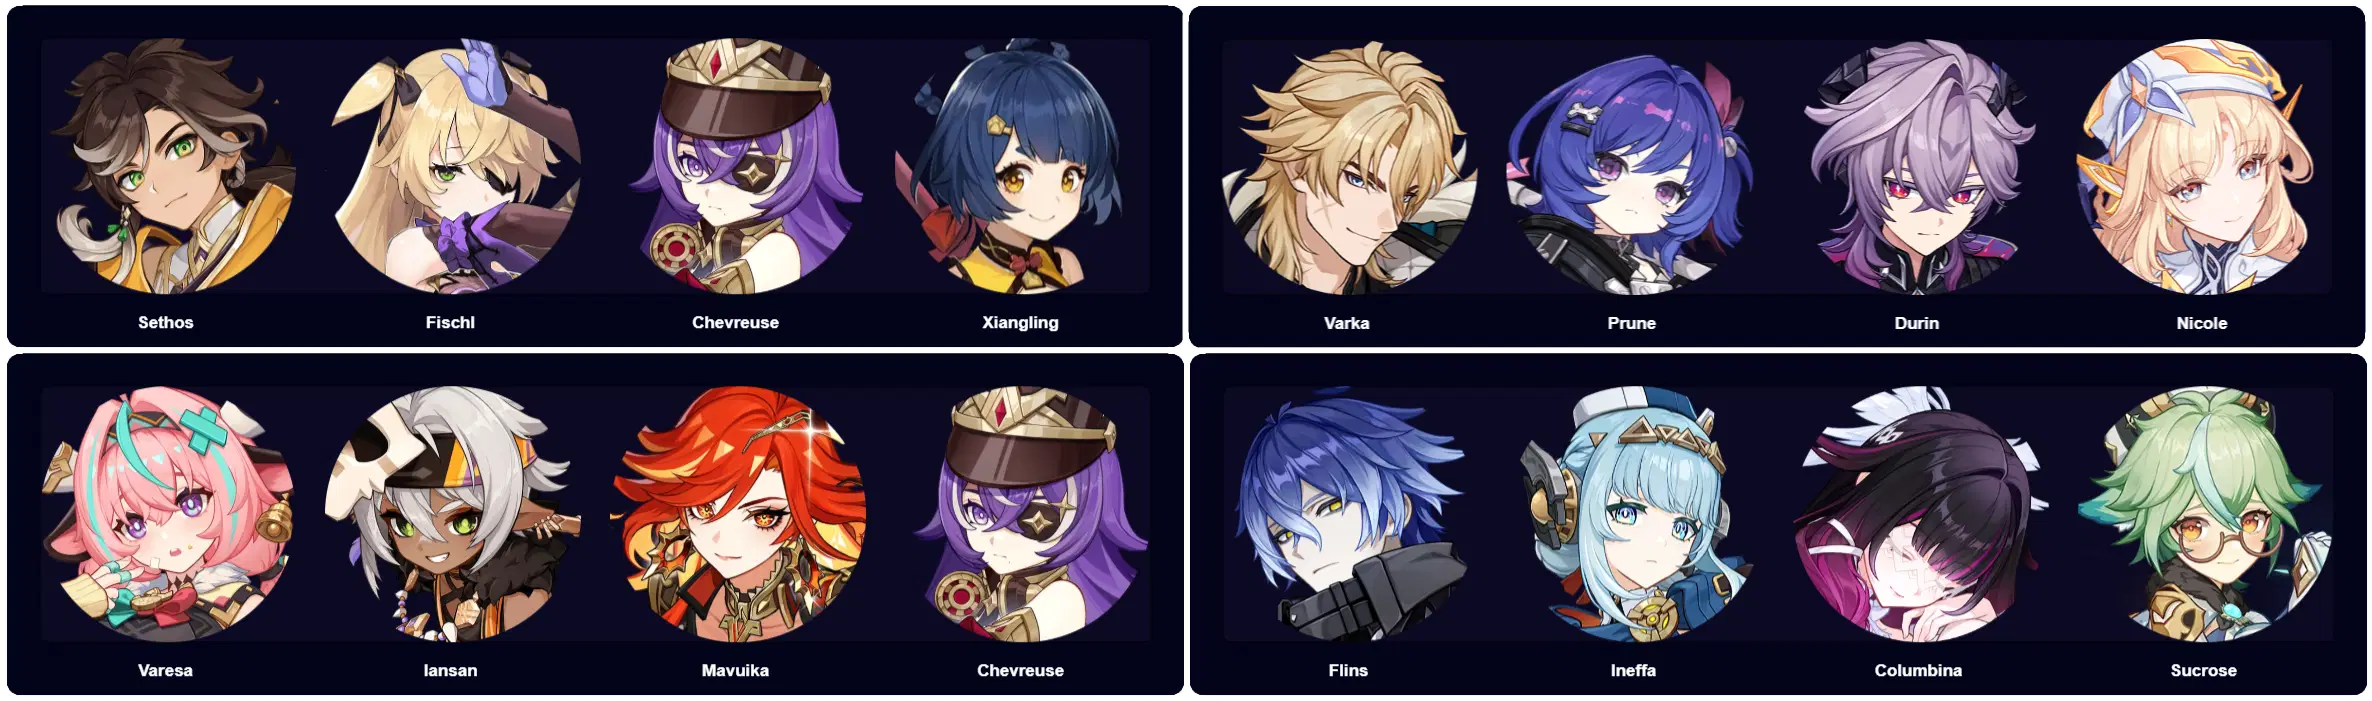
- As mentioned in the first half, bring your best Pyro characters in this half because there are many Cryo enemies in this one that requires Pyro to destroy their shield.
- No need for Anemo CC because the only stage where you can use it is in chamber 1, as the other 2 chambers only has 1 enemy per wave. But if you want to bring it along for VV set, feel free!
Floor 11 Chamber 1
First Half
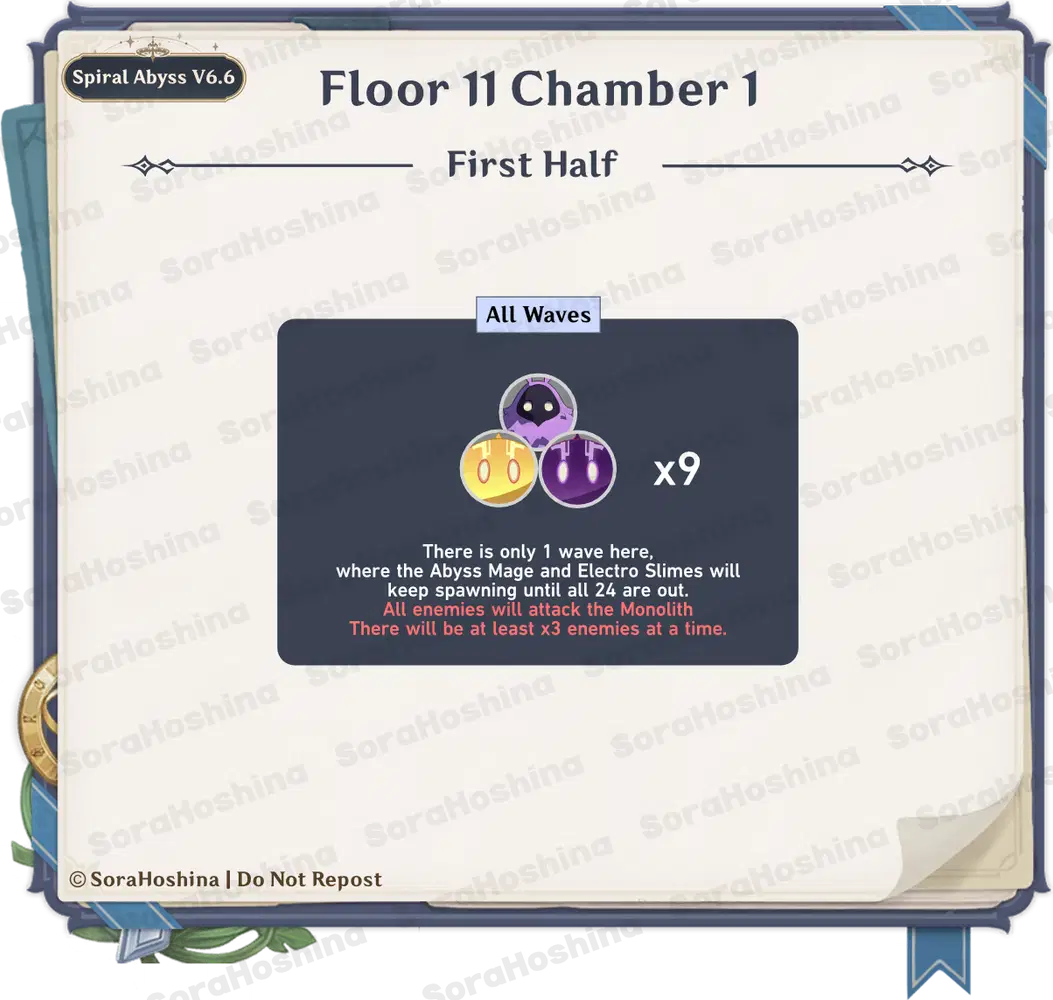
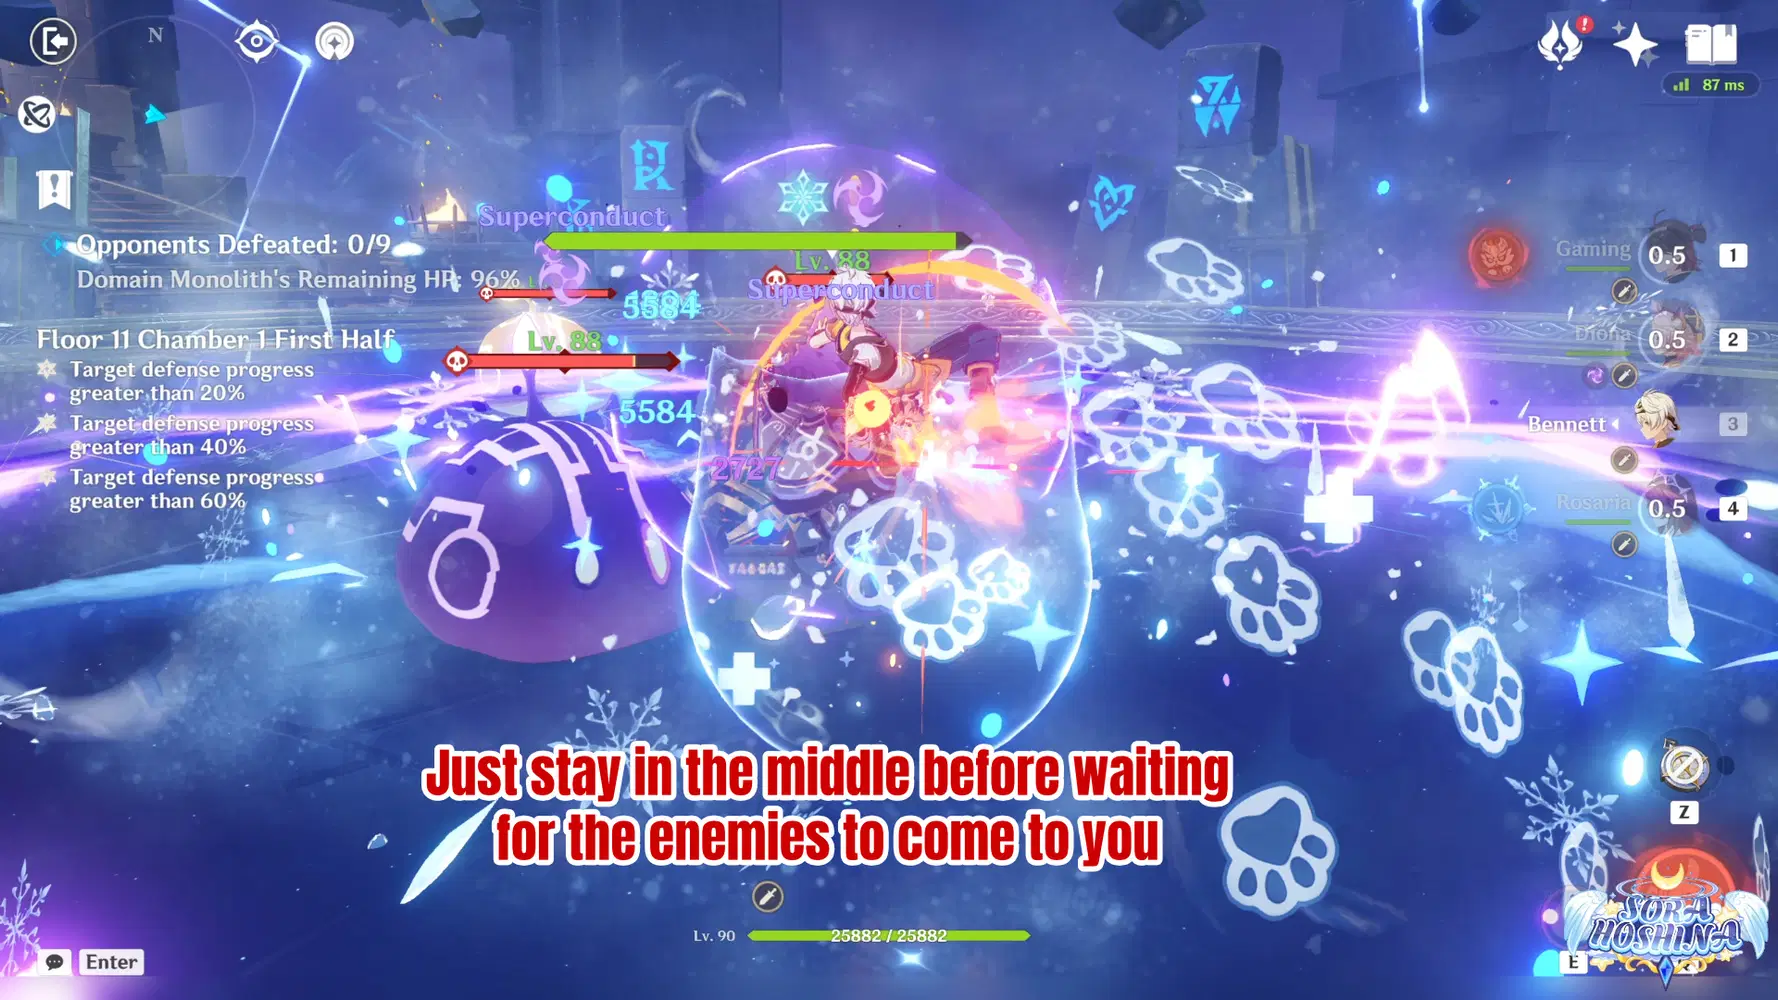
- There are no waves here as the enemies will keep spawning once you defeat its previous one, but the enemies here are x3 Electro Abyss Mage, x3 Large Electro Slime and x3 Mutant Electro Slime. For example, once you defeat an Abyss Mage, the next one will spawn in another spot.
- All in all, it shouldn't be too difficult as all enemies will target the Monolith so the plan here is to just stay near the Monolith and defeat them before any of the monsters can deal huge damage on the Monolith.
- Remember that all enemies here are Electro, so Cryo/Pyro/Dendro should be the most beneficial.
Second Half
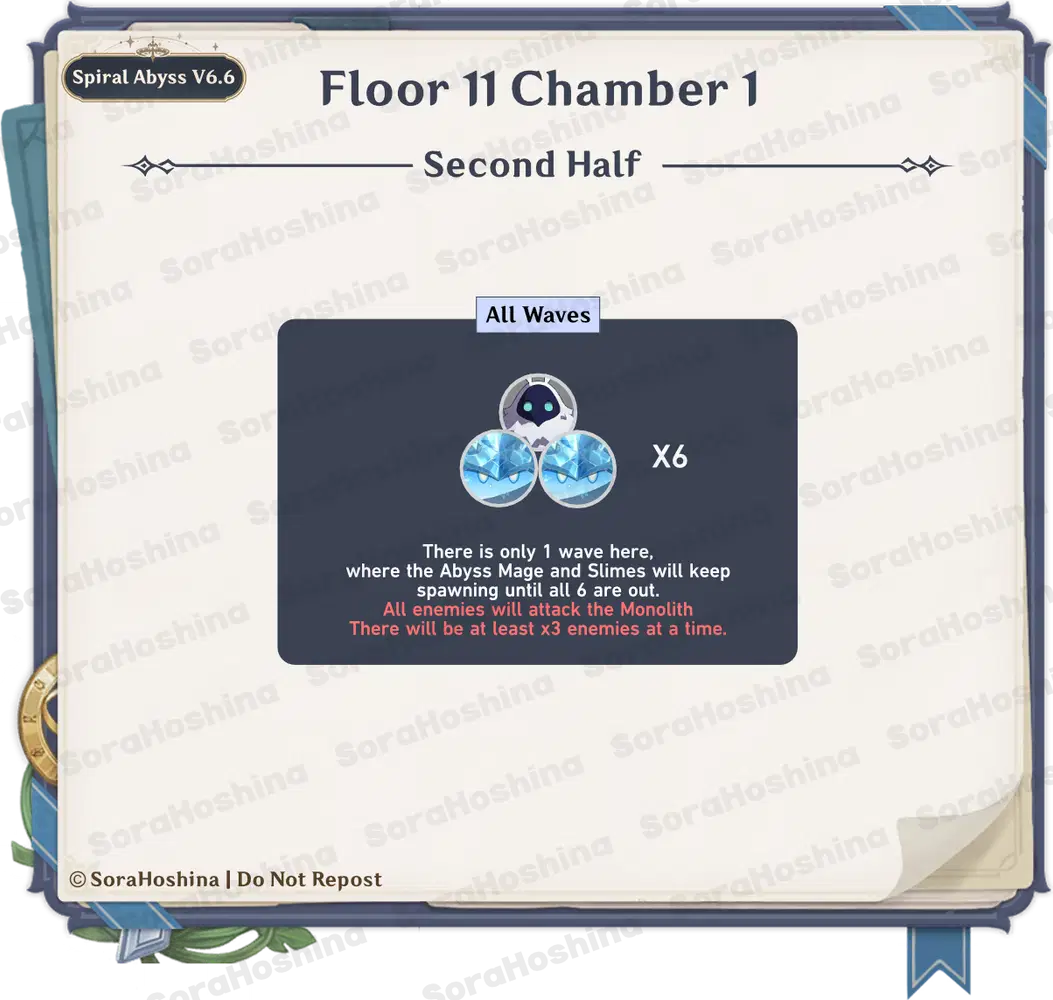
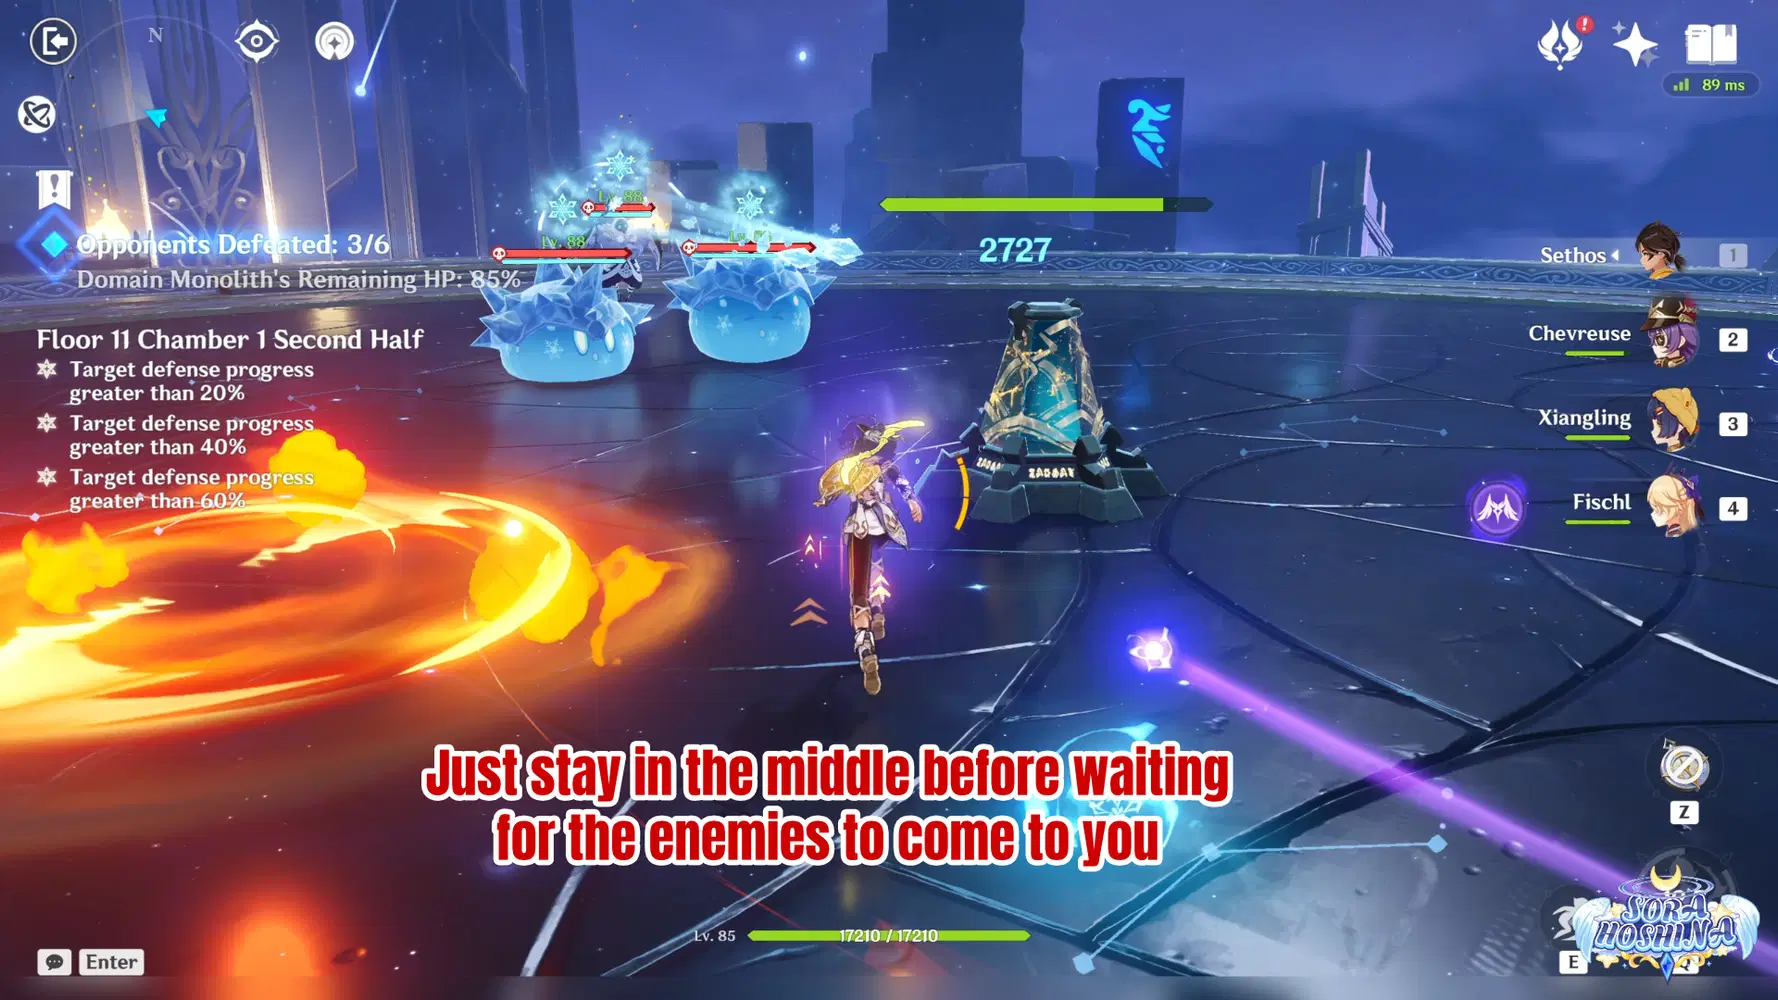
- There are no waves here as the enemies will keep spawning once you defeat its previous one, but the enemies here are x3 Cryo Abyss Mage and x3 Large Cryo Slime. For example, once you defeat an Abyss Mage, the next one will spawn in another spot.
- It is basically the exact same one like in the first half, but with lesser enemies. After all, the Cryo Slime has a shield, and if you don't bring a good element like Pyro, Pyro, Pyro (need to say it thrice to stress the importance), then you may have a hard time to complete the stage before the enemies will deplete too much of the Monolith's HP.
Floor 11 Chamber 2
First Half
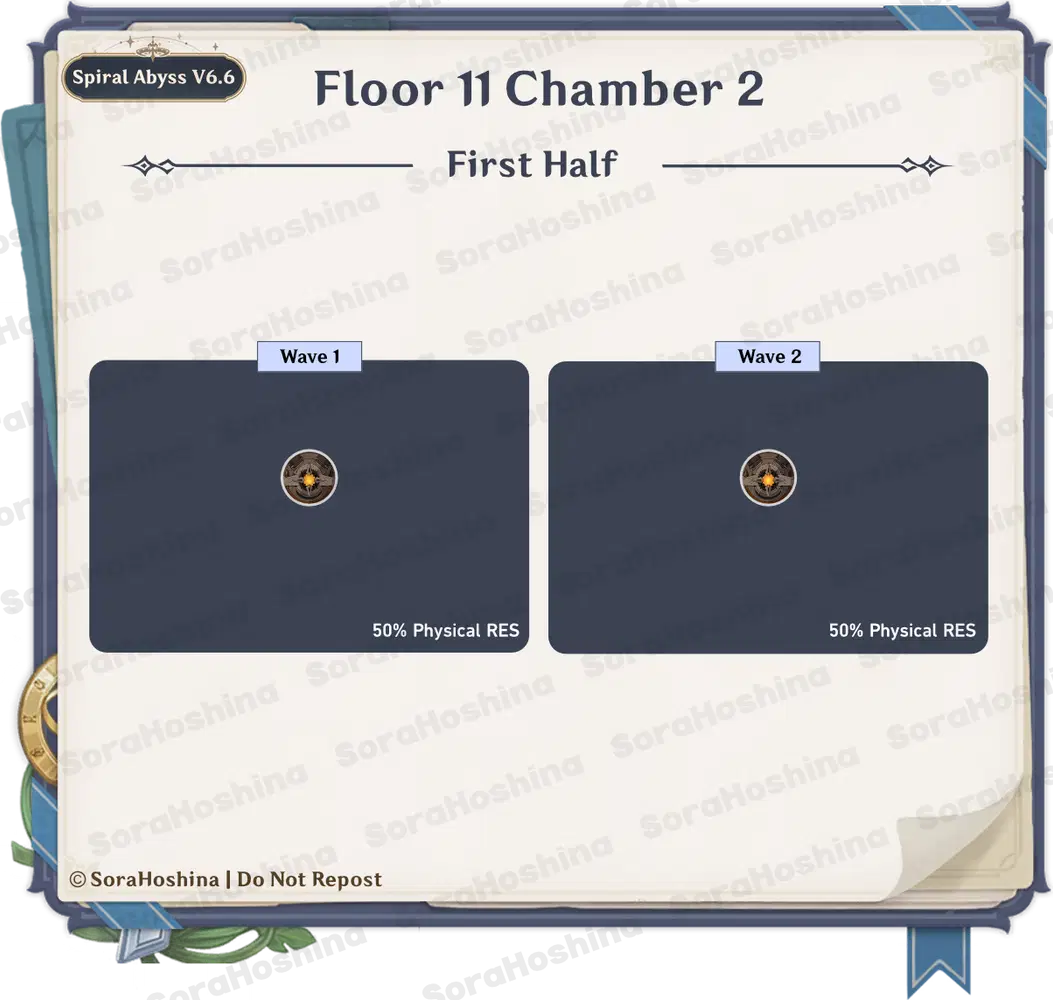
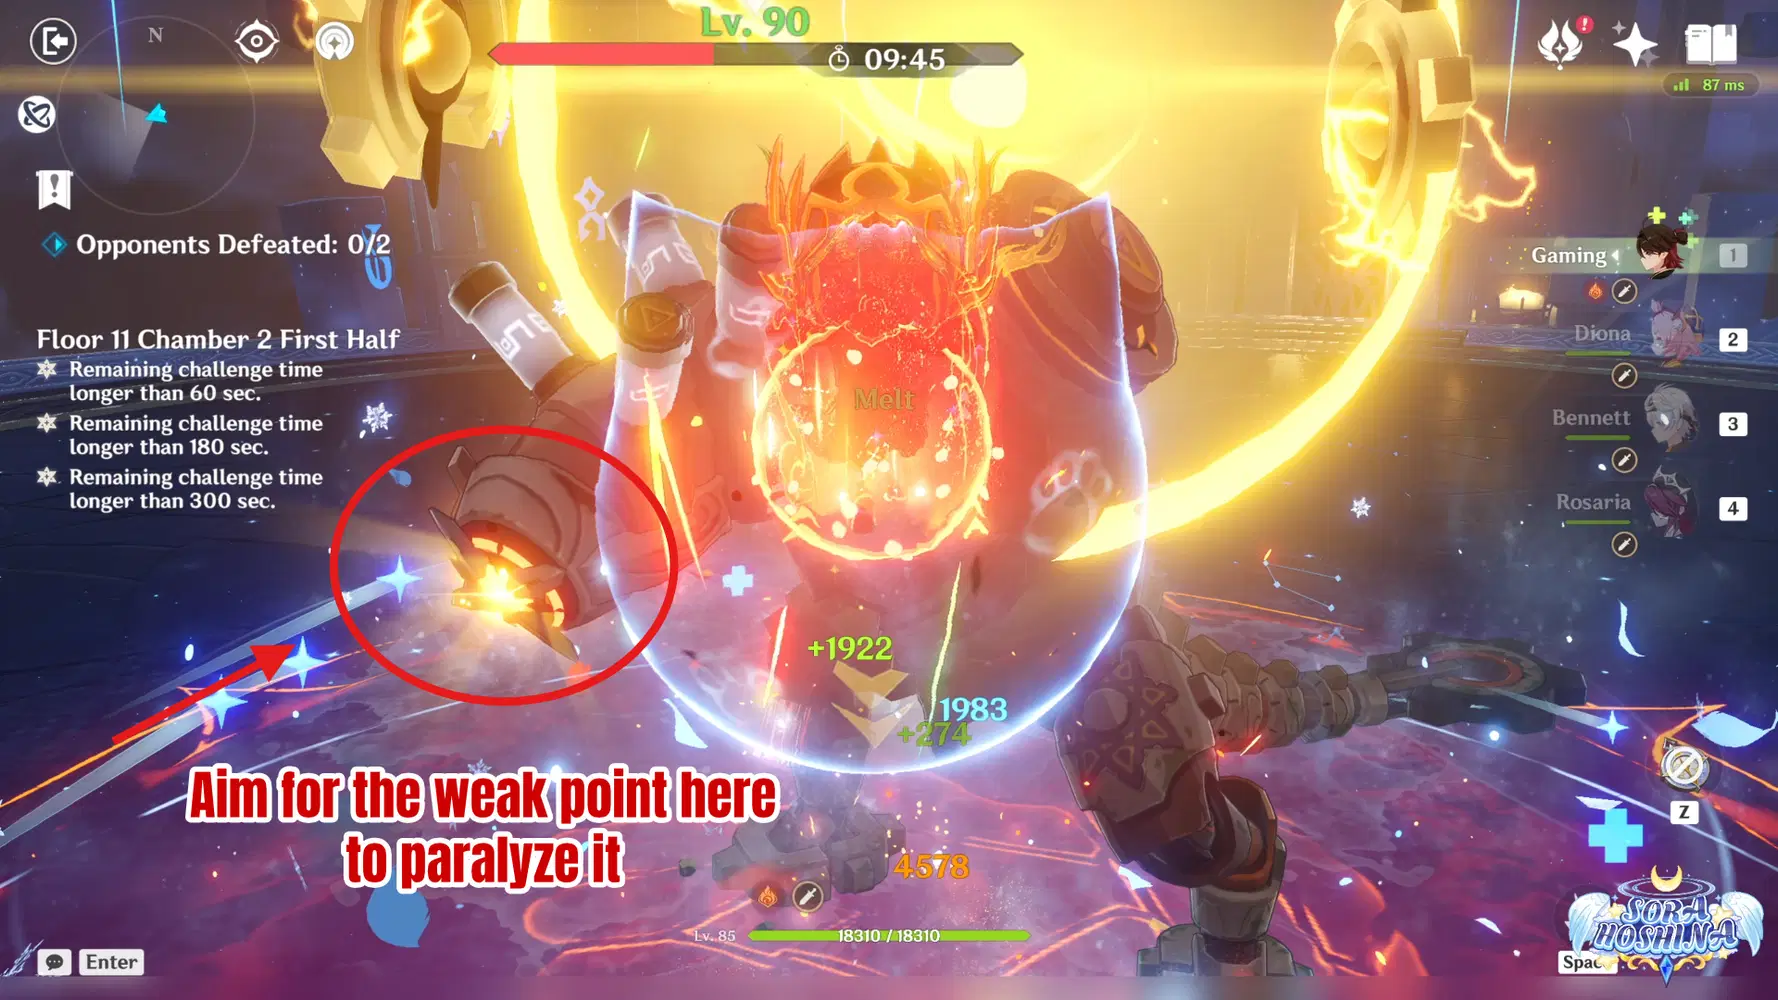
- In the first and second wave, there is 1 Ruin Drake: Earthguard and it has a 50% Physical RES.This is the enemy that you should aim for the weak point once it's exposed. At one point, this Ruin Drake will charge before scattering bombs into the air. This is the moment you want to attack its weak point with any suitable attacks (or Bow character's aimed shot).
- If you fail to do so, after the bombs hit the ground, the Ruin Drake will gain 40% Resistance to the element it has received the most amount of damage from the beginning of the battle (you can see what elements it is from the color of the bombs). You don't want this to happen because of the limited amount of time left in addition to the second wave with also the same enemy.
Second Half
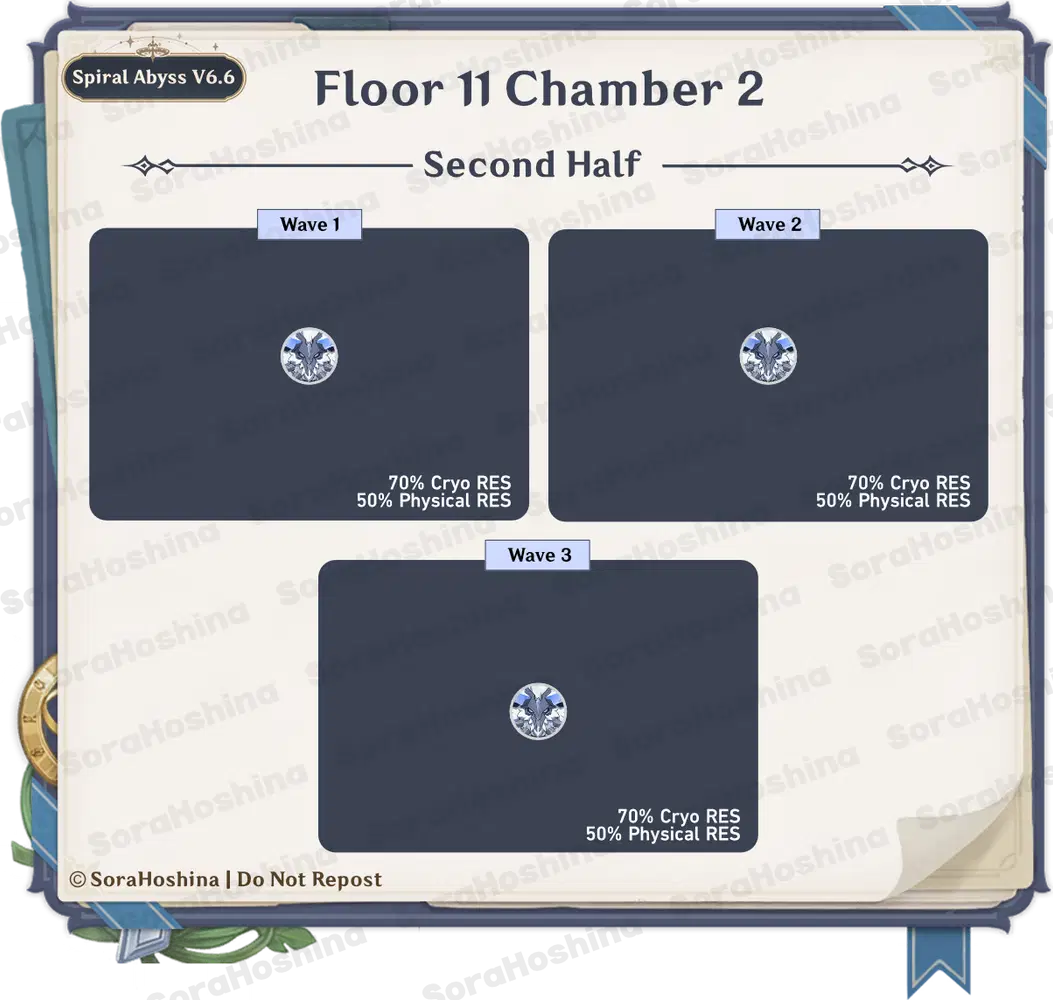
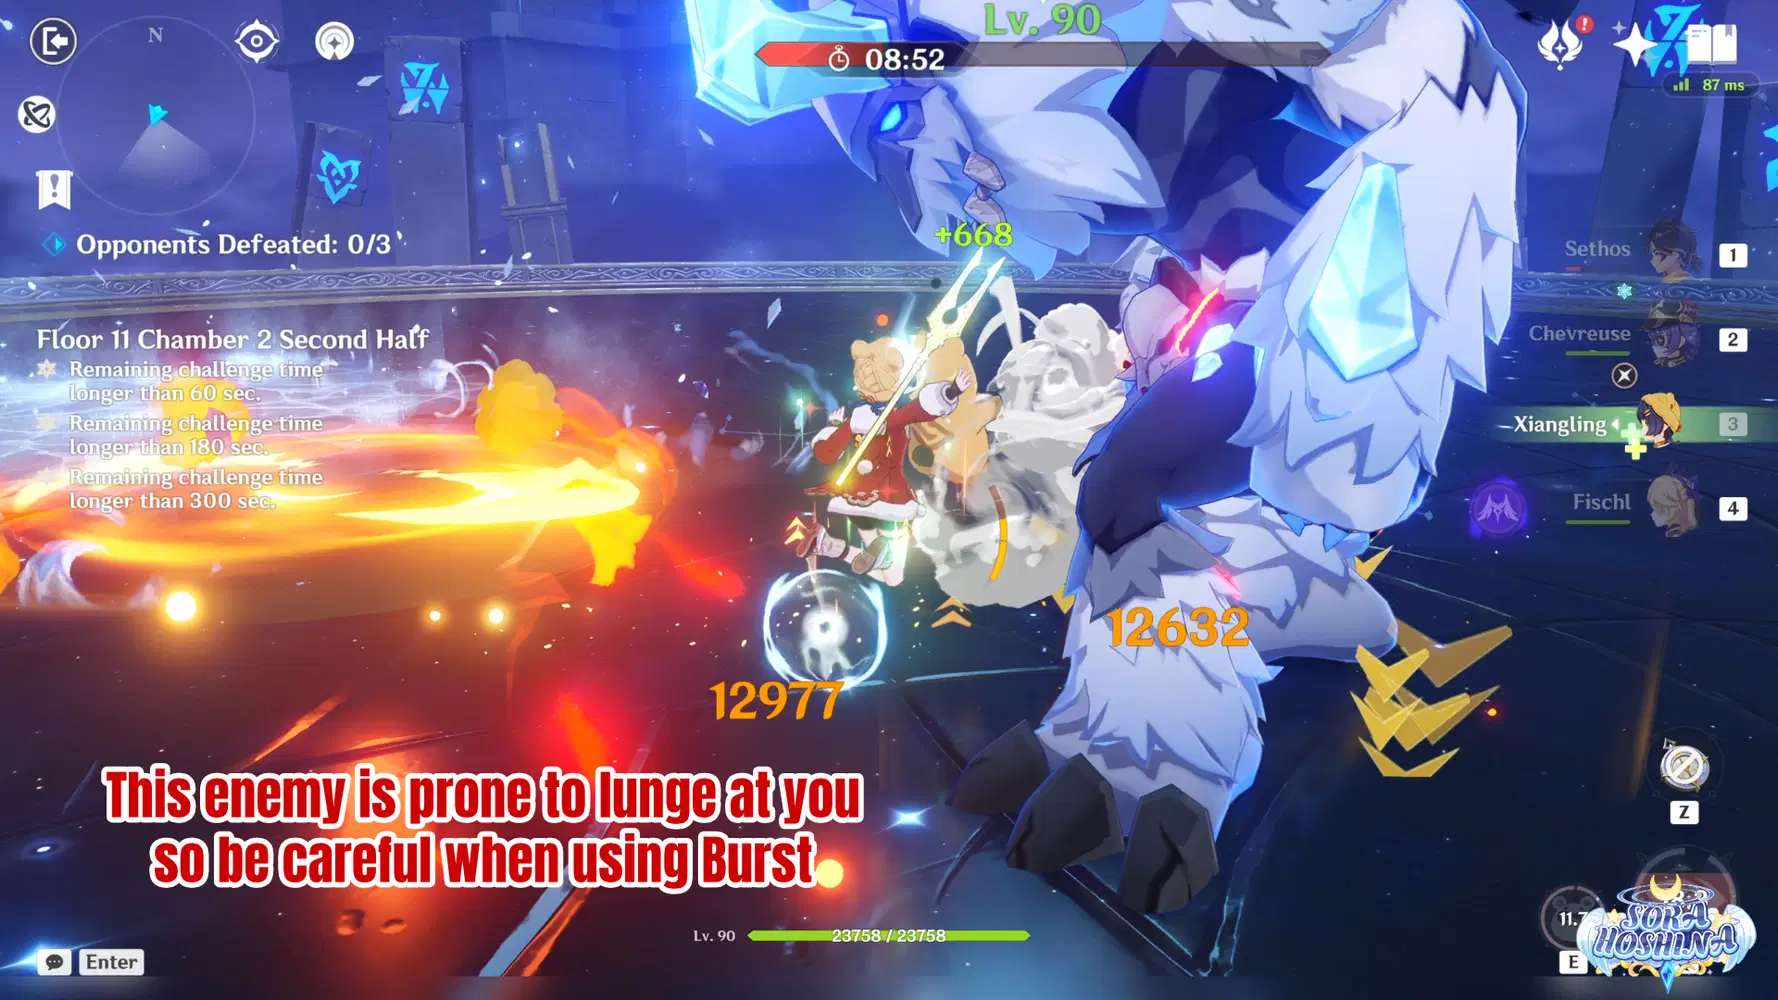
- In the first, second, and third waves, there will be 1 Frostarm Lawachurl and each of them has a 70% Cryo RES and 50% Physical RES. Watch their movement at first and try to save your Ultimate because sometimes, the Lawachurl will lunge forward, making it easy for them to avoid your Ultimate, especially one that stuck in one a like Collei and Rosaria's Ultimate.
Floor 11 Chamber 3
First Half
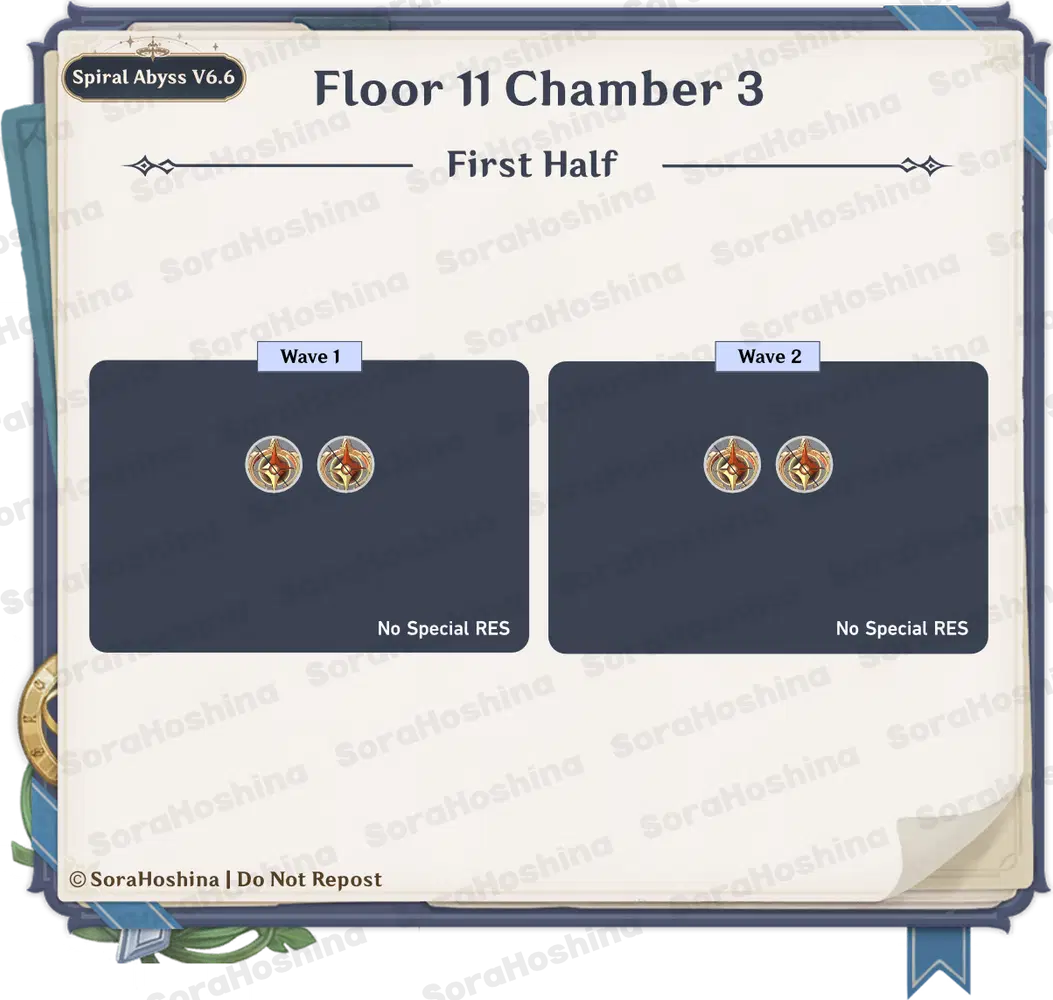
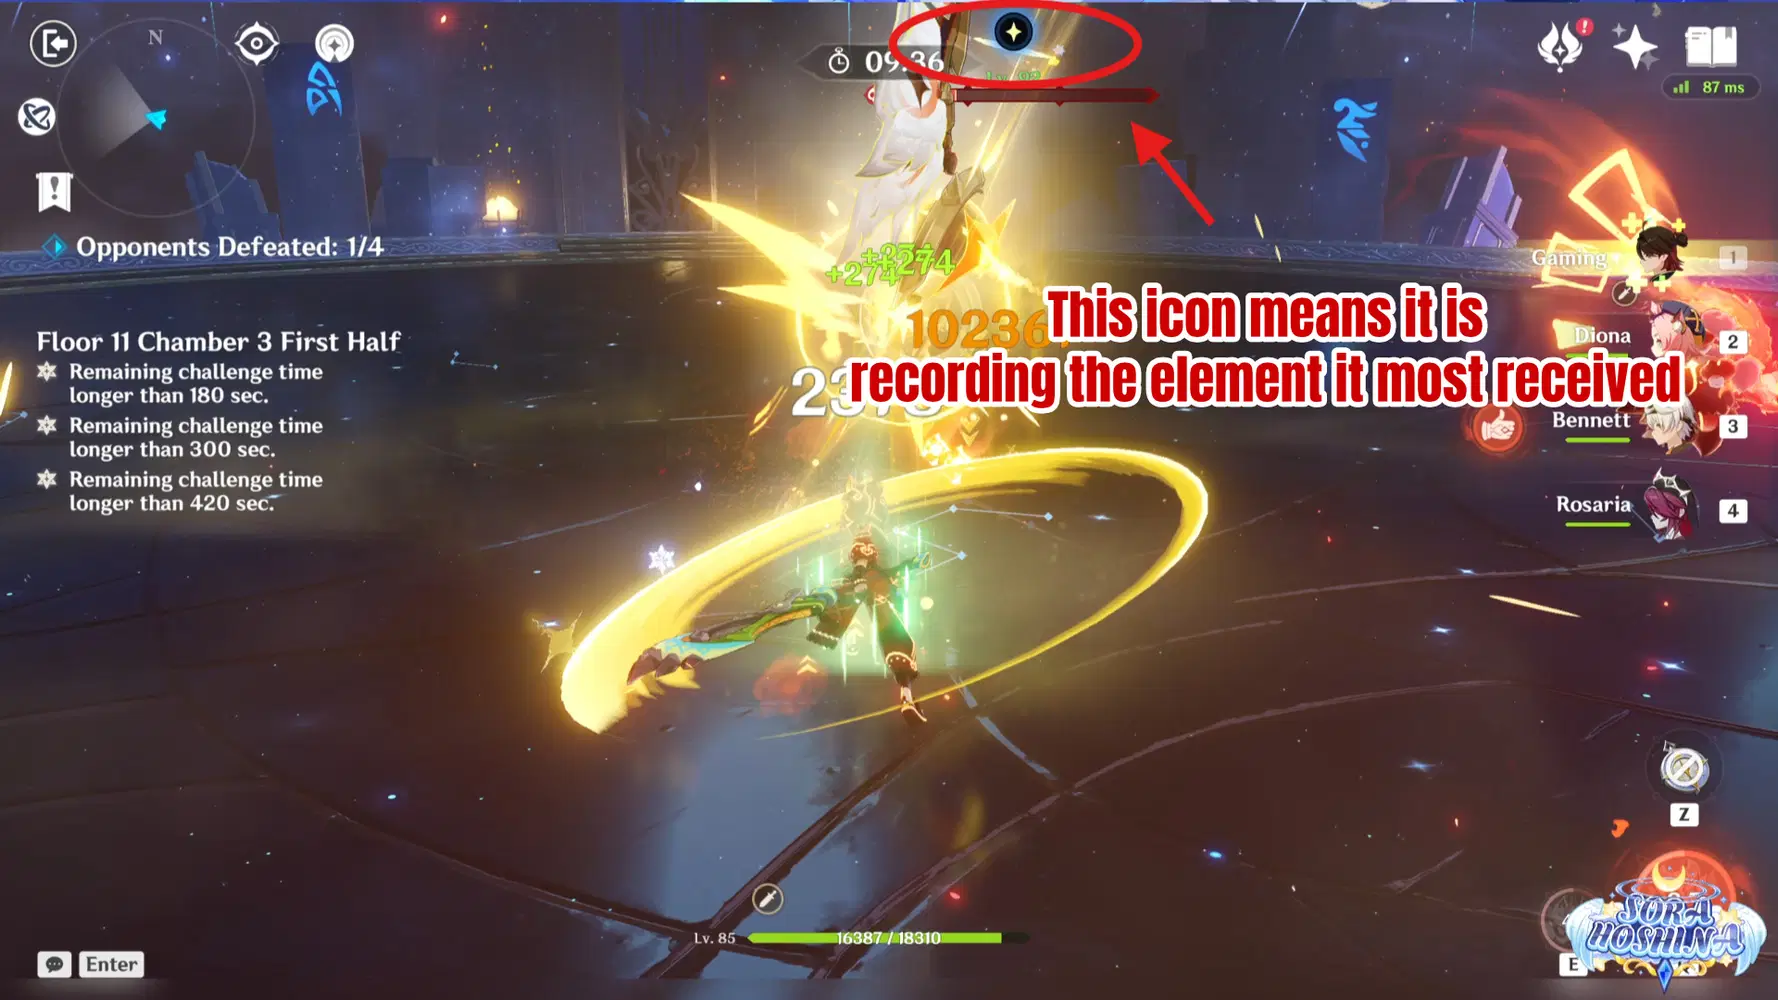
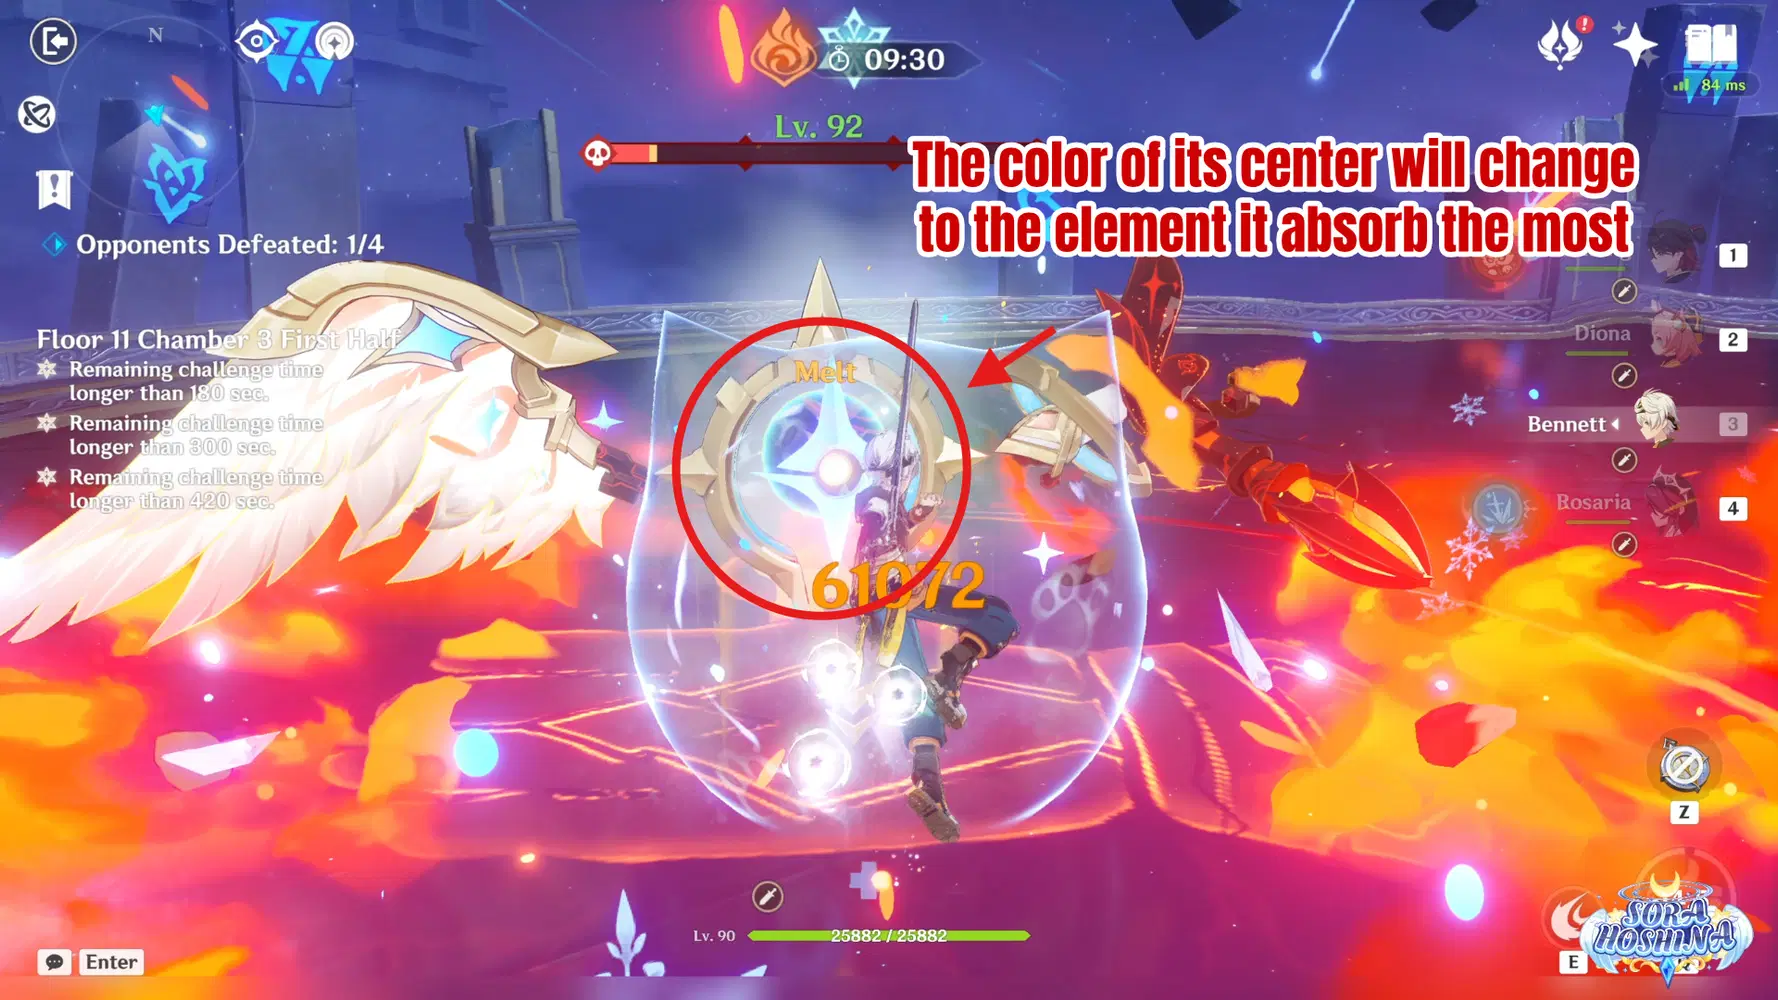
- In both first and second waves, there will be 2 Domain Keeper. It does not have any special RES. Most of its attacks are normal and can be avoided easily. The one you need to pay attention is when it enters the Deluded Eye state with a Fury bar.
- In this state, the Keeper will record (or monitor) any Pyro/Hydro/Electro/Cryo hits taken. The element with the most attacks will be displayed on the Fury bar. After taking 3 hits from the same element, it will transform into the corresponding elemental form (hit by Pyro the most, it will enter Pyro state), gaining 70% increased RES to it.
Second Half
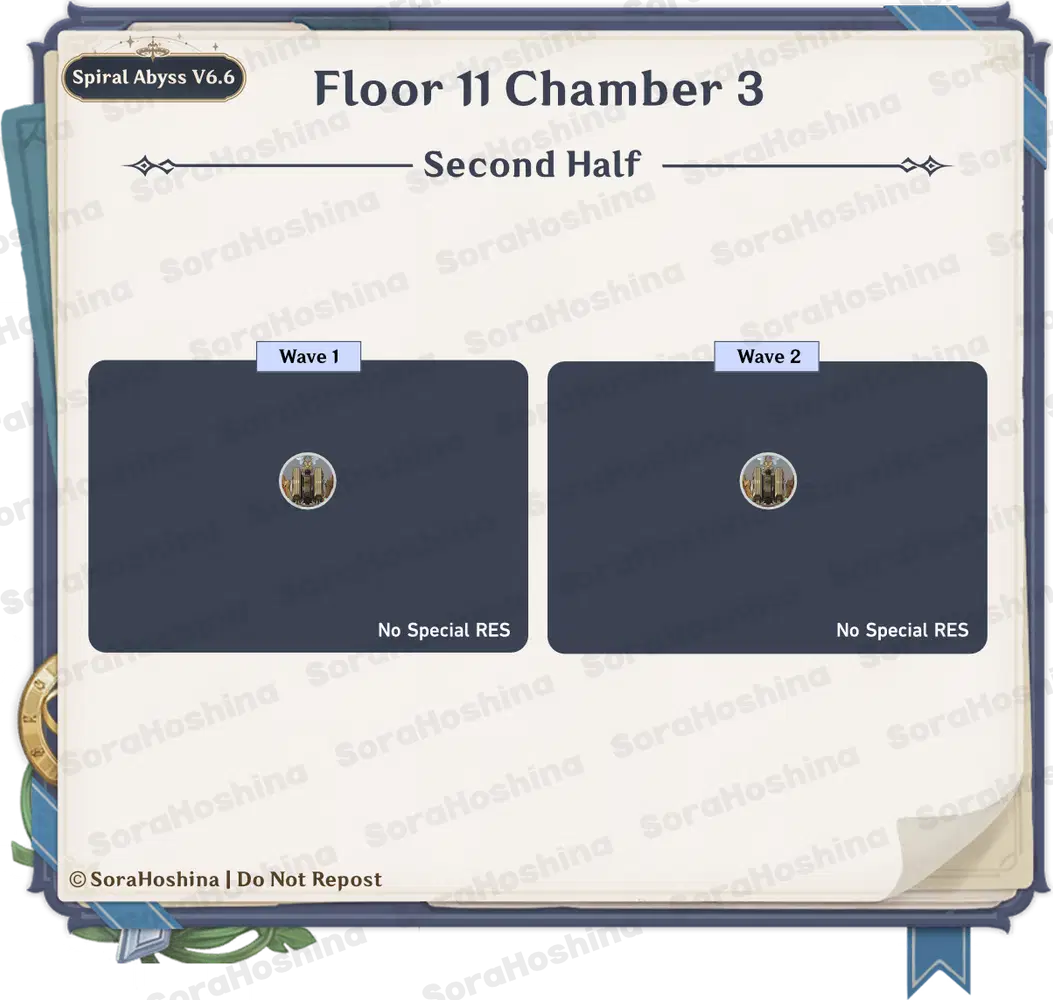
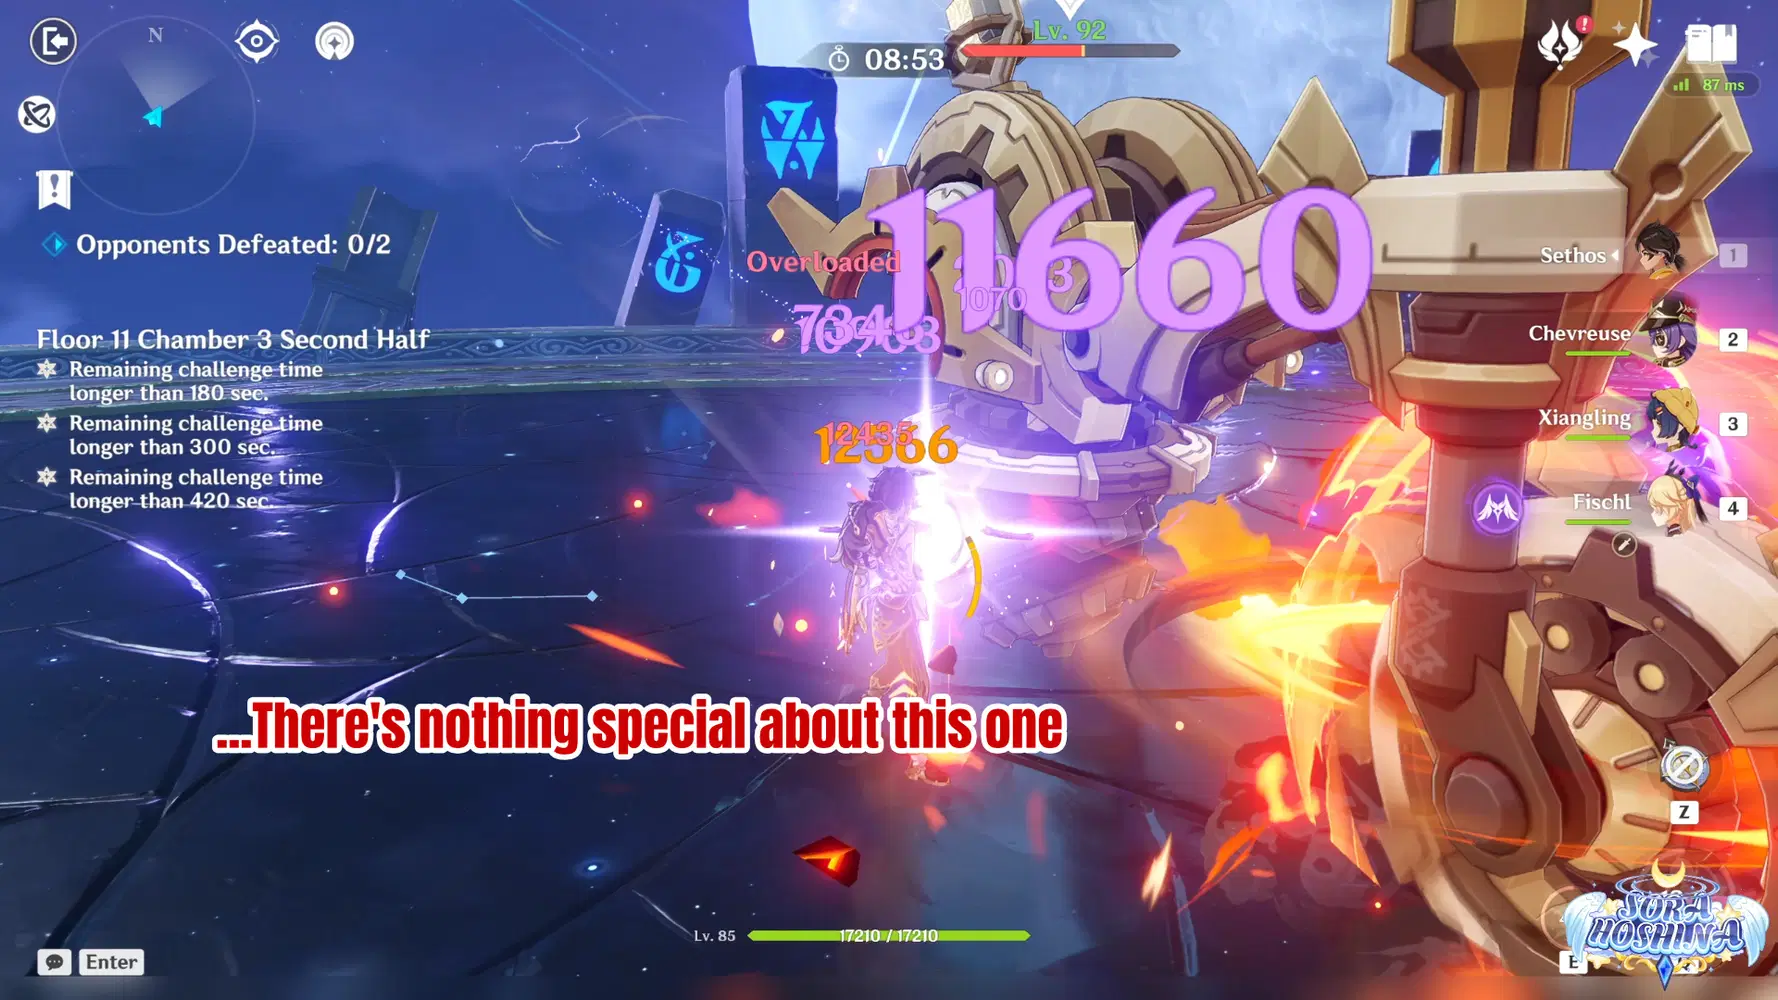
- The first and second waves will spawn a Construction Specialist Mek and it has no Special RES. It's just like any other mobs, but you can weaken it by using Ousia attacks (as this enemy is Pneuma type). One of the dangerous attack it has is the spinning Pyro attacks as it can knockback your characters, so having a shield is a good option.
Floor 12
Ley Line Disorder
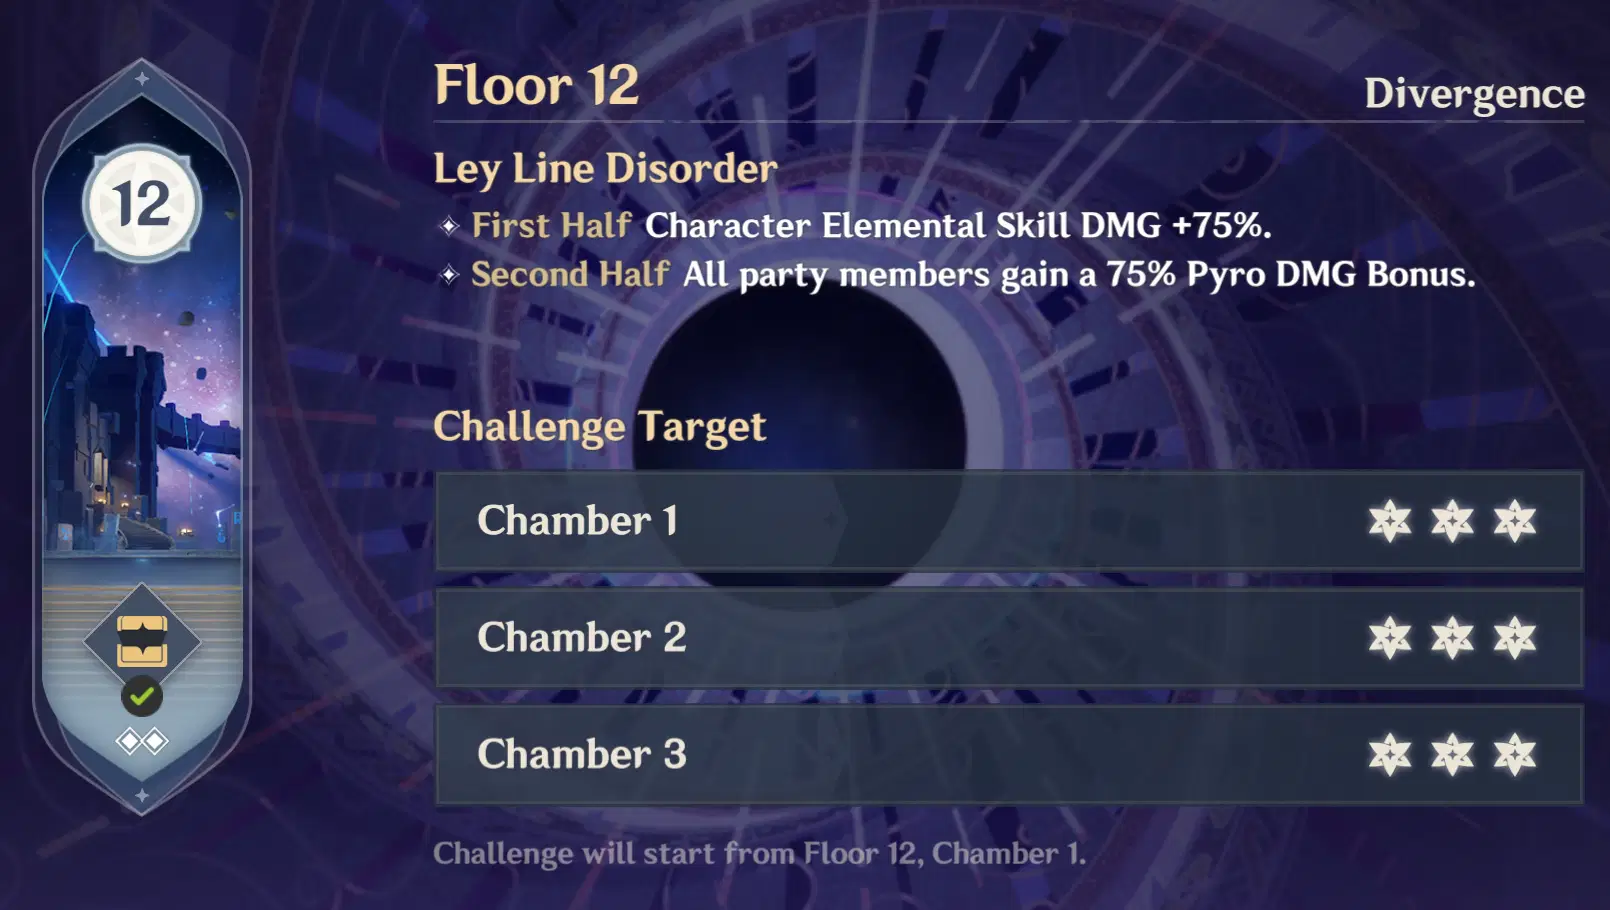
First Half - Character Elemental Skill DMG +75%.
Second Half - All party members gain a 75% Pyro DMG Bonus.
Team Recommendations
Abyss Showcase
Team Recommendations for the First Half
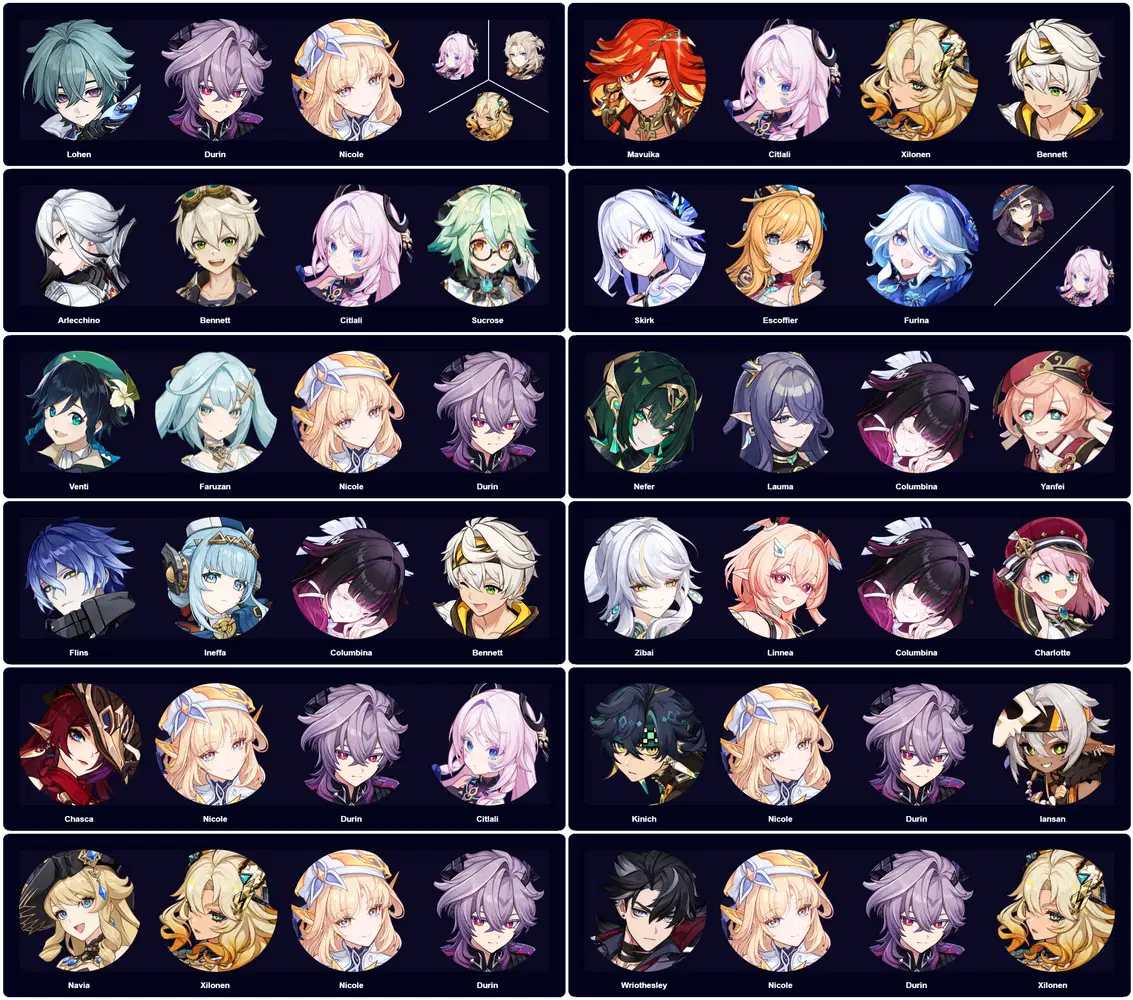
- Pretty obvious but, you're gonna need a single-target DPS.
- Next, you need element that will be able to destroy Electro Abyss Lector's shield, so bring Cryo/Pyro/Dendro to the team.
- Thirdly, there will be a Primo Geovishap (Pyro), so bringing along a shielder is much better than a healer to rebound the huge damage later on the respective chamber.
- Last but not least, you need a combination of PHEC (Pyro/Hydro/Electro/Cryo) for the last chamber. It's best if you just focus on either Melt or Vaporize team for this half.
Team Recommendations for the Second Half
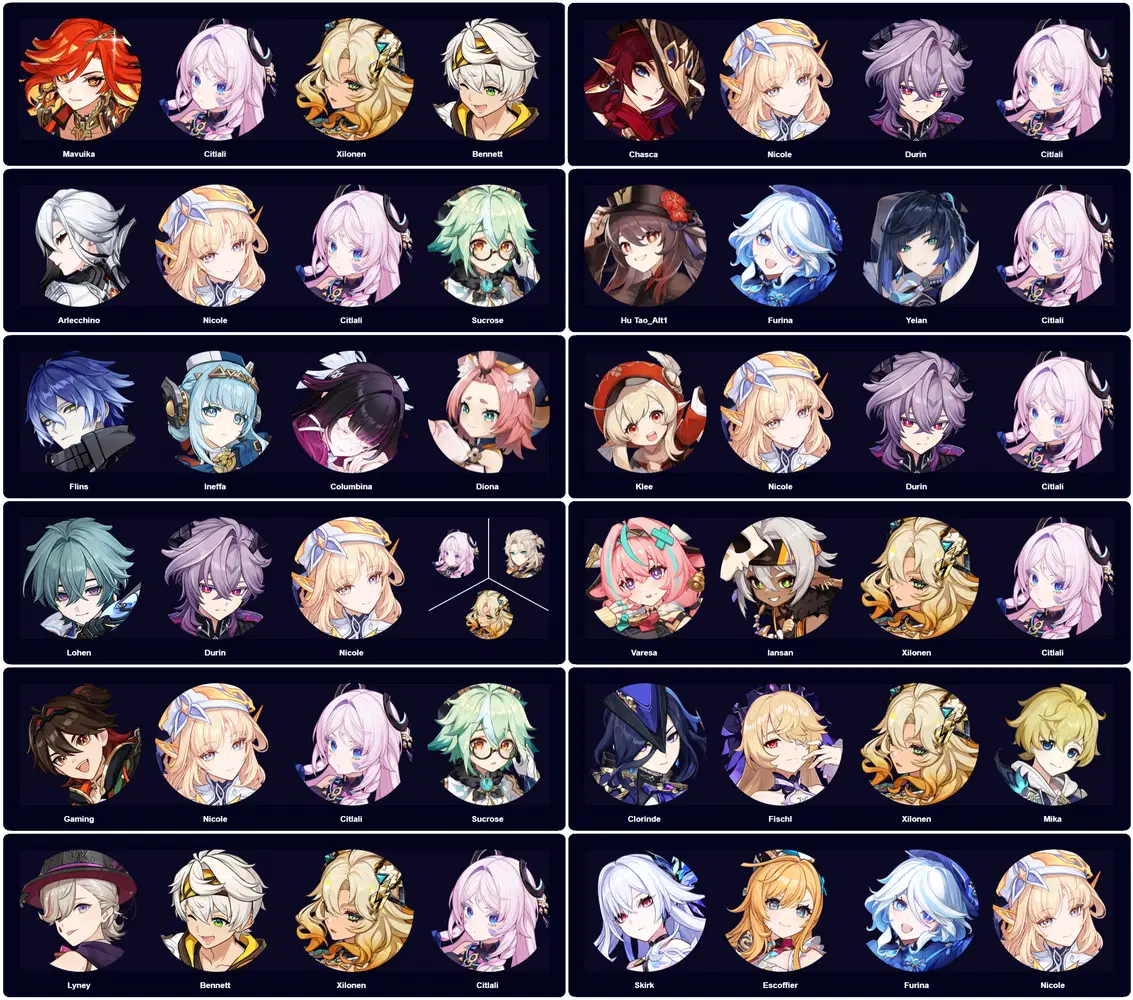
- For this half, you also need a single-target DPS.
- Next, you need to bring at least a Cryo character as Suanni in the 2nd chamber need to be Frozen (it will enter Hydro state, don't worry about Hydro). While the 3rd chamber requires Pyro/Electro character to break the shield. Make sure to meet these two criteria to make it easier for you to clear this half.
- If you have Citlali or Ororon, you may want to bring them because their tribe skill can lock all the Spiritspeaker's clones in place.
- Lastly, the 1st chamber will be easier if you bring a Natlan character with great mobility (to climb the pillar), but not bringing them is also fine as other character can still climb the pillar, but with a little difficulty.
Floor 12 Chamber 1
First Half
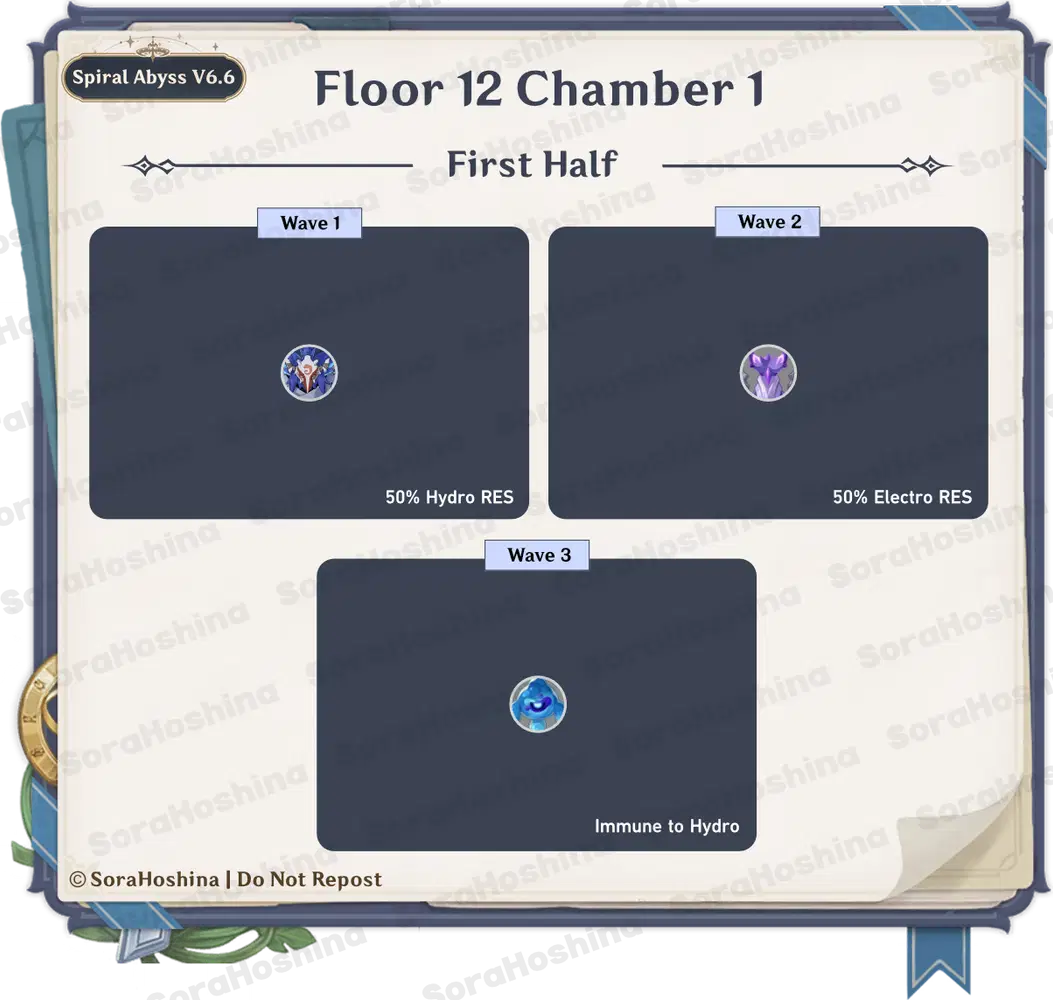
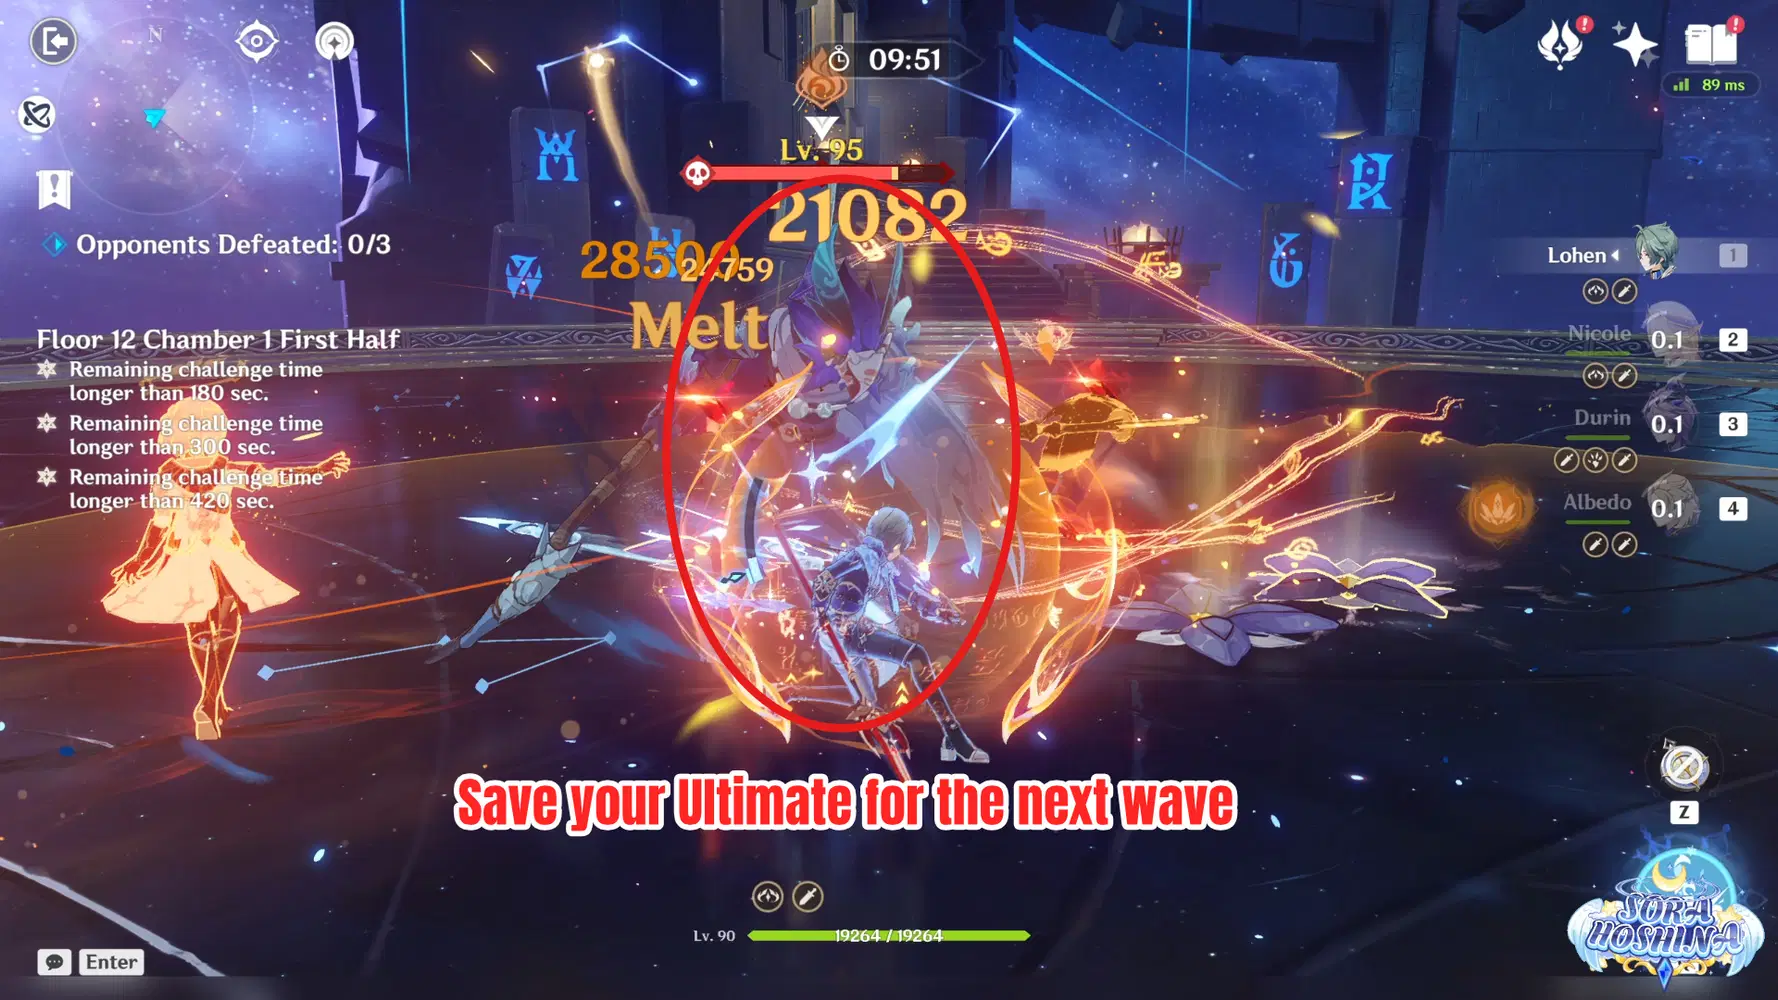
- In the first wave, there is 1 Hydro Hilichurl Rogue. There is nothing too special with this enemy except it has 50% Hydro RES and will summon a Hydro Slime to create bubbles that can trap you. Defeat the Slime to knock the Hilichurl Rogue down and apply Hydro to them. Try to save your Elemental Burst (especially the one that can do continuous off-field damage) for the next wave.
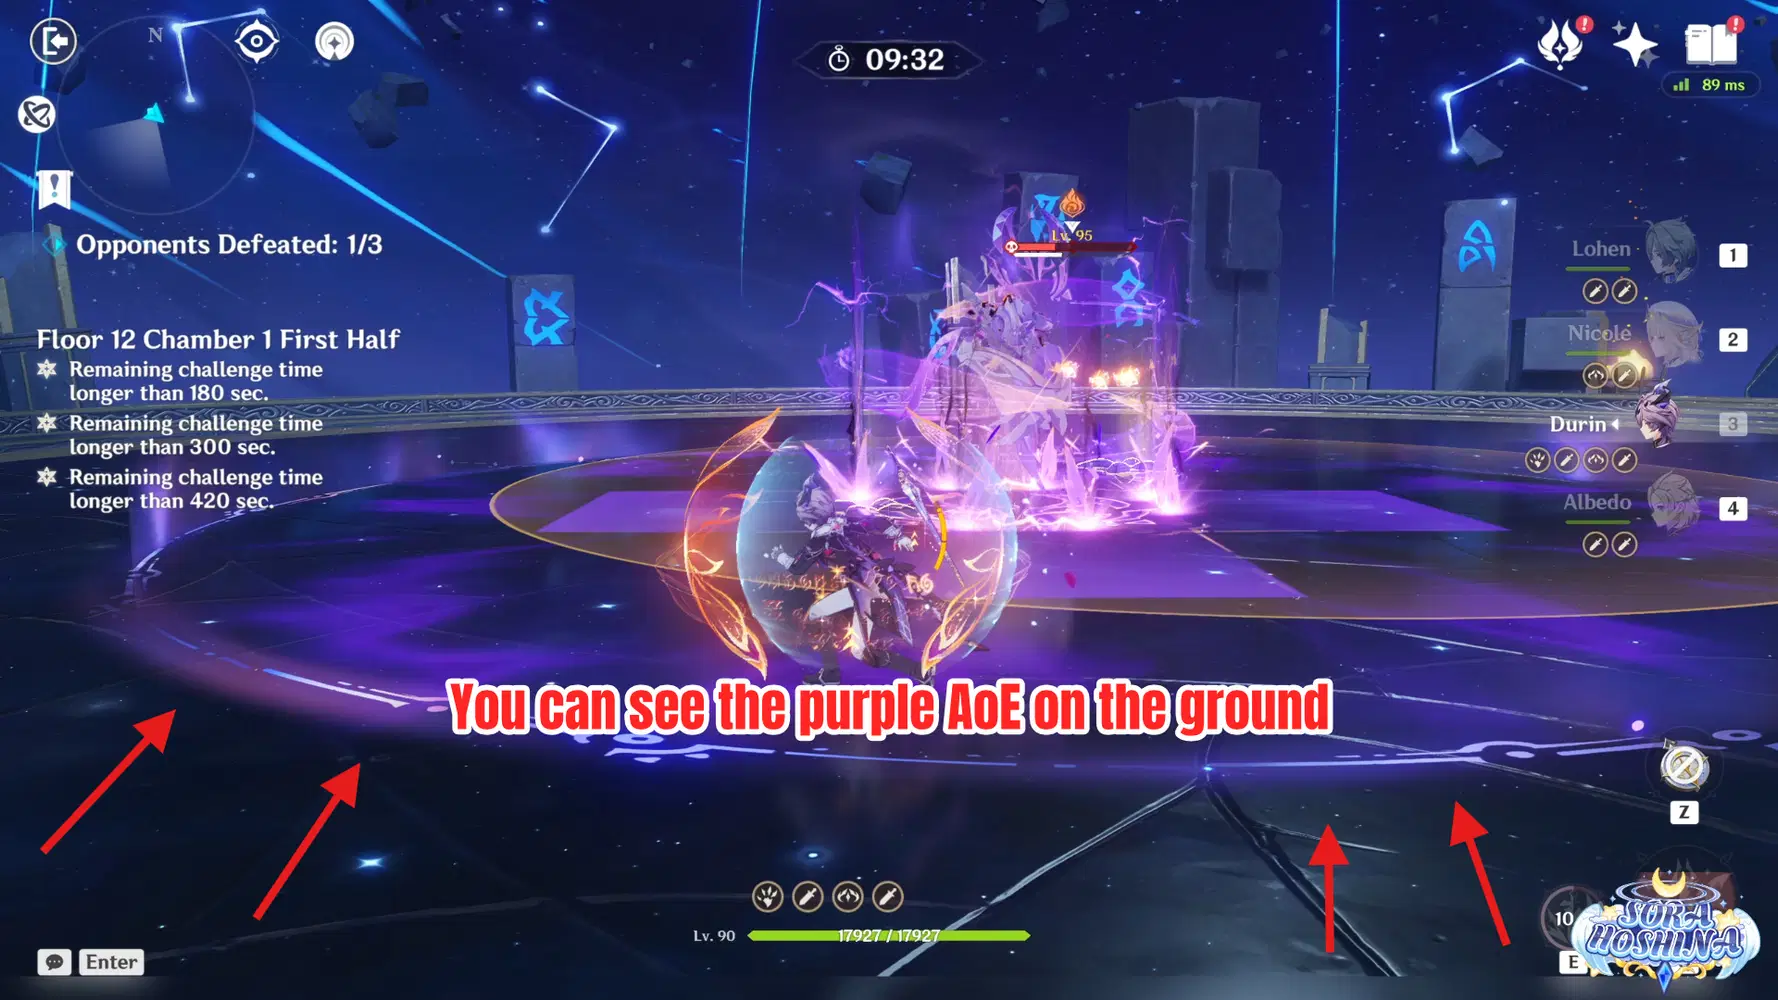
- In the second wave, there is 1 Thundering Wayob Manifestation and it has 50% Electro RES. Once you see the Wayob in the second wave, immediately use every Elemental Burst you have, especially one with a long duration like Xingqiu or Collei, etc so their damages can hurt the incoming shield. Around ~5 seconds after the Wayob spawns, it will create an arena and gain a non-elemental shield.
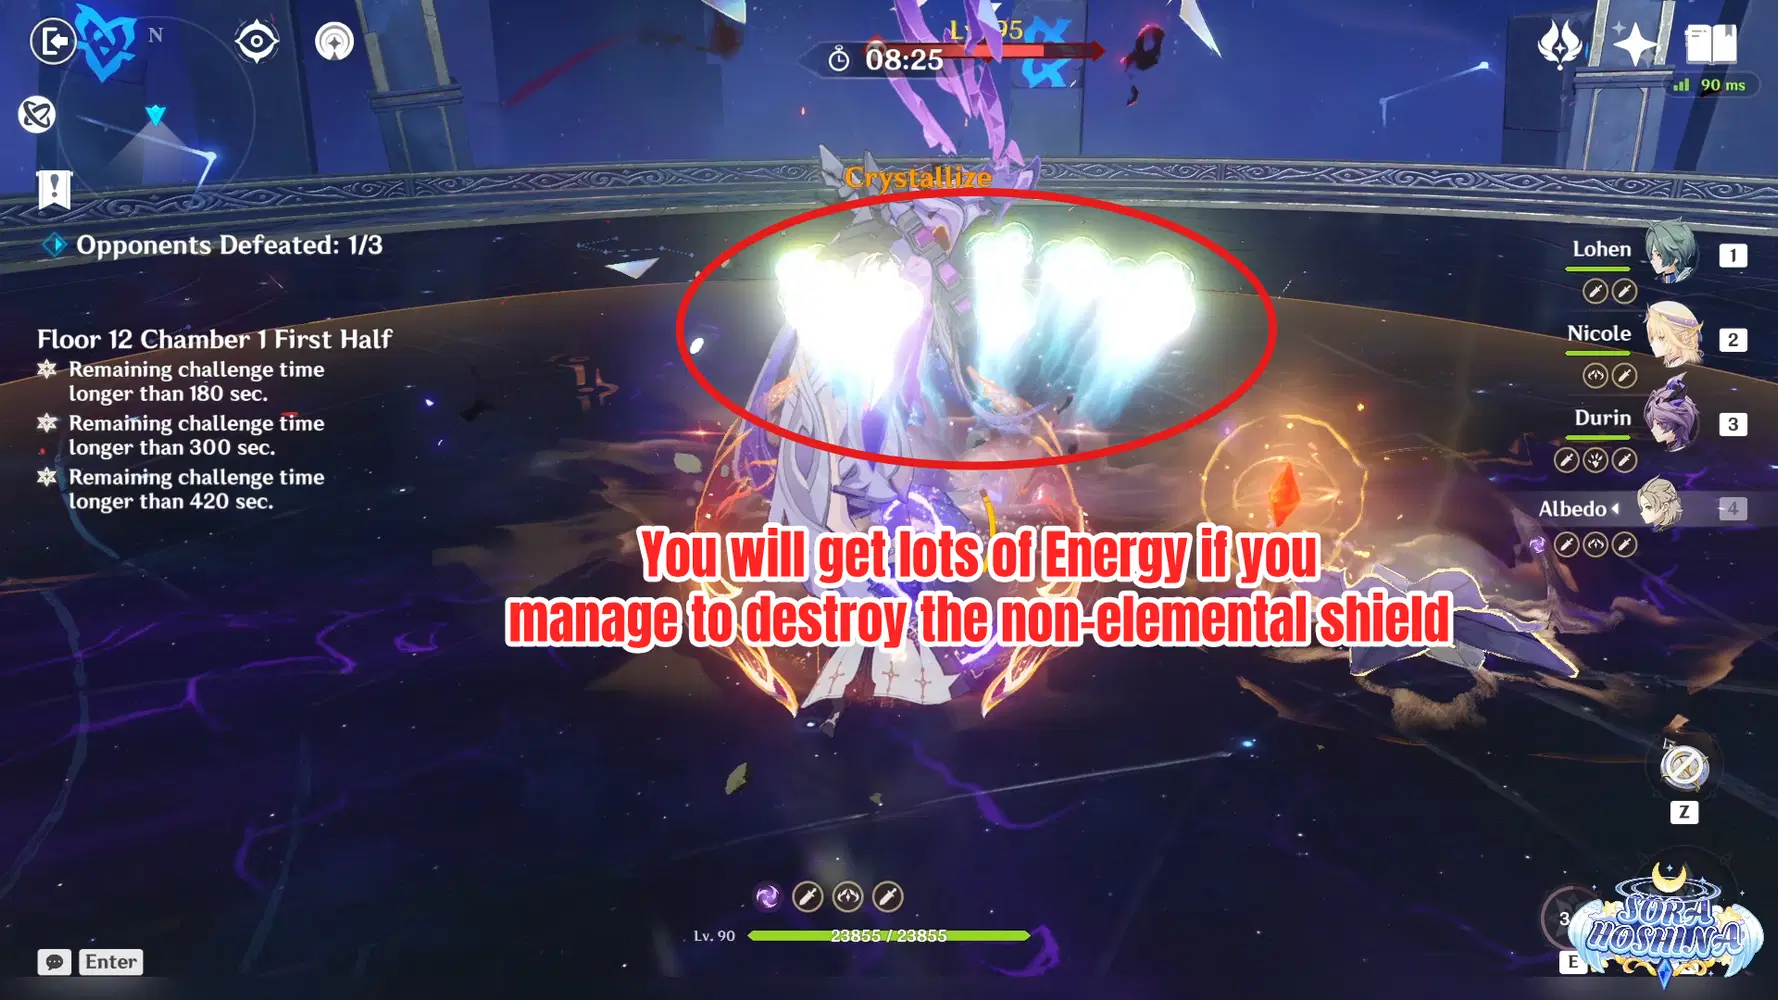
- Characters within the arena will lose all Energy and cannot gain Energy (this is why you ned to use all your Burst immediately). If the Arena's duration ends and the shield is not destroyed, the Wayob Manifestation causes an explosion around itself and converts the remaining percentage of its shield to a Electro elemental shield. But if you manage to destroy the shield, you will get a LOT of Energy.
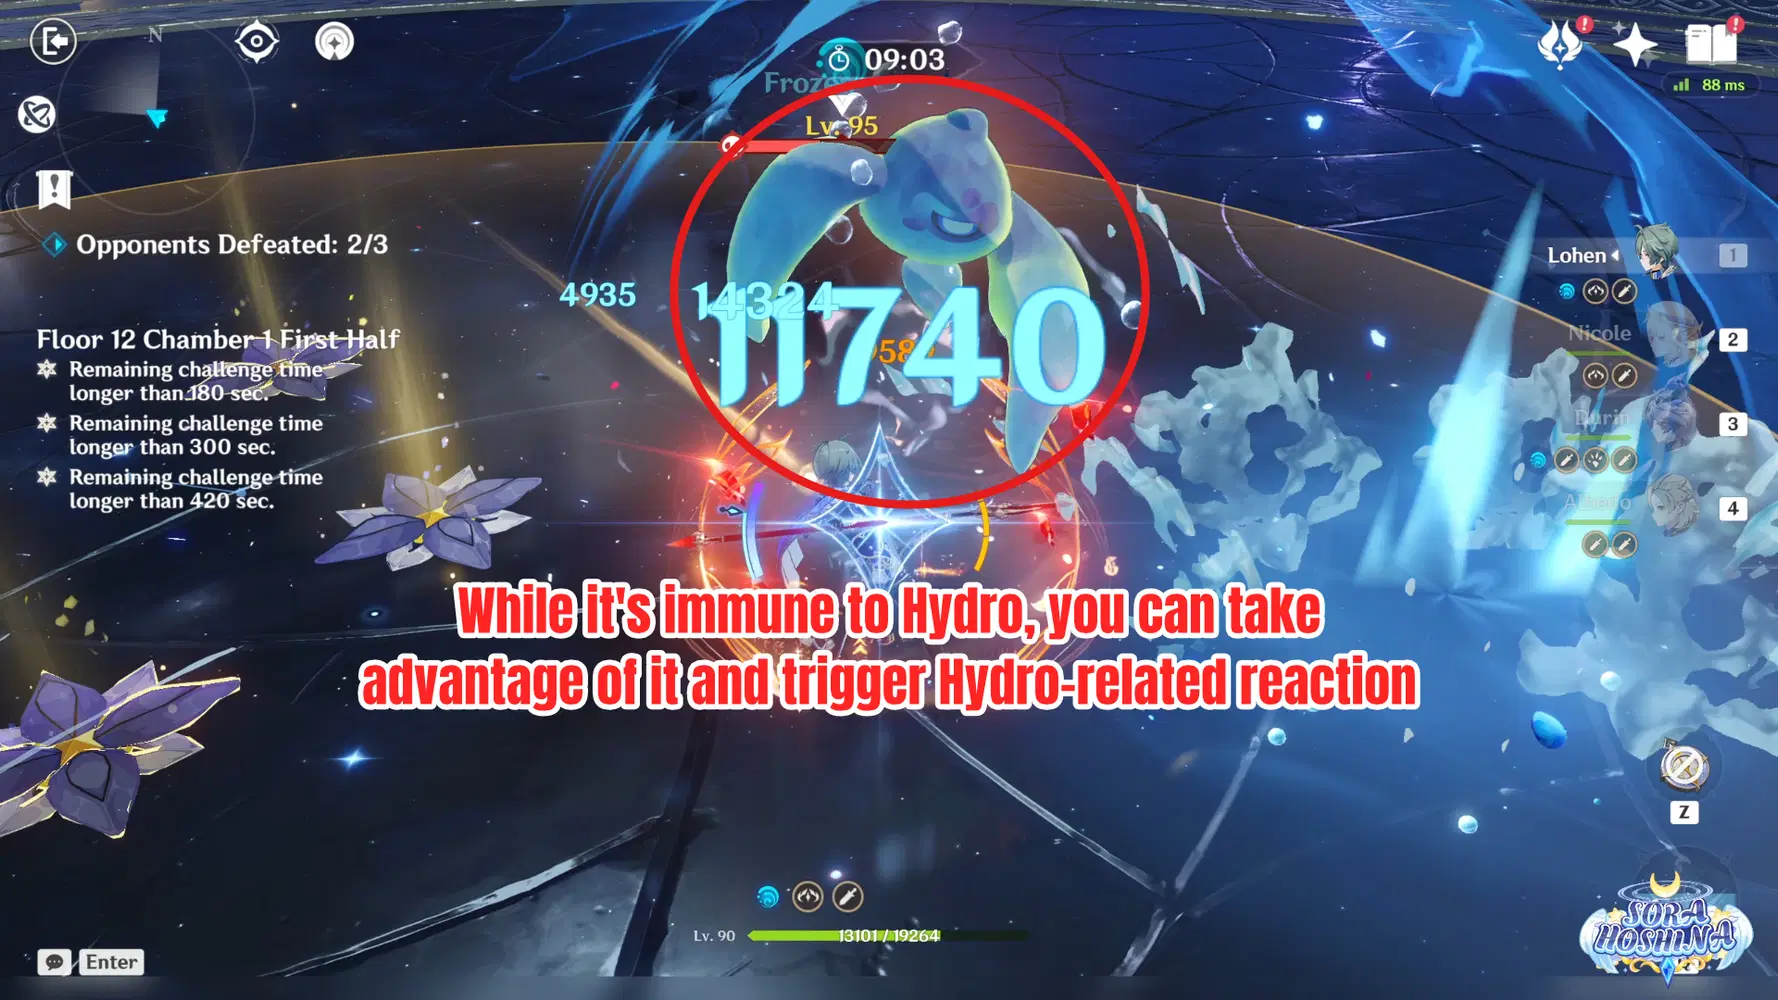
- In the third wave, there is 1 Veteran Tainted Water-Splitting Phantasm. Do not bring a Hydro Main DPS to the battle. A Hydro Sub-DPS or Support is fine, but not Main DPS. It will significantly slow you down because the Water-Splitting Phantasm is immune to Hydro. But there is only one enemy here so once it spawns, focus all your firepower to this enemy and you should be fine. They will enter Enraged State from the start and will stay that way permanently. In this state, their attacks will be enhanced and become immune to being Frozen.
Second Half
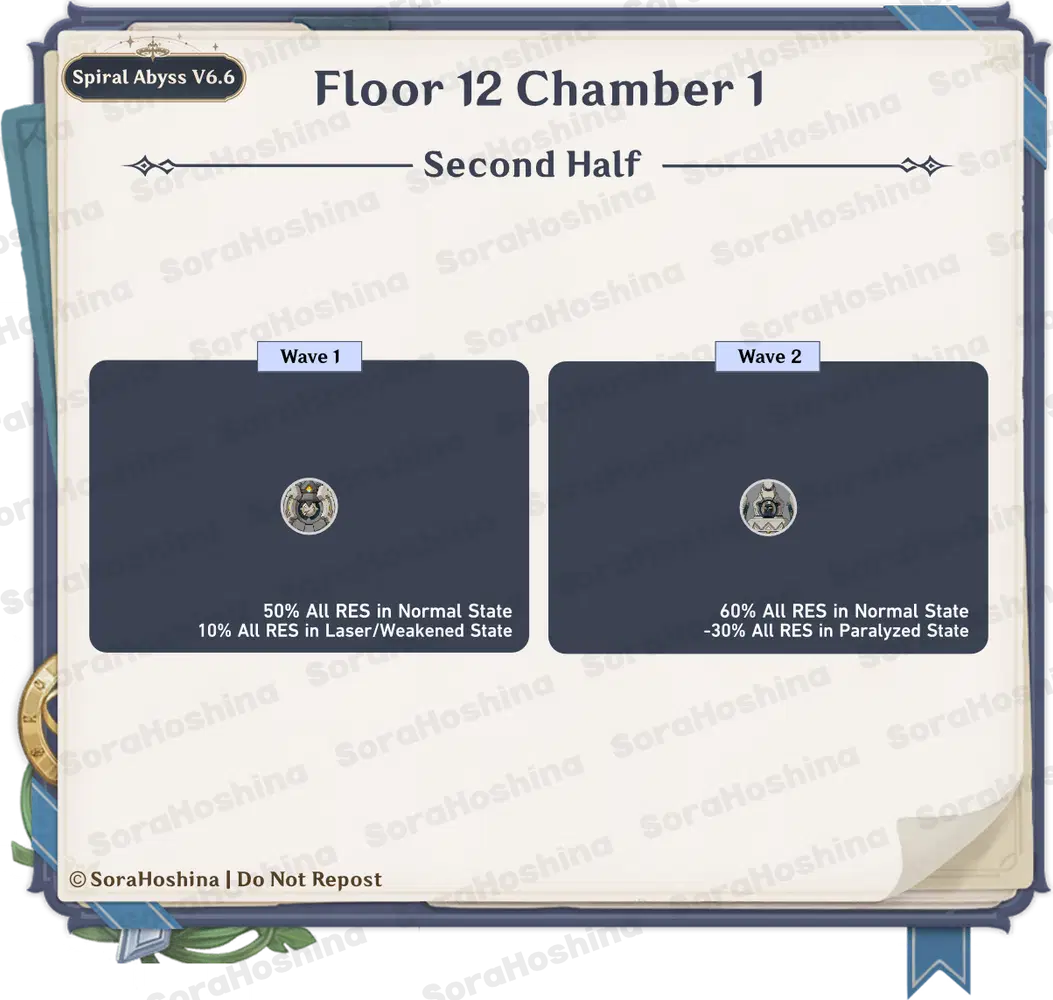
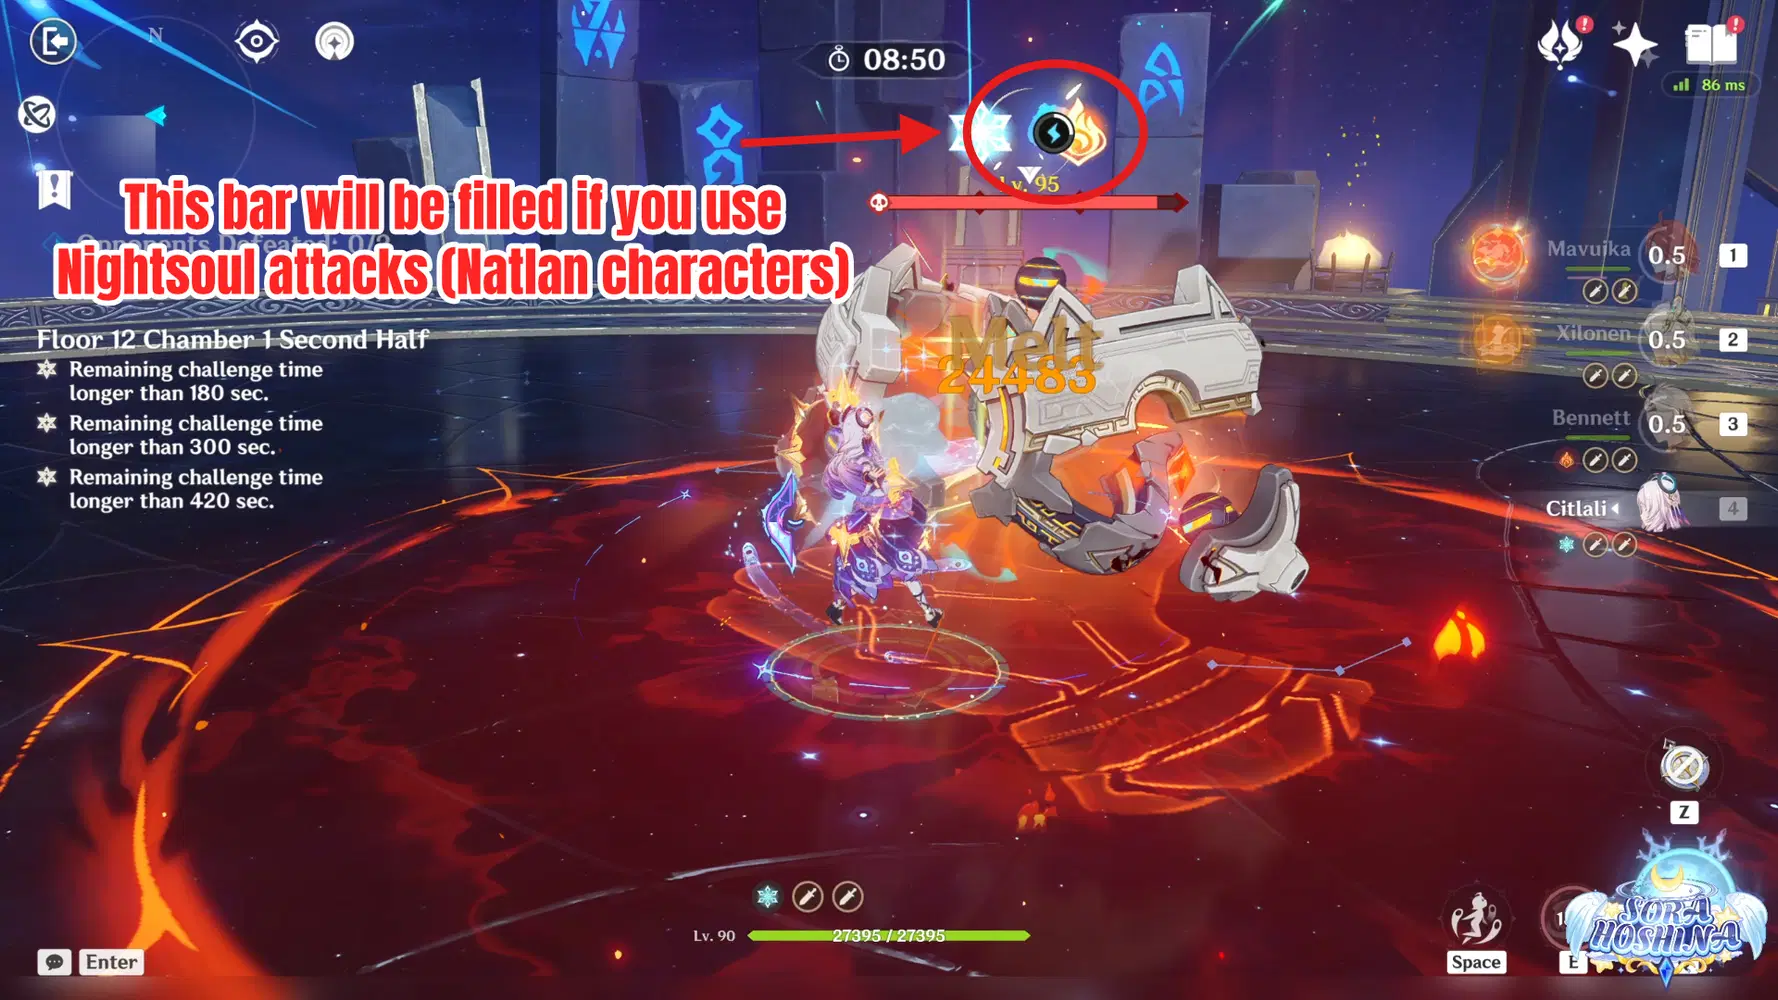
- In the first wave, there is 1 Secret Source Automaton: Hunter-Seeker. One of the mechanism you should be aware of is how Natlan character, when using Nightsoul's Blessing state, will make the Automaton accumulate some points of Adaptive Countermeasures (the circle on top of HP bar). When it's full, the enemy will use its laser attack. While the damage from the laser is quite high, it will also make the enemy's RES to all DMG reduced to 10% instead of the normal 50%.
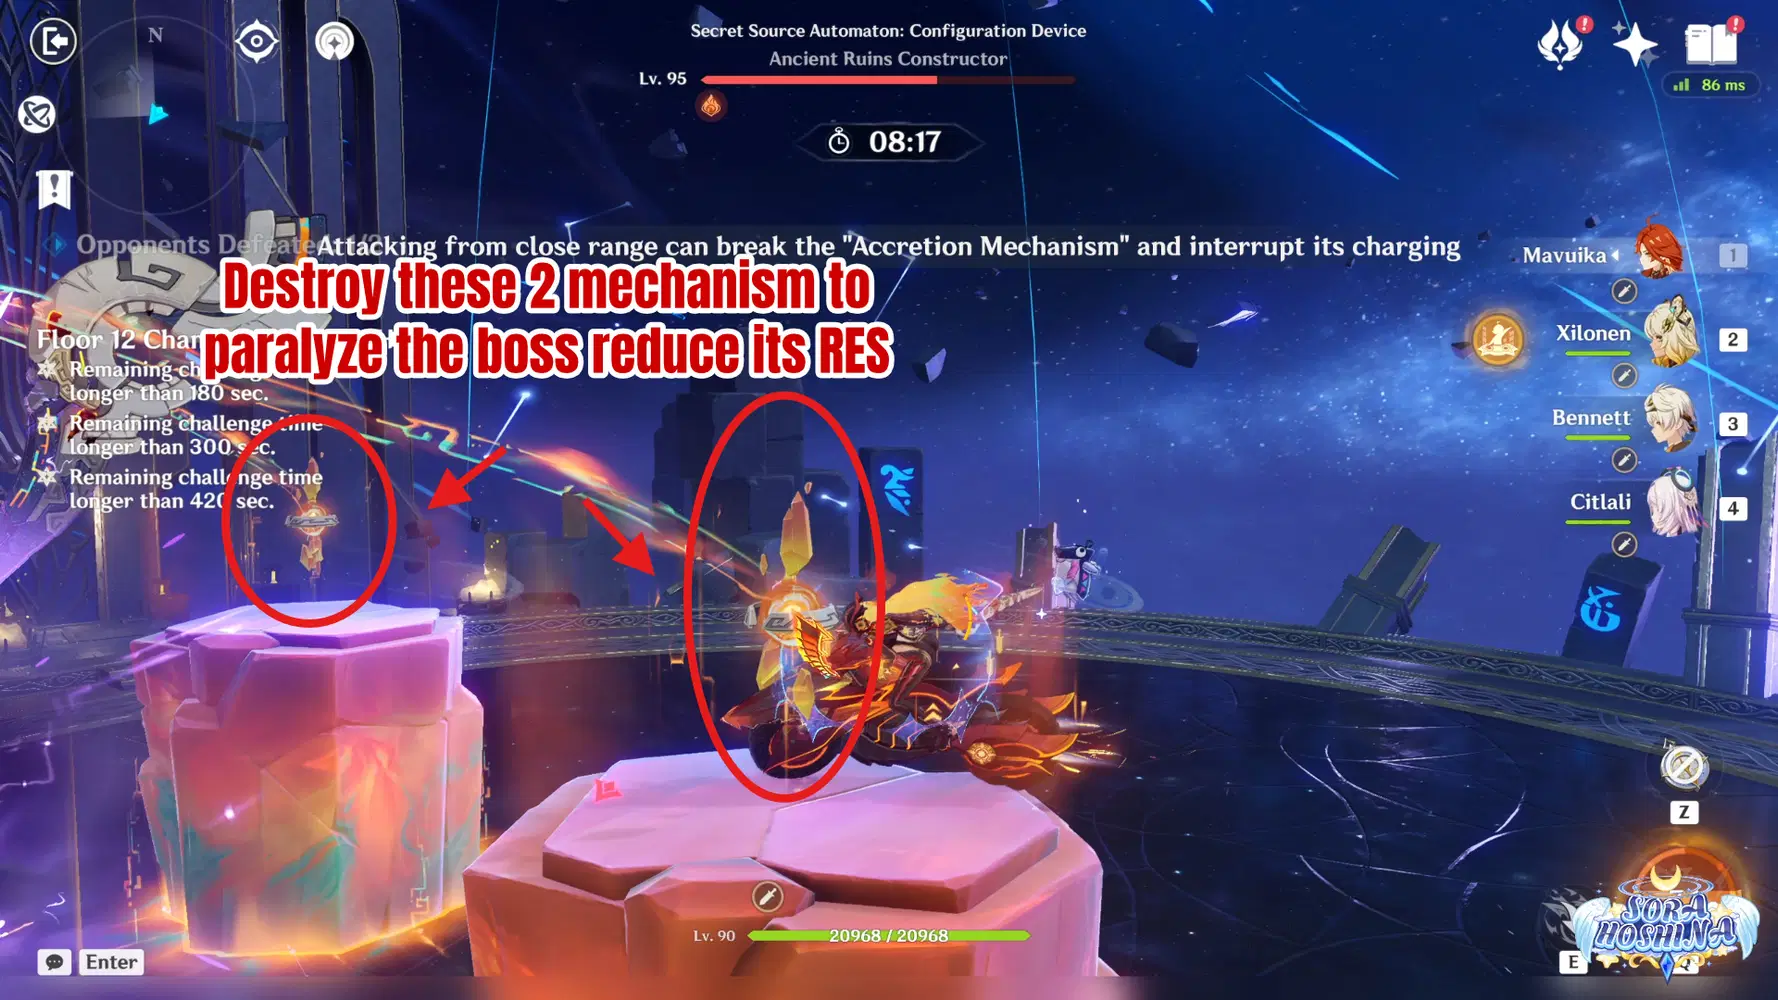
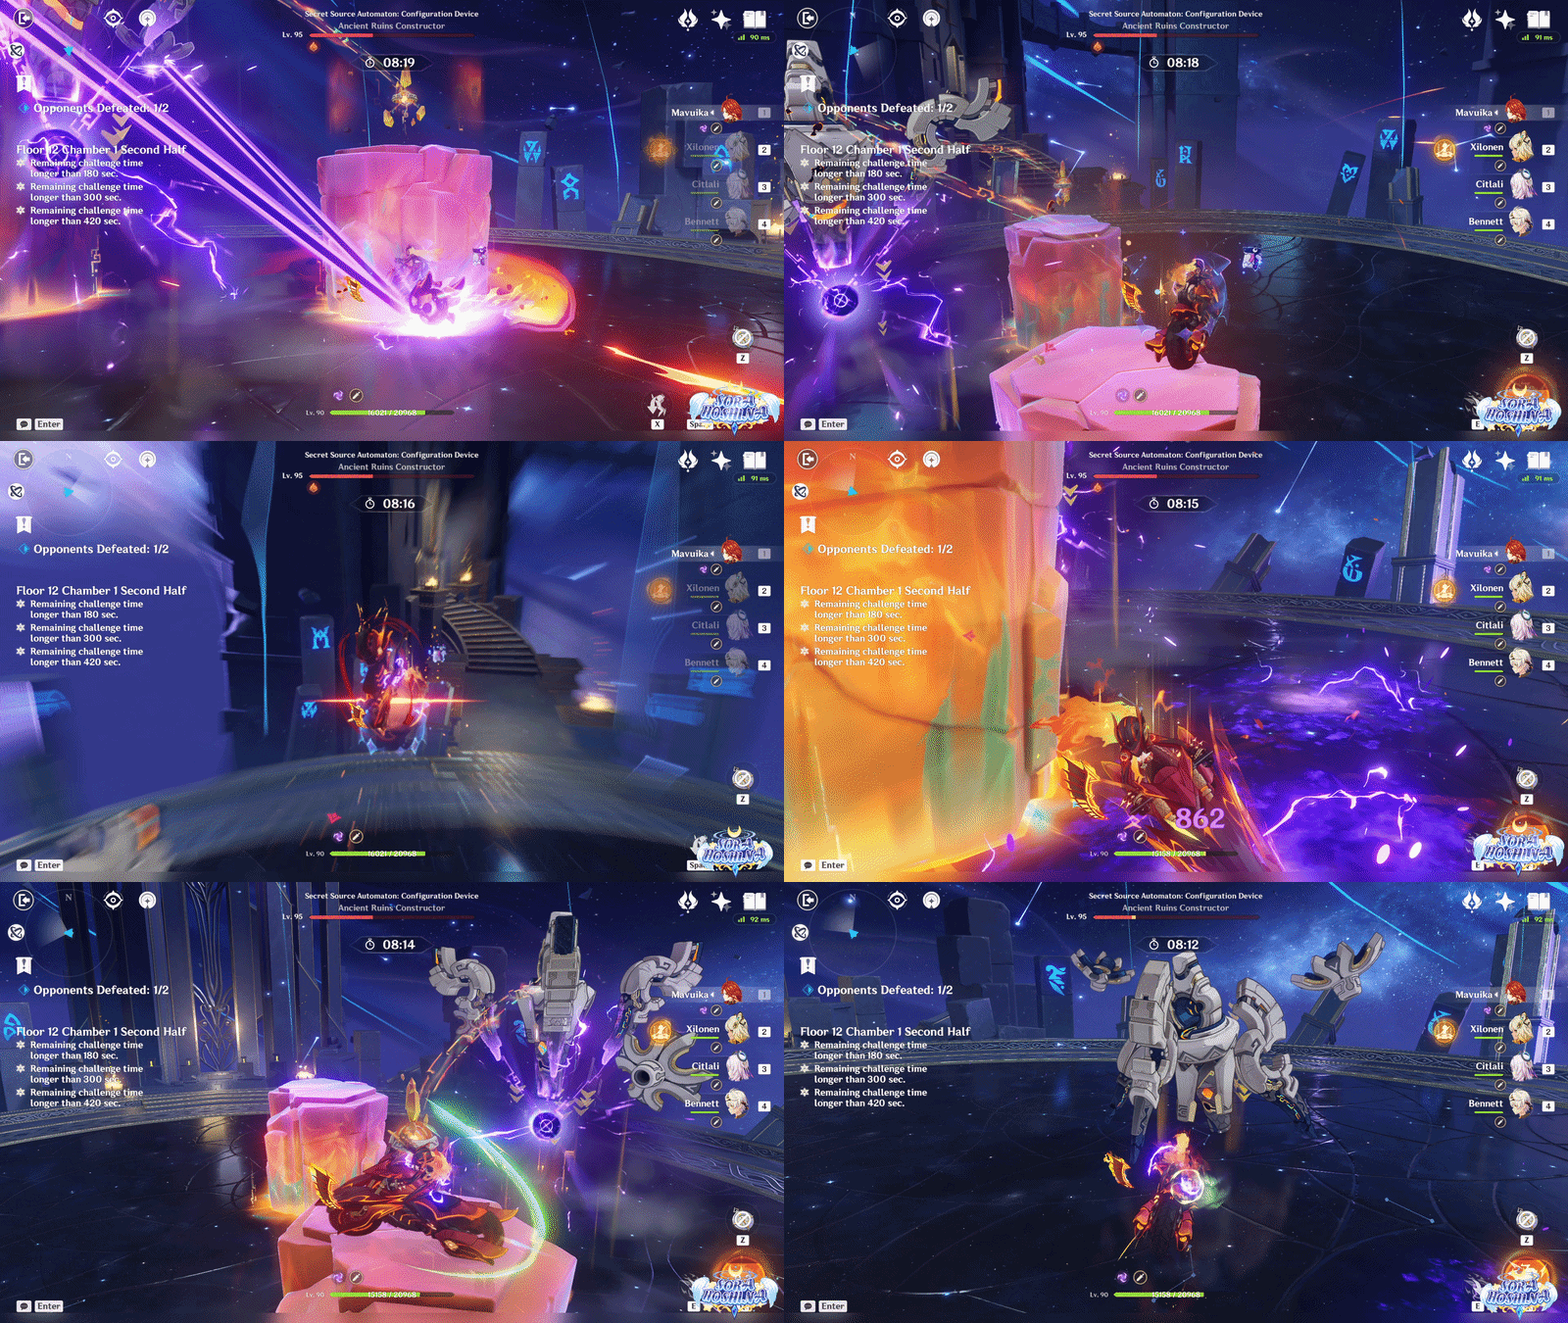
- In the second wave, there is 1 Secret Source Automaton: Configuration Device. Unfair mechanism where it has 60% RES to all elements in its base state. In other words, you need to paralyze the boss so the RES goes down.
- You can see the the Adaptive Countermeasure gauge under its HP bar. When the gauge is full (by you attacking it with Nightsoul's Blessing) or after enough time has passed, it will create 2 pillars. The best way to climb these pillars are by using Xilonen/Kachina's Skill, Mavuika's Skill (or use other mobile Elemental Skill that can help you jump/fly towards the top of the pillar). Hit the two mechanisms on top of the pillars to paralyze it and reduce its RES by 90% for 15 seconds.
- The best F2P option is by using Kachina's Skill as we can get her for free!
Floor 12 Chamber 2
First Half
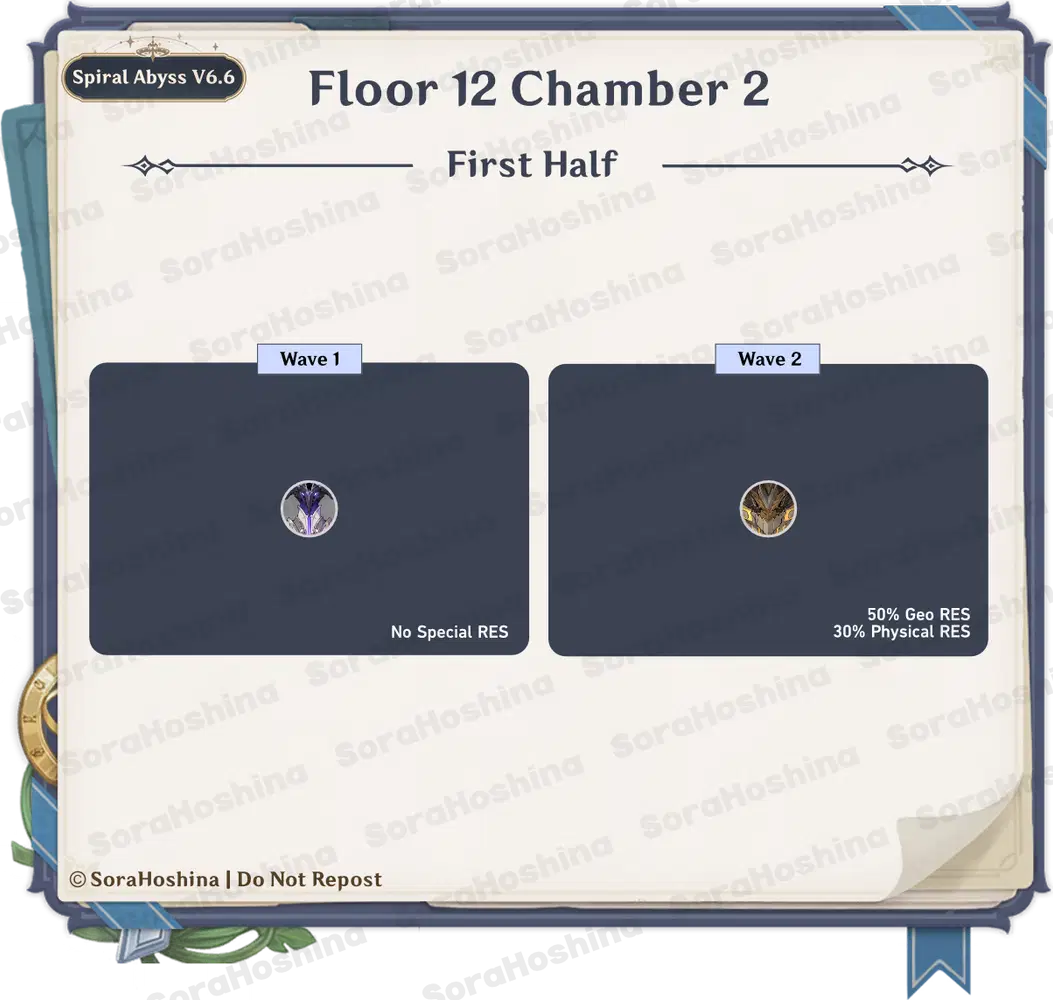
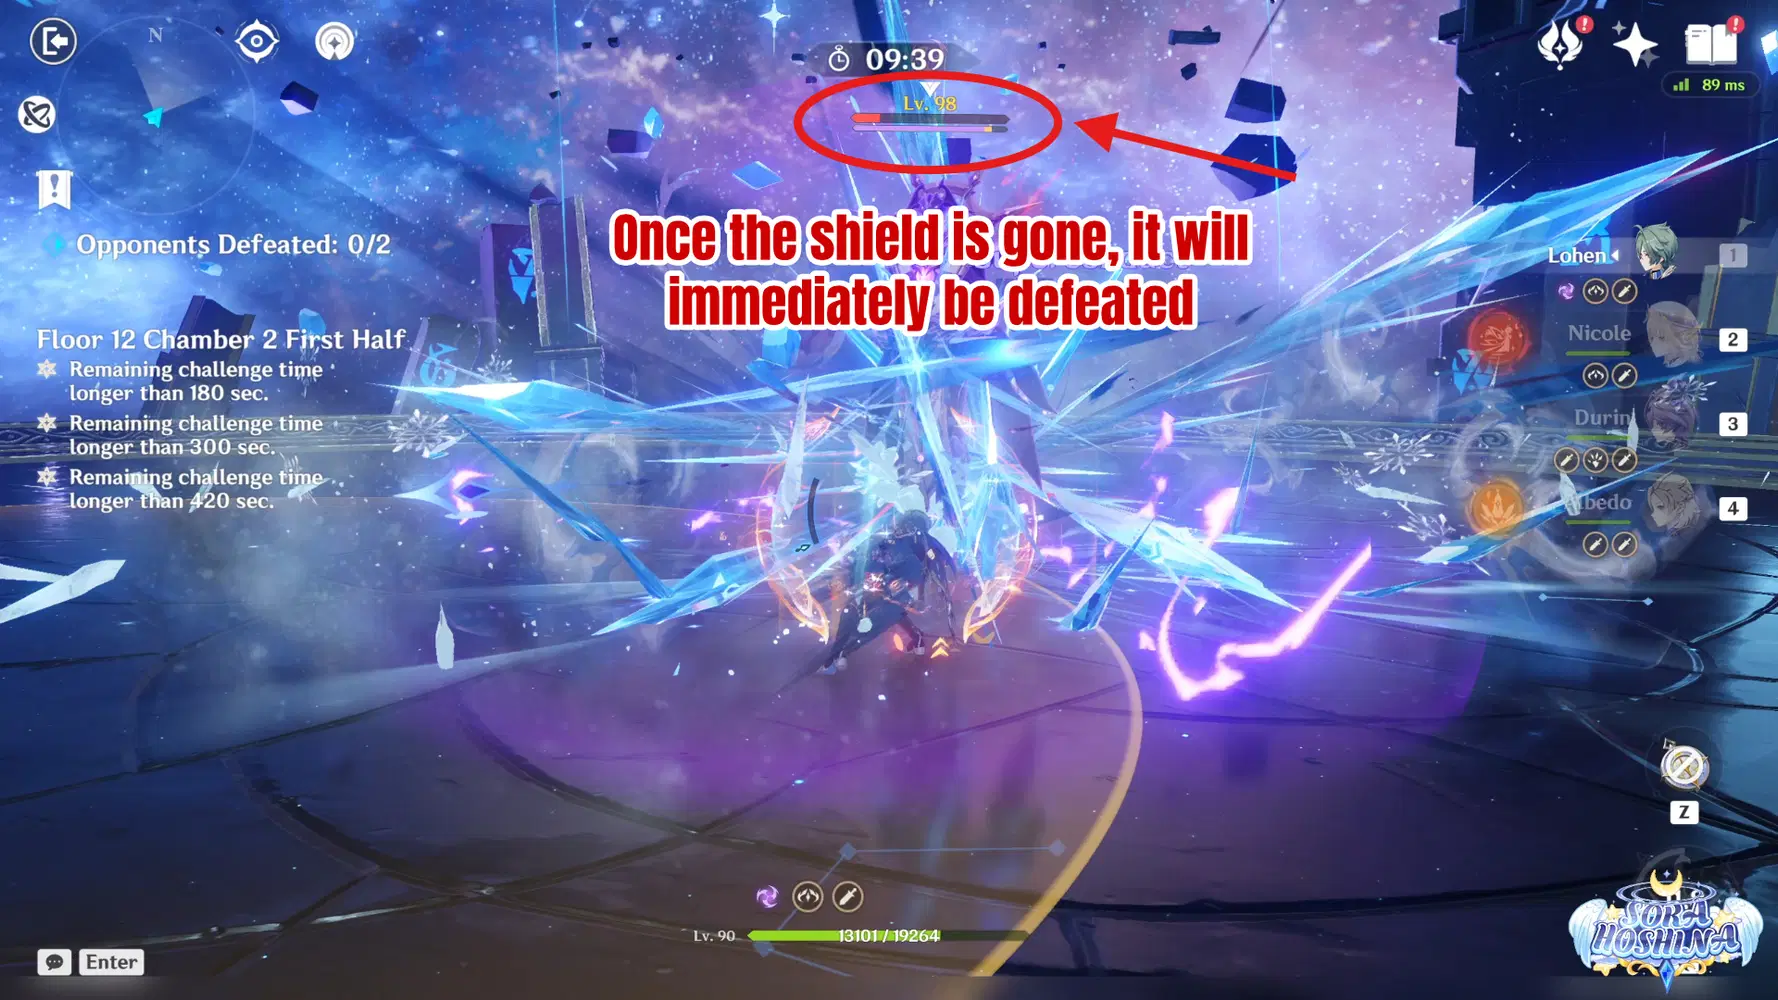
- In the first wave, there is 1 Abyss Lector: Violet Lightning. There is only one Abyss Lector: Violet Lightning so you shouldn't have too much trouble as you can only focus on this one enemy. Nothing much can be said here since brute force is the only way.
- When it reaches 25% HP, it will generate an Electro shield up, and the best elements to delete the shield are Pyro, Cryo, and Dendro. The most important attacks you need to focus on avoiding are when it creates Electro Orbs, as when those orbs hit your character, it will drain 20 Energy from all party members.
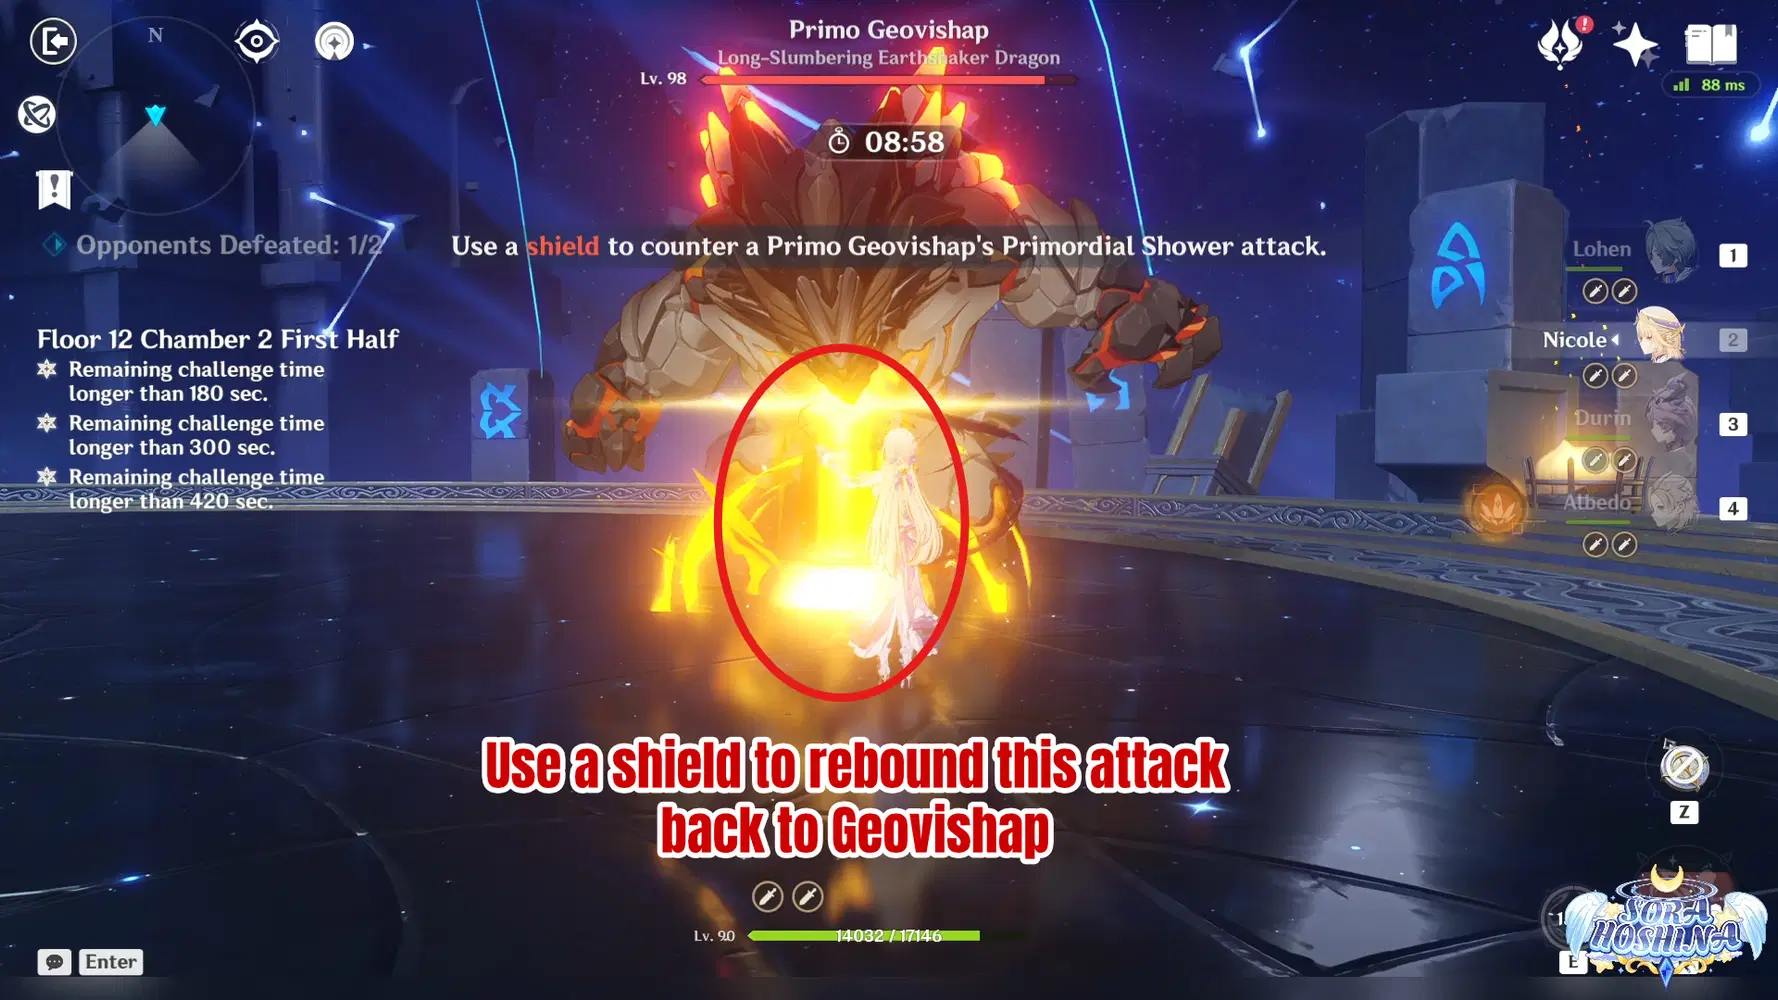
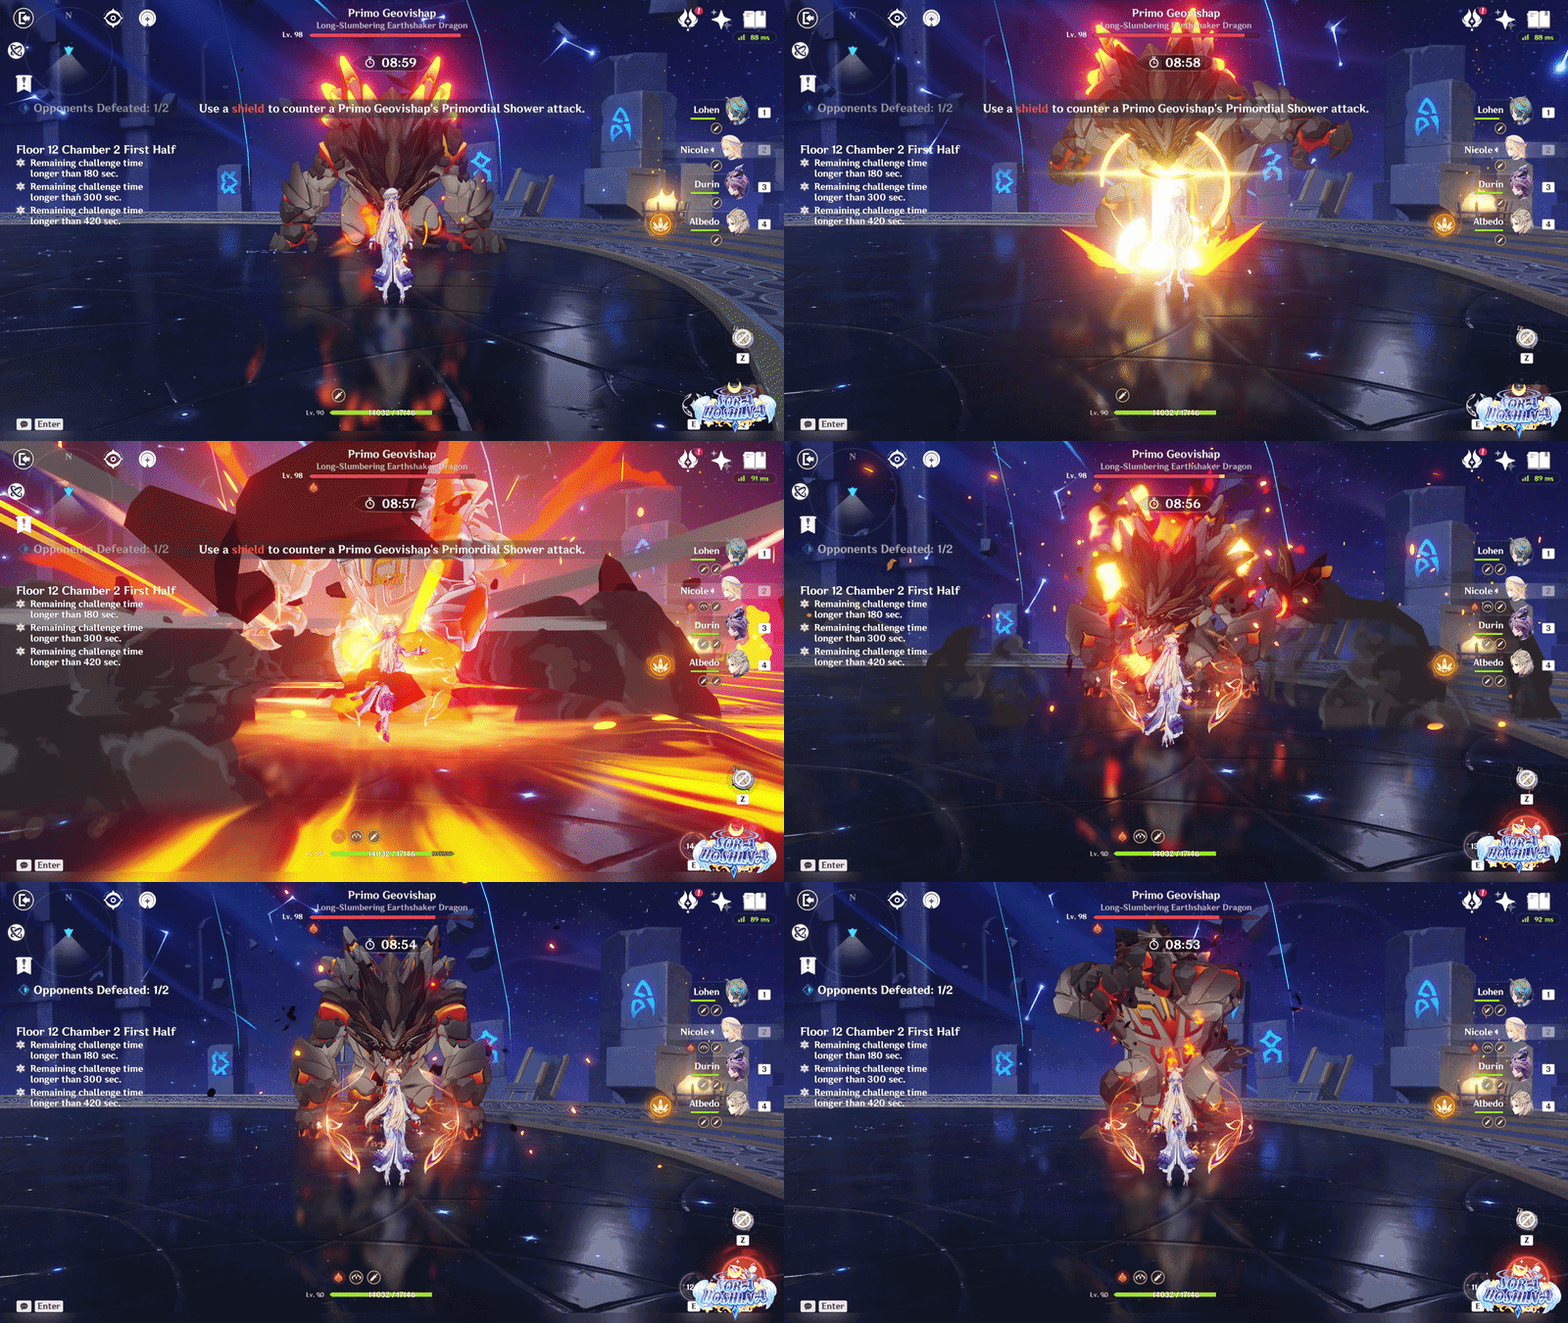
- In the second wave, there is 1 Primo Geovishap (Pyro Infusion). It has 50% Geo RES and 30% Physical RES. Remember that it has reduced damage when it just woke up so don't waste your Elemental Burst yet. Also, bring along a shielder (preferably Geo or Pyro) because it has one special attack that you can take advantage of.
- When the Primo Geovishap starts its Primordial Shower attack, the game will advise you to quickly generate a shield to block the incoming attack. When the attack connects with the shield, it will rebound back to the Primo Geovishap and deal a massive amount of damage back. If you don't have a shield, use Elemental Burst to i-frame the attack.
- The reason I mention Geo and Pyro shields are better is because:
- If the shield's element is Geo or the Primo Geovishap's currently infused element (which is Pyro on this floor), the Geovishap will lose 15% Max HP.
- A non-Geo shield not of the corresponding element will only cause it to lose 5% Max HP.
- Primo Geovishap will only perform the Primordial Shower attack when it is front-facing your character, so you can avoid this attack during shield downtime by constantly running behind it, and only bait this move once a shield is ready by running in front. If you don't bring a shielder, you can certainly take advantage of this mechanic too!
Second Half
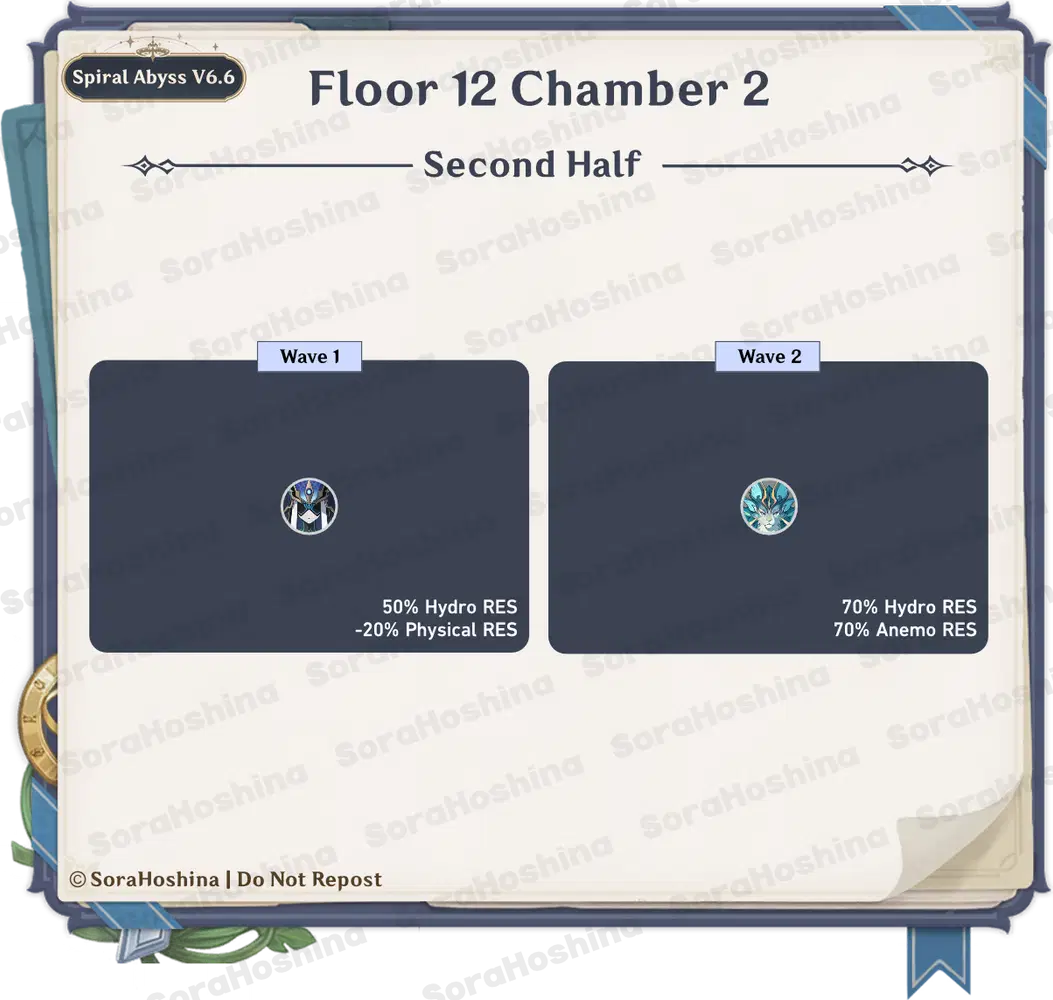
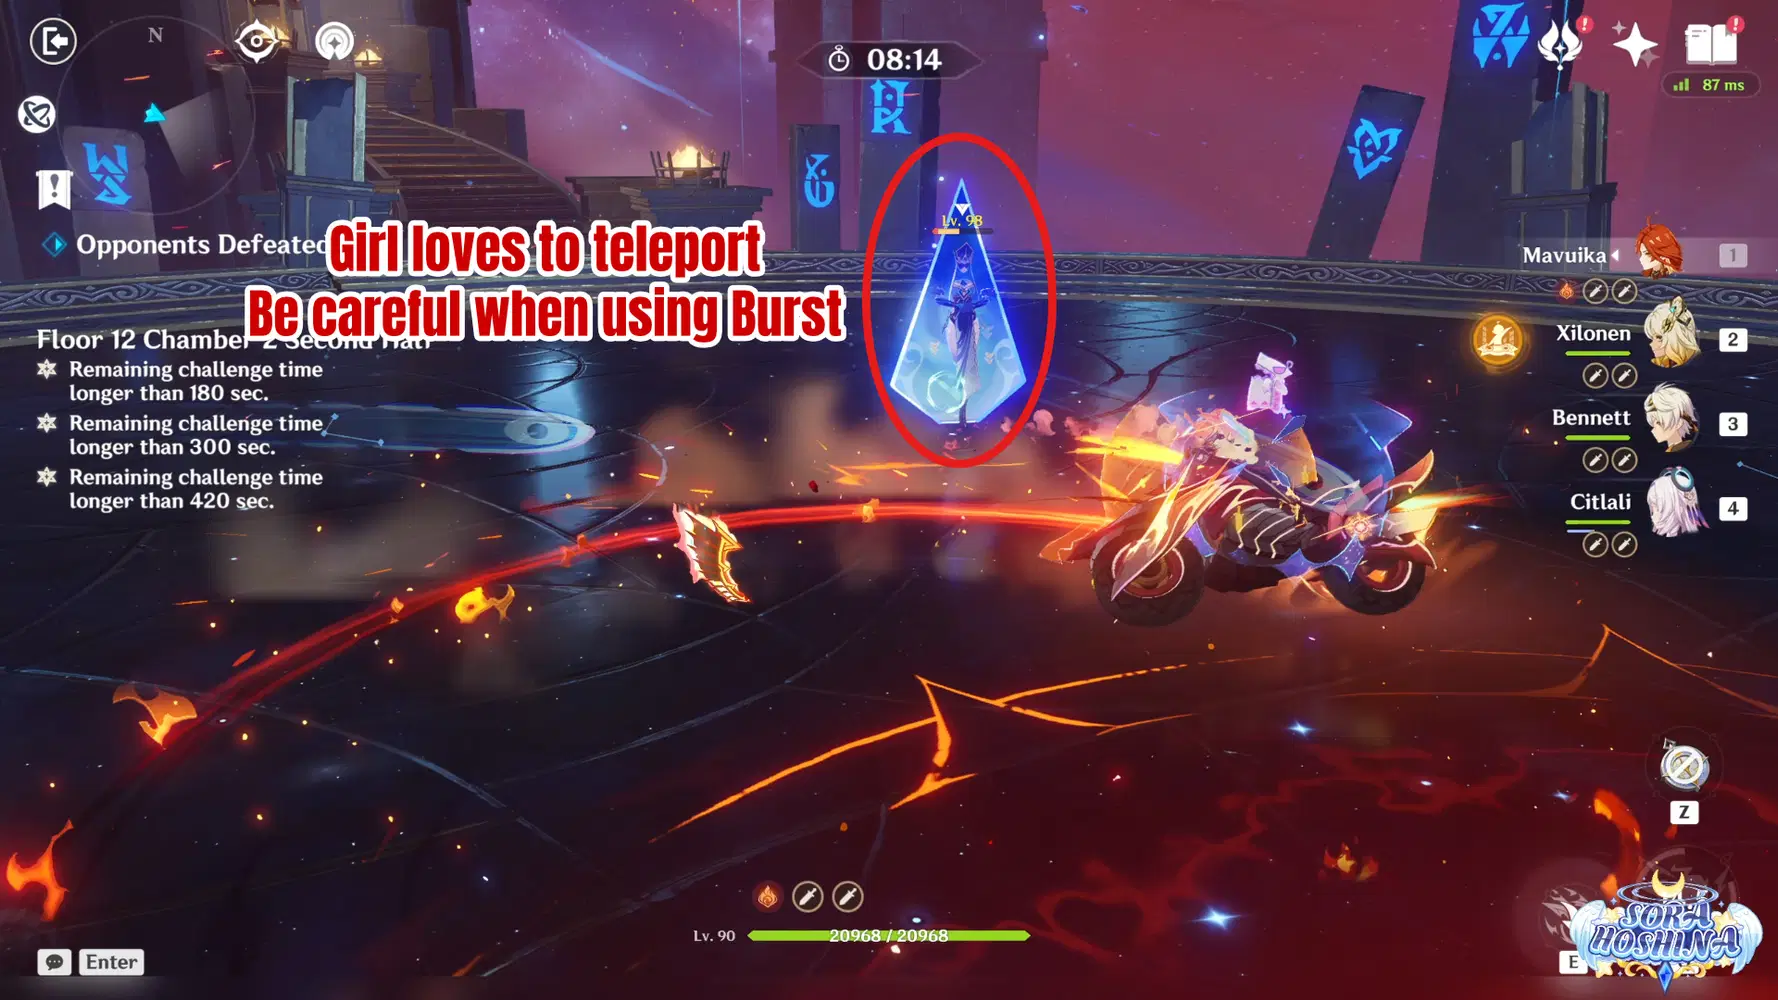
- In the first wave, there is 1 Mirror Maiden. She has 50% Hydro RES and -20% Physical RES. She doesn't pose too much threat except for her constant teleportation or if you're bringing a Hydro Main DPS. If you bring a good single-target DPS, just focus on her and you should be good. However, be sure to watch her movement before using any Ultimate incase she tried to teleport to another spot.
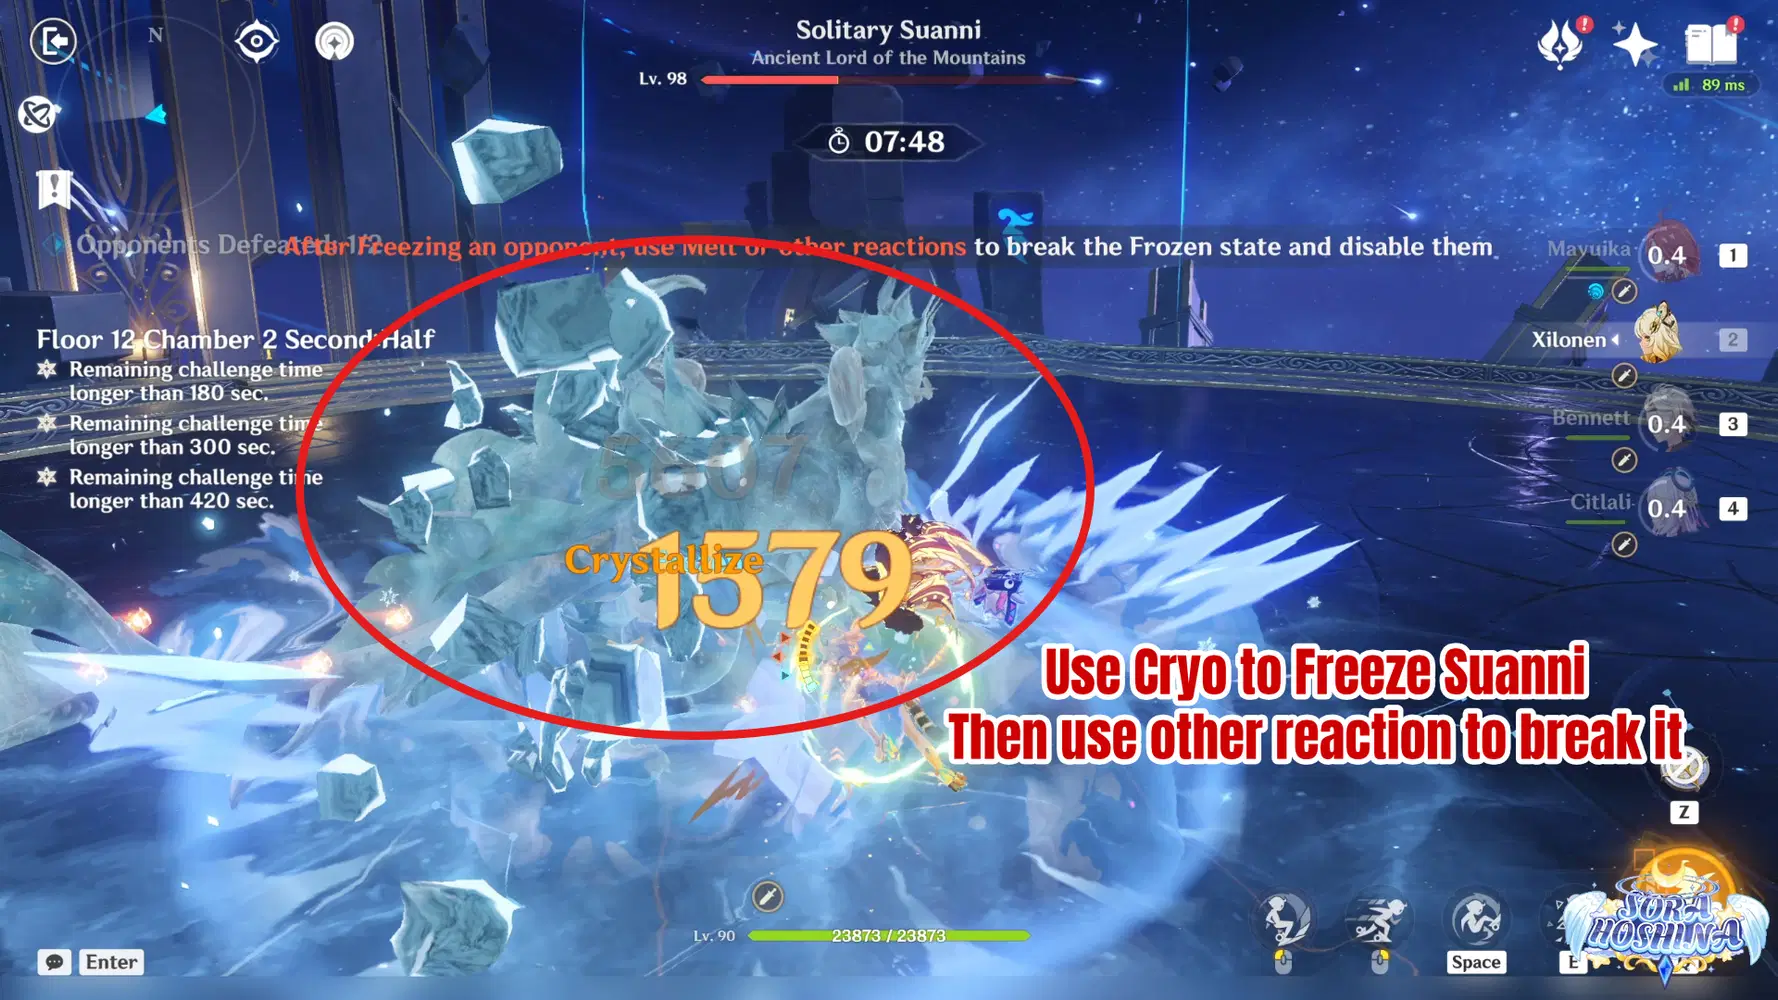
- In the second wave, there is 1 Solitary Suanni. It has 70% Hydro and Anemo RES. What you need to be careful of is when Suanni imbues ifself with Anemo then Hydro (it's charging for the next attack). In this state, you either use Cryo to Freeze > other reaction to remove the Frozen aura > paralyze Suanni or wait until it removes the Hydro state itself aka when it finishes charging. Suanni will use this move when its HP is below 70%.
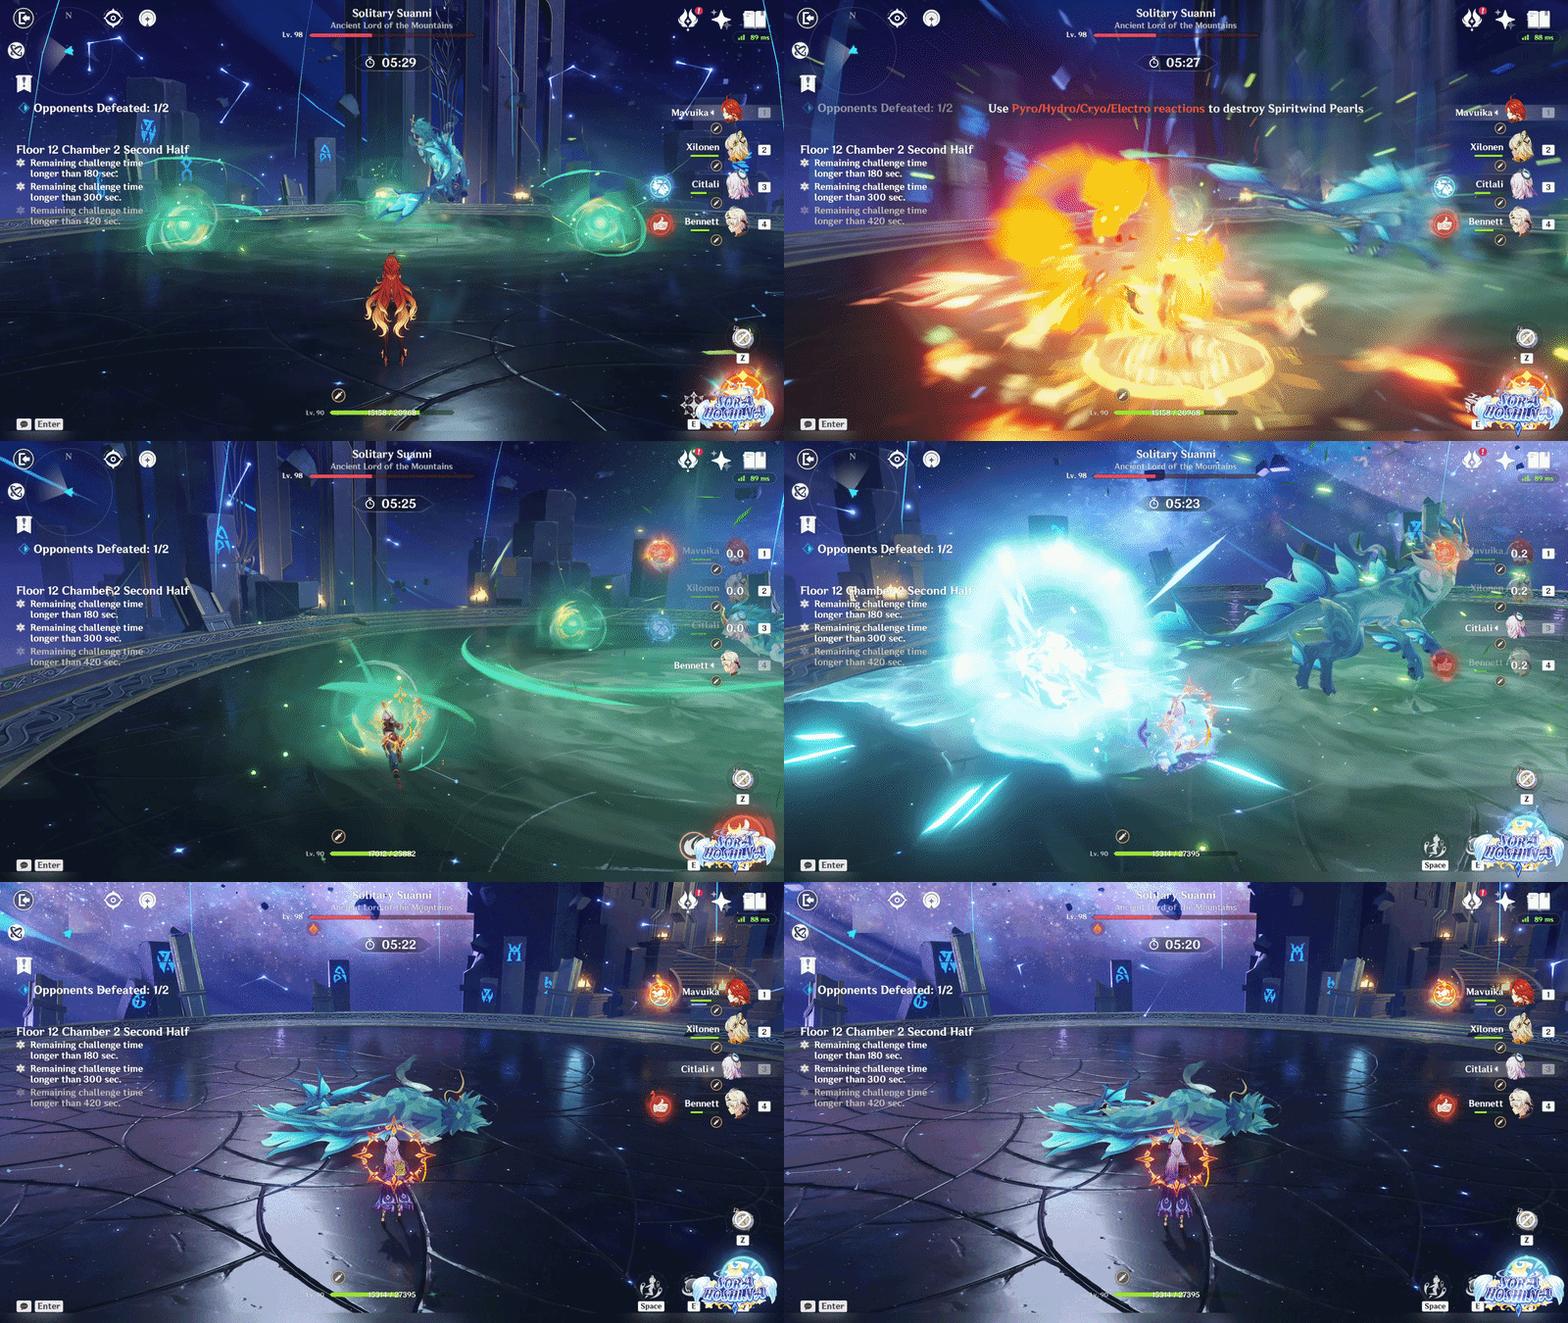
- Another attack to be wary of is when it spawns 3 Spiritwind Pearls that orbit around itself. Spiritwind Pearls are destroyed if hit by Cryo, Electro, Hydro, or Pyro attacks. Destroying all three Spiritwind Pearls will also paralyze the boss. Suanni will use this move when its HP is below 40%.
Floor 12 Chamber 3
First Half
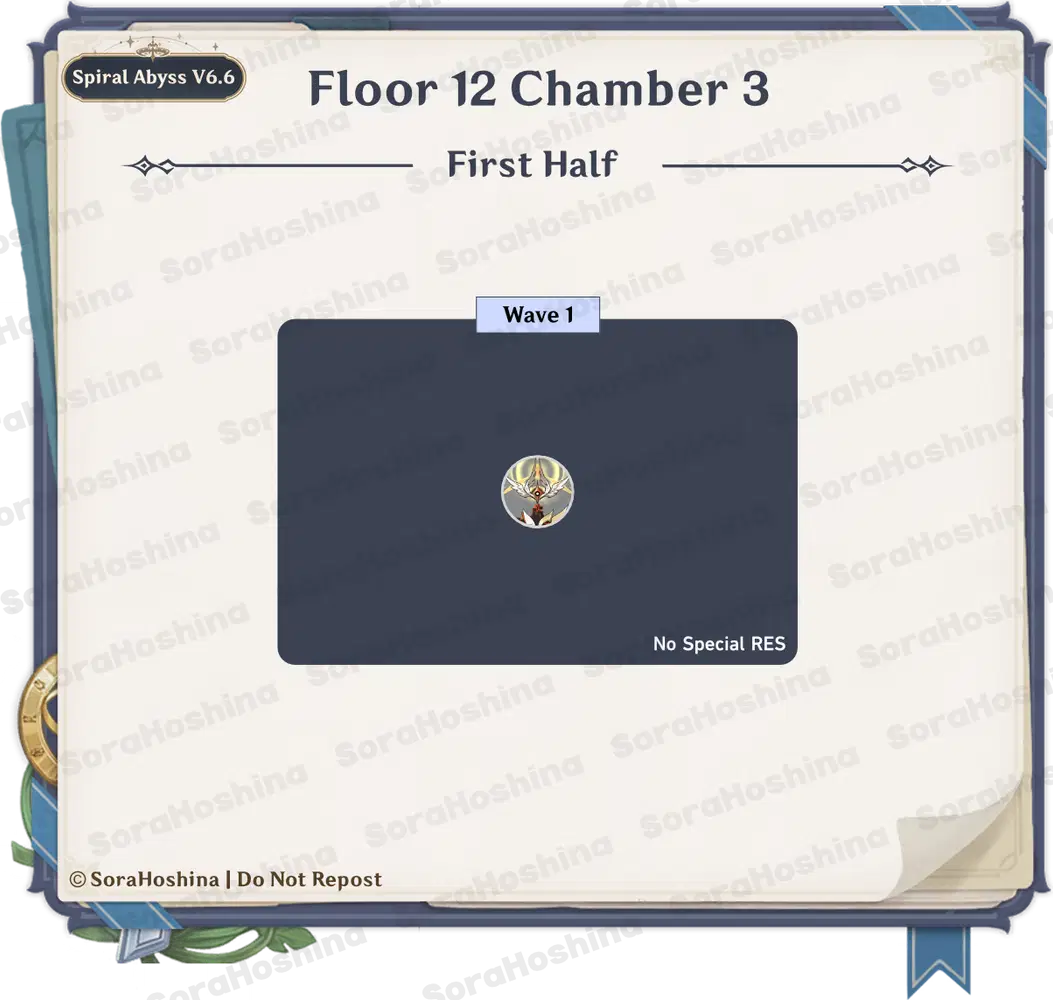
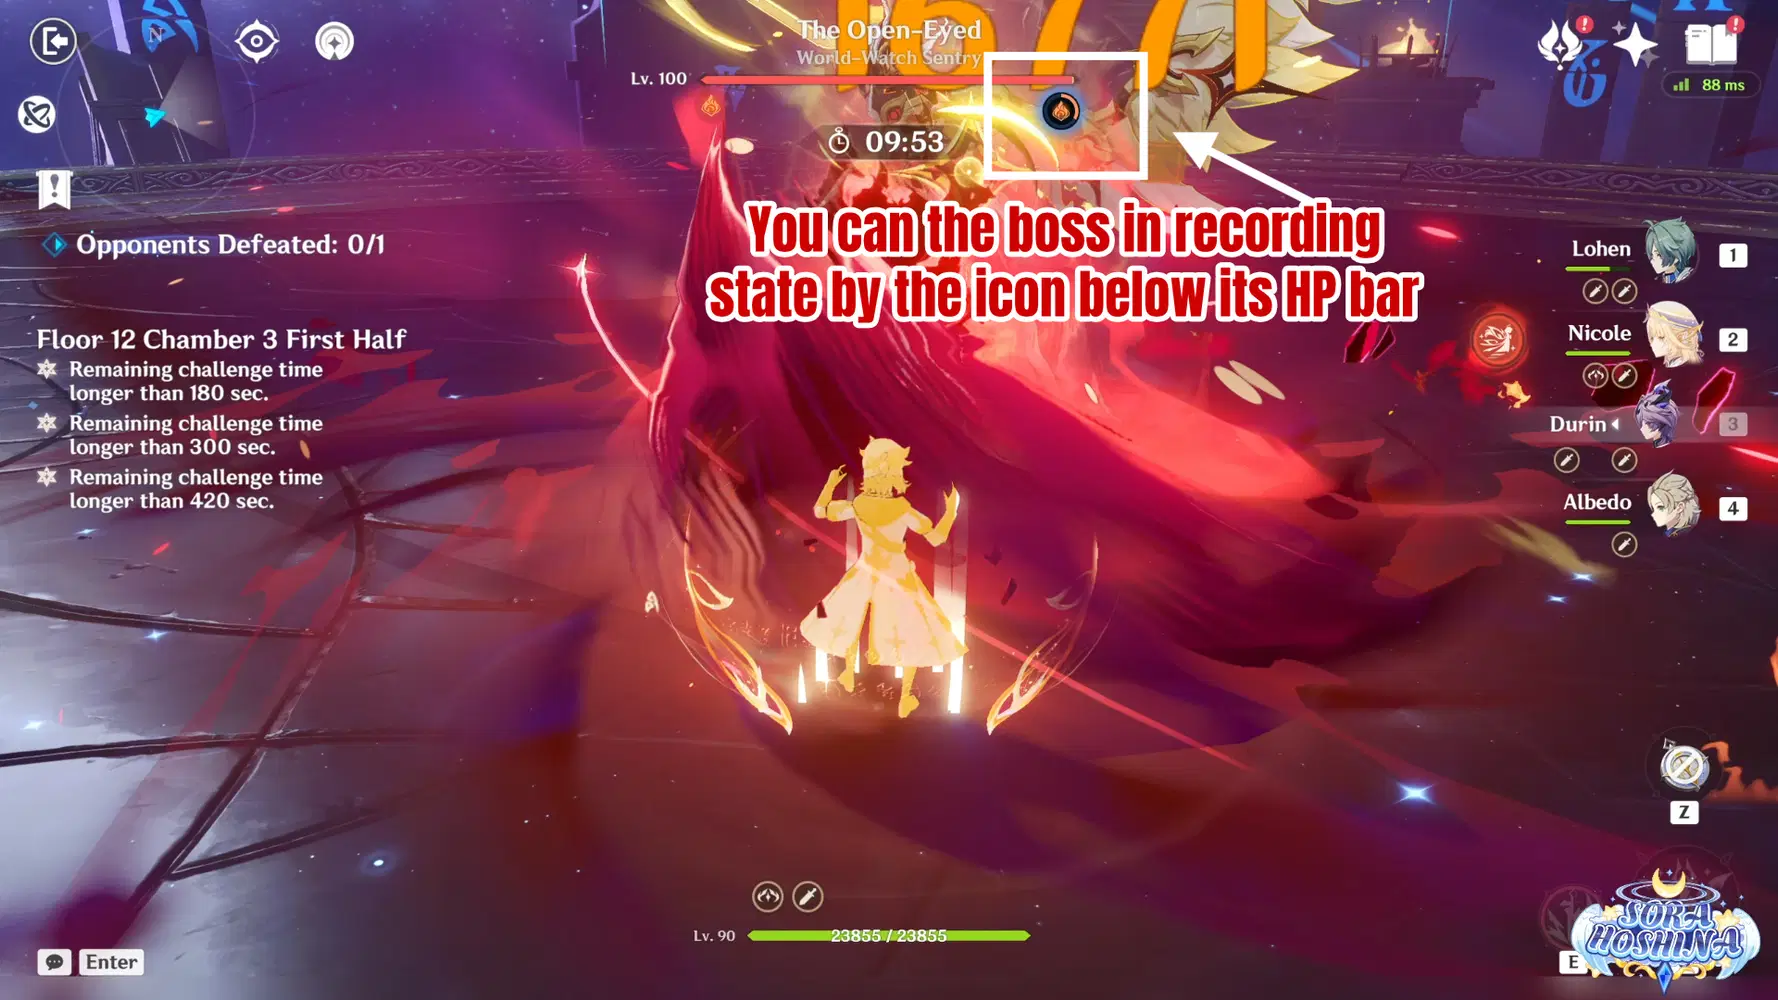
- In the first and only wave, there is 1 Watcher: Fallen Vigil. Now I'm sure you already face this enemy in the Stygian Onslaught, so you should have a basic understanding on what he does. Of all of his skill, the most dangerous one is the recording elements. The boss will record the elemental attacks it receives for 5 seconds (This recording will happen 2 times before it can use the Ultimate attack). The element recorded must be from the Pyro, Hydro, Cryo, Electro. Anemo, Geo, Dendro, and Physical attacks will not be recorded.
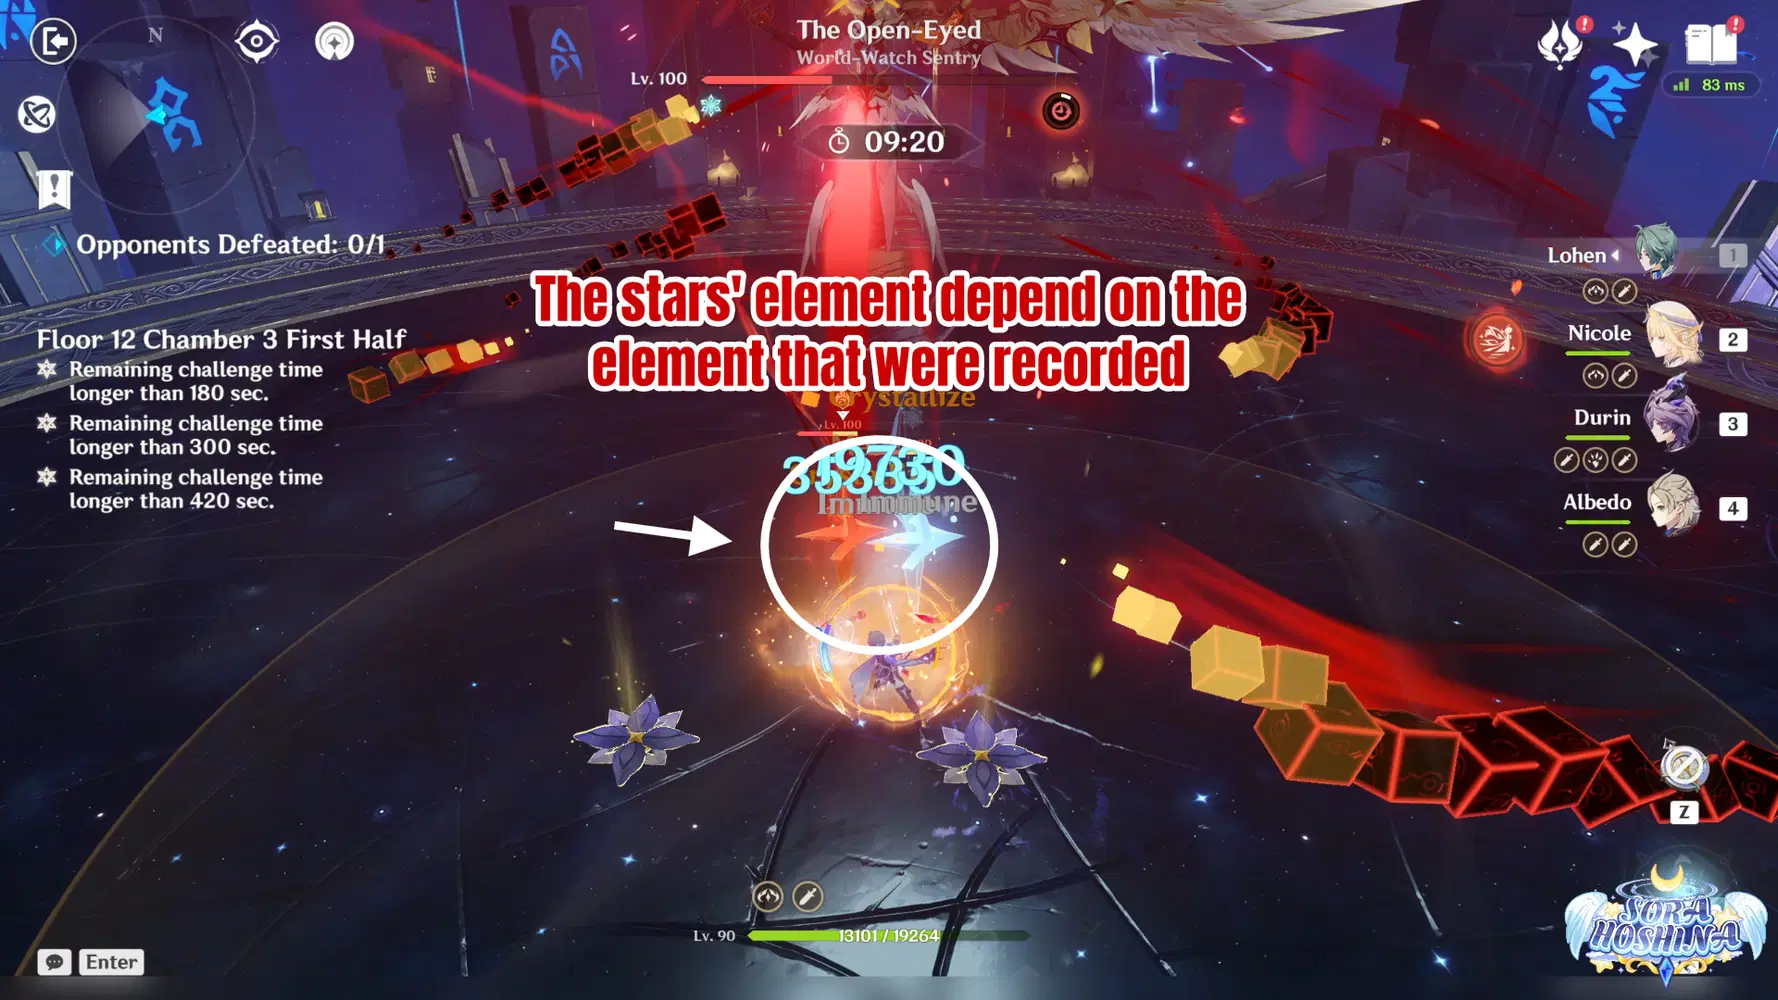
- After the second recording ends, the BOSS will fly into the air to charge up its power, preparing to unleash its ultimate attack. Two stars will be generated on the ground, and the colors of these two stars depends on the element that was just successfully recorded.
- Each star is afflicted with its own element (just like Slimes). For example, Hydro Star is immune to Hydro and can be triggered by elemental reaction like Vaporize/ElectroCharged/etc.
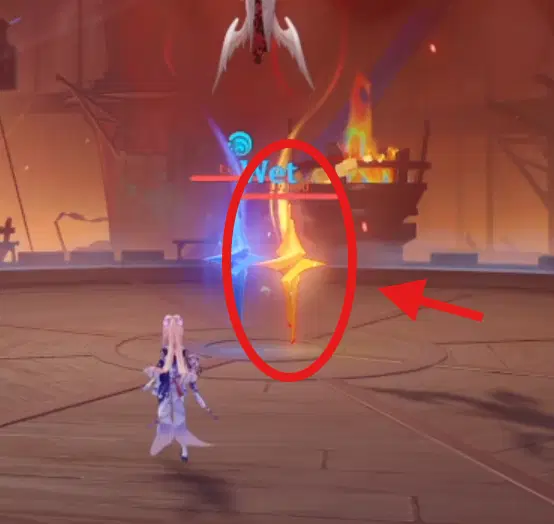
- If the element was not successfully recorded before, the star will be in an Element-less state. The Element-less Star has a resistance of 140% (making it VERY tanky), while the resistance of Elemental Stars is the normal 10% RES.
- You have 18 seconds to destroy both of the stars before the boss will deal its Ultimate damage.
- After successfully destroying the first star, it will deal 6% of the Boss' HP as the respective elemental damage. After destroying the second star, deal 18% of the Boss' HP as another respective elemental damage, for a total of 24% backlash damage. Then the Boss will be paralyzed for ~5 seconds.
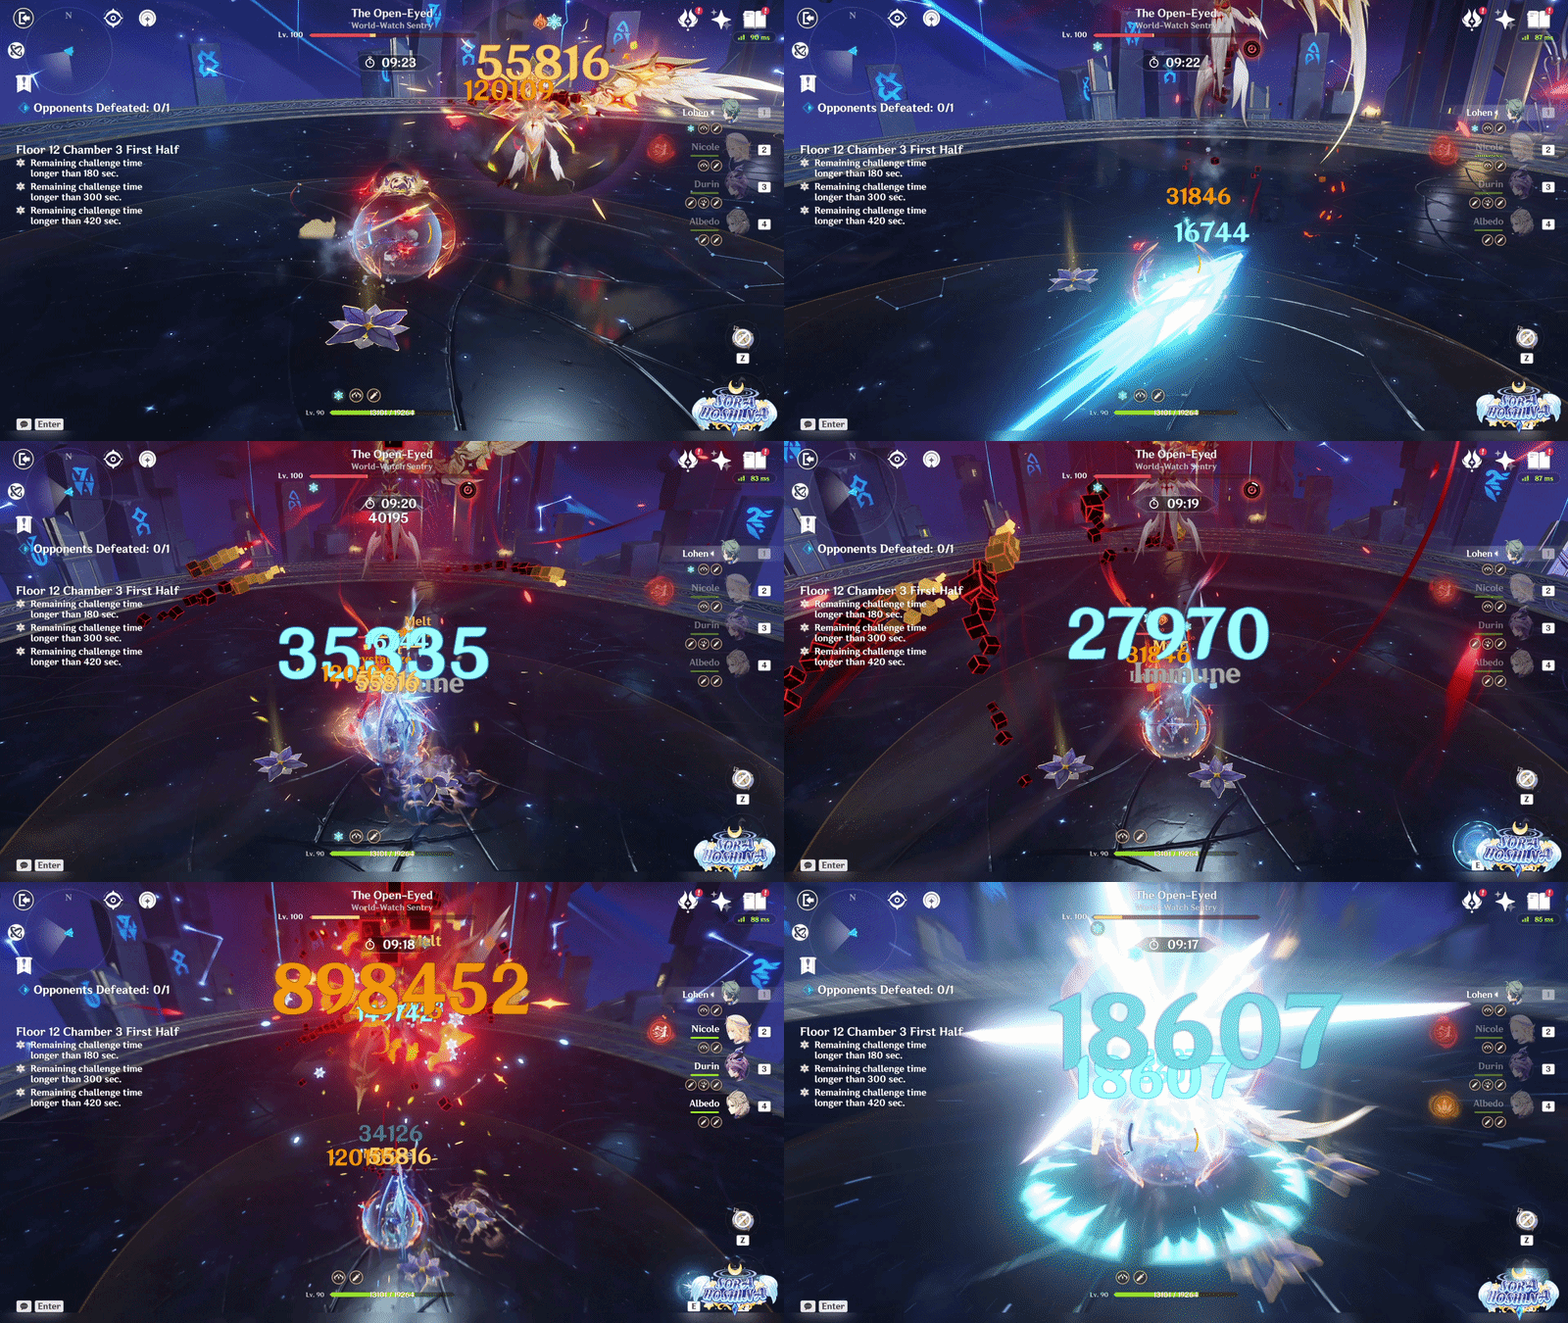
- The mechanism seems complicated, but simply put, you first use PHEC attacks to make the BOSS successfully record the elements, then destroy the stars, and then keep attacking the BOSS.
- If you use elements that can react with each other to trigger Vaporize, Melt, etc., you can deal more damage to the Star's backlash damage itself.
- FOR EXAMPLE: First destroy the Cryo Star, dealing 6% damage and applying Cryo to the Boss. Then destroy the Pyro Star to inflict Pyro on the (already afflicted with Cryo) Boss to trigger Melt. Due to the Melt effect, the damage will be multiplied by 2, which is 36% damage, for a total of 42% backlash damage.
Second Half
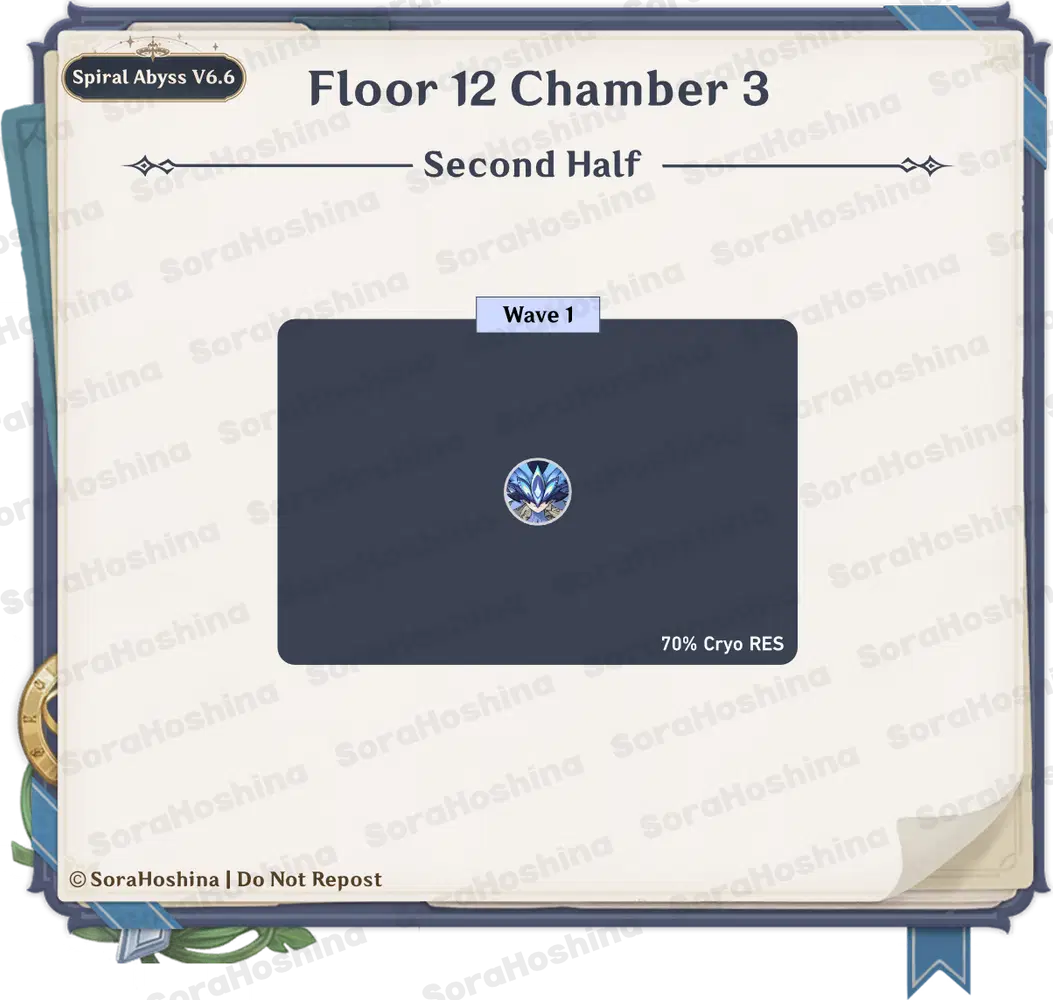
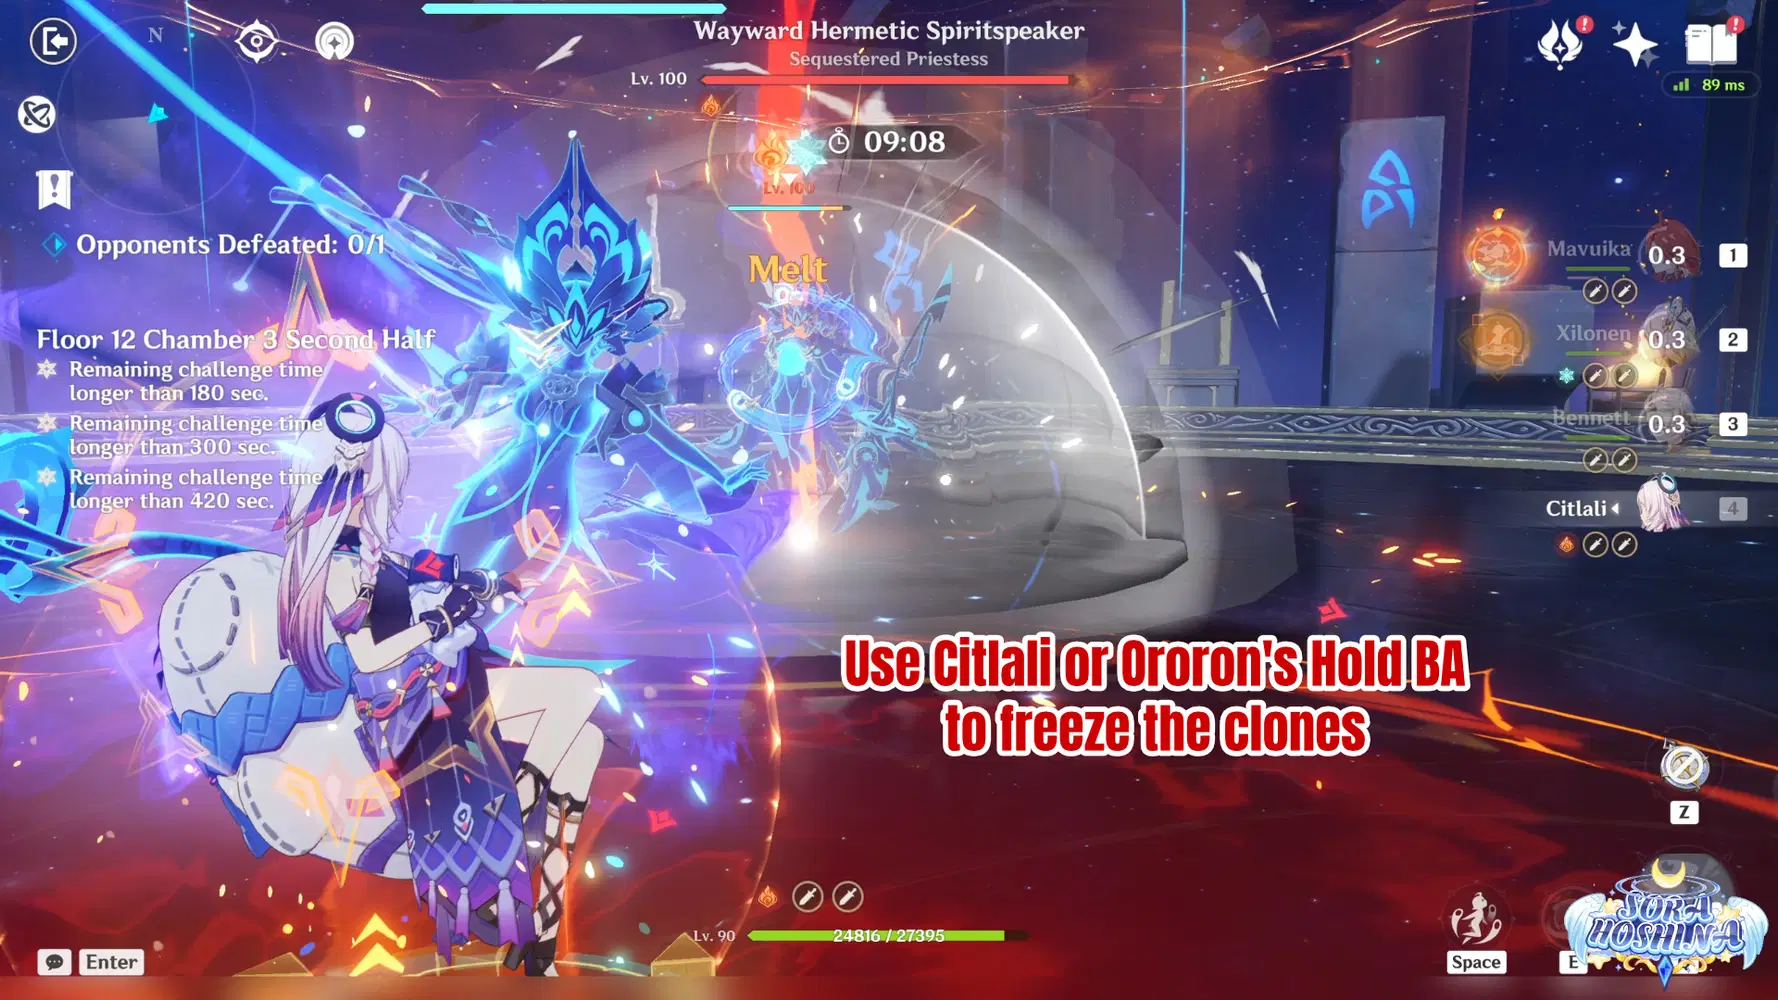
- In the first and only wave, there is 1 Wayward Hermetic Spiritspeaker. She has 70% Cryo RES. Right after spawning, the boss will initiate a ritual to create 4 clones of herself. Each clone has a Cryo shield and will also keep teleporting.
- This is where Citlali or Ororon shines. Hold their Basic Attack and aim at one of the clones to freeze all of them, and remove 25% of their Cryo shield. Not bringing them is okay, but you have to run around chasing all the clones and use Pyro and Electro to destroy the shields. That's honestly the only dangerous thing about this lady. Other skills of her can easily be avoided.
Click Here to Skip the Guide and go right to the Comment Section
This is only for the table of contents, so the people at the top of the post can skip the guide and go to the comment section.