


Previous:[Guide] Common Chests- Inazuma: Part 1 - miHoYo Player Community (hoyolab.com)
Index: [Index] Common Chests - miHoYo Player Community (hoyolab.com)
Next:[Guide] Common Chests- Inazuma: Part 3 - miHoYo Player Community (hoyolab.com)

-Footage/Location photos are from my 1st account-
If there's anything you're unsure about, feel free to ask!
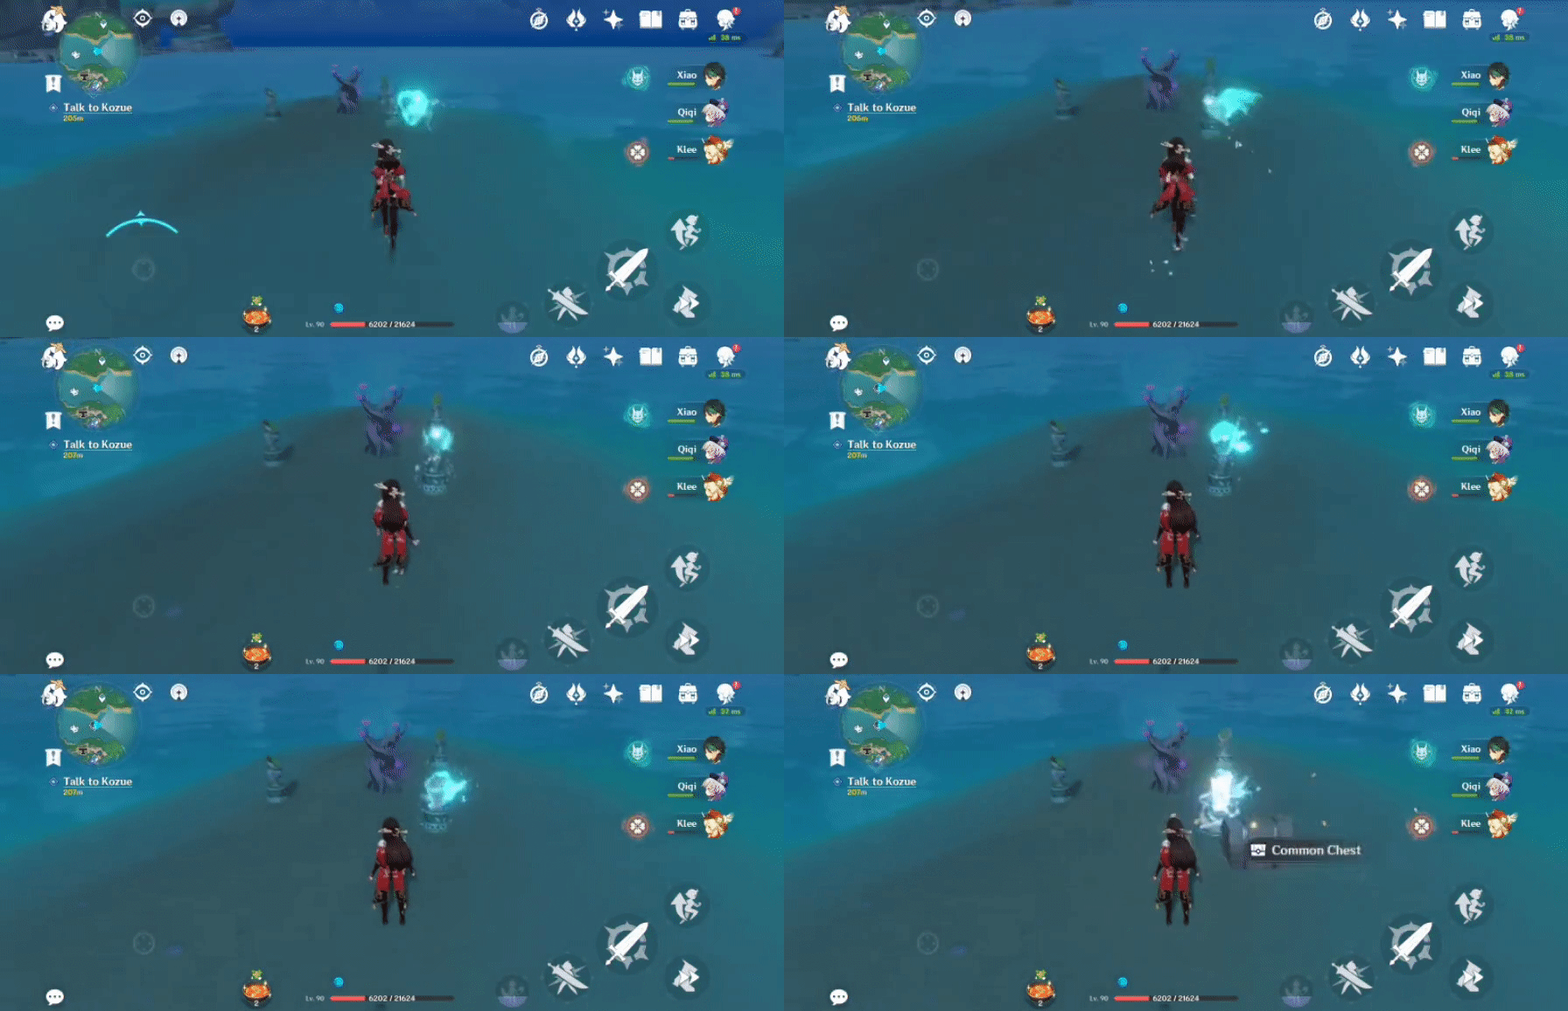
21. [Spawned Chest]
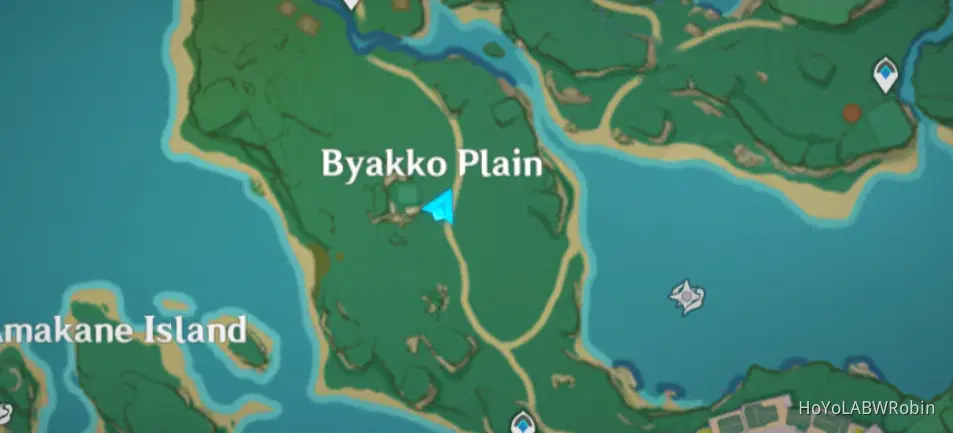
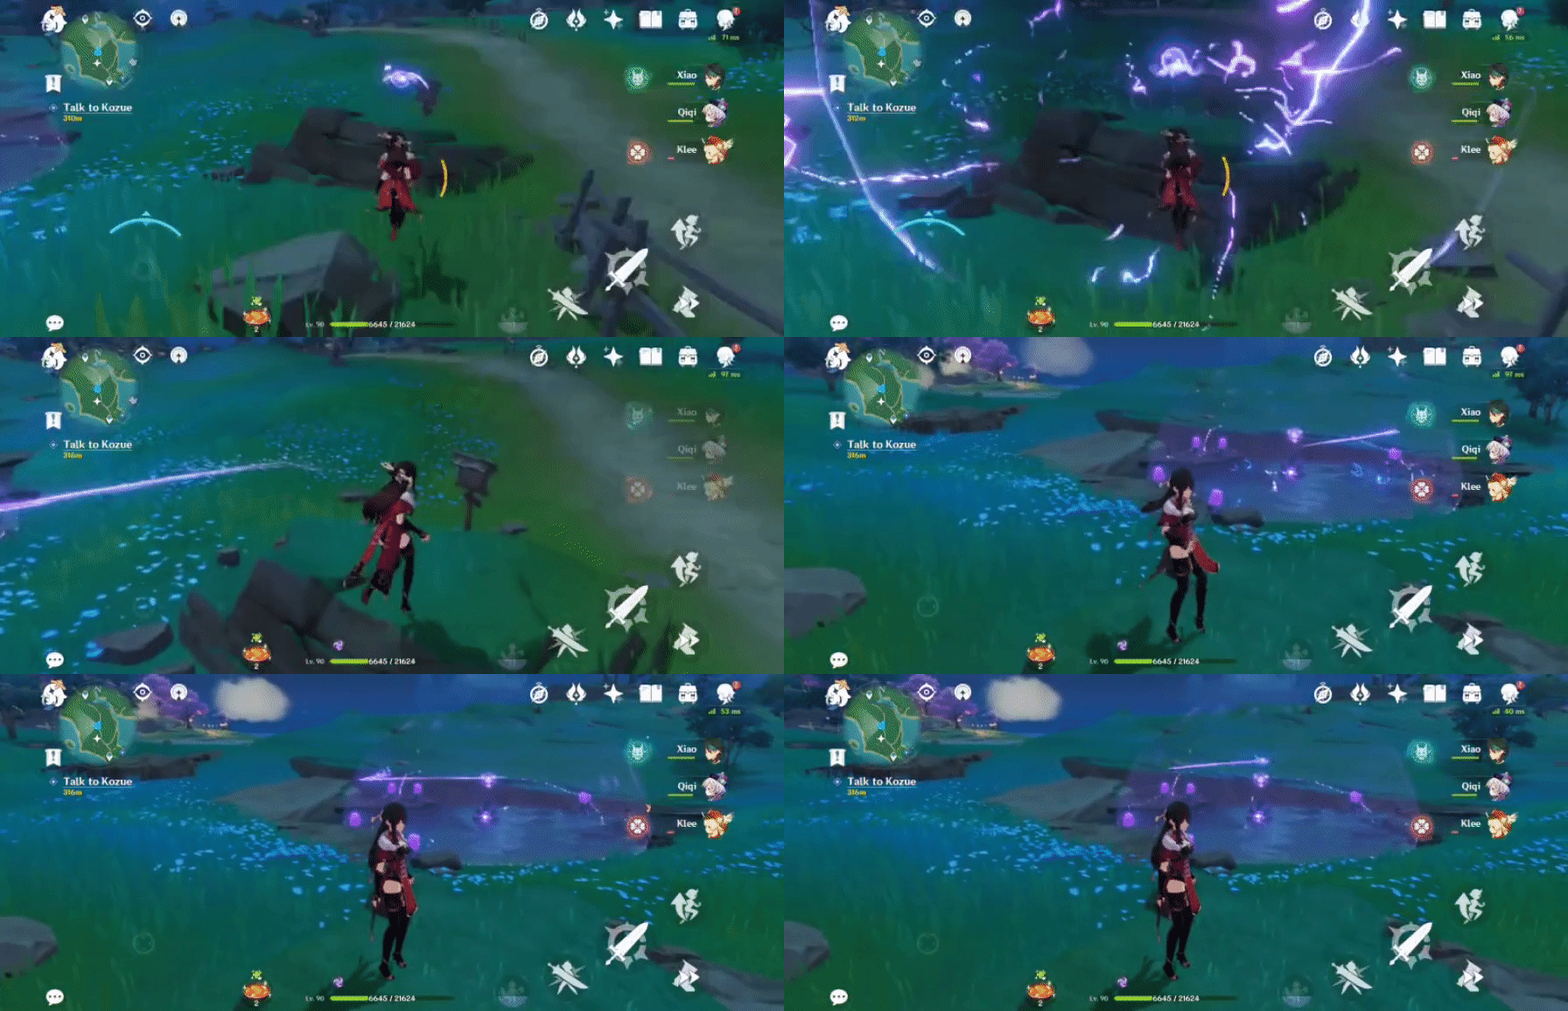
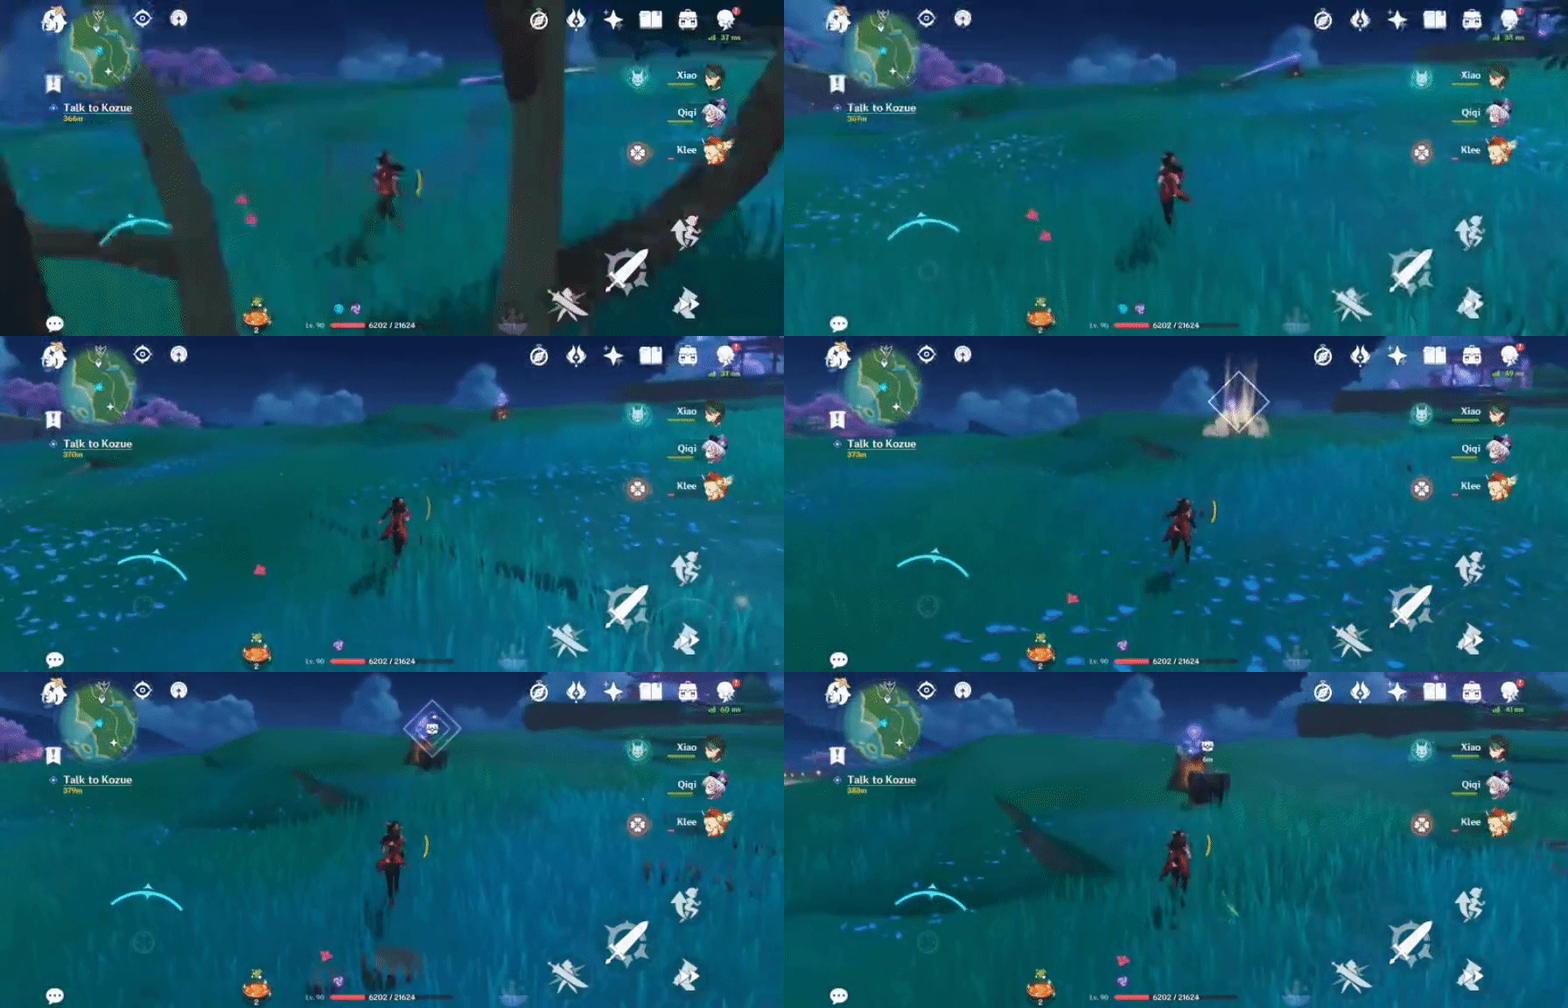
Will spawn after you follow the Electro Seelie until it no longer moves (it will go through a barrier in which you will need to summon an Electrogranum to pass through it and continue to follow).
Location (Electro Seelie):
Location (Electrogranum):

22. [Spawned Chest]
Will spawn after you follow the Seelie to its Statue.
Location (Seelie- by the Waverider Waypoint):

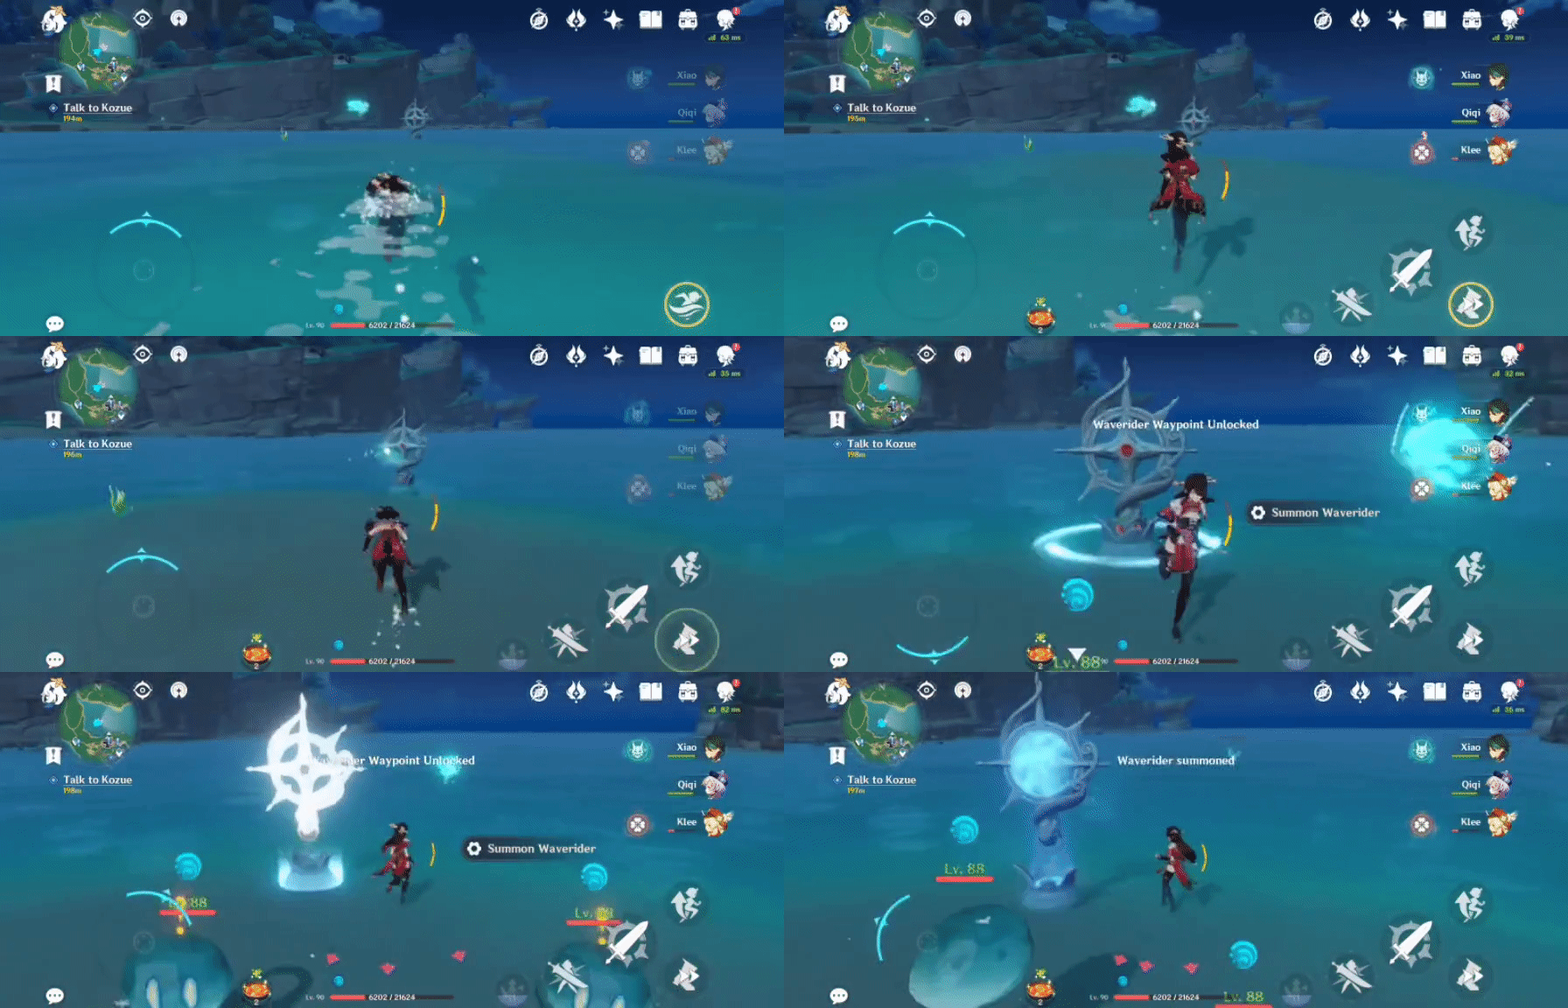
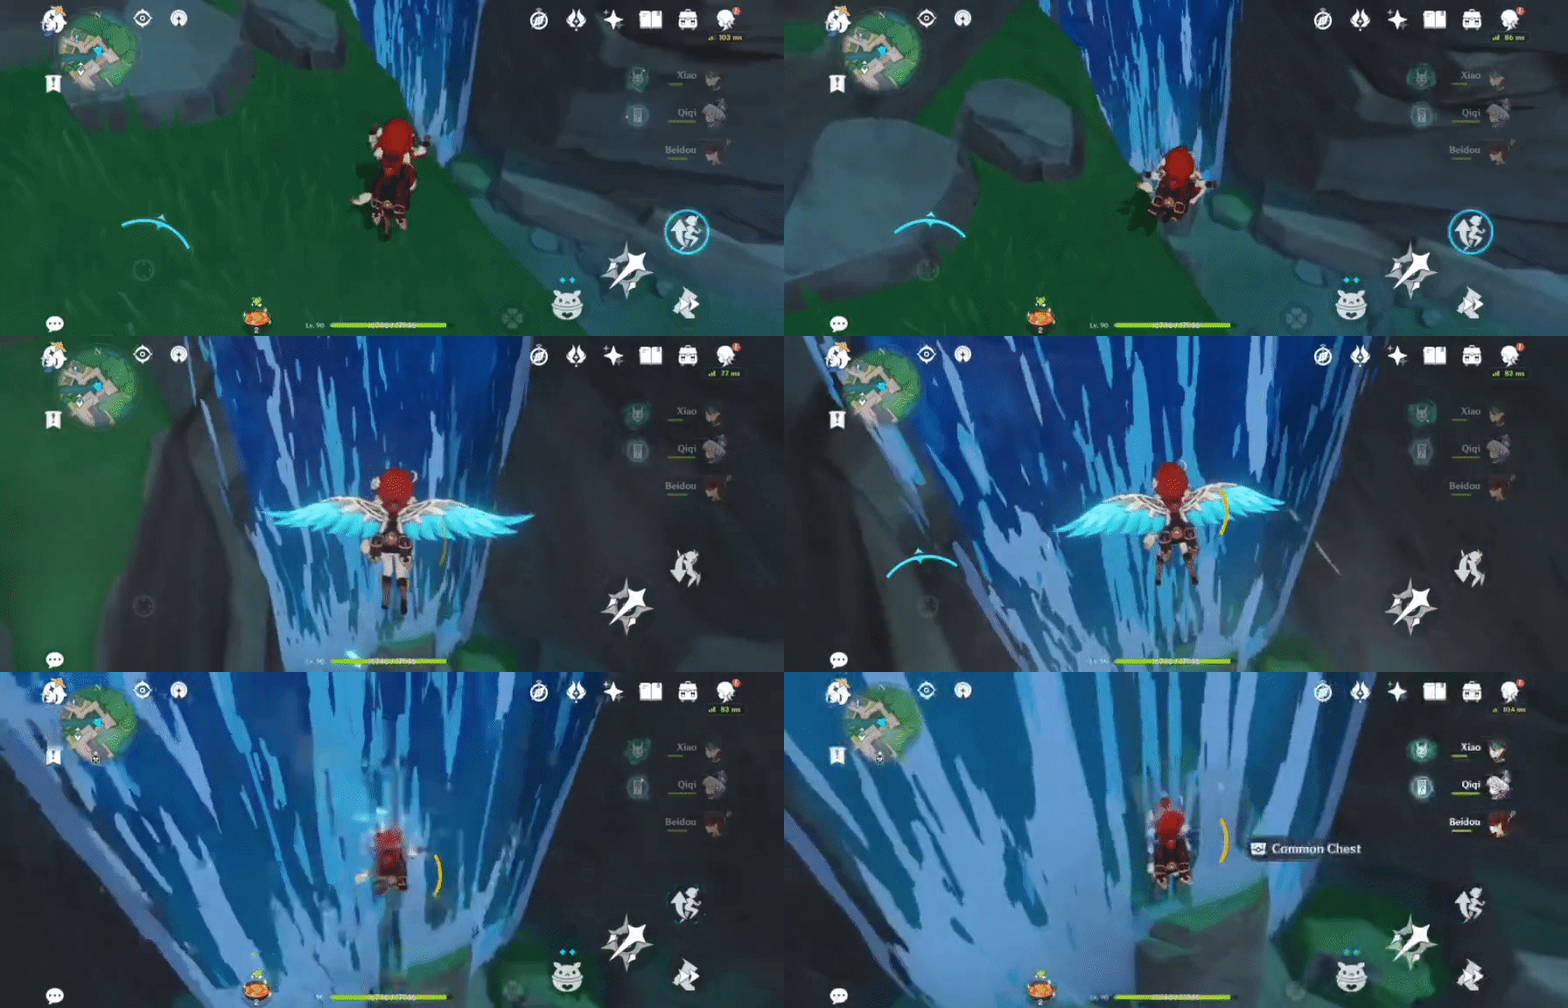
23. [Open Chest] Partly hidden in the waterfall, on a small ledge
No requirements needed to access.
Location:

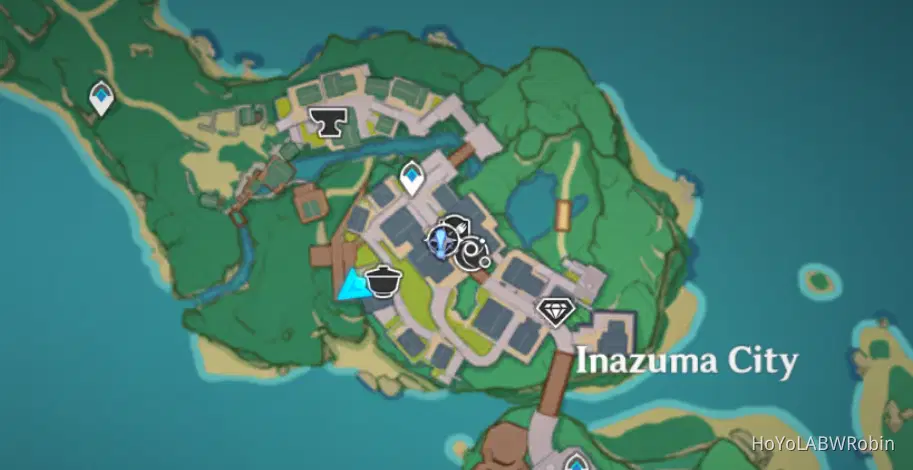
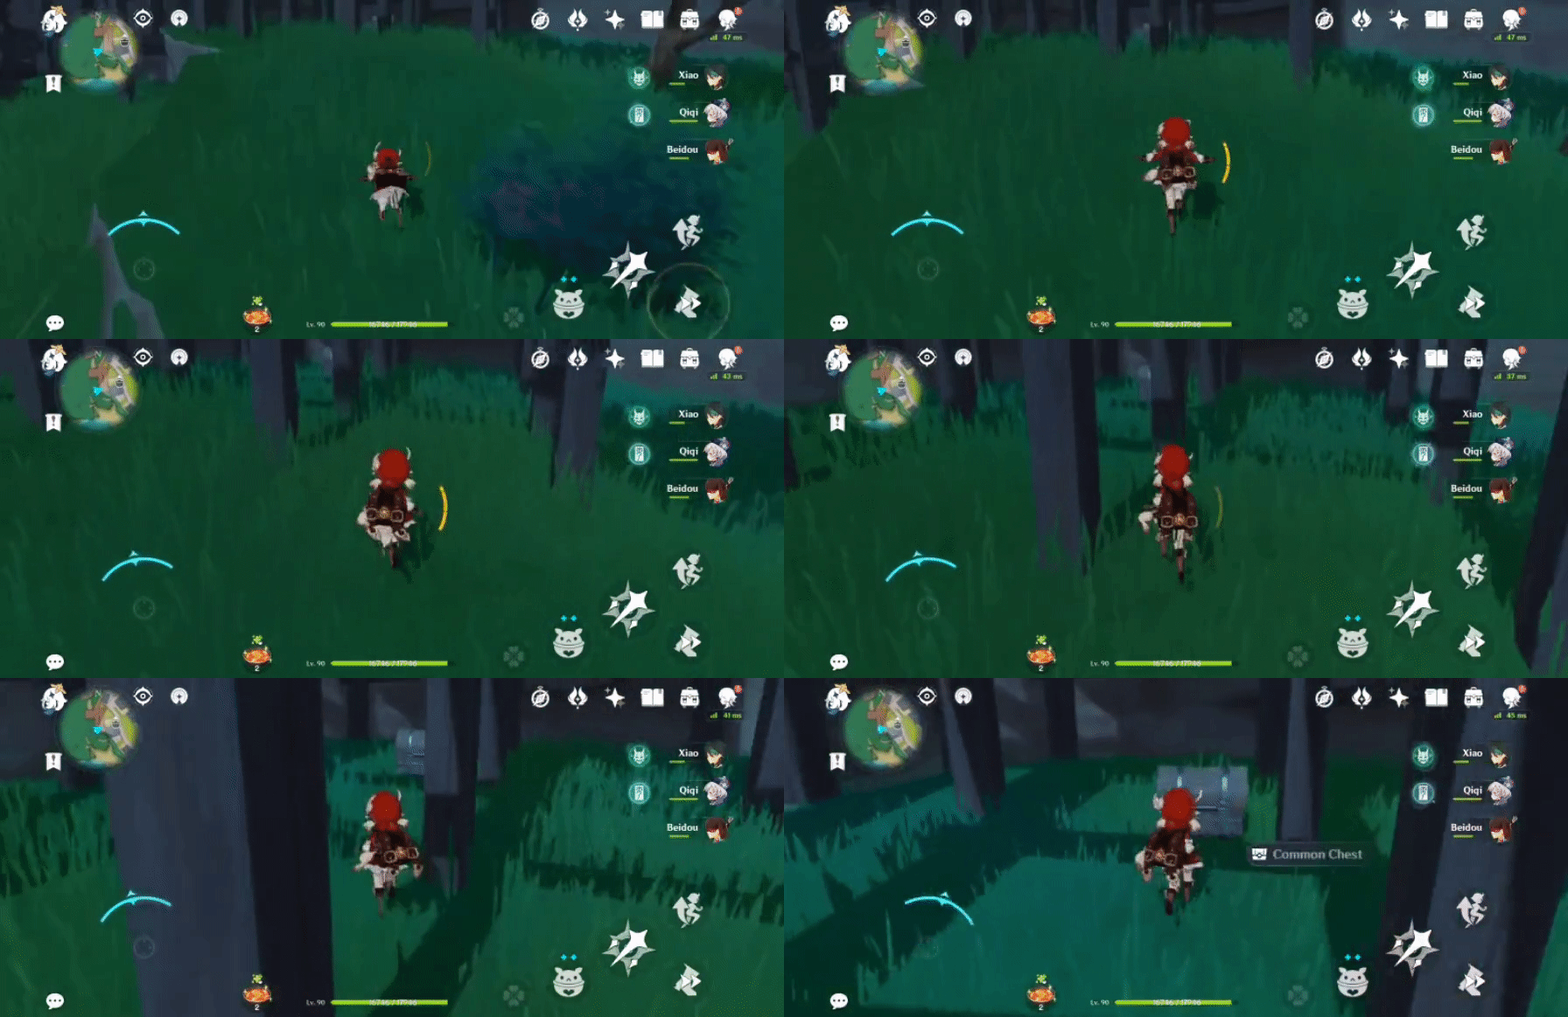
24. [Open Chest] Under the ramp leading to Komore Teahouse
No requirements needed to access.
Location:
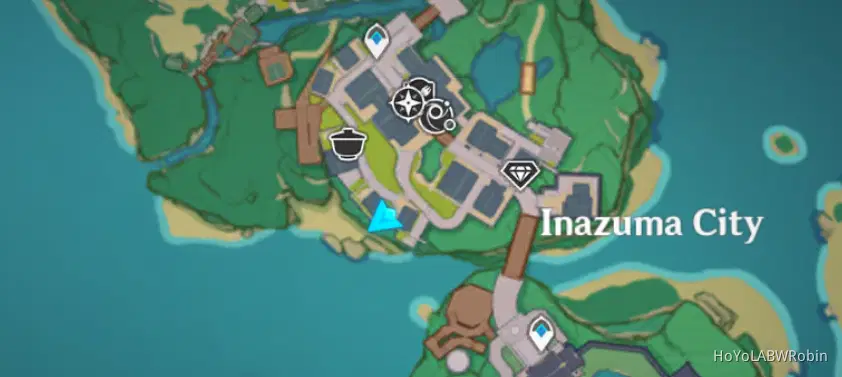
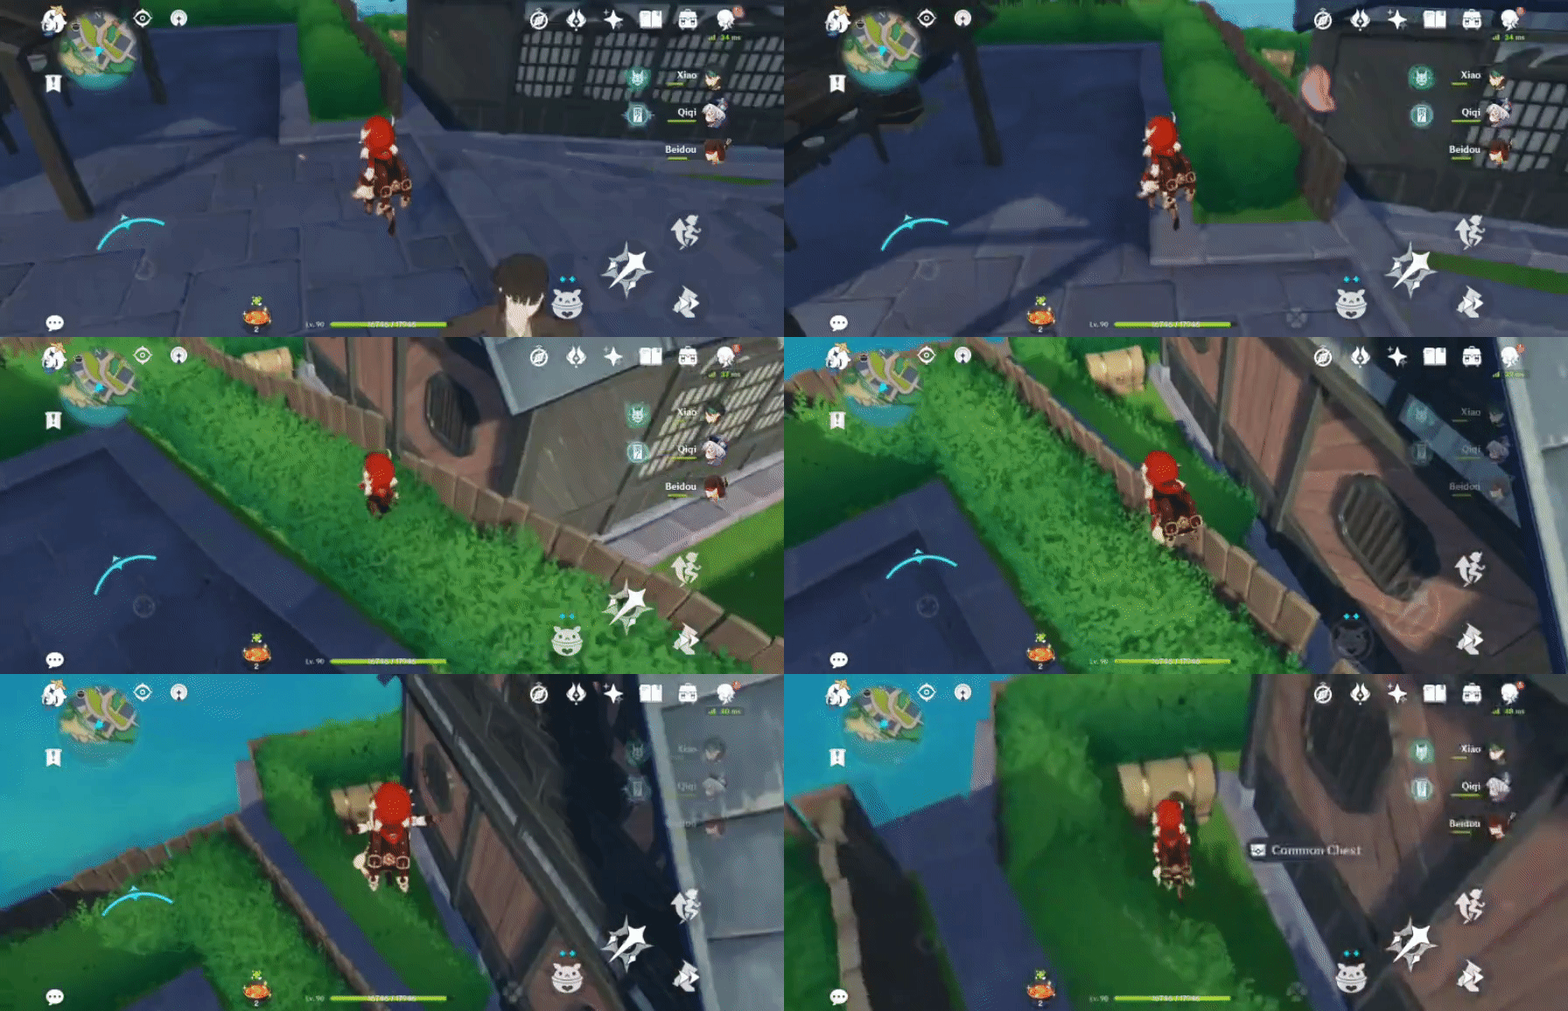
25. [Open Chest] Next to some hedges, behind a house (in the left corner)
No requirements needed to access.
Location:
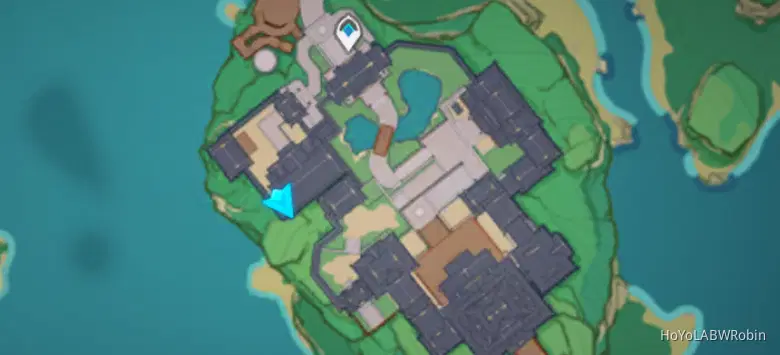
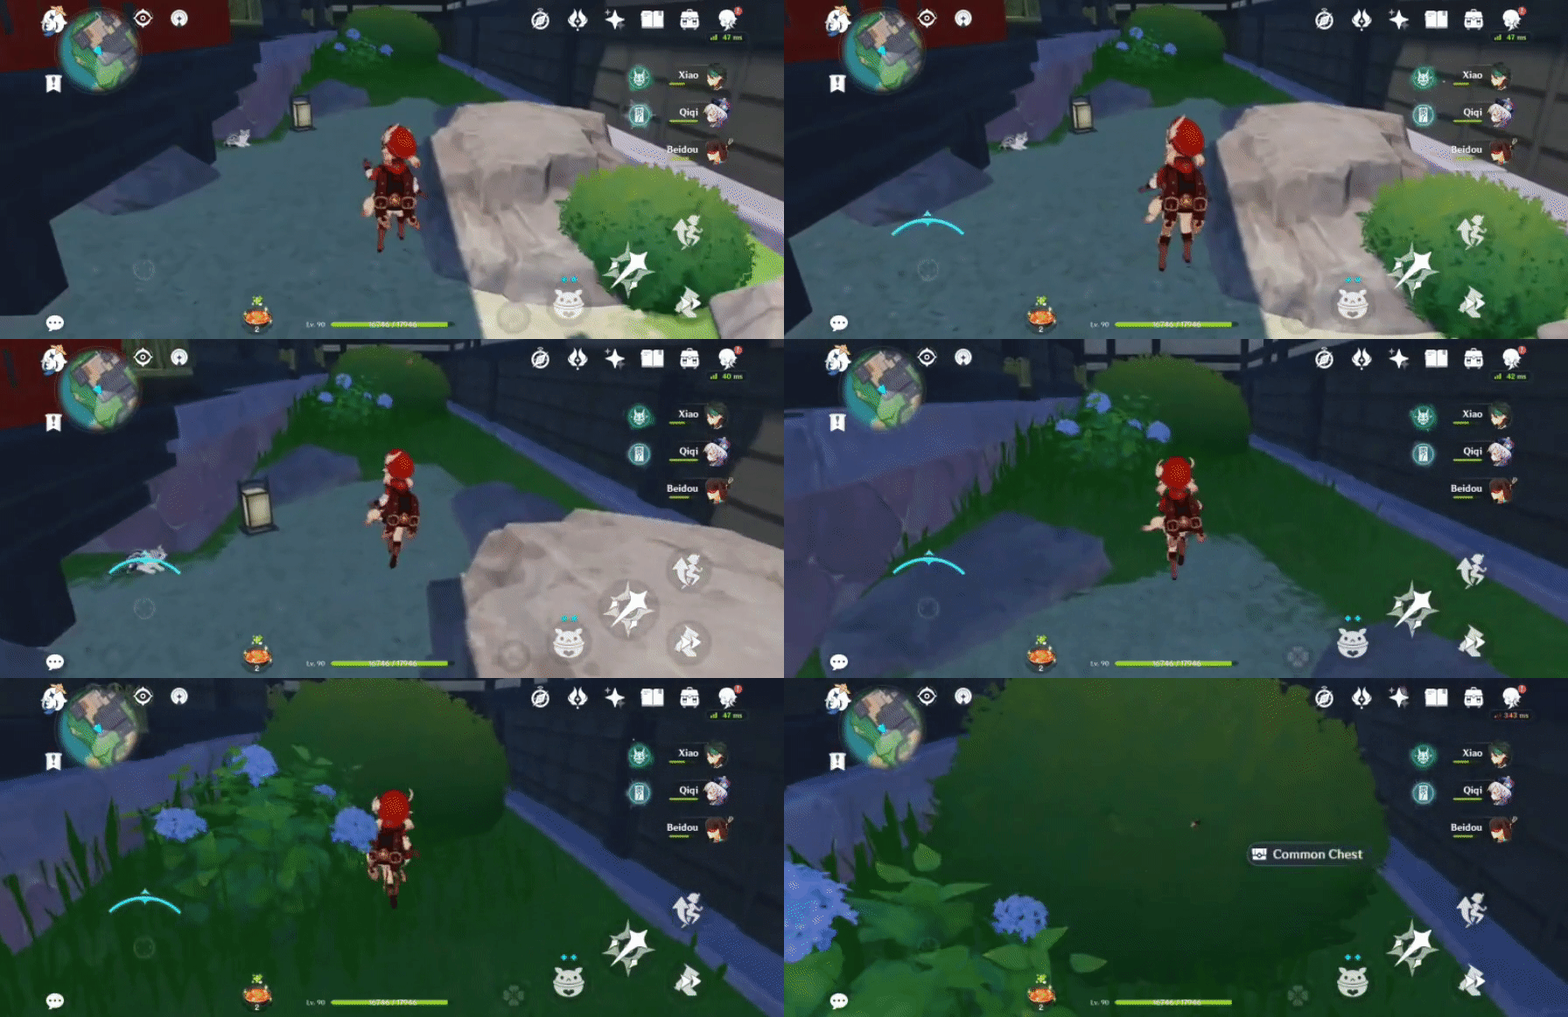
26. [Open Chest] In the right corner, hidden in some bushes
No requirements needed to access.
Location:
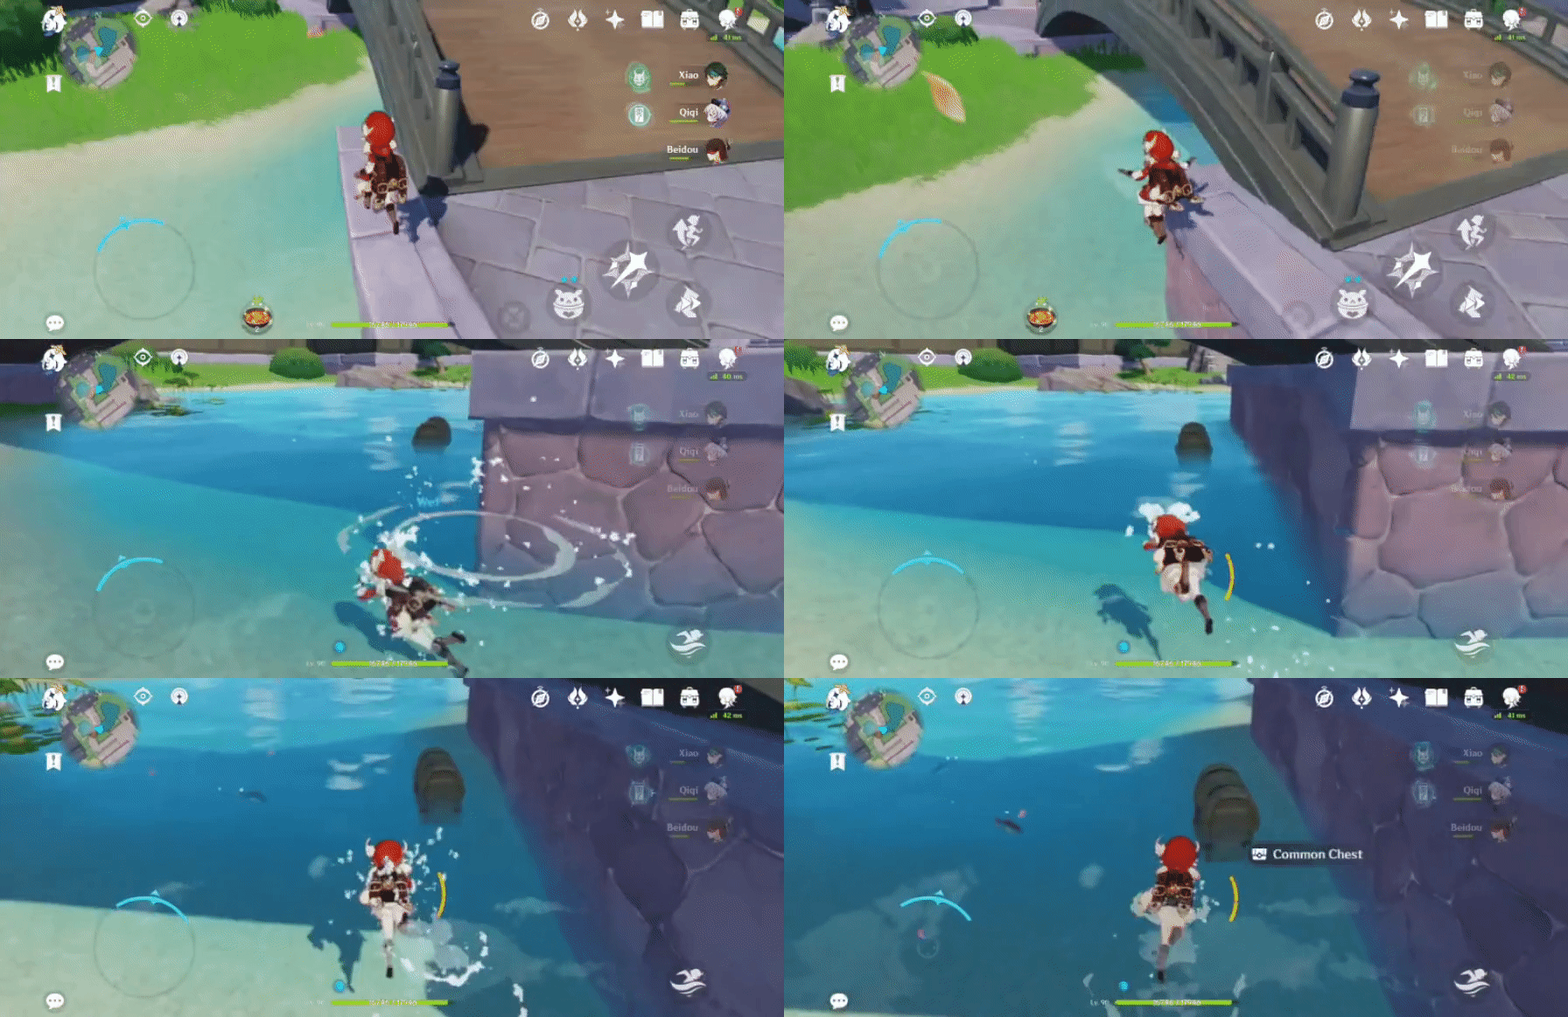
27. [Open Chest] Underneath the front of the bridge
No requirements needed to access.
Location:

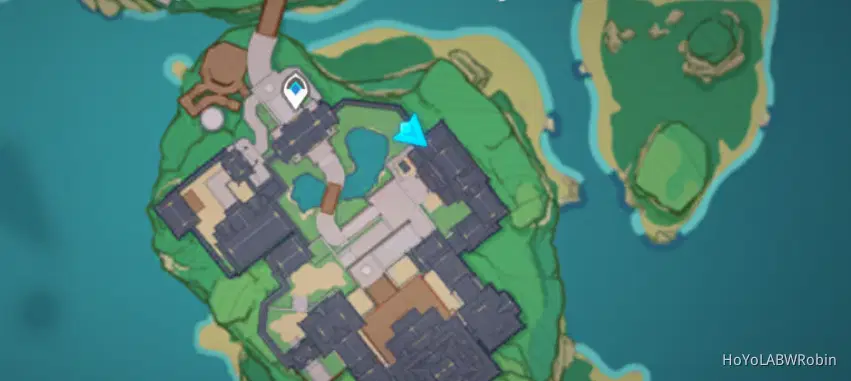
28. [Open Chest] Behind the large rock, next to the white cat
No requirements needed to access.
Location:
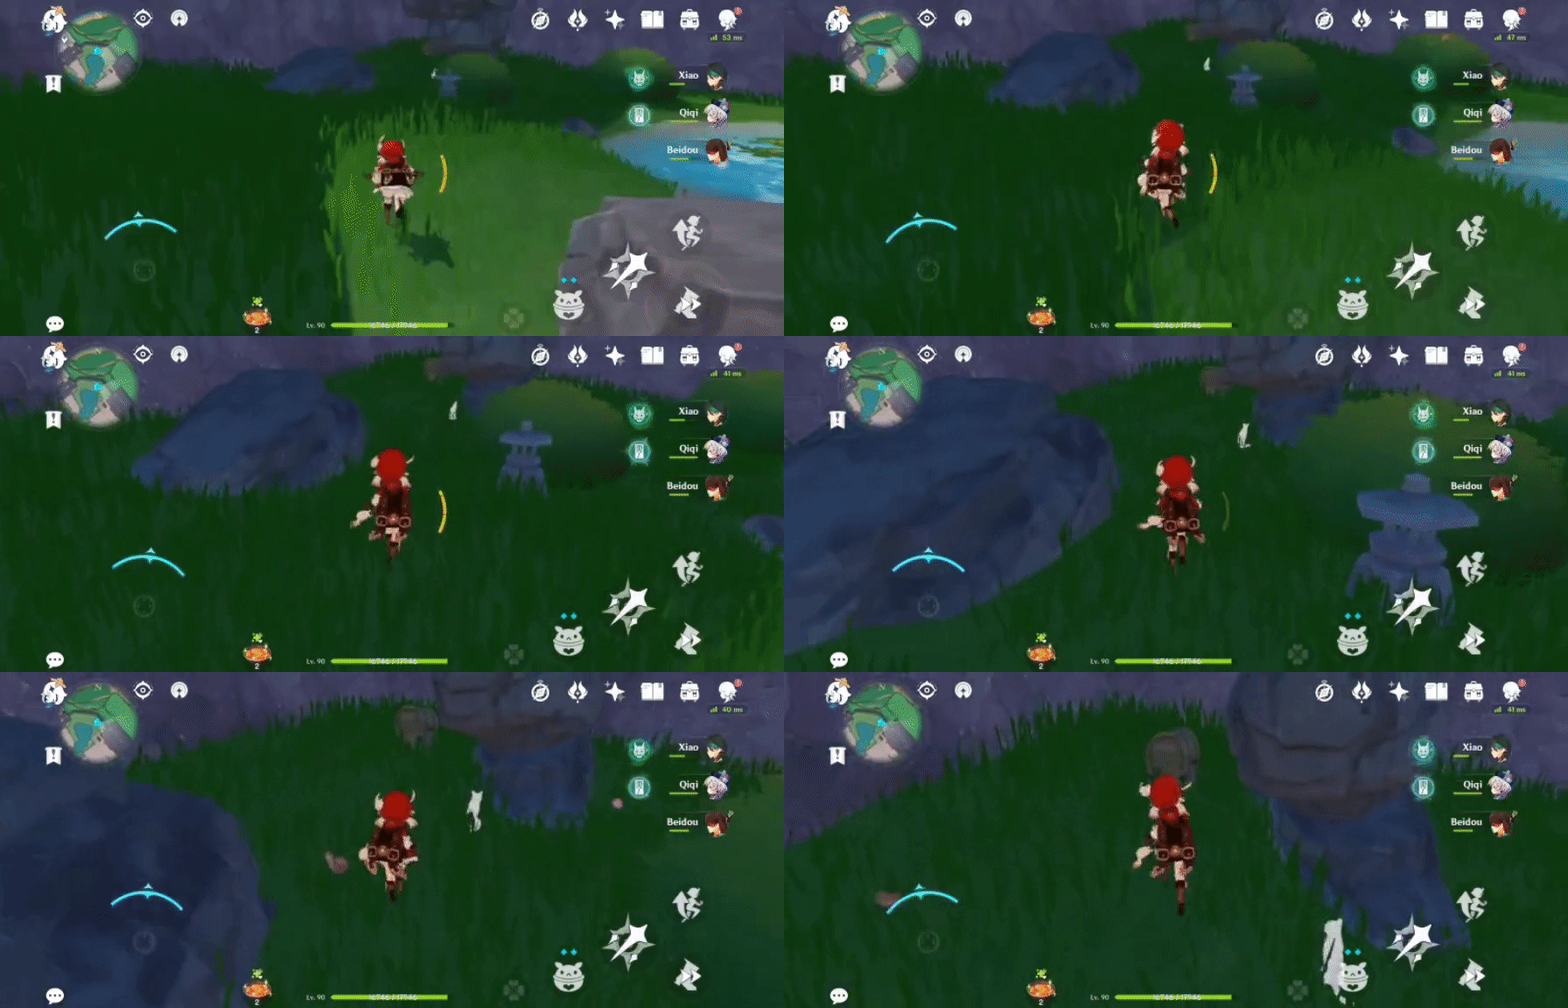
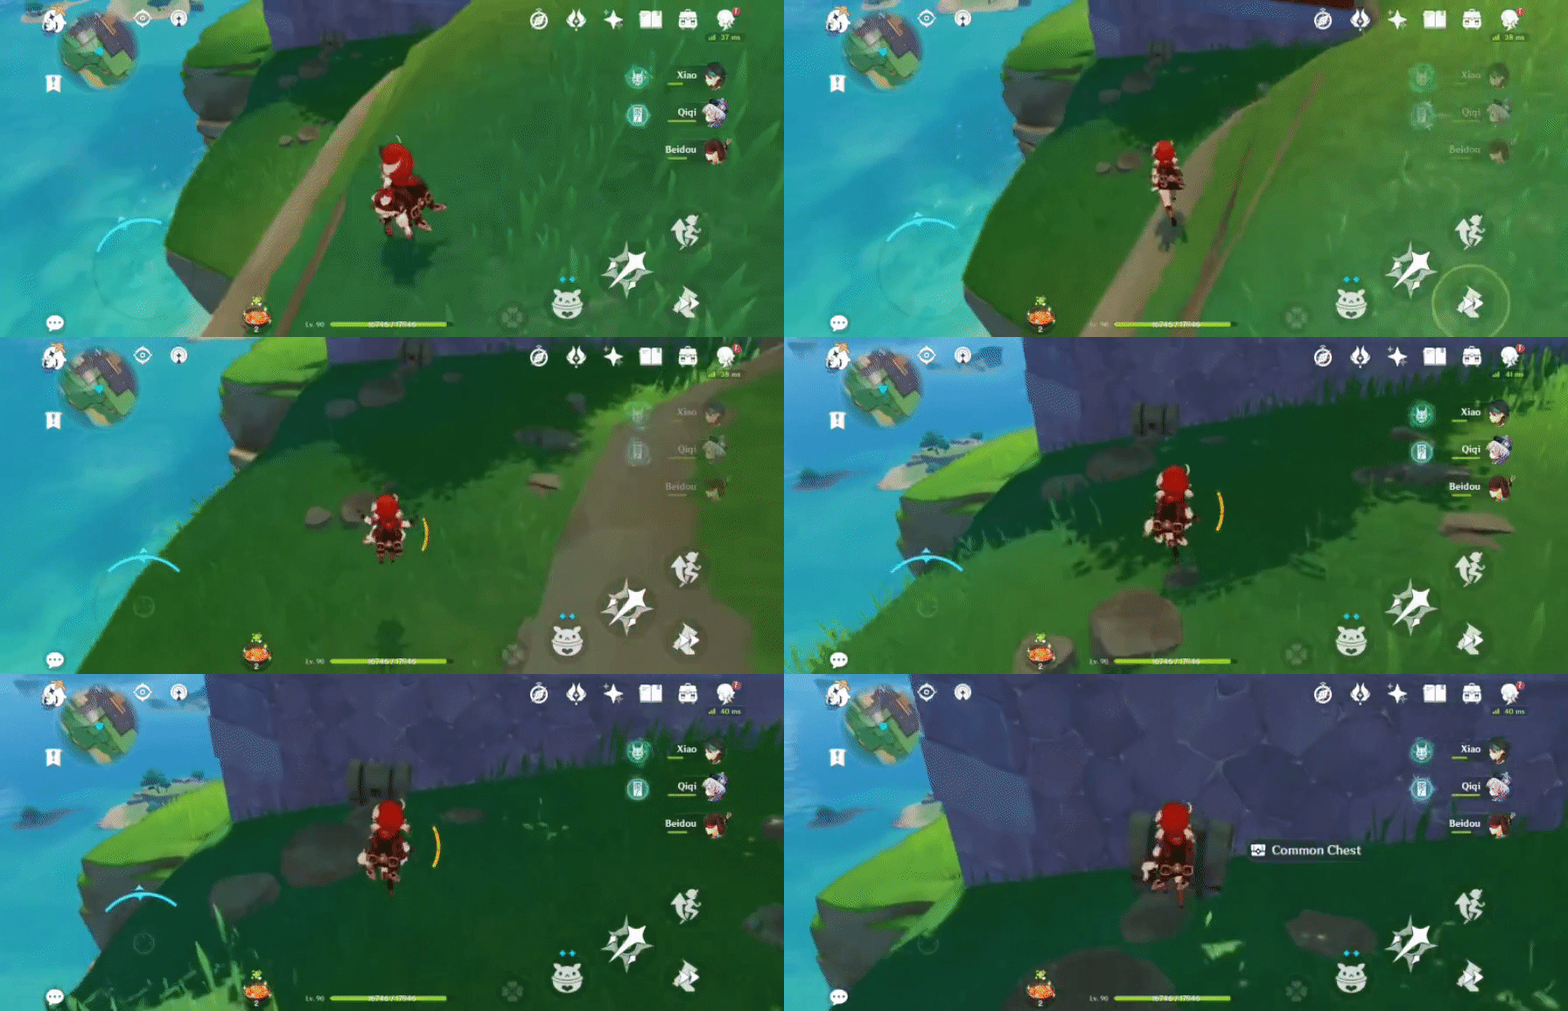
29. [Open Chest] Outside the red fence, on a lower ledge
No requirements needed to access.
Location:

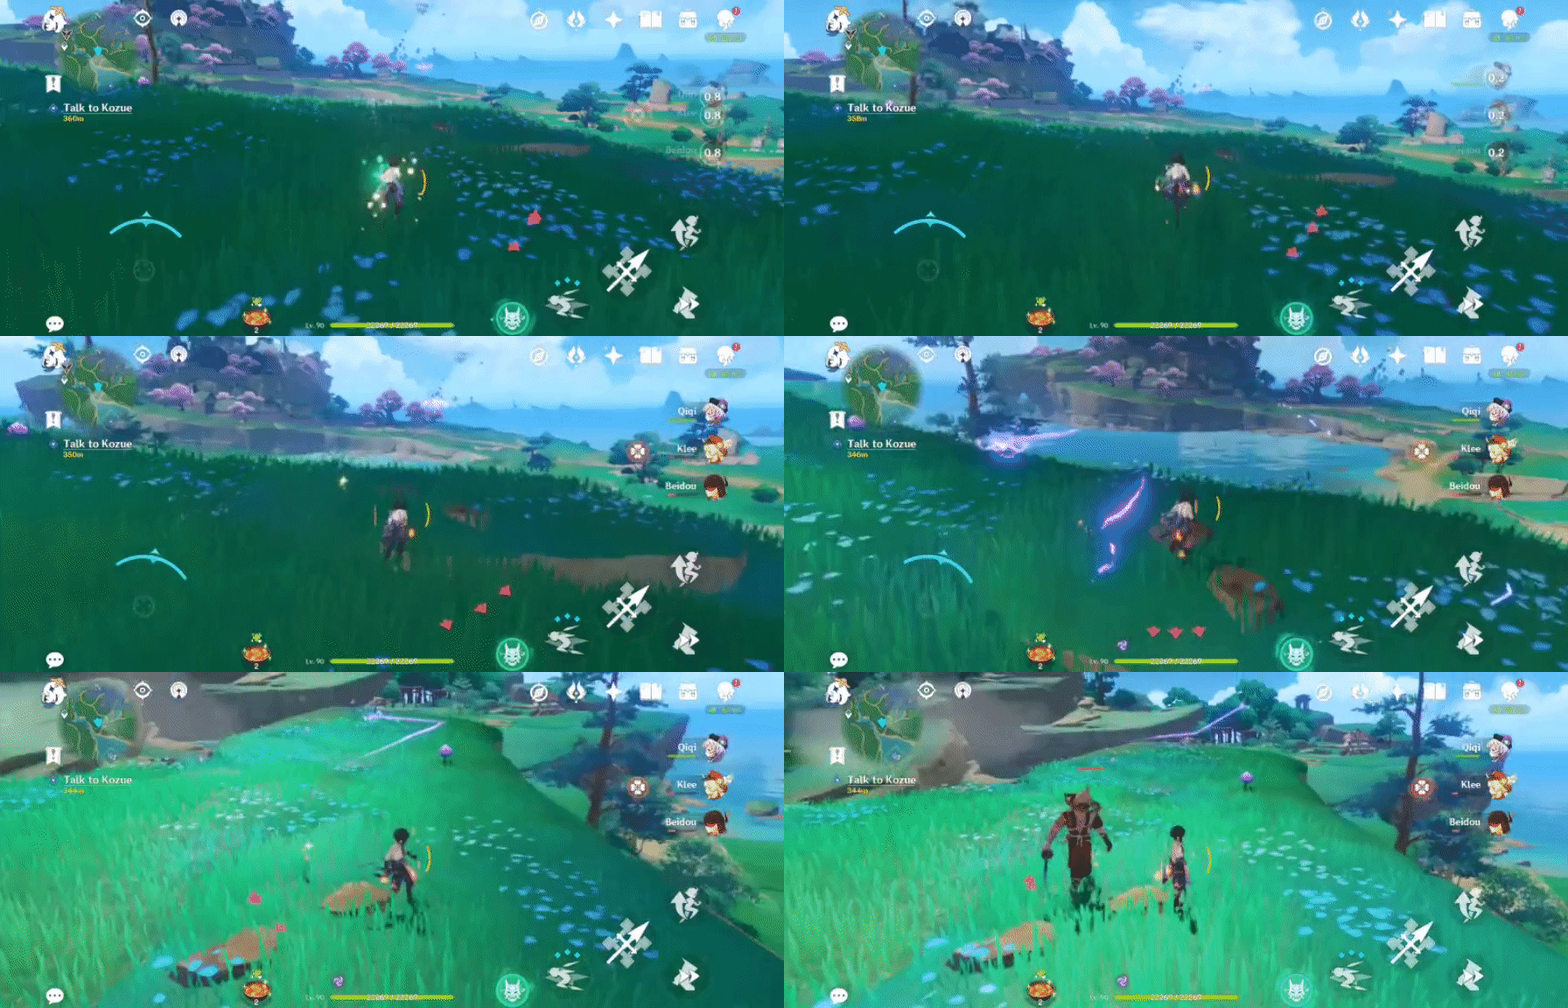
30. [Spawned Chest]
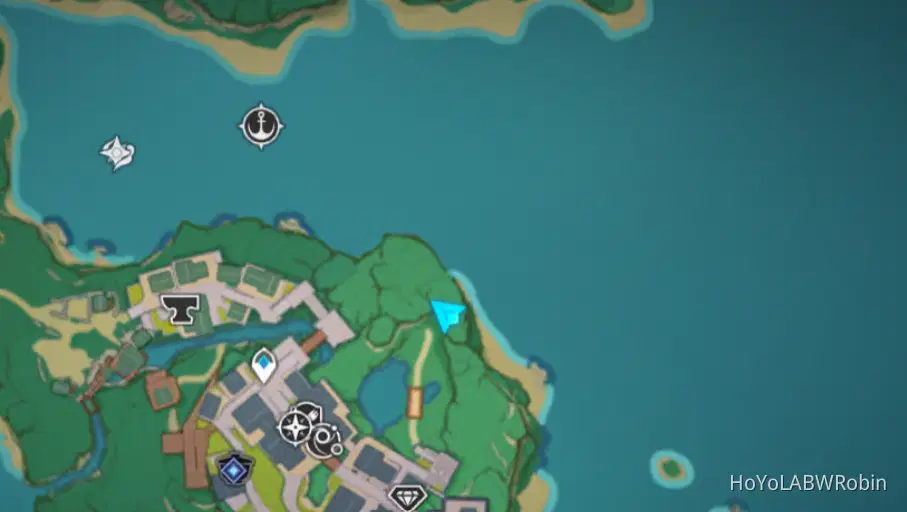
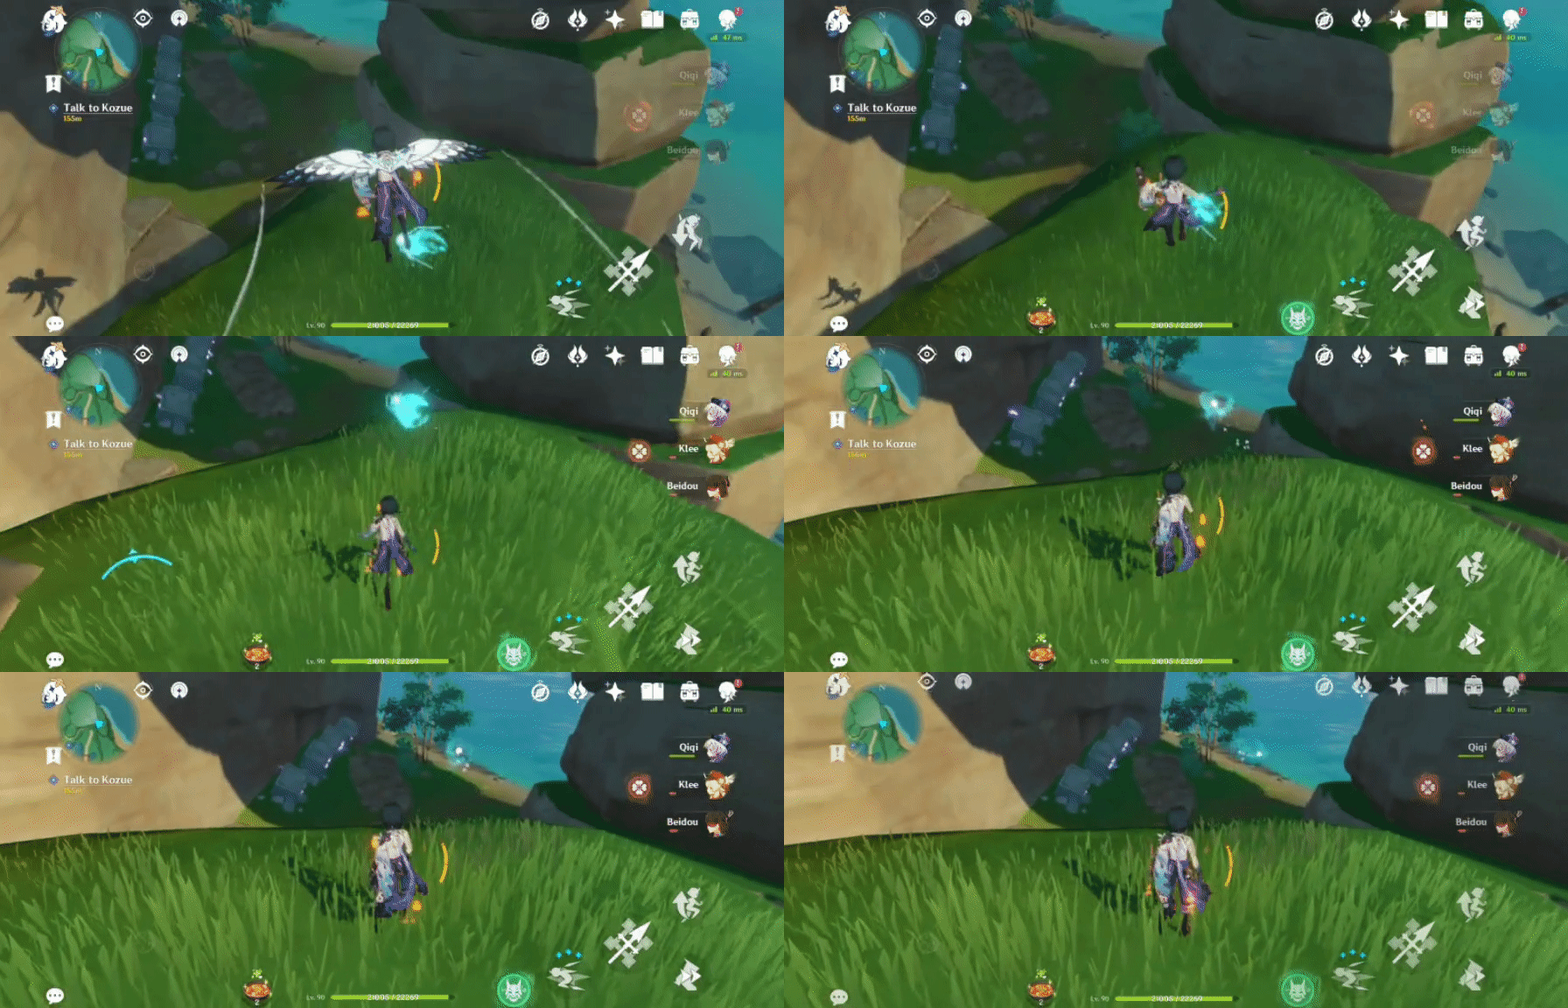
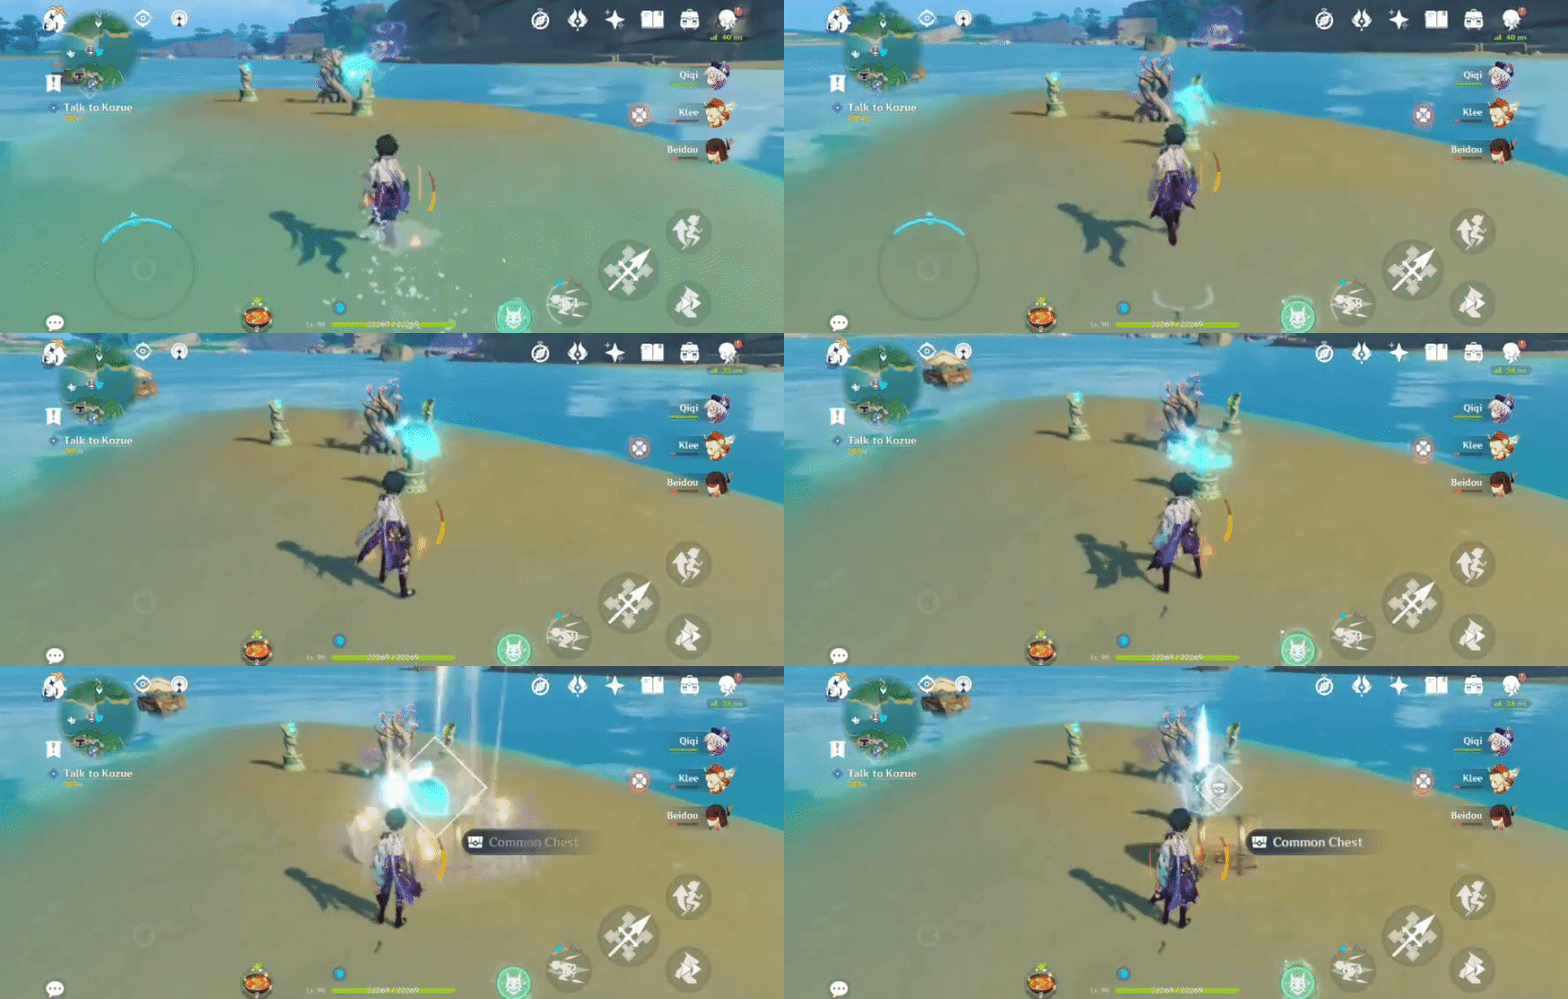
Will spawn after you the follow the Seelie to its Statue.
Location (Seelie):
31. [Spawned Chest]
Will spawn after following the Electro Seelie until it no longer moves.
Location (Seelie):

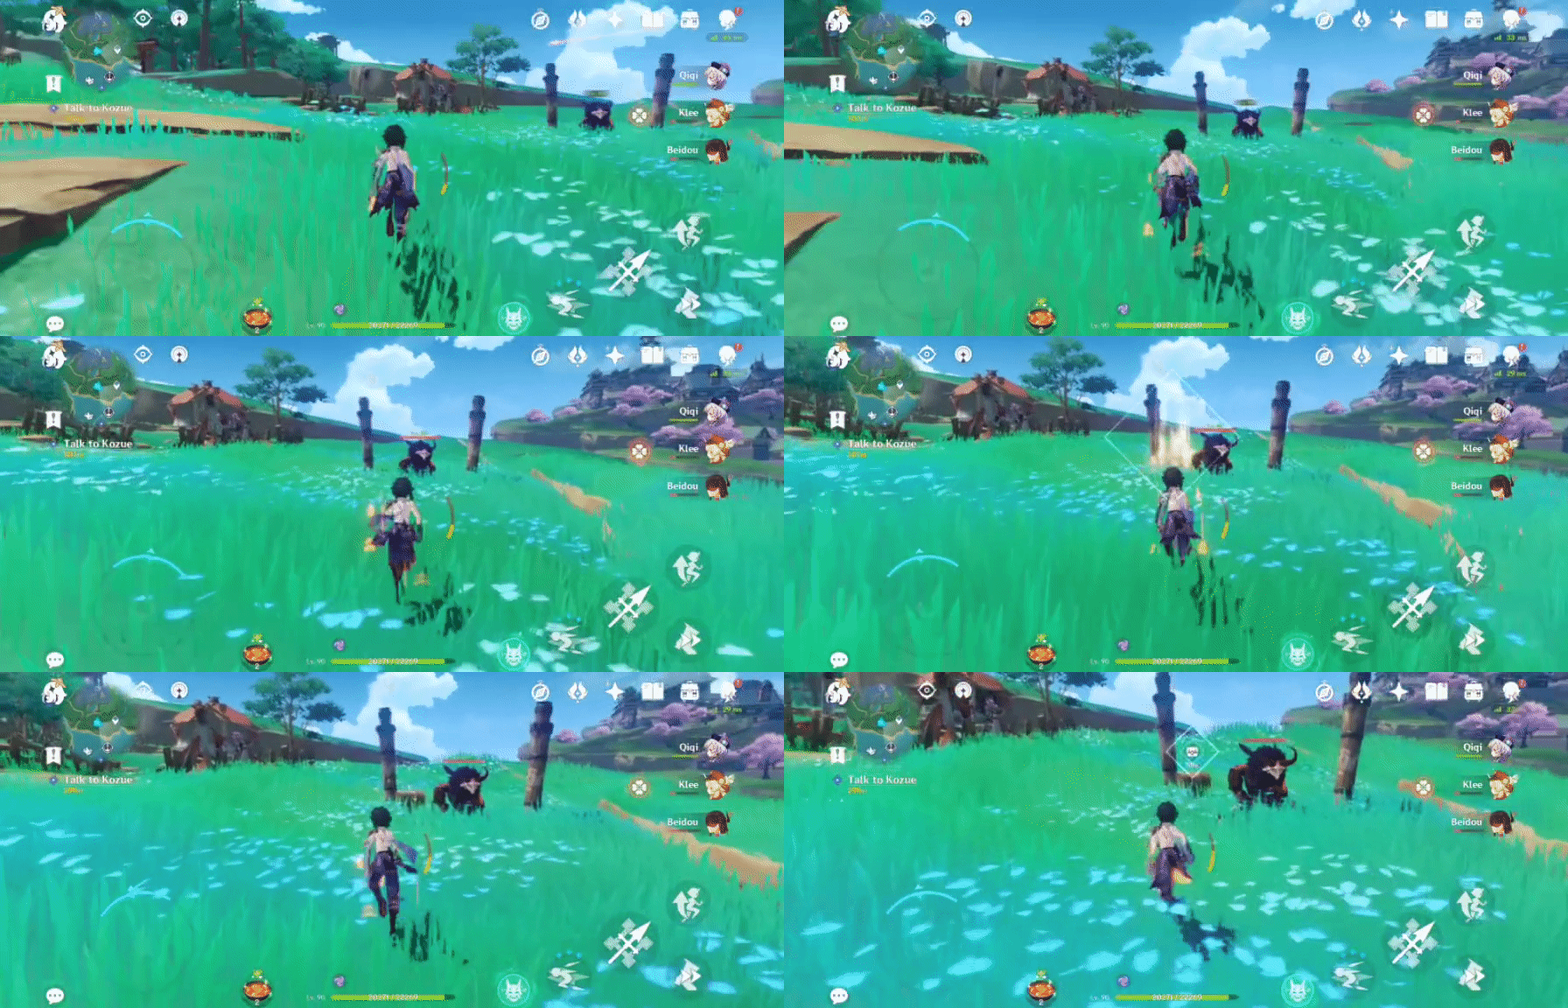
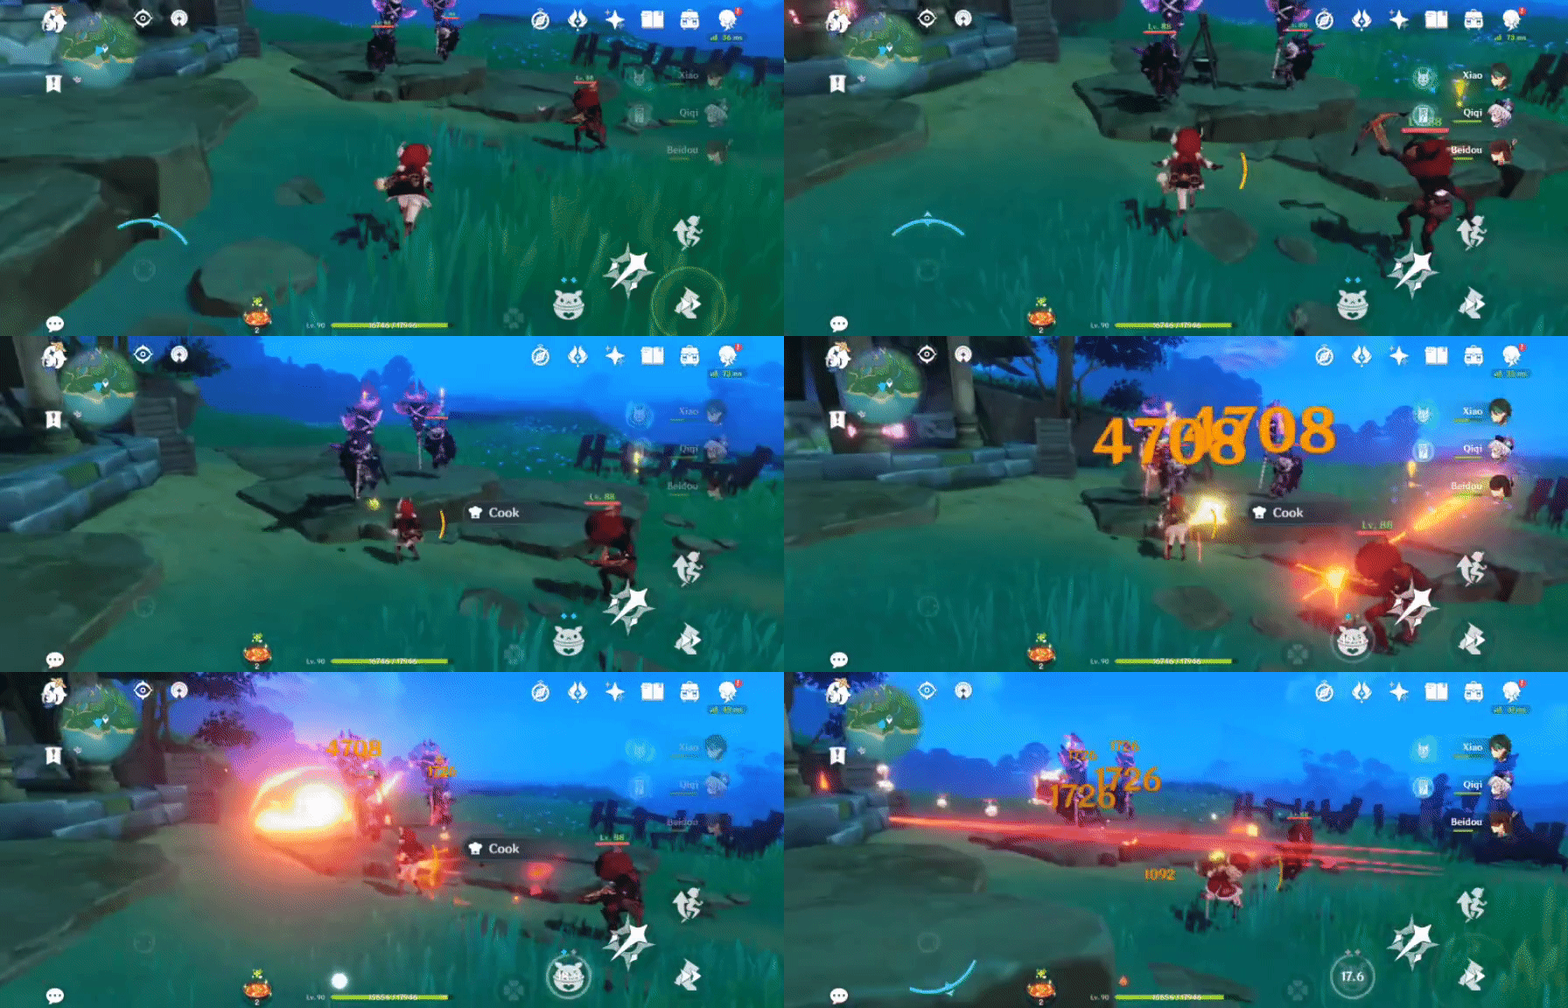
32. [Locked Chest] Inside the Hilichurl hut
Will unlock after defeating 2 Samachurls and 2 Hilichurls.
Location:

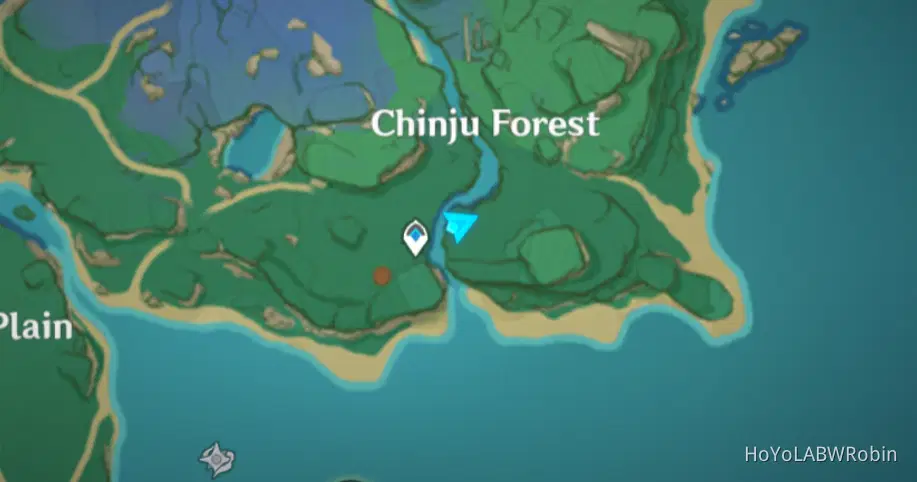
33. [Spawned Chest]
Will spawn after following the Electro Seelie until it no longer moves.
Location (Seelie- On top of a tree stump):
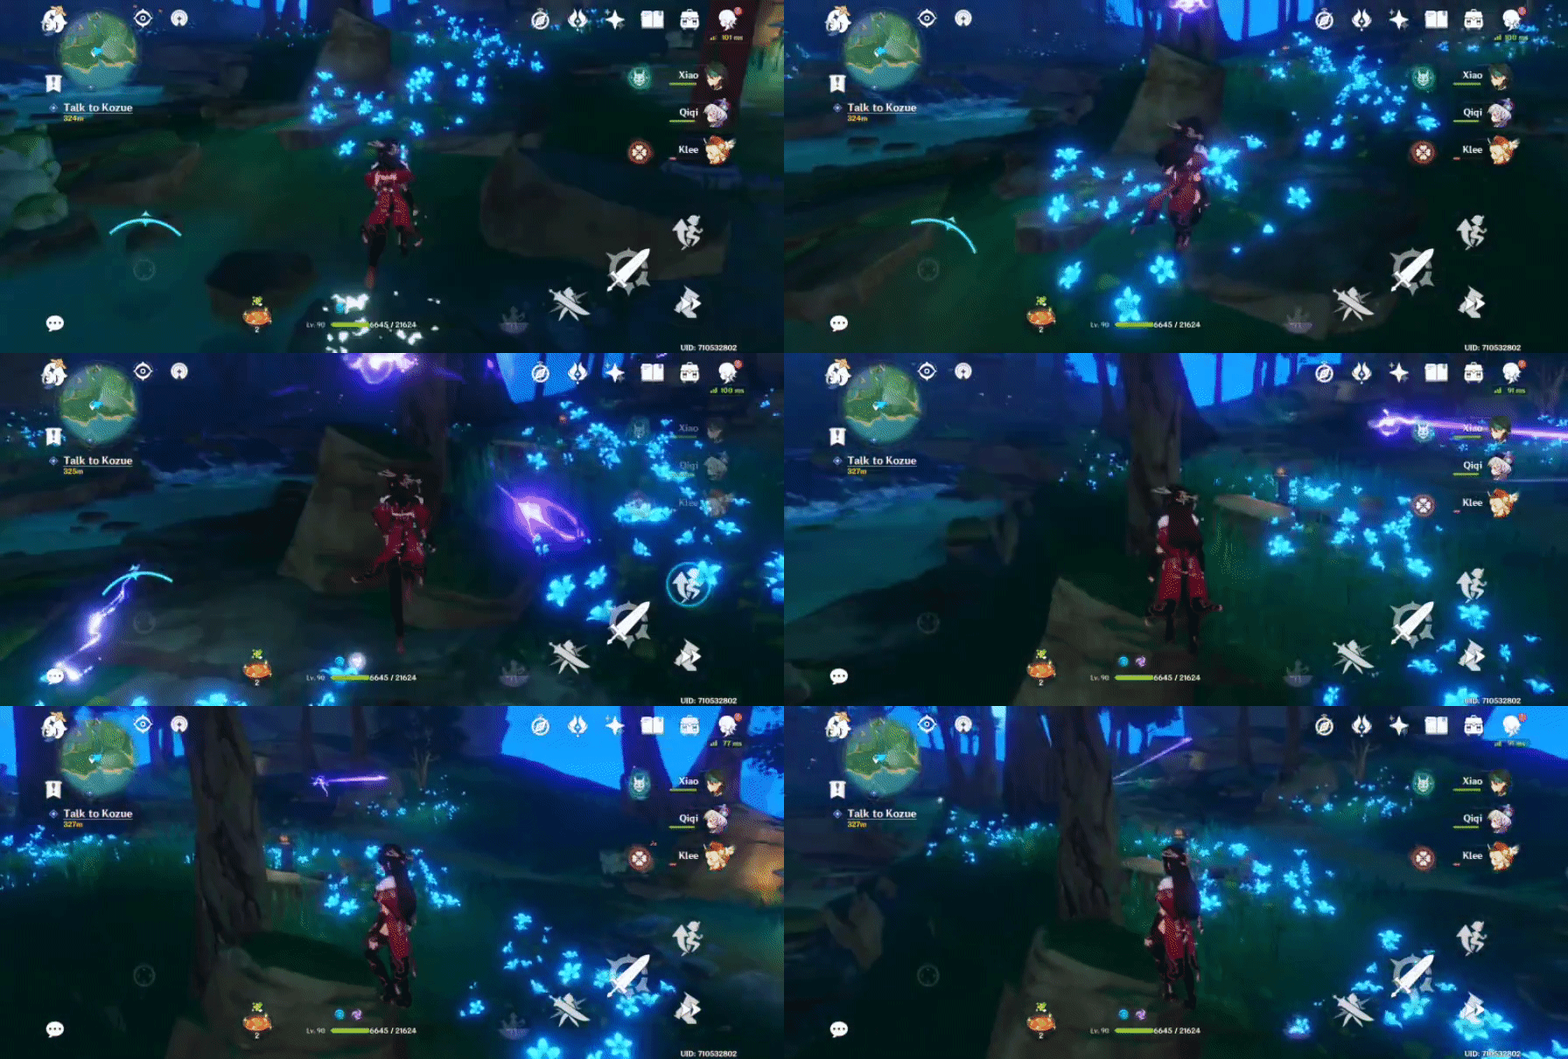
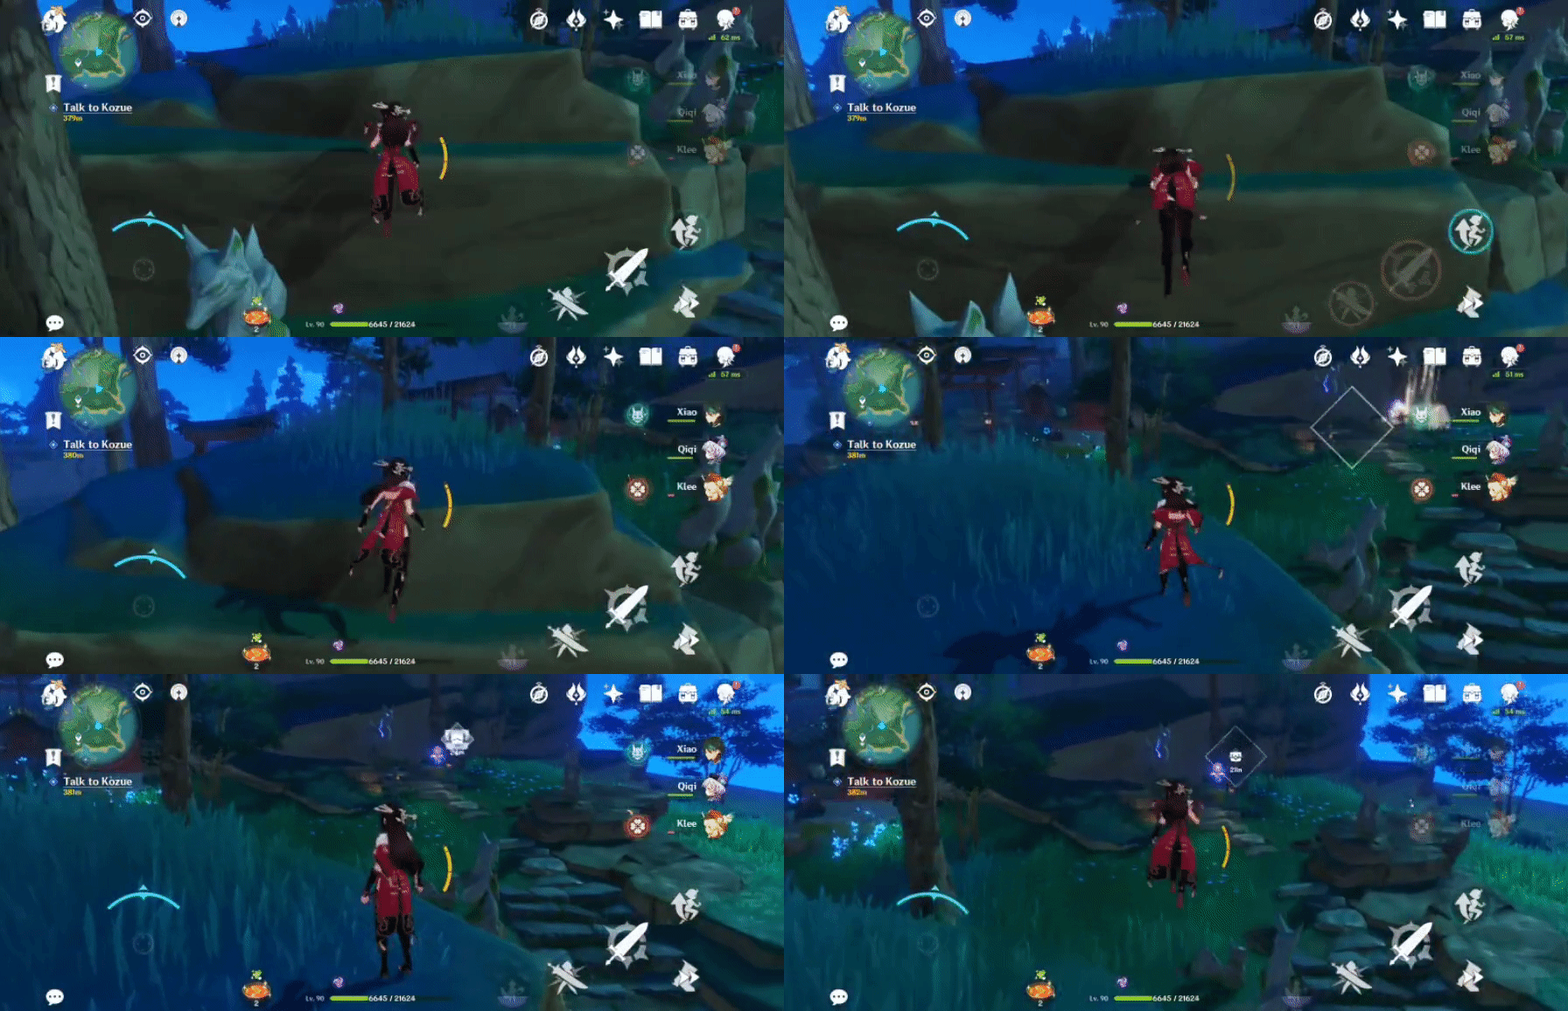
34. [Locked Chest] On top of a ledge
Will unlock after defeating 3 Hilichurls.
Location:
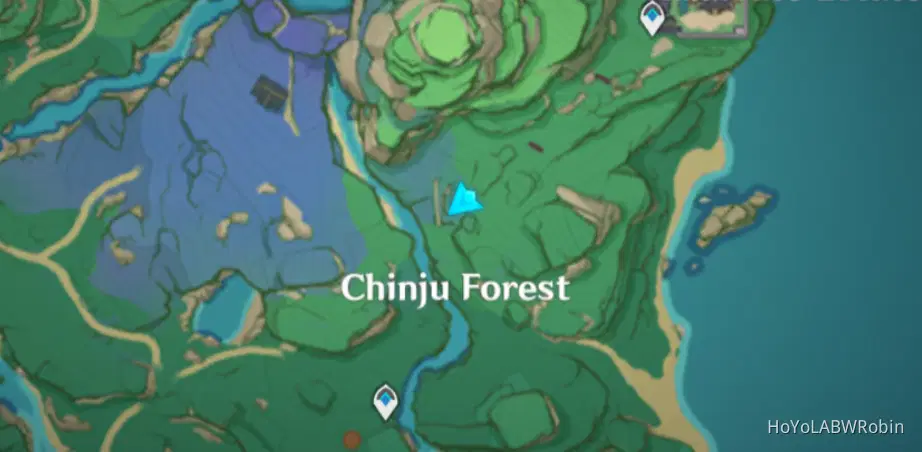
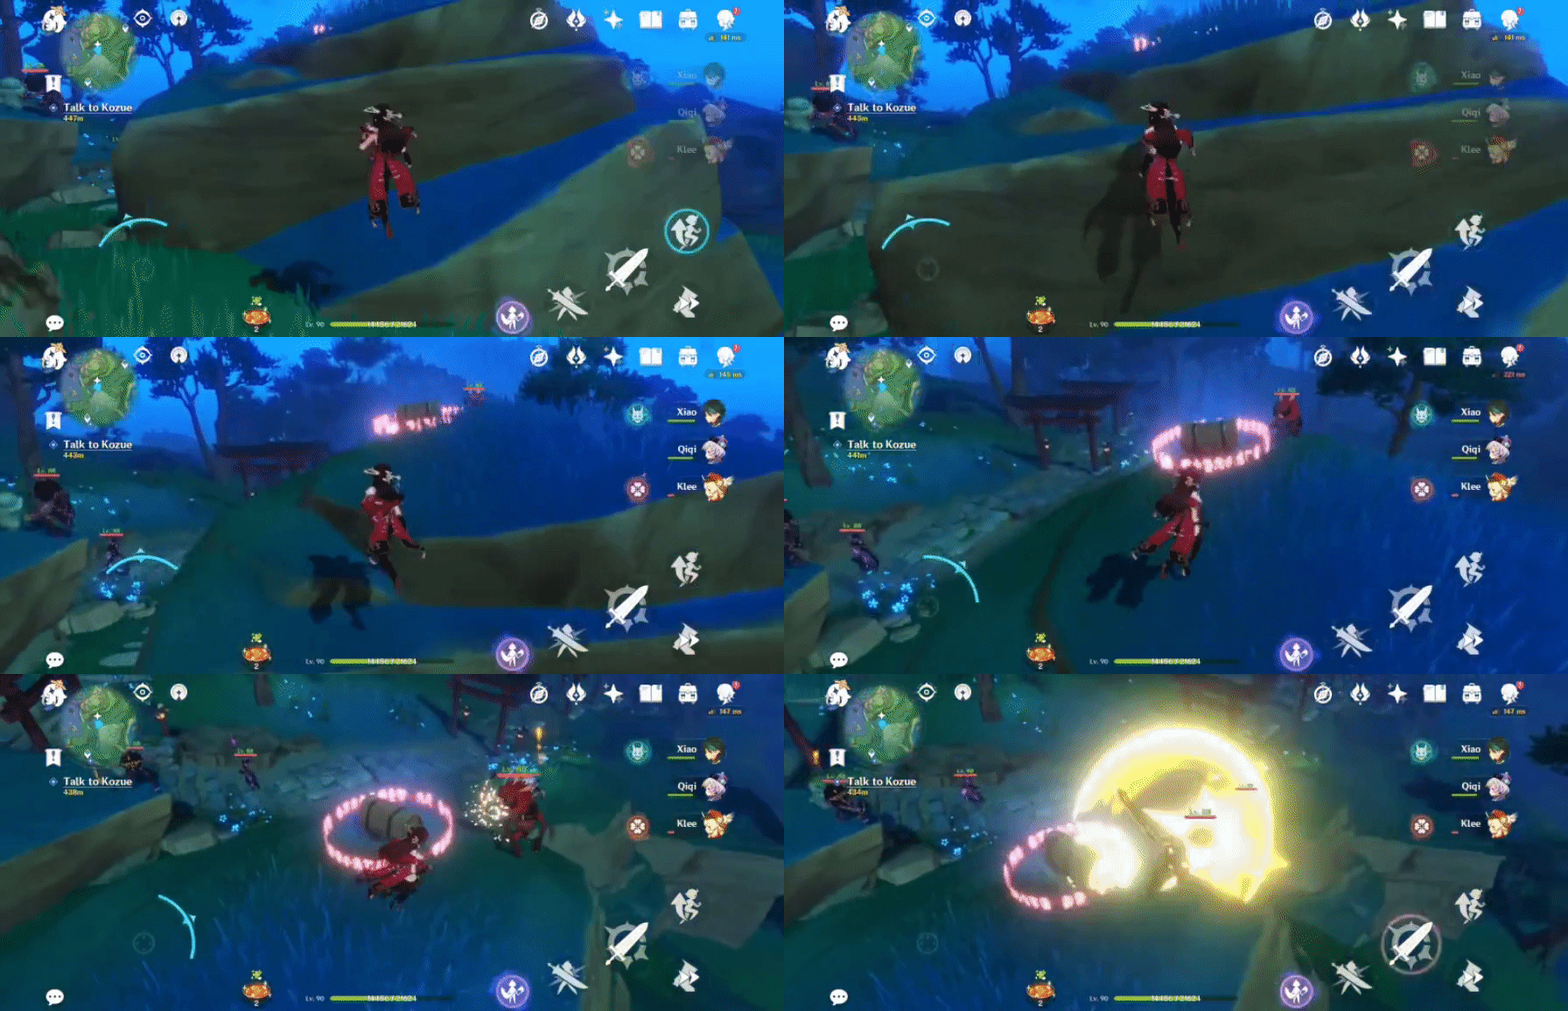
35. [Locked Chest] On a small rock
Will unlock after defeating 3 Nobushi and 1 Kairagi: Dancing Thunder.
Location:
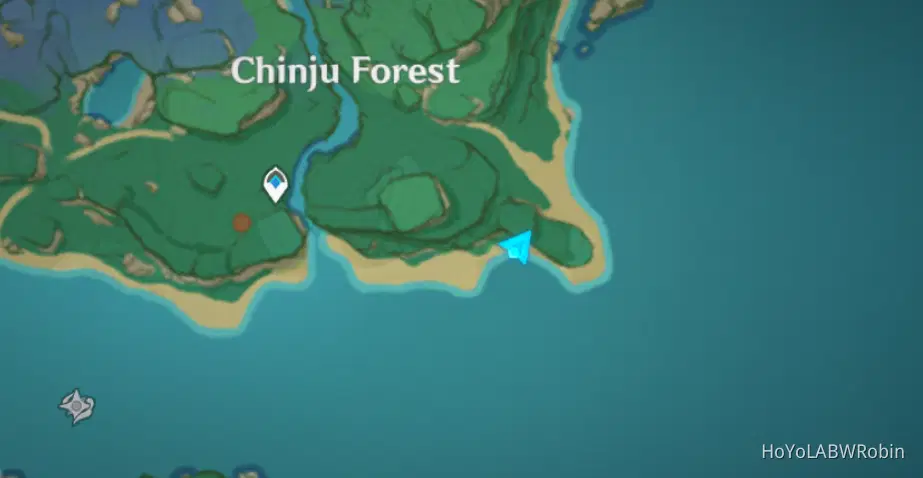
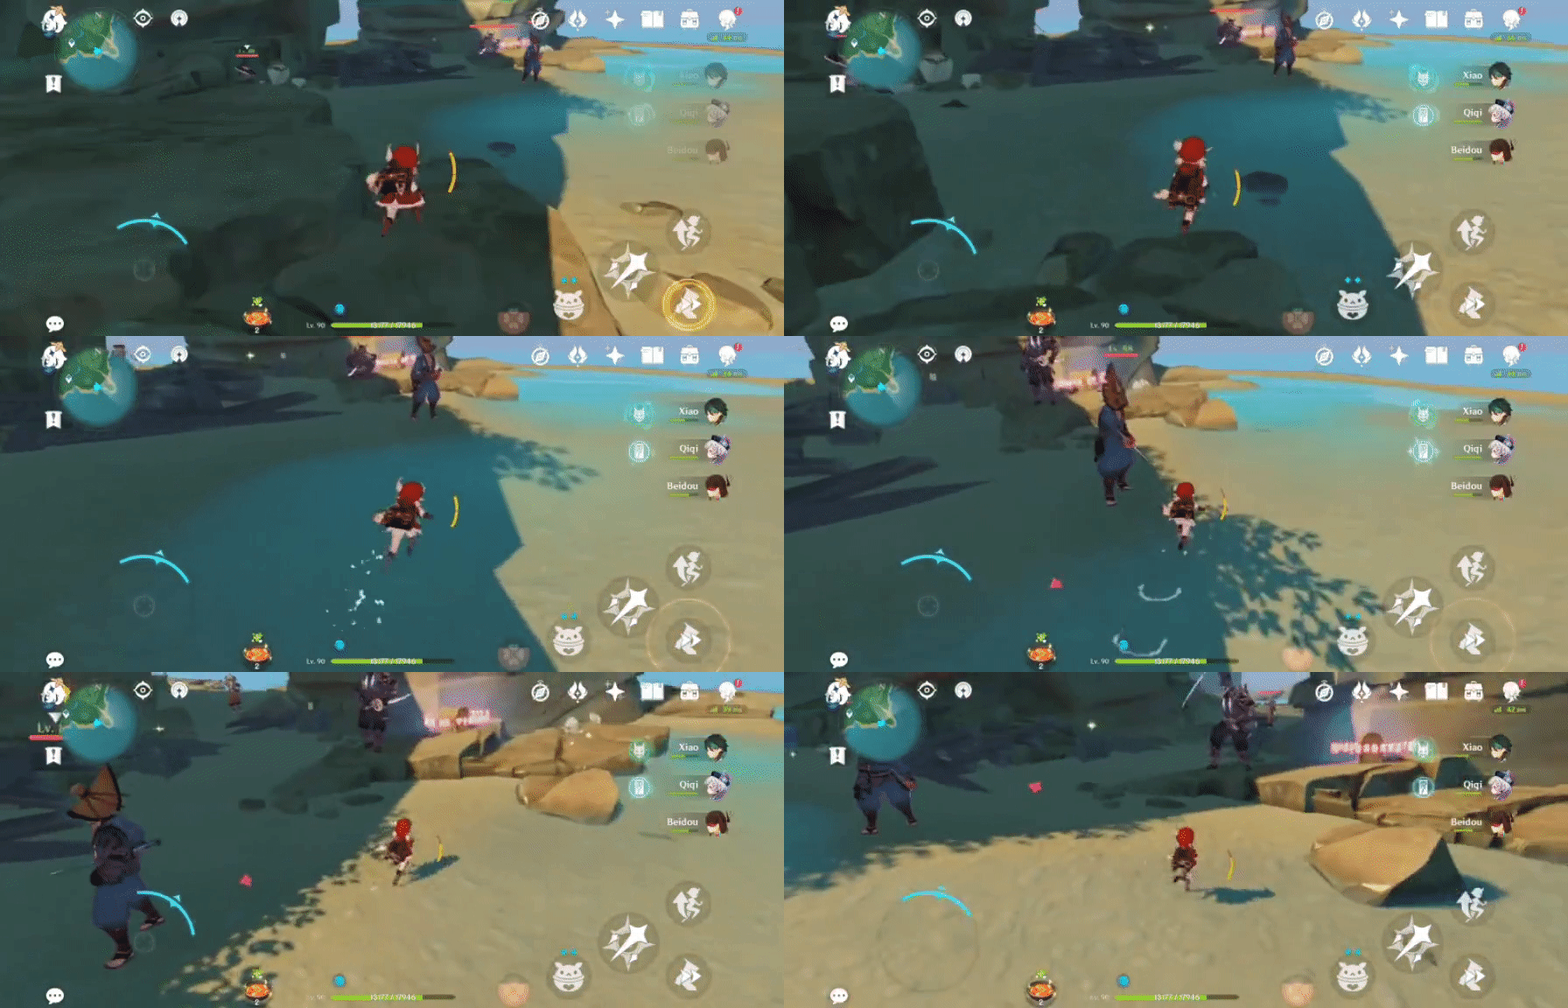
36. [Locked Chest] On top of a rock
Will unlock after defeating 4 Hilichurls.
Location:
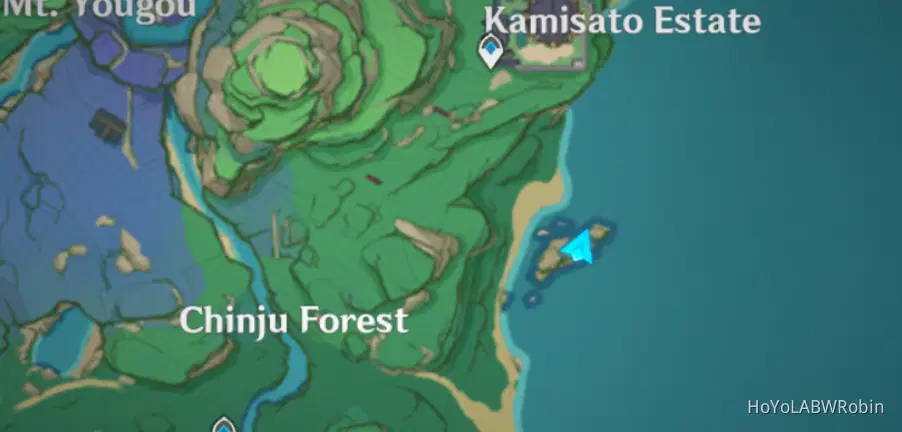
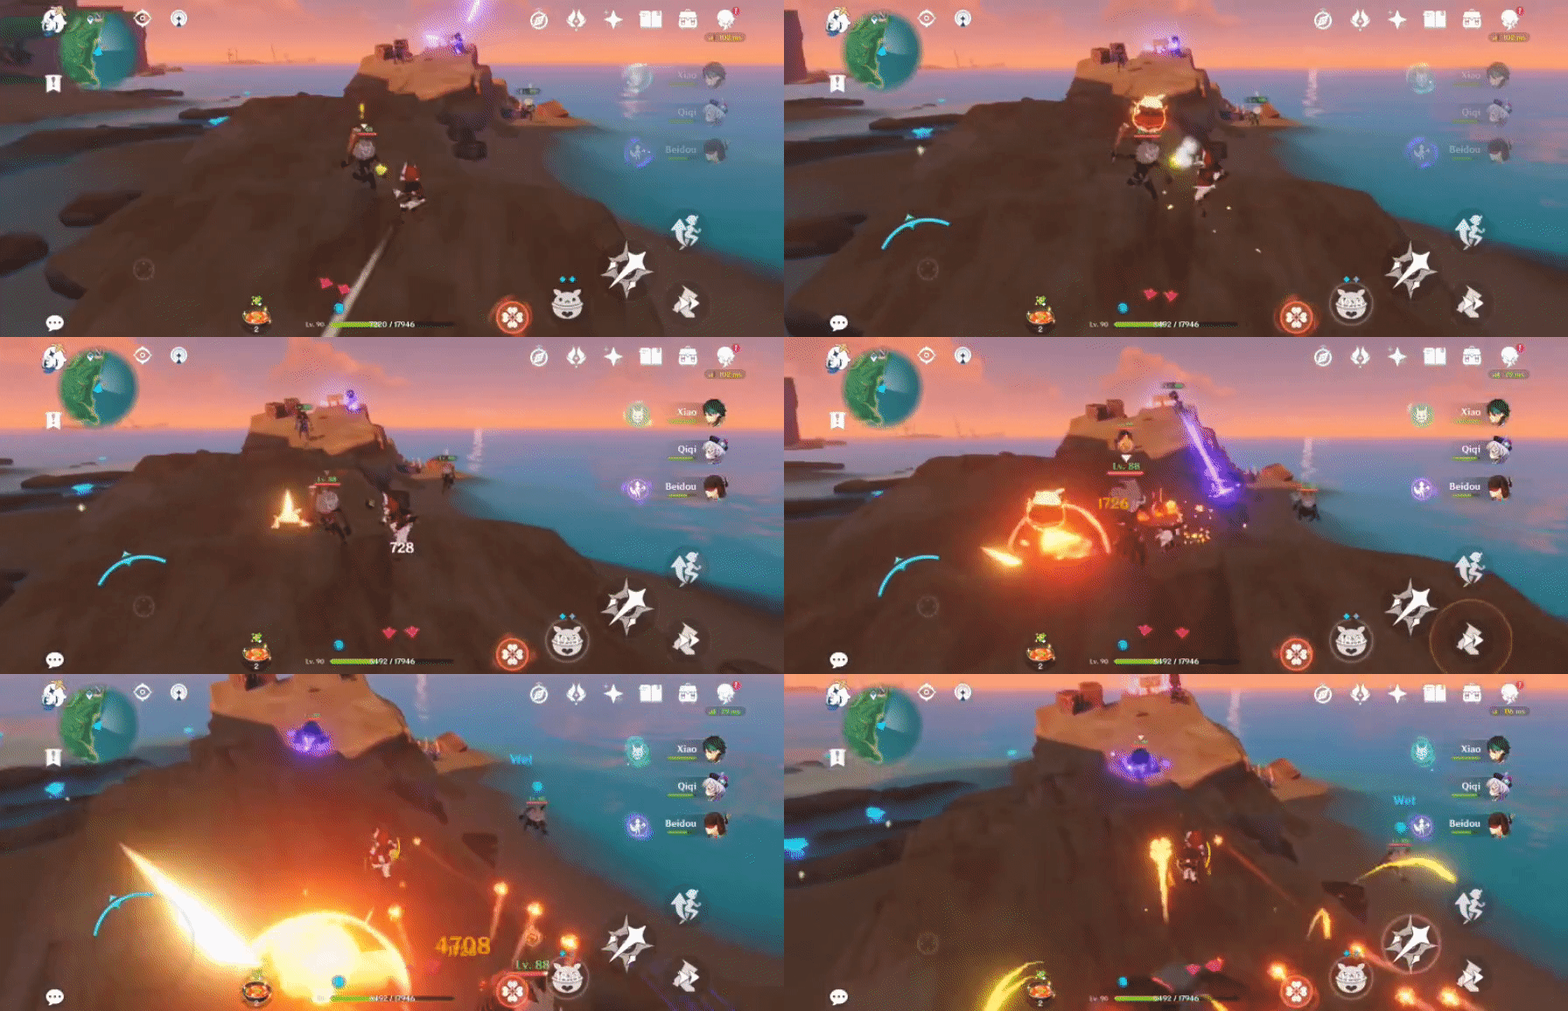
37. [Locked Chest] By the water
Will unlock after defeating 2 Electro Whopperflowers that spawn when close enough.
Location:
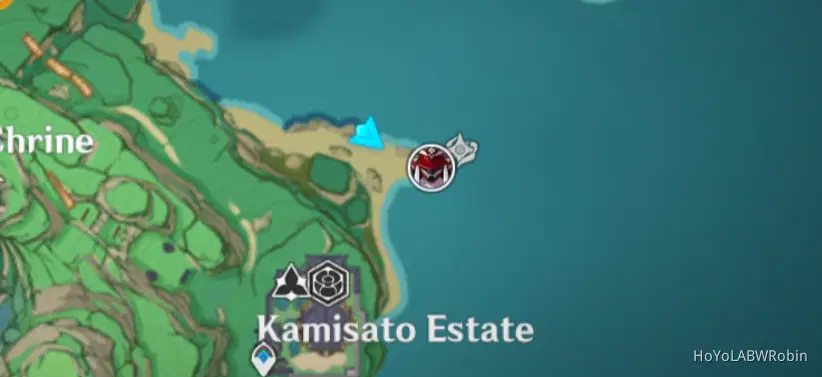
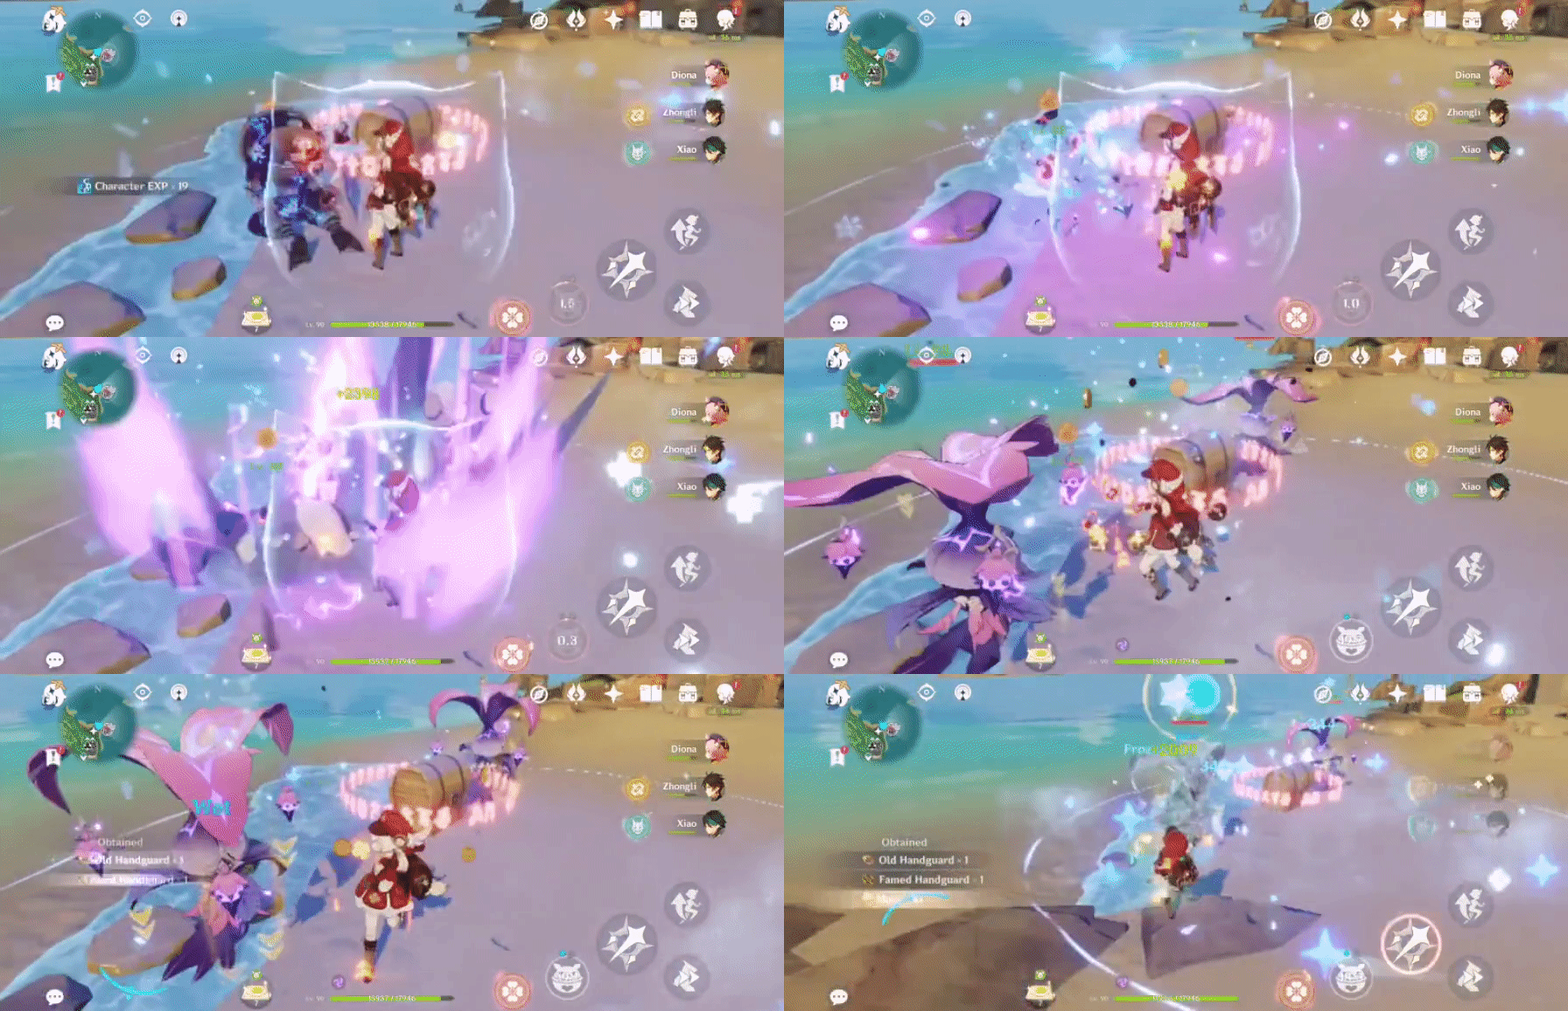
38. [Locked Chest] On top of the large rock (above the small camp)
Will unlock after defeating 4 Nobushi.
Location:
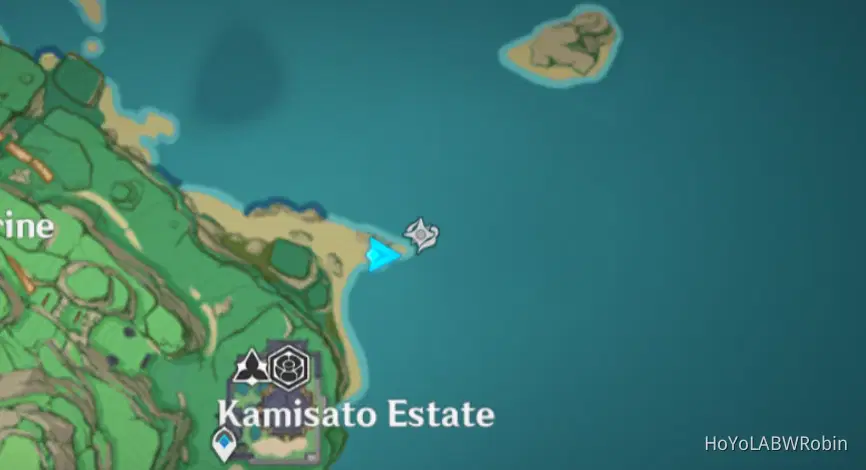
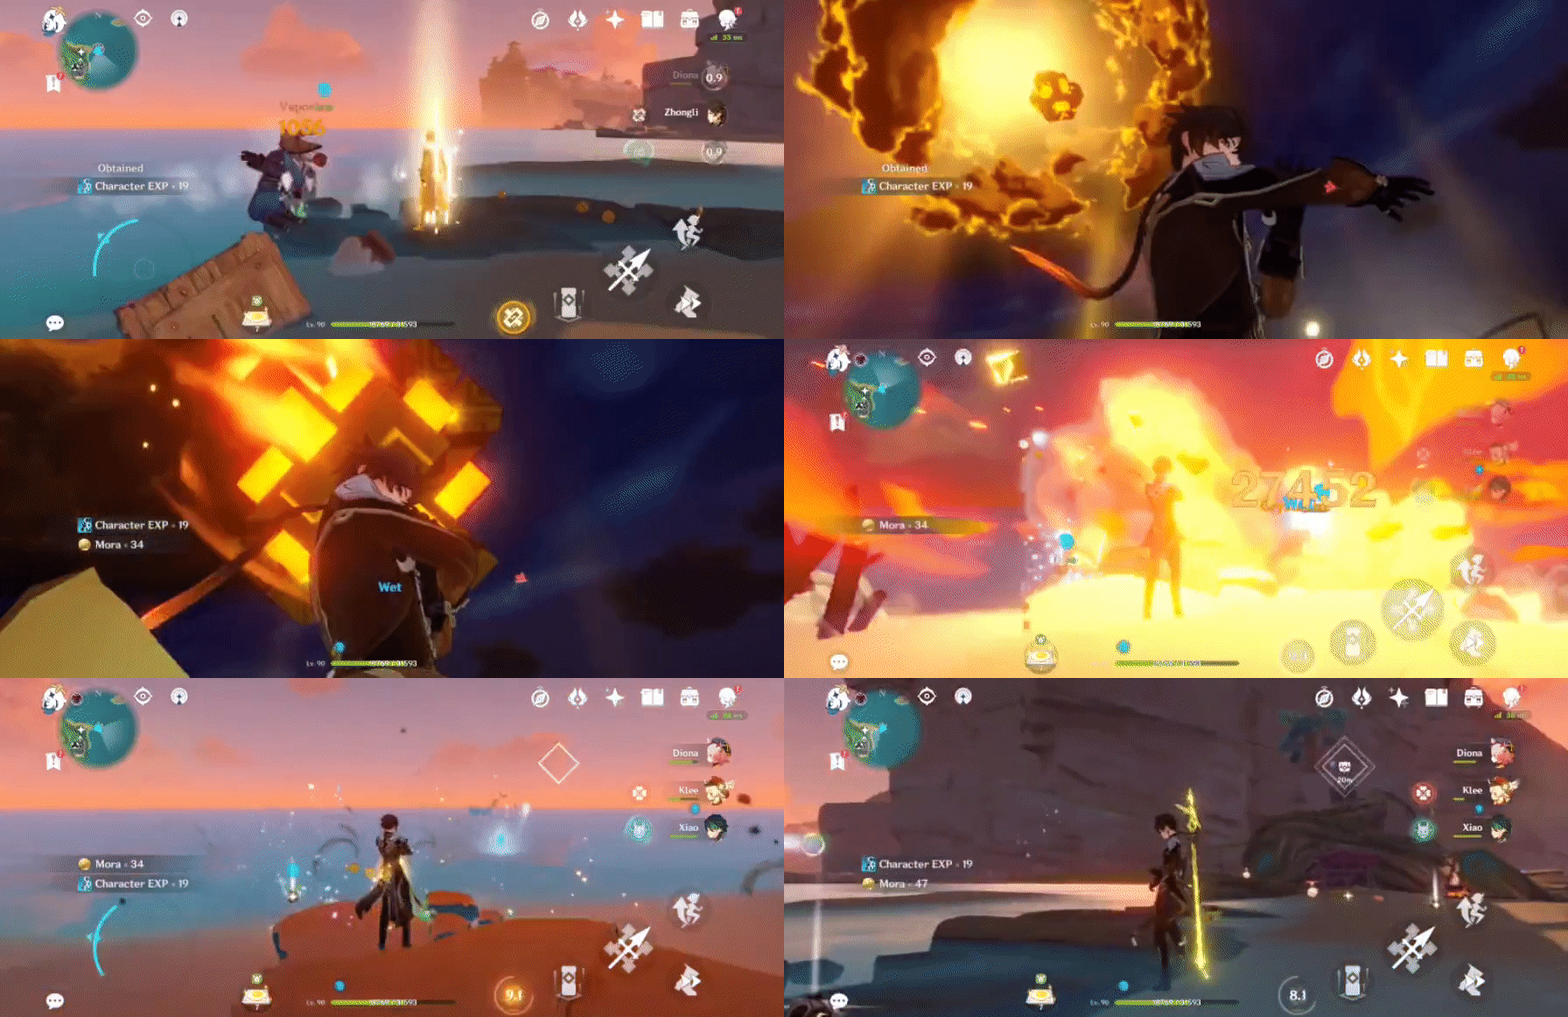
39. [Locked Chest] On a very high ledge
Will unlock after defeating 1 Nobushi and 1 Kairagi: Dancing Thunder.
Location:
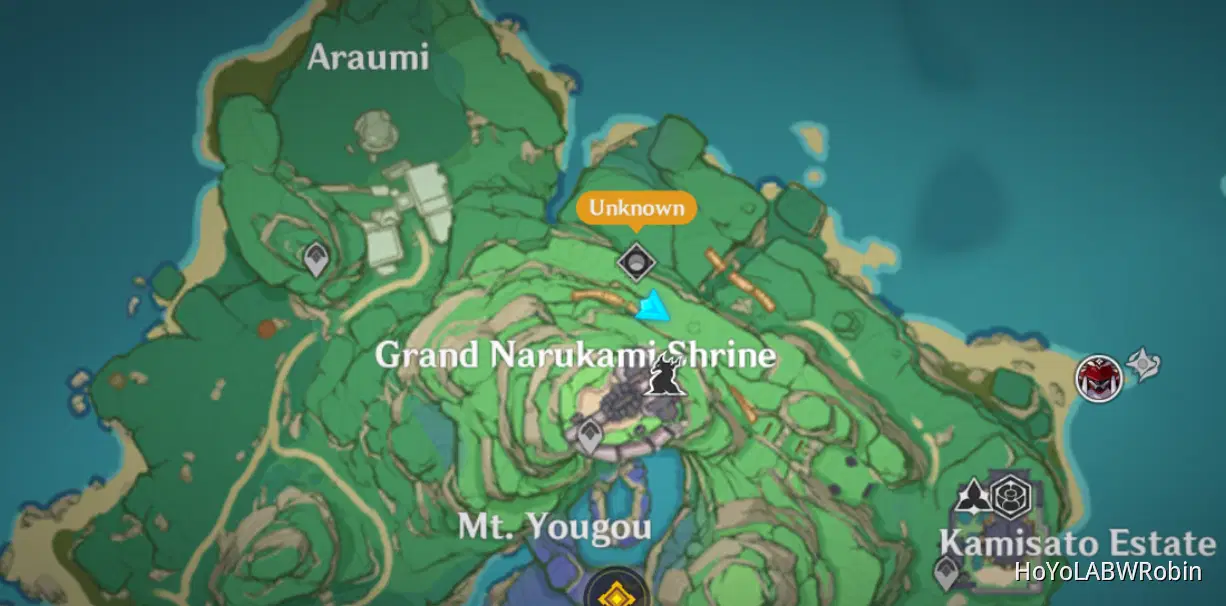
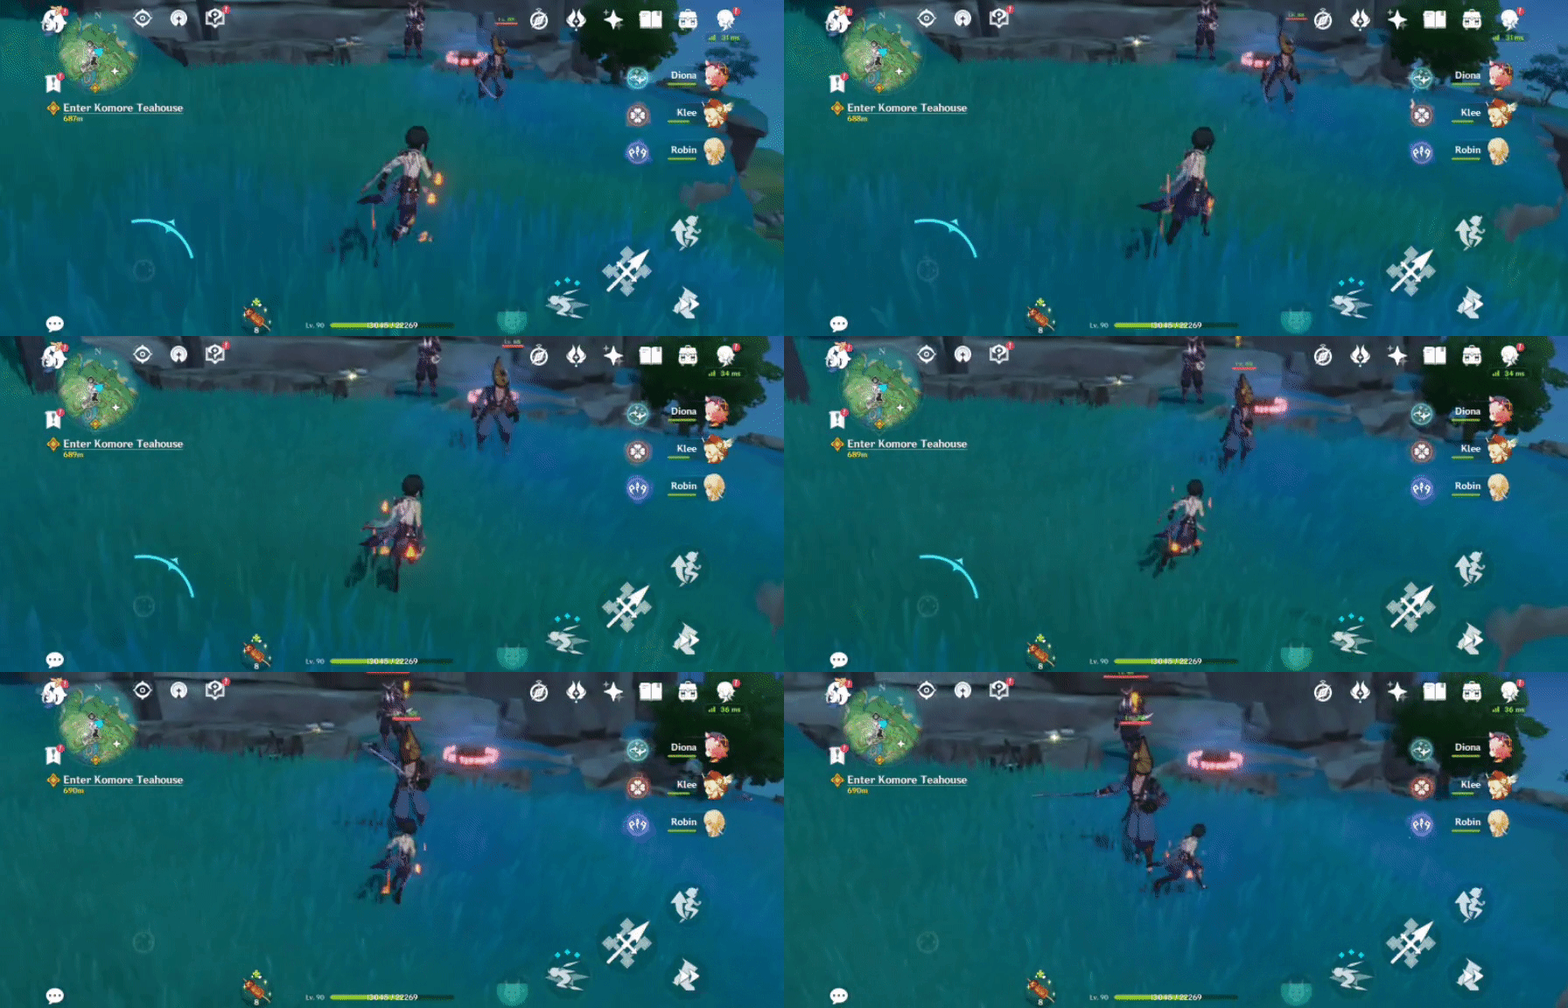
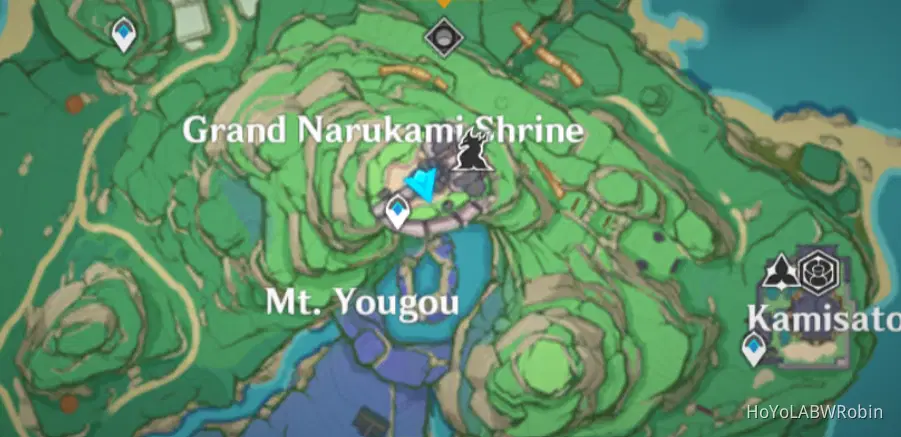
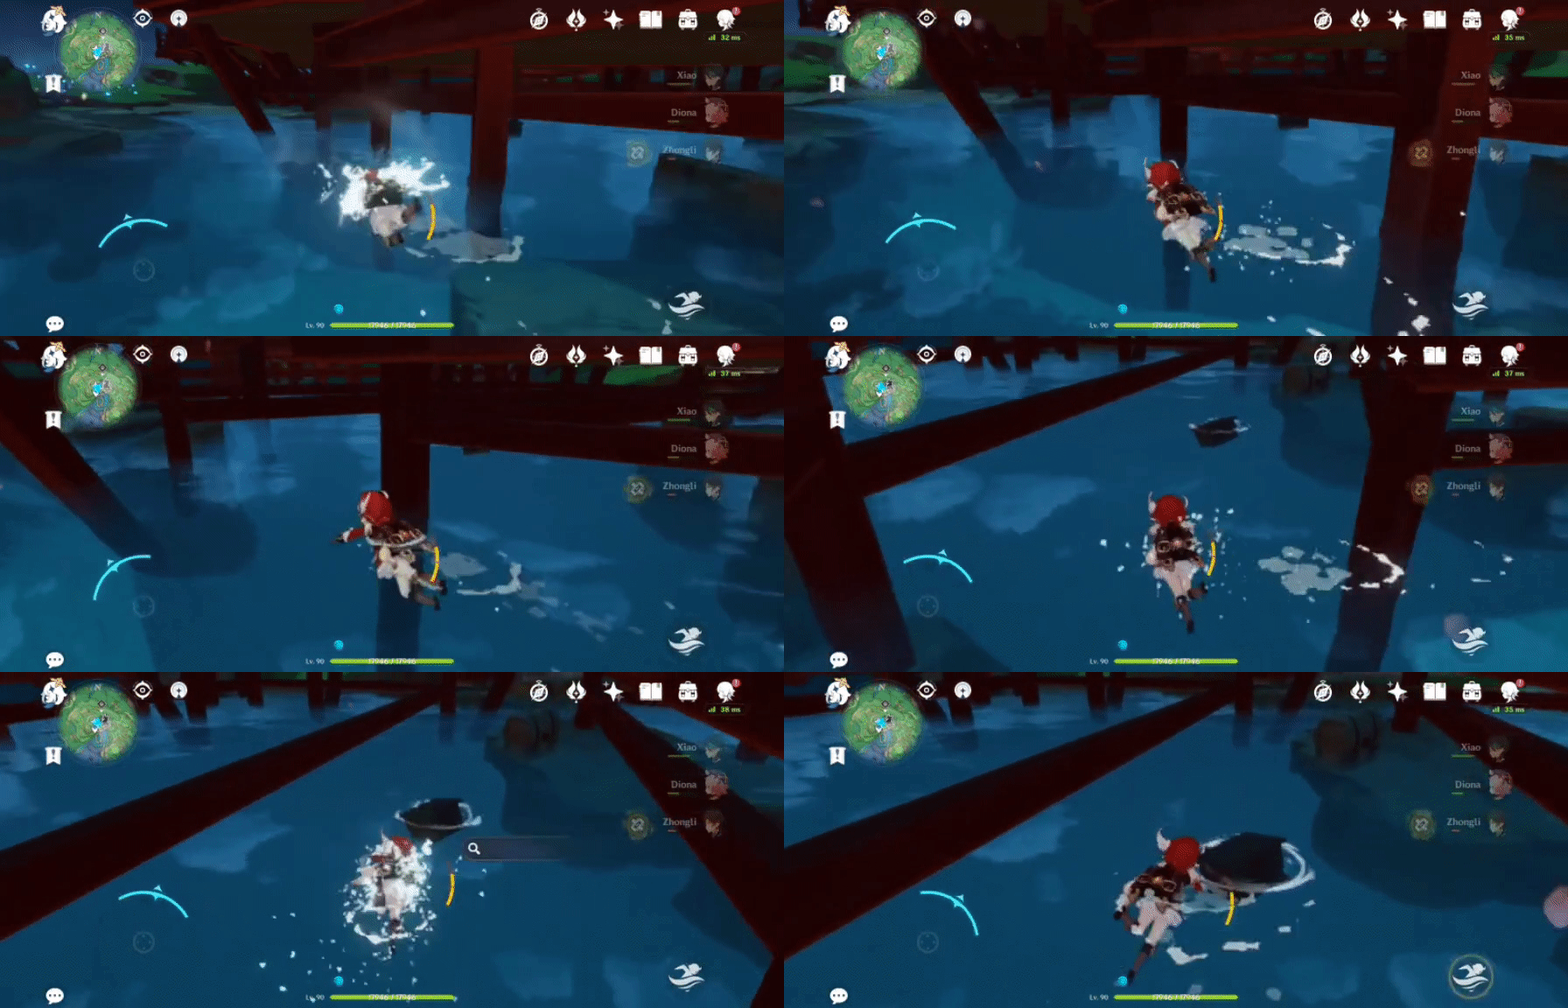
40. [Open Chest] Underneath the Grand Narukami Shrine (in the water)
No requirements needed to access.
Location:
Previous:[Guide] Common Chests- Inazuma: Part 1 - miHoYo Player Community (hoyolab.com)
Index: [Index] Common Chests - miHoYo Player Community (hoyolab.com)
Next:[Guide] Common Chests- Inazuma: Part 3 - miHoYo Player Community (hoyolab.com)



