


Good Morning/Afternoon/Evening everyone!
I have returned once again with another build guide for you all to use!
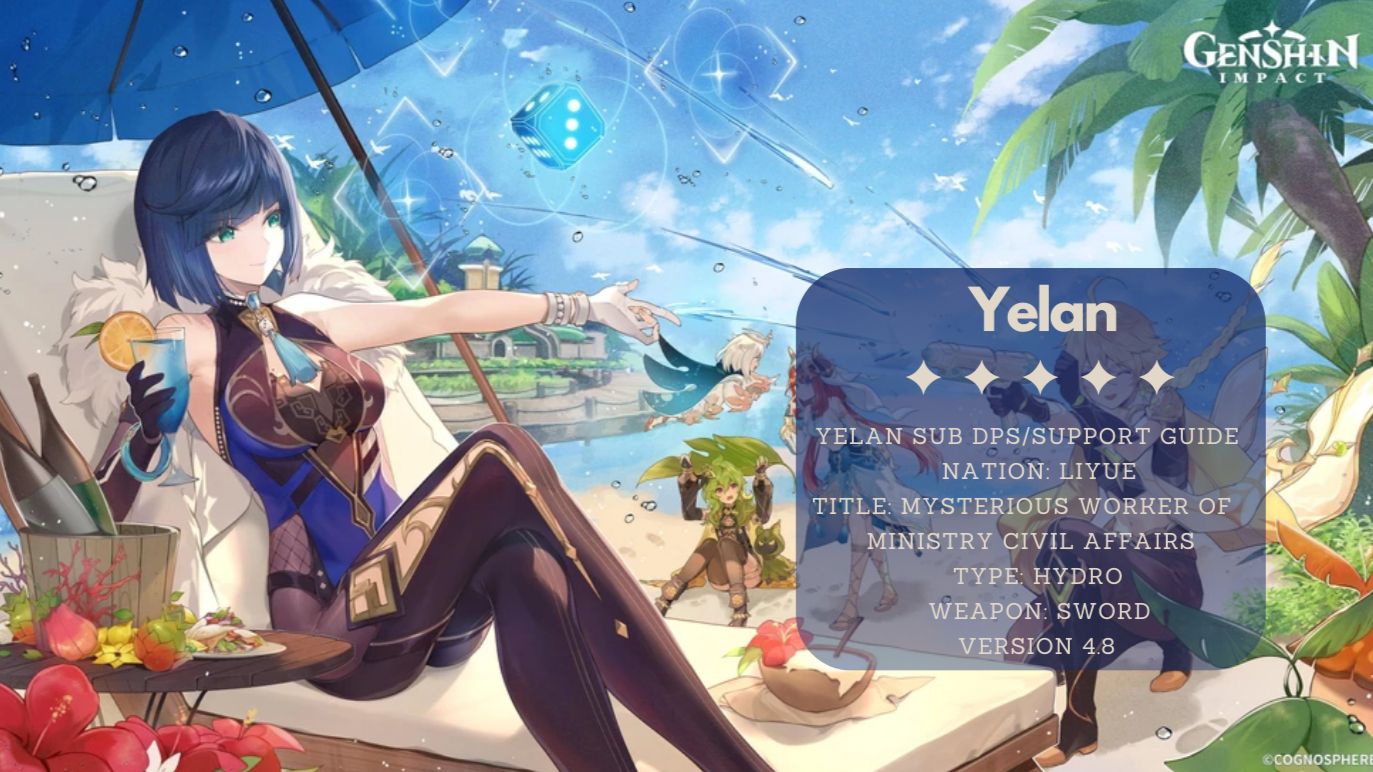
This time we will go over Yelan, an amazing Support character when it comes to Hydro application and can be a great Sub DPS as well!

Materials
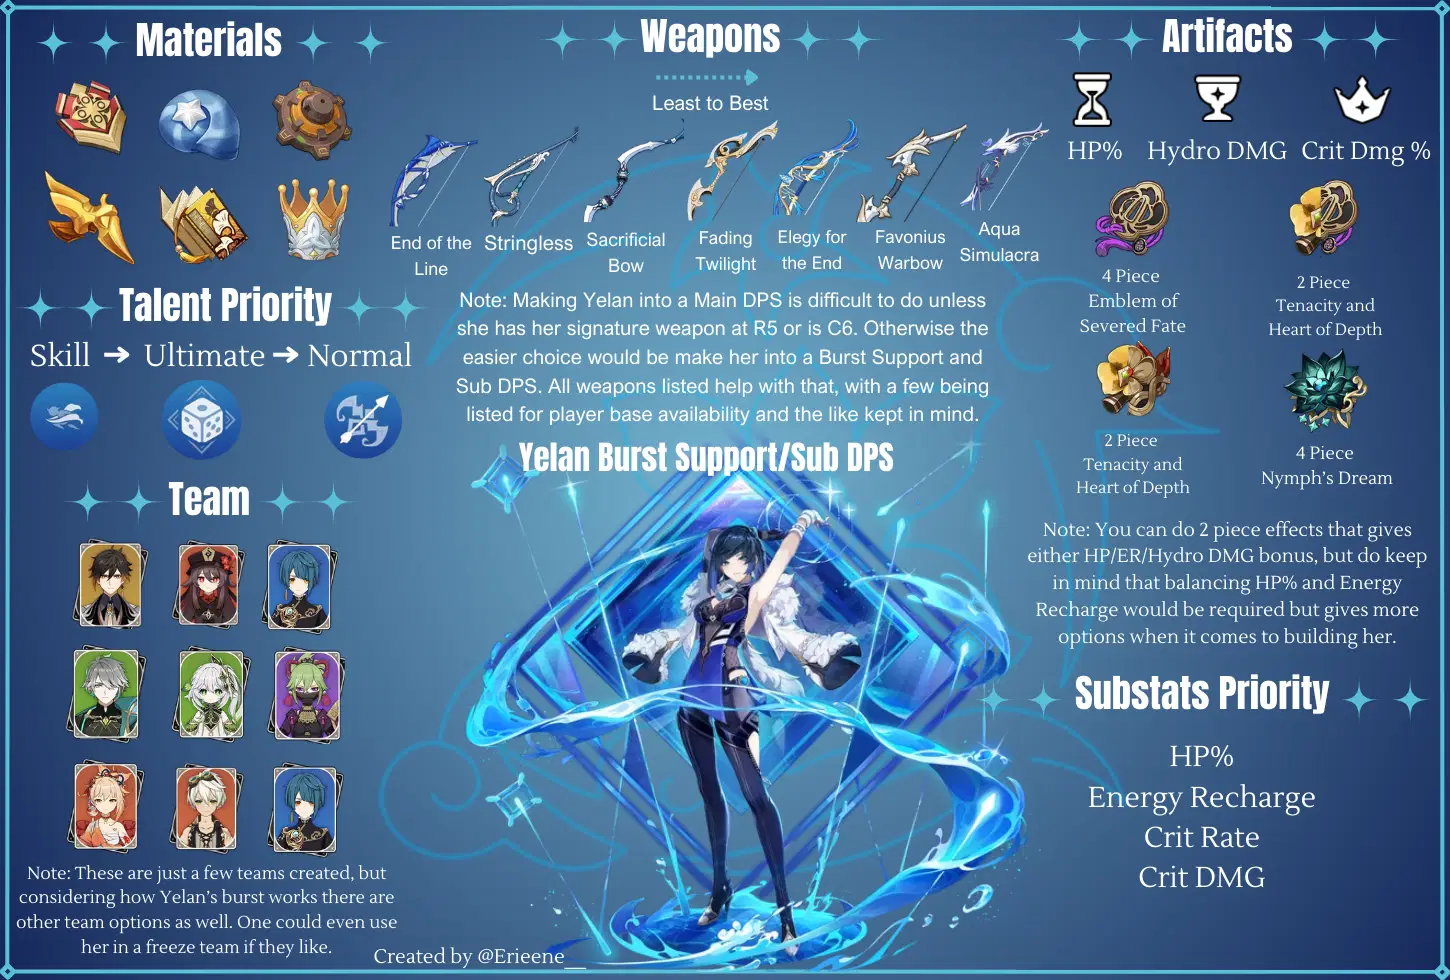
Build Materials
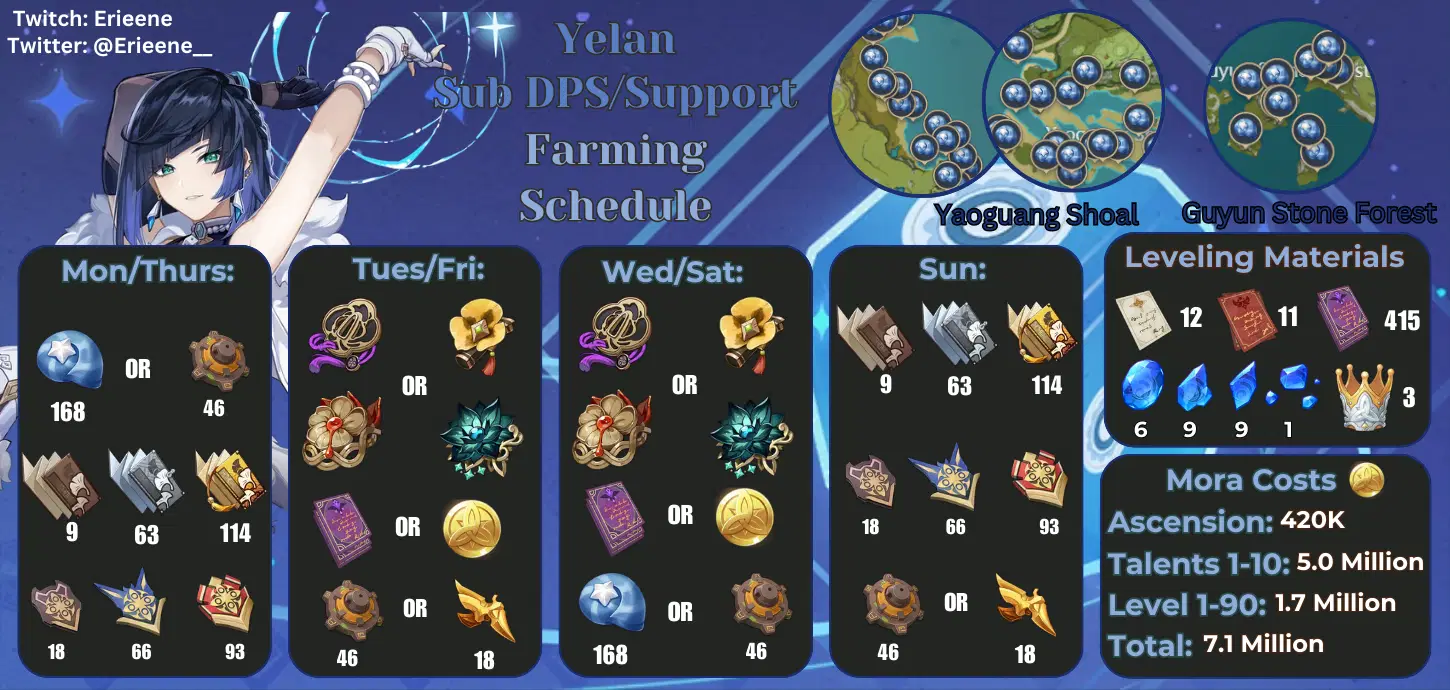
Farming Schedule
Skill Kit
Now Yelan's scaling is based on HP, and trying to get her to become a Main DPS is more difficult as it requires her to be C6. So to maximize her off-field damage potential it is generally agreed upon that giving her as much Energy Recharge and a baseline of 26K HP is a good starting point, but with double Hydro on the team. If you don't want to add another Hydro on the team, then it's required to have 36K HP for her alone.
Trying to balance that HP requirement while giving her enough Energy Recharge is a difficult balance, which is why her artifacts typically have to deal with giving Energy Passively, or her weapon gives Energy. We'll go over this more in detail in the guide.
Normal Attack

Stealthy Bowshot

Normal Attack

Charged Shot

Breakthrough Barb

Breakthrough Barb Charged Shot
Normal Attack: Stealthy Bowshot
Normal Attack
Performs up to 4 consecutive shots with a bow.
Charged Attack
Perform a more precise Aimed Shot with increased DMG.
While aiming, flowing water will accumulate on the arrowhead. A fully charged torrential arrow will deal Hydro DMG.
Breakthrough
Yelan will enter a "Breakthrough" state after spending 5s out of combat, which will cause her next Charged Aimed Shot to have 80% decreased charge time, and once charged, she can fire a "Breakthrough Barb" that will deal AoE Hydro DMG based on Yelan's Max HP.
Plunging Attack
Fires off a shower of arrows in mid-air before falling and striking the ground, dealing AoE DMG upon impact.
Talent Level 1:
4-Hit DMG: 32.5% + 32.5%
Aimed Shot: 43.9%
Fully Charged Aimed Shot: 124%
Breakthrough Barb DMG: 11.58% Max HP
Plunge DMG: 56.8%
Low/High Plunge DMG: 114%/142%
Talent Level 10:
4-Hit DMG: 64.3% + 64.3%
Aimed Shot: 86.7%
Fully Charged Aimed Shot: 223%
Breakthrough Barb DMG: 20.84% Max HP
Plunge DMG: 112.3%
Low/High Plunge DMG: 225%/281%
Skill

Lingering Lifeline

Press

Hold

Breakthrough Reset
Fires off a Lifeline that allows her to move rapidly, entangling and marking opponents along its path.
When this rapid movement ends, the Lifeline will explode, dealing Hydro DMG to the marked opponents based on Yelan's Max HP.
Tap
Moves a certain distance forward swiftly.
Hold
Engages in continuous, swift movement, during which Yelan's resistance to interruption is increased.
During this time, Yelan can control this rapid movement and end it by using this Skill again.
Additionally, each opponent marked by the Lifeline when it explodes grants Yelan a 34% chance to reset her Breakthrough state.
Talent Level 1:
Skill DMG: 22.6% Max HP
Max Duration (Hold): 3.0s
CD: 10.0s
Talent Level 1:
Skill DMG: 40.7% Max HP
Max Duration (Hold): 3.0s
CD: 10.0s
Burst

Depth-Clarion Dice

Depth-Clarion Dice
Exquisite Throw
Deals AoE Hydro DMG and creates an "Exquisite Throw," which aids her in battle.
Exquisite Throw
Follows the character around and will initiate a coordinated attack under the following circumstances, dealing Hydro DMG based on Yelan's Max HP:
· Can occur once every second when your active character uses a Normal Attack.
· Will occur each time Yelan's Lifeline explodes and hits opponents.
Talent Level 1:
Skill DMG: 7.31% Max HP
Exquisite Throw DMG: 4.87% Max HP x3
Duration: 15.0s
CD: 18.0s
Energy Cost: 70
Talent Level 10:
Skill DMG: 13.15% Max HP
Exquisite Throw DMG: 8.77% Max HP x3
Duration: 15.0s
CD: 18.0s
Energy Cost: 70
Passive Talent 1

Turn Control
When the party has 1/2/3/4 Elemental Types, Yelan's Max HP is increased by 6%/12%/18%/30%.
Passive Talent 2

Adapt With Ease
So long as an Exquisite Throw is in play, your own active character deals 1% more DMG. This increases by a further 3.5% DMG every second. The maximum increase to DMG dealt is 50%.
The pre-existing effect will be dispelled if Depth-Clarion Dice is recast during its duration.
Constellations
C1:

Enter the Plotters
Lingering Lifeline gains 1 additional charge.
C2:

Taking All Comers
When Exquisite Throw conducts a coordinated attack, it will fire an additional water arrow that will deal 14% of Yelan's Max HP as Hydro DMG.
This effect can trigger once every 1.8s.
C3:

Beware the Trickster's Dice
Increases the Level of Depth-Clarion Dice by 3.
Maximum upgrade level is 15.
C4:

Bait-and-Switch
Increases all party members' Max HP by 10% for 25s for every opponent marked by Lifeline when the Lifeline explodes. A maximum increase of 40% Max HP can be attained in this manner.
C5:

Dealer's Sleight
Increases the Level of Lingering Lifeline by 3.
Maximum upgrade level is 15.
C6:

Winner Takes All
After using Depth-Clarion Dice, Yelan will enter the Mastermind state.
In this state, all of Yelan's Normal Attacks will be special Breakthrough Barbs. These Breakthrough Barbs will have similar abilities to normal ones and the DMG dealt will be considered Charged Attack DMG, dealing 156% of a normal Breakthrough Barb's DMG.
The Mastermind state lasts 20s and will be cleared after Yelan fires 5 arrows.
Artifacts
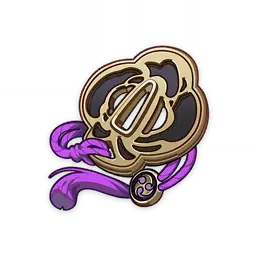
Emblem of Severed Fate
2 Piece: Energy Recharge +20%
4 Piece: Increases Elemental Burst DMG by 25% of Energy Recharge. A maximum of 75% bonus DMG can be obtained in this way.

Tenacity of the Millelith
2 Piece: HP increased by 20%.
4 Piece: When an Elemental Skill hits an opponent, the ATK of all nearby party members is increased by 20% and their Shield Strength is increased by 30% for 3s. This effect can be triggered once every 0.5s. This effect can still be triggered even when the character who is using this artifact set is not on the field.
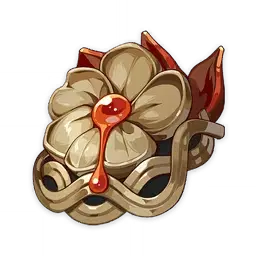
Heart of Depth
2 Piece: Hydro DMG Bonus +15%
4 Piece: After using Elemental Skill, increases Normal Attack and Charged Attack DMG by 30% for 15s.

Nymph's Dream
2 Piece: Hydro DMG Bonus +15%
4 Piece: After Normal, Charged, and Plunging Attacks, Elemental Skills, and Elemental Bursts hit opponents, 1 stack of Mirrored Nymph will be triggered, lasting 8s. When under the effect of 1, 2, or 3 or more Mirrored Nymph stacks, ATK will be increased by 7%/16%/25%, and Hydro DMG Bonus will be increased by 4%/9%/15%. Mirrored Nymph stacks created by Normal, Charged, and Plunging Attacks, Elemental Skills, and Elemental Bursts exist independently.
Important Note:
The other artifacts are listed for 2 piece combinations one may want to do for a more DPS Yelan, but this is only really possible with the constellations. As the Energy and HP requirements are harder to meet without the constellation passive. A C6 Yelan can do the 2 piece combination, but for C0 Yelan going 4 piece Emblem Set is the preferred choice.
Weapons
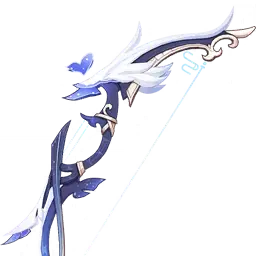
Aqua Simulacra
Base ATK: 542
Secondary Stat: 88.2% Crit DMG
HP is increased by 16%/20%/24%/28%/32%. When there are opponents nearby, the DMG dealt by the wielder of this weapon is increased by 20%/25%/30%/35%/40%. This will take effect whether the character is on-field or not.
Favonius Warbow
Base ATK: 454
Secondary Stat: 61.3% Energy Recharge
CRIT Hits have a 60%/70%/80%/90%/100% chance to generate a small amount of Elemental Particles, which will regenerate 6 Energy for the character. Can only occur once every 12/10.5/9/7.5/6s.
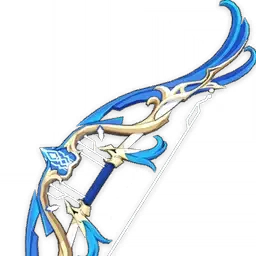
Elegy for the End
Base ATK: 608
Secondary Stat: 55.1% Energy Recharge
A part of the "Millennial Movement" that wanders amidst the winds. Increases Elemental Mastery by 60/75/90/105/120. When the Elemental Skills or Elemental Bursts of the character wielding this weapon hit opponents, that character gains a Sigil of Remembrance. This effect can be triggered once every 0.2s and can be triggered even if said character is not on the field. When you possess 4 Sigils of Remembrance, all of them will be consumed and all nearby party members will obtain the "Millennial Movement: Farewell Song" effect for 12s. "Millennial Movement: Farewell Song" increases Elemental Mastery by 100/125/150/175/200 and increases ATK by 20%/25%/30%/35%/40%. Once this effect is triggered, you will not gain Sigils of Remembrance for 20s. Of the many effects of the "Millennial Movement," buffs of the same type will not stack.
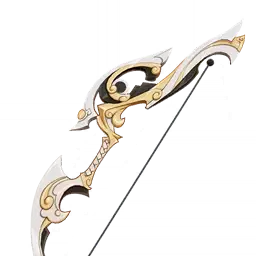
Fading Twilight
Base ATK: 565
Secondary Stat: 30.6% Energy Recharge
Has three states, Evengleam, Afterglow, and Dawnblaze, which increase DMG dealt by 6%/10%/14% | 7.5%/12.5%/17.5% | 9%/15%/21% | 10.5%/17.5%/24.5% | 12%/20%/28% respectively. When attacks hit opponents, this weapon will switch to the next state. This weapon can change states once every 7s. The character equipping this weapon can still trigger the state switch while not on the field.
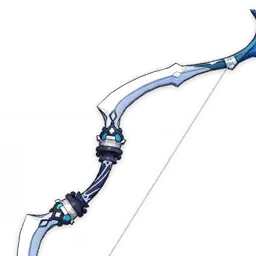
Sacrificial Bow
Base ATK: 565
Secondary Stat: 30.6% Energy Recharge
After damaging an opponent with an Elemental Skill, the skill has a 40%/50%/60%/70%/80% chance to end its own CD. Can only occur once every 30/26/22s/19/16s.
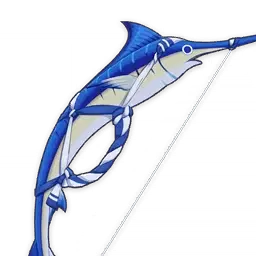
End of the Line
Base ATK: 510
Secondary Stat: 45.9% Energy Recharge
Triggers the Flowrider effect after using an Elemental Skill, dealing 80%/100%/120%/140%/160% ATK as AoE DMG upon hitting an opponent with an attack. Flowrider will be removed after 15s or after causing 3 instances of AoE DMG. Only 1 instance of AoE DMG can be caused every 2s in this way. Flowrider can be triggered once every 12s.
Team Set Up
Vaporize Teams
Zhongli, Hu Tao, Xingqui
Zhongli: Has an amazing shield that will ensure Navia will not take any damage and can reduce enemies' defense against Geo DMG.
Hu Tao: One of the amazing Pyro DMG dealers in the game, and since her DMG scales off of how low her health is giving Hu Tao the Jade Shield is a no-brainer. Especially for the C0 Hu Tao havers, where you will be using stamina to do the charge attacks, leaving little room to dodge.
Xingqui: Amazing Hydro applicator whose burst attacks with the character on the field with the normal attack. His rain swords also act as a sort of shield in case Zhongli’s shield is gone and will act as a bit of a buffer. The rain swords can also give a bit of healing depending on the amount left behind.
Yoimiya, Bennett, Xingqui
Yoimiya: Is an amazing single target DPS character who is very free to play friendly and can do a large amount of damage in a short amount of time. Adding in double hydro to the team will allow her to have more explosive reactions as well.
Bennett: Buffs those who stand in his Burst their Attack. Also heals enemies and if you are one of the few who activated his C6 he infuses the active character's weapon with Pyro.
Note: Bennett's Buff only scales off his base attack which is done through leveling and giving him a high base attack weapon.
Xingqui: Amazing Hydro applicator whose burst attacks with the character on the field with the normal attack. His rain swords also act as a sort of shield in case Zhongli’s shield is gone and will act as a bit of a buffer. The rain swords can also give a bit of healing depending on the amount left behind.
Important Note: While having an Anemo Unit would be amazing to have on the team due to grouping purposes, the loss of damage is noteworthy. Veridescent Venrer's passive effect would disappear by the time all the set up and the like done for Yoimiya is completed. So instead of that, it would be better to have another Hydro unit on the instead.
Quickbloom Team
Al-Haitham, Nahida, Kuki Shinobu
Al-Haitham: The one who will be doing damage on field the most, by pairing him with Nahida he will be having the necessary Elemental Mastery for his reactions. By having double dendro, enough dendro cores will be generated for Kuki's skill to hit them and cause a hyperbloom response.
Nahida: Her utility passive and ultimate can help buff the damage of specific party members depending on what team composition is being used. Her consistent application of Dendro allows Childe to be the hydro applicator to do Bloom damage by creating Dendro Cores.
Kuki: Applies periodic electro to enemies while healing the active party member. Which allows the DPS of the team do reaction damage while getting some much needed healing.
Resources Used:
Hoyowiki
Genshin Wiki
Gameplay Tips
Hutao Vaporize Team
- Zhongli hold skill for shield
- Xingqui Burst and Skill x 2 (if sacrificial swords activates)
- Yelan Burst and Skill
- Bennett Burst and Skill
- Hu Tao skill and charge attack until Shield runs out
- Repeat the cycle



